Shoe Cabinet Ideas · Listicle
15 Easy Shoe Cabinet Ideas for Any Home

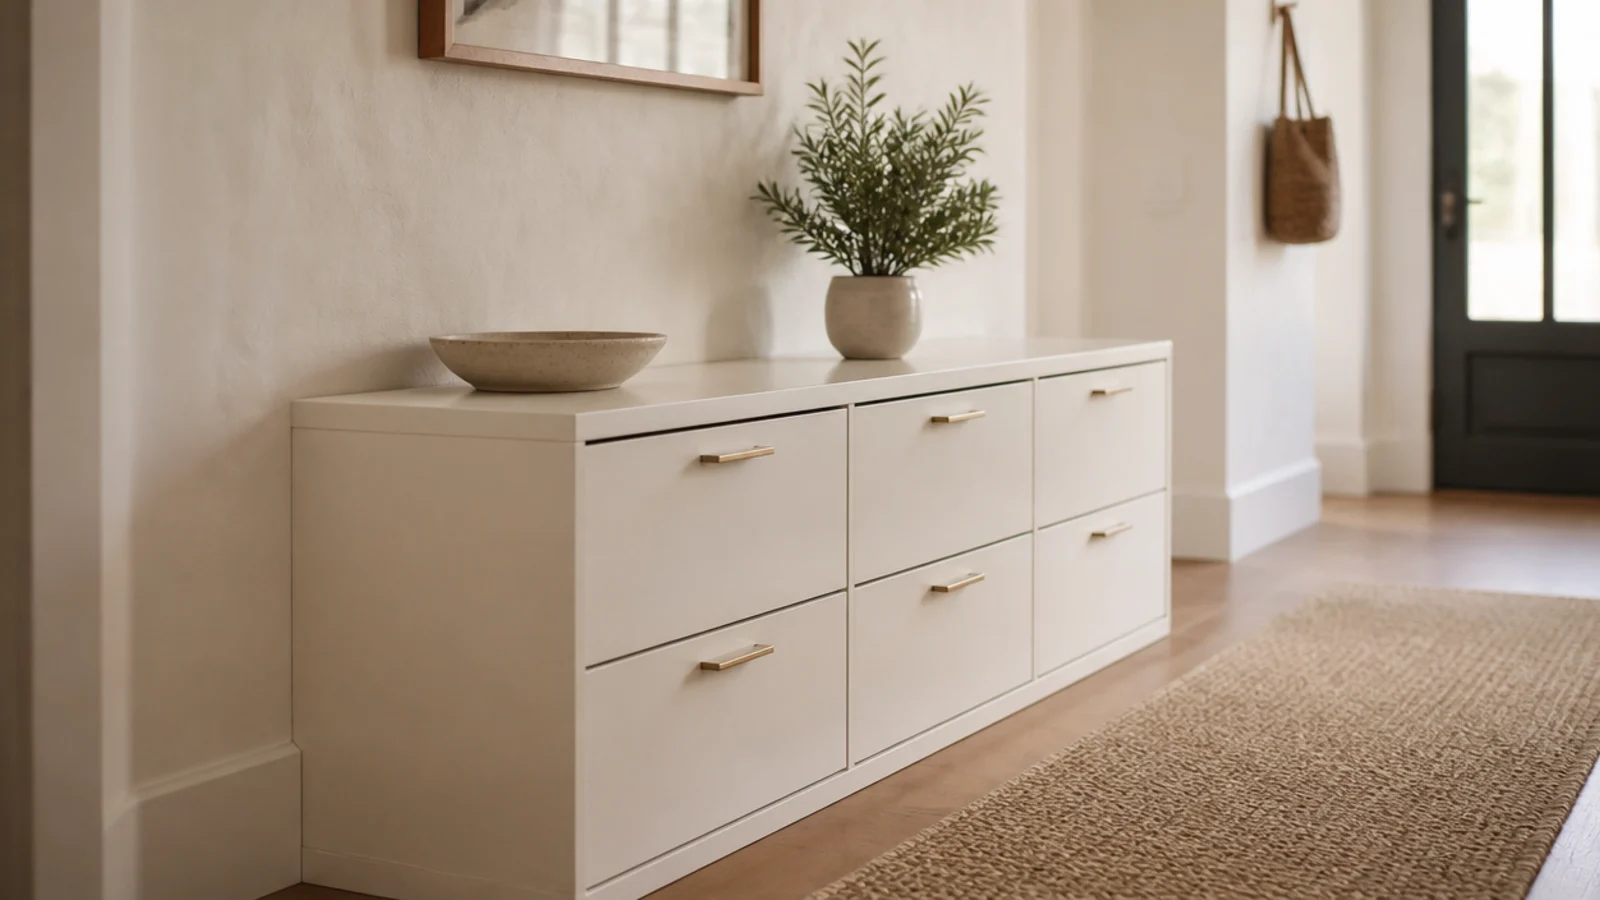
Shoe cabinet ideas live or die on one number nobody measures: internal depth. A cabinet that looks slim in the photograph swallows a size 12 sneaker only if it has 13 inches inside, or tilts the shoe to 45 degrees and gets away with 9. These 15 setups all name their depth, their honest pair count, and the ventilation that keeps a closed box from smelling by week two.
In this guide17 sections — tap to openHide
- 1.What shoe cabinet ideas have to solve before they look good
- 2.The nine-inch tilt-out beside the door
- 3.A two-door cabinet with flat shelves at 13 inches
- 4.A bench-top cabinet you can actually sit on
- 5.Slatted doors that breathe on their own
- 6.Drill your own row of ventilation holes
- 7.A tall tower on a narrow strip of wall
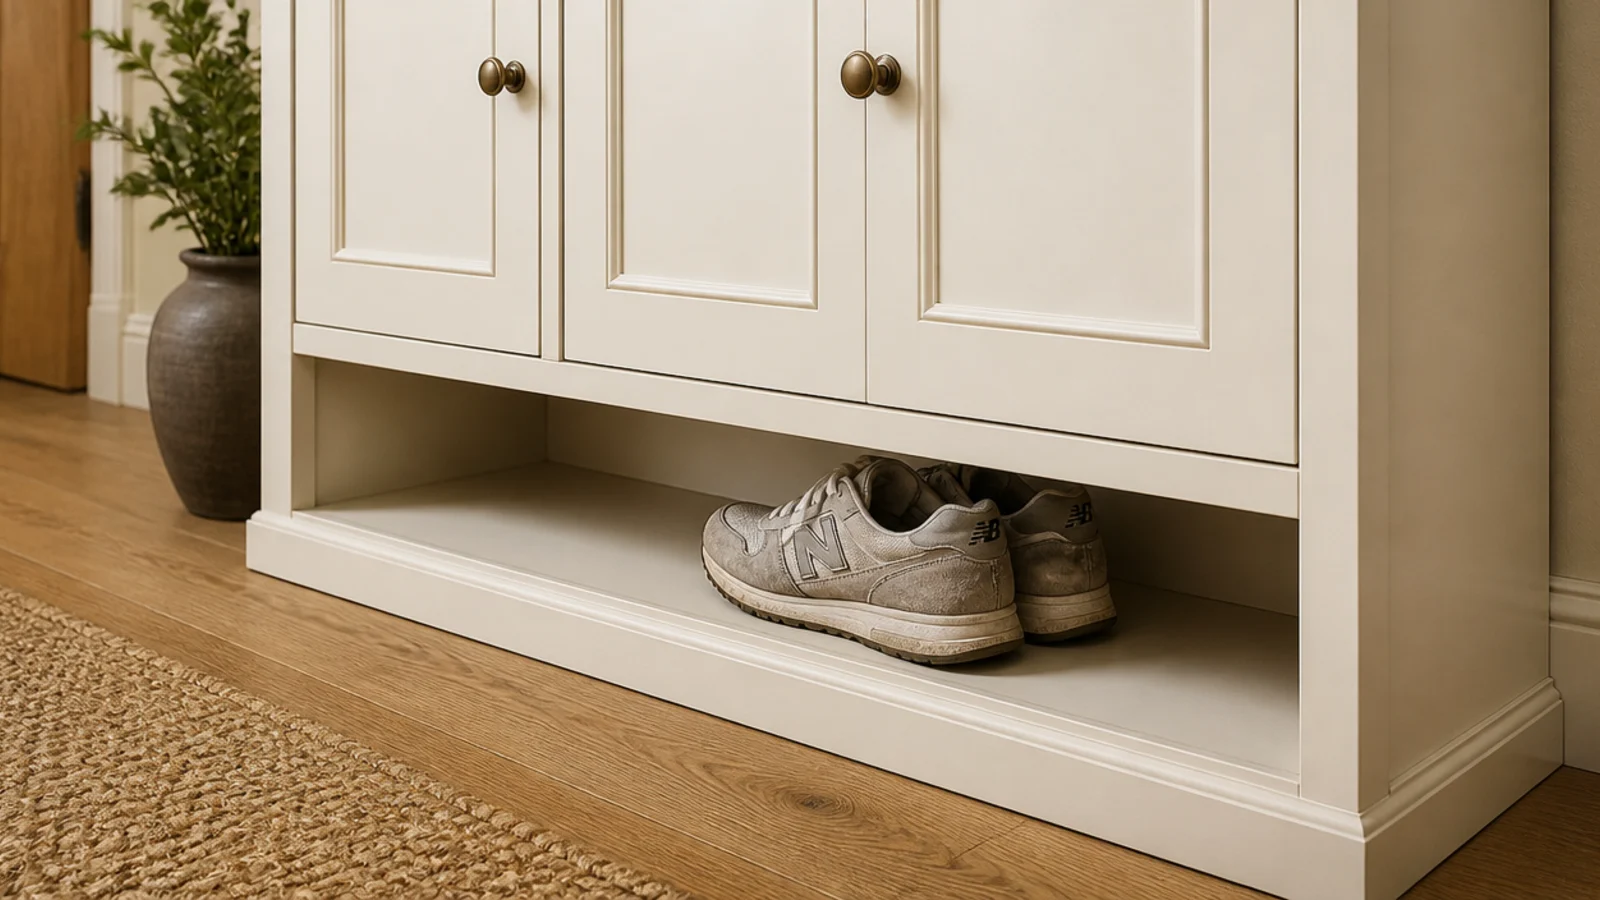
- 8.One open cubby at the bottom for the daily pair
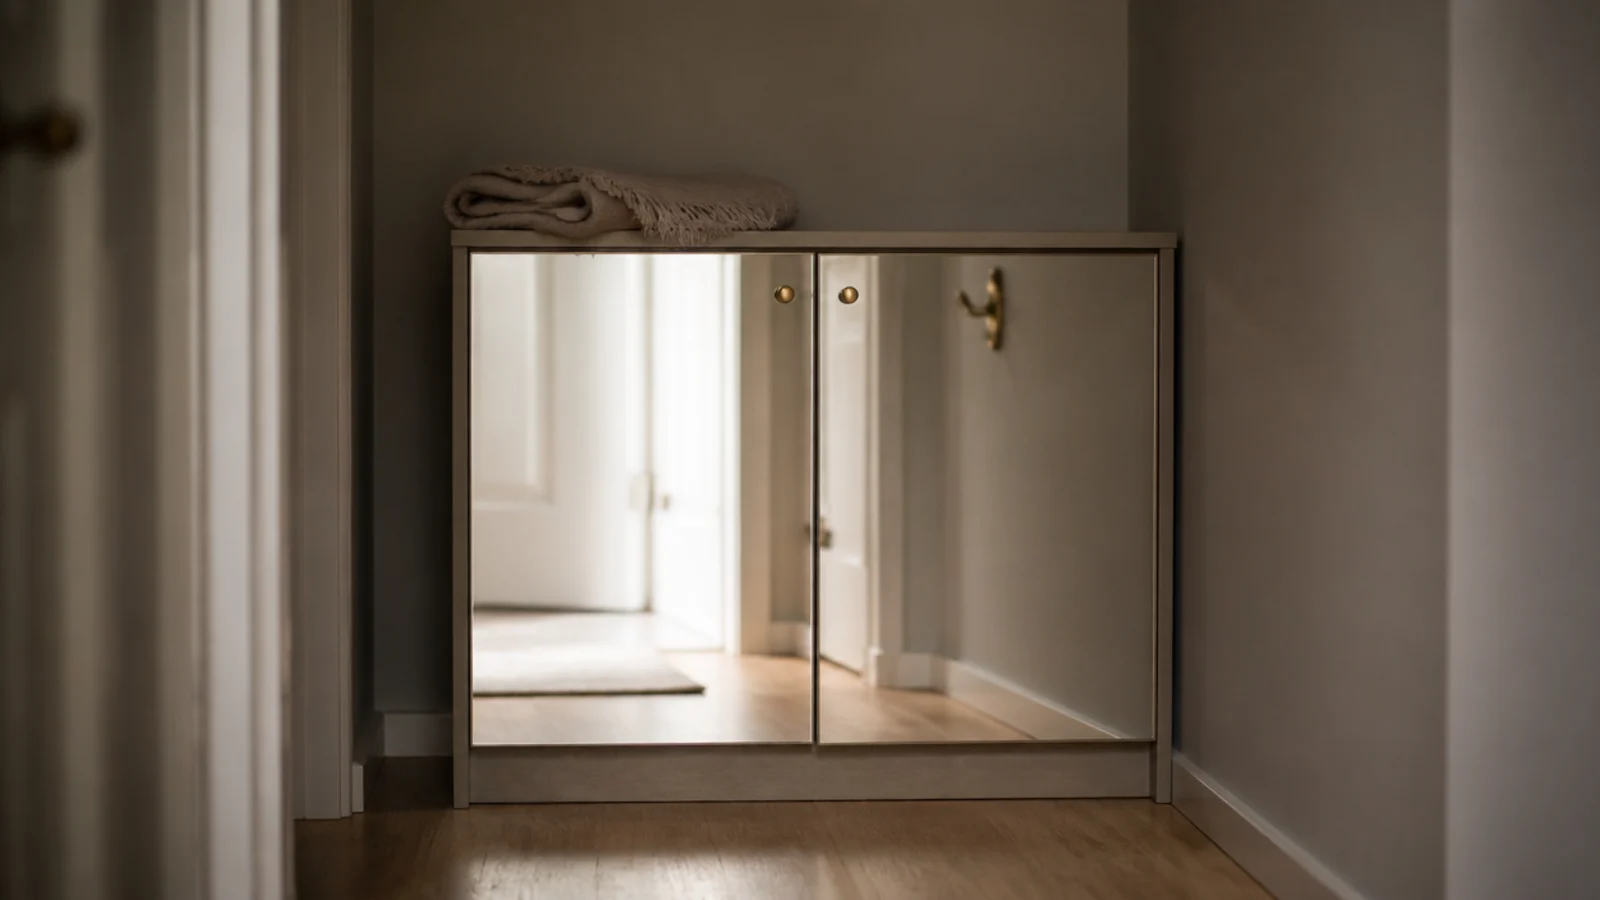
- 9.Mirror-fronted doors in a dark hall
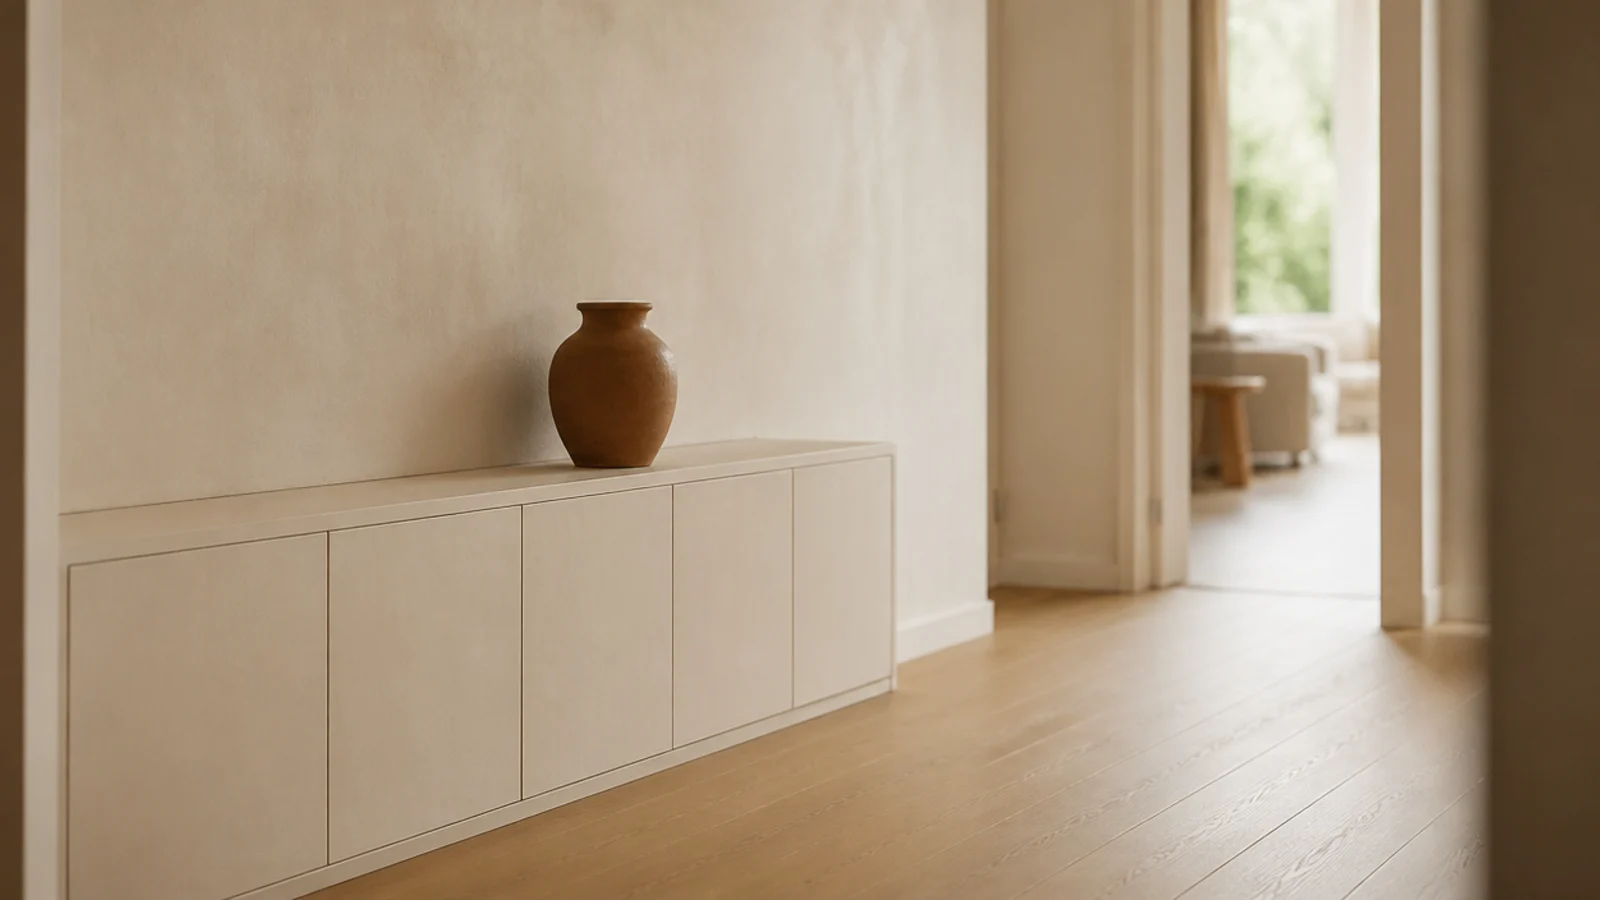
- 10.Paint the cabinet the wall color
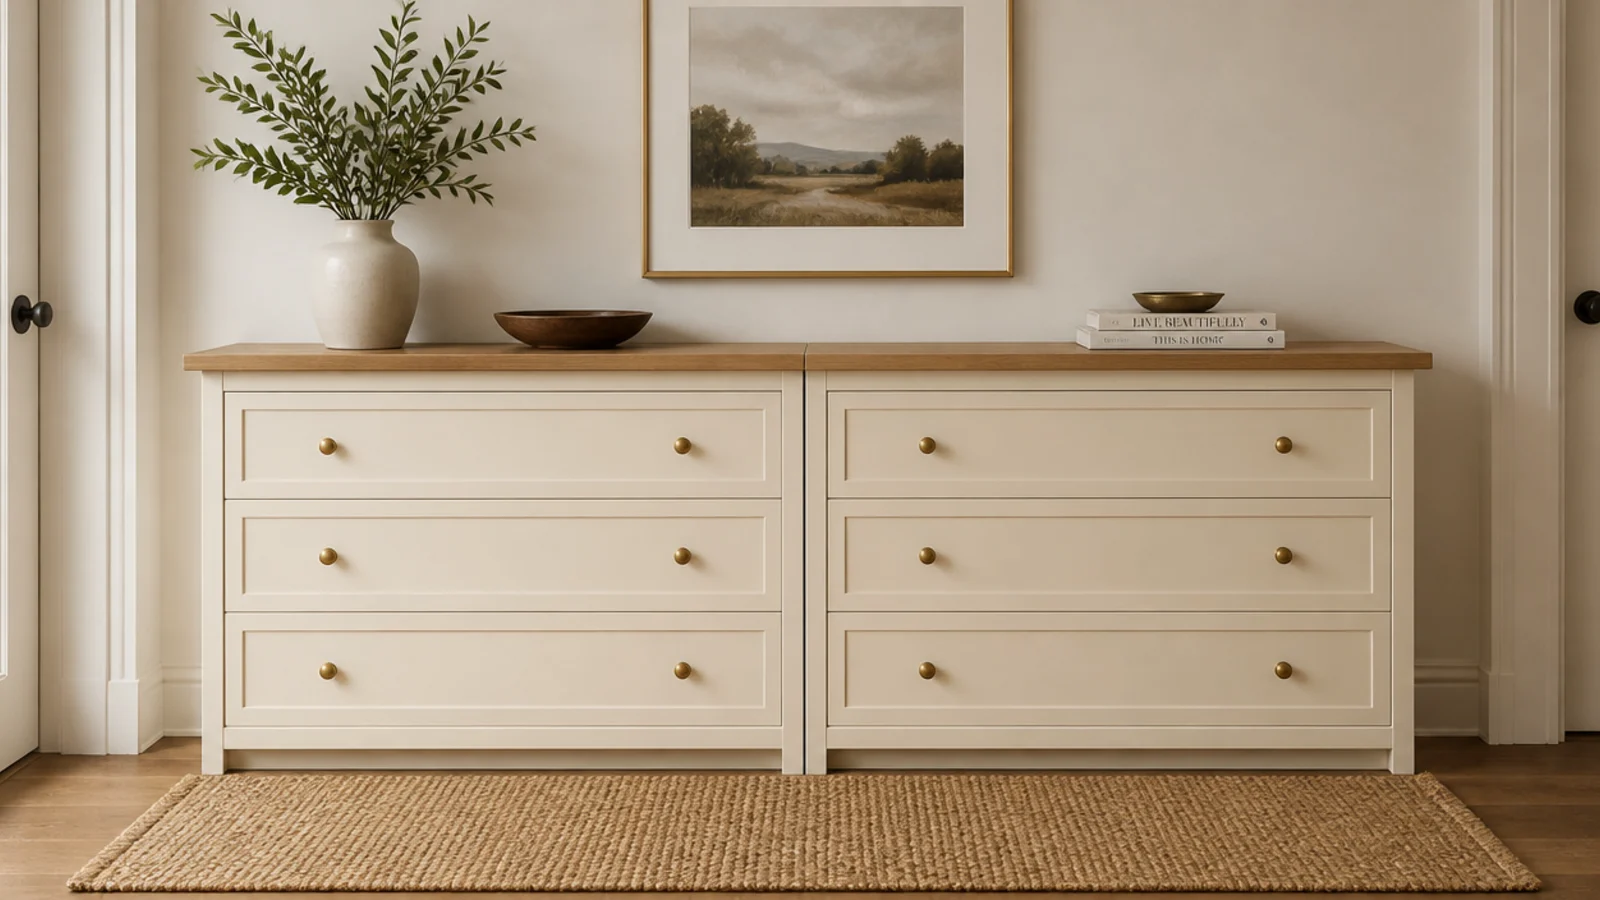
- 11.Two shallow cabinets instead of one deep one
- 12.Swap the handles before anything else
- 13.Tuck a cabinet under the stairs
- 14.A corner cabinet for the awkward angle
- 15.Add legs and lift it off the floor
- 16.Keep the wet tray outside the cabinet
- 17.Mistakes to Skip
What shoe cabinet ideas have to solve before they look good
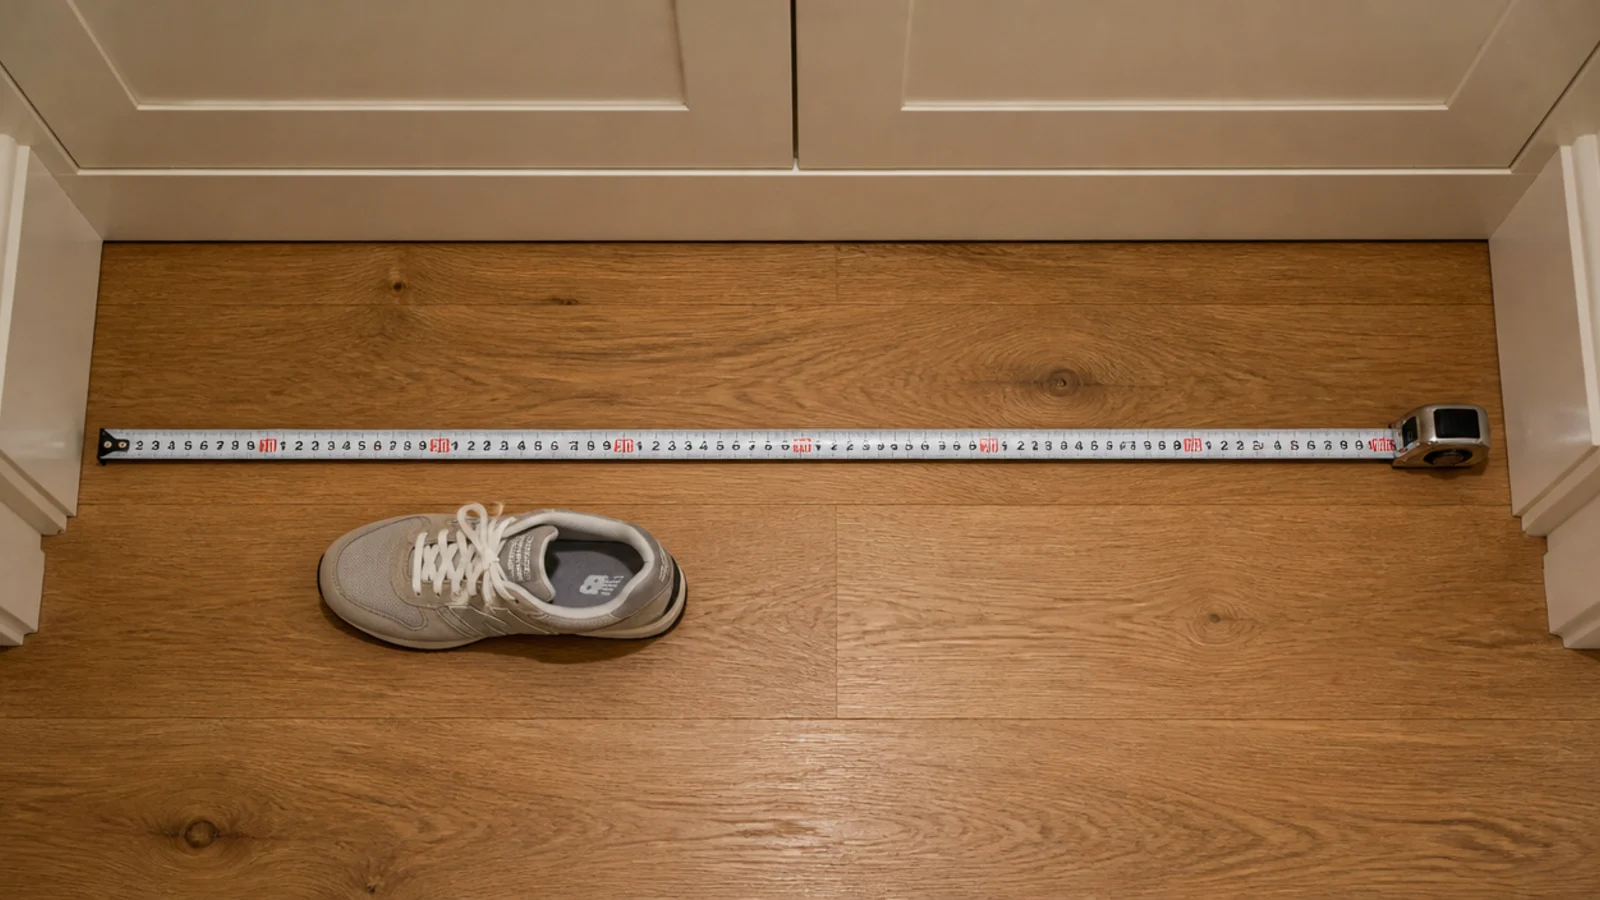
Start at the walkway, not the wall. A hallway needs 36 inches of clear passage to feel normal, so measure from the wall out to that line and whatever is left over is the depth you get to spend. Standard hallway cabinets run 9 to 15 inches deep, and most people can only afford the shallow end of that.
Then let the depth pick your mechanism. A men's size 12 sneaker is about 12.5 inches long. Flat shelves need 13 inches of internal depth — internal is the operative word, because a door and a back panel eat close to an inch between them. A tilt-out drawer cradles that same sneaker at 45 degrees and fits inside 9 inches, which is the whole reason slim hallway cabinets exist.
The catch is what a tilt-out actually holds. Each drawer takes six to eight pairs of flats, sneakers and loafers, and no boots whatsoever. If winter boots live in your house, one bay needs 16 inches of clear height or those boots stay on the floor beside the cabinet all season.
Last, air. A closed cabinet with damp shoes inside smells within a fortnight — reliably, every time. Every idea below either ventilates itself or tells you where to drill.
Budget tiers: $ under $60, $$ $60–$150, $$$ $150+.
1. The nine-inch tilt-out beside the door
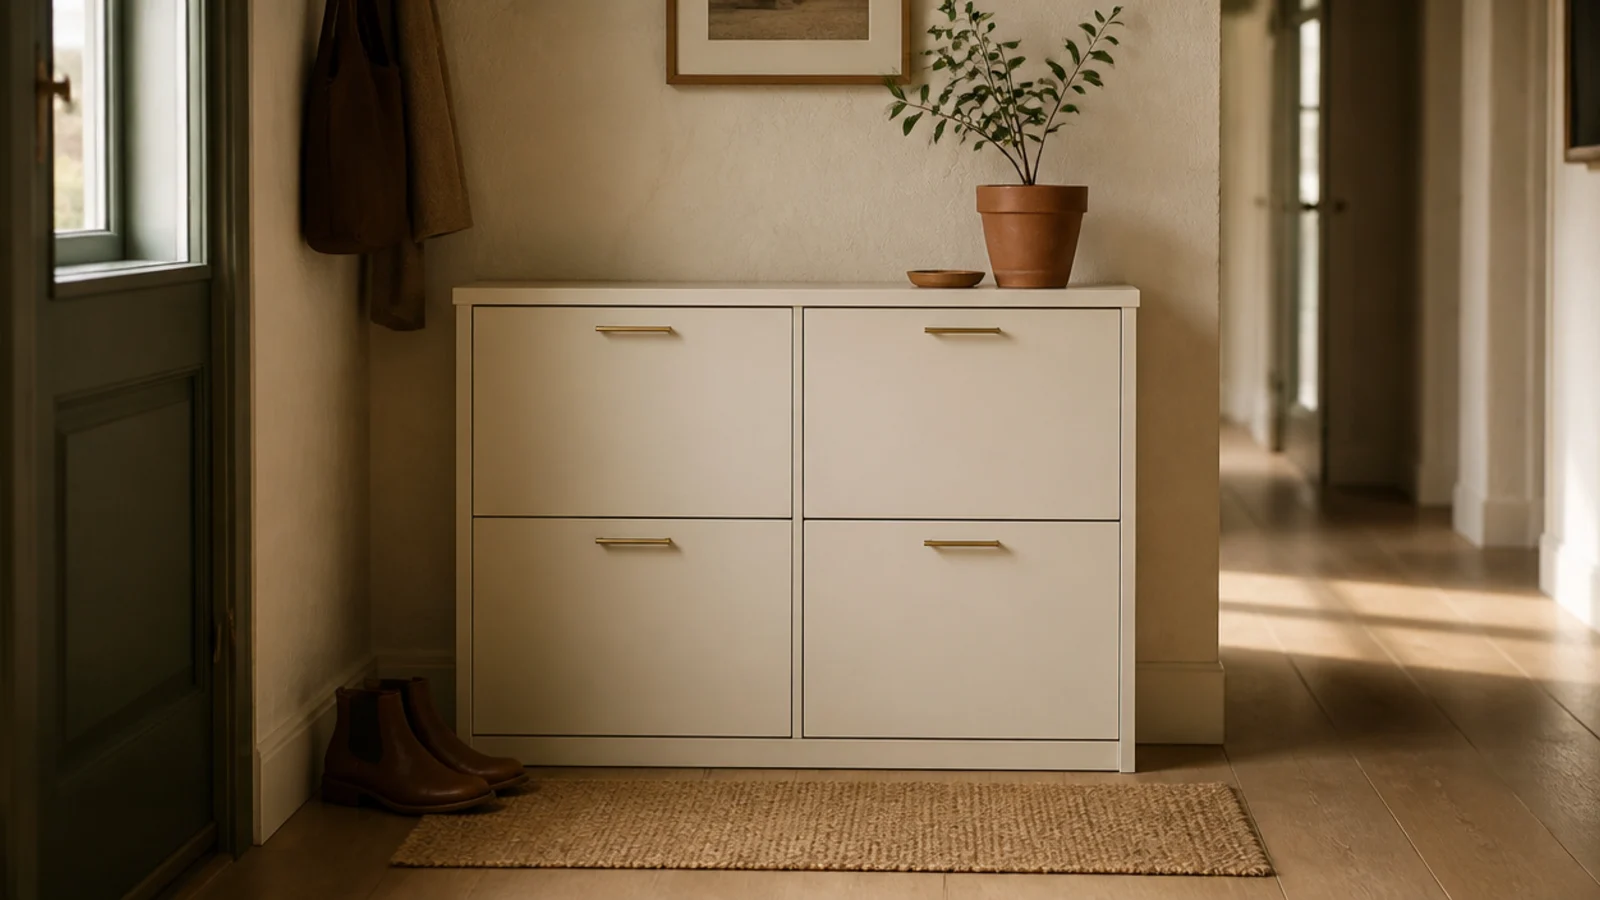
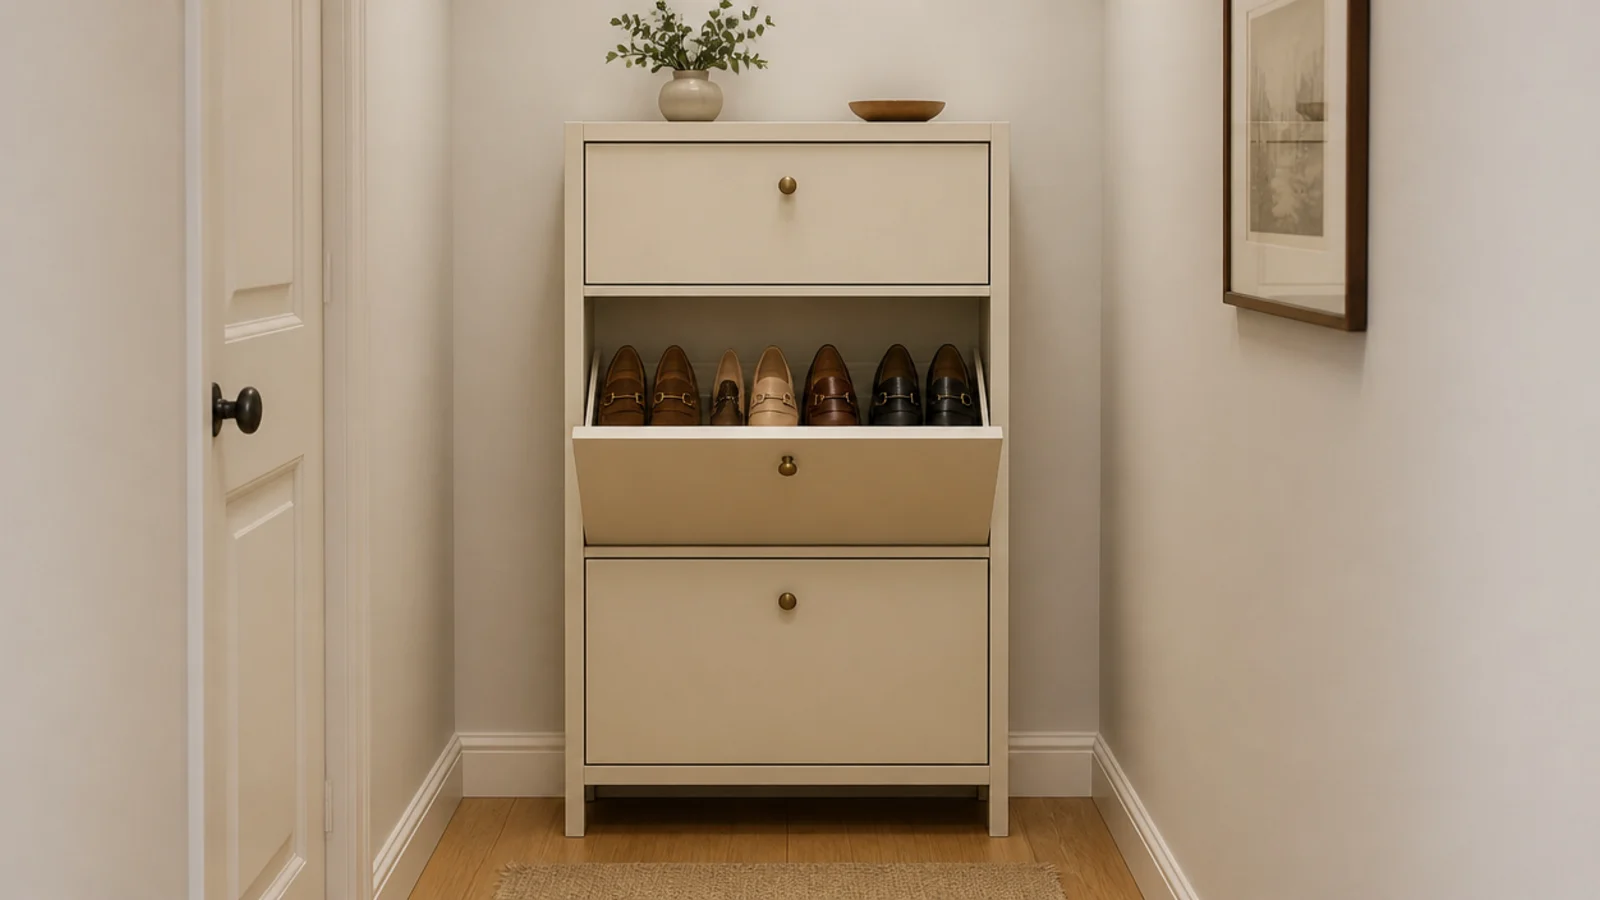
The default answer for a hallway under 40 inches wide. Shoes sit in an angled cradle behind a drop-down front, so the whole unit projects 9 inches from the wall and still swallows a 12.5-inch sneaker.
Two drawers hold twelve to sixteen pairs of flat shoes. Three drawers stack to about 40 inches tall, which is the height where you should start using the wall strap.
Look for a metal drawer stop rather than a plastic one — this is the part that fails first on budget units, and when it goes the front drops open on its own. $$
2. A two-door cabinet with flat shelves at 13 inches
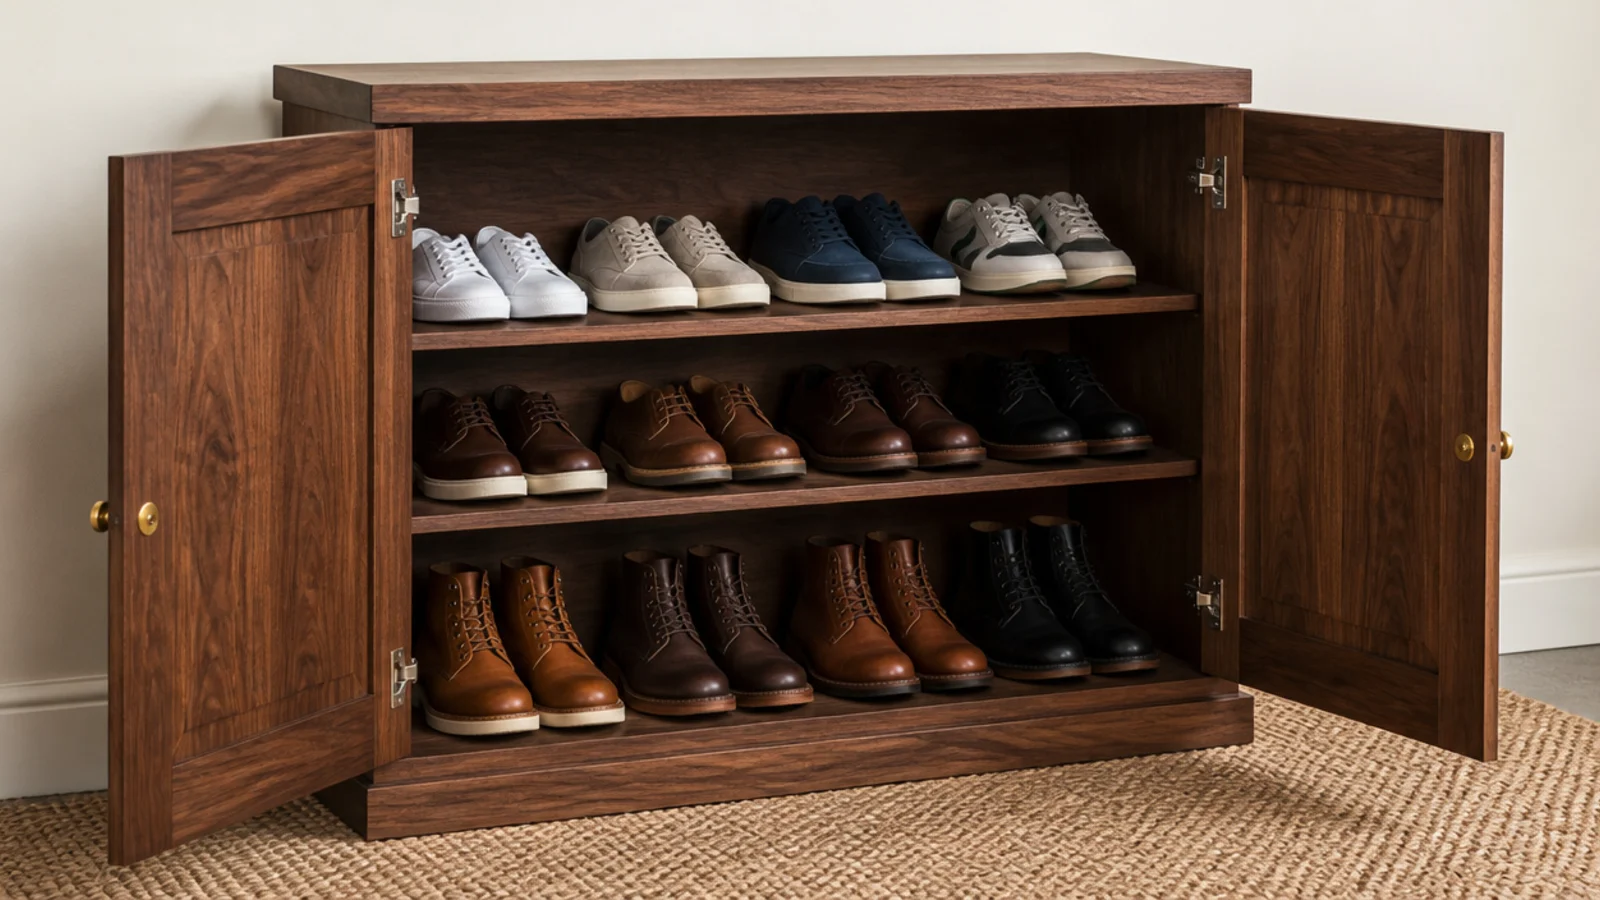
If the walkway allows 14 to 15 inches of depth, flat shelves beat tilt-outs on flexibility. Boots fit, heels fit, and you can see the whole shelf at once instead of excavating a drawer.
Give each general shelf 8 inches of clear height and leave the bottom bay at 16 inches for boots — most cabinets in this class use adjustable pin shelves, so it takes two minutes.
A 30-inch-wide shelf holds about four pairs comfortably. Six pairs fit if you push, and then you stop being able to lift one pair out without moving three. $$–$$$
3. A bench-top cabinet you can actually sit on
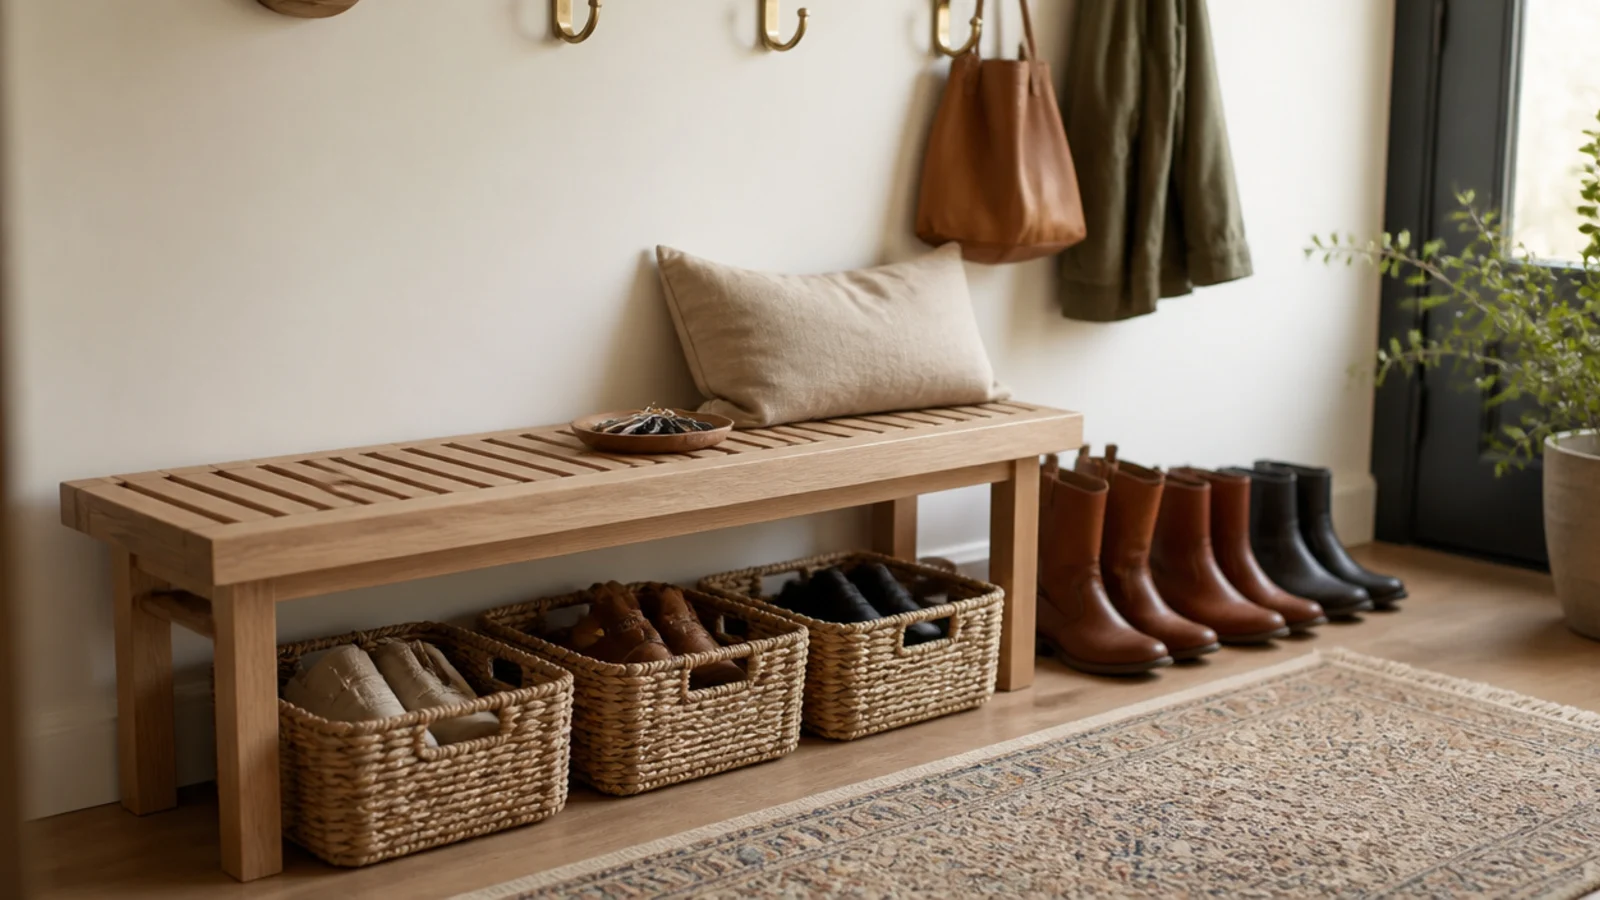
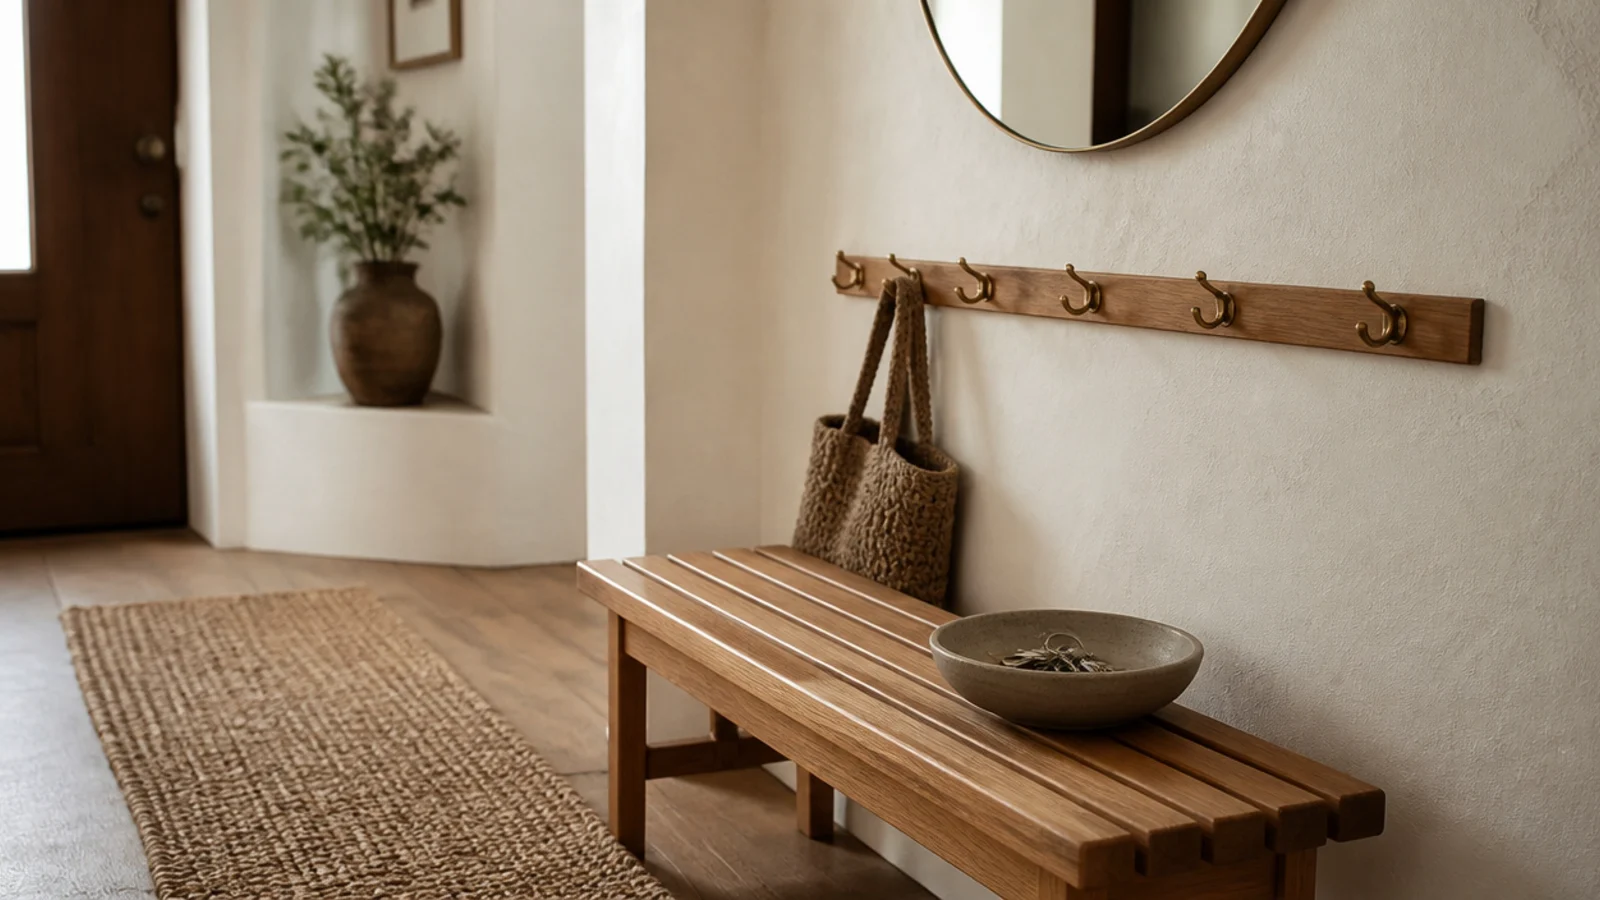
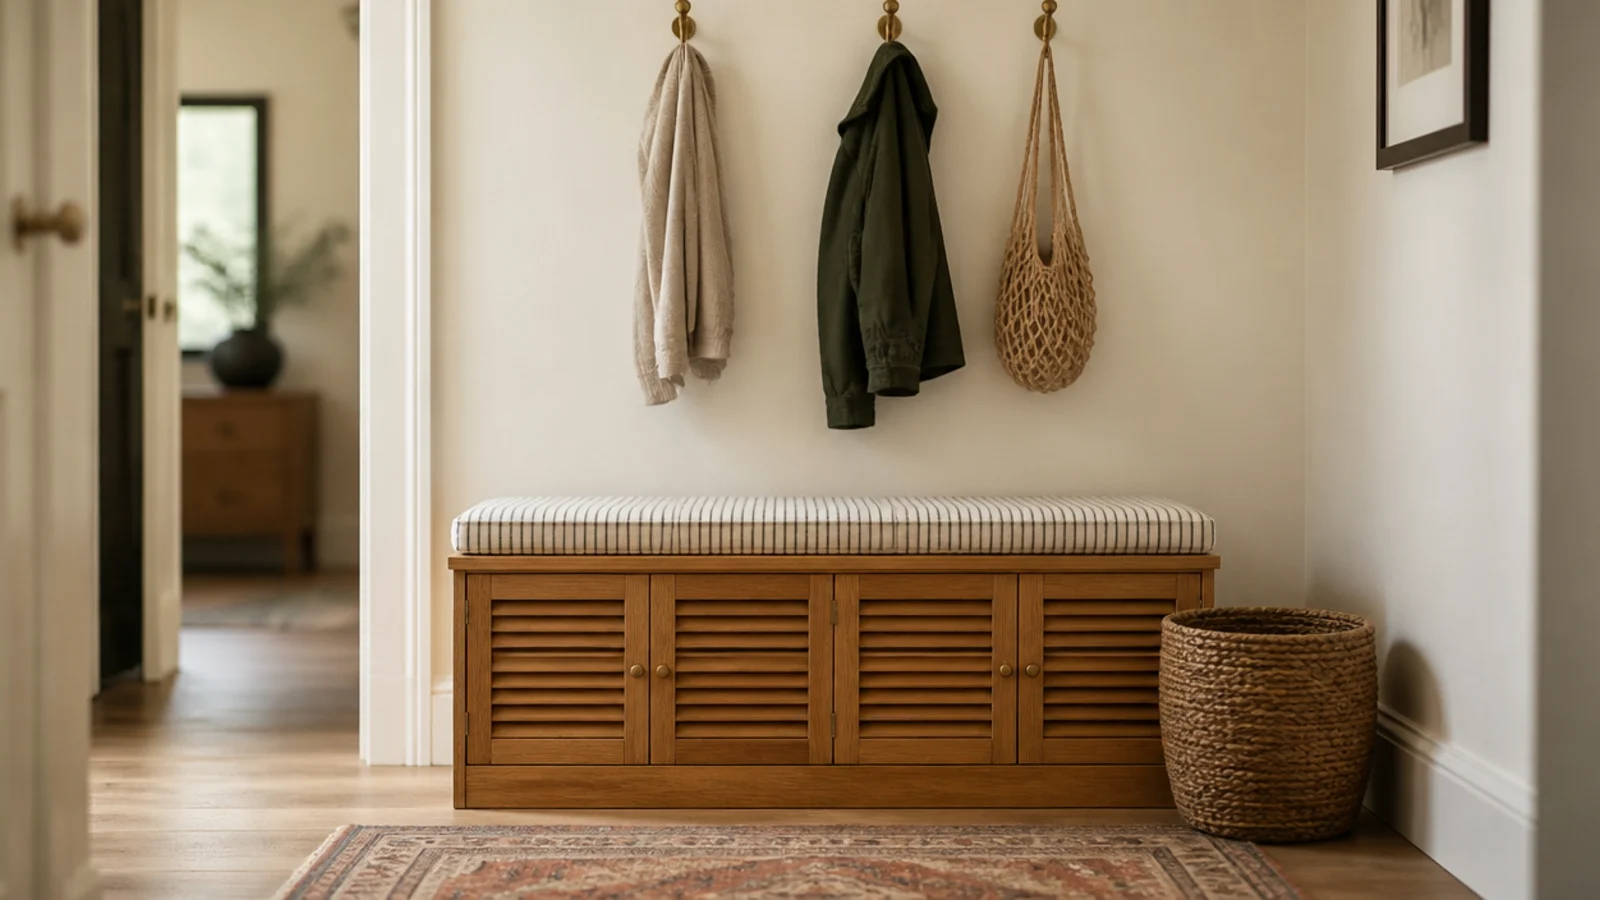
A cabinet built to 18 inches high doubles as the seat that stops people treading down the backs of their shoes at the door.
Eighteen inches is not a rounded number, it is the seat height adults stand up from easily and children can climb onto. Anything at 22 inches is a counter, not a bench.
Check the top is a solid slab rather than a thin panel — a cabinet top rated for storage is not automatically rated for a person. Add a linen cushion and the whole thing stops reading as furniture for shoes. $$$
4. Slatted doors that breathe on their own
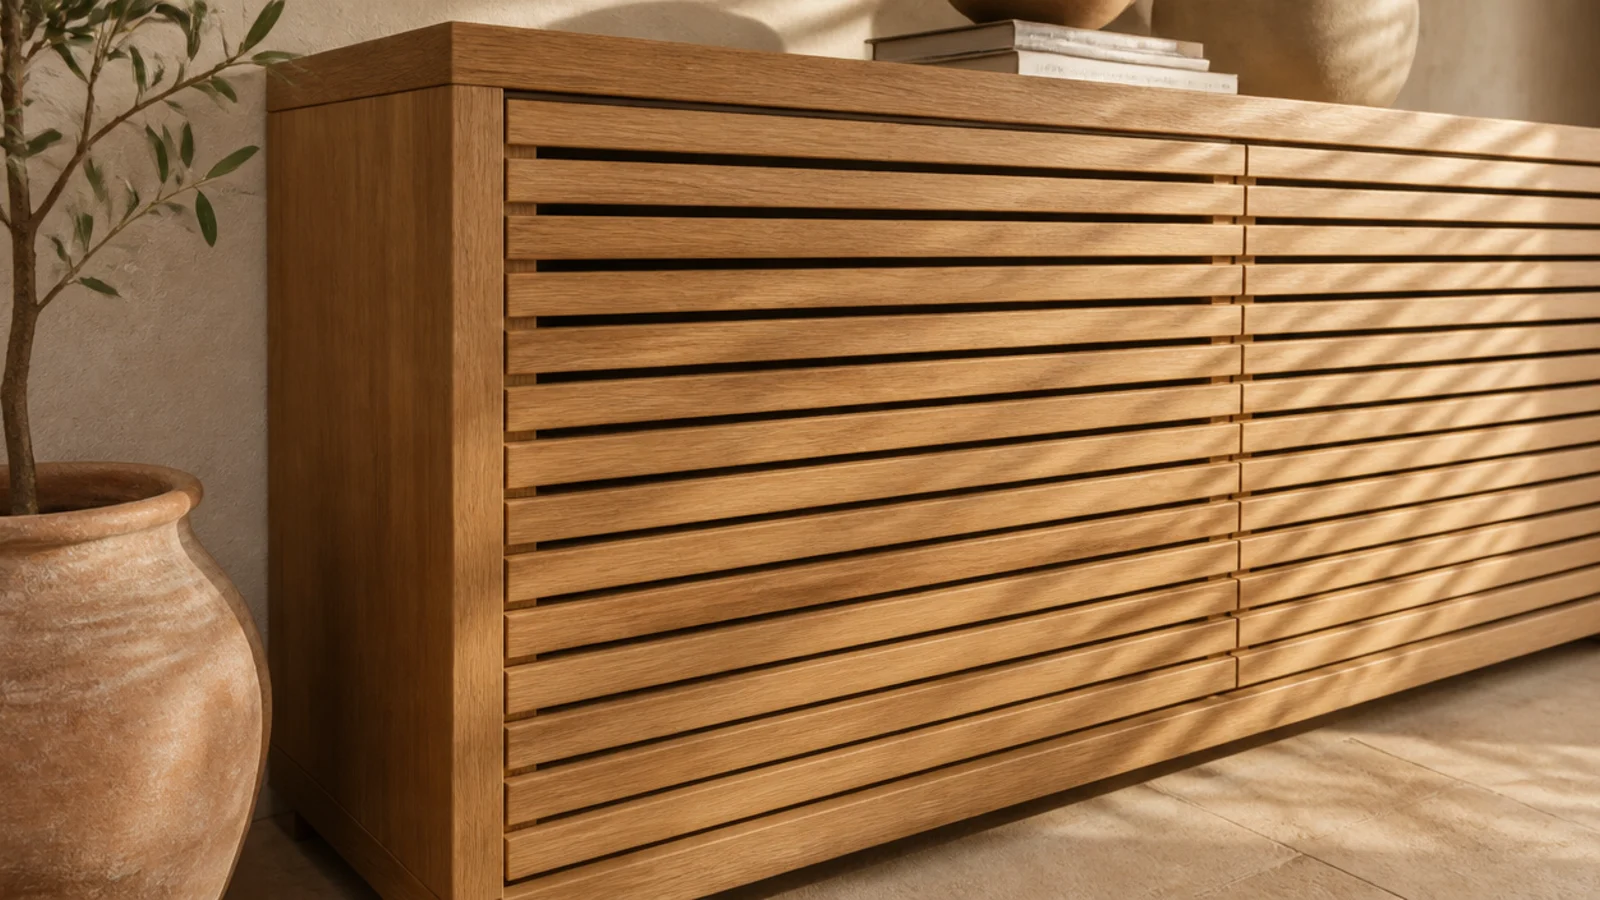
Horizontal slats with a quarter-inch gap between them ventilate a closed cabinet without any modification, and they look considerably more expensive than flat doors.
This is the version to buy if you know wet trainers are going to end up inside occasionally despite your best intentions. Air keeps moving even with the doors shut.
Slats also break up a big blank front, which matters in a narrow hall where the cabinet sits within arm's reach and you see it end-on. Dust them with a dry brush, not a damp cloth. $$
5. Drill your own row of ventilation holes
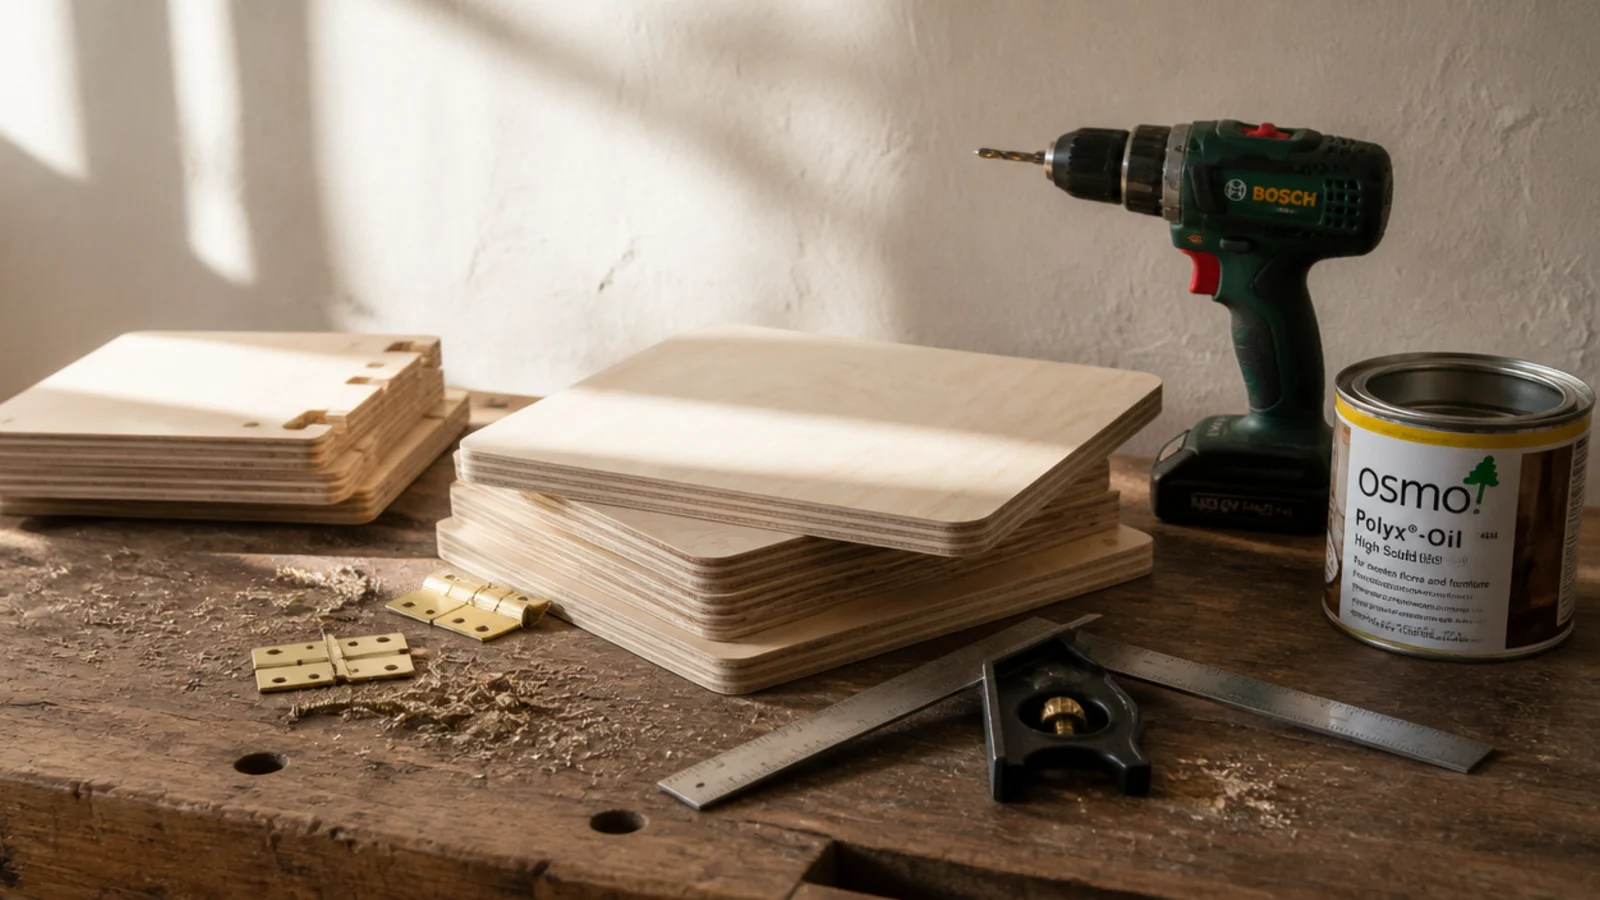
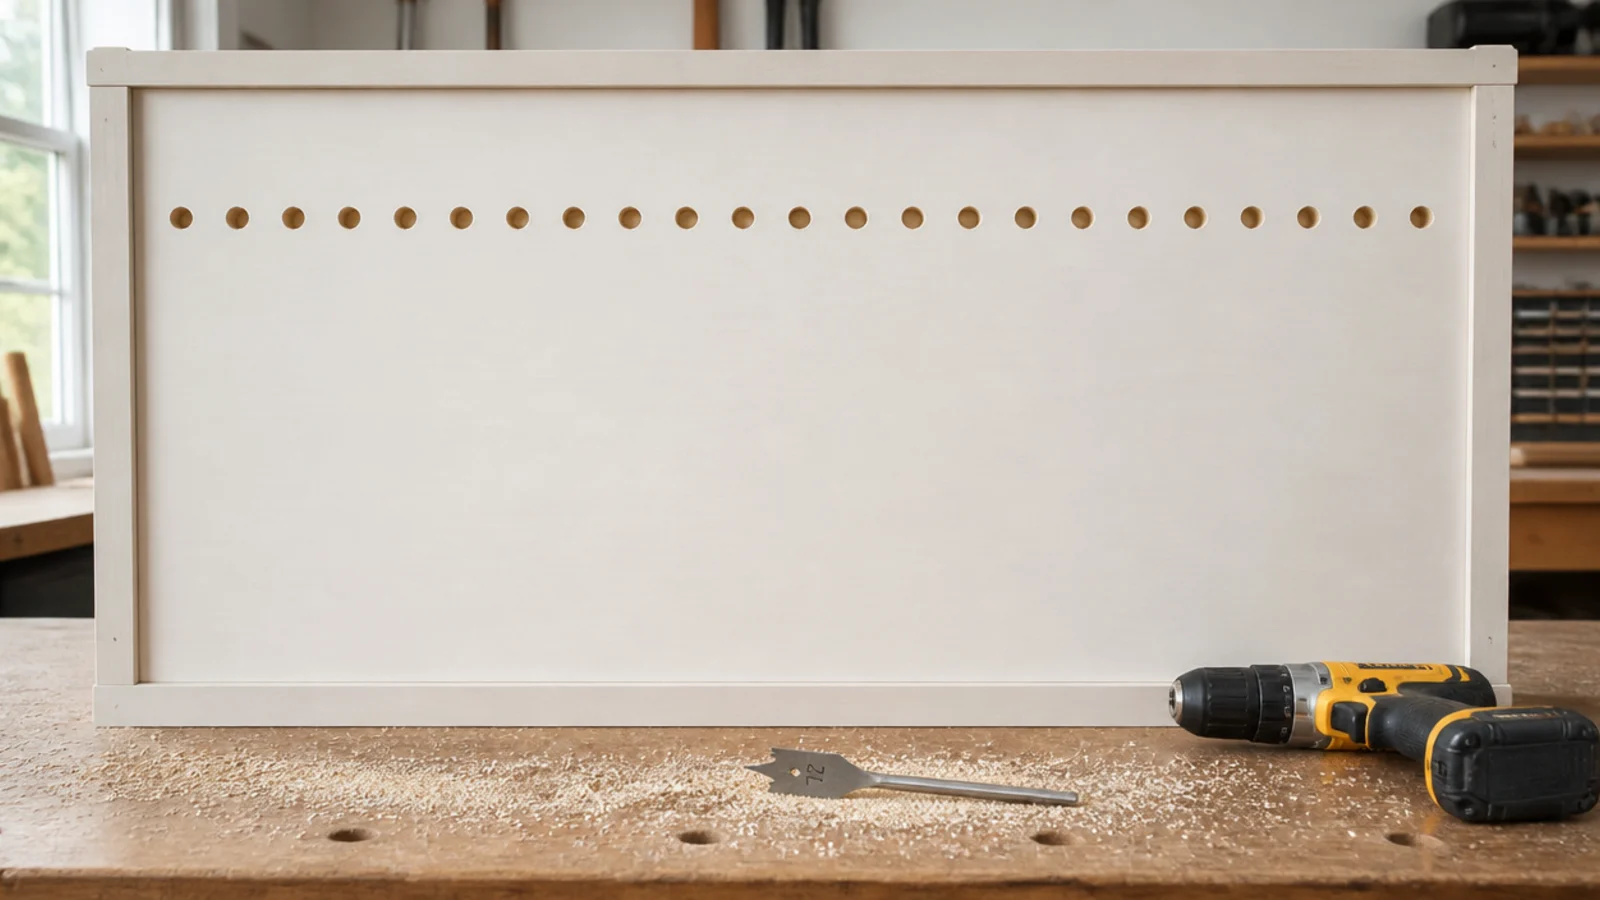
The single highest-value ten minutes you can spend on a cheap cabinet. Lay the back panel down and drill a row of half-inch holes, spaced about 4 inches apart, an inch up from each shelf line.
Use a spade bit and back the panel with a scrap board so the exit side does not blow out. If the cabinet is already assembled, drill from the inside outward.
The holes never show — they face the wall. Leave a half-inch gap behind the cabinet so the air actually has somewhere to go. $
6. A tall tower on a narrow strip of wall
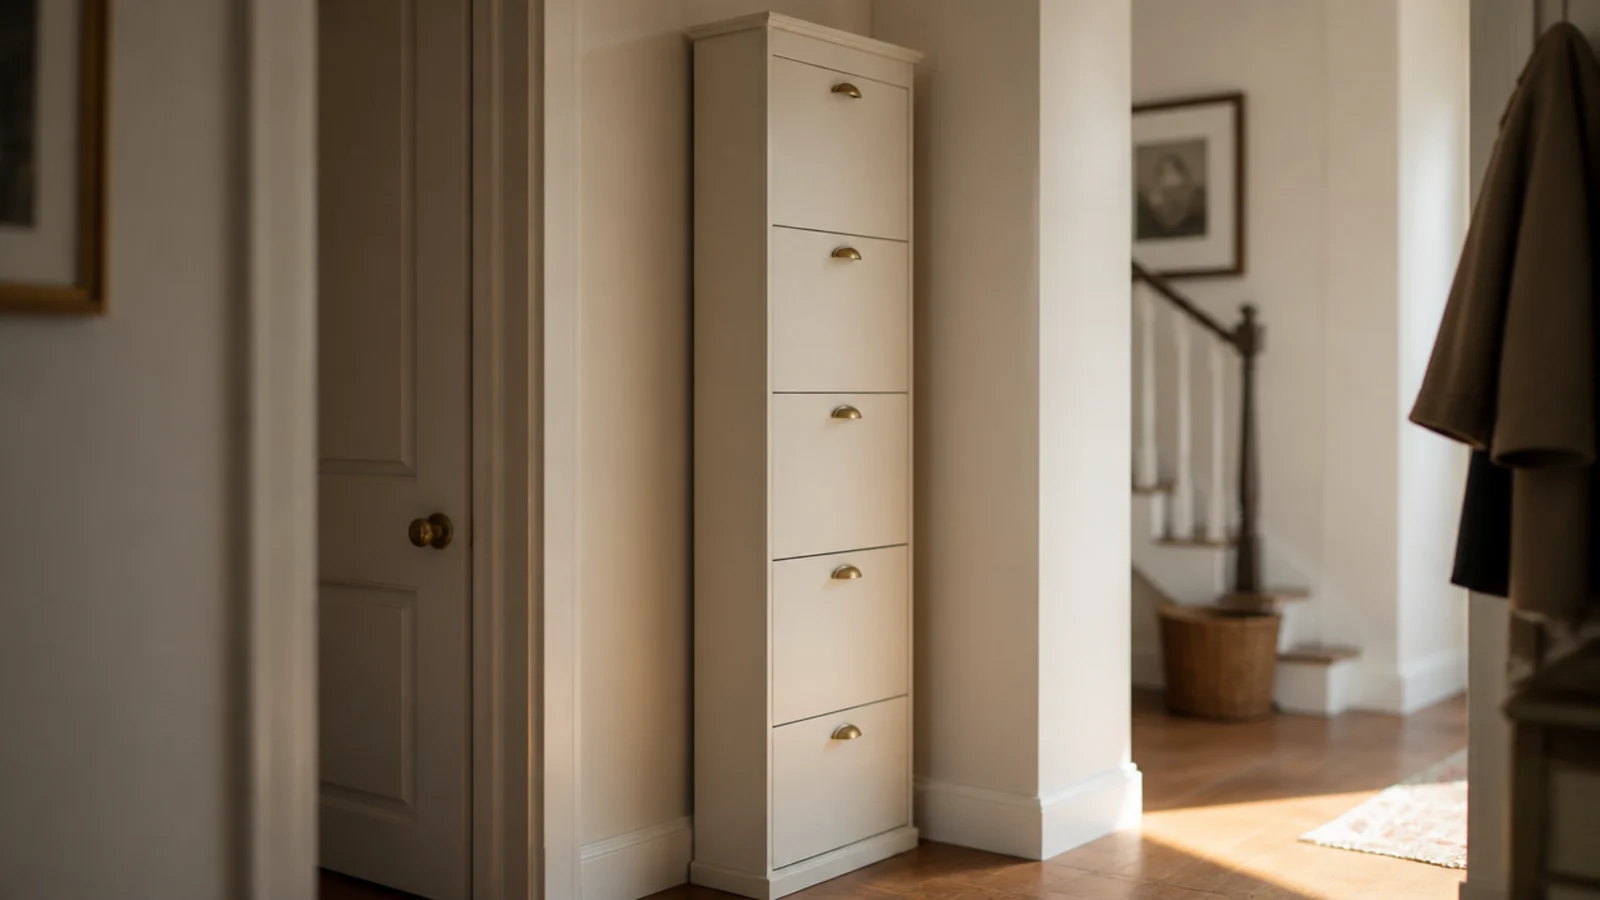
The 16-inch-wide strip between a doorframe and a corner is the most wasted wall in most homes. A tall narrow cabinet there holds twenty pairs in a footprint of about 1.3 square feet.
Vertical storage is a trade: you get capacity and lose easy access to the top bay, so put out-of-season pairs up high and daily shoes at knee height.
Anything over 40 inches tall gets strapped to a stud, and a tower this narrow needs it more than most. Two screws. Do it the day it arrives. $$
7. One open cubby at the bottom for the daily pair
The fix that makes closed storage survive contact with real life. Leave one bay at floor level permanently doorless, and let the everyday pair live there.
Every door is a step, and steps get skipped when your hands are full of shopping. An open bay gives the daily shoes somewhere legitimate to land that is not the floor.
Most flat-pack cabinets let you simply not fit one door, or you can remove a door and cap the hinge holes with white plugs. It costs nothing and it saves the whole system. $
8. Mirror-fronted doors in a dark hall
A cabinet with mirrored door fronts does two jobs in the footprint of one, and in a hallway with no window it is transformative.
Mirror glass adds real weight, so check the hinges are three-per-door rather than two, and expect fingerprints — brushed or antiqued glass hides them far better than clear.
Mount the cabinet where the mirror reflects a light source or a doorway rather than the opposite blank wall. There is a fuller breakdown in the shoe cabinet with mirror guide. $$$
9. Paint the cabinet the wall color
In a narrow hall, a shoe cabinet is a large object at knee height and it reads as visual weight. Painted the exact wall color, it stops announcing itself.
Match the wall, never the floor. Matching the floor draws a horizontal band across a small space and makes the hall feel lower and more blocked.
Two coats of a satin cabinet paint over a bonding primer will stick to laminate fronts without sanding to bare board. Budget about $25 and one Saturday afternoon. $
10. Two shallow cabinets instead of one deep one
When the walkway will not give you 13 inches, stop hunting for a deep cabinet and run two 9-inch units side by side along the wall instead.
You get the same pair count spread horizontally rather than into the walkway, and a continuous oak board laid across both tops turns two boxes into one piece of furniture.
Level them against each other with felt-faced adjustable feet before you fit the top, and screw the two carcasses together through the adjoining side panels. $$
11. Swap the handles before anything else
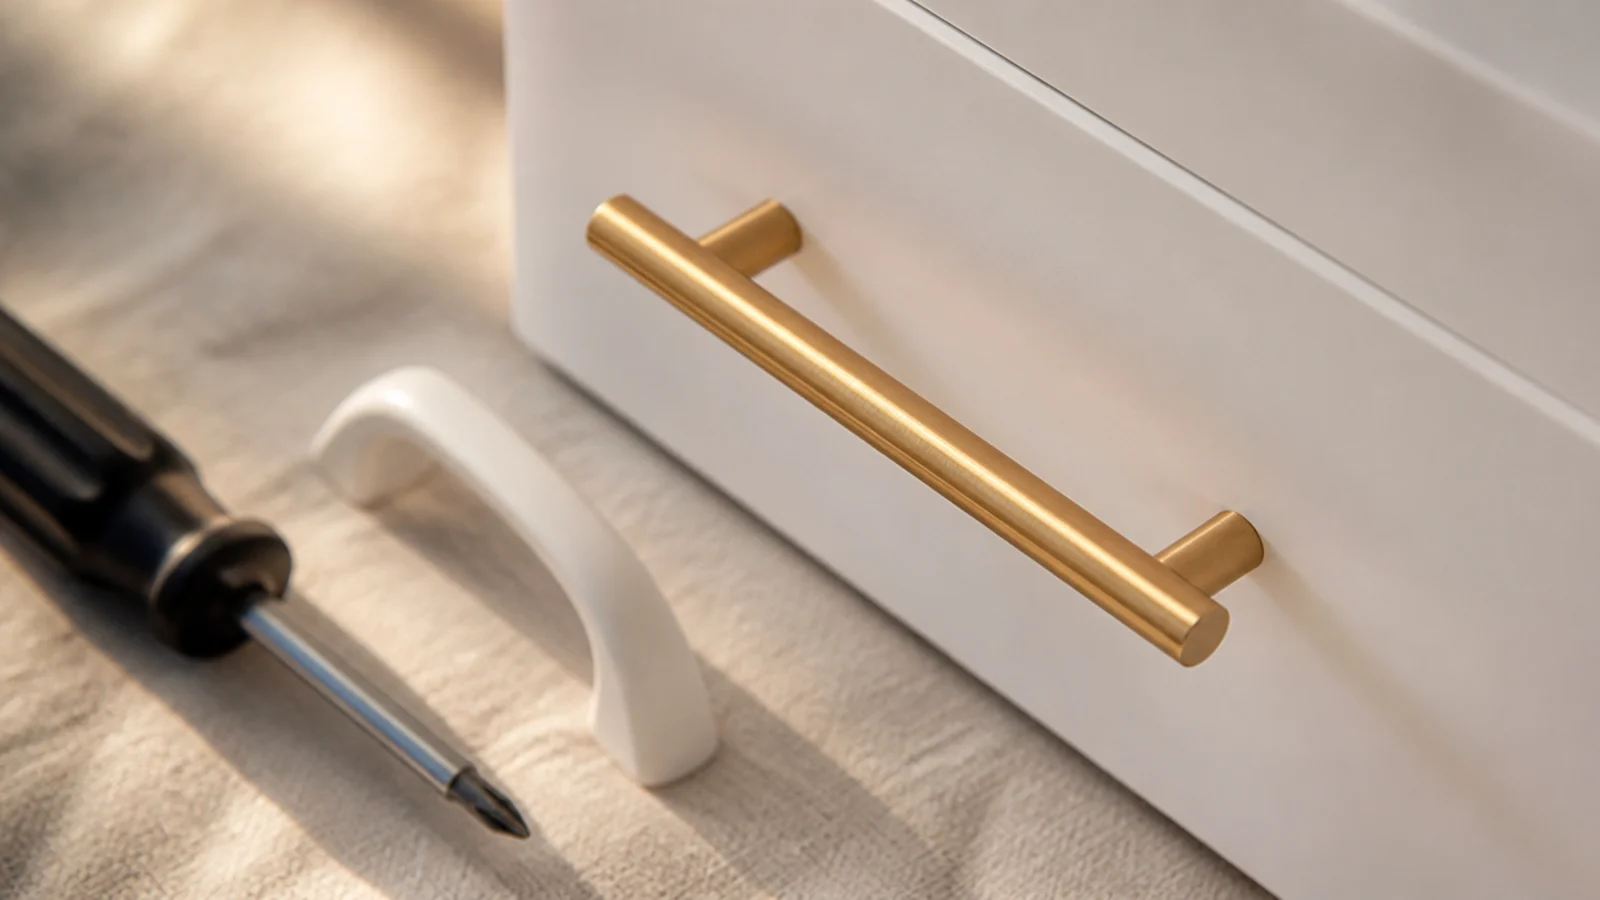
The fastest upgrade in this whole list. Flat-pack cabinets ship with hollow plastic or thin pressed-steel handles, and replacing them with solid brass bar pulls changes the read of the entire piece.
Measure the hole centers first — 96mm and 128mm cover most units, and getting it wrong means a second trip. Four handles run $12 to $40.
If the existing holes do not match anything you like, a single long bar pull mounted vertically on each door covers both holes and looks deliberate. $
12. Tuck a cabinet under the stairs
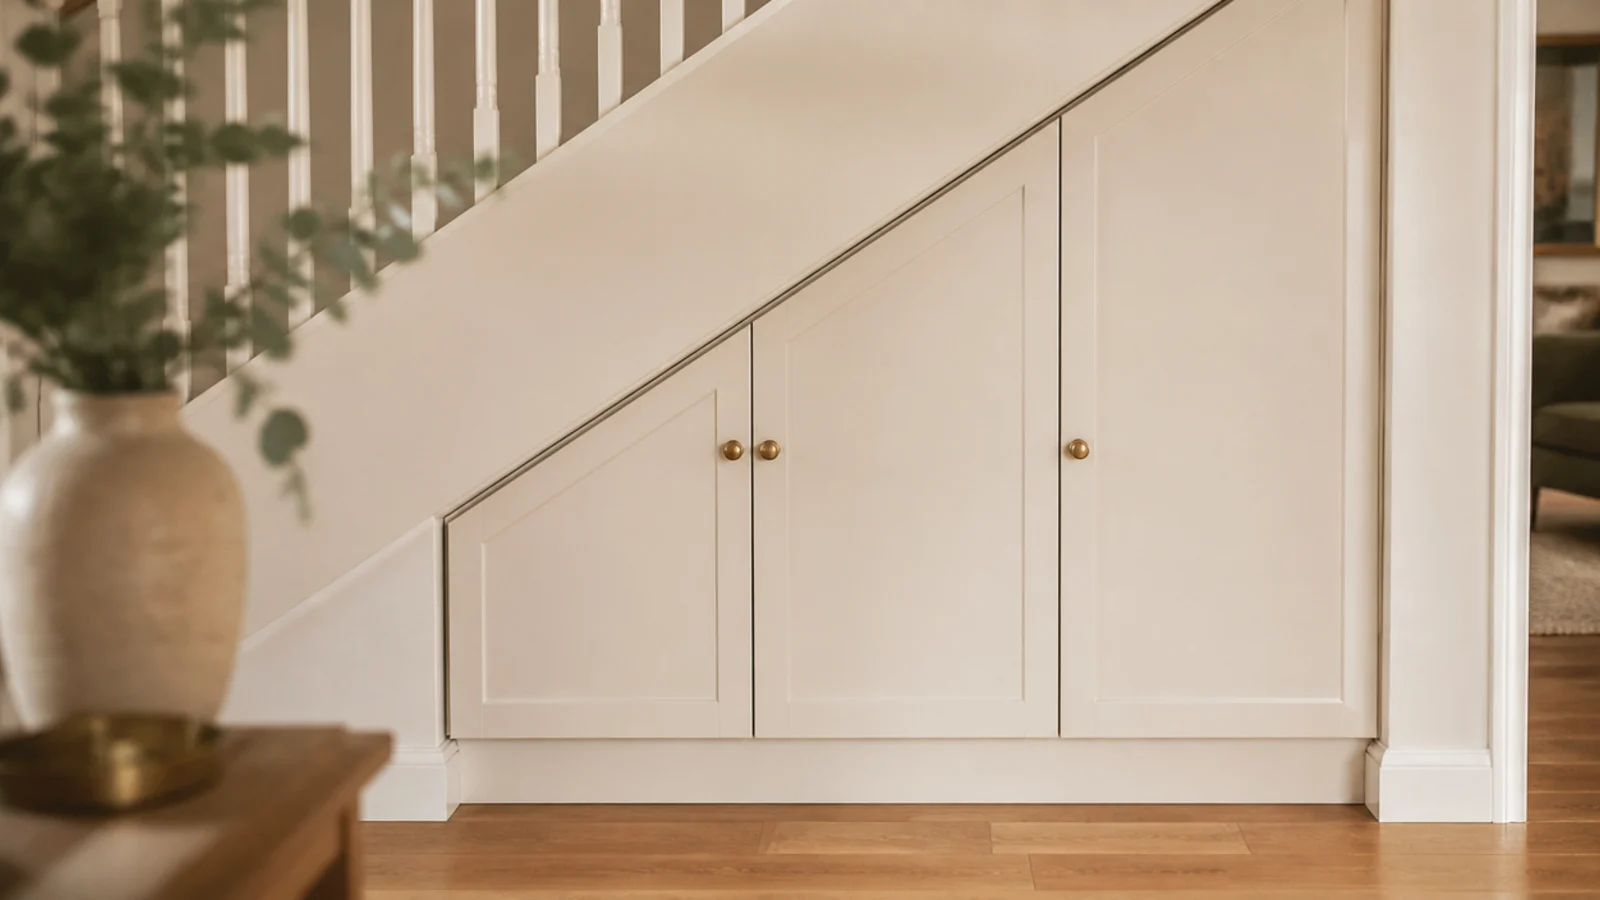
The triangle under a staircase is the best storage in most houses and the least used. A low cabinet there takes shoes out of the hall entirely.
The stair slope sets the height, not you. Measure the headroom at the front face and again 12 inches back, then buy or build to the smaller number minus an inch.
Understair spaces are often unheated and slightly damp, so ventilation matters more here than anywhere. Drill the back panel and leave the toe kick open. $$
13. A corner cabinet for the awkward angle
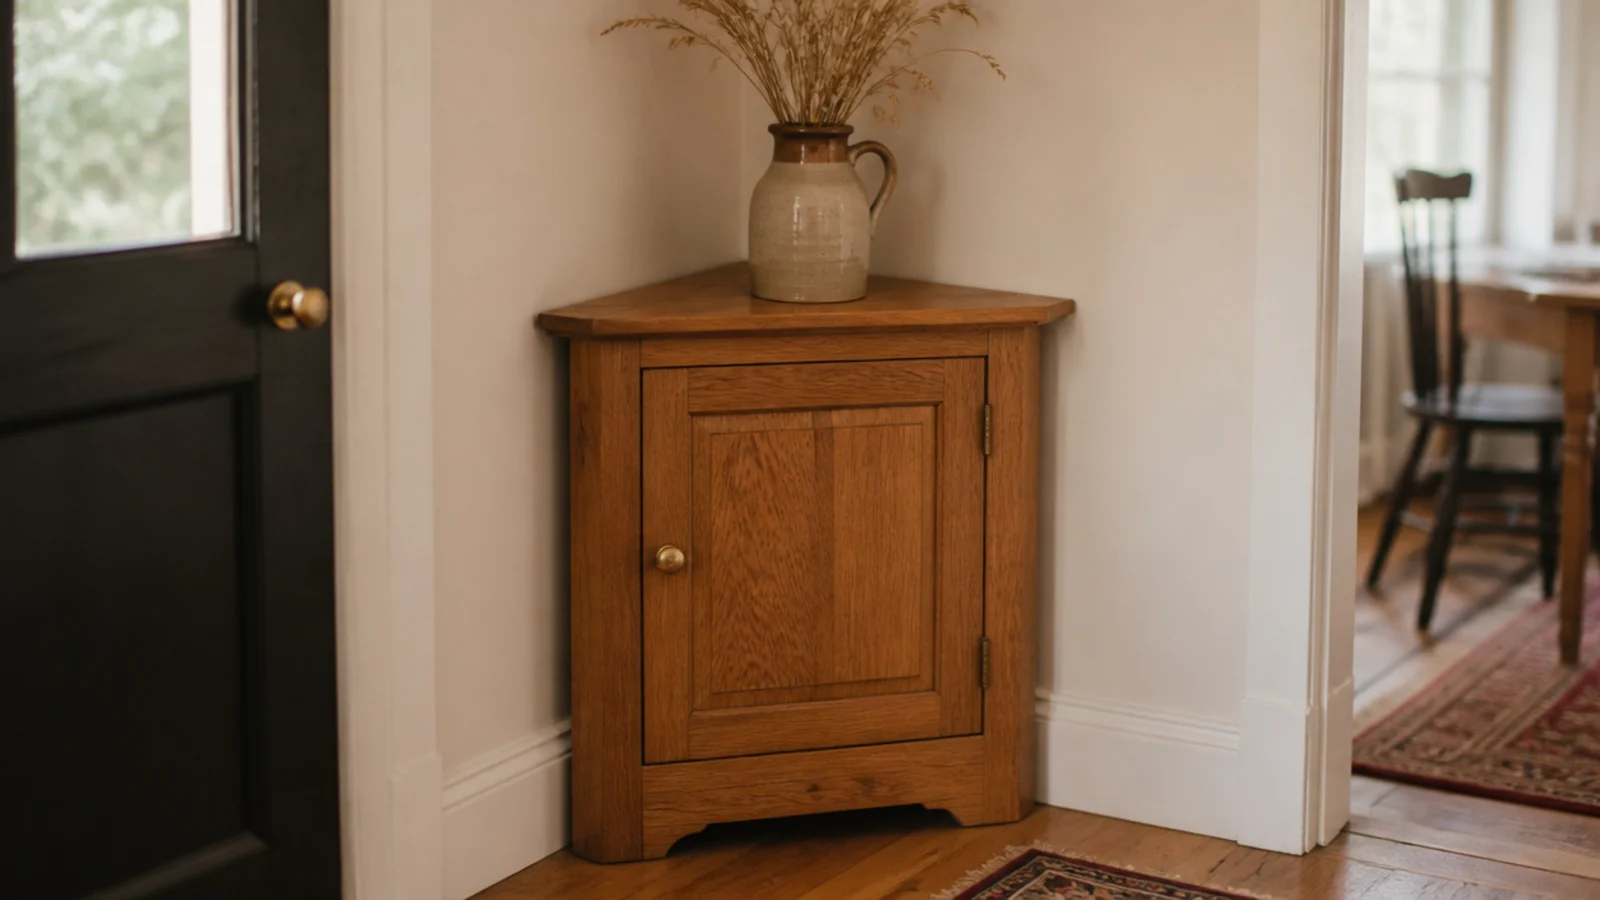
A triangular cabinet across a corner uses the dead diagonal that a rectangular unit leaves empty, and it keeps the walkway completely clear.
The internal shelves are wedge-shaped, so capacity is lower than the footprint suggests — about six pairs per shelf at the wide end and dead space at the point. Store boots at the wide end.
These are hard to find ready-made and easy to build from three panels and a hinged front. The DIY shoe cabinet build covers the joinery. $$
14. Add legs and lift it off the floor
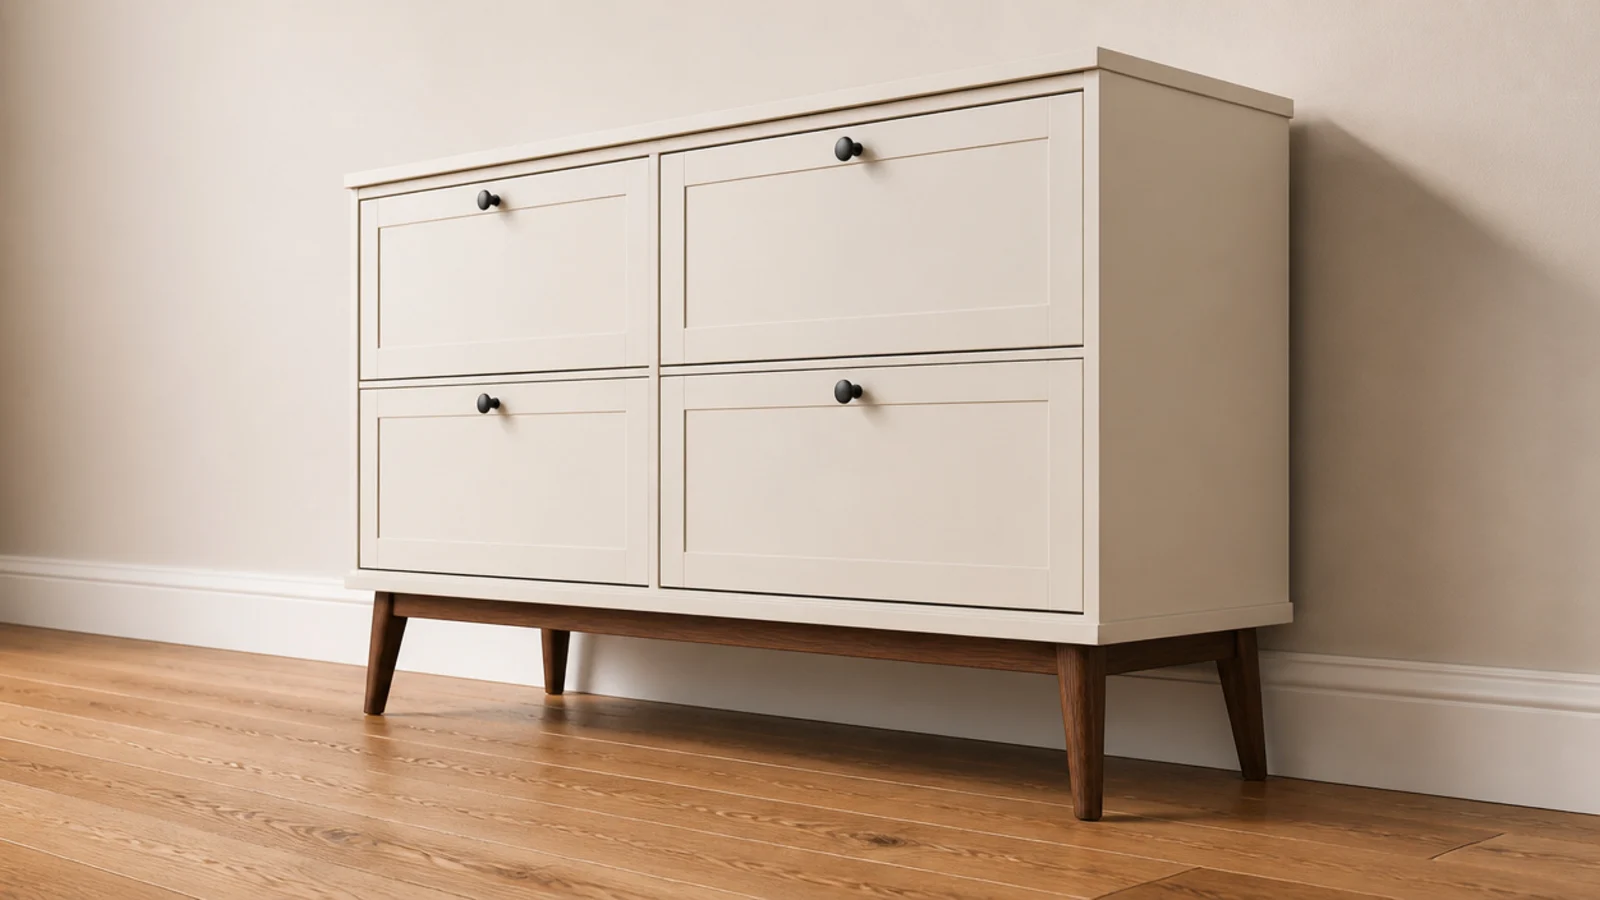
Six inches of visible floor under a cabinet makes a heavy box read as furniture instead of built-in bulk, and it lets a vacuum run underneath.
Screw-in tapered legs cost about $20 for four and fit any flat-bottomed carcass. Use a plywood mounting plate inside the base if the bottom panel is particleboard, or the screws will pull through within a year.
Raising the cabinet also improves airflow underneath, which is quietly doing some work in a hall that gets wet shoes. $
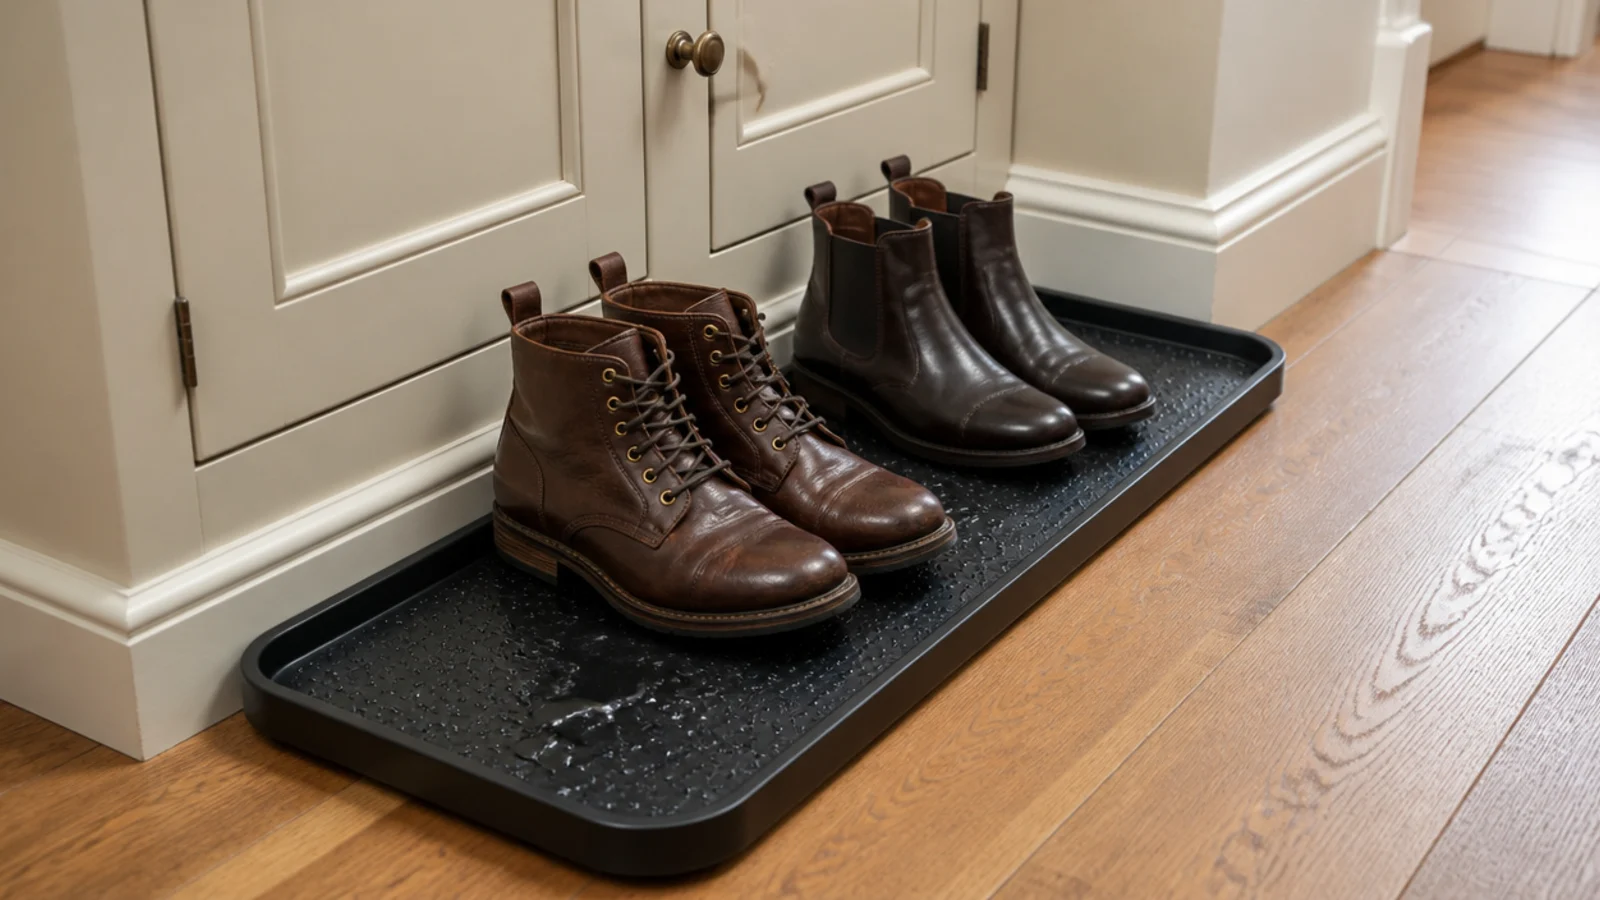
15. Keep the wet tray outside the cabinet
The rule that saves every other idea here. Never put a damp shoe in a closed cabinet — it stays damp, the moisture transfers, and the whole unit smells within two weeks.
Give wet pairs a raised-lip tray on the floor beside the cabinet, at least 15 inches deep so an adult boot fits fully. Metal or heavy rubber, not thin plastic that cracks in the cold.
Shoes go into the cabinet the next morning once they are dry. That one habit is the difference between a cabinet that works and one you stop opening. $
Mistakes to Skip
- Buying on external depth. A 12-inch cabinet has about 11 inches inside once the door and back panel are accounted for, and an adult sneaker will not lie flat in it.
- Sealing the box completely. No holes, no slats, no toe-kick gap means damp air stays put and the cabinet smells within a fortnight.
- Skipping the wall strap on a tall unit. A narrow cabinet with a tilt-out drawer hanging open is genuinely tippy, and the strap takes ten minutes.
Frequently asked questions
How deep does a shoe cabinet need to be?
Thirteen inches of internal depth if the shelves are flat, because a men's size 12 sneaker measures about 12.5 inches. Tilt-out drawers hold that same shoe at 45 degrees and fit inside 9 inches, which is why slim hallway cabinets almost always tilt. Measure internal depth, not external — a door and back panel eat close to an inch.
Do shoe cabinets smell?
Only unventilated ones. A closed box with damp shoes inside will smell within a fortnight, every time. Give the cabinet moving air with a row of half-inch holes drilled through the back panel, a slatted door, or an open gap at the toe kick. Then keep wet pairs on a tray outside it until they dry.
How many pairs does a shoe cabinet hold?
Each tilt-out drawer takes six to eight pairs of flats, sneakers and loafers, so a three-drawer cabinet holds eighteen to twenty-four pairs of flat shoes and no boots at all. A flat-shelf cabinet holds about four pairs per 30-inch shelf. Rated capacities on the box assume small shoes stored perfectly, so discount them by a third.
Are shoe cabinets better than open shoe racks?
Better for calm, worse for compliance. A closed door hides the mess from the living room, which matters in an open-plan apartment. It is also one extra step, and in a household with children that step gets skipped and shoes land beside a beautiful empty cabinet. Choose closed storage when the household is adults who put things away.
Do I need to anchor a shoe cabinet to the wall?
Anything over 40 inches tall, yes, into a stud with the strap that came in the box. Shallow cabinets are the tippy ones because the footprint is narrow, and a tilt-out drawer hanging open moves the weight forward. Two screws and ten minutes. Renters can use a strap into a single stud and fill one hole later.
Can a shoe cabinet store boots?
Not in a tilt-out drawer — boots will not fold into a 45-degree cradle and they jam the door. You need a section with 16 inches of clear height for ankle boots and 20 inches for knee-highs, which usually means removing one adjustable shelf and giving boots the bottom bay where wet soles do least harm.
Measure the walkway, subtract to find your depth, then let that number choose between flat shelves and a tilt-out — that order prevents nearly every shoe cabinet mistake. For a hallway that will not spare 12 inches, slim shoe cabinet options go narrower still, entryway shoe cabinet setups cover the budget end, and if open storage suits your household better, shoe storage ideas for the entryway makes the case. Save the pin before your next hallway clear-out.
Want more like this? Browse all 15 shoe cabinet ideas guides — they all use the same measurements and budget tiers.
Pin it for later
Save this to your Shoe Cabinet Ideas board
Pin it now so it is waiting for you when the tape measure comes out — and so the next person hunting for this idea can find it too.
Save this pinKeep going
More ideas worth saving while you have the tape measure out.