Shoe Cabinet Ideas · Listicle
25 Budget-Friendly Shoe Cabinet Ideas for Small Spaces

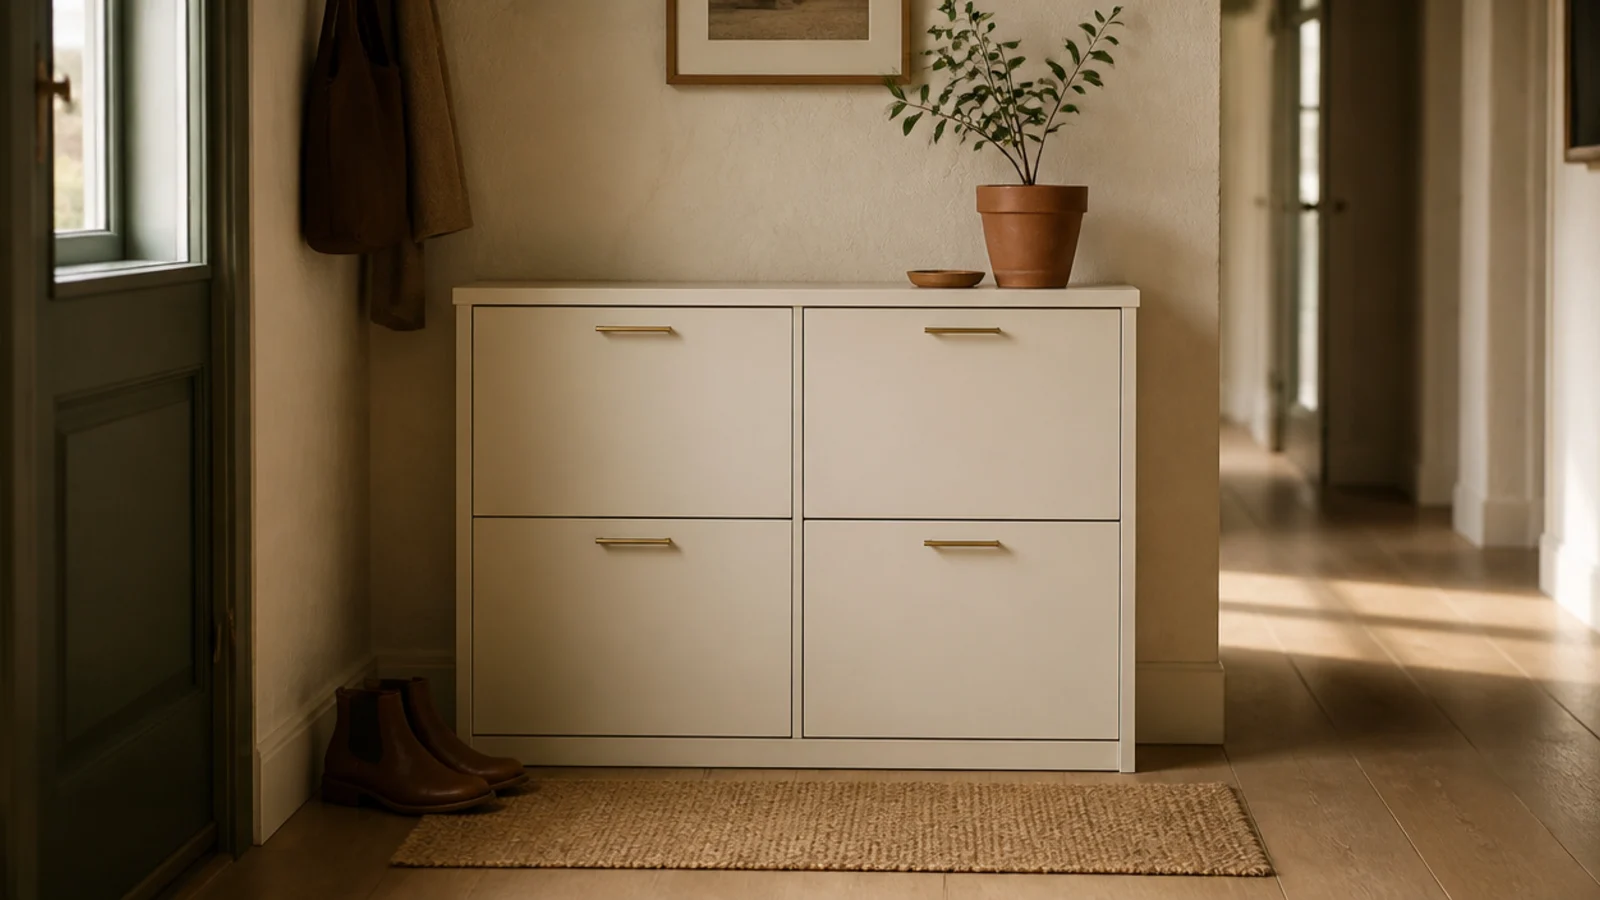
An entryway shoe cabinet on a budget is mostly an exercise in subtraction: subtract the walkway, subtract the door and back panel, and spend what is left. These 25 setups all land under $150, most under $60, and every one names the depth it needs and where the air gets in. Nothing here requires a workshop, and about half of it works in a rental with no fixings at all.
In this guide27 sections — tap to openHide
- 1.What a budget entryway shoe cabinet has to get right
- 2.Start with a nine-inch tilt-out, not a fifteen-inch box
- 3.Buy the two-drawer size and stack a second later
- 4.A flat-pack cabinet with the handles swapped
- 5.Paint a thrifted cabinet the wall color
- 6.A repurposed nightstand with the drawers taken out
- 7.Turn a low bookcase into a cabinet with fabric fronts
- 8.An IKEA hack with a solid oak top
- 9.Slatted doors cut from garden trellis
- 10.Drill the back panel for ventilation
- 11.Two shallow units under a coat rail
- 12.A cabinet sized to fit behind the open door
- 13.Fit it under a wall-mounted console
- 14.Use the dead space beneath a radiator
- 15.A bench-top cabinet earns its footprint twice
- 16.Leave one bay open for the daily pair
- 17.Add cheap tapered legs to lift it
- 18.Peel-and-stick veneer on flat fronts
- 19.A tension rod and curtain instead of doors
- 20.Cut a cabinet down to fit an alcove
- 21.Stack two shoe boxes into a slim tower
- 22.Adjustable shelves so one bay takes boots
- 23.Line the bays with cork offcuts
- 24.Buy secondhand and replace the hinges
- 25.Glue a mirror panel onto a plain front
- 26.The wet tray that costs twelve dollars
- 27.Mistakes to Skip
What a budget entryway shoe cabinet has to get right
Three things, in order.
Depth. A hallway needs 36 inches of clear passage. Measure wall to walkway, subtract, and whatever remains is your maximum external depth — usually 9 to 12 inches in a small entry. That rules out flat shelves, which need 13 inches of internal depth to lie a 12.5-inch sneaker flat. A tilt-out cradles the same shoe at 45 degrees and fits inside 9 inches.
Capacity, honestly. Each tilt-out drawer holds six to eight pairs of flats, sneakers and loafers. No boots — they will not fold into the cradle and they jam the front. If boots live at your door, one bay needs 16 inches of clear height, which means adjustable shelves.
Air. A closed box with damp shoes inside smells within a fortnight. Slatted doors, a drilled back panel or an open toe kick — pick one, and put wet pairs on a tray outside the cabinet rather than in it.
Get those three right and the rest is finish: handles, legs, paint. That is where the cheap stuff and the expensive stuff genuinely diverge, and it is also the part you can fix for $50.
Budget tiers: $ under $60, $$ $60–$150, $$$ $150+.
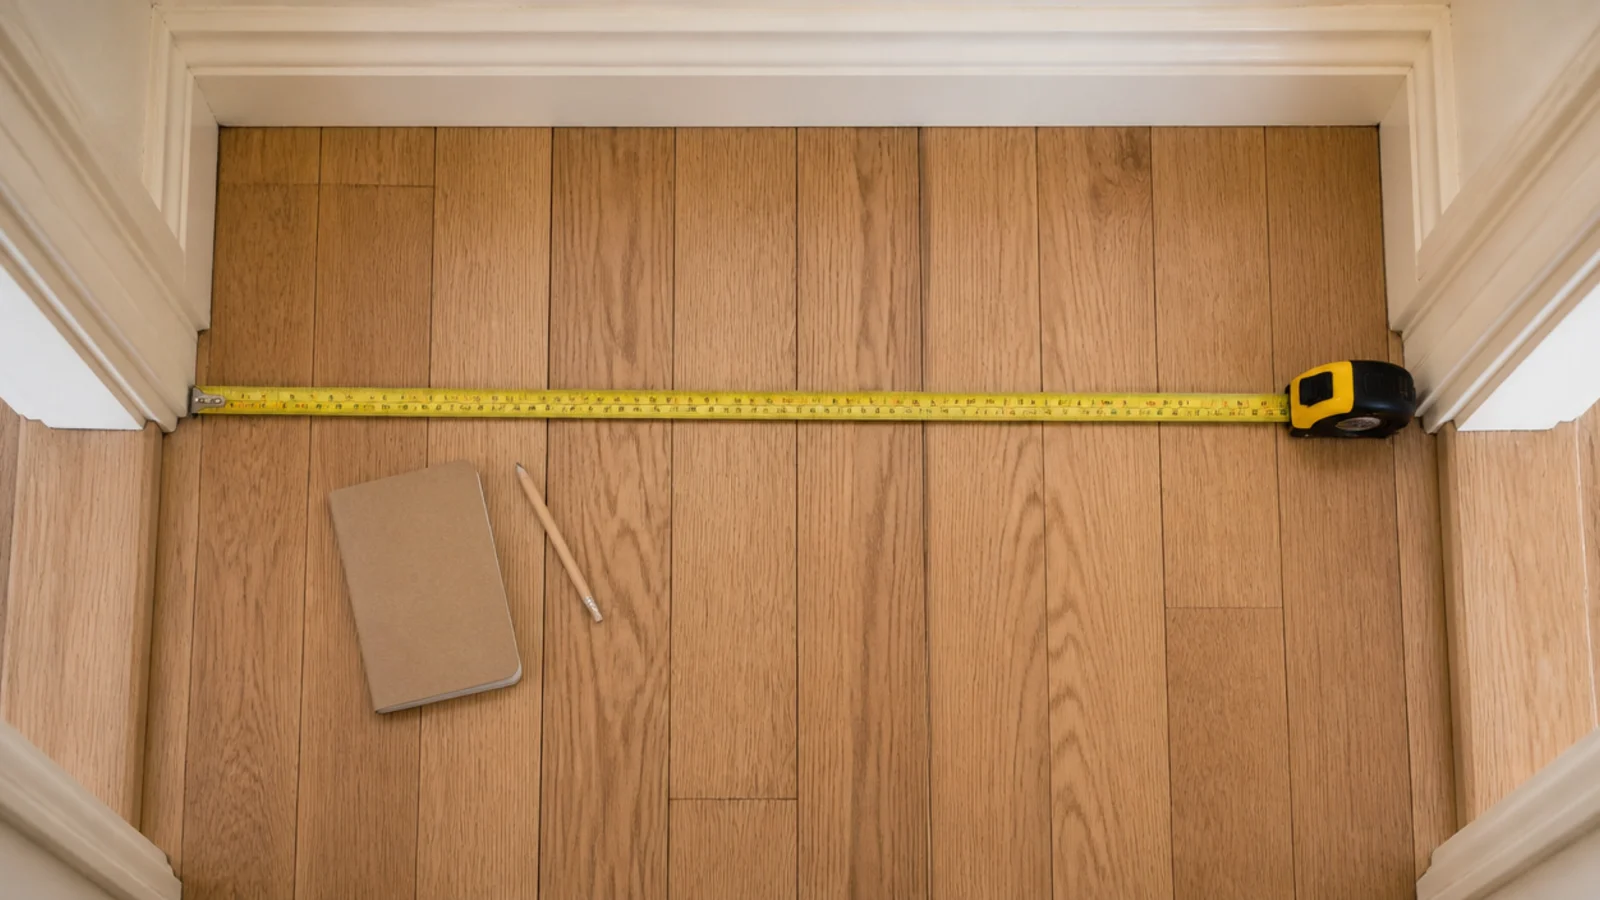
1. Start with a nine-inch tilt-out, not a fifteen-inch box
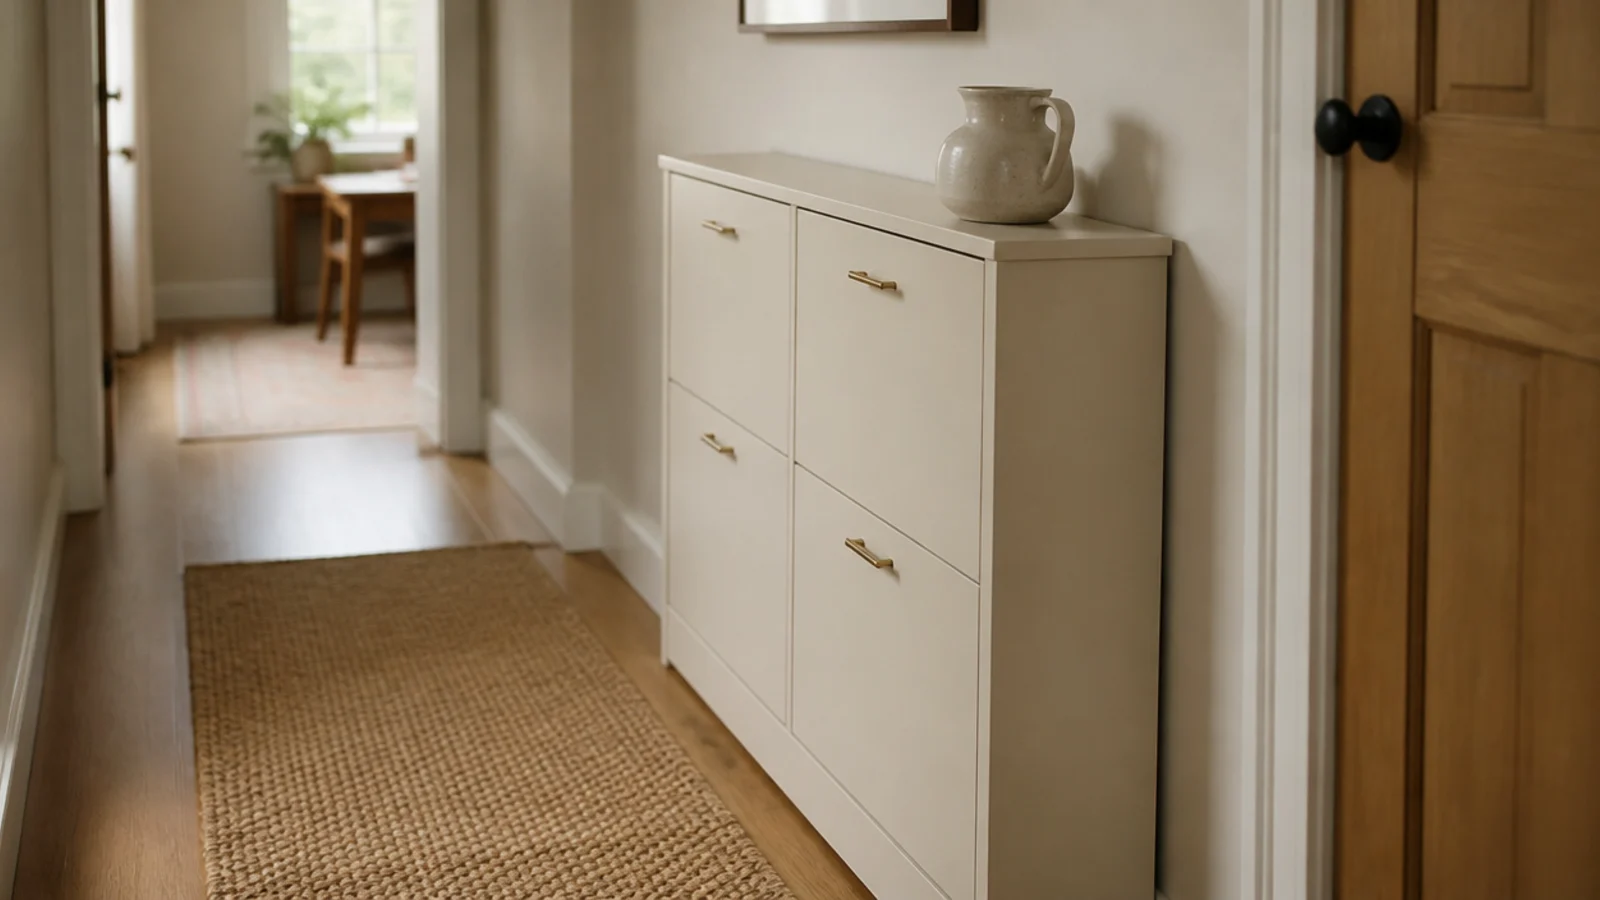
In a small hall the shallow unit is not a compromise, it is the right answer. Nine inches keeps the walkway legal and still swallows an adult sneaker.
Two drawers hold twelve to sixteen pairs of flats. Look for a metal drawer stop — the plastic ones are what fail first and the front starts dropping open on its own. $$
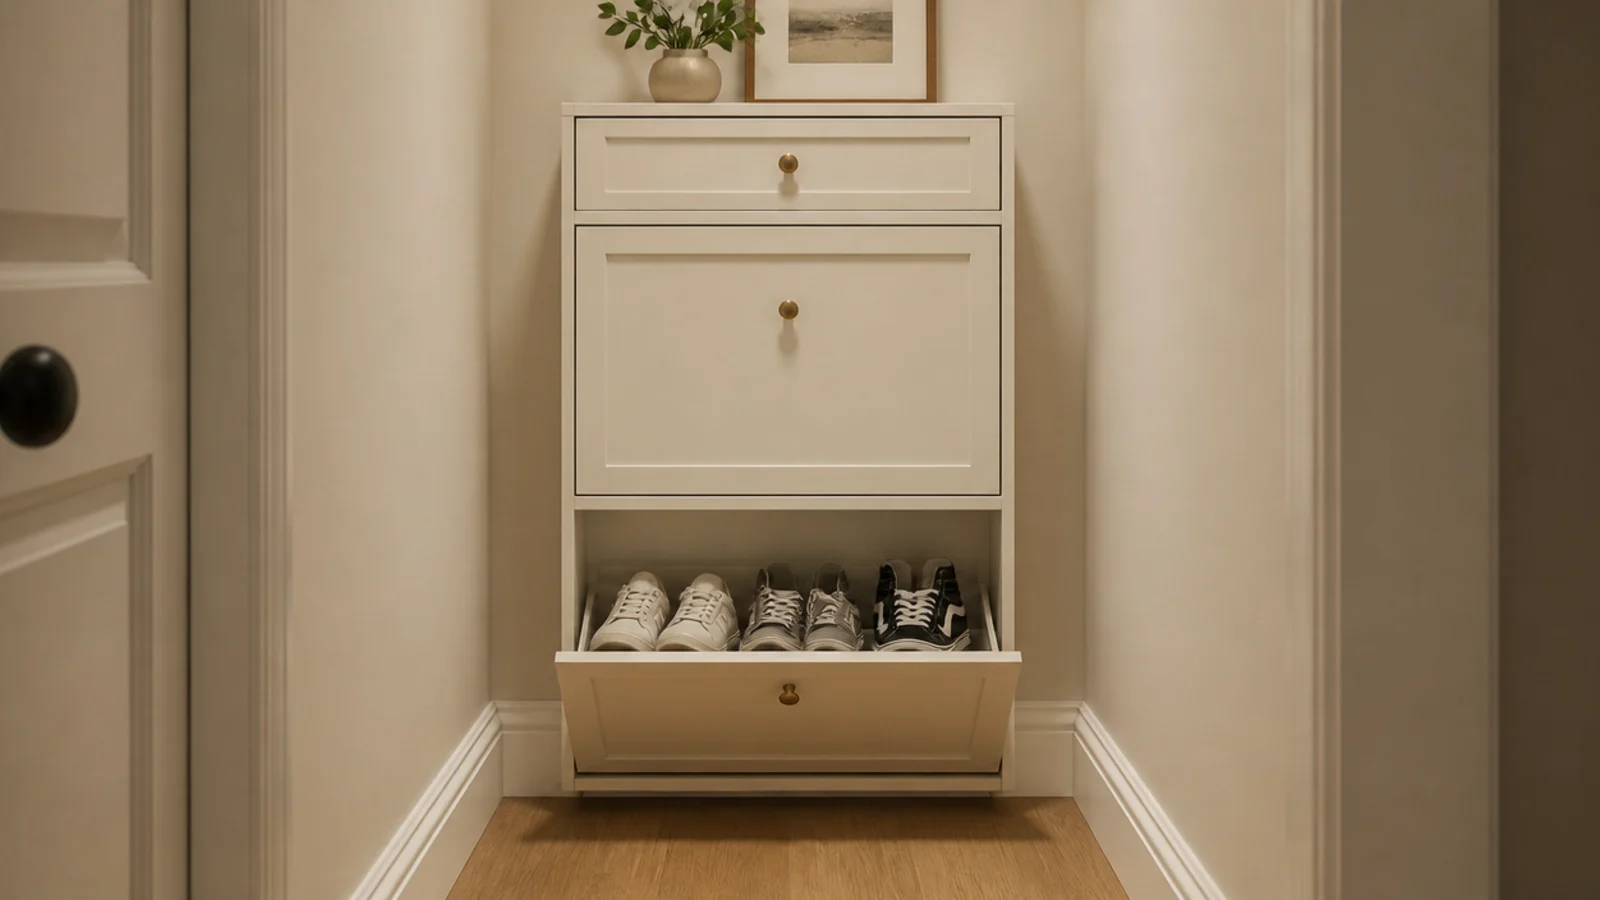
2. Buy the two-drawer size and stack a second later
Two small cabinets almost always cost less than one tall one, and you can buy the second next month.
Strap them together through the adjoining panels and the pair reads as one unit. Stacked to over 40 inches, they need the anti-tip strap into a stud. $–$$
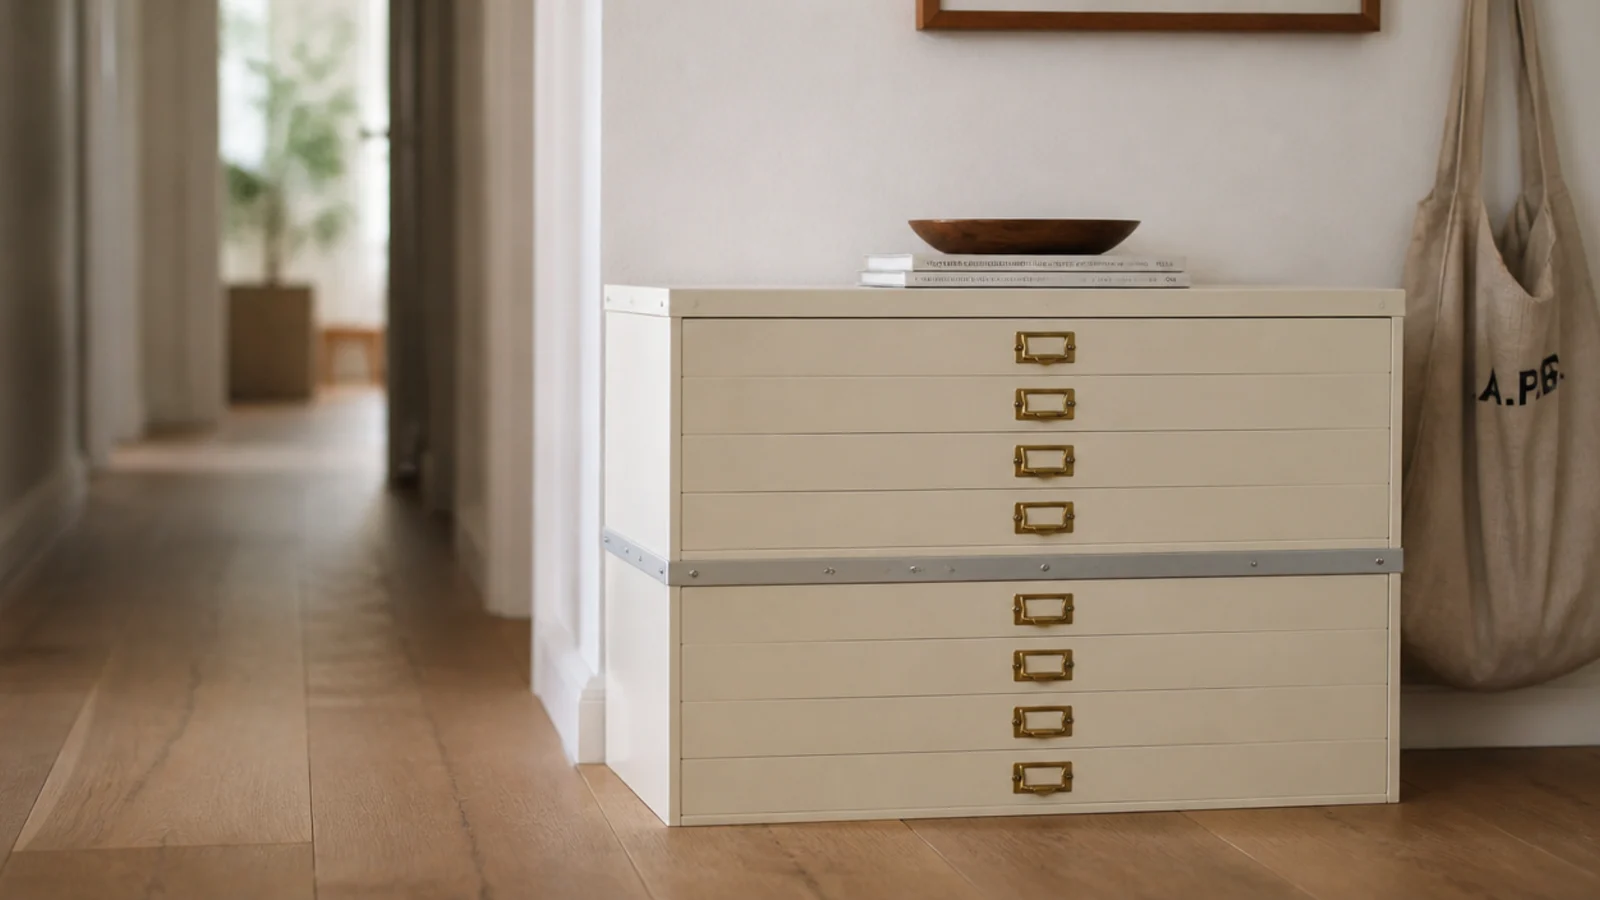
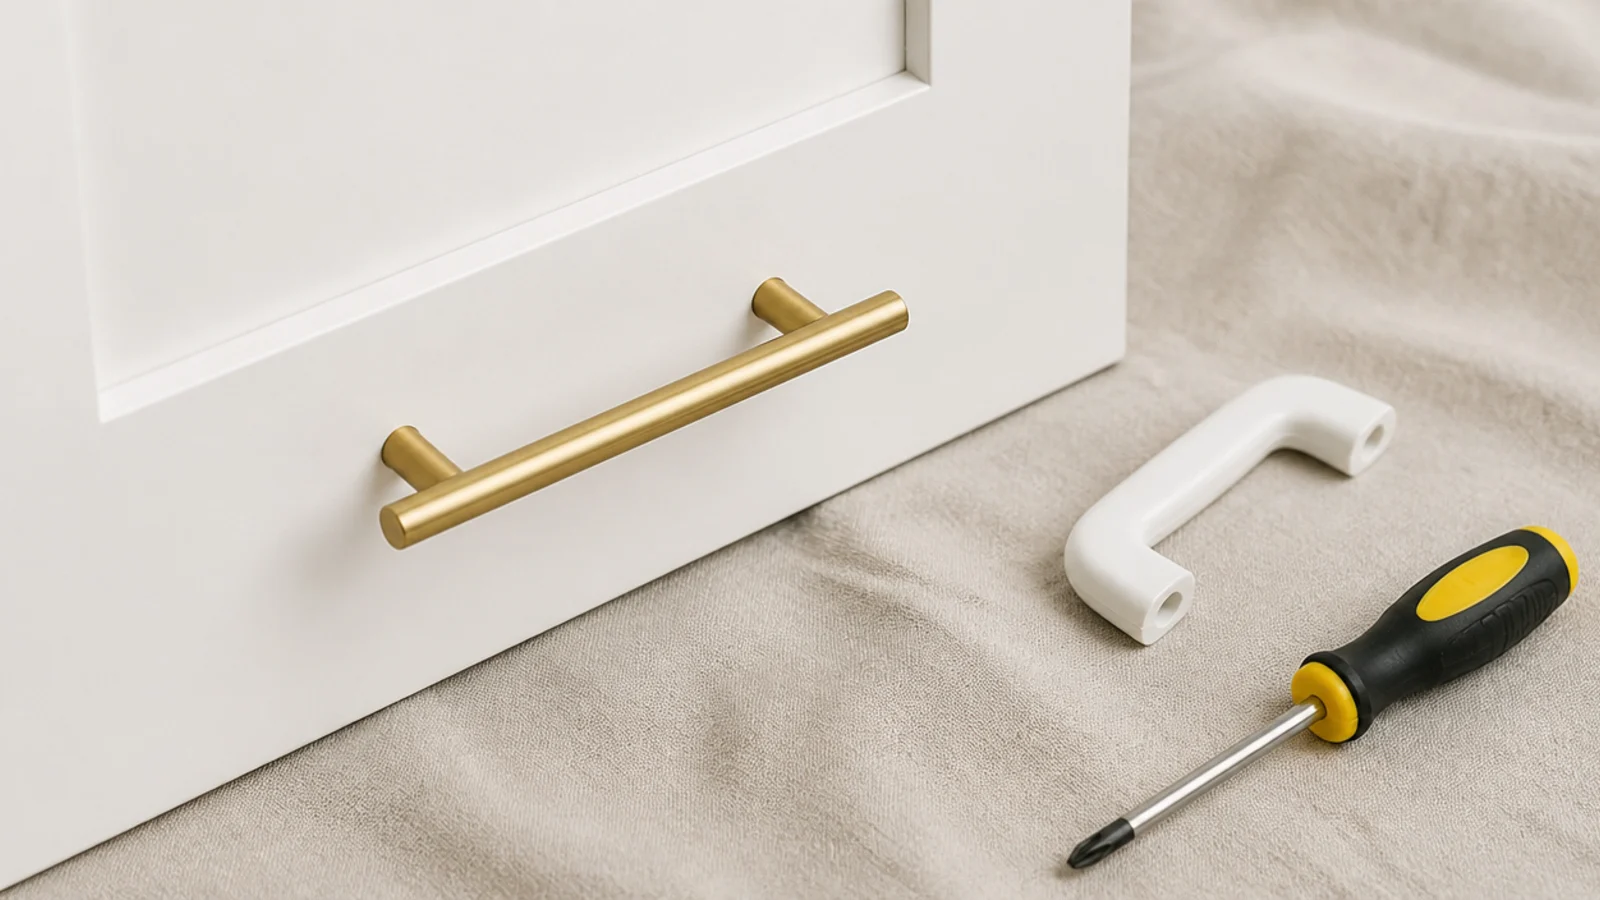
3. A flat-pack cabinet with the handles swapped
The cheapest upgrade in this entire list. Flat-pack fronts ship with hollow plastic pulls, and solid brass bars change the read of the whole piece.
Measure the hole centers before you buy — 96mm and 128mm cover most units. Four handles run $12 to $40. $
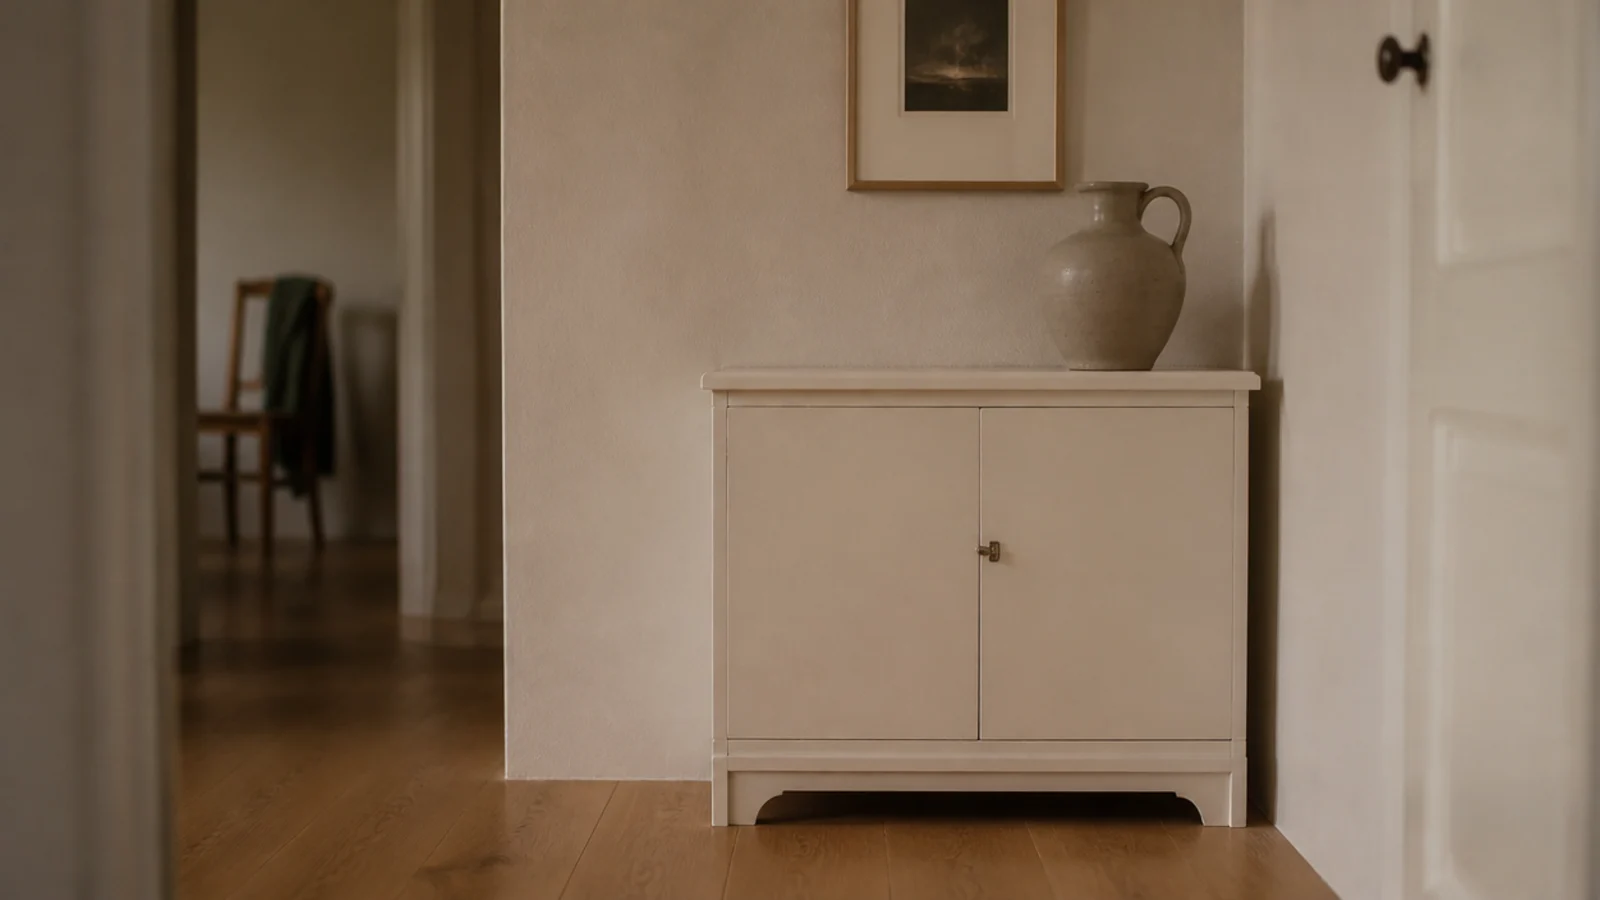
4. Paint a thrifted cabinet the wall color
A $30 secondhand cabinet painted the exact wall color stops announcing itself, which matters enormously in a hall where it sits at knee height.
Bonding primer first, then two coats of satin cabinet paint, and you can skip sanding back to bare board. Match the wall, never the floor. $
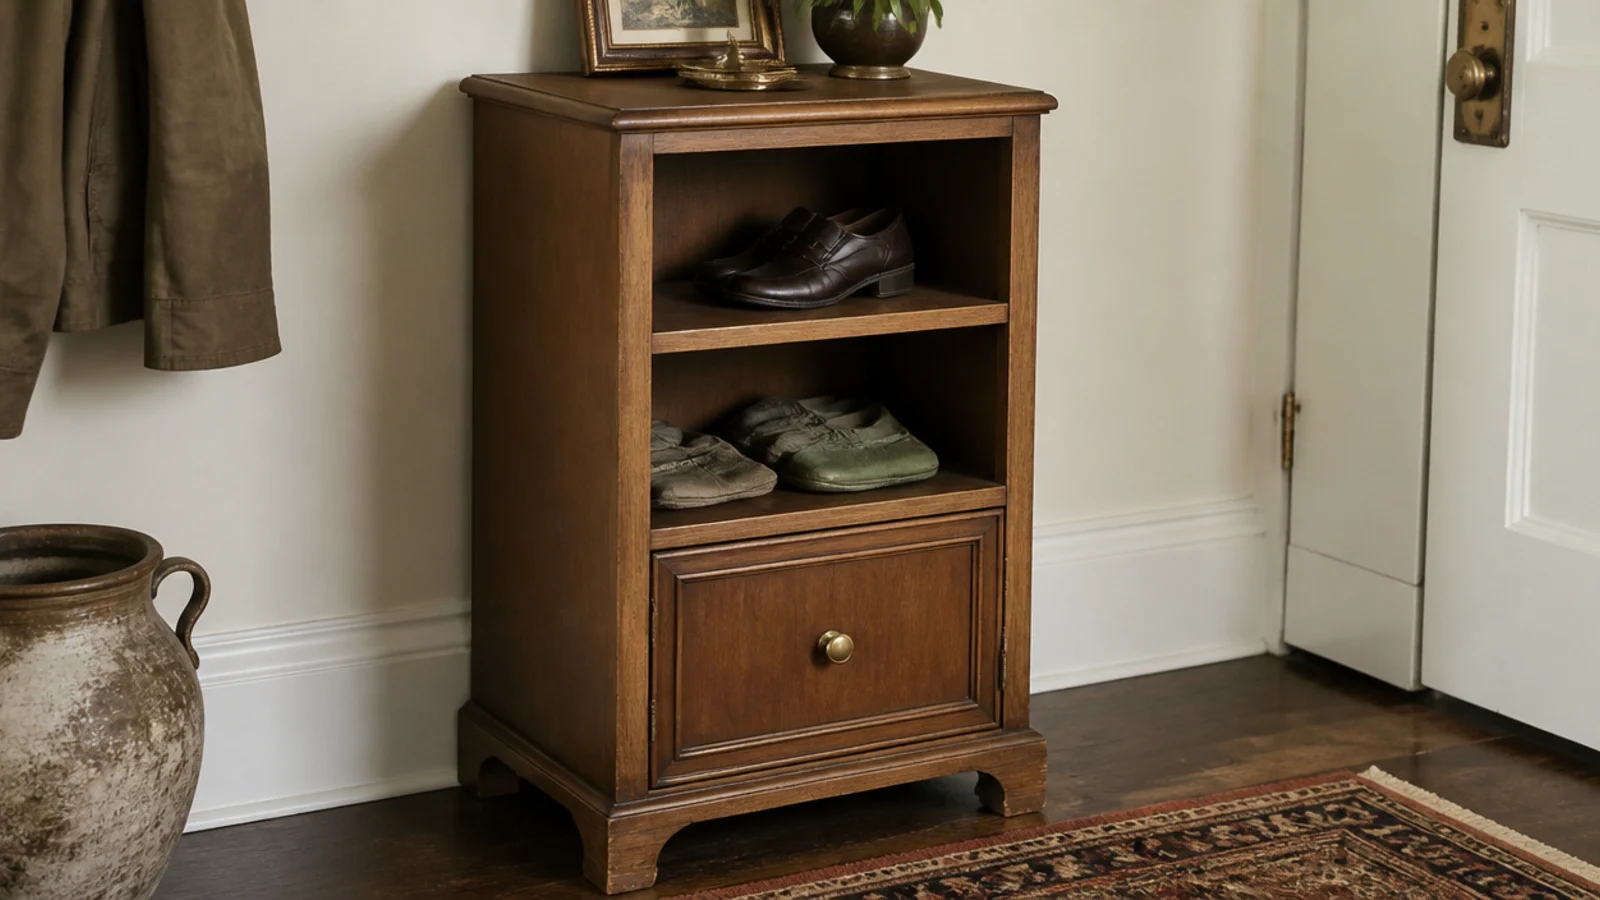
5. A repurposed nightstand with the drawers taken out
Old nightstands are the most underpriced thing in any thrift store, and they are usually 14 to 16 inches deep — enough for flat shelves.
Pull the drawers, screw two plain shelves into the carcass and drill the back for air. About $35 and one evening. $
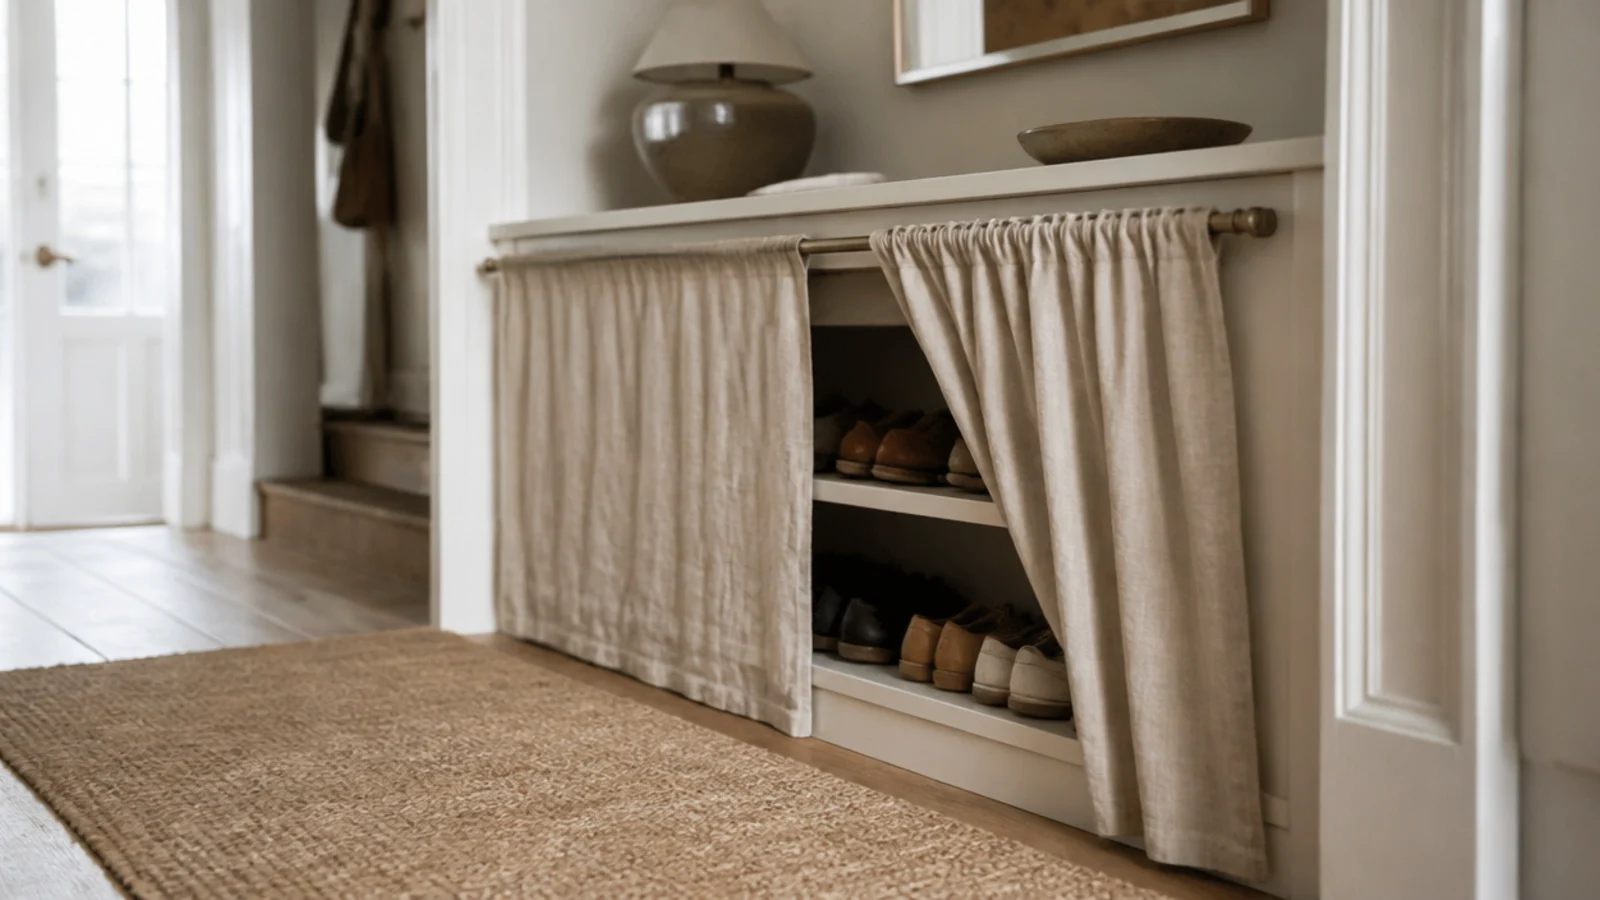
6. Turn a low bookcase into a cabinet with fabric fronts
A slim rod and a panel of natural linen across the front of any open bookcase gives you closed storage without a single hinge.
Hem it to finish half an inch above the floor so it does not drag. Eight dollars of fabric, and it is completely reversible when you move. $
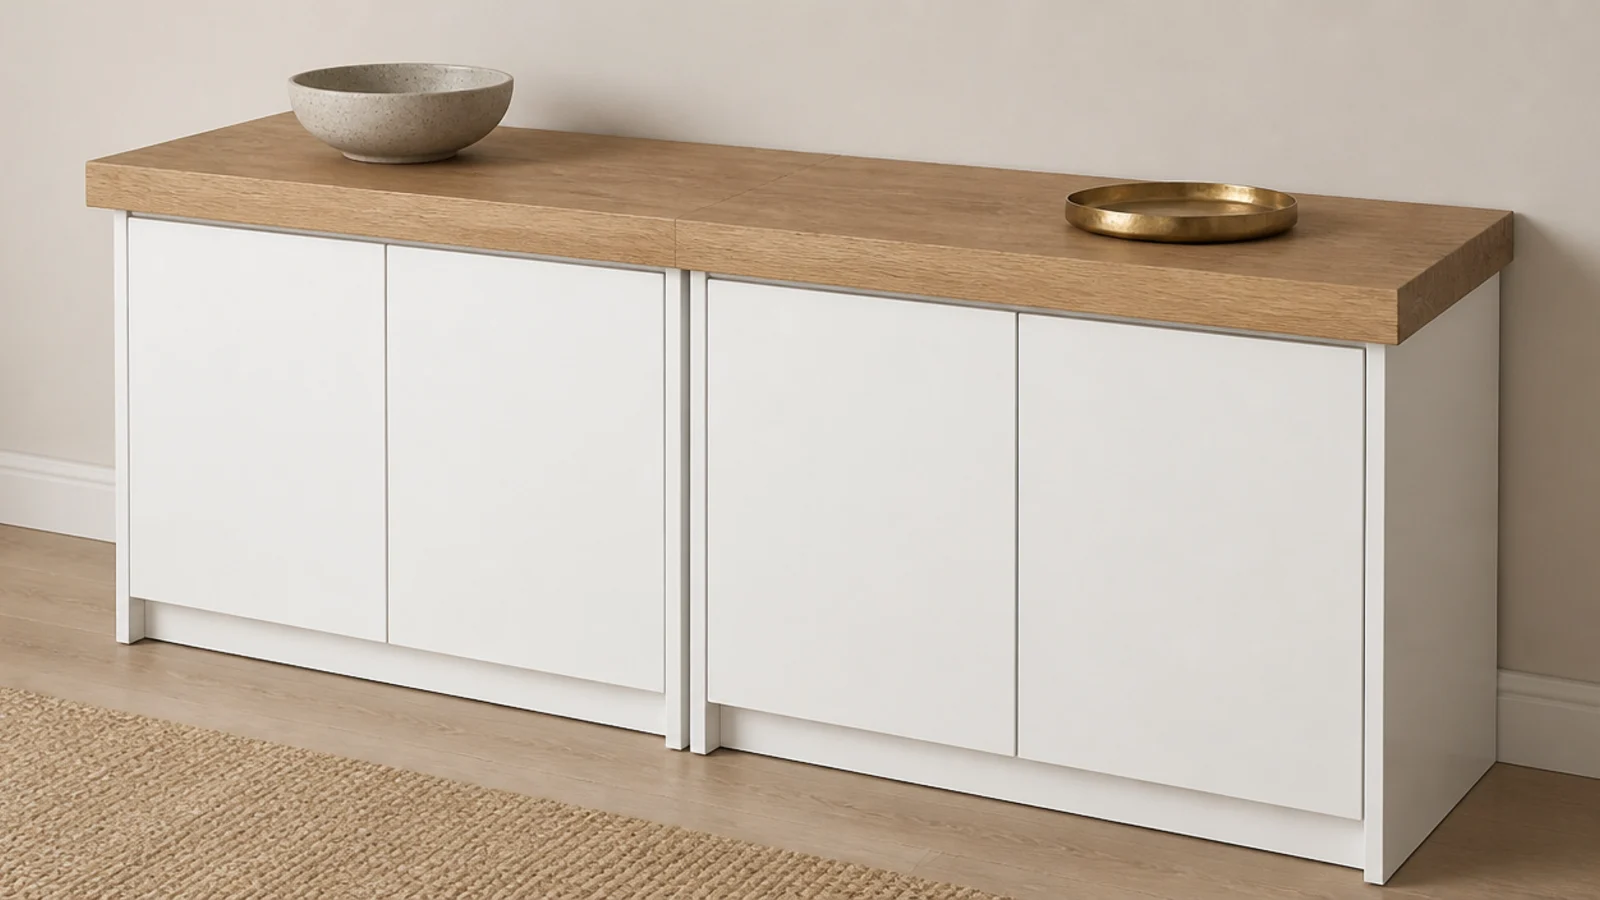
7. An IKEA hack with a solid oak top
Two basic white units side by side with one thick oak board laid across both tops instantly become a single piece of furniture rather than two boxes.
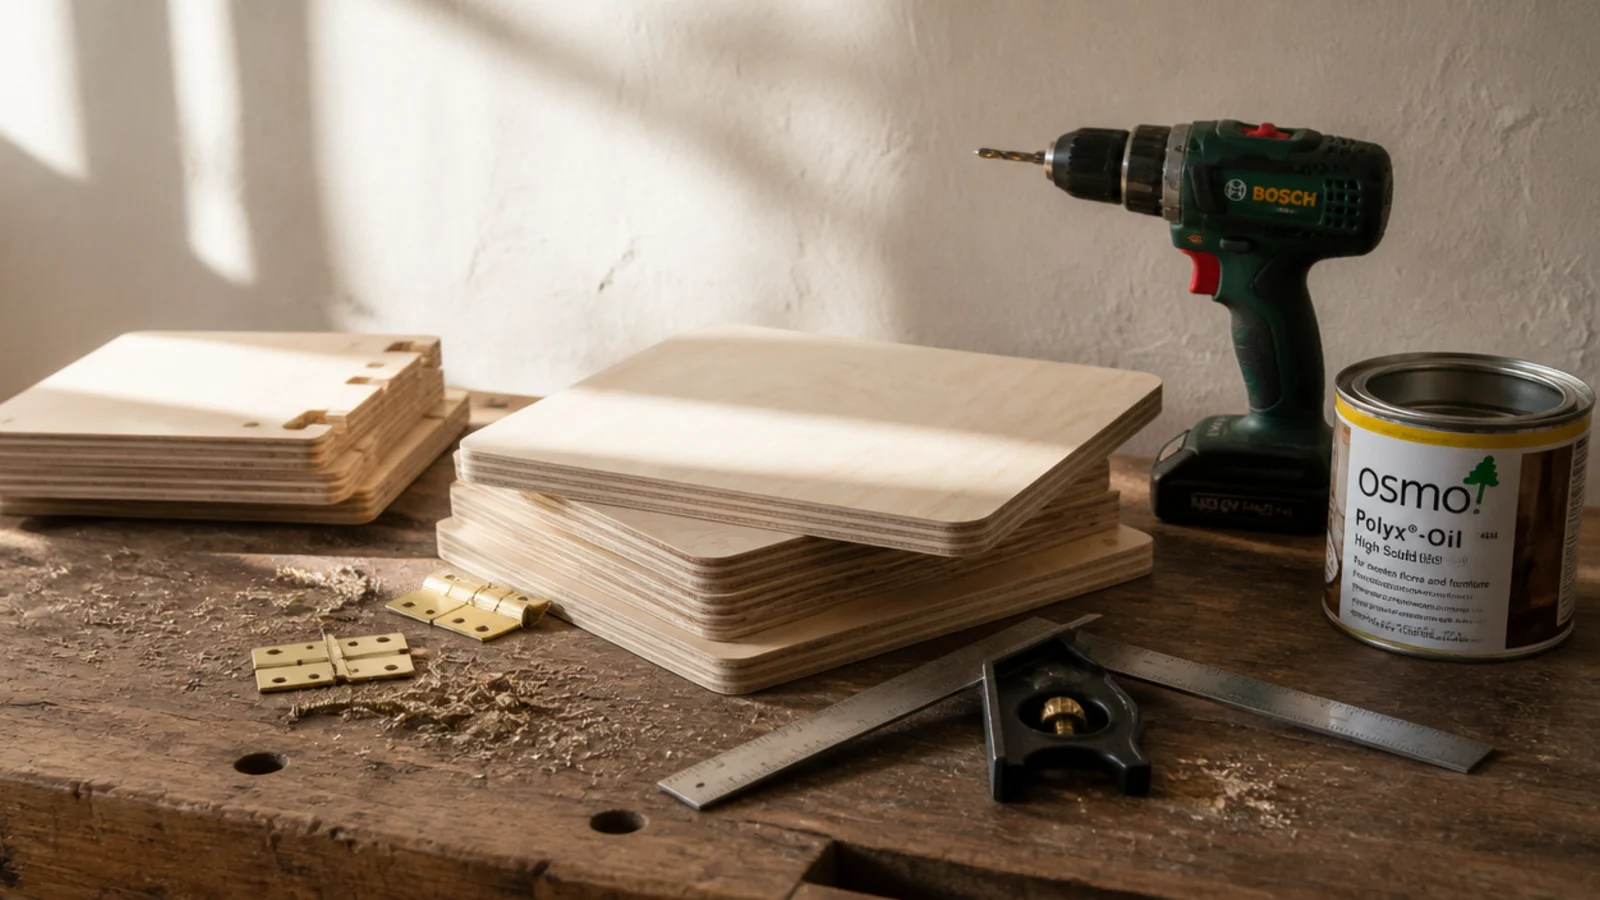
Buy the board cut to length and finish it with hardwax oil. Screw up through the carcass tops from inside so no fixings show. $$
8. Slatted doors cut from garden trellis
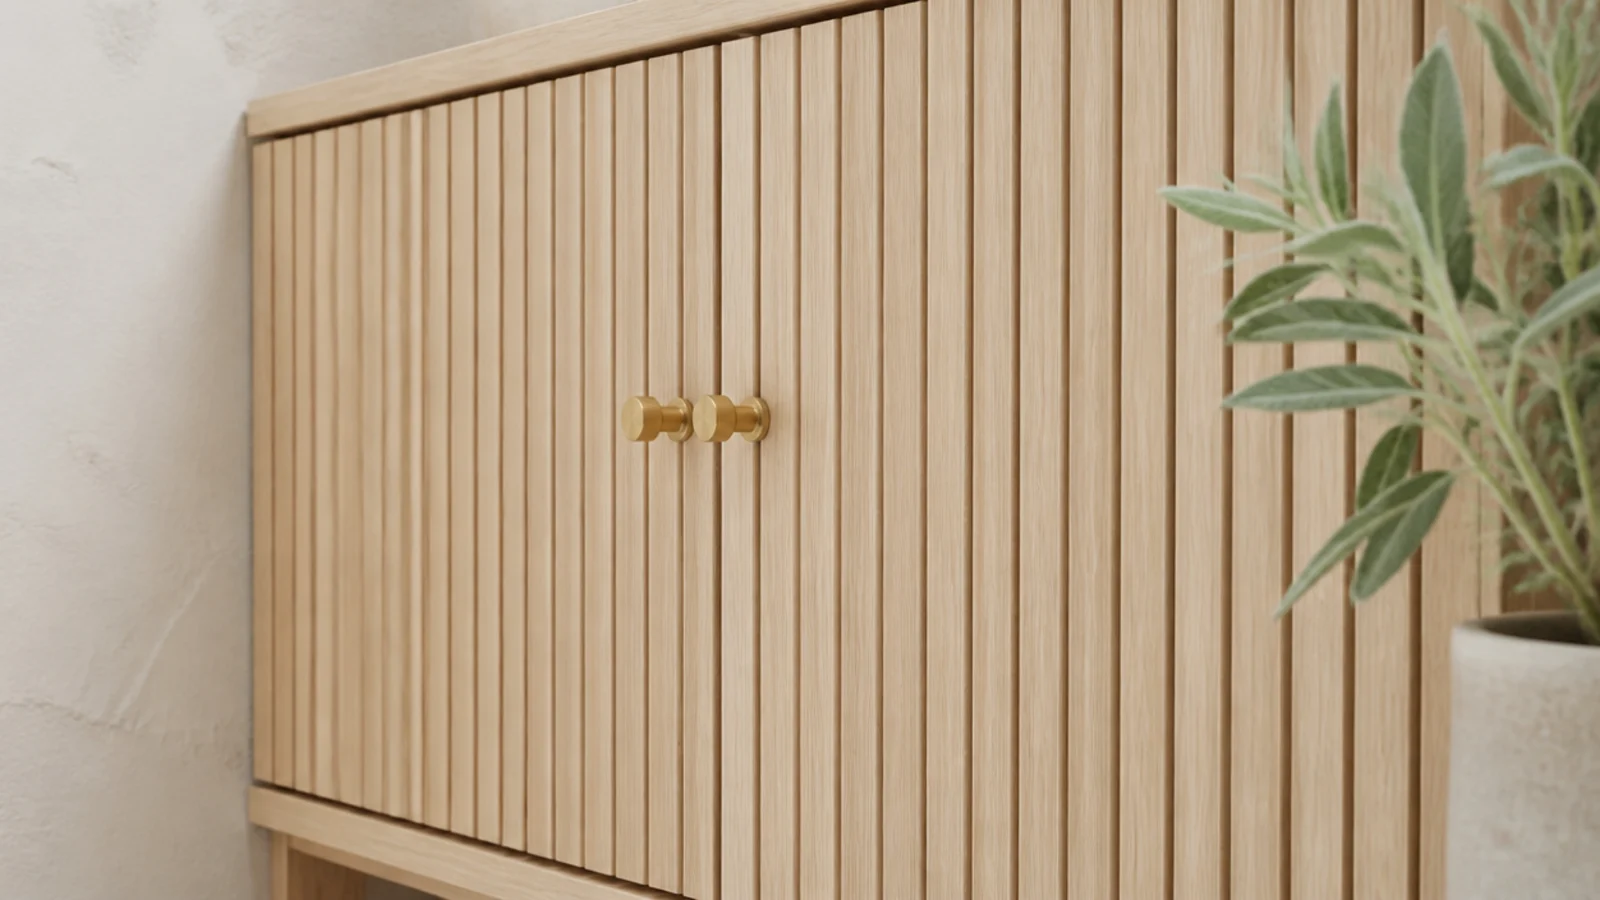
Timber trellis panels cost about $12 and cut down into ventilated door fronts with a hand saw. Air moves through them constantly with the doors shut.
Sand the cut ends, prime and paint, and hang them on the existing hinges. It is the cheapest ventilation you can buy. $
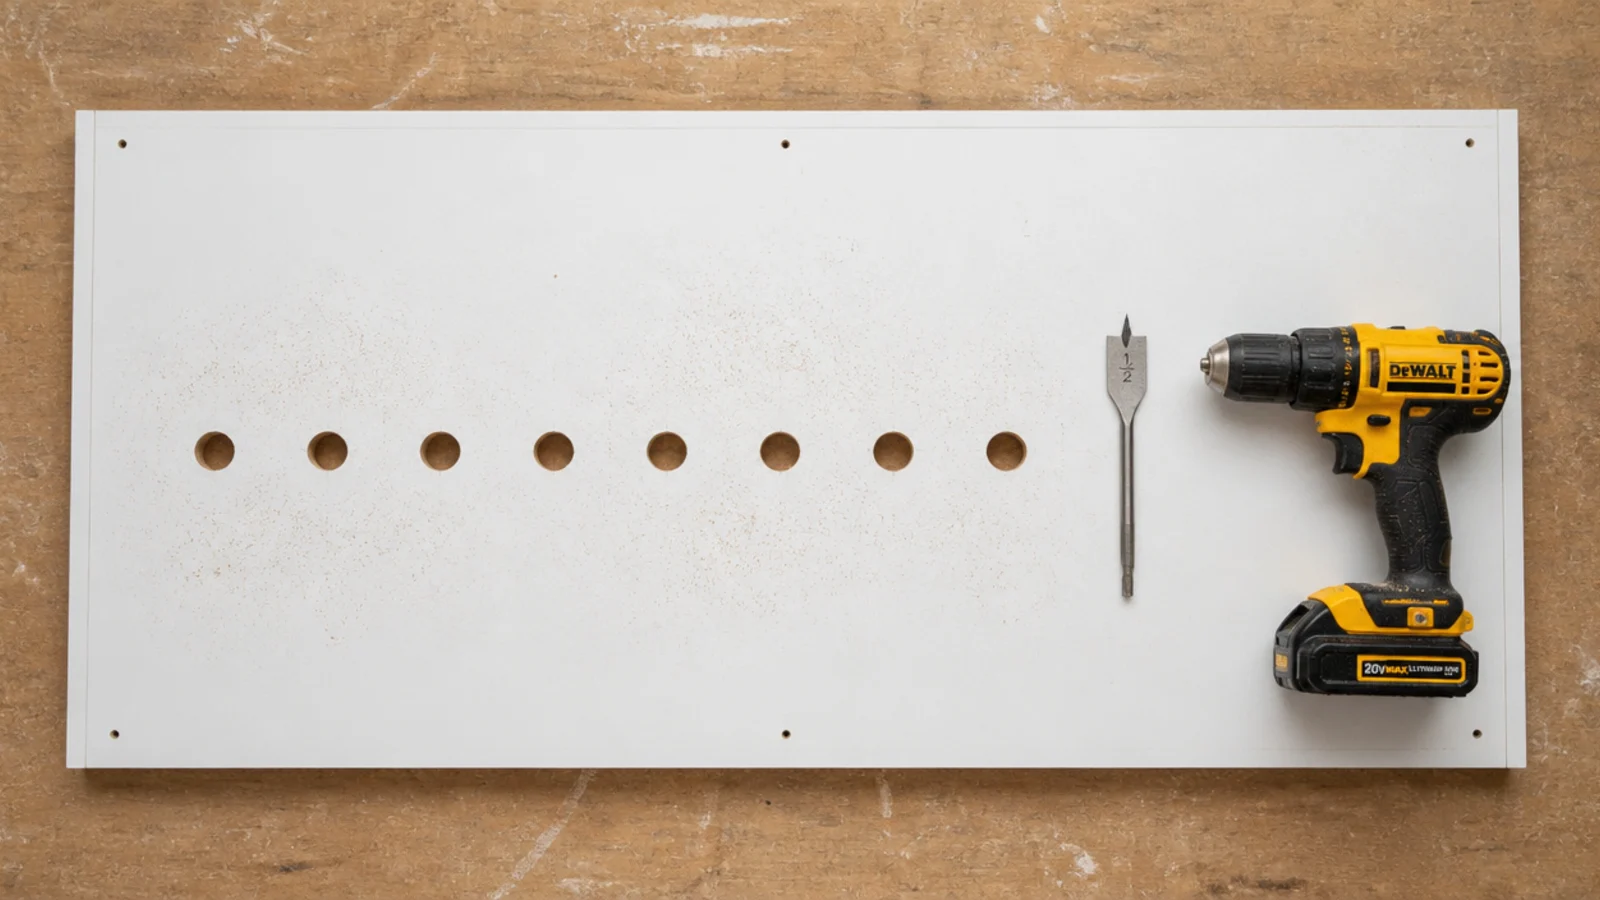
9. Drill the back panel for ventilation
If the doors are solid, the back panel is where the air has to come from. A row of half-inch holes, spaced 4 inches apart and an inch above each shelf line.
Back the panel with scrap so the exit side does not blow out, and leave a half-inch gap behind the cabinet. Ten minutes. $
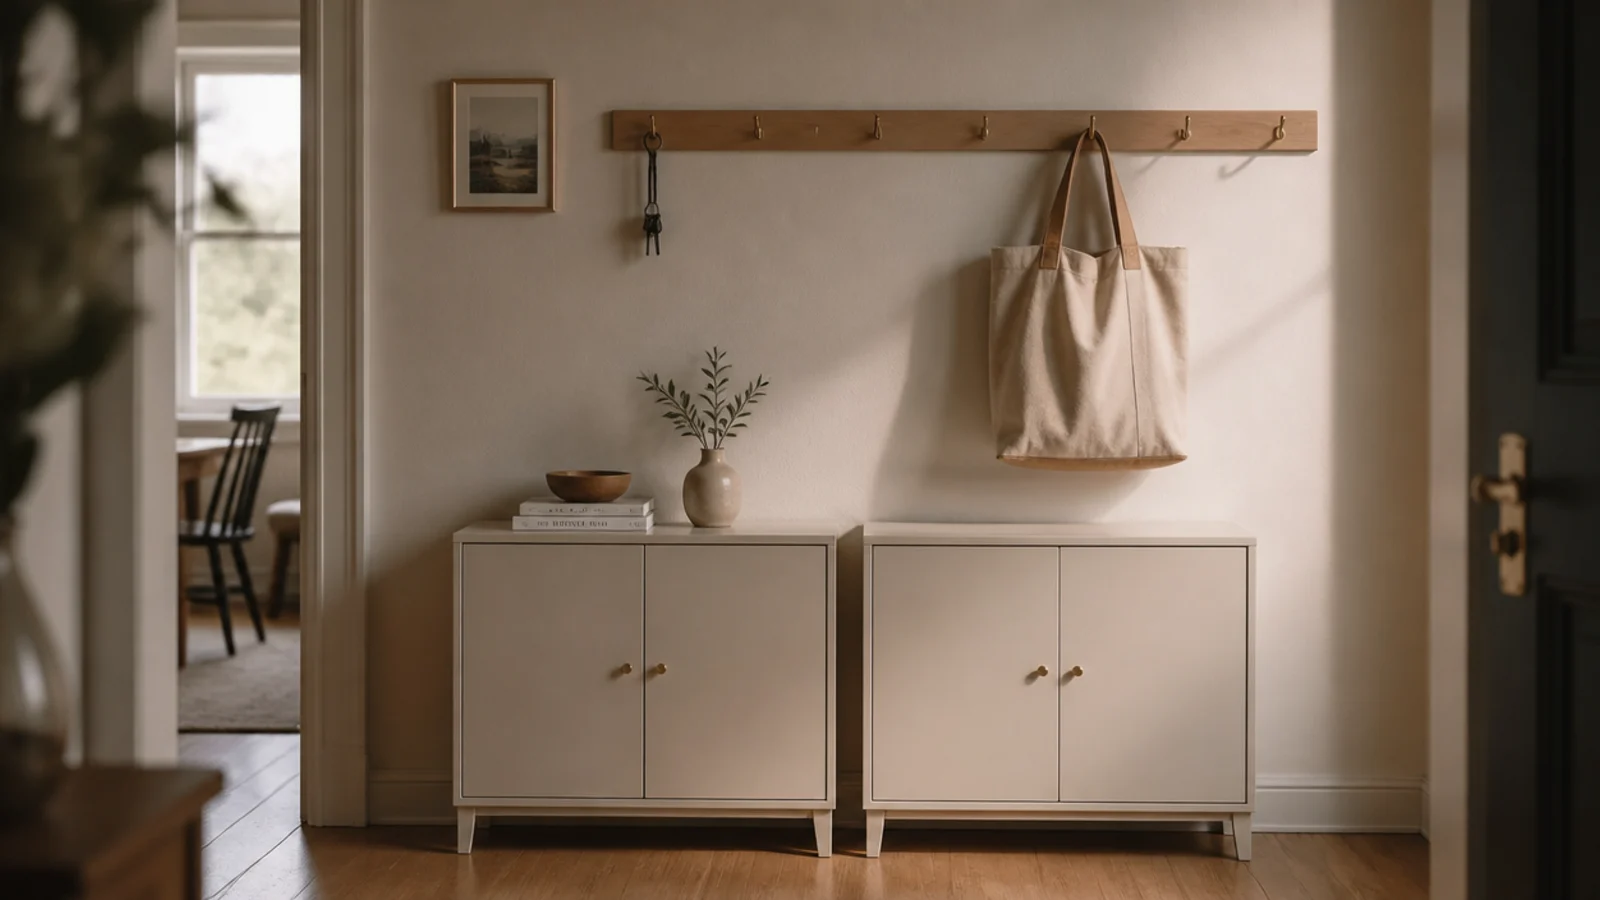
10. Two shallow units under a coat rail
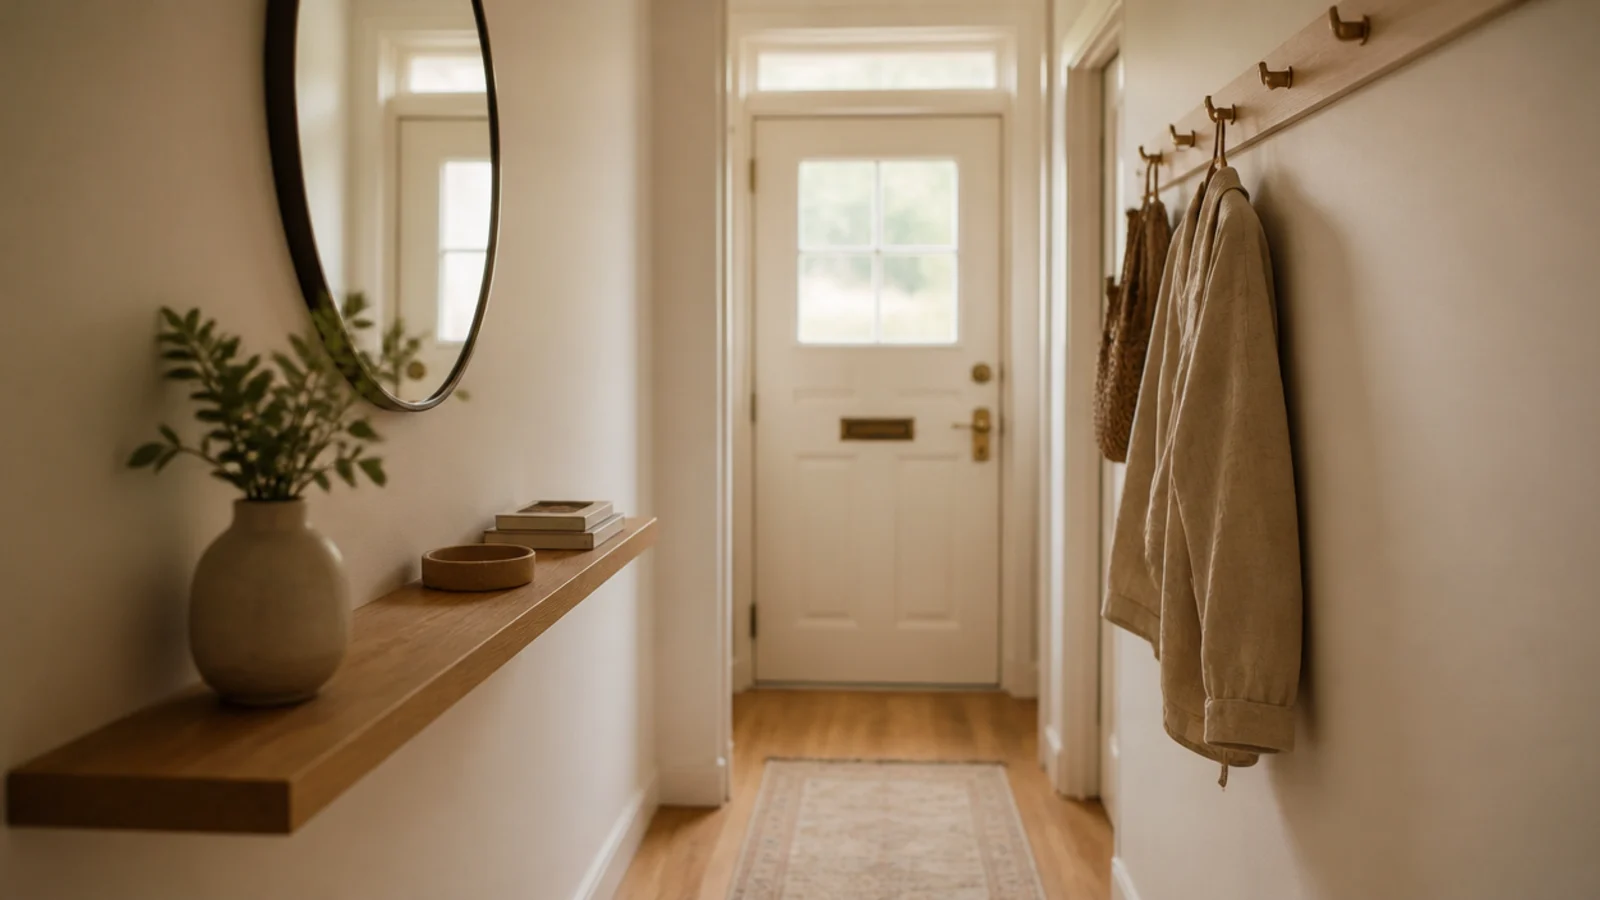
Stacking functions vertically is how small entries earn their keep. A rail with hooks at 60 inches, cabinets below at 30.
Keep the hooks clear of the cabinet top by at least 10 inches or coats hang into your key bowl. This layout handles a family in about 4 linear feet. $$
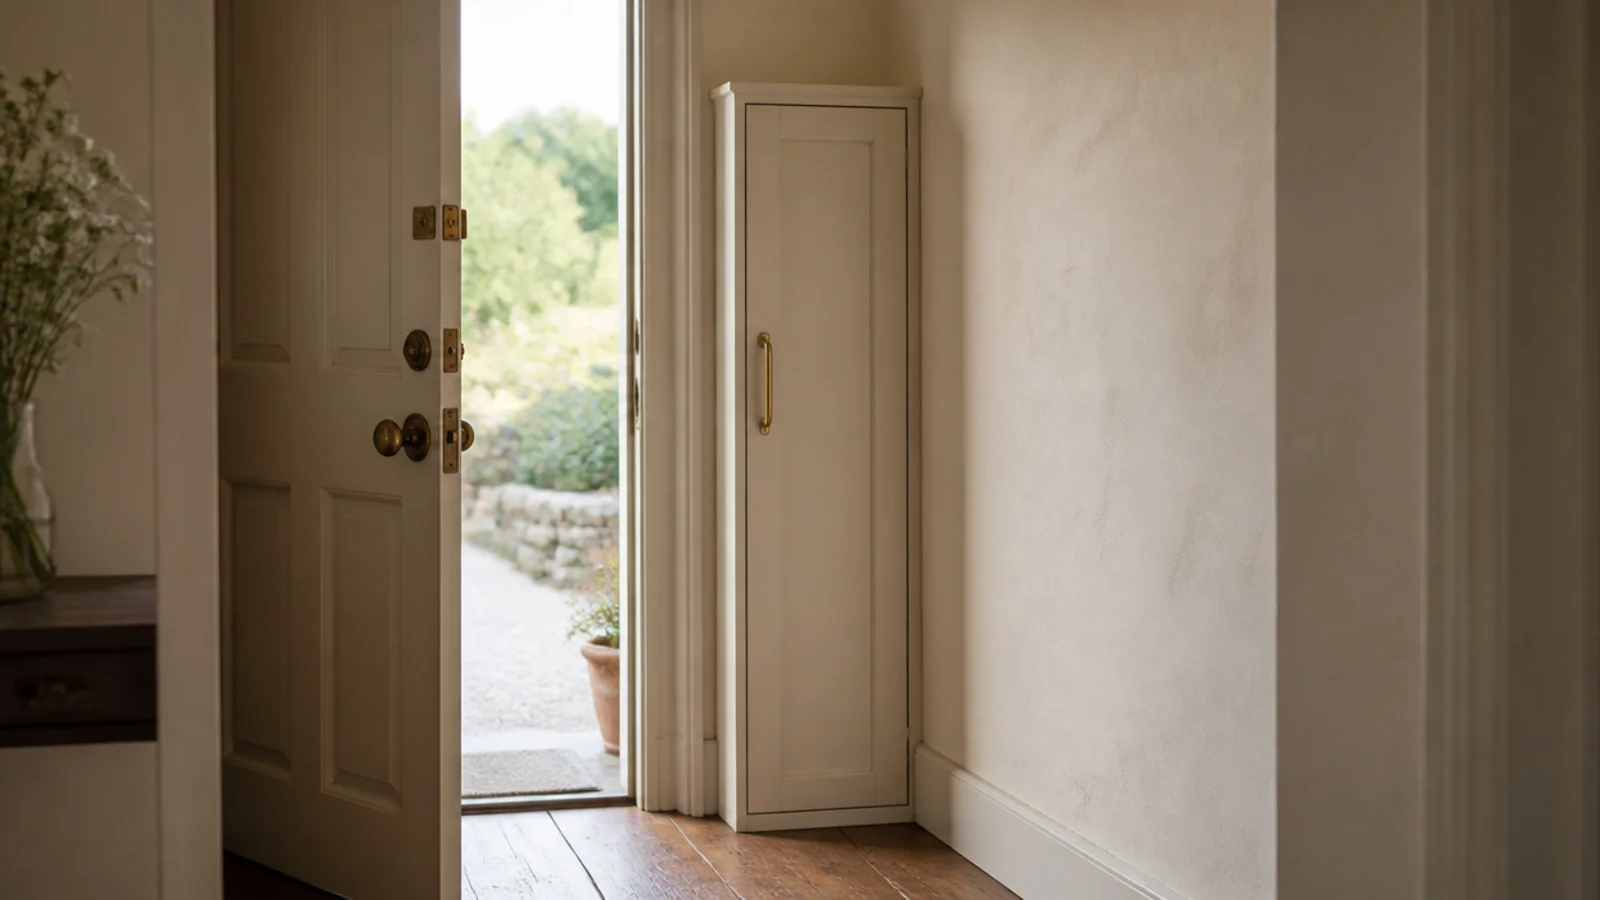
11. A cabinet sized to fit behind the open door
The wall behind an open front door is free floor almost nobody uses. Open the door fully, measure wall to door face, subtract two inches.
That number is usually 6 to 9 inches, which is tilt-out territory. Nothing here intrudes on the walkway at all. $$
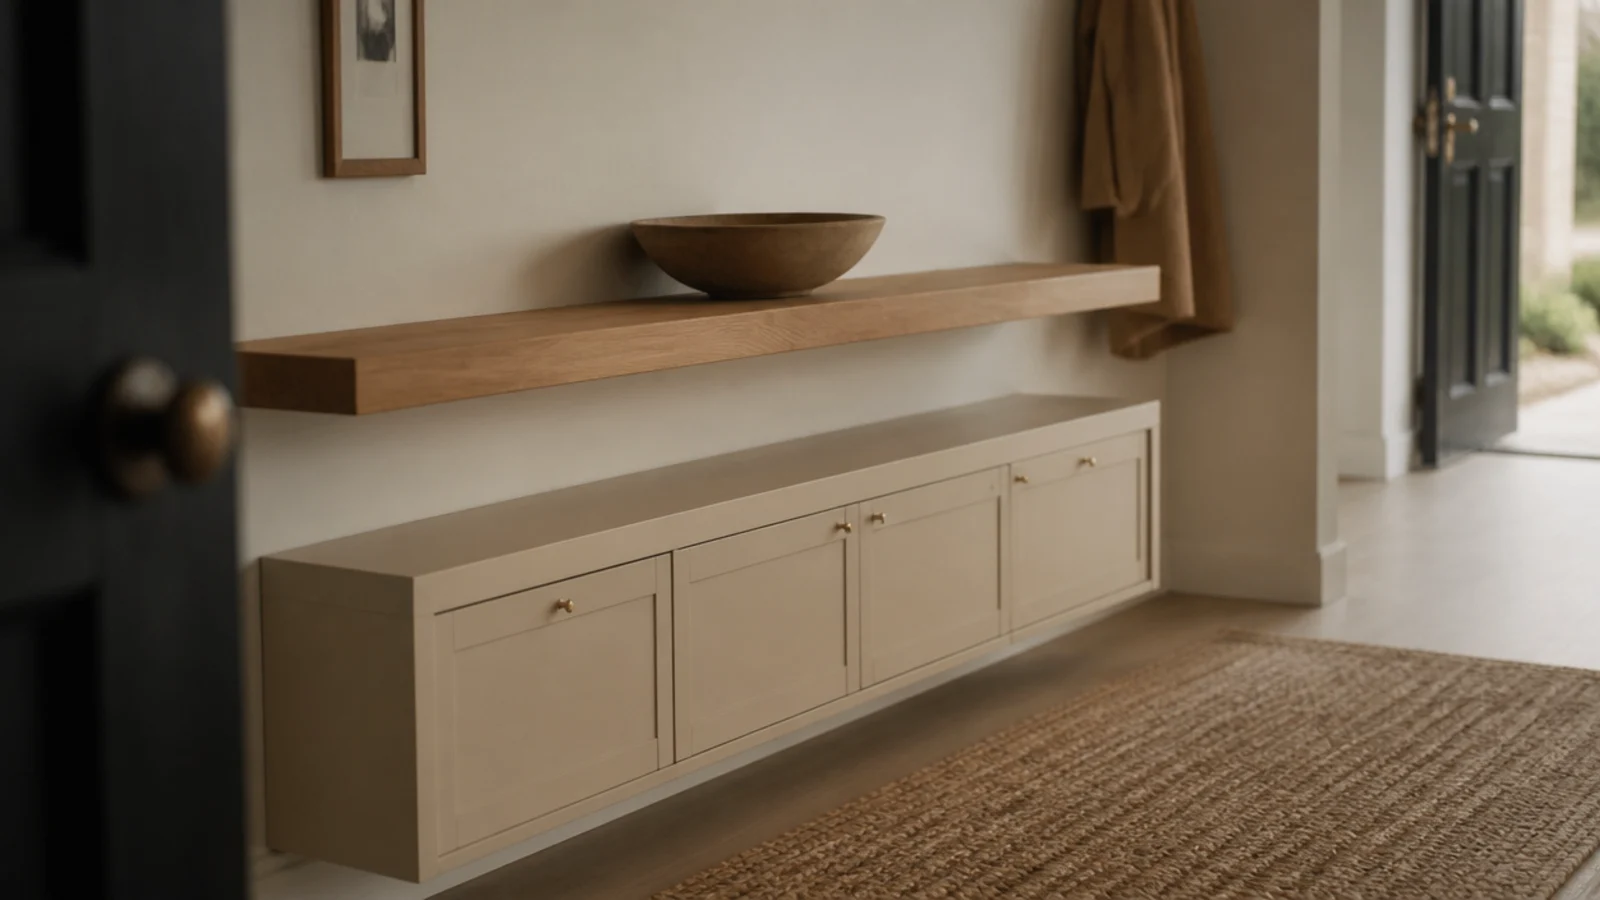
12. Fit it under a wall-mounted console
Float a slim console shelf at 32 inches and slide a low cabinet underneath. You get a drop surface and closed shoe storage in one footprint.
Leave an inch of clearance above the cabinet so you can pull it out to sweep. The console carries keys and post; the cabinet carries the shoes. $$
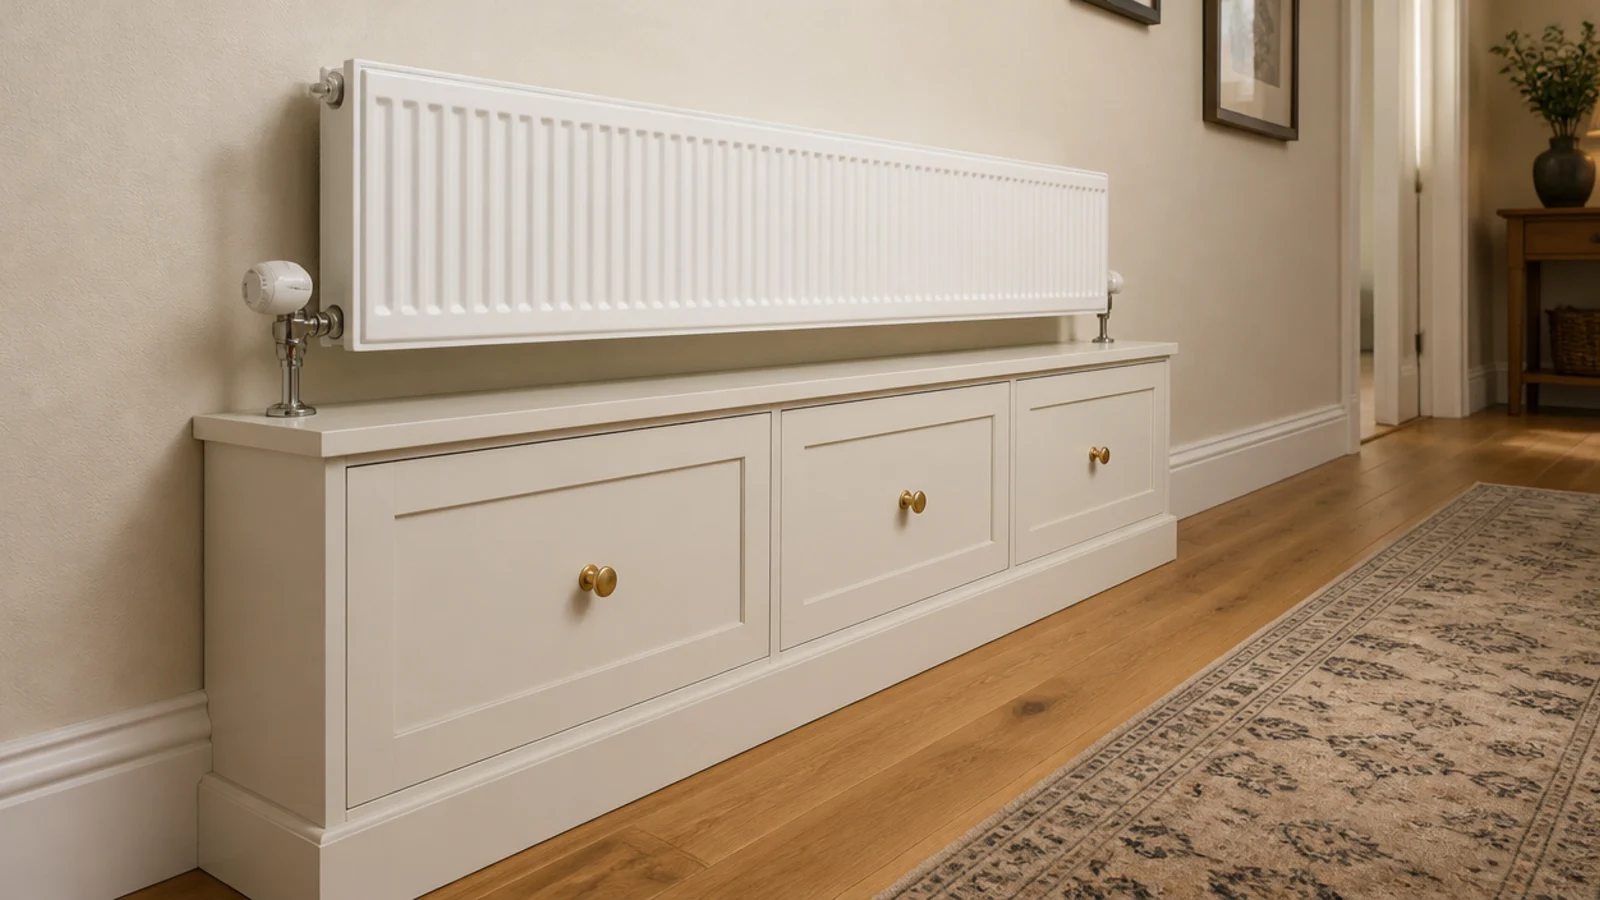
13. Use the dead space beneath a radiator
The 12 inches under a hallway radiator is wasted in most homes. A shallow cabinet fits there and gets warm dry air moving through it, which is a genuine bonus.
Leave 4 inches of clear air between the radiator and the cabinet top, and use solid wood rather than veneered board — veneer edges lift under heat cycling. $$
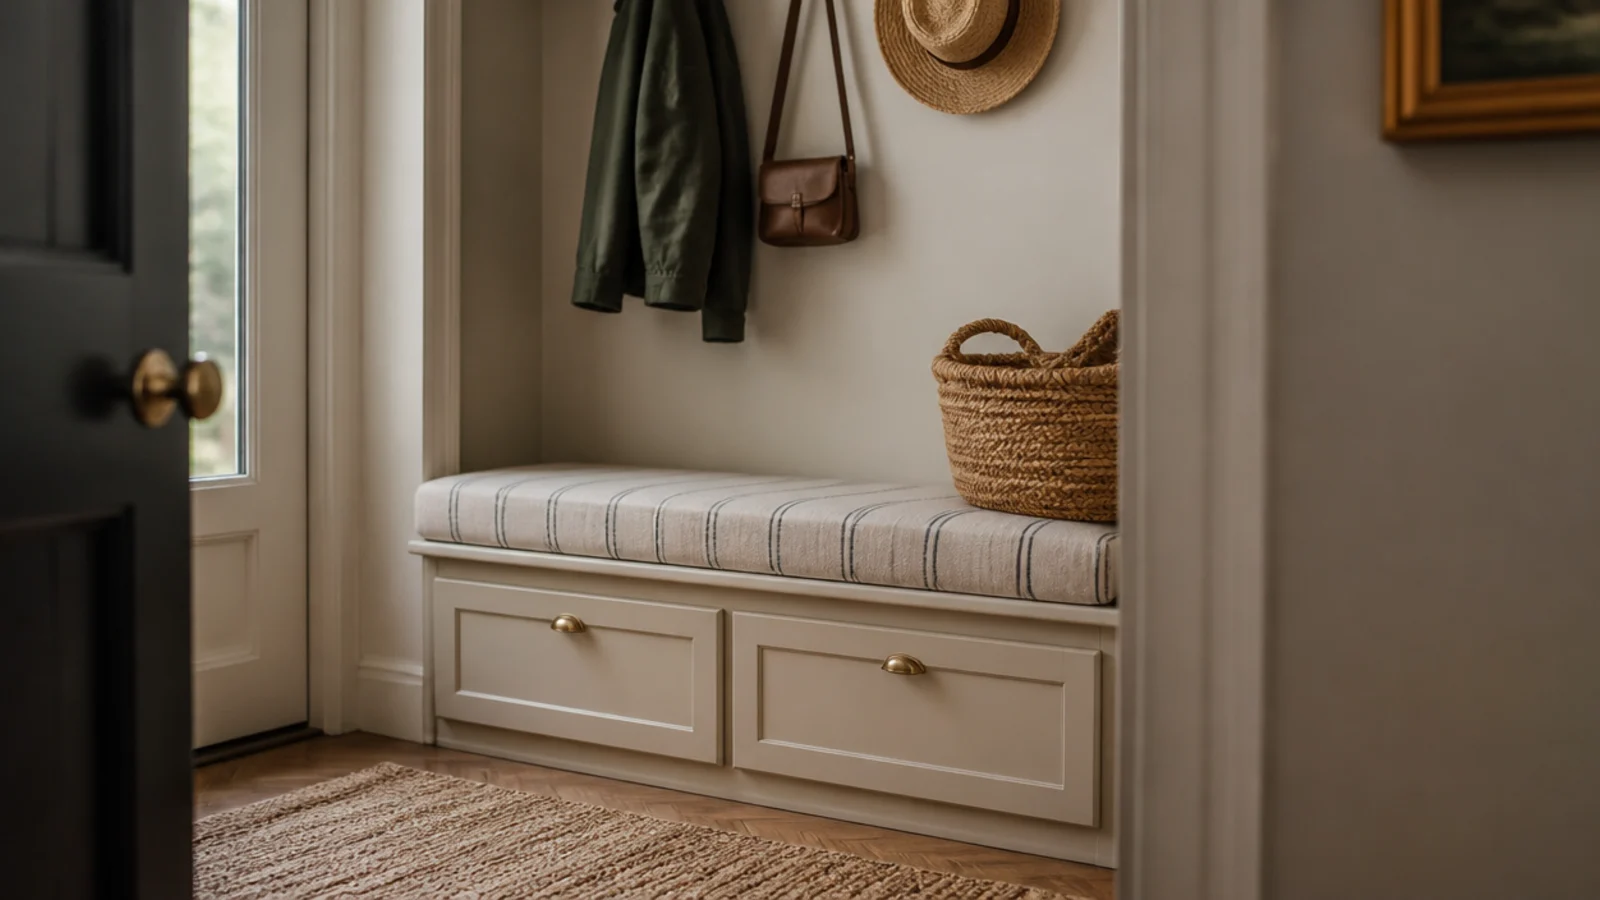
14. A bench-top cabinet earns its footprint twice
A cabinet built to 18 inches high gives you the seat that stops people treading down the backs of their shoes.
Eighteen inches is the number adults stand up from easily. Check the top is a solid slab and not a thin panel — storage-rated is not the same as sit-on-rated. $$–$$$
15. Leave one bay open for the daily pair
The change that makes closed storage survive a real household. Take one door off at floor level and let the everyday shoes live in the open bay.
Every door is a step, and steps get skipped when your hands are full. Cap the empty hinge holes with white plugs. Costs nothing. $
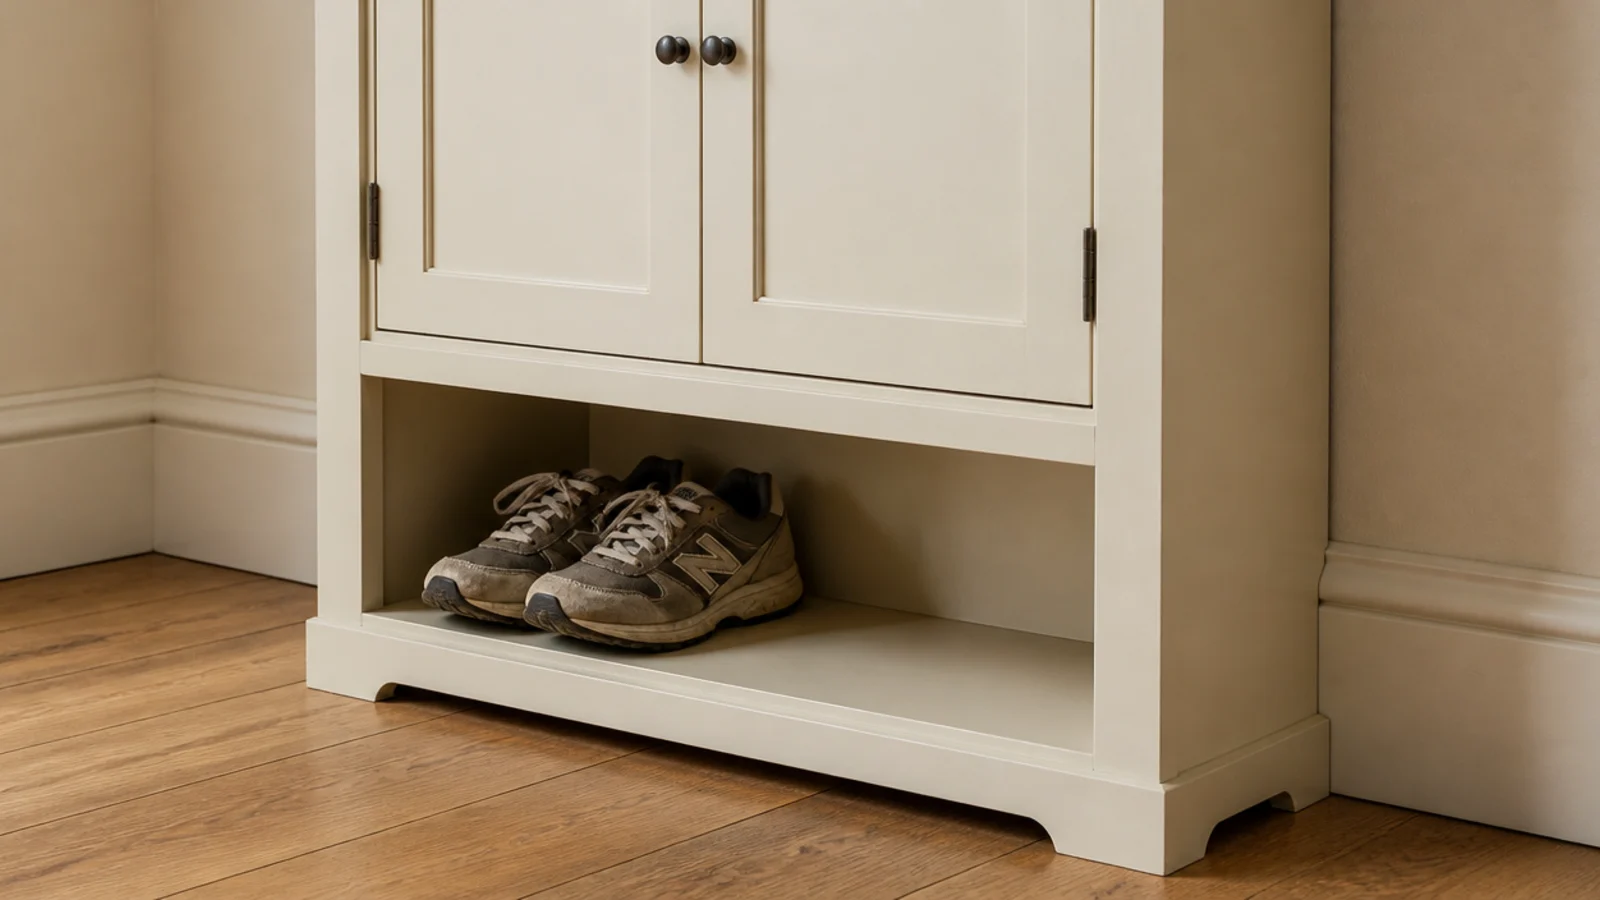
16. Add cheap tapered legs to lift it
Screw-in beech legs cost about $20 for four and turn a boxy cabinet into something that reads as furniture, with six inches of visible floor beneath.
Fit them through a plywood plate inside the base if the bottom is particleboard, or the screws pull out within a year. Airflow underneath improves too. $
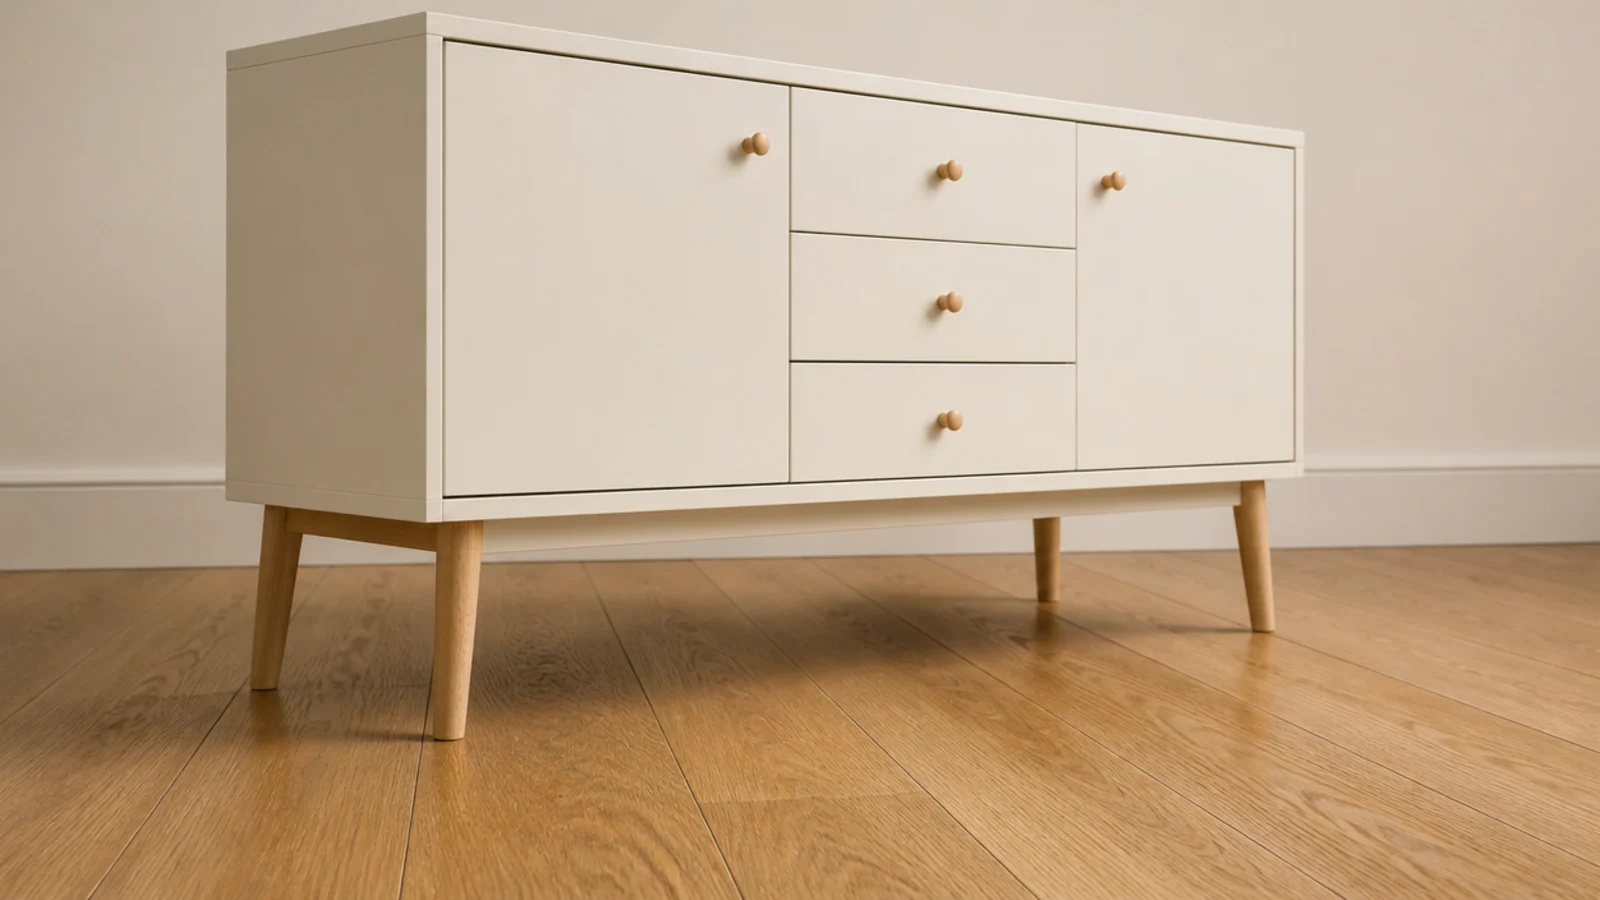
17. Peel-and-stick veneer on flat fronts
A roll of decent oak-effect adhesive veneer costs less than one replacement door and covers four fronts. Work from the center outward with a felt smoother.
Trim with a fresh craft knife against a steel rule, and wrap the veneer around the front edge by a quarter inch so no white shows. $
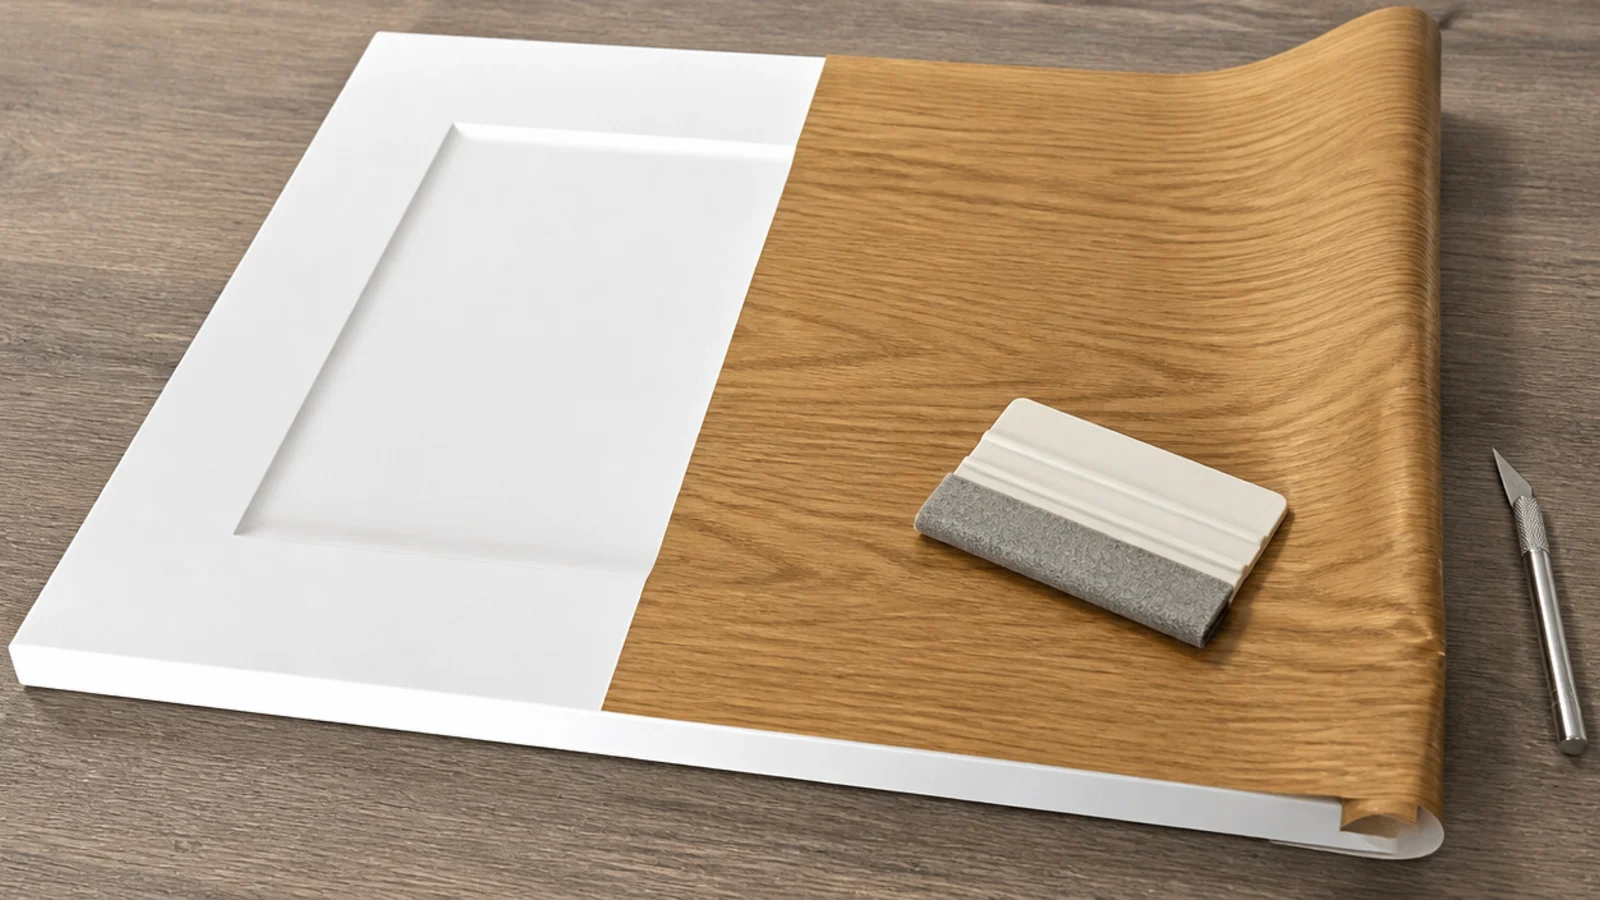
18. A tension rod and curtain instead of doors
For an alcove or a doorless carcass, a tension rod and a linen panel is closed storage with no hardware and no landlord conversation.
Choose a rod rated well above the fabric weight and mount it inside the opening. Nothing gets drilled, and it comes down in ten seconds. $
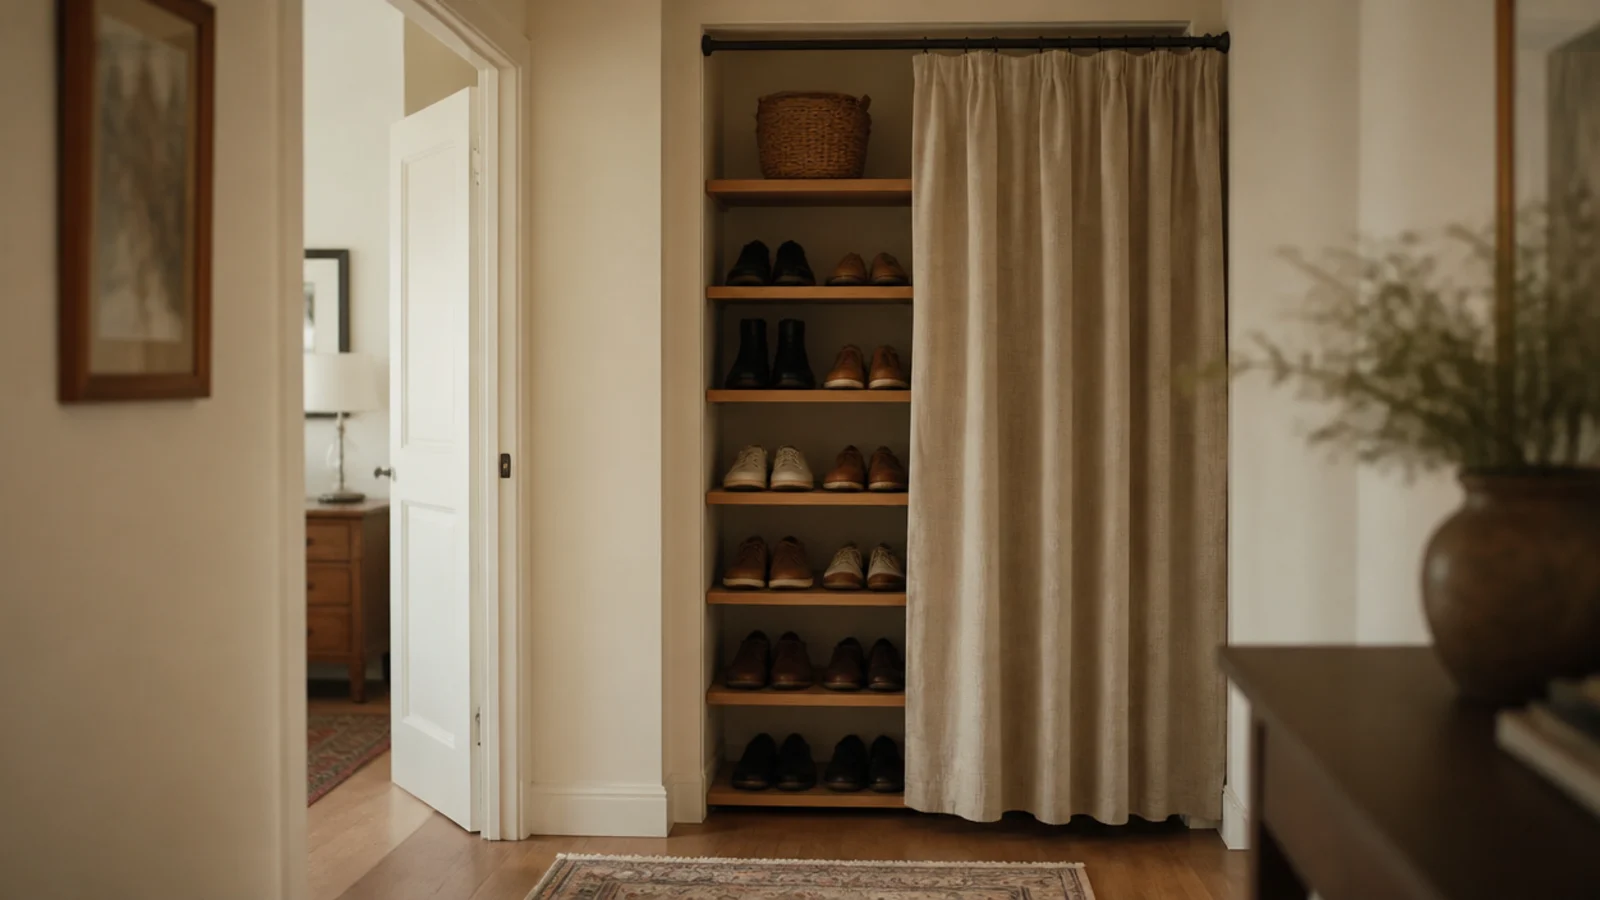
19. Cut a cabinet down to fit an alcove
A cabinet that meets both walls of an alcove looks built-in; one with a two-inch gap either side looks leftover. Trimming a flat-pack carcass narrower is easier than it sounds.
Cut the top, bottom and shelves, keep the original sides, and re-band the cut edges. Measure the alcove at three heights first — walls are rarely parallel. $$
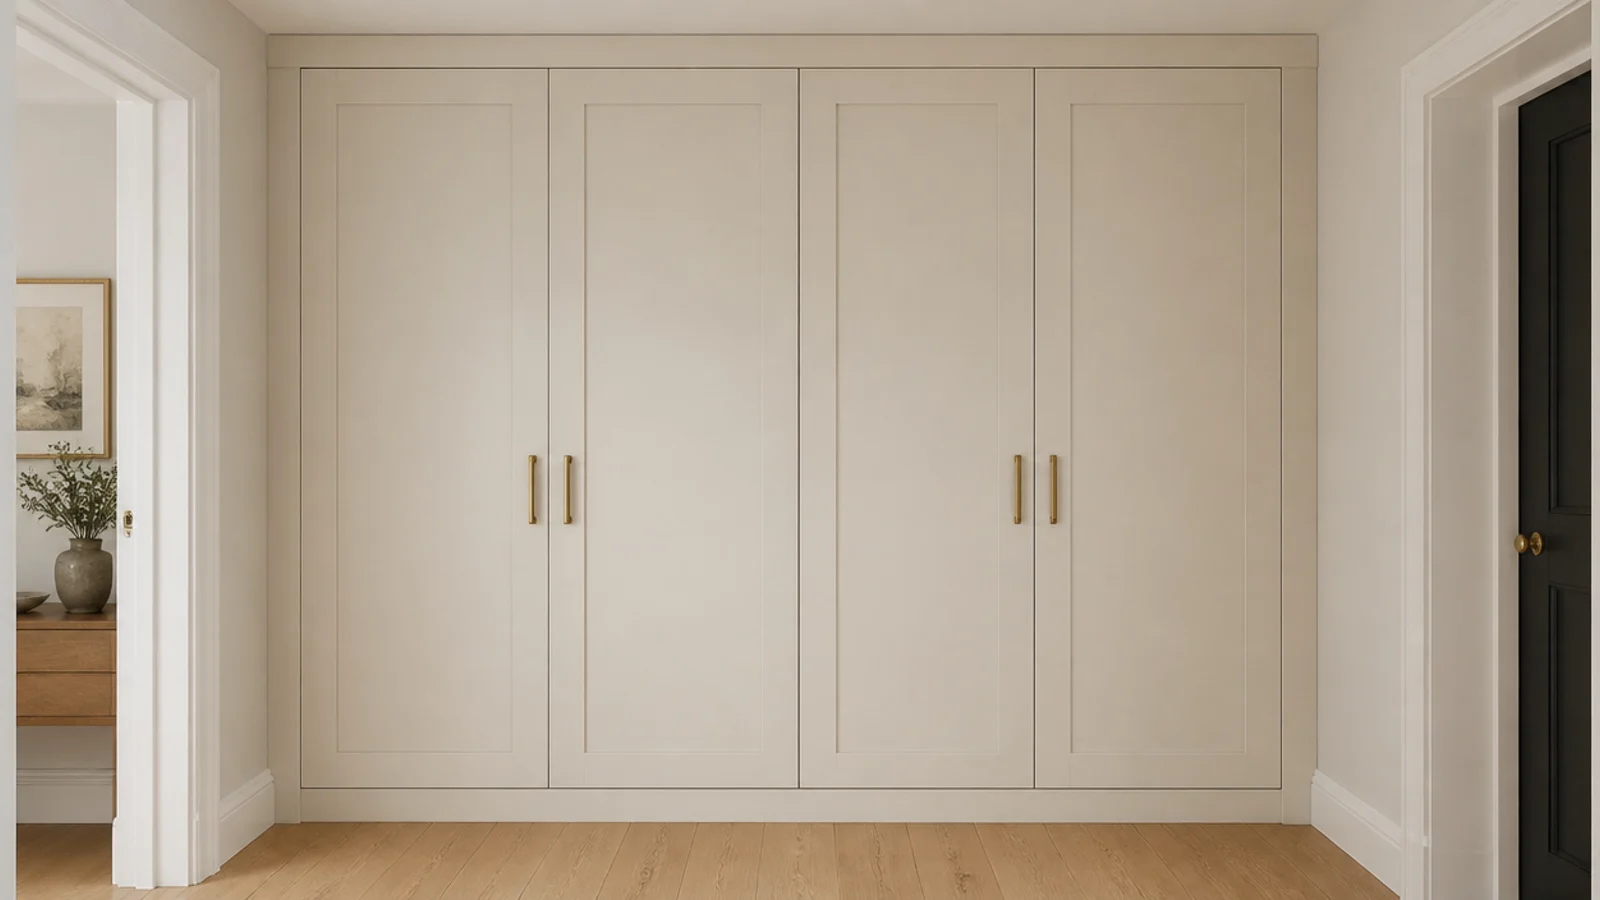
20. Stack two shoe boxes into a slim tower
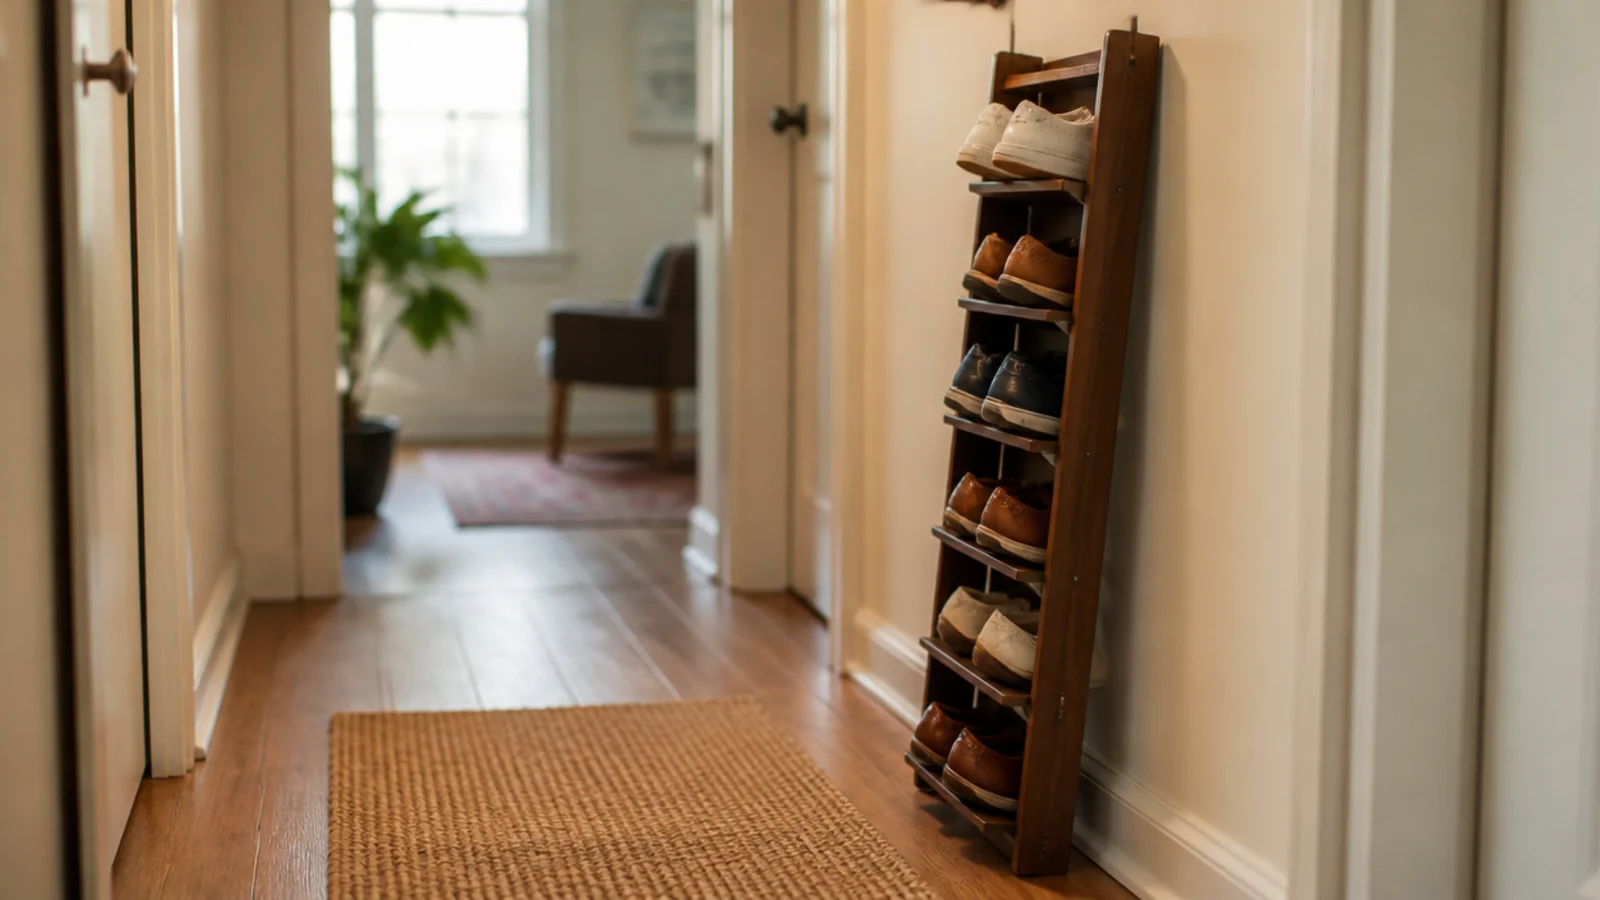
The 16-inch strip between a doorframe and a corner takes a stacked pair of shallow units and holds about twenty pairs in 1.3 square feet.
Put out-of-season shoes in the top bay and daily pairs at knee height. Over 40 inches tall, strap it to a stud — narrow towers need it more than most. $$
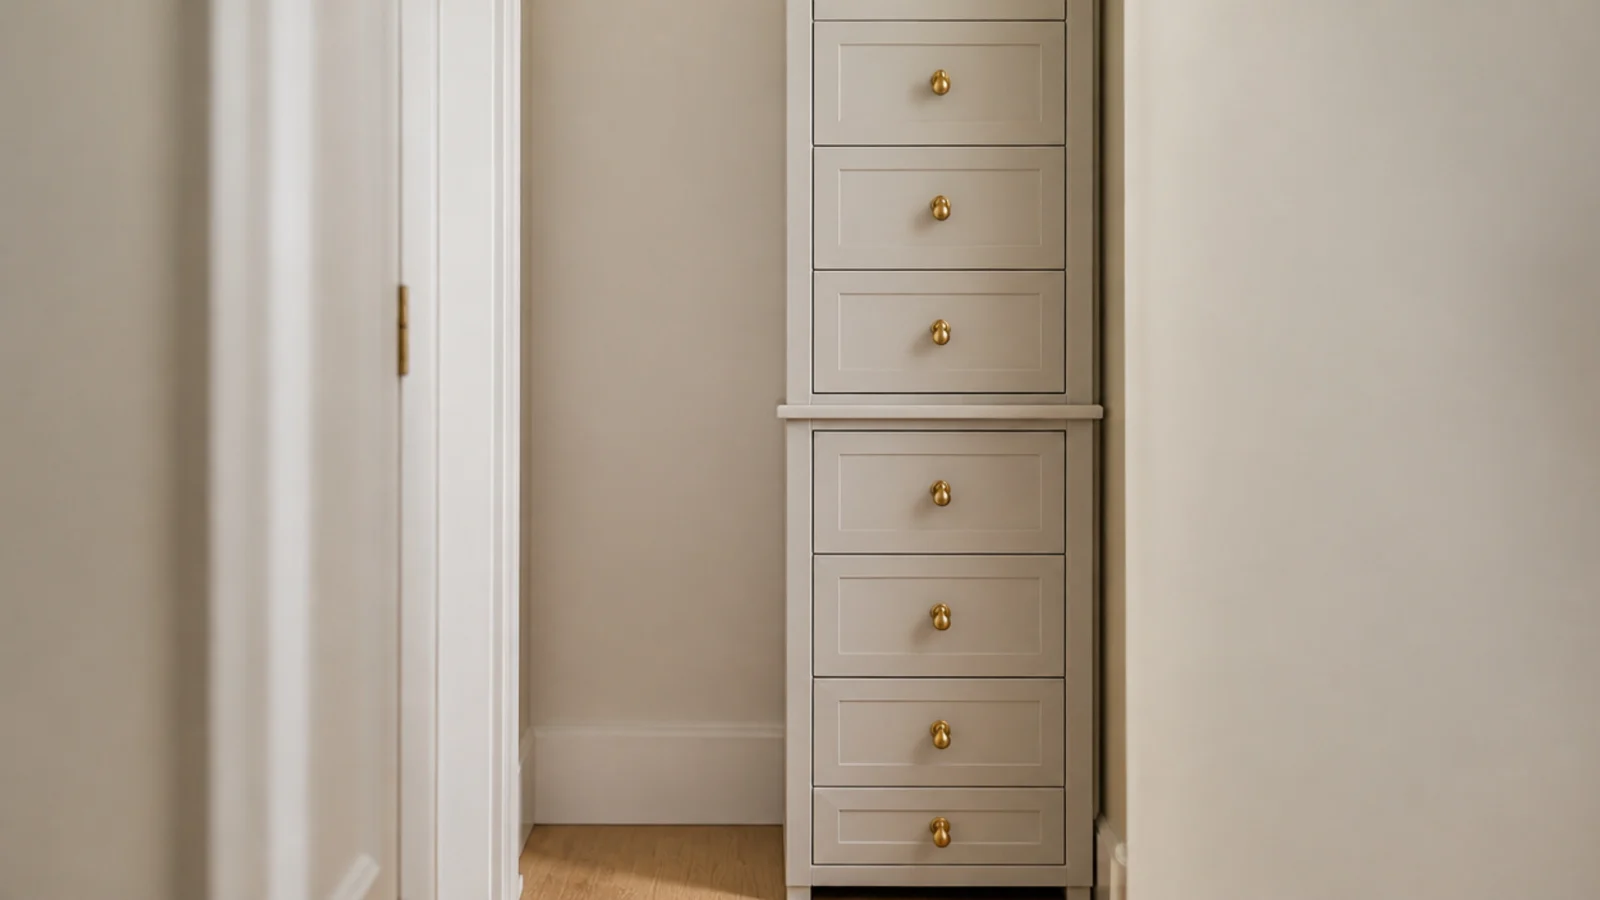
21. Adjustable shelves so one bay takes boots
The single spec worth checking before you buy anything: does it have shelf pins, or are the shelves fixed?
Ankle boots need 16 inches of clear height and knee-highs need 20. Drop one shelf, give boots the bottom bay where wet soles do least harm, and the pile by the door disappears. $$
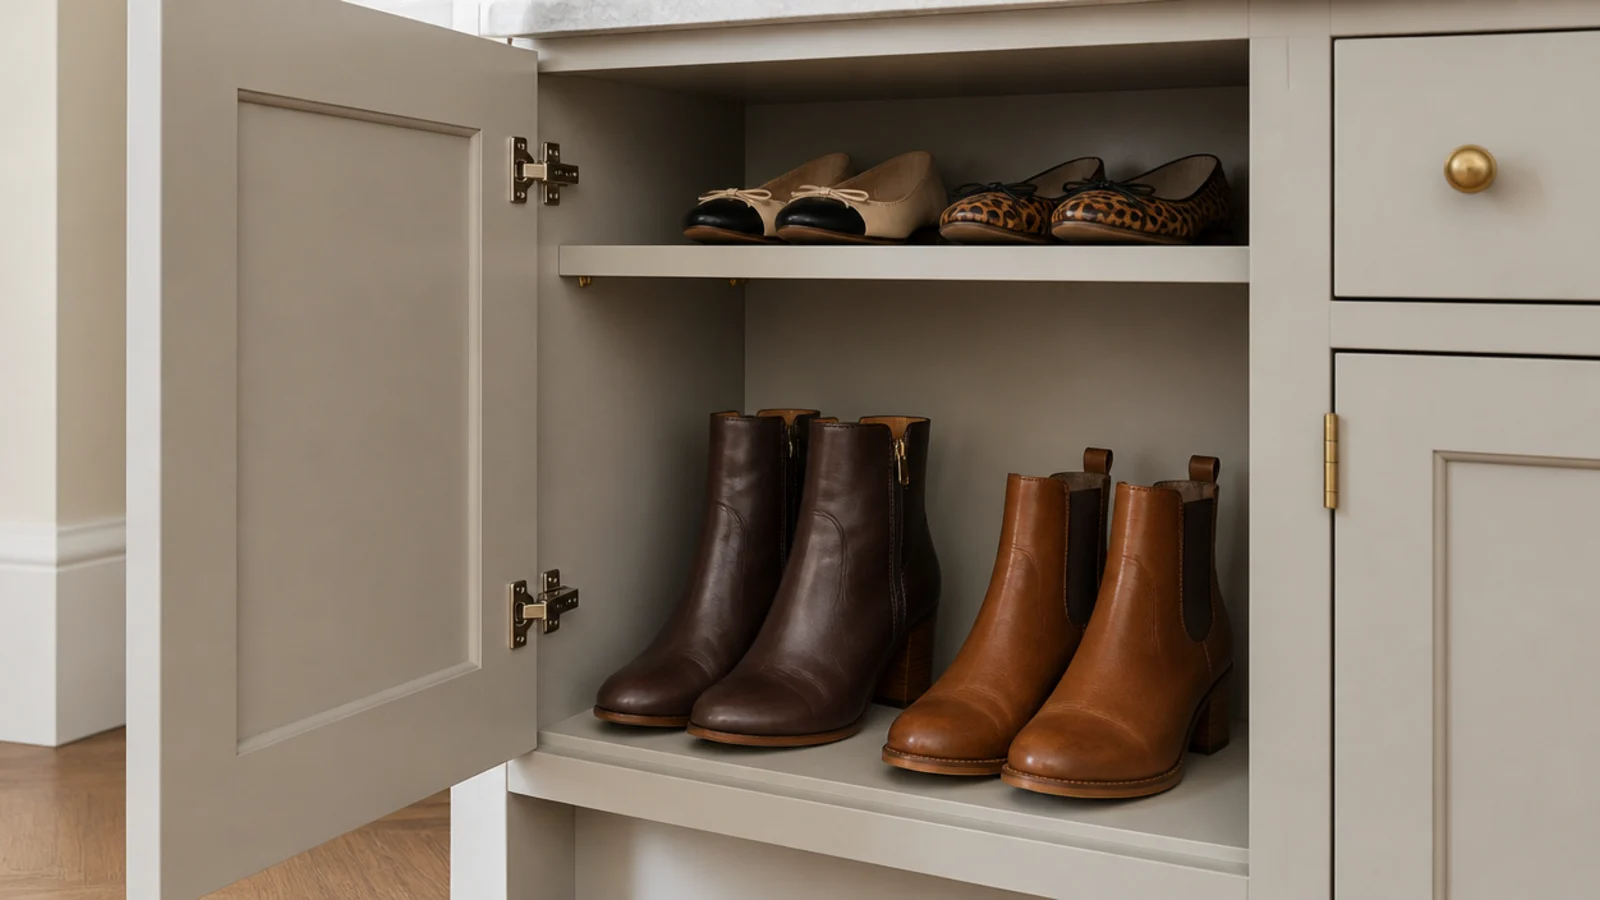
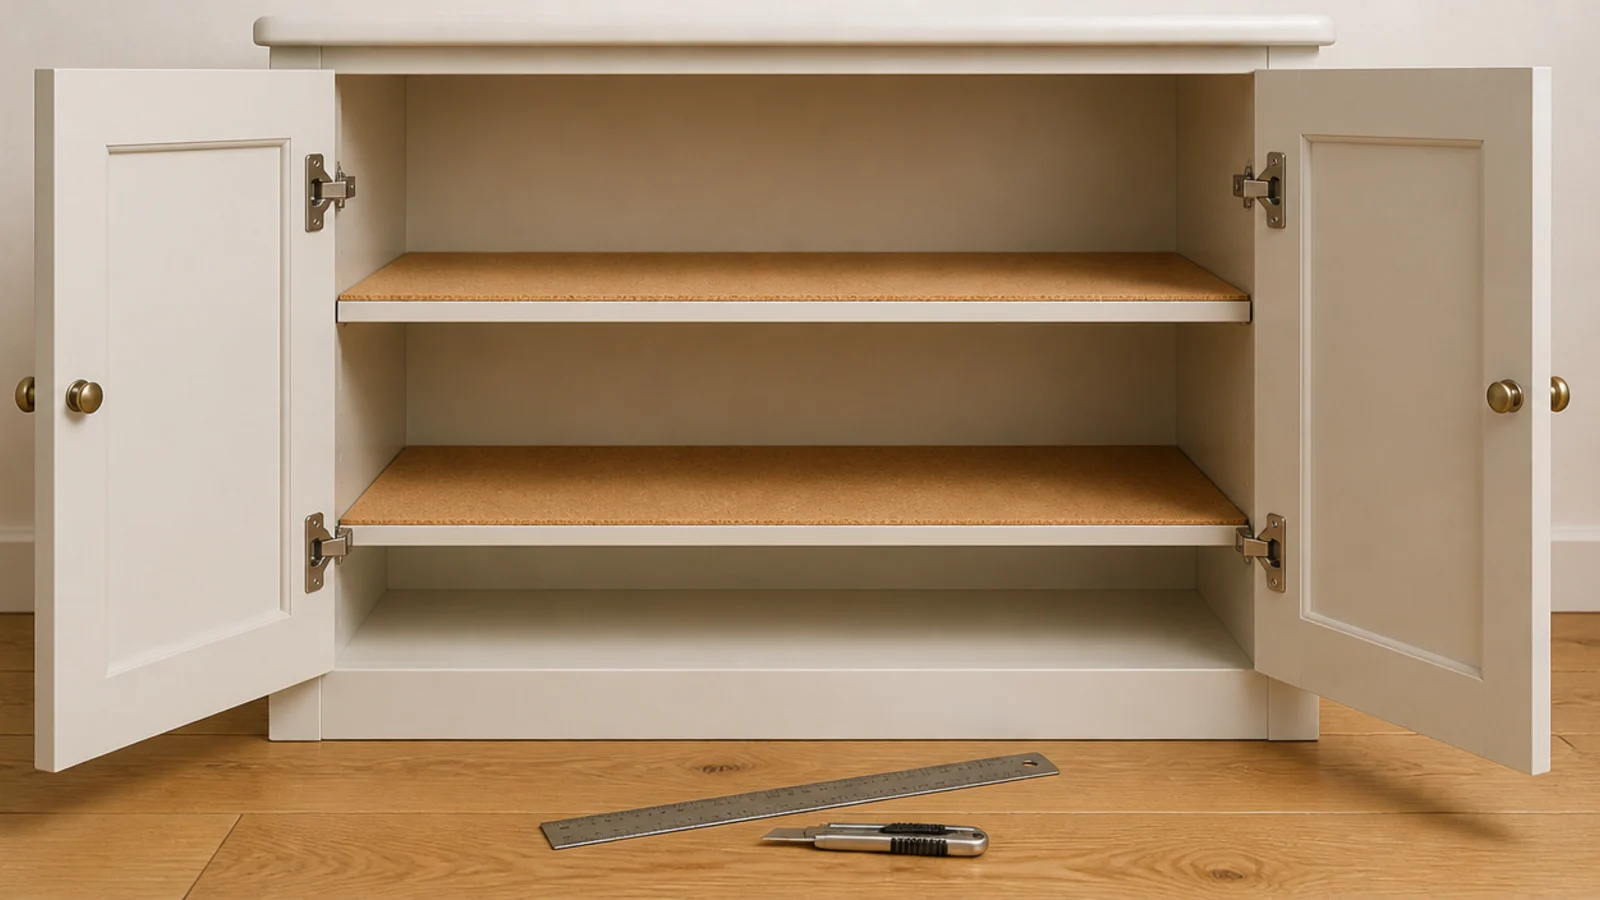
22. Line the bays with cork offcuts
Street grit scratches a melamine interior within weeks and it never looks clean again. Cork or washable rubber matting cut to size stops that for about $8.
Liners lift out and rinse in the sink twice a year. It is a five-minute job that adds years to a cheap cabinet. $
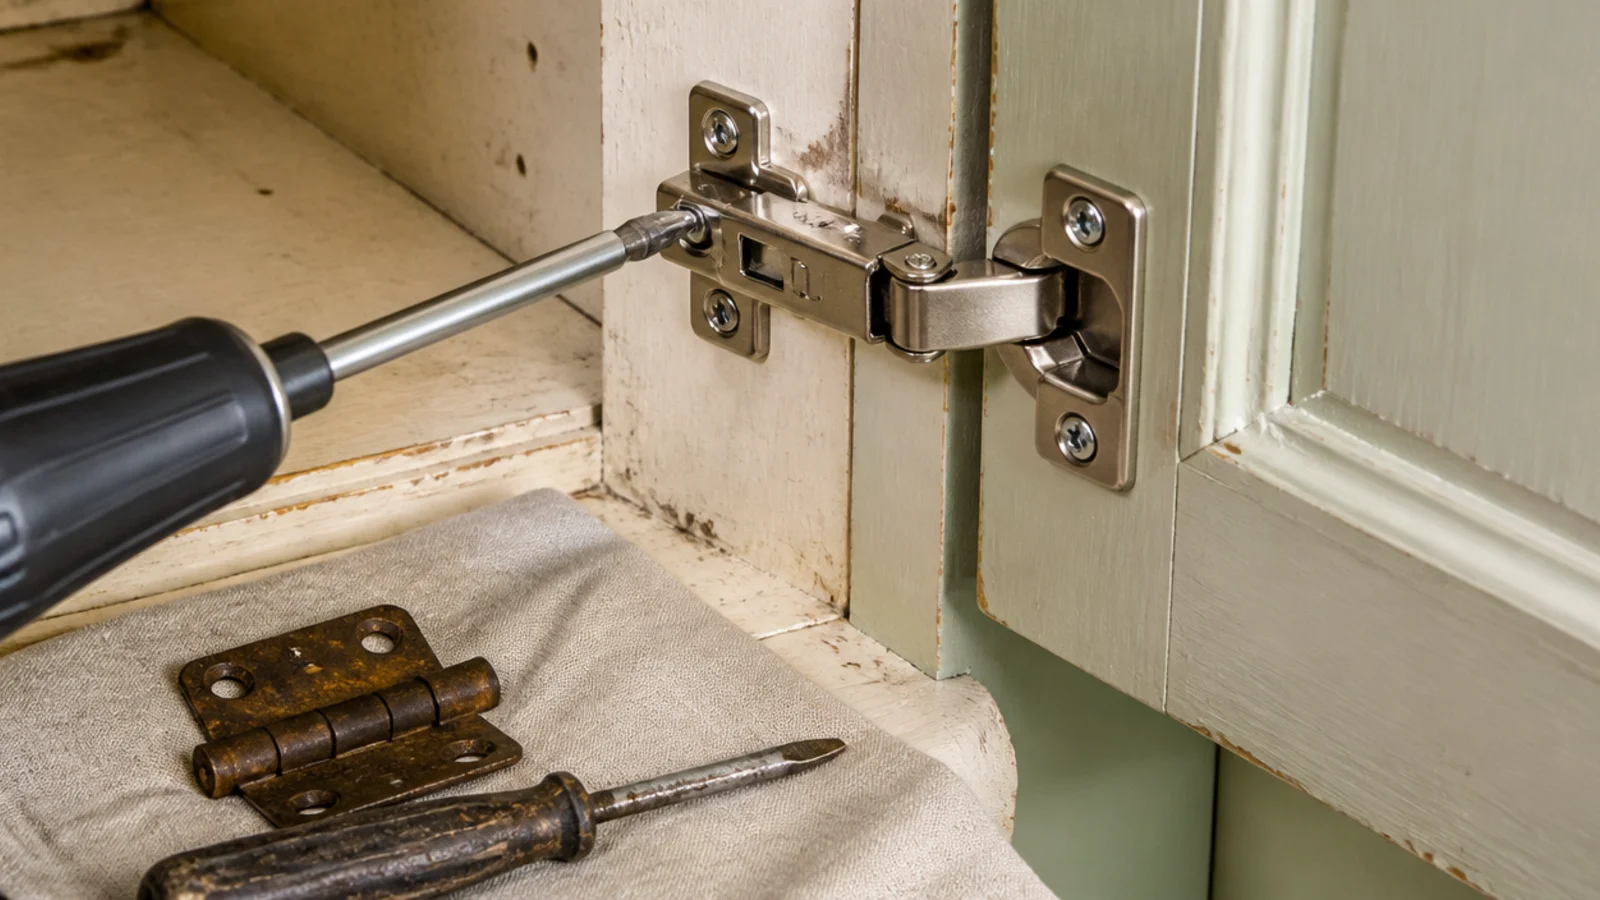
23. Buy secondhand and replace the hinges
Old cabinets are structurally fine and their hinges are usually the tired part. Concealed soft-close hinges cost about $8 a pair and drop into the existing 35mm cups.
Soft-close matters here more than anywhere, because a shoe cabinet door gets shut with a foot twice a day. $
24. Glue a mirror panel onto a plain front
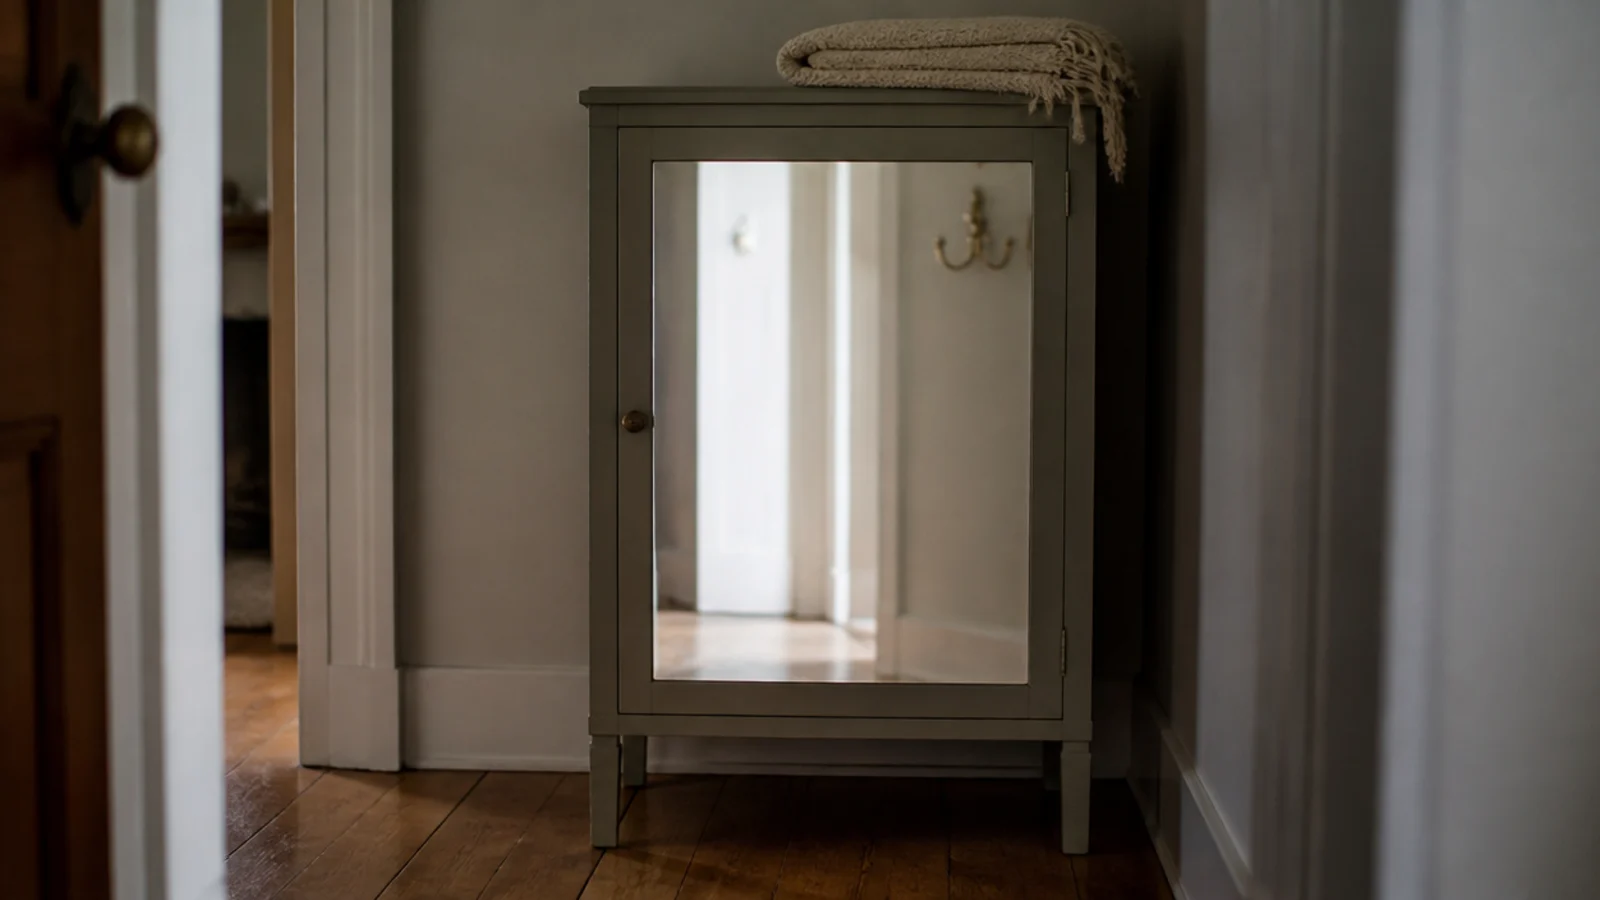
A cut mirror panel fixed to a flat door with mirror adhesive gives a dark hall its light back and hides the shoes behind it.
Add a second hinge for the weight, and choose antiqued or brushed glass if fingerprints bother you. There is more on this in the shoe cabinet with mirror guide. $–$$
25. The wet tray that costs twelve dollars
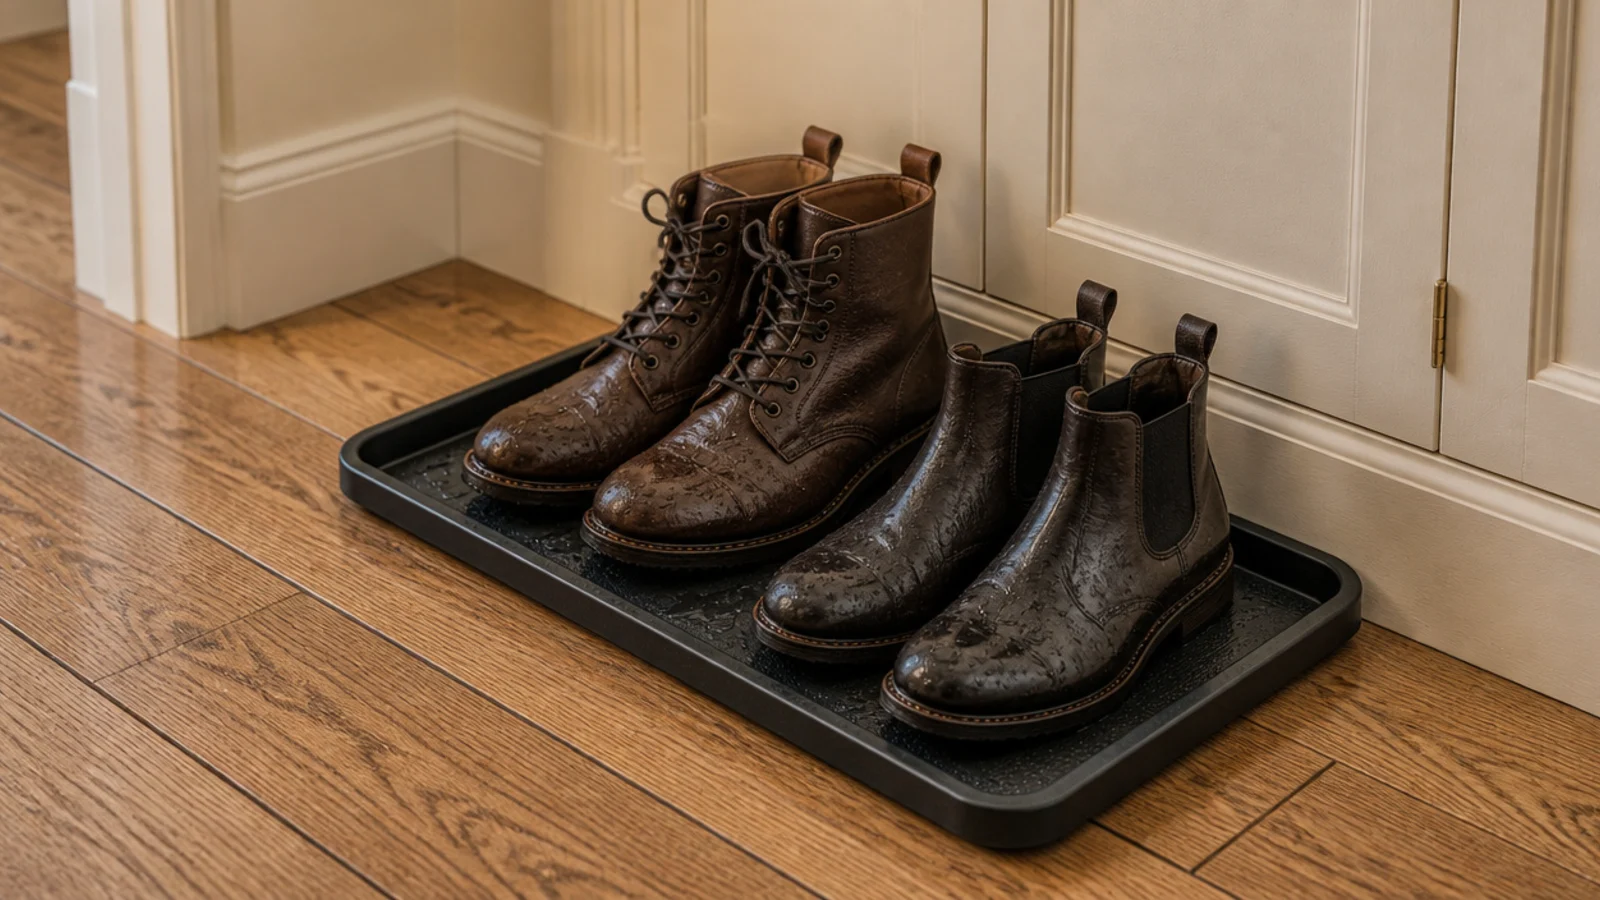
The rule that protects every other idea here: nothing damp goes inside a closed cabinet. It stays damp, spreads moisture, and the whole box smells within two weeks.
A raised-lip metal or heavy rubber tray at least 15 inches deep, on the floor beside the cabinet. Shoes go in the next morning once they are dry. $
Mistakes to Skip
- Buying on external depth. A cabinet sold as 12 inches deep has about 11 inches inside, and an adult sneaker will not lie flat in it.
- Choosing fixed shelves to save $15. Without shelf pins you can never make a 16-inch boot bay, and the boots stay on the floor all winter.
- Sealing the box completely. No slats, no drilled holes, no toe-kick gap means damp air stays put and the cabinet smells within a fortnight.
Frequently asked questions
What is the cheapest way to get a closed shoe cabinet?
A secondhand two-door cabinet or a low nightstand from a thrift store, repainted and drilled for ventilation, comes in around $40 all in. Flat-pack tilt-outs start near $55 new. Both beat buying a cheap open rack twice. Spend the saving on solid brass handles and soft-close hinges, which are what make either one feel intentional.
How deep should an entryway shoe cabinet be in a small hall?
Measure the hallway and keep 36 inches of clear walkway, then spend whatever is left. In most small entries that lands at 9 to 12 inches, which means a tilt-out rather than flat shelves. Shoes sit at 45 degrees in a tilt-out, so a 12.5-inch sneaker fits into nine inches of depth without touching the walkway.
Can renters fit a shoe cabinet without drilling?
Yes for the cabinet itself — freestanding units need no fixings at all. The exception is the anti-tip strap on anything over 40 inches tall, which needs one screw into a stud. That is a single small hole you fill with a dab of filler when you leave, and it is genuinely worth it on a shallow cabinet.
How do I make a cheap shoe cabinet look expensive?
Three changes, in this order: swap the plastic handles for solid brass pulls, add tapered legs to lift it six inches off the floor, and paint it the exact wall color so the bulk disappears. Total cost is about $50 and it changes the read of the piece more than spending three times as much on a new one would.
Will a budget shoe cabinet hold boots?
Only if it has adjustable shelves and you give one bay 16 inches of clear height, or 20 inches for knee-highs. Tilt-out drawers will not take boots at all — they refuse to fold into the cradle and jam the front. Plan the boot bay before you buy, because retrofitting it into a fixed-shelf cabinet is not possible.
Spend your budget on depth and ventilation first, then on handles and legs — in that order, a $60 cabinet outperforms a $200 one chosen badly. For the narrowest halls, slim shoe cabinet options go shallower still, shoe cabinet ideas covers the full range of closed setups, and if open storage suits your mornings better, small-space shoe storage makes that case. Save the pin before your next thrift store run.
Want more like this? Browse all 15 shoe cabinet ideas guides — they all use the same measurements and budget tiers.
Pin it for later
Save this to your Shoe Cabinet Ideas board
Pin it now so it is waiting for you when the tape measure comes out — and so the next person hunting for this idea can find it too.
Save this pinKeep going
More ideas worth saving while you have the tape measure out.