Entryway & Foyer Ideas · How-To
20 Steps to Style a Stunning Entryway

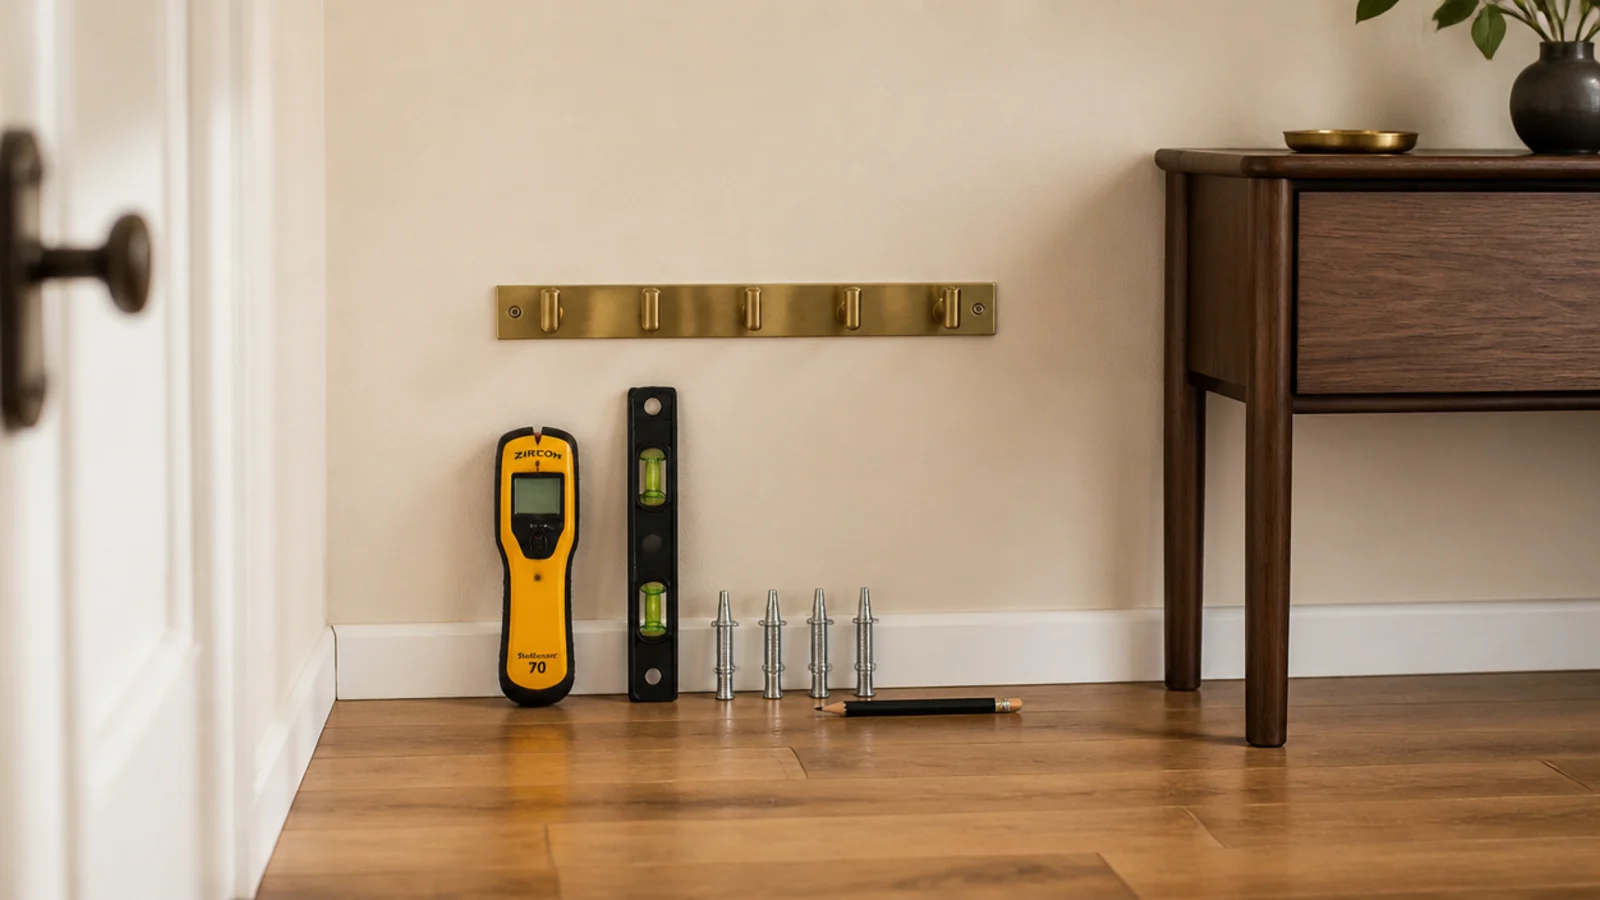
DIY entryway decor goes wrong in the order, not the taste. People buy the console first, hang the hooks around it, and end up with a hall where nothing quite lines up and the walkway is four inches too tight. Do it in sequence instead — measure, empty, paint, mount, style — and a bare entry becomes a working one over a single weekend. These twenty steps are the exact order I use.
In this guide23 sections — tap to openHide
- 1.What You'll Need for DIY Entryway Decor
- 2.Step 1: Measure the walkway, not the wall
- 3.Step 2: Choose the three jobs this entry will do
- 4.Step 3: Tape the layout out at full size
- 5.Step 4: Find and mark the studs
- 6.Step 5: Empty the entry completely
- 7.Step 6: Patch, sand and wipe the wall
- 8.Step 7: Paint the entry a shade deeper than the hall
- 9.Step 8: Mount the coat rail at 52 inches
- 10.Step 9: Add a lower rail at 40 inches for children
- 11.Step 10: Hang the mirror centred at 57 to 60 inches
- 12.Step 11: Set the console at 30 to 32 inches
- 13.Step 12: Or mount a ledge if clearance is tight
- 14.Step 13: Add a second light source
- 15.Step 14: Lay the flat-weave washable runner
- 16.Step 15: Build the shoe zone before the pile starts
- 17.Step 16: Put one tray on the landing surface
- 18.Step 17: Slide a basket in for the overflow
- 19.Step 18: Style the surface at three heights
- 20.Step 19: Leave the wall above the hooks bare
- 21.Step 20: Live with it a week, then edit
- 22.Pro Styling Rules
- 23.Mistakes to Skip
What You'll Need for DIY Entryway Decor
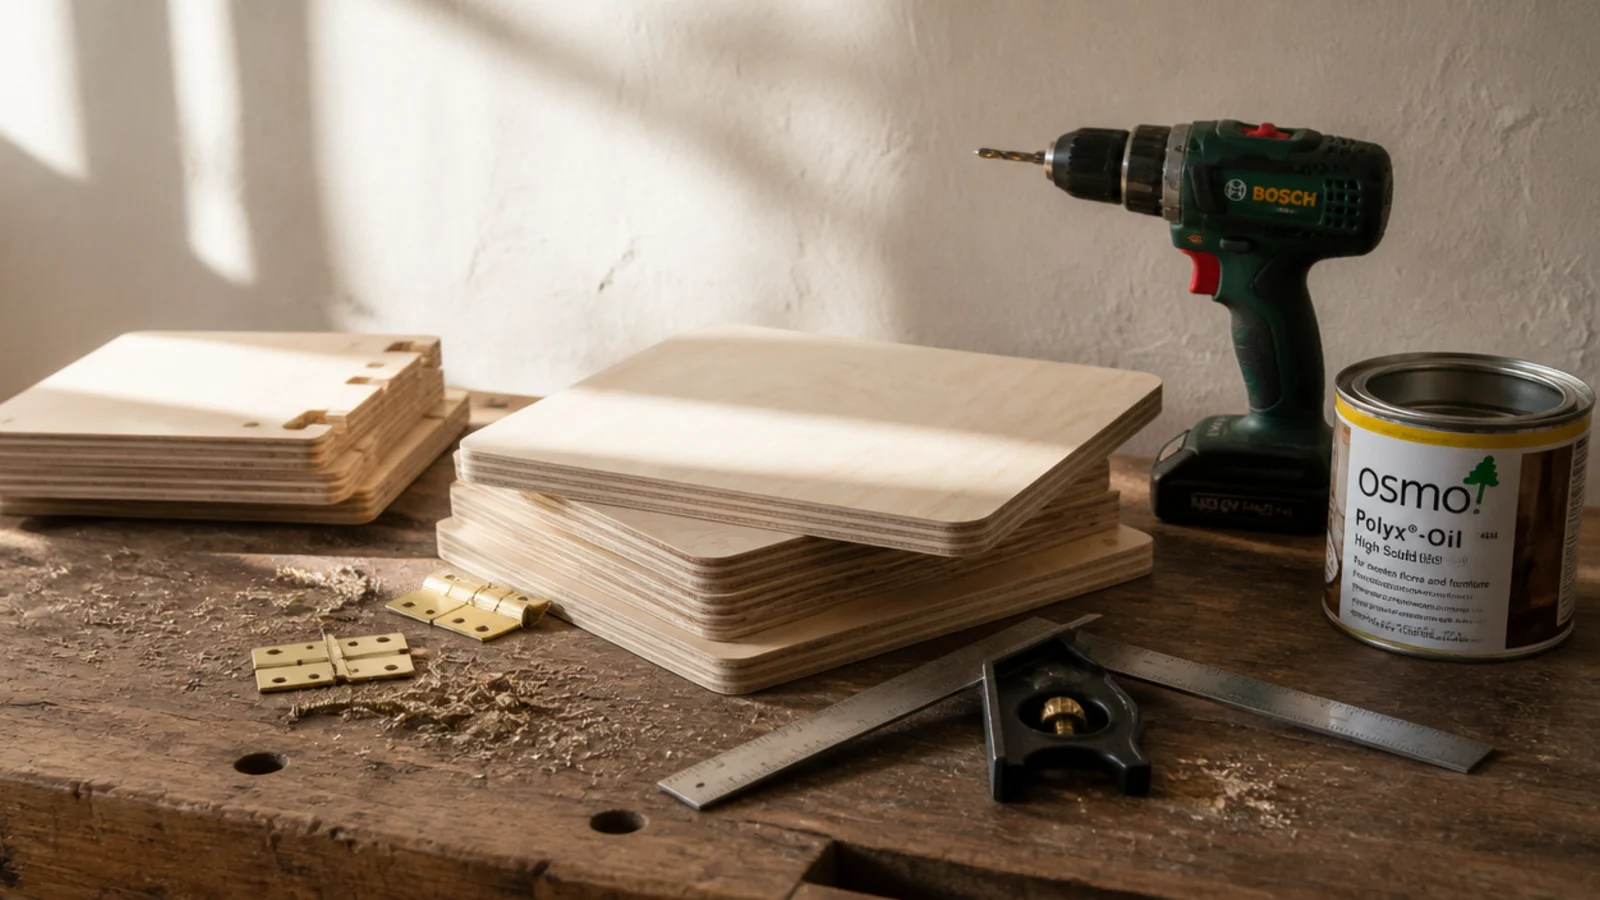
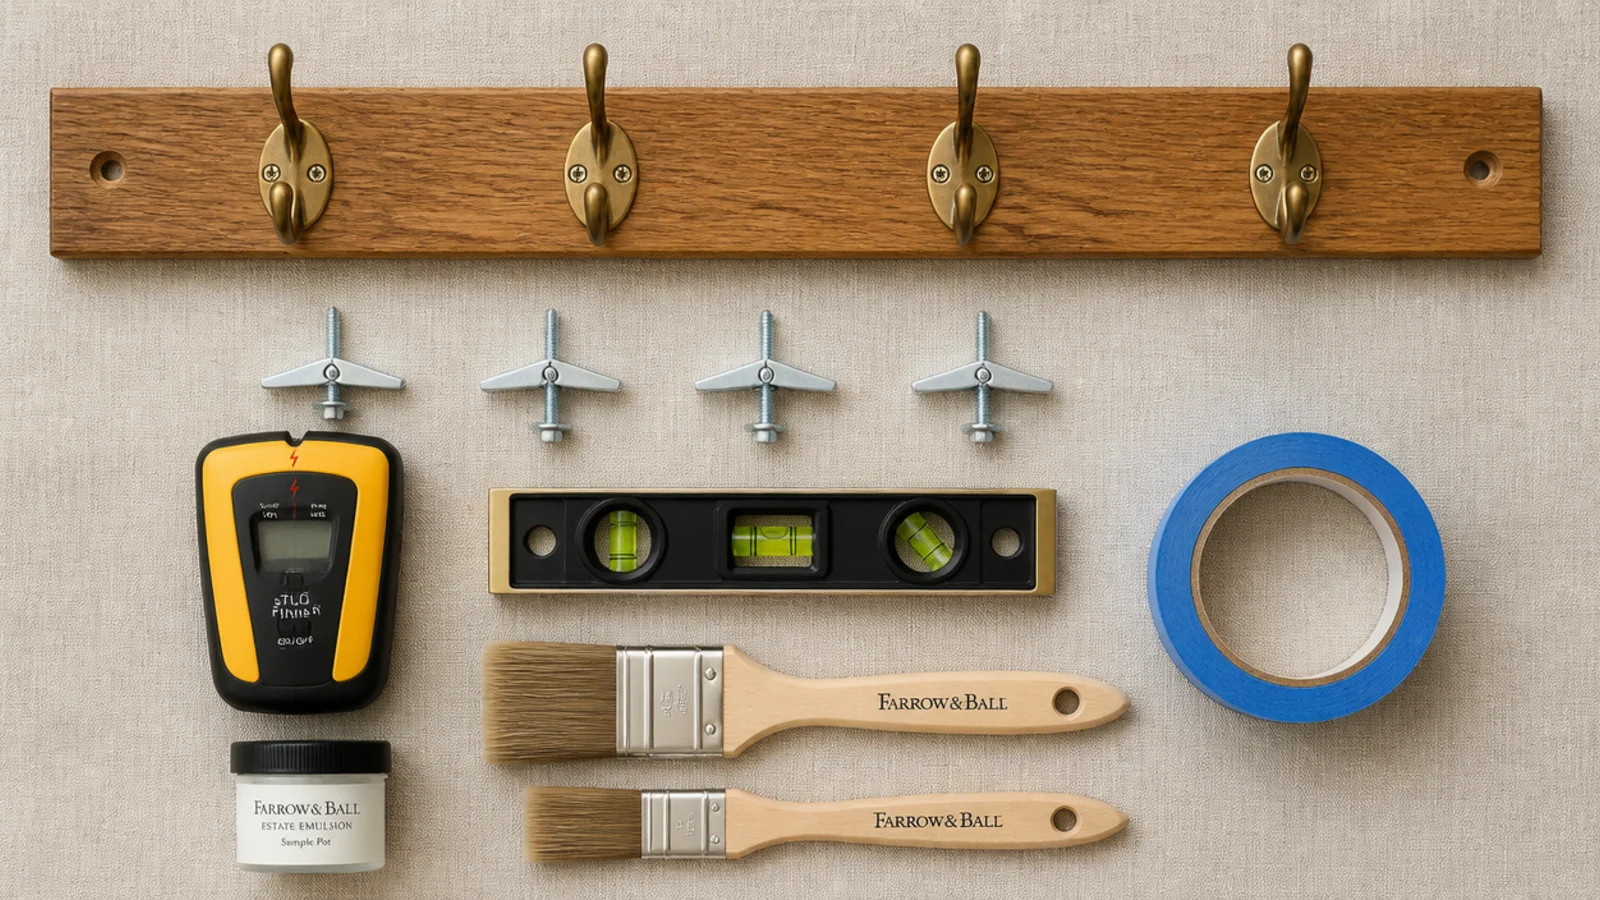
Nothing here is specialist. If you own a drill and can borrow a level, the hardware and paint run about $80, and the furniture is whatever your three chosen jobs need.
An entry has five jobs: a place to sit, a place for shoes, a place for coats, a landing surface for small items, and a mirror. A working entry does at least three. Decide your three in Step 2 and buy only for those.
| Item | Spec that matters | Rough cost |
|---|---|---|
| Hook rail | Solid oak or pine, 24–36 in, screwed to studs | $30–$60 |
| Wall hooks | Aged brass or matte black, 8–10 in apart | $3–$7 each |
| Toggle bolts | 1/8 in, for half-inch drywall | $4 |
| Mirror | 24 in round or 20 x 30 in rectangle | $40–$90 |
| Paint | One quart, eggshell, a few shades deeper than the hall | $25 |
| Runner | Flat-weave, washable, plus a thin non-slip pad | $40–$80 |
| Tray | One only, roughly 8 x 12 in | $12–$30 |
| Tools | Drill, stud finder, spirit level, tape measure, painters tape | borrowed |
Step 1: Measure the walkway, not the wall
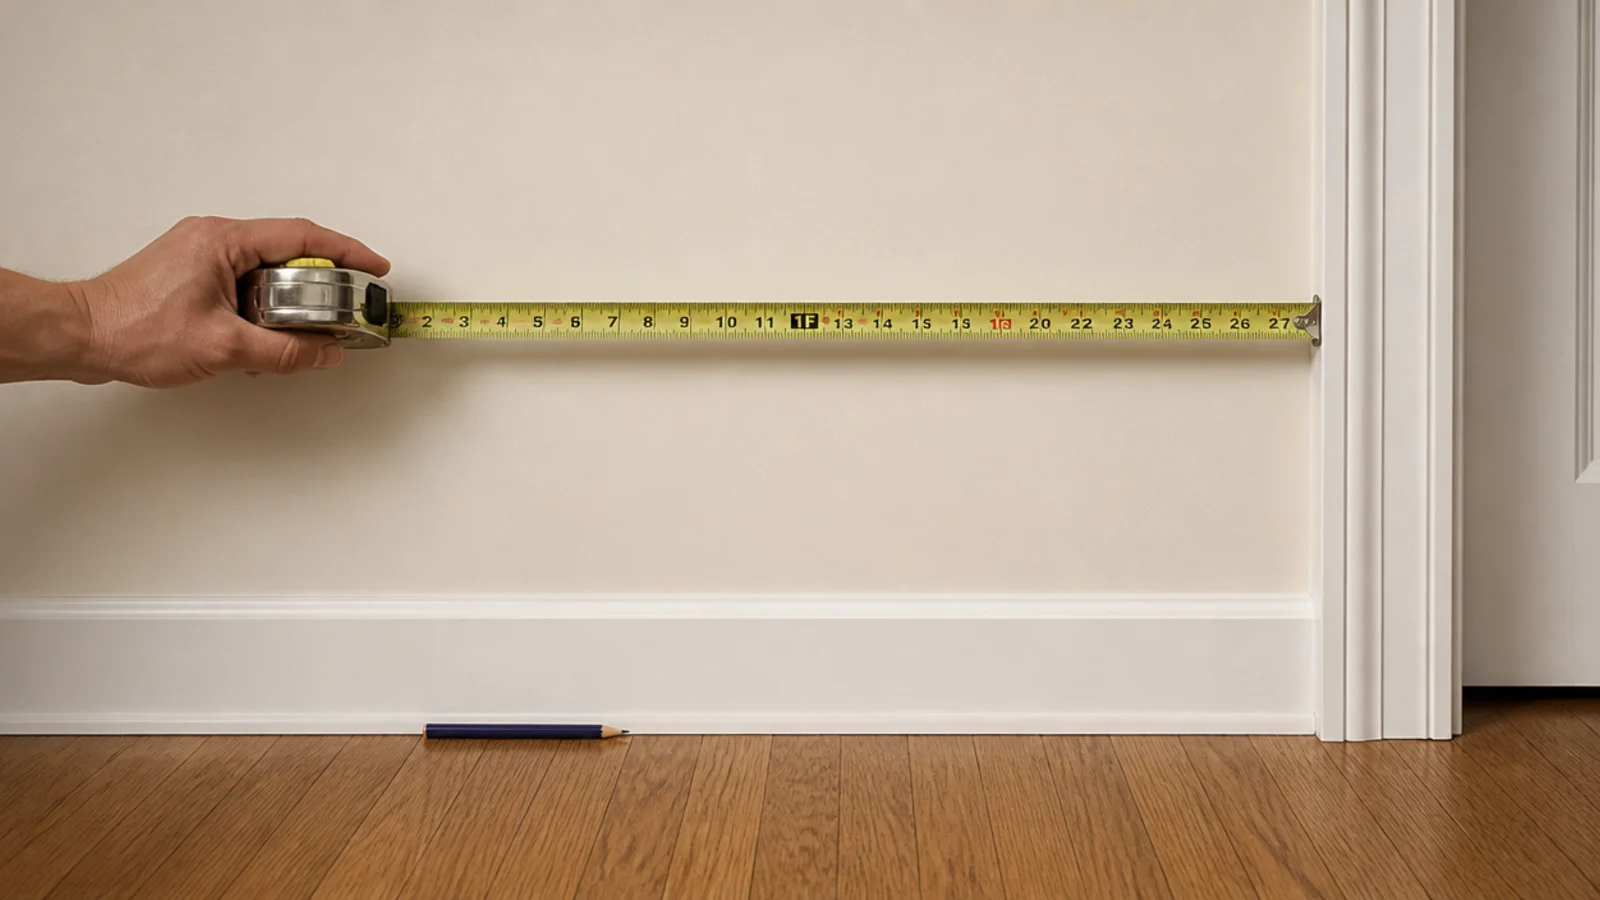
Stand with your back against the entry wall and measure to the nearest thing you walk around — a doorframe, a stair newel, the swing of the front door.
That single number decides the whole plan. Under 36 inches of clearance, nothing sits on the floor and everything goes on the wall. Between 36 and 48 you can have a 12-inch console or a narrow bench. Over 48 and you can have both. Write it down and take it shopping.
Step 2: Choose the three jobs this entry will do
Look at how your household actually leaves the house, then pick three jobs from the five. In my hall it is coats, a landing surface and a mirror; shoes live in the closet and nobody sits down.
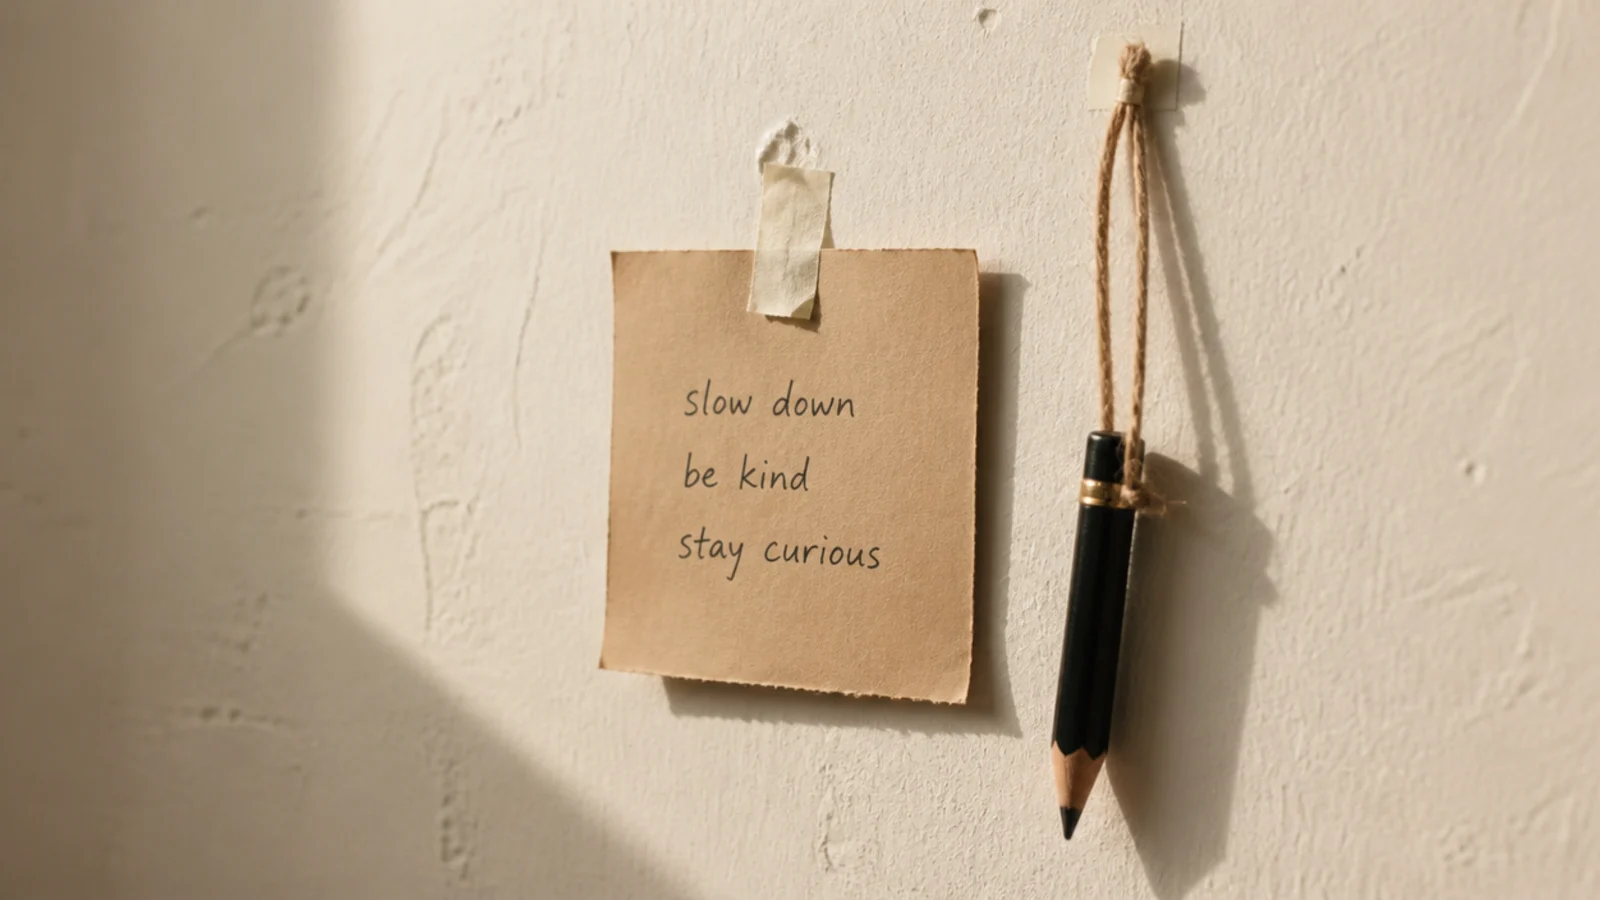
Write the three on a note and tape it to the wall. Everything you buy from here has to serve one of them. This is the step that stops you buying a bench for a hall that has no room to sit in, which is the most common and most expensive entry mistake.
Step 3: Tape the layout out at full size
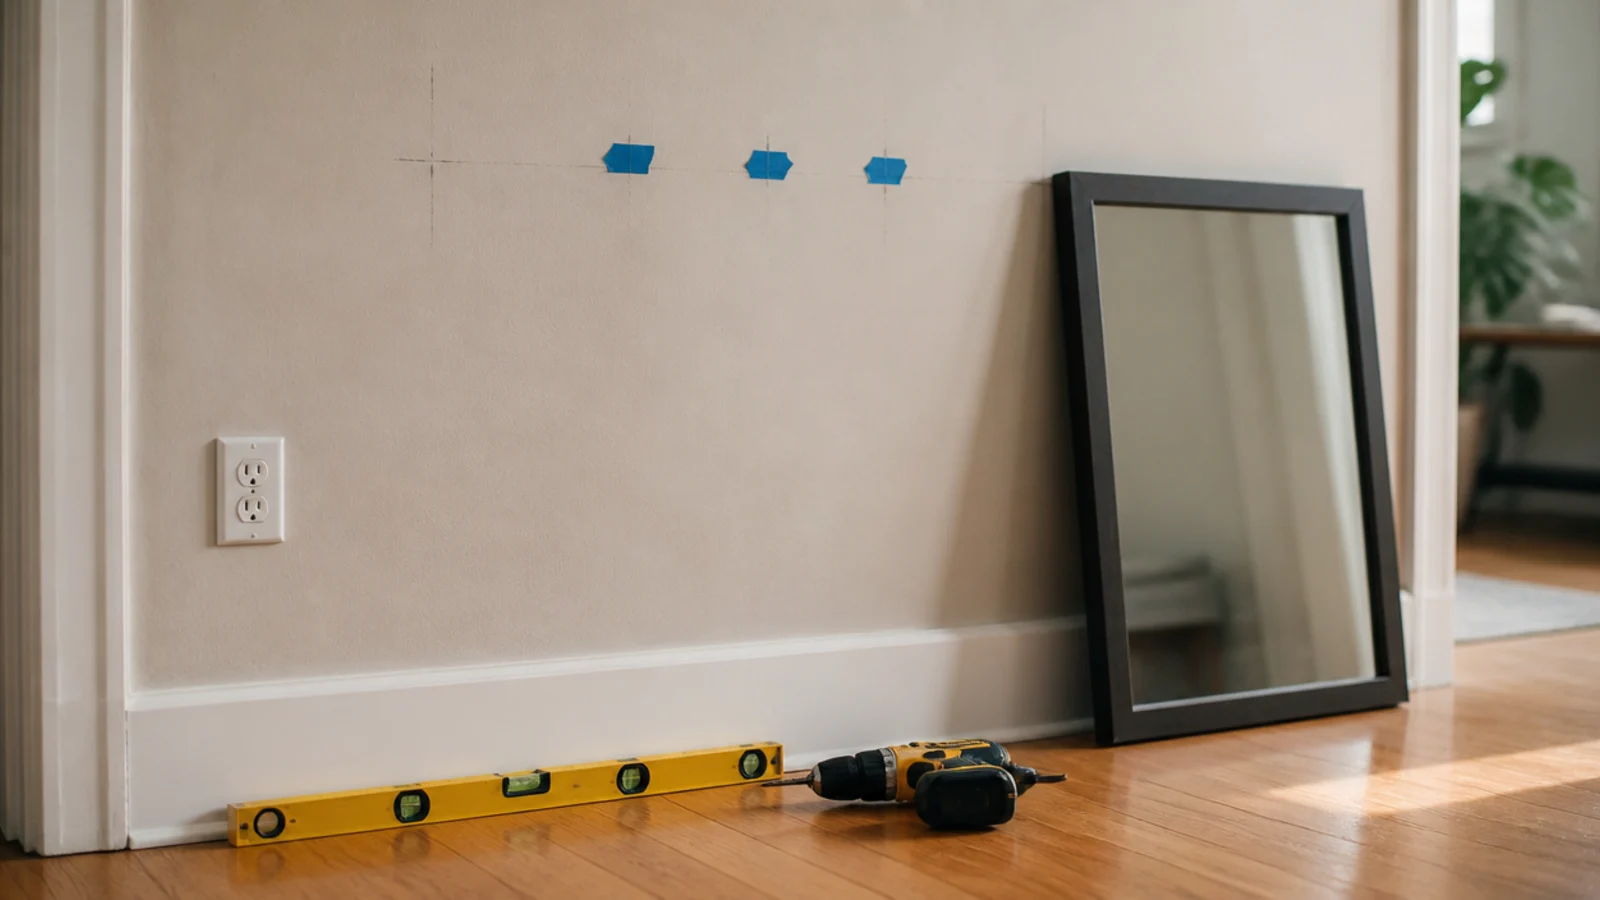
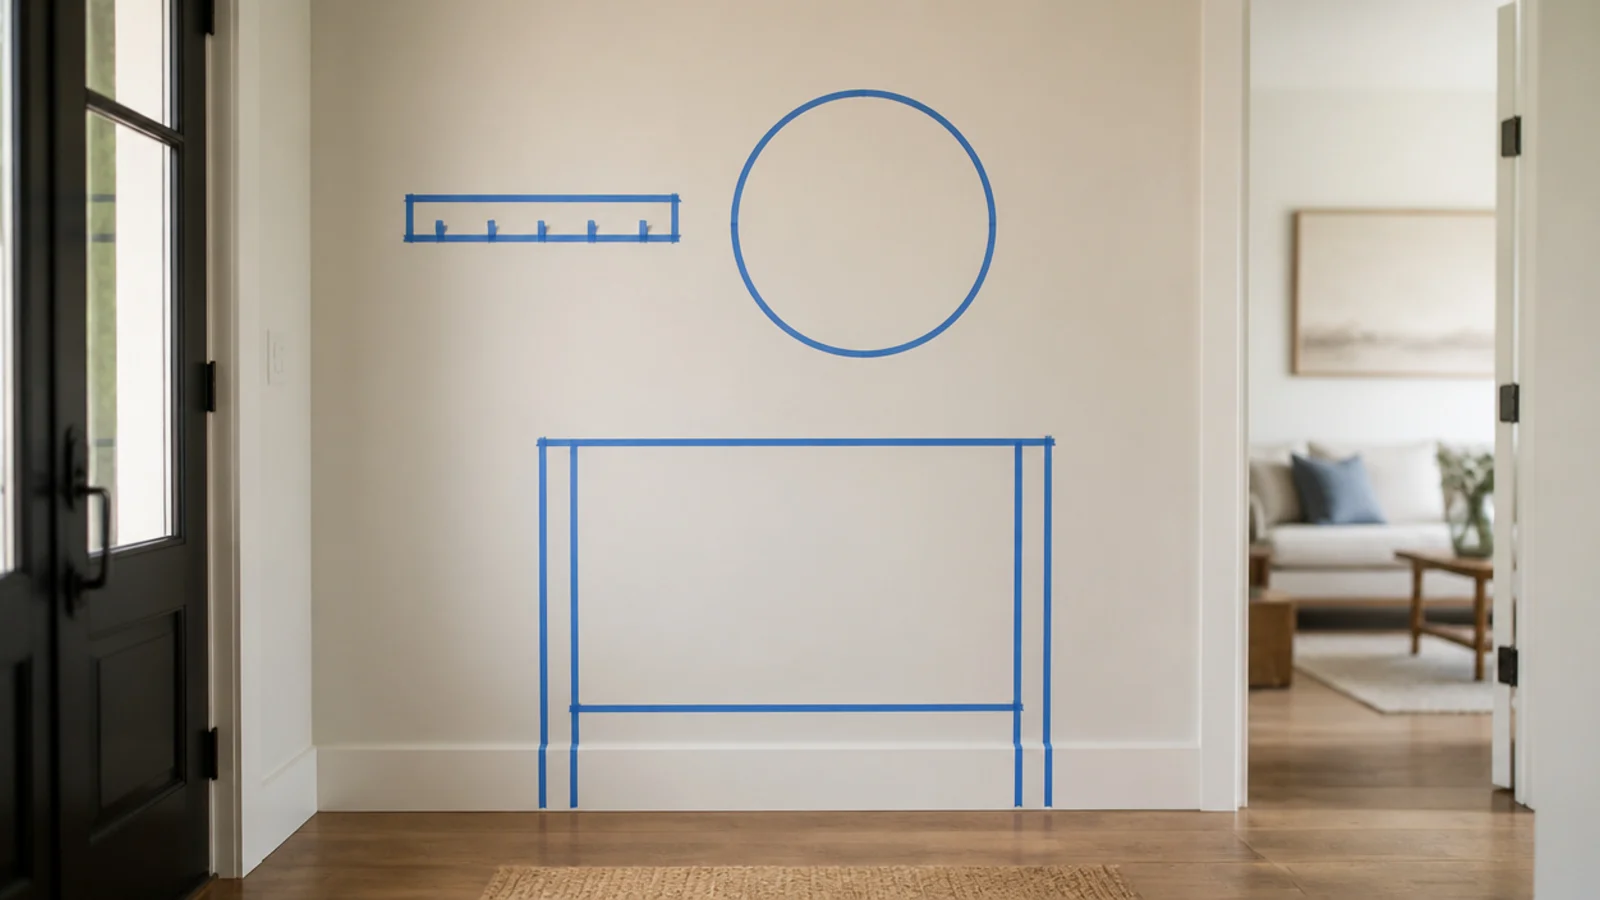
Mark the hook rail, the mirror and the console outline on the wall in painters tape at full size, then leave it for a day and walk past it.
You will move something. A rail that looked centred on paper often sits two inches into the door swing, and a mirror planned above a console usually wants to be higher. Tape costs $4, and each hole you avoid saves a patch and a touch-up later.
Step 4: Find and mark the studs
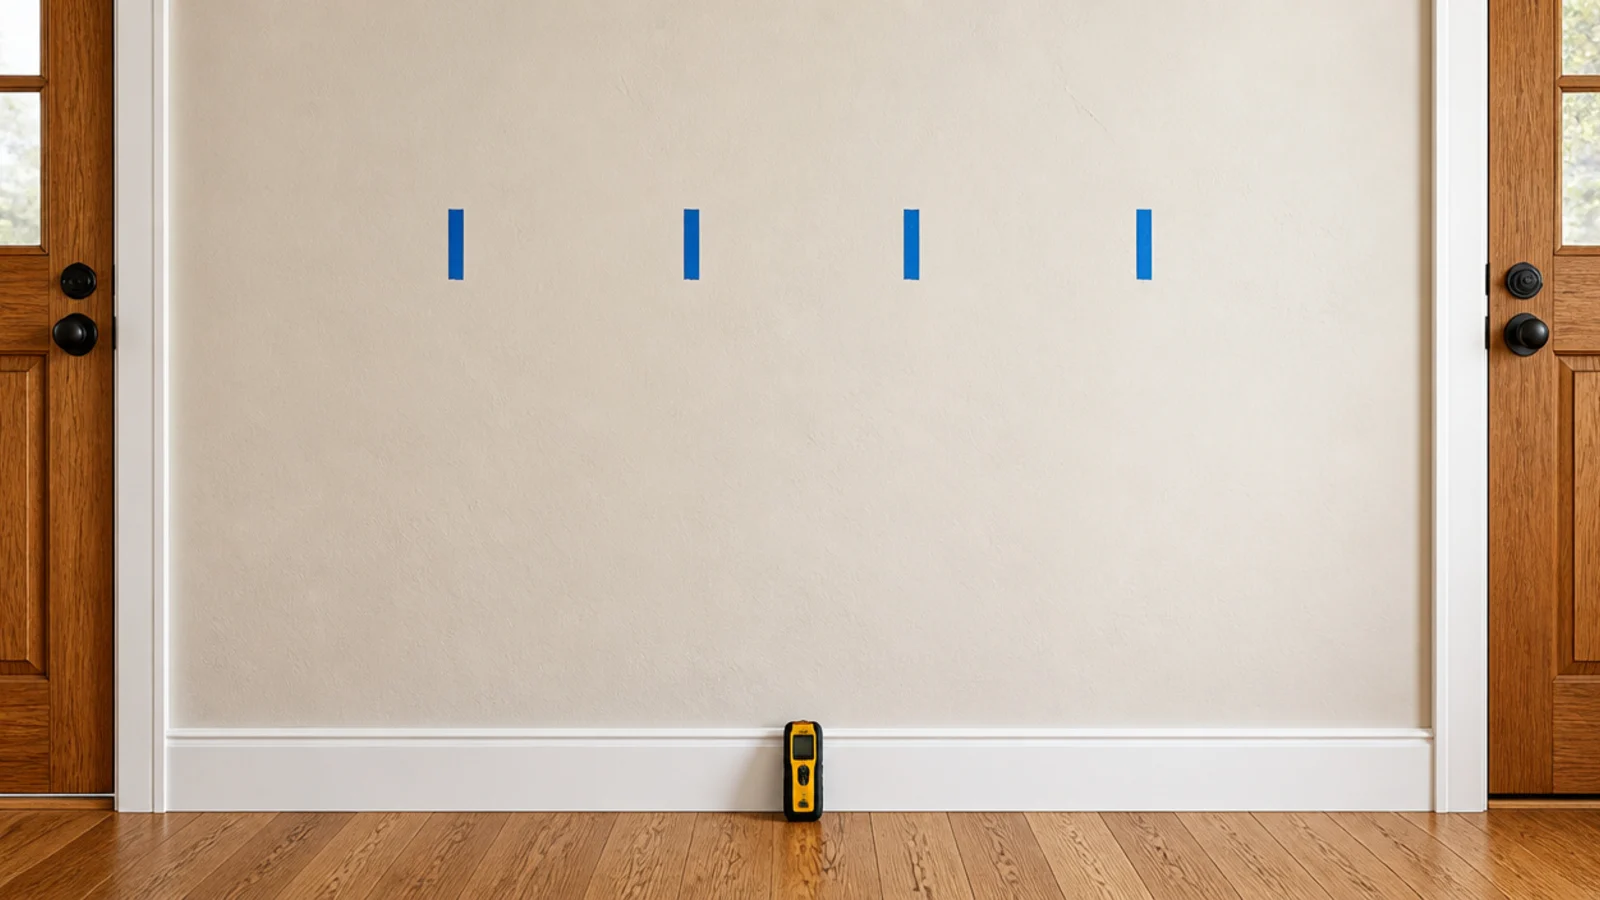
Run the stud finder along the wall at chest height in six-inch sweeps and mark every hit with a short strip of painters tape.
Tape survives the whole build; pencil vanishes the moment you paint. A loaded coat rail carries 20 to 30 pounds, so at least one screw needs a stud. Where nothing lands usefully, toggle bolts into half-inch drywall carry 25 to 35 pounds each — and the plastic plugs in the box carry about ten, which is why so many rails end up on the floor.
Step 5: Empty the entry completely
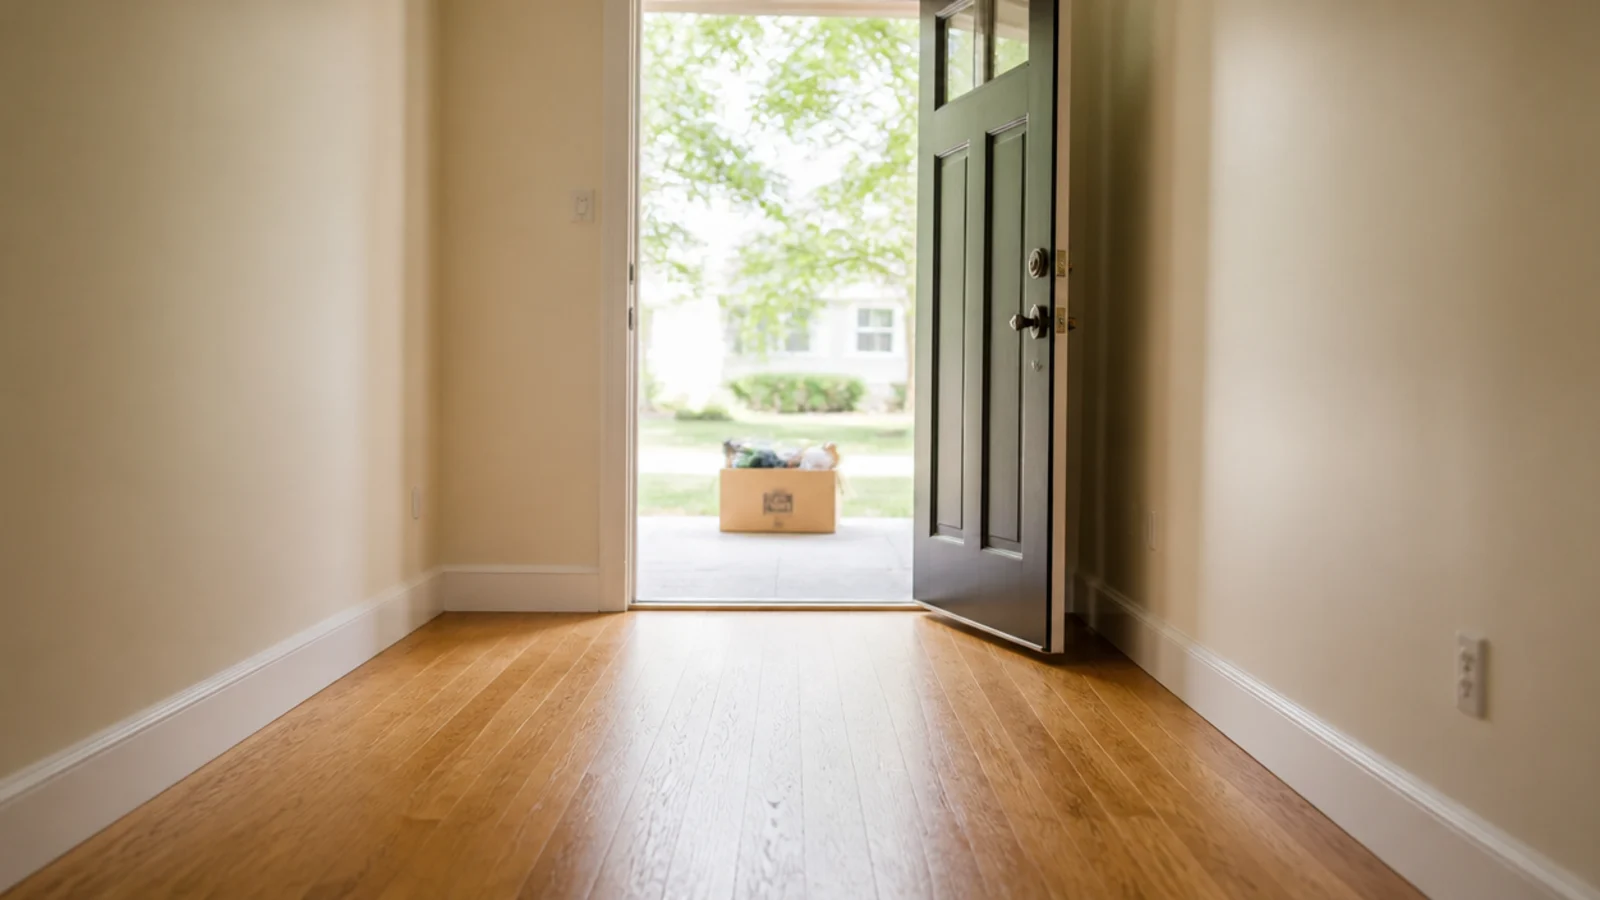
Take everything out. Coats, shoes, the basket of gloves, the chair that has been holding bags since spring — all of it into another room.
You will not put half of it back, and that is the point. An empty entry also shows you the marks on the wall, the scuffed baseboard and the dead bulb you have been ignoring. Photograph the bare space first; it is useful an hour later when you are second-guessing the layout.
Step 6: Patch, sand and wipe the wall
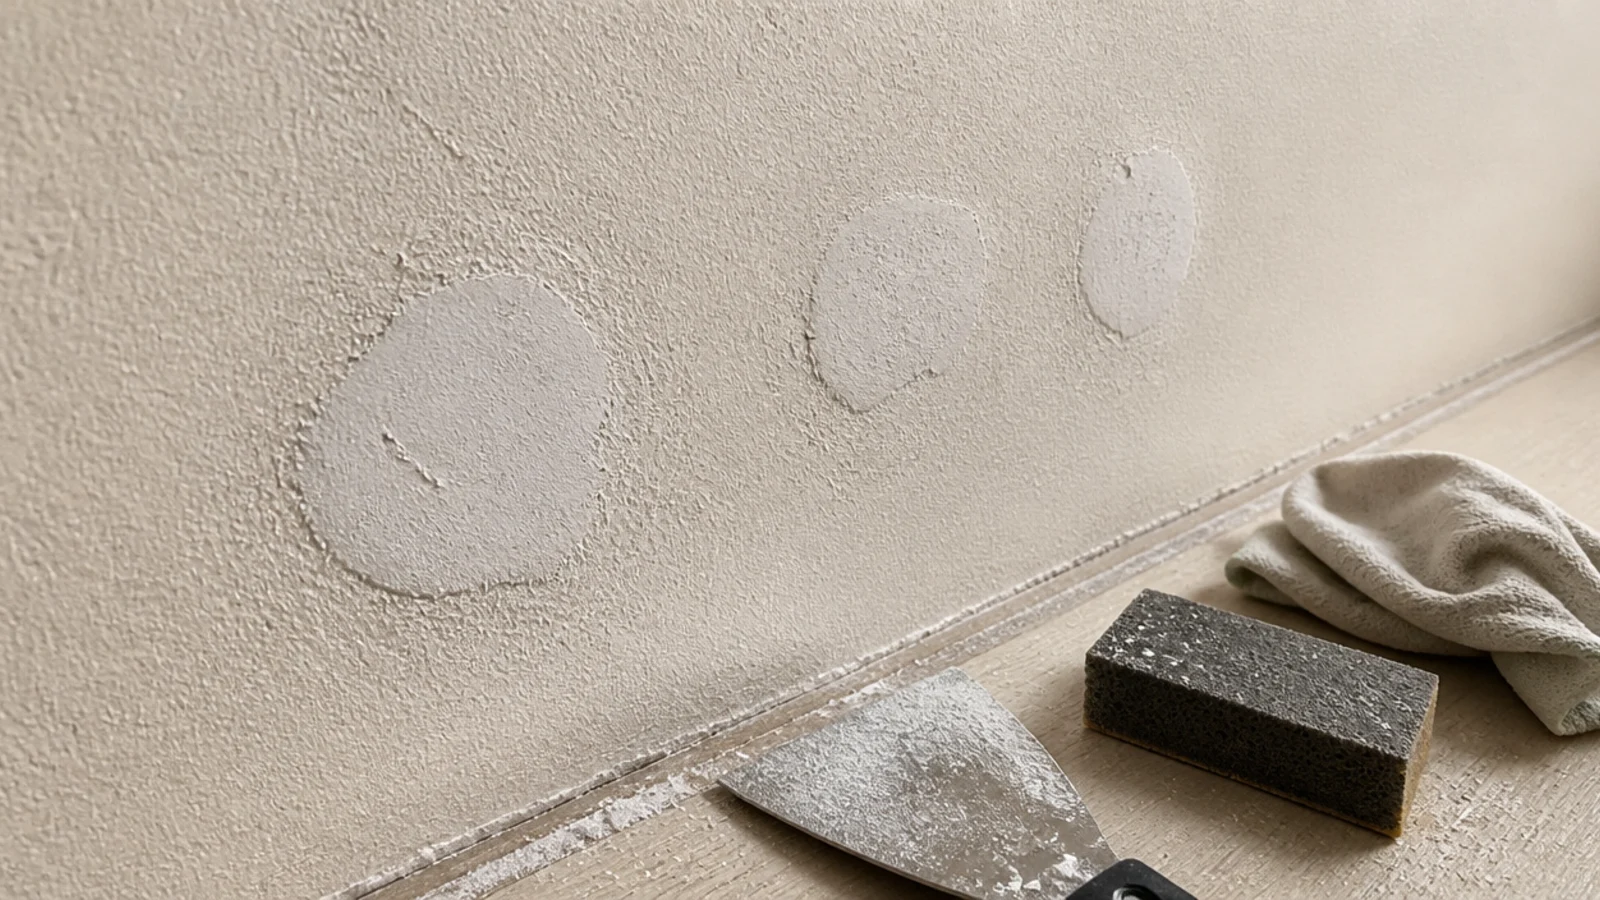
Fill every old anchor hole with lightweight filler, let it dry, then sand flush with a fine sponge. Old toggle holes are wide and need two passes — the first shrinks as it dries.
Wipe the whole wall down with a damp cloth afterwards. Entry walls collect a film of dust and boot spray at the base, and paint over that film peels along the baseboard.
Step 7: Paint the entry a shade deeper than the hall
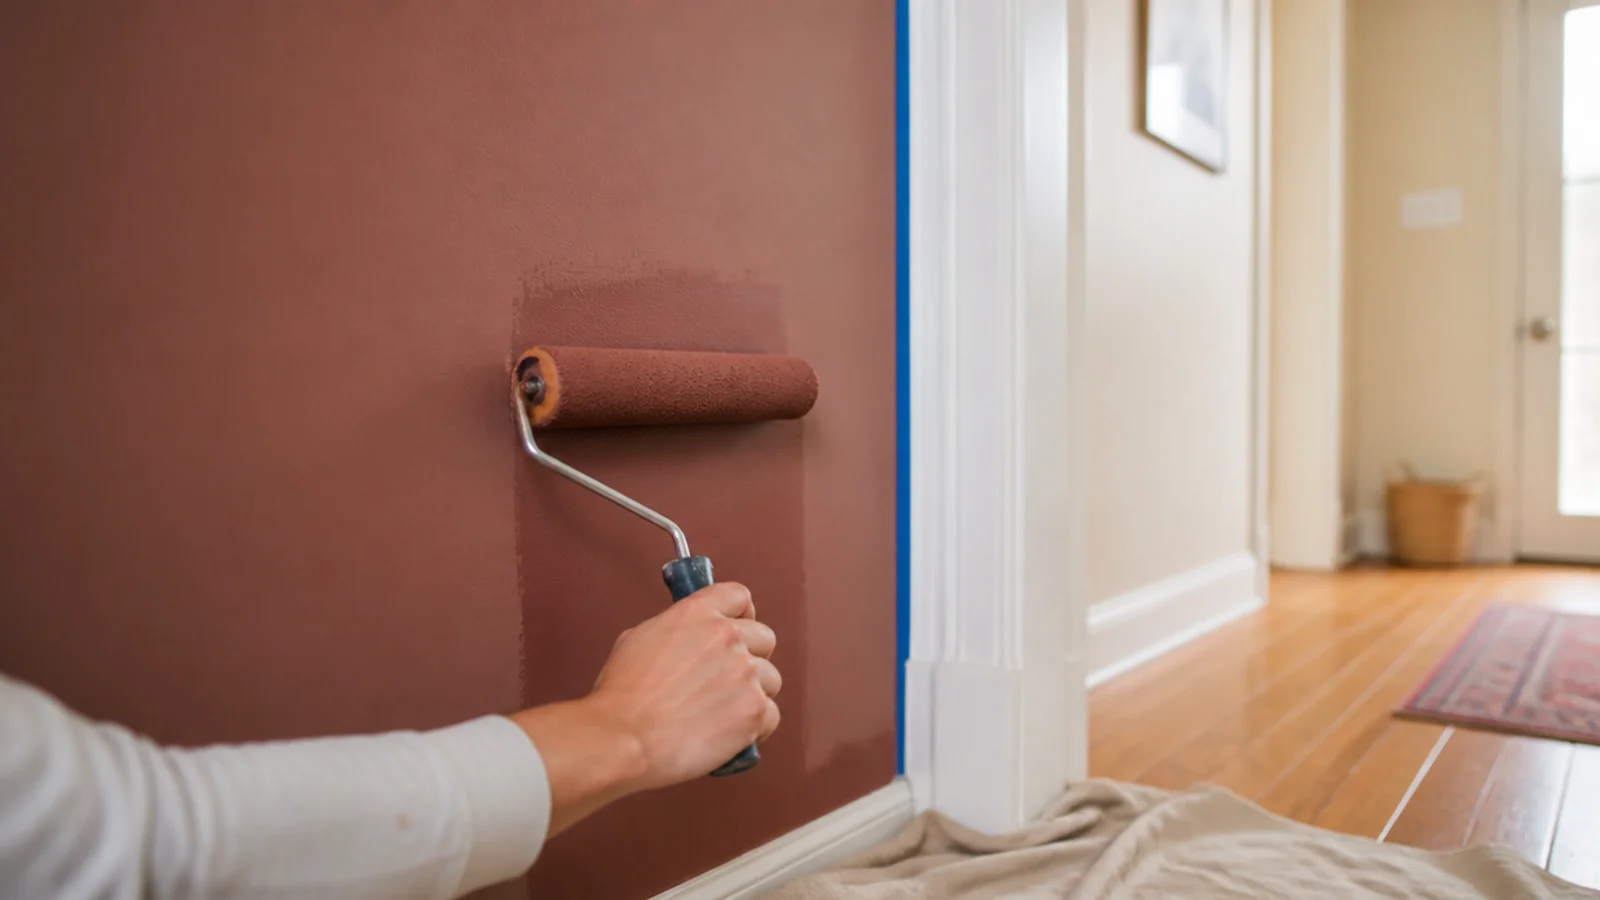
Paint before anything goes on the wall. Cutting in around a mounted hook rail takes three times as long and never looks as clean.
Take the hall colour and go two or three steps deeper on the same paint strip, using it on the entry walls only and stopping cleanly at the first doorframe. The darker pocket makes the space beyond read brighter, which surprises everyone. Eggshell, not flat — entry walls get touched constantly and flat paint will not wipe.
Step 8: Mount the coat rail at 52 inches
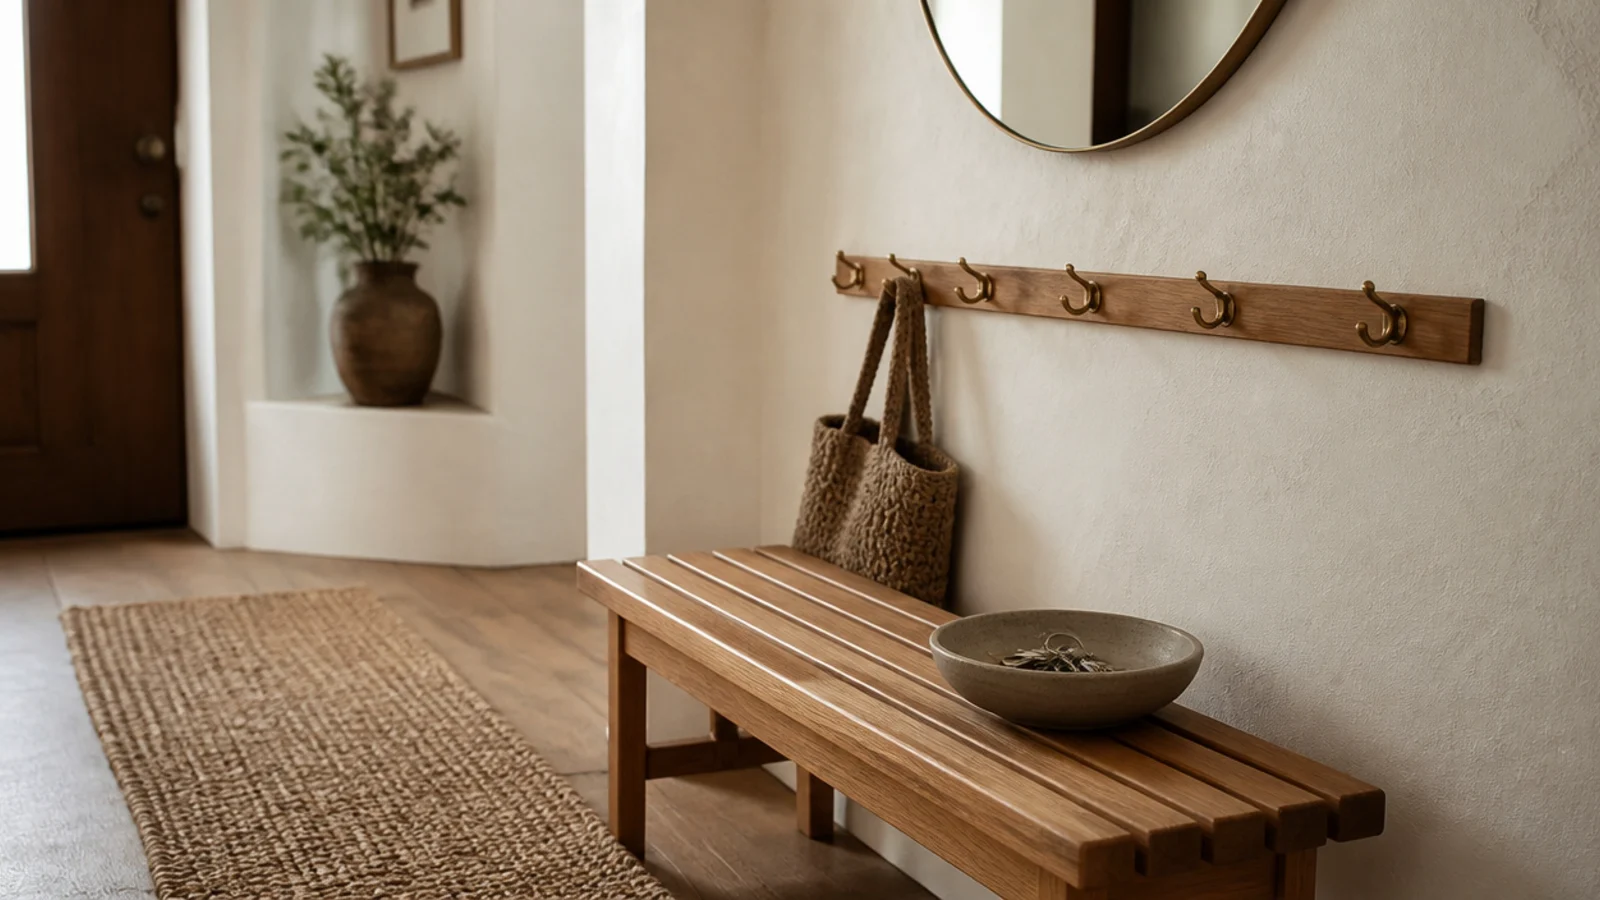
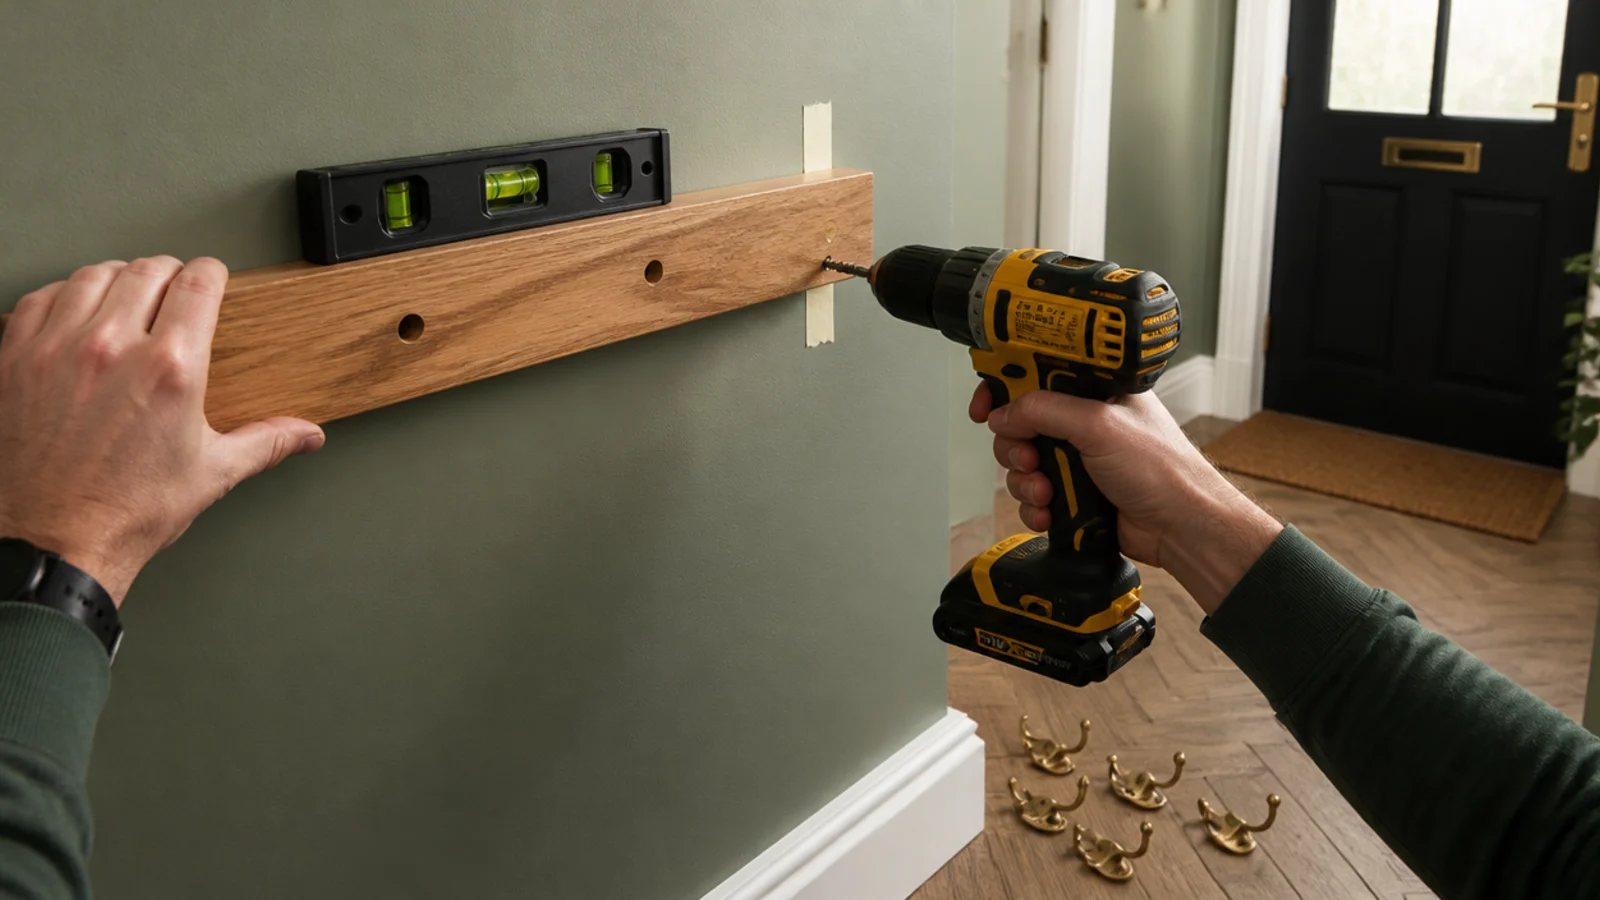
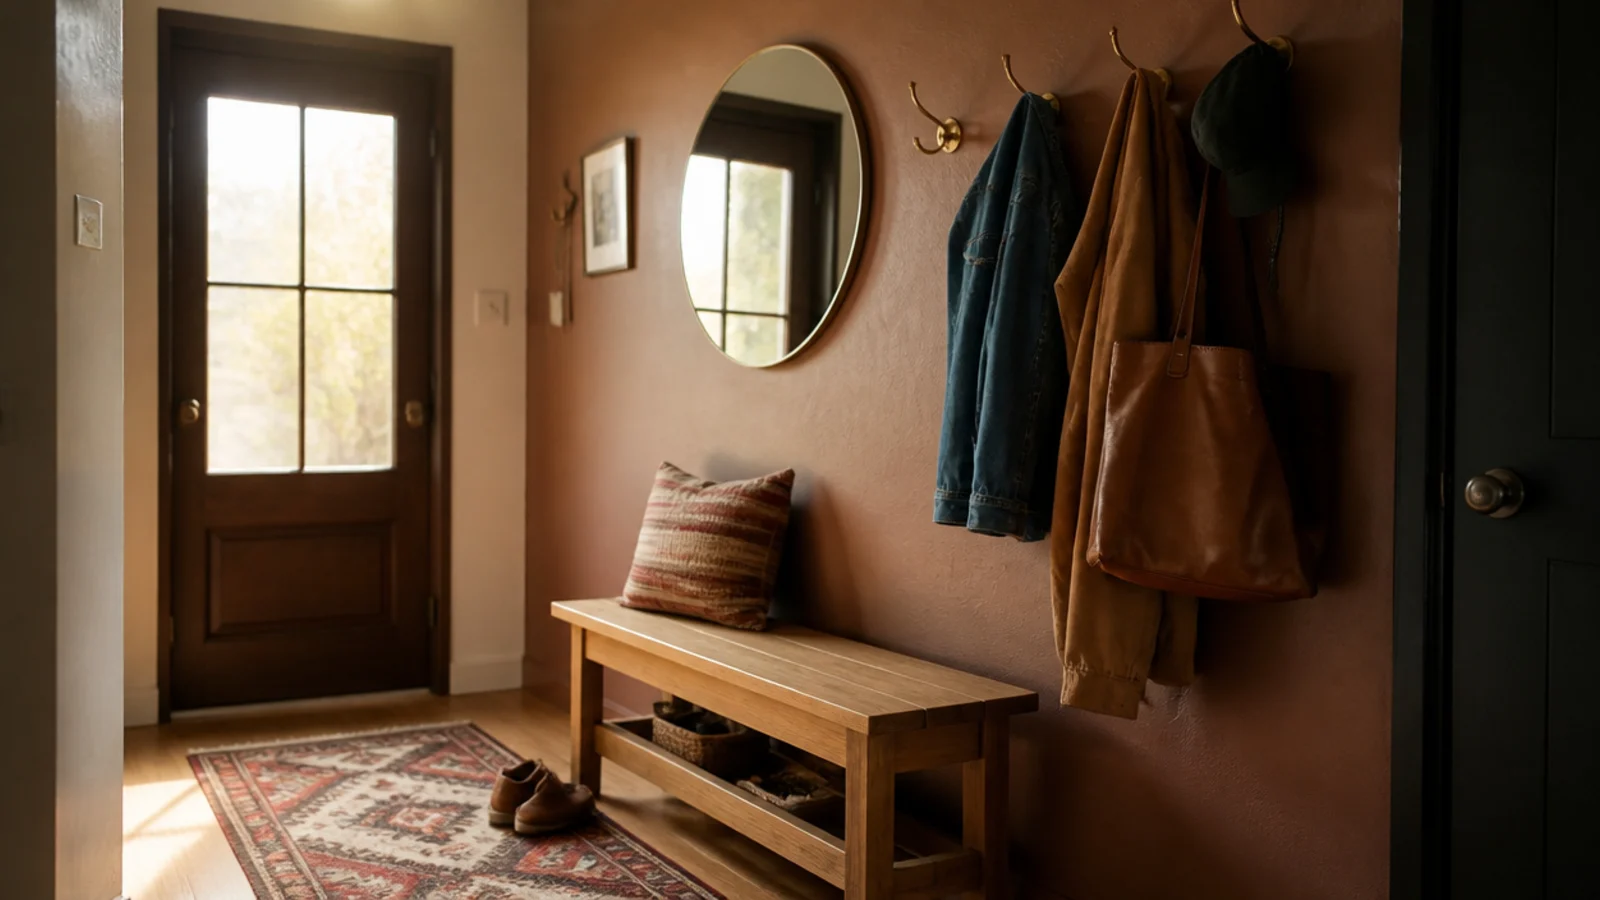
Fifty-two inches from the floor to the top of the rail. That keeps a long coat hem clear of the floor and off any bench seat below it.
Hold the rail up, check it with a level, mark the screw points, then drill. Space hooks 8 to 10 inches apart — closer and coats compress into a single lump nobody wants to reach into. Snug the screws, give a quarter turn more, and stop before you crush the drywall face.
Step 9: Add a lower rail at 40 inches for children
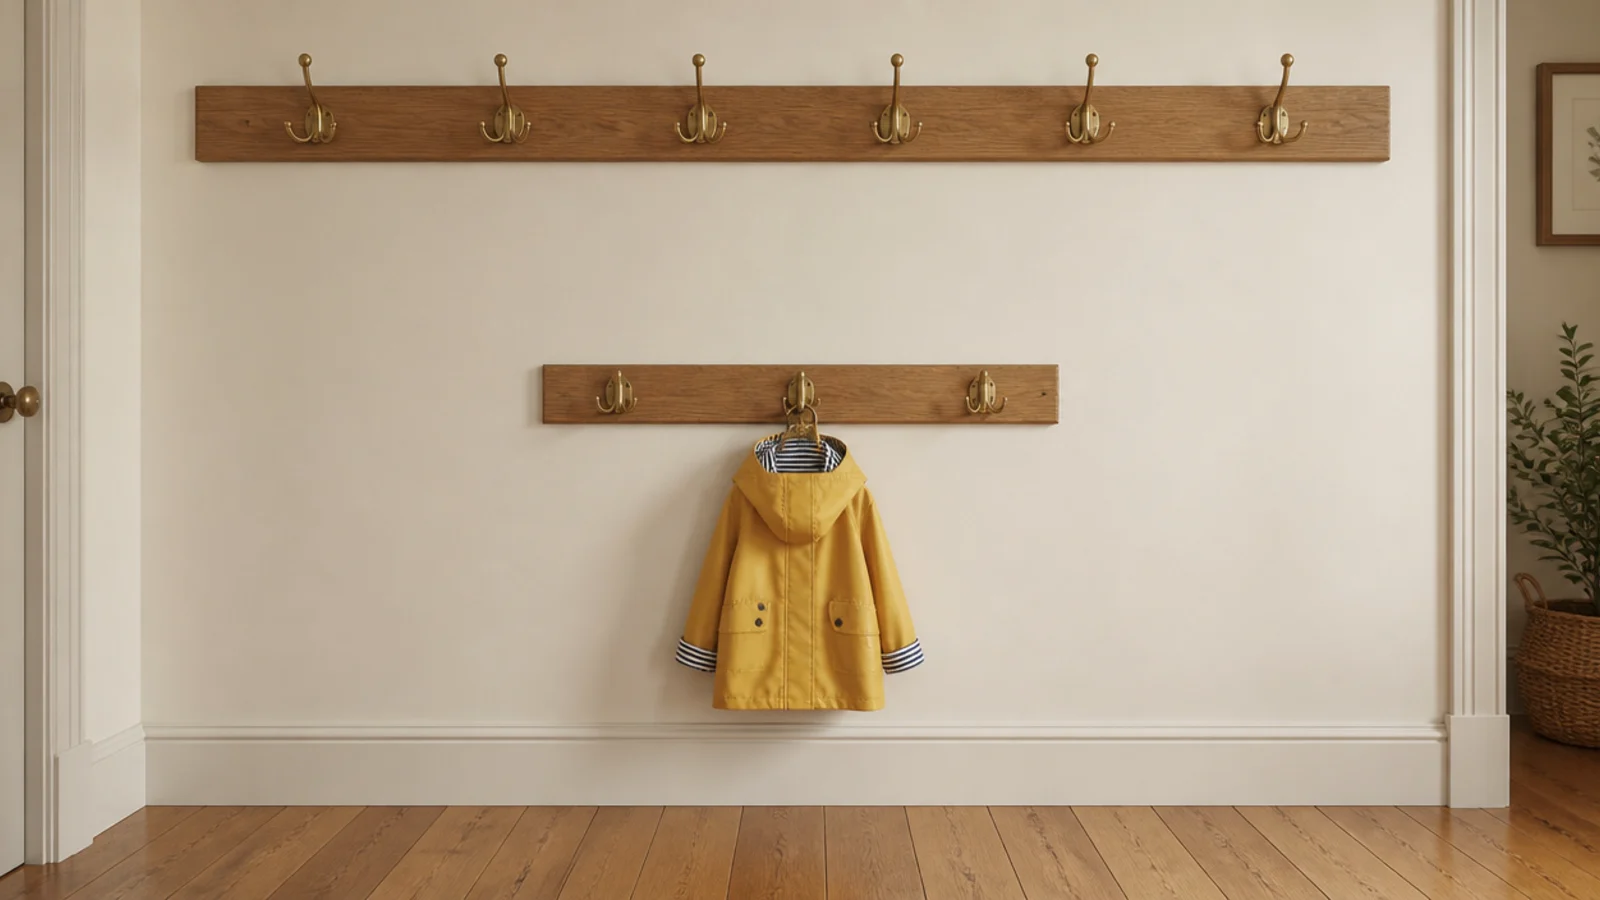
If there are children in the house, mount a second rail at 40 inches on the same wall, directly beneath the first.
A child hangs a coat that is at eye level and drops it on the floor when it is not. That is the whole mechanism, and one $25 rail solves more daily friction than any amount of asking. Keep it to three or four hooks so it does not read as a second full rail, and expect backpacks on it as well as coats.
Step 10: Hang the mirror centred at 57 to 60 inches
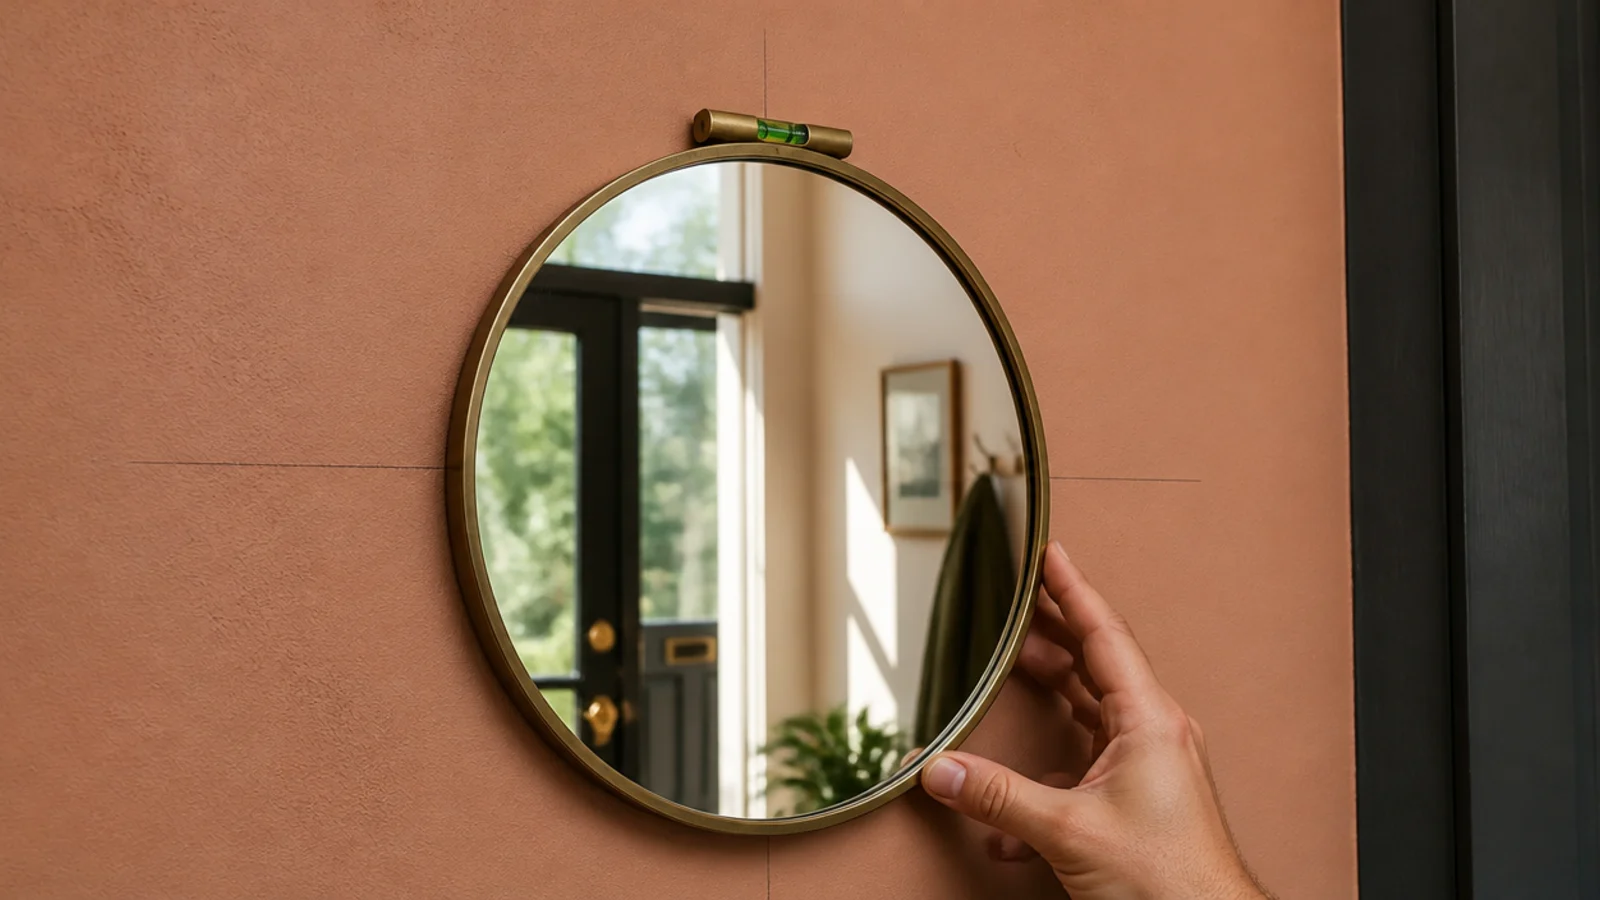
Centre the glass at 57 to 60 inches from the floor, measuring to the middle of the mirror rather than the frame or the hanging point.
That is gallery height and it works for the most people in a household without anyone crouching. If it sits above a console, leave 6 to 8 inches between the console top and the bottom of the frame. Less and they merge into one heavy block. There is more on sizing in entryway mirror wall decor.
Step 11: Set the console at 30 to 32 inches
A console at 30 to 32 inches high puts the surface where your hand naturally lands, and 12 inches deep is the maximum most halls take.
Push it back against the wall and re-measure the walkway. If you have dropped below 36 inches of clearance, the console is too deep and no amount of styling will fix that. A lower shelf doubles the usable surface without adding depth, which is the single best feature to look for.
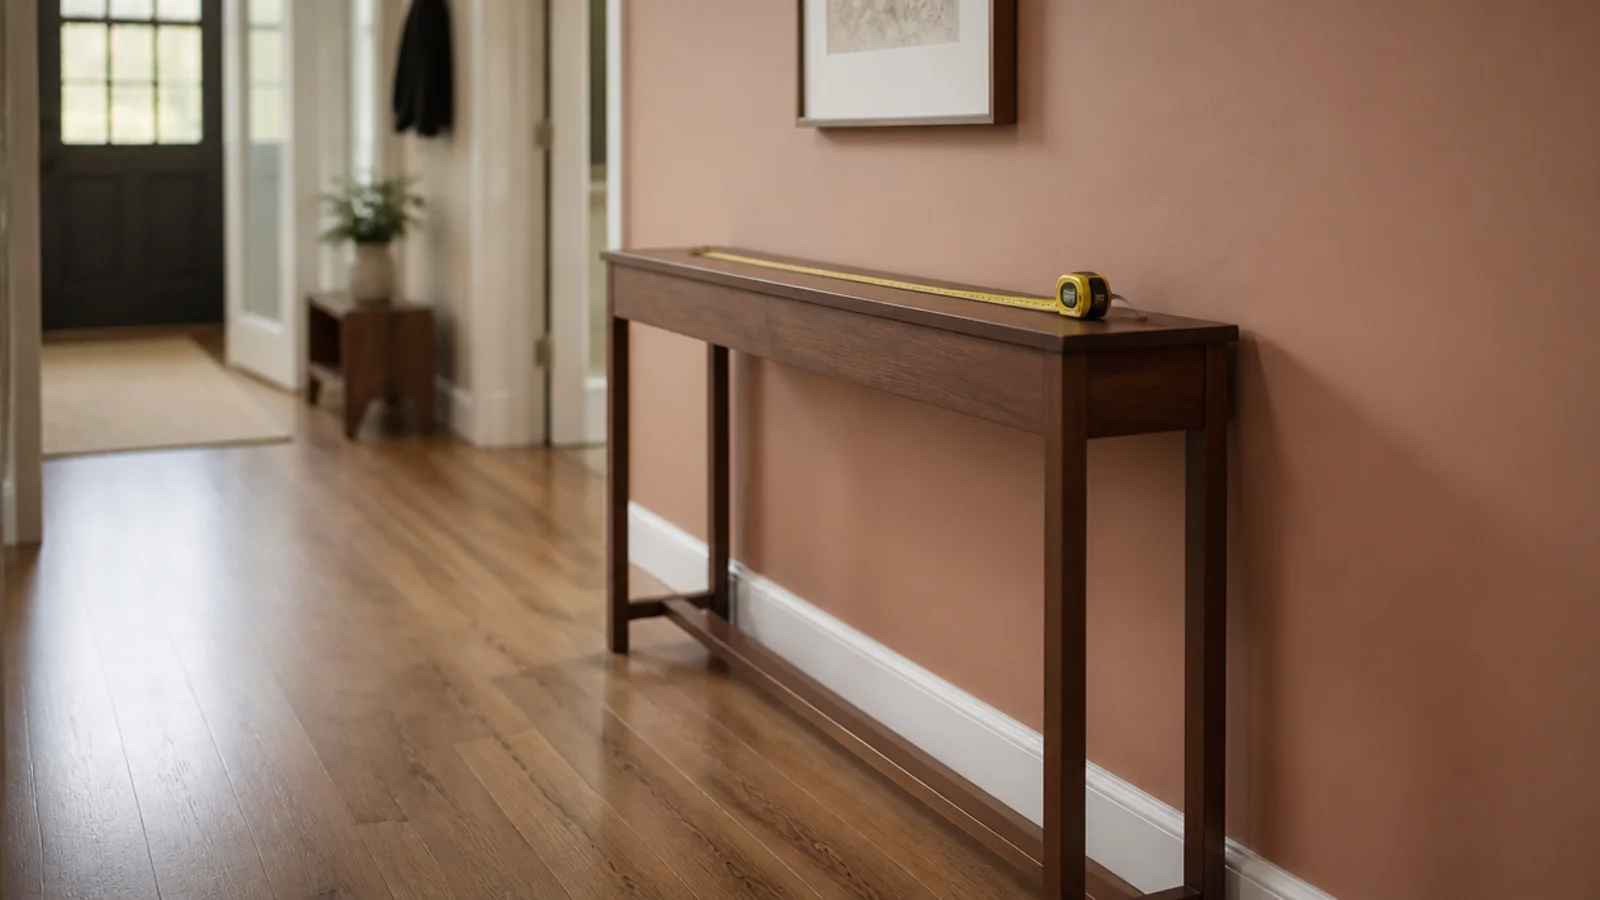
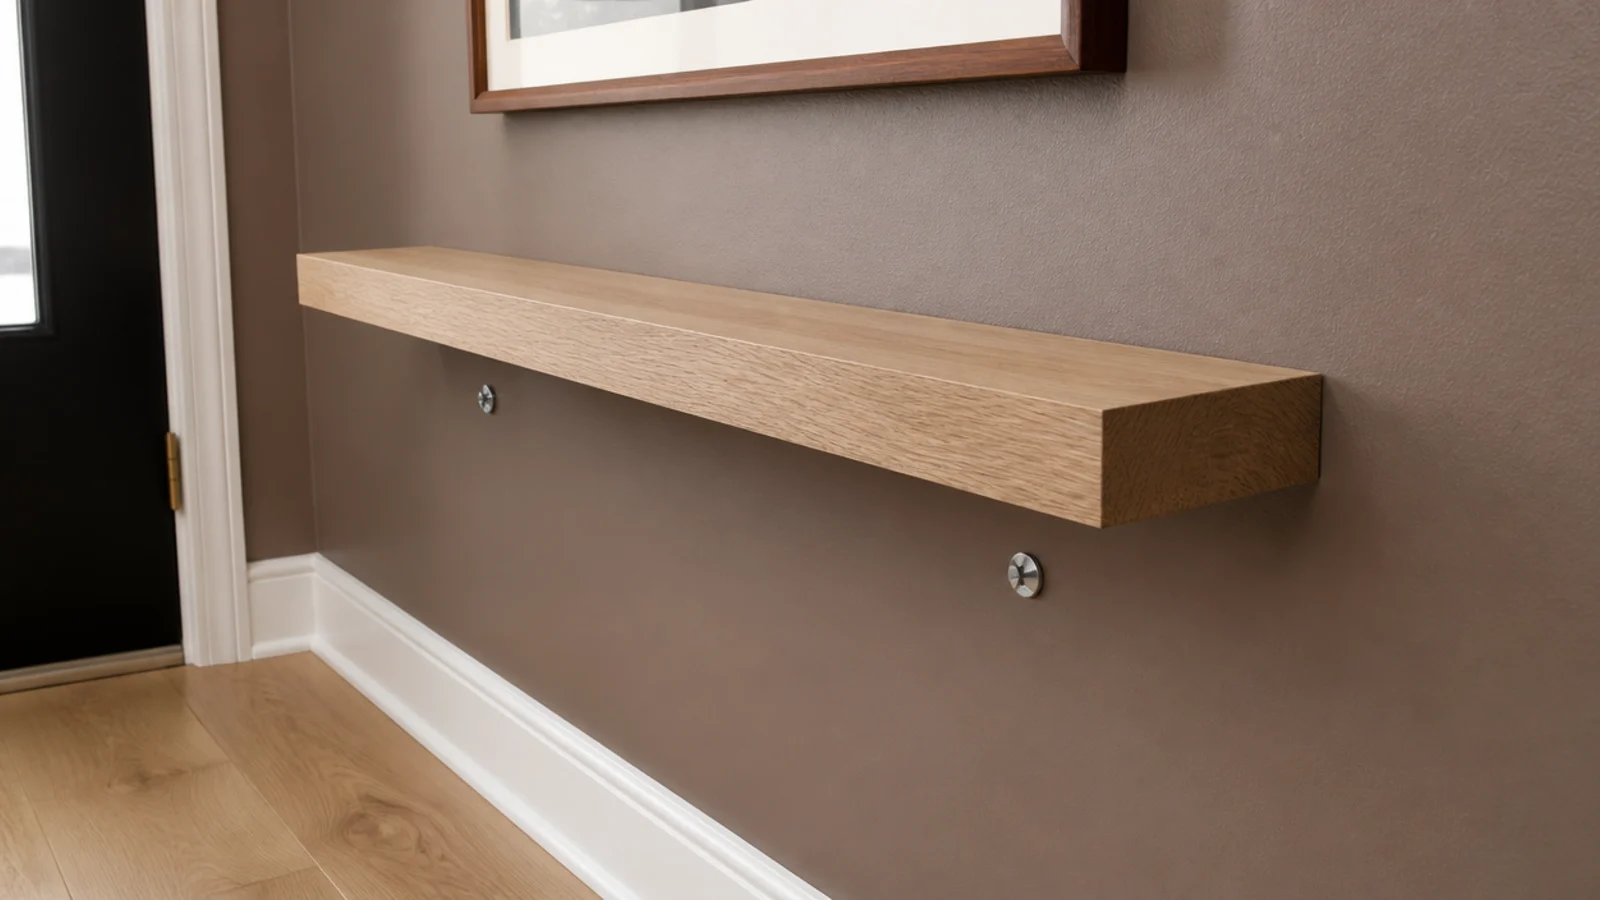
Step 12: Or mount a ledge if clearance is tight
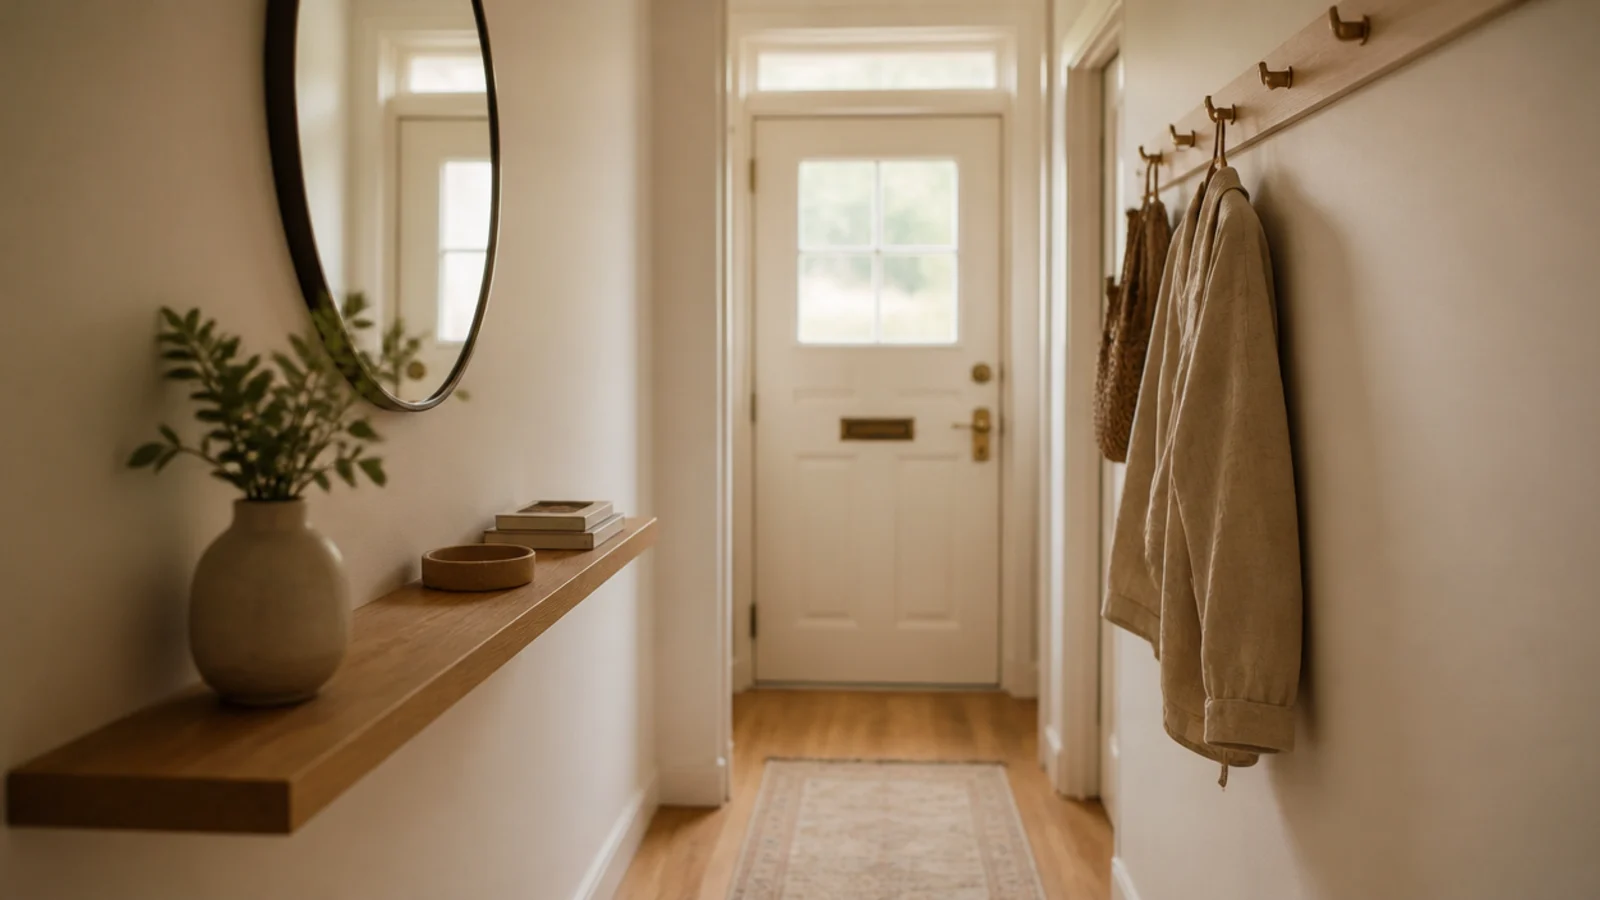
Under 36 inches of clearance, skip the console. The legs are the problem, not the surface.
A floating ledge 6 inches deep at 32 inches high does the whole landing-surface job with no floor footprint. Keep it under 36 inches long so it reads as a detail rather than furniture, and put it on two toggle bolts if no stud lands where you need one.
Step 13: Add a second light source
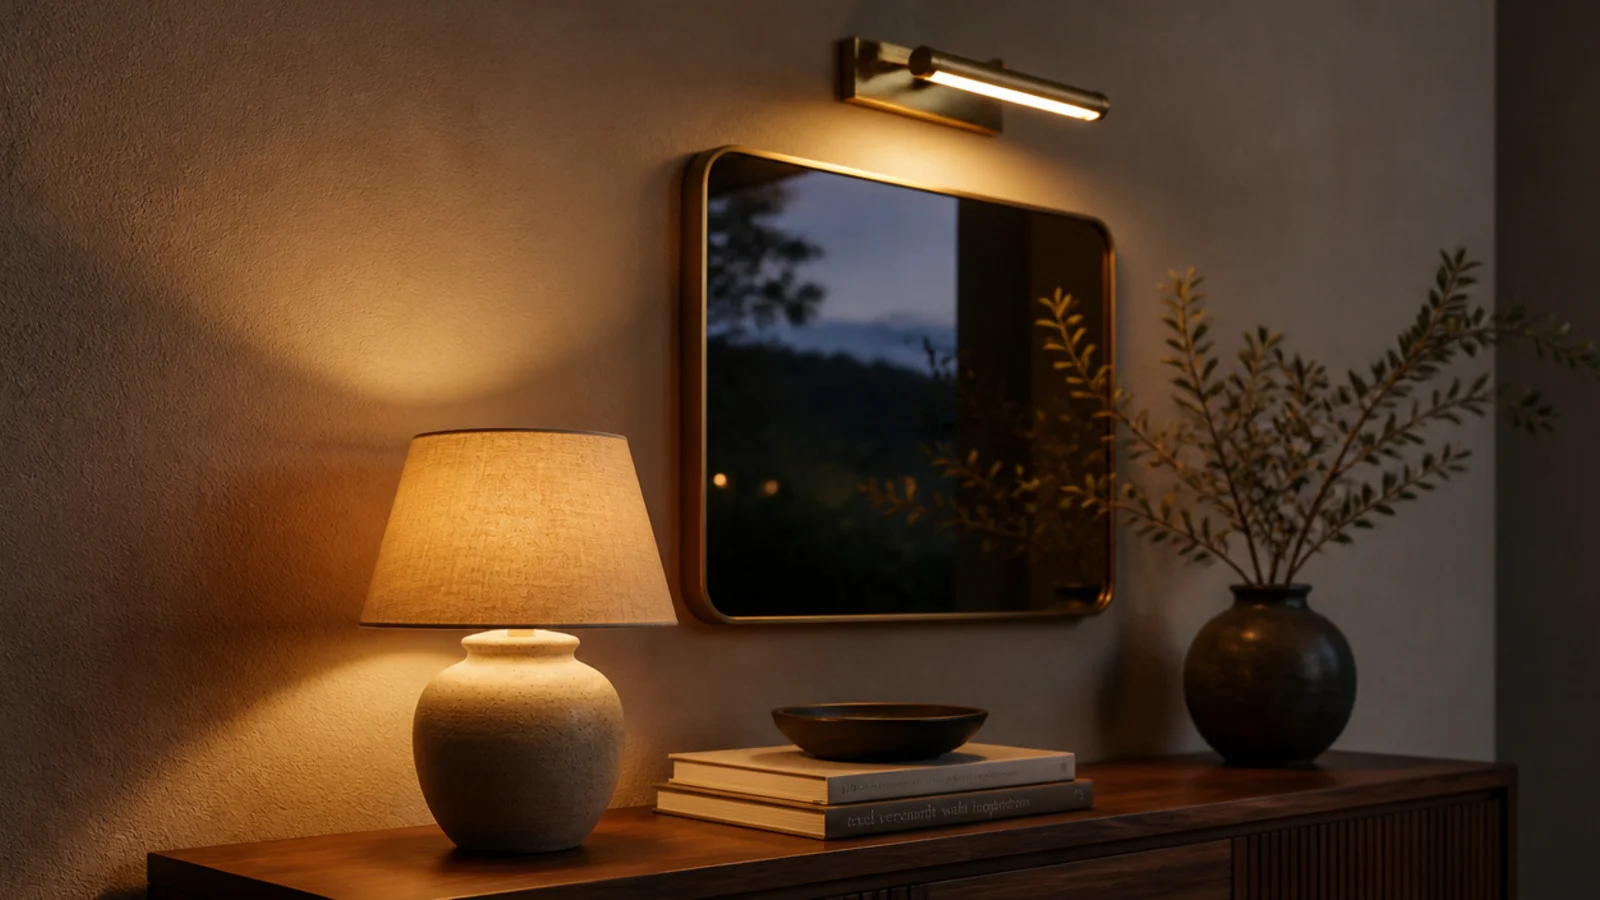
A single ceiling fixture flattens an entry — it lights the floor and leaves faces and surfaces without warmth. Layer it.
A small lamp on the console with a 2700K bulb is the easiest fix. No outlet? A rechargeable cordless lamp runs about 20 hours a charge, and a battery picture light above the mirror costs around $30 and mounts with two screws. Put either on a plug timer and the entry lights itself at dusk.
Step 14: Lay the flat-weave washable runner
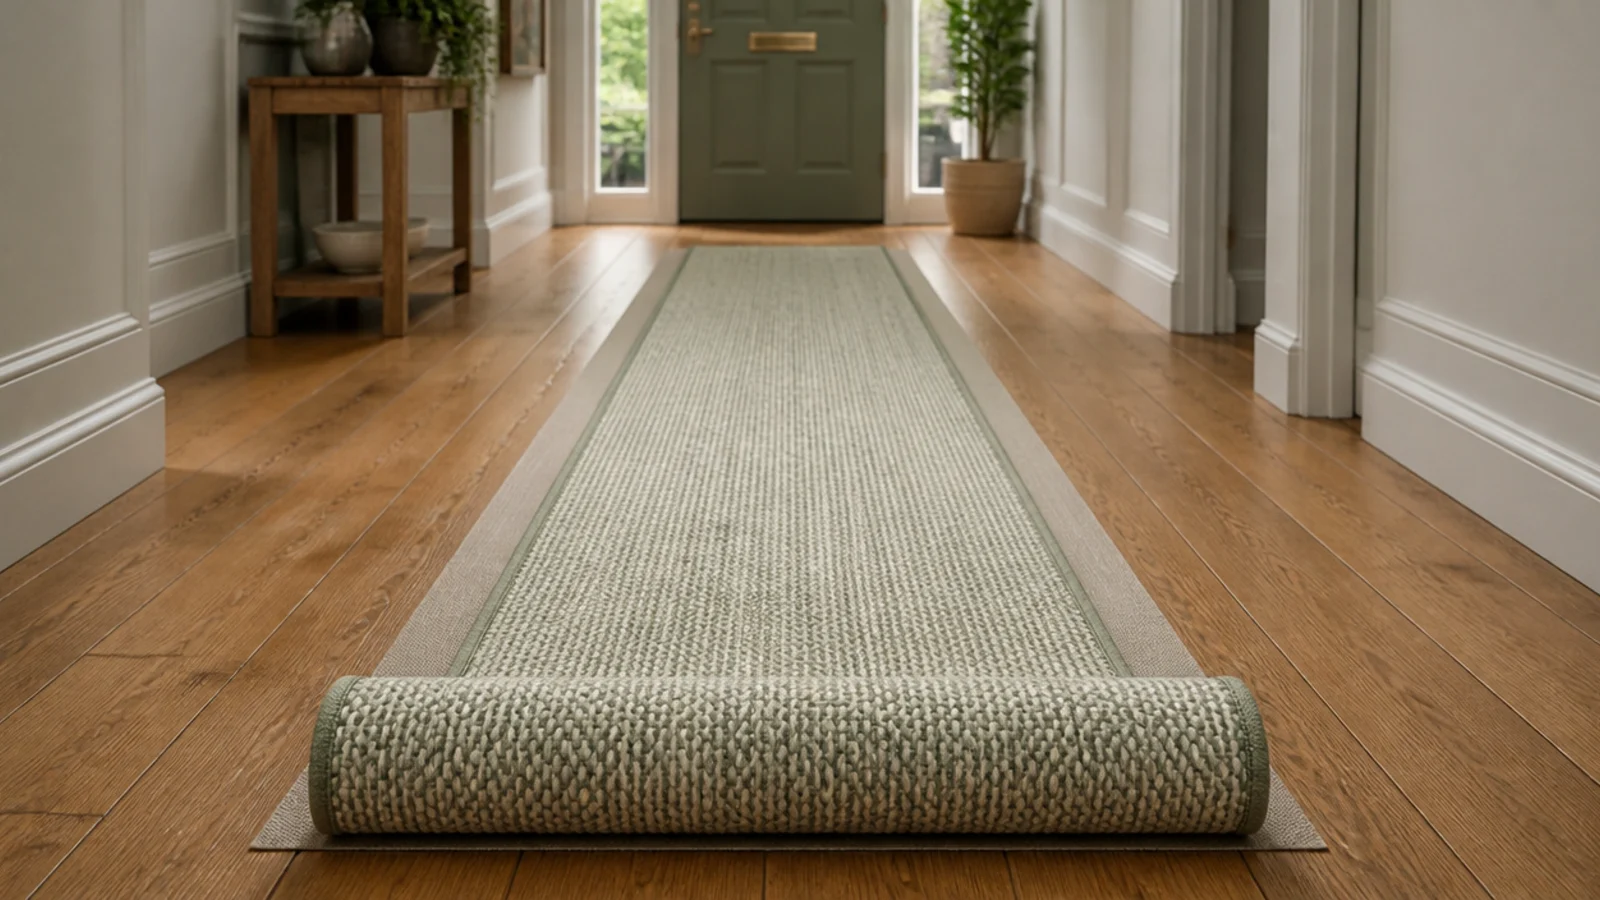
A flat-weave washable runner catches grit at the door and survives boots. Deep pile traps the grit, mats down in the traffic lane and looks tired within one winter.
Leave 4 to 6 inches of bare floor showing on each side so the hall does not read as fully carpeted, and use a thin non-slip pad underneath whatever the label promises. Wool flat-weave lasts a decade; jute is the honest budget version at half the price.
Step 15: Build the shoe zone before the pile starts
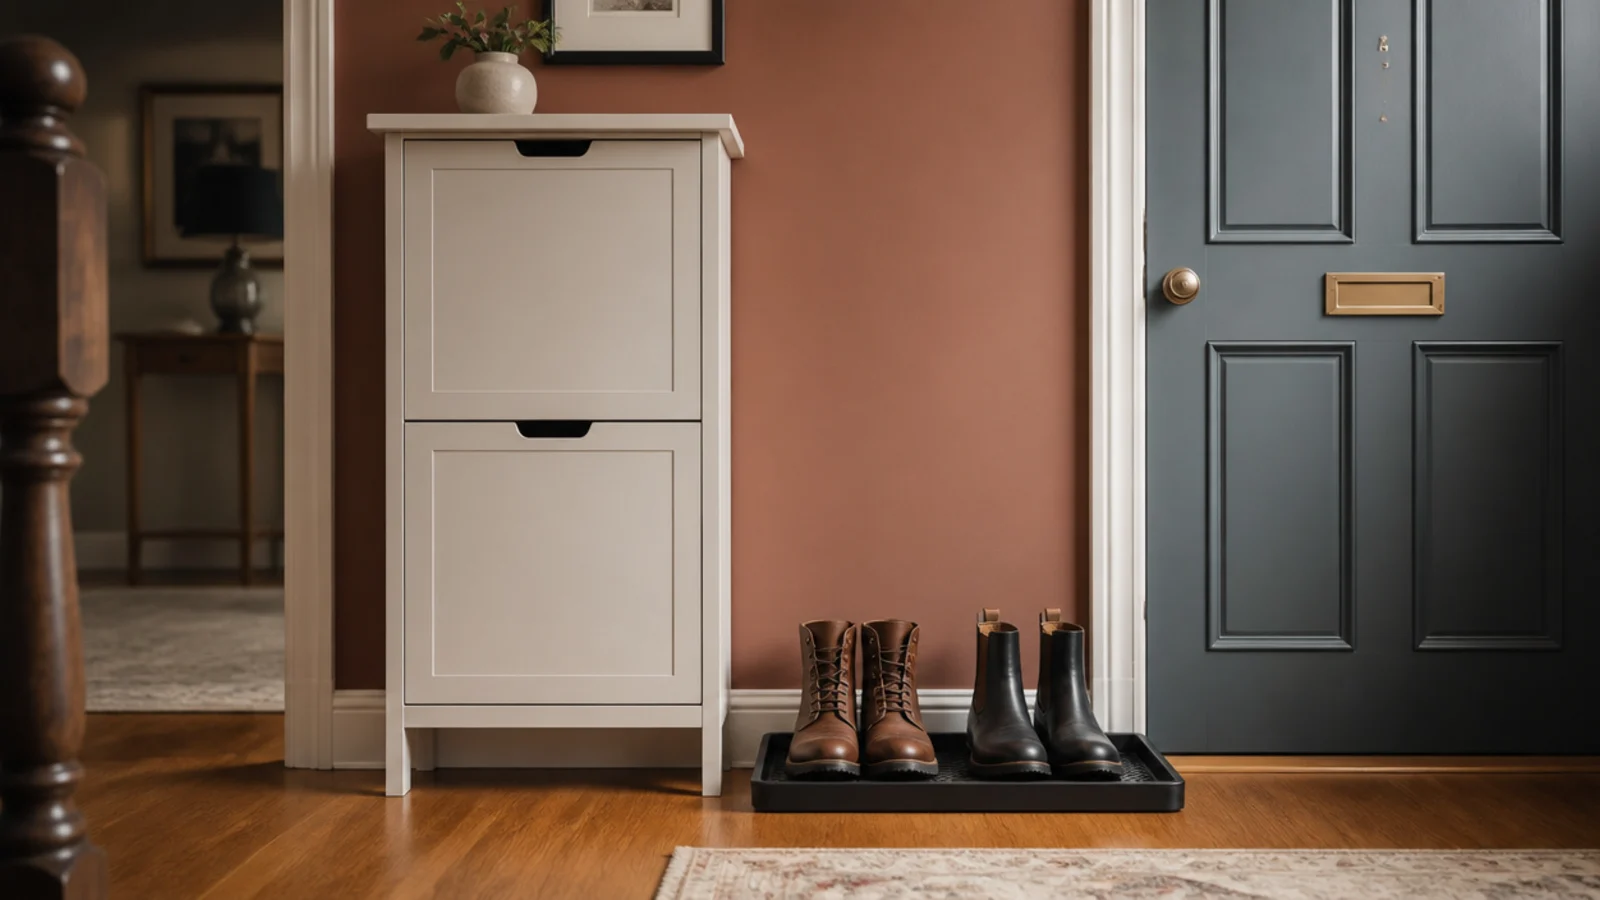
Decide where shoes go on day one or the floor decides for you. A slim cabinet 9 inches deep holds shoes tilted at 45 degrees, which is how a 12.5-inch sneaker fits a hallway.
Give wet boots a separate raised-lip tray at least 15 inches deep on the floor, never inside a closed cabinet, because boots put away wet stay wet. If children are involved, open cubbies beat any door. Entryway shoe cabinets covers capacity properly.
Step 16: Put one tray on the landing surface
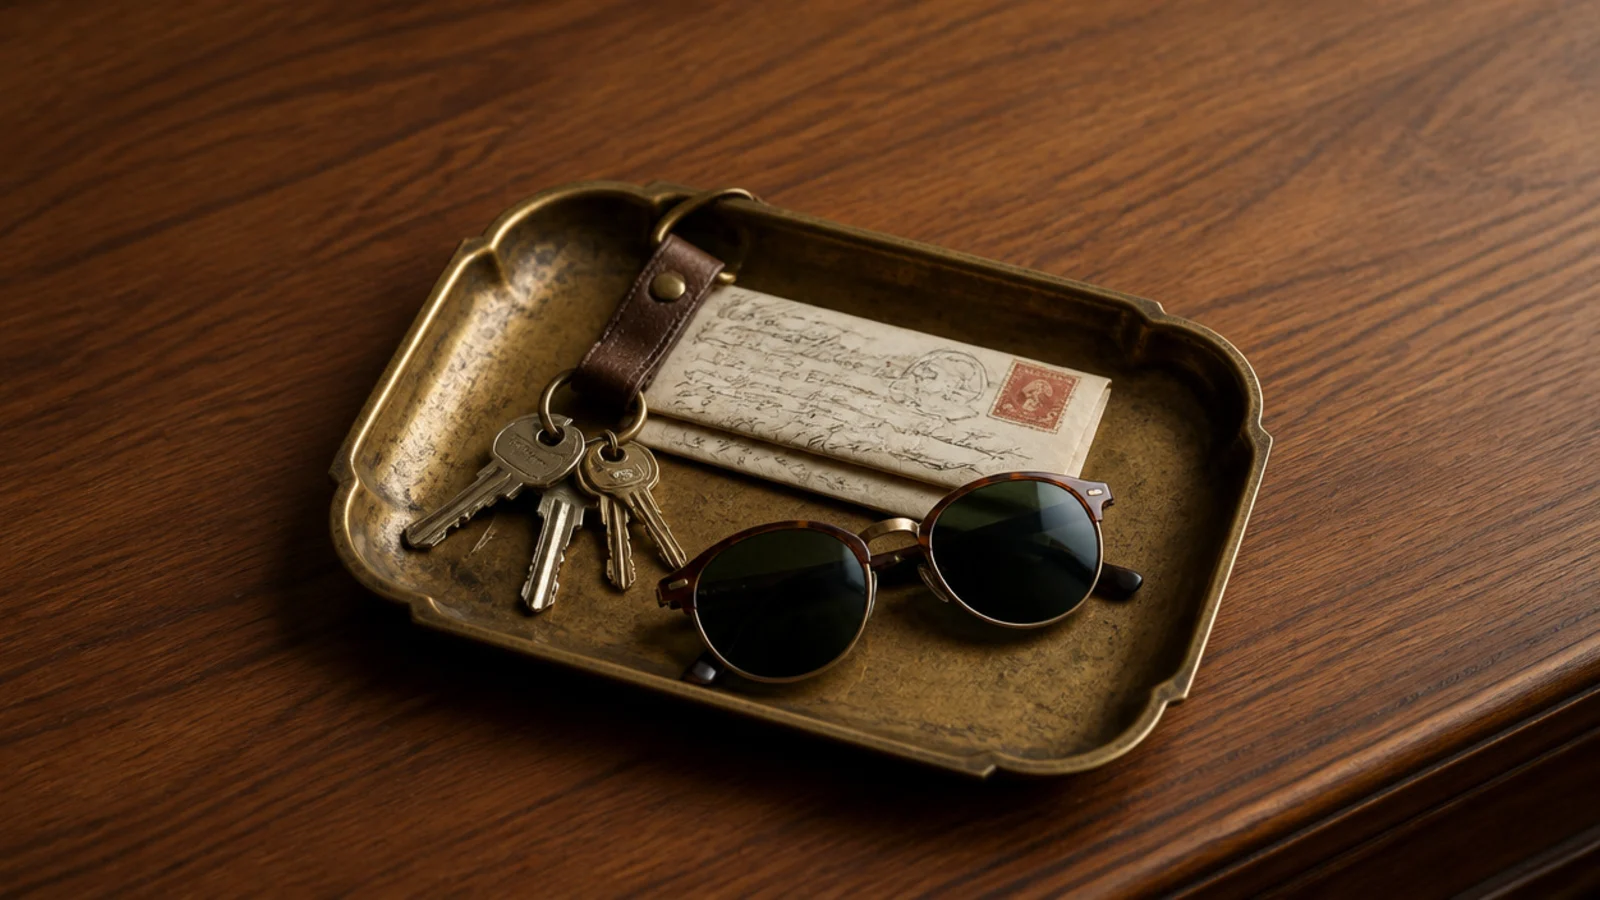
One tray, roughly 8 by 12 inches, is what stops mail and keys spreading across the surface. Everything small goes in it and the surface around it stays clear.
Two trays defeat the purpose, because the overflow just moves next door. Size it so it fills up within a week and forces an edit — that pressure is the feature, not a flaw. Brass, stoneware and woven all work equally well.
Step 17: Slide a basket in for the overflow
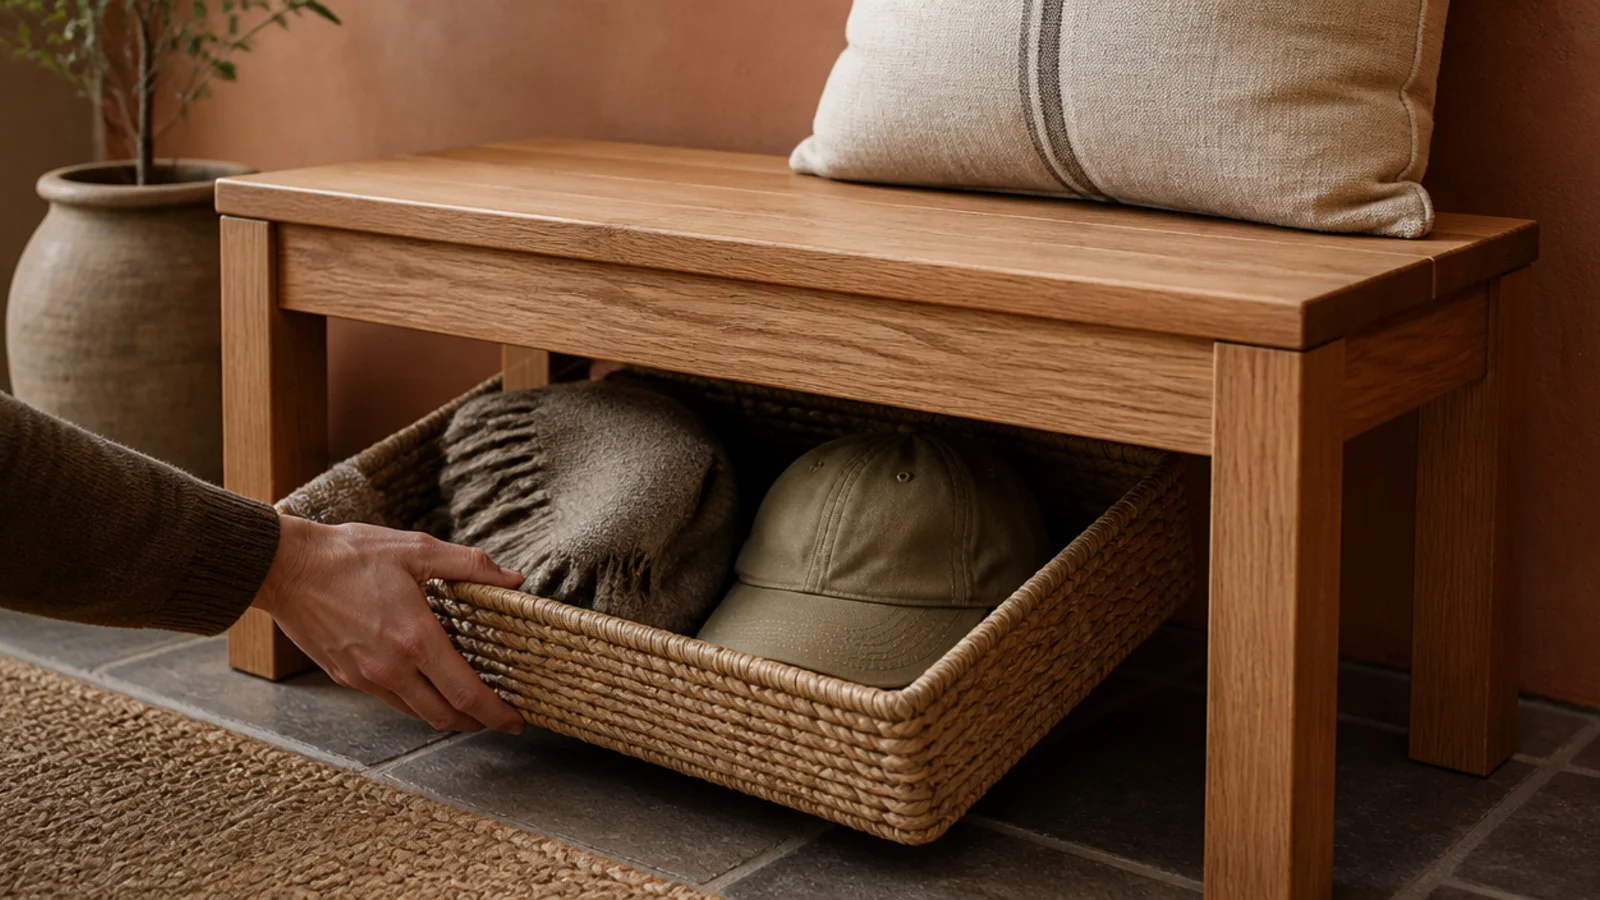
One open basket under the bench or console absorbs the things with no home — a scarf, a cap, the library book that is due back.
Size it to fill the footprint so it reads as built in rather than shoved under, roughly 16 by 12 by 10 inches. Empty it every Sunday. A basket that nobody empties turns into a pile with sides, and then the seat above it becomes storage too.
Step 18: Style the surface at three heights
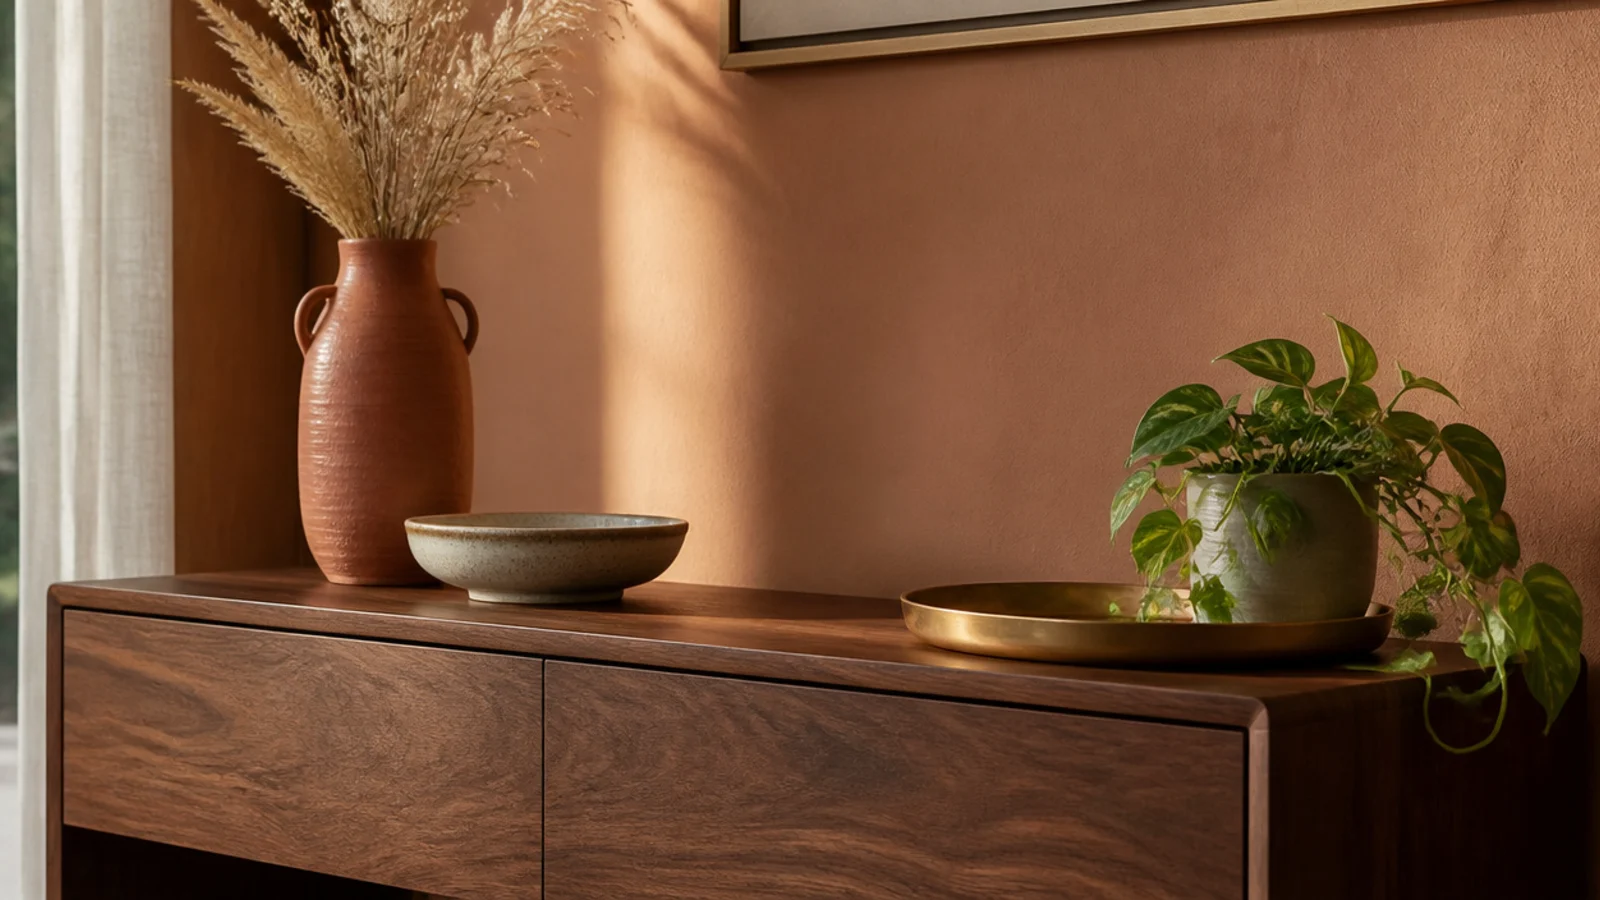
Three objects, three heights: something tall like a vase or a branch, something low and wide like a bowl or stacked books, and something soft that trails over an edge.
Keep everything except the tall piece under 18 inches so it does not block the mirror. Leave a third of the surface empty — that gap is what reads as styled rather than stacked, and it is also where a bag lands when your hands are full. More on this in entryway table decor.
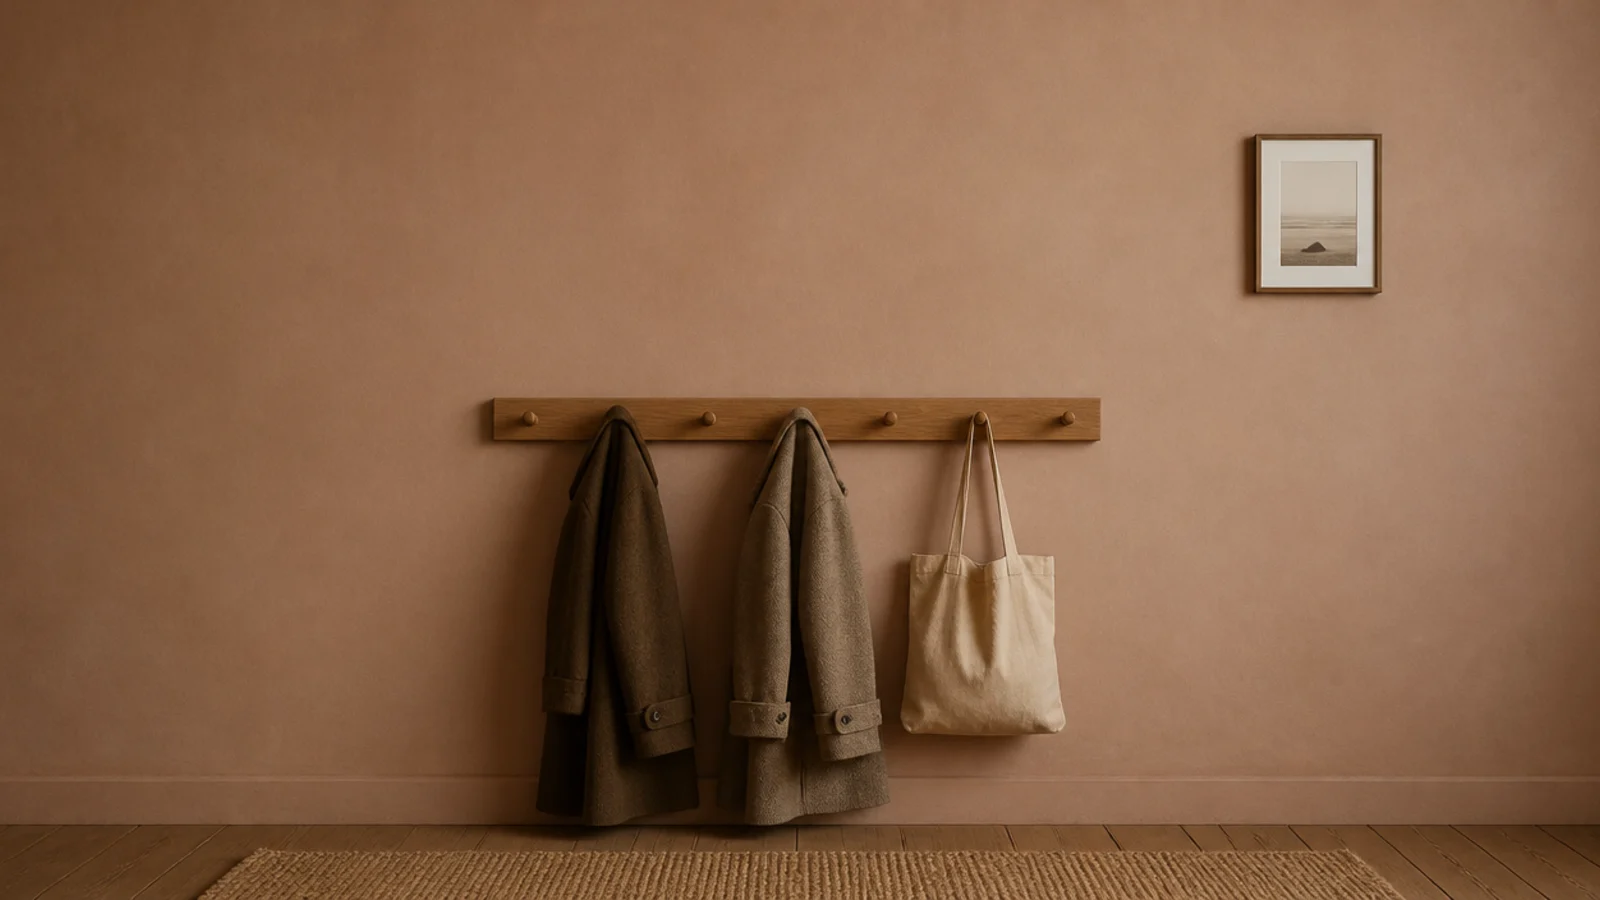
Step 19: Leave the wall above the hooks bare
Hang nothing in the 18 inches directly above the rail. Coats fill that wall visually every day, and art placed there disappears behind a parka from October onward.
Put framed pieces higher than that, or move them to the opposite wall where nothing hangs. An entry that looks slightly bare while empty is the one that still looks calm when it is loaded, and that is the version you live with.
Step 20: Live with it a week, then edit
Use the entry normally for seven days without adjusting anything, then look at what has piled up and where.
Whatever landed on the floor needs a hook it did not get. Whatever nobody touched can leave. Almost every entry I finish is better a week later with two fewer objects in it — mine lost a third tray and immediately looked calmer.
Pro Styling Rules
Mistakes to Skip
- Mounting hardware before painting. Cutting in around a hook rail takes three times as long as painting an empty wall, and the edge never looks as clean.
- Using the plastic plugs that came in the box. They carry about ten pounds and a loaded coat rail carries 20 to 30, which is why so many rails come off the wall.
- Buying the furniture before measuring the walkway. A console two inches too deep makes an entry feel wrong every day and no styling can fix it.
Frequently asked questions
What order should I do an entryway makeover in?
Measure, then empty, then paint, then mount, then style. Paint before anything goes on the wall, because cutting in around a hook rail takes three times as long as painting an empty wall. Mount the coat rail before the console, since the rail sets the working wall and the furniture has to fit whatever space is left over.
Can renters do an entryway makeover without drilling?
Most of it, yes. A freestanding console, a leaning mirror, a boot tray and a runner need no fixings at all. Adhesive hooks rated at five pounds each hold a jacket but not a wet winter coat, so use a freestanding coat rack for heavy outerwear instead. Test any adhesive on a hidden patch first, because flat builder paint peels.
How much does a DIY entryway makeover cost?
Around $120 to $250 for a full refresh if you paint yourself and thrift the console. A quart of paint runs about $25, a solid oak hook rail $30 to $60, a round mirror $40 to $90, a washable runner $40 to $80 and a small lamp $25 to $50. Building the bench yourself saves another hundred.
What anchors do I need for an entryway coat rail?
Studs wherever possible, using two and a half inch wood screws. A loaded coat rail carries 20 to 30 pounds and the plastic plugs in the box are rated around ten. Where a stud does not land, toggle bolts in half-inch drywall carry 25 to 35 pounds each, and cost about a dollar apiece.
How long does an entryway makeover take?
One weekend for most halls. Measuring, emptying and patching takes a Saturday morning, paint needs the afternoon plus overnight to cure, and all the mounting and styling fits into Sunday. The only step you cannot rush is paint cure time — hanging a heavy rail into fresh paint pulls the finish off with it.
Do the sequence and the taste takes care of itself — measure, empty, paint, mount, style, then edit a week later. If you want the shortlist version first, fifteen entryway ideas covers the same heights without the build, and entryway wall decor handles what goes on the wall once the hardware is up. Save the pin so the measurements are with you while you tape out the wall.
Want more like this? Browse all 15 entryway & foyer ideas guides — they all use the same measurements and budget tiers.
Pin it for later
Save this to your Entryway & Foyer Ideas board
Pin it now so it is waiting for you when the tape measure comes out — and so the next person hunting for this idea can find it too.
Save this pinKeep going
More ideas worth saving while you have the tape measure out.