Shoe Cabinet Ideas · Listicle
30 Beautiful Shoe Cabinet Ideas to Steal Today

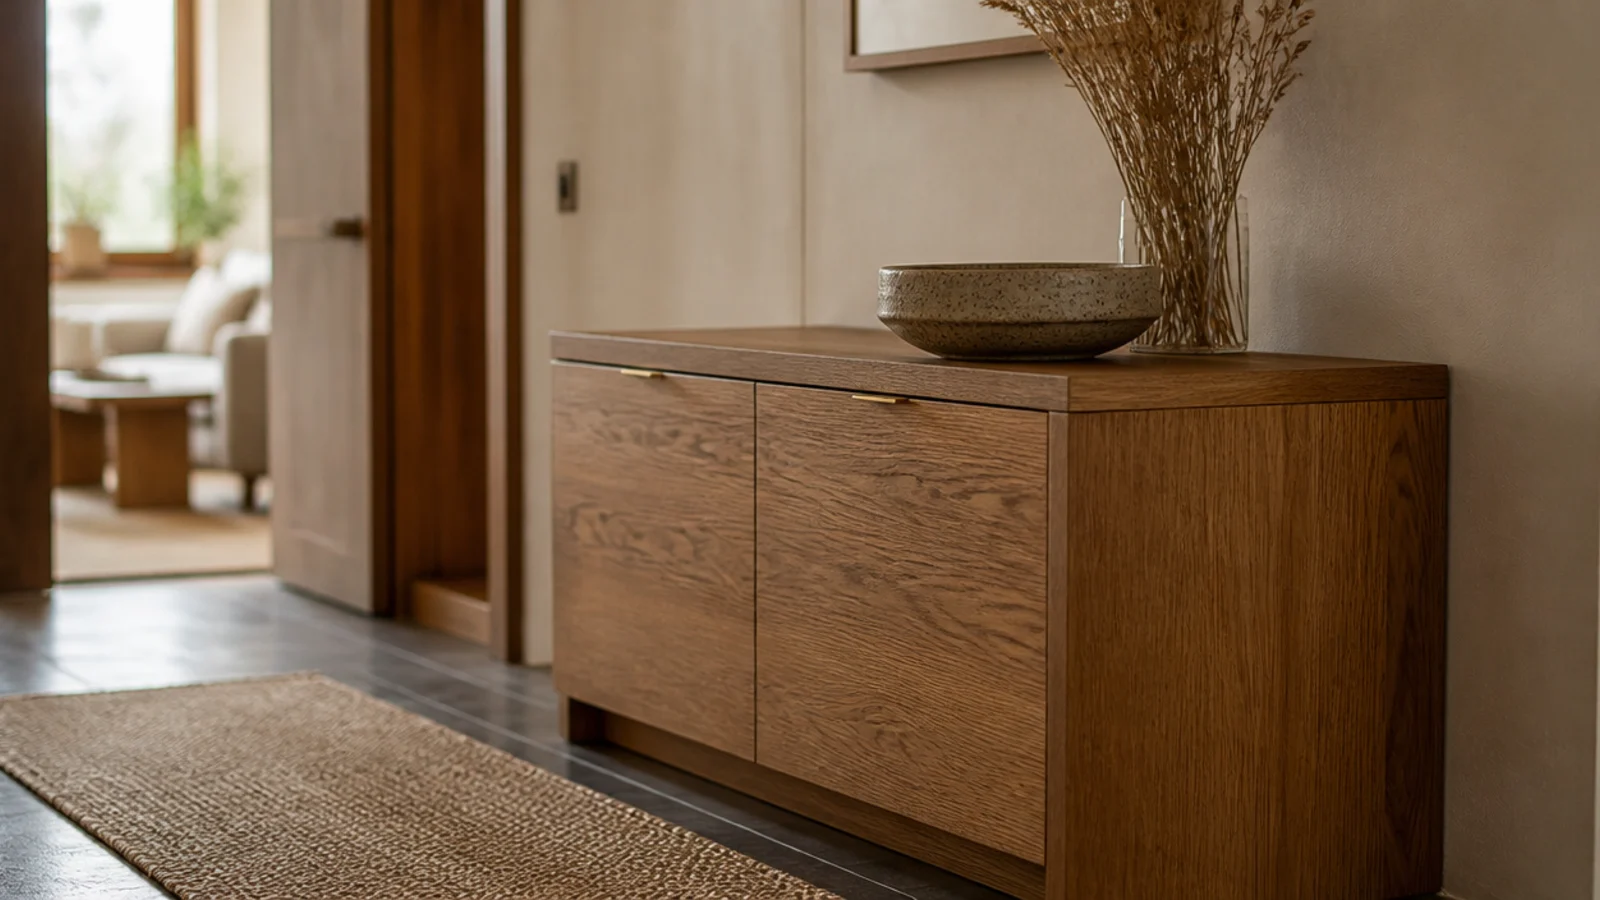
A wooden shoe cabinet is the version worth keeping, and also the one most likely to go wrong, because timber reacts to everything a hallway does to it: wet soles, temperature swings, a door shut with a foot twice a day. These 30 ideas cover the species that survive that, the grain decisions that cost nothing, the finishes that repair instead of chip, and the ventilation that keeps wood from holding smell.
In this guide32 sections — tap to openHide
- 1.Choosing a wooden shoe cabinet that survives a hallway
- 2.Solid oak for a cabinet that gets kicked
- 3.Walnut fronts on a plywood carcass
- 4.Birch ply with the edge left showing
- 5.Pine, but only painted
- 6.Ash for a pale hall
- 7.Reclaimed scaffold board fronts
- 8.Match the grain across a pair of doors
- 9.Run the grain vertically on a low box
- 10.Quarter-sawn oak for a calm face
- 11.A live-edge top slab
- 12.Slatted oak doors that ventilate
- 13.Cane inset in a timber frame
- 14.Half-round dowel fluting on a plain front
- 15.A chunky doubled-up top edge
- 16.Hardwax oil, not polyurethane
- 17.Dark wax rubbed into pine grain
- 18.Whitewash for a pale hall
- 19.Seal the interior too
- 20.Timber shelf-pin holes at 32mm
- 21.Wooden knobs turned from an offcut
- 22.Leather pulls on a timber front
- 23.A timber toe kick recessed three inches
- 24.Cedar liner strips in the flats bay
- 25.A tall solid boot bay at one end
- 26.Drill the ventilation row before finishing
- 27.Turned or tapered timber legs
- 28.Raise the bottom shelf on cleats
- 29.Lift a dent with a damp cloth and an iron
- 30.Refinish a thrifted timber cabinet
- 31.Keep the timber out of the wet zone
- 32.Mistakes to Skip
Choosing a wooden shoe cabinet that survives a hallway
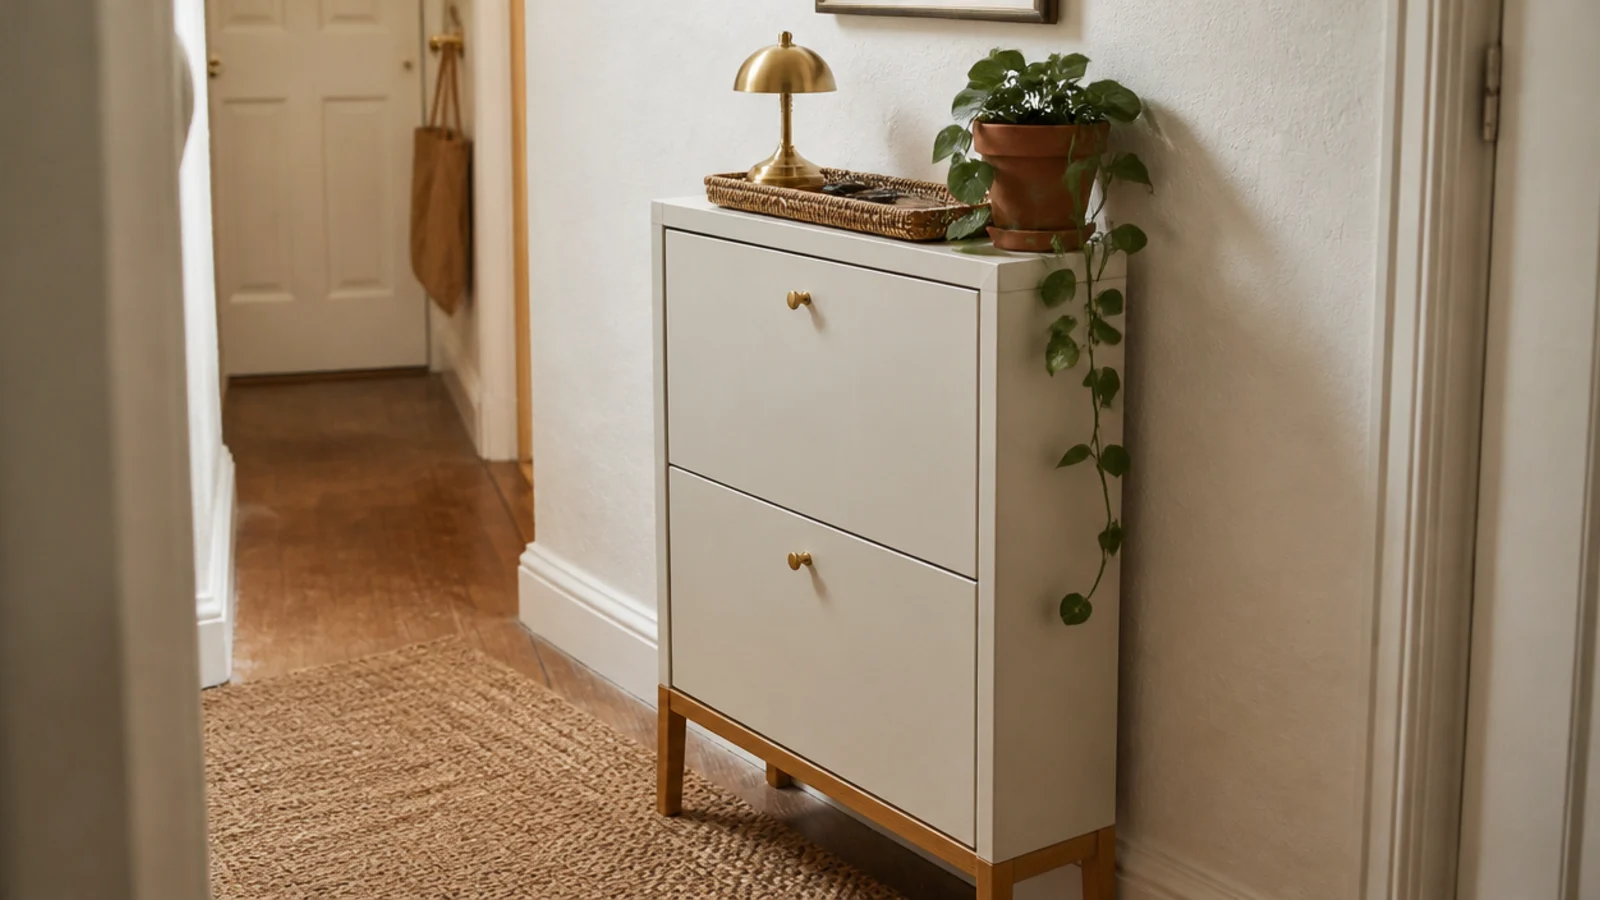
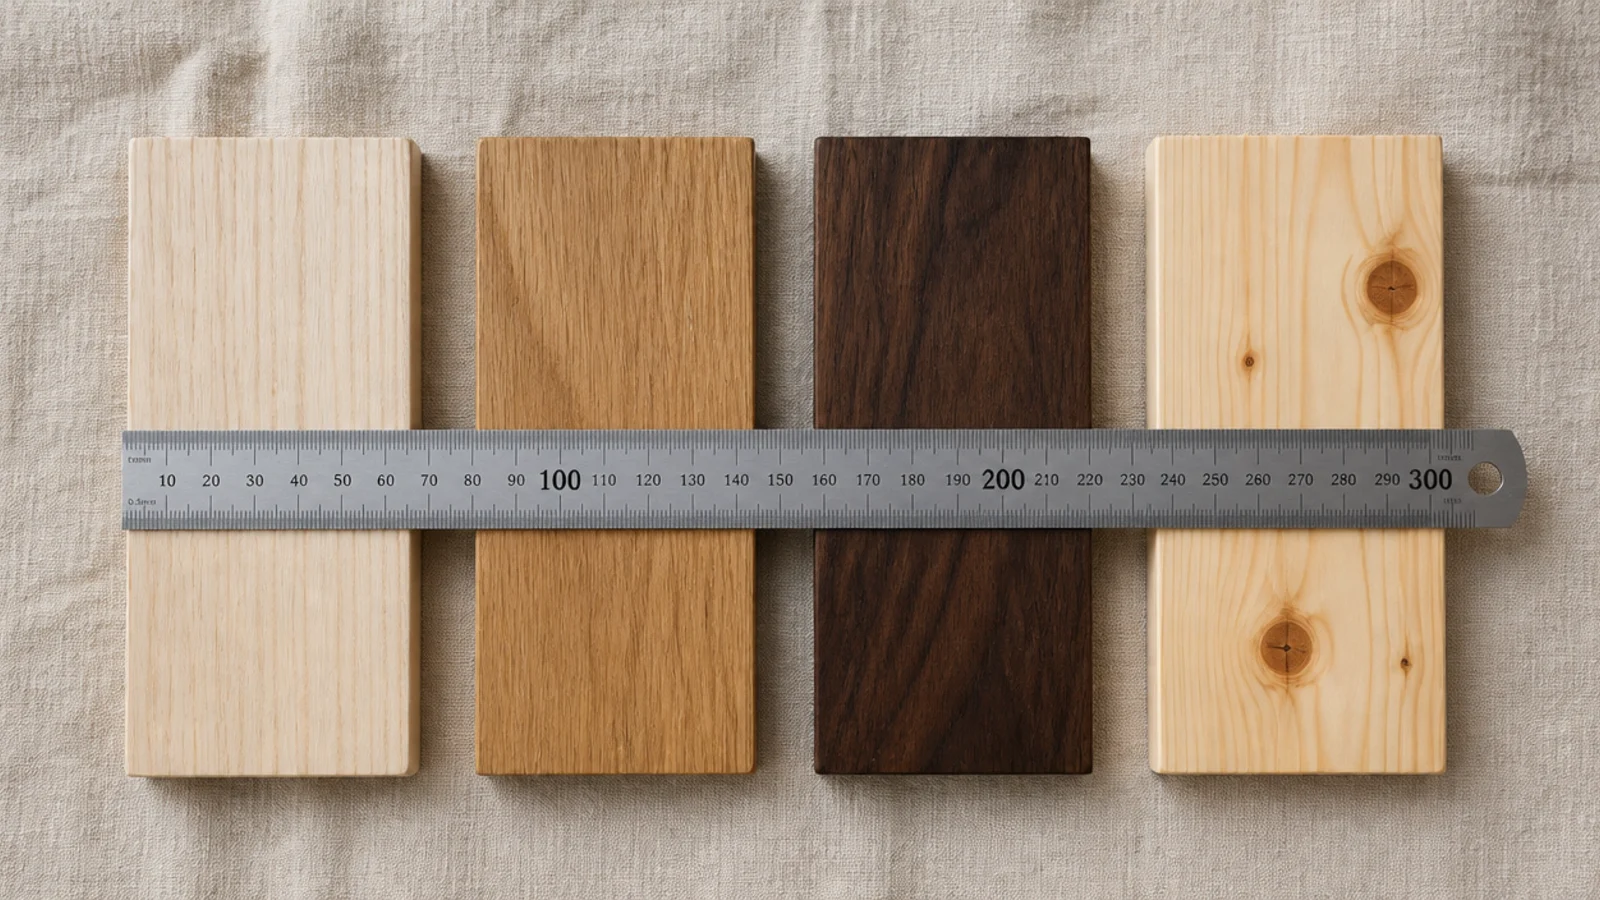
Timber choice first. Oak and ash are hard, take a knock without denting and finish evenly, which is why they belong on anything at shin height. Walnut is softer and darker and is best used for door fronts only. Pine dents if you look at it and blotches under stain, so paint it or leave it alone.
For the carcass and shelves, three-quarter inch birch plywood beats solid boards. It holds a screw properly, it spans 30 inches loaded with boots without sagging, and it does not cup with the humidity swings a hallway sees.
Then the numbers, which timber does not change. A men's size 12 sneaker is about 12.5 inches long, so flat shelves need 13 inches of internal depth — internal, because a door and back panel take close to an inch between them. Under that, build a tilt-out: shoes sit at 45 degrees inside 9 inches, six to eight pairs of flats per drawer, no boots.
And wood specifically needs air. Open grain holds odour far longer than melamine does, so ventilate with drilled holes, slats or cane, seal the interior, and keep wet pairs on a tray outside the cabinet.
Budget tiers: $ under $60, $$ $60–$150, $$$ $150+.
1. Solid oak for a cabinet that gets kicked
White oak is the default answer for hallway furniture. It is hard enough to shrug off a shoe heel, it takes oil beautifully, and the grain hides scuffs.
Expect $70 to $120 for enough board to face a 32-inch cabinet. Worth it on the fronts even if the carcass is ply. $$$
2. Walnut fronts on a plywood carcass
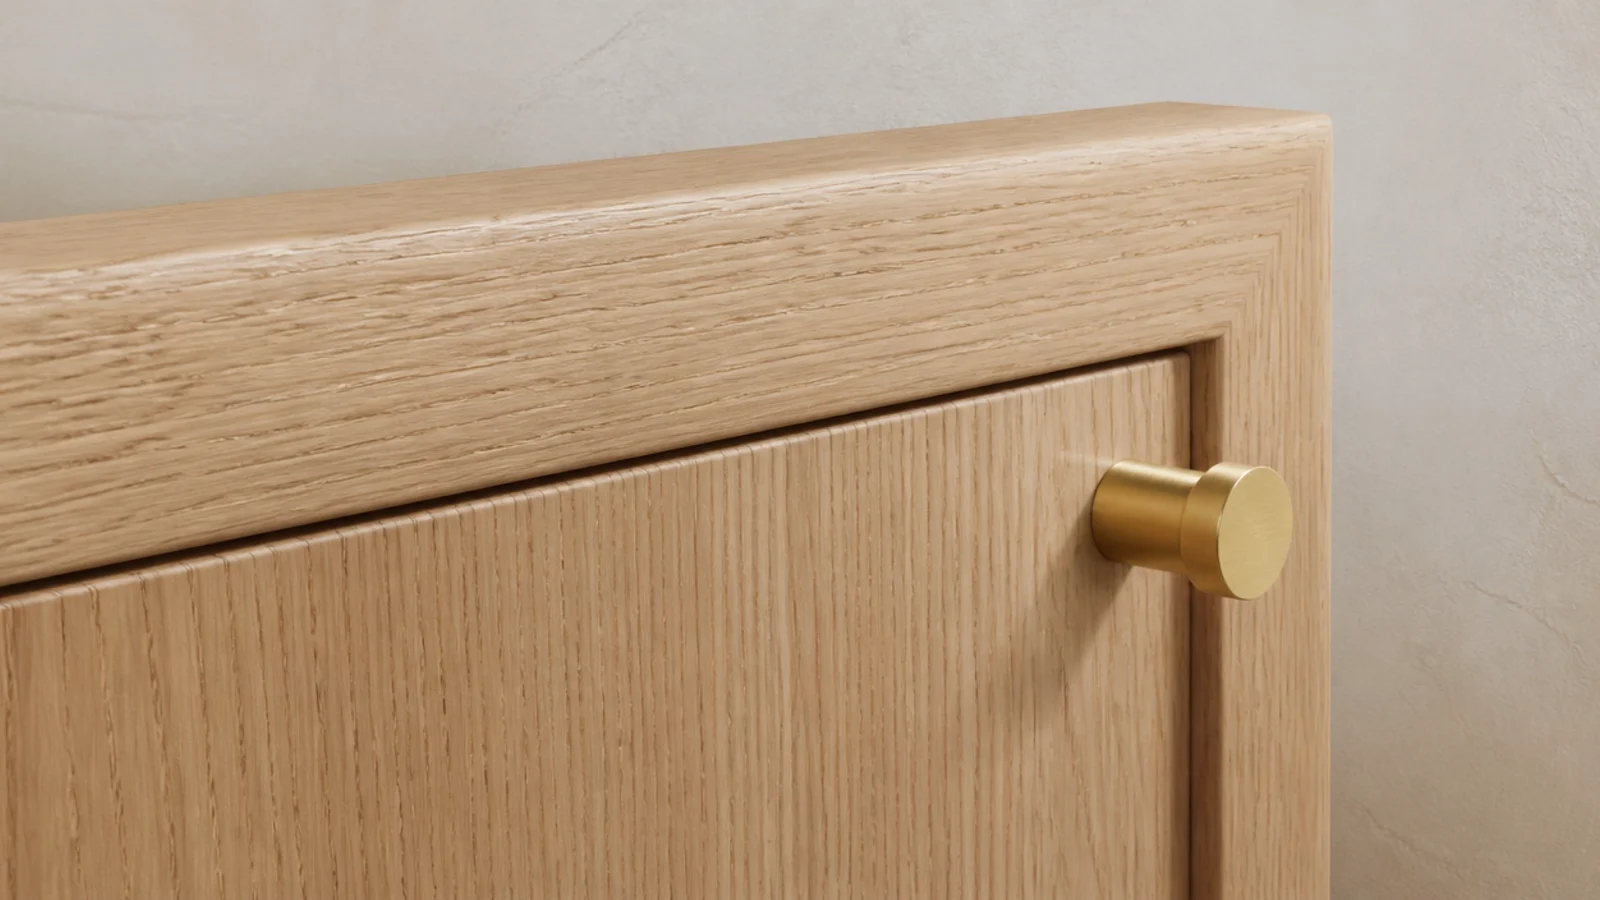
Nobody sees the inside of a cabinet from across a hallway. Put the money entirely in the faces.
Walnut fronts on birch ply cuts the cost of an all-walnut piece by roughly two thirds and looks identical with the doors shut. Keep the ply edges banded or deliberately exposed. $$$
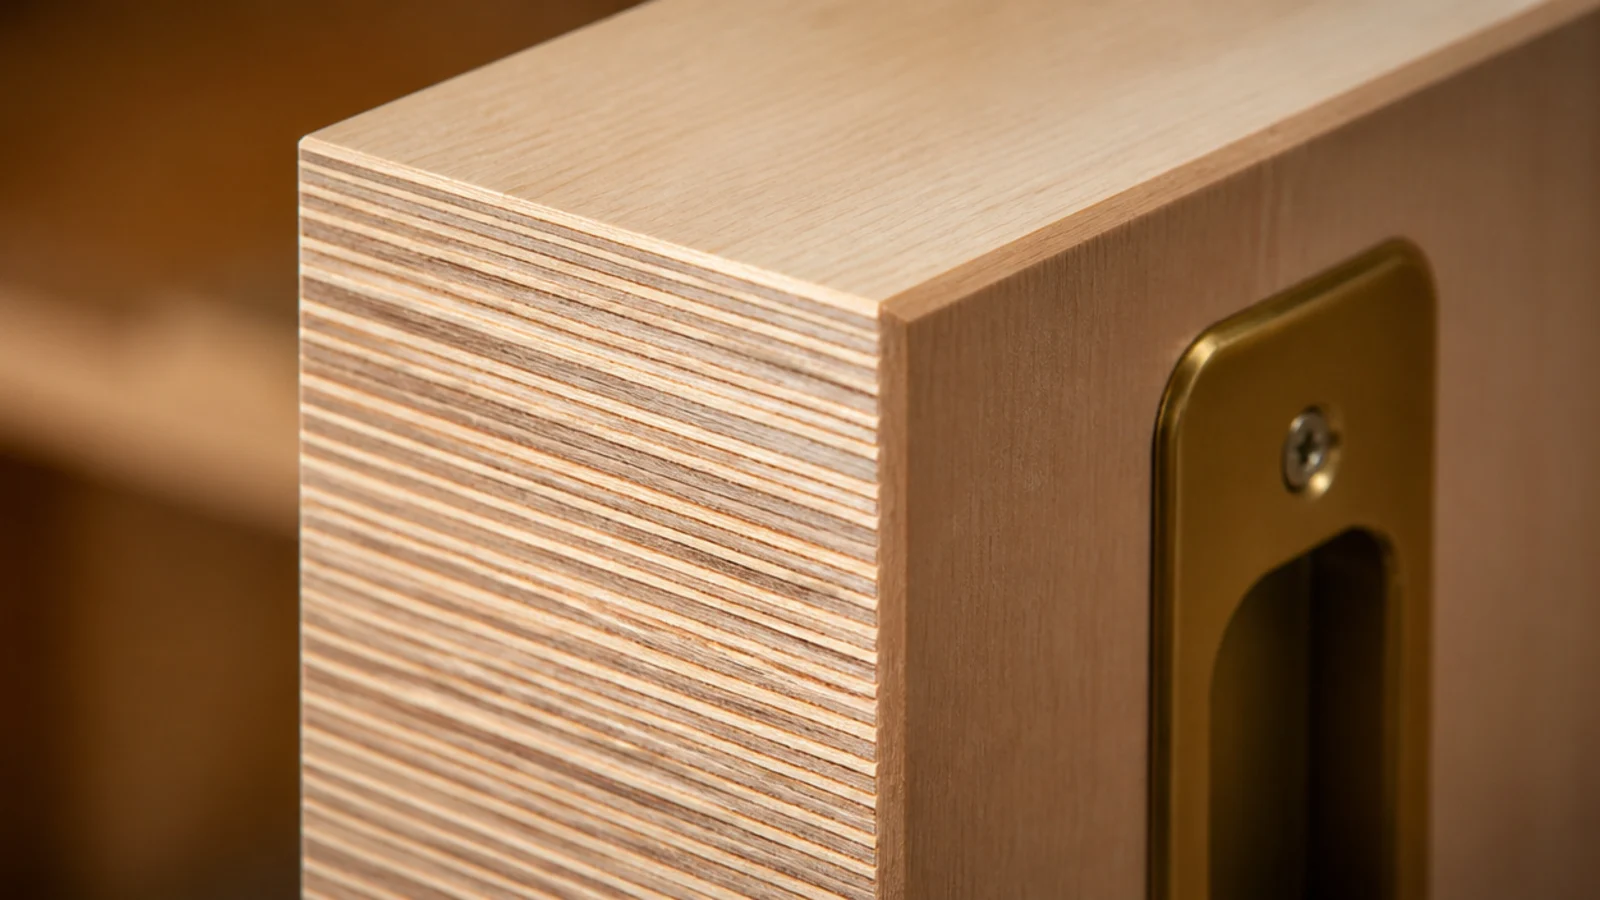
3. Birch ply with the edge left showing
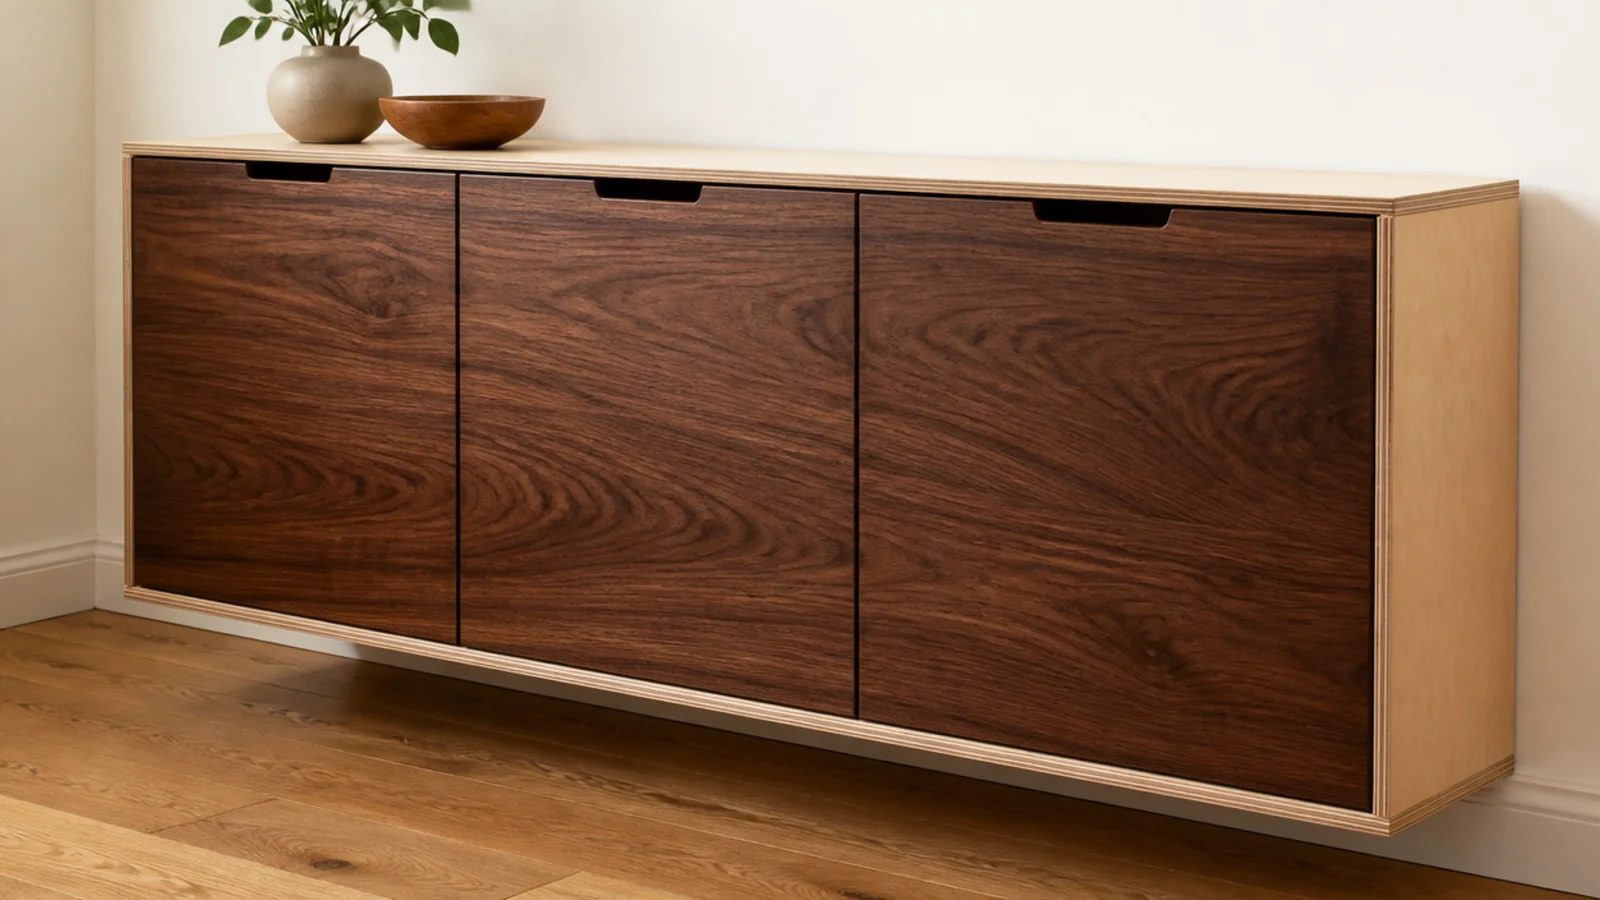
The layered edge of good birch plywood is a genuine detail rather than something to hide. Sand it smooth, oil it, and let the stripes read.
Use a void-free ply — cheap sheets have gaps in the core that show as dark holes along the edge. $$
4. Pine, but only painted
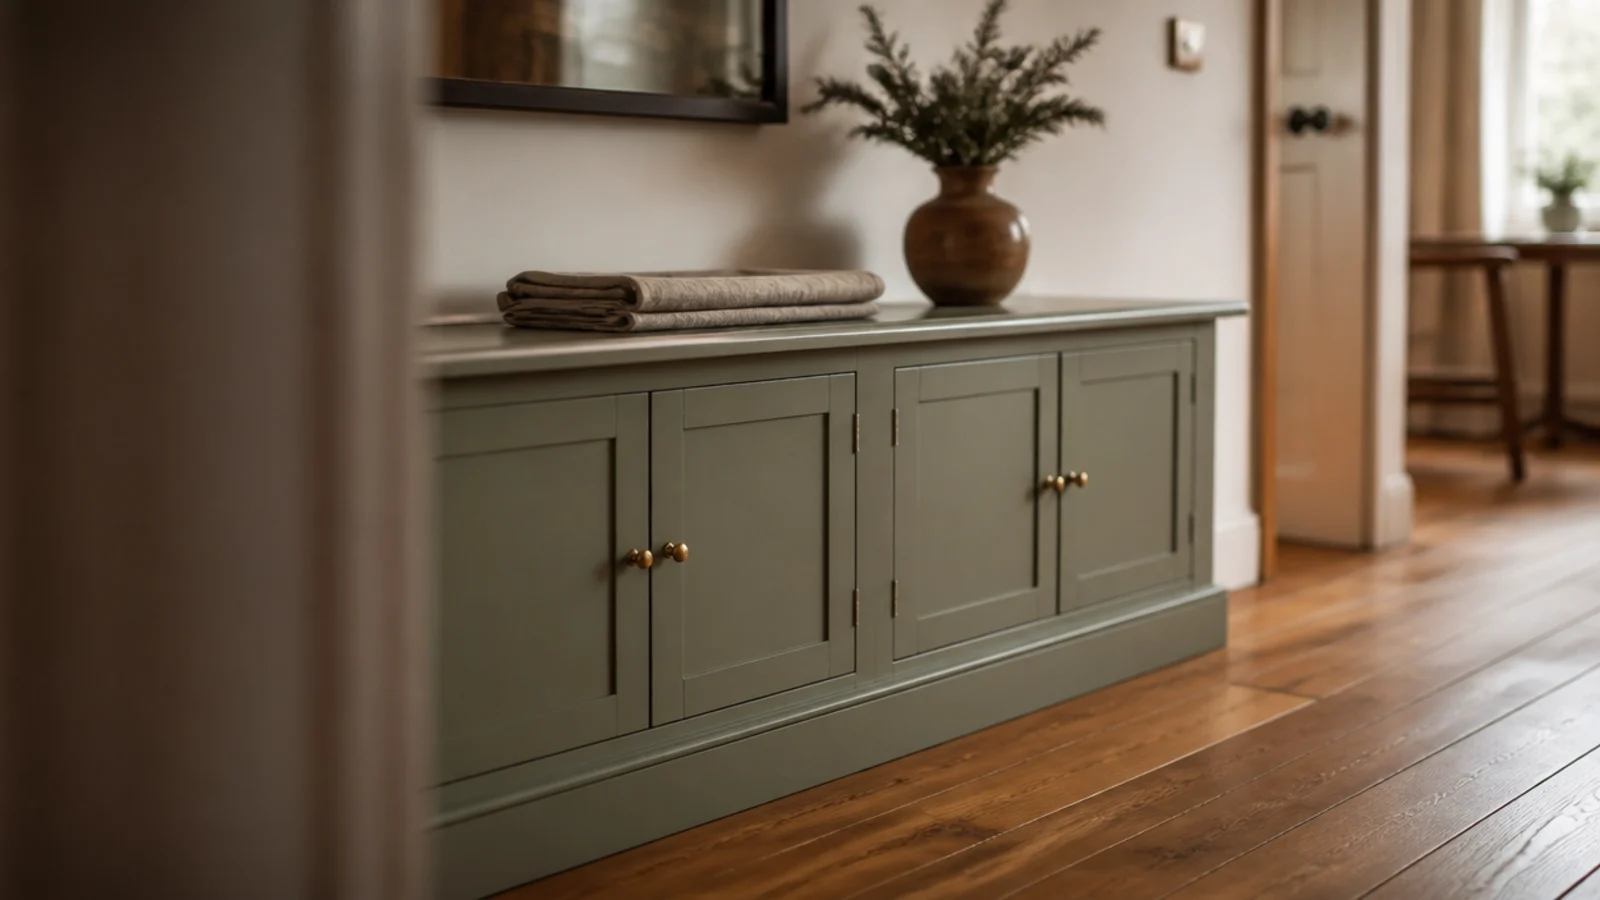
Pine is cheap and available and it blotches under stain unless you condition it first, which most people skip and then regret.
Painted, it is completely fine: bonding primer, two coats of satin cabinet paint. Accept that it dents, and put the boot bay somewhere the dents will not show. $
5. Ash for a pale hall
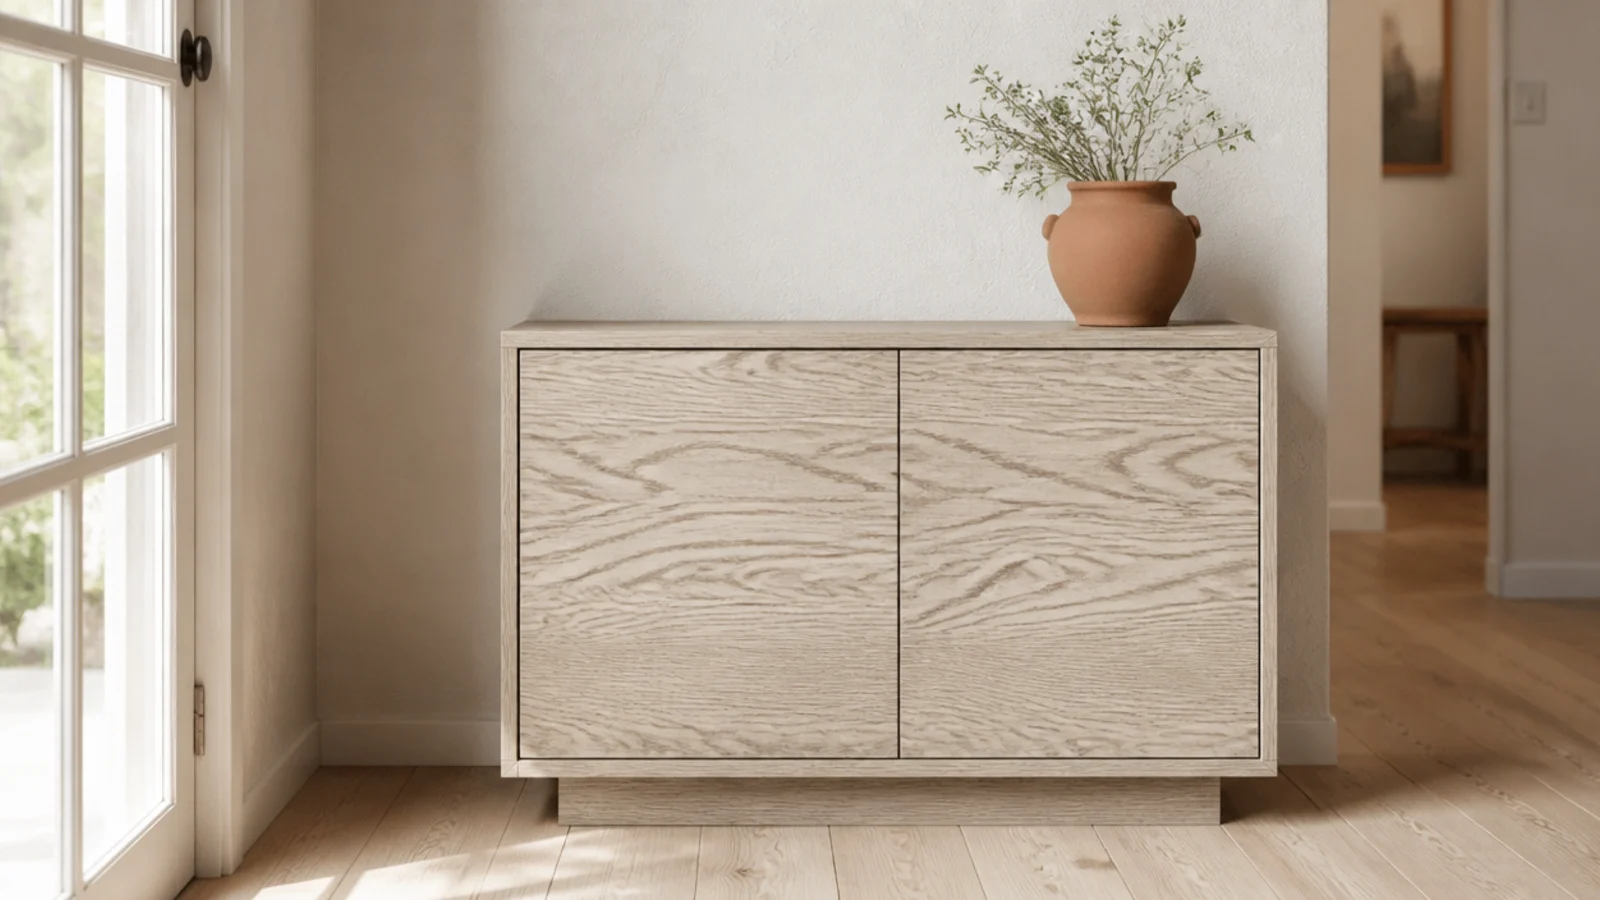
Ash gives you oak-level hardness with a paler tone and much bolder grain movement, which suits a bright entry that would look flat in plain oak.
It takes a clear oil without yellowing as much as maple does. Prices sit slightly below white oak at most yards. $$$
6. Reclaimed scaffold board fronts
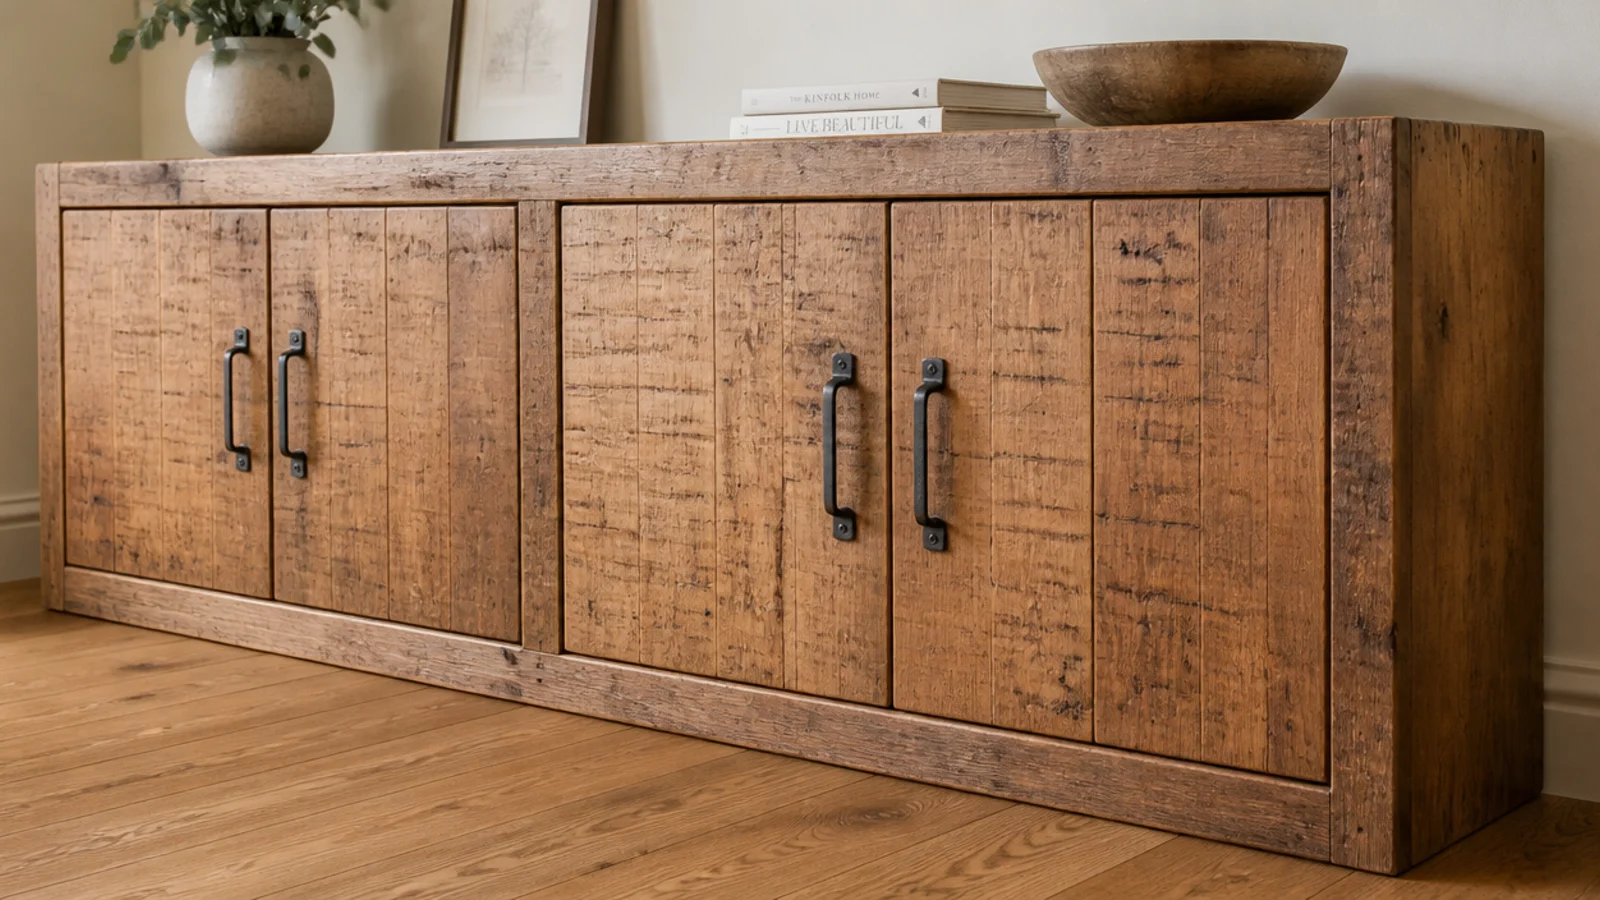
Scaffold boards are roughly 1.5 inches thick and sold cheaply secondhand, which buys you the expensive-looking chunky edge for very little money.
Budget an hour per board of sanding and sealing — old boards carry grit, cement dust and stains. That hour is the actual cost of this idea. $$
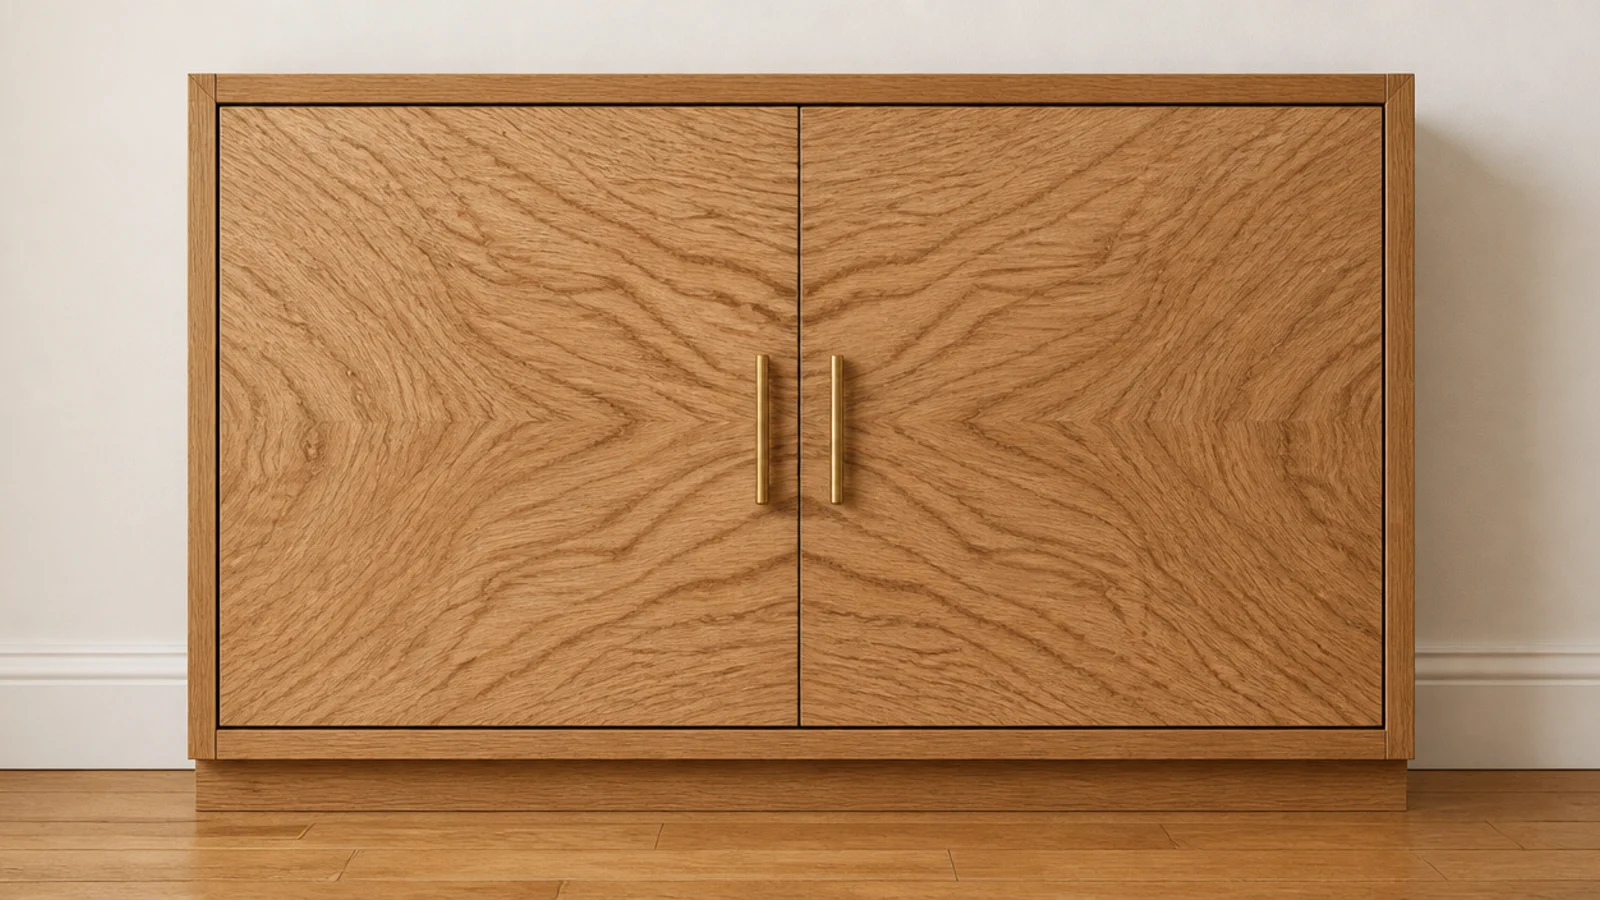
7. Match the grain across a pair of doors
Cut both fronts from one board, keep them in order, and the grain figure runs continuously across the gap as a single pattern.
It is a free decision at the lumber rack that reads as custom joinery for the life of the cabinet. Mark the boards with chalk before you cut. Free
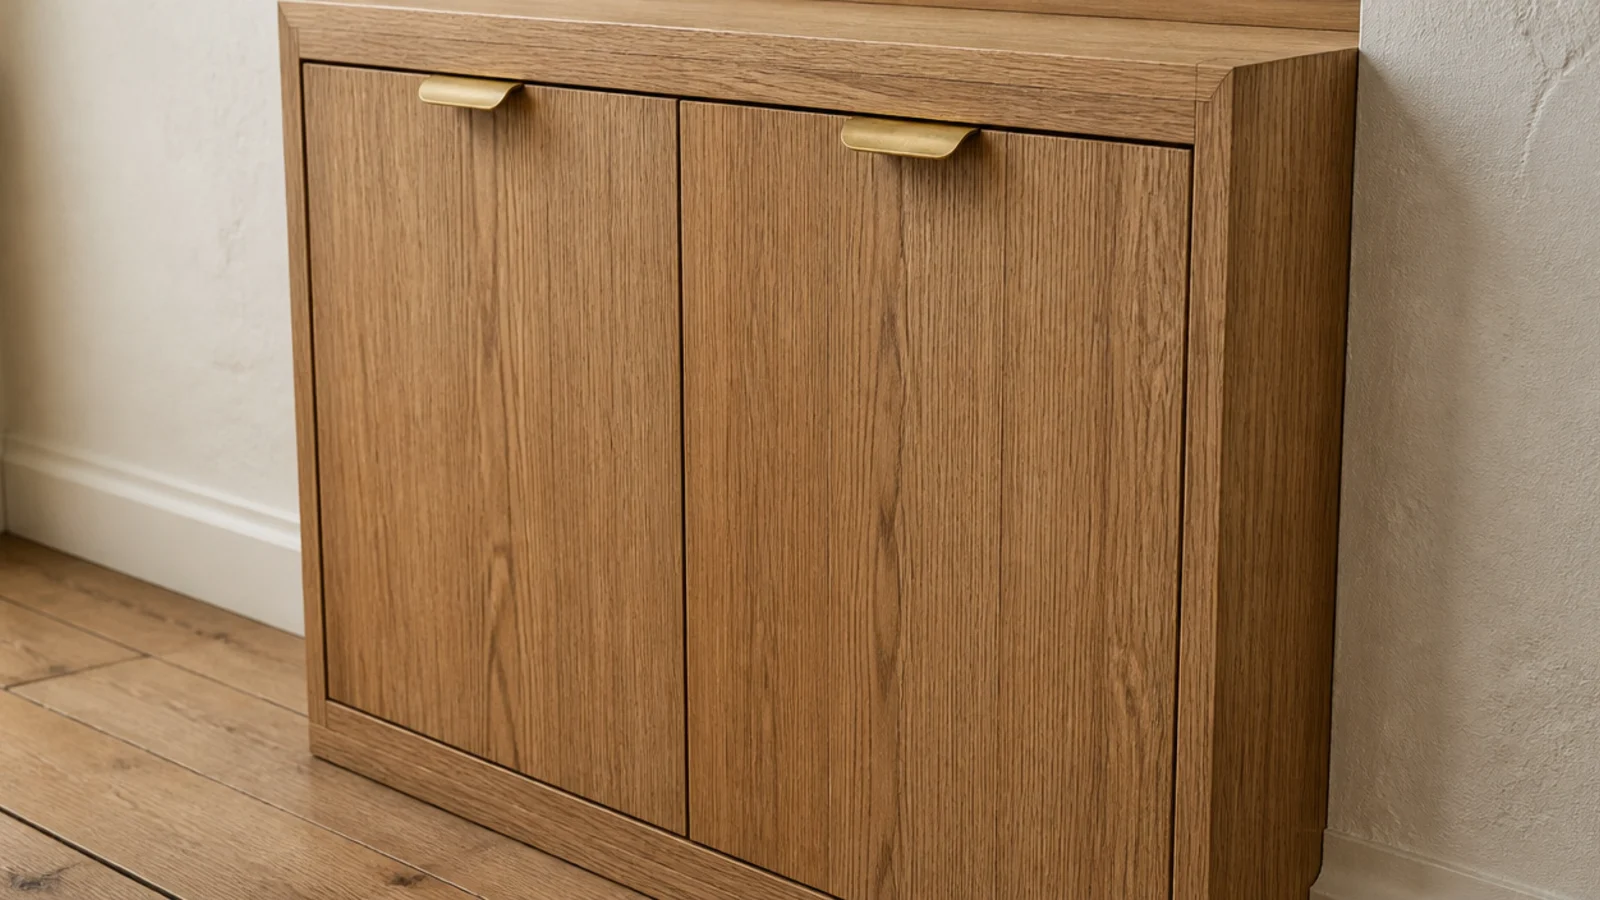
8. Run the grain vertically on a low box
On a cabinet under 32 inches tall, vertical grain stretches the piece upward. Horizontal grain squats it down, which is the opposite of what a low hallway cabinet wants.
Same board, same cost, entirely different proportion. Decide before you cut. Free
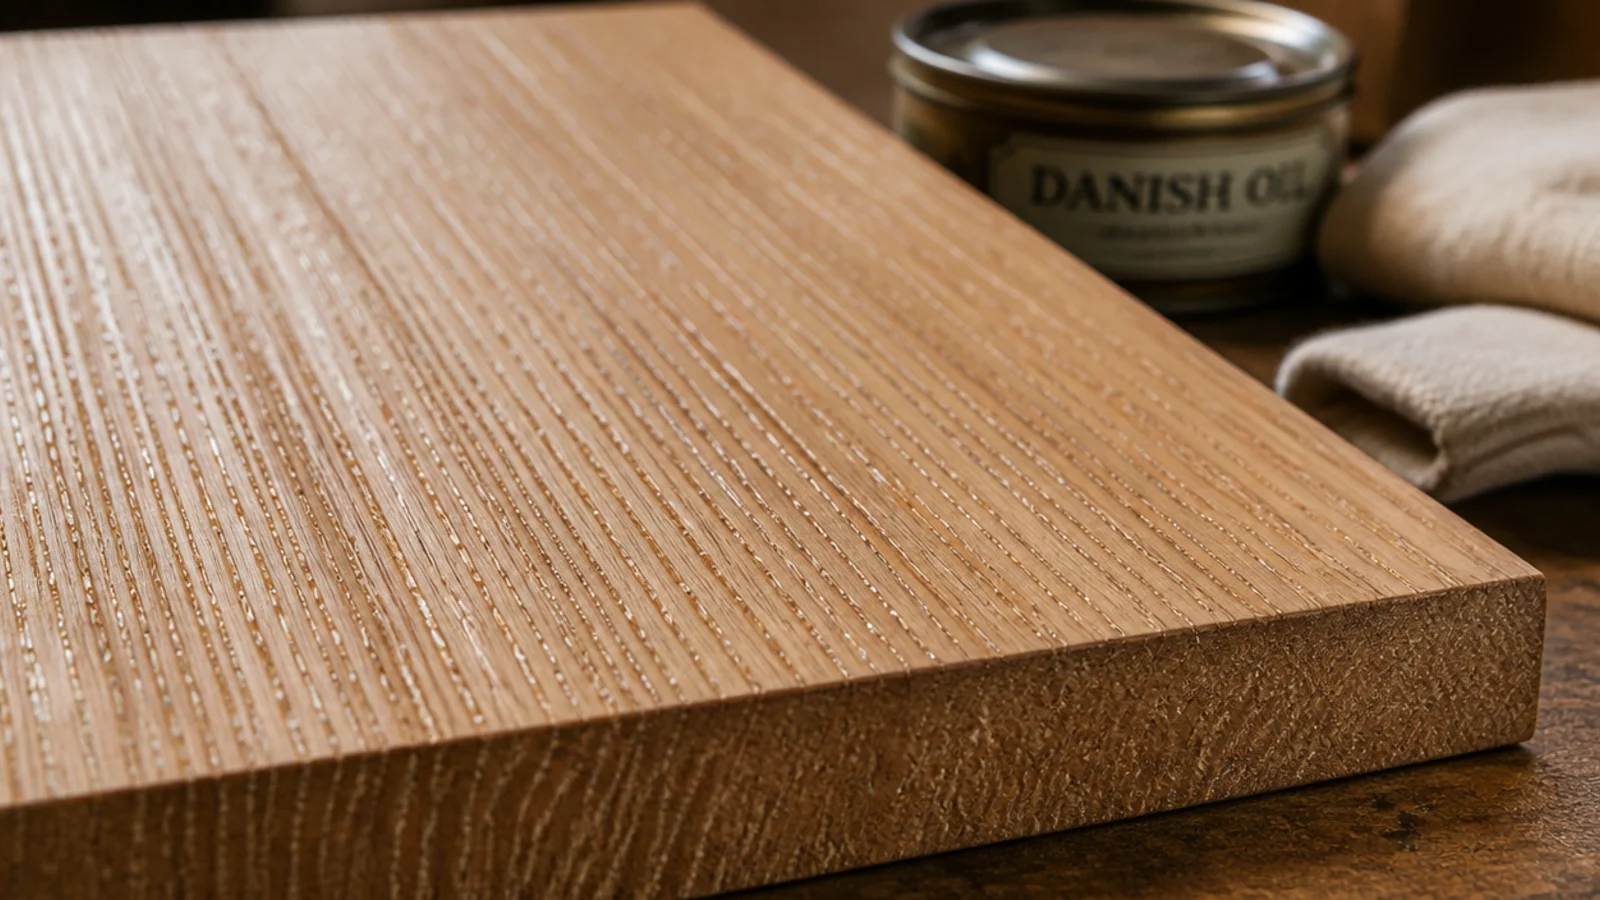
9. Quarter-sawn oak for a calm face
Quarter-sawn boards have dead straight grain and silvery ray fleck rather than the loud cathedral arches of plain-sawn timber.
In a narrow hallway you see the cabinet from three feet away, and quiet grain reads far better at that distance. It costs about 30 percent more per board foot. $$$
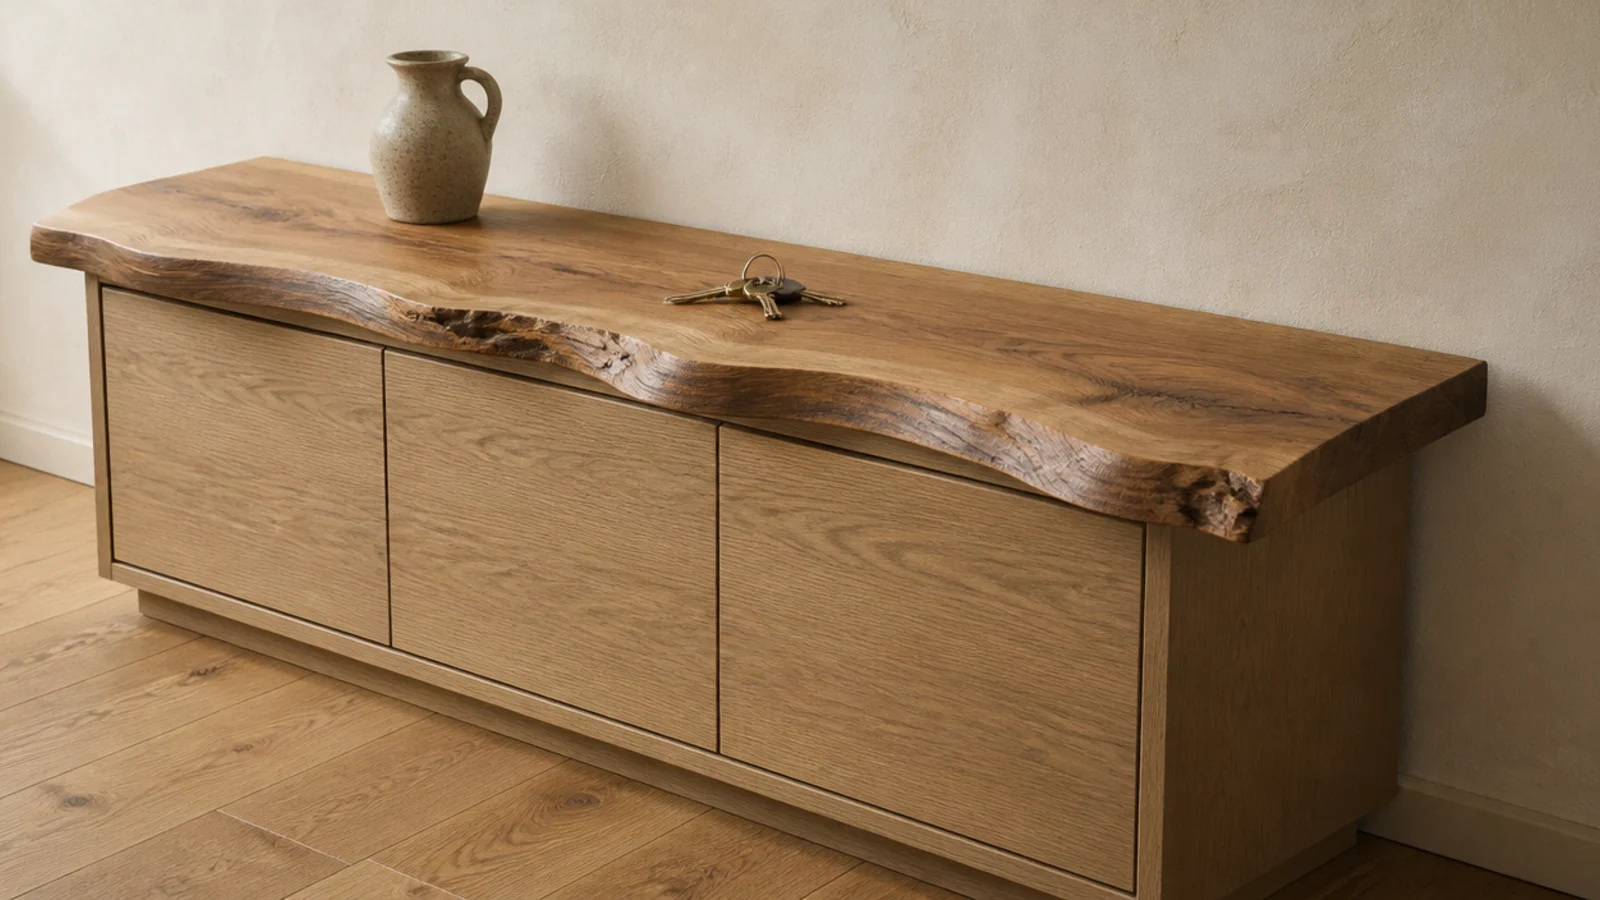
10. A live-edge top slab
One organic line in a hallway of straight ones does a lot of work. A live-edge slab across a squared carcass is the easiest way to get it.
Keep the rest of the cabinet plain — a live edge plus fluting plus a knob in a third timber is three ideas fighting. $$$
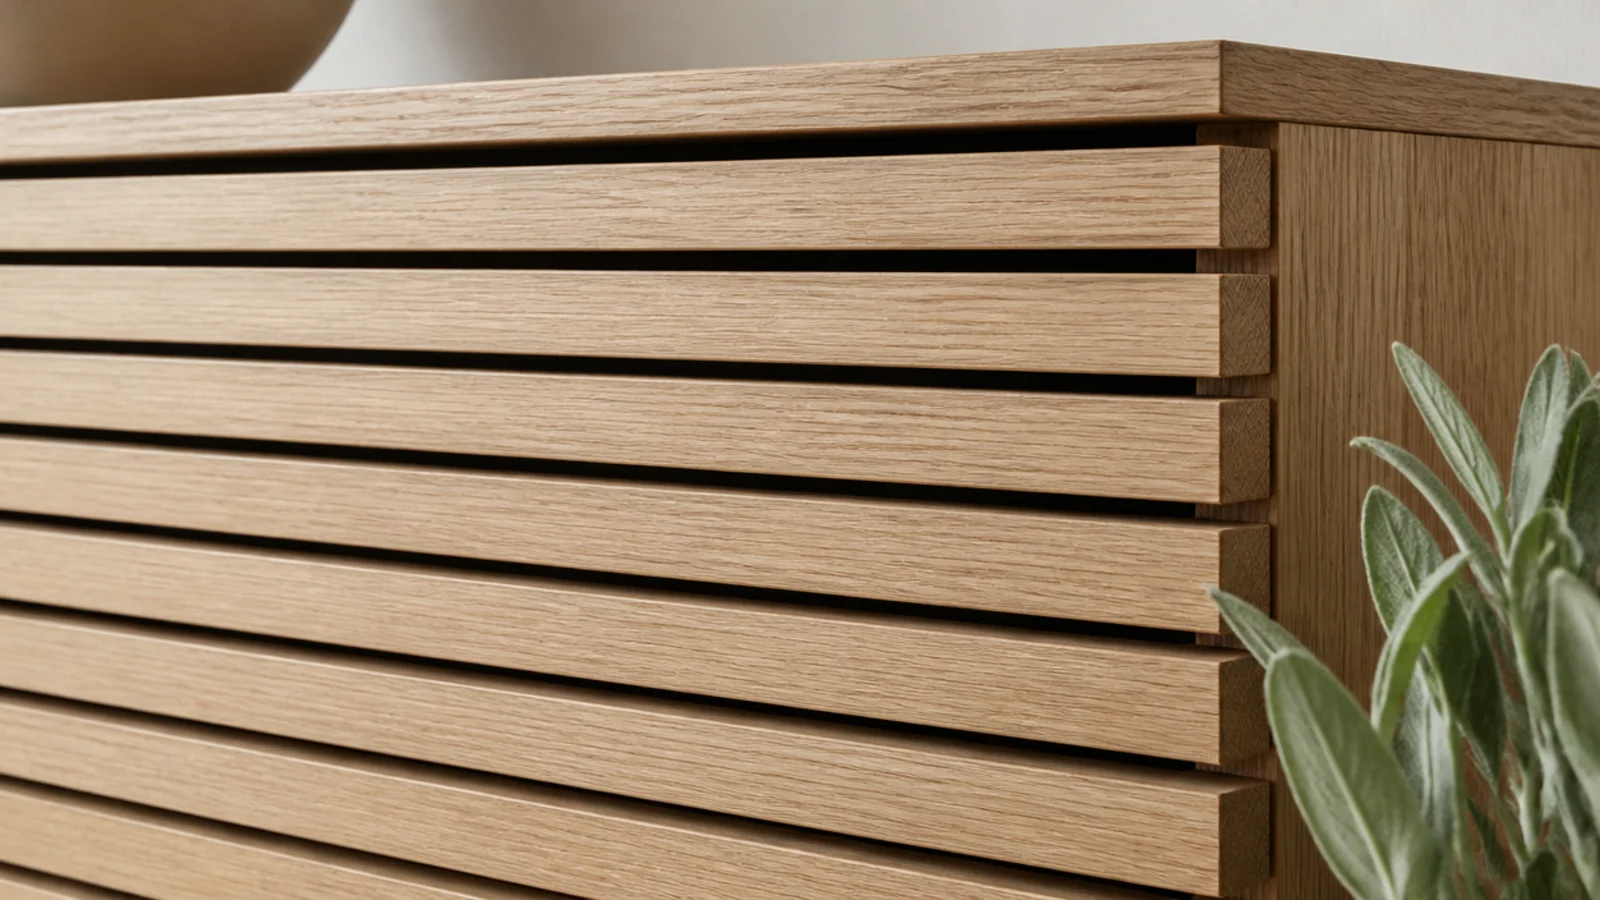
11. Slatted oak doors that ventilate
Horizontal slats with quarter-inch gaps move air constantly with the doors shut, which solves the single biggest problem closed shoe storage has.
They also break up a big blank front, which matters in a hall where you see the cabinet end-on. Dust with a dry brush, not a damp cloth. $$
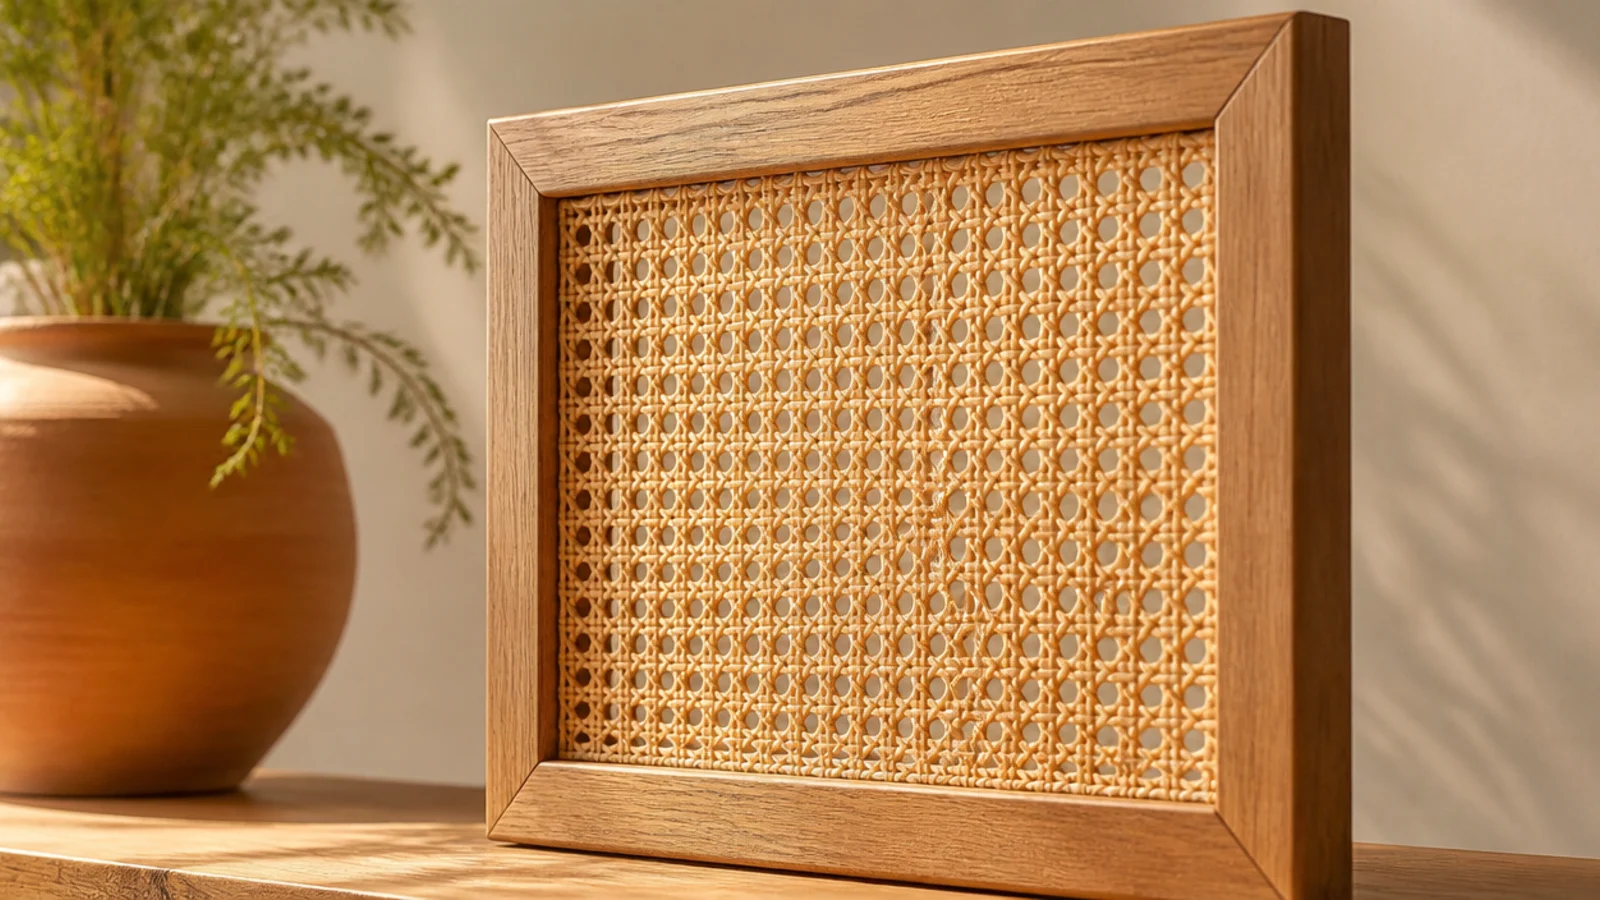
12. Cane inset in a timber frame
Cane webbing costs about $15 a foot, sits in a routed groove or behind simple beading, and ventilates permanently.
Soak it, staple it damp, and it dries drum-tight. Keep it out of anywhere it will get soaked — cane handles humidity fine and standing water badly. $$
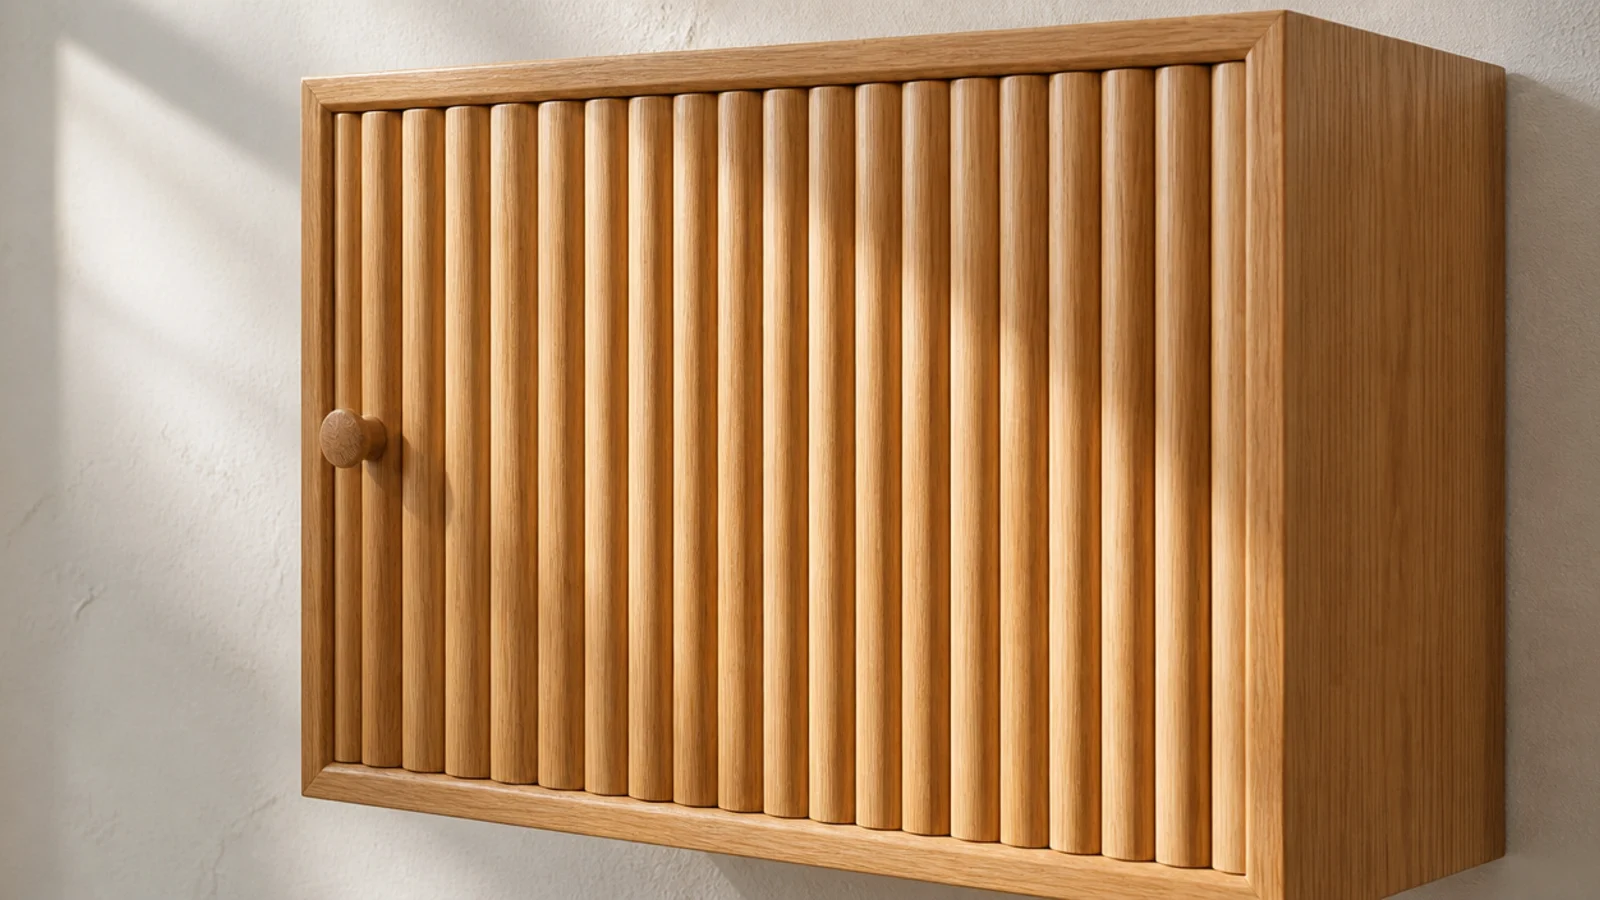
13. Half-round dowel fluting on a plain front
Half-round moulding glued edge to edge across a flat door, then oiled or painted, turns a plain front into something that catches every bit of raking hallway light.
Around $12 per door in materials. Use a spacer strip so the gaps stay even — the eye finds an irregular one instantly. $
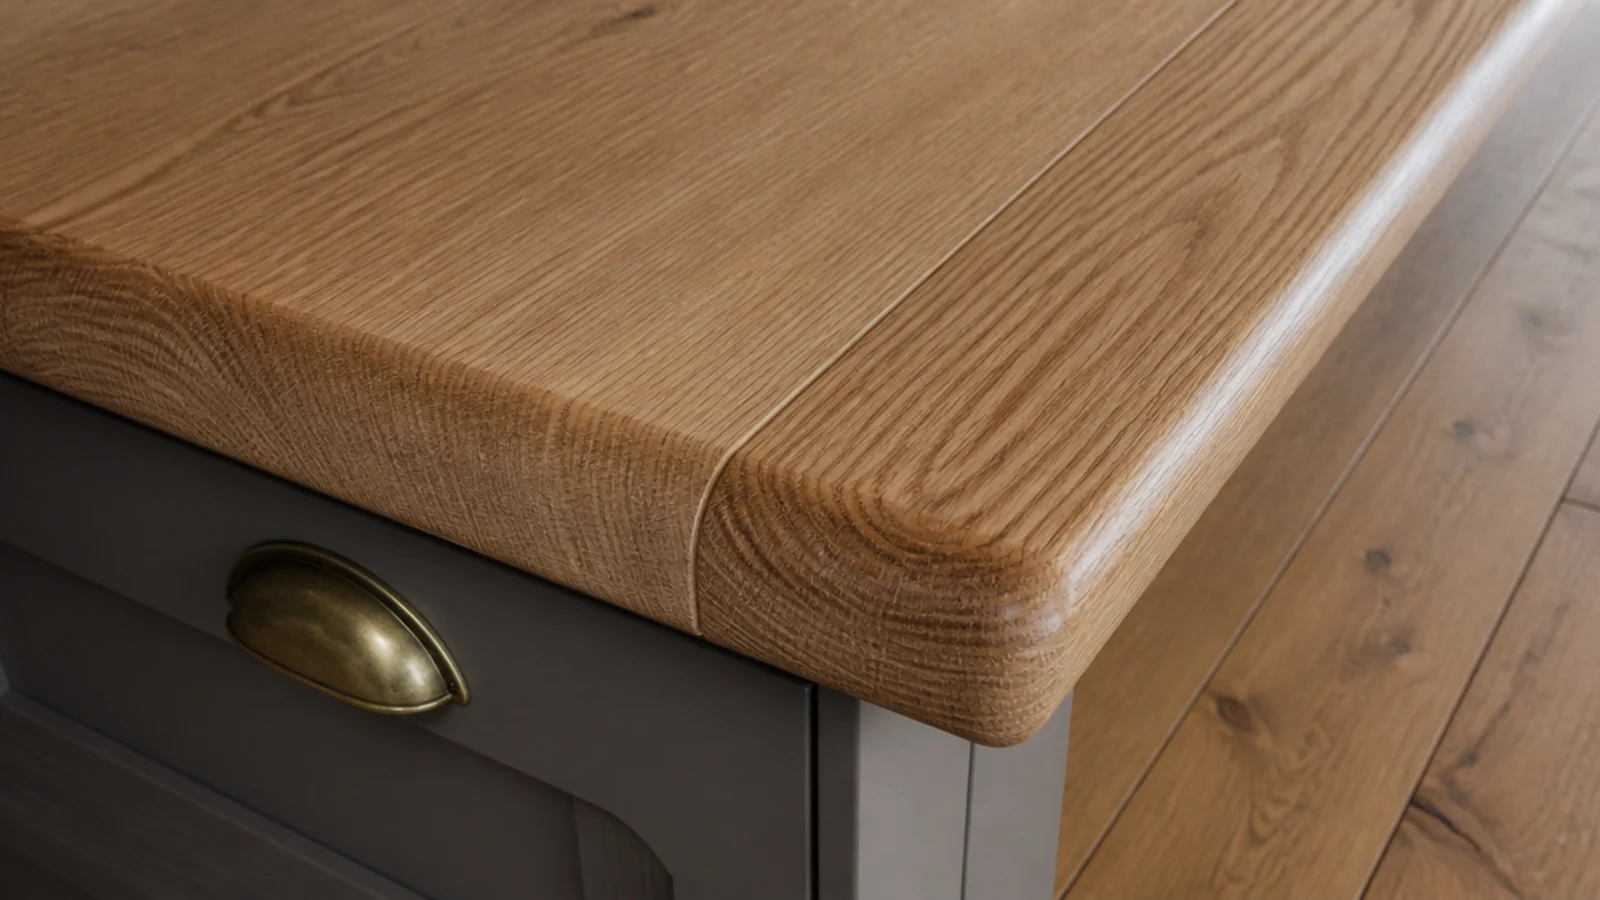
14. A chunky doubled-up top edge
Edge thickness is what people read as cost. Glue a second strip under the front edge of a thin top and round it over, and a three-quarter inch board reads as an inch and a half.
Nobody has ever looked underneath. Ten dollars of offcut and an hour. $
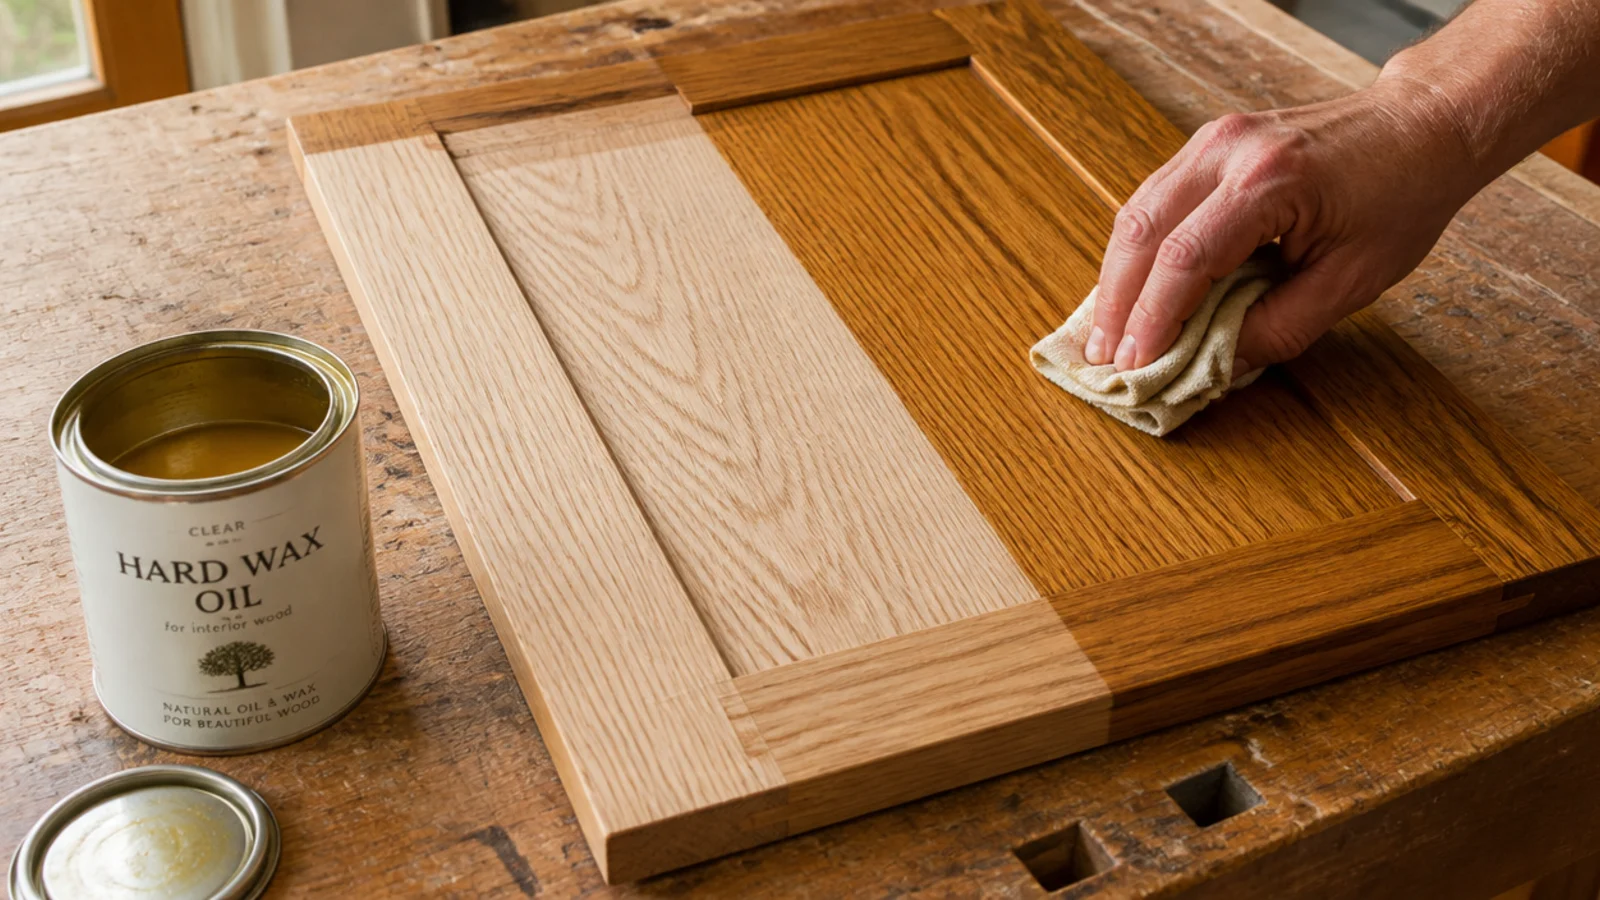
15. Hardwax oil, not polyurethane
Oil soaks into the timber, so a scuff blends rather than chipping, and you repair a worn patch with a rag instead of stripping a door.
Two thin coats, sanded lightly at 320 between, cured overnight. About $16 a tin, which does a whole cabinet twice. $
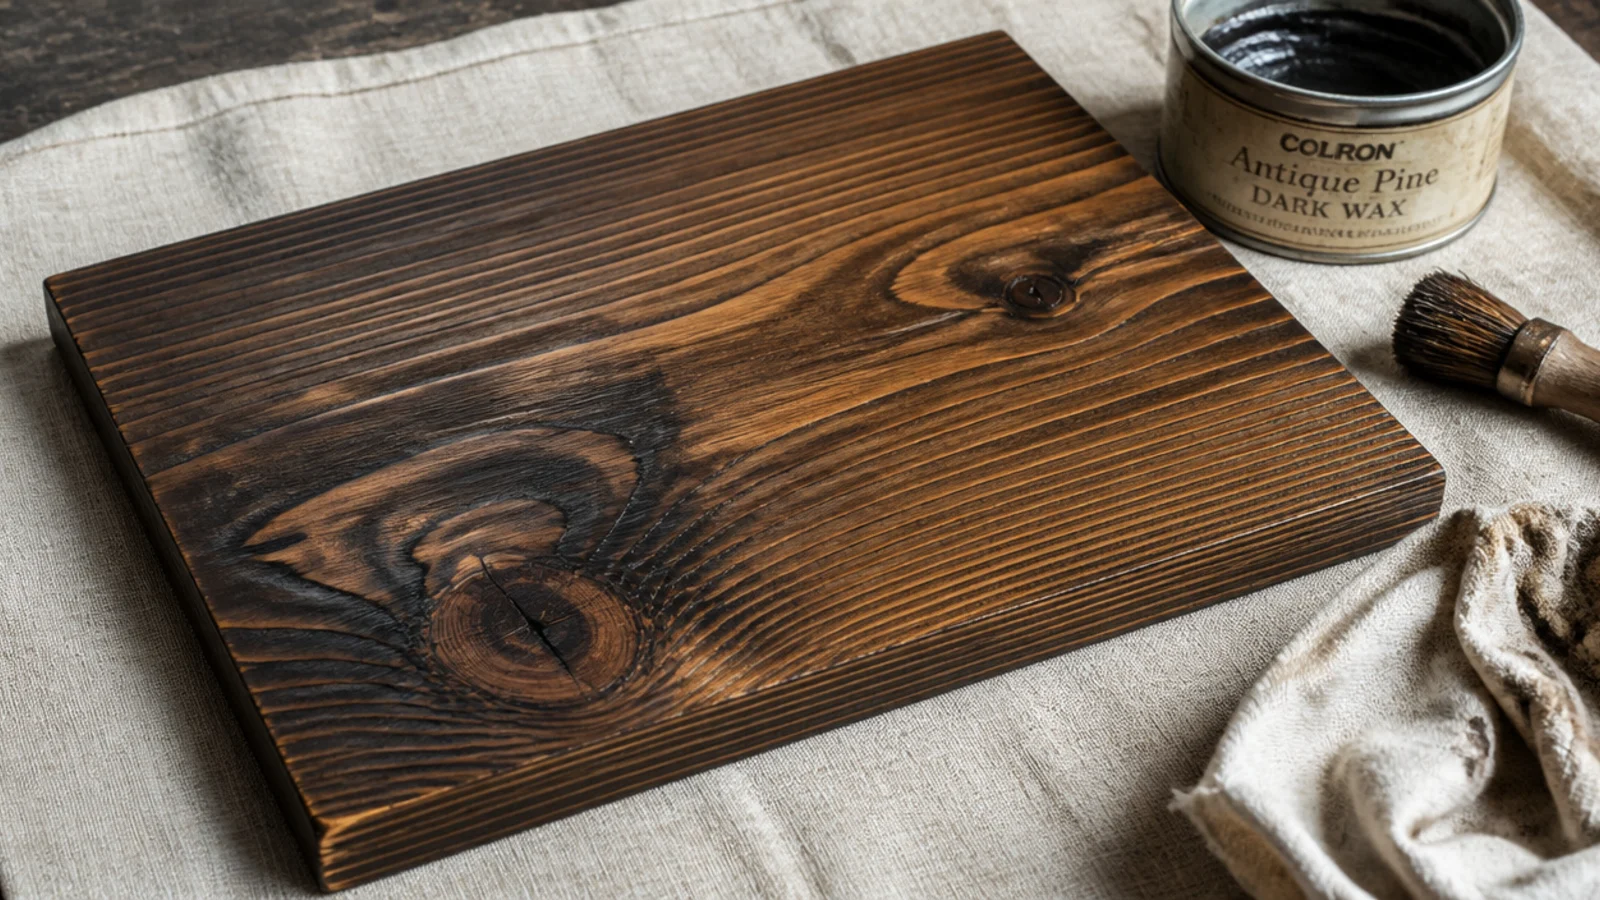
16. Dark wax rubbed into pine grain
Flat, pale pine looks like flat, pale pine. Dark wax worked into the open grain and buffed back settles in the low spots and gives the surface depth.
It is the cheapest way to make budget timber look considered. Test on an offcut first — it goes further than you expect. $
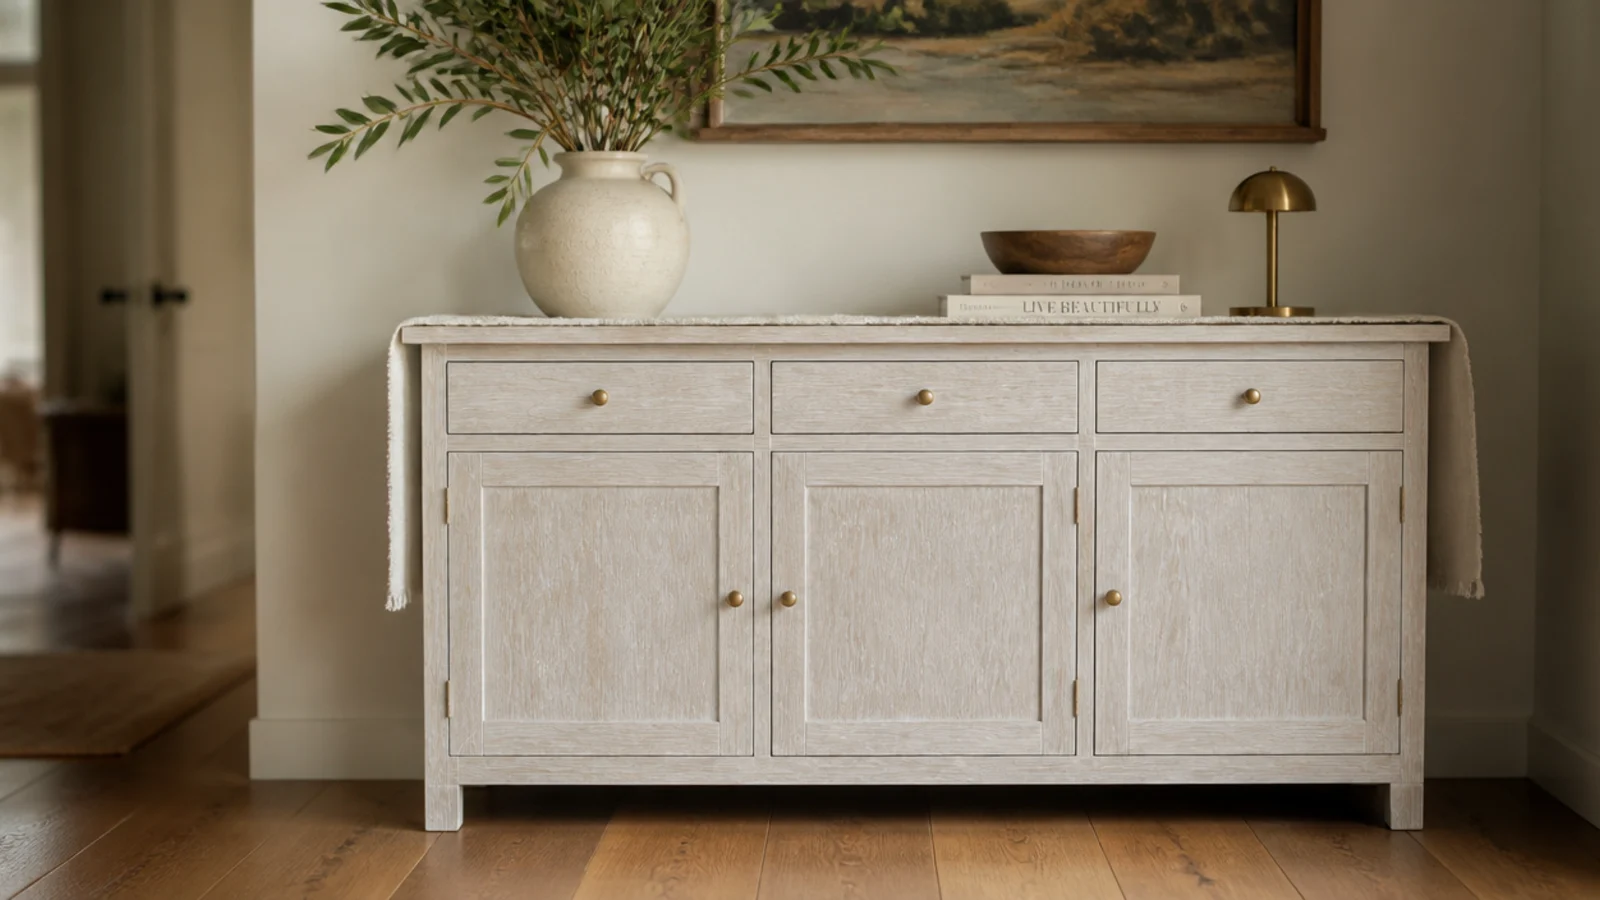
17. Whitewash for a pale hall
A thinned white finish pales the timber while leaving the grain readable, which suits a dim hallway better than either raw wood or solid paint.
Mix water-based paint about one to three with water, brush on, wipe back within a minute. Seal over the top with clear oil. $
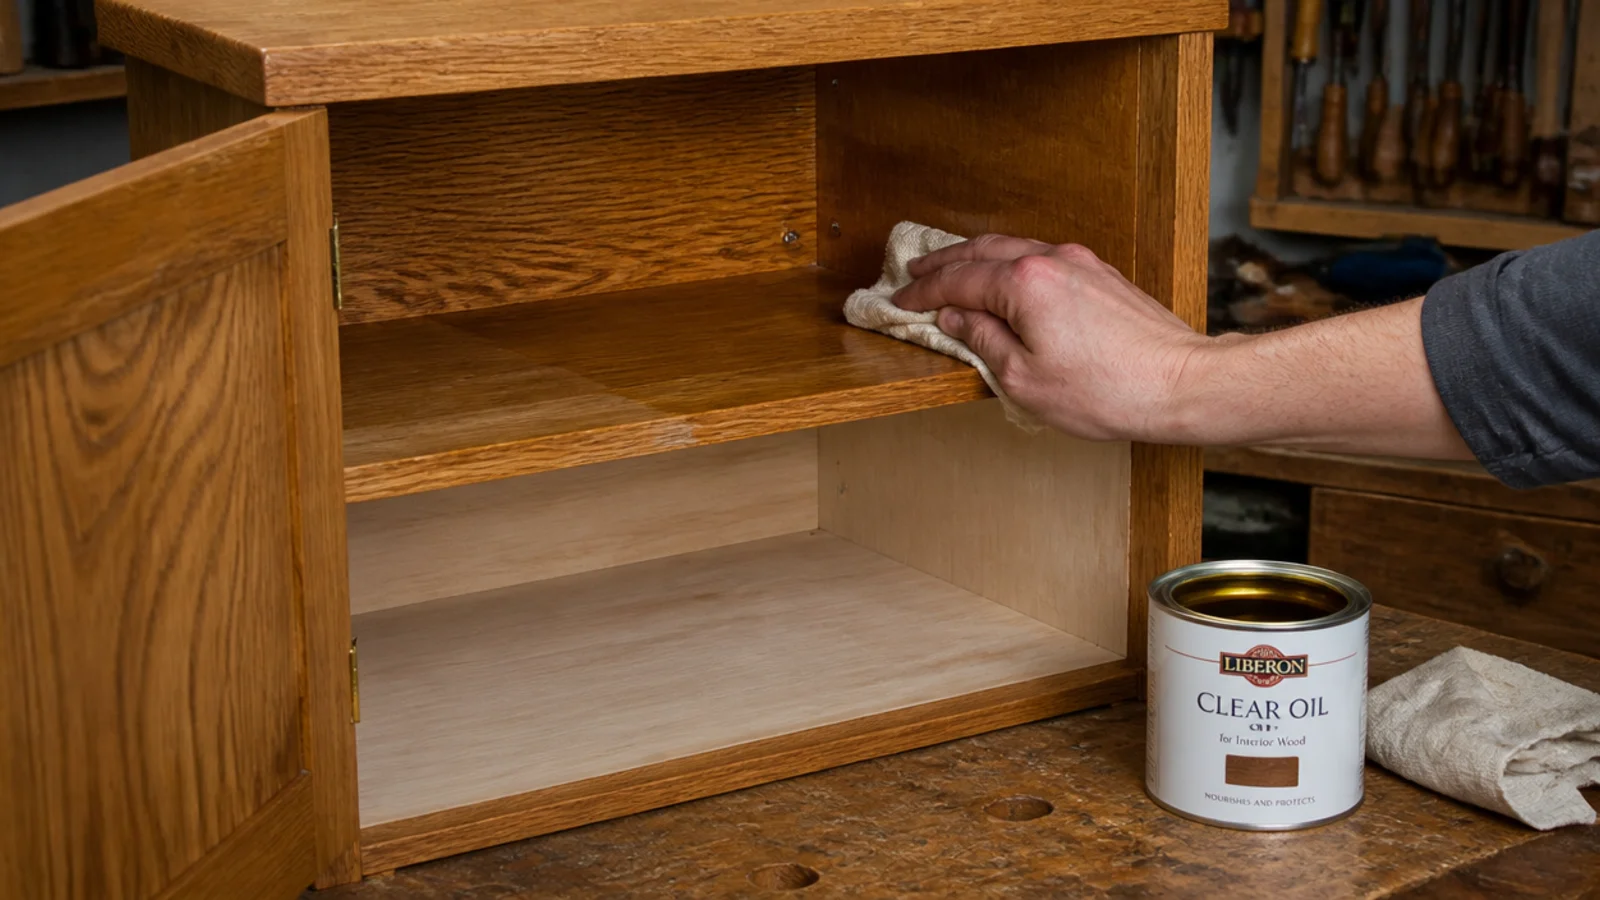
18. Seal the interior too
The most common wooden cabinet failure. An unsealed inside face absorbs moisture from shoes, cups over a season, and holds odour in the open grain permanently.
Oil every internal face including the undersides of shelves. It adds twenty minutes to the build and years to the cabinet. $
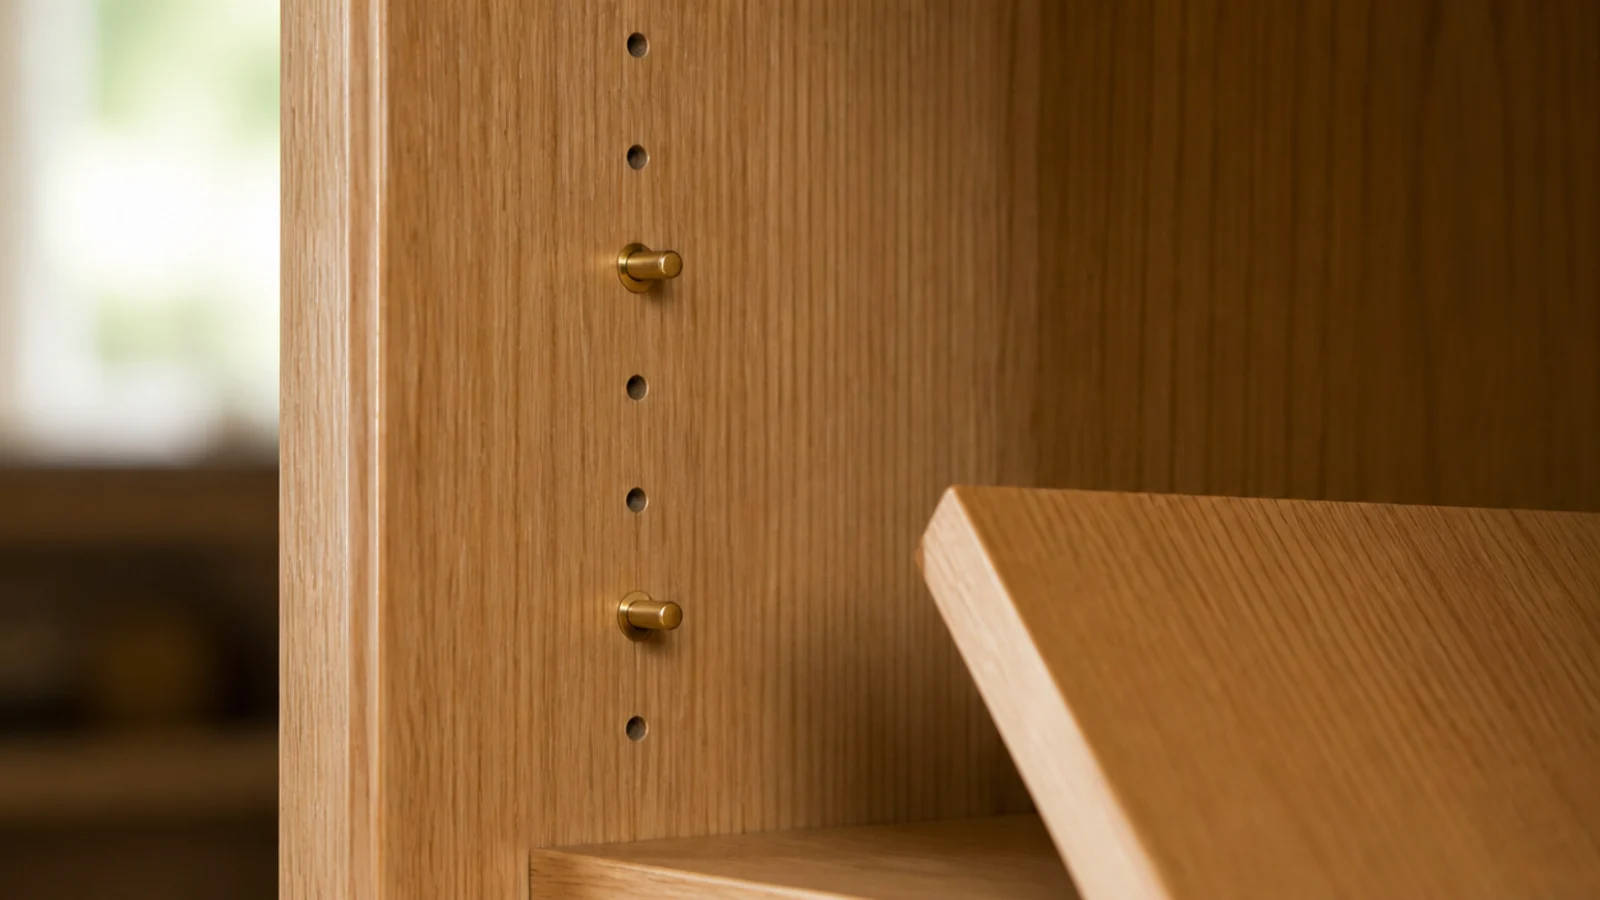
19. Timber shelf-pin holes at 32mm
Fixed shelves are what stop a wooden cabinet ever holding boots. Two columns of 5mm pin holes at 32mm spacing solve it permanently.
Drill them flat on the bench with a jig and a depth stop before assembly. Twenty minutes then, impossible later. $
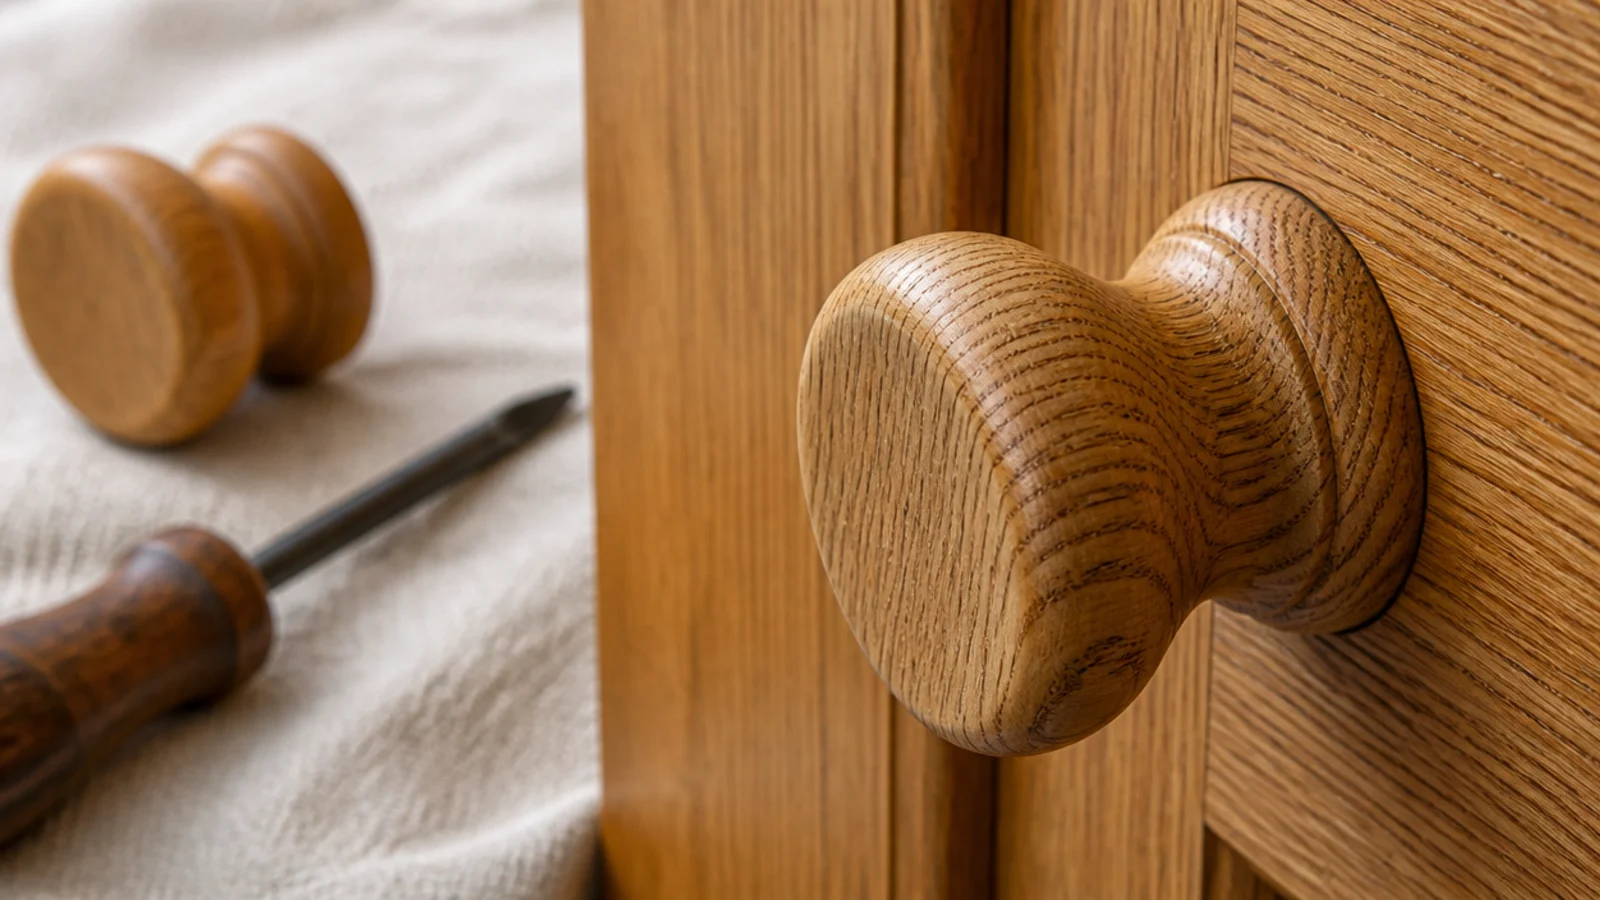
20. Wooden knobs turned from an offcut
A knob cut from the same board as the door ties the whole piece together in a way bought hardware cannot.
If you have no lathe, a simple square or chamfered block reads just as deliberate. Fix with a screw from inside the door, never glue alone. $
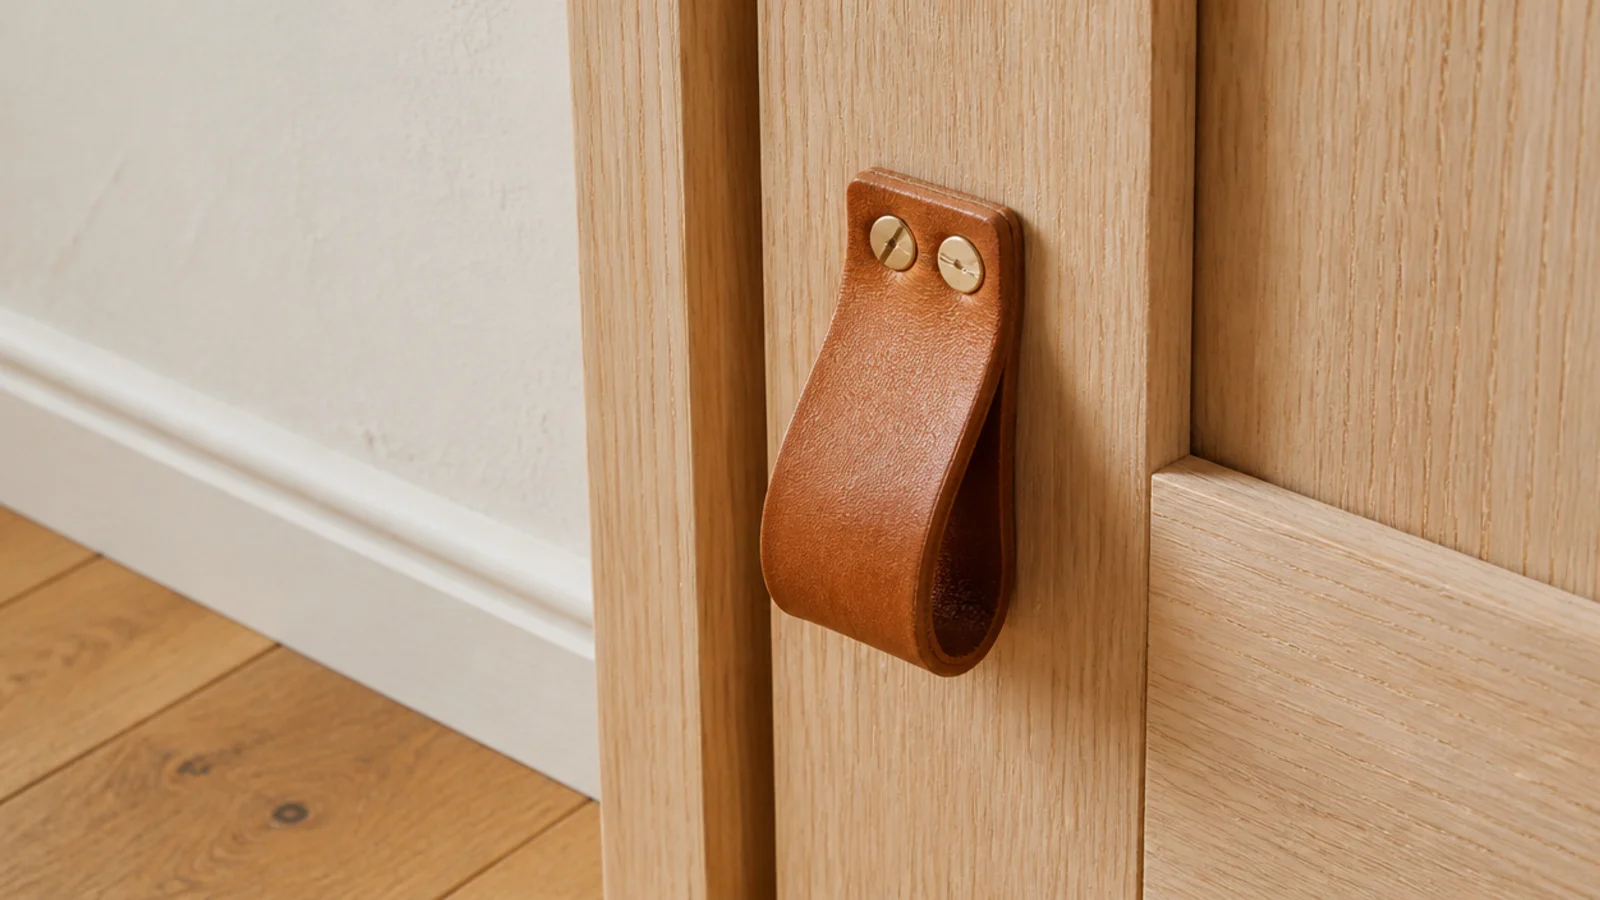
21. Leather pulls on a timber front
Tan leather straps warm up timber in a way that metal does not, and they cost about $8 a pair.
Use full-grain leather at least 3mm thick, fixed with two brass screws through washers. Thin leather stretches into a limp loop within a few months of daily pulling. $
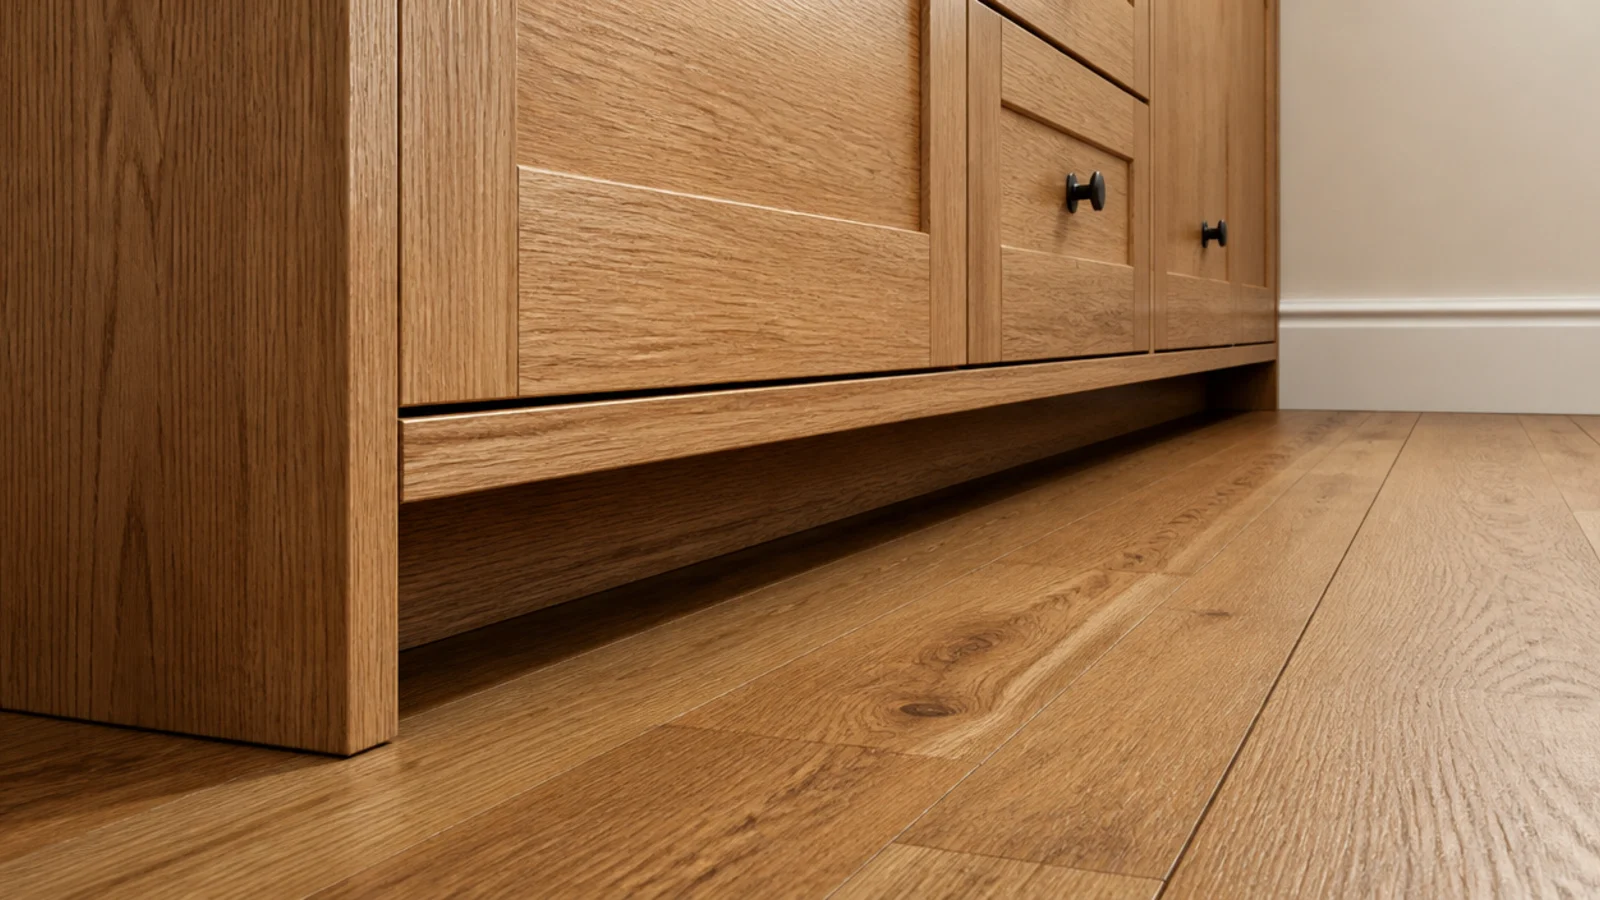
22. A timber toe kick recessed three inches
Recess the base 3 inches and a freestanding wooden cabinet immediately reads as fitted joinery, and you stop kicking the bottom rail.
Leave the recess open rather than boxing it in. That gap is doing ventilation work from below. $
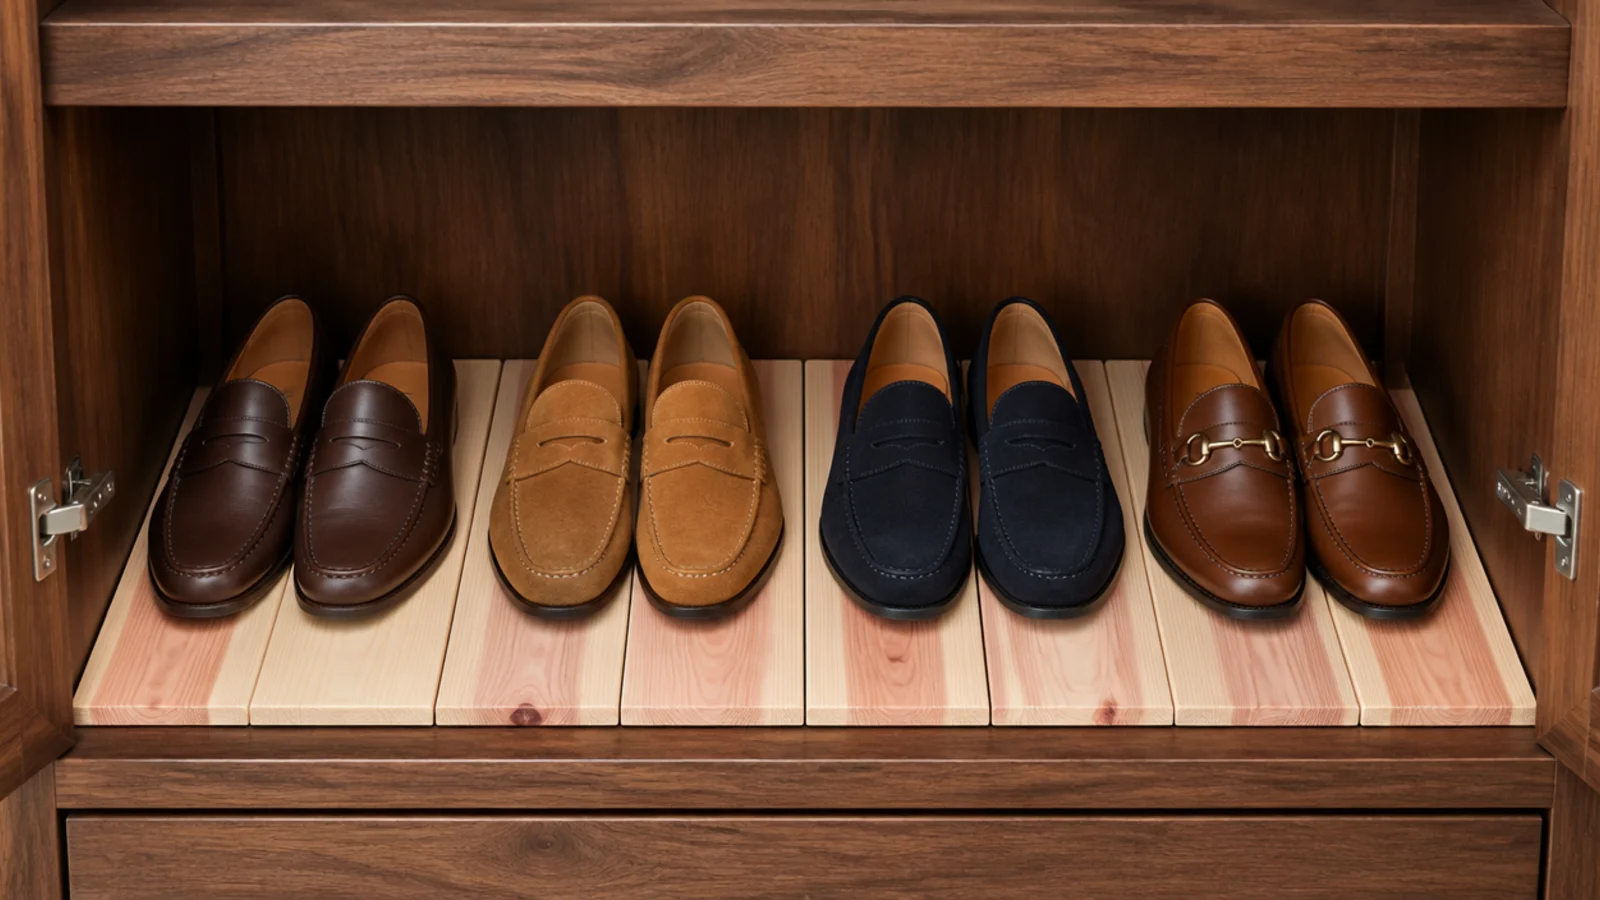
23. Cedar liner strips in the flats bay
Aromatic cedar strips laid in a bay smell good, absorb some moisture and deter moths in the out-of-season pairs.
It is a supplement, not a solution. Cedar on top of drilled ventilation works; cedar in a sealed box just perfumes the problem. $
24. A tall solid boot bay at one end
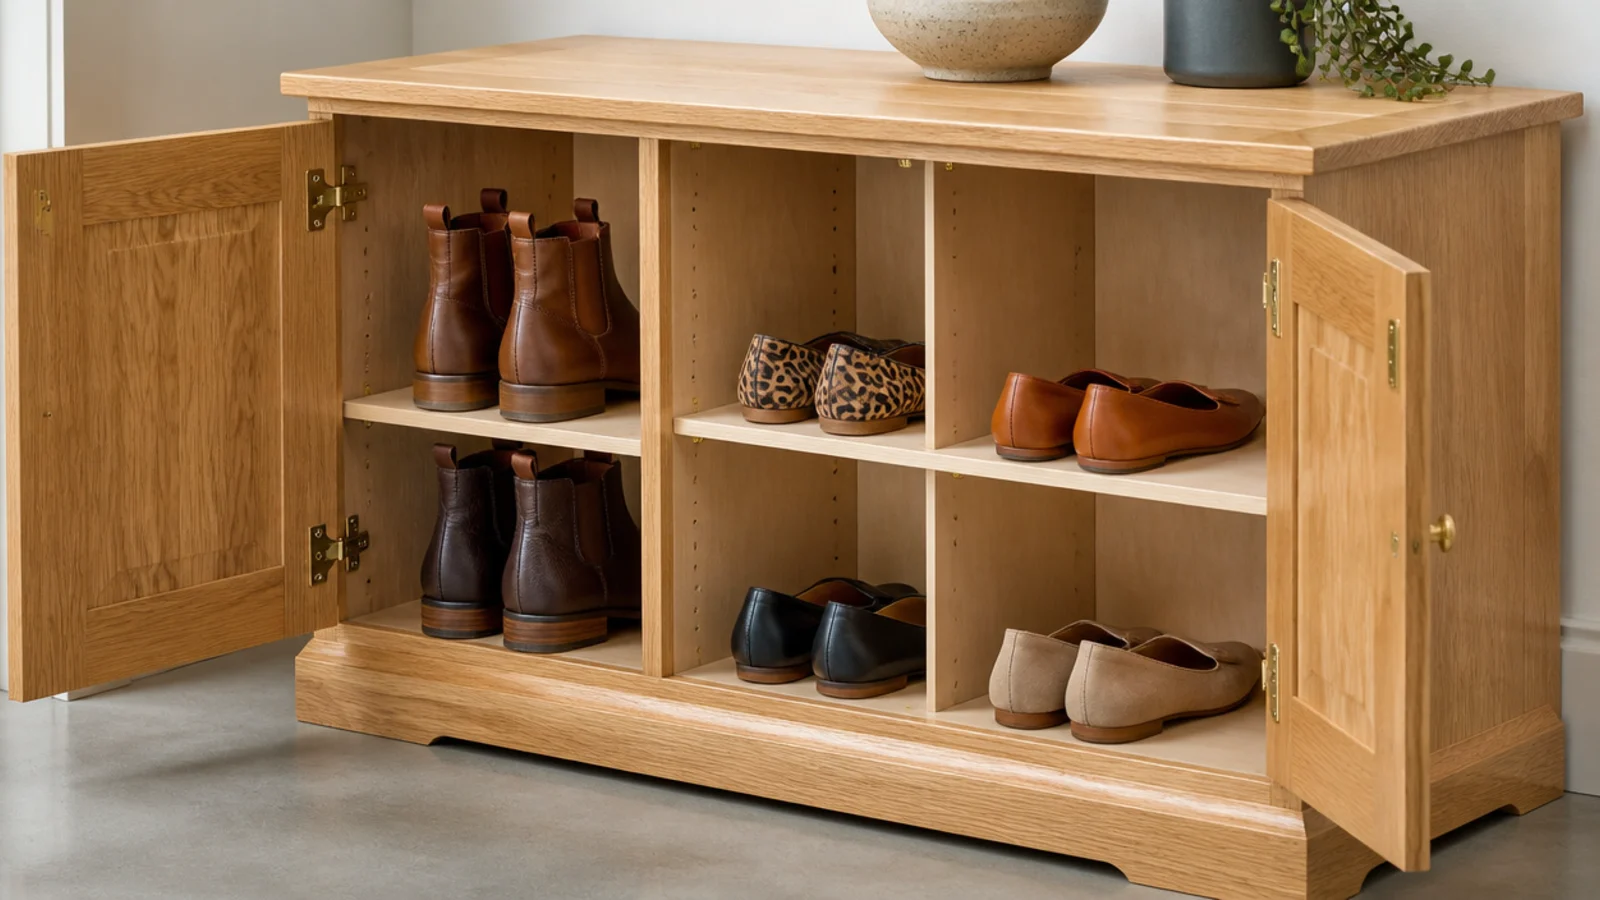
One bay with 16 inches of clear height takes ankle boots standing upright, 20 inches for knee-highs.
Put it at one end at floor level, where wet soles do least damage and the weight sits low. This is the bay that gets boots out of your hallway all winter. $$
25. Drill the ventilation row before finishing
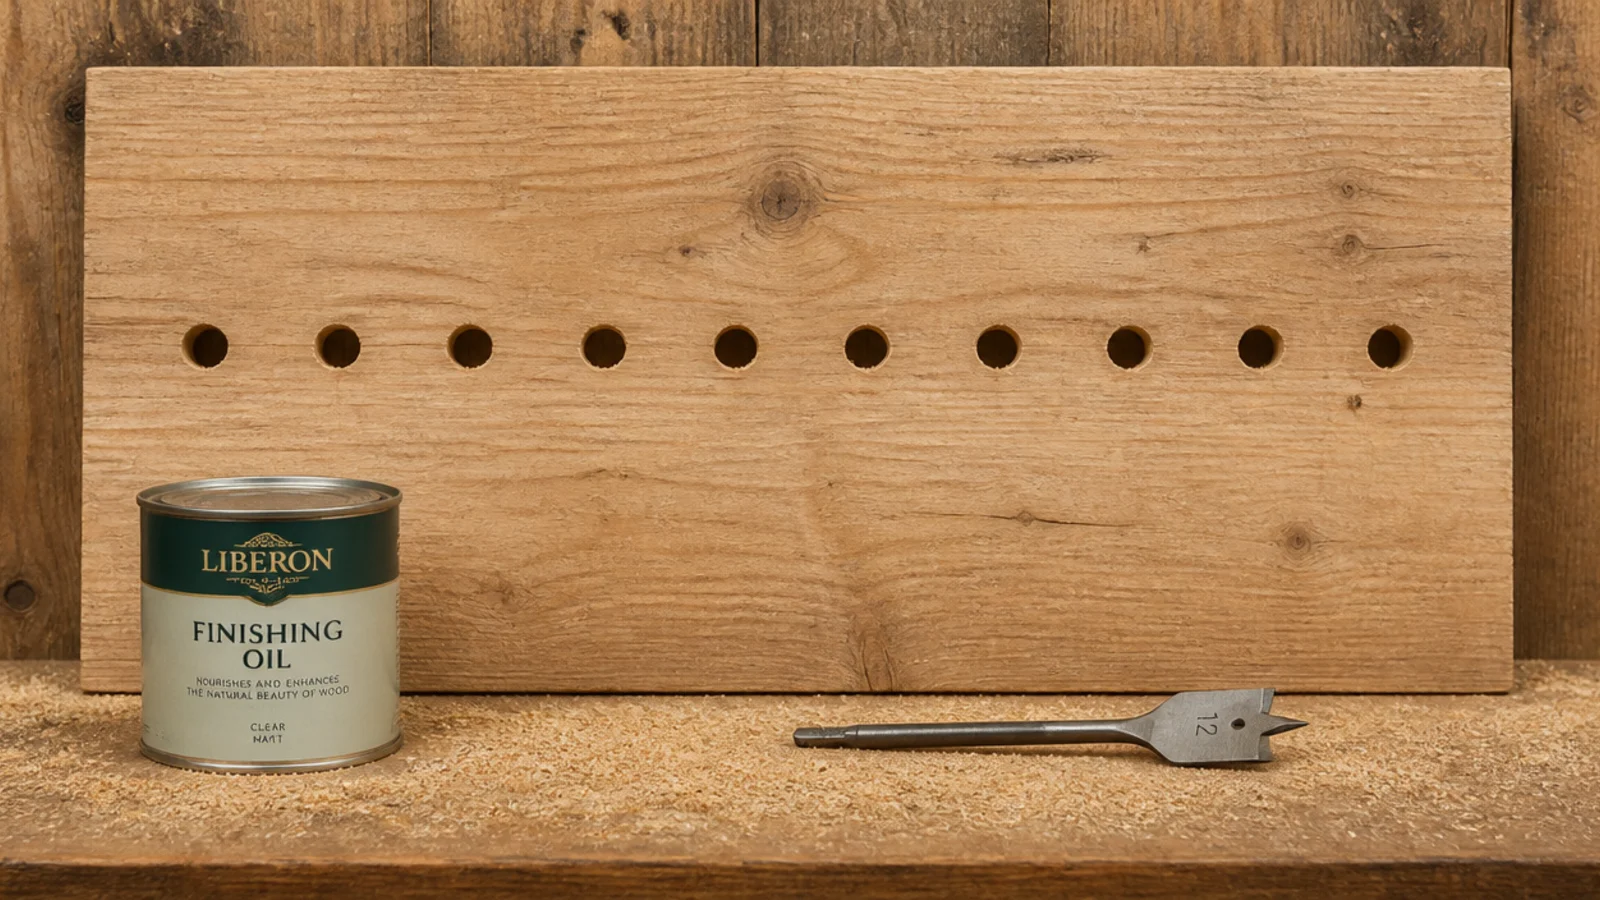
Order matters. Drilling after oiling tears the finish around every hole and leaves raw end grain drinking moisture inside the panel.
Drill the row of half-inch holes at 4-inch spacing first, sand the exit side, then oil everything including inside the holes. $
26. Turned or tapered timber legs
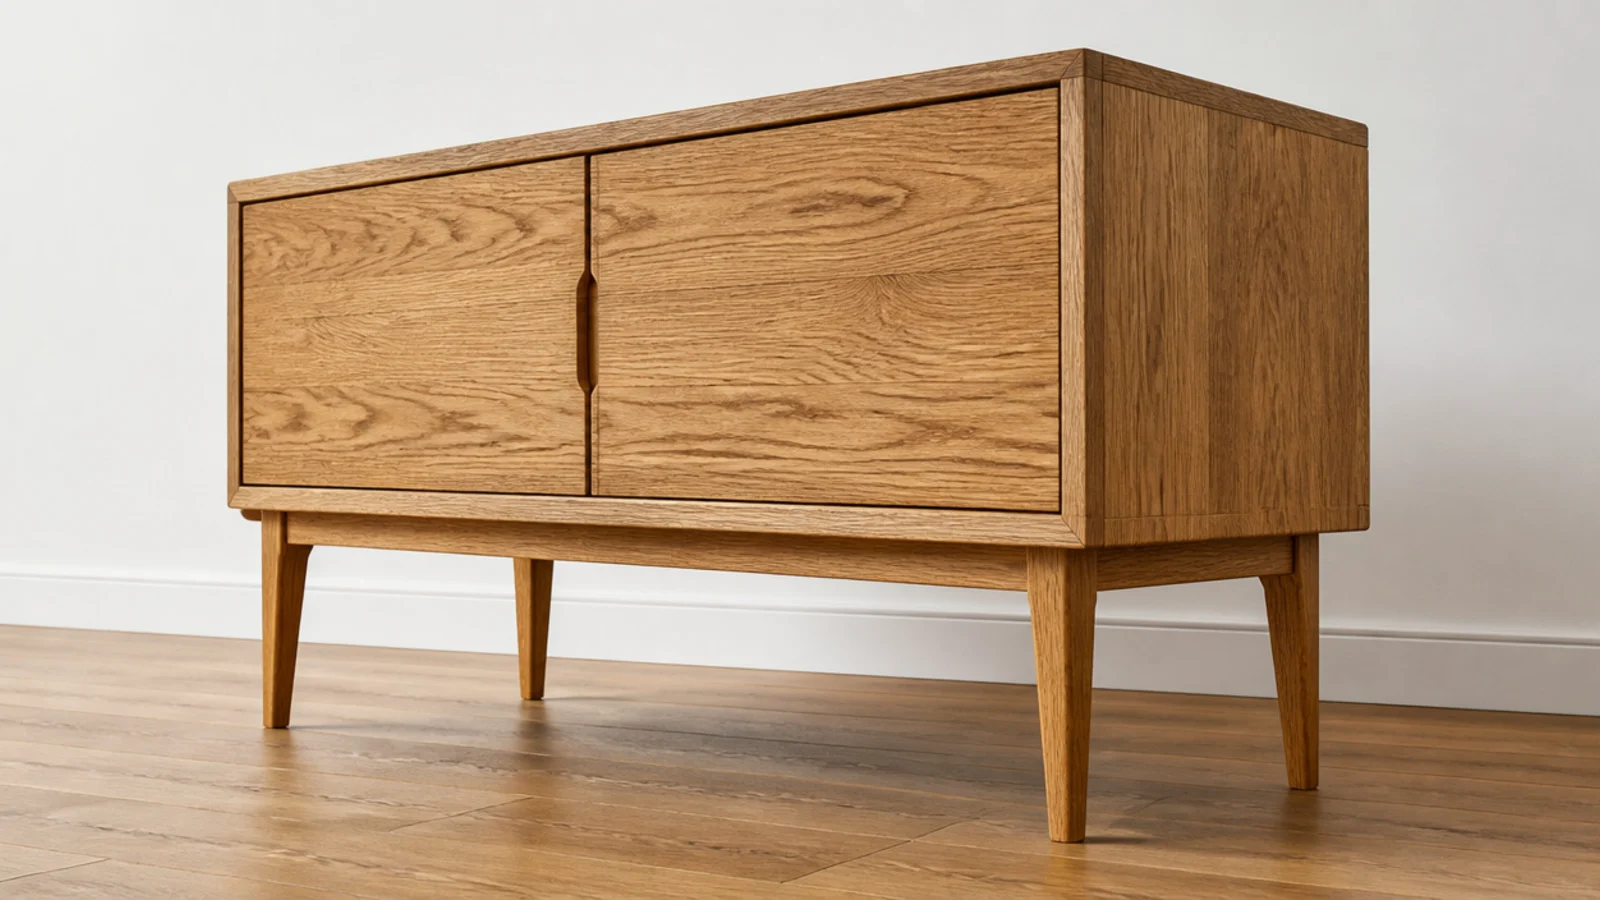
Six inches of visible floor beneath a solid timber cabinet stops it reading as a block, and lets a vacuum run under.
Fit them through a plywood plate inside the base. Angling them slightly outward suits a taller cabinet; keep them vertical on a low one. $$
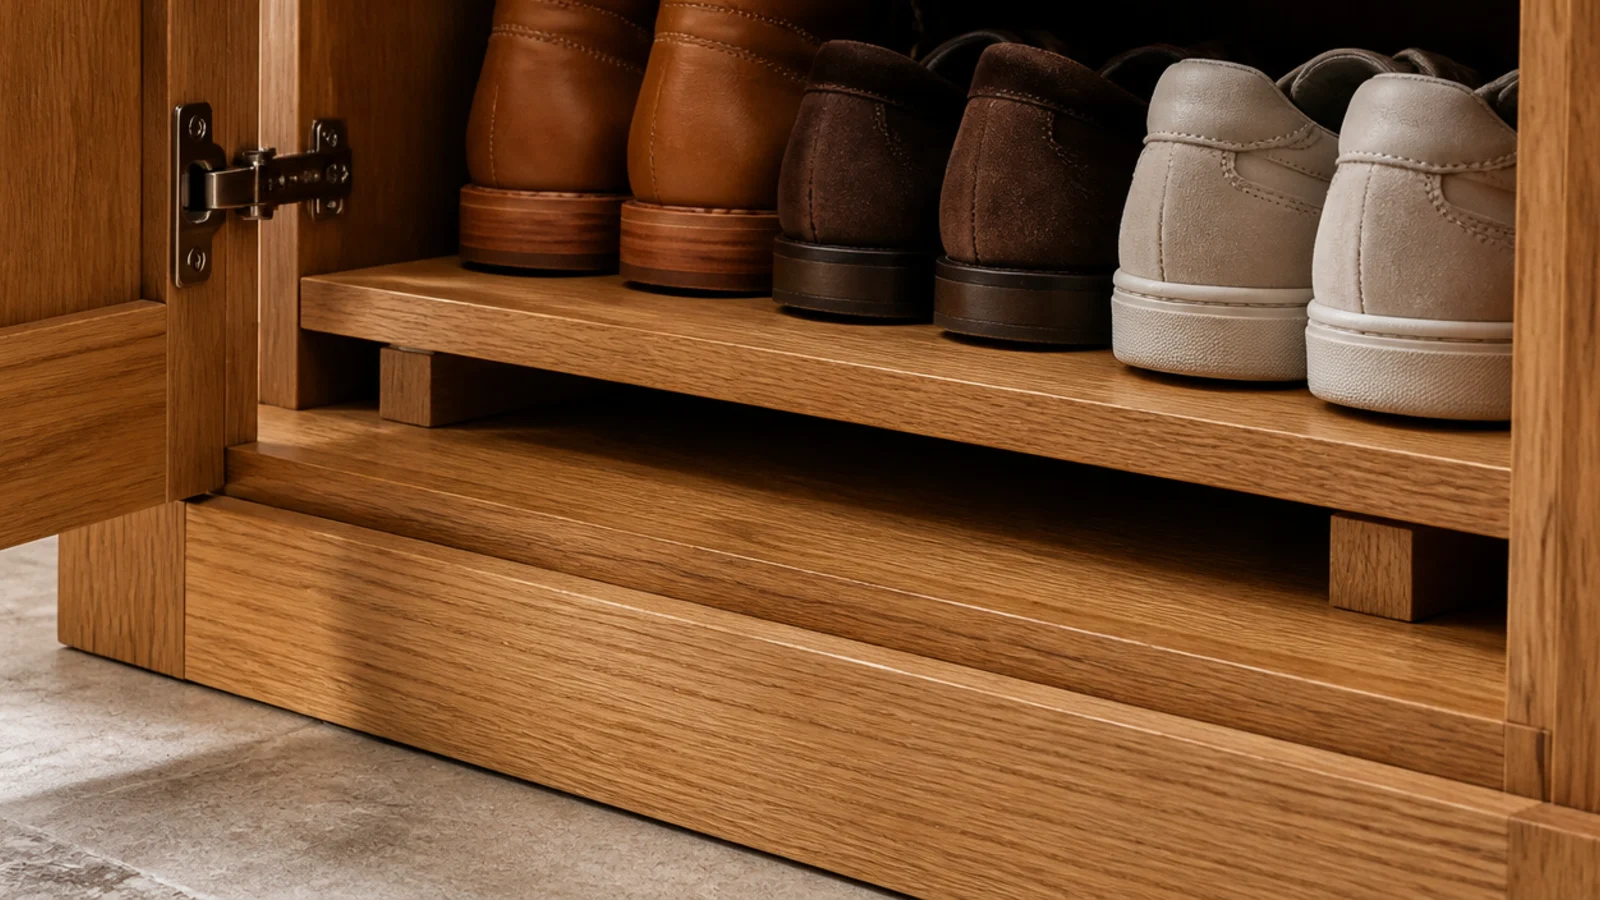
27. Raise the bottom shelf on cleats
Sitting shoes directly on the carcass floor traps whatever moisture they carry. Two small cleats lifting the lowest shelf half an inch lets air move underneath.
Combine it with an open toe kick and the whole base breathes. Costs two offcuts. $
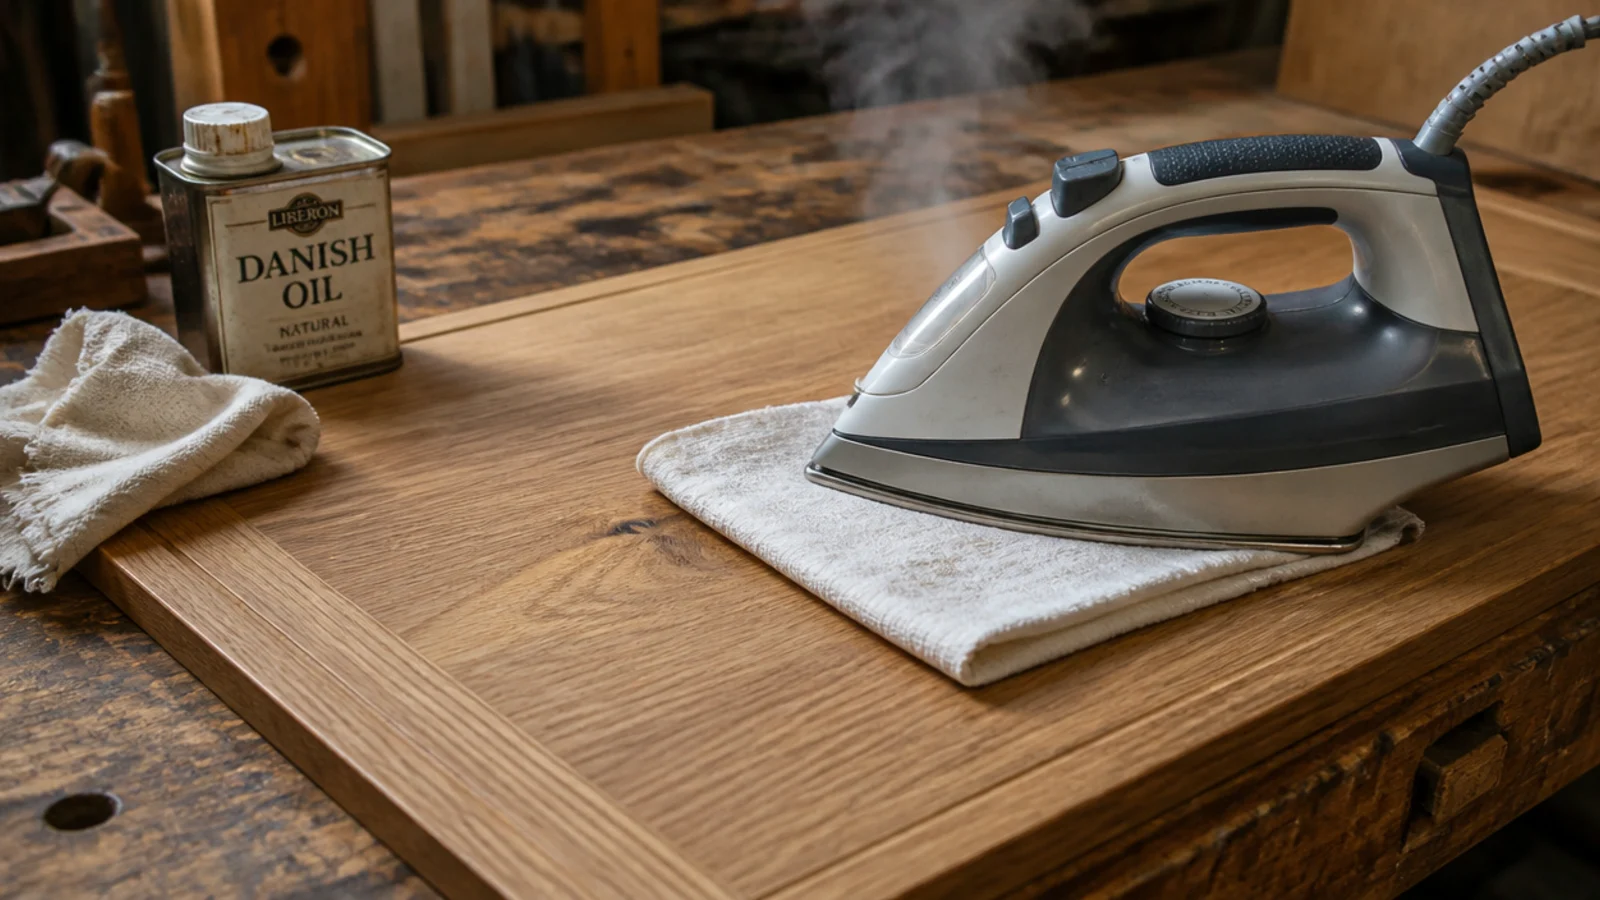
28. Lift a dent with a damp cloth and an iron
Lay a damp cloth over the dent, press a hot iron on for a few seconds at a time, and the steam swells the crushed fibres back up.
It works on bare or oiled timber, not on lacquer or paint. Re-oil the spot afterwards and the repair vanishes. Free
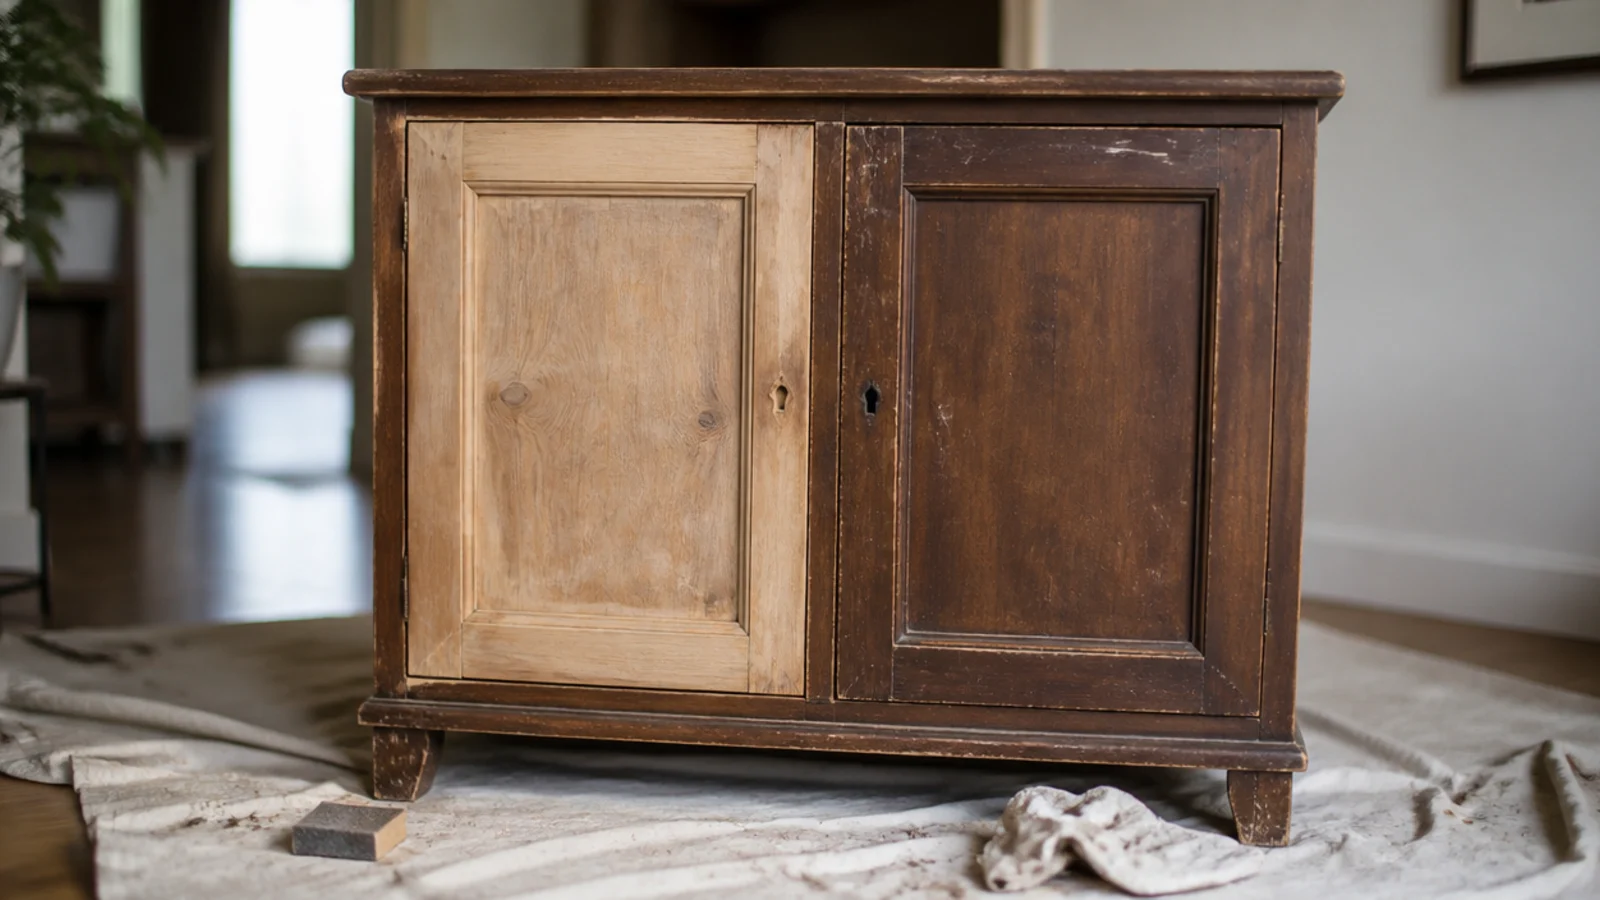
29. Refinish a thrifted timber cabinet
Old solid-wood cabinets are structurally excellent and cosmetically tired, which is exactly the combination worth buying.
Sand back, drill the back panel for air, replace the hinges with soft-close and oil it. About $40 in materials and a Saturday. The DIY shoe cabinet steps cover the hinge work. $$
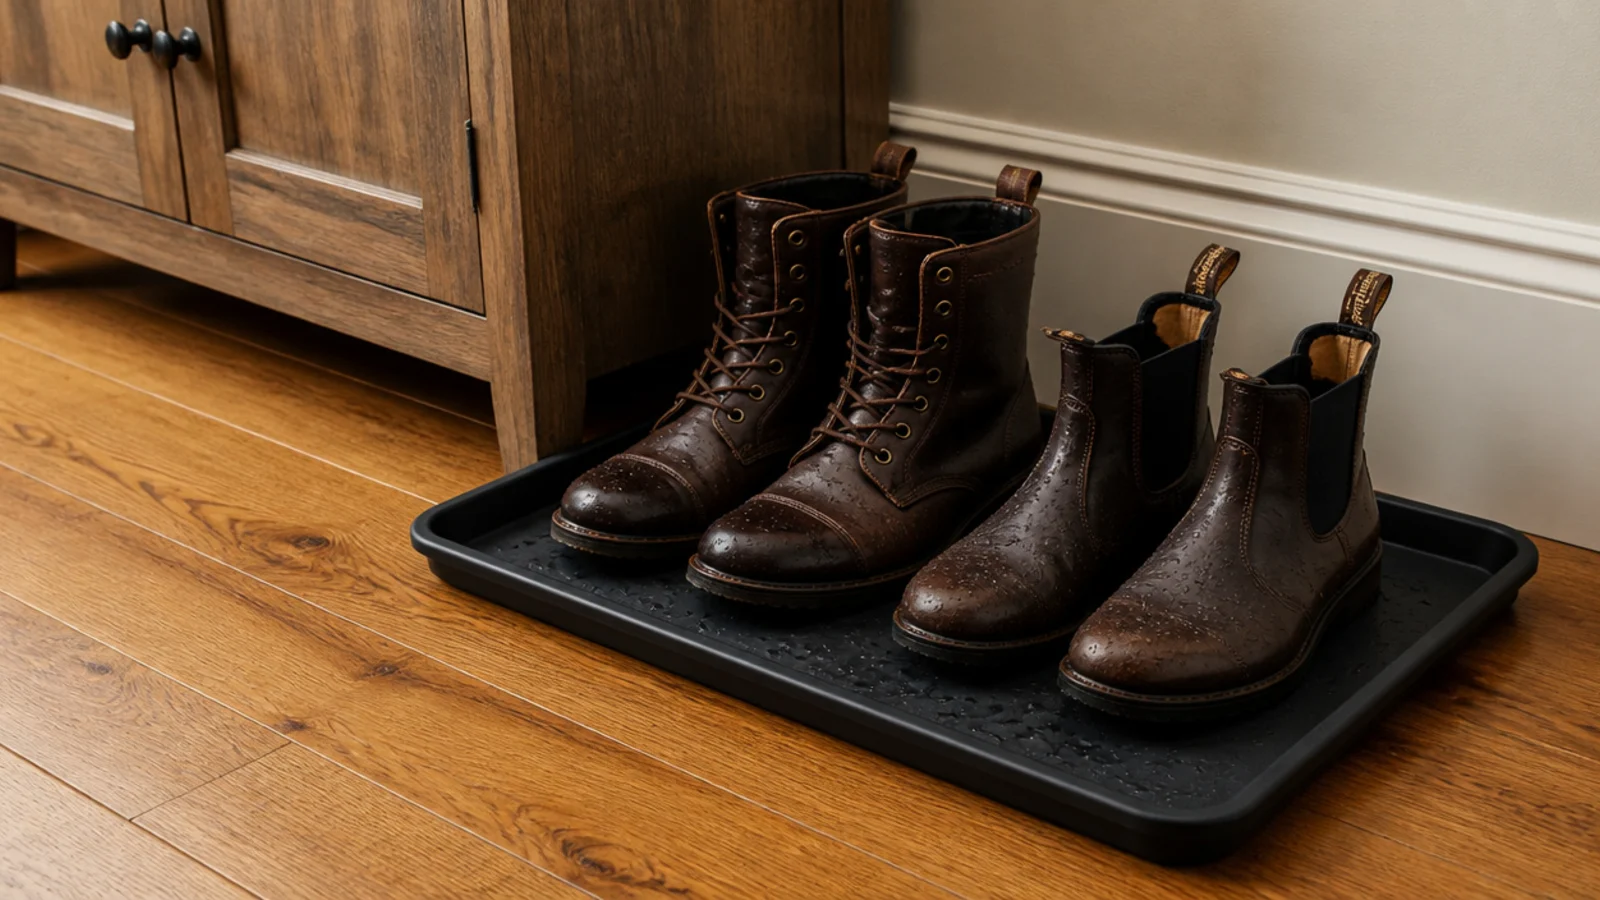
30. Keep the timber out of the wet zone
Wood holds damp far longer than melamine, so this rule matters more here than anywhere else in the board.
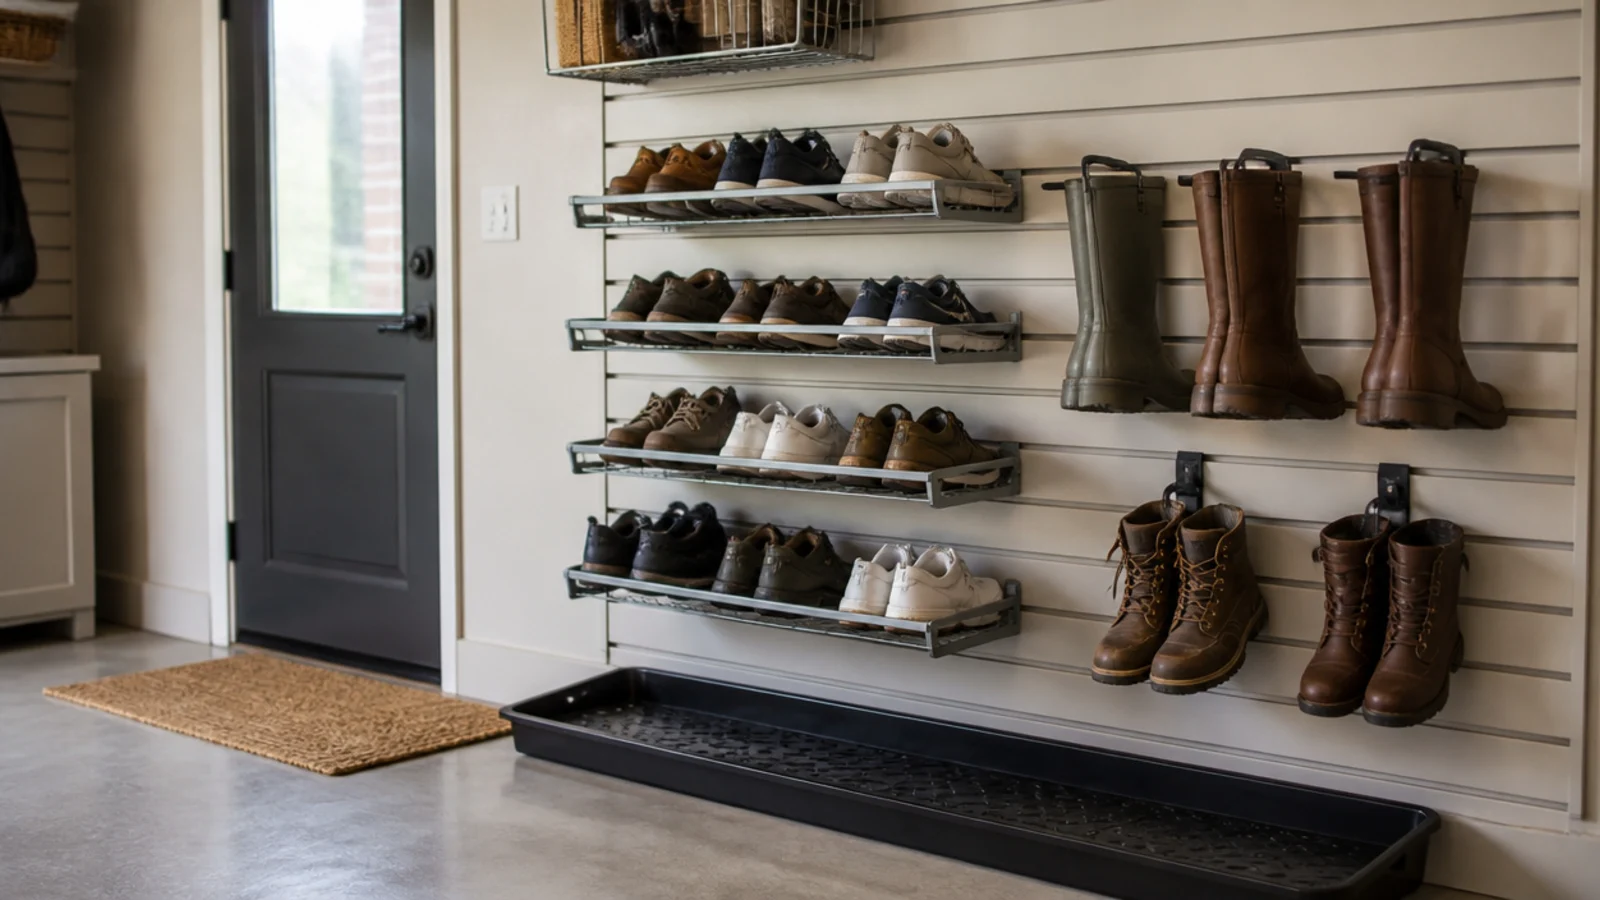
Nothing wet goes inside. A raised-lip metal tray at least 15 inches deep on the floor beside the cabinet, and the pairs go in dry the following morning. $
Mistakes to Skip
- Leaving the interior unsealed. Bare inside faces absorb shoe moisture, cup within a season and hold odour in the grain permanently.
- Staining pine without a conditioner. It goes blotchy every time, and the only fix is sanding the whole panel back to bare wood.
- Drilling ventilation holes after finishing. The finish tears around every hole and the raw end grain inside drinks moisture from then on.
Frequently asked questions
What is the best wood for a shoe cabinet?
Solid white oak or ash for anything that gets kicked, because both are hard, take a knock without denting and finish evenly. Birch plywood is the sensible carcass material at three-quarter inch — it holds a screw properly and will not sag across a 30-inch shelf. Save pine for painted fronts, since it dents and blotches under stain.
Does a wooden shoe cabinet need sealing inside?
Yes, and skipping it is the most common failure. An unsealed interior absorbs moisture from shoes, cups over a season and holds odour in the open grain permanently. Two thin coats of hardwax oil on every internal face, including the underside of shelves, costs about $16 and makes the difference between a cabinet you keep and one you replace.
How do I keep a wooden shoe cabinet from smelling?
Ventilate the timber and never store anything damp. Drill a row of half-inch holes through the back panel about 4 inches apart, or use slatted or cane fronts that breathe on their own. Wood holds smell in its grain far longer than melamine does, so wet pairs belong on a tray outside the cabinet until they dry.
Is solid wood or plywood better for shoe cabinet shelves?
Plywood, honestly. Three-quarter inch birch ply is more dimensionally stable than a wide solid board, will not cup with the humidity swings a hallway sees, and spans 30 inches loaded with boots without sagging. Use solid timber for the door fronts and the top slab, where grain and edge thickness are what you actually see.
How do I fix a dent in a wooden shoe cabinet?
Lay a damp cloth over the dent and press a hot iron onto it for a few seconds at a time. The steam swells the crushed fibres back up, and most dents in oak or pine lift almost completely. It works on bare or oiled timber, not on lacquer or paint, and you re-oil the spot afterwards.
What finish lasts best on a hallway shoe cabinet?
Hardwax oil. It soaks into the timber rather than sitting on it, so scuffs blend instead of chipping, and you can spot-repair a worn patch with a rag rather than sanding a whole door. Polyurethane is tougher but when it does chip you see a hard white edge, and repairing it means stripping the panel.
Buy hardwood for the fronts, plywood for the box, and spend the difference on soft-close hinges and one good tin of oil — that split gets you the most cabinet for the money. For narrow halls see slim shoe cabinet options, for the finishing details that read expensive see modern shoe cabinet upgrades, and if a timber build is not the answer, hidden shoe storage covers the alternatives. Save the pin before your next timber yard visit.
Want more like this? Browse all 15 shoe cabinet ideas guides — they all use the same measurements and budget tiers.
Pin it for later
Save this to your Shoe Cabinet Ideas board
Pin it now so it is waiting for you when the tape measure comes out — and so the next person hunting for this idea can find it too.
Save this pinKeep going
More ideas worth saving while you have the tape measure out.