Shoe Cabinet Ideas · Listicle
15 Cozy Shoe Cabinet Ideas That Look Pricey

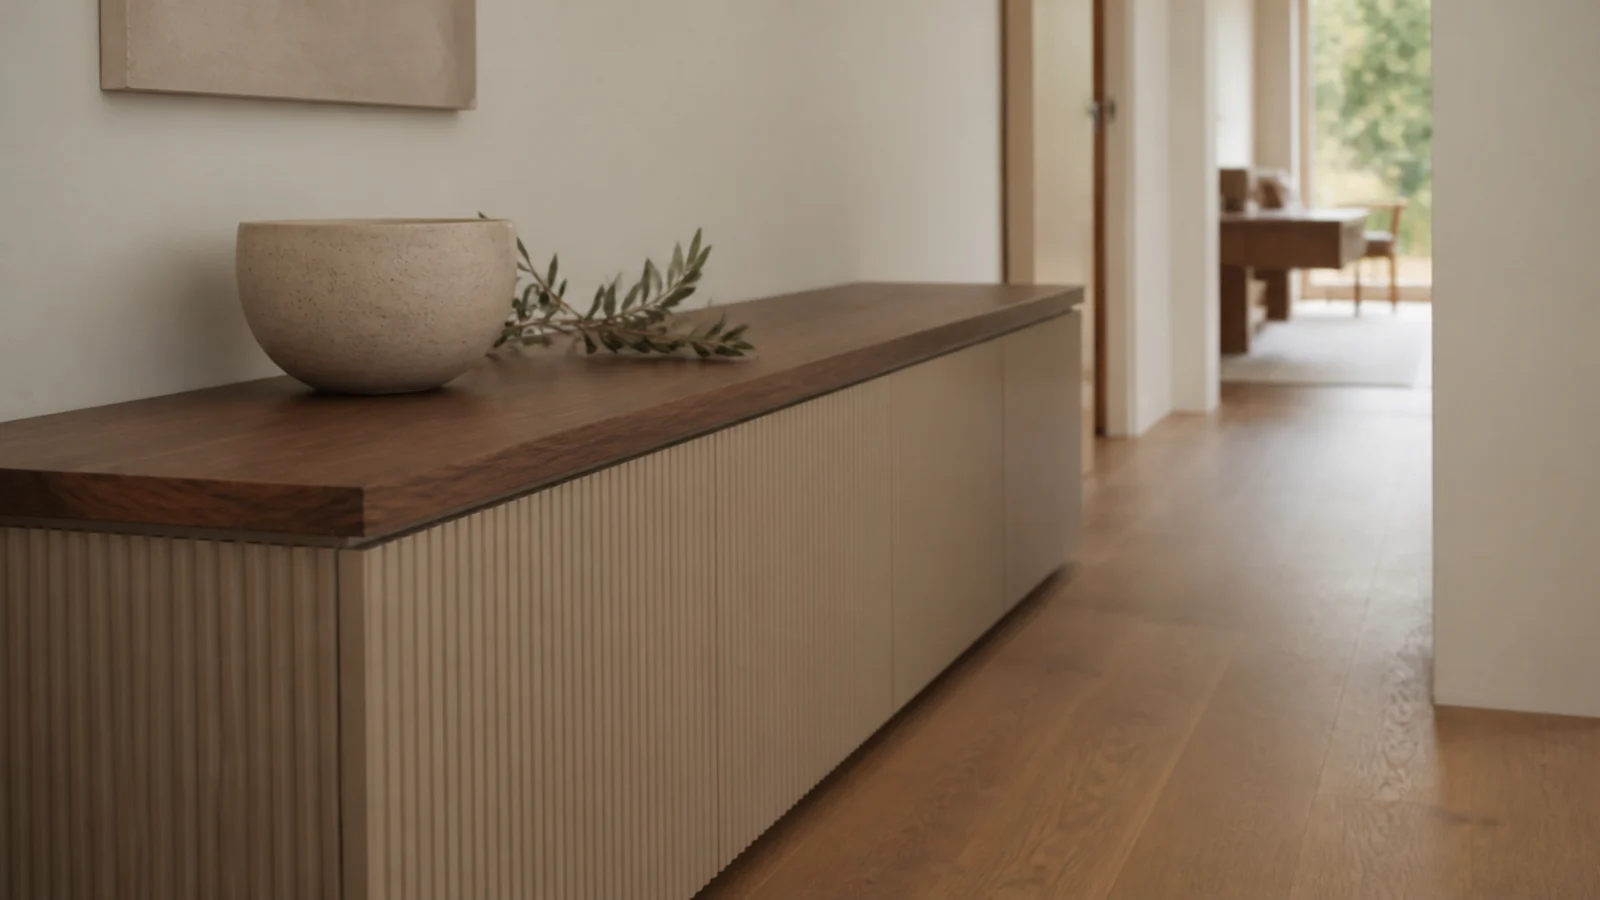
A modern shoe cabinet almost never costs what it looks like. The storage inside is the same tilt-out cradle or flat shelf everybody else has; what separates a $200 piece from one that reads as $900 is five or six details you can add to a cabinet you already own. These 15 upgrades are the ones that actually shift the read, with prices, and none of them touch how many pairs fit.
In this guide17 sections — tap to openHide
- 1.What makes a modern shoe cabinet look expensive
- 2.Handleless fronts with a routed finger pull
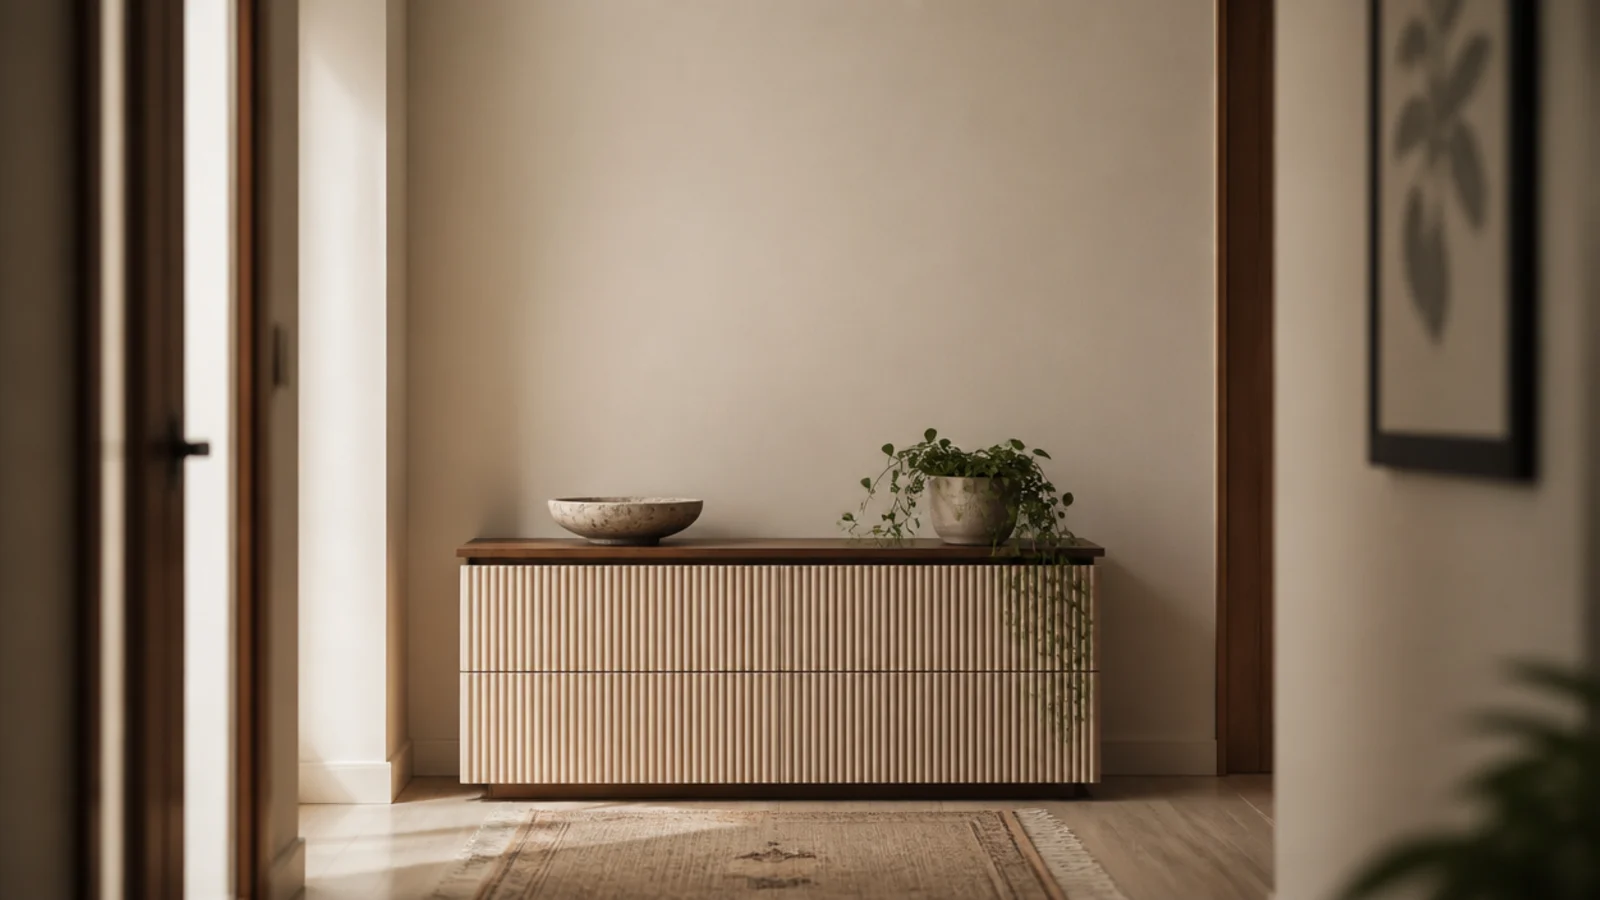
- 3.Fluted or reeded door fronts
- 4.One continuous slab top
- 5.Tapered walnut legs
- 6.One deep color, front and side
- 7.Solid brass hardware, one metal only
- 8.Warm interior lighting on a sensor
- 9.A stone or micro-cement top
- 10.Matched vertical grain across the pair
- 11.Push-latch soft-close on every front
- 12.A shadow gap instead of a plinth
- 13.Cane or rattan panel inserts
- 14.A brushed mirror front
- 15.A wall-hung carcass lit underneath
- 16.Keep the top to three objects
- 17.Mistakes to Skip
What makes a modern shoe cabinet look expensive
Three things do most of the work, and none of them are the cabinet.
Edge thickness. A thin panel edge says flat-pack from ten feet away. A top with a chunky visible edge — solid timber, a doubled-up board, stone — says furniture. This is the single loudest signal in the whole piece.
How it meets the floor. Cabinets that sit flat on a plinth read heavy. Lift them on legs, recess the toe kick 3 inches, or hang them on the wall entirely, and the same box reads light.
Hardware discipline. One metal, chosen to match the door handles and light fittings in that hallway. Two competing metals within six feet is what makes careful work look assembled from spares.
Everything else is finish quality: matched grain, a paint carried onto the side panel, and interior light so a shallow bay is readable rather than a dark hole.
None of this removes the two rules a closed cabinet lives by. It still needs ventilation — sleek slab fronts seal tightly, so a sealed box with damp shoes smells within a fortnight. And it still needs soft-close hinges, because these doors get shut with a foot every day.
Budget tiers: $ under $60, $$ $60–$150, $$$ $150+.
1. Handleless fronts with a routed finger pull
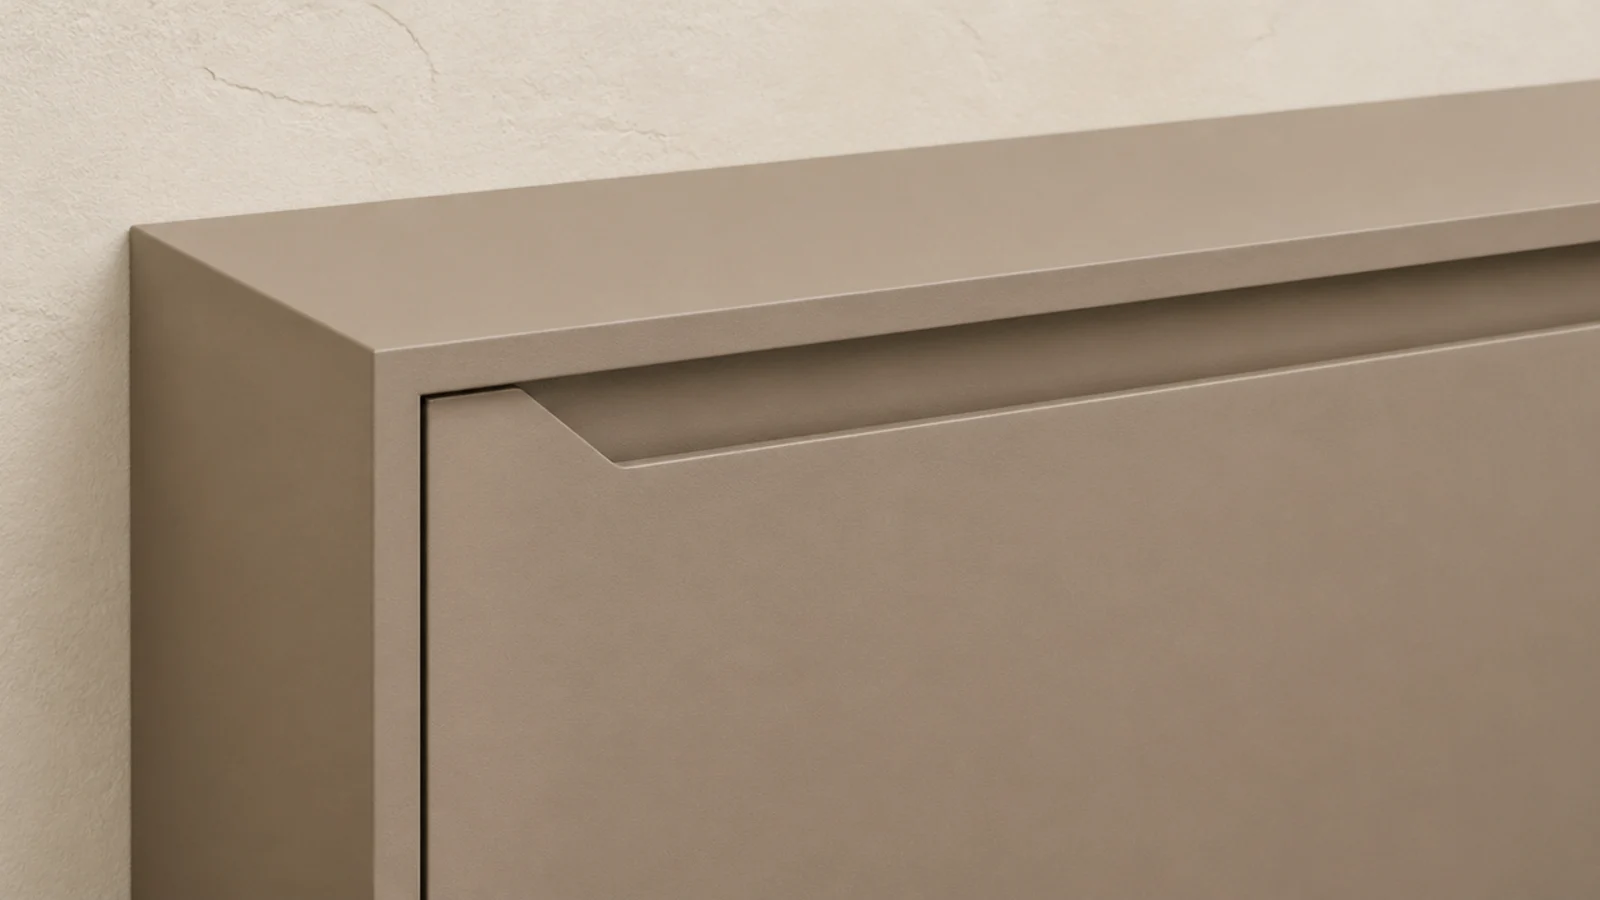
A shallow angled recess routed along the top edge of each door removes hardware from the piece entirely, and in a hall you turn sideways to pass through, that is practical as well as clean.
Route about half an inch deep at a 30-degree angle so fingers get purchase without a visible groove from standing height. On a flat-pack front, a slim aluminium finger-pull profile screwed to the top edge does the same job for around $9 a door.
Pair it with push latches or a soft-close hinge with enough spring to hold the door shut. $–$$
2. Fluted or reeded door fronts
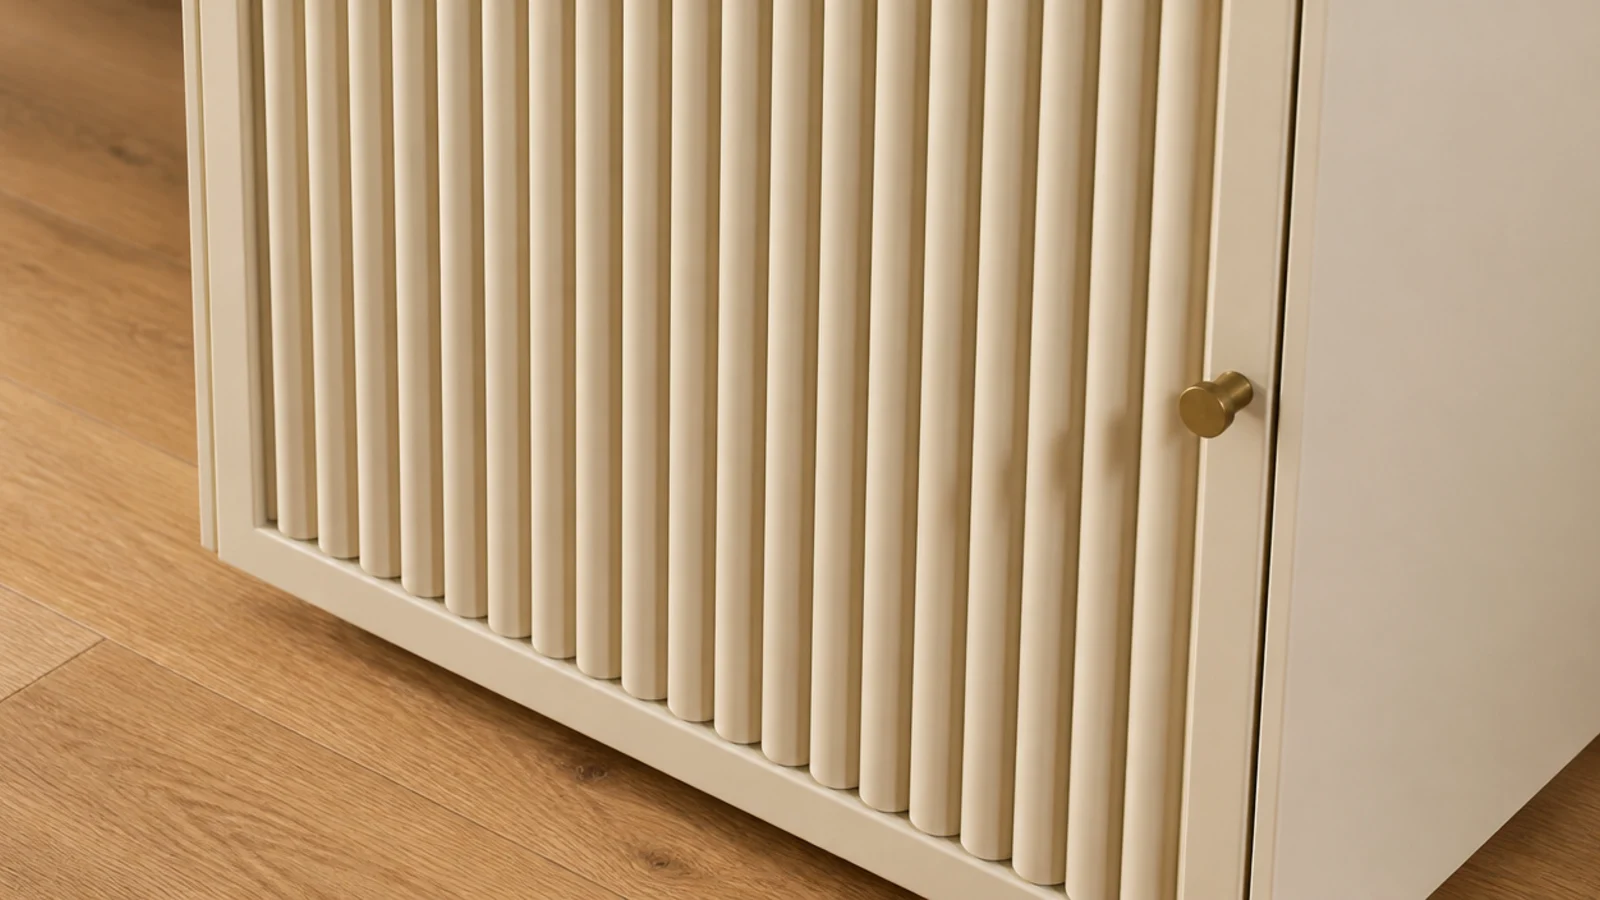
Half-round timber dowels glued across a plain door front, then painted, is the cheapest bespoke-looking upgrade there is. Raking hallway light catches every ridge and the front stops reading as a flat panel.
Buy 12mm half-round moulding by the length, cut to door height, and glue them edge to edge with a spacer to keep the gaps even. About $12 per door front.
Prime everything before painting or the timber drinks the color unevenly. Keep the fluting to the doors and leave the carcass smooth. $
3. One continuous slab top
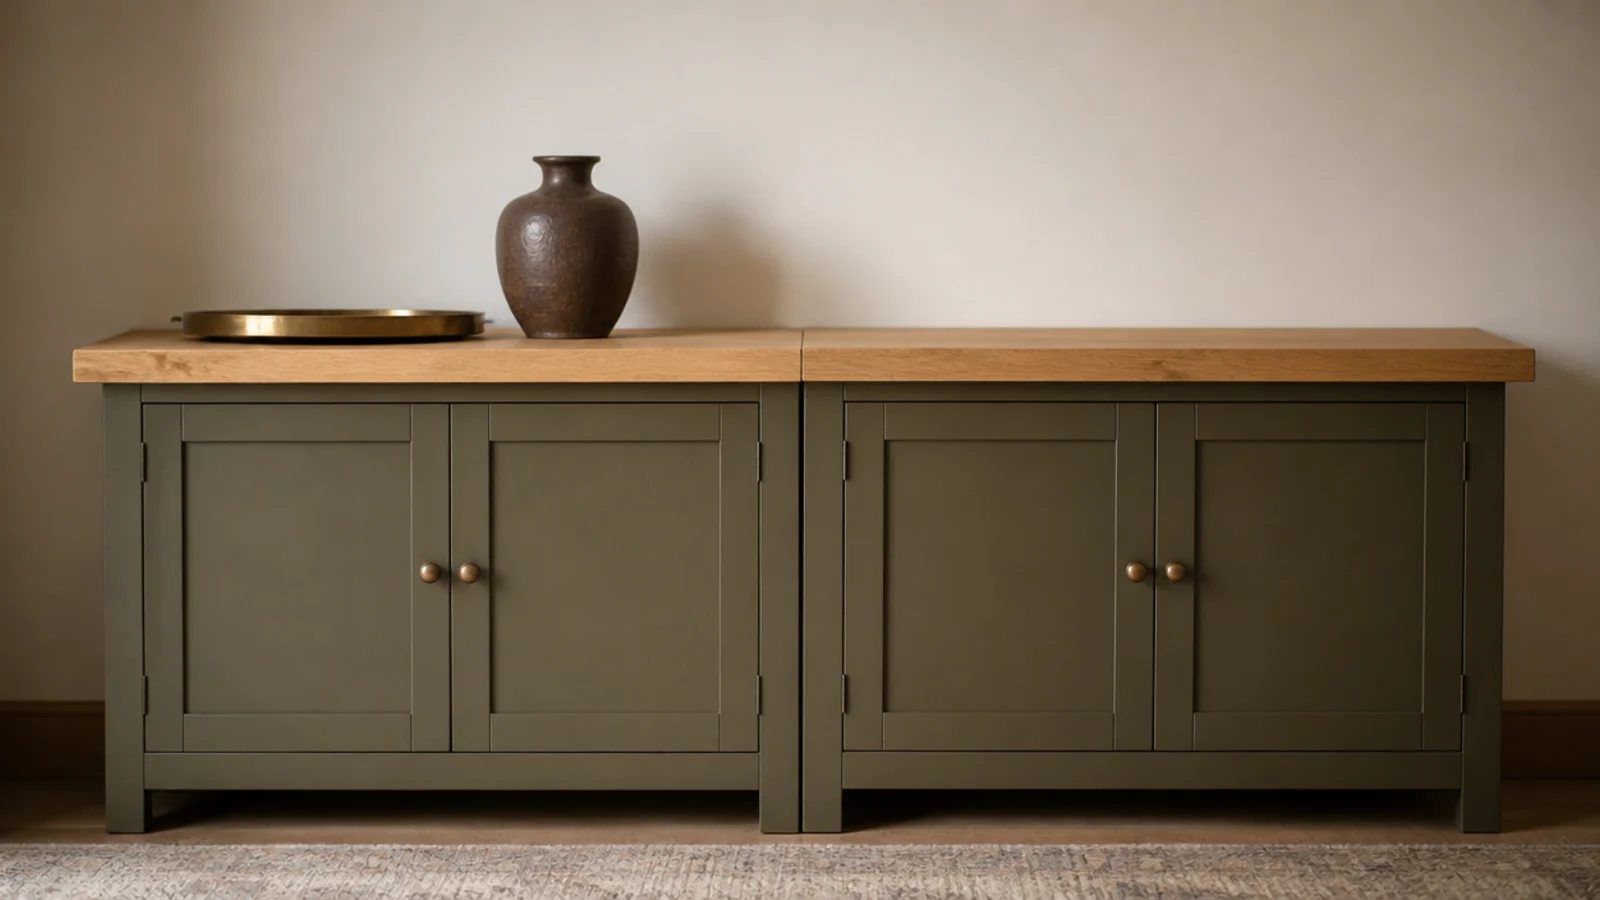
If you have two cabinets, or one cabinet and a gap, a single unbroken board laid across the whole run turns separate boxes into one piece of furniture.
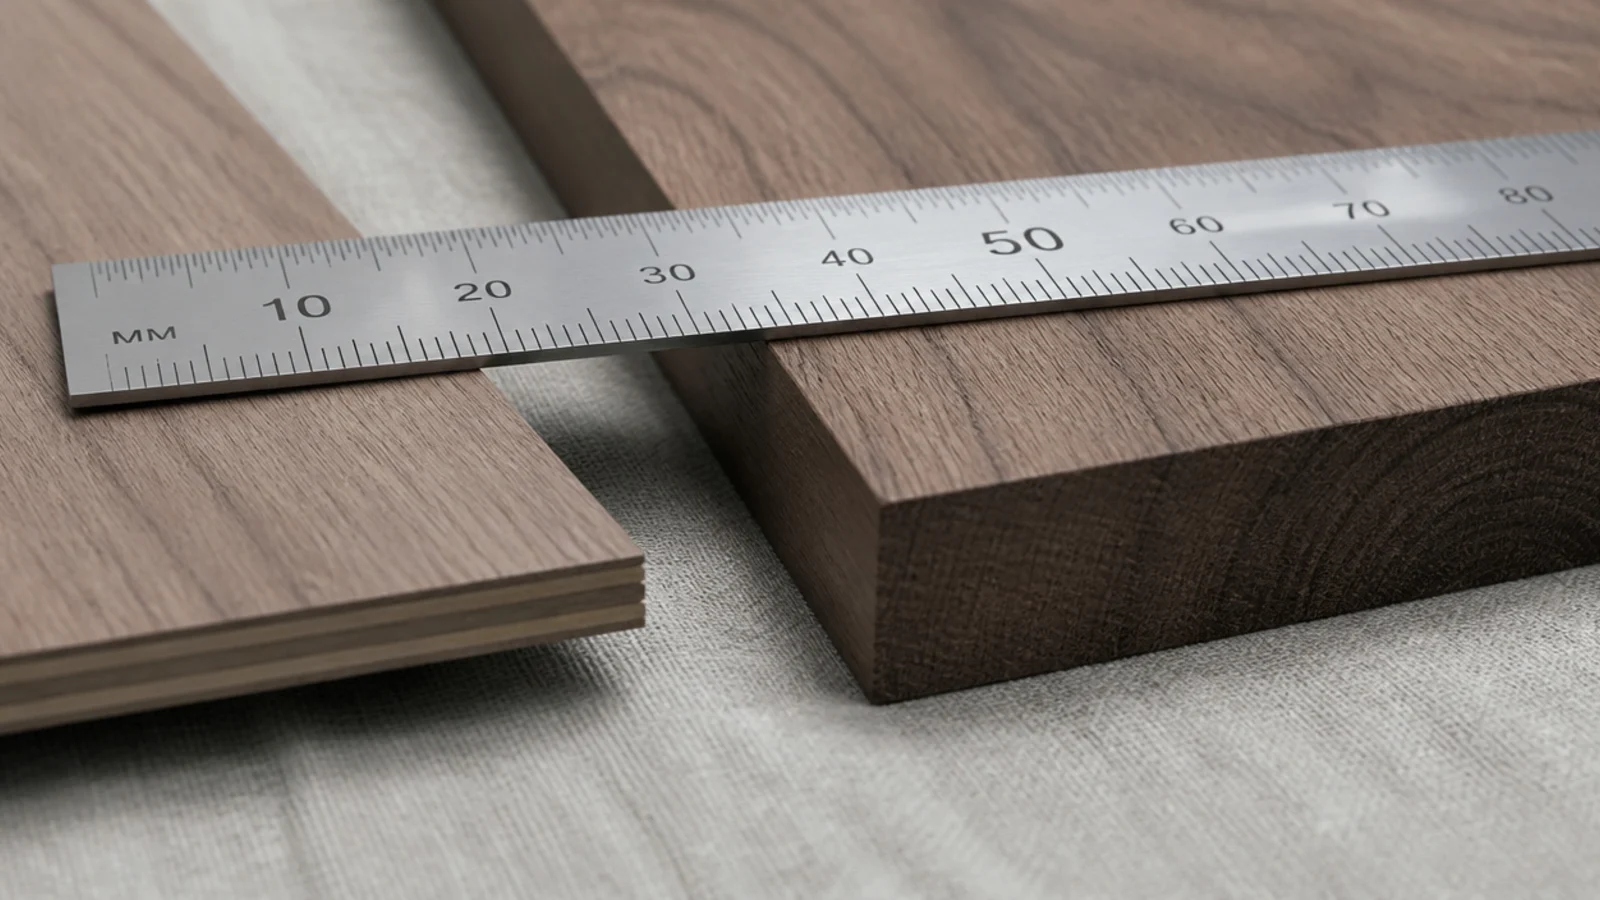
Use solid timber at least an inch thick, or double up two thinner boards and round the front edge so the doubled joint disappears. Screw up from inside the carcass so no fixings show.
Let it overhang the doors by about an inch at the front. That small shadow line is what makes it read as a top rather than a lid. $$
4. Tapered walnut legs
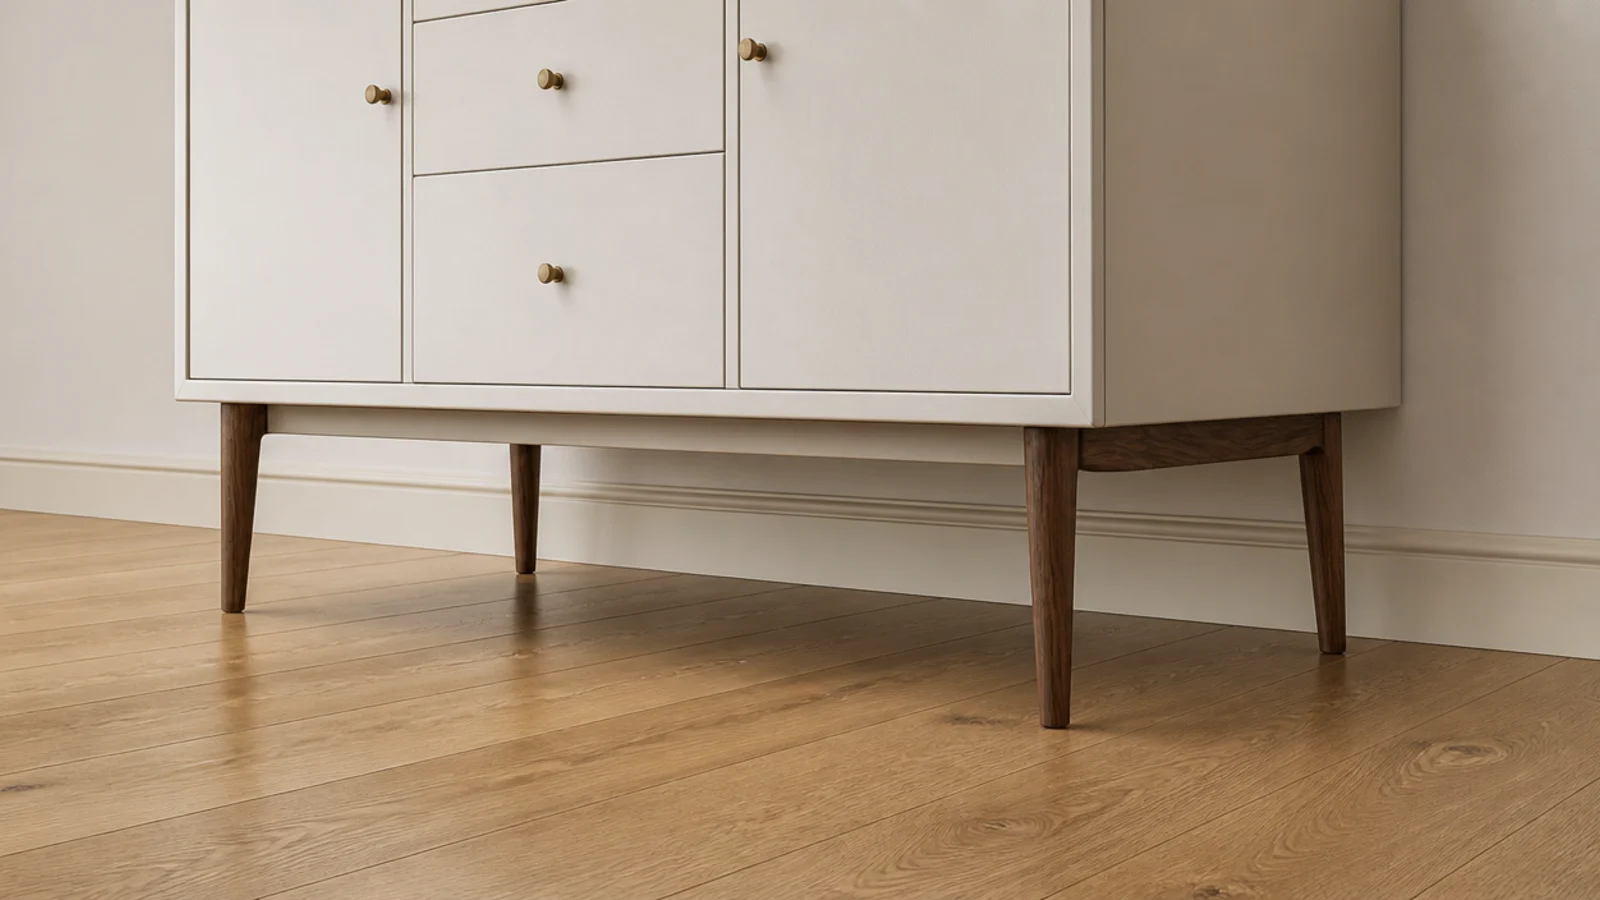
Screw-in tapered legs are $20 to $45 for four and they change the proportion of any cabinet. Six inches of visible floor beneath makes a heavy box read as furniture.
Fit them through a plywood mounting plate inside the base if the bottom panel is particleboard — screws driven straight into chipboard pull out inside a year.
There is a functional bonus too: air moves under a raised cabinet, which matters in a hallway that sees wet shoes. Angle the legs slightly outward if the cabinet is tall. $
5. One deep color, front and side
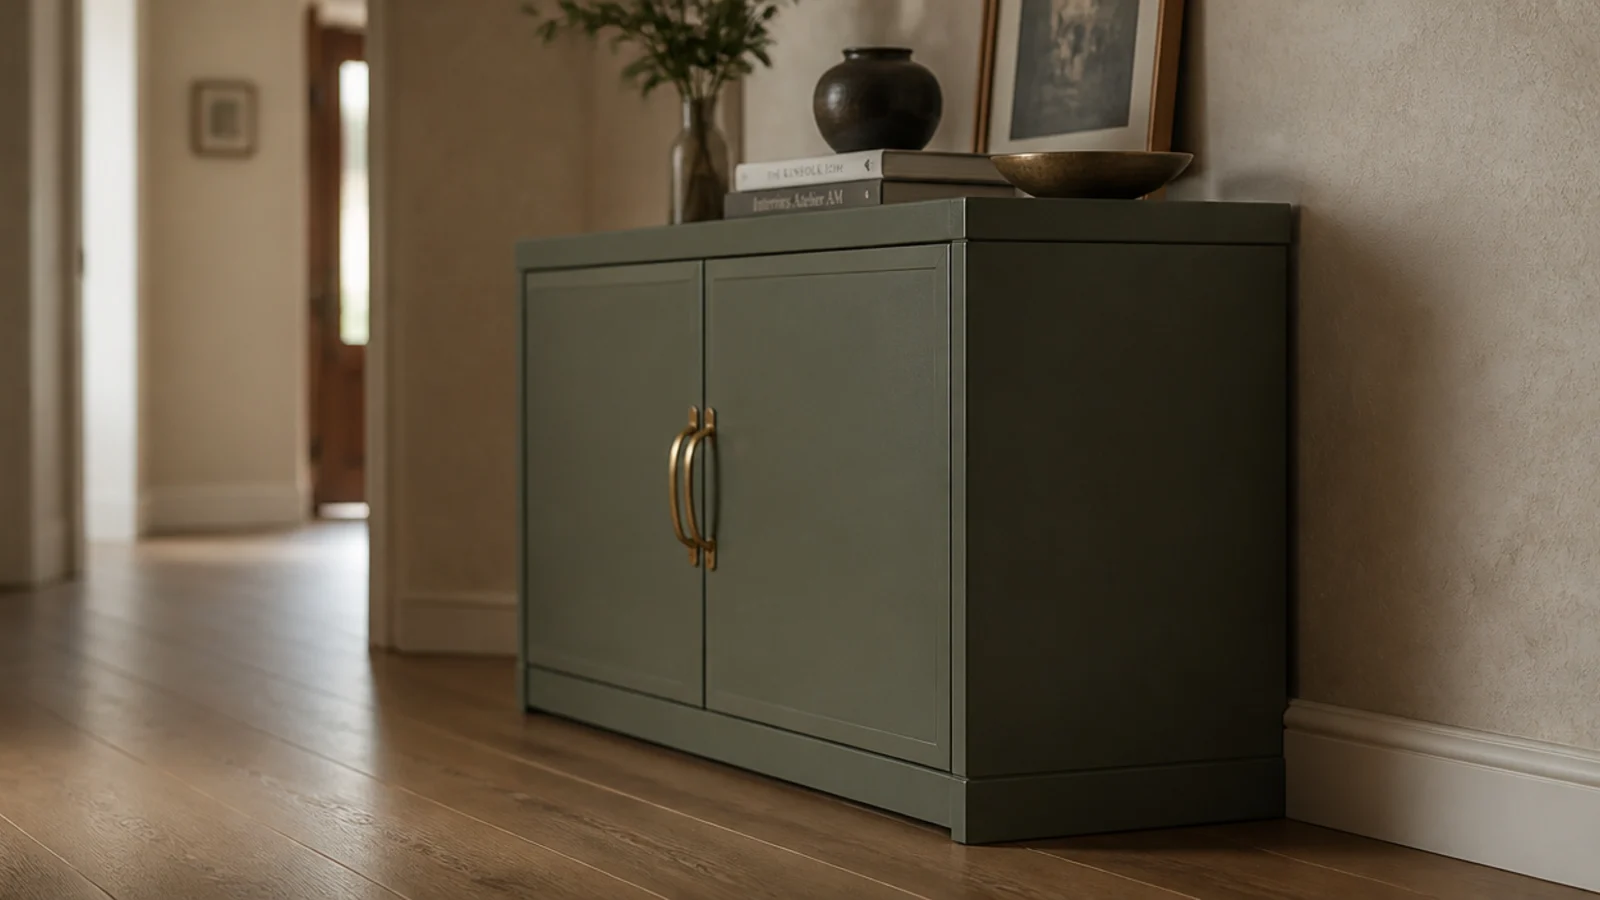
In a corridor you approach a cabinet end-on, so the side panel is the first thing you see. Painting only the doors is the most common miss in this whole category.
Carry one color across the fronts, the side panel and the plinth. Then commit to a direction: match the wall so the cabinet disappears, or go several shades deeper so it reads as a deliberate object.
Mid-tones that do neither are what make a hallway feel muddled. Two coats of satin cabinet paint over a bonding primer, about $30. $
6. Solid brass hardware, one metal only
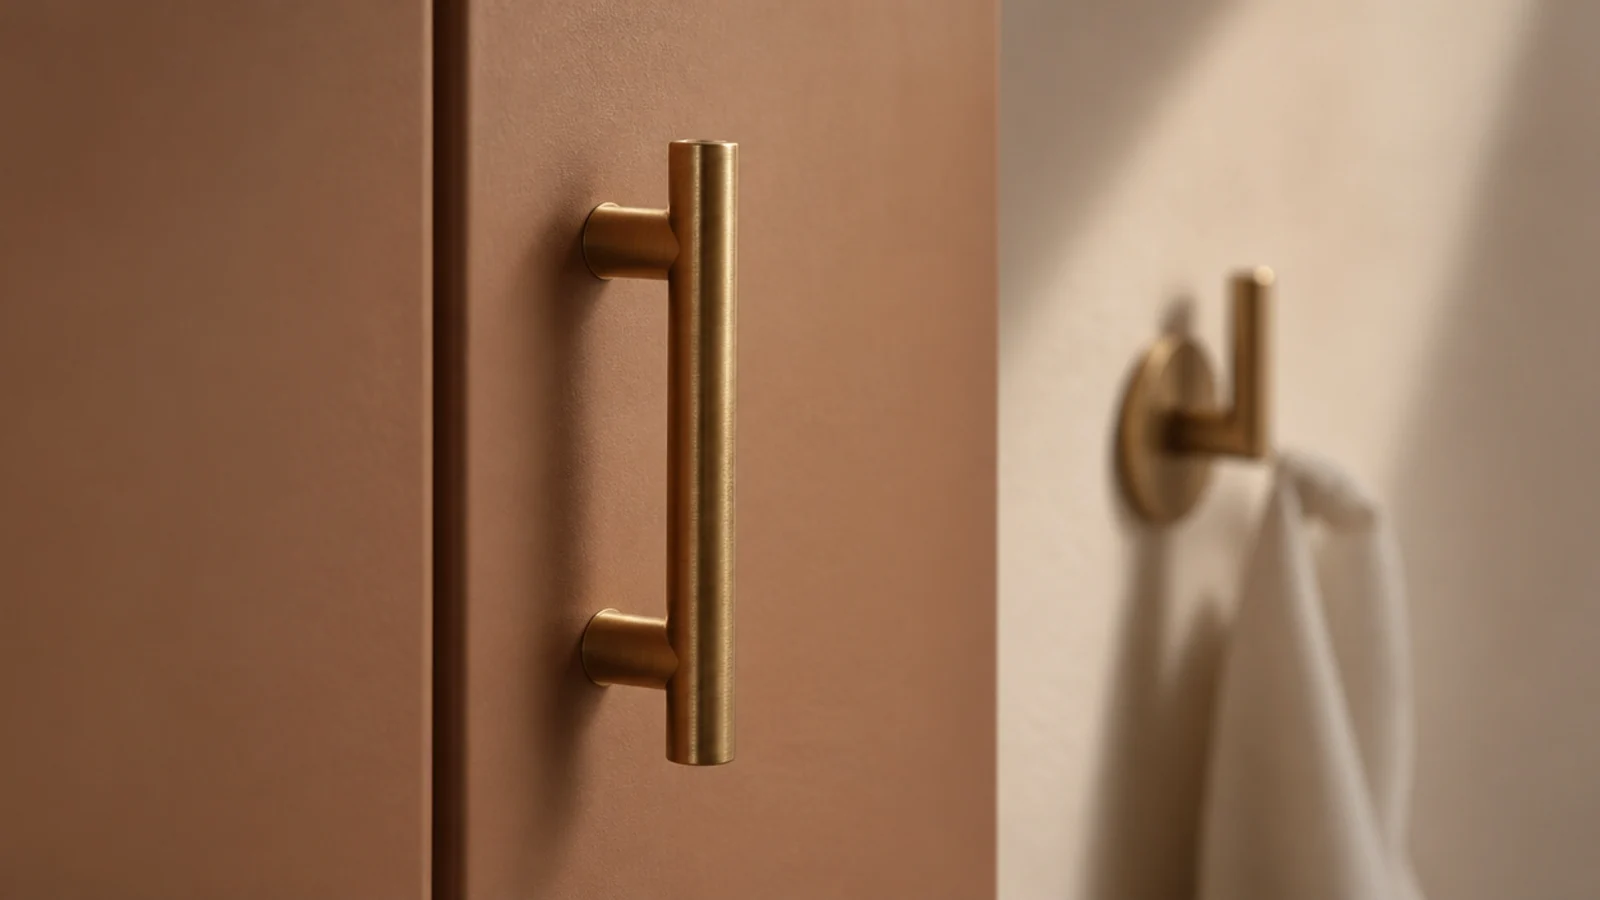
Hollow plated pulls feel light in the hand and that is exactly what the eye registers. Solid unlacquered brass has weight, and it develops a patina rather than wearing through to grey.
Measure the hole centers before ordering — 96mm and 128mm cover most flat-pack fronts. Four handles run $12 to $40.
Then match the metal to the door handle, hooks and light fitting in that hallway. Three matching metals in one small space does more than any single expensive object could. $
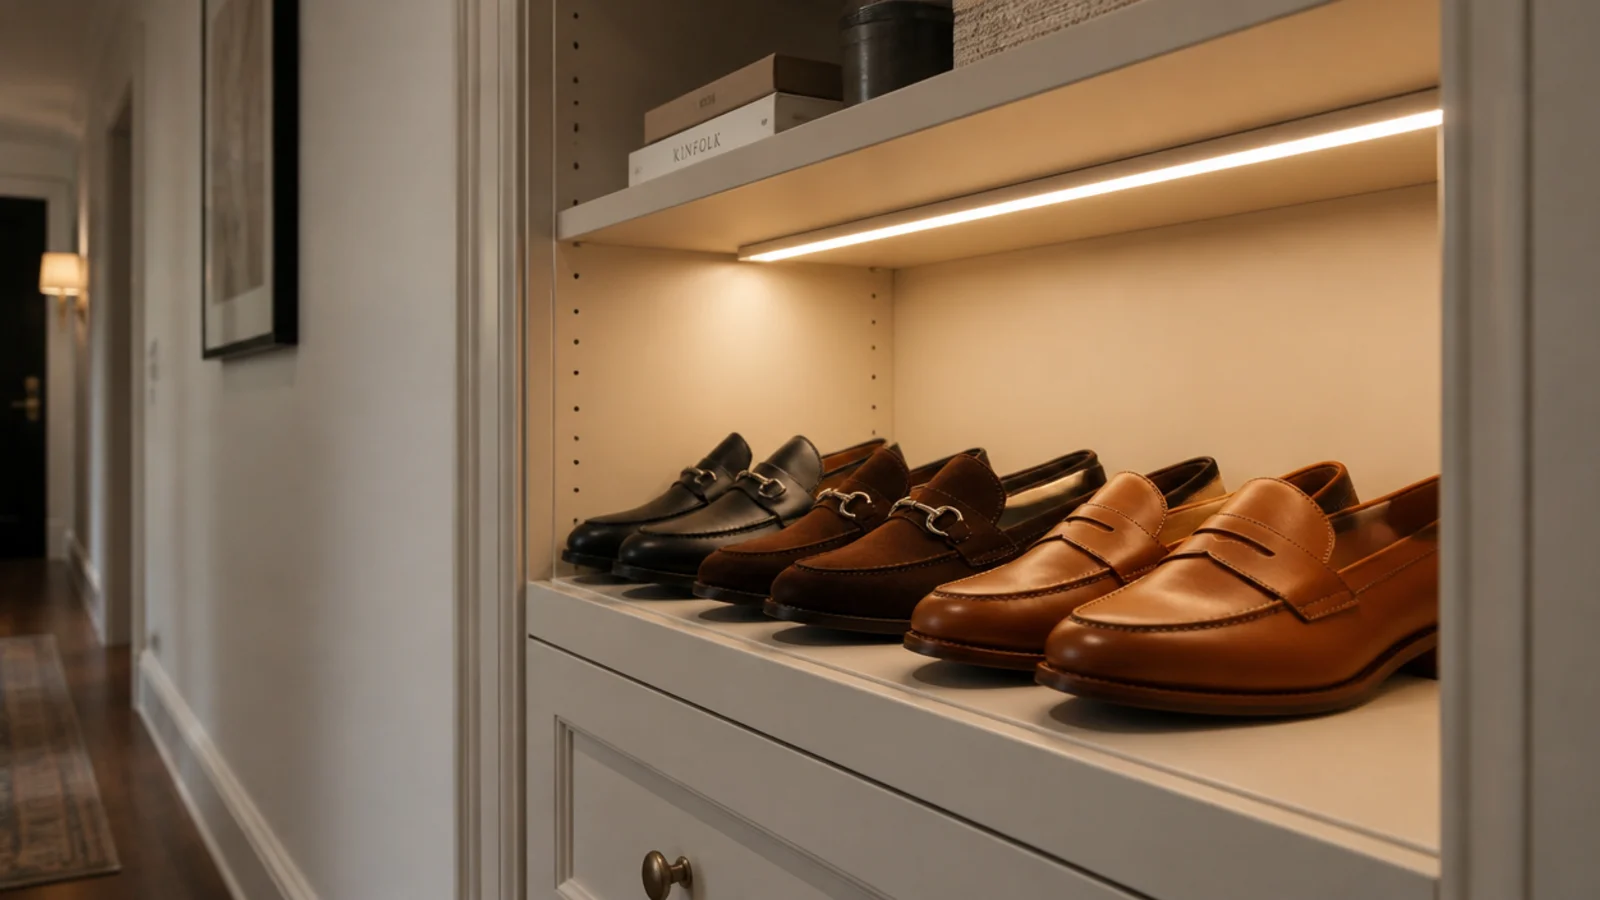
7. Warm interior lighting on a sensor
A shallow cabinet bay is still a dark bay. A warm strip light under the top shelf turns rummaging into reaching, and it is the detail that most reads as built-in joinery.
Rechargeable motion-sensor strips cost about $15 and run for months per charge, with no wiring and no landlord conversation. Stick them to the underside of a shelf, facing down and slightly forward.
Warm white only. Cool white makes a hallway look like a stairwell, whatever the cabinet cost. $
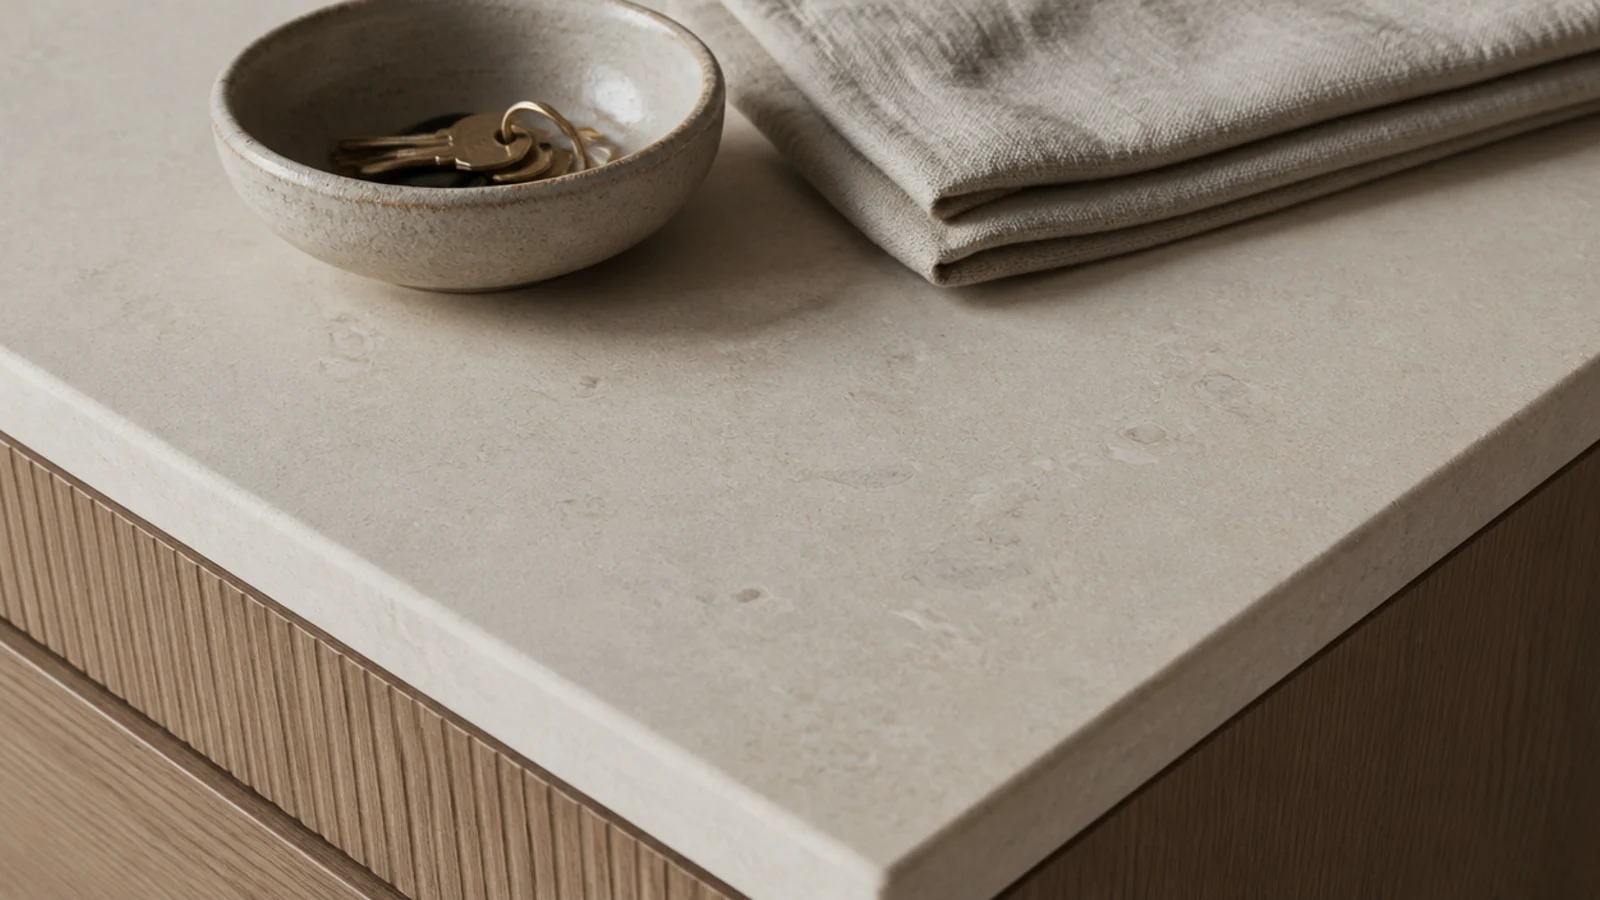
8. A stone or micro-cement top
Hallway cabinet tops take keys, coins, wet umbrellas and post. A honed stone offcut or a micro-cement skim over plywood handles all of it and looks considerably more expensive than it costs.
Stone yards sell remnant pieces cheaply — a 32-inch length is often under $80 because it is offcut from a kitchen job. Ask for a honed rather than polished finish and an eased front edge.
Check the carcass can carry the weight; a stone top on particleboard needs a plywood sub-top. $$–$$$
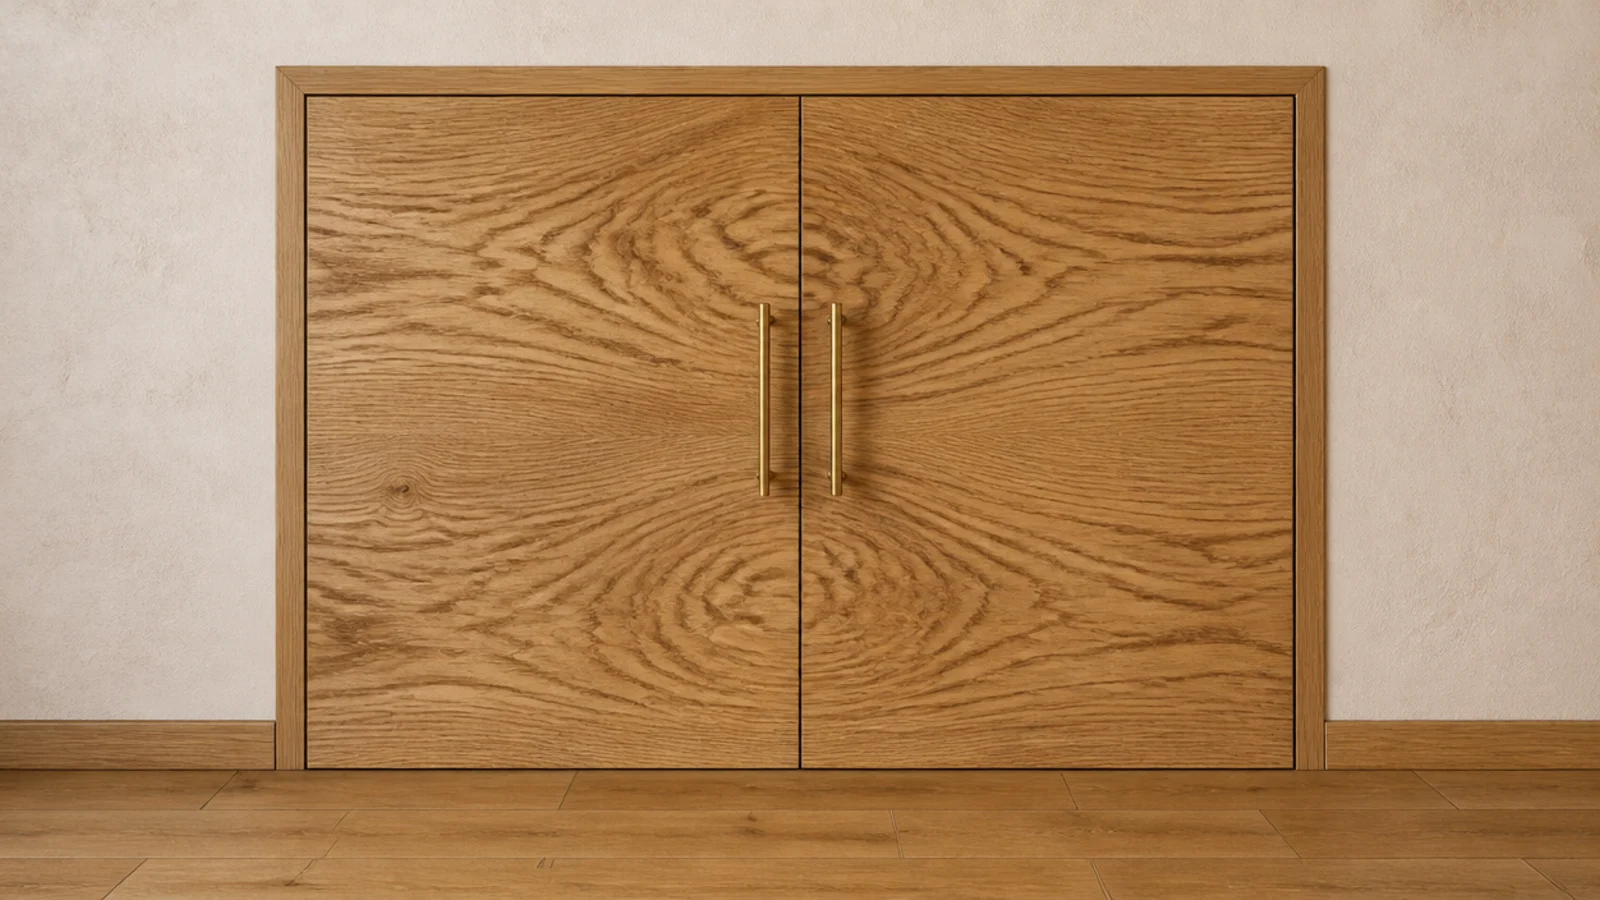
9. Matched vertical grain across the pair
Cut both door fronts from one board and the grain figure runs continuously across the joint as a single pattern. It is a free decision at the lumber rack that reads as custom joinery forever.
Run the grain vertically on any cabinet under 32 inches tall — it stretches the piece. Horizontal grain squats it down, which is the opposite of what a low hallway cabinet needs.
Mark the boards with chalk before cutting so you can put the pair back in order. $$
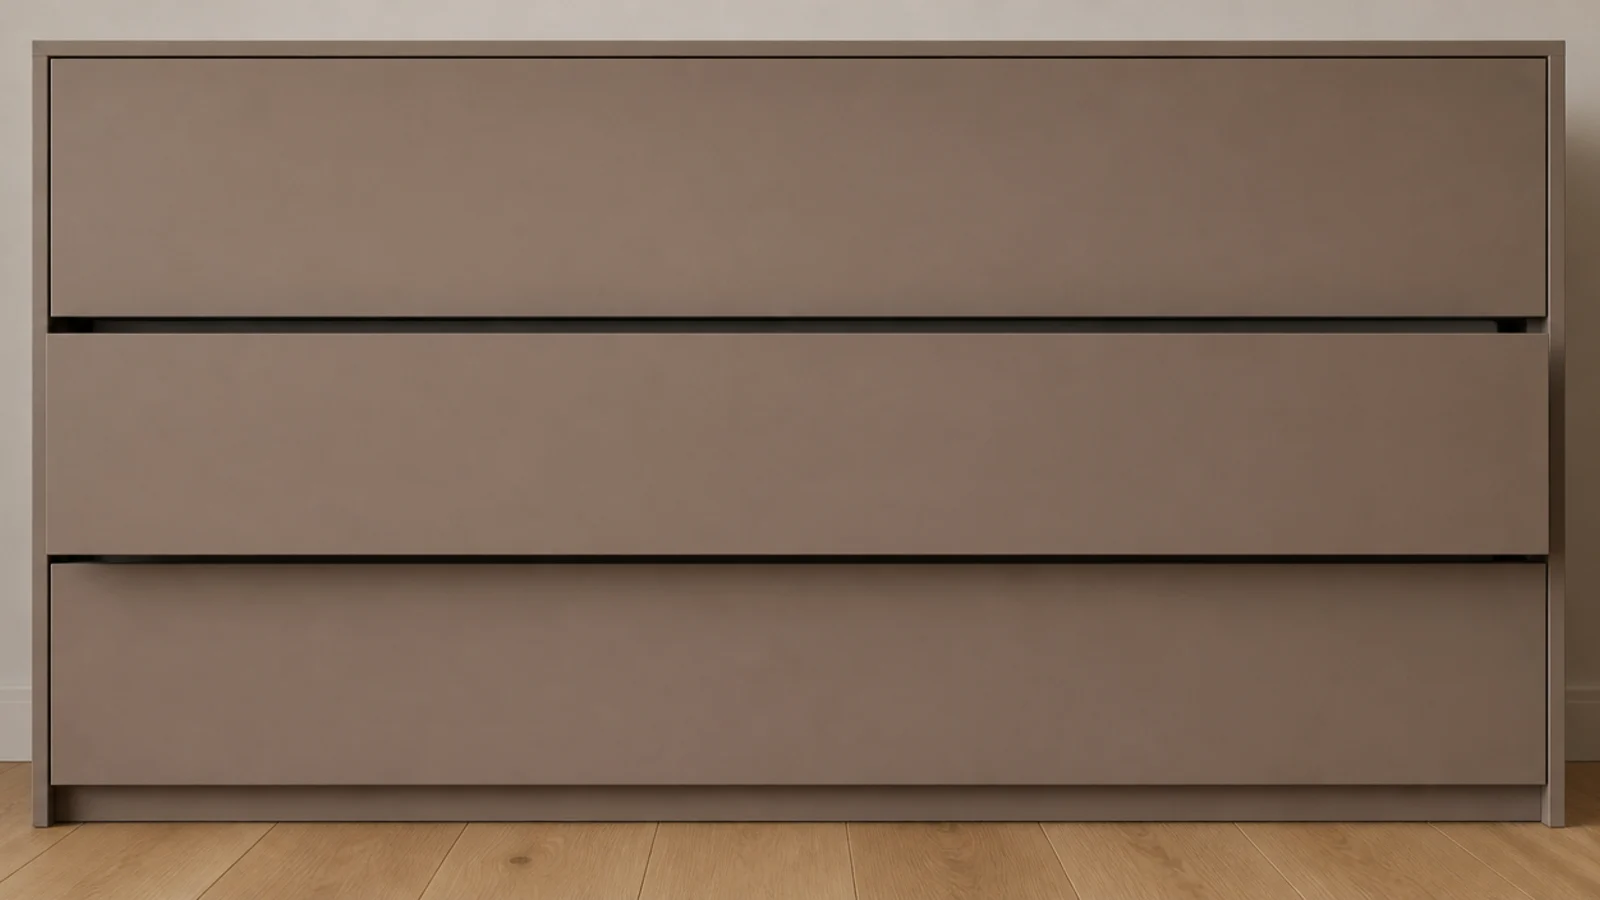
10. Push-latch soft-close on every front
Push latches remove the last visible hardware and give you a genuinely flat front. In a narrow hall, nothing to catch a hip or a coat pocket on is a real daily gain.
The door has to be rigid. Solid wood or three-quarter inch plywood works; thin panel flexes and the latch stops catching. Budget $4 per latch and expect to adjust the strike twice in the first month.
Combine with soft-close hinges, because these fronts still get pushed shut with a foot. $–$$
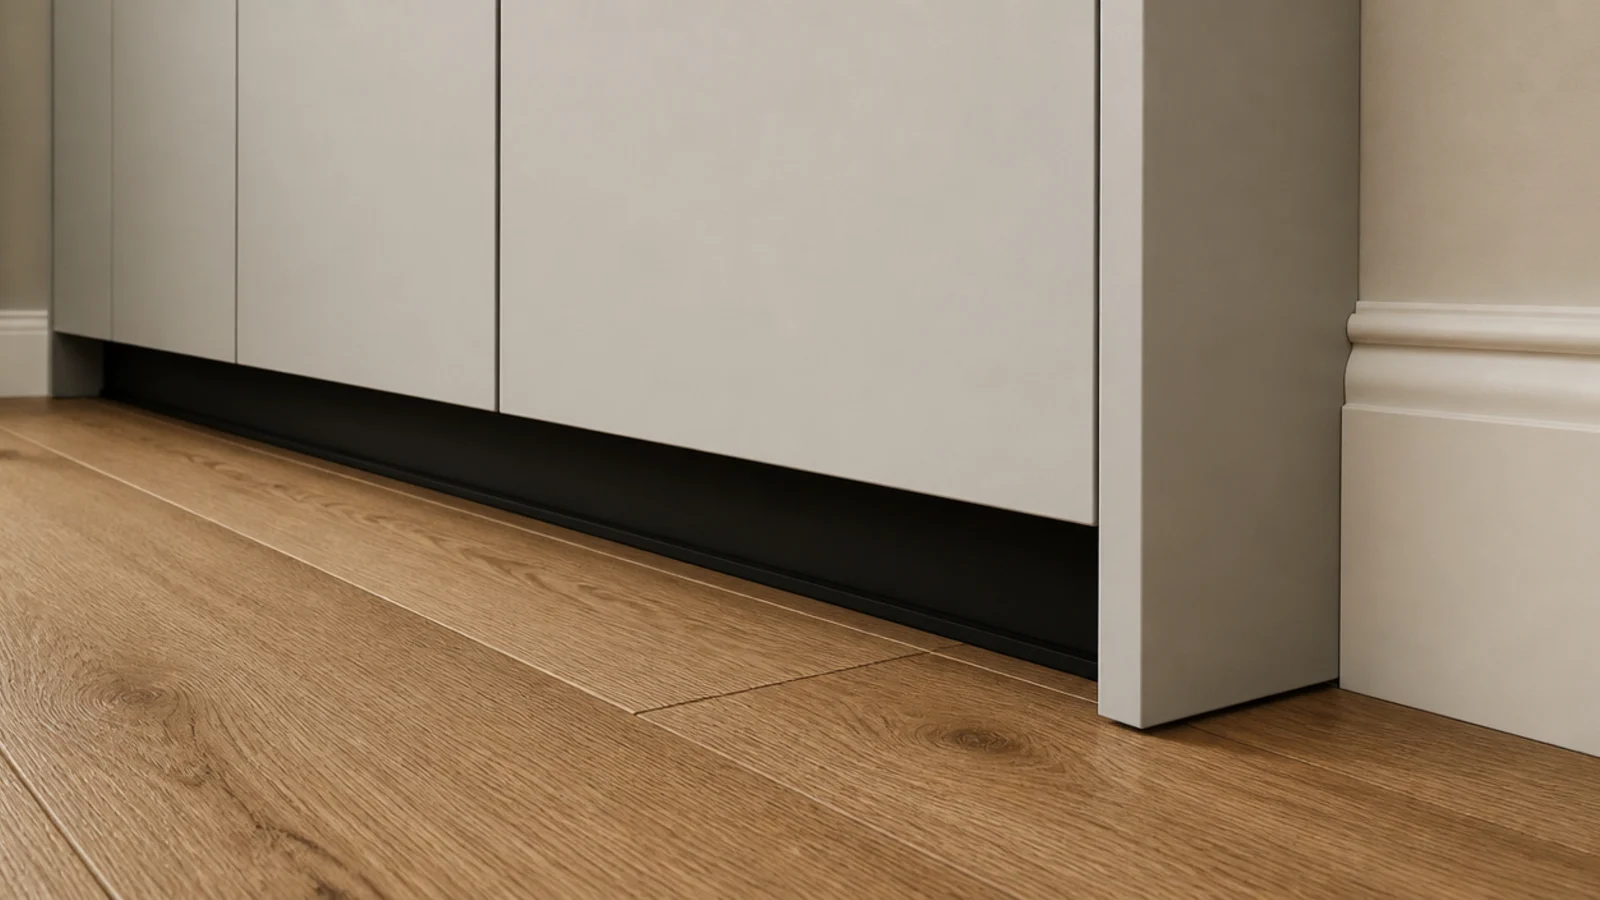
11. A shadow gap instead of a plinth
Recess the base 3 inches and paint the recess a deep tone, and the cabinet appears to hover. A solid plinth flat to the floor does the opposite and reads as bulk.
The gap also ventilates from below and gives your toes somewhere to go when you stand close to open a door.
If the cabinet already has a plinth, cutting it back and painting the recess dark takes an afternoon and costs nothing but a saw blade. $
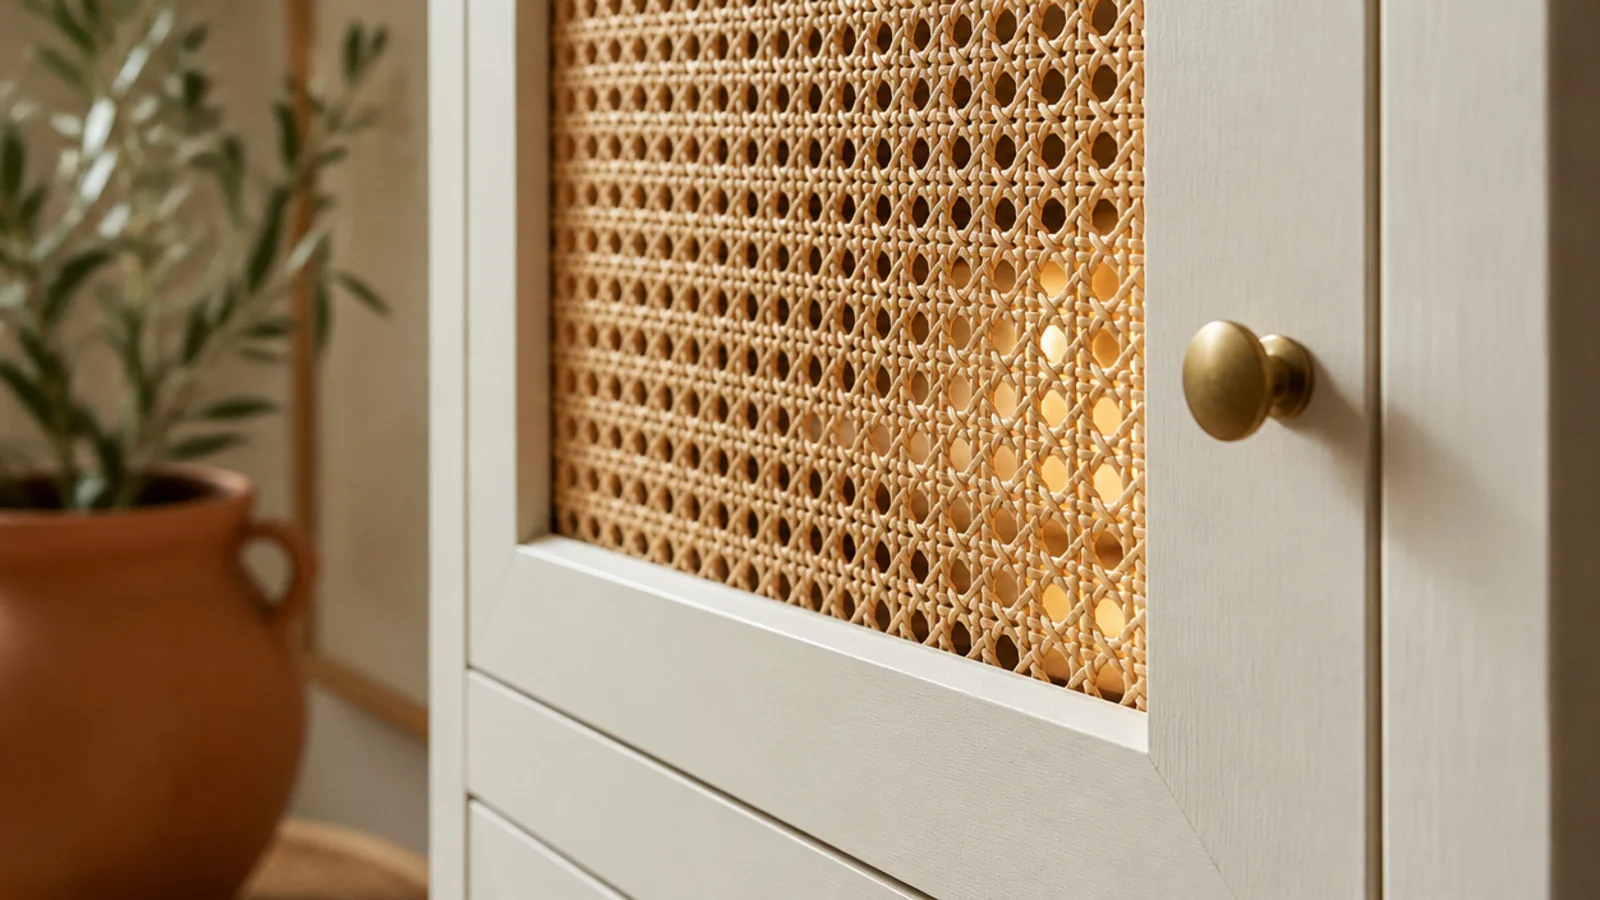
12. Cane or rattan panel inserts
A woven cane panel set into a door frame ventilates constantly and softens a flat modern front at the same time — the rare upgrade that is decorative and functional in one move.
Cane webbing sells by the foot for about $15 and fits into a routed groove or behind a simple beading frame. Soak it, staple it damp and it tightens drum-flat as it dries.
Keep cane out of anywhere it will get soaked. It handles humidity fine; it does not handle standing water. $$
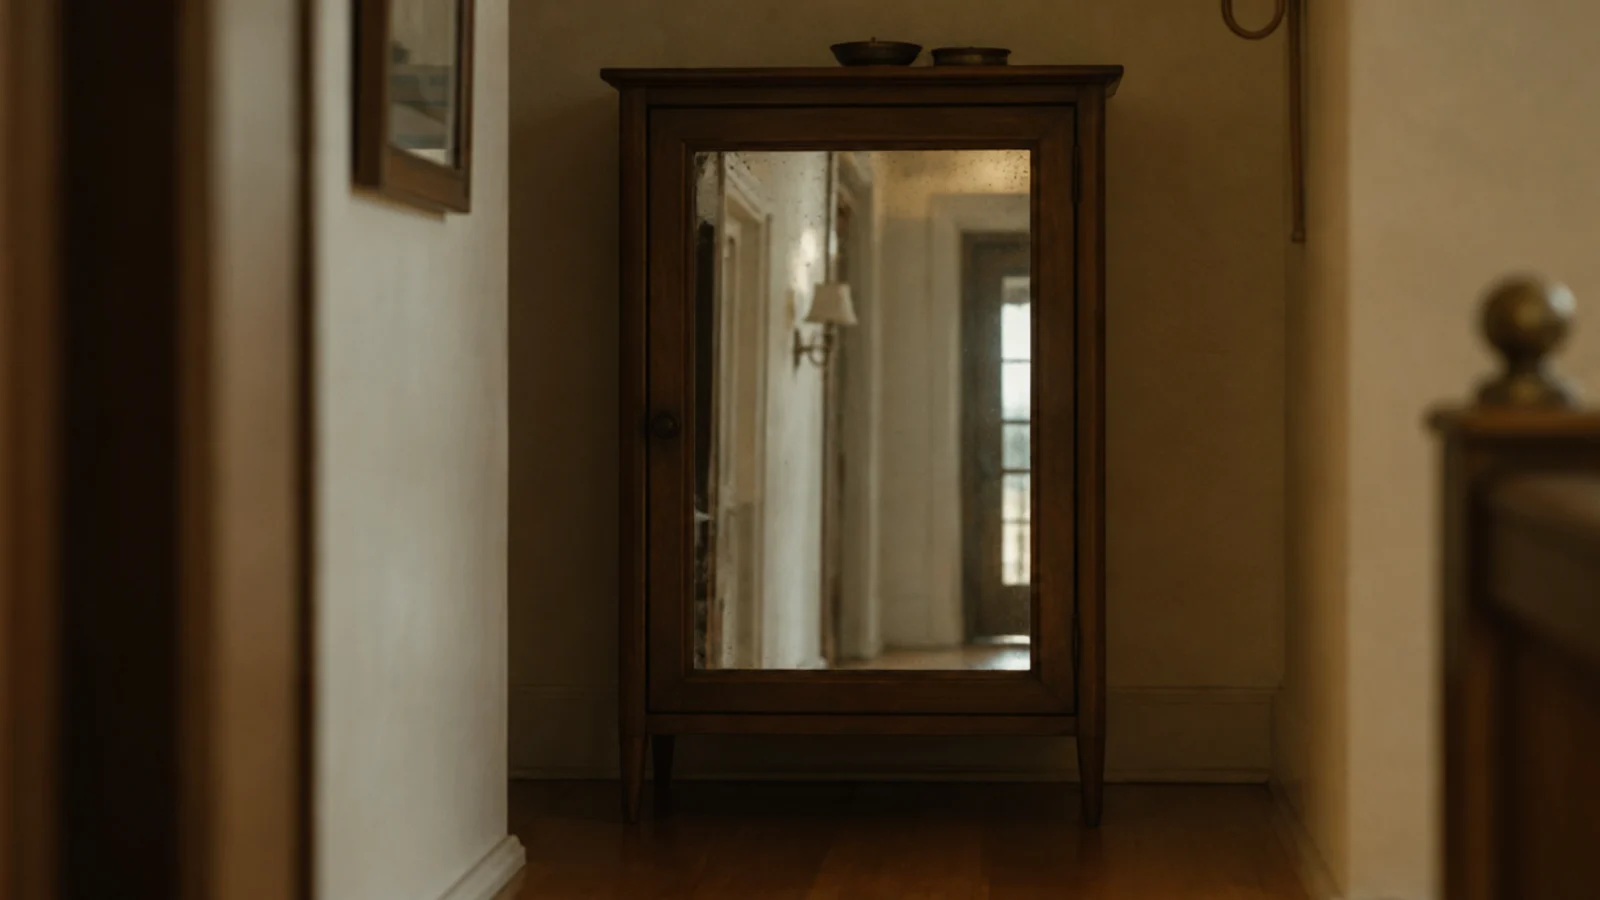
13. A brushed mirror front
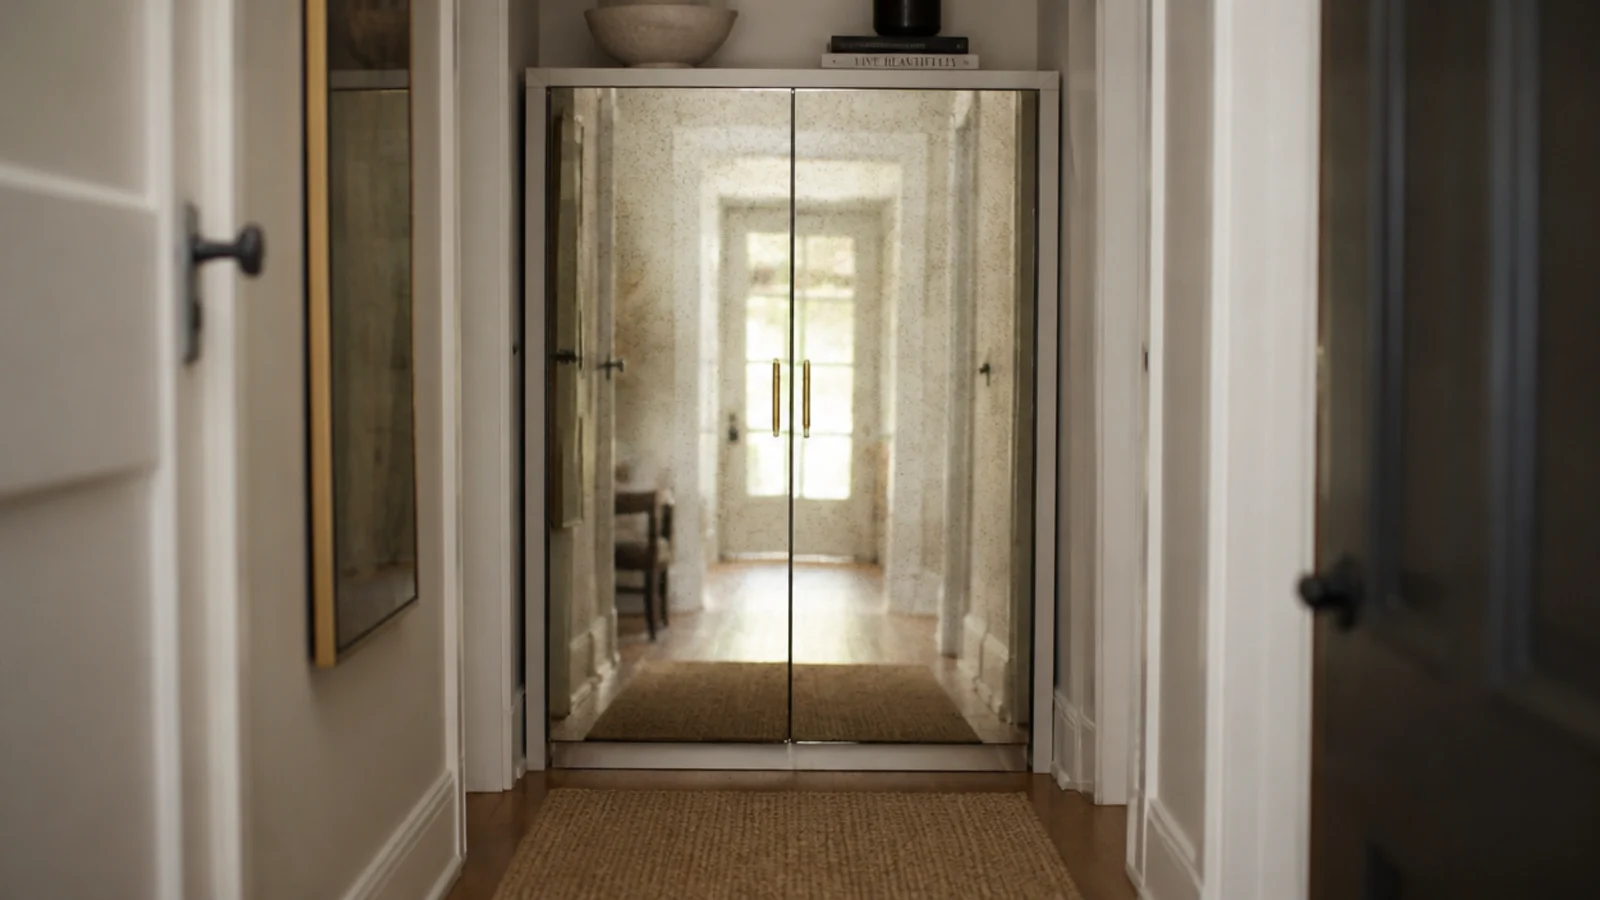
Mirror on a shoe cabinet earns its keep in a dark hall, but clear glass at knee height shows every fingerprint and scuff.
Antiqued or brushed glass hides both and reads warmer against timber and clay tones. Order it cut to size with polished edges and fix it with mirror adhesive plus a slim retaining lip at the bottom.
Add a third hinge per door for the weight. There is more on placement in the shoe cabinet with mirror guide. $$$
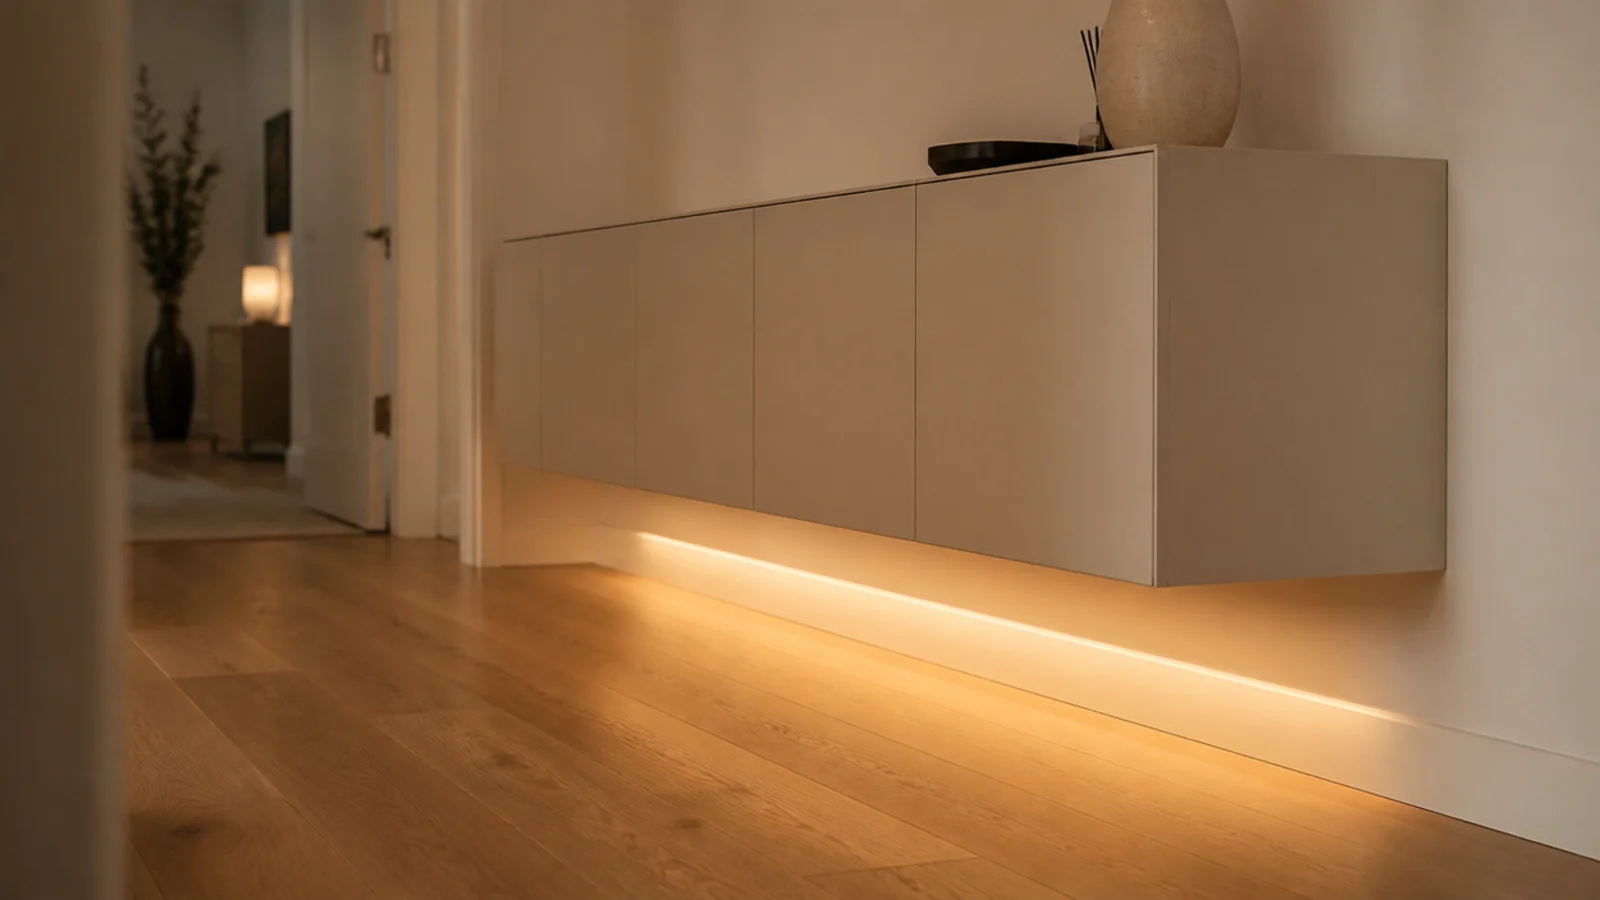
14. A wall-hung carcass lit underneath
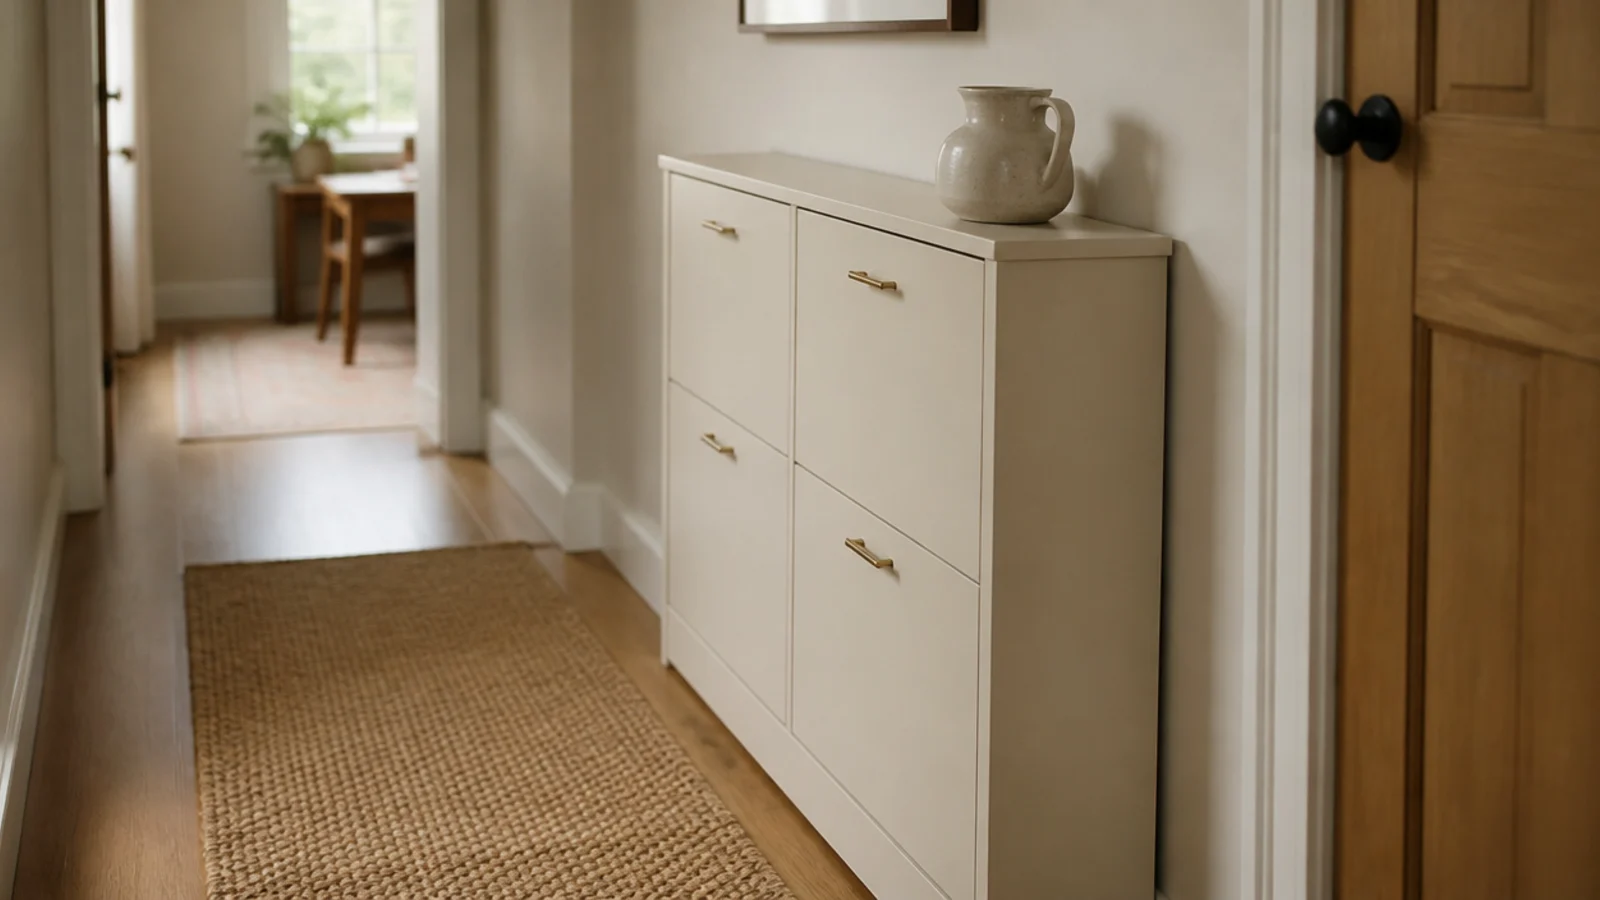
The most modern thing you can do with shoe storage is take it off the floor. An unbroken floor makes a corridor read visibly wider, and there is no plinth line collecting dust.
Mount on a continuous cleat into studs, or heavy-duty toggles rated well above the loaded weight — a cabinet full of shoes is heavier than people assume. Keep the base 8 inches up so a vacuum passes under.
A warm strip along the underside washing the floor finishes it. $$$
15. Keep the top to three objects
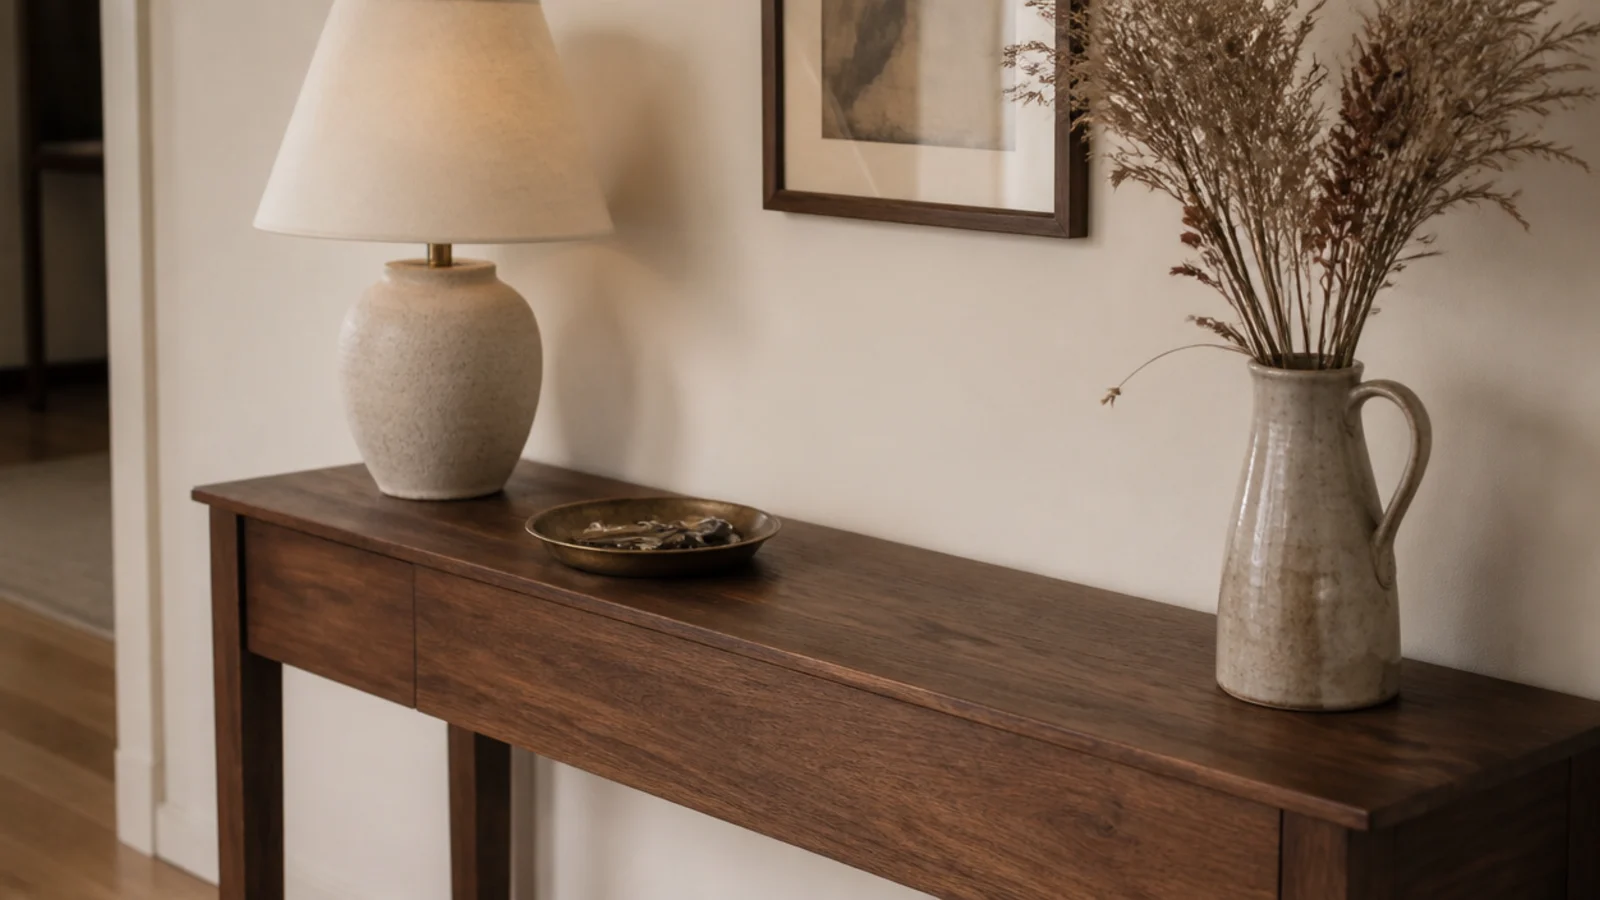
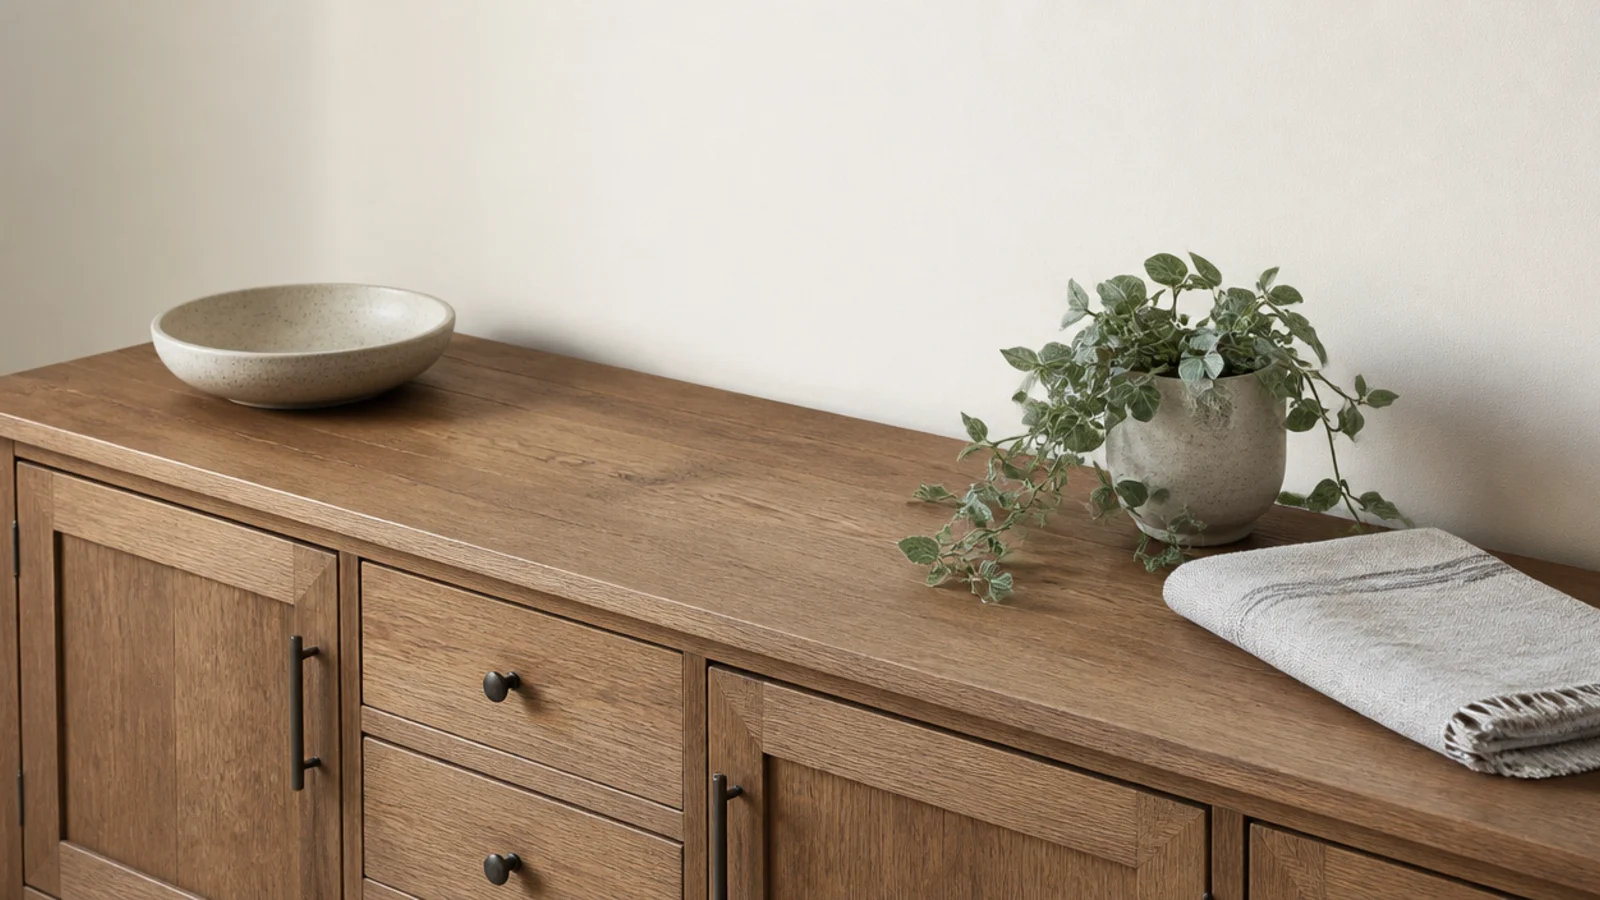
Every expensive-looking hallway cabinet I have ever styled has almost nothing on it. A shallow bowl, one small plant, something soft like a folded runner. That is the whole list.
The empty surface between objects is doing the work. A cabinet top with six things on it reads as a dumping ground within a week, whatever it cost.
Live with your three for seven days, then remove one. It improves nearly every time. If you want more on this, wooden shoe cabinet finishes goes further on materials. Free
Mistakes to Skip
- Sealing a sleek handleless cabinet completely. Slab fronts close tightly, so without drilled holes or cane inserts the box smells within a fortnight.
- Painting only the doors. In a corridor you see the side panel first, and an unpainted side undoes every other upgrade on the list.
- Mixing metals within one hallway. Brass pulls beside chrome door hardware reads as unfinished no matter how good the cabinet is.
Frequently asked questions
What makes a shoe cabinet look expensive?
Three details, in order: a continuous top slab rather than a thin panel, hardware in one solid metal, and a base that either floats or sits on visible legs. None of those change the storage inside. All three change how the piece reads from across a room, and together they cost about $80 on a cabinet you already own.
Are handleless shoe cabinets practical?
Very, in a narrow hall — there is nothing to catch a hip or a coat pocket on. Push-latch fronts need a rigid door, so solid wood or three-quarter inch plywood rather than thin panel, and they need a little clearance to travel. Budget about $4 per latch and expect to adjust them twice in the first month.
Does a modern shoe cabinet still need ventilation?
Yes, and the sleeker the front the more it matters, because handleless slab doors seal tightly. A closed box holding damp shoes smells within a fortnight. Drill a row of half-inch holes through the back panel, use cane or slatted inserts, or leave the toe kick open. None of it is visible from the front.
What is the most modern way to store shoes in a hallway?
A wall-hung shallow carcass with handleless fronts, lit underneath. The floor stays unbroken, which makes a corridor read wider, and there is no plinth collecting dust. It needs studs or heavy-duty toggles rated well above the loaded weight, and it works best at 9 to 12 inches deep with tilt-out cradles inside.
What color should a modern shoe cabinet be?
One color, carried across the front and the visible side panel, and either matched to the wall to disappear or taken several shades deeper to read as a deliberate object. The failure mode is a mid-tone that does neither. In a hallway you approach end-on, the side panel matters as much as the doors.
Start with the top slab and the base — thickness and how the cabinet meets the floor carry more weight than anything else you can change. For narrow halls, slim shoe cabinet options cover the depths that fit, shoe cabinet ideas sets out the full range of closed storage, and if you want the hallway around it to keep up, entryway ideas is the place to start. Save the pin before your next hallway upgrade.
Want more like this? Browse all 15 shoe cabinet ideas guides — they all use the same measurements and budget tiers.
Pin it for later
Save this to your Shoe Cabinet Ideas board
Pin it now so it is waiting for you when the tape measure comes out — and so the next person hunting for this idea can find it too.
Save this pinKeep going
More ideas worth saving while you have the tape measure out.