Shoe Storage Ideas · How-To
20 Steps to Style a Stunning Shoe Storage

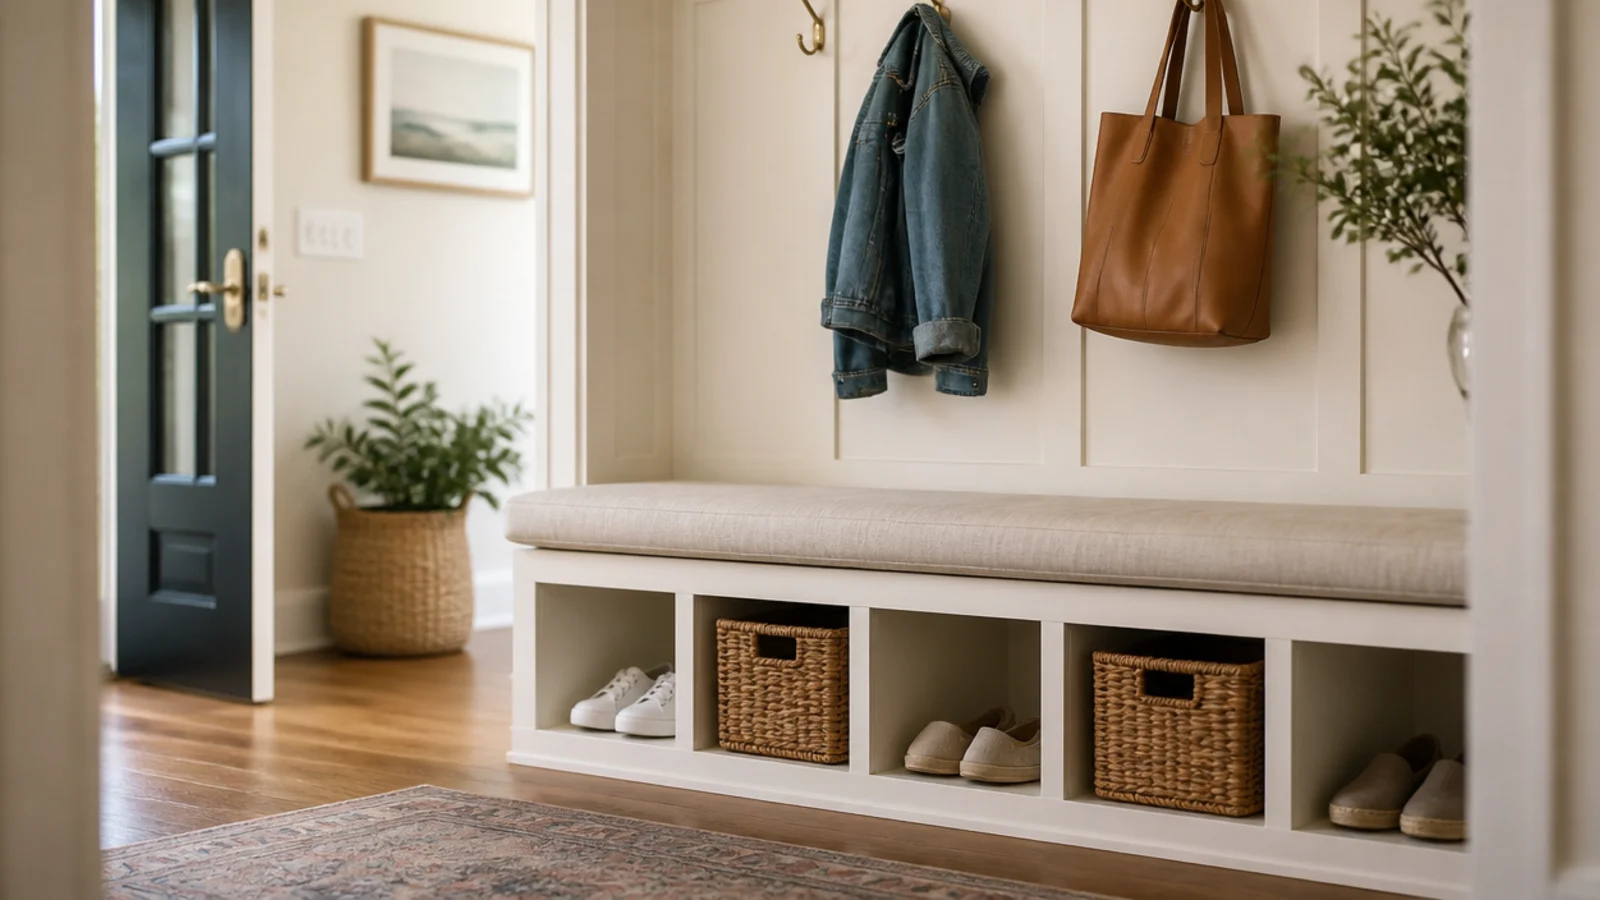
DIY shoe storage is one of the few builds where the joinery is easy and the dimensions are everything. A cubby an inch too shallow holds no shoes at all; a bench two inches too tall stops the children using it. These 20 steps give you the numbers first, then take you from one sheet of plywood to a finished, painted, wall-fixed unit in a weekend.
In this guide23 sections — tap to openHide
- 1.What You'll Need for DIY Shoe Storage
- 2.Step 1: Count the pairs that live at the door
- 3.Step 2: Measure the wall and the door swing
- 4.Step 3: Decide bench, cubbies, or both
- 5.Step 4: Set the cubby dimensions
- 6.Step 5: Fix the bench height at 18 inches
- 7.Step 6: Draw the full cut list
- 8.Step 7: Choose plywood over pine
- 9.Step 8: Get the sheet cut down at the store
- 10.Step 9: Cut the vertical dividers
- 11.Step 10: Sand every edge before assembly
- 12.Step 11: Assemble the outer carcass
- 13.Step 12: Fit the dividers and shelf
- 14.Step 13: Check it is square before the back goes on
- 15.Step 14: Fit the back panel
- 16.Step 15: Scribe it to the baseboard
- 17.Step 16: Fix it to the wall studs
- 18.Step 17: Fill, prime and paint
- 19.Step 18: Seal the seat and the bottom cubbies
- 20.Step 19: Add the cushion and baskets
- 21.Step 20: Add hooks above and a tray below
- 22.Pro Styling Rules
- 23.Mistakes to Skip
What You'll Need for DIY Shoe Storage
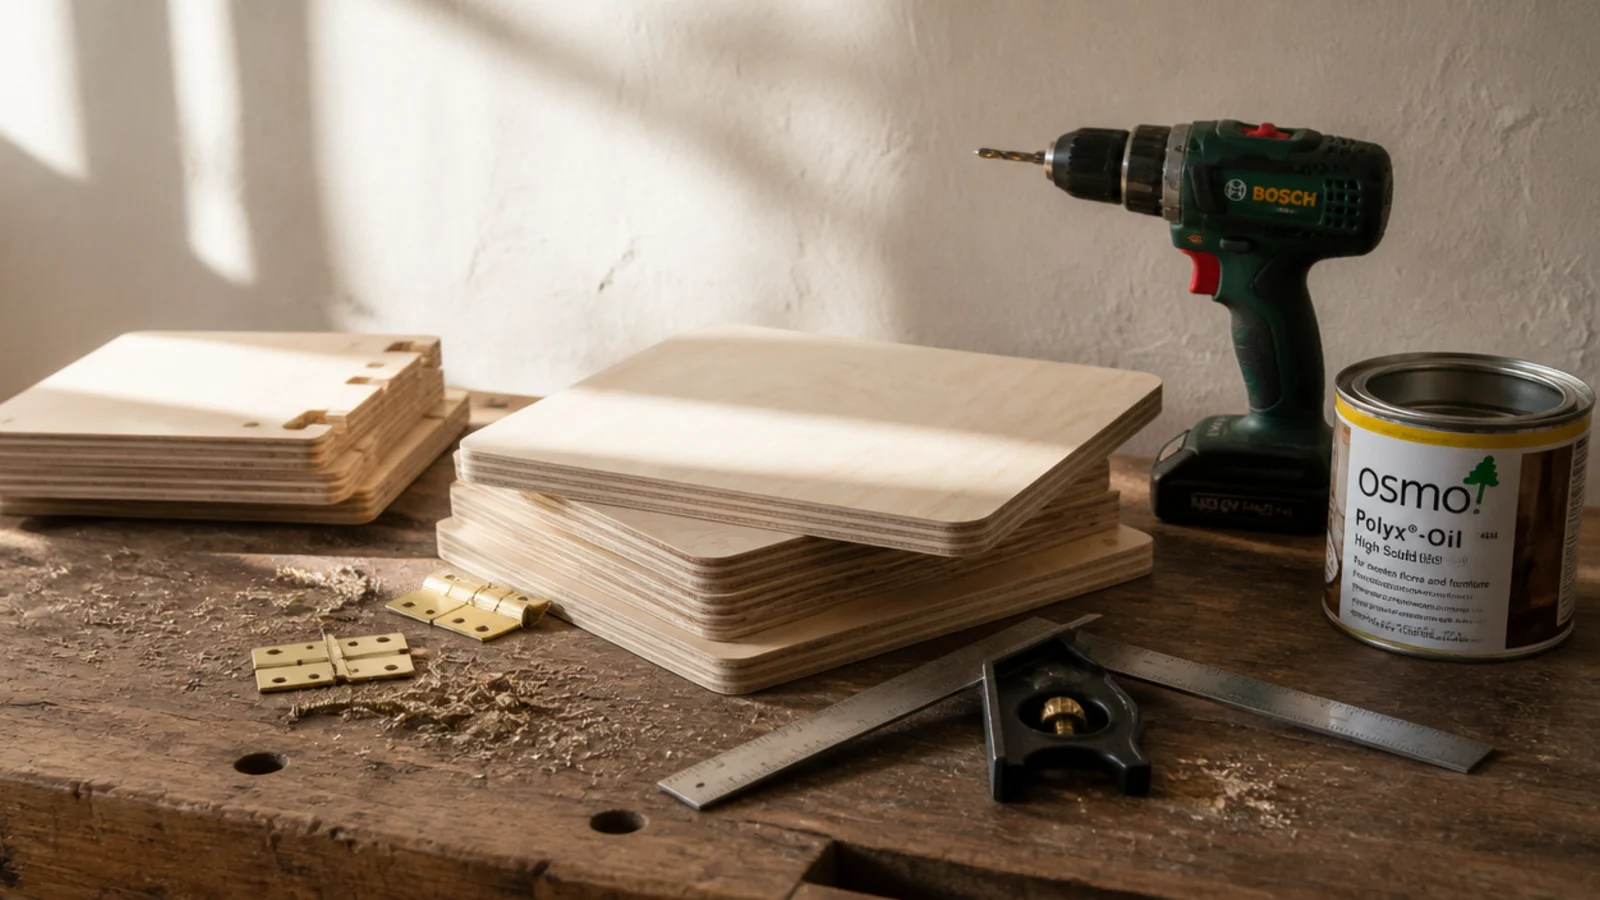
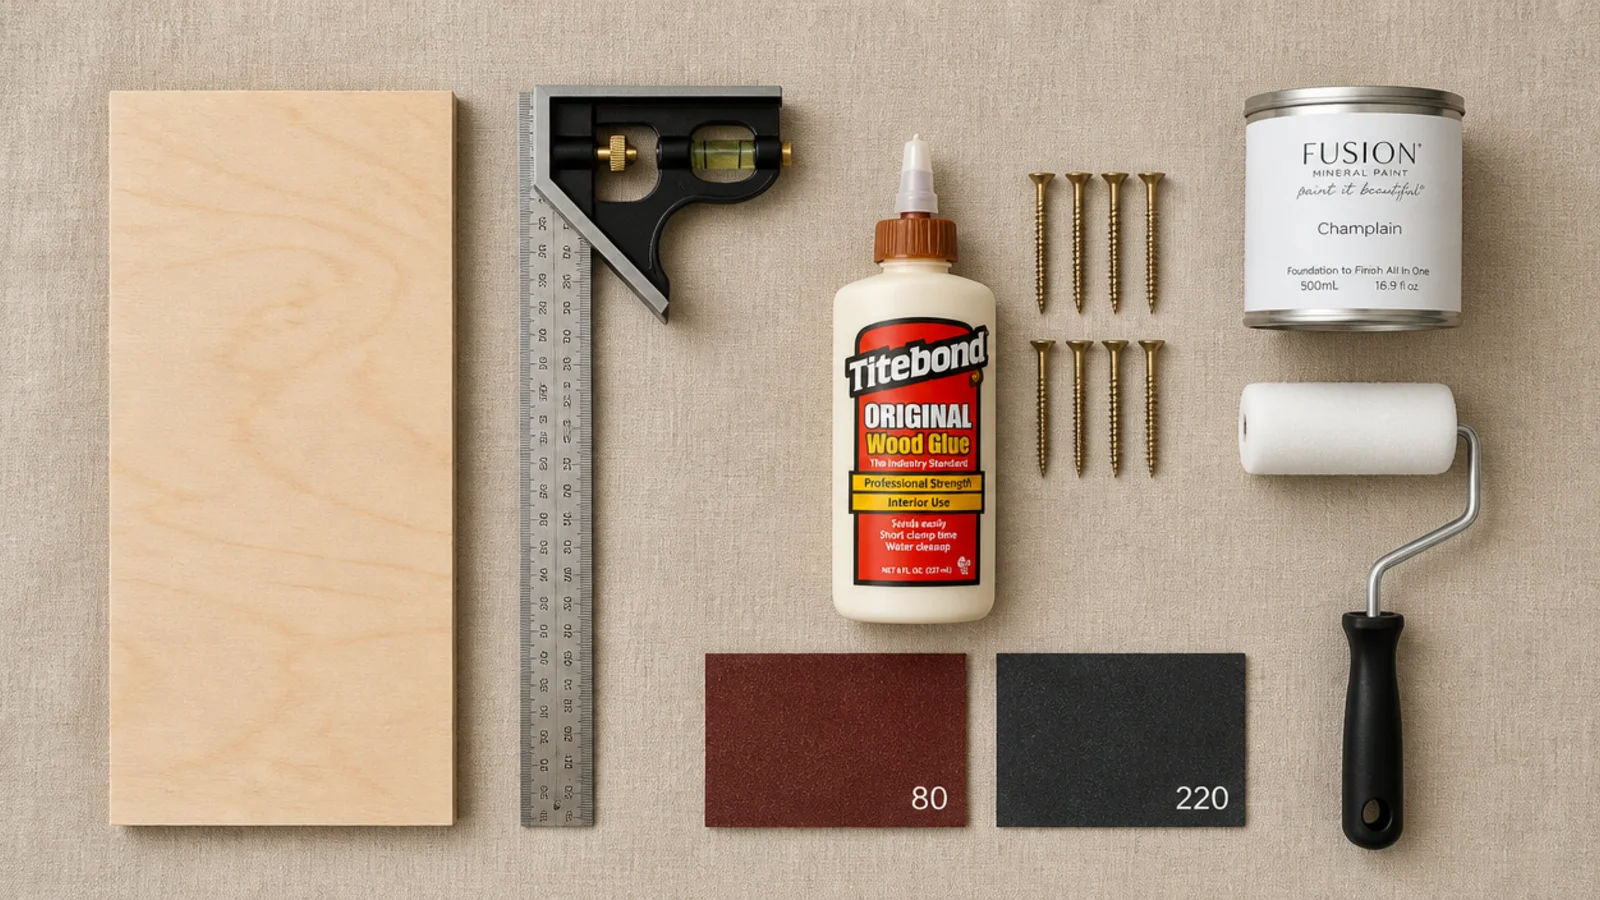
One sheet of three-quarter-inch birch plywood makes a bench roughly 40 inches wide with six cubbies. Total materials run $95 to $150 depending on plywood prices.
| Item | Spec that matters | Rough cost |
|---|---|---|
| Plywood | 3/4 in birch ply, one 4x8 sheet | $55–$90 |
| Back panel | 1/4 in ply, half sheet | $18 |
| Edge banding | Iron-on birch, or solid poplar lipping | $12 |
| Wood glue | PVA, interior | $6 |
| Screws | 1 1/4 in for carcass, 2 1/2 in for wall | $8 |
| Primer + paint | Water-based, satin or eggshell | $28 |
| Clear topcoat | Water-based polyurethane | $16 |
| Tools | Drill, circular saw or store cuts, clamps, level, stud finder | borrowed |
Step 1: Count the pairs that live at the door
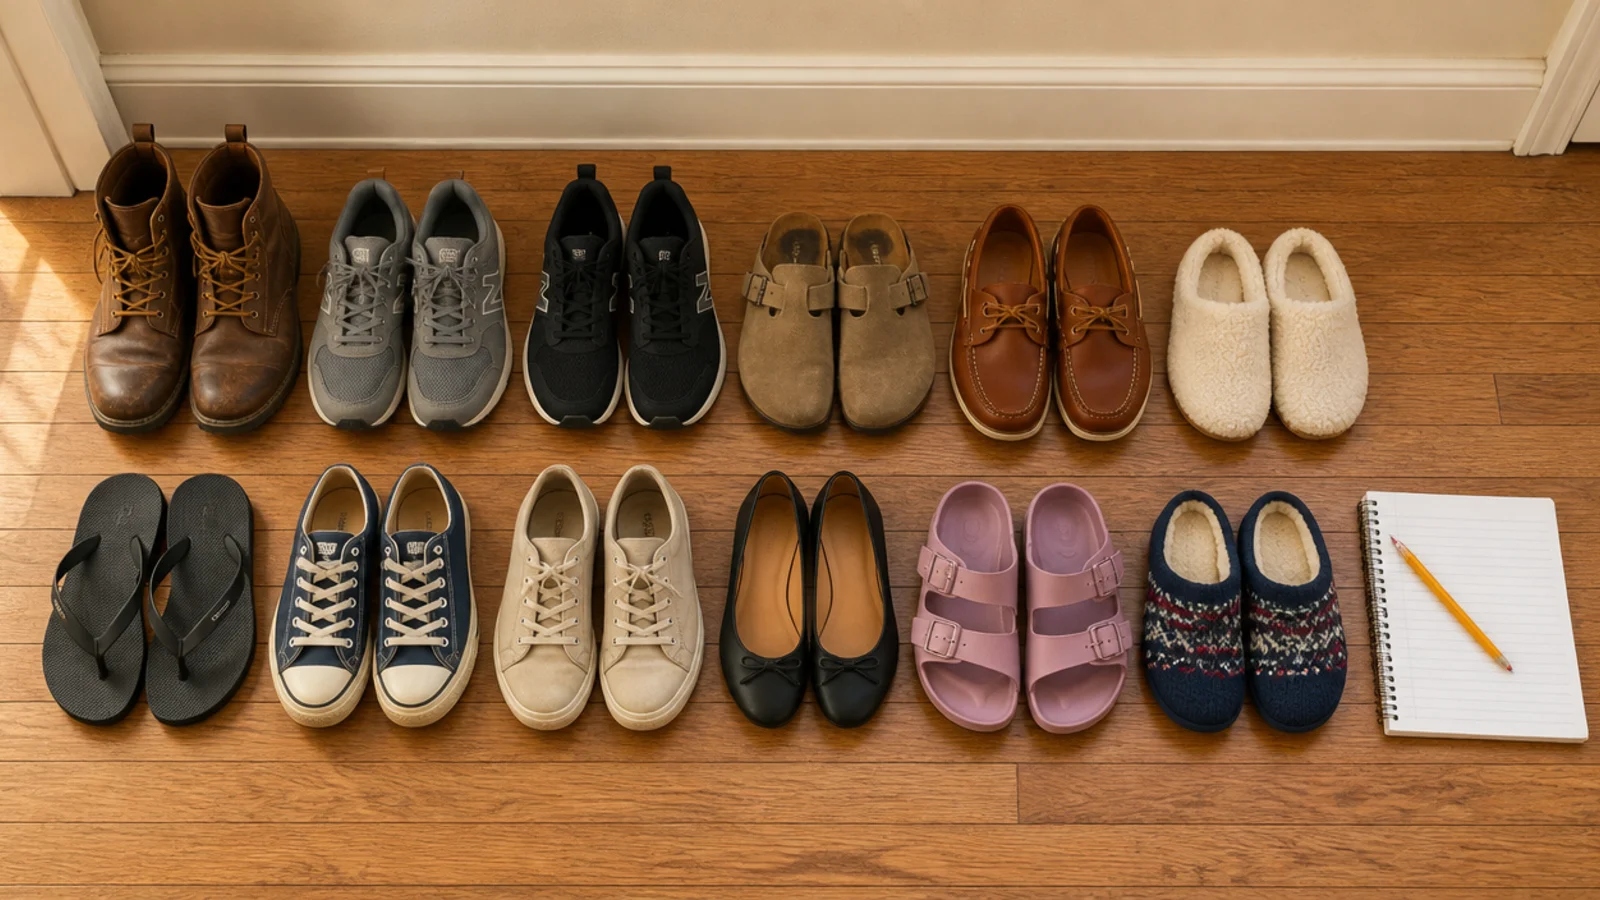
Before any measuring, line up every pair currently living within six feet of the front door and count them. Not the closet shoes — the door shoes.
Most households land on two to three pairs per person plus one seasonal overflow set. Note how many are boots, because boots are what break a design. That count sets the number of cubbies and how many need to be tall.
Step 2: Measure the wall and the door swing
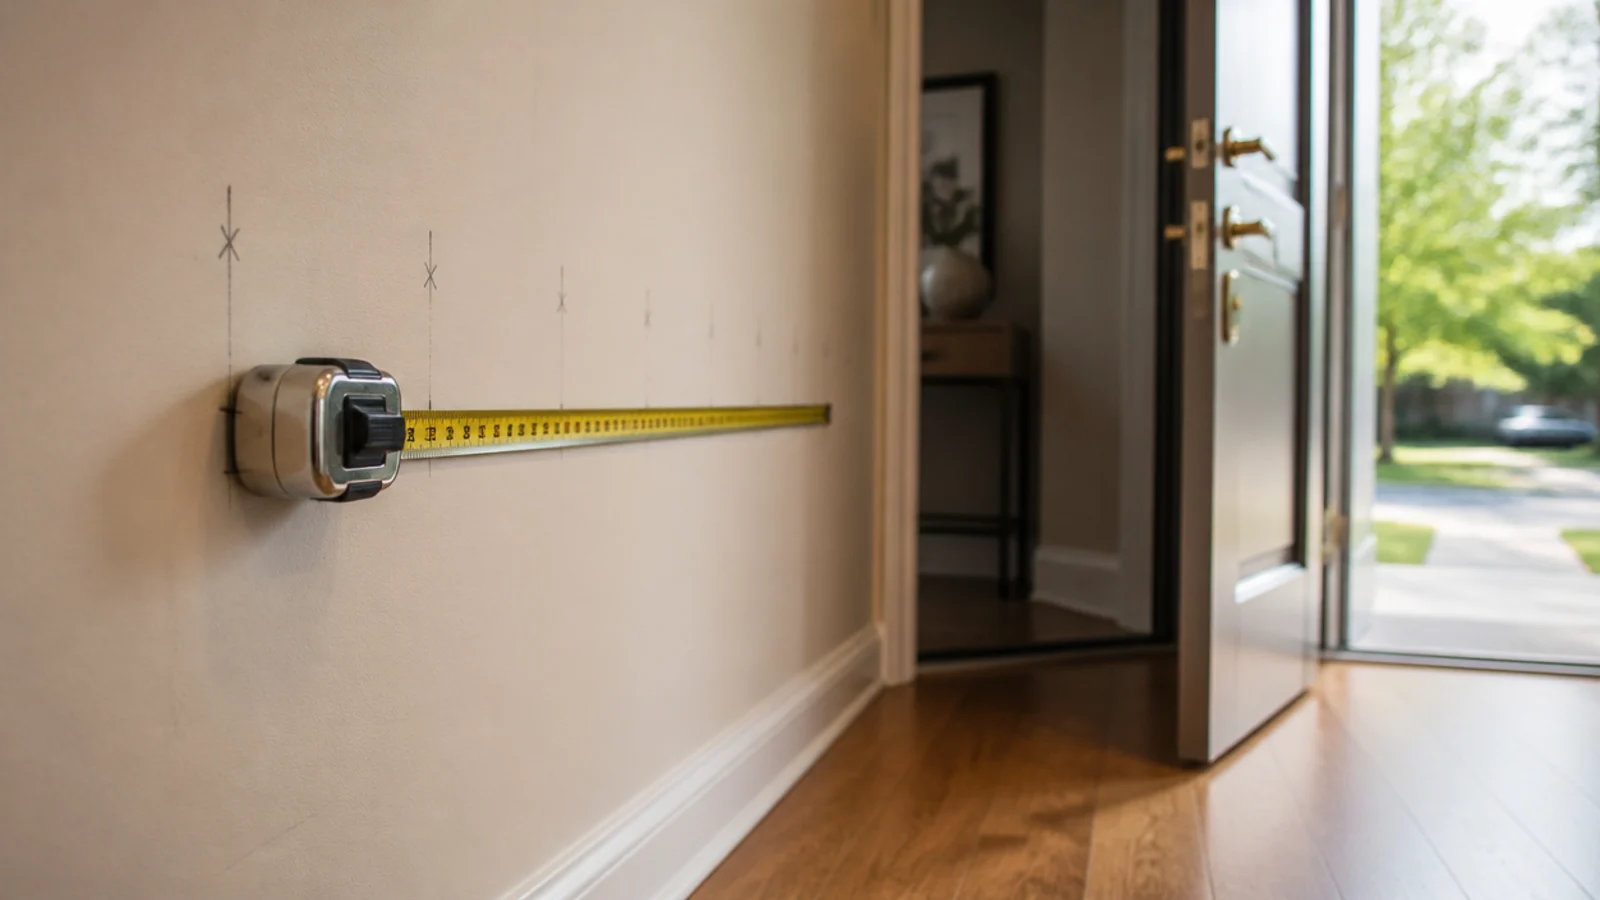
Measure the available wall width, then open the front door fully and check where it lands. Doors that open into an entry regularly eat six to eight inches of what looks like usable wall.
Also measure the walkway from the wall to whatever you walk around. Under 40 inches of clearance and a deep bench will be something you squeeze past every day.
Step 3: Decide bench, cubbies, or both
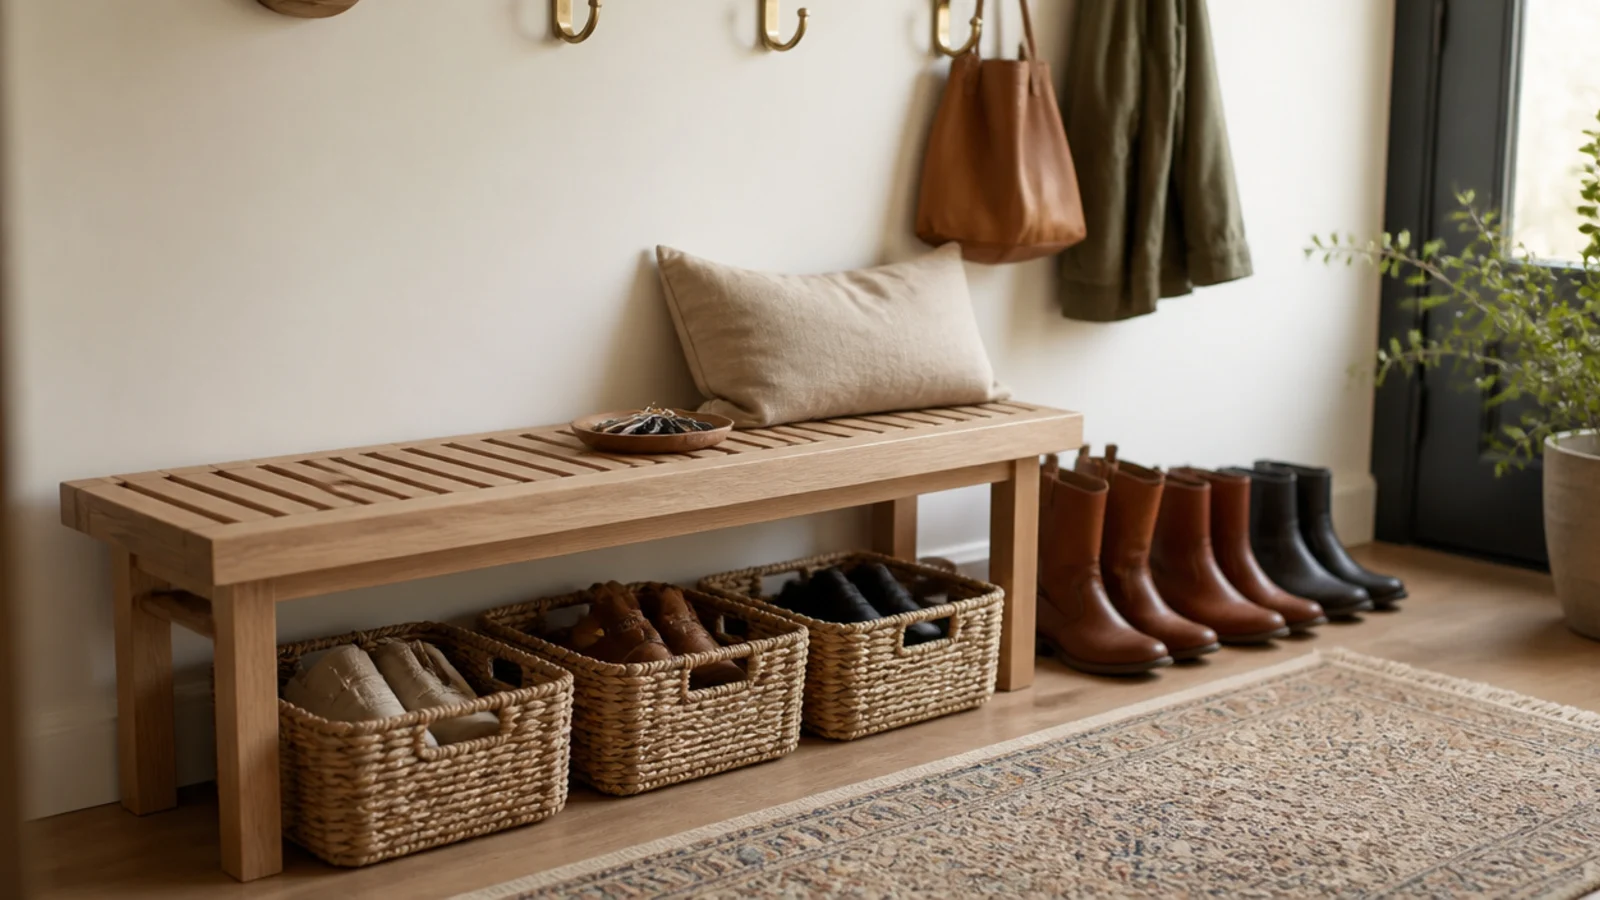
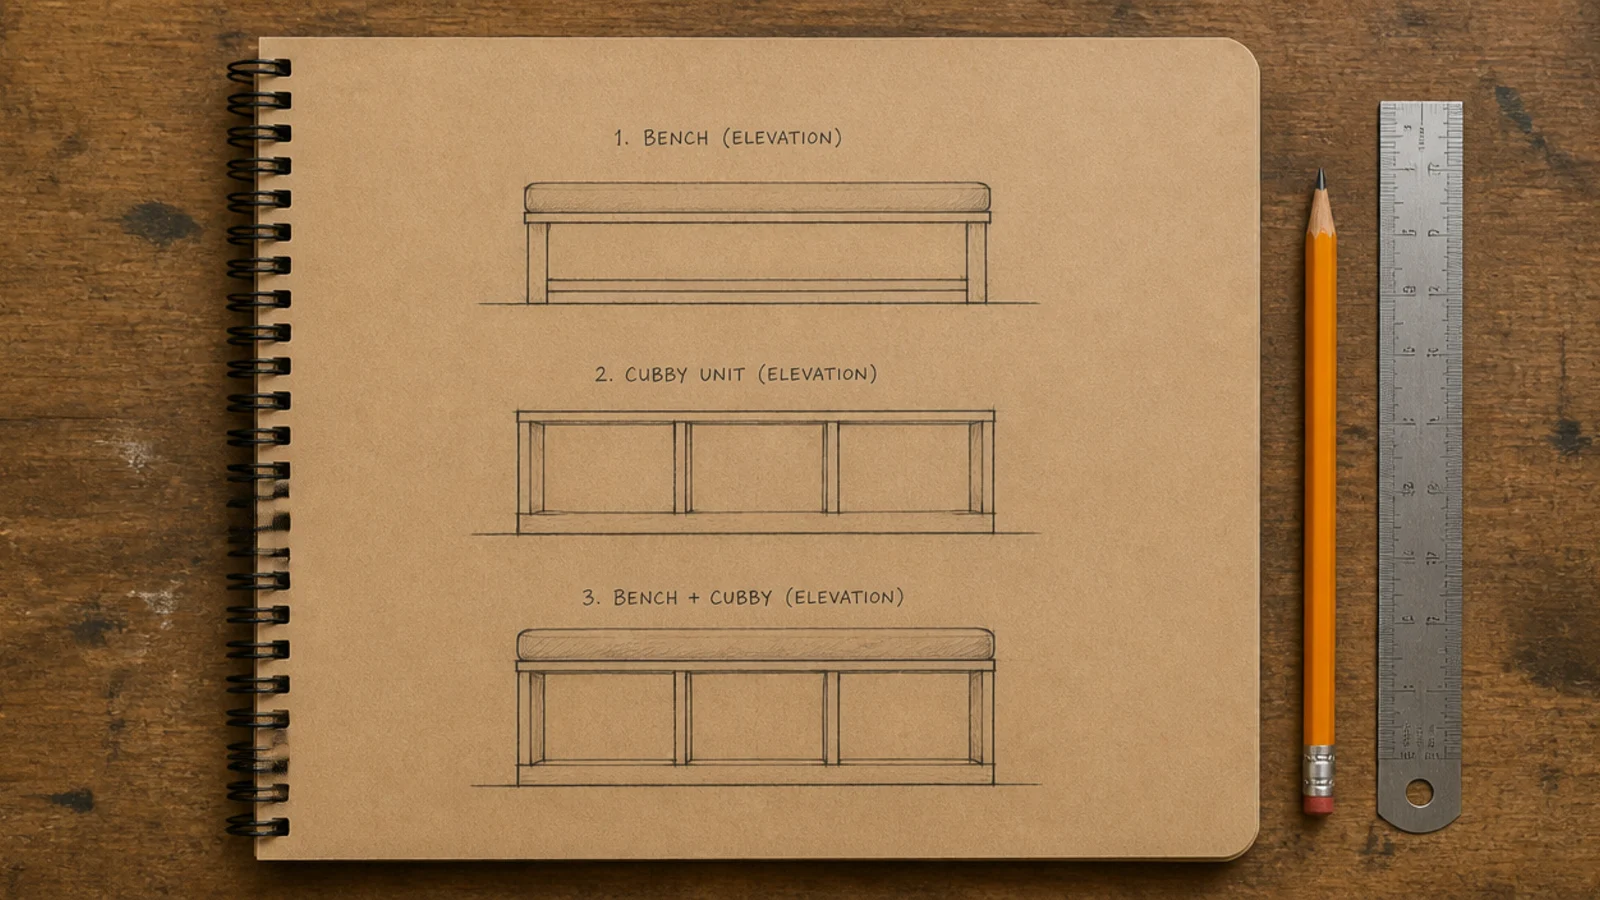
A bench you cannot comfortably sit on is just a shelf, and a cubby unit with no seat means people balance on one leg pulling boots off.
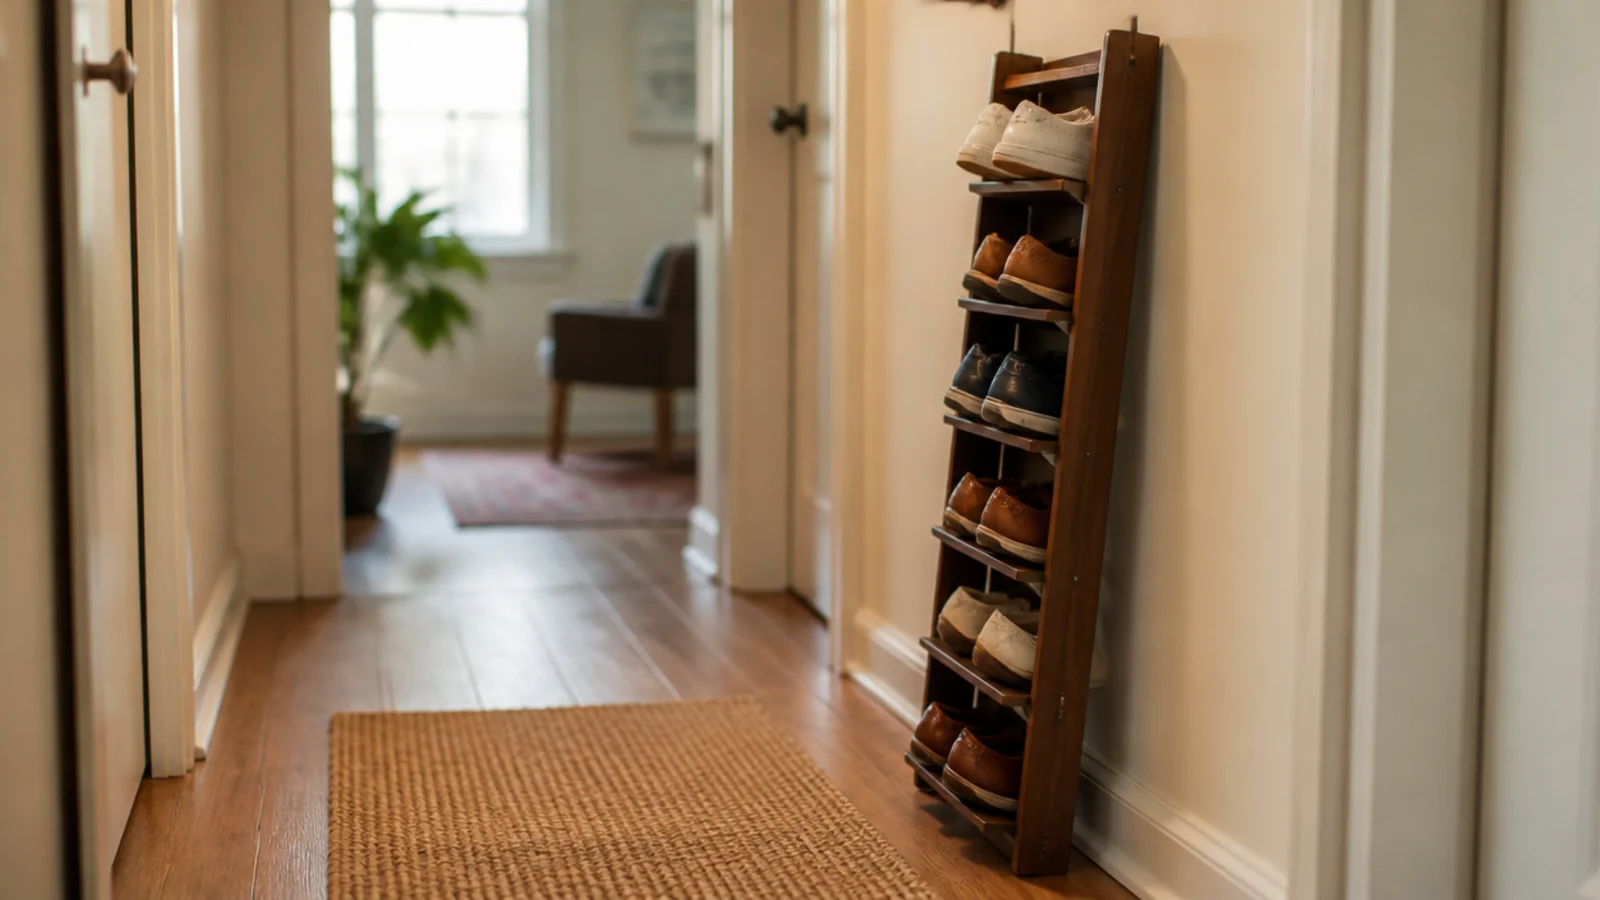
If you have 36 inches of width or more, build both — cubbies below, seat on top. Under 36 inches, choose. In a narrow hallway, cubbies win, because sitting down in a corridor is not really happening anyway.
Step 4: Set the cubby dimensions
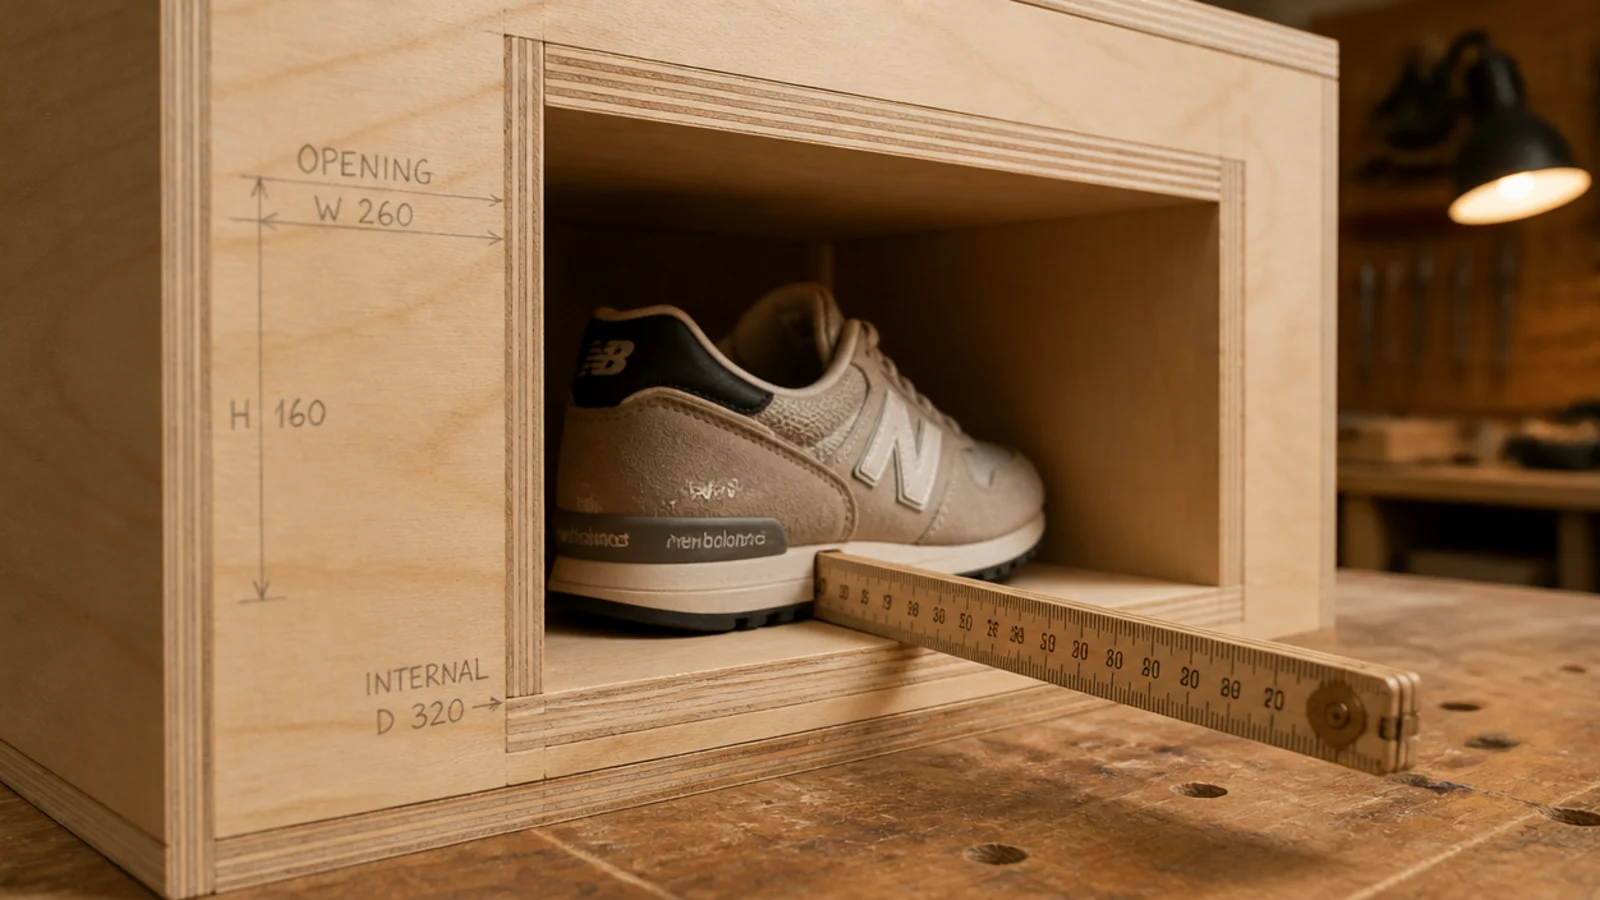
Thirteen inches deep, 12 wide, 8 high for general use. Add two openings at 16 inches high for ankle boots, and one at 20 inches if anybody owns knee-high boots.
Depth is what people get wrong. A men's size 12 sneaker is about 12.5 inches long, so a 12-inch cubby leaves the toe sticking out and the row never looks tidy.
Step 5: Fix the bench height at 18 inches
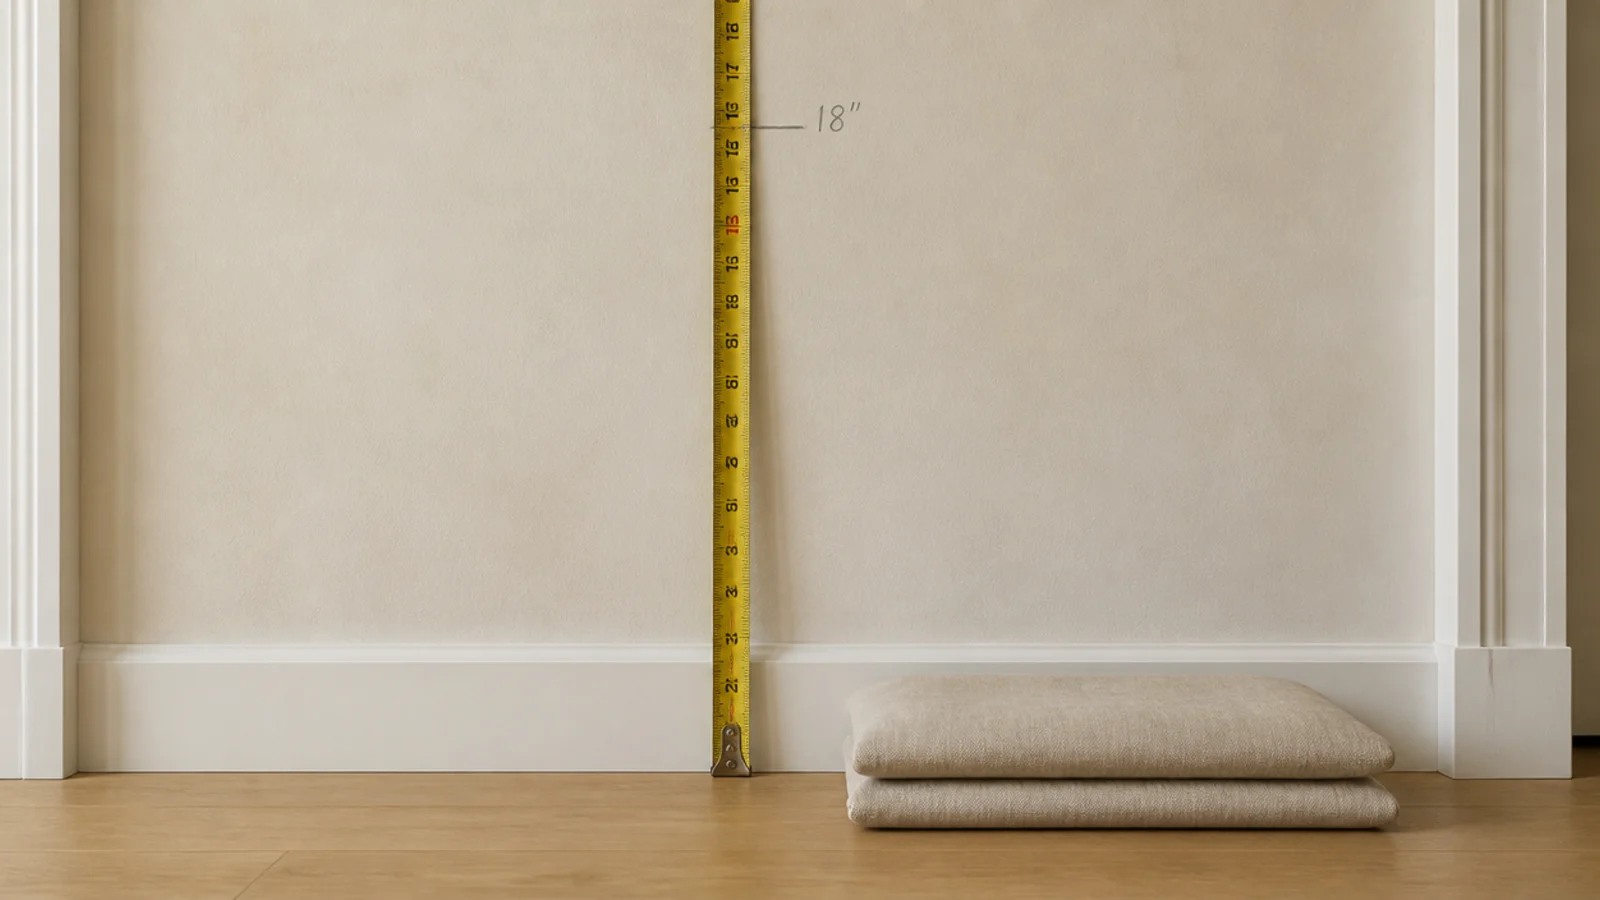
Eighteen inches from the floor to the top of the finished seat, cushion included. Not to the plywood — to the surface you sit on.
Sixteen inches feels low to stand up from and 20 leaves shorter legs dangling, which is exactly when children stop using it. If you plan to add a two-inch cushion, build the carcass to 16.
Step 6: Draw the full cut list
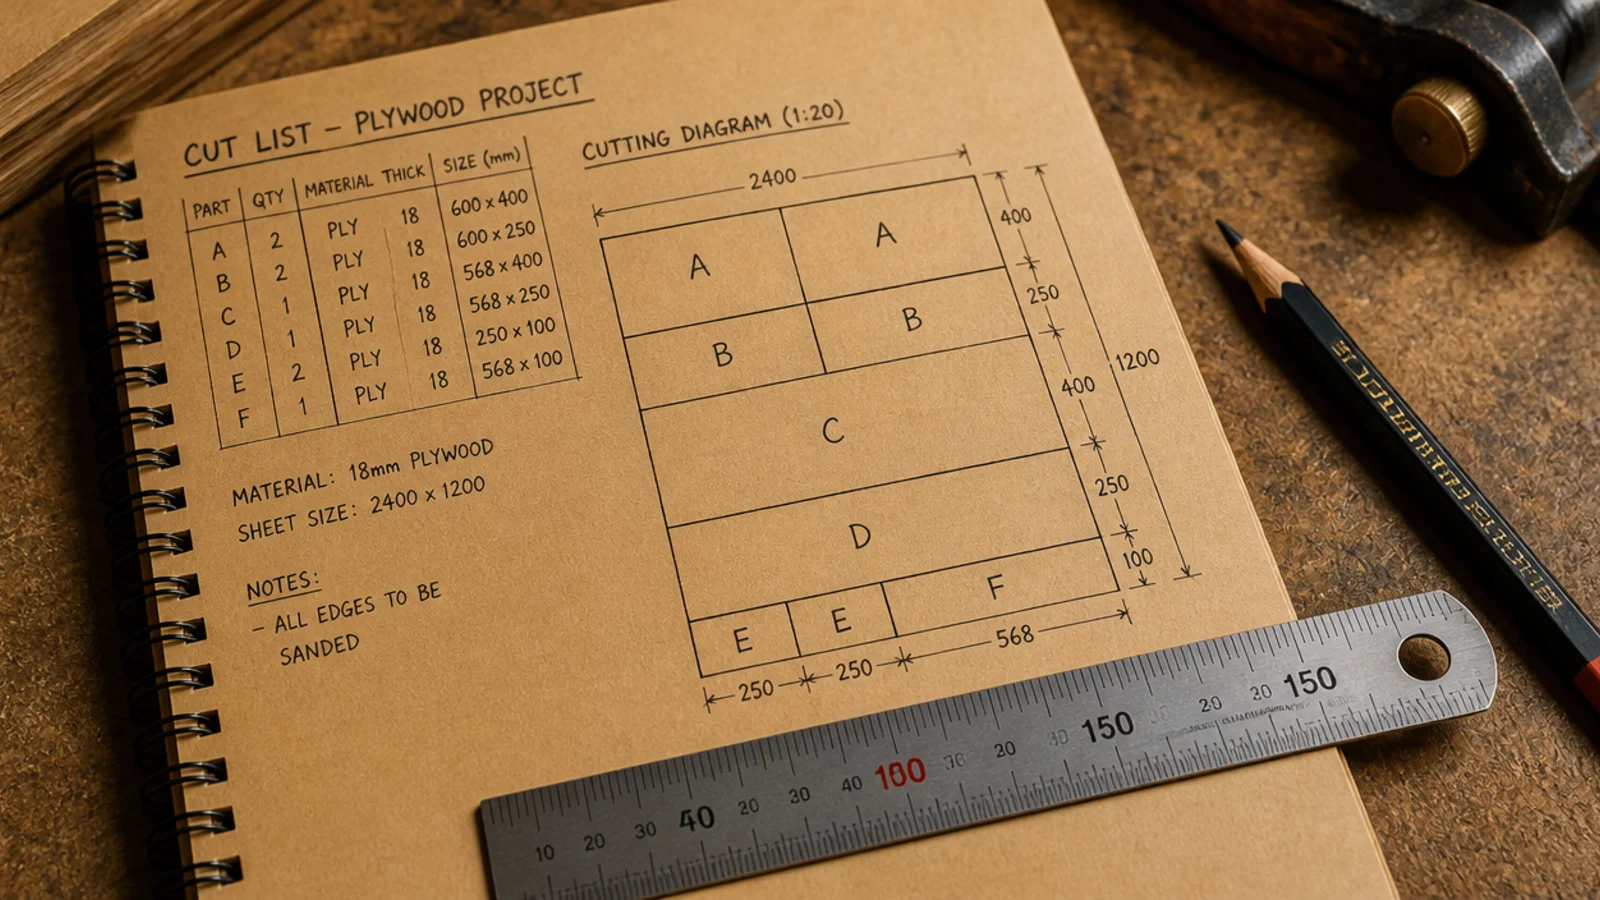
Sketch the unit from the front and from the side, write every finished dimension on it, then draw a cutting diagram of your plywood sheet.
Ten minutes with a pencil is what turns one sheet into a whole bench with offcuts to spare. It is also how you catch that you forgot the divider thickness before it costs you a panel.
Step 7: Choose plywood over pine
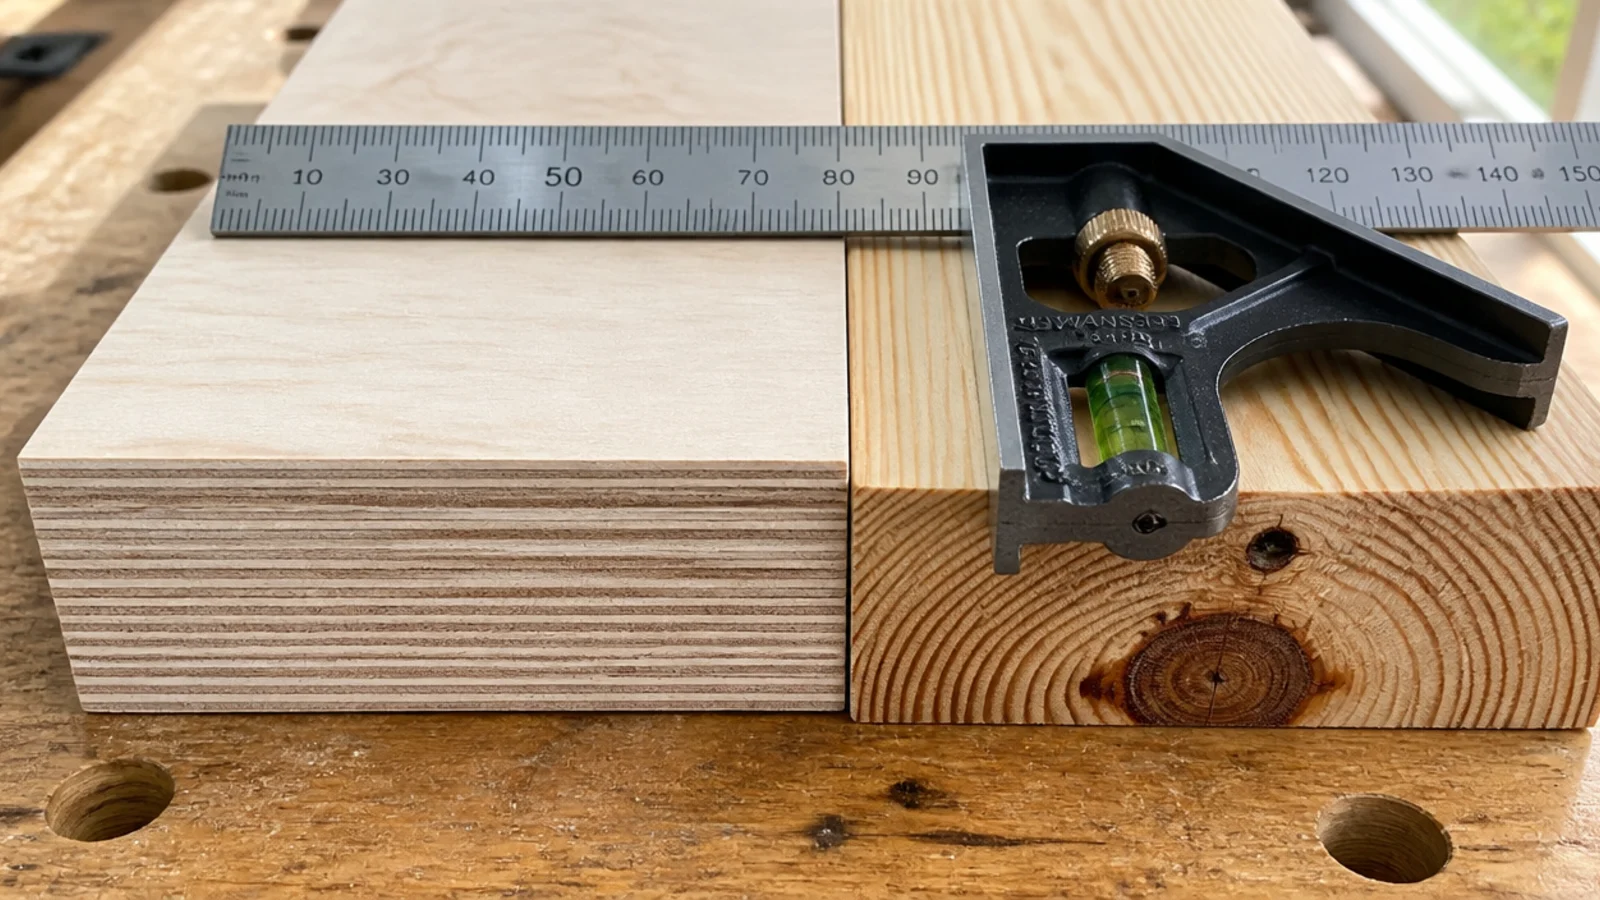
Three-quarter-inch birch ply spans further without sagging, does not warp, and stays flat through a humid summer. Pine boards cup, and a cupped shelf in a cubby unit is very visible.
The layered edge disappears under iron-on banding or a solid poplar lip. Skip MDF entirely near a door — it swells permanently the first time wet boots sit on it.
Step 8: Get the sheet cut down at the store
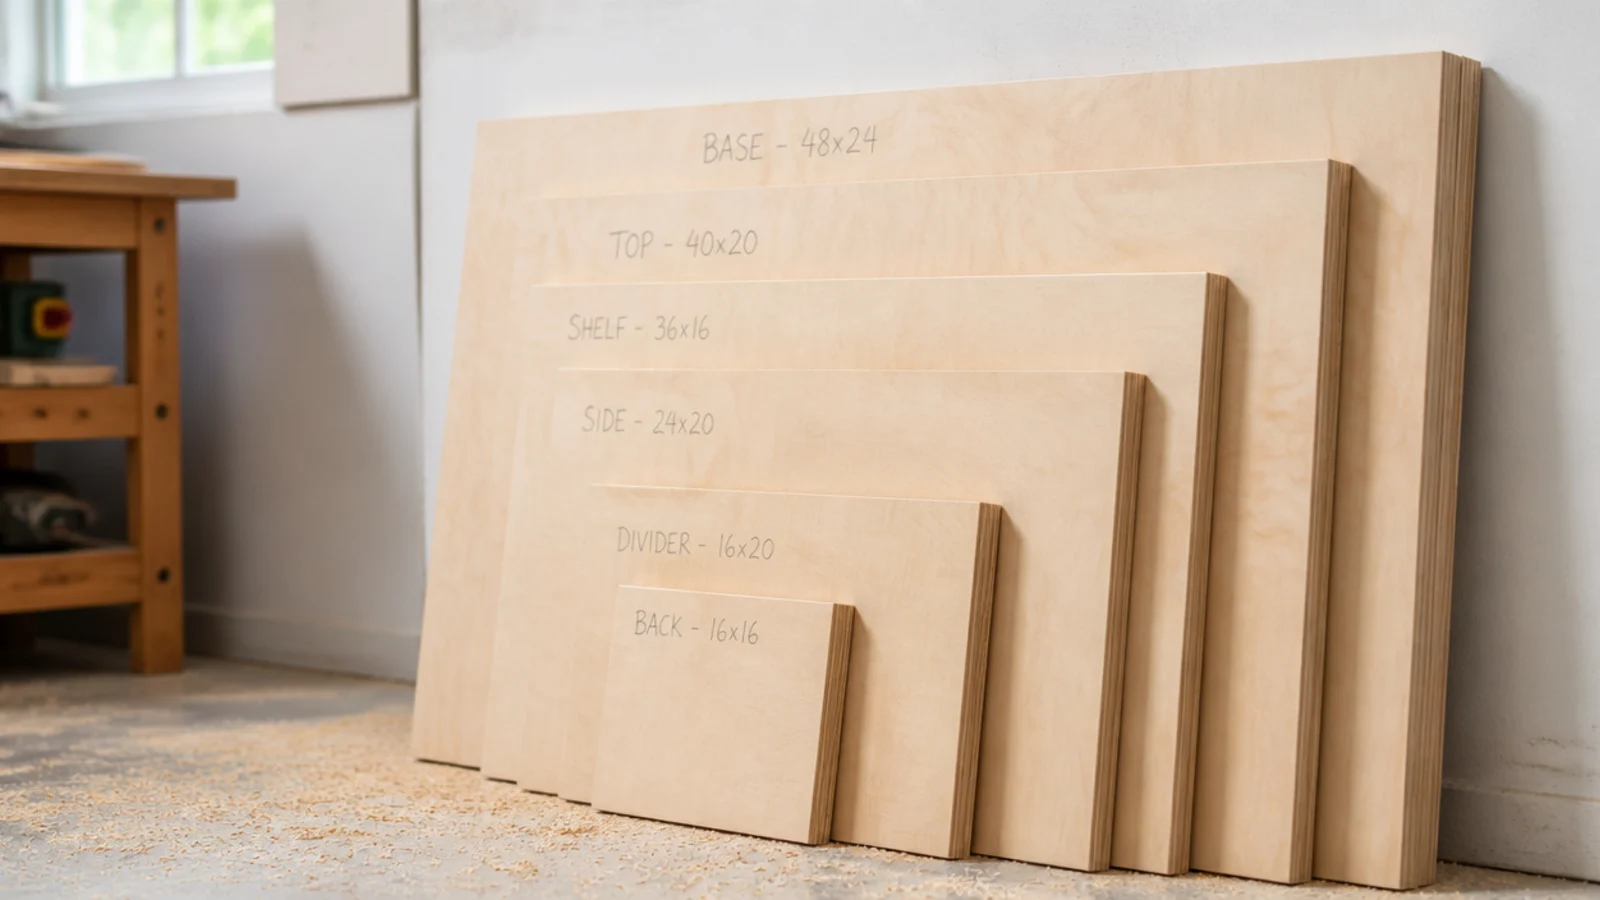
Most home centers cut sheets for free or a small fee, and their panel saw is straighter than anything you will manage with a hand-held circular saw on a driveway.
Take your cutting diagram, ask for the long cuts first, and label each panel in pencil as it comes off. Full sheets are also genuinely awkward to transport and handle alone.
Step 9: Cut the vertical dividers
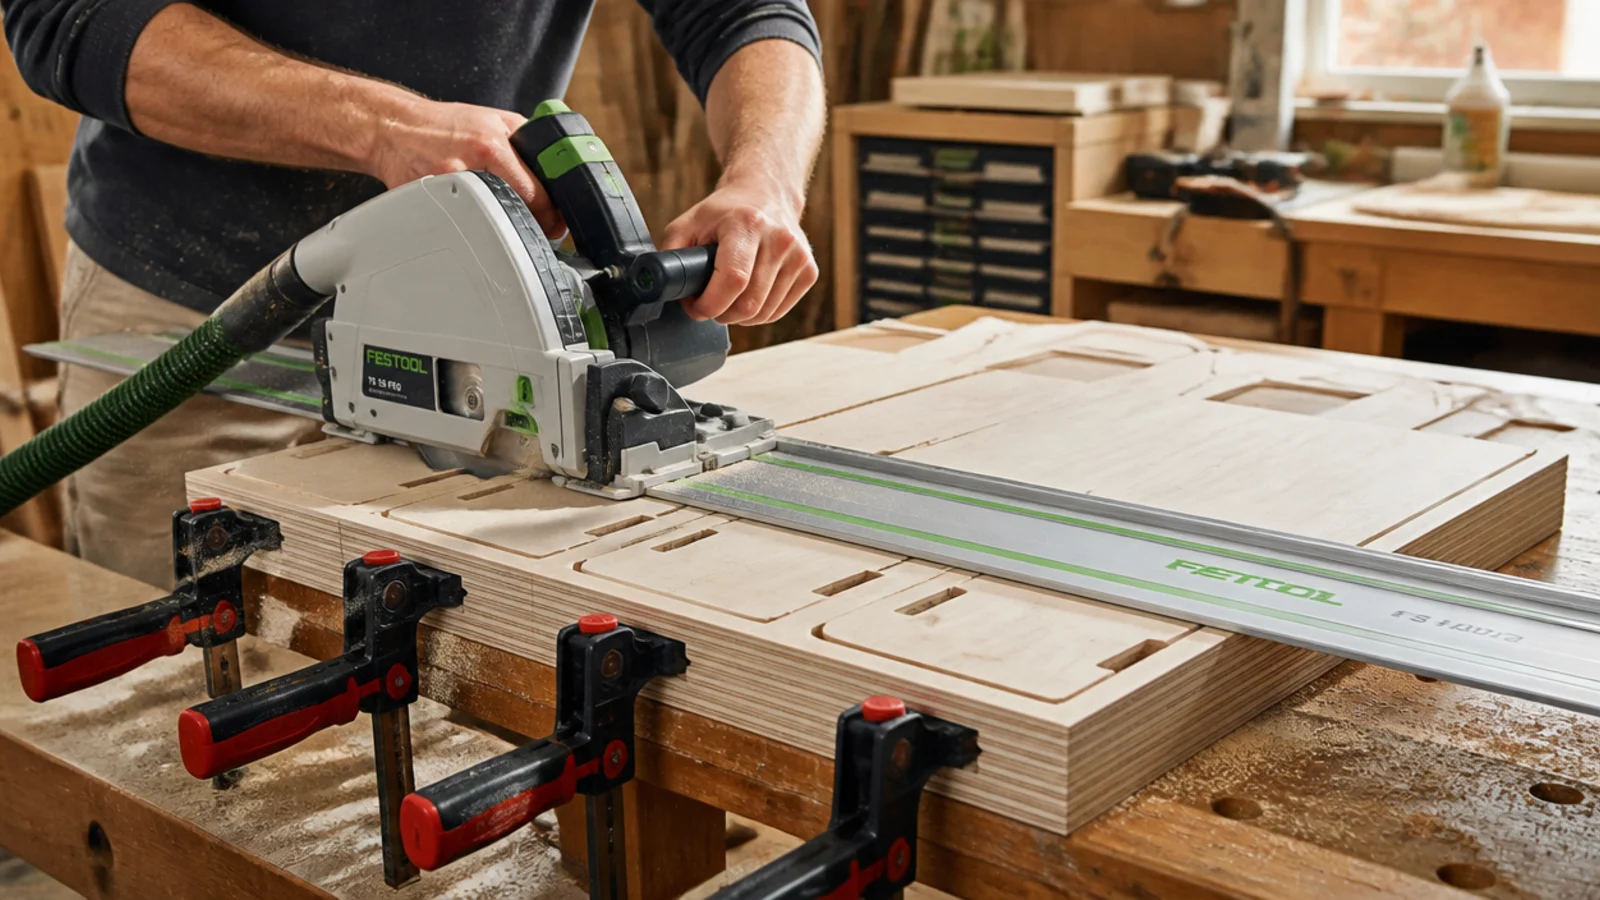
Clamp the divider blanks together and cut them as a stack so every one is identical. Cubbies that vary by an eighth of an inch look wrong once shoes go in.
If you are cutting at home, use a guide rail or a clamped straight edge. Freehand circular saw cuts on plywood wander, and the wander shows in the finished front edge.
Step 10: Sand every edge before assembly
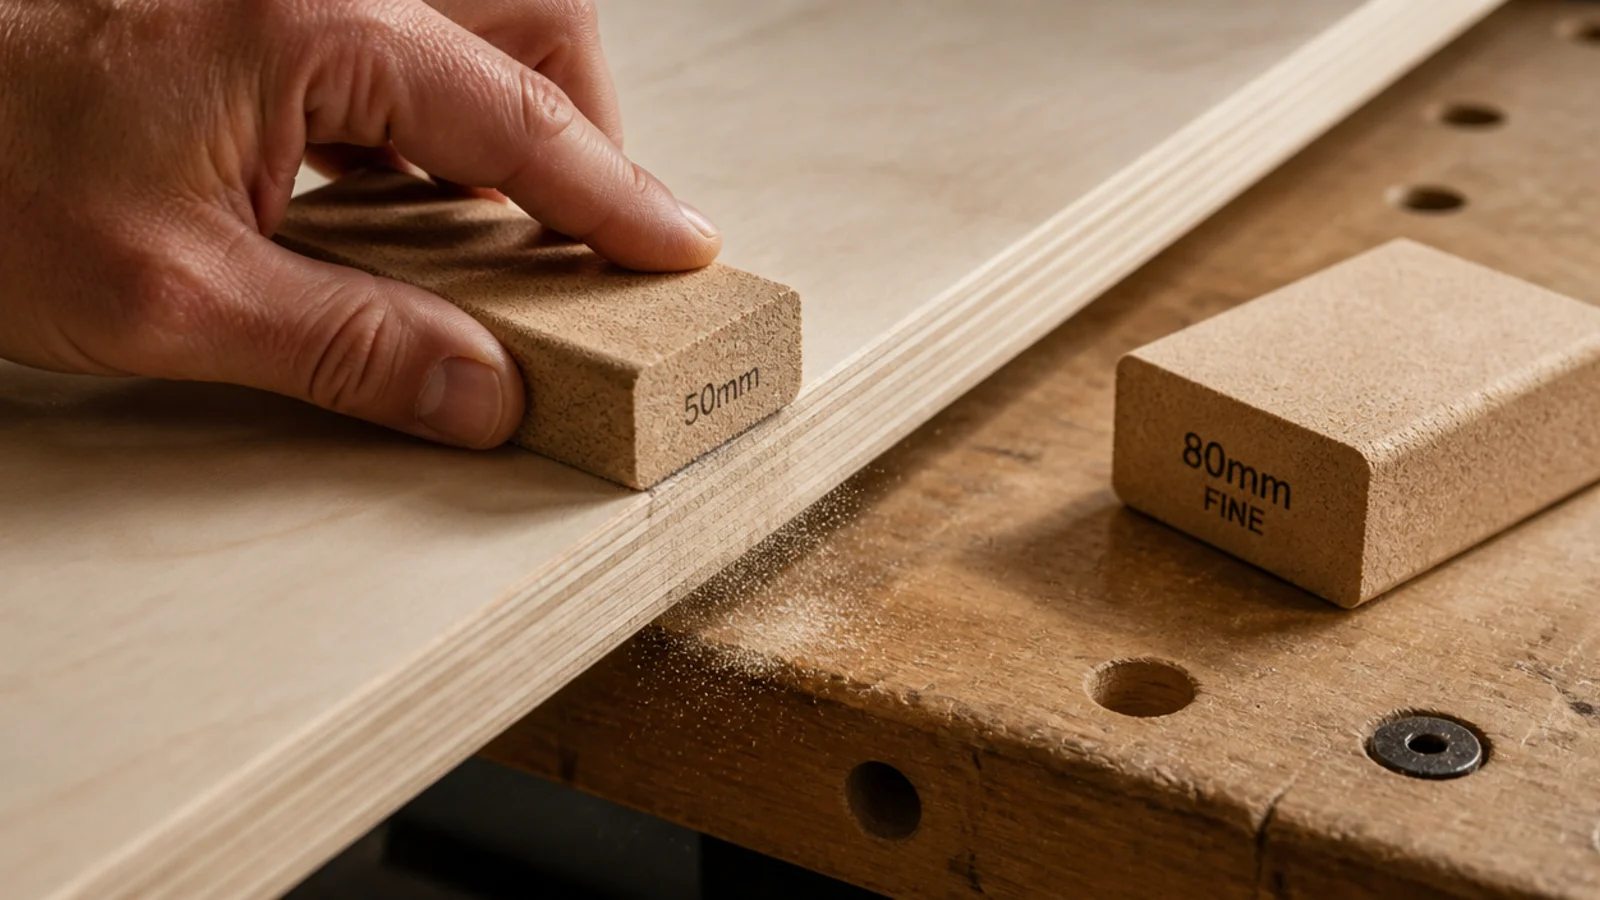
Sand all edges and inside faces now, at 120 then 180 grit. Once the carcass is glued up you cannot reach inside a cubby properly, and rough ply edges snag socks and shoe linings.
Break every sharp arris with a few passes of 180. This is a piece of furniture people reach into daily with bare hands.
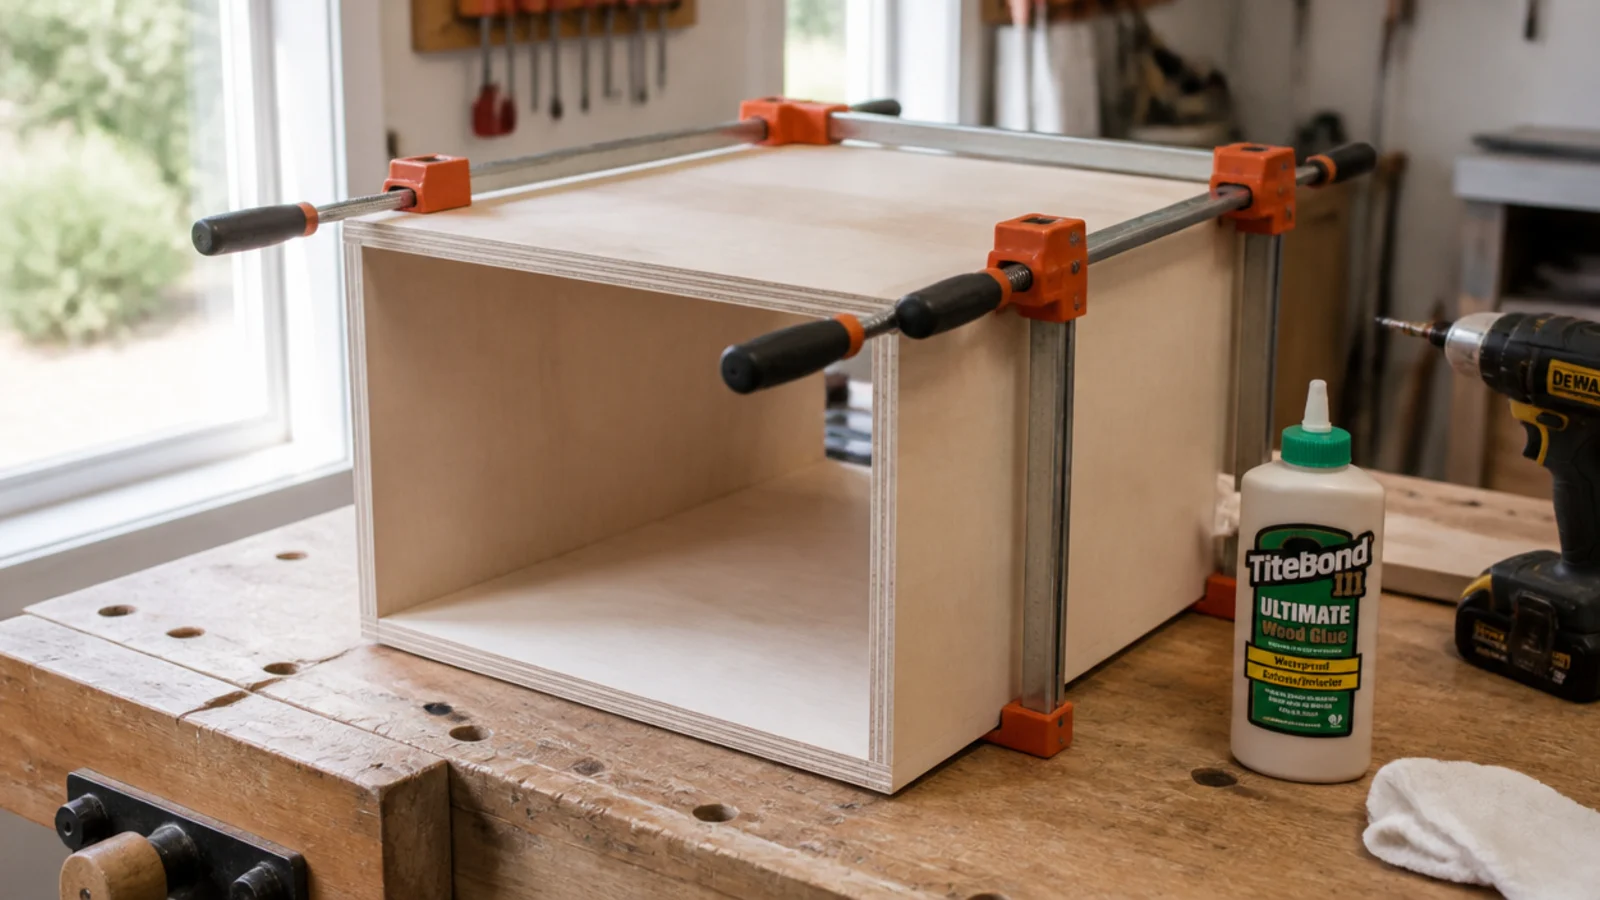
Step 11: Assemble the outer carcass
Glue and clamp first, screws second. Wood glue is stronger than the plywood itself; the screws only hold everything still while it cures.
Wipe squeeze-out immediately with a damp cloth — dried glue rejects paint and shows as a pale patch forever. Check for square as you clamp, not after.
Step 12: Fit the dividers and shelf
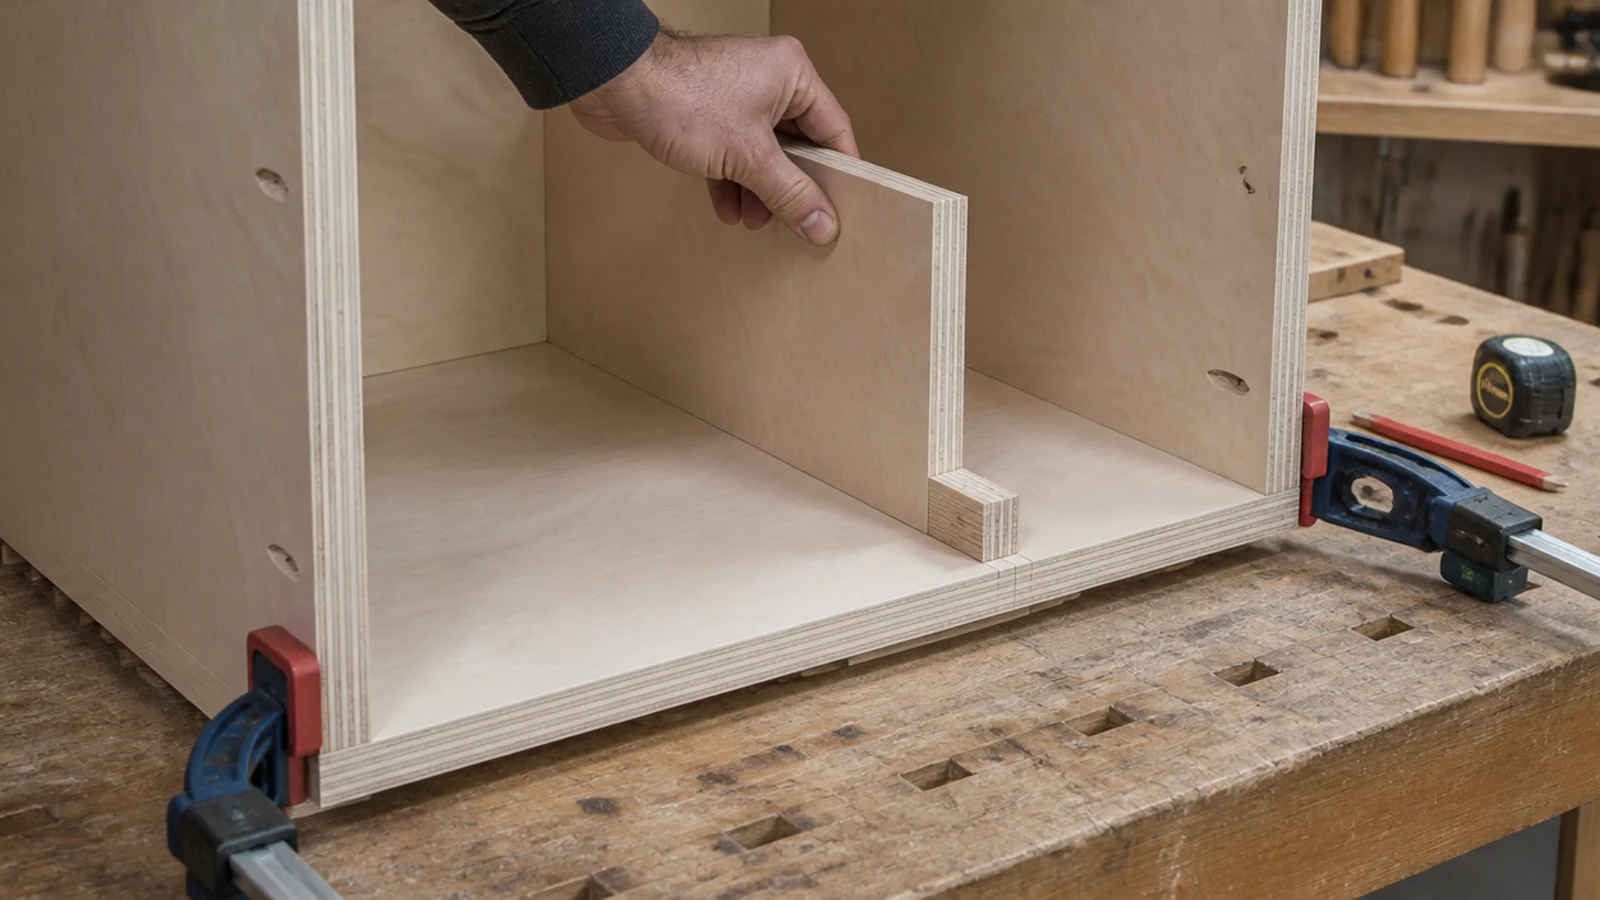
Cut a spacer block to your cubby width and use it to position every divider. Marking each one with a tape measure introduces small errors that compound across six cubbies.
Glue and screw through the top and bottom panels into the divider edges. Pilot-drill first — plywood splits along its laminations if you drive screws into a raw edge cold.
Step 13: Check it is square before the back goes on
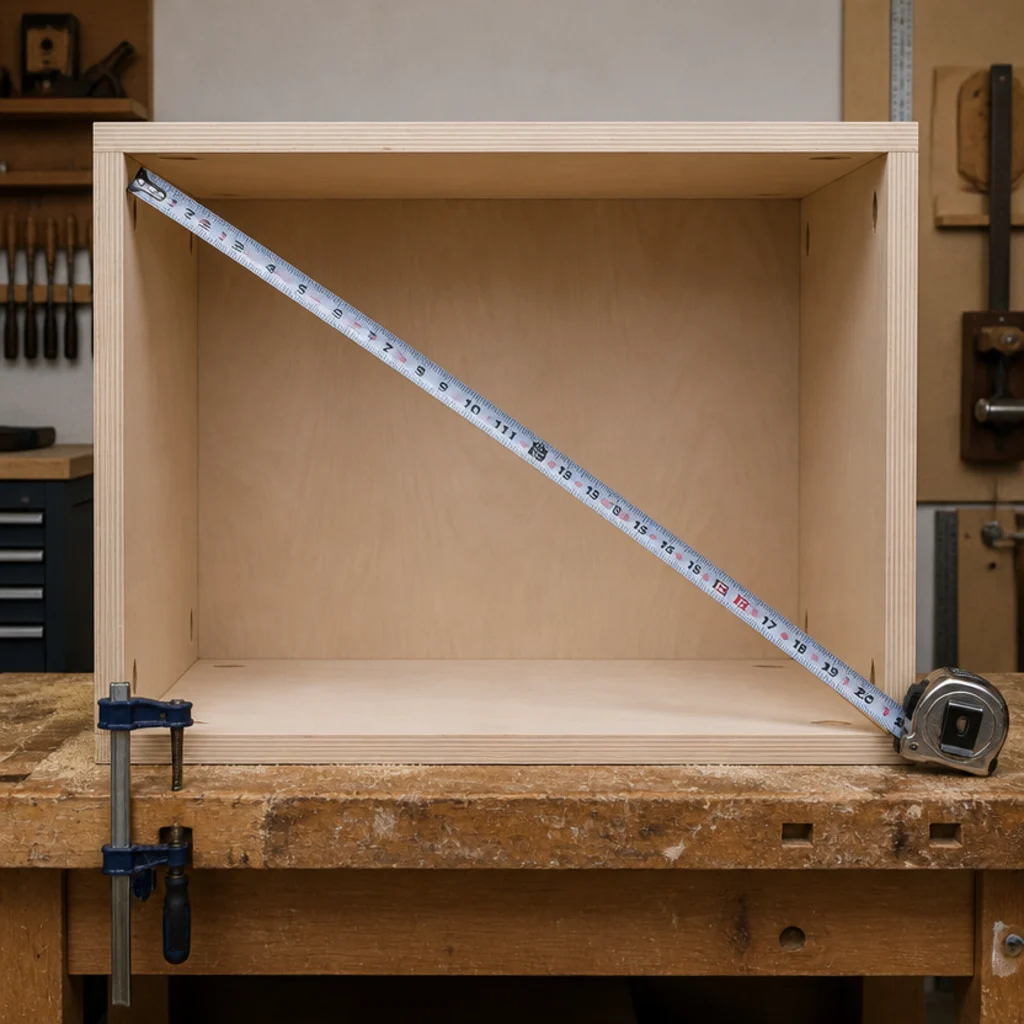
Measure both diagonals across the carcass. If they match, it is square. If they differ, push the longer diagonal gently until they agree and clamp it there.
This is the last moment you can fix it. Once the back panel is on, the unit is permanently whatever shape it currently is.
Step 14: Fit the back panel
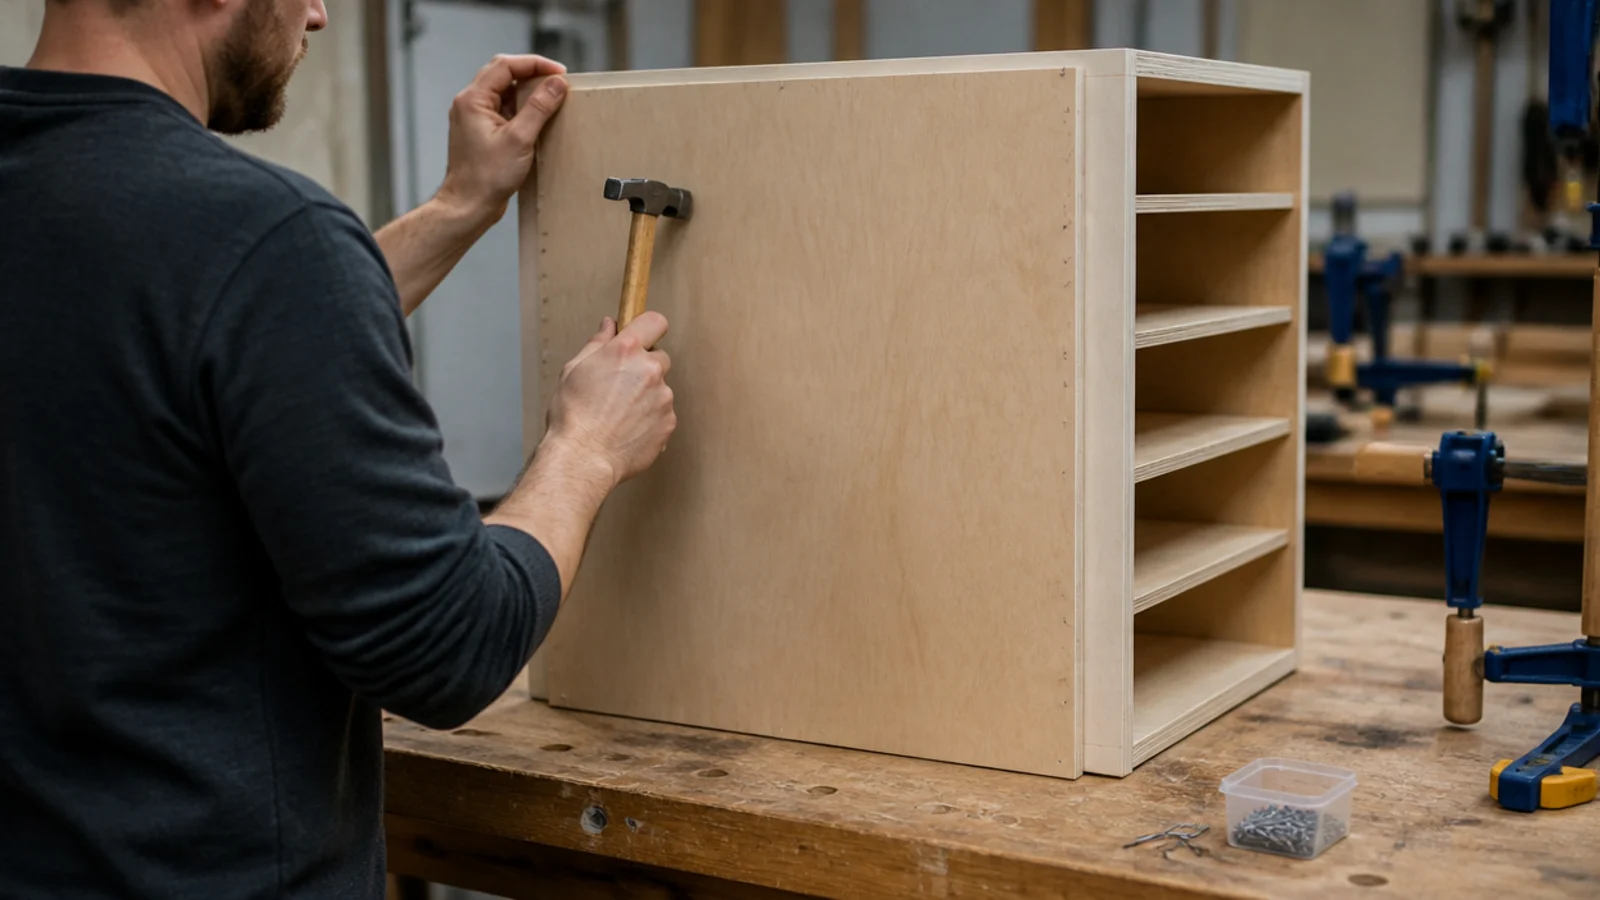
Quarter-inch ply, glued and pinned all around. The back panel is not there to hide the wall — it is the thing that stops the whole carcass racking sideways when someone sits down heavily.
Cut it very slightly oversize and trim flush after fitting. A back panel cut short leaves a gap that undermines the whole structure.
Step 15: Scribe it to the baseboard
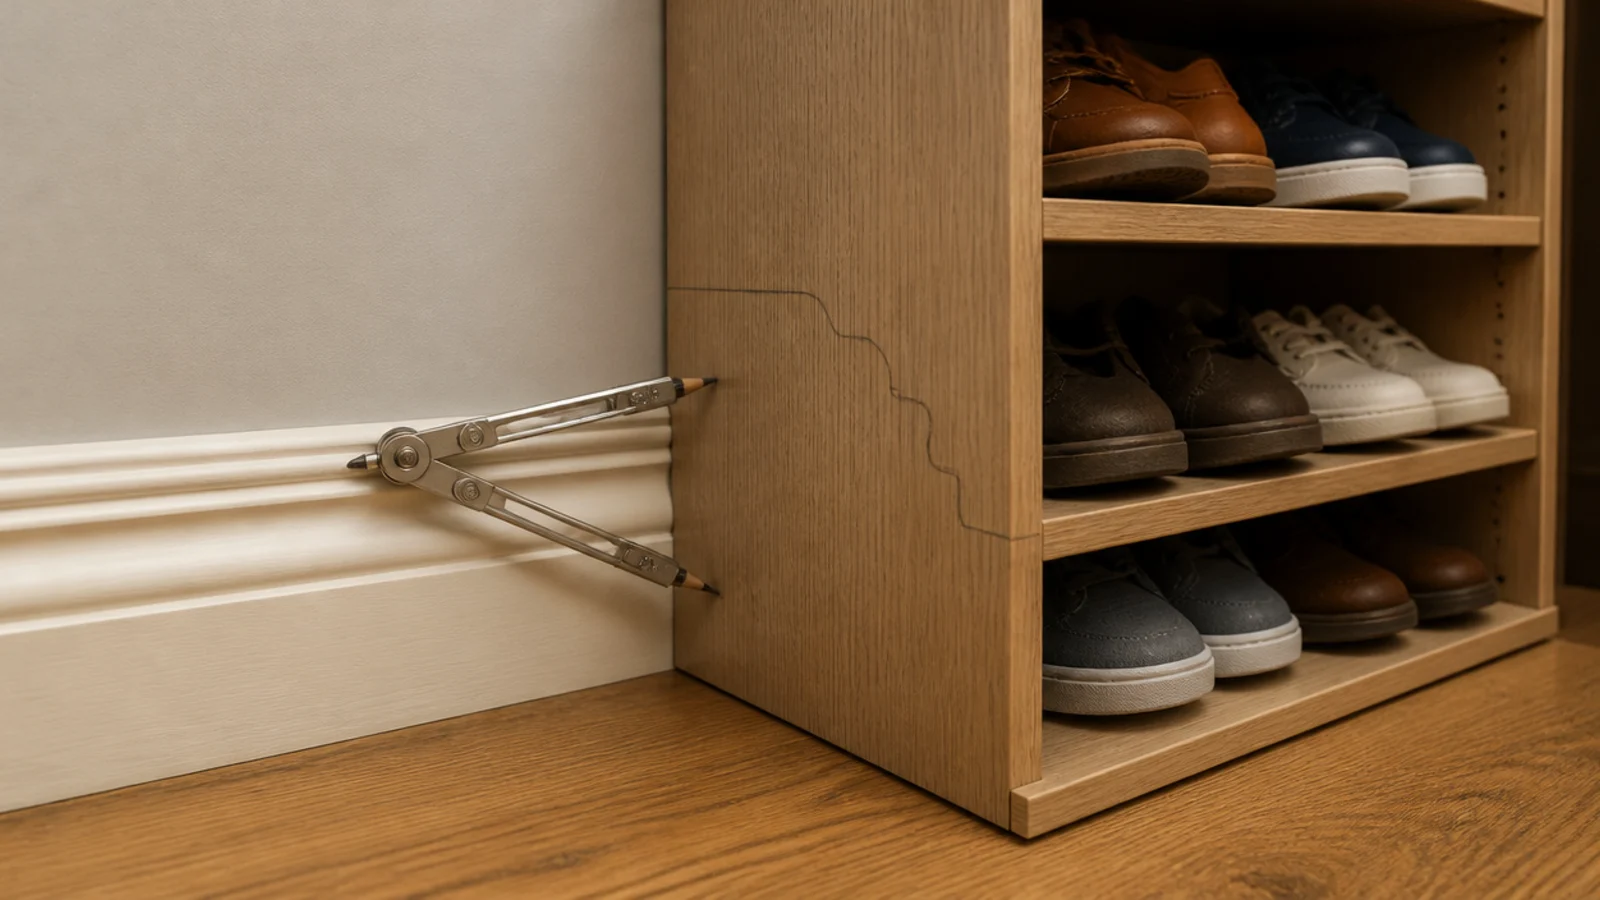
Stand the unit against the wall and you will find the baseboard holds it out by half an inch or more. Do not cut the baseboard off.
Run a compass scribe along the baseboard profile, transferring the shape onto the side panel in pencil, then cut to that line. The unit then sits tight to the wall and looks built in rather than pushed against.
Step 16: Fix it to the wall studs
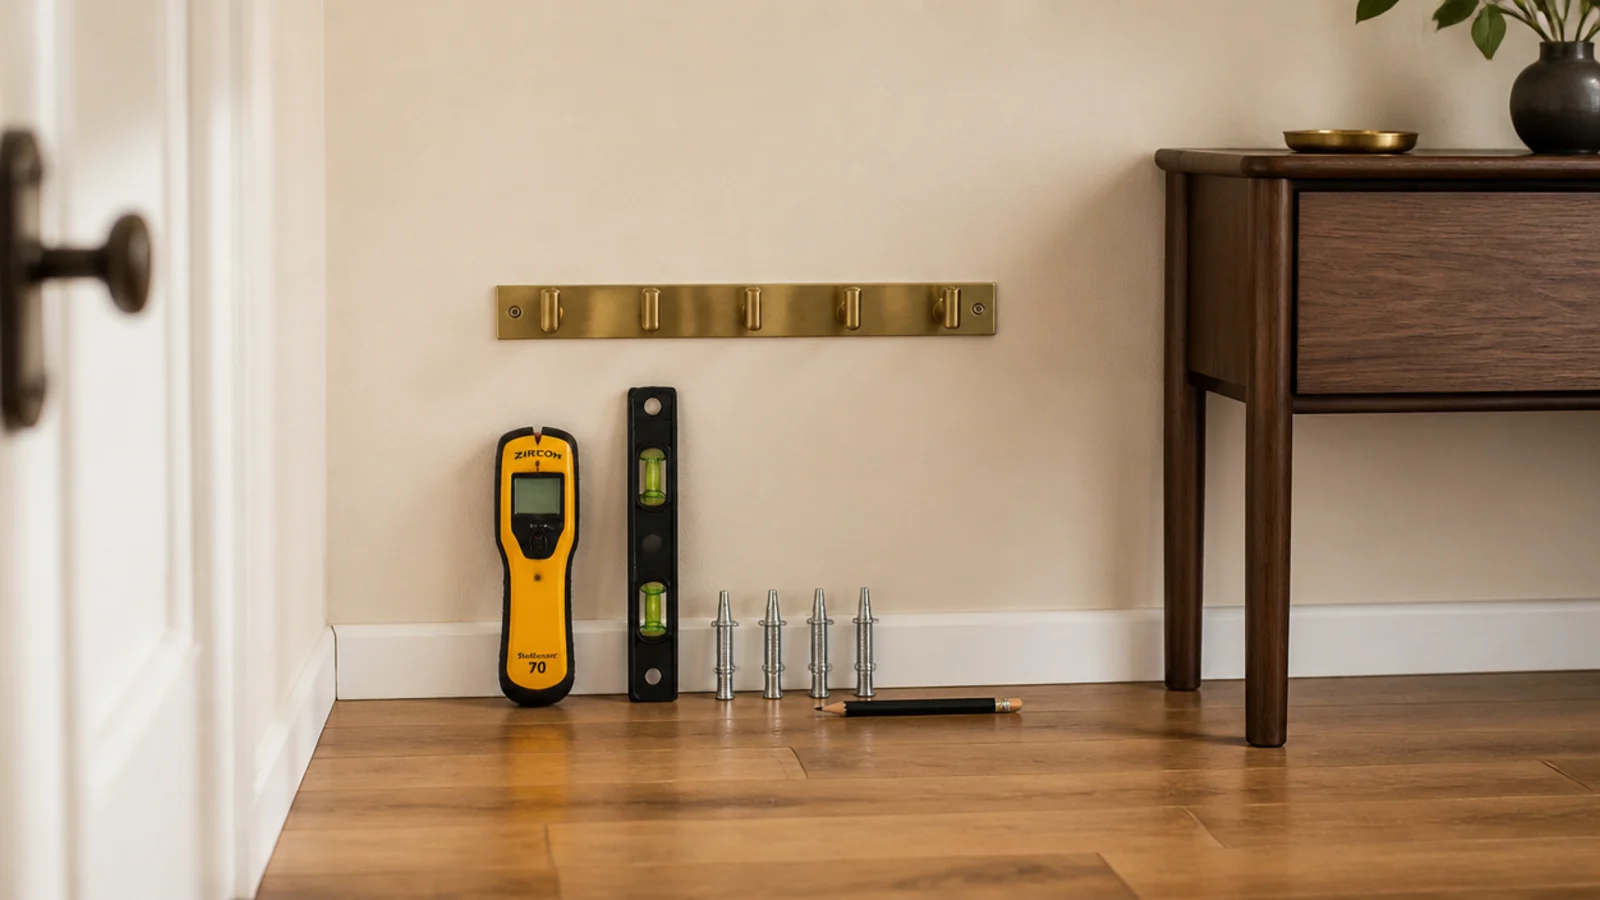
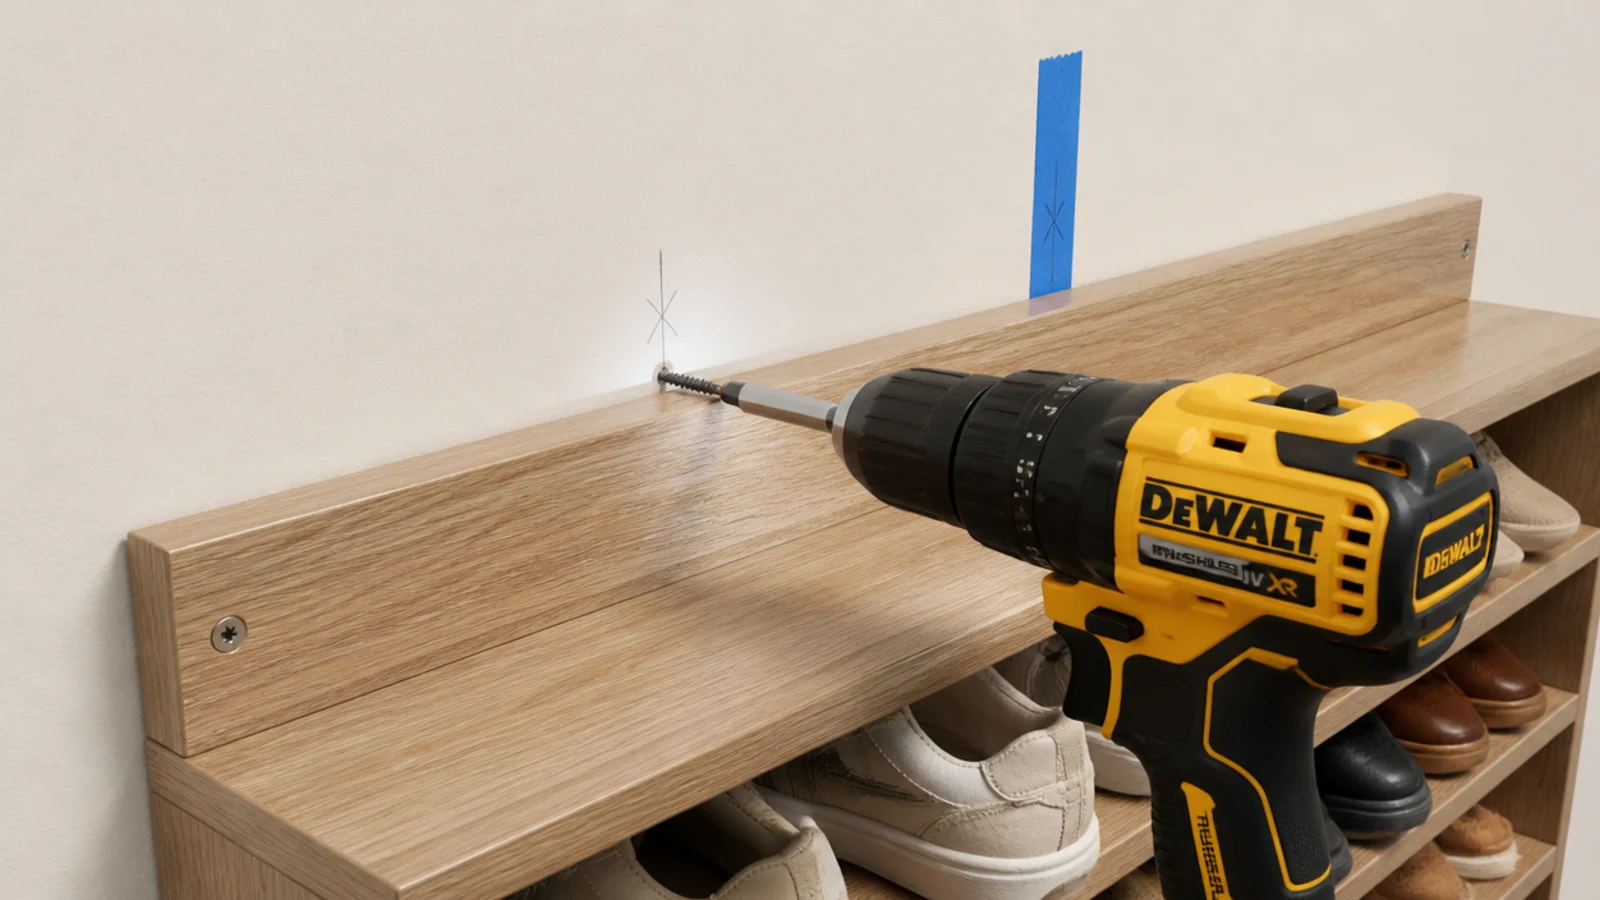
At least two screws through the back rail into studs. Shoe benches get sat on hard, stood on by children reaching hooks above, and pulled on by anyone tugging a boot off.
Find the studs with a stud finder and mark with painters tape. Two and a half inch screws with washers, snug rather than crushed.
Step 17: Fill, prime and paint
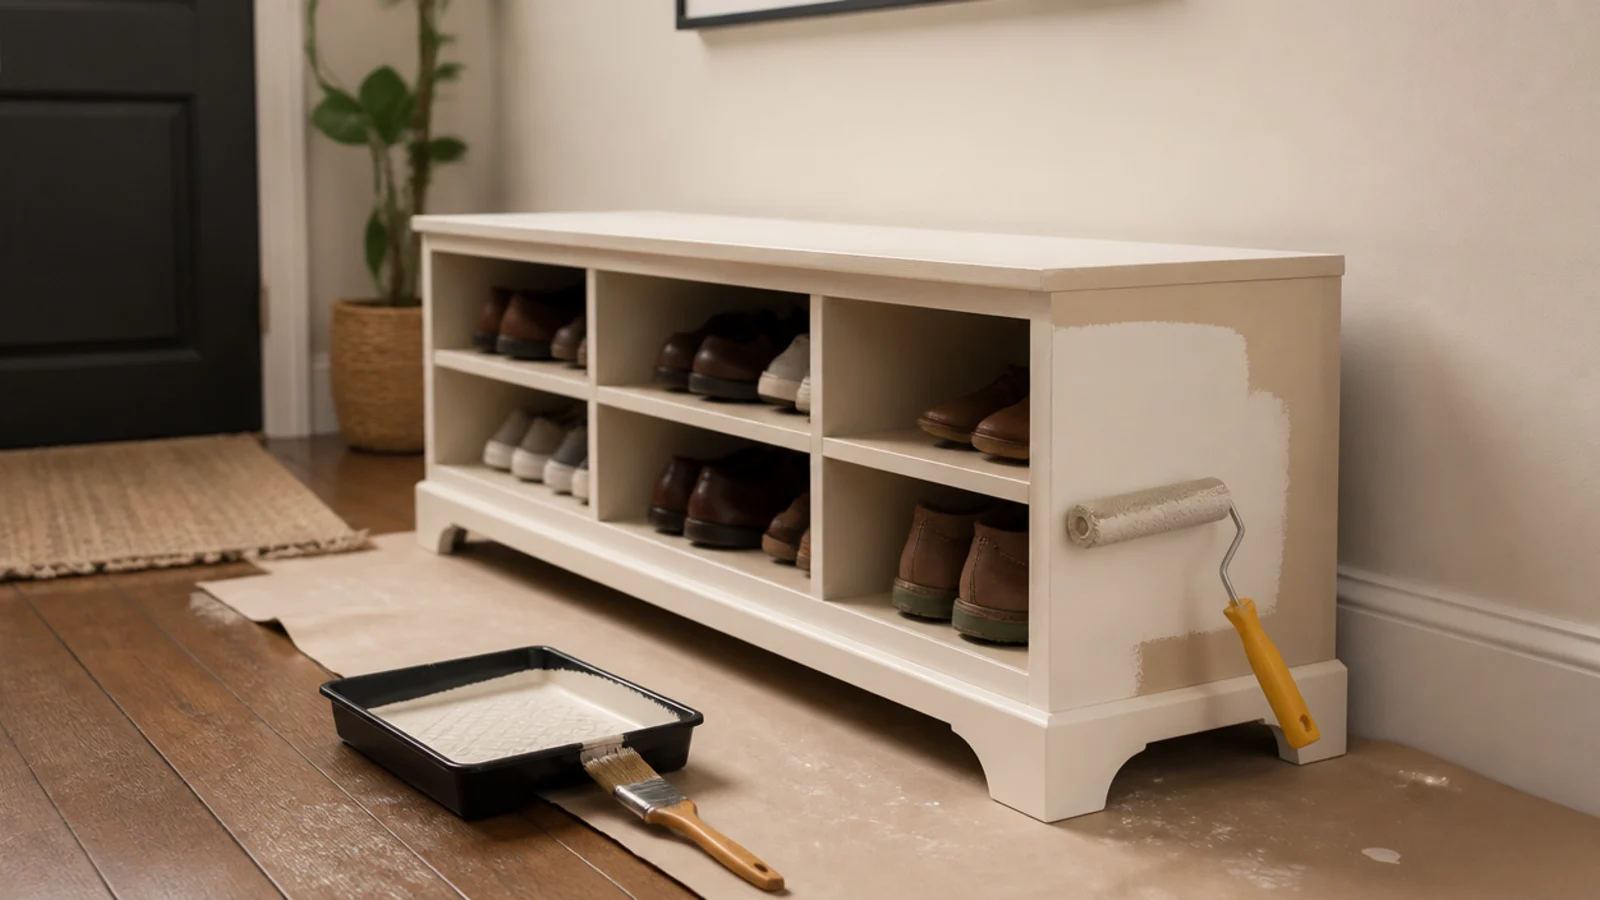
Fill every screw hole and any ply voids on the front edges, sand flush, then prime. Plywood edges drink the first coat — prime them twice or the finish looks patchy exactly where the eye goes.
Satin or eggshell, never matte. This surface gets scuffed by shoes daily and matte paint marks permanently where satin wipes clean.
Step 18: Seal the seat and the bottom cubbies
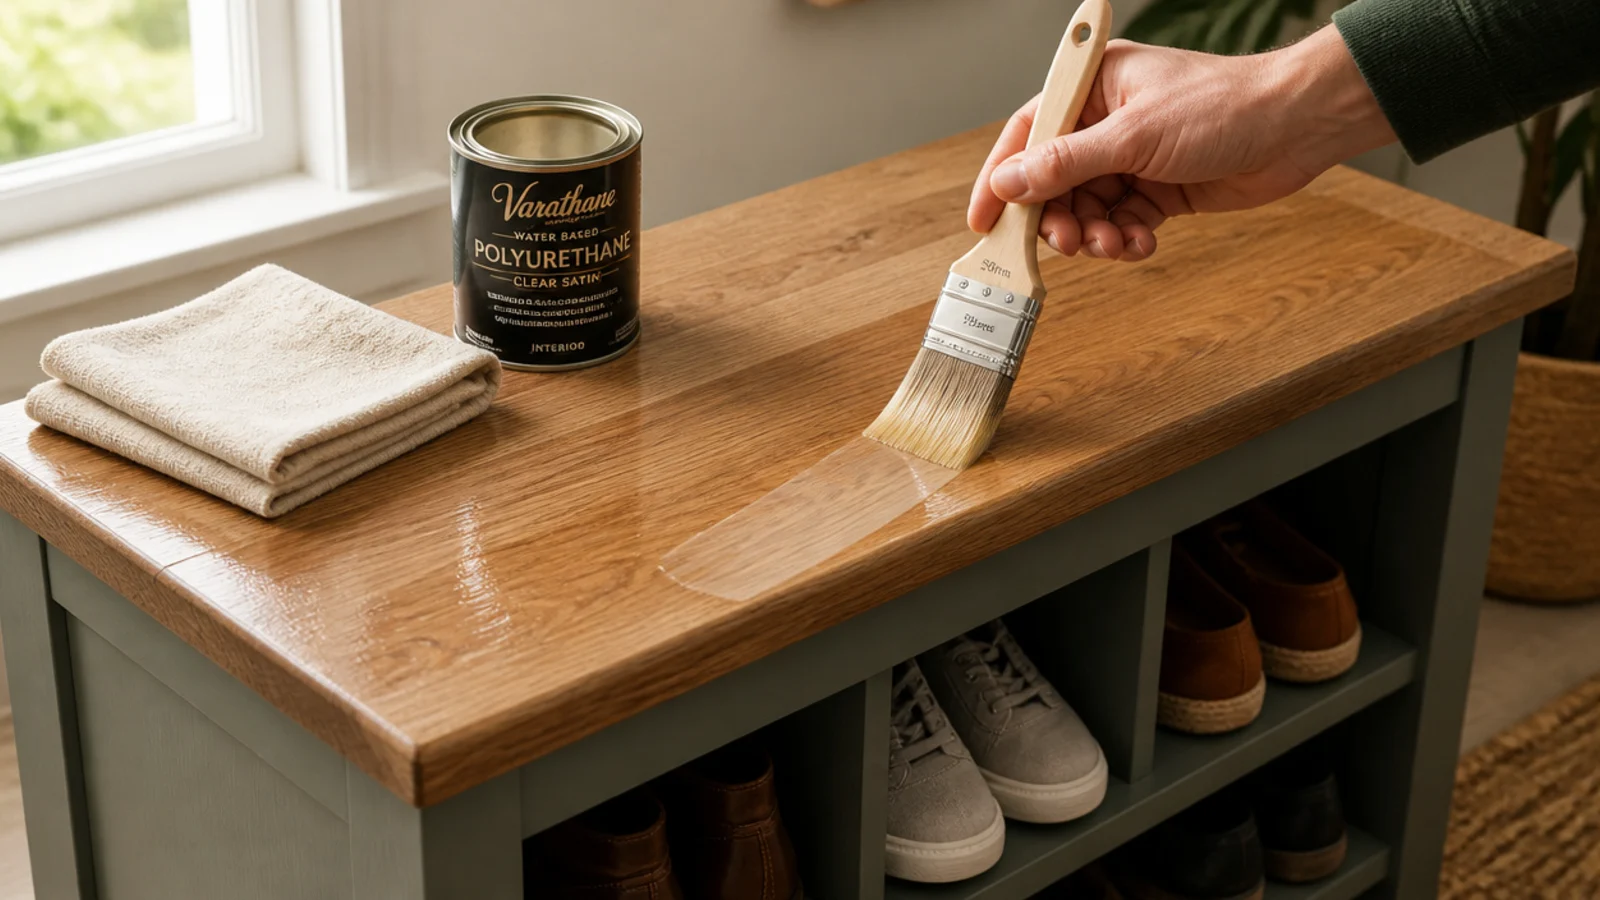
Three coats of water-based polyurethane on the seat top and inside the lowest row of cubbies, where wet shoes and dripping coats land.
Sand very lightly with 320 between coats and wipe the dust off. This is the difference between a unit that still looks good in five years and one that shows a permanent damp shadow by the second winter.
Step 19: Add the cushion and baskets
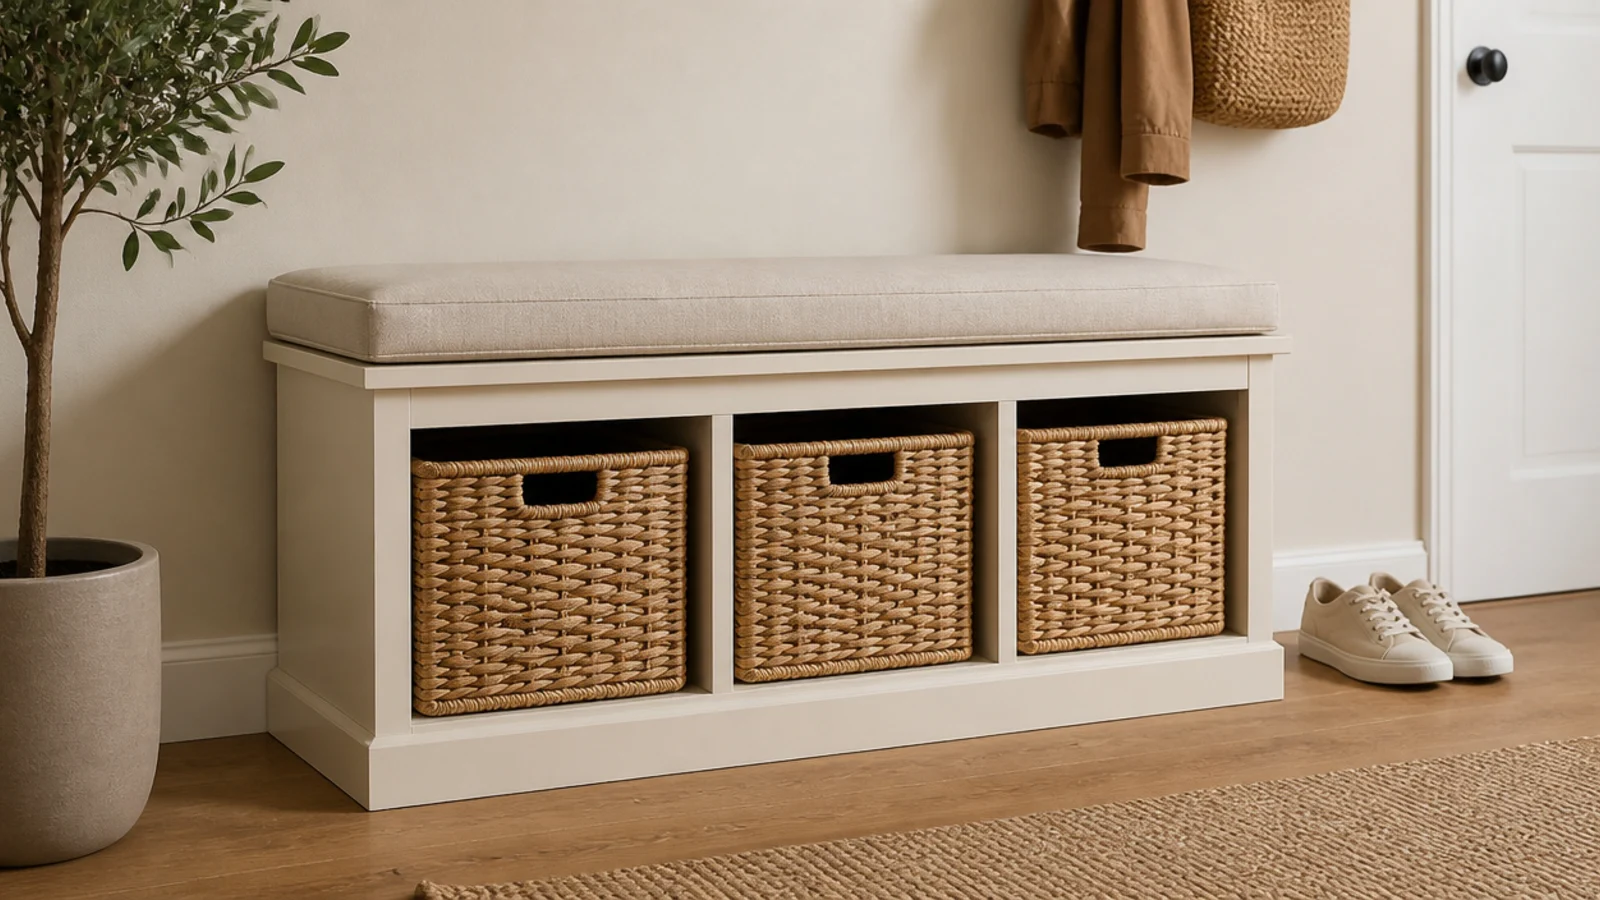
A two-inch foam cushion in a washable linen cover, and one basket per person sized to the cubby opening with about half an inch of clearance each side.
Baskets that fit tightly get yanked out and torn. Baskets that swim around in the opening look untidy. Measure the opening, then buy. There is more on this setup in entryway shoe storage ideas.
Step 20: Add hooks above and a tray below
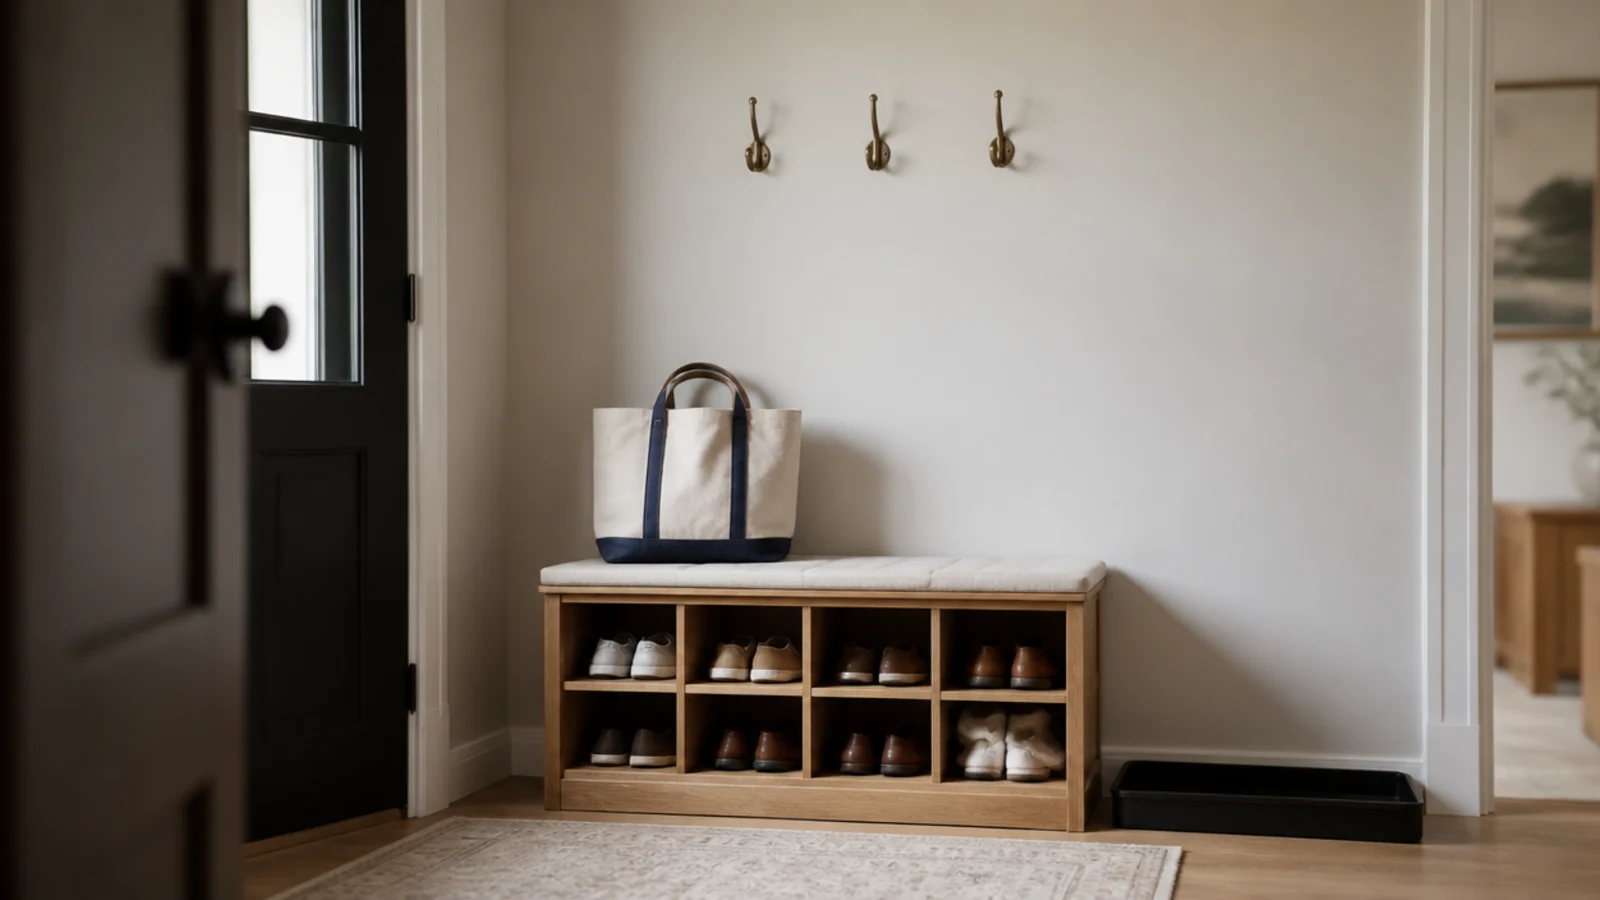
Hooks at 52 inches for adults, plus a lower rail at 40 inches if there are children. A boot tray on the floor beside the unit, at least 15 inches deep, for the wet pairs.
Wet boots inside a cubby stay wet and transfer moisture to everything next to them. Giving them a designated drip zone outside the unit is what keeps the whole build dry.
Pro Styling Rules
Mistakes to Skip
- Building cubbies 12 inches deep. A men's size 12 sneaker is 12.5 inches long, so every toe sticks out and the row never looks tidy.
- Measuring bench height to the plywood rather than to the finished cushion. Two inches of foam is the difference between comfortable and slightly too tall.
- Skipping the wall fixing because the unit feels heavy enough. Benches get stood on by children reaching for hooks, and heavy is not the same as stable.
Frequently asked questions
What size should DIY shoe cubbies be?
Thirteen inches deep, 12 inches wide and 8 inches high handles sneakers and flats one pair per cubby. Add two taller openings at 16 inches for ankle boots and one at 20 inches if anyone owns knee-high boots. Depth is the number people get wrong — a men's size 12 sneaker is about 12.5 inches long.
How tall should a DIY shoe bench be?
Eighteen inches from the floor to the top of the finished seat, including any cushion. That is the height most adults can stand up from easily and most children can climb onto. Sixteen inches feels low to stand from and 20 leaves shorter legs dangling, which is when children stop using it.
What material should I use for a DIY shoe storage bench?
Three-quarter-inch birch plywood for the carcass and solid poplar for any visible edging. Plywood is stronger across a span than pine, does not warp, and the layered edge disappears under edge banding or a solid lip. Avoid MDF anywhere near a door — it swells permanently the first time wet boots sit on it.
How do I stop DIY shoe storage from getting wet and warped?
Seal every face including the underside and the inside of the bottom cubbies, then use a removable tray in the lowest row for wet shoes. Water-based polyurethane, three coats, is the practical finish. The failure point is always an unsealed underside or a raw cut edge, because that is where moisture gets in first.
How long does a DIY shoe storage build take?
One weekend for most people. Cutting and assembly is four to six hours on the first day, then paint or finish needs overnight to cure. Fitting it to the wall, scribing to the baseboard and adding the seat takes two to three hours on the second day.
Do I need to attach a shoe bench to the wall?
Yes, with at least two screws into studs. Shoe benches get sat on hard, stood on by children reaching hooks above, and pulled on by anyone tugging a boot off. An unattached unit will eventually tip forward, and it is the same one screw per side that stops it.
Build the cubbies to your own shoes rather than to a plan you found, and the rest of this is straightforward joinery. For ready-made options instead of a build, see entryway shoe storage ideas; for a seat-first design see shoe storage benches; and if this is part of a bigger entry project, DIY entryway decor covers the wall above it. Save the pin for the lumber aisle.
Want more like this? Browse all 15 shoe storage ideas guides — they all use the same measurements and budget tiers.
Pin it for later
Save this to your Shoe Storage Ideas board
Pin it now so it is waiting for you when the tape measure comes out — and so the next person hunting for this idea can find it too.
Save this pinKeep going
More ideas worth saving while you have the tape measure out.