Living Room Built-In Shelves · Listicle
20 Creative Living Room Built-Ins Ideas Anyone Can Do

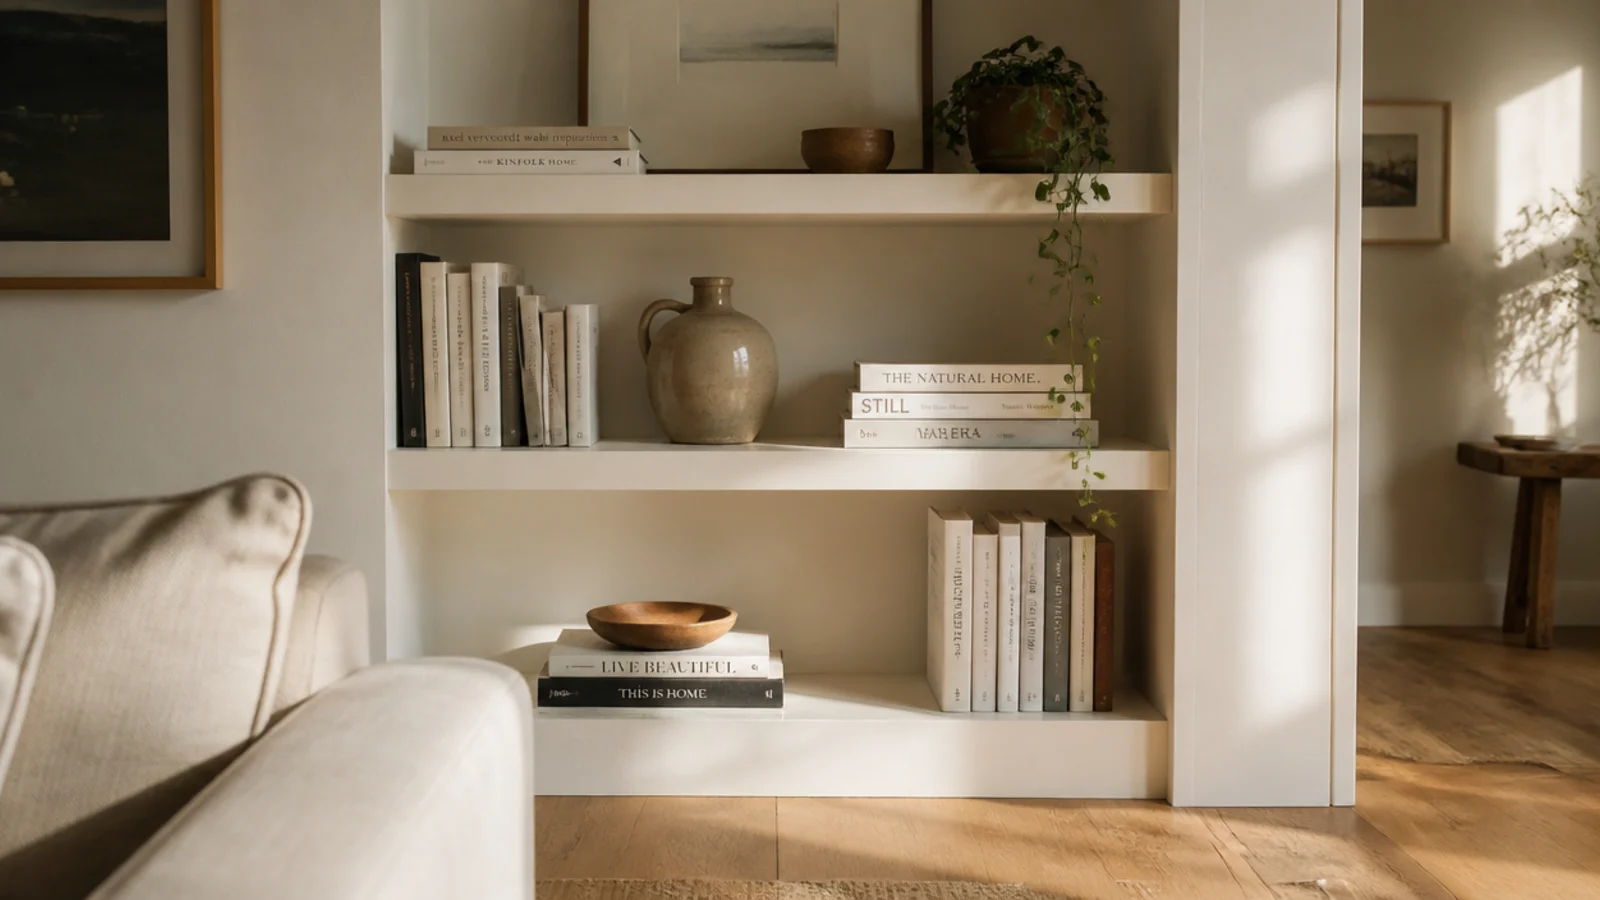
Budget built in shelves come down to one decision: where you spend the money. Four hundred dollars buys either mediocre cabinet-grade plywood for a wall you never finish, or stock boards, good trim and paint for an alcove that looks like it came with the house. I have built it both ways. The second one wins every time, and these twenty steps are how it goes together.
In this guide22 sections — tap to openHide
- 1.What budget built-in shelves actually cost to build
- 2.Cleats and boards with no carcass at all
- 3.Stock 1x12 pine instead of cabinet plywood
- 4.Flat-pack cases as the box, trim as the budget
- 5.Let the store rip the plywood
- 6.A poplar face frame instead of hardwood
- 7.Build one alcove, not a whole wall
- 8.Thrifted bookcases unified by paint
- 9.Shelf standards instead of drilled pin holes
- 10.A plywood back panel that stiffens everything
- 11.Pre-primed MDF trim
- 12.A flat 1x3 header instead of crown moulding
- 13.A curtain instead of cabinet doors
- 14.Peel-and-stick shaker trim on flat doors
- 15.Battery puck lights under the shelves
- 16.A worktop offcut as the counter
- 17.Filler and caulk, the eight-dollar finish
- 18.Reclaimed boards for the open shelves
- 19.Half height instead of full height
- 20.Wrap the room baseboard, skip the toe kick
- 21.Build it in phases and live with each one
- 22.Mistakes to Skip
What budget built-in shelves actually cost to build
Materials for a single trimmed alcove run $120 to $220 ($). A flanking pair built on flat-pack cases runs $250 to $450 ($$). A full wall with doors below and a proper painted finish runs $600 to $900 ($$$). Quoted joinery for that same wall starts near $3,000, which is where the real saving sits.
The numbers that decide whether it works are the same at every tier. Shelf depth of 11 to 12 inches holds books cleanly; 14 to 16 inches is what baskets and media need. Leave 11 to 13 inches of clear height between shelves for hardbacks.
Three-quarter-inch plywood sags past a 32-inch span once it is loaded, and stock pine does the same, so every long shelf gets a 1x2 front lip or a mid support.
Finally, paint the whole thing the wall or trim color. A cheap unit in a matching color reads as architecture; an expensive unit in the wrong color reads as furniture. That decision costs nothing and does more than any material upgrade on this list.
1. Cleats and boards with no carcass at all
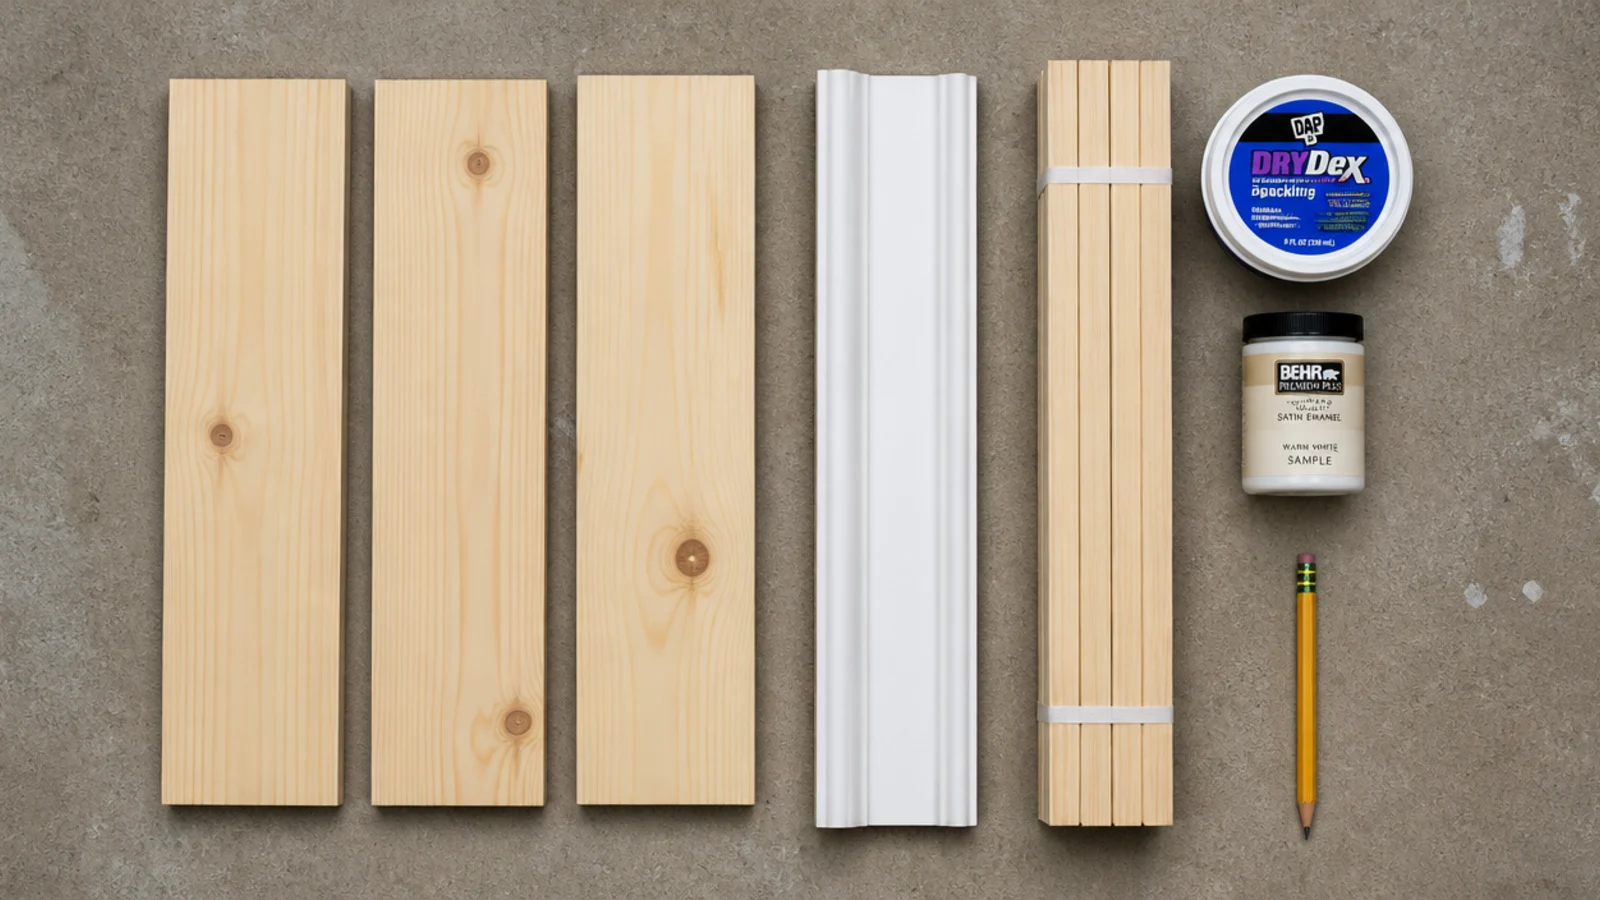
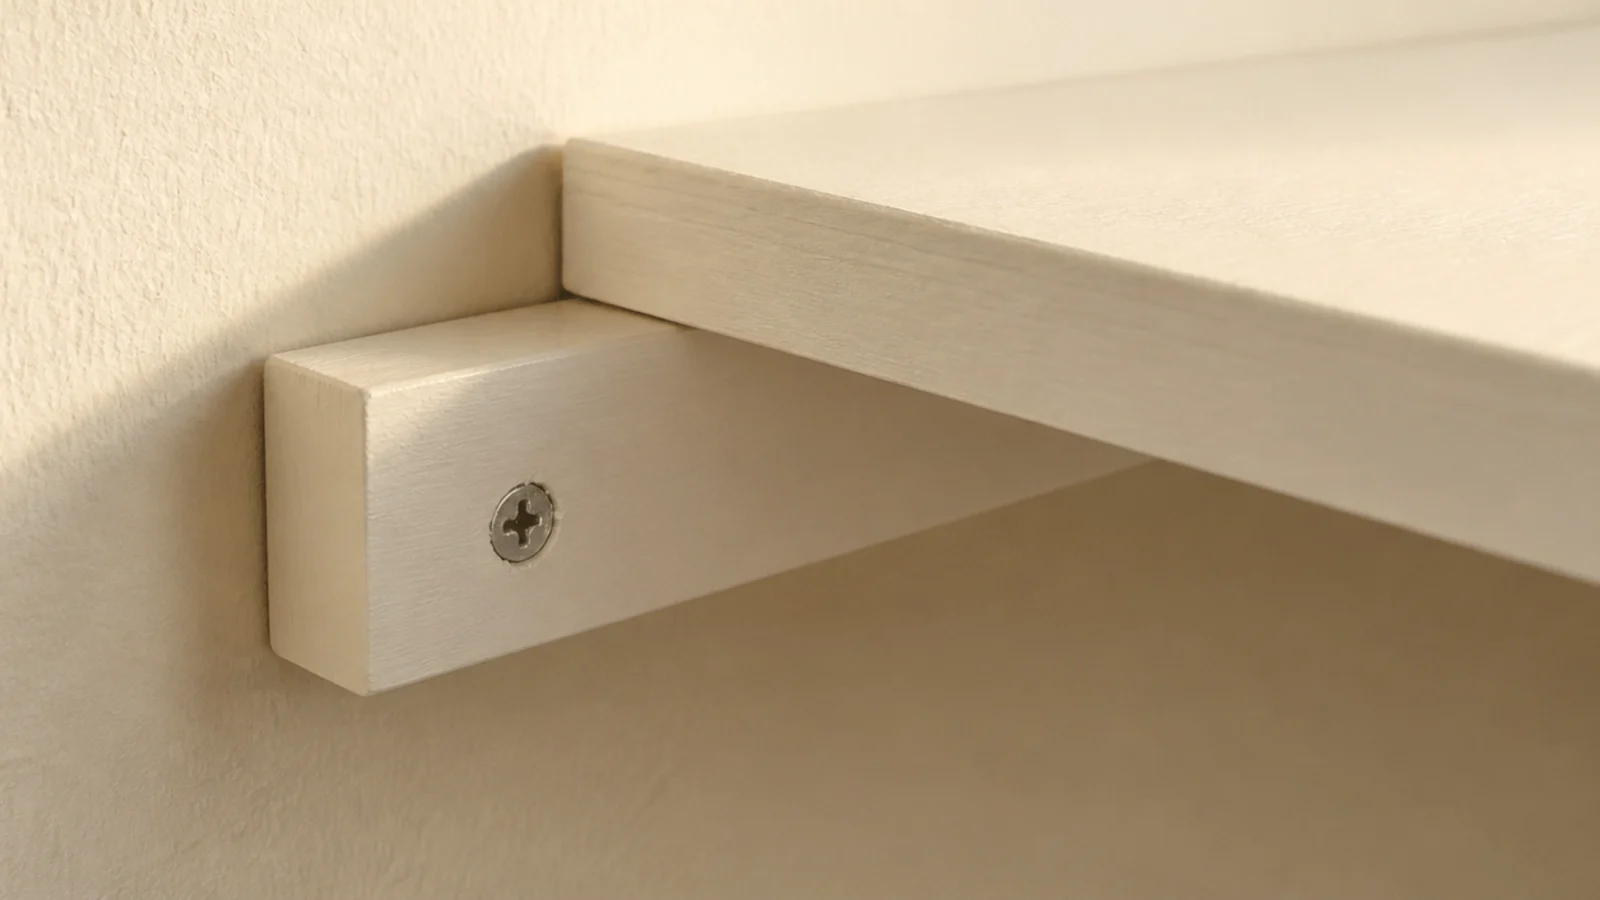
In an alcove, you do not need sides or a back. Two 1x2 cleats screwed into the side walls carry a shelf board perfectly well.
Level each pair of cleats to each other, not to the floor, and screw into studs where you can find them. A 1x12 shelf on cleats costs about twelve dollars a shelf and carries a full row of books once the span stays under 32 inches.
The trade is that the heights are permanent, so set them around your actual books first.
2. Stock 1x12 pine instead of cabinet plywood
Pine comes off the rack at 11.25 inches wide, which is almost exactly the depth you want for books. No ripping, no panel saw, no edge banding.
Sort through the stack and reject anything cupped or twisted — hold each board at eye level down its length. Knots are fine under paint if you seal them with shellac primer first, otherwise they bleed through white in about a month.
Budget roughly $18 to $26 for an eight-foot board.
3. Flat-pack cases as the box, trim as the budget
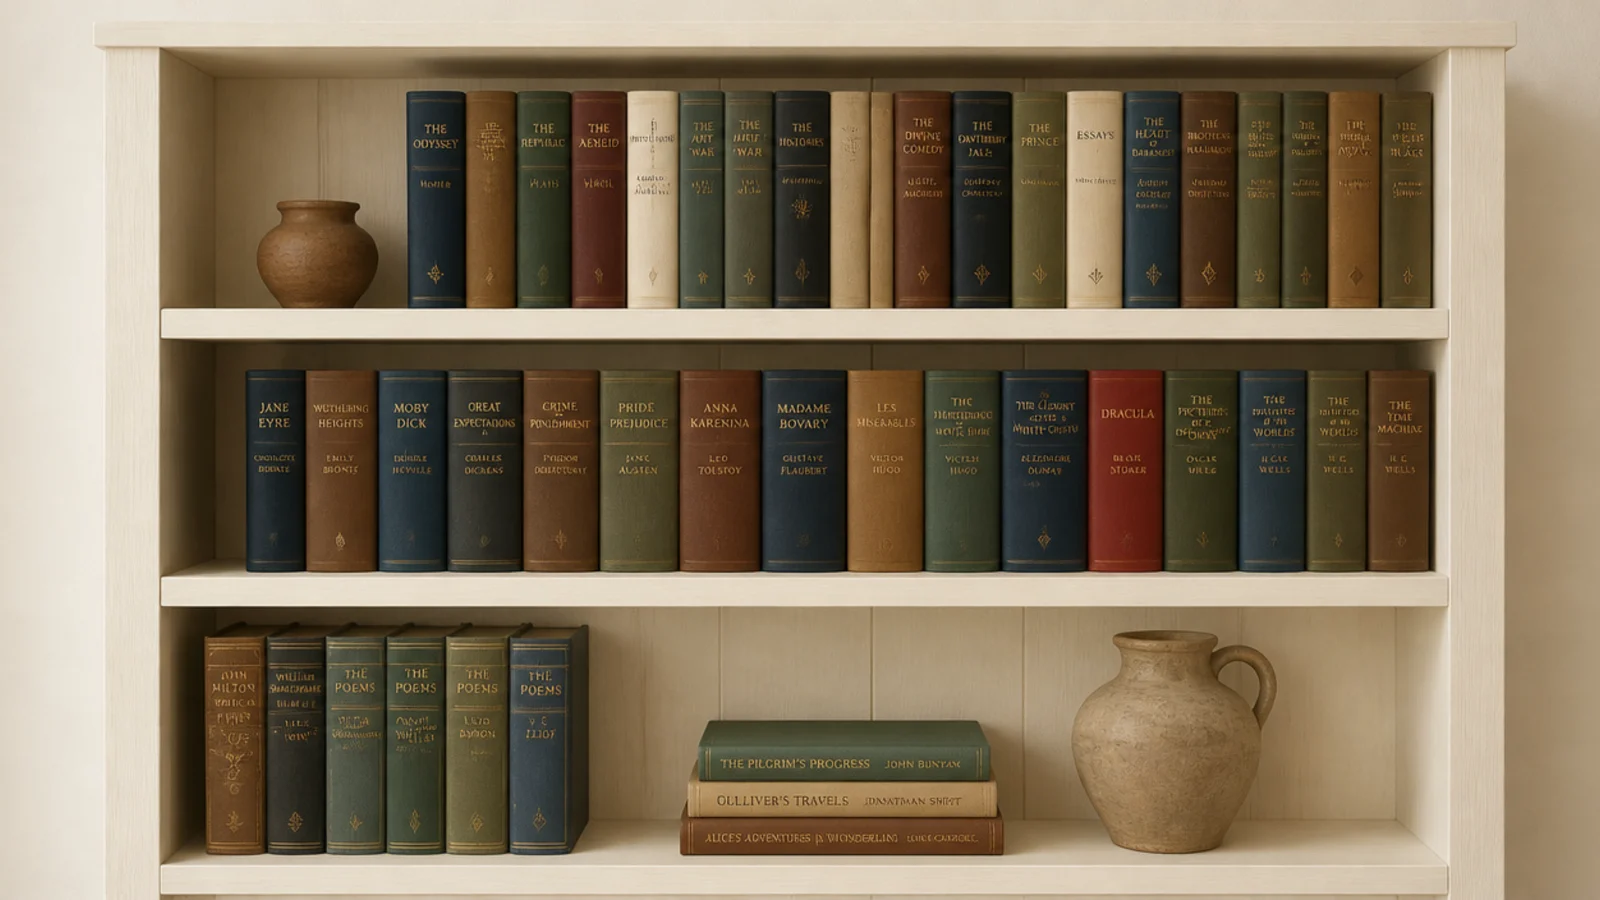
If you want sides, doors and adjustable pins without building a carcass, buy the cheapest solid flat-pack case you can find and spend the difference on trim.
A $90 bookcase plus $60 of baseboard, face frame and cove reads better than a $250 bookcase alone. The expensive parts of joinery are the visible edges and the joins with the room, and trim is exactly what covers those.
Check that shelves are at least three-quarters of an inch thick before you buy.
4. Let the store rip the plywood
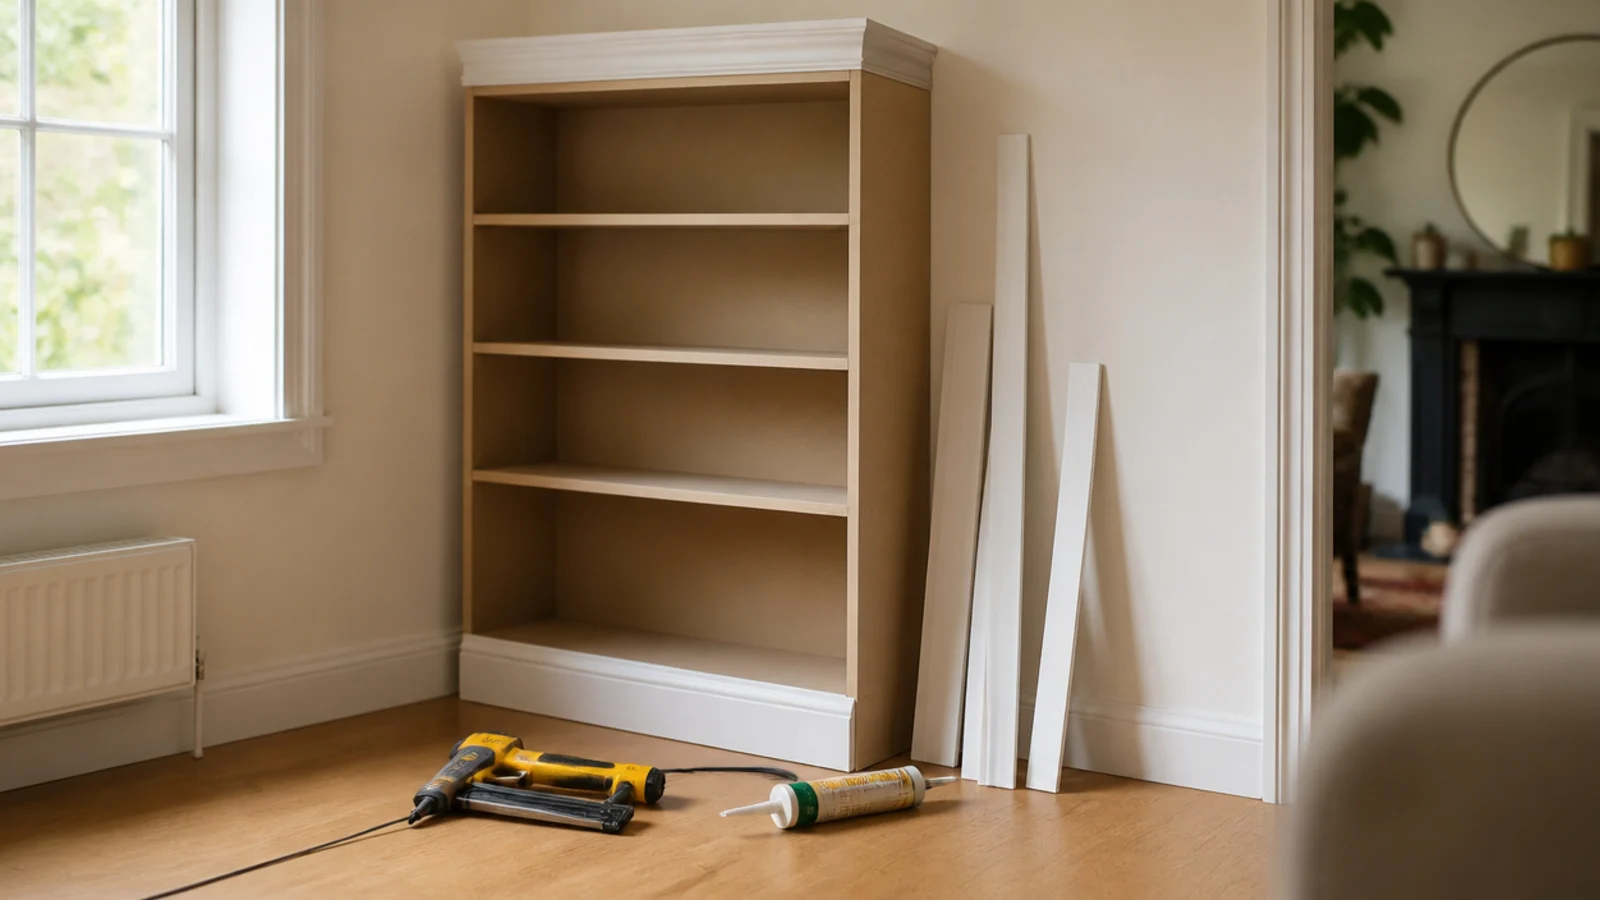
Every home center will cut sheet goods, usually free for the first few cuts. Their panel saw is straighter than most cuts you will make at home with a circular saw and a straightedge.
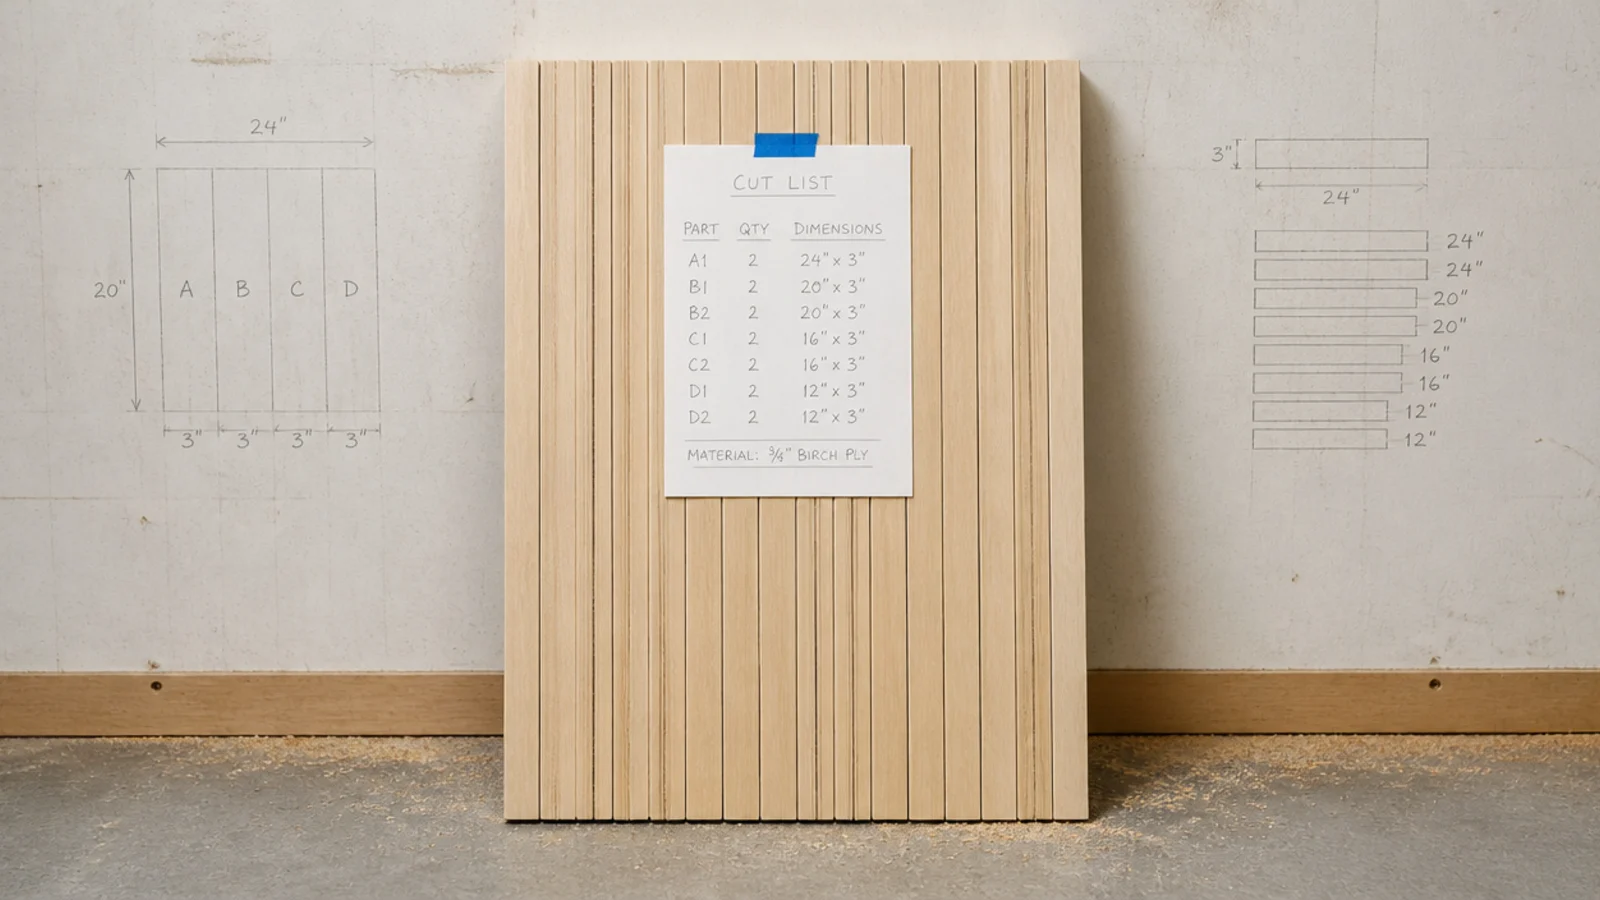
Bring a cut list with the finished sizes and add an eighth of an inch to each piece for the blade. Ask for the good face up. Then have them cut the leftover strip into 2-inch widths for your face frame while you are there.
5. A poplar face frame instead of hardwood
Face frame stock in oak or maple costs about double what poplar does, and once it is painted white nobody can tell them apart.
Poplar takes paint beautifully because the grain is tight and even. Use 1x2 for the shelf fronts and 1x3 for the vertical stiles at each side, glued and pinned. Fill the nail holes, sand at 180 grit, and the frame reads as a solid piece of joinery.
About $25 for a five-foot run.
6. Build one alcove, not a whole wall
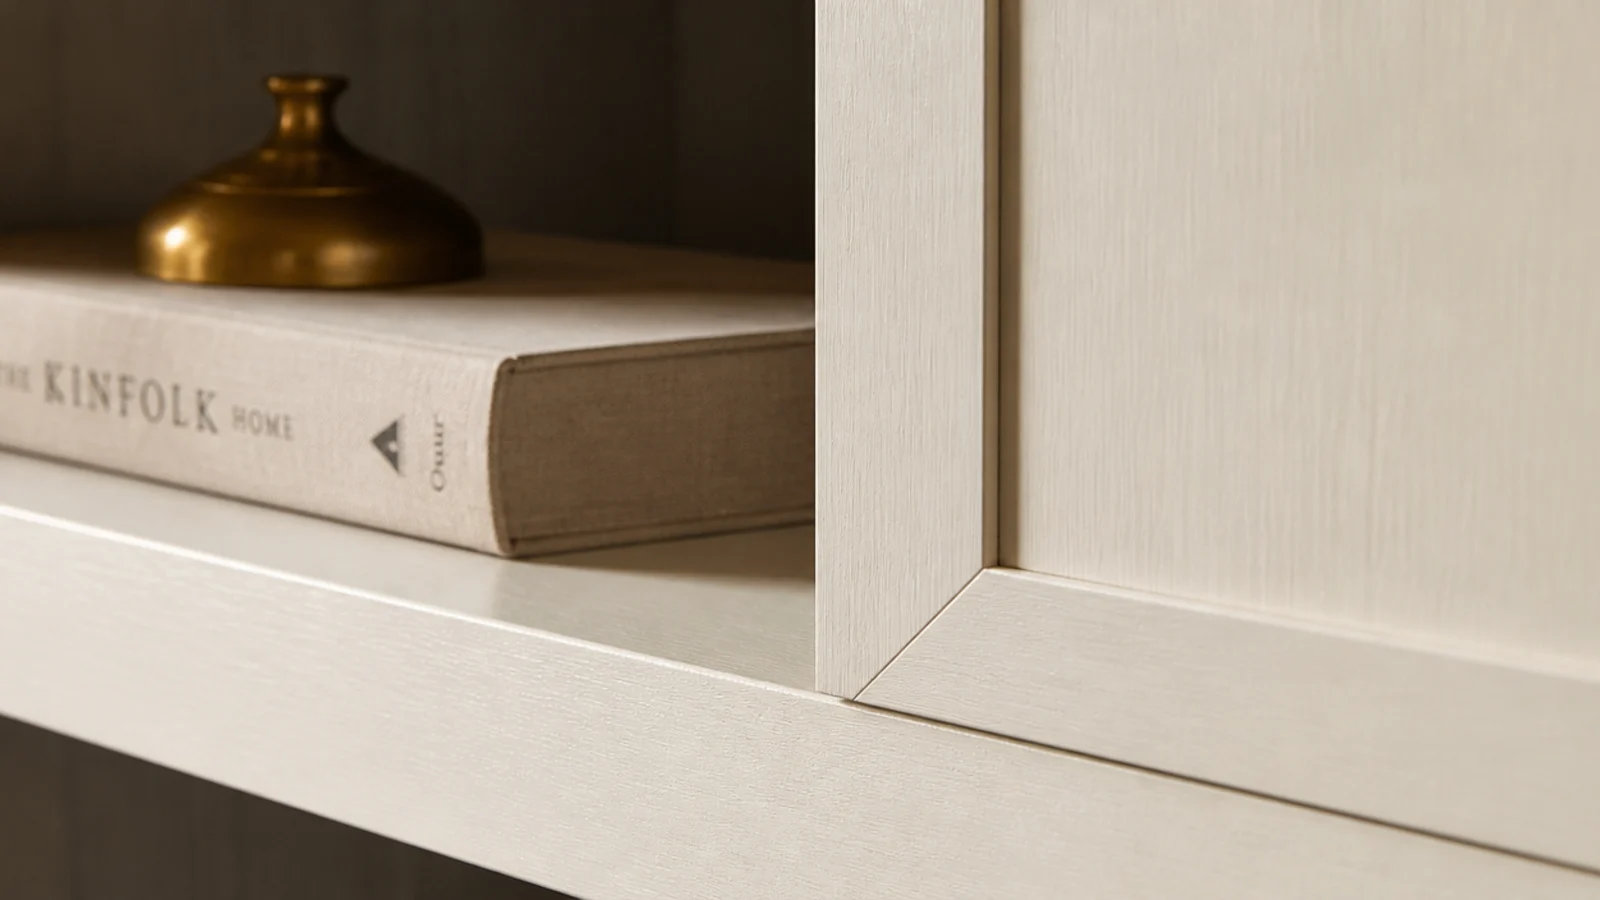
The most common budget mistake is scope. A whole wall of built-ins half finished looks worse than one alcove done properly, and it stays half finished for a year.
One alcove is a weekend and about $180. It also teaches you the awkward parts — scribing to a wavy wall, cutting mitres, caulking — on a small scale before you commit to twelve feet.
Finish it, live with it a month, then decide whether the second alcove is worth it.
7. Thrifted bookcases unified by paint
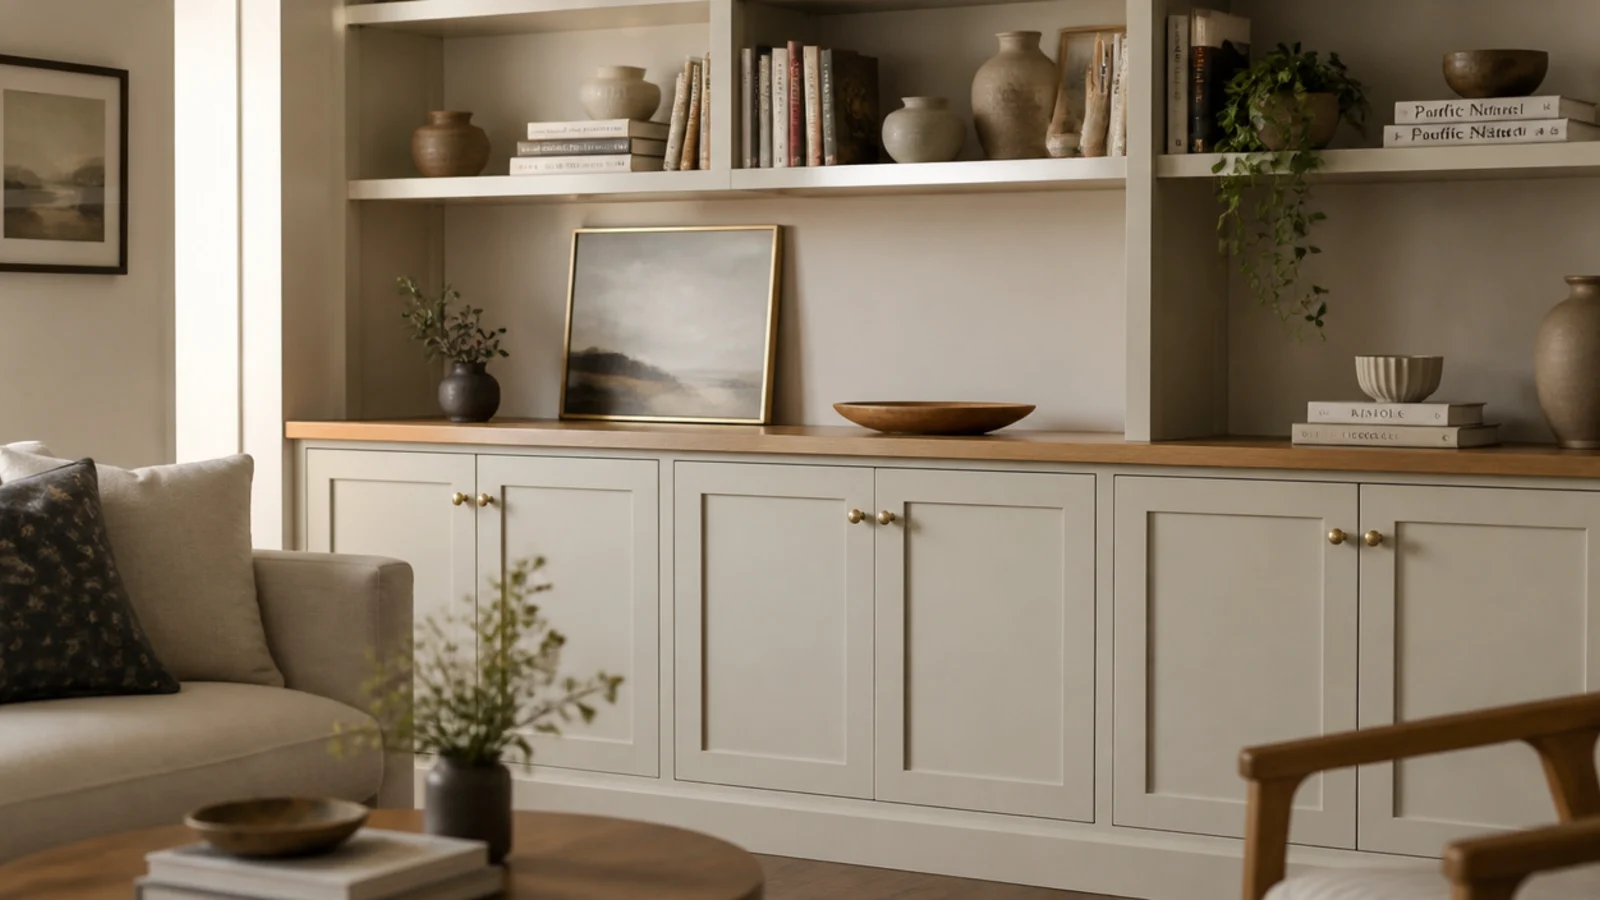
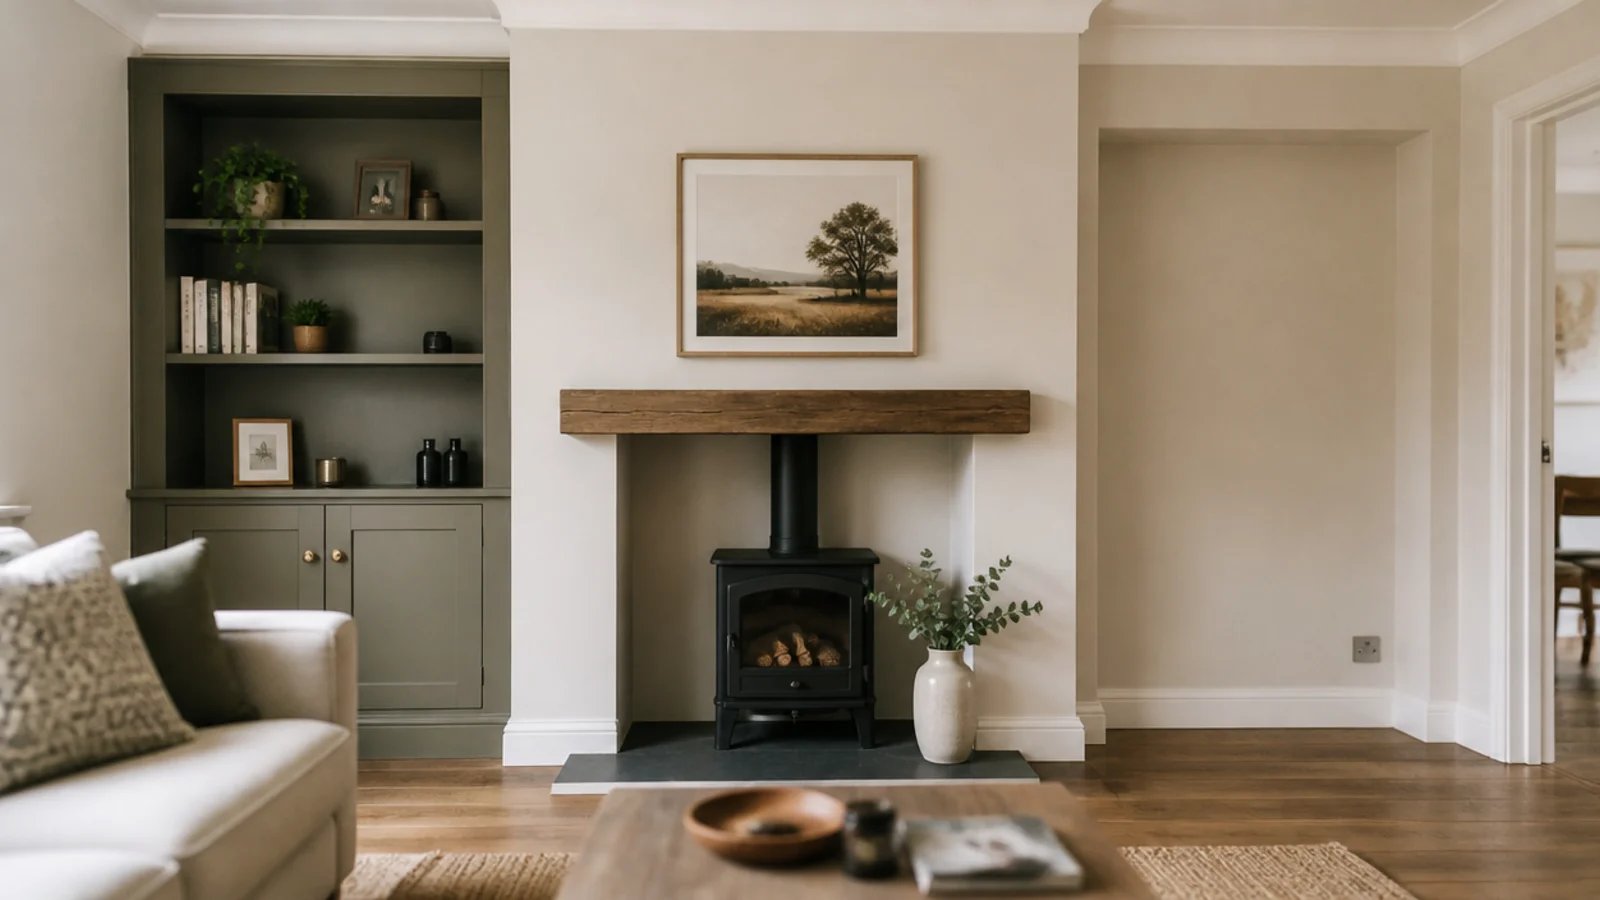
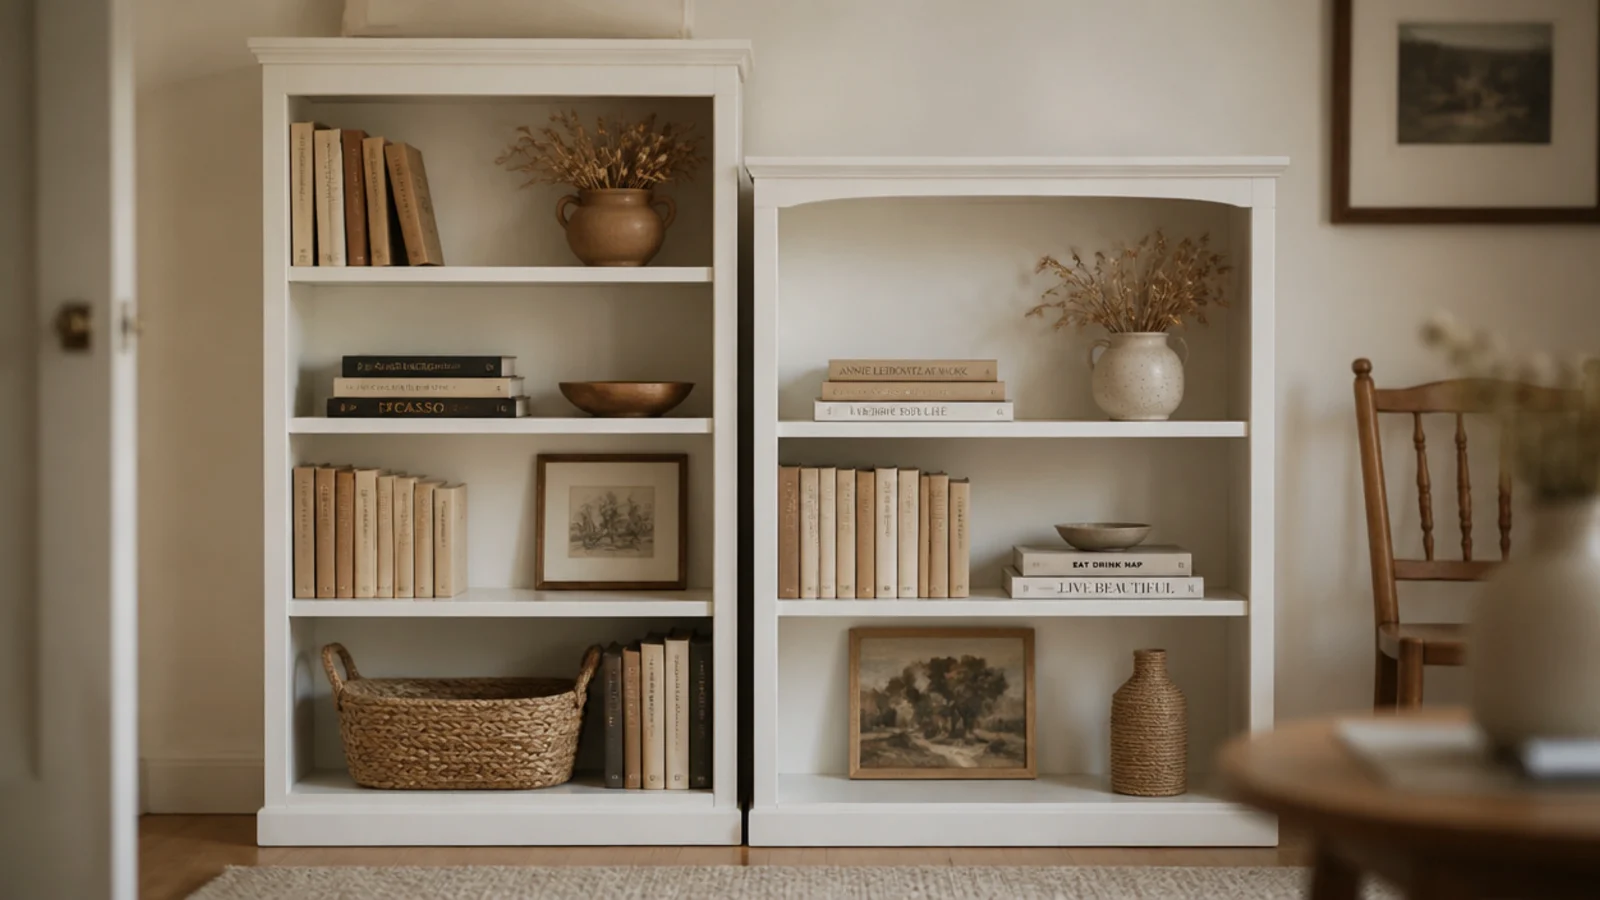
Two mismatched secondhand bookcases become one built-in the moment they share a color, a baseboard and a top rail.
Look for solid wood cases at 30 to 36 inches wide, ignore the finish entirely, and check the shelves for sag before you buy. Sand lightly, prime with a bonding primer if the original is glossy, then paint. Expect $30 to $60 a case.
The height difference matters more than the style difference, so match the heights or plan a header to cover it.
8. Shelf standards instead of drilled pin holes
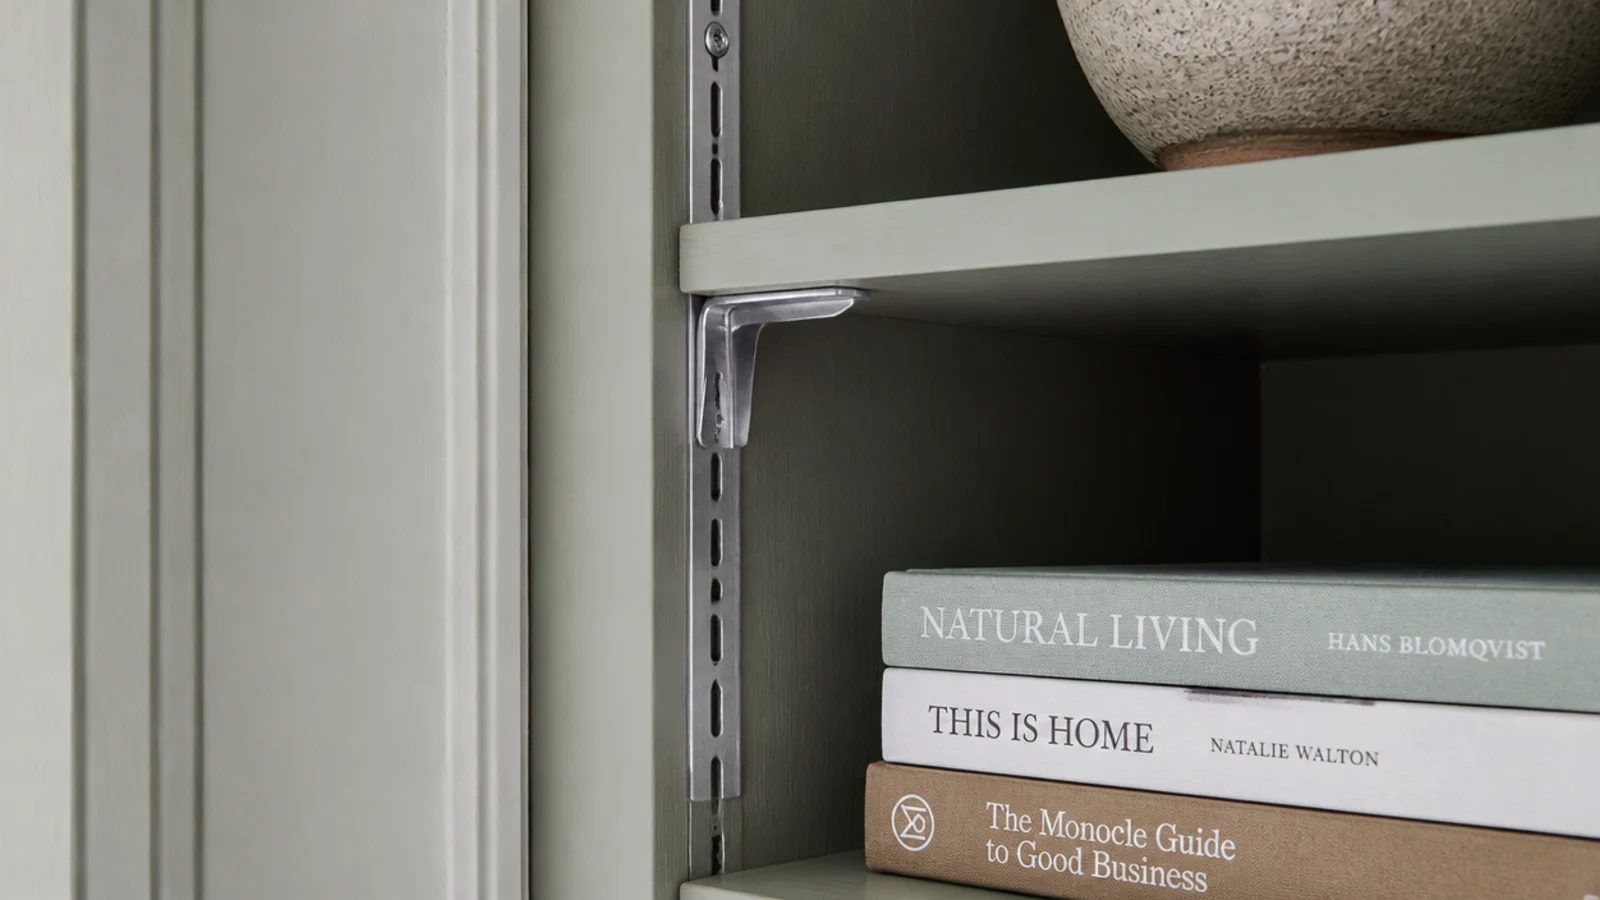
Drilling forty perfectly aligned pin holes needs a jig you probably do not own. Metal shelf standards do the same job for about $8 a pair.
Recess them into a shallow groove if you have a router, or simply surface-mount them and paint them the case color so they disappear. Adjustable shelving matters more than people expect, because what you store on a living room shelf changes every couple of years.
9. A plywood back panel that stiffens everything
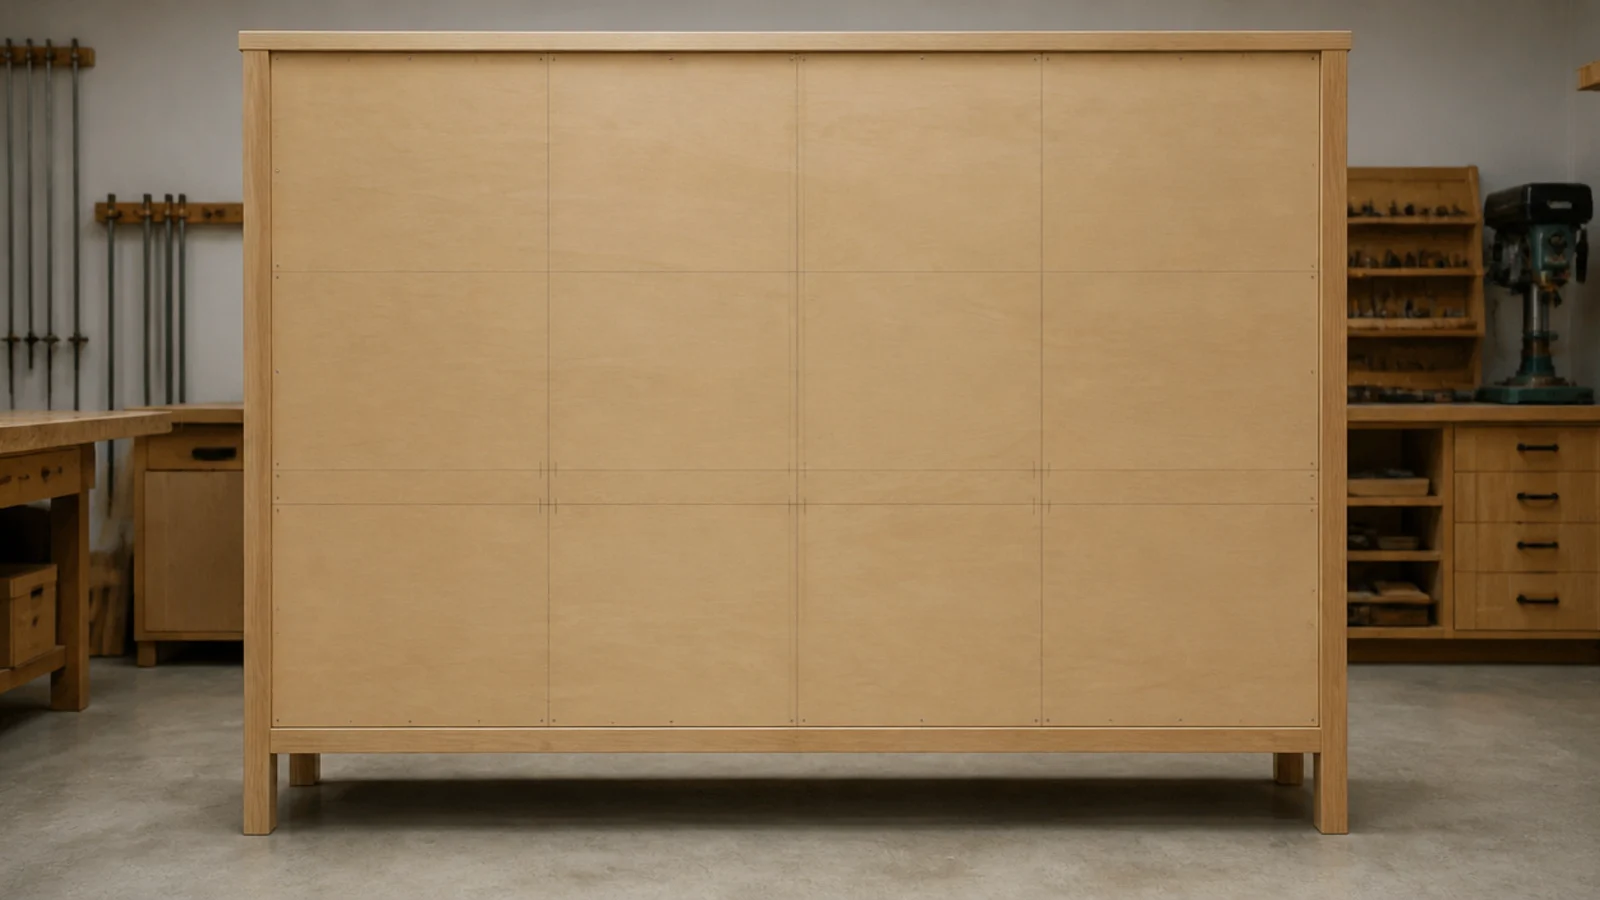
A quarter-inch plywood back is what stops a tall unit racking sideways over time. It also gives you something solid to screw the anti-tip bracket into.
Cut it slightly undersized, then square the case to the panel as you pin it on — the panel sets the geometry, not the other way round. Paint it the same color as the frame unless you want a contrasting back, in which case do it before assembly.
Around $20 a sheet section.
10. Pre-primed MDF trim
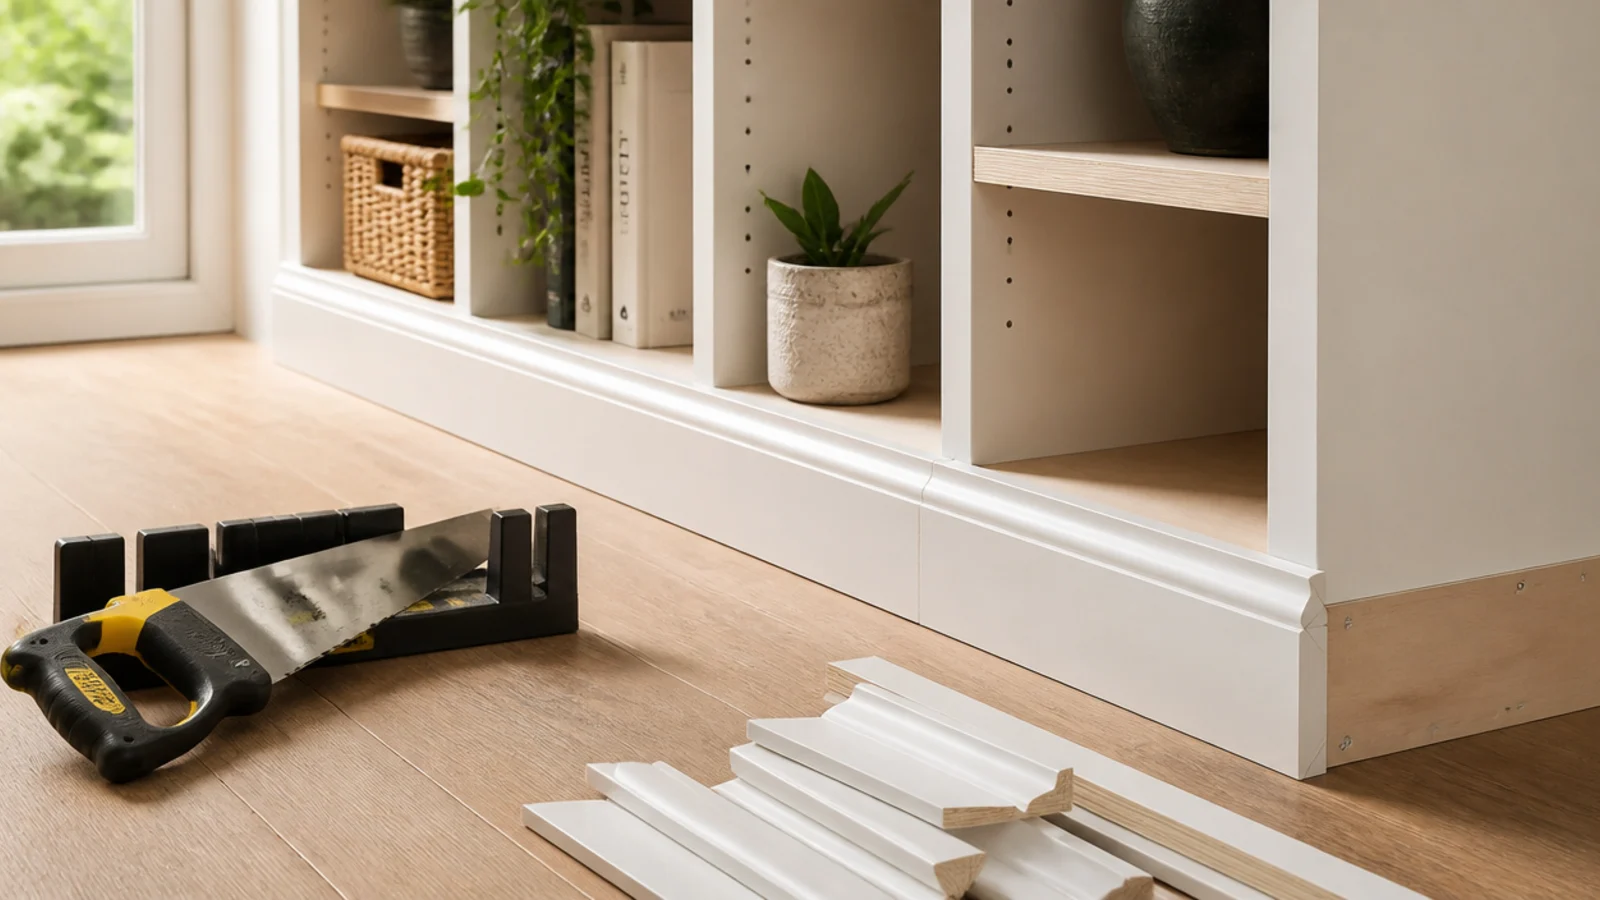
Pre-primed trim costs about the same as raw pine and arrives already sealed, which saves you a primer coat and a sanding pass on every piece.
It cuts cleanly, takes caulk well and never bleeds a knot. Keep it away from anywhere that gets wet, which in a living room is nowhere. Use it for baseboard, header boards and door trim, and save real wood for shelf boards that carry load.
The saving is mostly hours, and hours are the real budget.
11. A flat 1x3 header instead of crown moulding
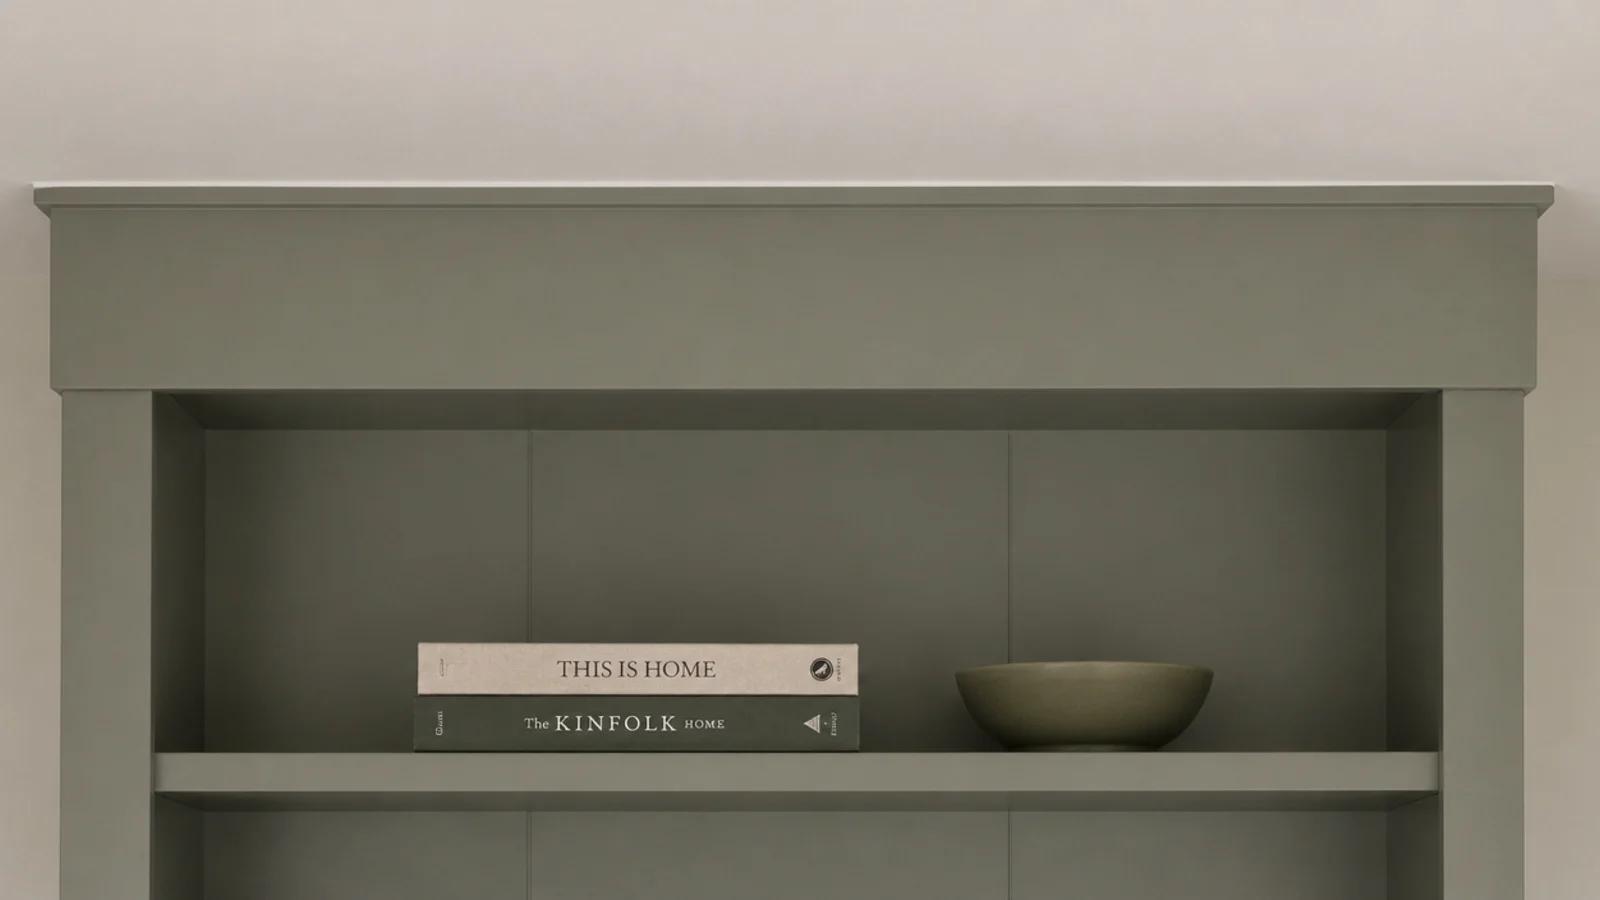
Crown wants compound mitres and a lot of patience. A flat header board wants two straight cuts.
Run a 1x3 or 1x4 flat across the top of the unit, projecting about half an inch past the face frame, and caulk the joint where it meets the ceiling. It reads clean and modern rather than cheap, and it takes ten minutes.
If your room has ornate existing trim, add a small cove strip under the header to echo it.
12. A curtain instead of cabinet doors
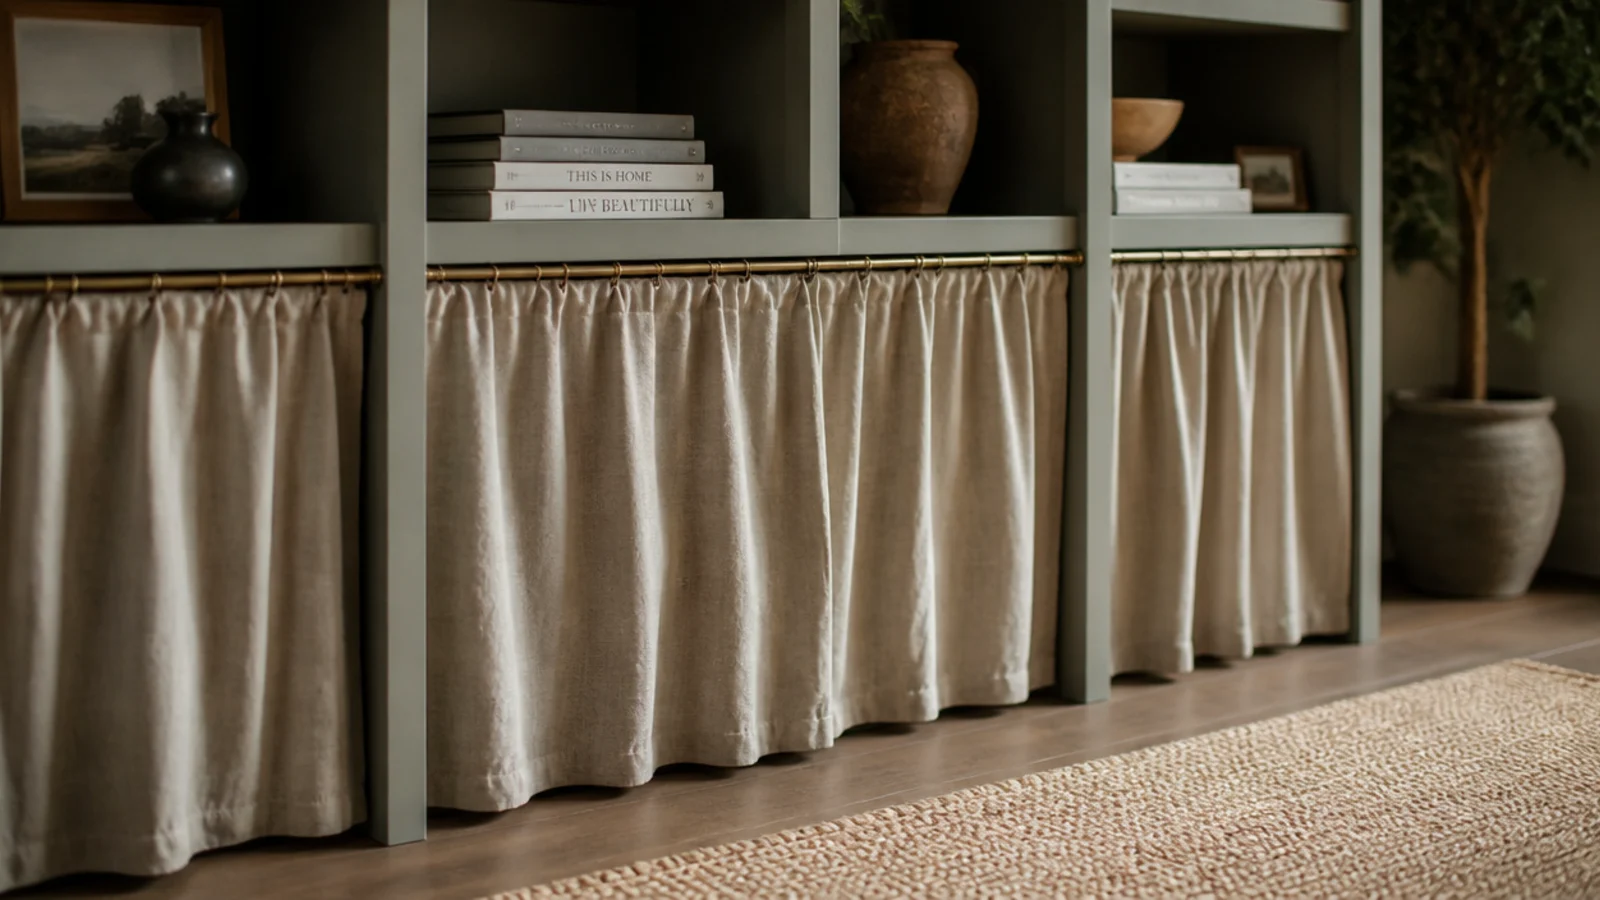
Doors are the most expensive component of any built-in. A curtain costs six dollars of linen and a slim rod.
Fit it across the lower bays where the ugly storage lives. Gather about one and a half times the width so it hangs in soft folds rather than pulling flat, and hem it to stop half an inch above the shelf below. In a small living room the softness genuinely helps, and the small living room version leans on it heavily.
13. Peel-and-stick shaker trim on flat doors
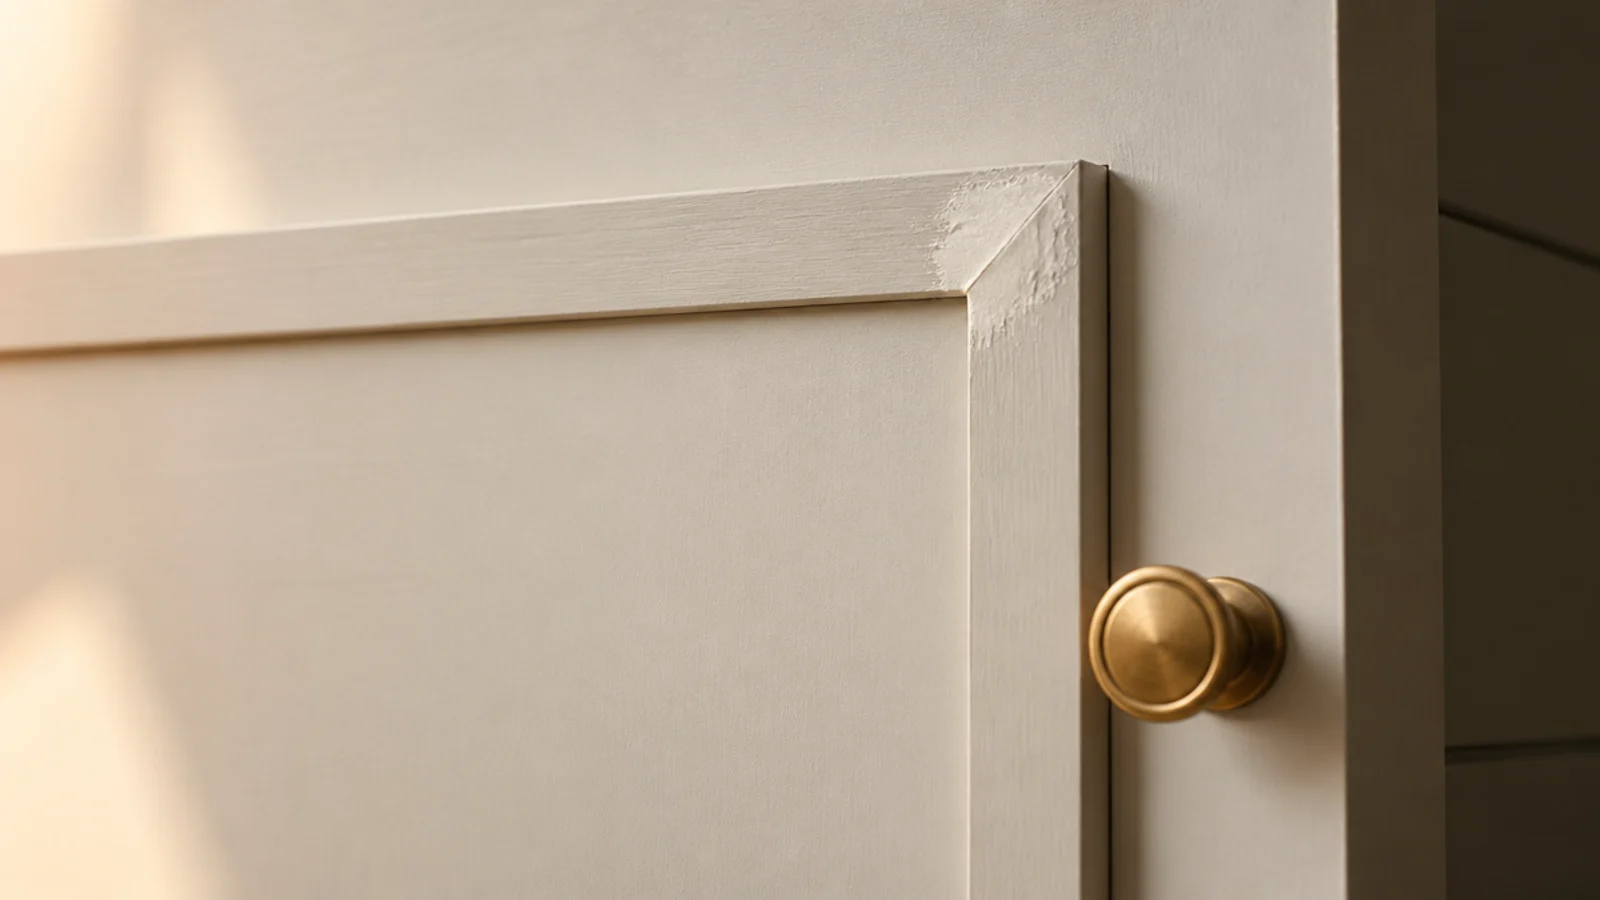
If you do want doors, buy plain slab blanks and add the detail yourself. Four strips of slim moulding glued into a rectangle turns a flat door into a shaker door.
Keep the reveal even by cutting a small spacer block and using it at every corner. Fill the mitres, sand, prime and paint with the rest of the unit so the fronts read as one continuous surface.
About $12 of moulding per door against $60 for a ready-made shaker front.
14. Battery puck lights under the shelves
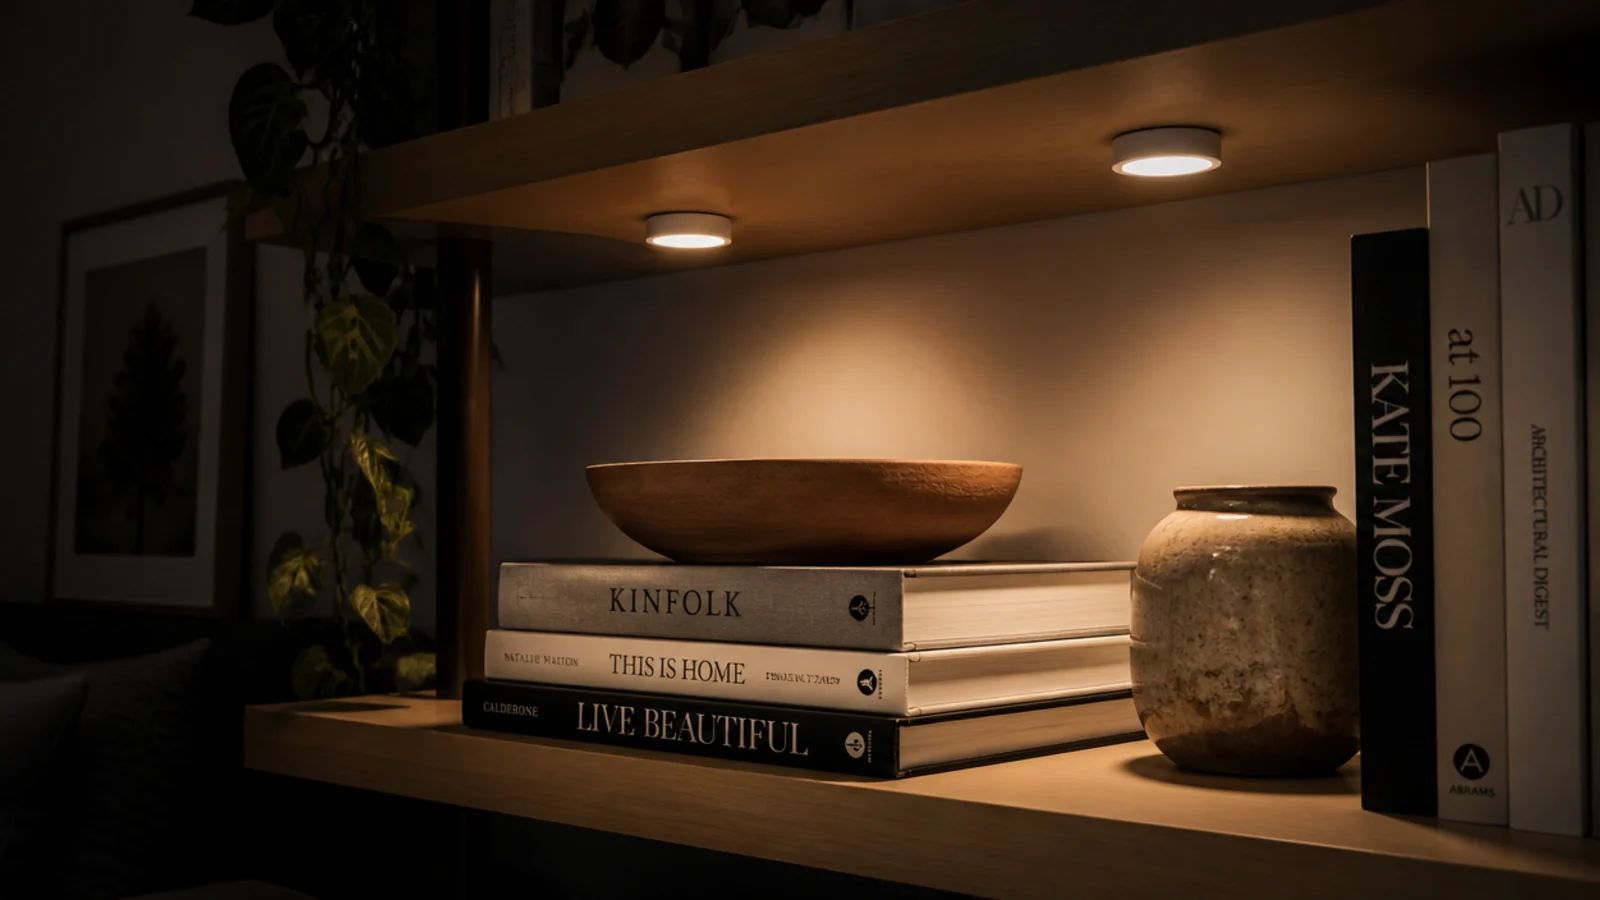
Wired lighting means an electrician. Rechargeable puck lights mean a magnet and a USB cable, and in a photograph nobody can tell.
Use 2700K warm white — cool white turns painted trim grey and drains the warmth out of oak and clay. Mount them at the back underside of each shelf so the light grazes forward over the objects instead of glaring out into the room.
Expect $10 to $18 each and a recharge every month or two.
15. A worktop offcut as the counter
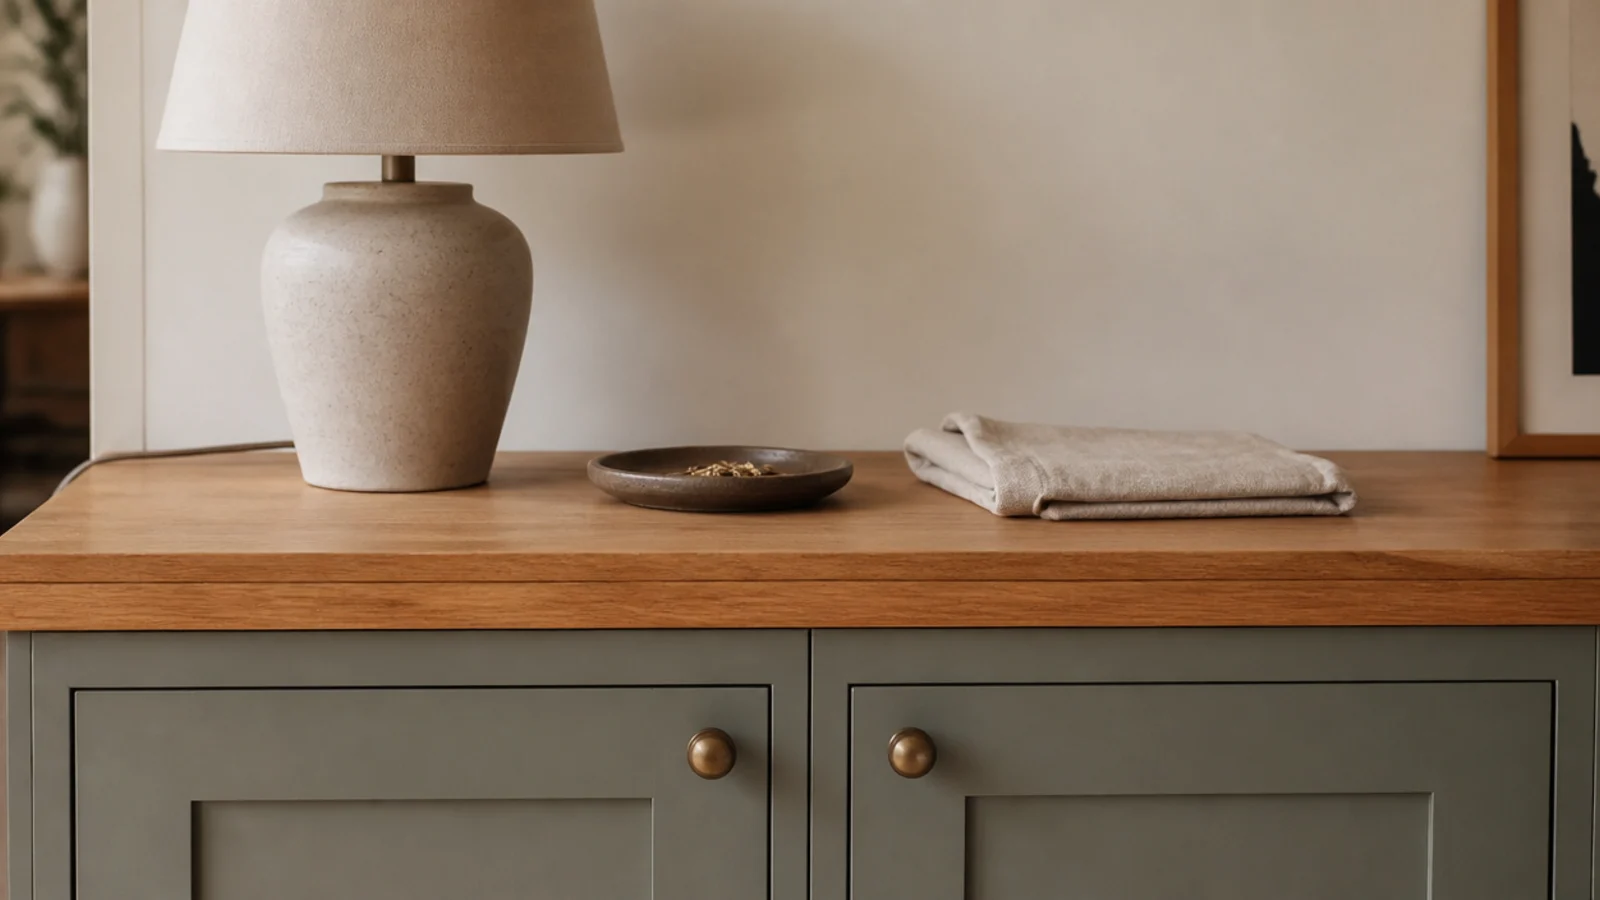
Home centers and countertop fabricators sell offcuts cheaply, and a two-foot piece of oak or birch worktop makes a perfect counter across the top of two base cabinets.
At 25 inches deep it will overhang a 16-inch cabinet nicely, or you can have it cut down. Sand, oil it twice, and you have a continuous surface that ties two separate cases into one run for $40 to $70.
That surface becomes the lamp position, the tray spot and the place everything lands.
16. Filler and caulk, the eight-dollar finish
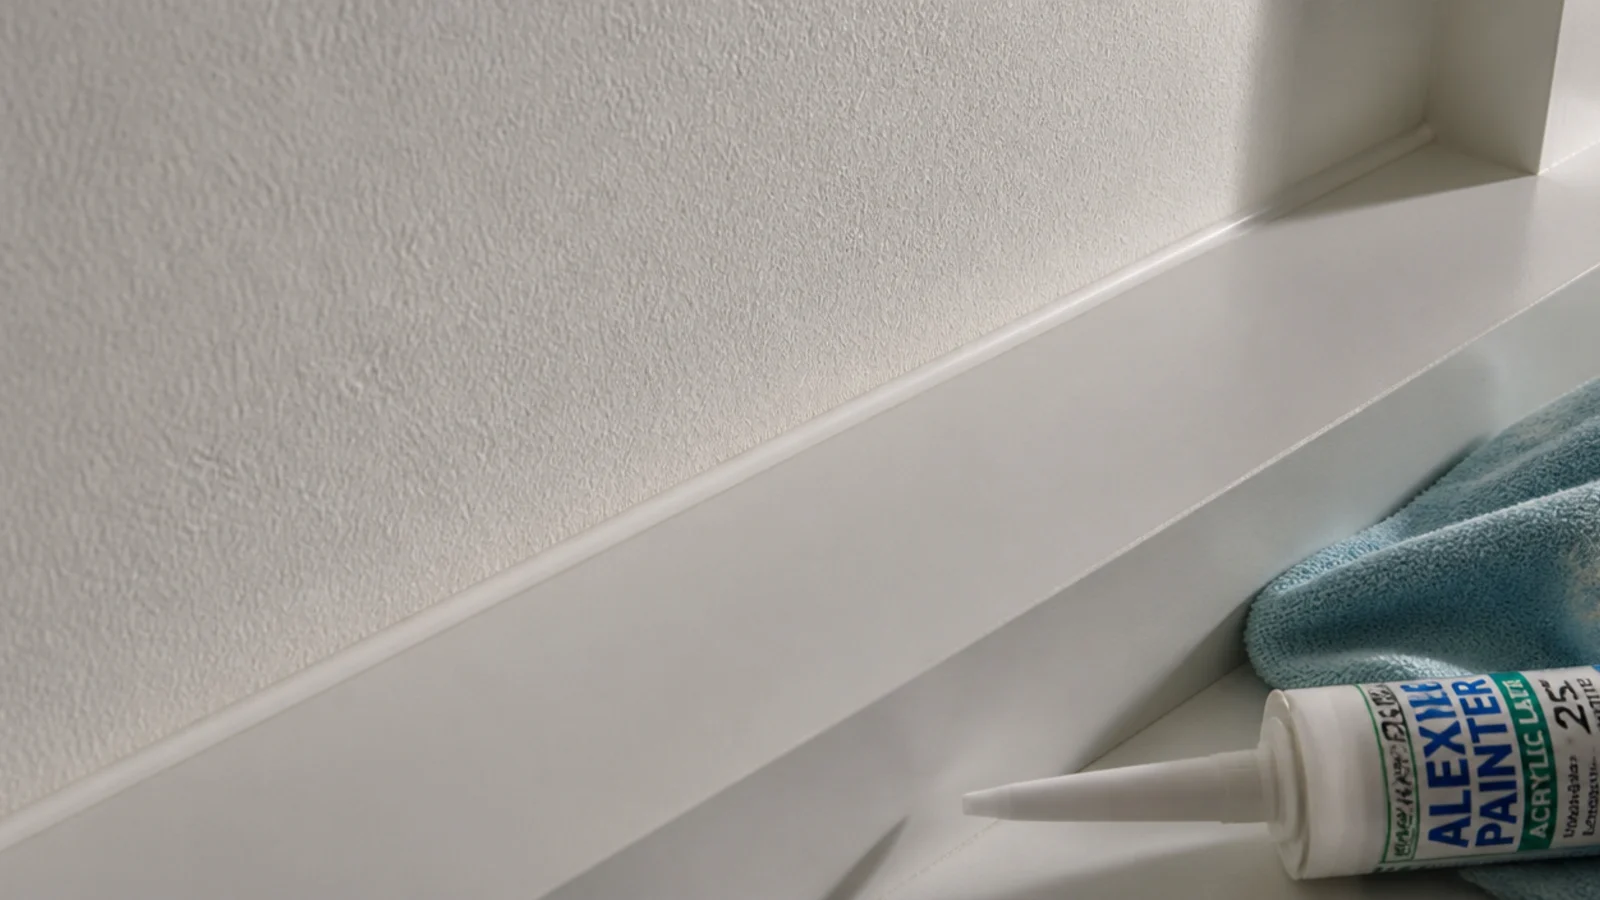
This is the cheapest step in the build and the one that decides whether the result looks bought or built.
Fill every nail hole with lightweight filler, sand flush, then run a bead of paintable caulk along every joint where the unit meets a wall, the floor or the ceiling. Smooth it with a wet finger in one pass. Scribe and caulk every gap you can reach, because an open gap is the clearest DIY tell there is.
Two tubes and a tub of filler, about eight dollars.
17. Reclaimed boards for the open shelves
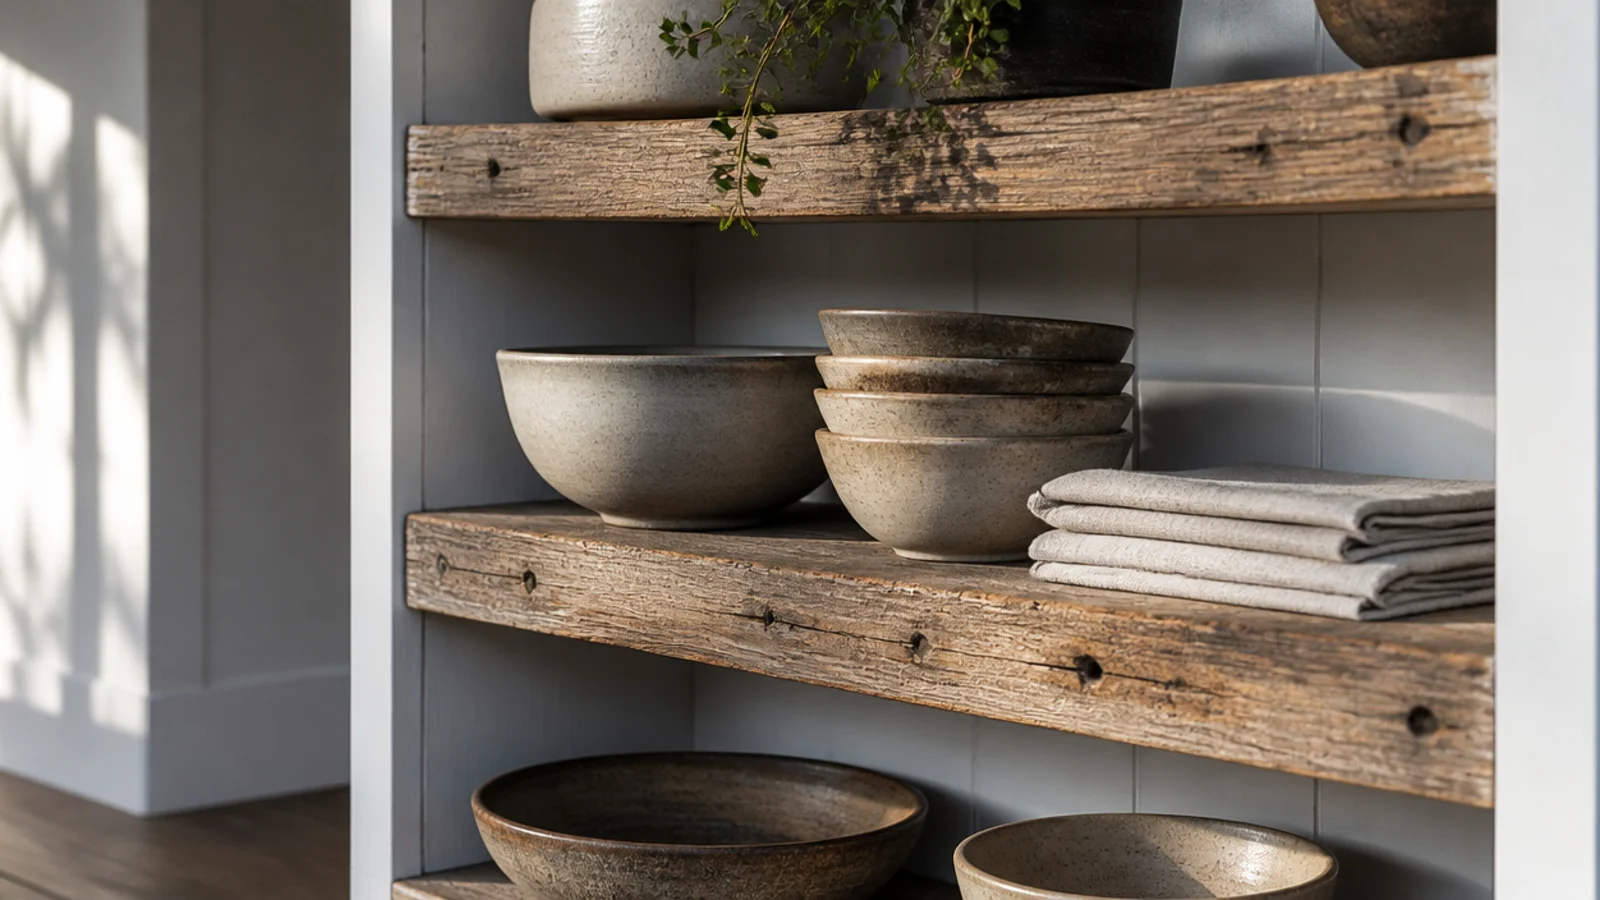
Scaffold boards, old floor joists and salvaged pine cost a fraction of new hardwood and bring grain you cannot buy.
Run them through a sander at 80 grit, then 150, and check every inch for embedded grit and old screws before they touch a blade. At 1.5 inches thick they span 40 inches without a lip, which is more than any stock board manages.
Two coats of hardwax oil, and they sit beautifully against crisp painted frames.
18. Half height instead of full height
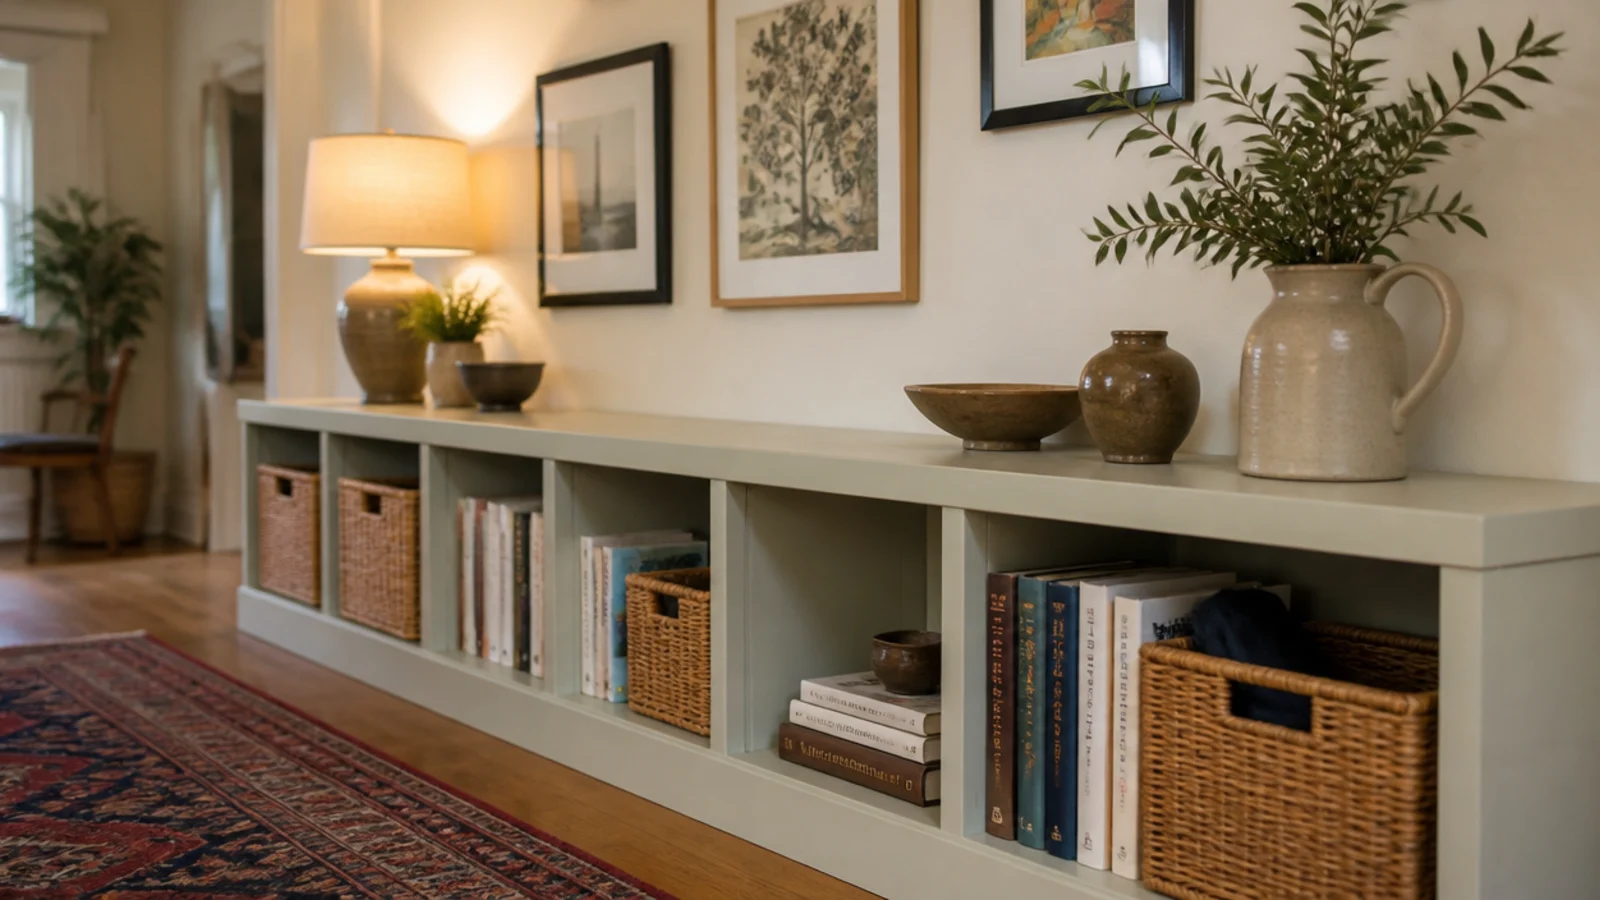
A waist-high run costs roughly half a full-height wall and often suits the room better, especially where you want art above.
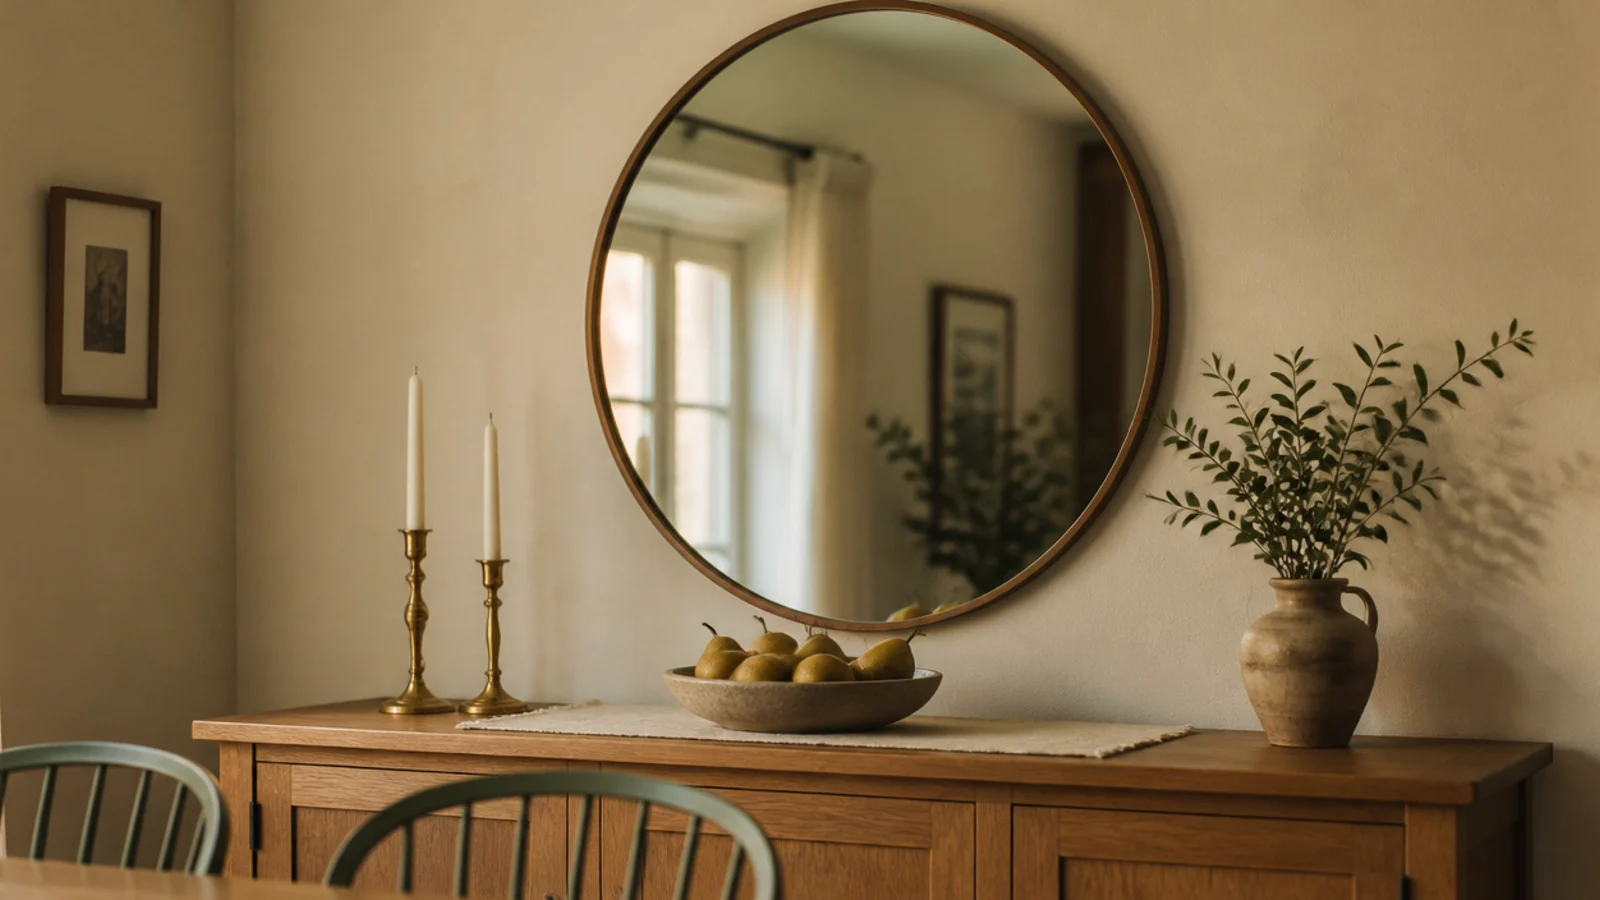
Cap it at 34 to 36 inches so it lines up with a sofa back and gives you a usable top surface. Fewer boards, no ladder work, no ceiling scribing, and the wall above stays free for a mirror or a gallery arrangement.
There is a full built-in bookshelf wall guide if you want the tall version instead.
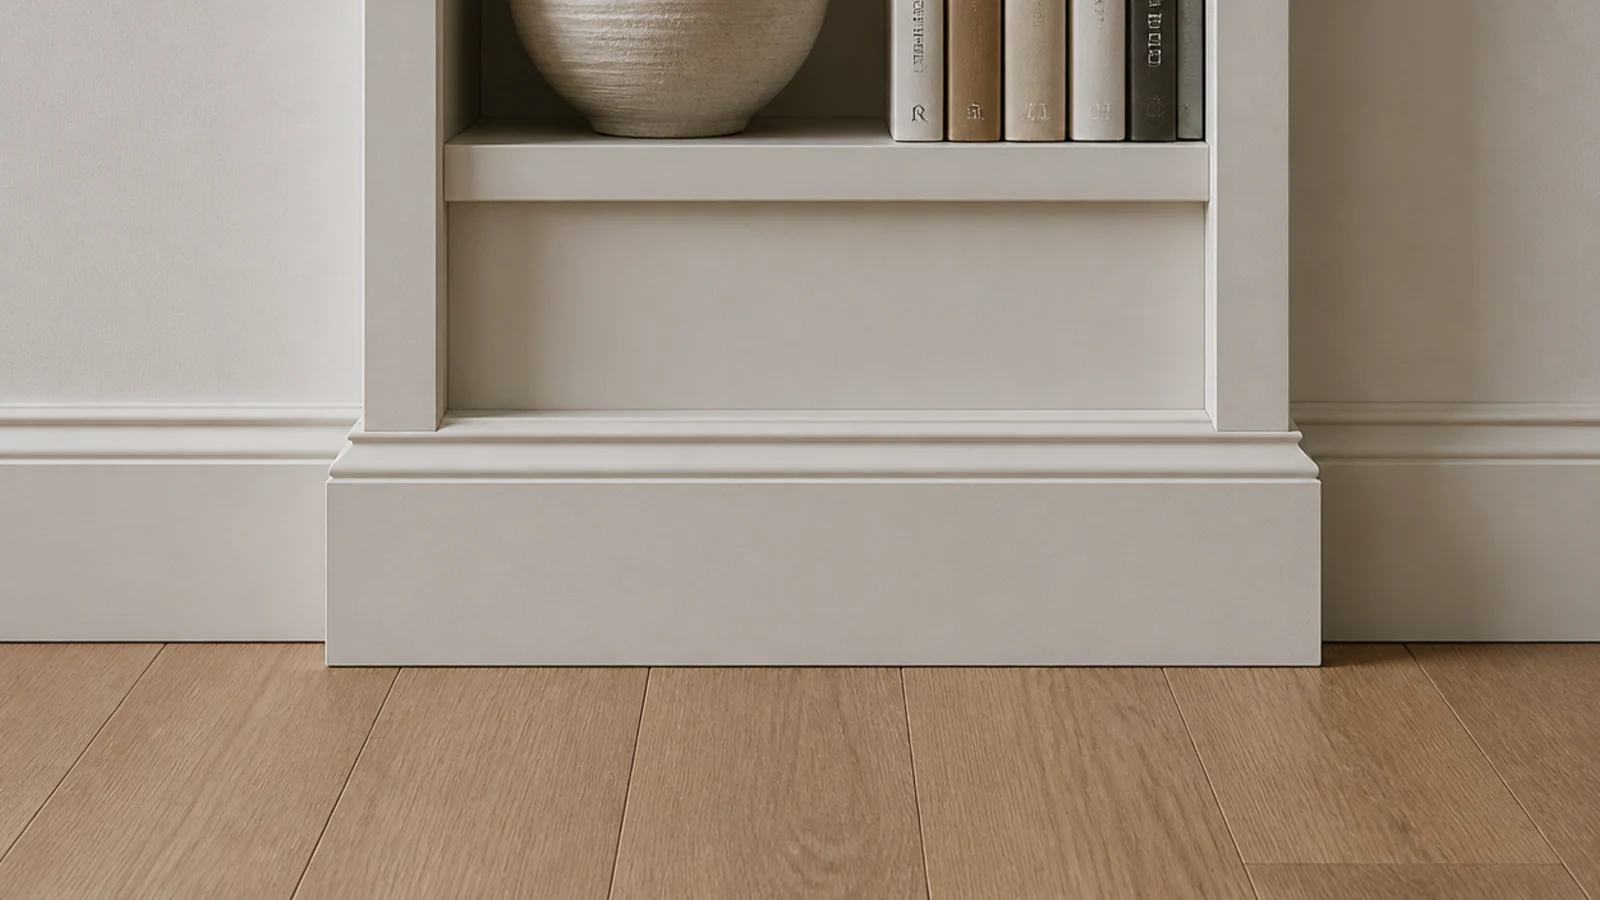
19. Wrap the room baseboard, skip the toe kick
Rather than building a toe kick, buy a length of baseboard that matches the profile already running around your room and continue it across the base of the unit.
That continuity is what makes people assume the shelving was always there. Mitre the outside corners at 45 degrees, tack it on, caulk the top edge, and paint everything together.
About $18, and it is the single most convincing detail in this entire list.
20. Build it in phases and live with each one
Shelves first. Trim second. Doors and lighting whenever the money reappears.
Phasing works because every stage is a finished-looking stopping point, unlike a single big build where the unit sits primed and doorless for three months. Style the open shelves properly at the end of phase one and the room stops looking like a project.
I have never once regretted phasing a build. I have regretted starting a twelve-foot wall on a Saturday.
Mistakes to Skip
- Spanning more than 32 inches with a bare three-quarter-inch board. It will bow under books within a season, and once a shelf has taken a set it never straightens out.
- Buying warped boards because they were on the discount rack. A twisted board fights you at every stage and shows in the finished face frame no matter how much you clamp it.
- Leaving the unit unpainted until you decide on a color. Bare wood absorbs kitchen grease and hand oil, and those patches will show through the first two coats you eventually apply.
Frequently asked questions
What is the cheapest way to build living room built-ins?
Cleats and boards, with no carcass at all. Two 1x2 cleats screwed into studs on each side wall carry a 1x12 shelf across an alcove for roughly twelve dollars a shelf. You lose the ability to move the shelves later, which is why I set the heights around actual books before a single screw goes in.
How much do DIY built-in shelves cost?
A single trimmed alcove in stock pine runs $120 to $220 in materials. A flanking pair built on flat-pack cases runs $250 to $450. A full wall with cabinet doors below and a painted finish runs $600 to $900. Quoted joinery for the same wall usually starts around $3,000, which is where the savings actually live.
Is plywood or pine better for budget built-ins?
Stock 1x12 pine is easier because it needs no ripping, takes paint well and comes straight from the rack. Three-quarter-inch plywood is cheaper per square foot for wide runs but needs edge banding or a front lip. Both sag past a 32-inch span under books, so both want a 1x2 glued along the front edge.
Can I build built-ins without a table saw?
Yes. Buy stock-width boards so no ripping is needed, have the home center cut plywood to length on their panel saw, and use a mitre box and hand saw for the trim. The only tools I genuinely would not skip are a level, a stud finder and a drill with a countersink bit.
How do I make cheap shelves look built in?
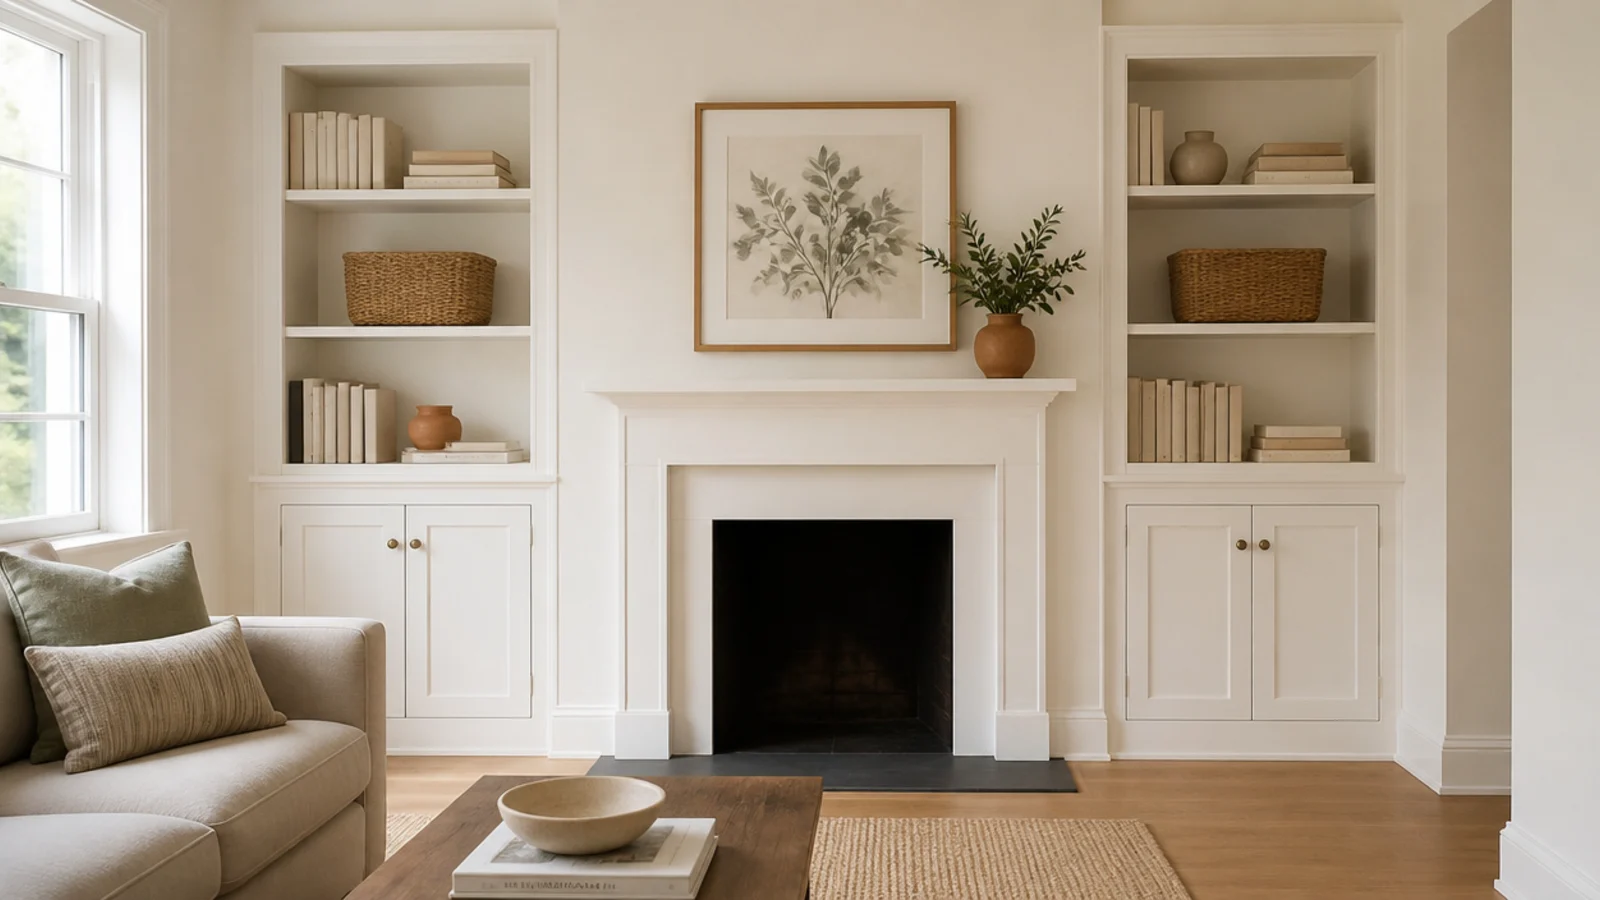
Three things: a baseboard wrapped across the bottom, a face frame covering the shelf edges, and paint matching the wall or trim. Then scribe and caulk every gap at the wall and ceiling. An open gap is the clearest sign a unit was bought, and caulk costs about six dollars to fix it.
How far apart should budget shelves be spaced?
Eleven to thirteen inches of clear height for hardbacks and about nine for paperbacks. Uneven spacing looks more custom rather than less, because real joinery is planned around what it holds. Leave one taller bay at 16 to 18 inches for art books, baskets or a record crate so nothing has to lie flat.
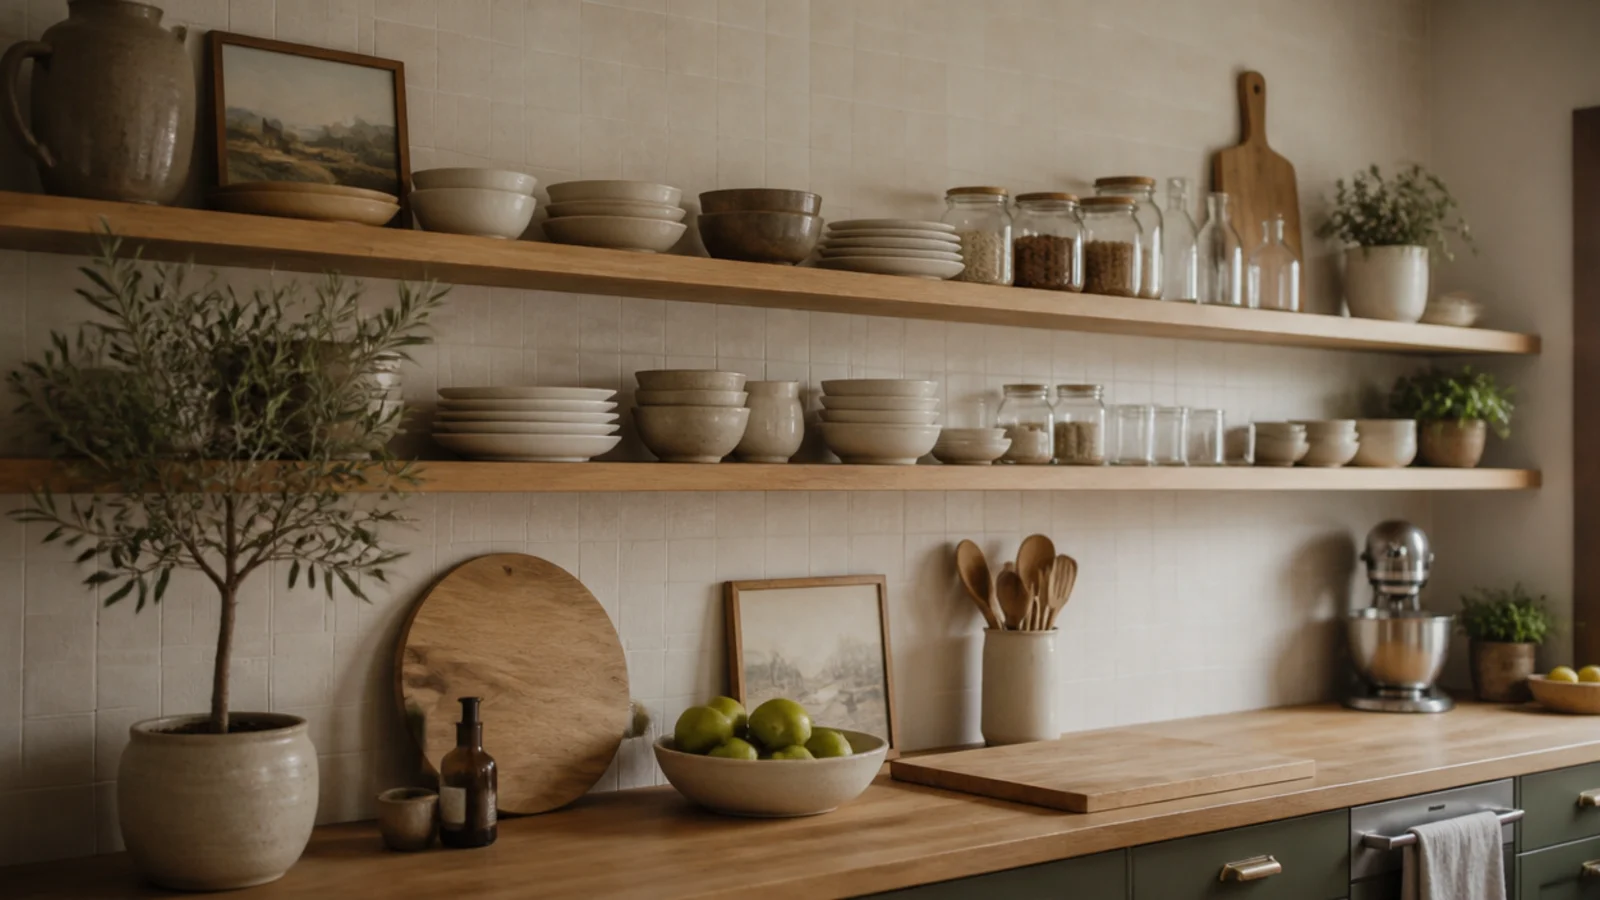
Pick the alcove that annoys you most, buy stock boards, and give yourself a weekend. The order that keeps costs down is always the same: structure, trim, paint, then lighting. If you want the renter-safe version with no permanent fixings, white built-in shelves covers it, the full DIY build has the step-by-step, and budget kitchen shelving uses the same cleat-and-board method. Save the pin so the spans and depths are with you in the aisle.
Want more like this? Browse all 15 living room built-in shelves guides — they all use the same measurements and budget tiers.
Pin it for later
Save this to your Living Room Built-In Shelves board
Pin it now so it is waiting for you when the tape measure comes out — and so the next person hunting for this idea can find it too.
Save this pinKeep going
More ideas worth saving while you have the tape measure out.