Living Room Built-In Shelves · Listicle
15 Affordable Living Room Built-Ins Ideas for Renters

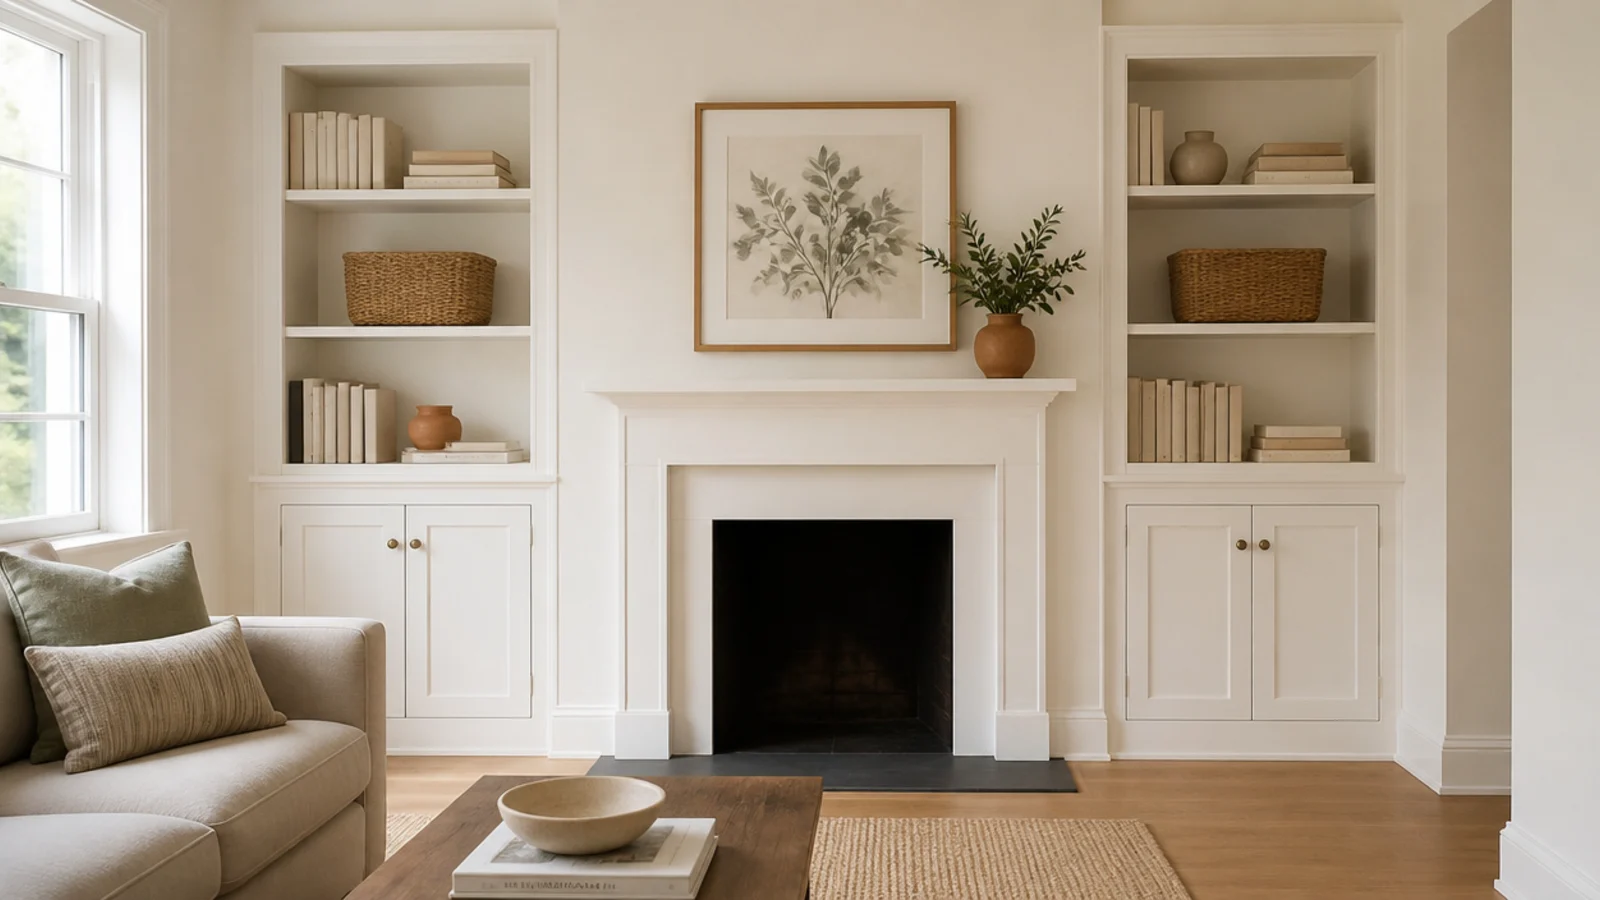
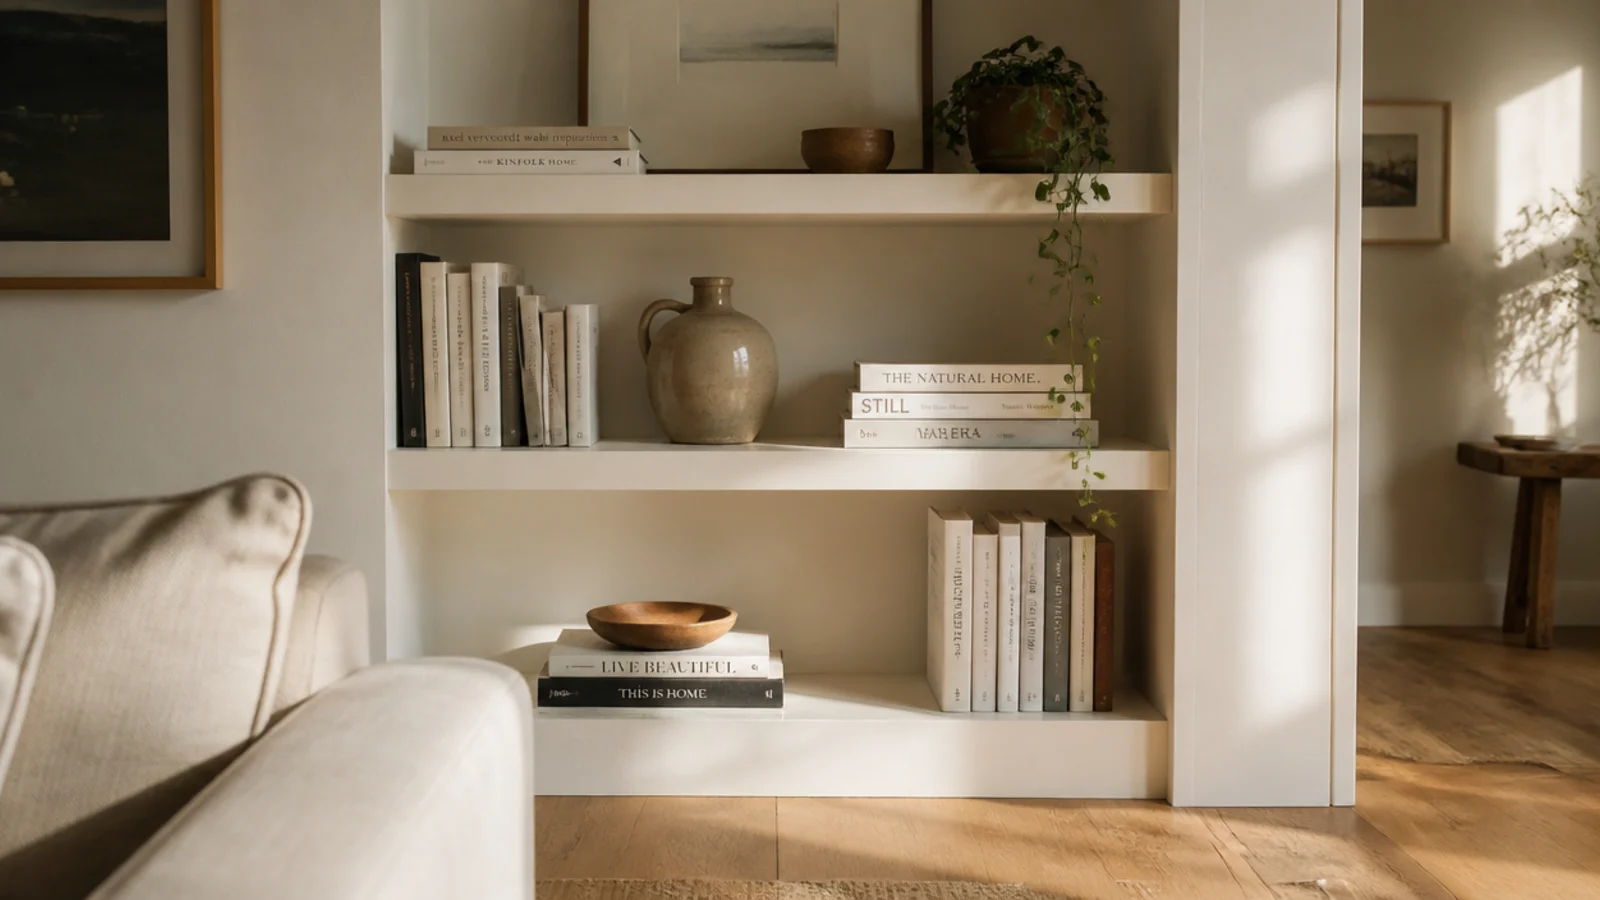
White built in shelves are how I have faked joinery in four rentals now, and not one of them cost me a deposit. The trick is never the shelving itself — flat-pack bookcases are fine — it is the three inches of trim, the paint color and the anchoring that turn a bought box into architecture. Everything below comes apart on move-out day with a putty knife and a sample pot.
In this guide17 sections — tap to openHide
- 1.Why white built-in shelves work in a rental living room
- 2.Two flat-pack bookcases butted into one run
- 3.A single bookcase scribed into the alcove
- 4.Wrap the baseboard around the base
- 5.A one-by-two face frame across the fronts
- 6.Paint the whole thing the trim color
- 7.Peel-and-stick panelling on the shelf backs
- 8.A solid front lip on any shelf over 32 inches
- 9.A flanking pair beside the fireplace
- 10.A half-height run under the window
- 11.Doors on the bottom two feet only
- 12.Rechargeable picture lights on the top rail
- 13.A cove strip that closes the ceiling gap
- 14.Set the pins for real books, not factory spacing
- 15.A deep bottom shelf sized for baskets
- 16.Anchor it properly and keep it removable
- 17.Mistakes to Skip
Why white built-in shelves work in a rental living room
A built-in reads as part of the house for three reasons, and none of them are the shelves. It meets the floor with a baseboard, it meets the wall with no visible gap, and it wears the same color as the trim around it. Get those three right and a $90 bookcase passes.
Start with depth. Eleven to twelve inches holds books with nothing overhanging the front edge. Fourteen to sixteen inches is what you need for baskets, a receiver or a record crate. Past sixteen, things go to the back and stay there.
Then spacing. Leave 11 to 13 inches of clear height between shelves for hardbacks, and measure your tallest book first — art books blow that number apart routinely.
Then the span. Three-quarter-inch plywood sags noticeably past a 32-inch span once it carries books. A 1x2 glued along the front edge, or one support at mid height, fixes it permanently.
Budget tiers here: a single trimmed and painted bookcase runs $80 to $140 ($), a flanking pair with a face frame runs $250 to $450 ($$), and a full wall with doors below runs $600 and up ($$$), which is still a fraction of quoted joinery.
1. Two flat-pack bookcases butted into one run
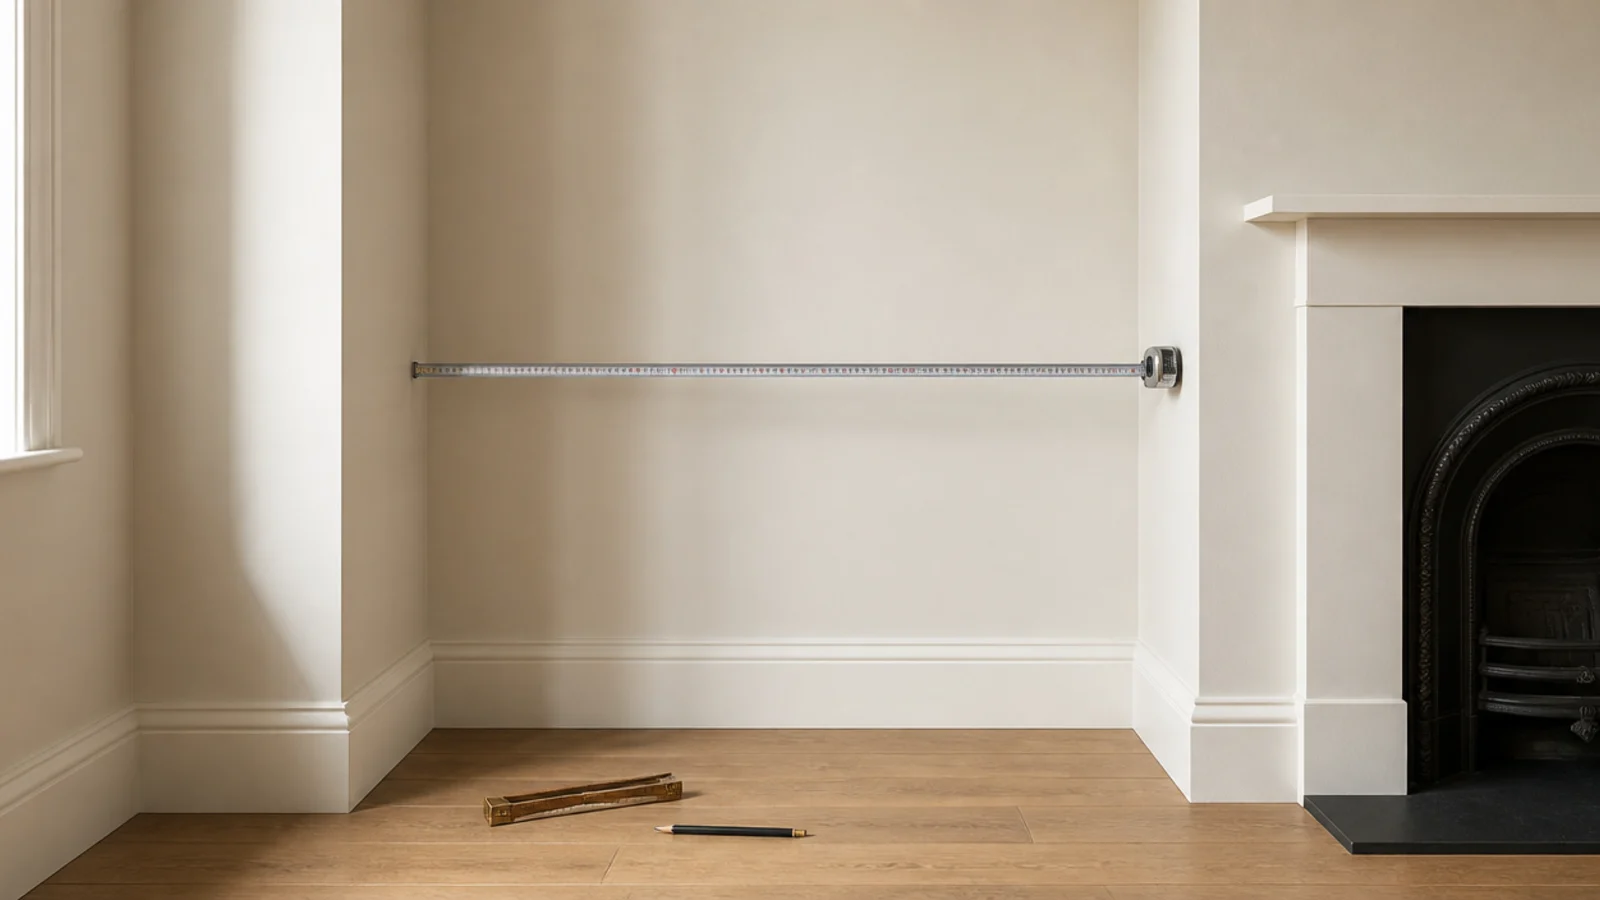
Two 30-inch bookcases standing side by side read as two bookcases. Screwed together, they read as one built-in.
Level both with shims first — a rental floor is rarely flat, and a quarter-inch difference shows badly across a shared top line. Then run two 1-1/4 inch screws through the inside faces of the touching sides, low and high, where books will hide them. The seam disappears under the face frame later.
Nothing goes into the wall for this step, which is the whole point. Two 30-inch cases give you a five-foot run for around $180.
2. A single bookcase scribed into the alcove
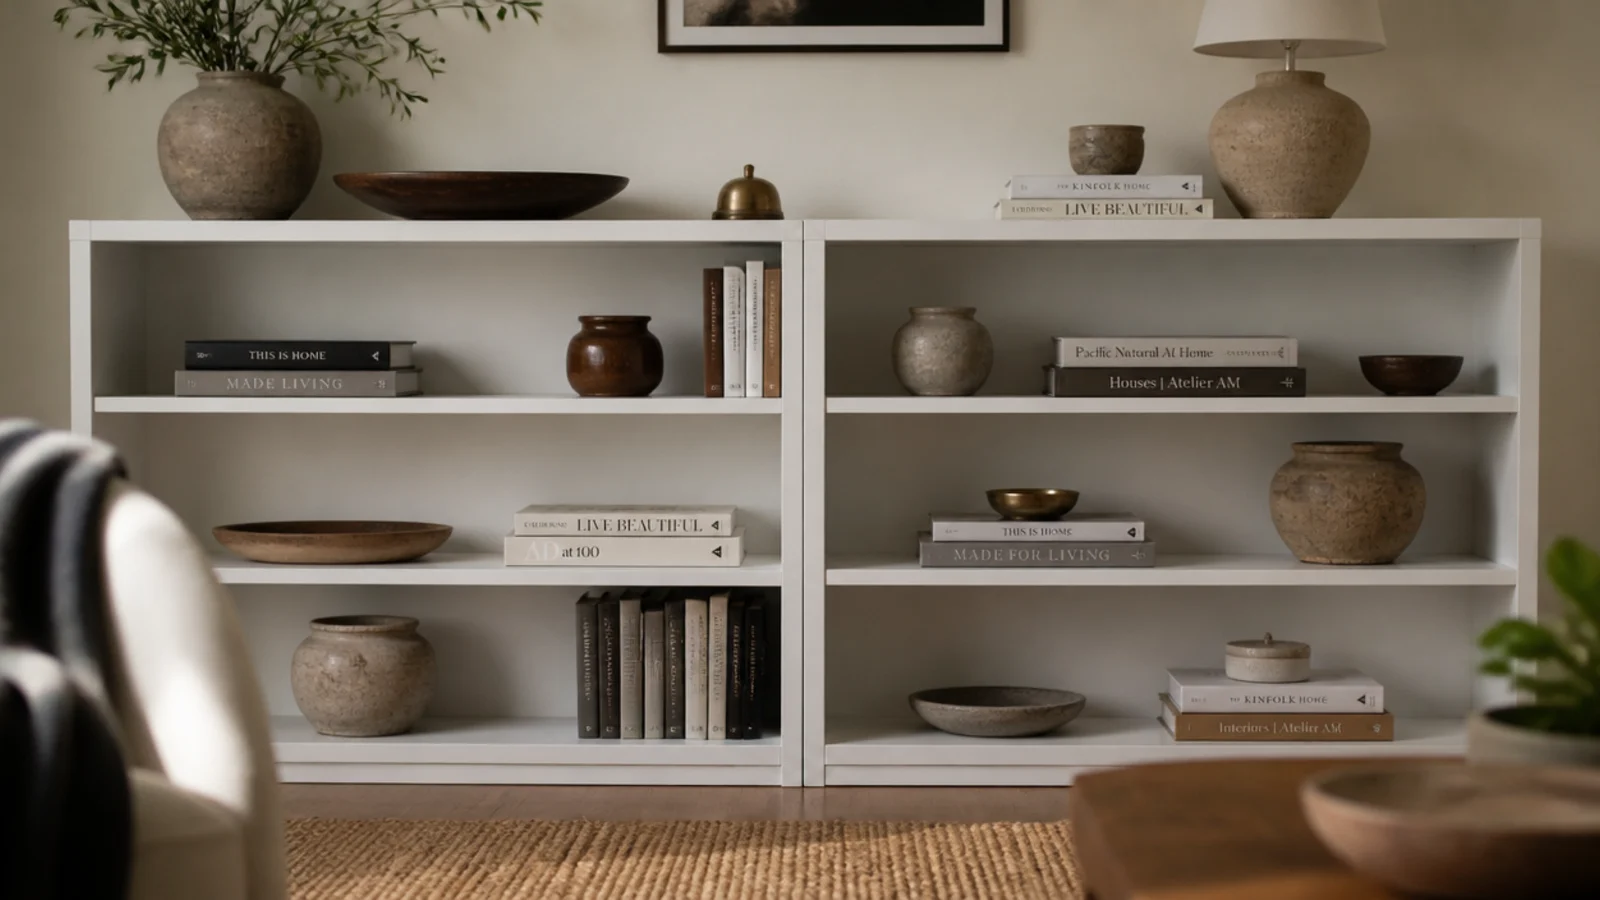
The gap along the side of an alcove is what gives a bought bookcase away instantly.
Measure the alcove width at the floor, at four feet and at the top before you buy. Older walls commonly taper three-eighths of an inch over seven feet, which is enough to leave a wedge of shadow at one end. Buy the case narrower than the tightest measurement, then close the difference with a scribe strip — a length of 1x2 planed or sanded to follow the wall.
Pin the strip to the bookcase, never the wall. It comes with you.
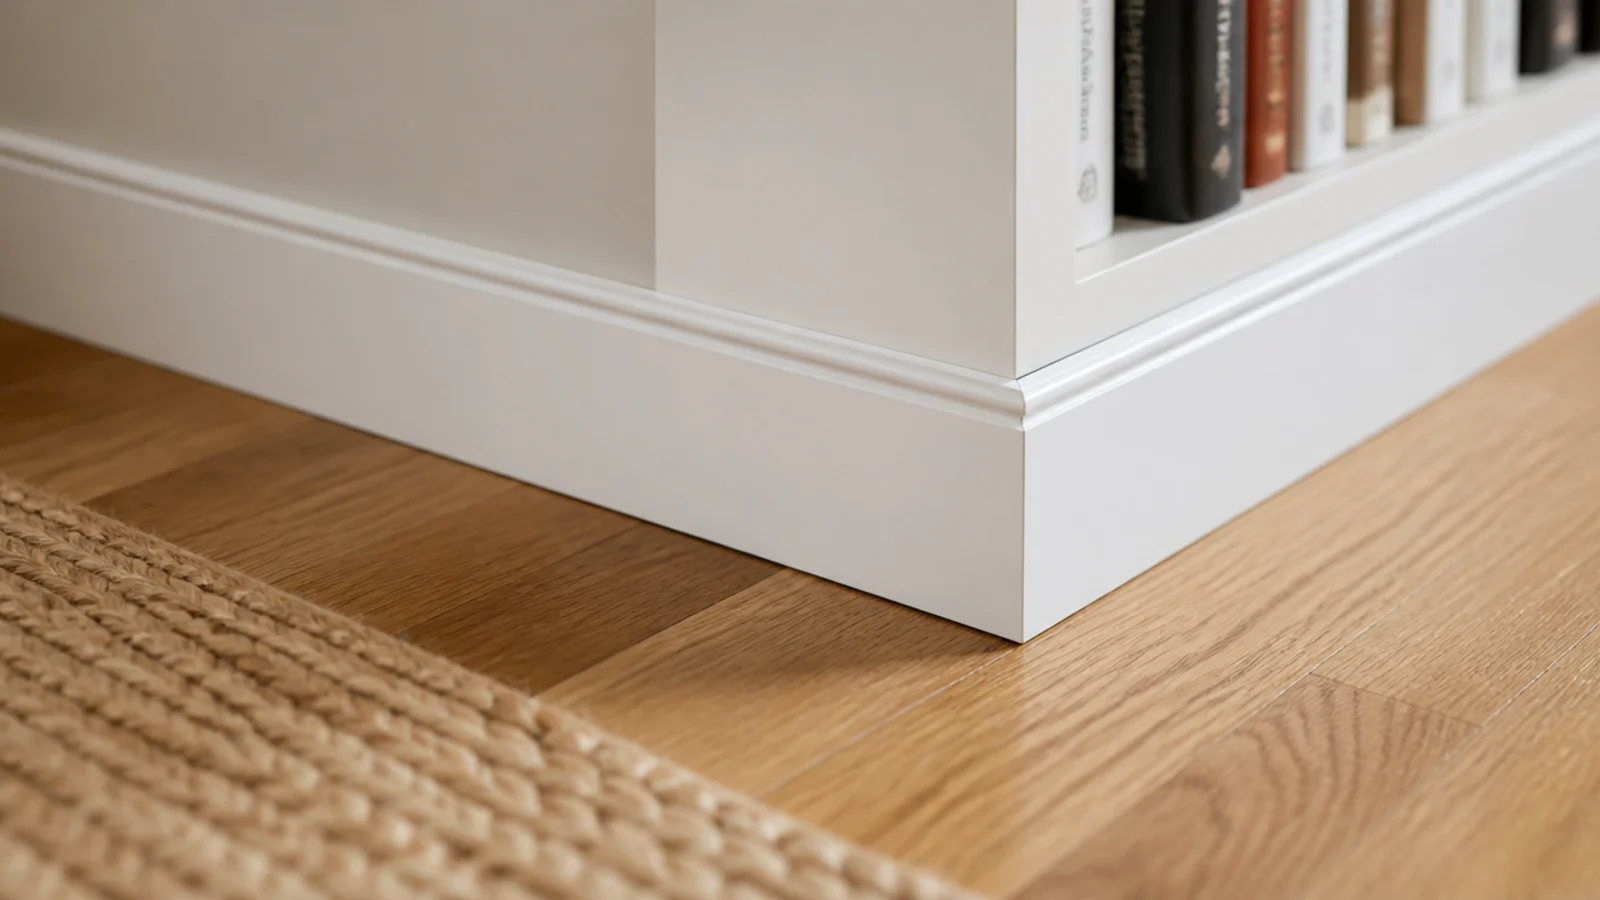
3. Wrap the baseboard around the base
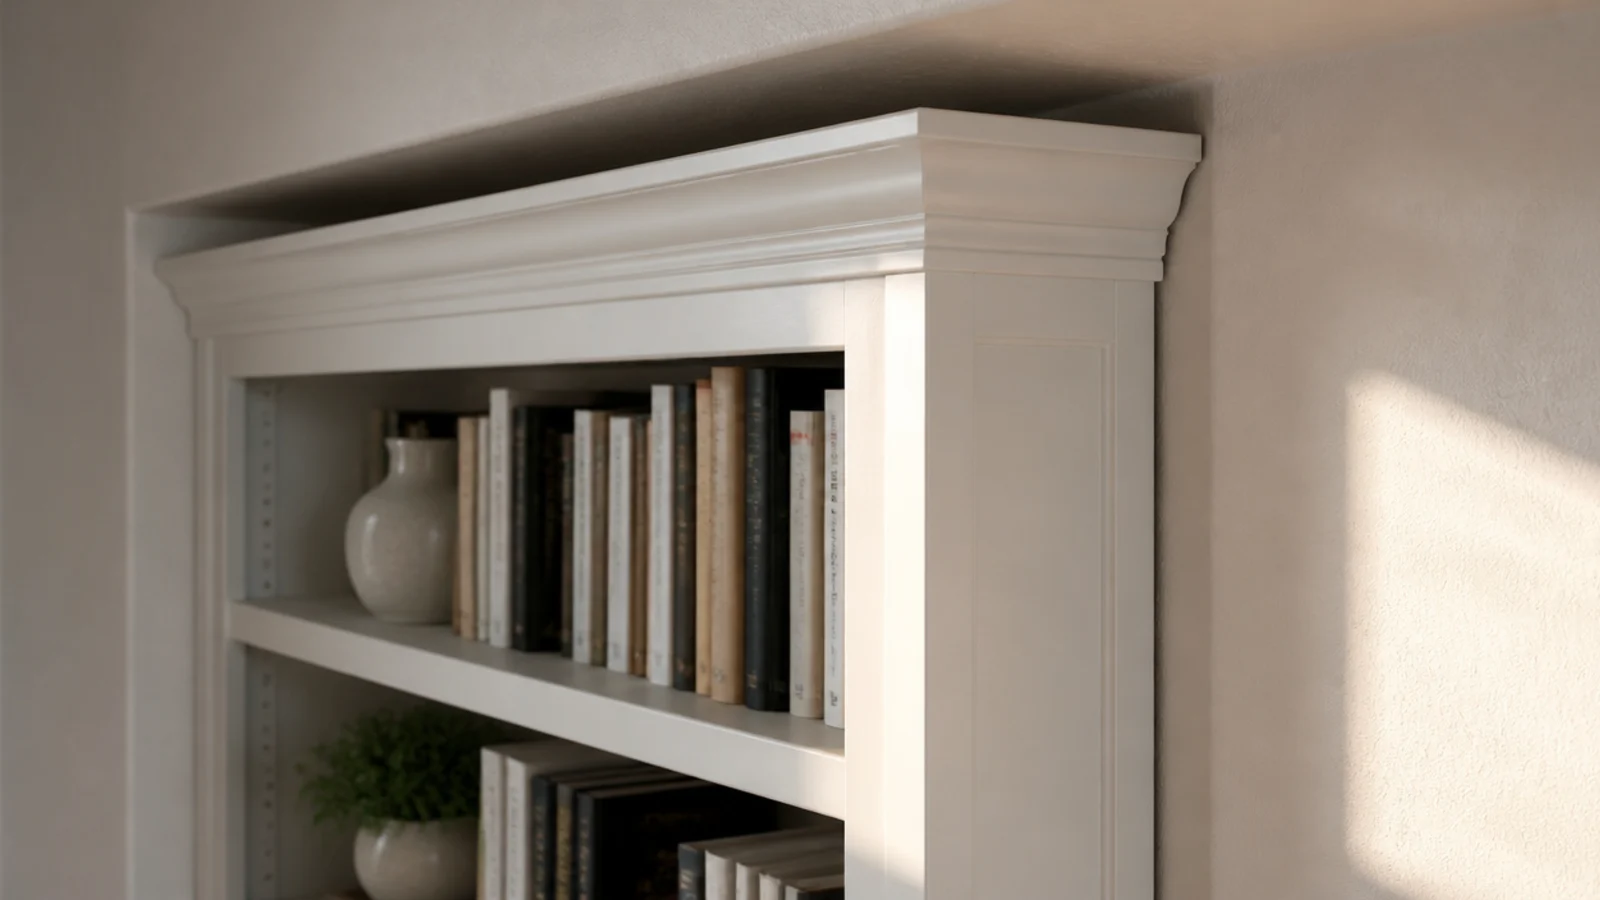
A furniture toe kick sitting proud of the room baseboard is the tell most people never consciously notice but always feel.
Buy a length of baseboard that matches the profile already in your room, cut it to the width of the case, mitre the outside corners at 45 degrees, and tack it on with 18-gauge brads. If you cannot use a nailer, construction adhesive on the back of the trim holds it fine on a piece that carries no load.
Total cost is about $18 and it does more than any other single step here.
4. A one-by-two face frame across the fronts
Real joinery has a frame. Flat-pack does not, which is why you can see the raw plywood edge of every shelf.
Glue and pin a 1x2 down each outer side and one across the front of every shelf. The strip covers the edge, throws a small shadow line that reads as depth, and stiffens the shelf against sag at the same time. Keep the reveal consistent — I set mine flush with the shelf top so nothing catches dust.
About $25 in pine for a five-foot run, and it is the step that changes people's guesses about the price.
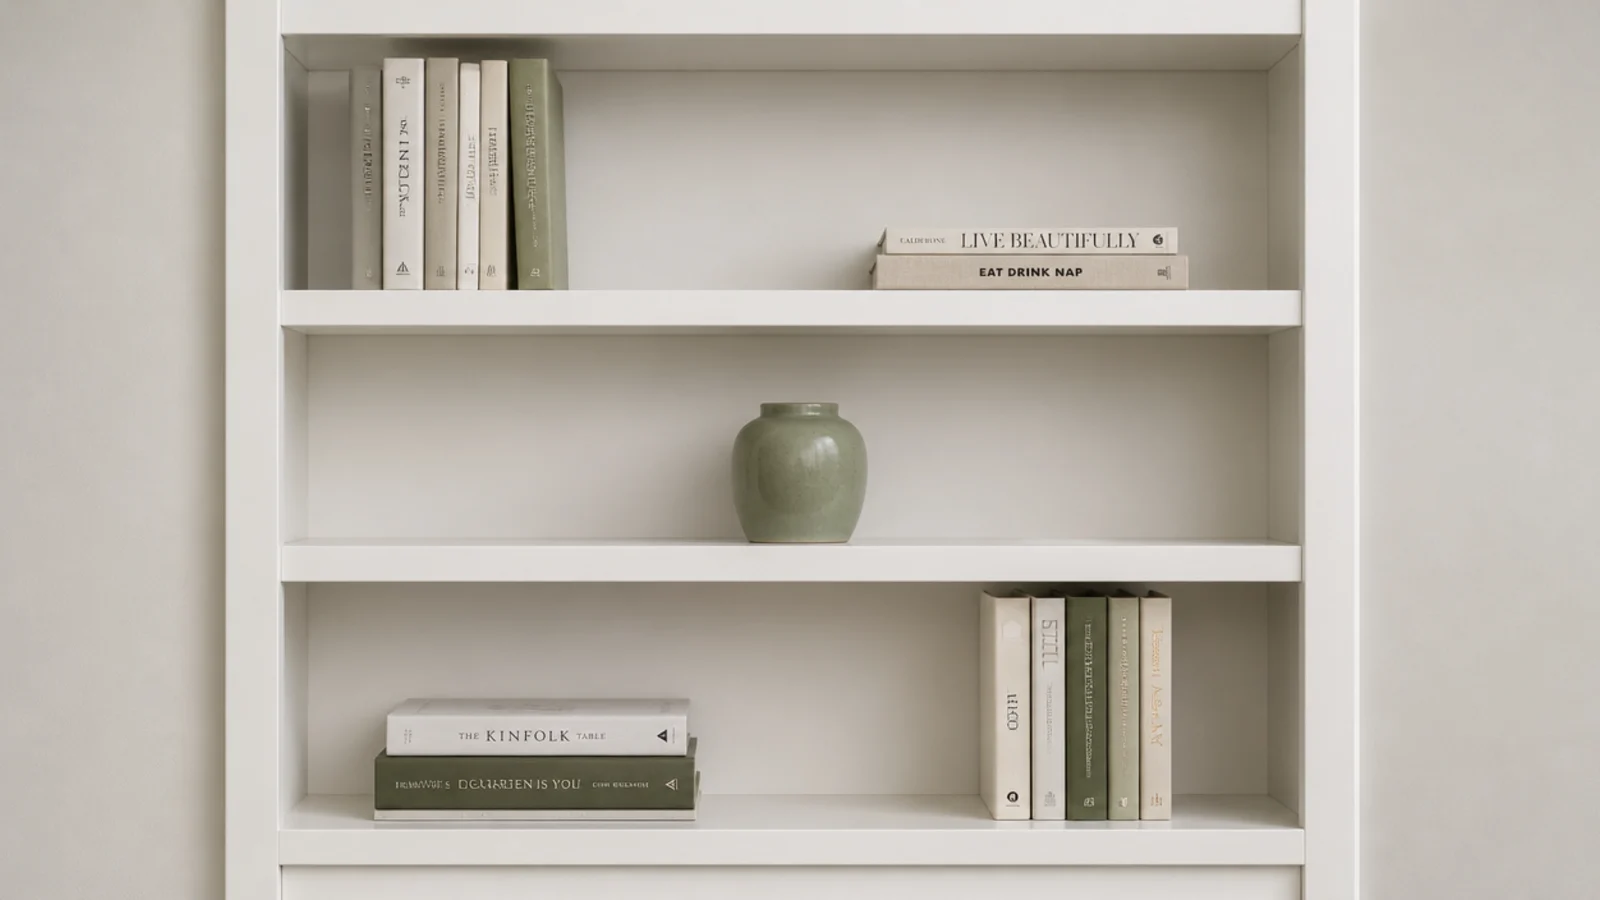
5. Paint the whole thing the trim color
Once the trim is on, paint it all — case, face frame, baseboard and cove — in the exact white already on your window casings, in the same sheen.
Matching the sheen matters as much as matching the color. Satin trim beside a semi-gloss bookcase reads as two different objects under evening light. Take a casing off a closet door as a paint match sample if you cannot identify the original.
If your trim is not white, paint the built-ins the wall color instead. Either way, matching is what makes shelving read as architecture rather than furniture.
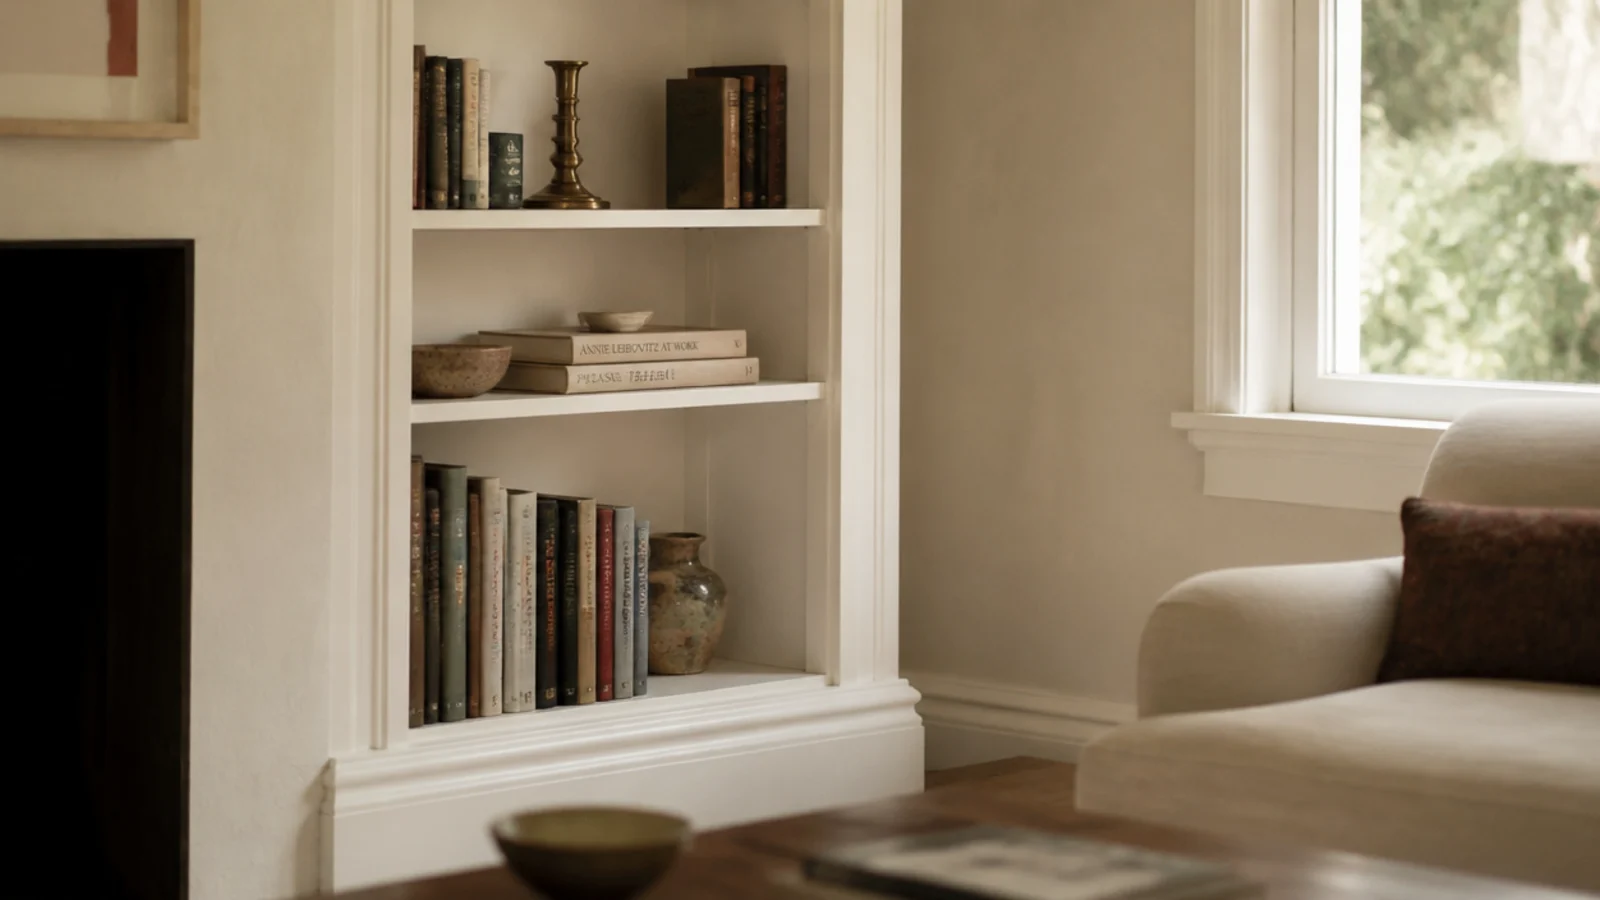
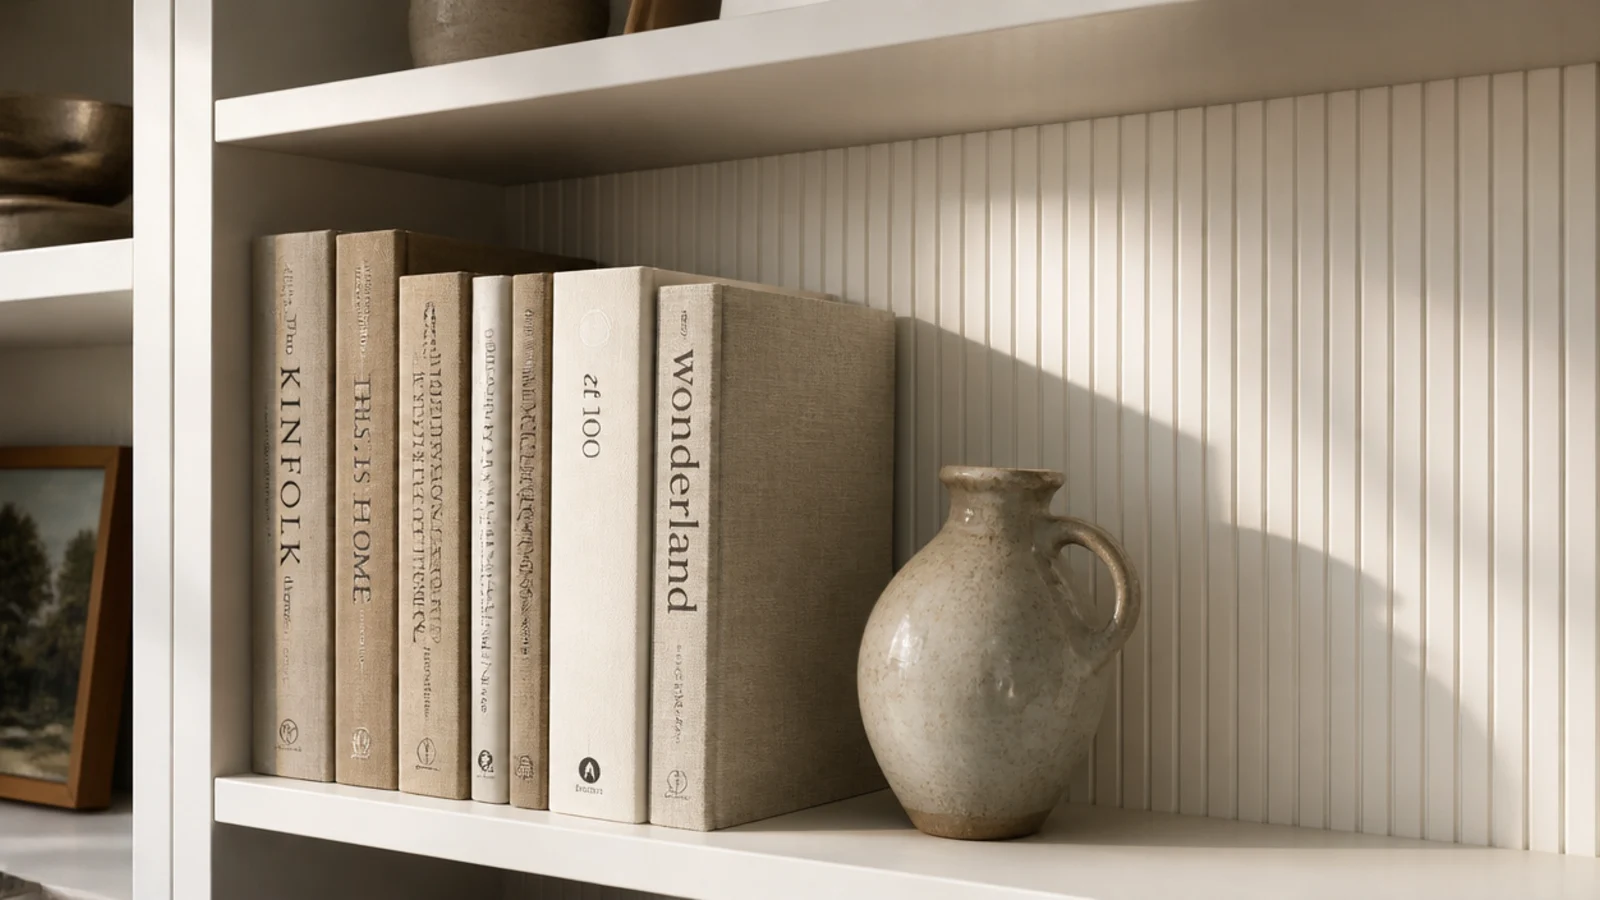
6. Peel-and-stick panelling on the shelf backs
The back panel of a flat-pack case is thin, printed and slightly shiny. It is the second thing to fix.
Peel-and-stick beadboard or grasscloth wallpaper, cut to the panel size with a craft knife, kills the shine and adds texture that catches light between the books. It runs $20 to $40 for a full case and it lifts off with a hair dryer.
Take the shelves out before you apply it. Trying to work around fixed shelves is how you end up with bubbles you will look at every day.
7. A solid front lip on any shelf over 32 inches
Three-quarter-inch plywood holds a straight line to about a 32-inch span, then starts to bow under a full row of books. Particle board gives up sooner.
The fix is the 1x2 front lip from idea four, glued and pinned along the front edge with the grain running the length of the shelf. That single strip roughly triples the stiffness of the shelf for around four dollars.
For a run longer than 40 inches, add one vertical support behind the face frame at mid span. Nobody sees it and the shelf stays dead straight for years.
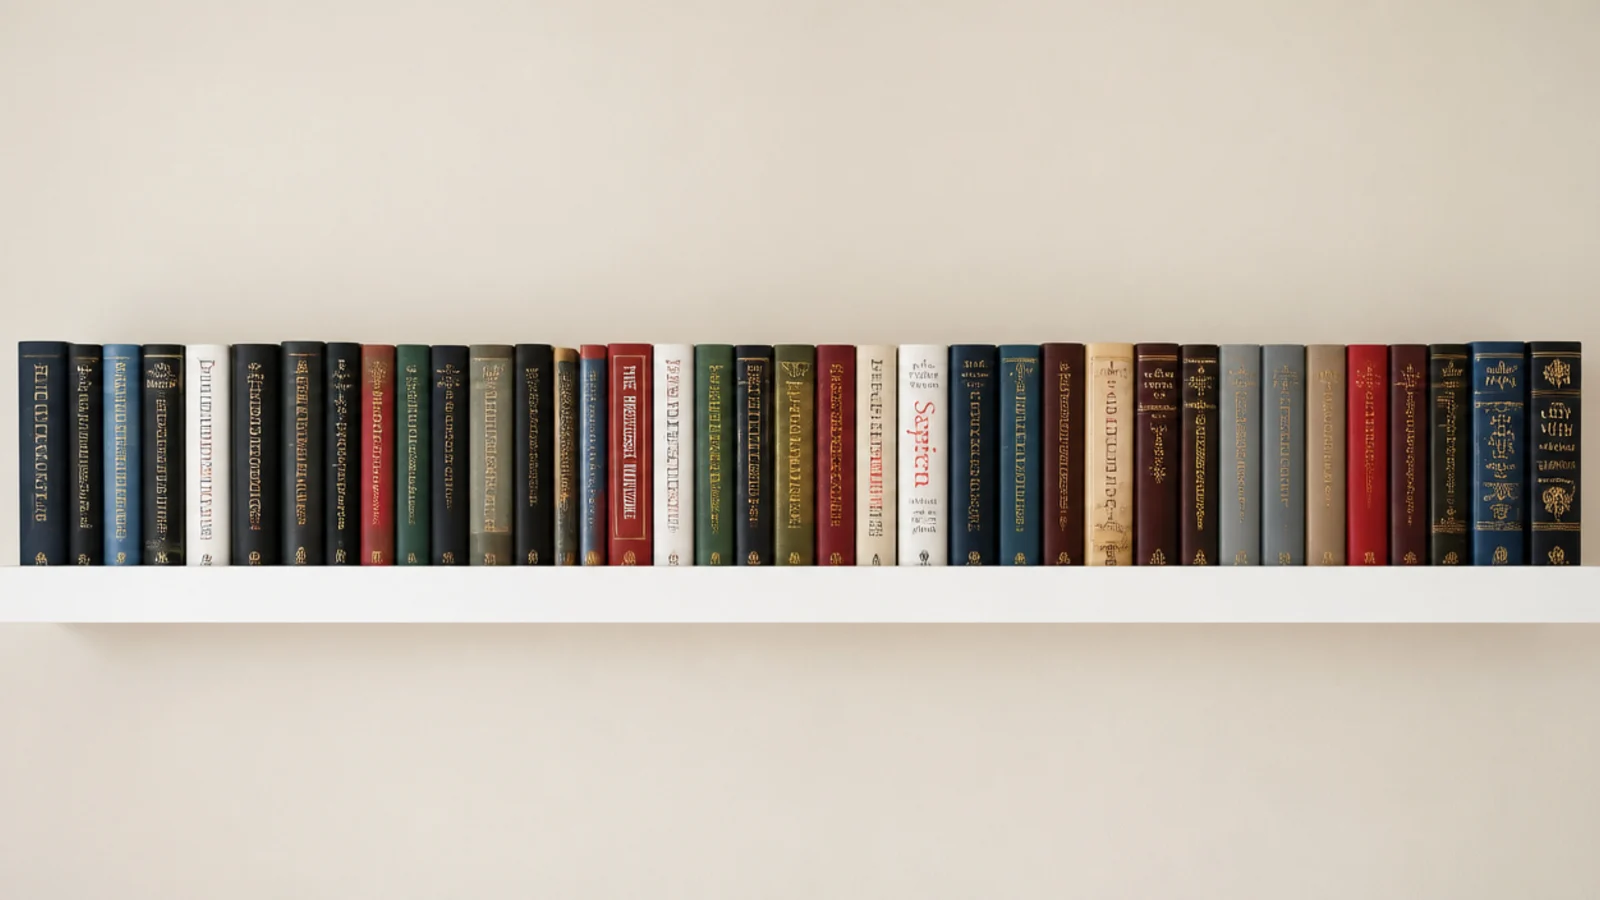
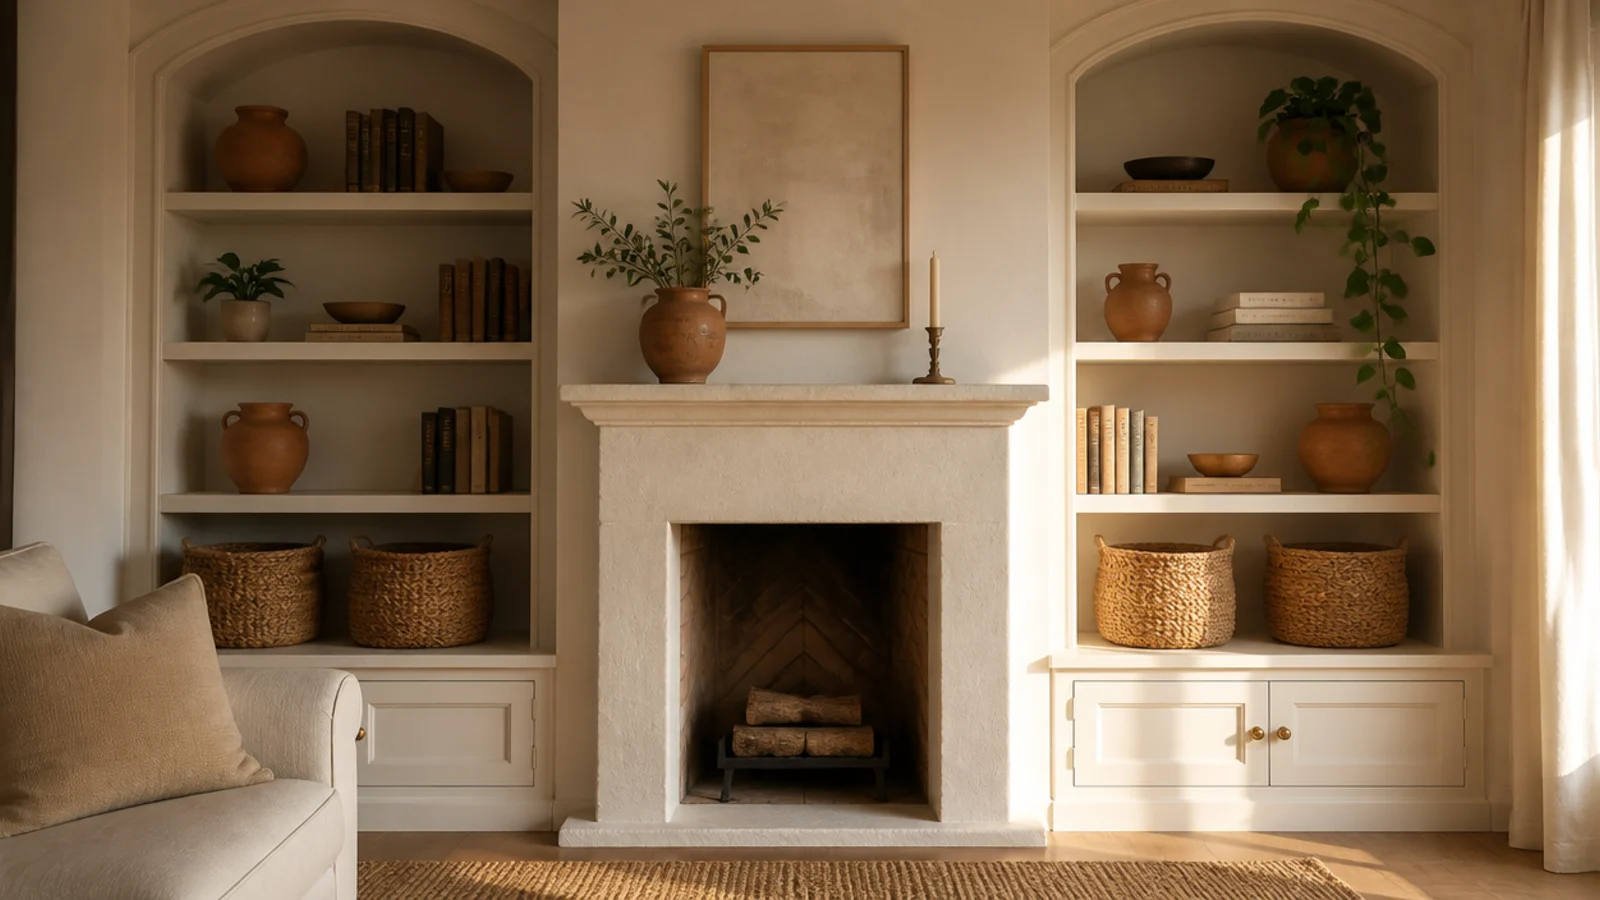
8. A flanking pair beside the fireplace
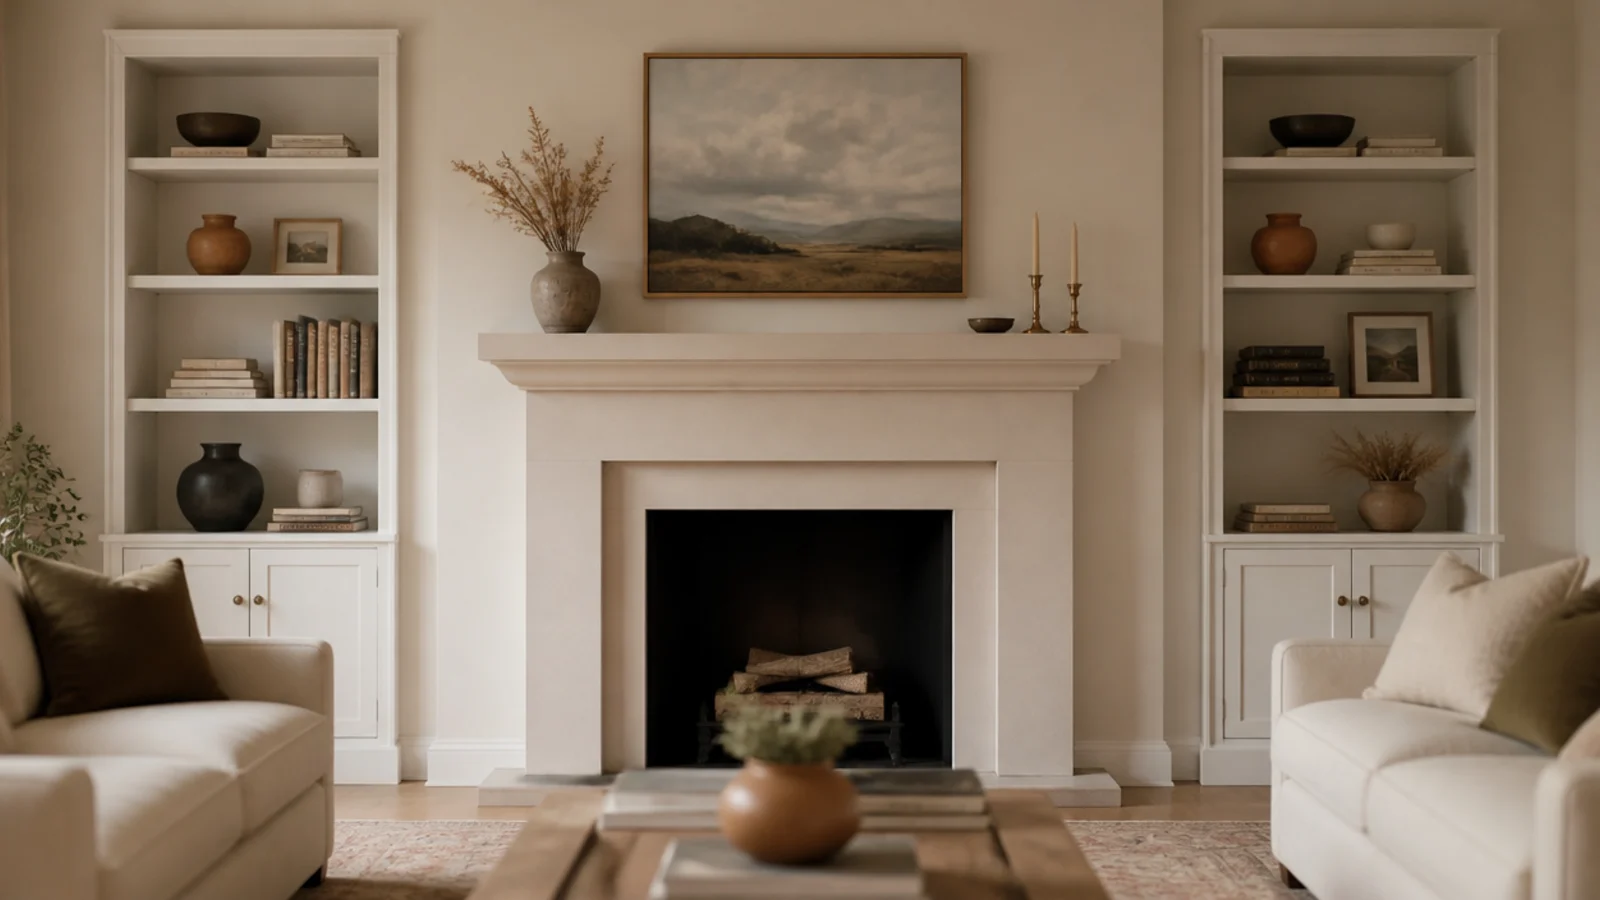
Two matching towers either side of a fireplace is the layout that reads most like real built-ins, because it is symmetrical and it fills the awkward wall.
Keep combustible material at least 6 inches from the firebox opening, and follow the clearance label on the appliance itself if you have an insert or a stove — that label overrides any general rule. Set the cases back from the mantel line rather than flush with it, so the mantel still reads as the focal point.
There is a full guide to built-ins around a fireplace if that is your wall.
9. A half-height run under the window
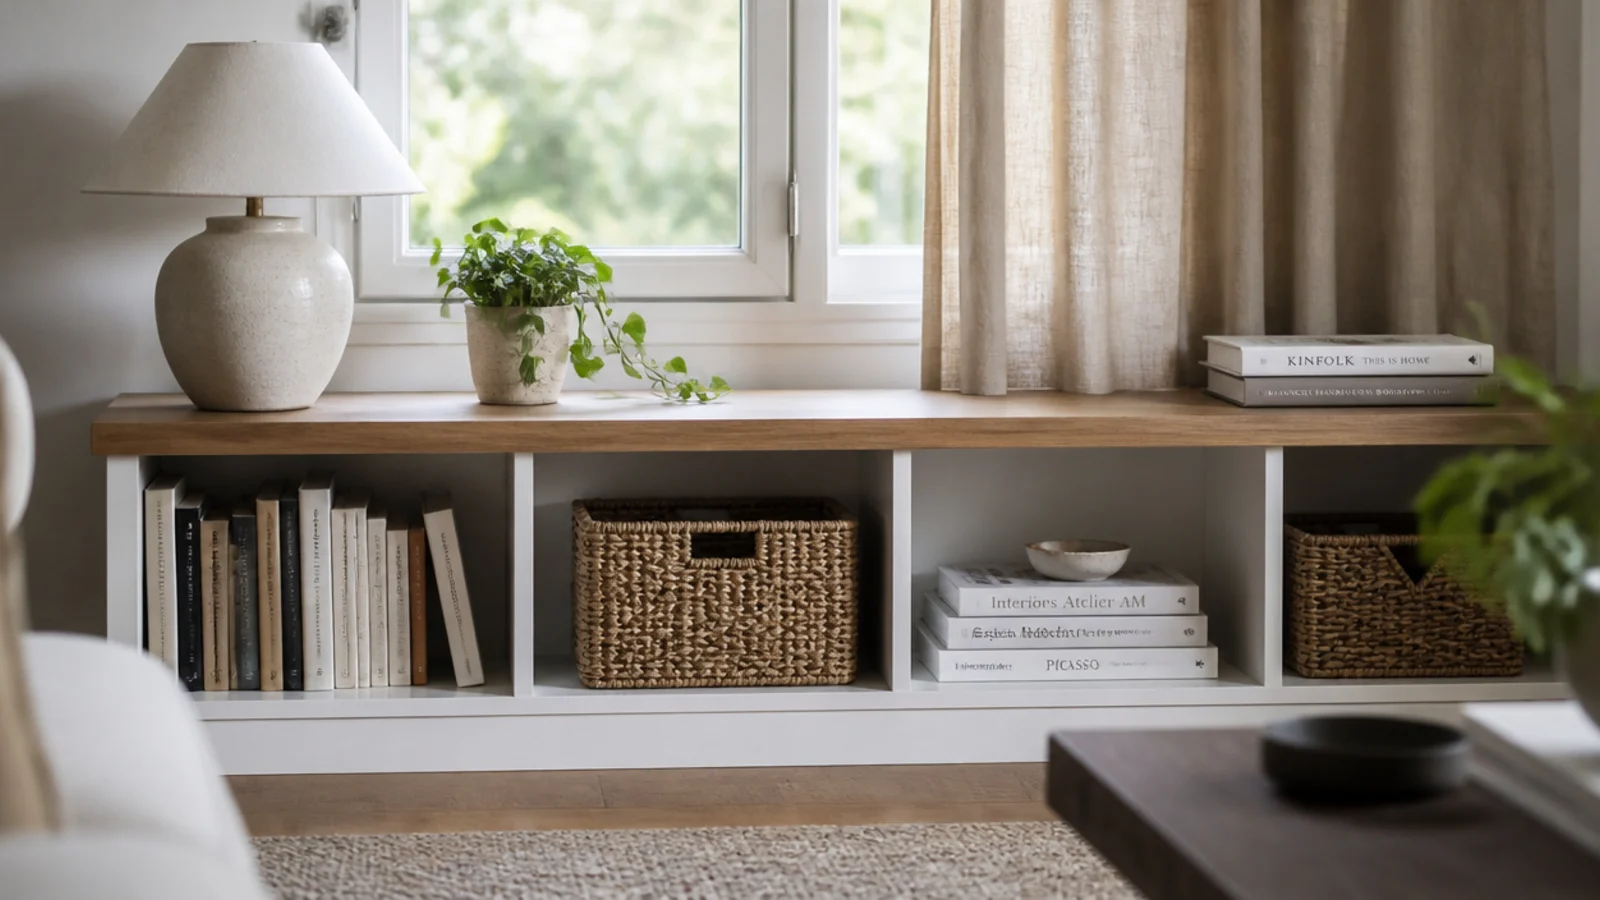
Under a window, height is the enemy. A pair of 30 to 34 inch cases turned into a low run gives you storage without blocking any light.
Stop the top surface about two inches below the sill so the window casing keeps its own line. Cap the whole thing with a length of oak or birch worktop offcut, which costs $40 to $70 and instantly reads custom because the top is one continuous plane across both cases.
That top becomes the best lamp position in the room, and the shelves underneath swallow baskets.
10. Doors on the bottom two feet only
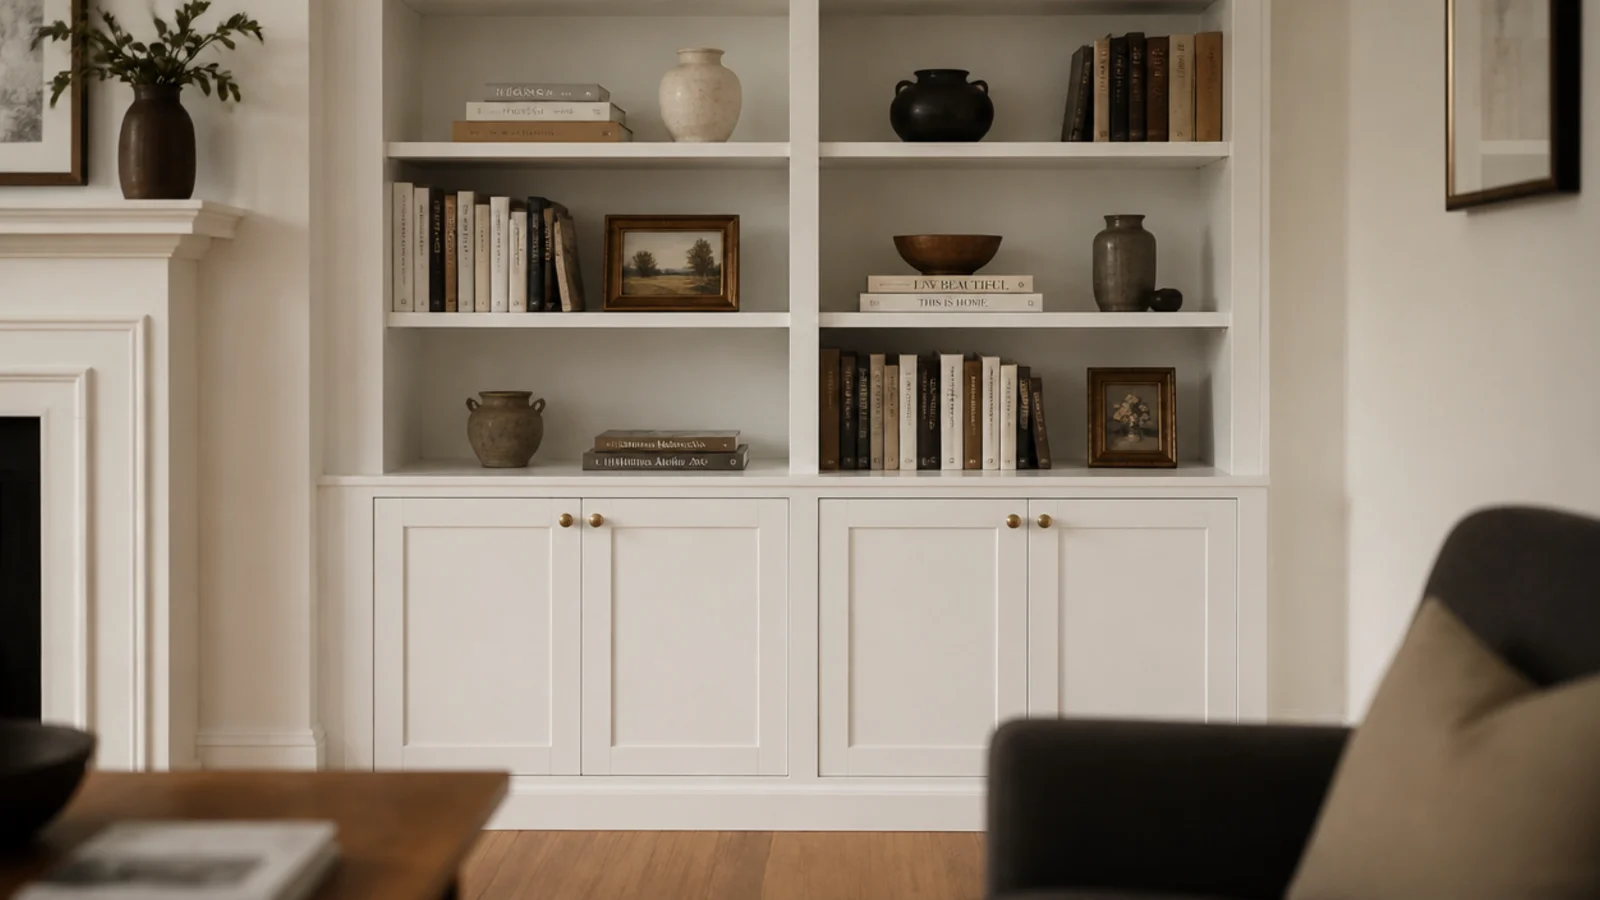
Open shelving everywhere means every ugly thing you own is on display. Closing the bottom two feet solves it without losing the look.
Flat door blanks with peel-and-stick shaker trim, hung on the lowest bay with simple surface hinges, cost $30 to $60 a pair. Paint them with the rest so the fronts read as one surface. Small brass knobs are the cheapest jewelry a built-in can wear.
Router cables, board games and the vacuum charger live behind them. The cabinet-base version of this layout goes further if you want it.
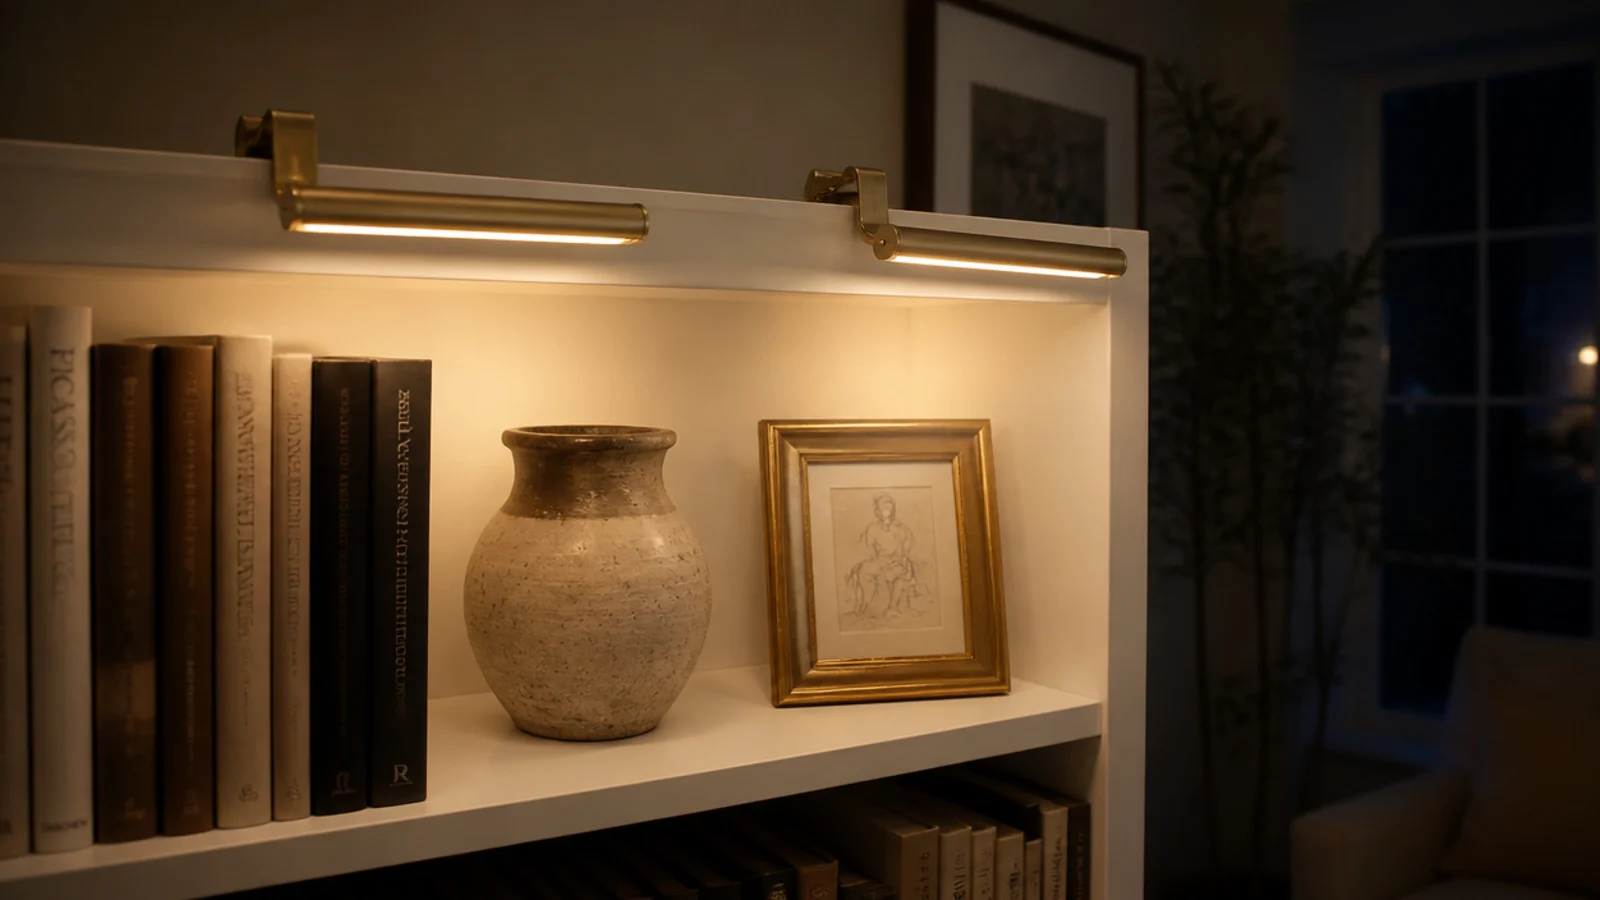
11. Rechargeable picture lights on the top rail
Real built-ins get wired lighting. Rentals get magnets and a USB cable, and honestly the effect is close to identical.
Clip a slim rechargeable picture light to the top rail of each case, in 2700K warm white. Cool white makes painted trim look grey and drains every warm tone out of walnut and clay. Expect $20 to $35 a light and a recharge every six weeks.
Aim the beam down the face of the shelves rather than into the room, so it grazes the objects instead of glaring at the sofa.
12. A cove strip that closes the ceiling gap
If your cases stop short of the ceiling, you have two honest choices: close the gap or make it deliberate.
Closing it wins nine times out of ten. A slim cove or quarter-round strip pinned to the top of the case and caulked into the ceiling line removes the shadow gap completely. Scribe and caulk every wall and ceiling gap you can reach, because an open gap is the clearest DIY tell there is.
If the gap is more than four inches, run a plain painted panel up first, then cove over it.
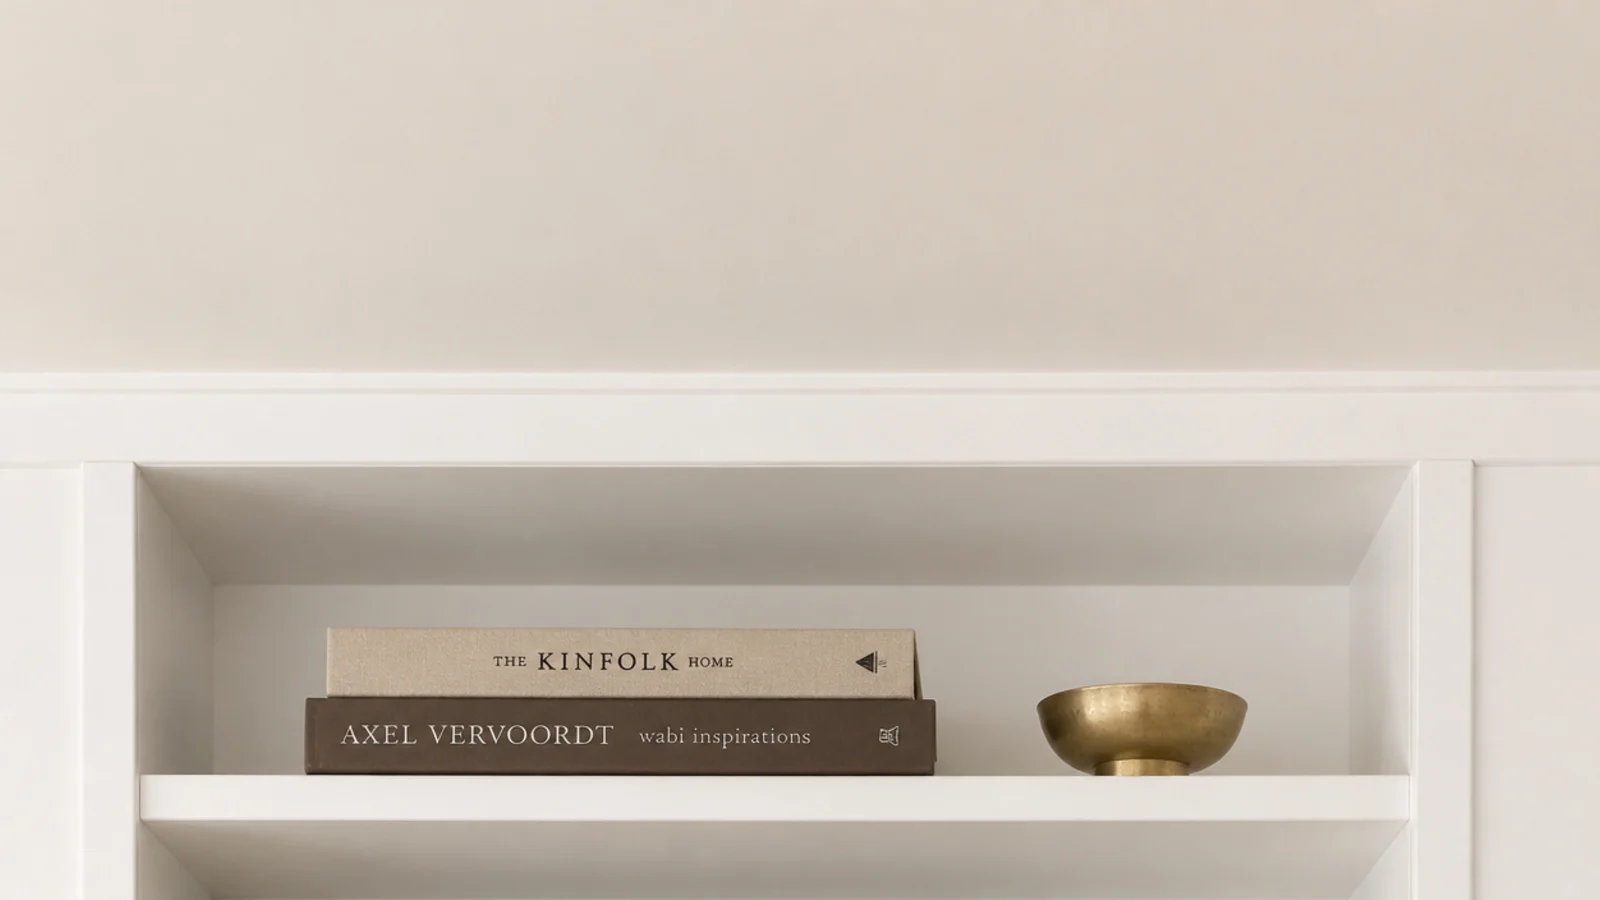
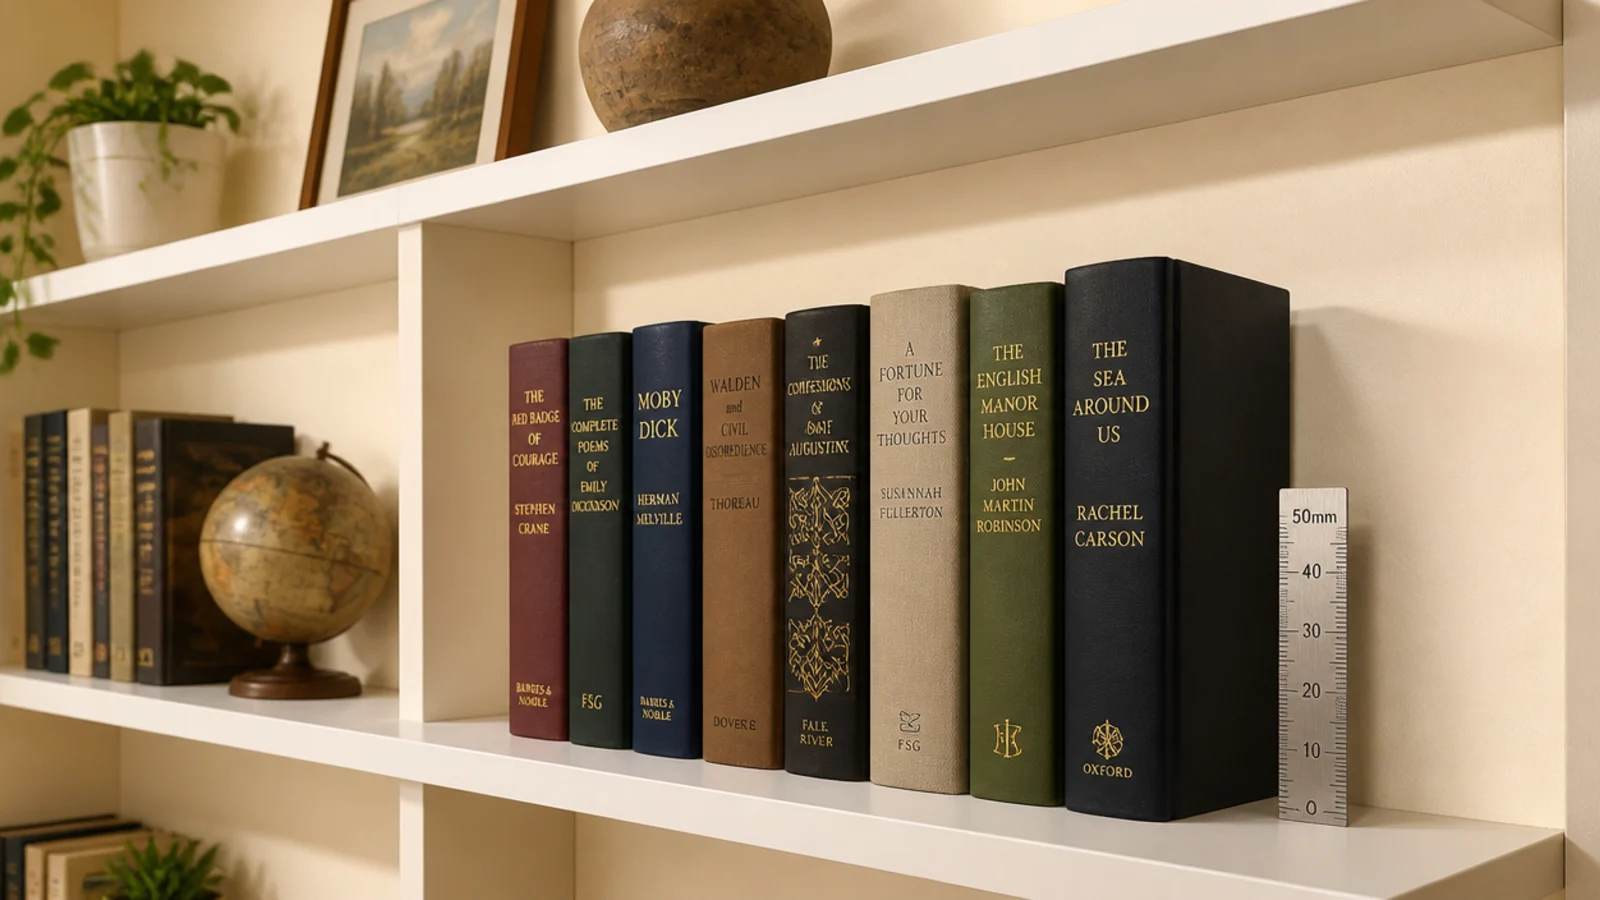
13. Set the pins for real books, not factory spacing
Flat-pack cases ship with shelves spaced evenly at about nine inches, which fits paperbacks and nothing else.
Pull every shelf out and reset the pins around what you actually own: 11 to 13 inches of clear height for hardbacks, 9 inches for paperbacks, and one bay at 16 to 18 inches for a row of art books or a stack of board games. Uneven spacing looks more custom, not less, because real joinery is planned around contents.
Ten minutes, zero dollars, and it changes what the shelves can hold.
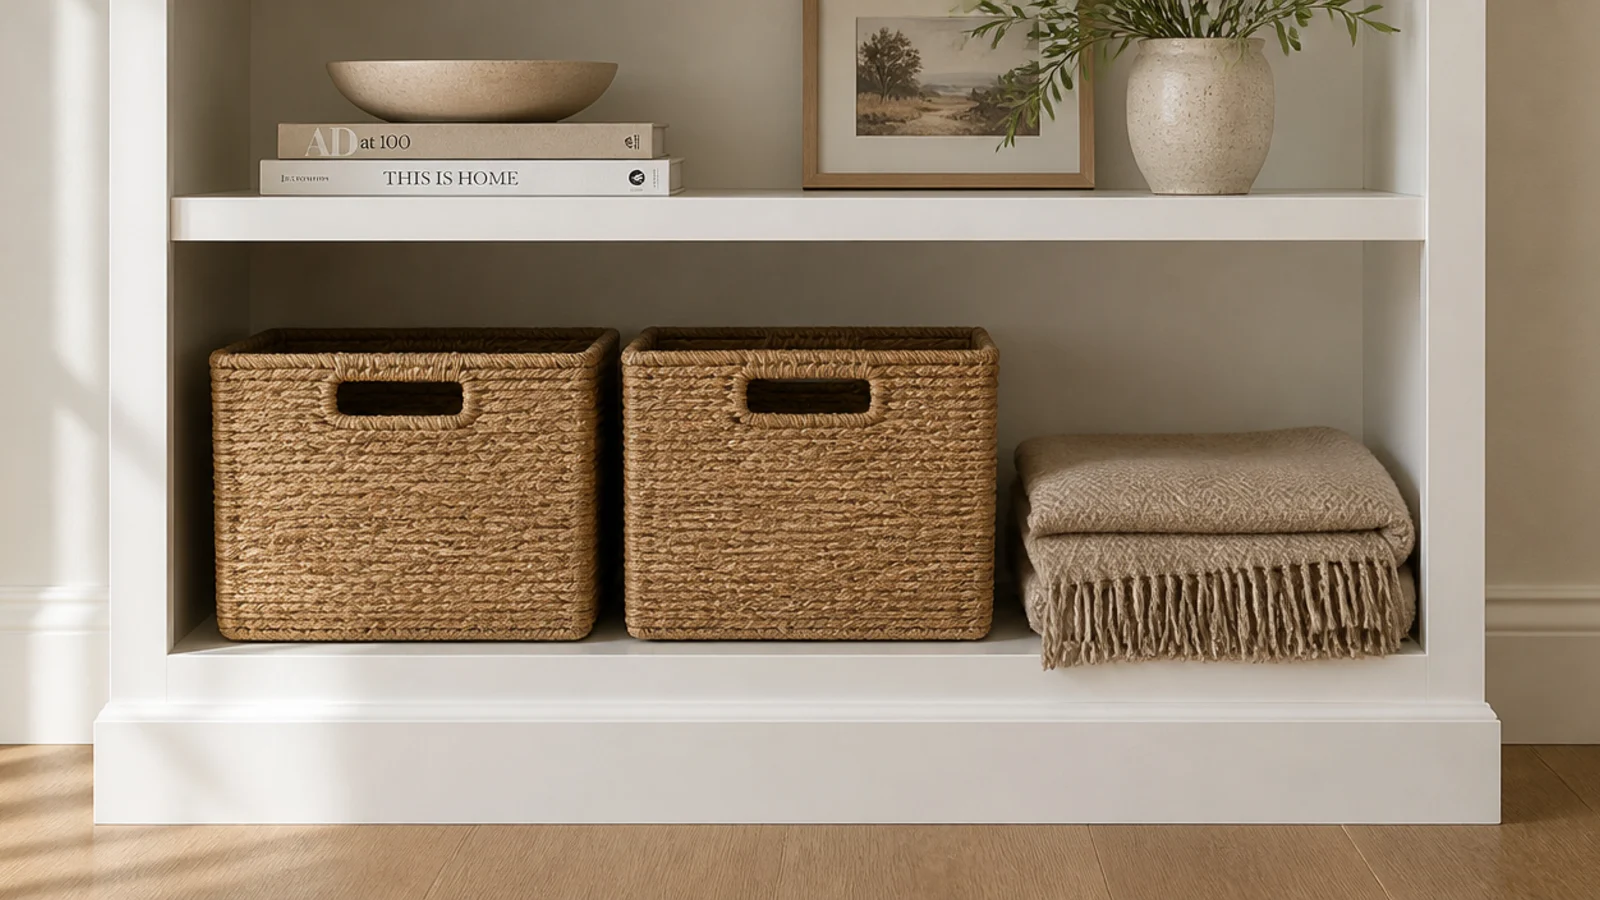
14. A deep bottom shelf sized for baskets
The lowest shelf is the one nobody styles and everybody stuffs, so build it for the stuffing.
Set it 14 to 16 inches deep — deeper than the shelves above if your case allows it — and buy two matching jute or seagrass baskets sized to fill the width with about an inch of play. Matching baskets across the bottom of a run costs $30 to $60 and instantly organizes the messiest part of the unit.
Keep the top of the baskets below the shelf edge so the front line stays clean.
15. Anchor it properly and keep it removable
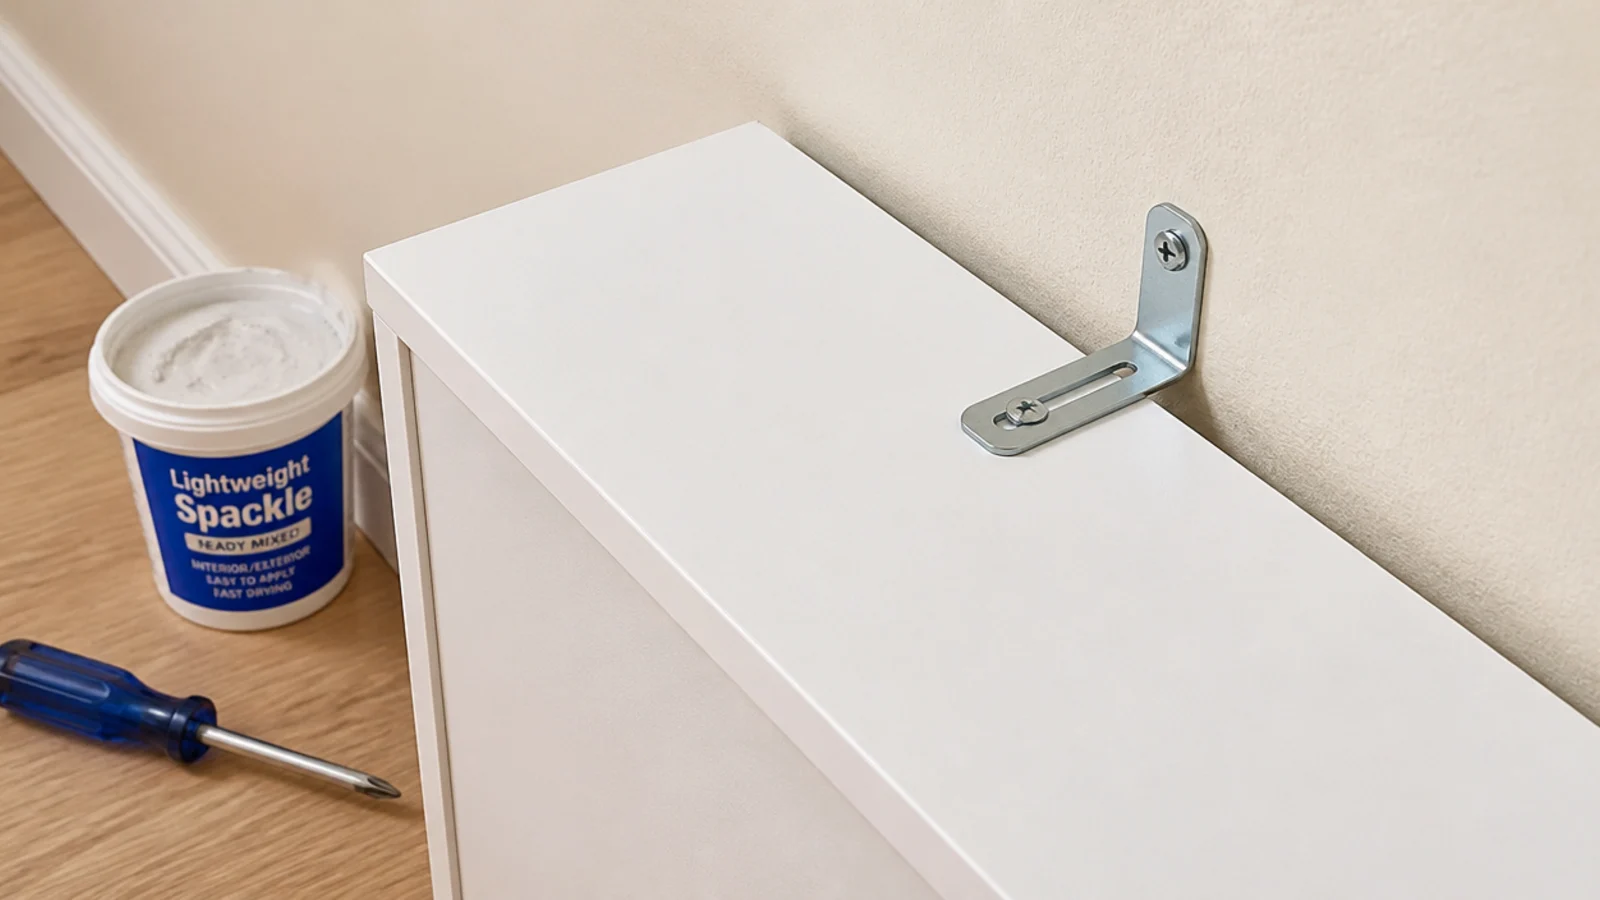
Every tall case gets one anti-tip bracket into the wall. That is not negotiable, and the renter argument against it does not hold.
One bracket needs one screw, ideally into a stud but a toggle bolt works in half-inch drywall. On move-out, that is a single hole filled with lightweight spackle, sanded flush and touched up in under a minute. Compare that to a loaded bookcase coming down on a toddler and the choice makes itself.
Straps for two cases cost about $10. Buy them on the same trip as the shelving.
Mistakes to Skip
- Leaving the factory back panel visible. That thin printed board catches light differently from paint and undoes every other step, no matter how good the trim is.
- Painting the cases a color that matches nothing in the room. Matching the trim or the wall is what makes shelving read as architecture; a fourth color reads as a delivery.
- Skipping the anti-tip bracket because you rent. One filled screw hole is a five-minute job. A loaded bookcase tipping forward is not something you get to redo.
Frequently asked questions
Can renters install built-in shelves without losing the deposit?
Yes, if the permanent parts stay on the furniture rather than the wall. Trim gets pinned to the bookcase with 18-gauge brads, paint goes on the bookcase, and the only wall fixing is one anti-tip bracket per unit. That leaves two small screw holes to fill with lightweight spackle and touch up on move-out day.
How deep should living room built-in shelves be?
Eleven to twelve inches for books, which holds a hardback spine-out with nothing overhanging the front edge. Fourteen to sixteen inches for baskets, a receiver or a record crate. Past sixteen inches things migrate to the back and never come out again, so save that depth for the base cabinets where doors hide the mess anyway.
What paint color makes built-in shelves look expensive?
The wall color or the trim color, in the same sheen as the existing trim. A bookcase painted to match the room reads as architecture, while a bookcase in a contrasting color reads as furniture pushed against a wall. If you want contrast, put it on the shelf backs only and keep the frame matching.
How far apart should built-in shelves be spaced?
Eleven to thirteen inches of clear height between shelves takes a standard hardback with breathing room above it. Measure your tallest book before you set the pins, because art books and photo books routinely run 13 inches and will force you into a lower shelf you did not plan for.
Will a flat-pack bookcase shelf sag under books?
Three-quarter-inch plywood sags visibly past a 32-inch span once it carries a full row of books, and thinner particle board sags sooner. Glue and pin a 1x2 along the front edge, which stiffens the shelf dramatically for about four dollars, or add one mid-height support behind the face frame.
How do I hide the gap between a bookcase and a wavy wall?
Scribe a filler strip to the wall and caulk the last hairline. Measure the alcove at three heights first, because old walls commonly taper three-eighths of an inch over seven feet. An open gap along the side or top is the single clearest sign that a built-in was bought rather than built.
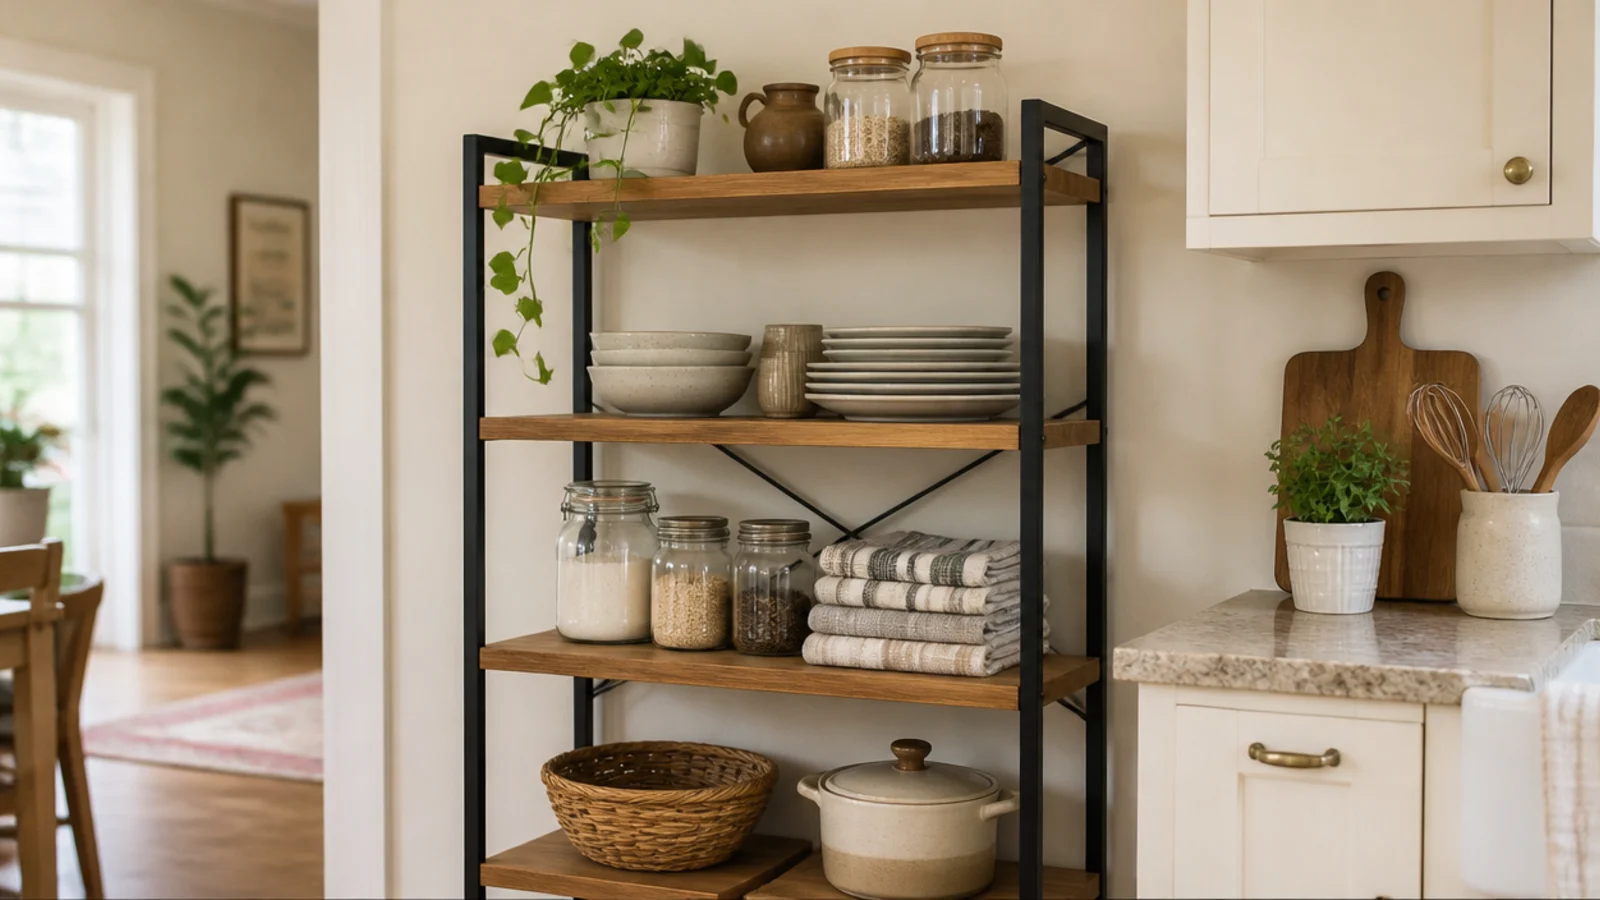
Do it in the order above and you can stop at any point with something that still looks finished — trim, then paint, then lighting. Start with one alcove rather than a whole wall. If money is the constraint, the budget built-ins breakdown has the cheapest version of each step, built-in shelf styling covers what goes on them afterwards, and kitchen shelf styling uses the same rules on open shelving. Save the pin so the depths and spans are with you at the store.
Want more like this? Browse all 15 living room built-in shelves guides — they all use the same measurements and budget tiers.
Pin it for later
Save this to your Living Room Built-In Shelves board
Pin it now so it is waiting for you when the tape measure comes out — and so the next person hunting for this idea can find it too.
Save this pinKeep going
More ideas worth saving while you have the tape measure out.