Living Room Built-In Shelves · Listicle
30 Stylish Living Room Built-Ins Ideas to Copy Now

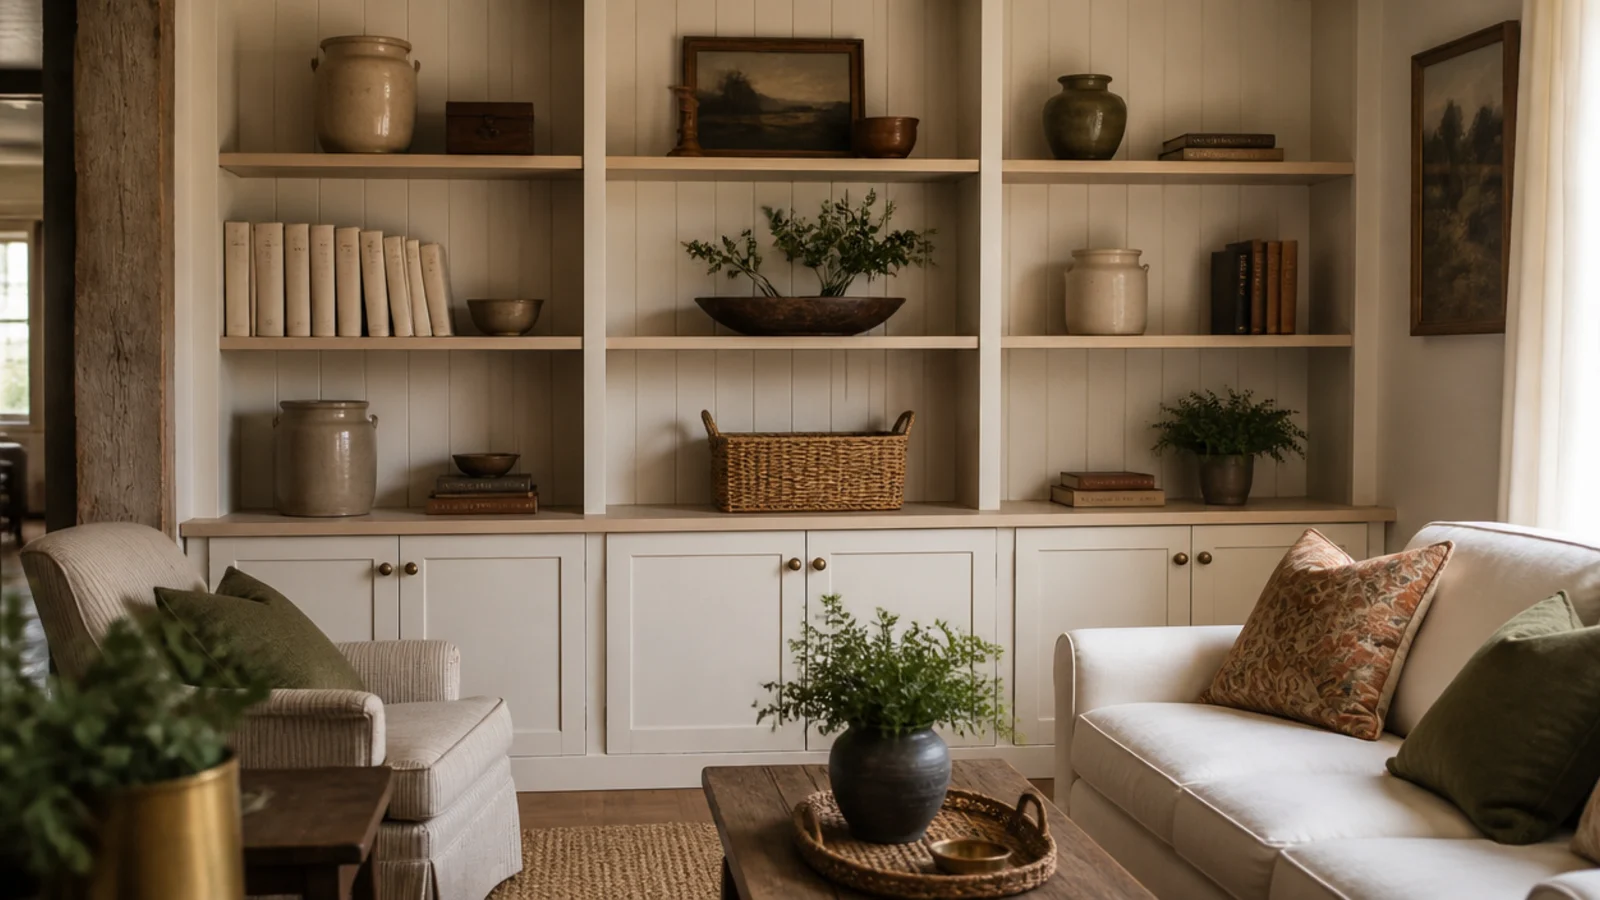
Farmhouse built in shelves live or die on two details that cost almost nothing: what sits behind the shelves, and how thick the front edge looks. Get texture on the back panel and weight on the front, and even a flat-pack carcass starts reading like something a carpenter made in 1940. Here are thirty details worth stealing, cheapest first.
In this guide32 sections — tap to openHide
- 1.What makes farmhouse built-in shelves feel old rather than new
- 2.Shiplap the back panels
- 3.Beadboard where you want a finer line
- 4.Chunky one-by-three fronts on every shelf
- 5.Cream paint, never builder white
- 6.Warm oak shelves inside painted frames
- 7.A reclaimed beam as the header
- 8.X-brace doors on the base cabinets
- 9.Plank doors with a Z-brace
- 10.Chicken wire panels for one bay
- 11.Black iron latches and cup pulls
- 12.Corbels under the counter
- 13.A plate groove for leaning art
- 14.A sliding barn door over one bay
- 15.A rough-hewn mantel between the towers
- 16.Seagrass baskets along the bottom shelf
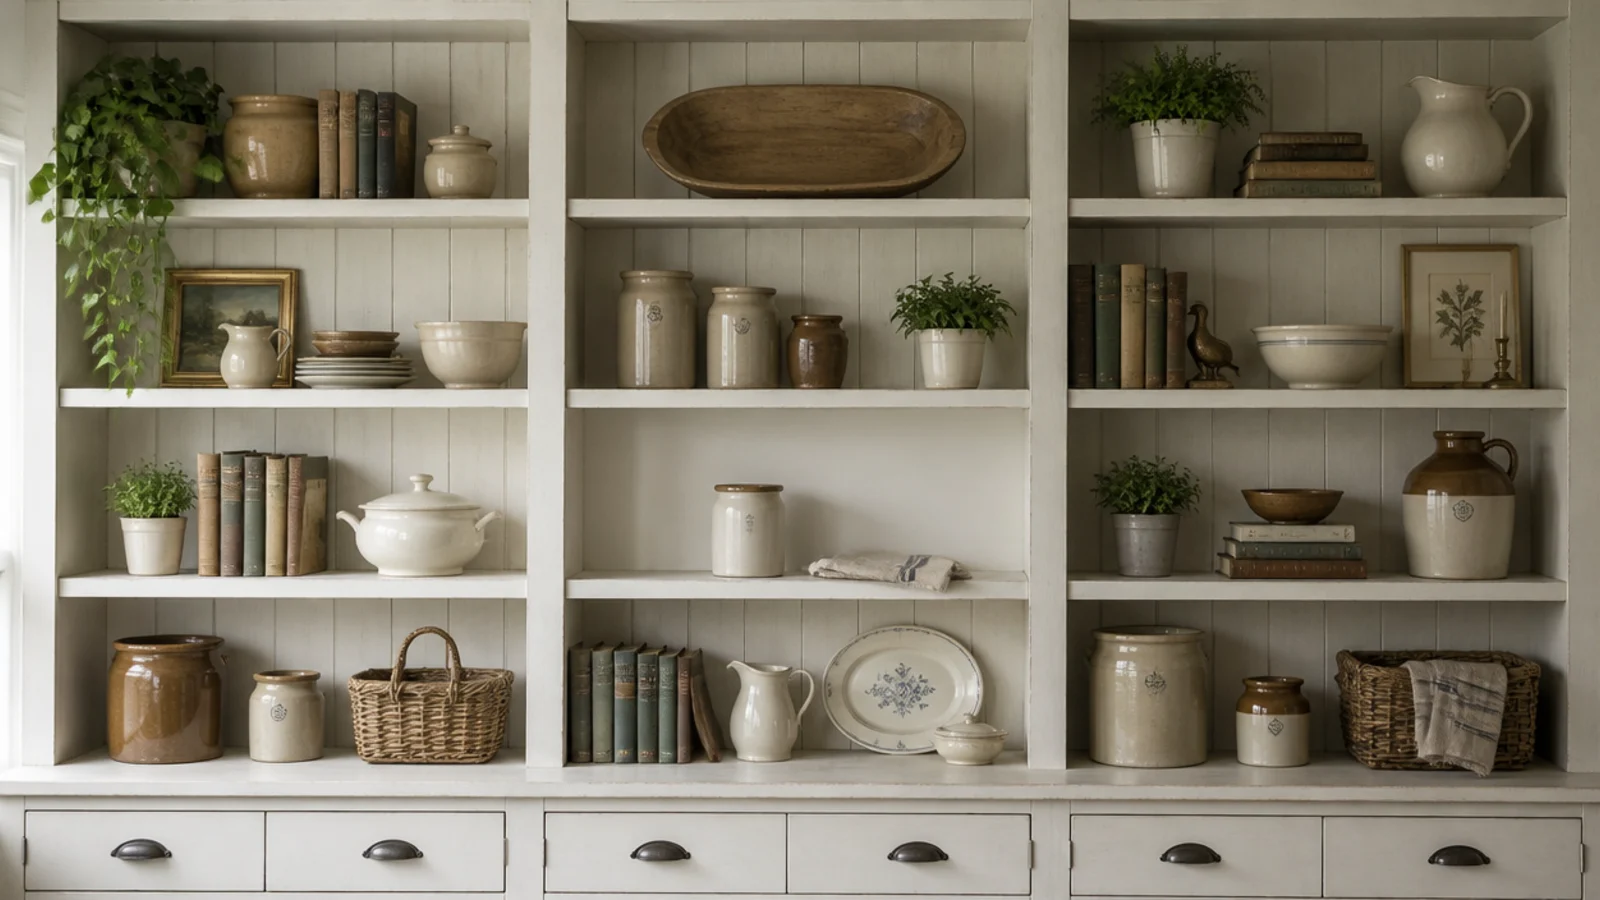
- 17.Stoneware crocks as the big objects
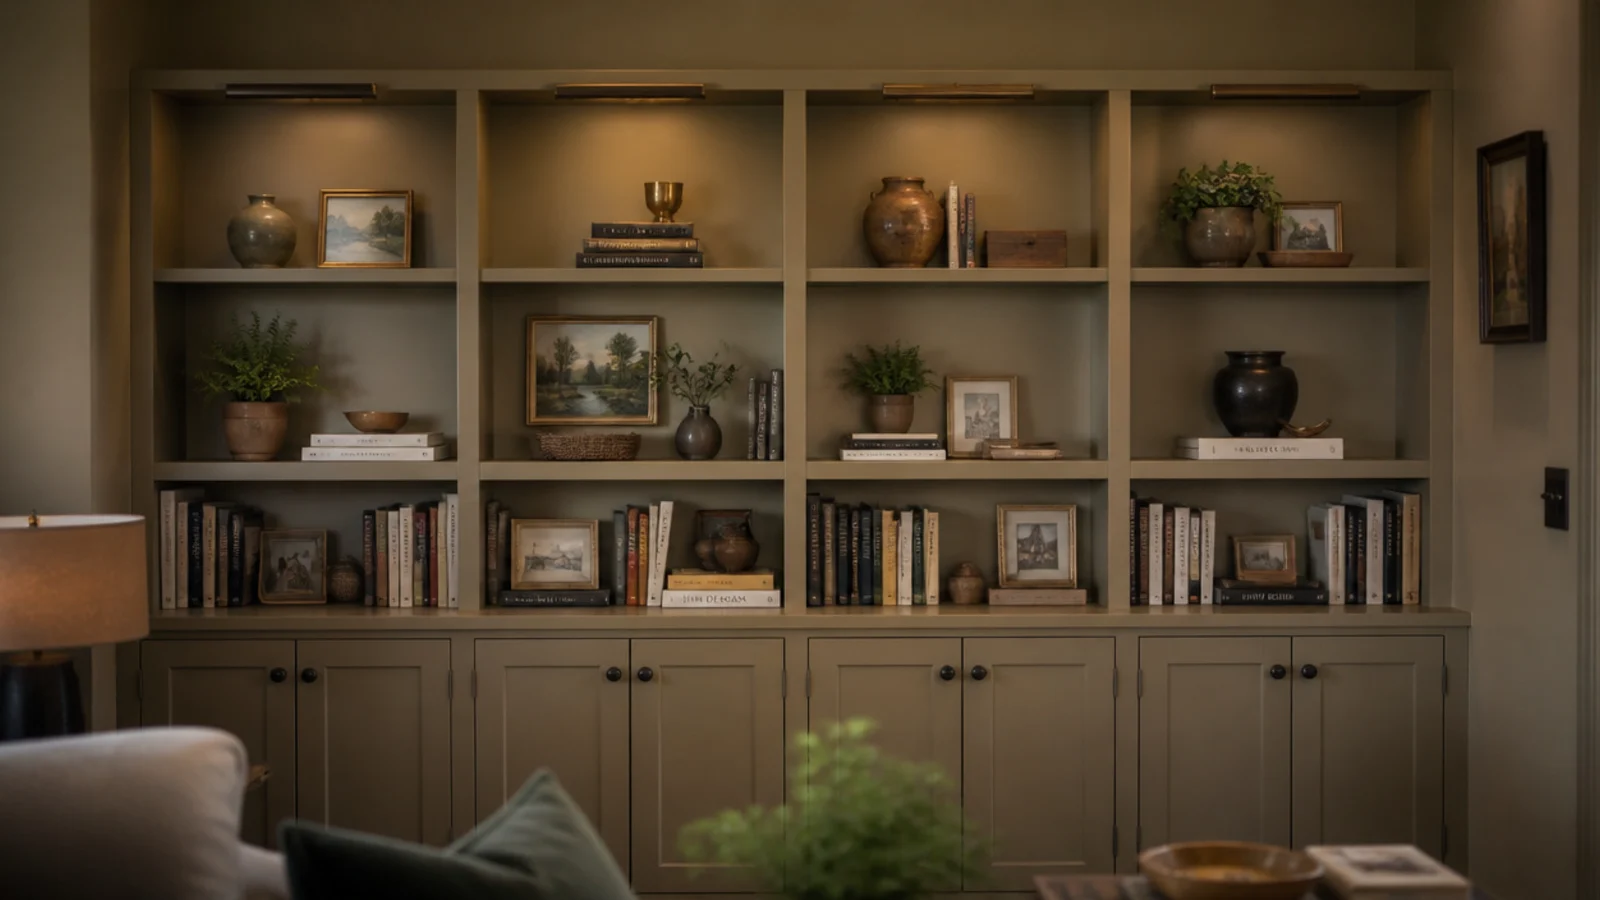
- 18.A muted sage back panel
- 19.A wide-plank counter with breadboard ends
- 20.A window seat with a linen cushion
- 21.A ticking stripe curtain instead of doors
- 22.Vintage crates as pull-out drawers
- 23.A leaning ladder for throws
- 24.Old books with the dust jackets off
- 25.Exposed iron brackets under the open shelves
- 26.A simple cove instead of ornate crown
- 27.Aged brass picture lights
- 28.Soften the edges before you paint
- 29.Matte walls, eggshell built-ins
- 30.A low bench bay by the door
- 31.Leave one shelf almost empty
- 32.Mistakes to Skip
What makes farmhouse built-in shelves feel old rather than new
Old joinery has three qualities modern joinery deliberately removes: visible texture, chunky proportions, and warm color. Every idea below is one of those three.
Texture means the back panel. A plain painted board reads new; shiplap, beadboard or plank backing reads old, and it stays half hidden behind books so it never becomes a statement.
Proportion means the front edge. A thin plywood edge reads factory. An inch and a half of painted front board reads solid timber, and it also stiffens the shelf — three-quarter-inch plywood sags past a 32-inch span under books, so the thick front is doing structural work too.
Color means warmth. Cream, greige and soft sage rather than cool builder white, and paint the built-ins the wall or trim color so they read as architecture instead of furniture.
The measurements do not change: 11 to 12 inches deep for books, 14 to 16 for baskets and crocks, and 11 to 13 inches of clear height between shelves for hardbacks.
Budget tiers here: back panel and trim upgrades on existing shelving run $60 to $150 ($), a painted run with oak shelves runs $400 to $800 ($$), and a full wall with doors, counter and beam header runs $1,500 and up ($$$).
1. Shiplap the back panels
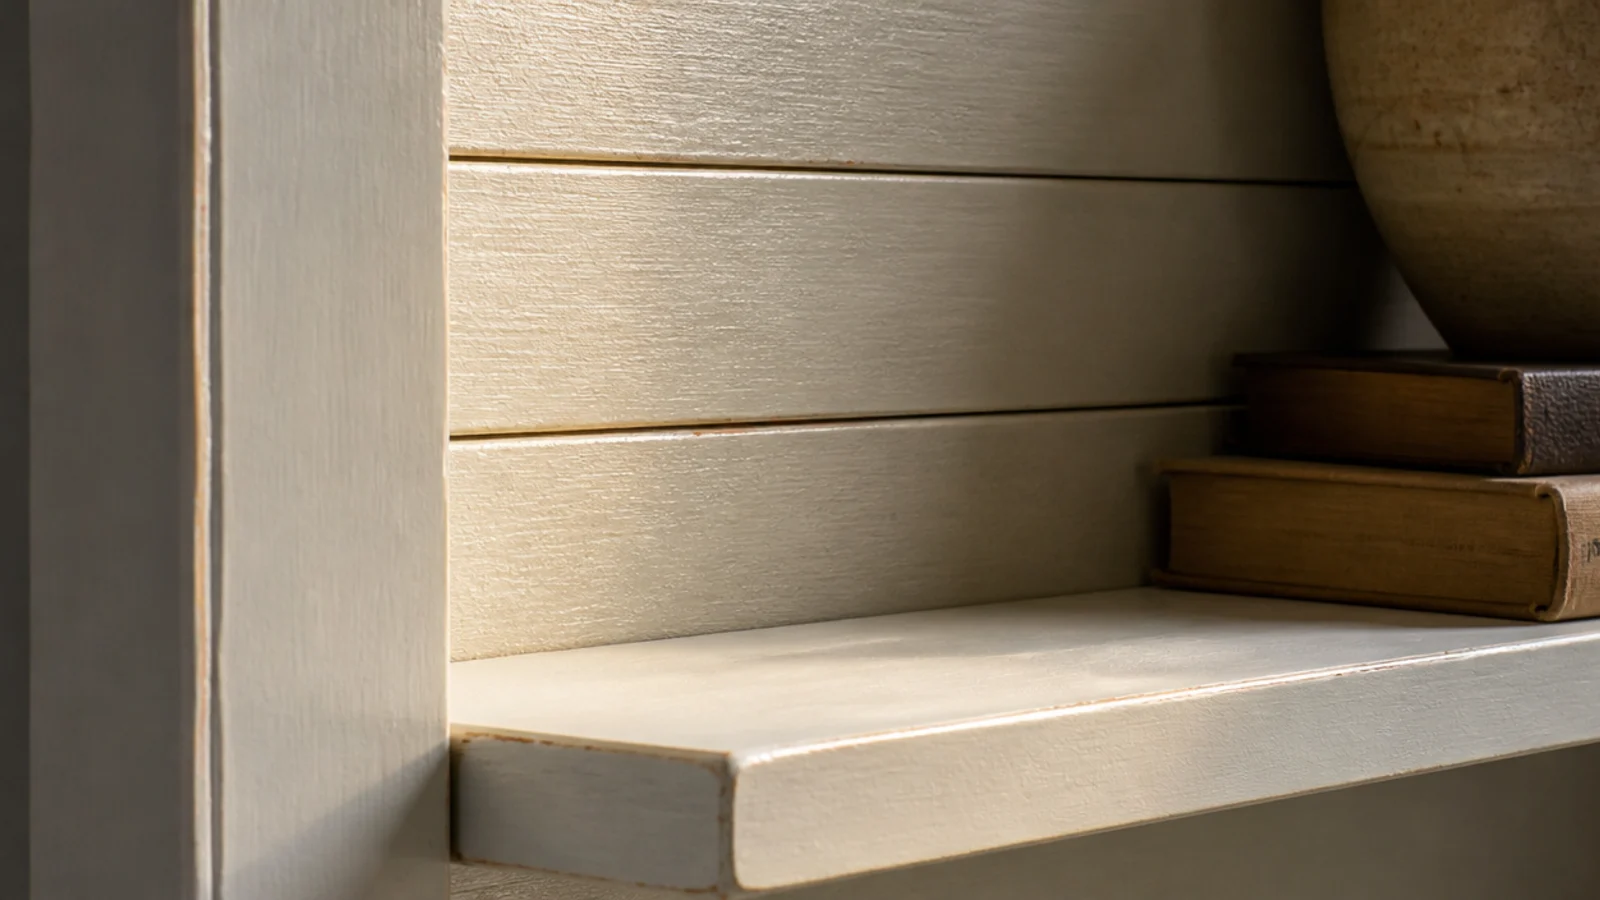
Narrow boards with a fine shadow gap between them, run horizontally behind the shelves.
Use three-inch boards rather than six-inch ones. Wide shiplap reads as a trend; narrow reads as old wall boarding. Paint it the same color as the frame so the texture shows only in raking light. About $2 a square foot in pre-primed pine.
2. Beadboard where you want a finer line
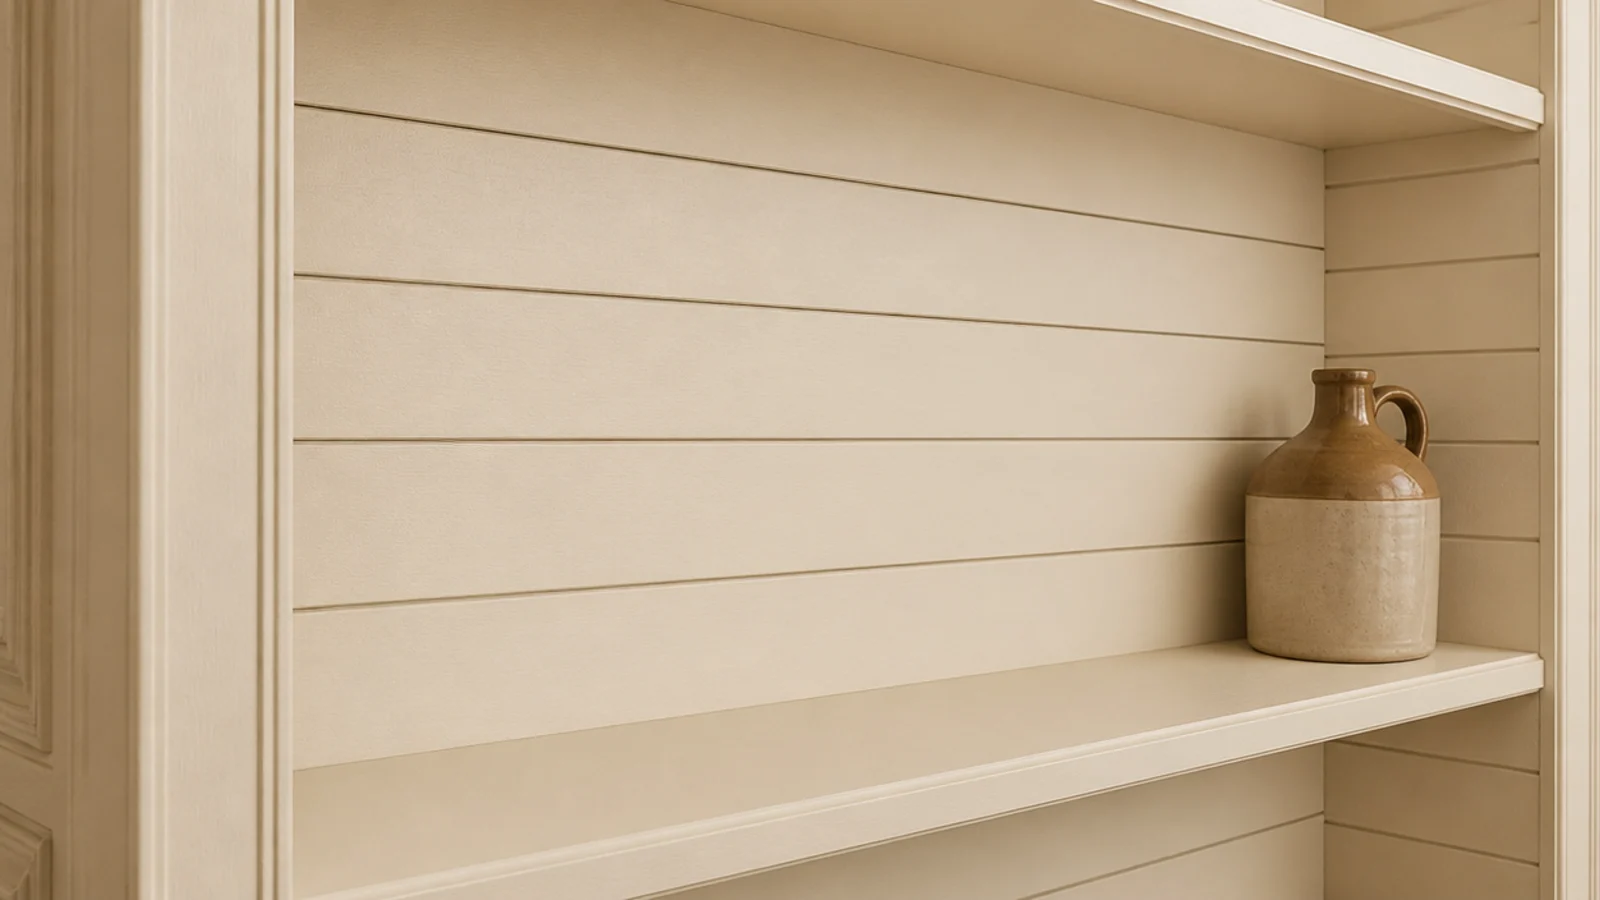
Beadboard gives you a vertical rhythm instead of a horizontal one, which visually lifts a low ceiling.
It comes in 4x8 sheets for around $30 and cuts with a utility knife if it is the thin MDF version. Run it full height in a bay rather than stopping halfway, and caulk the edges where it meets the frame.
3. Chunky one-by-three fronts on every shelf
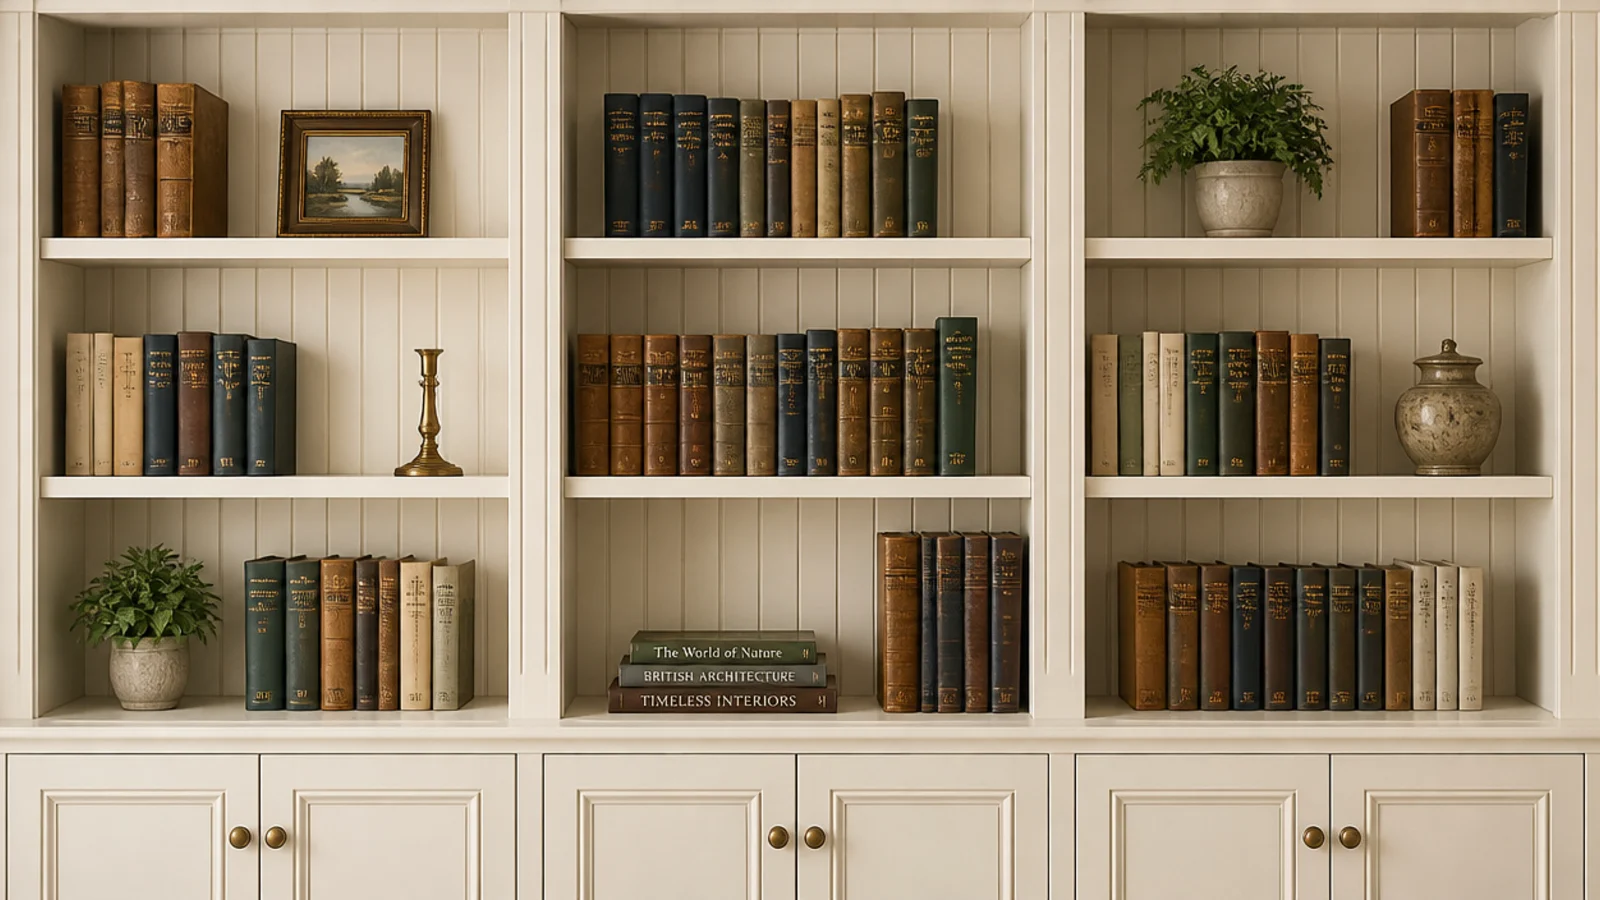
The single biggest visual upgrade in this list. A 1x3 glued and pinned along the front edge of each shelf turns a three-quarter-inch board into something that looks an inch and a half thick.
It also roughly triples the stiffness, which is what keeps a long span dead straight. About $4 a shelf.
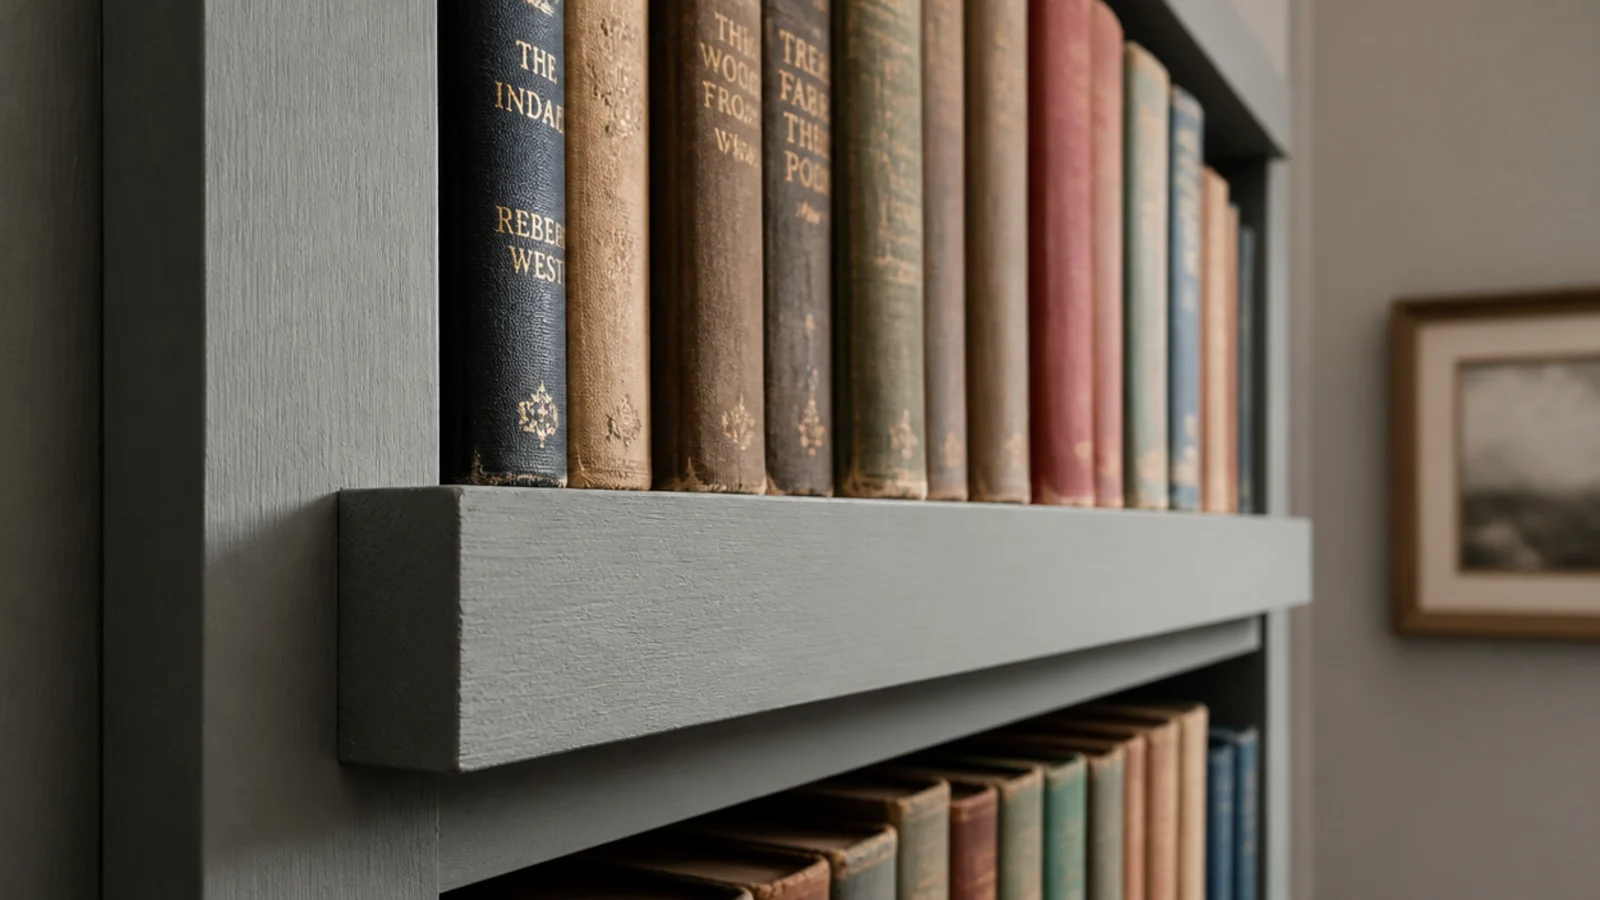
4. Cream paint, never builder white
Builder white has blue in it and goes grey under warm evening light, which is exactly wrong for this style.
Look for whites with a yellow or ochre base — the swatch should look faintly dirty next to printer paper. Test a patch on the actual wall and look at it at night under lamplight before committing to two gallons.
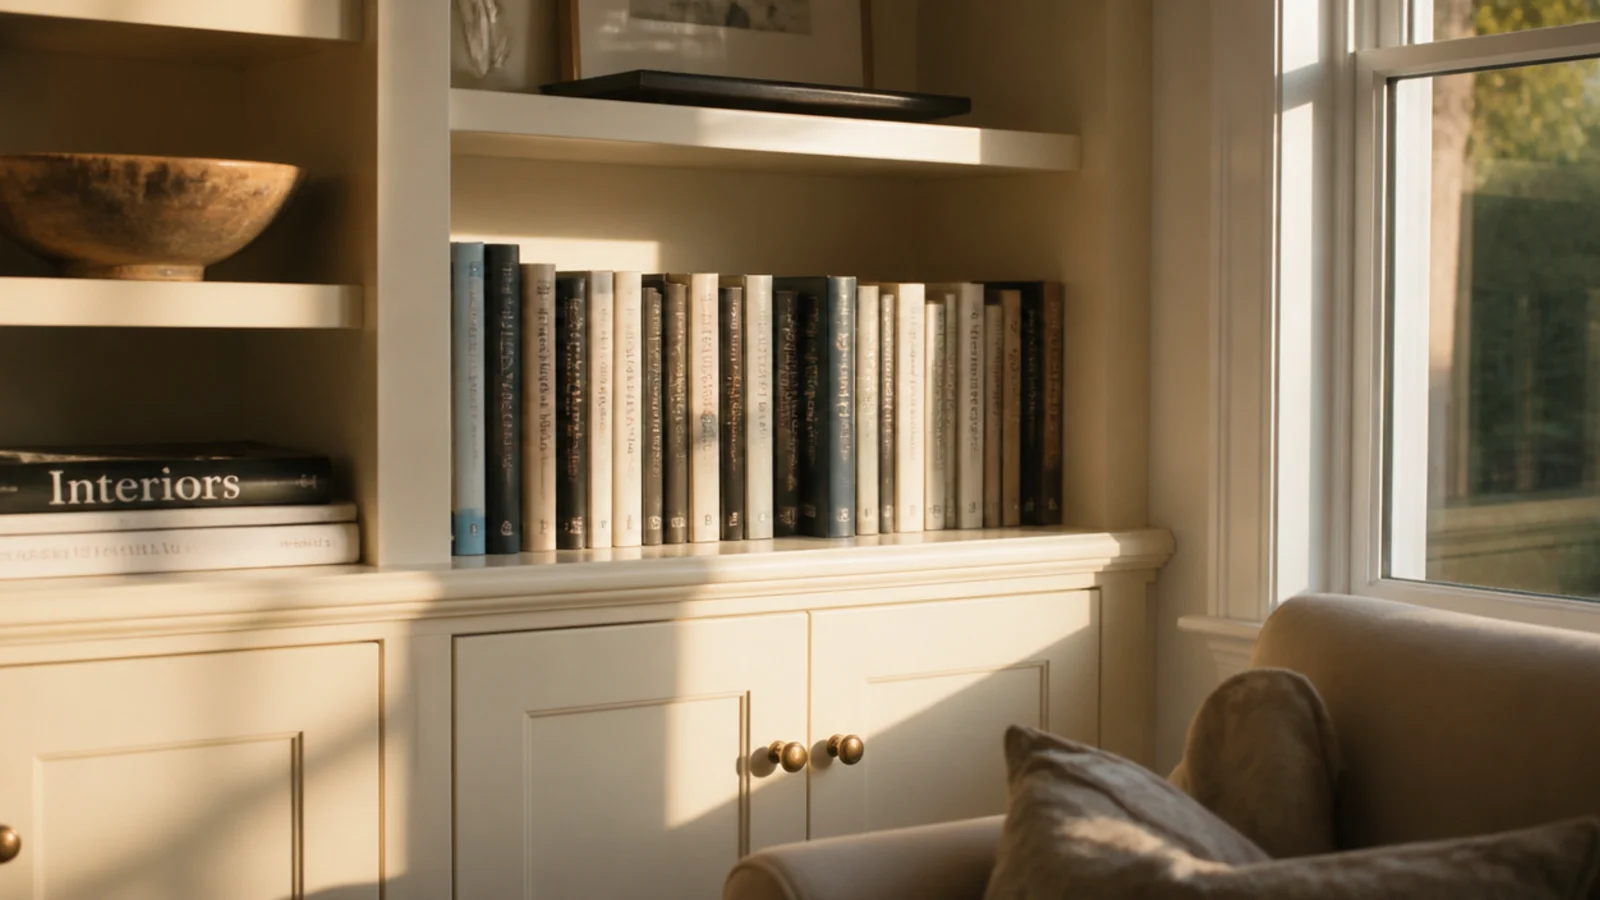
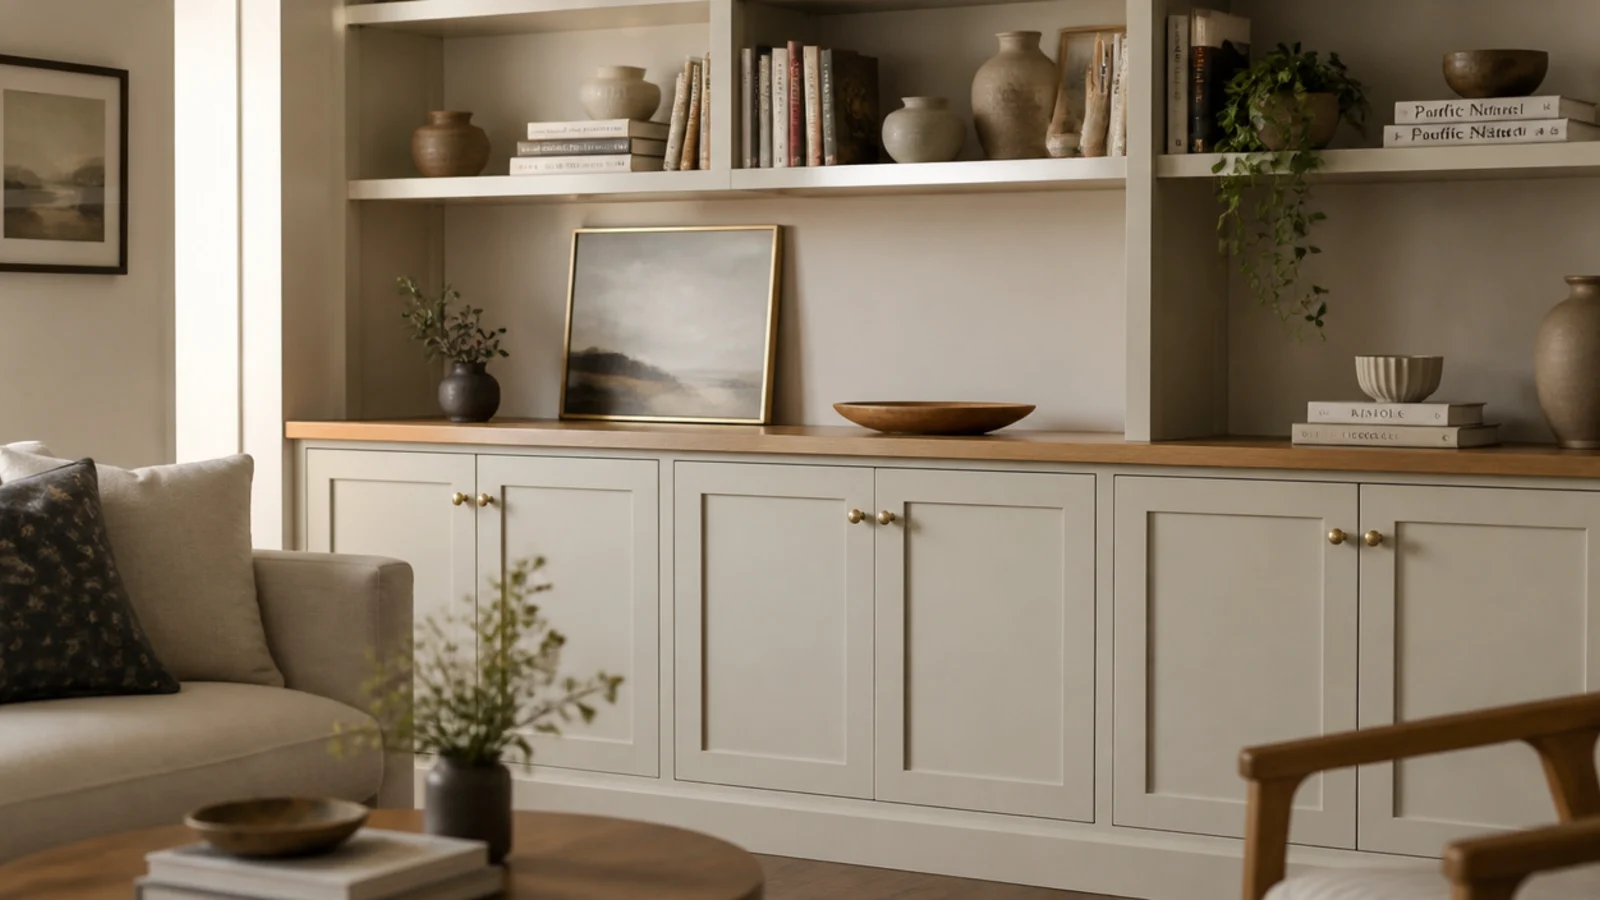
5. Warm oak shelves inside painted frames
Paint the carcass, stain the shelf boards. This is the combination that reads farmhouse without going dark.
An all-stained run turns heavy in a living room and swallows light; an all-white run loses the warmth entirely. Oak or ash boards at $20 to $30 each, finished with hardwax oil rather than polyurethane so they stay matte.
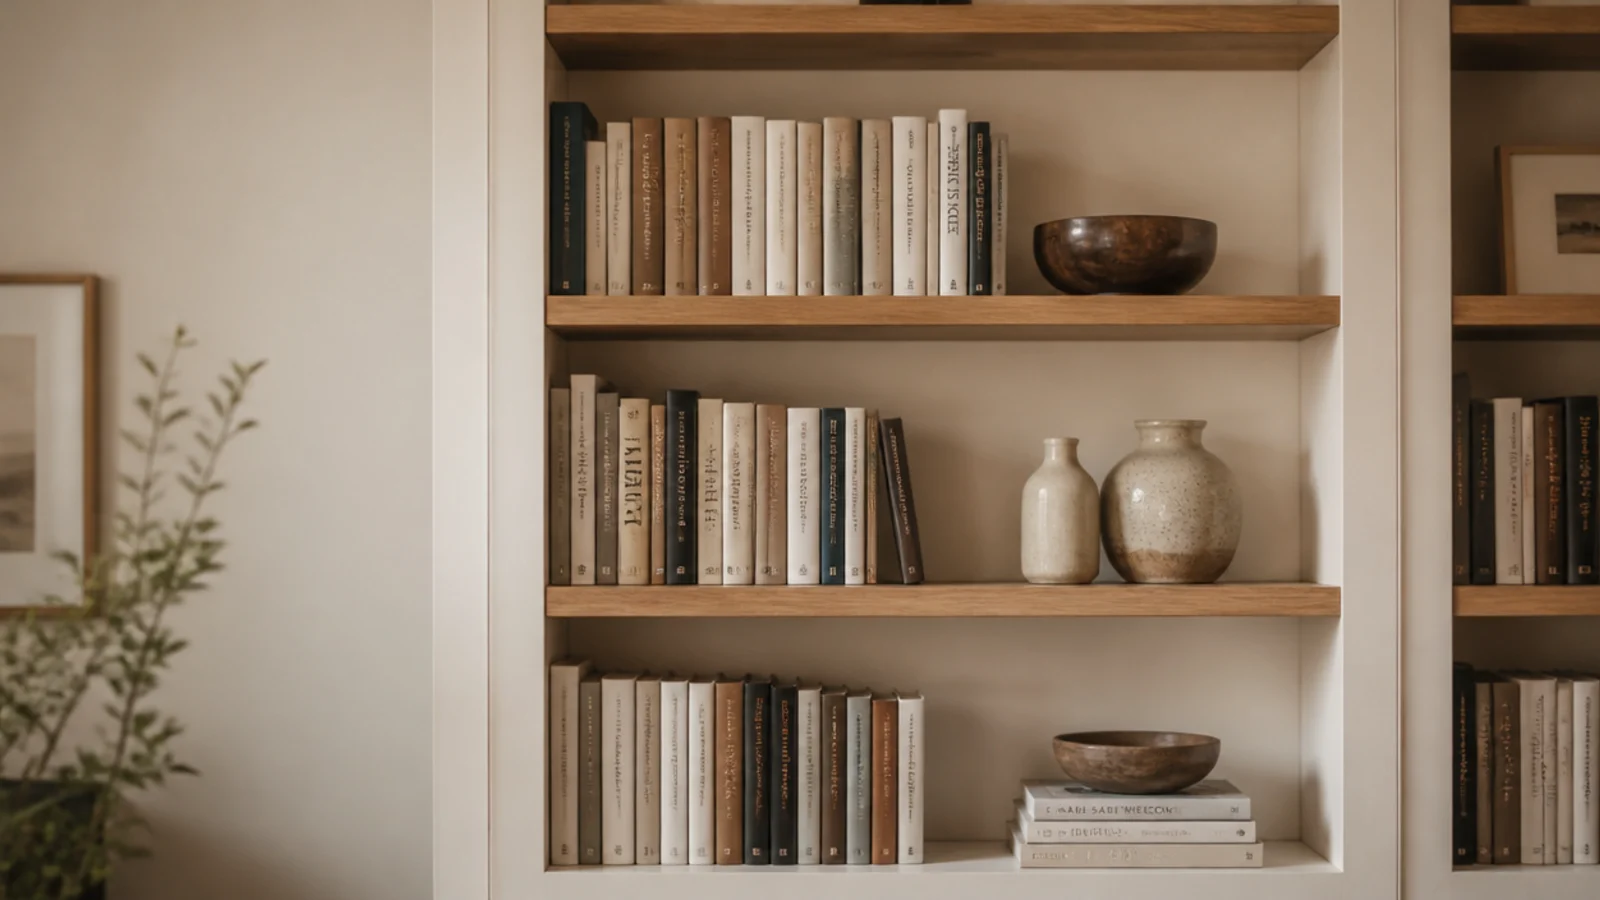
6. A reclaimed beam as the header
A rough sawn beam running across the top of the unit does more for authenticity than any amount of distressing.
Salvage yards sell short lengths for $40 to $120. Check for old nails with a magnet before cutting, and support it properly — a six-foot oak beam is genuinely heavy and wants blocking into studs at each end.
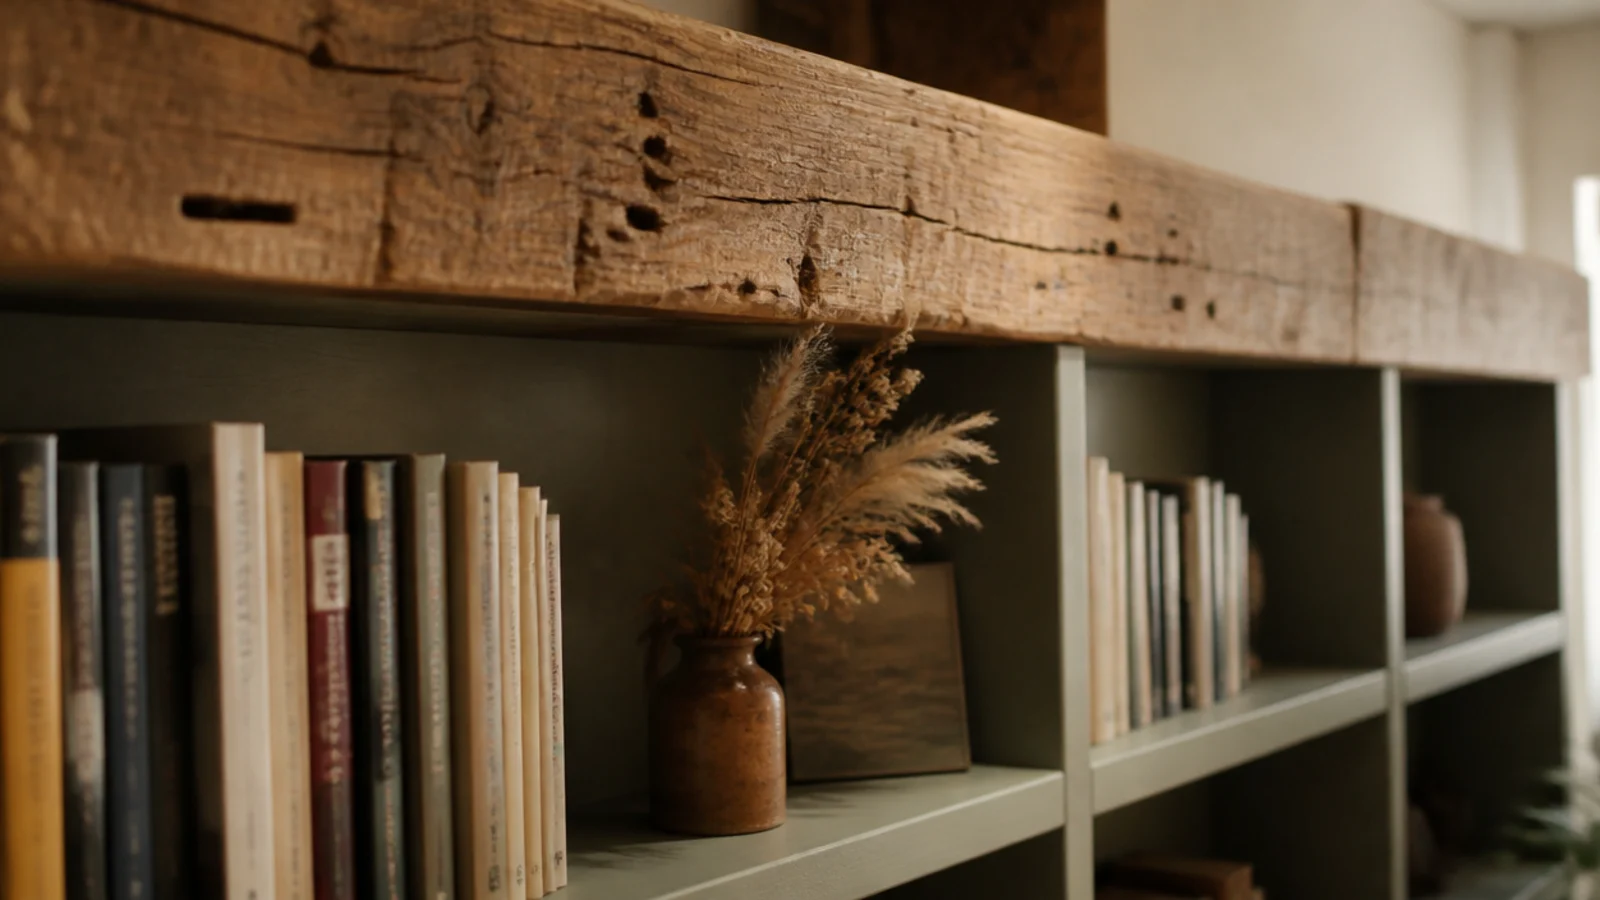
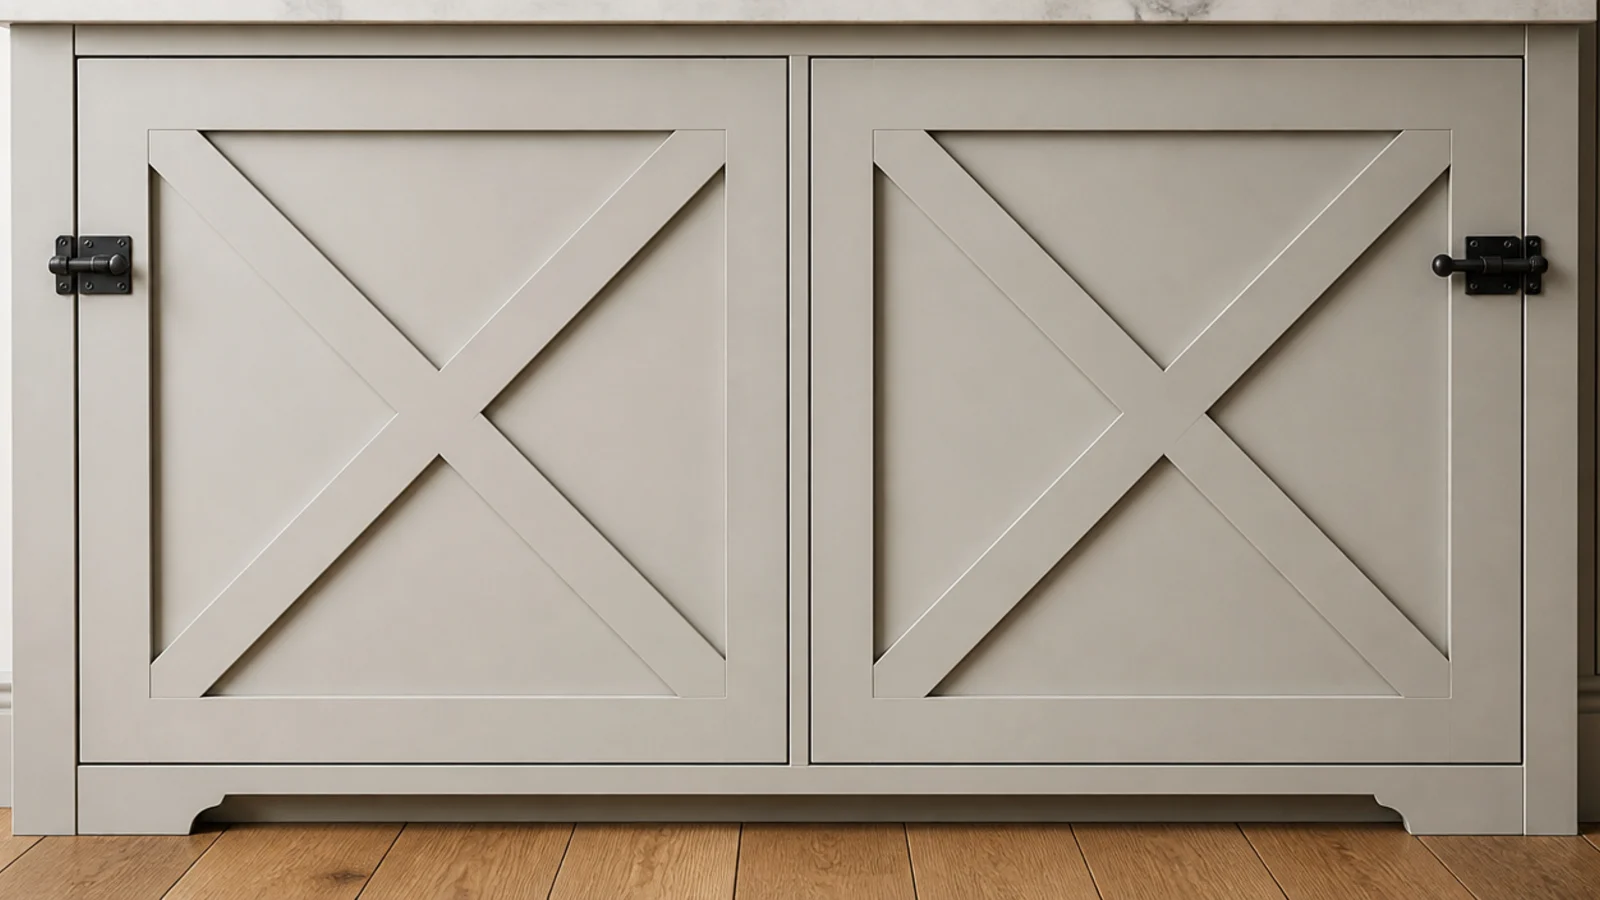
7. X-brace doors on the base cabinets
Two diagonals applied to a slab door front and you have barn joinery for about $10 a door.
Cut the diagonals from the same 1x3 you used on the shelf fronts, mitre where they cross, and glue rather than nail so no filler shows. Keep the X to the base cabinets only — on uppers it gets busy fast.
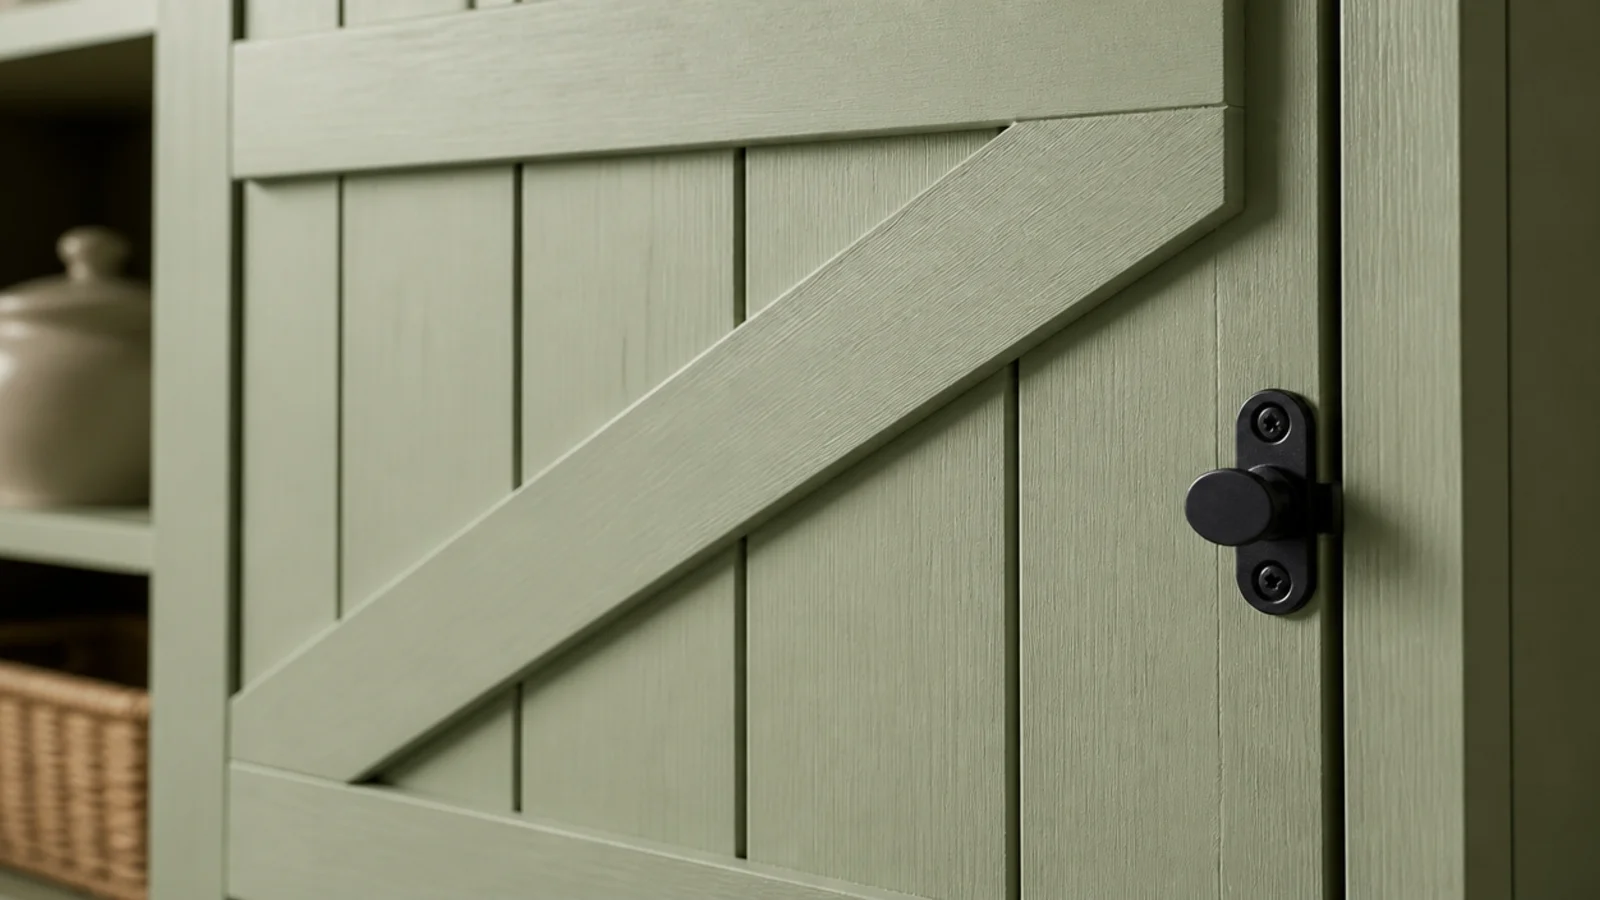
8. Plank doors with a Z-brace
Narrow vertical boards joined by two horizontal battens and one diagonal. It is the oldest door design there is and it still looks right.
Build them from 1x4 stock with a slim gap between planks so seasonal movement does not split anything. Paint or stain, then fit a simple thumb latch rather than a knob.
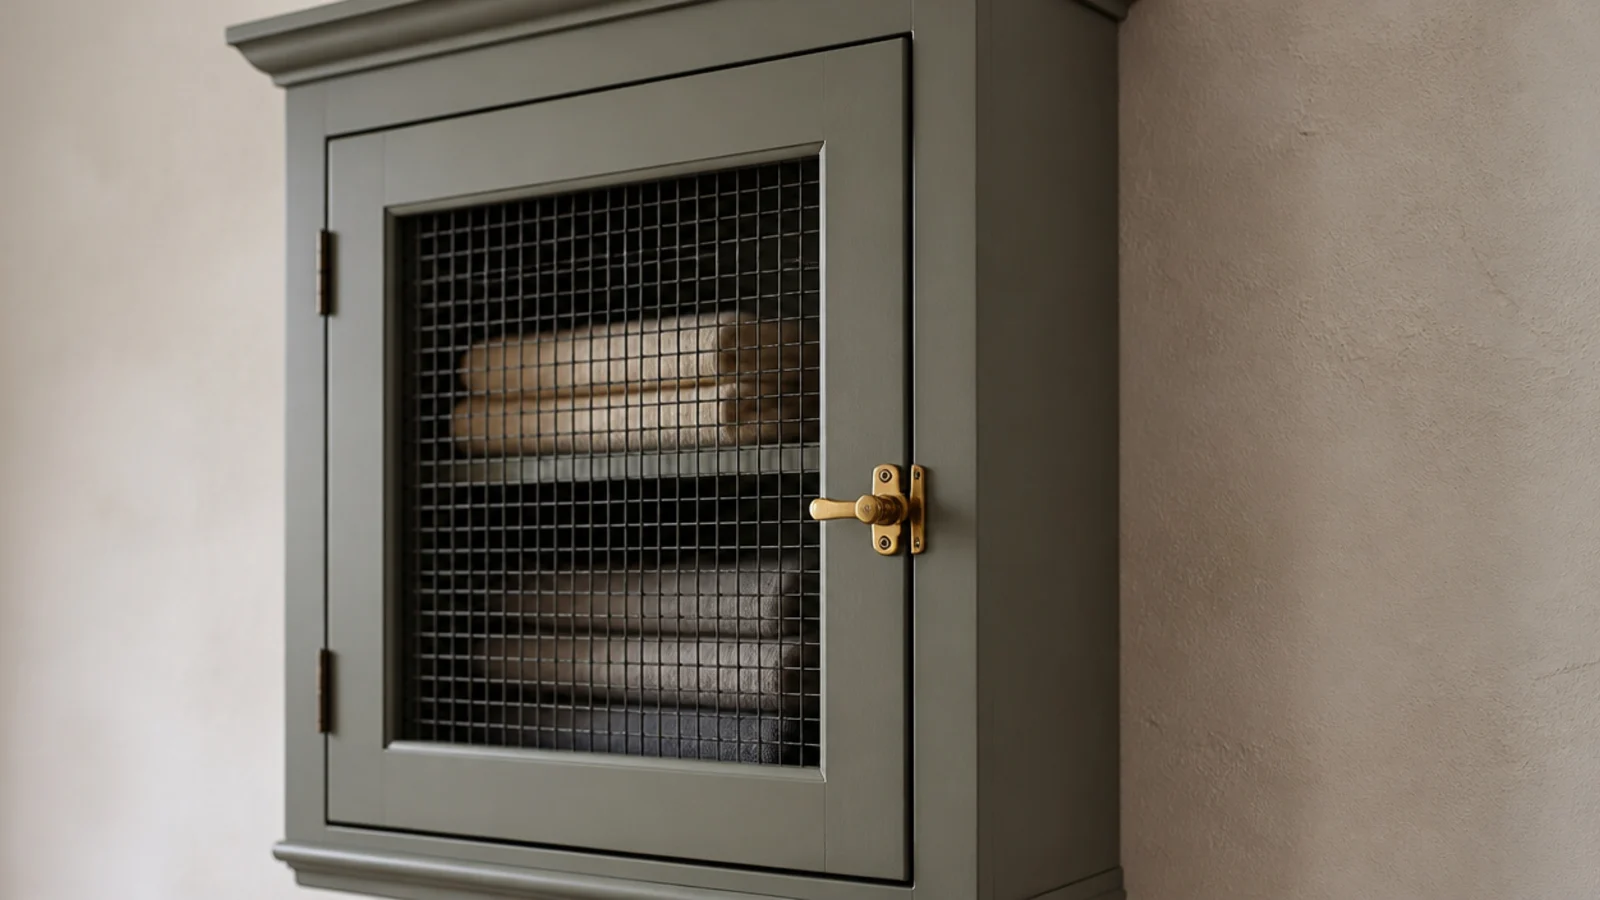
9. Chicken wire panels for one bay
Fine black wire mesh set into a door frame lets air through and half-hides the contents, which suits linens and baskets.
Staple the mesh to the back of the frame and cover the staples with a slim retaining strip. Use it on one bay only. Two or more and the wall starts looking agricultural rather than charming.
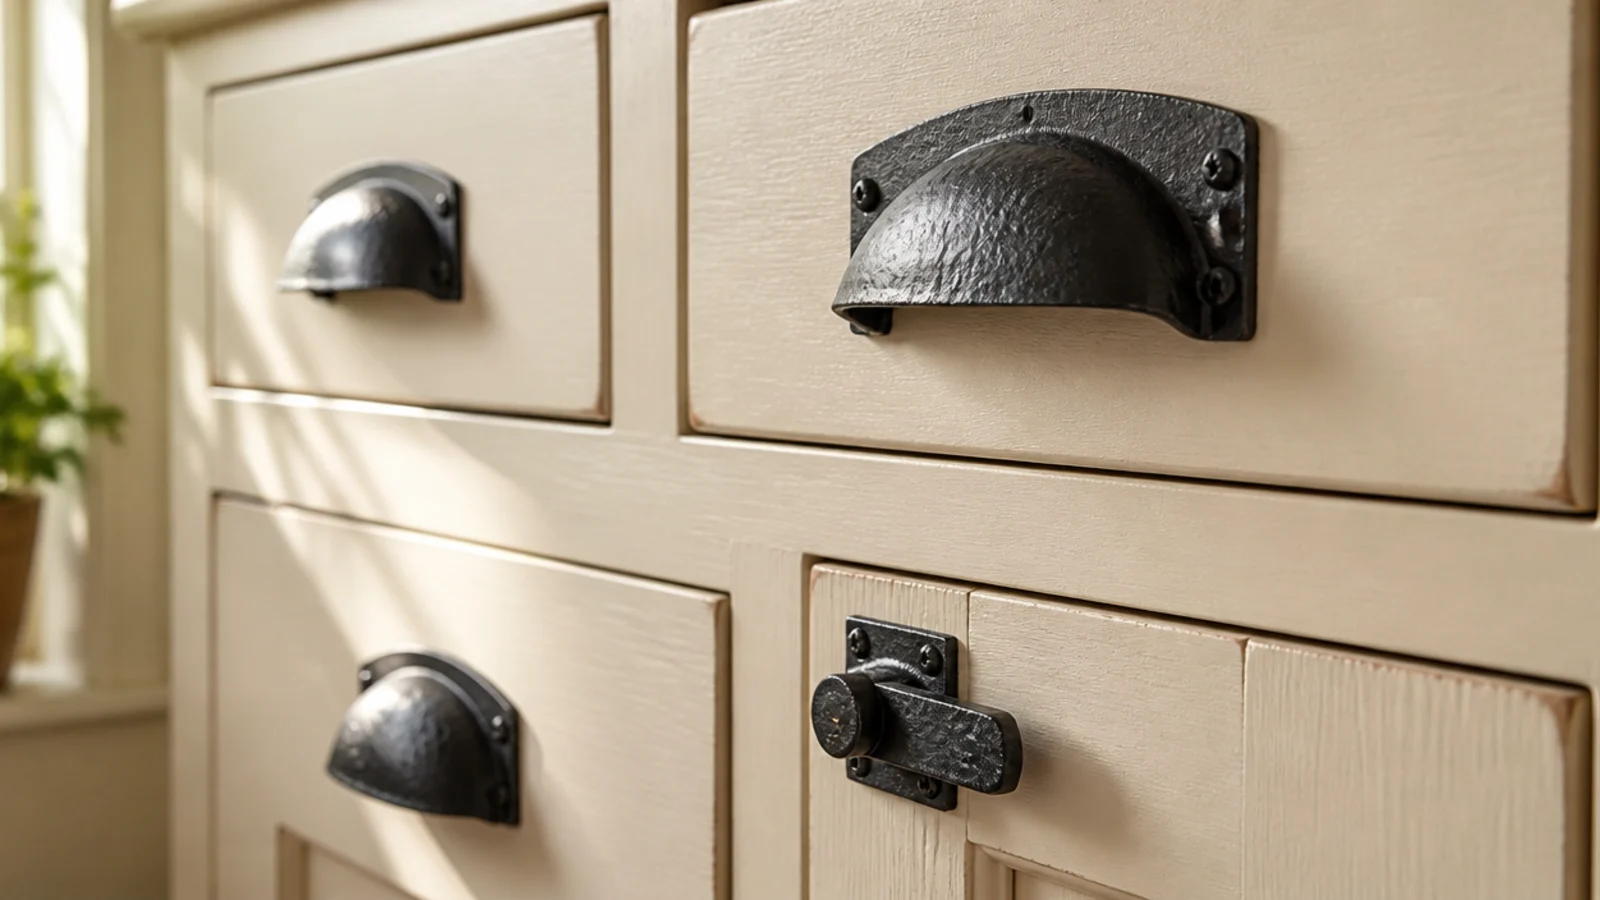
10. Black iron latches and cup pulls
Matte black hardware against warm cream is the pairing that never looks wrong in this style.
Hand-forged style latches run $8 to $20 each. Keep every piece of visible metal in the same finish across the whole wall, including hinges, or the run reads as assembled from spare parts rather than built.
11. Corbels under the counter
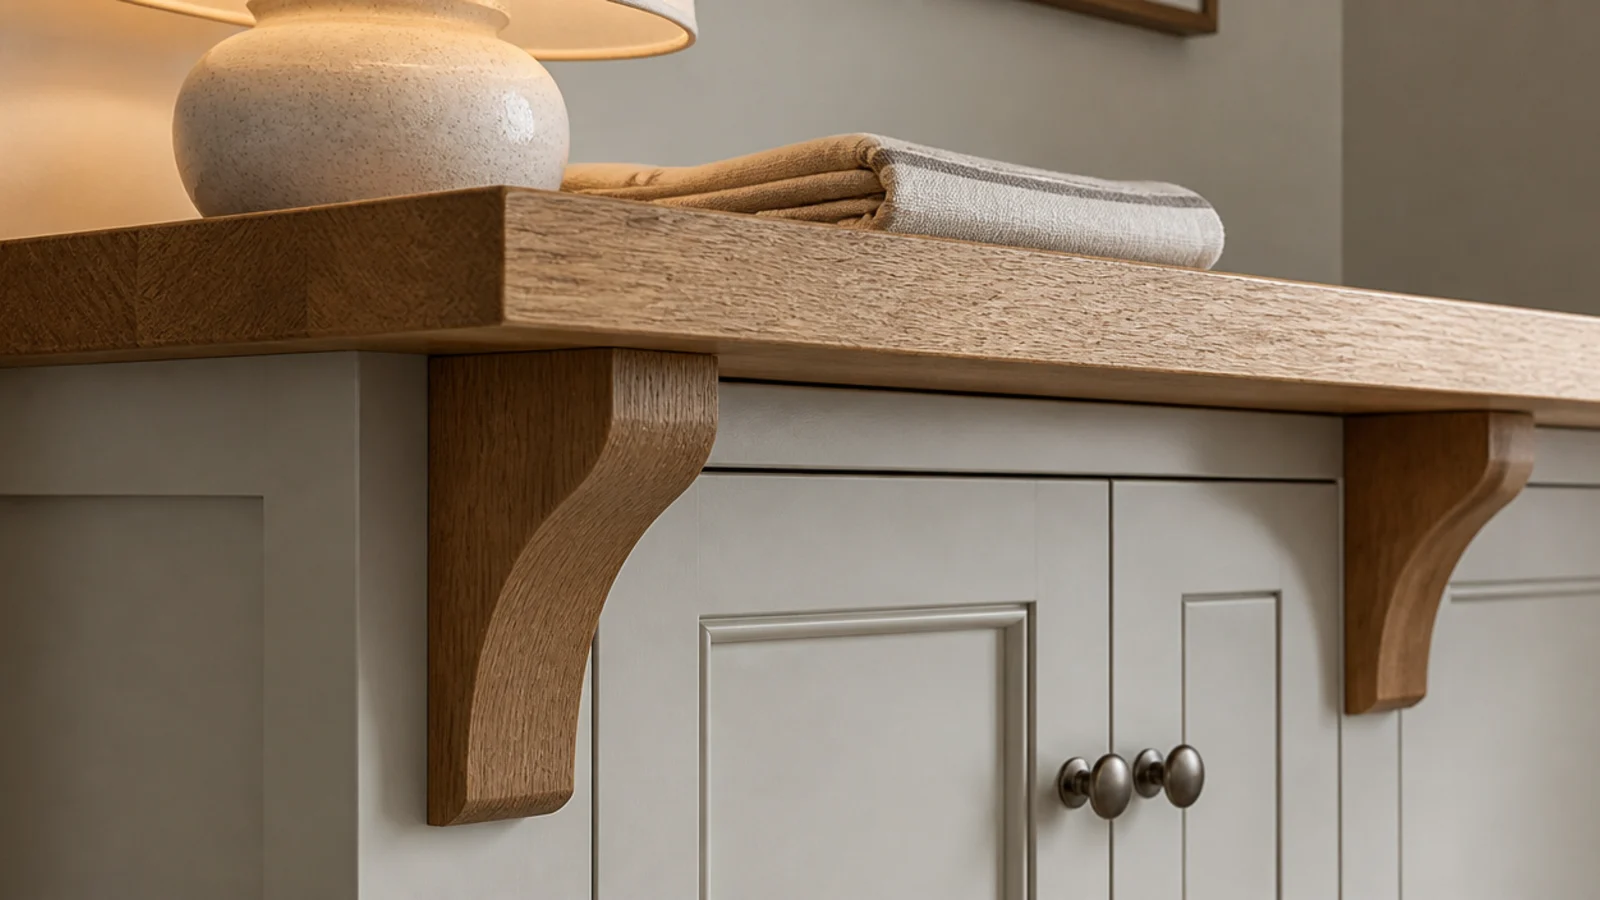
Two simple curved brackets under a counter overhang instantly signal carpentry rather than flat-pack.
Buy them ready made at $15 to $35 each in pine or oak. Place them at the outer edges of the run rather than evenly spaced, and paint them with the frame so the shape reads as shadow rather than as an object.
12. A plate groove for leaning art
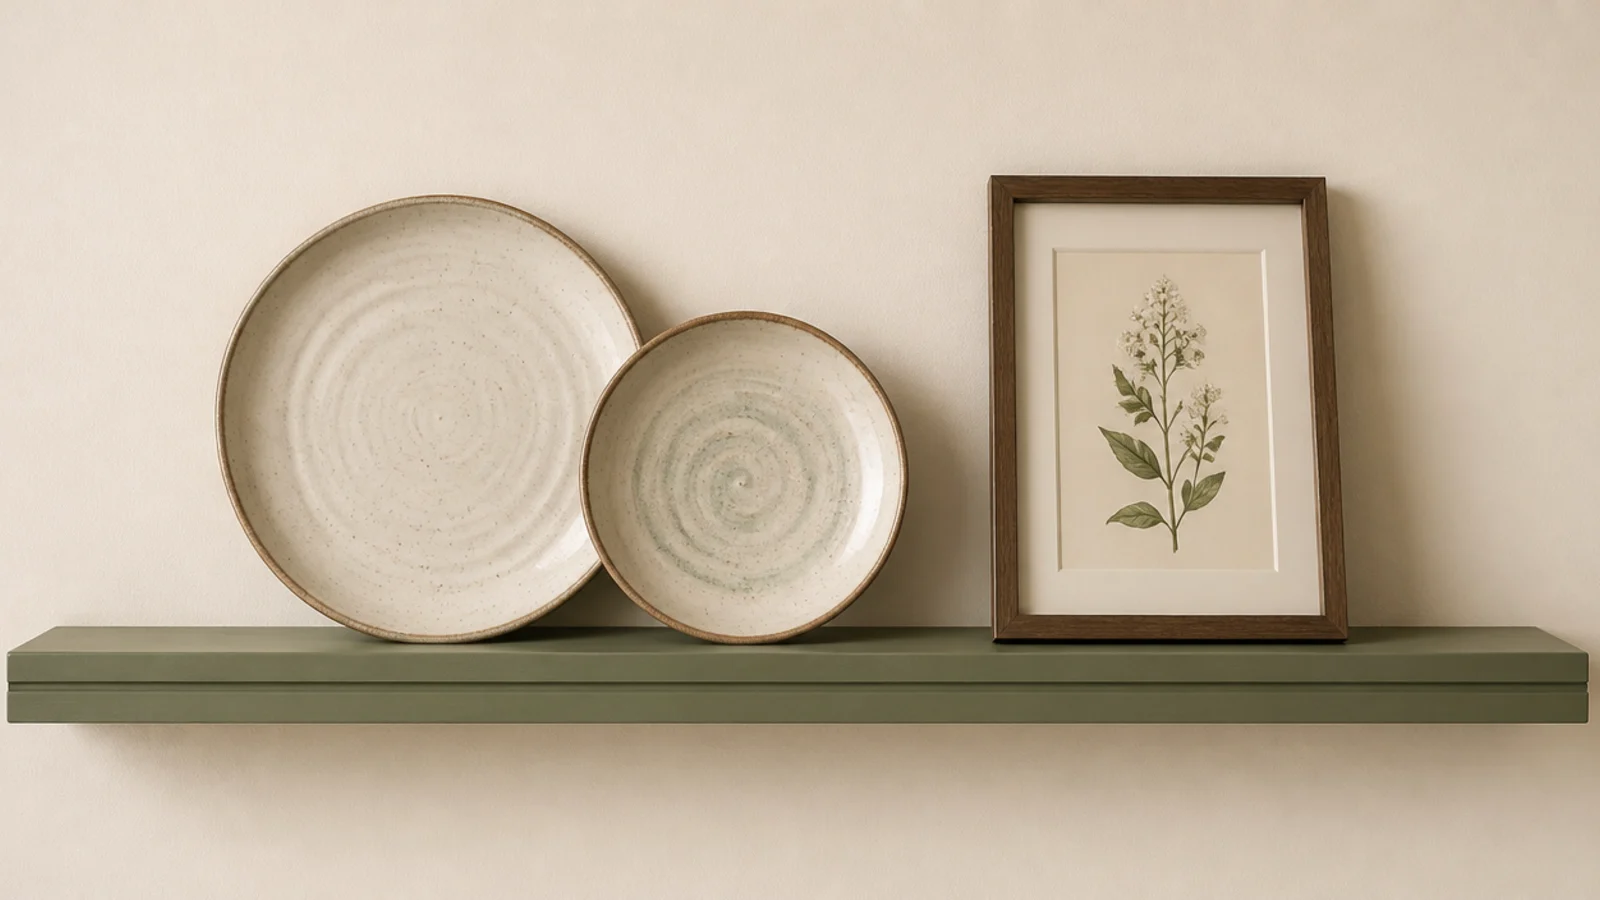
A shallow groove routed into a shelf, half an inch back from the front edge, lets plates, boards and framed prints lean at a stable angle.
Quarter-inch wide and a quarter deep is plenty. On a painted shelf it disappears completely until something leans in it, and it makes restyling a five-minute job.
13. A sliding barn door over one bay
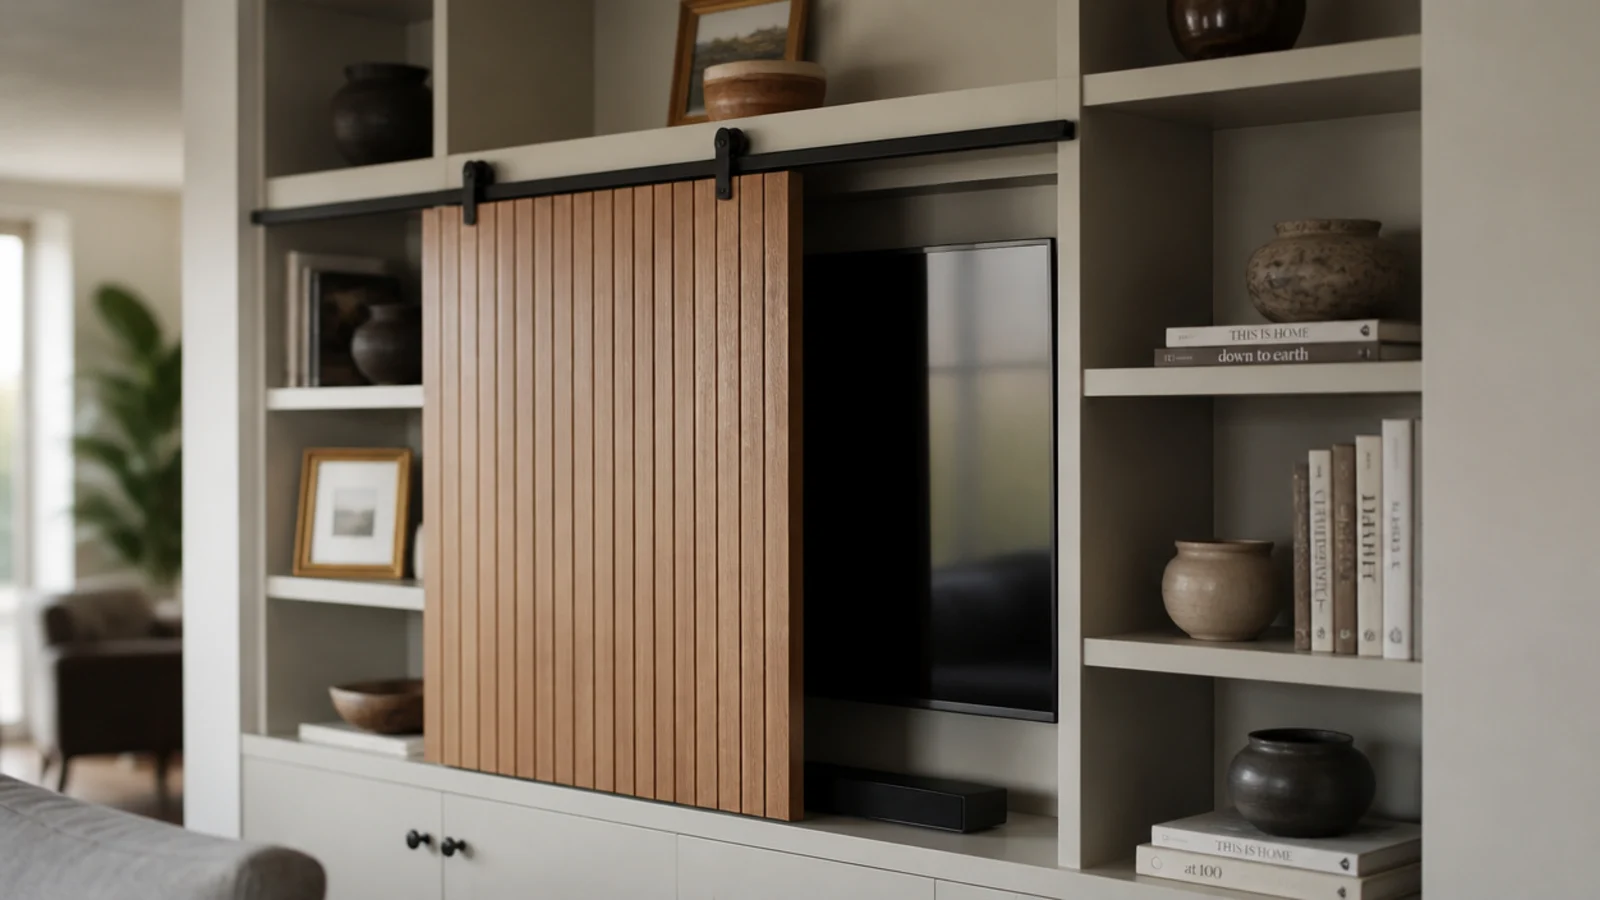
A single timber panel on a slim black track, sized to cover the television bay and nothing else.
Hardware kits start around $60 for a small door. Measure the slide distance carefully — the door needs somewhere to go, so you lose that width of open shelving permanently when the door is parked.
14. A rough-hewn mantel between the towers
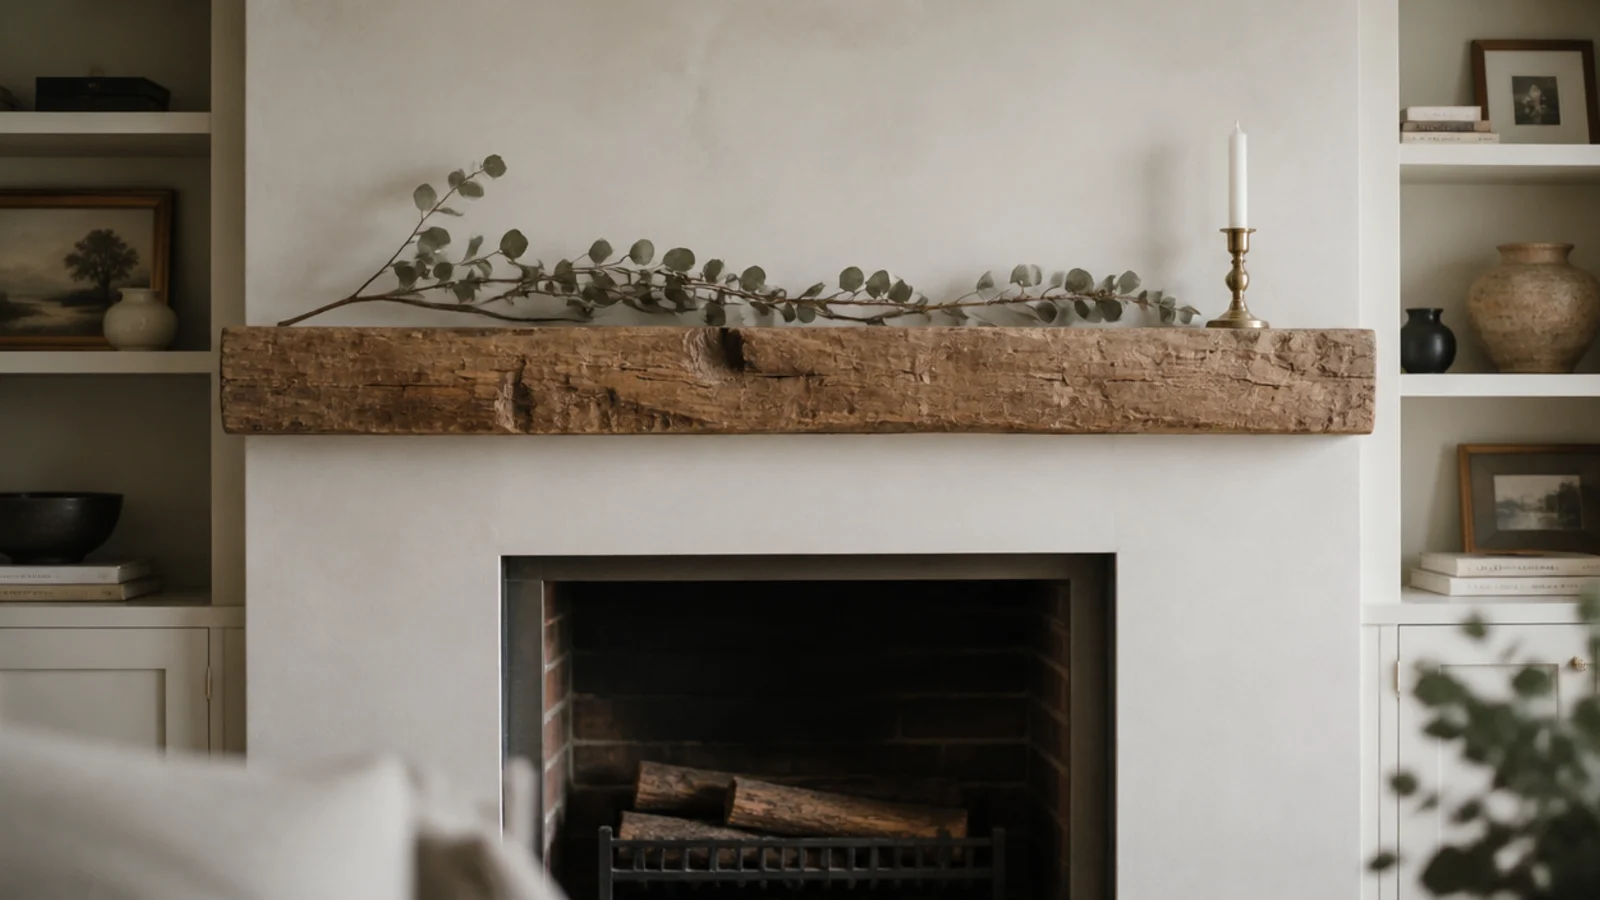
Where built-ins flank a fireplace, the mantel is what stops the wall reading as two bookcases.
Keep combustible material at least 6 inches from the firebox opening and follow the clearance label on the appliance itself. A thick reclaimed timber mantel against painted joinery is the whole style in one detail. The fireplace built-ins guide covers the rest.
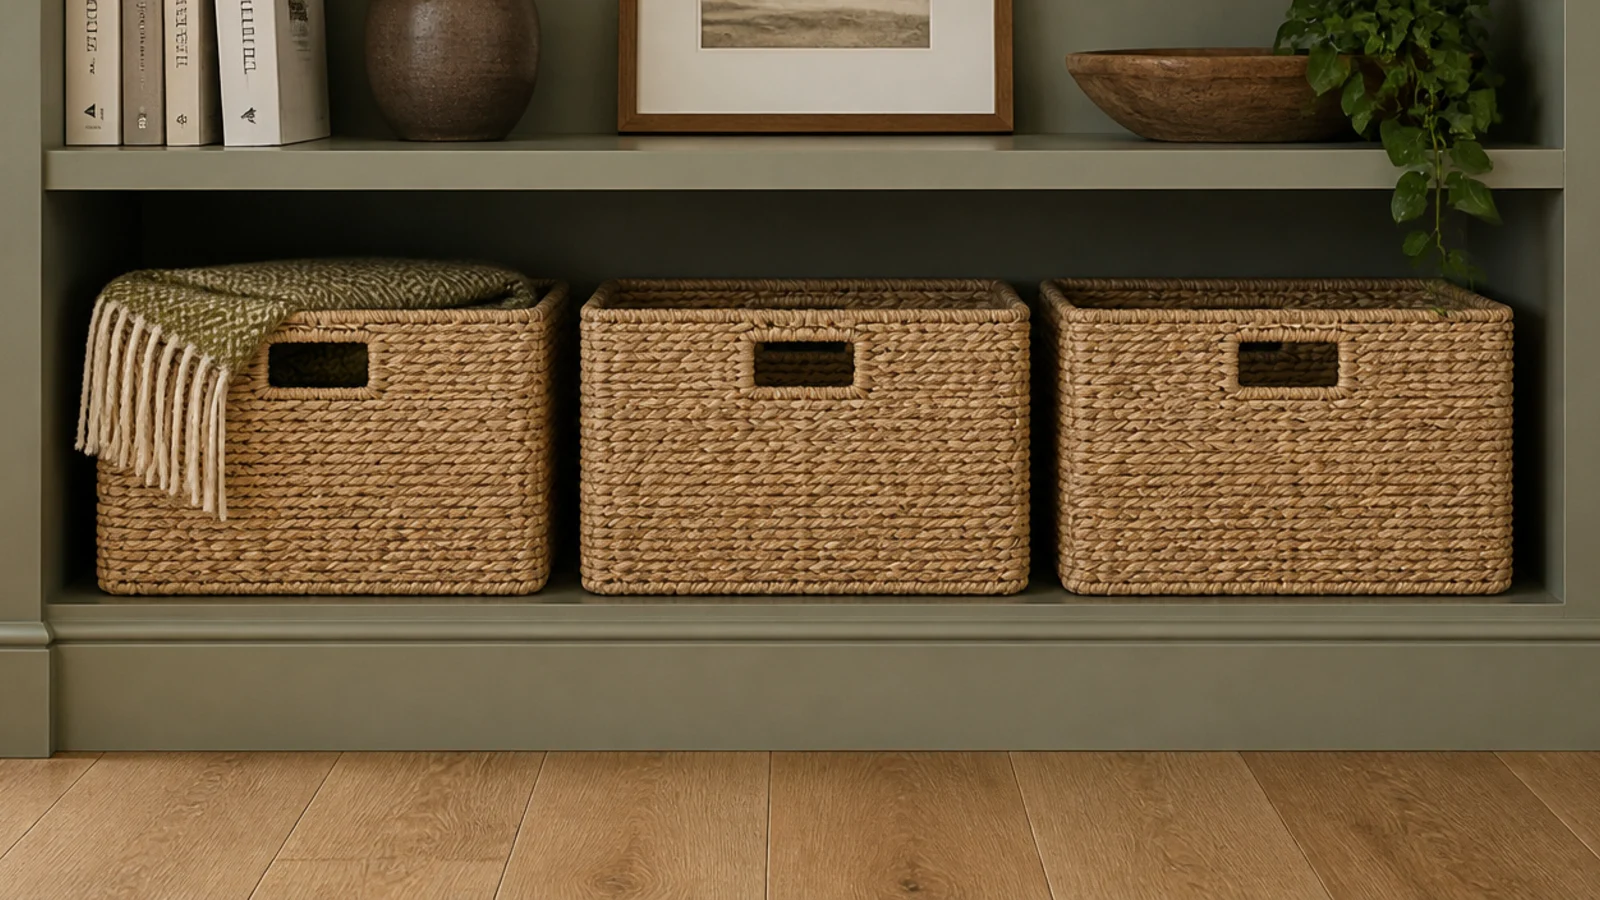
15. Seagrass baskets along the bottom shelf
Farmhouse styling runs on baskets, and matching ones along the lowest shelf do more organizing than any drawer.
Buy them to fill the bay width with about an inch of play, and keep the tops below the shelf edge so the front line stays clean. Seagrass and jute at $15 to $30 each.
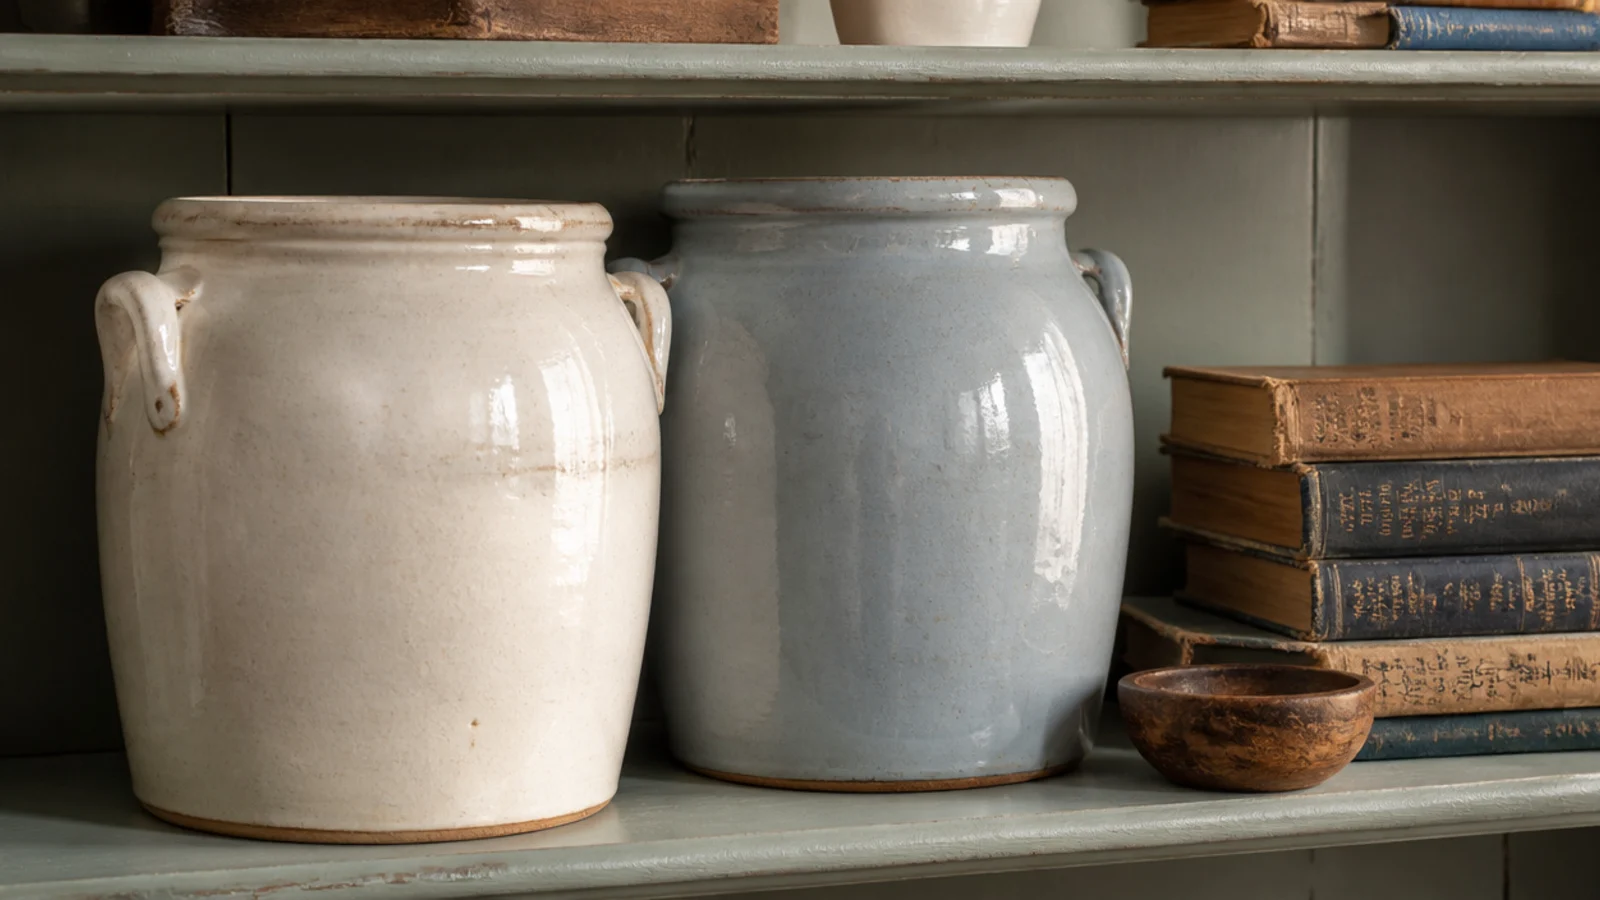
16. Stoneware crocks as the big objects
One large vessel per bay does more than five small ones, and old crocks bring glaze variation you cannot buy new.
Look in thrift stores and antique markets at $10 to $40. Cream, pale blue and buff tones sit well against warm paint. Put the heaviest ones on the lowest shelves, always.
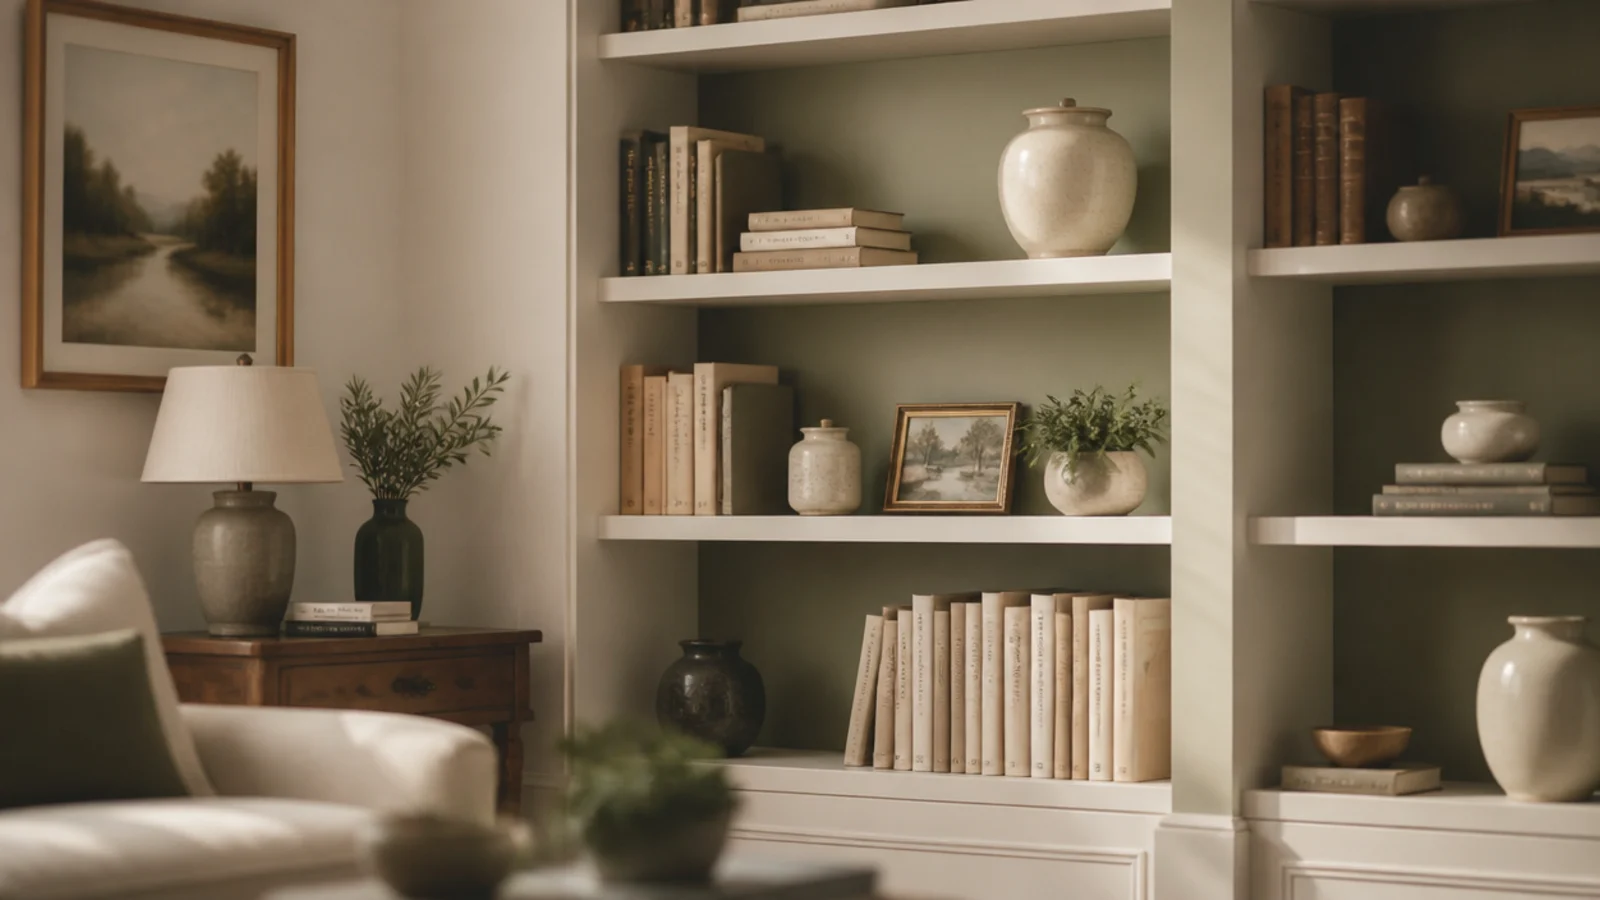
17. A muted sage back panel
Color on the back panels only, with the frame and shelves left cream, gives depth without turning the wall into a feature.
Muted sage, soft clay and warm greige all work. Use the same sheen as the frame. This is a sample pot of paint and an afternoon, and it makes pale pottery on the shelves stand out properly.
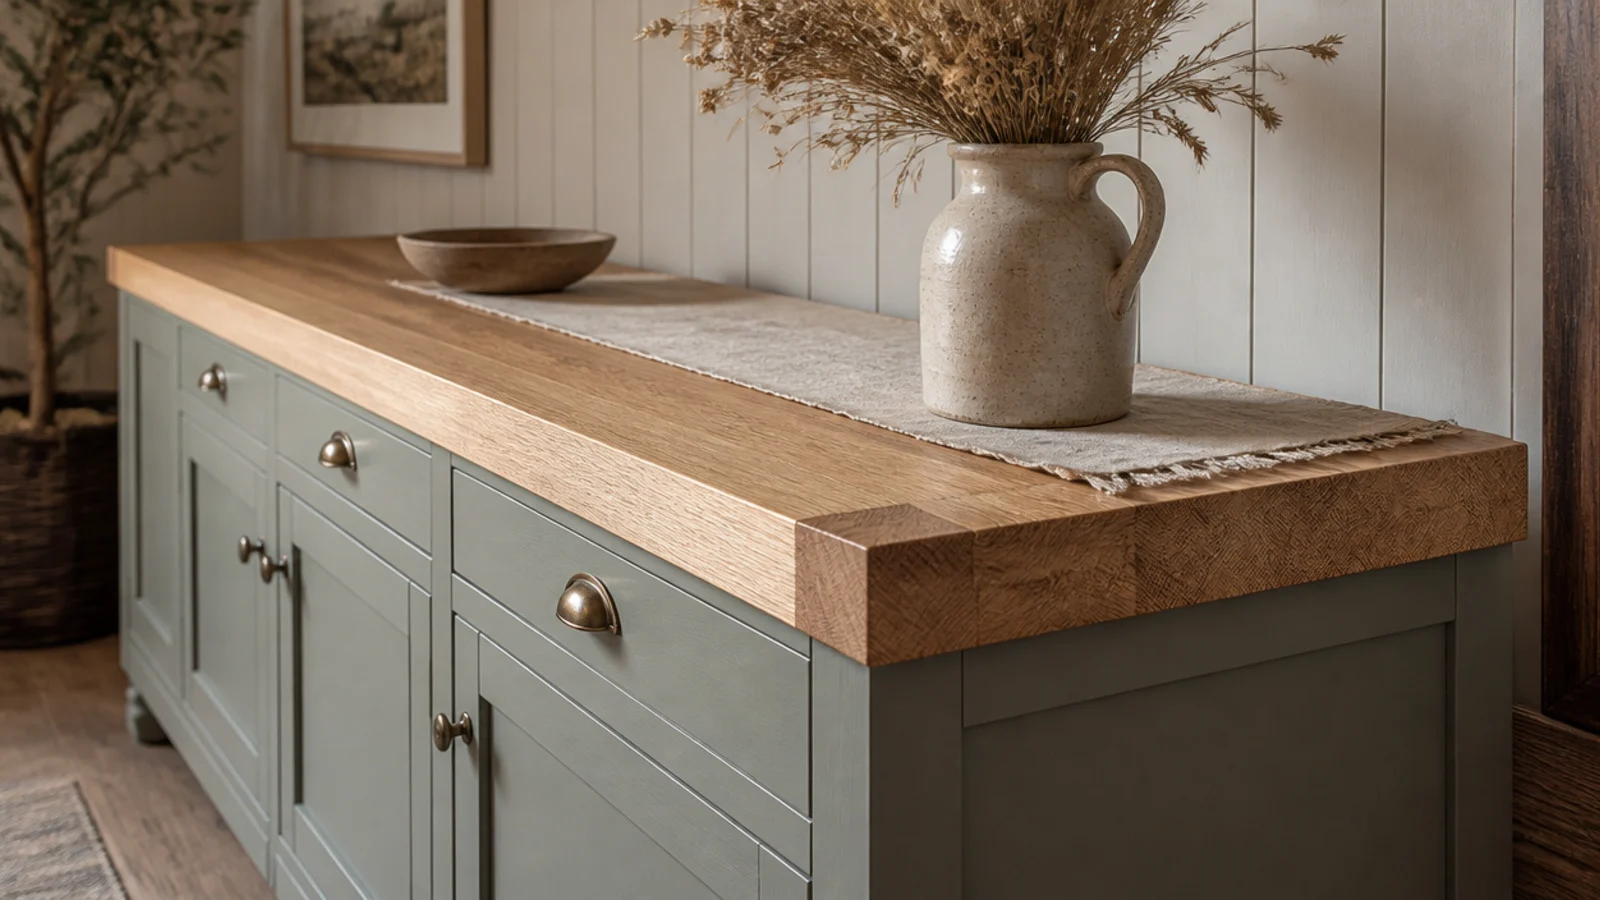
18. A wide-plank counter with breadboard ends
A cross-grain board capping each end of a counter is a genuine joinery detail, and it reads instantly as handmade.
Oak worktop offcuts run $40 to $150. The end caps can be glued and pinned rather than joined properly for a counter that carries no real load. Oil twice, sand lightly between coats.
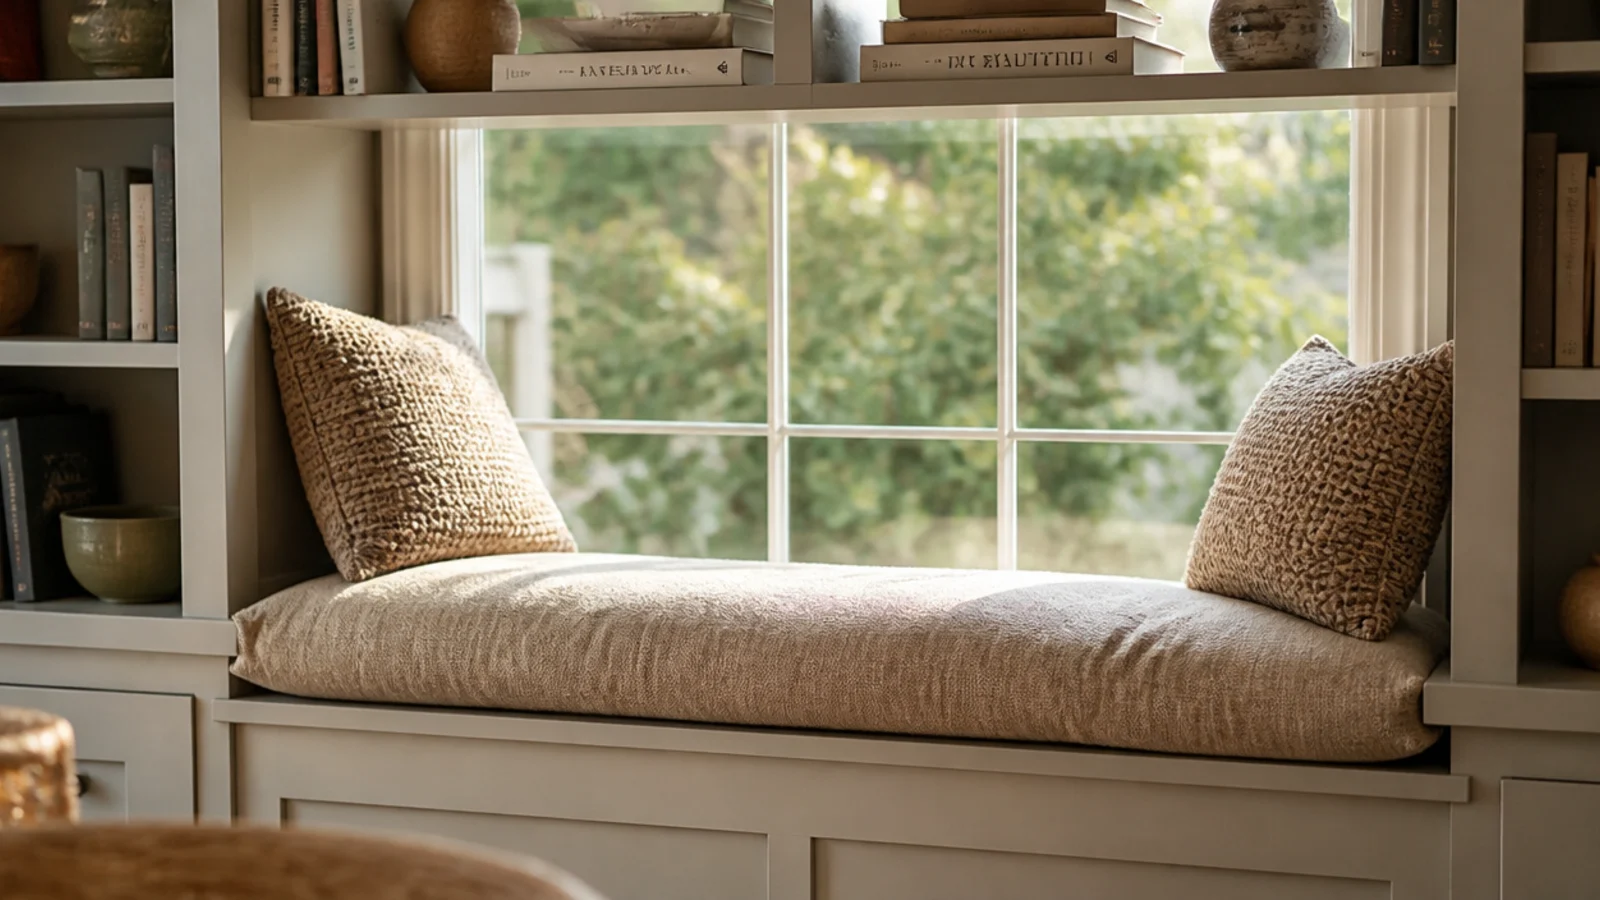
19. A window seat with a linen cushion
Between two shelf towers, a bench with a thick cushion turns storage into somewhere to sit.
Set the finished height at 17 to 18 inches including the cushion, which matches chair height. A four-inch foam pad in washable linen runs $60 to $120 made up, and it is worth having a spare cover.
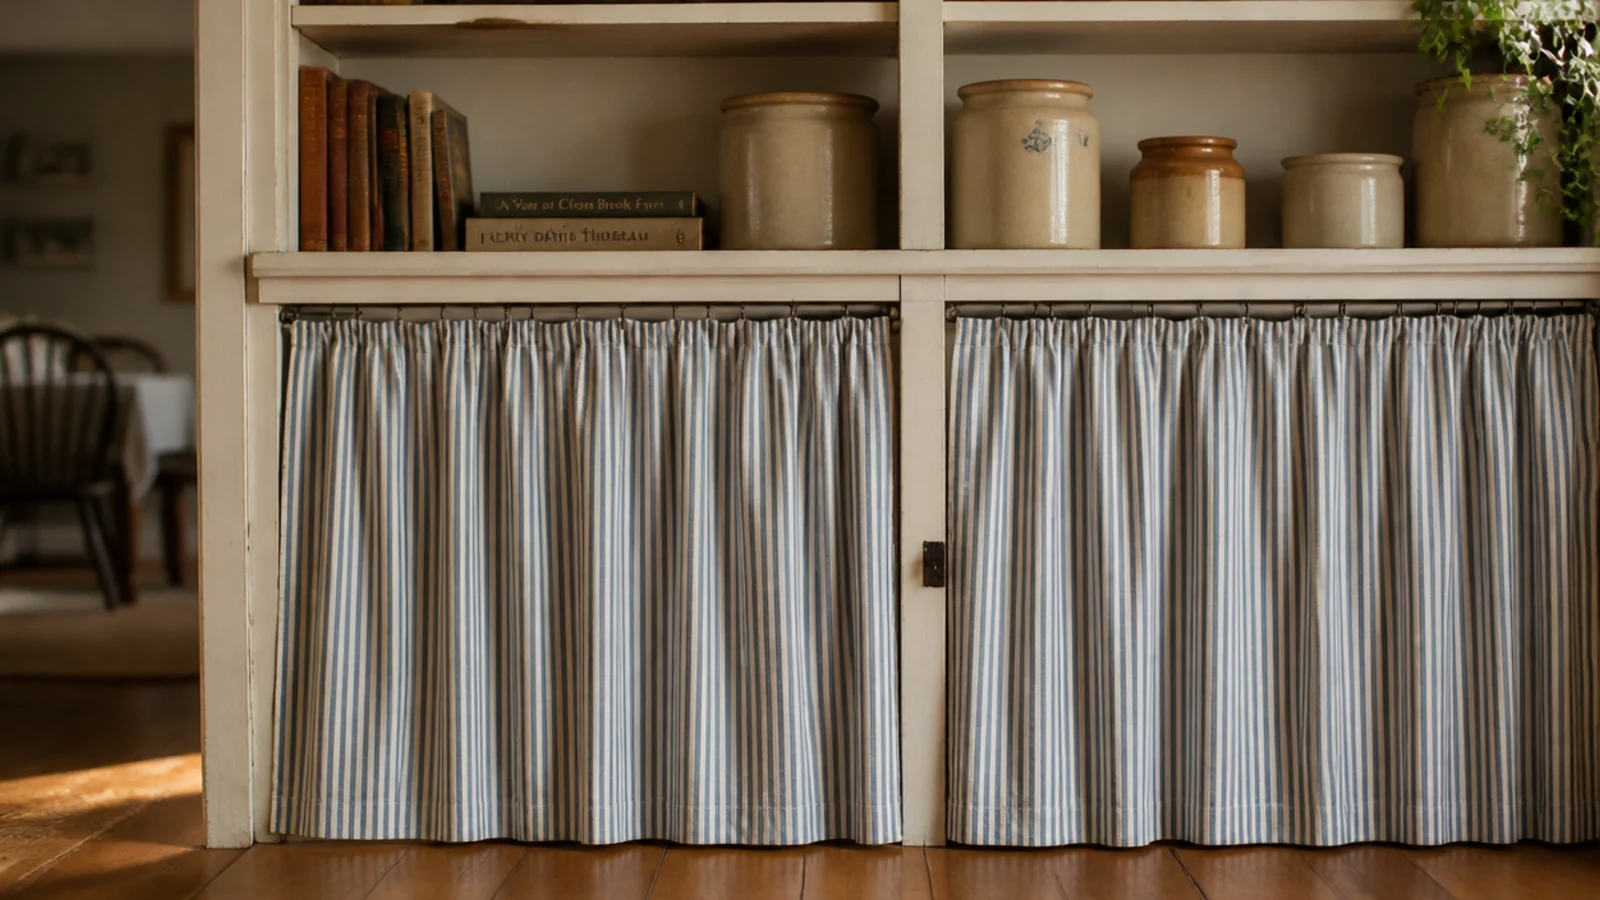
20. A ticking stripe curtain instead of doors
Fabric where doors would be heavy, at a fraction of the price and with a softness painted wood cannot give you.
Gather about one and a half times the width so it hangs in folds, and hem it half an inch above the shelf below. Ticking stripe, plain linen or a small check all suit. Around $6 a yard.
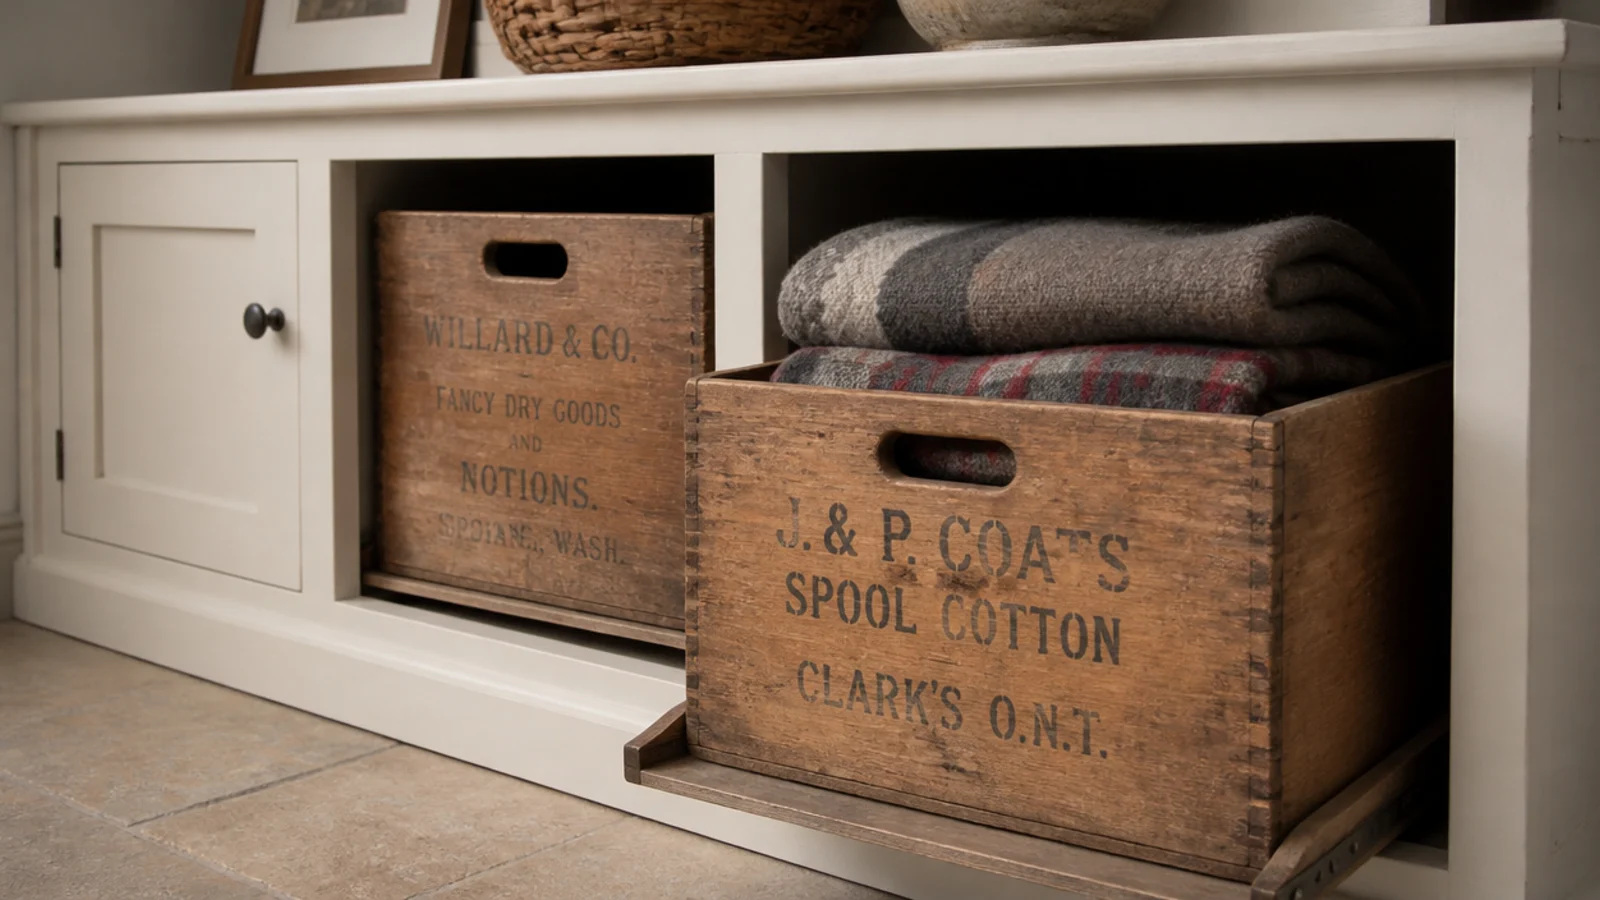
21. Vintage crates as pull-out drawers
Old wooden crates on side runners cost less than new drawer boxes and bring stencilled lettering and worn edges with them.
Check they sit square before fitting, and screw a strip of plywood underneath if the base is thin. Crates at $8 to $25 each, runners at $15 a pair.
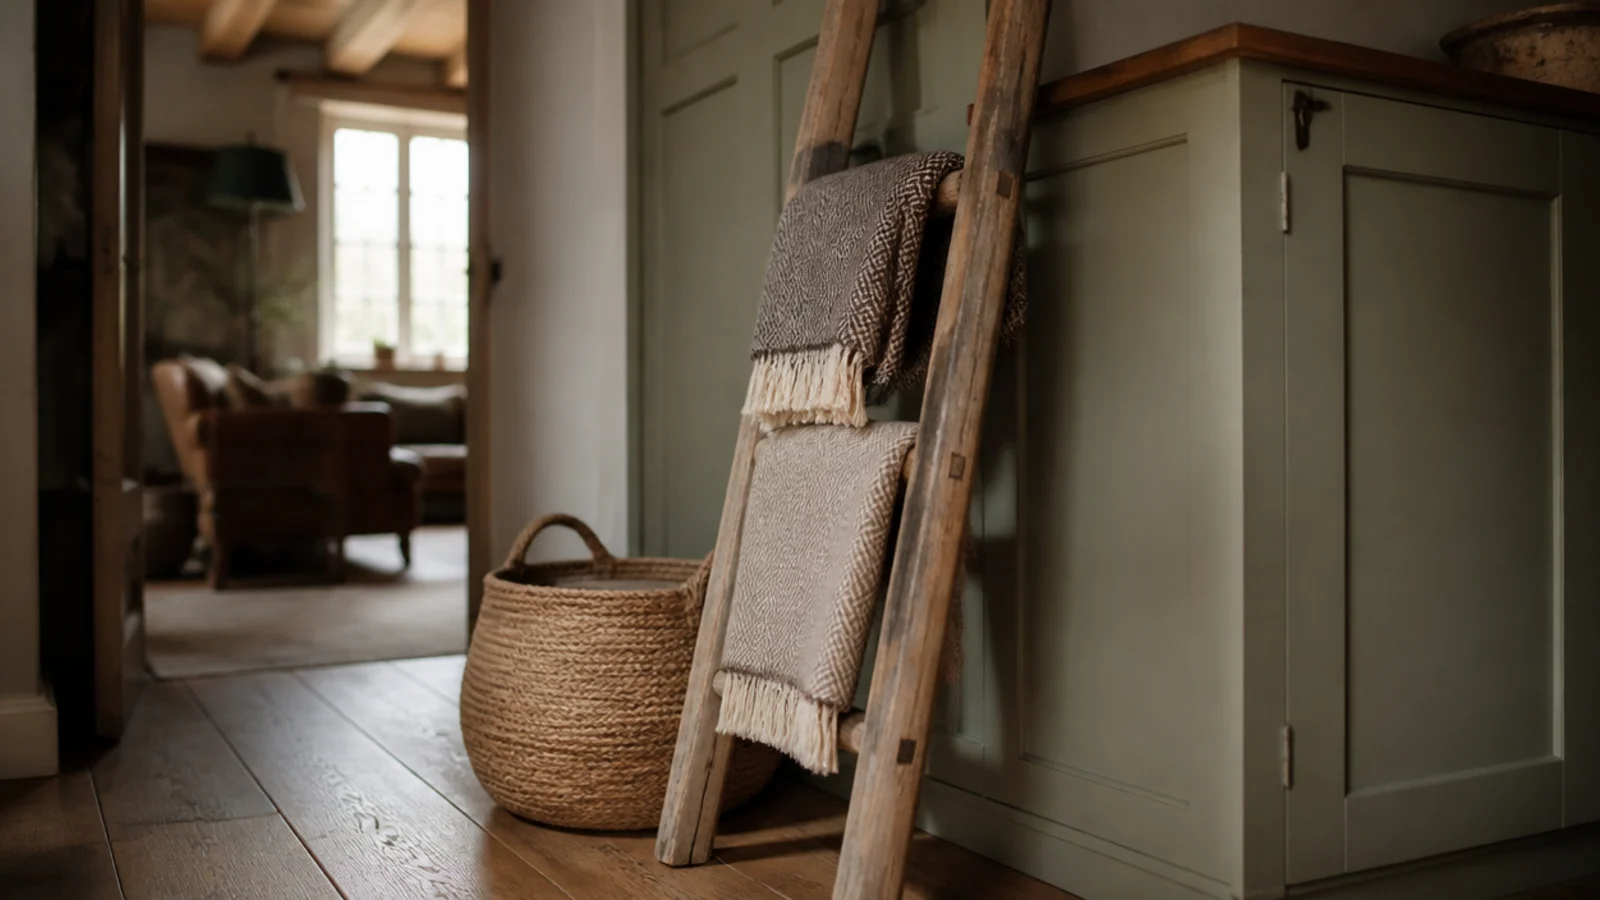
22. A leaning ladder for throws
A weathered ladder leaning at the end of a run holds wool blankets, needs no fixings, and adds height without adding a shelf.
Look for one around 60 inches tall with rungs at least two inches wide so throws hang properly. Felt pads on the feet stop it walking on a wood floor.
23. Old books with the dust jackets off
Cloth bindings underneath modern dust jackets are almost always better looking — faded terracotta, sage and cream cloth reads perfectly against warm paint.
Take the jackets off and keep them flat in a drawer if the books have any value. Group by spine height rather than by color for a look that feels collected rather than styled.

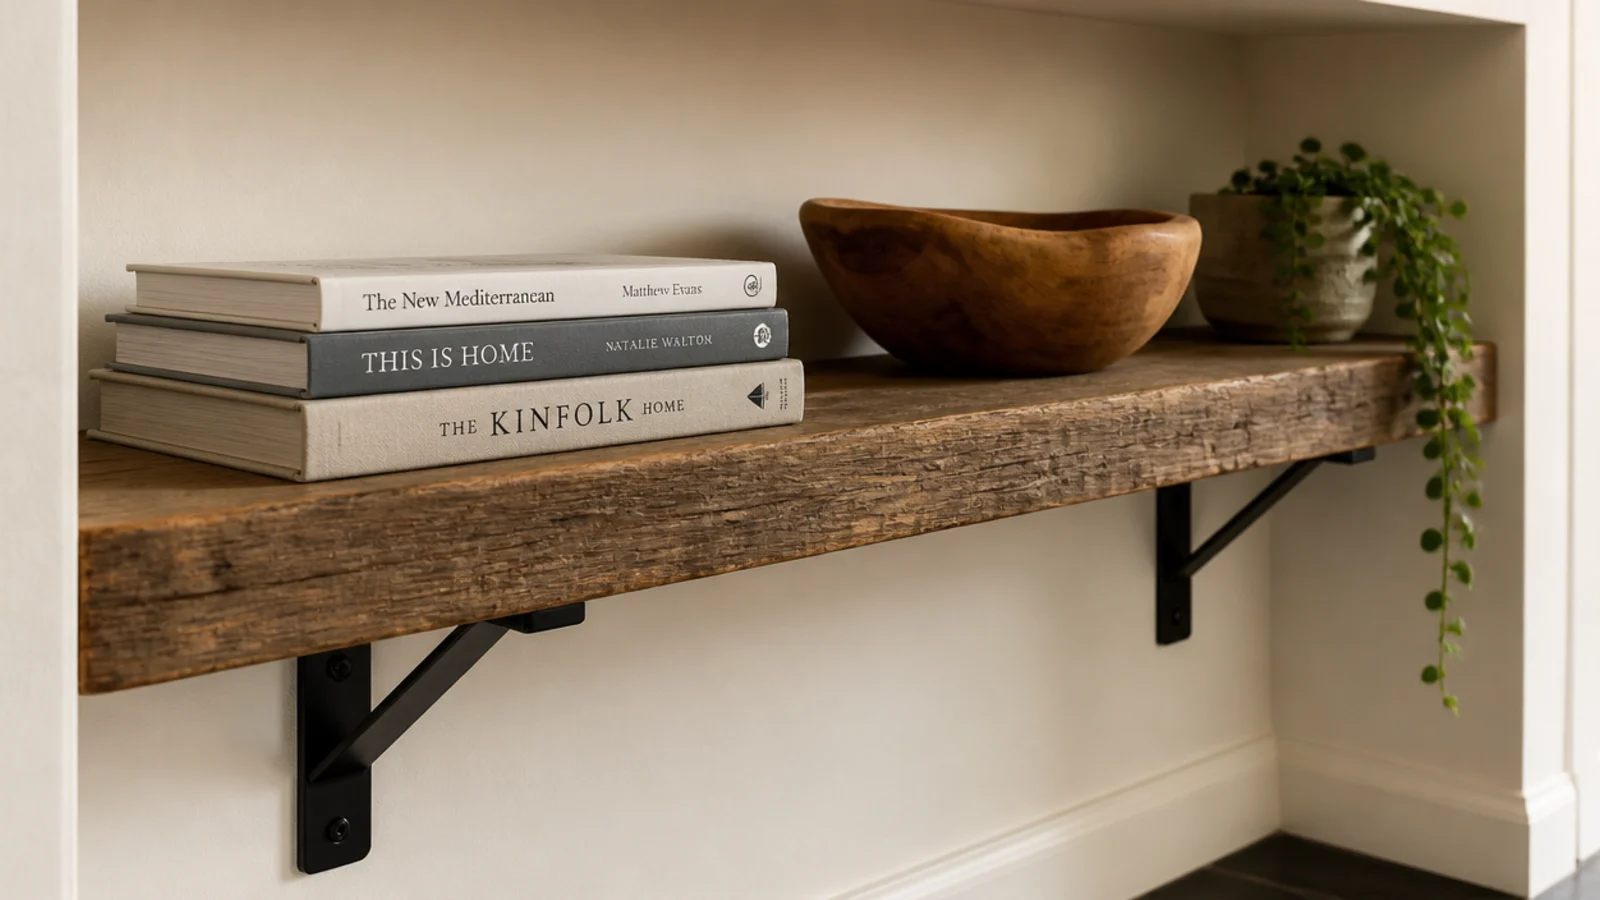
24. Exposed iron brackets under the open shelves
Where a bay has no side panels, black iron brackets carrying a thick board turn a structural necessity into a feature.
Buy them at $8 to $20 each and screw into studs rather than drywall anchors for anything holding books. Paint them matte black even if they arrive gloss, so they read as iron rather than steel.
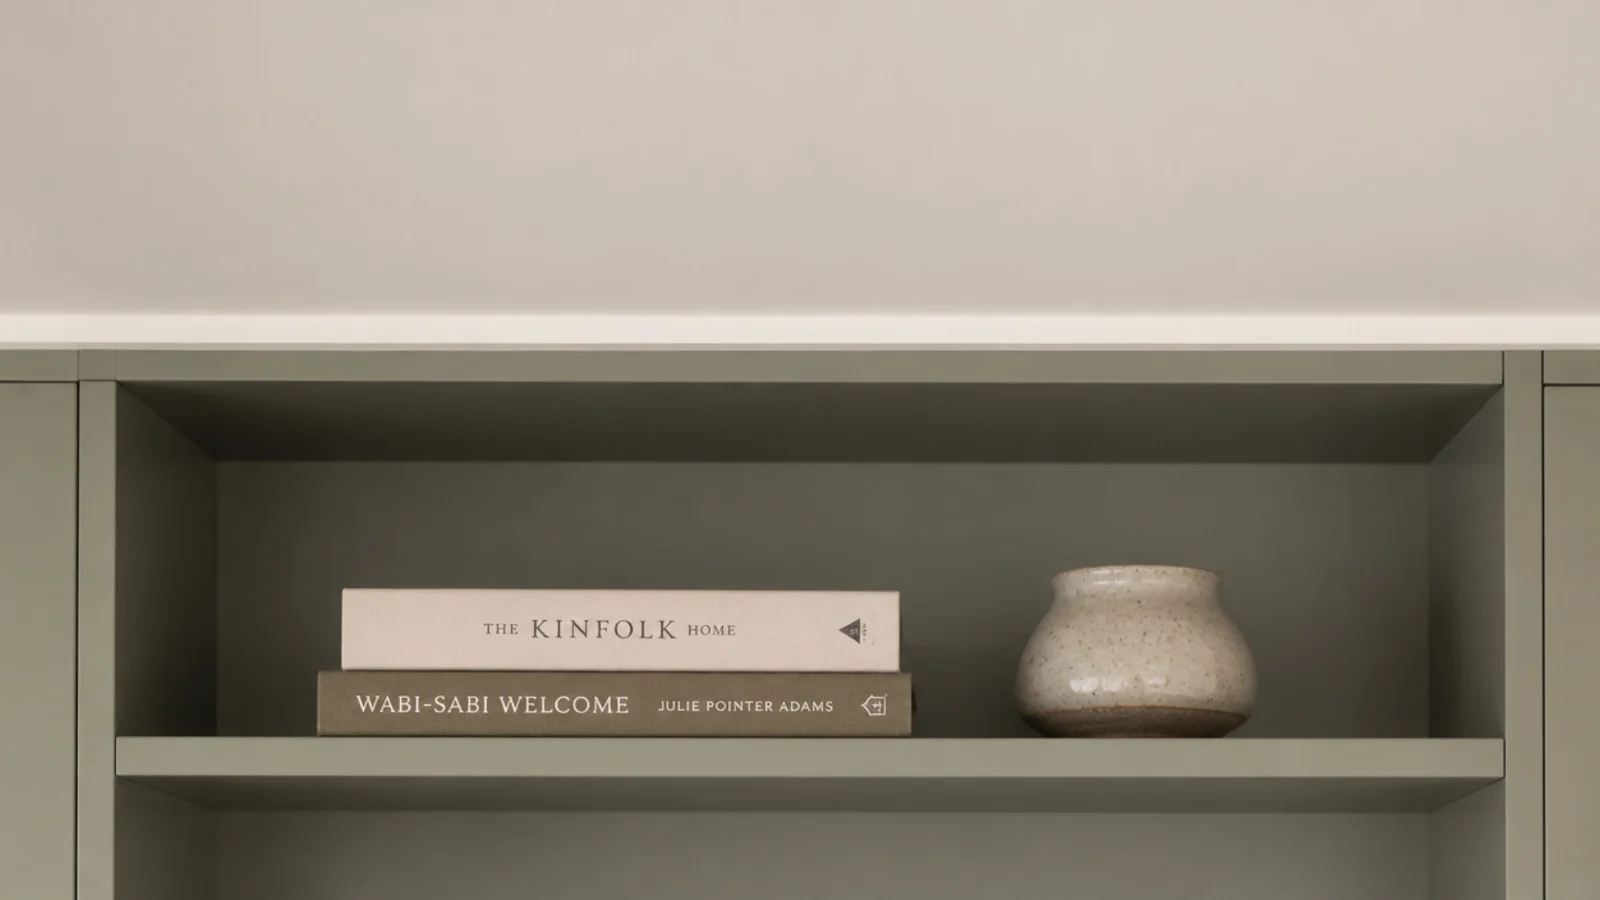
25. A simple cove instead of ornate crown
Stacked ornate crown belongs in a formal room. Here, one plain cove profile capping the unit at the ceiling is more convincing and far easier to cut.
Caulk the ceiling joint properly — scribe and caulk every wall and ceiling gap, because an open gap is the clearest DIY tell there is.
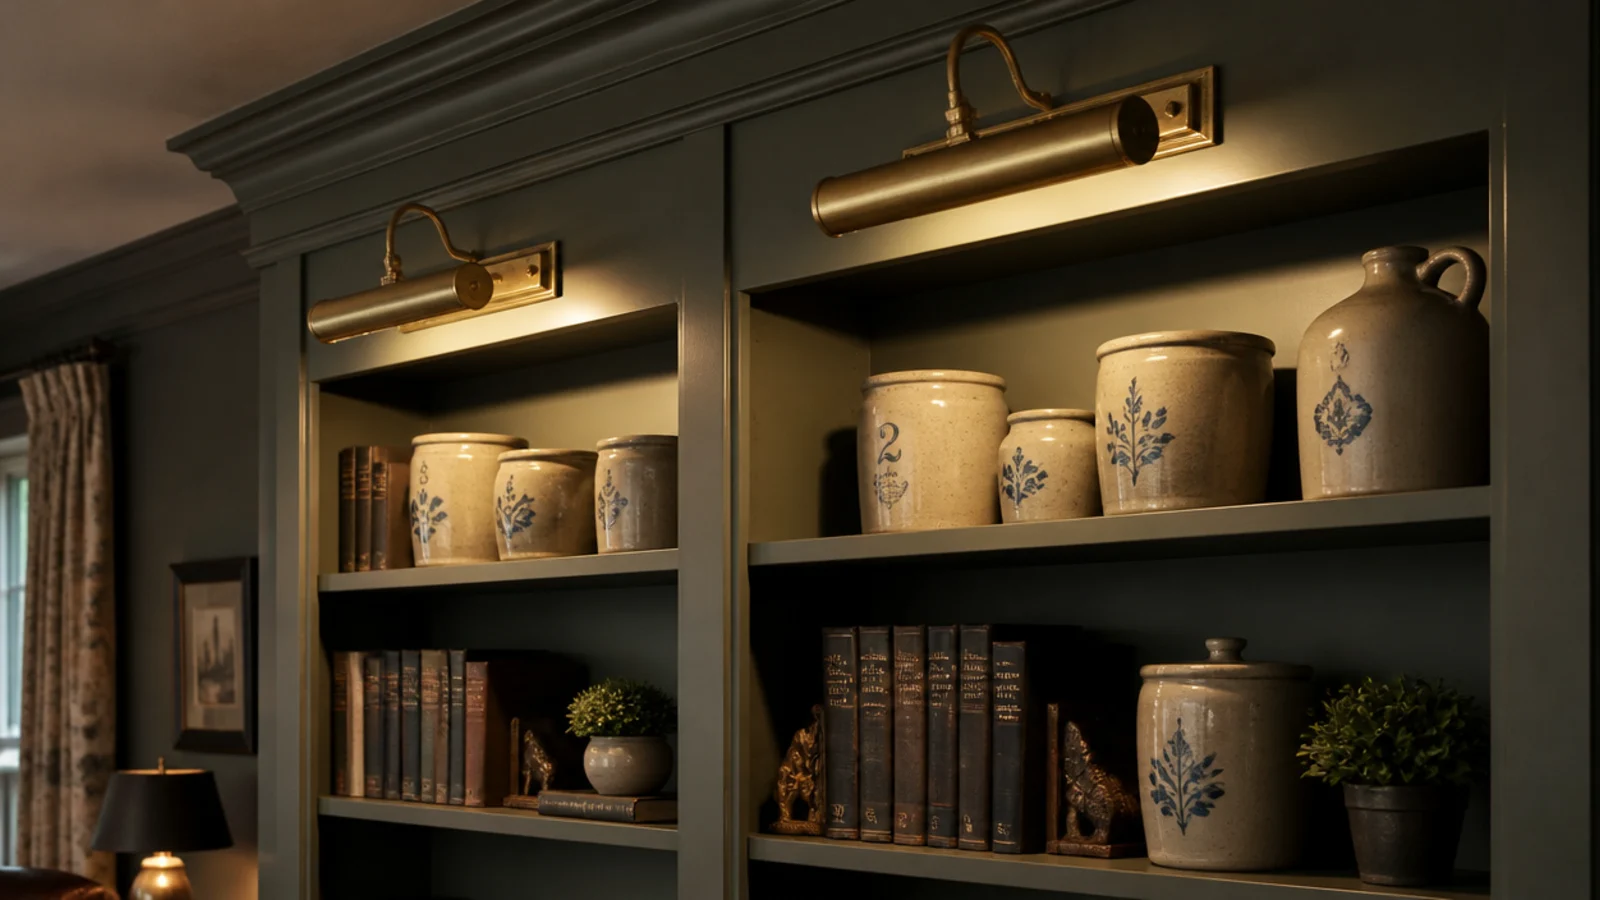
26. Aged brass picture lights
Warm metal and warm light. Unlacquered brass develops a patina rather than wearing through, which suits this style far better than a bright finish.
Use 2700K bulbs, never cool white — cool light turns cream paint grey and drains the warmth out of oak. Rechargeable versions at $20 to $40 need no wiring at all.
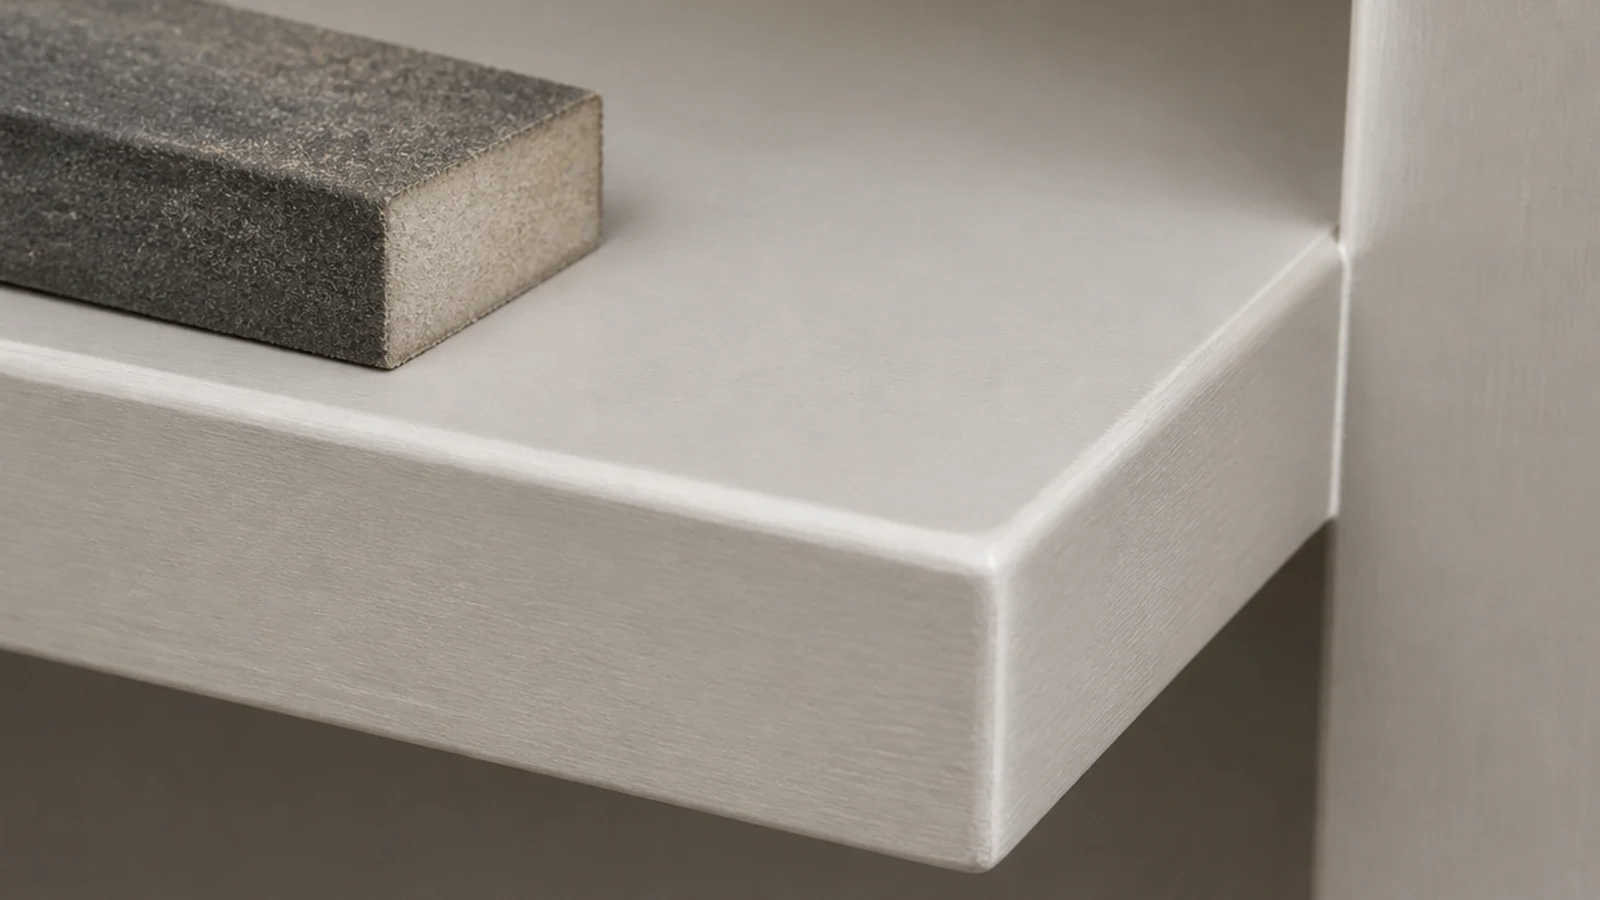
27. Soften the edges before you paint
One pass of 180 grit along every exposed arris takes the machined edge off and lets paint sit in the corner rather than pulling thin over it.
This is not distressing. It is a barely visible easing that stops the unit reading as factory-cut, and it takes about ten minutes for a whole run.
28. Matte walls, eggshell built-ins
Same color, two sheens. The joinery steps forward from the wall by a fraction without any color contrast at all.
Eggshell also wipes clean, which matters on a surface people touch. Use flat matte on the walls and keep the built-ins one step glossier — that relationship is what real trim work has always done.
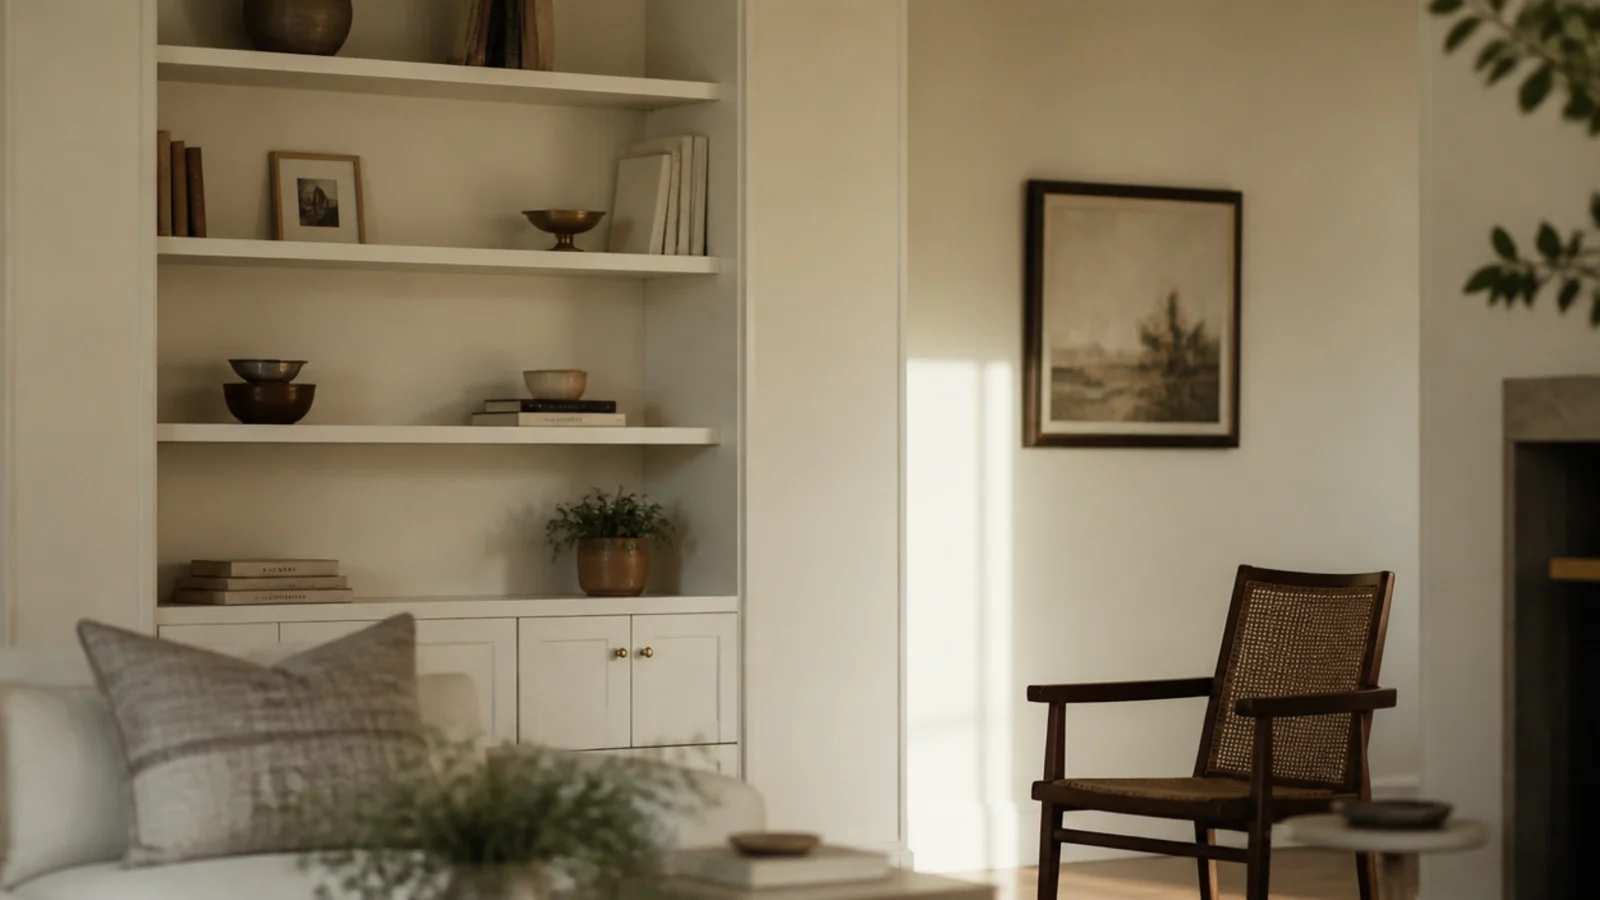
29. A low bench bay by the door
Where the run reaches a doorway, turn the last bay into a bench at 18 inches with baskets underneath and hooks on the panel above.
It gives the room a landing spot without a separate piece of furniture. Keep the hooks at 60 inches for coats and 40 inches for children.
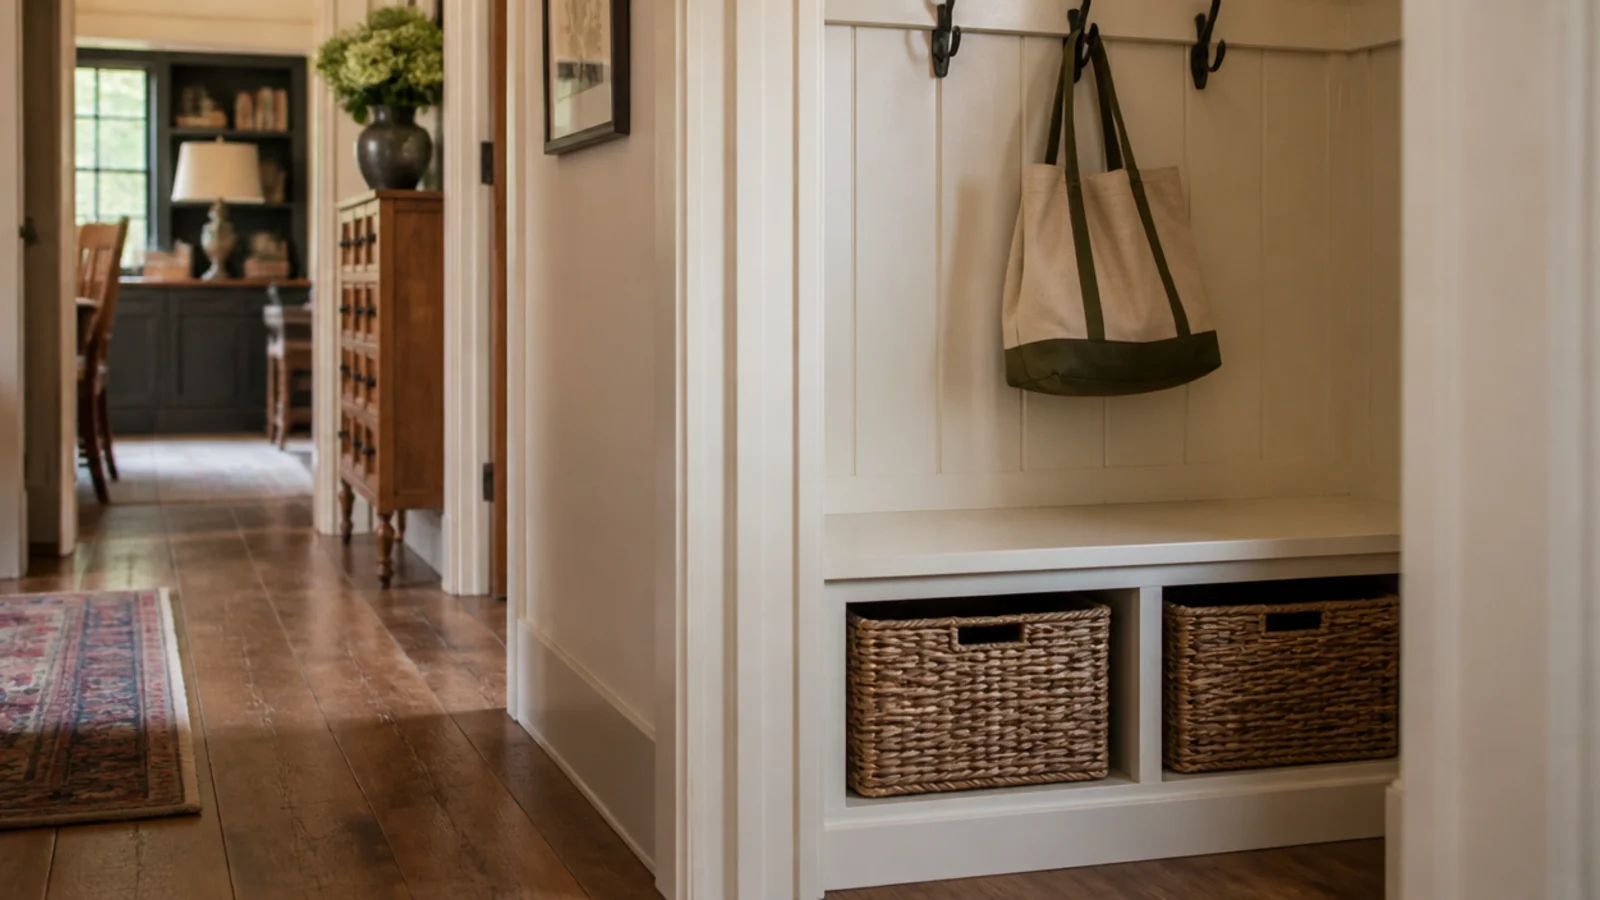
30. Leave one shelf almost empty
The last detail costs nothing and is the one people get wrong most often.
One shelf holding a single crock and a folded cloth gives your eye somewhere to rest and makes every full shelf around it read as chosen rather than stuffed. More on the arrangement side lives in built-in shelf styling.
Mistakes to Skip
- Using wide shiplap on the back panels. Six-inch boards date the wall to a specific decade, while three-inch boards read as old wall boarding and stay quiet behind the objects.
- Distressing the paint with sandpaper after it dries. Real wear happens on edges and handles, not in the middle of a panel, and forced distressing reads as costume every time.
- Mixing brass, black iron and chrome across the same wall. Pick one metal, use it on every latch, pull, hinge and light, and let the wood tones carry the variation instead.
Frequently asked questions
What makes built-in shelves look farmhouse rather than modern?
Texture on the back panel, weight in the trim, and warm paint instead of cool white. Shiplap or beadboard behind the shelves, a chunky front edge rather than a slim one, and a cream or greige tone with a hint of yellow in it. Modern built-ins remove detail; farmhouse ones add a little and keep it simple.
Should farmhouse built-ins be painted white or stained wood?
Painted frames with warm wood shelves is the combination that reads best and photographs best. All-stained runs go dark and heavy in a living room, and all-white runs lose the warmth that makes the style work. Paint the carcass the wall or trim color and let the shelf boards carry the oak tone.
How deep should farmhouse built-in shelves be?
Eleven to twelve inches for books, and 14 to 16 inches for baskets, crocks and media gear. Farmhouse styling leans on baskets and large stoneware, so the lower bays benefit from the deeper number while the upper book shelves stay shallow enough that spines sit flush at the front edge.
Is shiplap still a good idea behind shelves?
Behind shelves, yes. Shiplap gets criticised as a whole-wall treatment, but in a shelf bay it works as texture rather than as a statement, and it is largely hidden by books and objects. Use a fine three-inch board rather than a wide one, and paint it the same color as the frame.
Can farmhouse built-ins work either side of a fireplace?
That is where the style looks most at home. Keep combustible material at least 6 inches from the firebox opening and follow the clearance label on the appliance, then set a rough-hewn mantel between the two towers. The contrast between painted joinery and raw timber is the whole farmhouse look in one wall.
What should I put on farmhouse shelves so they do not look staged?
Things with a job. Stoneware crocks, a stack of real books without dust jackets, a wooden bowl, one basket of throws. Farmhouse styling fails when it becomes a collection of decorative objects nobody uses, and works when about half of what is on display gets picked up in a normal week.
Start with the back panel and the front edge, because those two details do most of the work and both are reversible on existing shelving. Paint comes next, hardware last. If you want the layout planned before the detailing, built-ins with cabinets covers the closed-base version, built-in bookshelves for a living room handles a full book wall, and rustic kitchen shelves uses the same materials in a smaller space. Save the pin so the details are with you at the lumber rack.
Want more like this? Browse all 15 living room built-in shelves guides — they all use the same measurements and budget tiers.
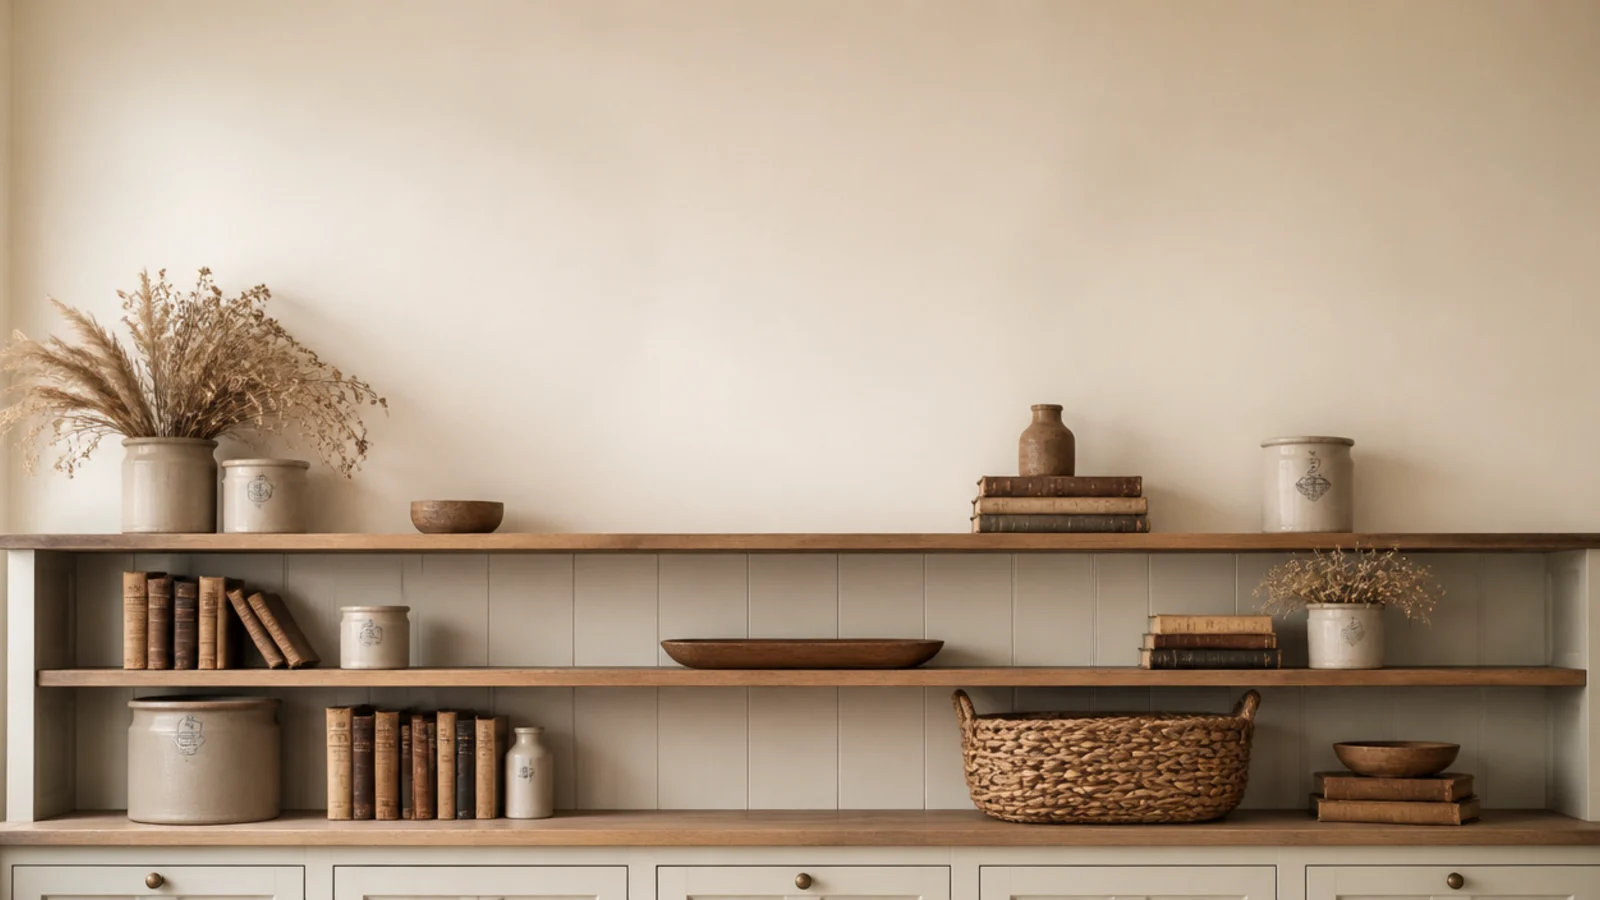
Pin it for later
Save this to your Living Room Built-In Shelves board
Pin it now so it is waiting for you when the tape measure comes out — and so the next person hunting for this idea can find it too.
Save this pinKeep going
More ideas worth saving while you have the tape measure out.