Living Room Built-In Shelves · UGC
15 Living Room Built-Ins Mistakes I Made and Fixed

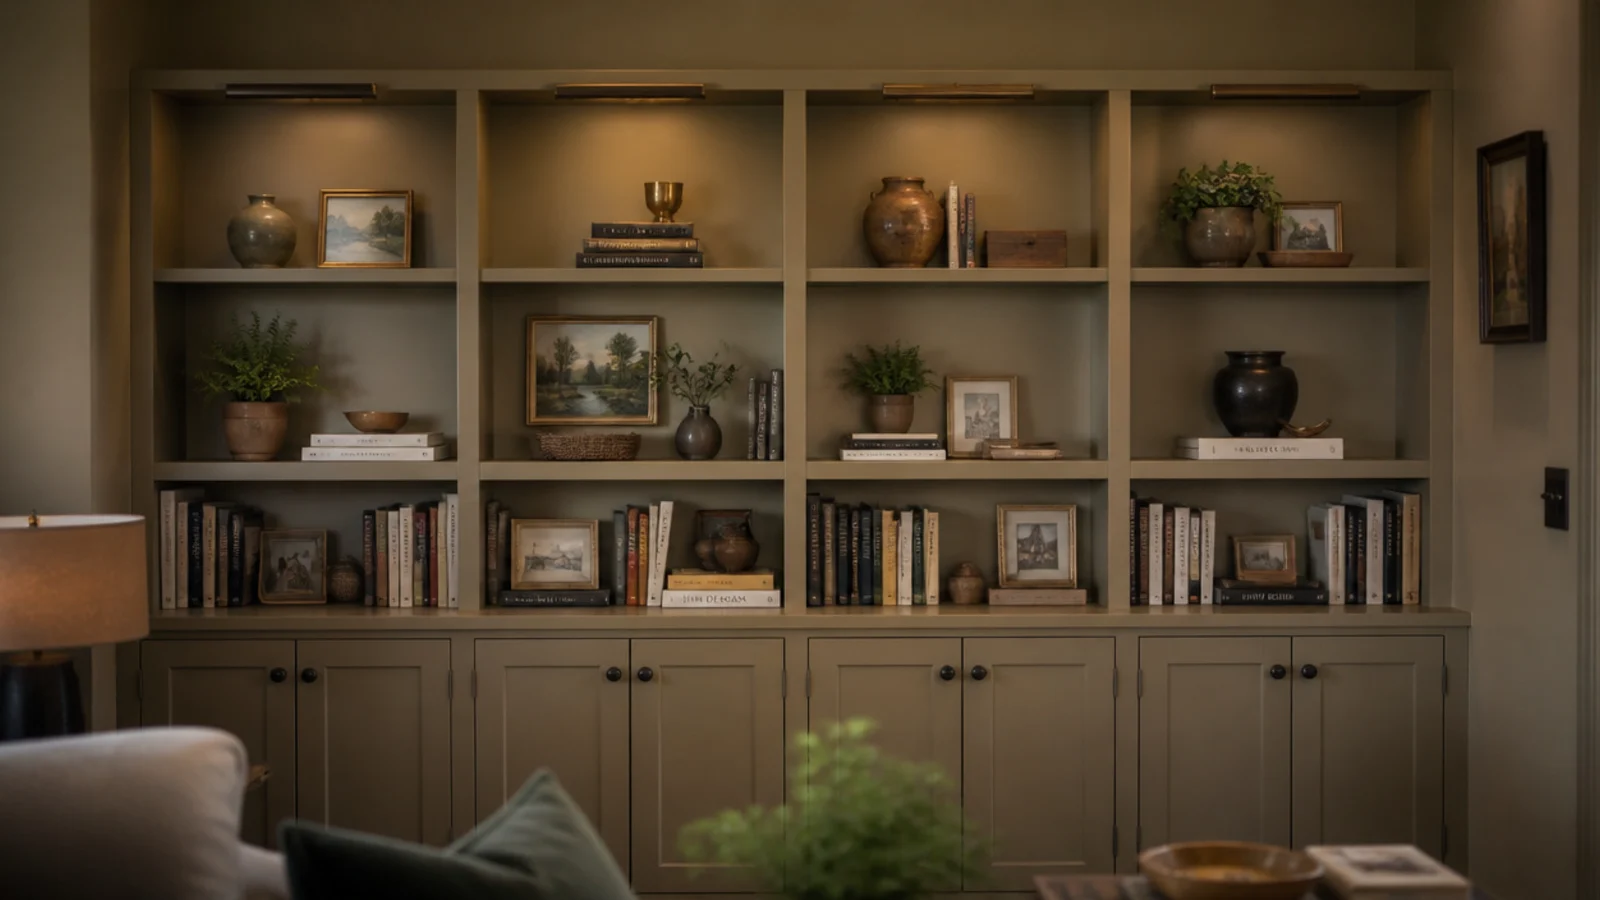
The built in shelves mistakes in this article are all mine, and most of them cost me either a weekend or a rebuild. I have built shelving into four living rooms now — two rentals, two houses — and the first two were educational in ways I did not enjoy at the time.
The first run I ever built looked genuinely good for about six weeks. Then the books went on properly, the long shelf took a visible bow, and I noticed that the gap between the case and the wall got wider toward the ceiling every time I walked past it. Neither problem was fixable without taking the whole thing apart, because I had caulked and painted over decisions I should have measured first.
What follows is fifteen things I got wrong, in roughly the order I got them wrong, with the fix for each. Several are free. Two of them I still think about.
In this guide16 sections — tap to openHide
- 1.Mistake 1: I made the shelves nine inches deep
- 2.Mistake 2: I spanned 42 inches with bare plywood
- 3.Mistake 3: I set every shelf at the same nine-inch spacing
- 4.Mistake 4: I left a gap at the wall instead of scribing
- 5.Mistake 5: I left the ceiling gap open
- 6.Mistake 6: I built the base cabinets twelve inches deep
- 7.Mistake 7: I made the whole wall open shelving
- 8.Mistake 8: I mounted the television bay too high
- 9.Mistake 9: I ignored the fireplace clearance label
- 10.Mistake 10: I chose a paint color that matched nothing
- 11.Mistake 11: I lit the shelves with cool white
- 12.Mistake 12: I skipped the back panel and the run racked
- 13.Mistake 13: I buried the only outlet behind the cabinets
- 14.Mistake 14: I filled every shelf on day one
- 15.Mistake 15: I built the whole wall in one weekend
- 16.Built-In Shelves Mistakes: What I'd Do Differently Now
Mistake 1: I made the shelves nine inches deep
I had read that shallow shelves make a room feel bigger, so I built the first run at nine inches to save floor space in a small living room.
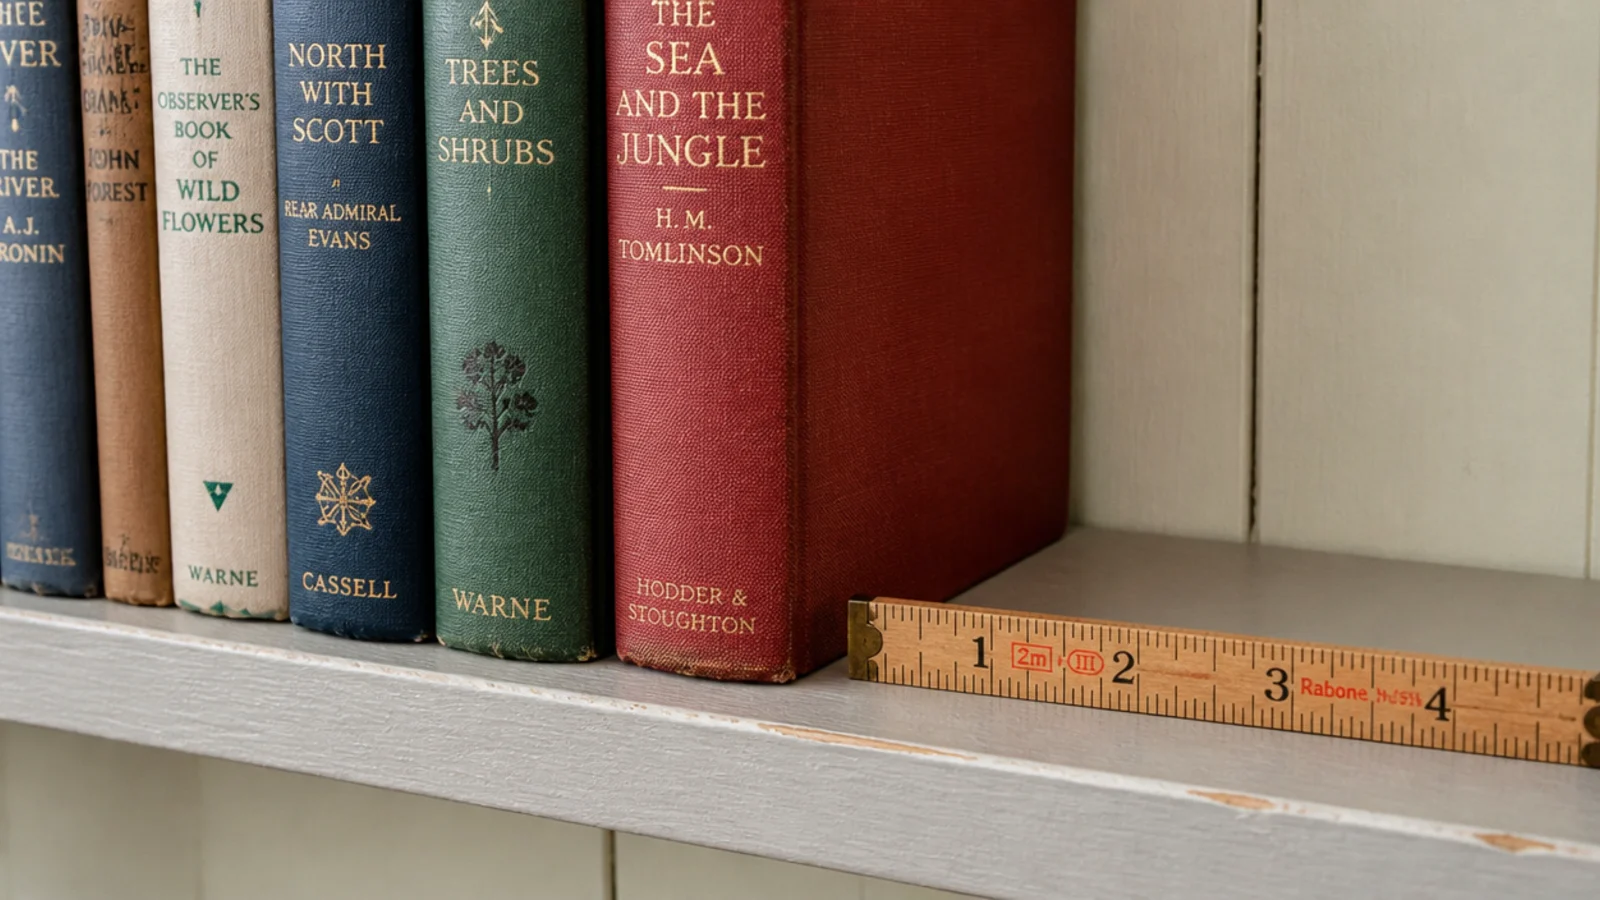
A standard hardback is about eight and a half inches deep, and a large one is nine and a half. So half my books overhung the front edge, which looks like an error even to people who cannot say why.
The fix: 11 to 12 inches for books, and 14 to 16 inches for baskets, a receiver or a record crate. The two extra inches cost nothing in floor space that you notice and change the whole proportion of the wall. I rebuilt that run at 11.25 inches using stock pine, which needs no ripping at all.
Mistake 2: I spanned 42 inches with bare plywood
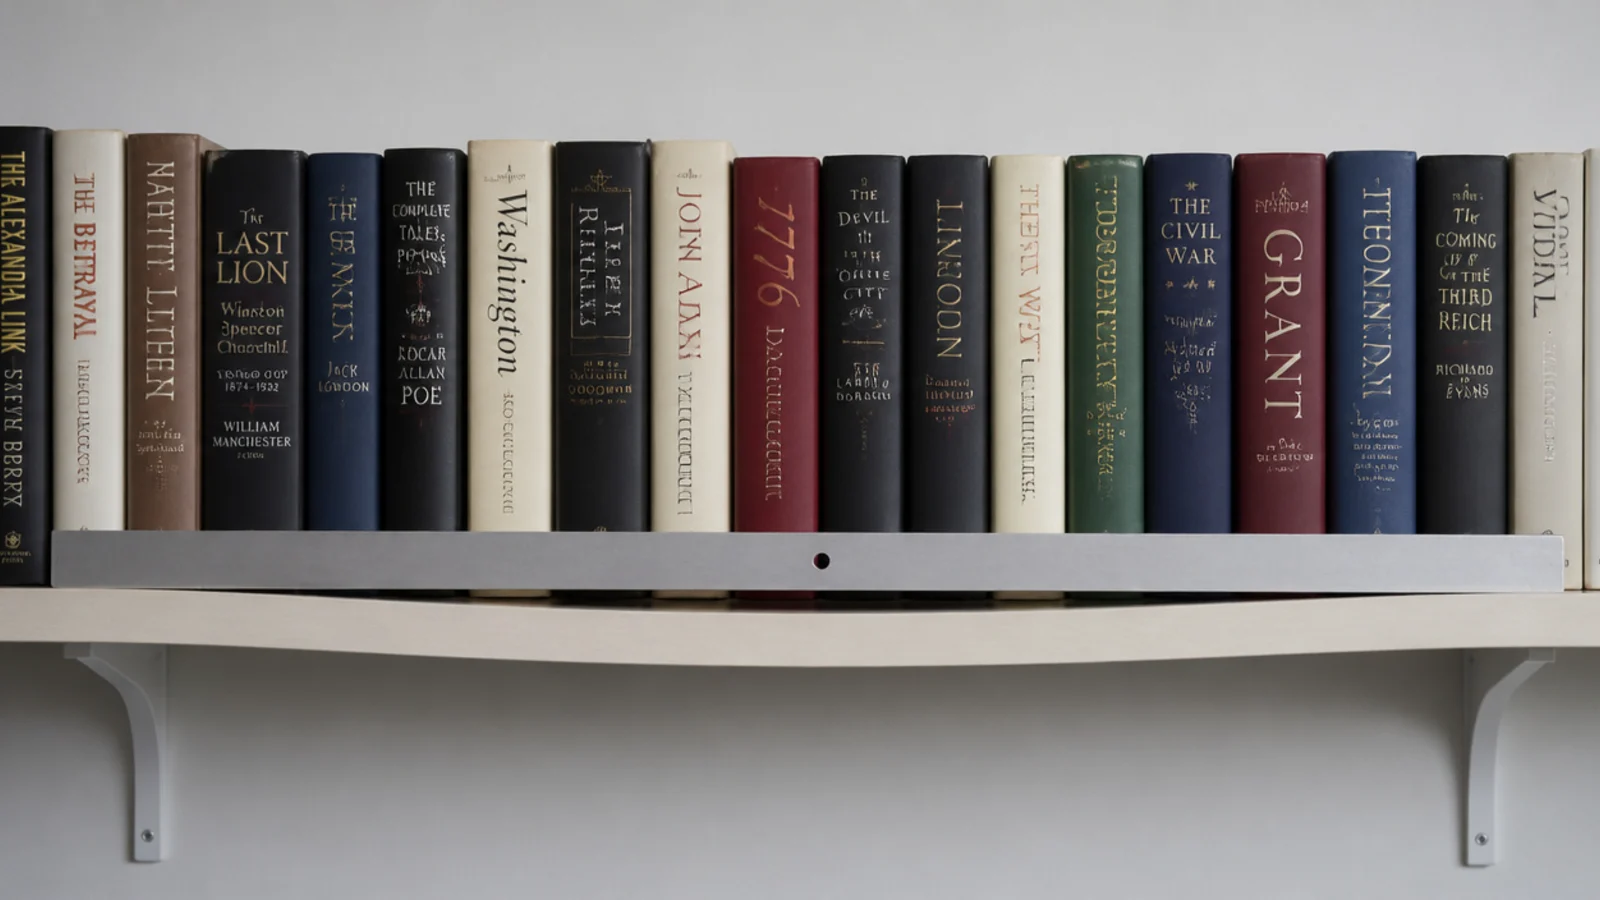
The alcove was 42 inches wide, so I cut shelves 42 inches long. It seemed like the obvious approach and it was wrong.
Three-quarter-inch plywood holds a straight line to roughly 32 inches. Past that, under a full row of books, it takes a slow permanent set — and once a board has bowed it never straightens out, even unloaded.
The fix: a 1x2 glued and pinned along the front edge of every shelf. That strip roughly triples the stiffness for about four dollars, and it doubles as the chunky front edge that makes shelving look solid. For anything over 40 inches I now add one vertical support at mid span behind the face frame as well.
Mistake 3: I set every shelf at the same nine-inch spacing
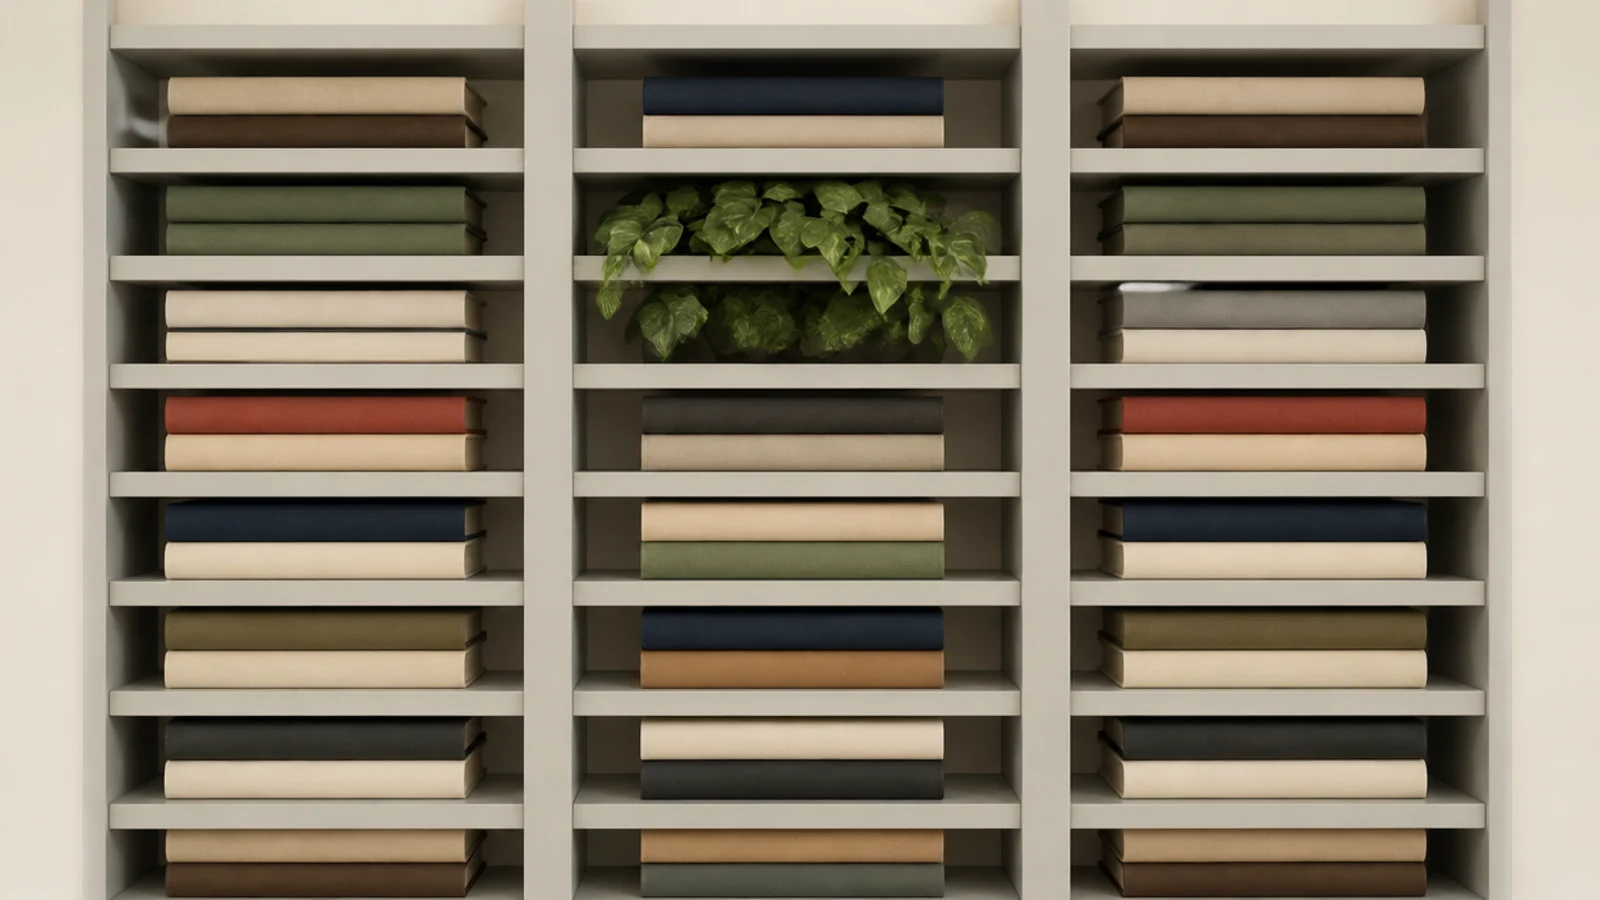
Evenly divided shelves look tidy on a drawing. Then the hardbacks arrive and have to lie flat, and the whole unit turns into a filing system.
I had divided the height by the number of shelves I wanted rather than by what I owned, which is backwards.
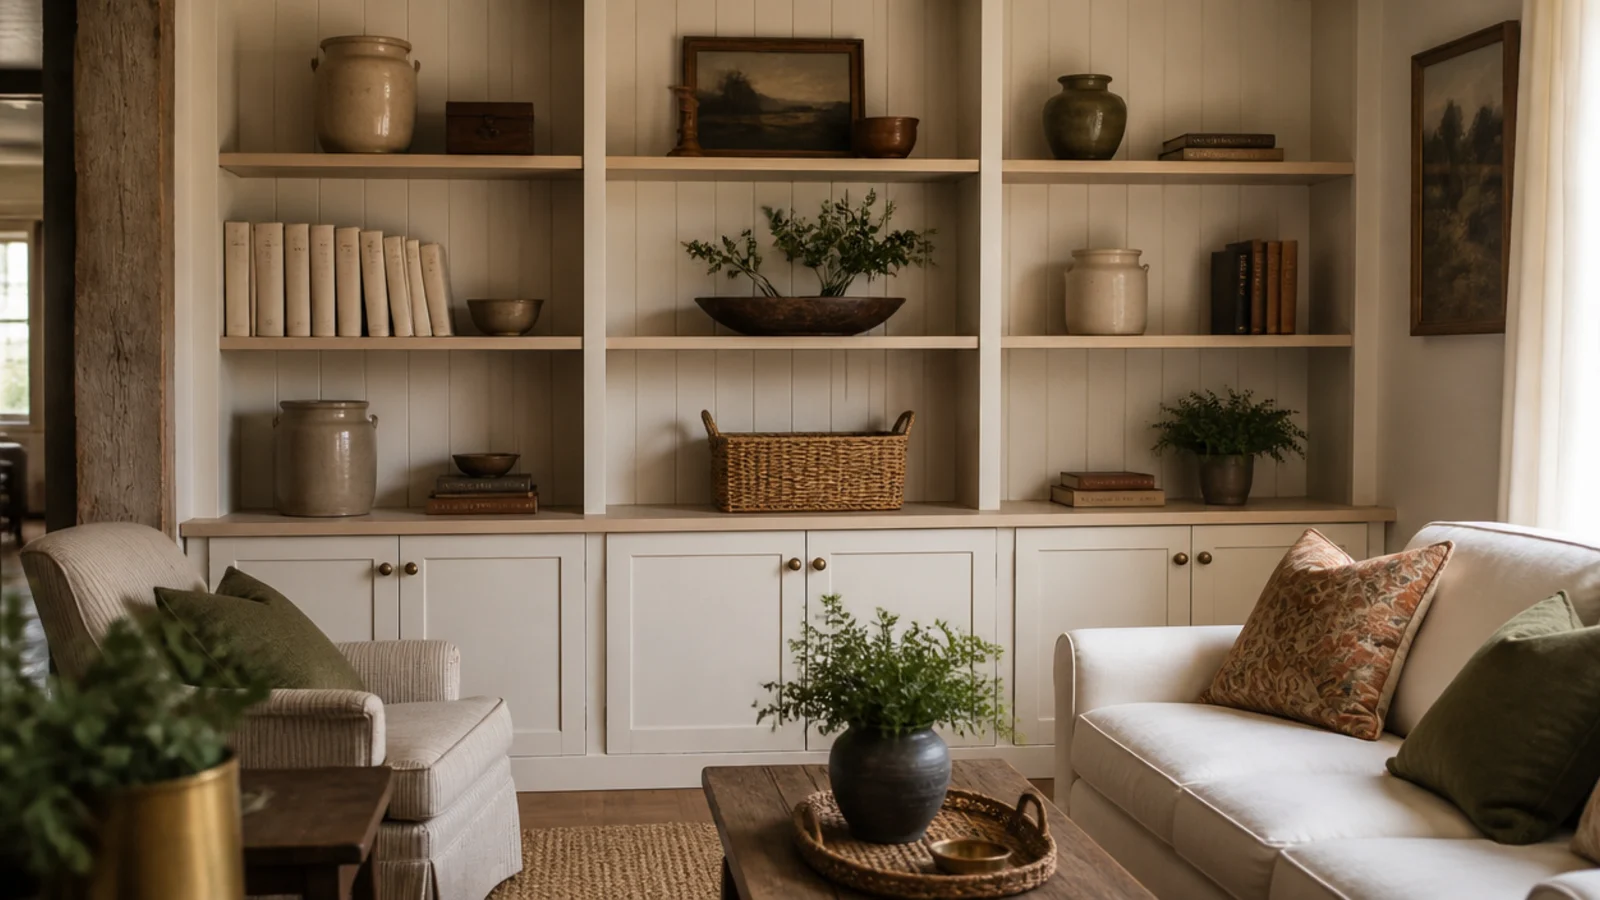
The fix: 11 to 13 inches of clear height for hardbacks, nine for paperbacks, and one bay at 16 to 18 inches for art books or a basket. Measure your tallest book first, because art books routinely hit 13 inches. Uneven spacing looks more custom rather than less, because real joinery is planned around its contents.
Mistake 4: I left a gap at the wall instead of scribing
The alcove wall was out of plumb by about three-eighths of an inch over seven feet, which is entirely normal in a house built in 1936.
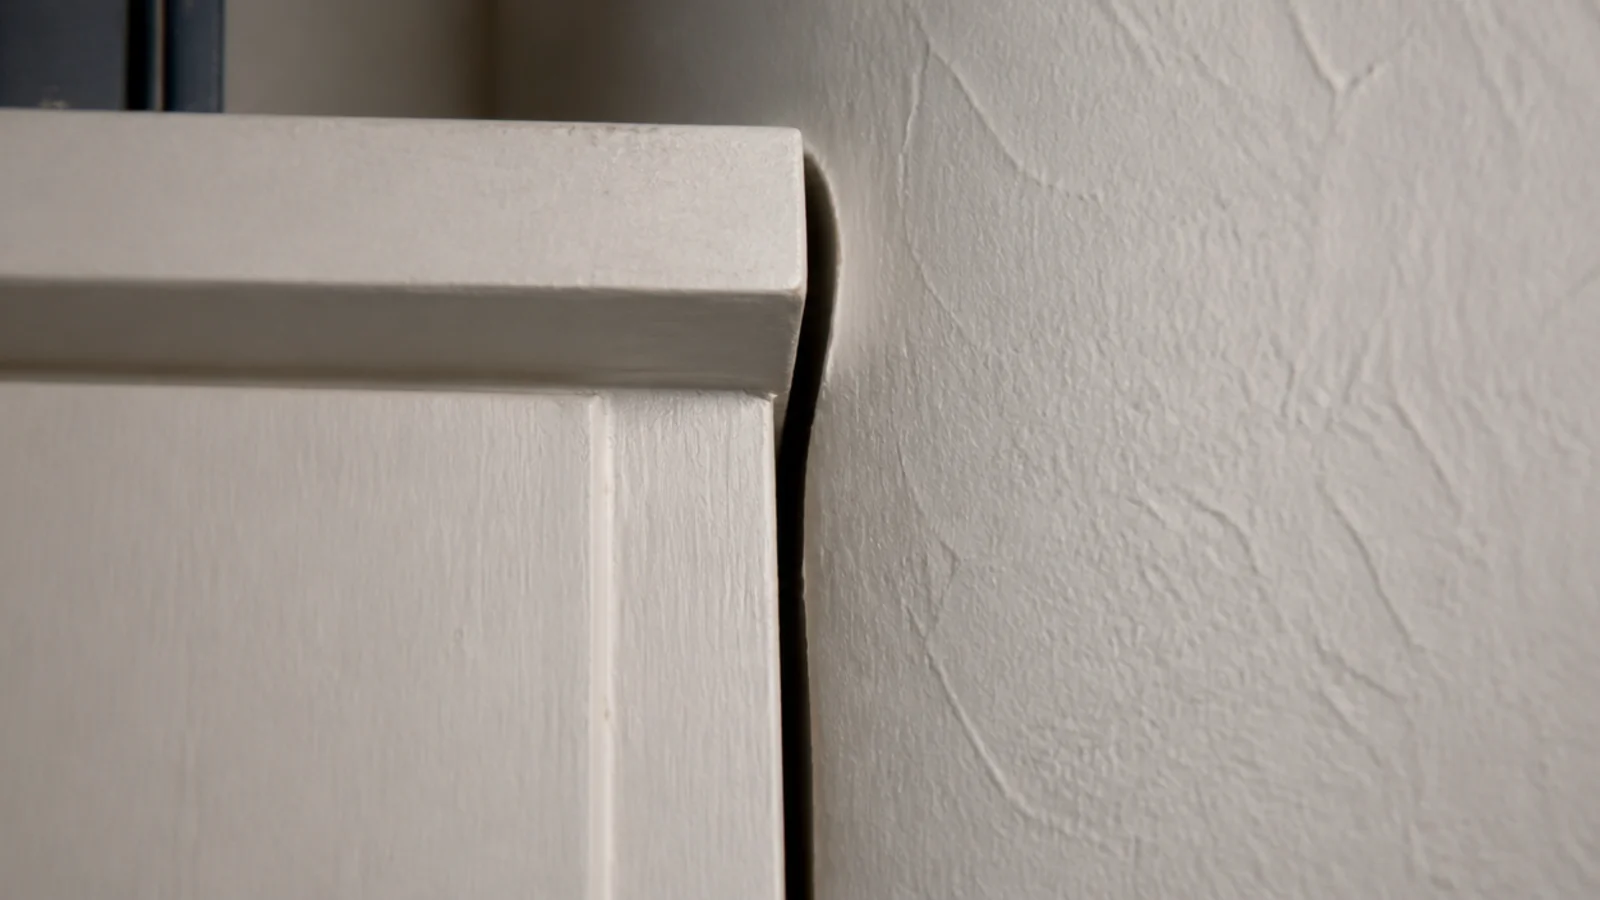
I pushed the case in tight at the bottom, which left a tapering wedge of shadow at the top. Trim would not cover it because the gap was uneven along its length.
The fix: scribe a filler strip. Hold a length of 1x2 against the case, run a pencil down it with the point following the wall, then plane or sand to the line. Caulk the last hairline afterwards. Scribe and caulk every wall and ceiling gap — an open gap is the clearest DIY tell there is.
Mistake 5: I left the ceiling gap open
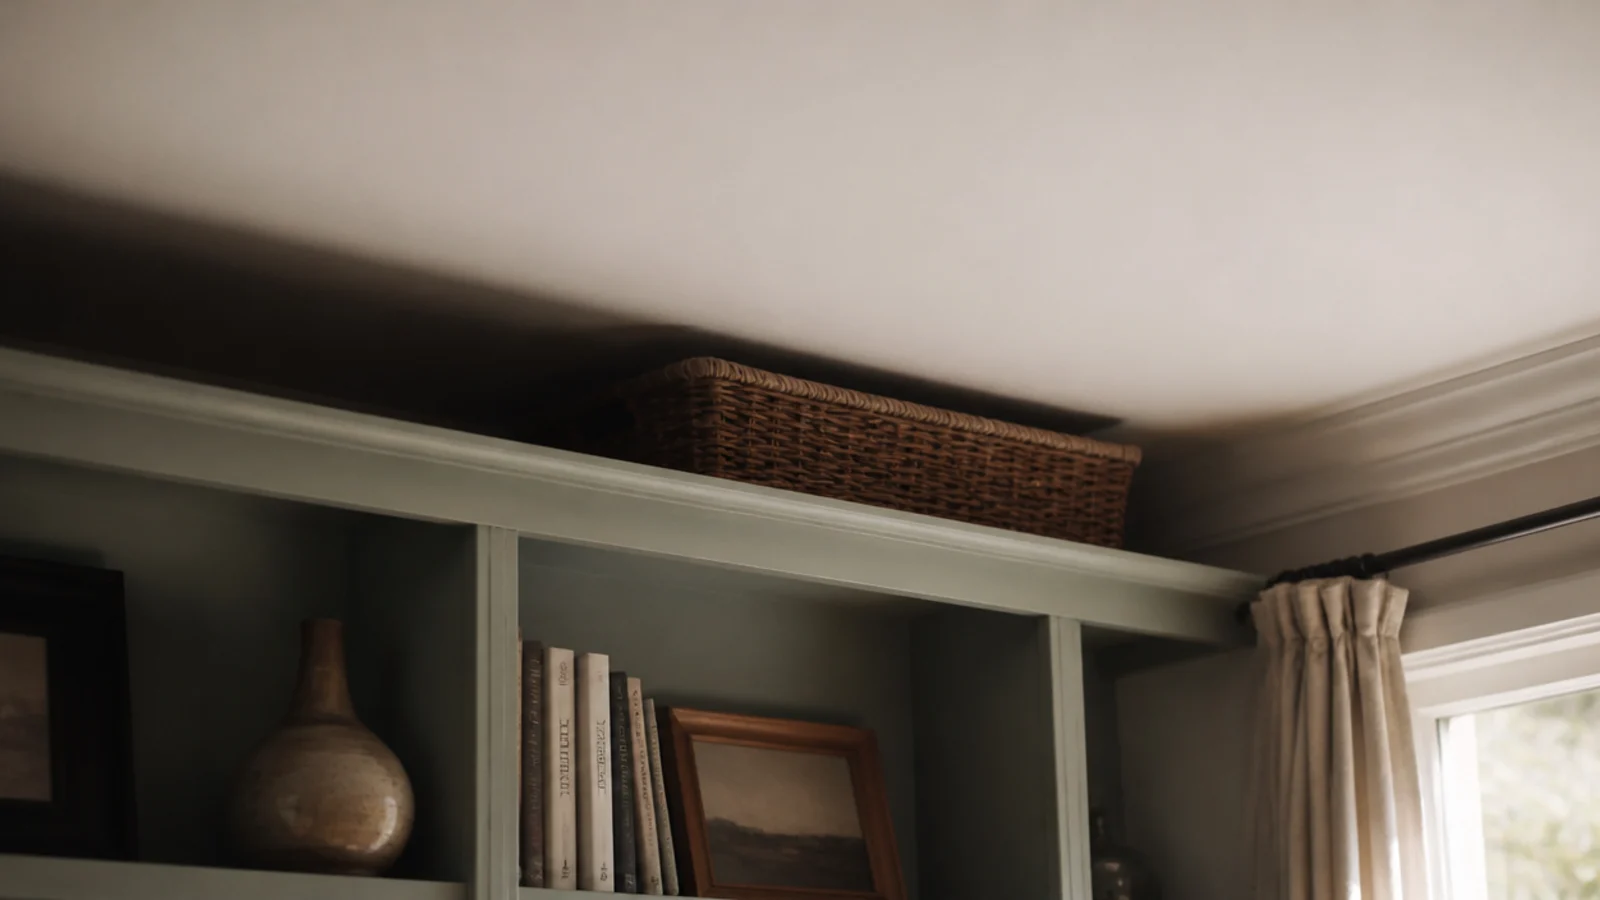
The cases stopped eight inches short of the ceiling and I told myself it was a design decision. It was not. It was a dust shelf that collected baskets nobody opened.
An open gap above a built-in reads as furniture the whole time, no matter how well the rest is finished.
The fix: run a plain painted panel up from the case top, then cap it with a slim cove strip caulked into the ceiling line. I did this in an afternoon for about $30 and it changed the wall from bookcase to joinery.
Mistake 6: I built the base cabinets twelve inches deep
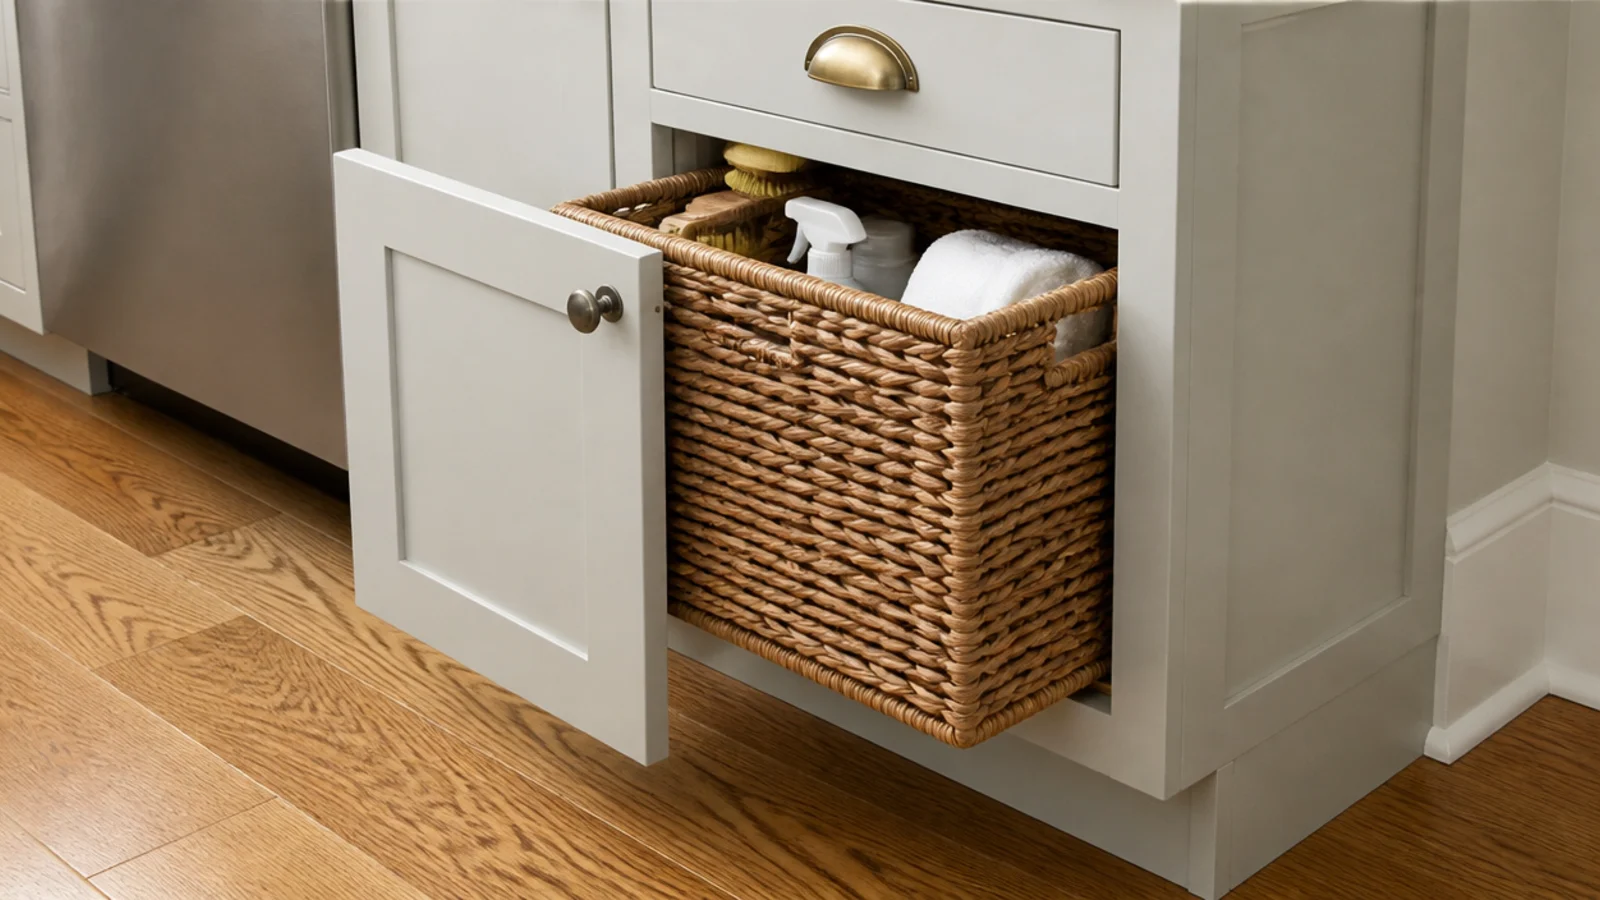
I matched the base depth to the shelf depth because it seemed neat. Then none of my storage baskets fitted, and the doors would not close over a games box.
Twelve inches is a book depth, not a storage depth, and the base of a built-in is entirely about storage.
The fix: 14 to 16 inches for anything with a door on it. That extra four inches swallows baskets, board games, a receiver and a record crate, and the step back to shallower shelves above gives you a counter and a shadow line. The cabinet-base layout guide has the full proportions.
Mistake 7: I made the whole wall open shelving
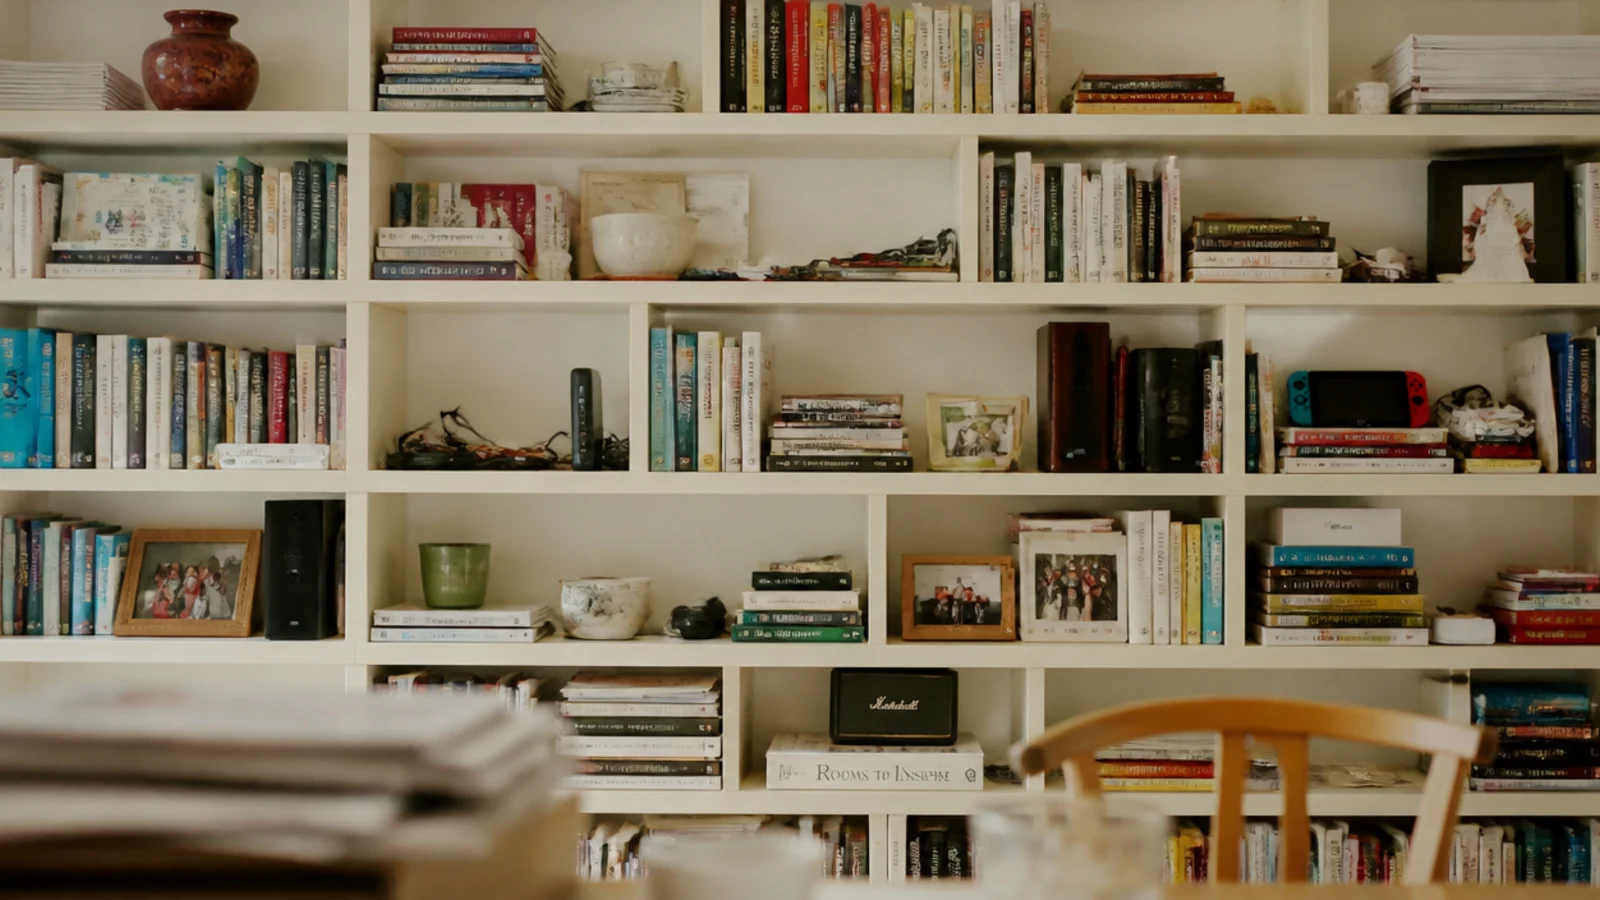
Open shelving photographs beautifully on day one. By month three it held a router, three chargers, a stack of unopened post and a box of light bulbs.
Living rooms generate more unattractive objects than any other room in the house, and open shelving has nowhere to put them.
The fix: two to three feet of closed storage at the base, open above. That single change stopped me tidying the shelves every time anyone visited. If doors are outside the budget, a gathered linen curtain across the lower bays does the same job for about six dollars.
Mistake 8: I mounted the television bay too high
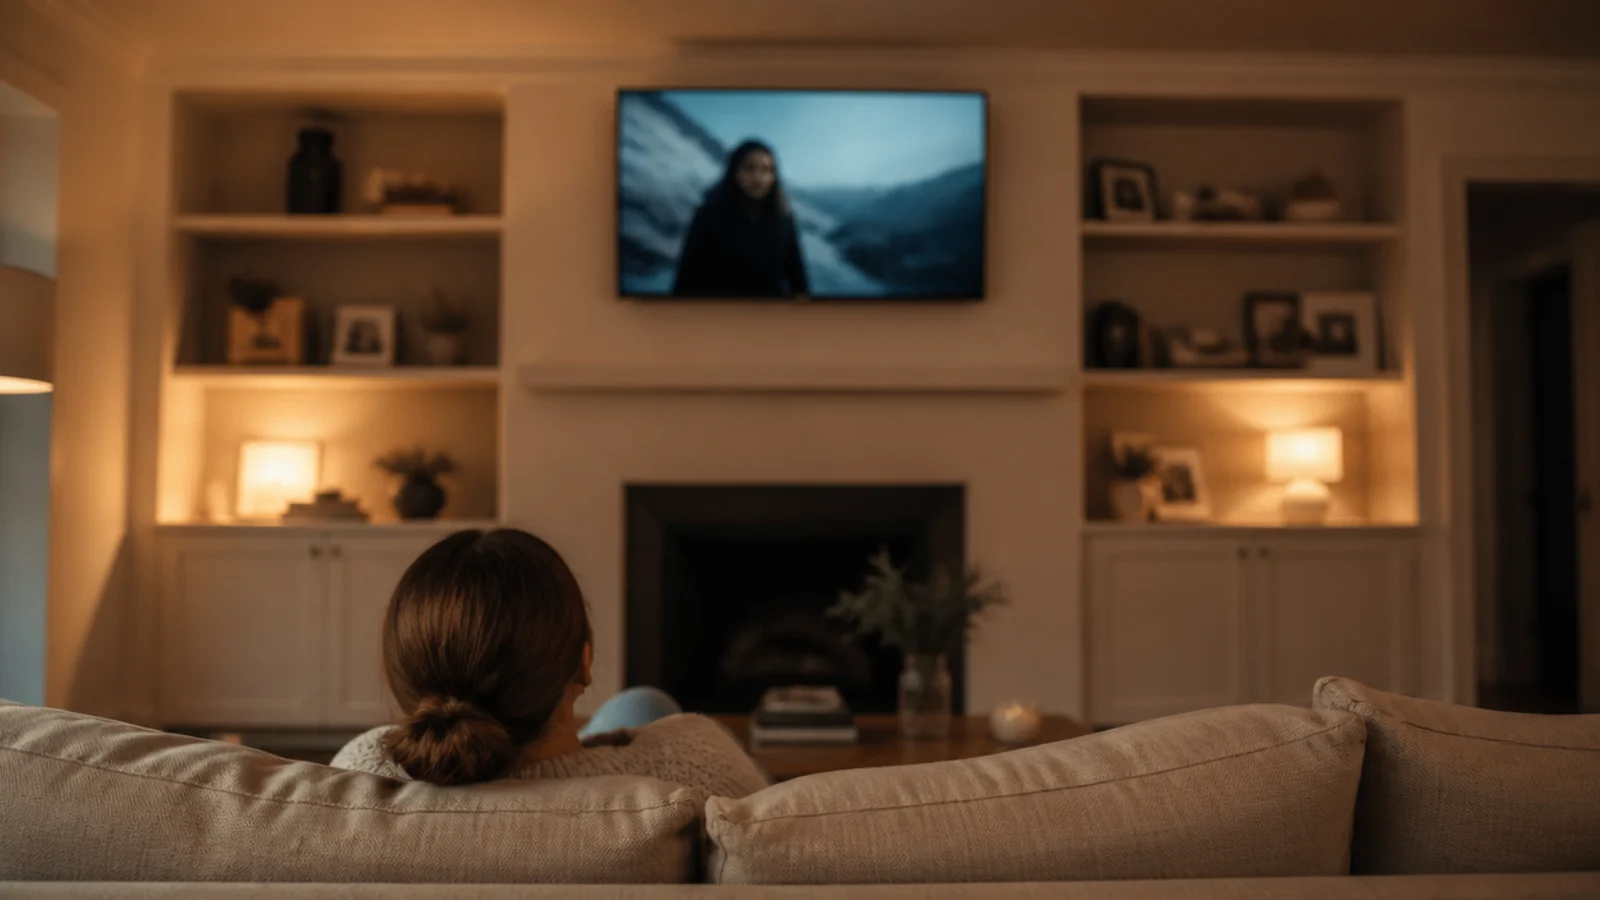
I centred the screen in the wall composition rather than on the sofa, which put the middle of it at about 52 inches.
Watching anything meant tipping my head back, and after two films I noticed I had started sitting on the floor to watch comfortably.
The fix: sit on the sofa, look straight ahead, and mark the wall where your eye lands. That mark is the centre of the screen, usually 42 to 48 inches from the floor. Design the shelving around that height rather than around the wall, and put the mantel or the art higher up where a tilted head is not required.
Mistake 9: I ignored the fireplace clearance label
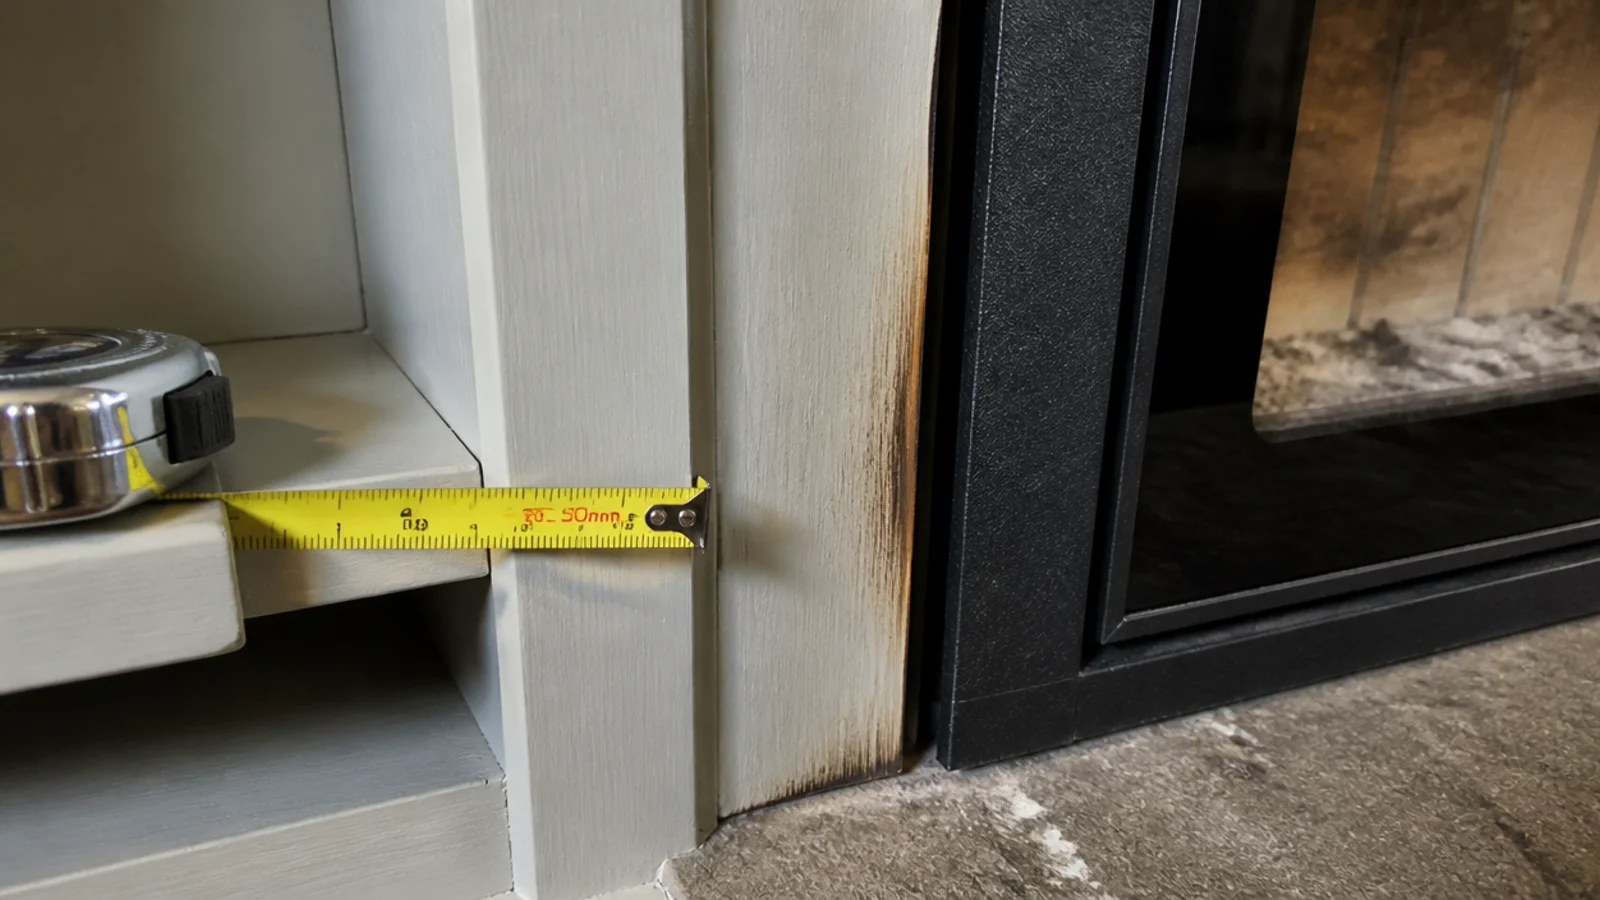
I ran painted trim to within about three inches of a firebox opening because it looked balanced. Within a winter, the edge nearest the fire had darkened and the paint had gone slightly brittle.
That is a safety issue rather than a decorating one, and I got lucky.
The fix: keep combustible material at least 6 inches from the firebox opening, and follow the clearance label on the appliance itself if you have an insert or a stove, because that label overrides any general rule. Set the cases back and let the hearth breathe. The built-ins around a fireplace guide covers the measurements properly.
Mistake 10: I chose a paint color that matched nothing
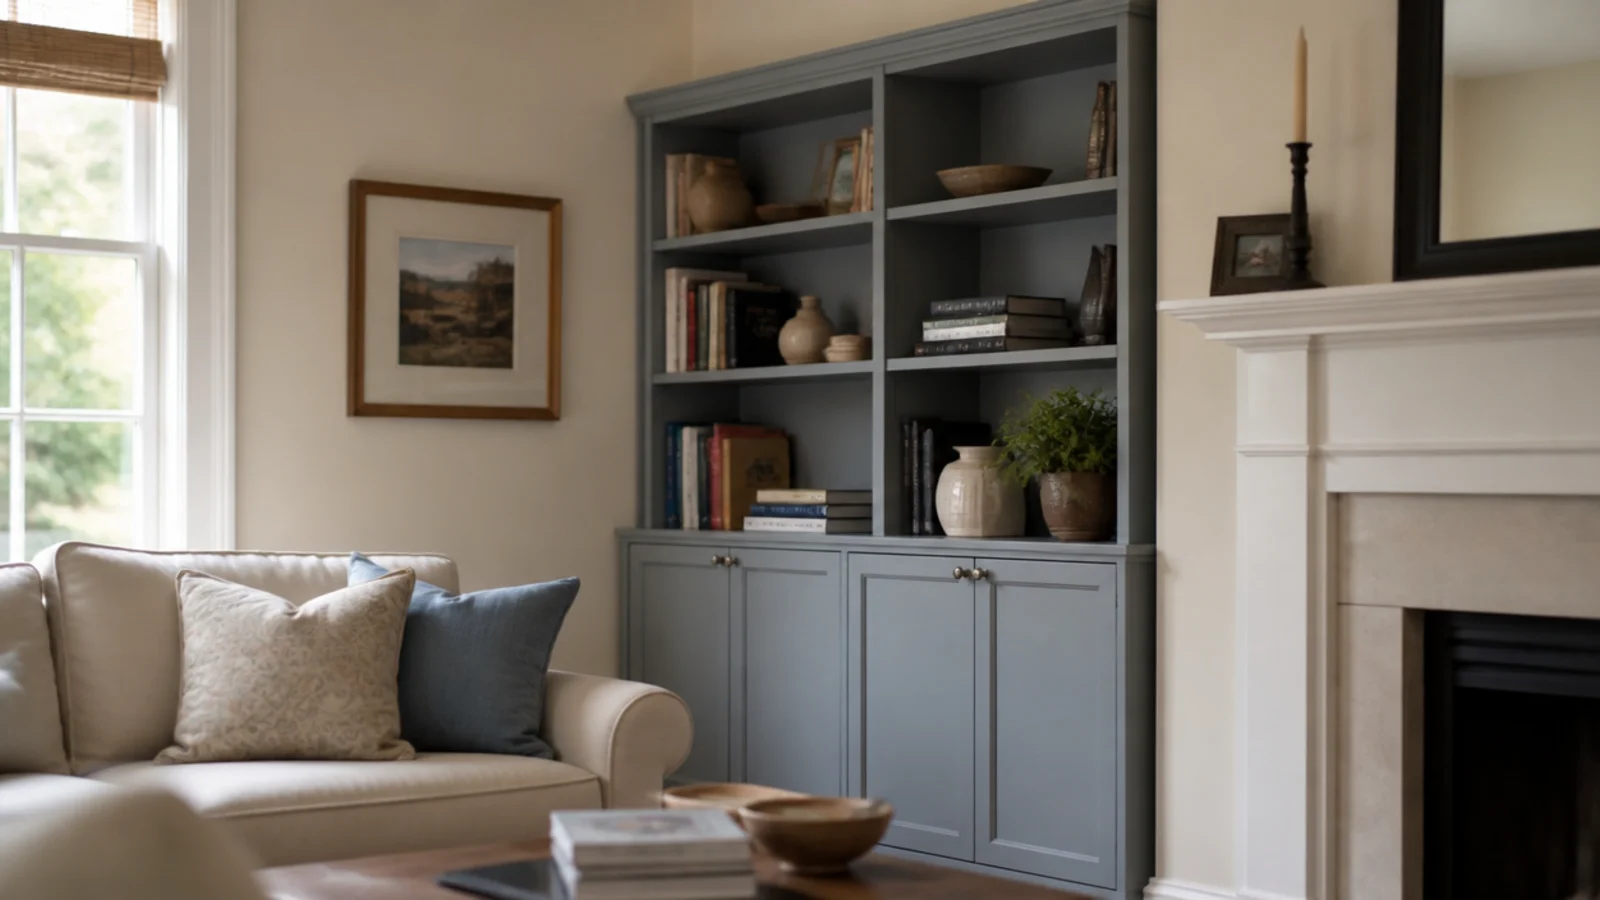
I picked a cool grey blue because I liked it on the chip. The walls were warm cream, the trim was soft white, and the shelving became a fourth color in a room that already had three.
It read as a large piece of furniture pushed against a wall, which is precisely what built-ins are supposed to stop looking like.
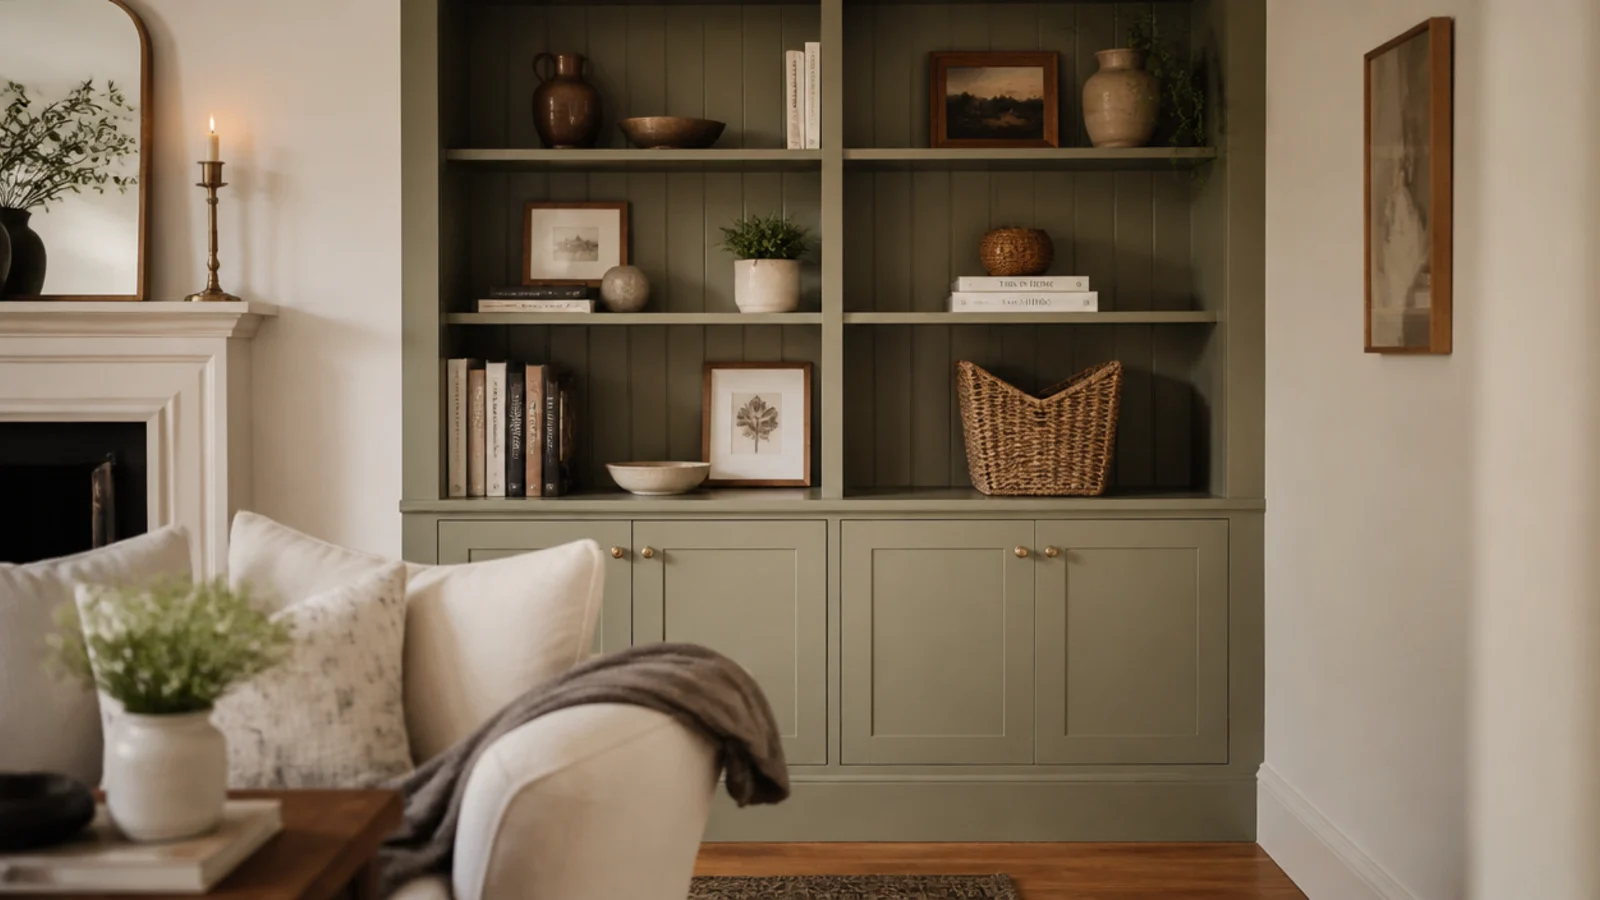
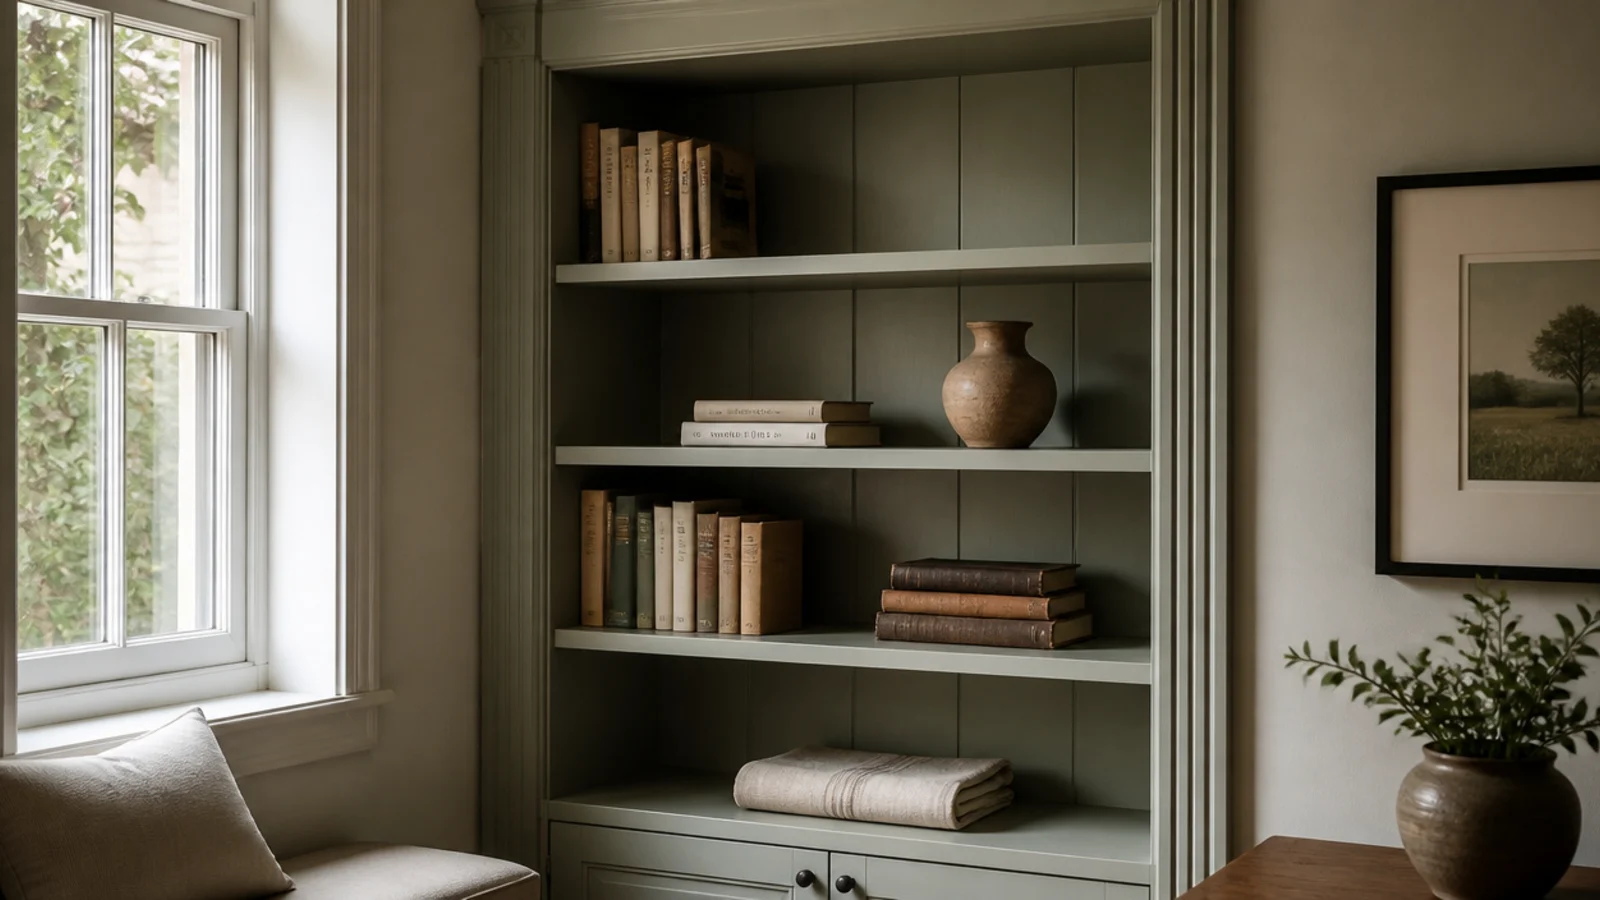
The fix: paint built-ins the wall color or the trim color, in a matching sheen. That is the rule I now follow without exception. If you want color, put it on the back panels only and keep the frame matching — the depth reads beautifully and the joinery still disappears into the architecture.
Mistake 11: I lit the shelves with cool white
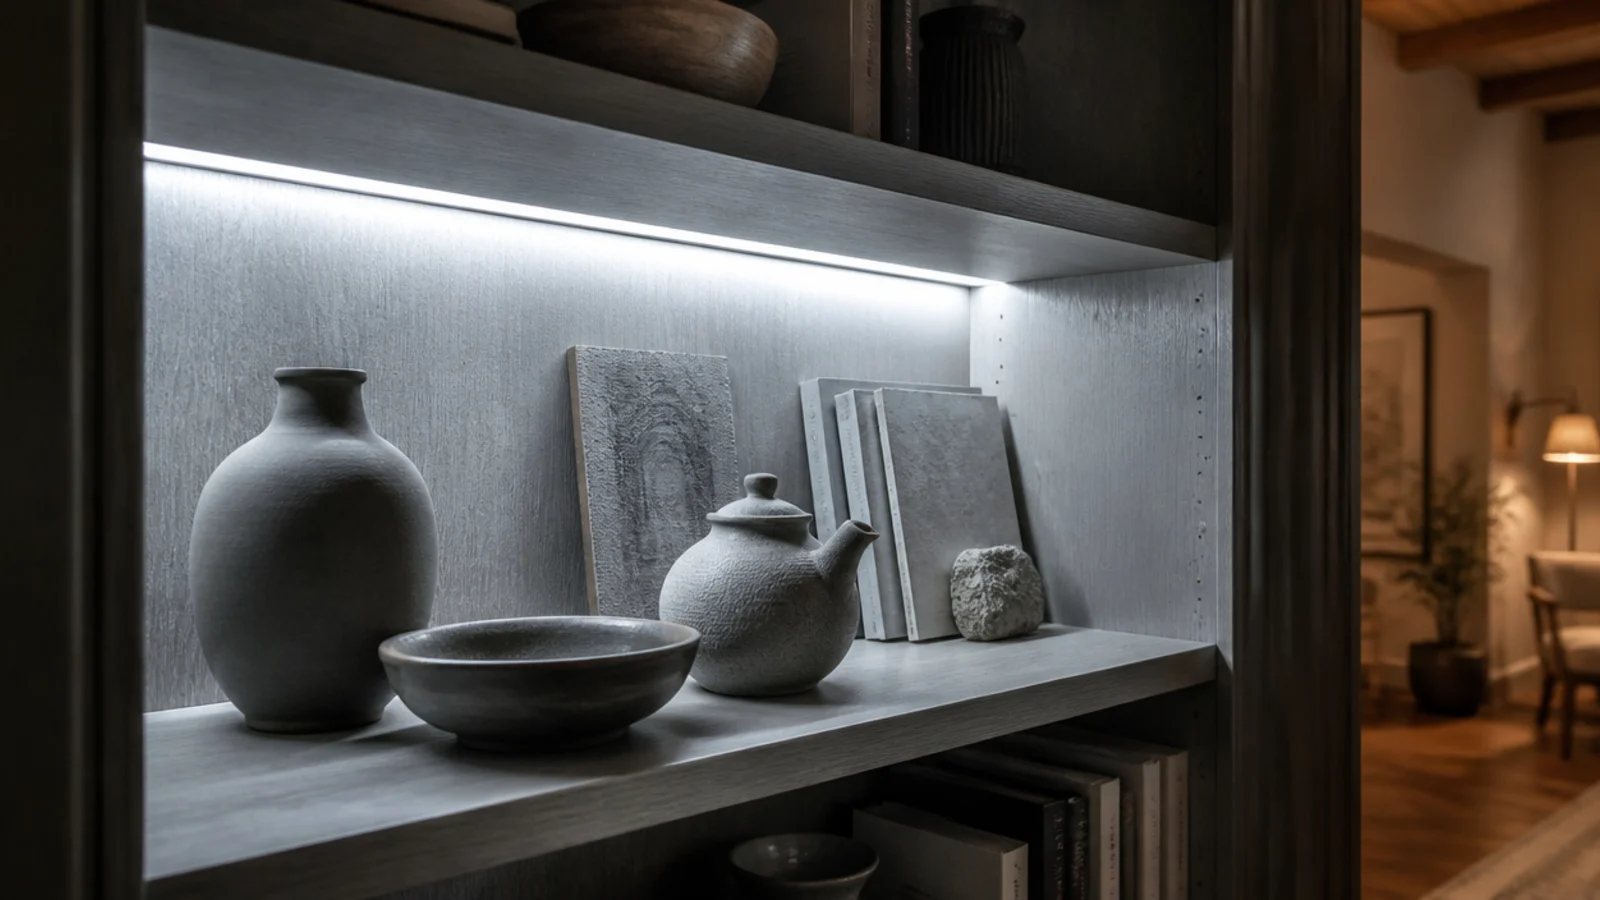
I bought an LED strip without checking the color temperature and ended up with something around 5000K running under every shelf.
Oak went grey. Terracotta went brown. The cream paint went faintly blue, and the whole wall looked like a display in a hardware aisle at nine in the evening.
The fix: 2700K, every time, in a living room. Warm white keeps clay, walnut and cream reading as themselves. Aim the light down the face of the shelves rather than out into the room, and use rechargeable pucks if wiring is not an option — the color temperature matters far more than whether the light is wired.
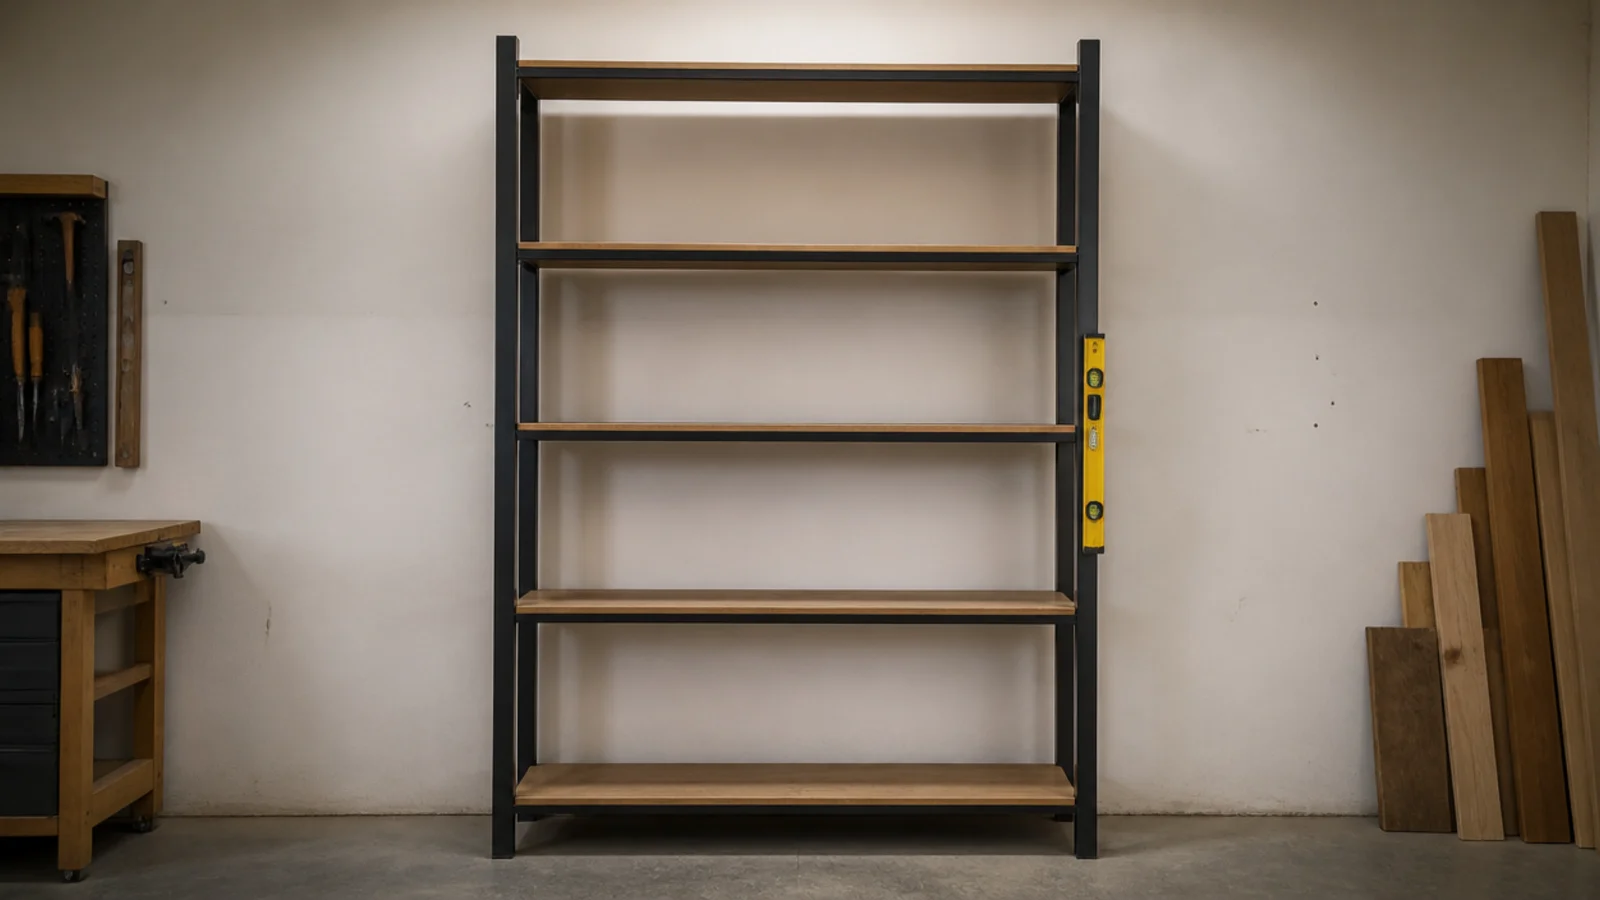
Mistake 12: I skipped the back panel and the run racked
I left the back open to save a sheet of plywood and to show the wall behind, which I thought would look lighter.
Within a year the tall unit had racked slightly out of square, the door reveals had gone uneven, and one shelf had a visible tilt.
The fix: a quarter-inch plywood back panel, pinned on while the carcass is clamped square. It costs about $20 and it is the only thing stopping a tall frame from parallelogramming over time. It also gives you something solid for an anti-tip bracket.
Mistake 13: I buried the only outlet behind the cabinets
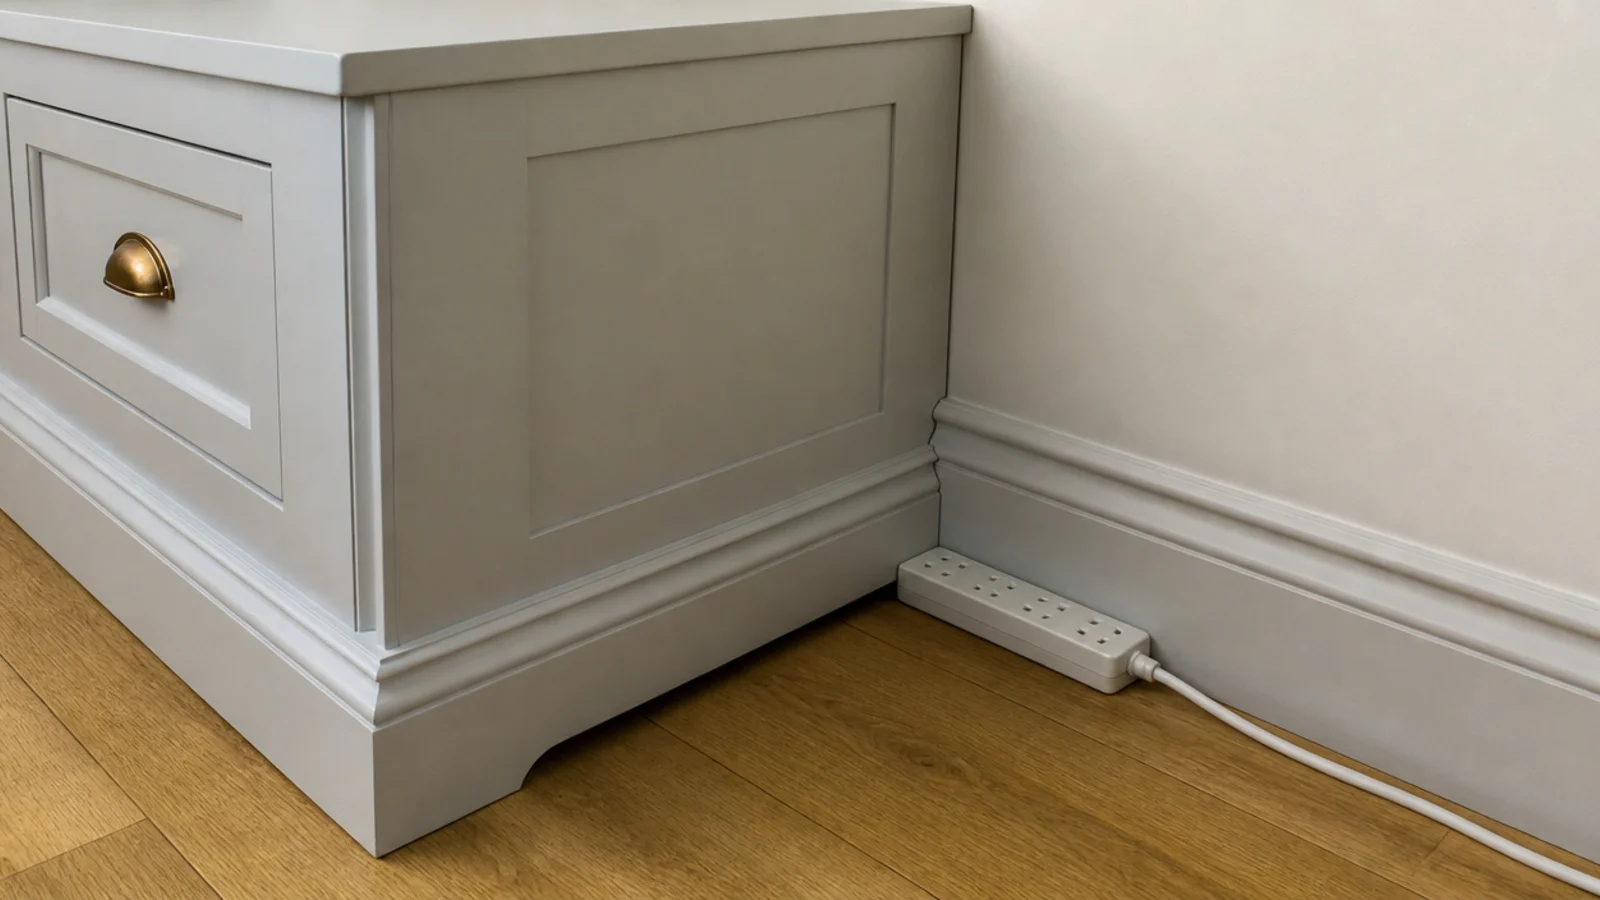
The wall had one outlet. I built a base cabinet flat against it and discovered the problem after the trim was on and the caulk was dry.
Every lamp in that half of the room ran off an extension lead trailing along the baseboard for two years.
The fix: map the outlets before you cut anything, then either leave a cabinet back open at that point or fit a surface socket inside the cabinet. Drilling a two-inch grommet hole through the back panel takes a minute during assembly and is genuinely awkward afterwards.
Mistake 14: I filled every shelf on day one
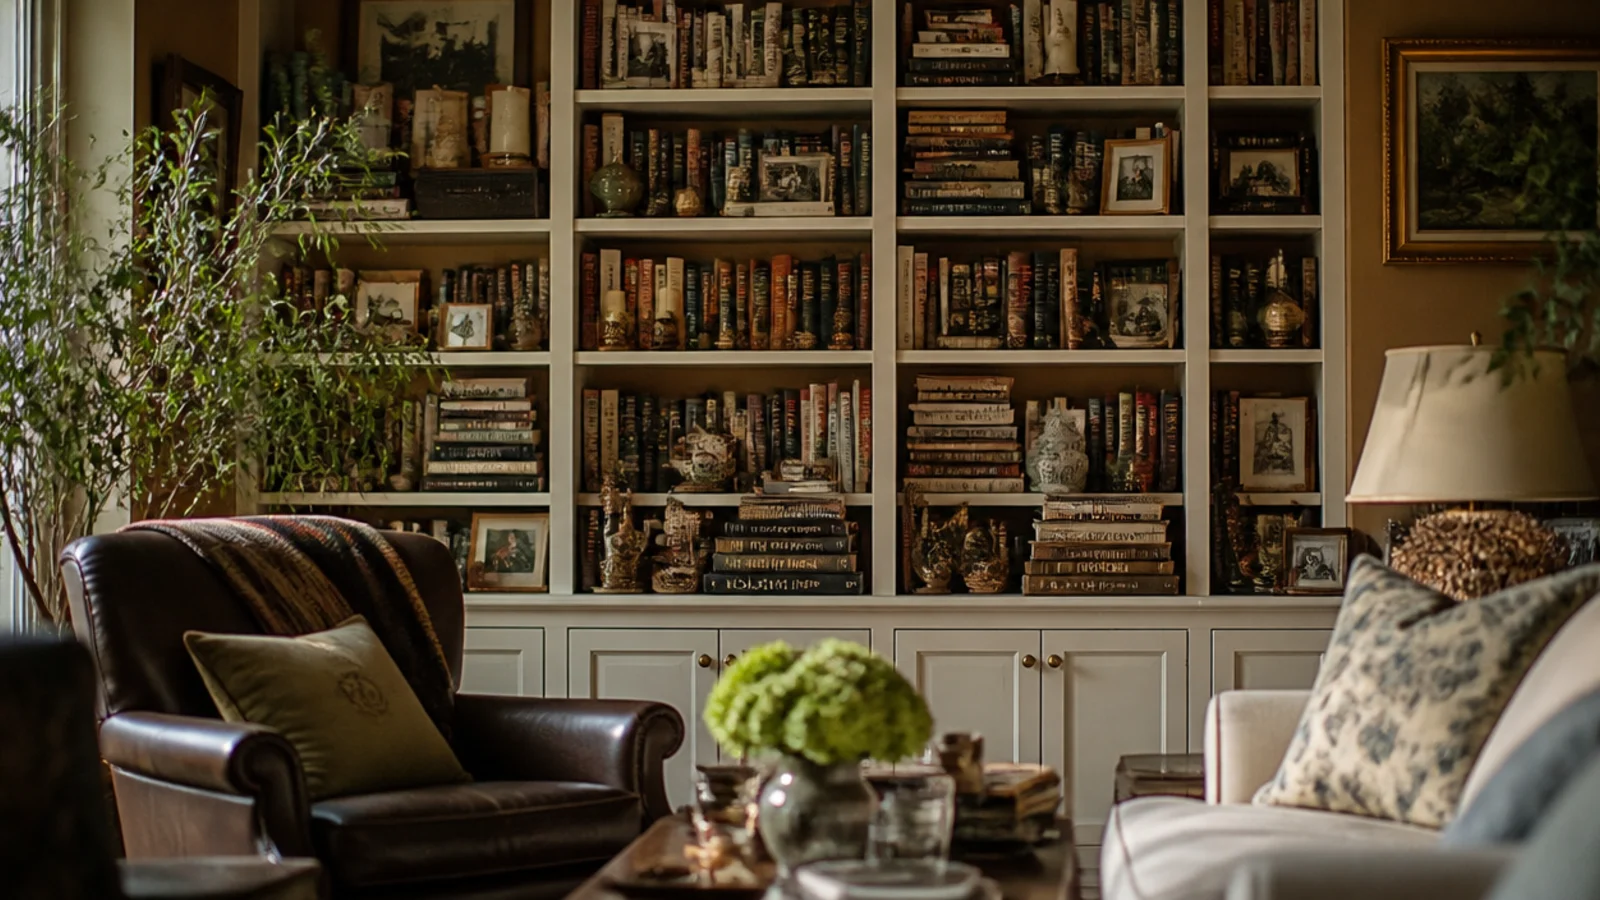
I finished the paint on a Saturday and had everything I owned on the shelves by Sunday afternoon, because empty shelves felt like an unfinished job.
The result was a wall of objects where nothing was visible. I had genuinely nice pottery on there and could not see any of it.
The fix: load about two-thirds and box the rest. Books to roughly two-thirds of each shelf length, objects to a third, and one shelf left almost empty on purpose. That empty shelf is what makes every full one read as chosen. There is more on the arrangement in built-in shelf styling.
Mistake 15: I built the whole wall in one weekend
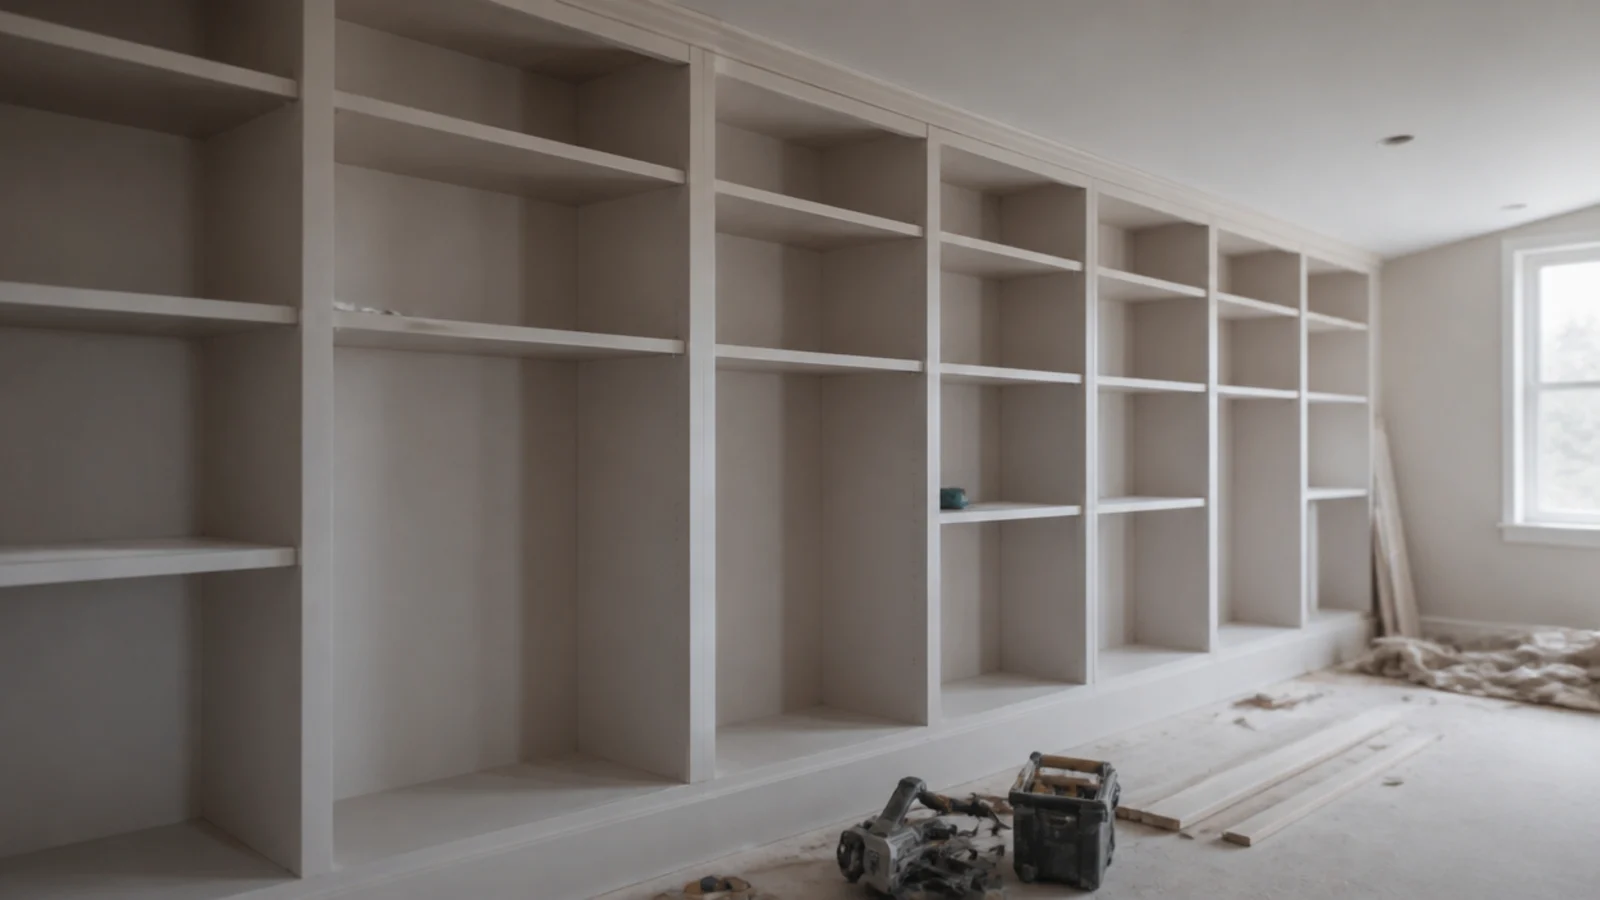
Twelve feet of shelving, all started at once, on a Saturday morning with a borrowed nail gun and considerable optimism.
The carcasses went up. Then the scribing turned out to be slow, the mitres needed practice, and the wall sat primed and doorless for four months while I lost interest.
The fix: build one bay, finish it completely, and live with it for a fortnight. Every awkward technique is easier to learn at small scale, and a single finished alcove looks better than twelve feet of unpainted carcass. Phasing has never once cost me more, and it has saved me from at least two rebuilds.
Built-In Shelves Mistakes: What I'd Do Differently Now
If I could give my younger self one page, it would be four numbers and a color rule. Eleven to twelve inches deep for books, 14 to 16 for anything behind a door, 11 to 13 inches of clear height between shelves, and never more than 32 inches of unsupported span.
The color rule is simpler: match the wall or the trim. Every time I have deviated from that, the unit has read as furniture.
The thing I actually regret is the order I worked in. I used to design the wall as a composition and then find out what would fit in it, which is how the television ended up too high and the base cabinets too shallow. Now I measure the objects first — the tallest book, the deepest basket, the eye line from the sofa — and let those numbers draw the wall.
And I build one bay at a time — that change has done more for my work than any tool I own.
Frequently asked questions
Why do my built-in shelves sag in the middle?
The span is too long for the board. Three-quarter-inch plywood holds a straight line to about 32 inches and then bows under a full row of books, and particle board gives up sooner. Glue and pin a 1x2 along the front edge, which roughly triples the stiffness, or add one vertical support at mid span behind the face frame.
What depth should living room built-in shelves be?
Eleven to twelve inches for books and 14 to 16 inches for baskets, media gear or a record crate. Nine inches sounds close enough and is not — a standard hardback overhangs the front edge and the whole run looks undersized from across the room, which is a problem no styling can hide.
How do I fix a gap between built-ins and the wall?
Scribe a filler strip to follow the wall, then caulk the last hairline. Walls commonly taper three-eighths of an inch over seven feet, so a straight strip will not close it. Pin the strip to the unit rather than the wall, and paint after caulking so the joint reads as one continuous surface.
Should built-in shelves be the same color as the walls?
The wall color or the trim color, in almost every case. A run painted to match reads as architecture, and a run in a fourth unrelated color reads as furniture that was pushed against the wall. If you want contrast, put it on the back panels only and keep the frame matching.
How much clear height do I need between shelves?
Eleven to thirteen inches for hardbacks, and nine for paperbacks. Measure your tallest book before drilling any pin holes, because art books routinely run 13 inches. Uneven spacing looks more custom rather than less, since real joinery is planned around what it actually holds rather than divided evenly.
What is the most common built-in mistake people make?
Building the whole wall at once. Every awkward technique — scribing to a wavy wall, cutting mitres, getting reveals even — is easier to learn on one bay, and a single finished alcove looks far better than twelve feet of primed carcass waiting for a second weekend that never comes.
Measure your books and your baskets before you buy a single board, and settle the depth and span before you think about paint. Those are the two decisions you cannot fix later without a rebuild. If you want the numbers laid out in build order, the step-by-step DIY guide has them, budget built-in shelves covers doing it cheaply without cutting the wrong corners, and open shelving mistakes is the same lesson in a kitchen. Save the pin so the four numbers are with you at the lumber rack.
Want more like this? Browse all 15 living room built-in shelves guides — they all use the same measurements and budget tiers.
Pin it for later
Save this to your Living Room Built-In Shelves board
Pin it now so it is waiting for you when the tape measure comes out — and so the next person hunting for this idea can find it too.
Save this pinKeep going
More ideas worth saving while you have the tape measure out.