Living Room Built-In Shelves · UGC
20 Living Room Built-Ins Before and After Makeovers

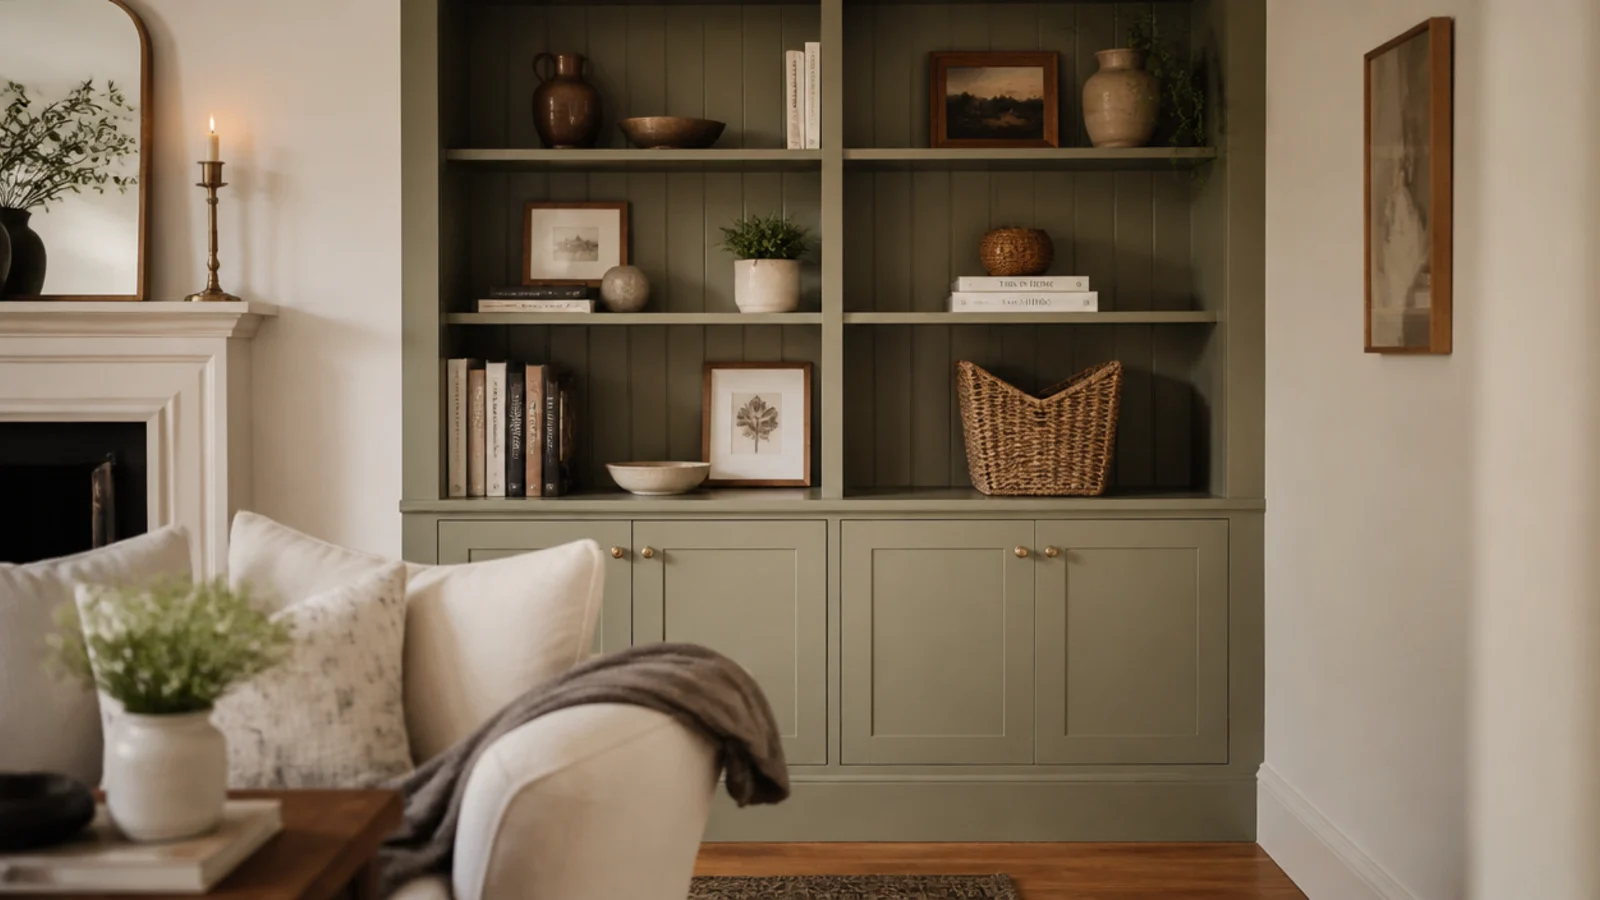
Built in shelves before and after is the most honest way I know to show what actually works, because the changes that transform a wall are almost never the expensive ones. I have rebuilt or restyled shelving in four of my own living rooms and a long list of other people's, and the pattern repeats with uncomfortable consistency.
Roughly half the runs I am asked to fix need nothing bought beyond a tube of caulk and a sample pot of paint. The problem is that the unit reads as furniture rather than architecture, and three details — the baseboard, the gap, the color — decide that. The other half have a physical fault: a span that bows, spacing nothing fits into, base cabinets too shallow for real storage.
Below are twenty real makeovers, what changed, and what each one cost. Seven cost under $40. The most expensive was $680. And the change that appears most often across all twenty is paint.
In this guide21 sections — tap to openHide
- 1.Makeover 1: The dead wall beside the chimney
- 2.Makeover 2: The bookcase that never looked built in
- 3.Makeover 3: The shelf that bowed under the books
- 4.Makeover 4: The nine-inch shelves nobody could use
- 5.Makeover 5: The open wall that became closed storage
- 6.Makeover 6: The orange oak run
- 7.Makeover 7: The television mounted too high
- 8.Makeover 8: The eight-inch gap at the ceiling
- 9.Makeover 9: The north-facing corner nobody looked at
- 10.Makeover 10: Two mismatched thrifted bookcases
- 11.Makeover 11: The alcove with a wavy wall
- 12.Makeover 12: The overfull book wall
- 13.Makeover 13: The base cabinets that were too shallow
- 14.Makeover 14: The cable nest behind the media bay
- 15.Makeover 15: The fireplace wall with no clearance
- 16.Makeover 16: The half-height run under the window
- 17.Makeover 17: The window seat between two cases
- 18.Makeover 18: The shiny factory back panels
- 19.Makeover 19: The hardware that gave it away
- 20.Makeover 20: The wall that needed one empty shelf
- 21.Built-In Shelves Before and After: What I'd Do Differently Now
Makeover 1: The dead wall beside the chimney
Before: an empty alcove holding a floor lamp, a laundry basket that had migrated there, and a phone charger dangling from the only outlet.
After: four painted shelves on cleats at 11.5 inches deep, spaced 12 inches apart, with a deeper basket bay at the bottom.
Cleats and boards meant no carcass to build and no sides to scribe. Materials came to $96 including paint. The laundry basket went back to the bedroom and stayed there, which I count as part of the result.
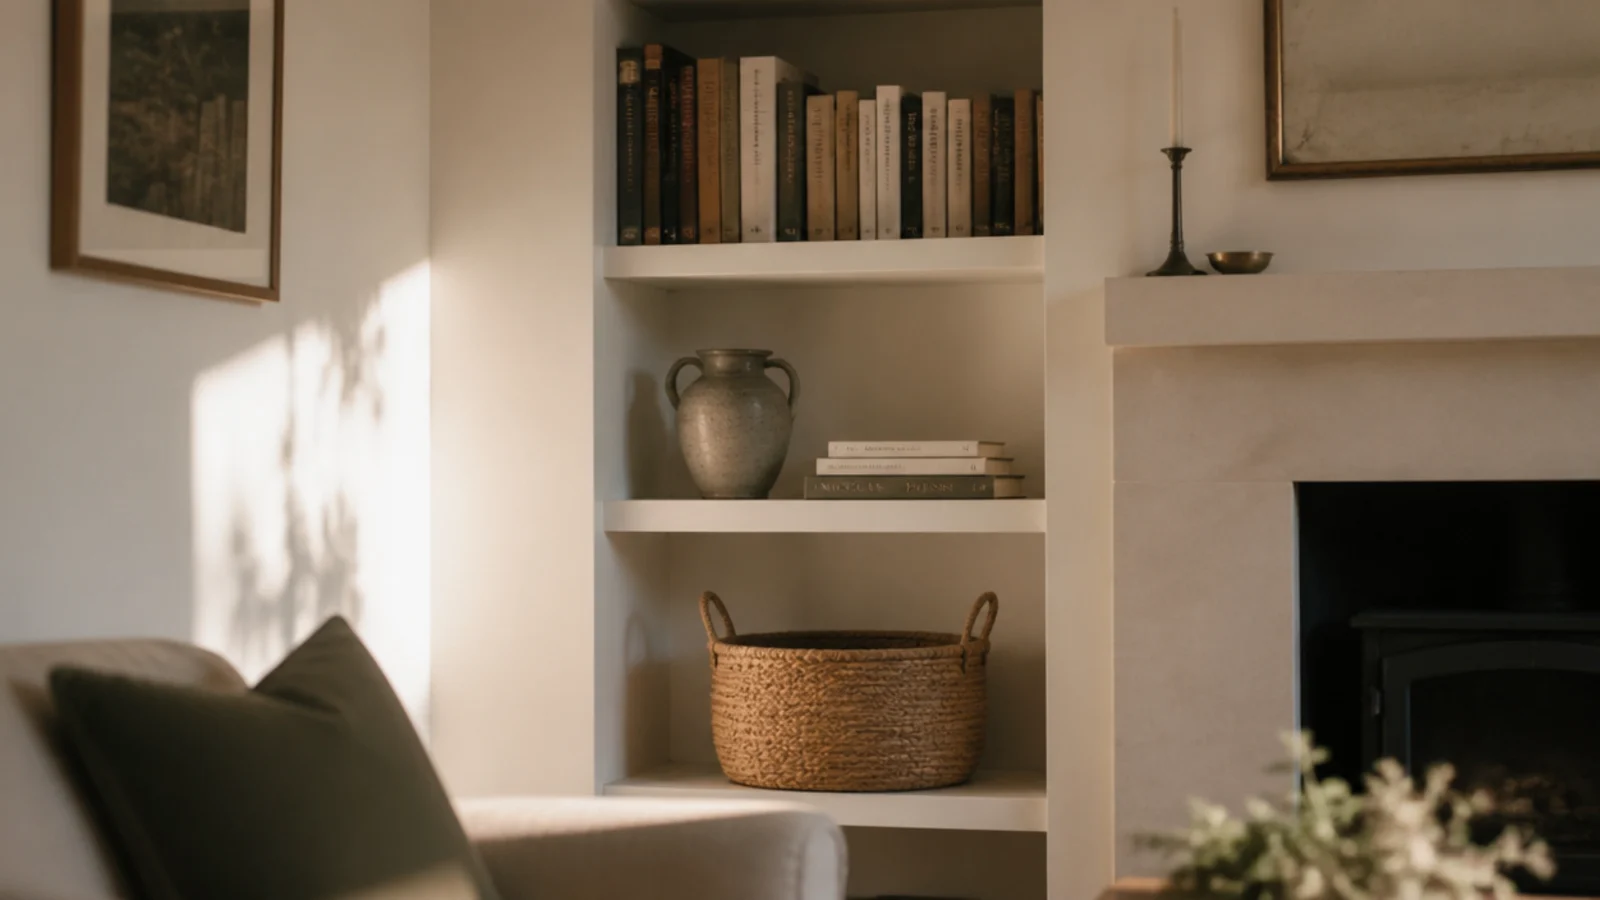
Makeover 2: The bookcase that never looked built in
Before: a decent solid bookcase standing against a wall, obviously furniture, with a visible toe gap and raw plywood shelf edges.
After: baseboard wrapped across the base, a 1x2 face frame over every shelf edge, and the whole thing painted the trim color.
Nothing structural changed at all. Sixty dollars of trim and one quart of paint, and three separate people have since asked whether it came with the house. This is the single highest-return makeover in the list.
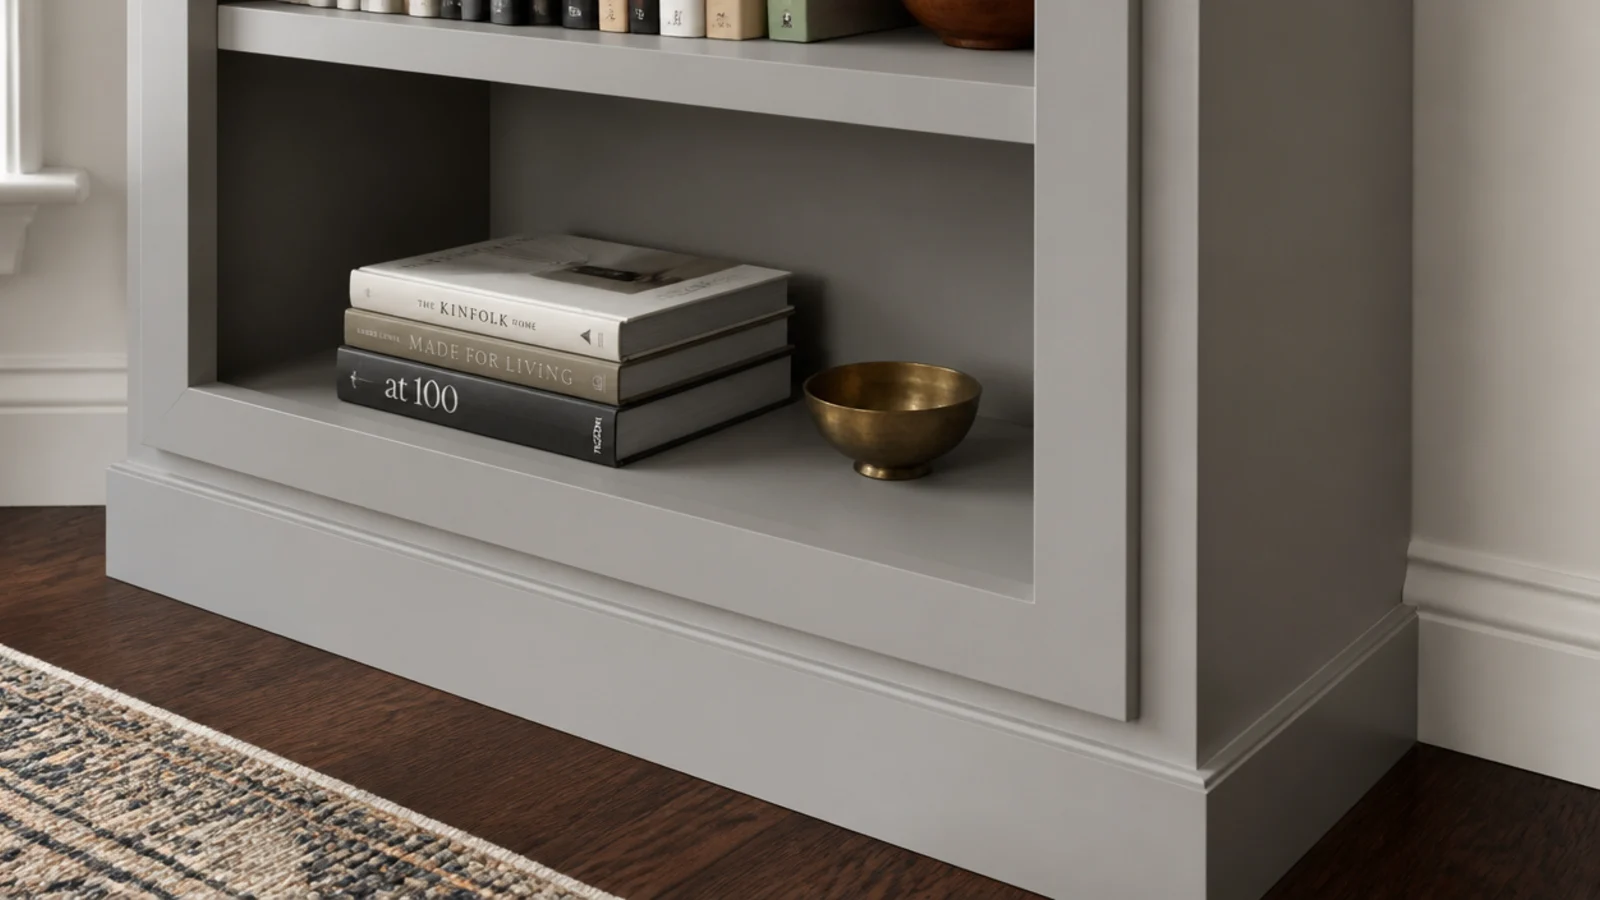
Makeover 3: The shelf that bowed under the books
Before: a 42-inch span in three-quarter-inch plywood with a visible downward curve at the centre and a row of hardbacks slowly making it worse.
After: a 1x2 glued and pinned along the front edge, with the shelf unloaded and clamped flat while the glue cured.
Plywood holds a straight line to about 32 inches and then takes a permanent set, so the clamping stage matters. Four dollars of pine, and it has been dead straight for three years.
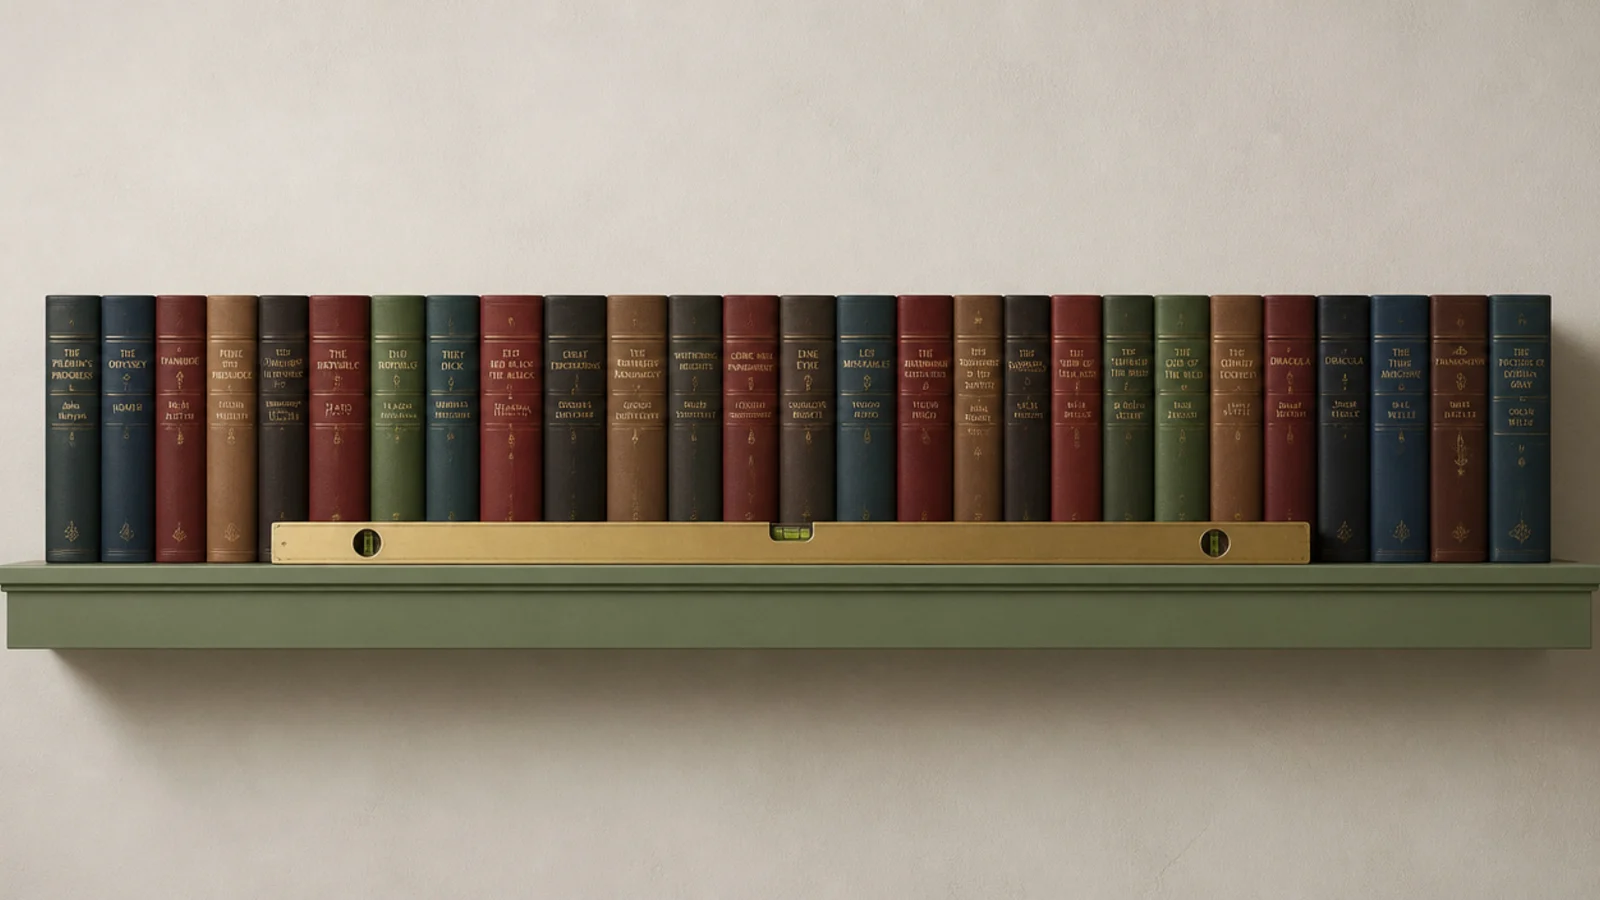
Makeover 4: The nine-inch shelves nobody could use
Before: shallow shelves where every hardback overhung the front edge by an inch, which read as an error from across the room.
After: rebuilt at 11.25 inches using stock 1x12 pine straight off the rack, no ripping needed.
Depth is one of the three things styling cannot rescue. The extra two inches took nothing from the floor space in any way anyone noticed, and the proportion of the whole wall changed. About $110 in boards.
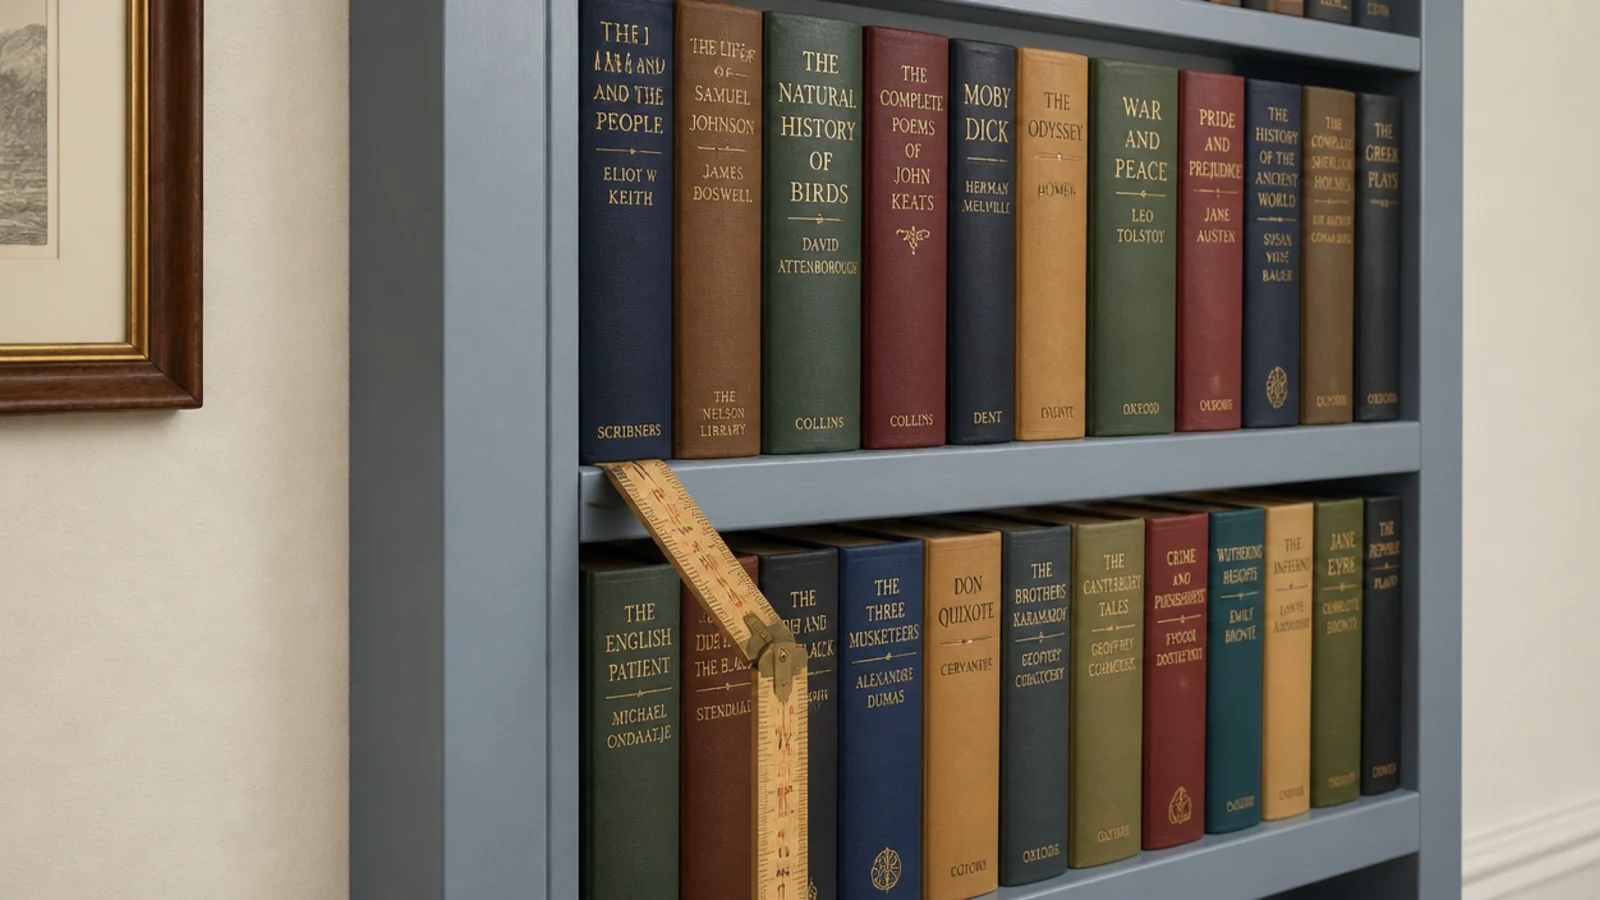
Makeover 5: The open wall that became closed storage
Before: a full wall of open shelving holding a router, three chargers, unopened post and a box of light bulbs among the books.
After: simple painted doors on the lowest three feet, with everything above left open.
Living rooms produce more unattractive objects than any other room, and open shelving has nowhere to put them. Slab blanks with applied shaker trim, $180 for four doors, and the wall stopped needing tidying before visitors.
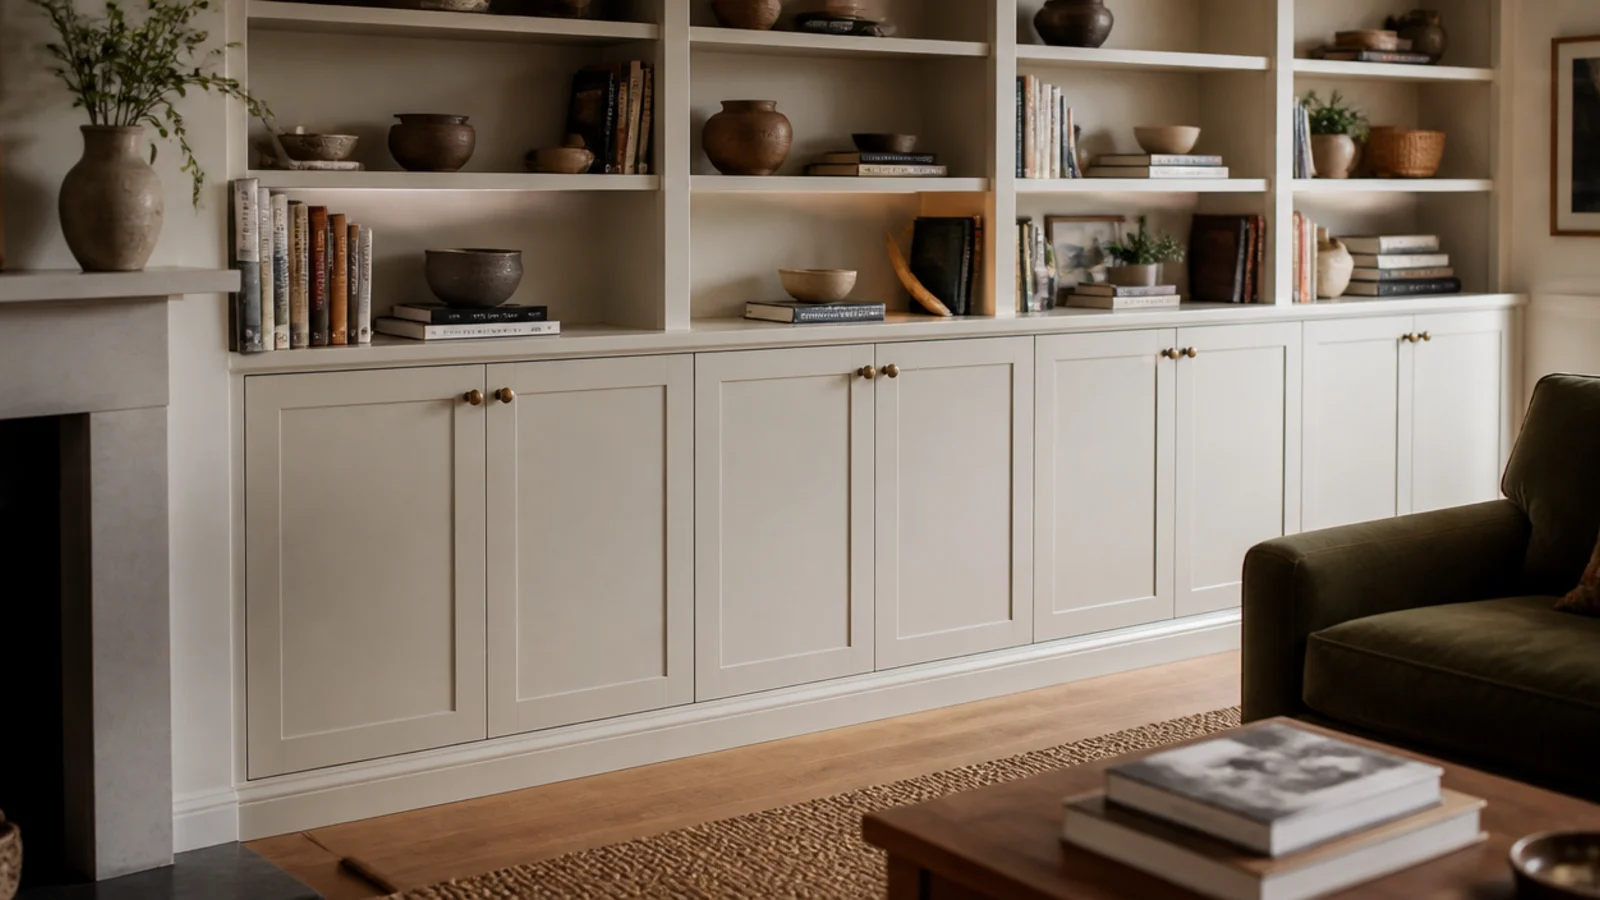
Makeover 6: The orange oak run
Before: a solid but distinctly orange varnished shelving run that matched nothing in a room of warm cream walls and linen.
After: a bonding primer coat and two coats of soft warm cream, brackets and all.
Painting real wood feels like vandalism right up until the moment you see it. The shelves stopped shouting and the pottery on them came forward. One quart of primer, one of paint, about $70 and two evenings.
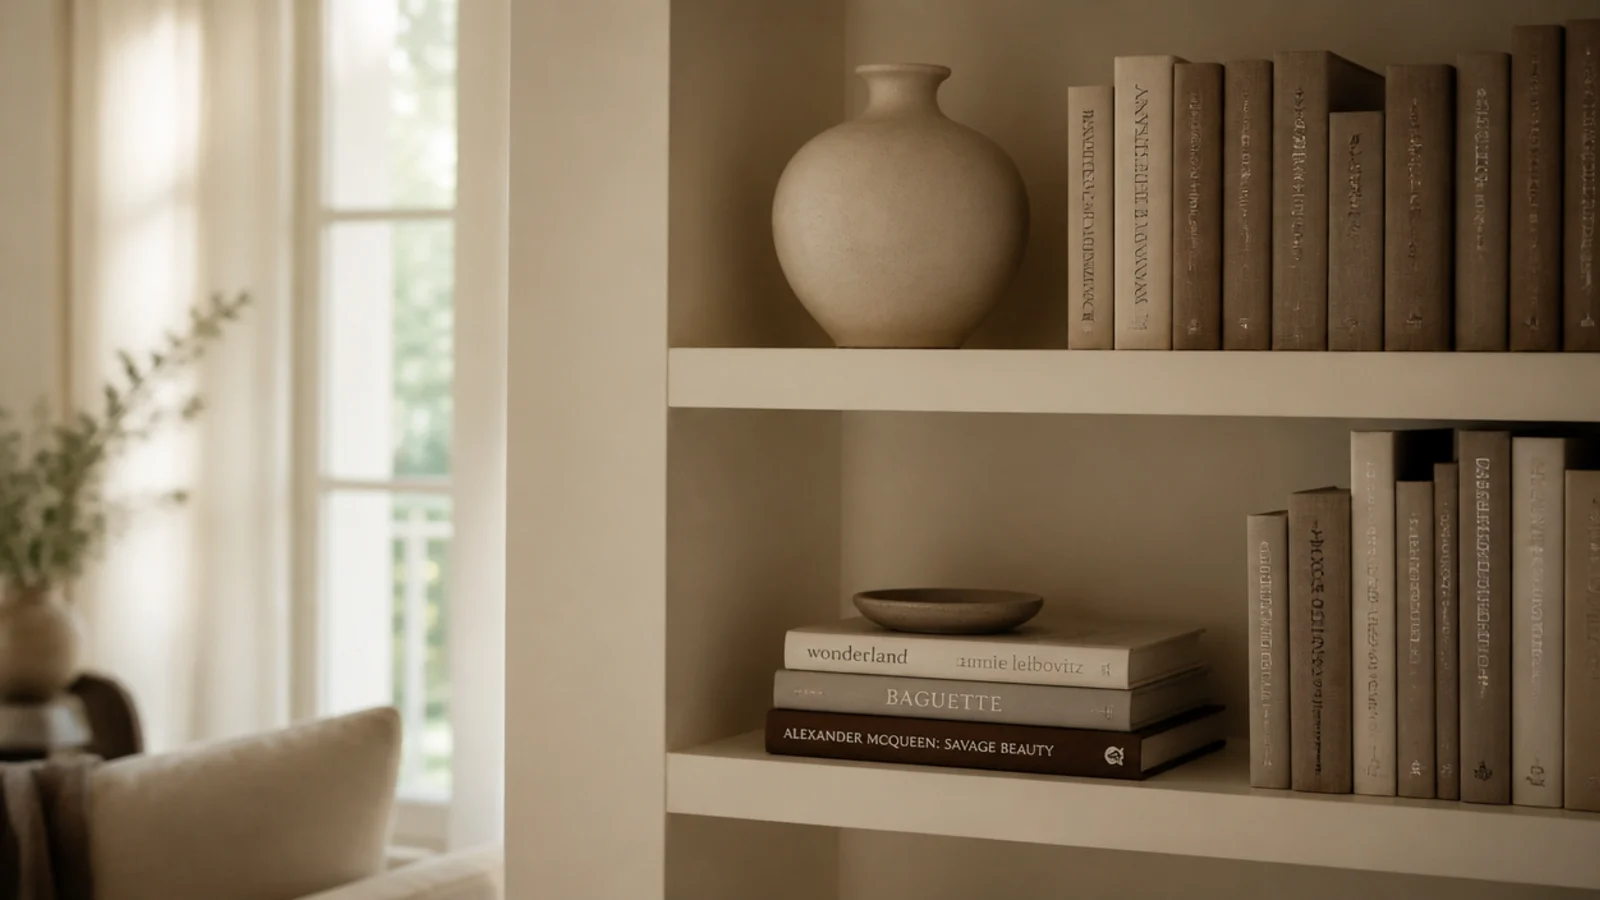
Makeover 7: The television mounted too high
Before: a screen centred in the wall composition rather than on the sofa, with its middle at 52 inches and every viewer tipping their head back.
After: the bay rebuilt with the screen centre at 44 inches, matched to a seated eye line measured from the actual sofa.
Sit down, look straight ahead, mark the wall. That mark is the centre of the screen, and the shelving gets designed around it. Two shelves moved, $0.
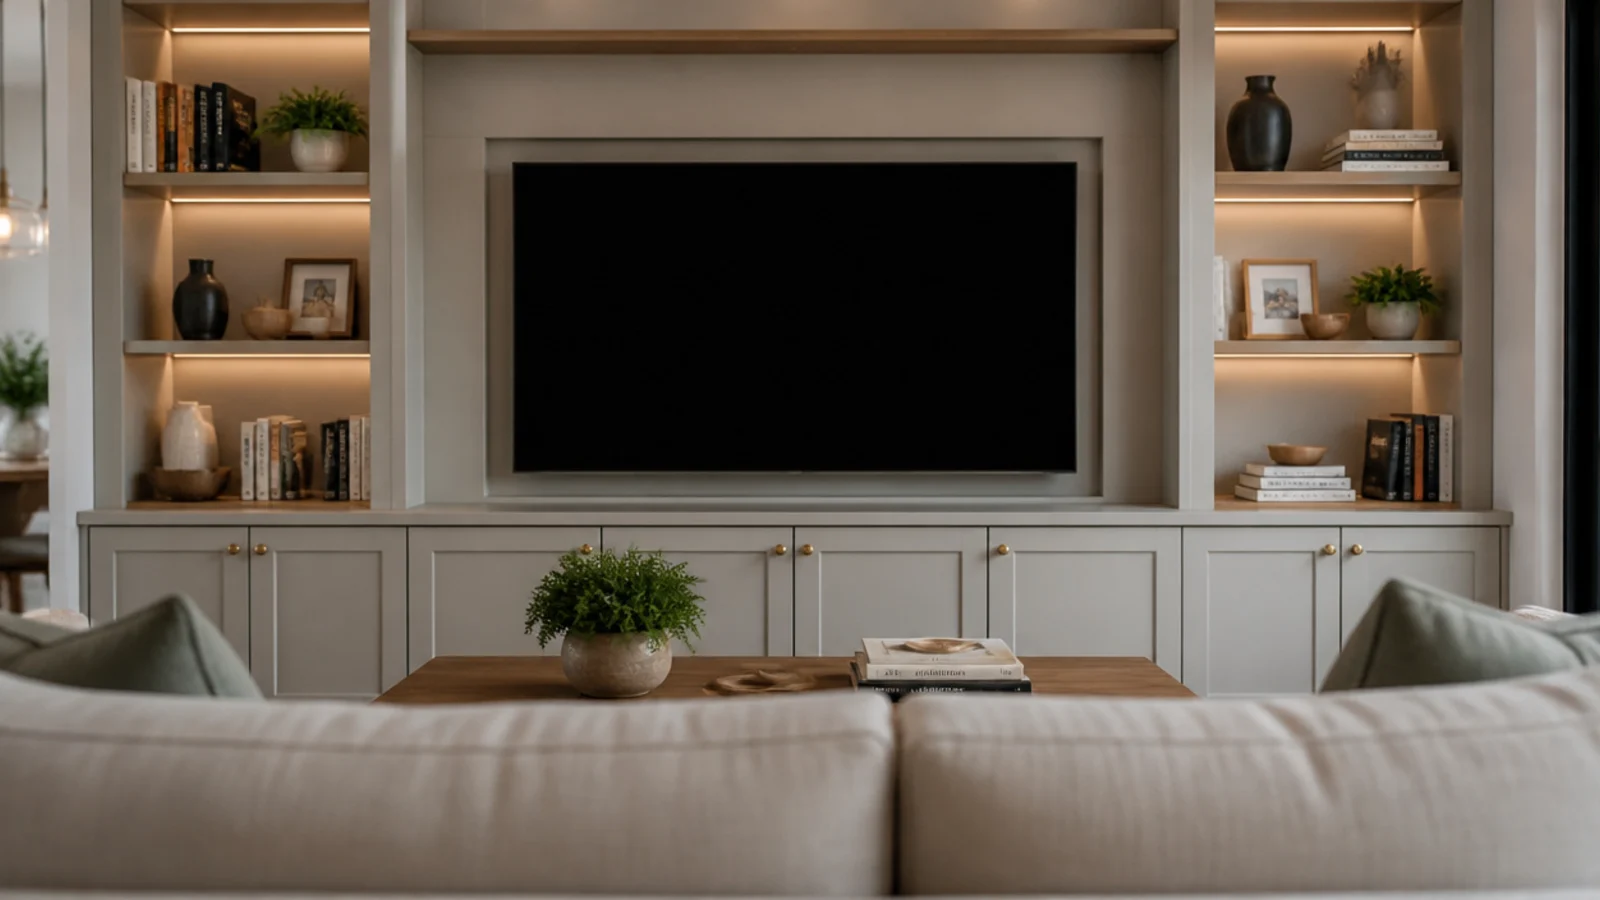
Makeover 8: The eight-inch gap at the ceiling
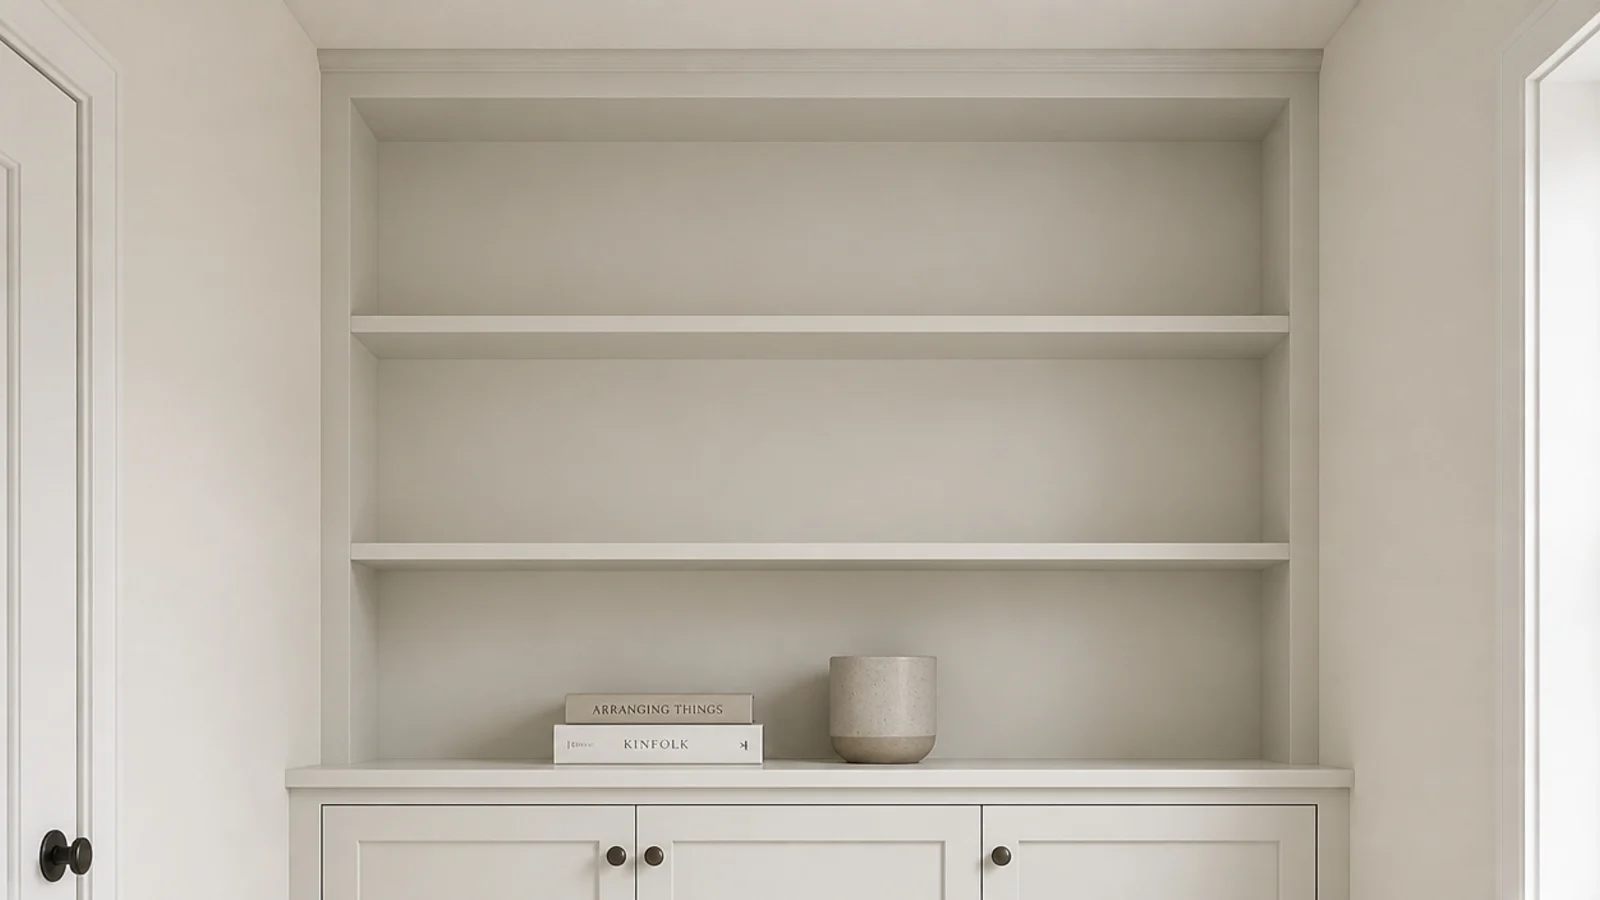
Before: shelving stopping short of the ceiling with an open shadowed gap above it collecting dust and two baskets nobody opened.
After: a flat painted panel carried up from the case top, capped with a slim cove and caulked into the ceiling line.
An open gap reads as furniture the entire time. Scribe and caulk every wall and ceiling gap, because that gap is the clearest DIY tell there is. About $30 and an afternoon.
Makeover 9: The north-facing corner nobody looked at
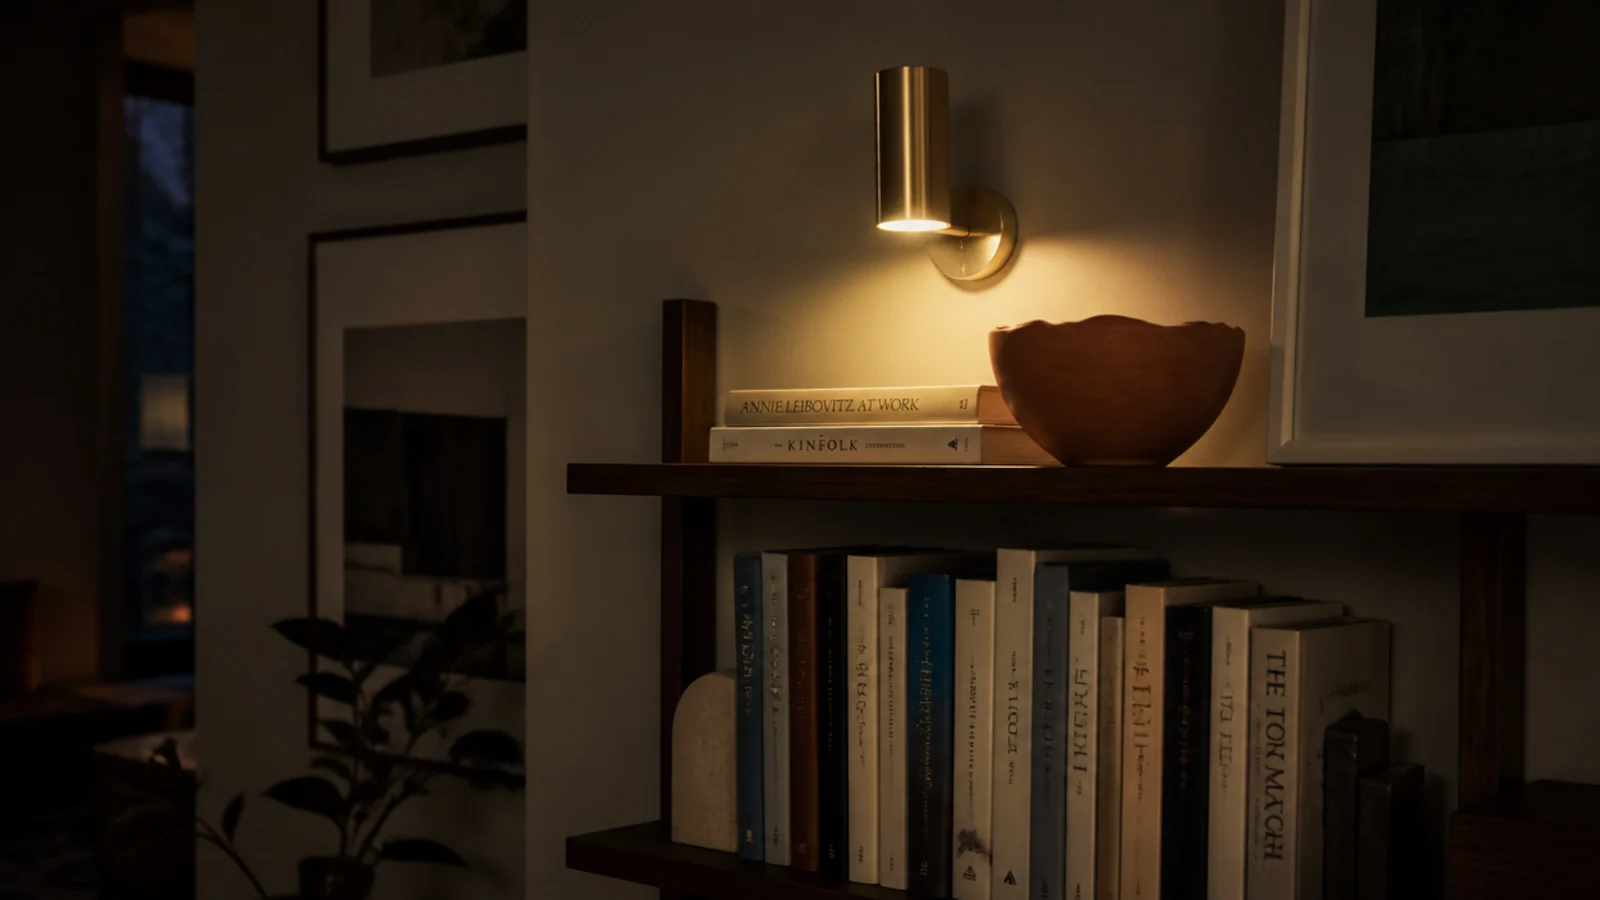
Before: well-chosen pottery on a run of shelves in a corner that sat in shadow from three in the afternoon onward.
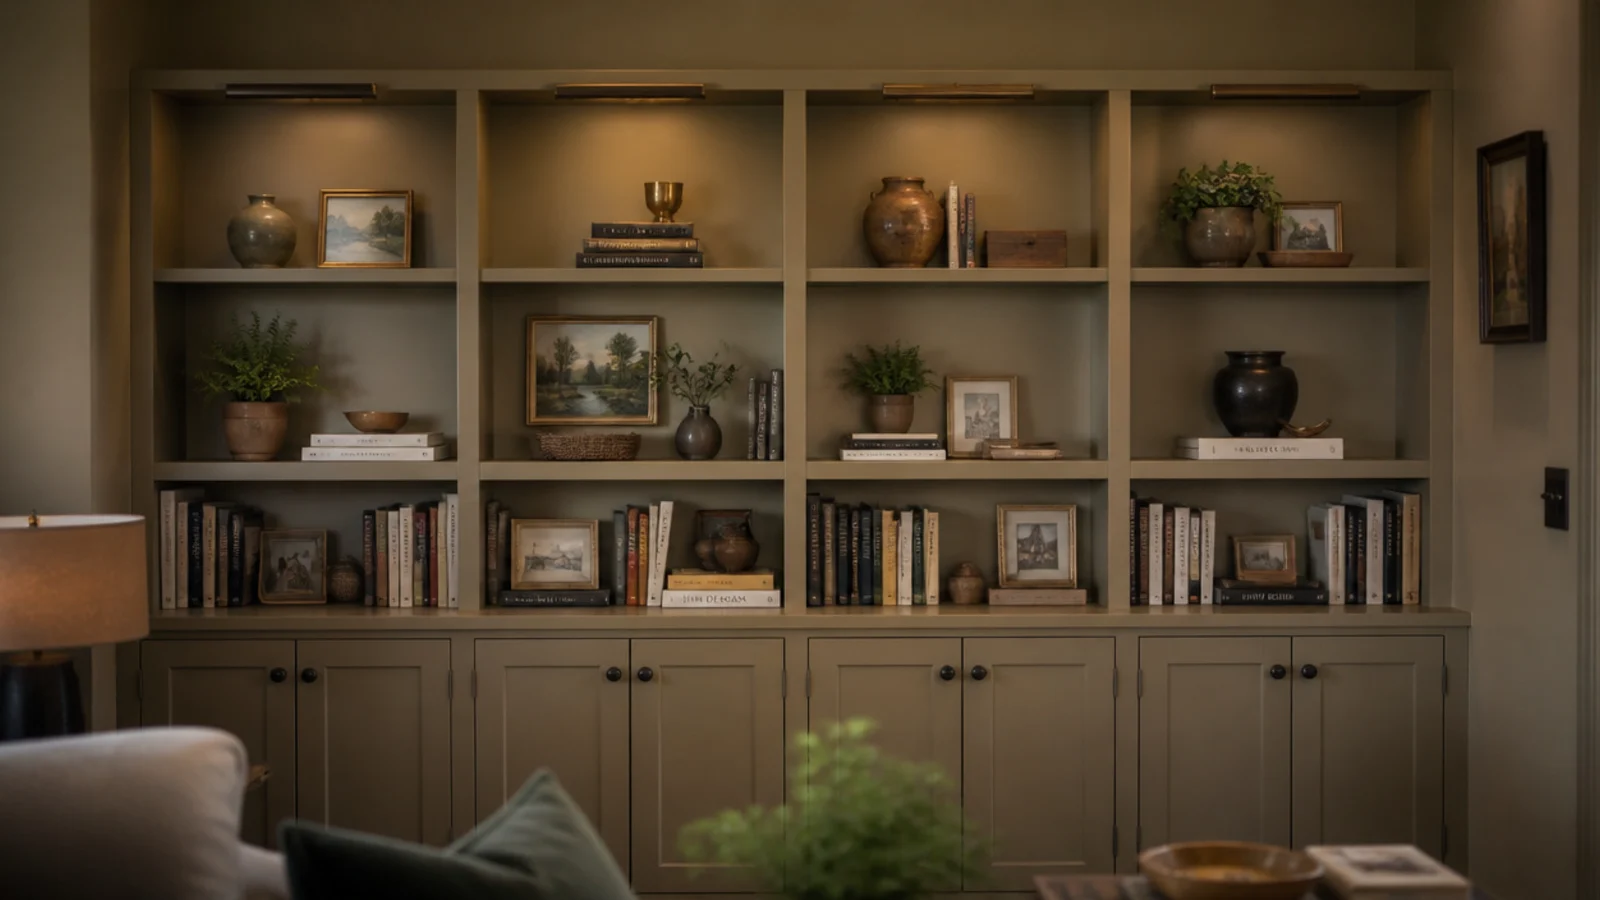
After: two slim rechargeable picture lights at 2700K clipped to the top rail, aimed down the face of the shelves.
Cool white would have turned the clay grey, which is the mistake I made in an earlier house. Warm light only. Sixty dollars for the pair, and it is the best value change here.
Makeover 10: Two mismatched thrifted bookcases
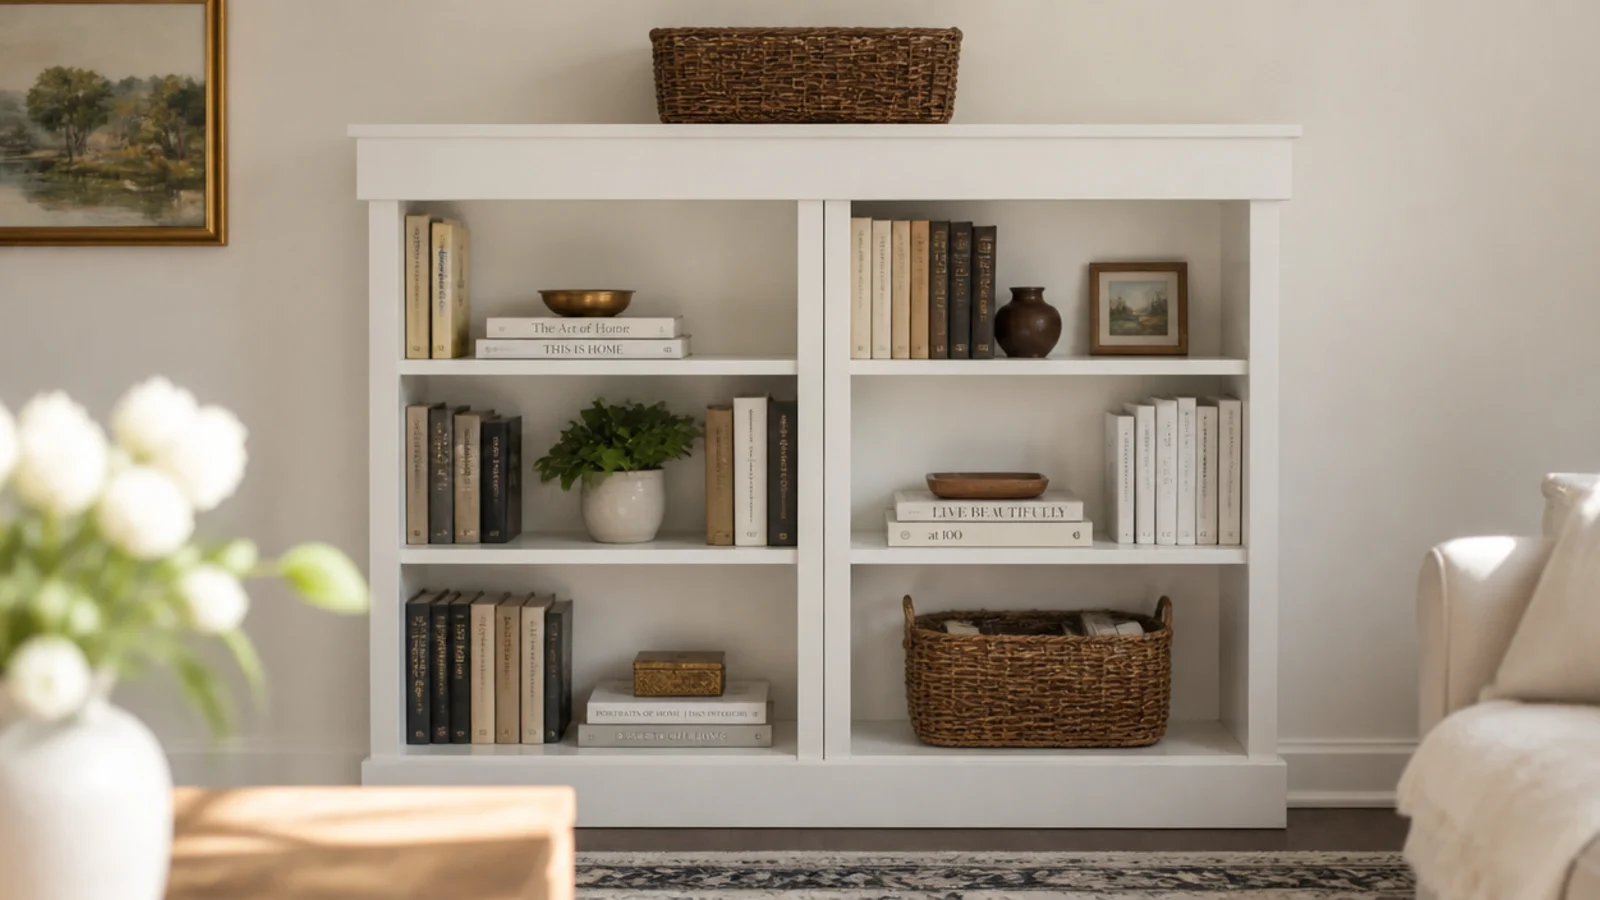
Before: two secondhand cases of different styles and slightly different heights, standing side by side and reading as exactly that.
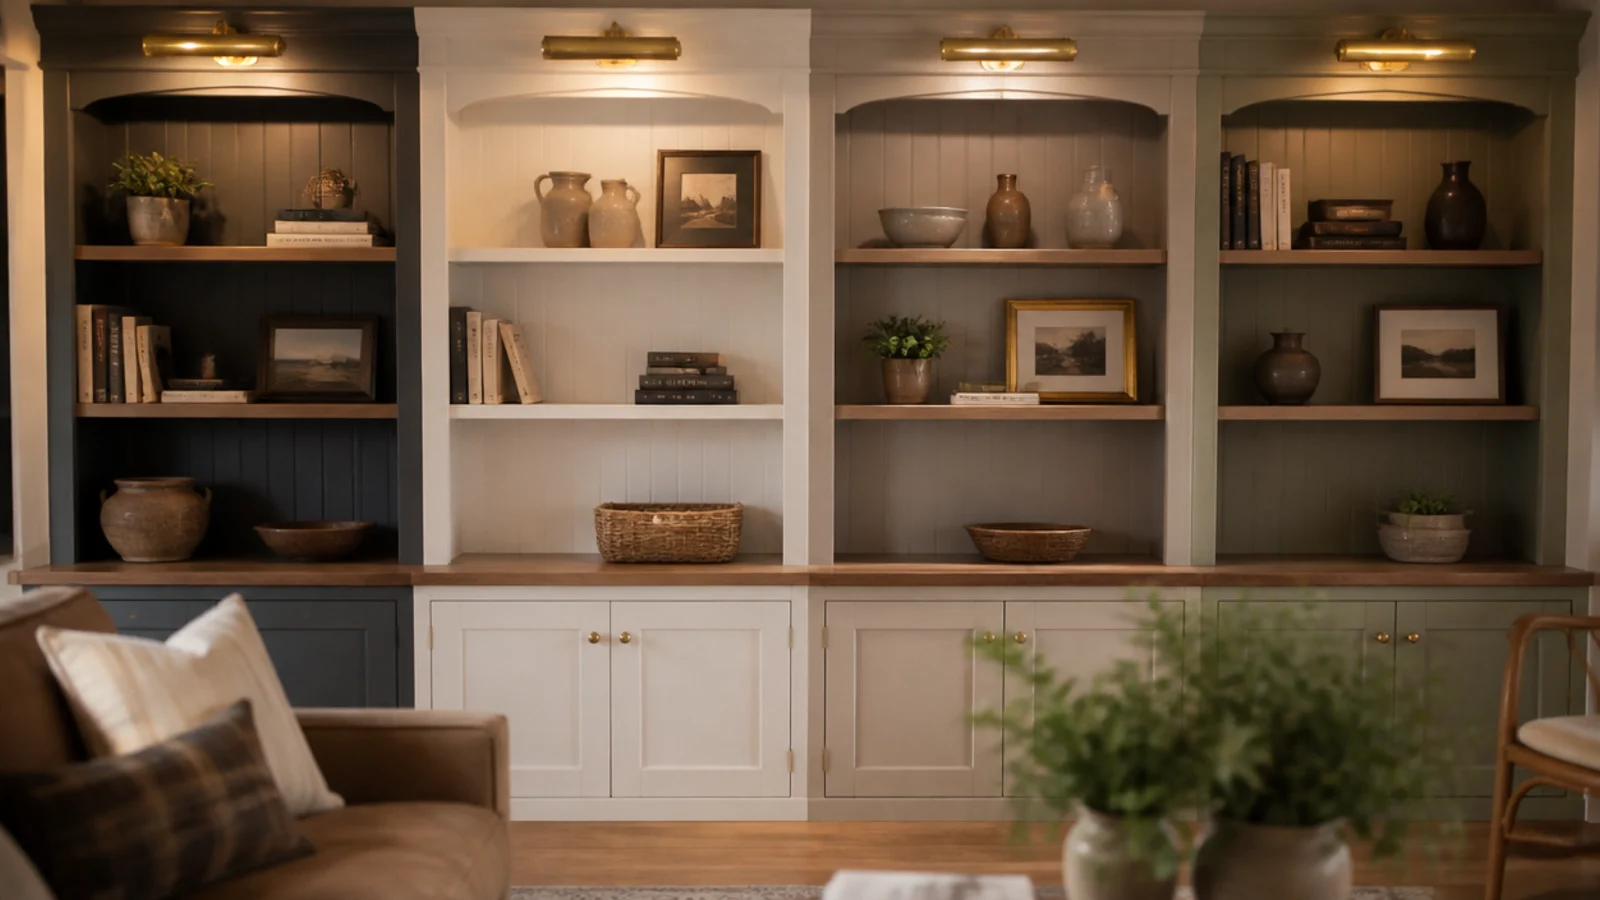
After: both painted one soft white, screwed together through the inner sides, and topped with a shared header board to hide the height difference.
Color unifies more than style ever divides. Cases cost $45 for the pair, paint and header another $40, and the run now reads as one built-in.
Makeover 11: The alcove with a wavy wall
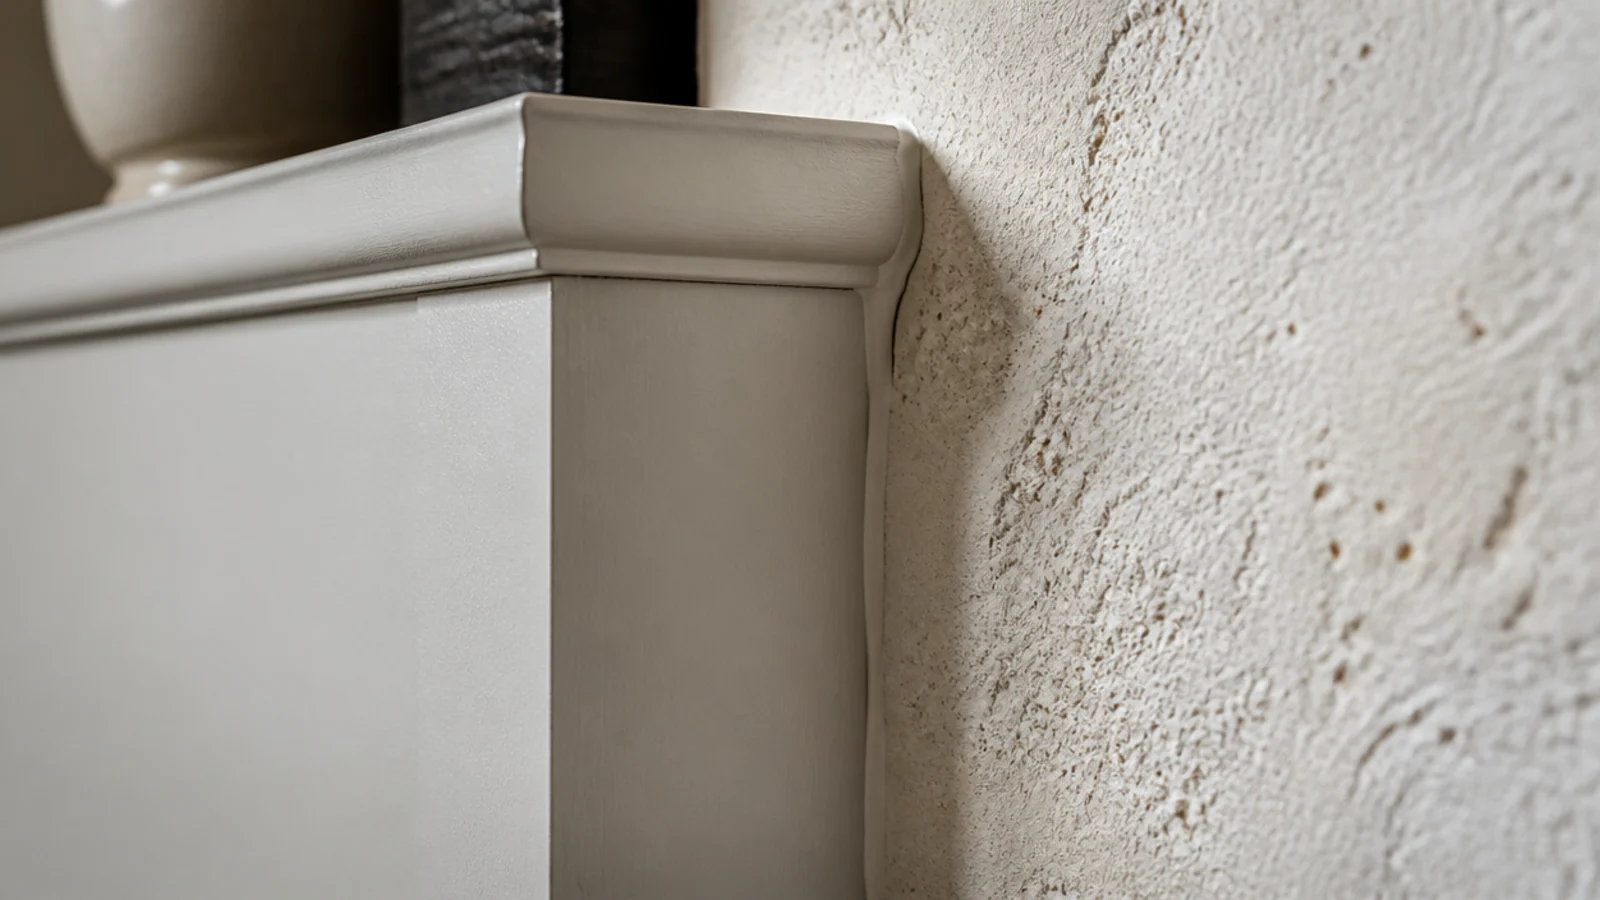
Before: a tapering gap along one side of a new unit, three-eighths of an inch wide at the top, which trim could not cover because it varied.
After: a scribed filler strip planed to follow the wall exactly, pinned to the unit, then caulked and painted.
Hold the strip against the case, run a pencil down it following the wall, cut to the line. Ten dollars of pine and forty minutes, and the unit finally looked built rather than delivered.
Makeover 12: The overfull book wall
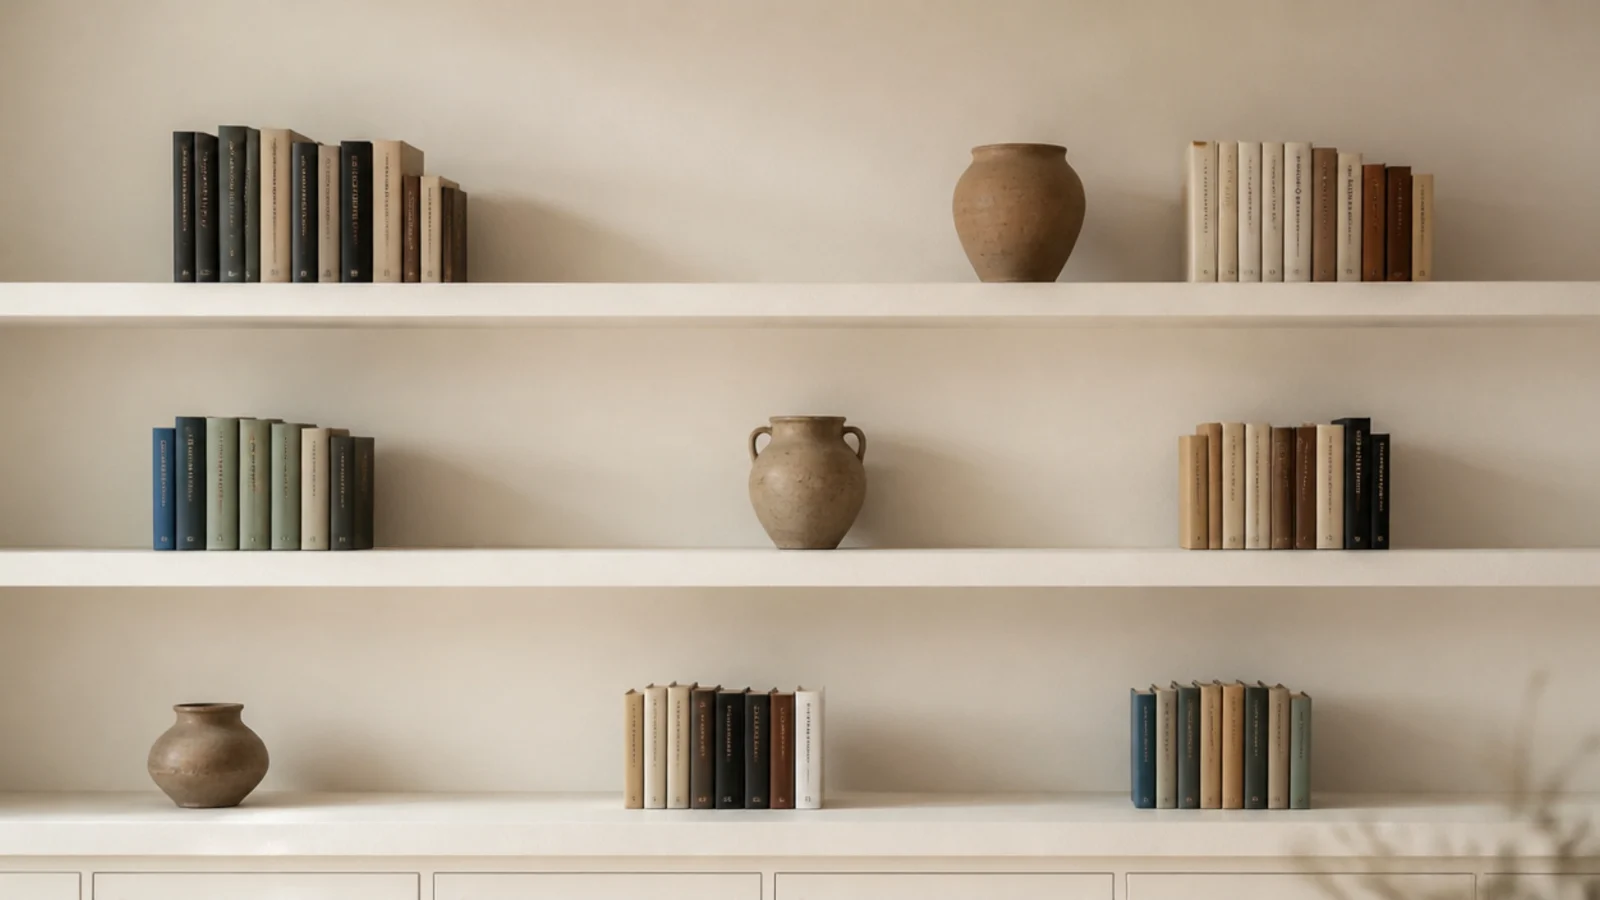
Before: every shelf packed edge to edge, with framed photos wedged horizontally on top of the rows and nothing visible as an individual object.
After: a third of the books boxed, the rest grouped by height with real gaps, and three clay vessels breaking the spine rhythm.
Cost: nothing. The owner thought I had lost my mind when I left one shelf nearly empty, then messaged a week later to say the room finally felt calm.
Makeover 13: The base cabinets that were too shallow
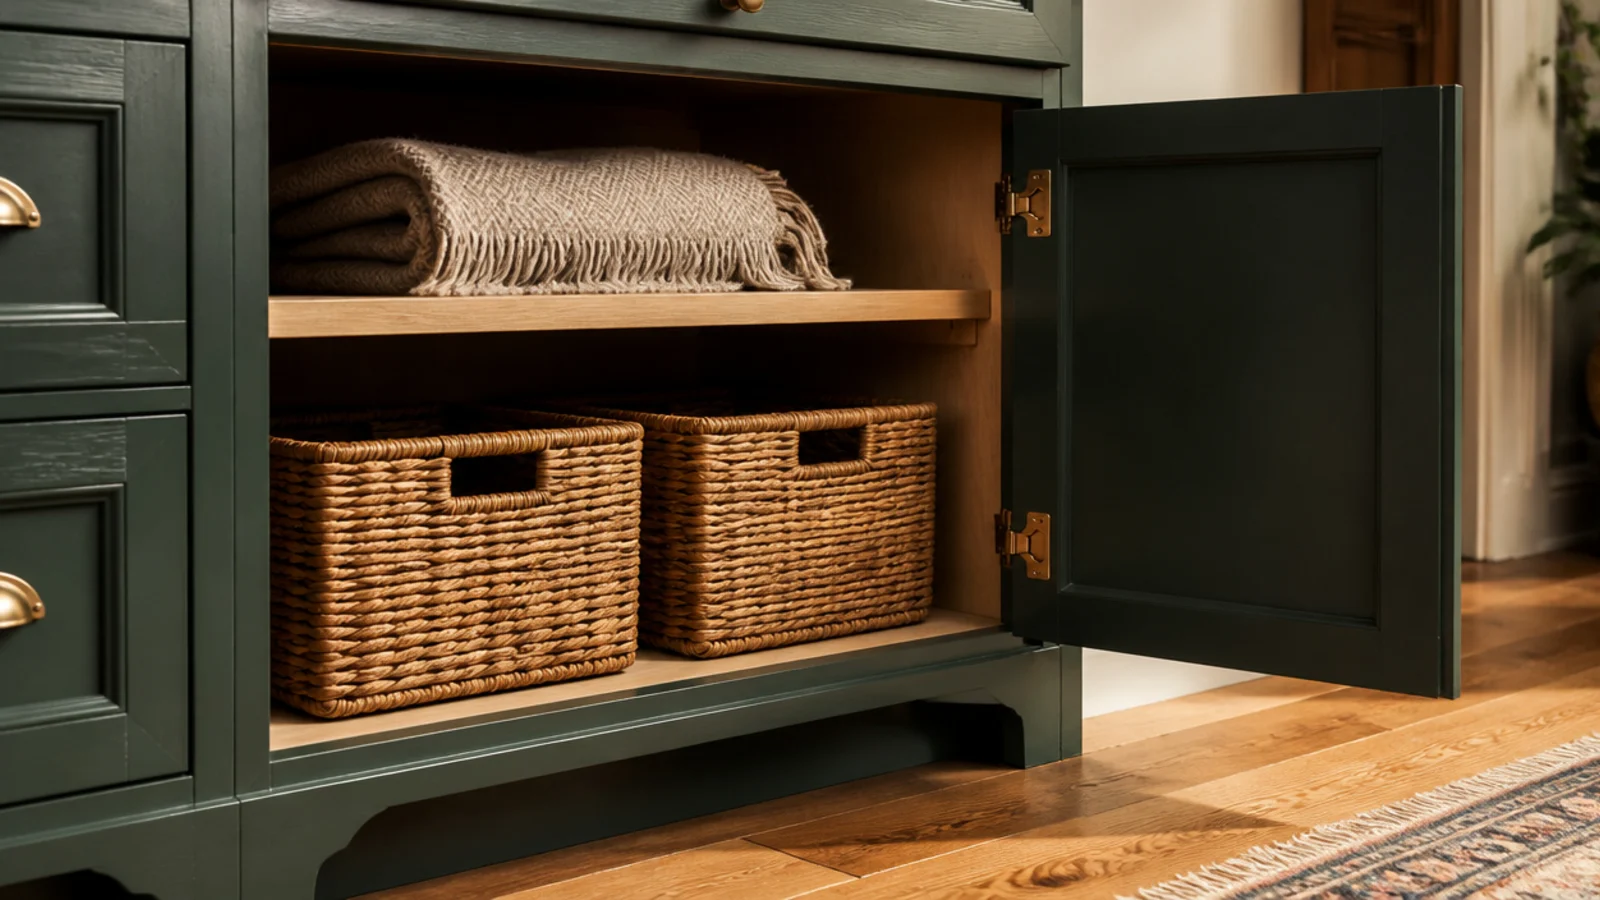
Before: 12-inch base cabinets whose doors would not close over a games box, with the storage baskets standing proud of the door line.
After: rebuilt at 15 inches deep, with the shelves above kept at 11.5 inches so the run gained a step back and a usable counter.
Twelve inches is a book depth, not a storage depth. The rebuild cost $240 in materials and it is the change the household notices daily.
Makeover 14: The cable nest behind the media bay
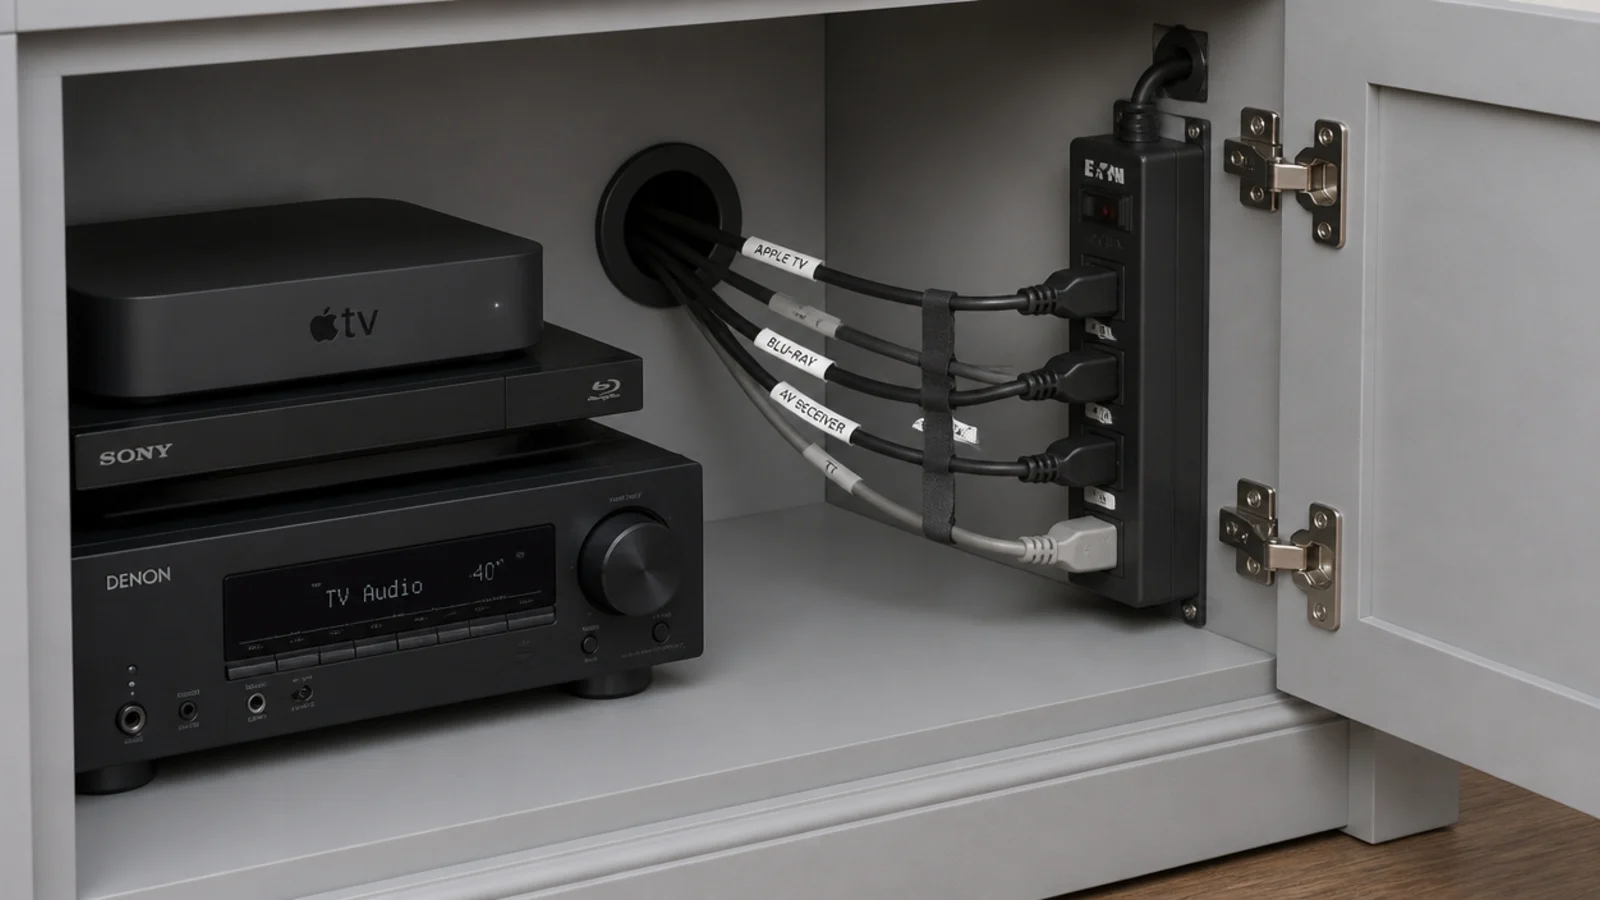
Before: a visible tangle of nine cables looping between shelves and disappearing behind the unit to an outlet nobody could reach.
After: a two-inch grommet drilled through the back panel of the media bay, one power strip fixed inside the cabinet, every cable labelled at both ends.
Twelve dollars of grommets and an hour. The labelling is the part people skip and the part that saves an hour every time something needs unplugging.
Makeover 15: The fireplace wall with no clearance
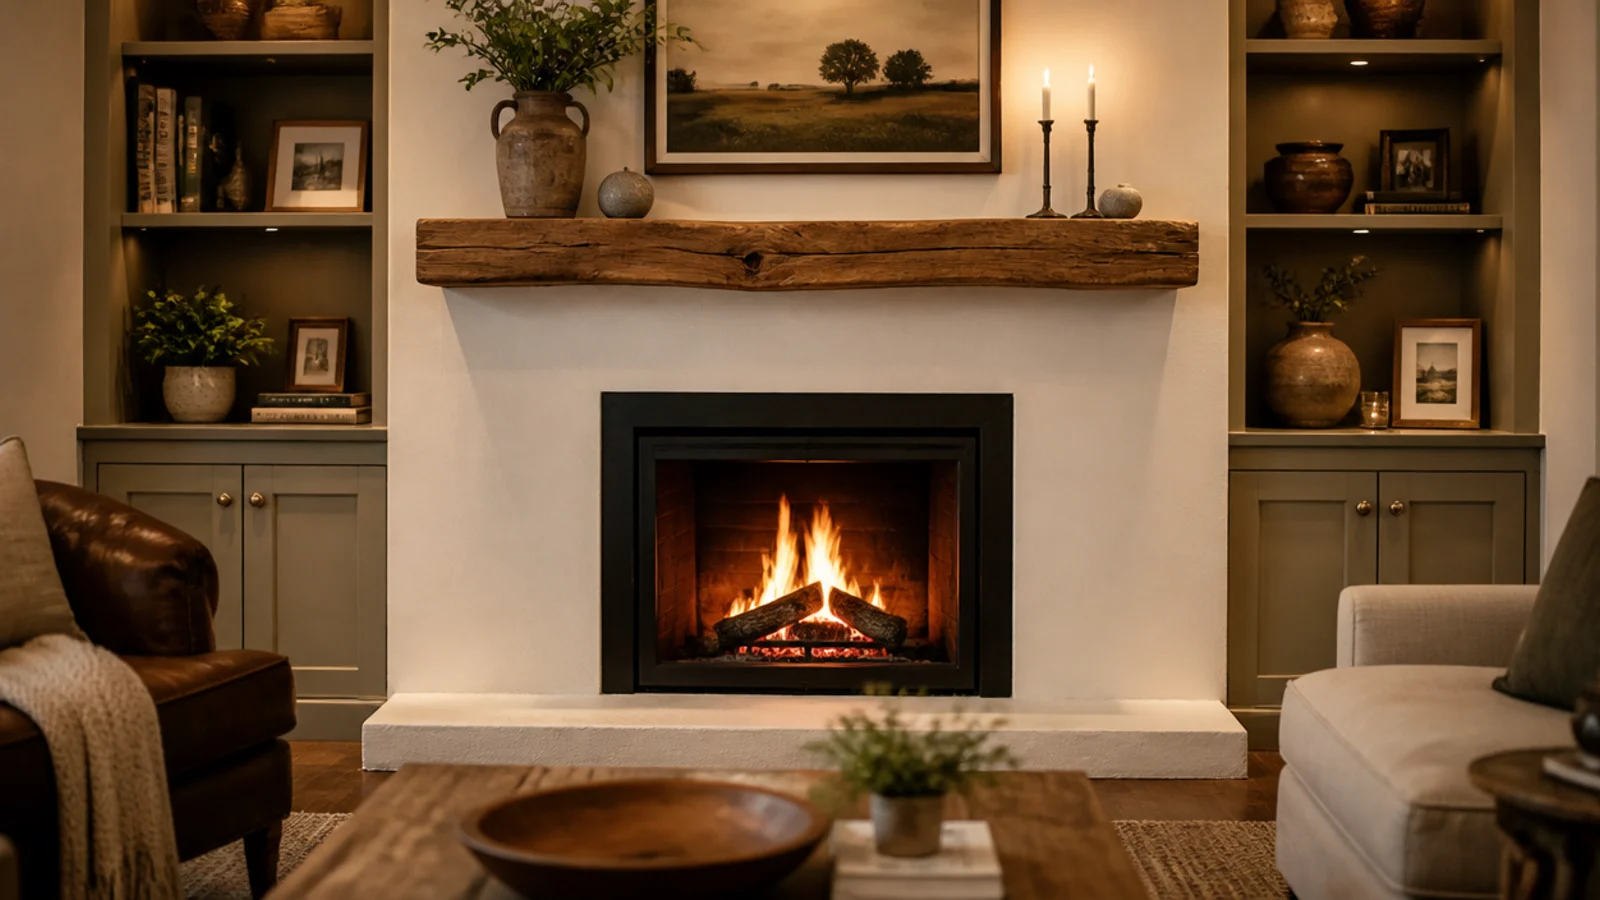
Before: painted trim running to within about three inches of a firebox opening, with the nearest edge darkened after a winter of use.
After: the cases reset with a clear margin of plaster and hearth stone between the joinery and the opening.
Keep combustible material at least 6 inches from the firebox opening, and follow the clearance label on the appliance itself. The fireplace built-ins guide has the full measurements.
Makeover 16: The half-height run under the window
Before: an awkward stretch of wall under a window holding a radiator cover and a permanent drift of clutter on top of it.
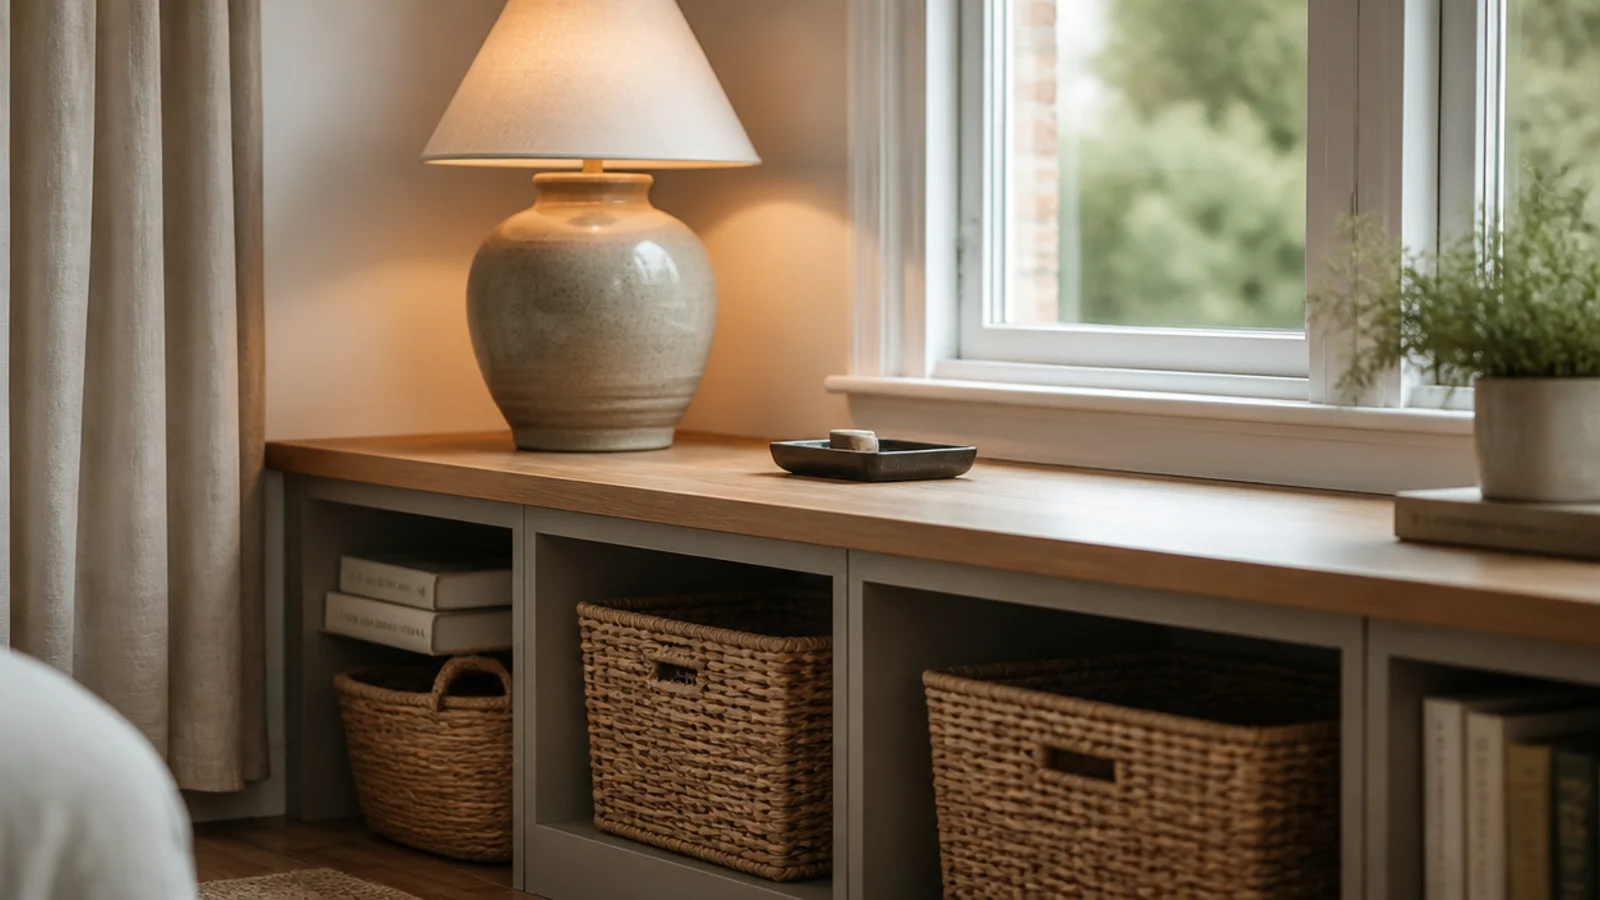
After: a waist-high painted run stopping two inches below the sill, capped with an oak worktop offcut as one continuous surface.
Height was the whole decision. Anything taller would have fought the window; at 33 inches it lines up with the sofa back. Materials $310 including the top.
Makeover 17: The window seat between two cases
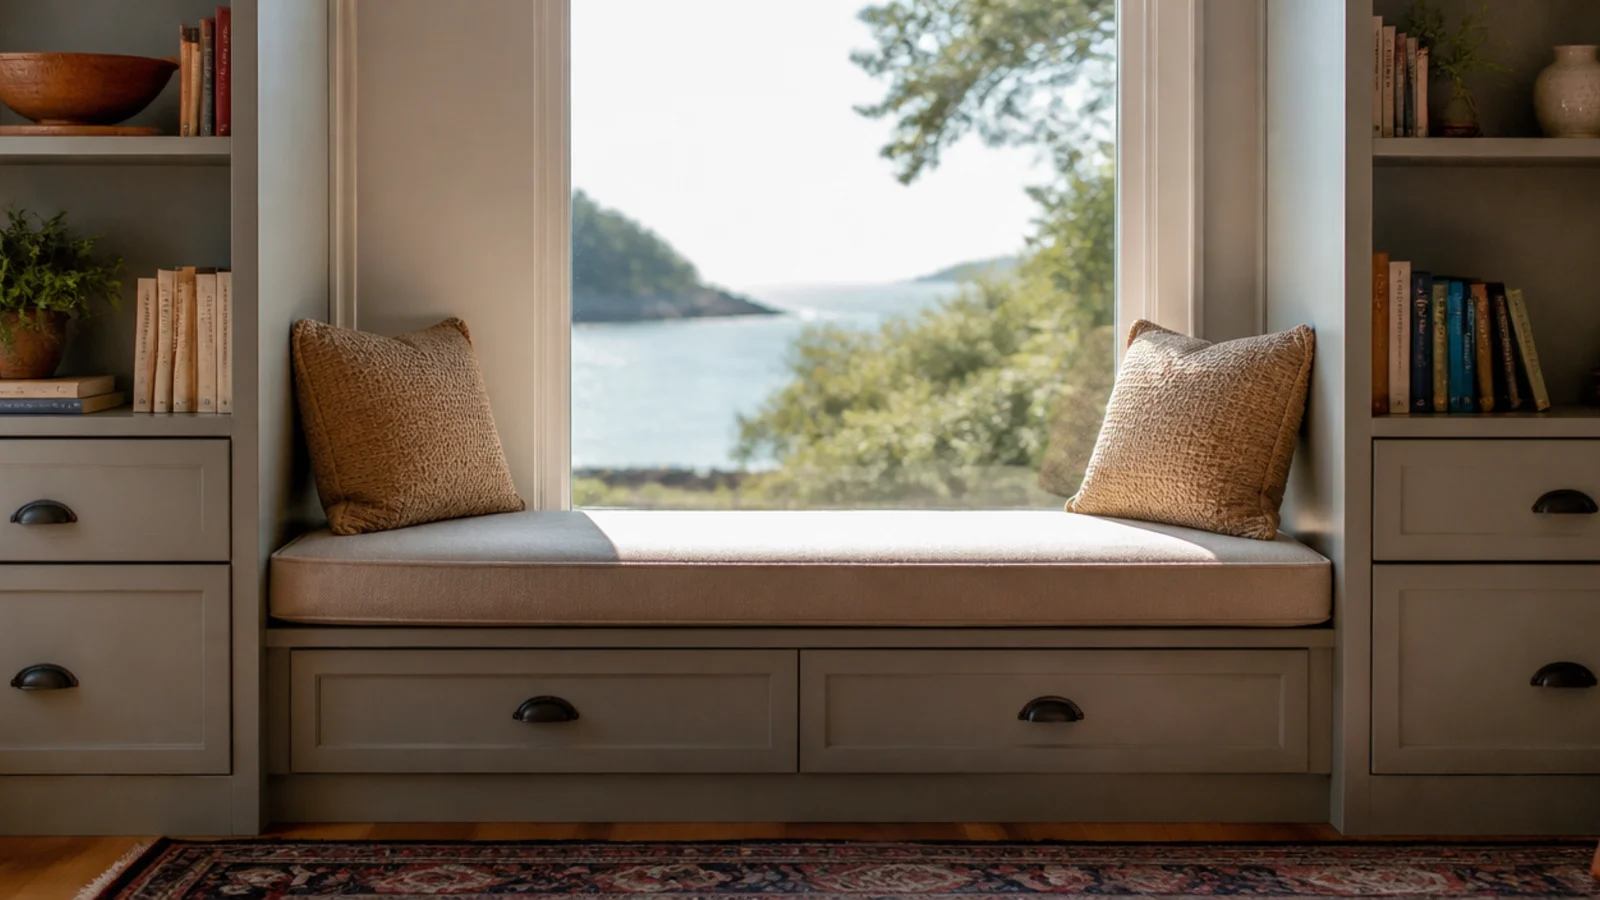
Before: a 40-inch gap between two shelving towers that held a floor cushion and, most of the time, a pile of coats.
After: a painted bench spanning the gap at 17 inches finished height, with a four-inch linen cushion and storage underneath.
Chair height is the number that matters — too low and nobody sits there twice. The bench cost $85 to build and the cushion $110 made up, and it is now the most used seat in that room.
Makeover 18: The shiny factory back panels
Before: thin printed back panels behind every shelf, catching light differently from the paint and quietly undermining the whole unit.
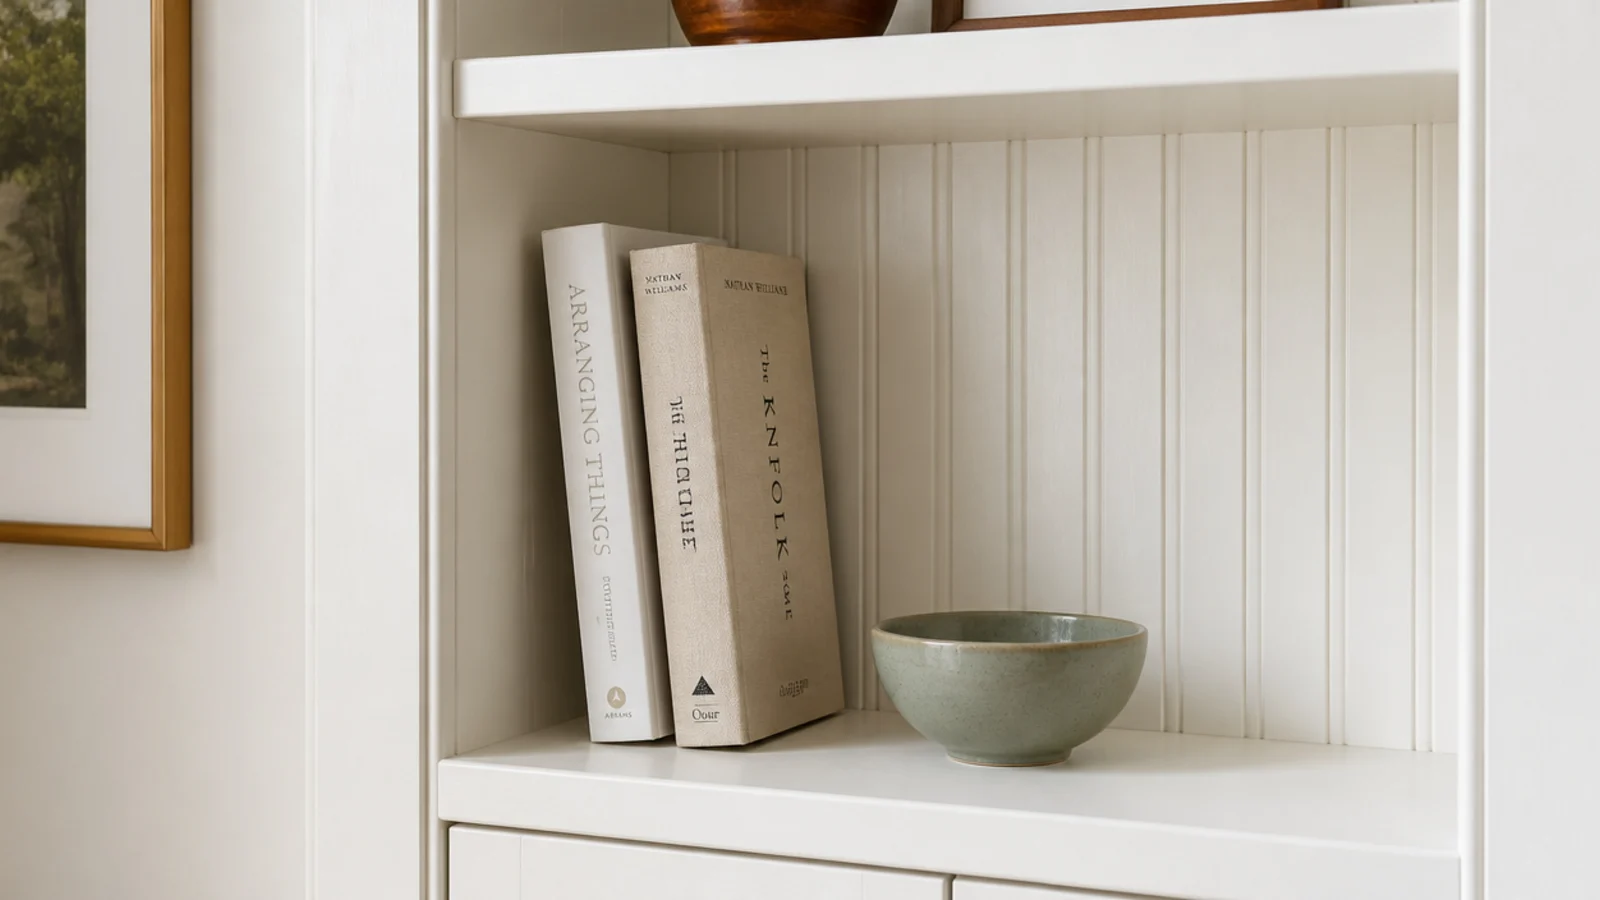
After: fine beadboard cut to each bay, pinned on and painted the same soft white as the frame.
Take the shelves out first — working around fixed shelves is how you get bubbles you then look at every day. About $45 for a full wall, and the texture reads as old panelling rather than as an upgrade.
Makeover 19: The hardware that gave it away
Before: eight cabinet doors wearing the plastic handles they shipped with, which read as flat-pack from across the room.
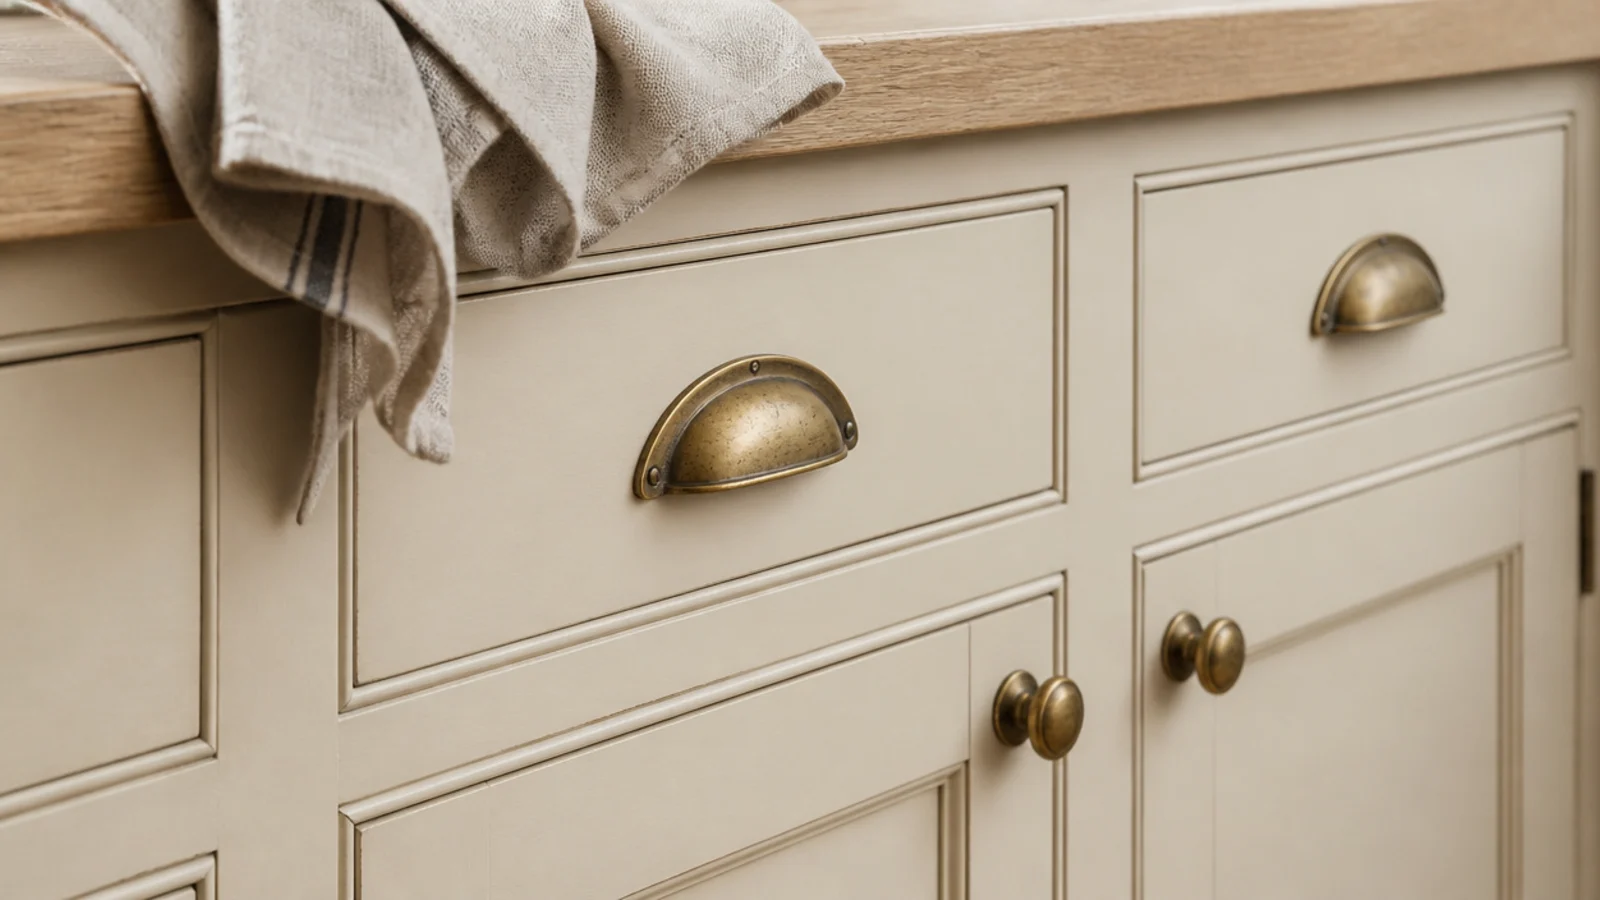
After: aged brass cup pulls and small knobs, all one finish, hinges included.
Hardware is jewelry and it is the cheapest way to change how an entire run reads. Ninety dollars for the wall. Keep every visible metal the same finish or the unit looks assembled from spare parts.
Makeover 20: The wall that needed one empty shelf
Before: a well-built, well-painted run where every shelf carried a considered arrangement, and the overall effect was still exhausting.
After: one central shelf cleared down to a single pale crock and a folded linen cloth.
That is the entire change. Cost nothing, took four minutes, and it made every full shelf around it read as chosen rather than stuffed. The method is in built-in shelf styling.
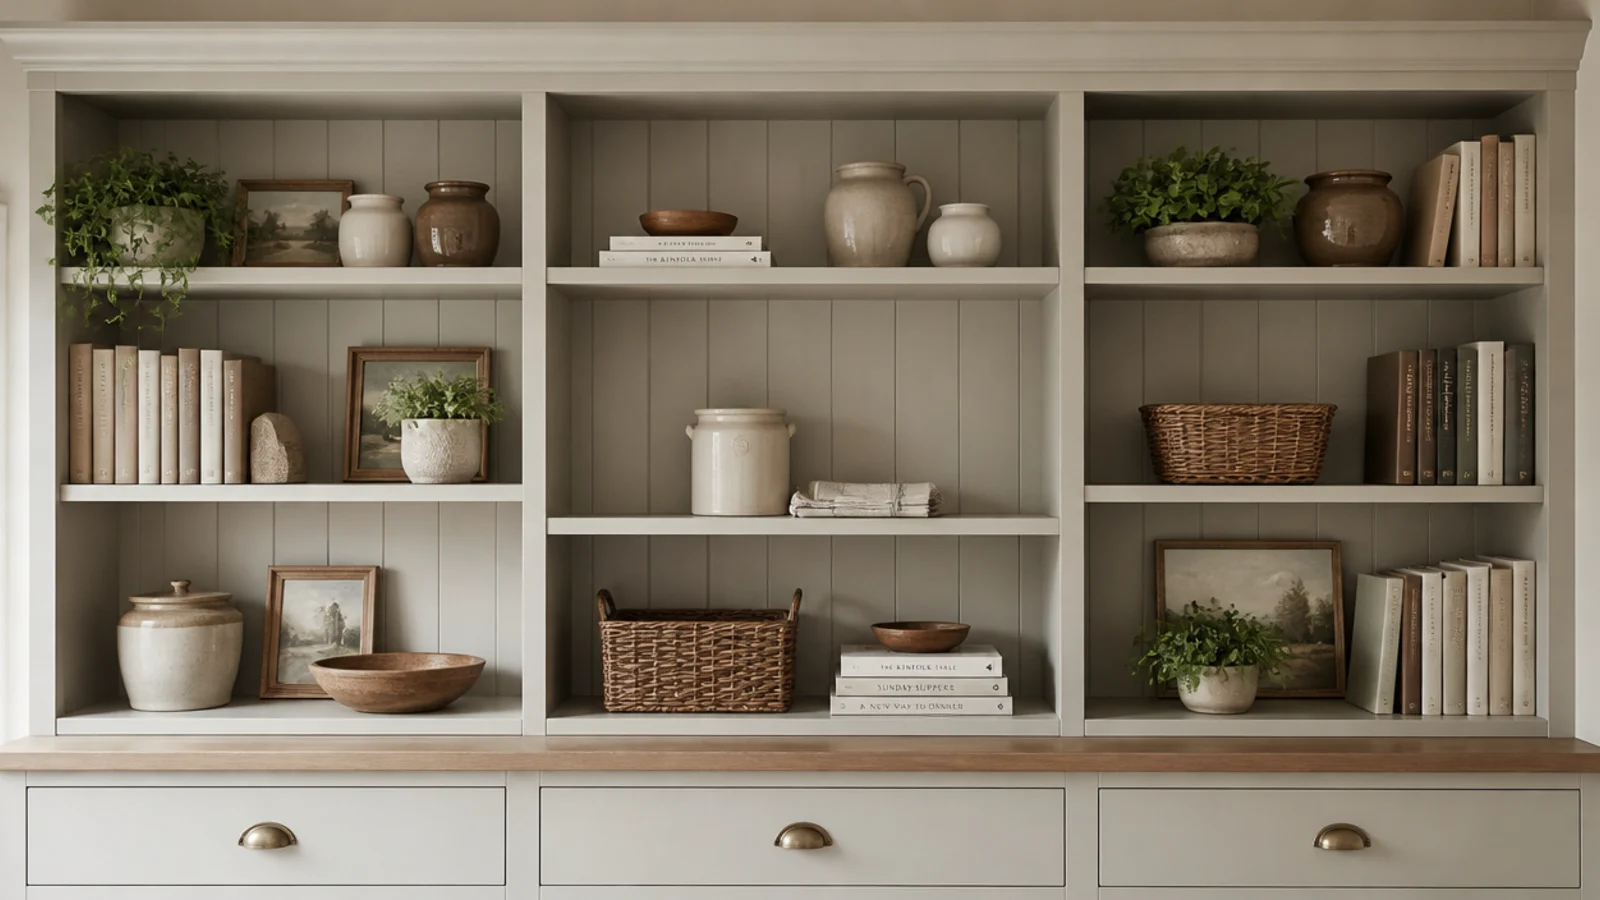
Built-In Shelves Before and After: What I'd Do Differently Now
Laid out in a row, the pattern is hard to argue with. The cheapest changes did the most work, and paint appeared in more than half of them.
Seven of these makeovers cost under $40. The expensive ones were all physical faults — depth, span, cabinet size — where styling could never have helped, and every one of those was a decision made badly at the build stage rather than a thing that went wrong later.
What I would change is the order I work in. For years I designed the wall as a composition and then discovered what would actually fit inside it, which is how shelves end up nine inches deep and televisions end up six inches too high. Now I measure the objects first: the tallest book, the deepest basket, the eye line from the sofa.
And I would stop treating an empty shelf as unfinished work. Almost everything on this list that worked was subtraction.
Frequently asked questions
What is the cheapest built-in shelf makeover that actually works?
Wrapping the room baseboard across the bottom and painting the whole unit the wall or trim color. Together that is about $30 and an afternoon, and it changes whether people read the shelving as furniture or as part of the house. Nine of the twenty makeovers here relied on those two moves alone.
Can you make an existing bookcase look built in?
Yes, and it is the most common makeover I do. Scribe it tight to the wall, wrap baseboard across the toe gap, add a face frame over the shelf edges, close the ceiling gap with a panel and cove, then paint everything one color. Nothing structural changes and the result reads as joinery.
How long does a built-in shelf makeover take?
A styling-only reset takes about an hour, including the part where you take everything off and start from empty. Trim, filler, caulk and two coats of paint is a weekend with drying time. Adding doors or a counter to an existing run is a second weekend, which is why phasing works so well.
Should I rebuild my built-ins or just restyle them?
Restyle first. Only three problems genuinely need a rebuild: a shelf that bows under load, spacing under ten inches so nothing stands upright, and base cabinets too shallow for what you store. Everything else — color, clutter, lighting, hardware, the gap at the ceiling — is fixable without taking anything apart.
What single change makes the biggest difference to built-in shelves?
Paint, matched to the wall or trim color. In makeover after makeover it does more than new shelving, better lighting or nicer objects, because it decides whether the eye reads the unit as architecture or as a large piece of furniture standing against a wall.
Do I have to empty the shelves to restyle them?
Yes, and it is the step everyone wants to skip. Adjusting an existing arrangement just relocates the problem, because you keep protecting decisions you already made. Twenty minutes rebuilding from empty shelves beats an hour of nudging objects around, every single time I have tried both.
Try the free version first on whichever run bothers you most: take everything off, wrap the baseboard, and paint the whole thing the wall or trim color. If it still looks wrong after that, the fault is physical and worth spending on. The fifteen mistakes I made covers the faults in detail, white built-in shelves has the renter-safe version of every trim step, and kitchen shelves before and after shows the same principles in a smaller room. Save the pin before you buy anything new.
Want more like this? Browse all 15 living room built-in shelves guides — they all use the same measurements and budget tiers.

Pin it for later
Save this to your Living Room Built-In Shelves board
Pin it now so it is waiting for you when the tape measure comes out — and so the next person hunting for this idea can find it too.
Save this pinKeep going
More ideas worth saving while you have the tape measure out.