Kitchen Shelf Ideas · UGC
20 Kitchen Shelf Before and After Makeovers

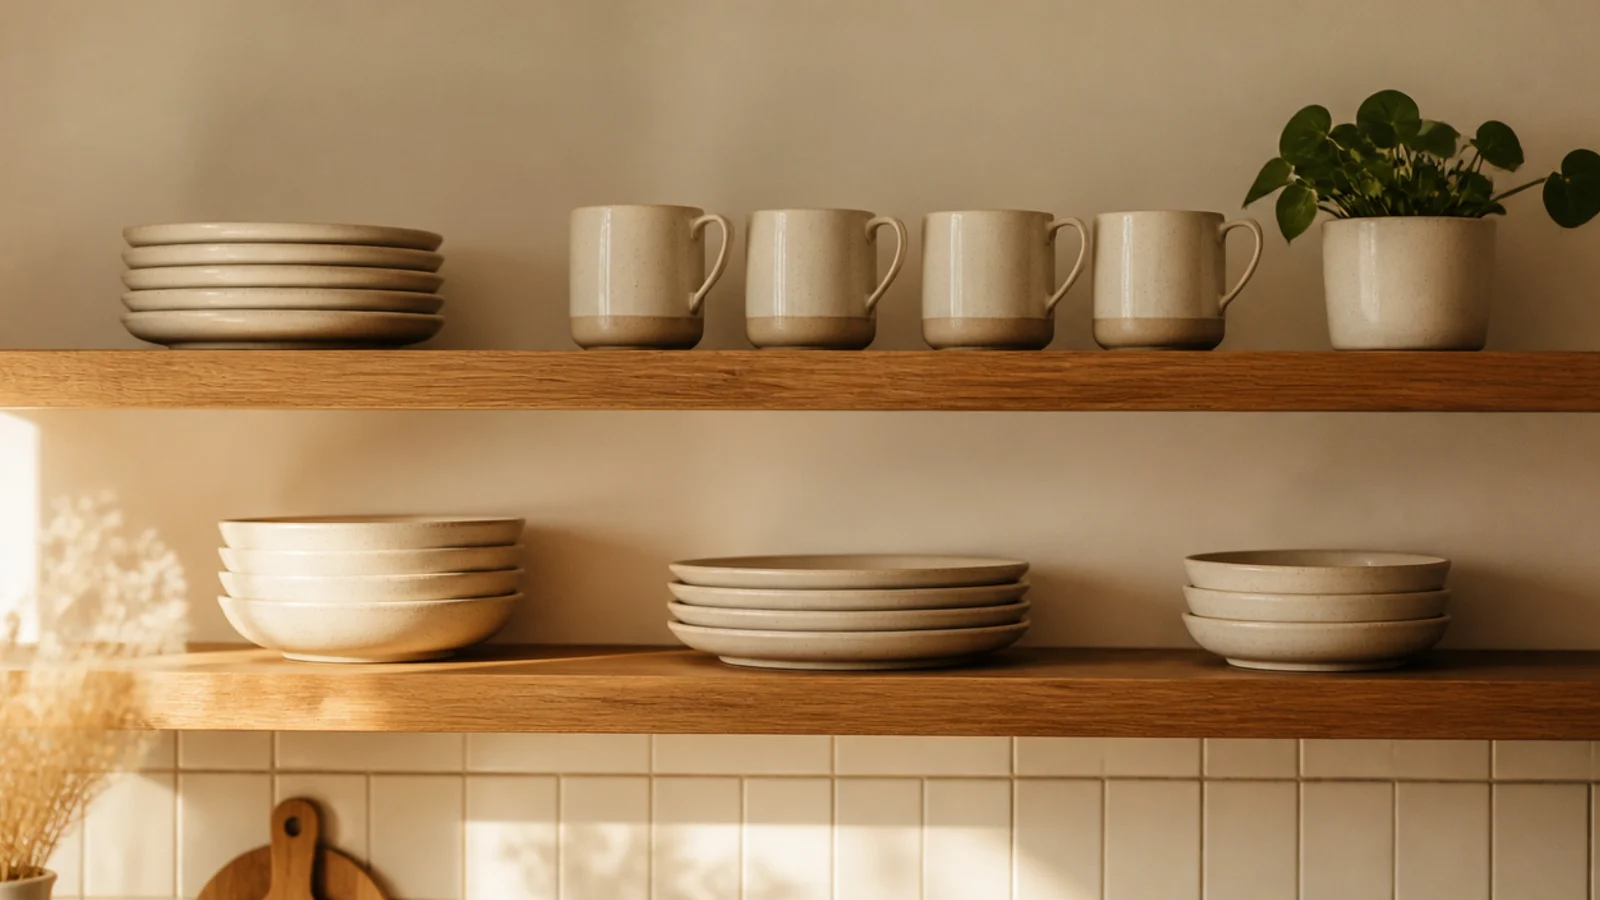
Kitchen shelves before and after is the most useful thing I can show anyone, because the changes that actually work are almost never the ones people expect to spend money on. I have restyled shelves in my own three kitchens and in more client homes than I can count, and the pattern barely varies.
Roughly two-thirds of the kitchens I am asked to fix need nothing bought at all. The problem is quantity, grease placement or light — not quality. The other third have a physical fault: the wrong finish, a board too thin for its span, a depth that catches you as you walk past. No amount of restyling touches those.
What follows is 20 real makeovers, what each one looked like before, what changed, and what it cost. Eight of them cost nothing. The most expensive was $130. And the change that shows up most often across all twenty is simply taking things off.
In this guide21 sections — tap to openHide
- 1.Makeover 1: The upper cabinet that came down
- 2.Makeover 2: The greasy shelf beside the stove
- 3.Makeover 3: The board that cupped
- 4.Makeover 4: The plate shelf that sagged
- 5.Makeover 5: The orange pine run
- 6.Makeover 6: The mixer that would not fit
- 7.Makeover 7: The adhesive ledge that let go
- 8.Makeover 8: The jars nobody could reach
- 9.Makeover 9: The shelf with forty things on it
- 10.Makeover 10: The galley that read grey
- 11.Makeover 11: The mug collection
- 12.Makeover 12: The cookbooks that yellowed
- 13.Makeover 13: The counter that vanished under jars
- 14.Makeover 14: The shelf above the sink
- 15.Makeover 15: The brackets you saw first
- 16.Makeover 16: The shelf run that stopped short
- 17.Makeover 17: The gap above the fridge
- 18.Makeover 18: The wire rack that came out
- 19.Makeover 19: The plates that slid forward
- 20.Makeover 20: The wall of jars
- 21.Kitchen Shelves Before and After: What I'd Do Differently Now
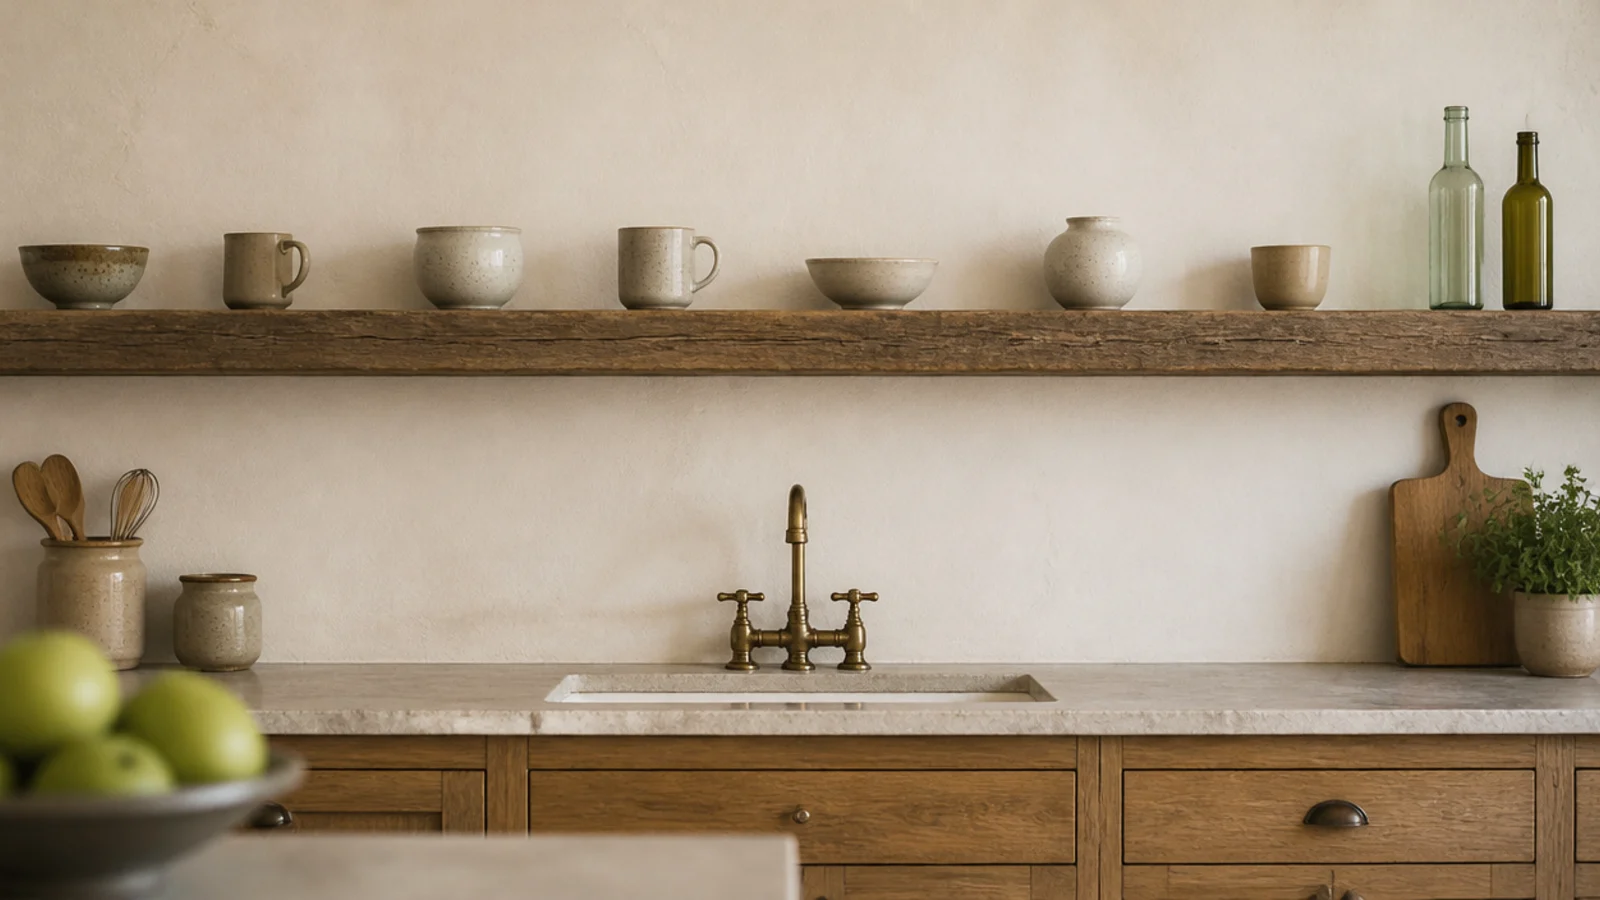
Makeover 1: The upper cabinet that came down
Before: a run of four upper cabinets on a small kitchen's only window wall, making a bright room feel like a corridor.
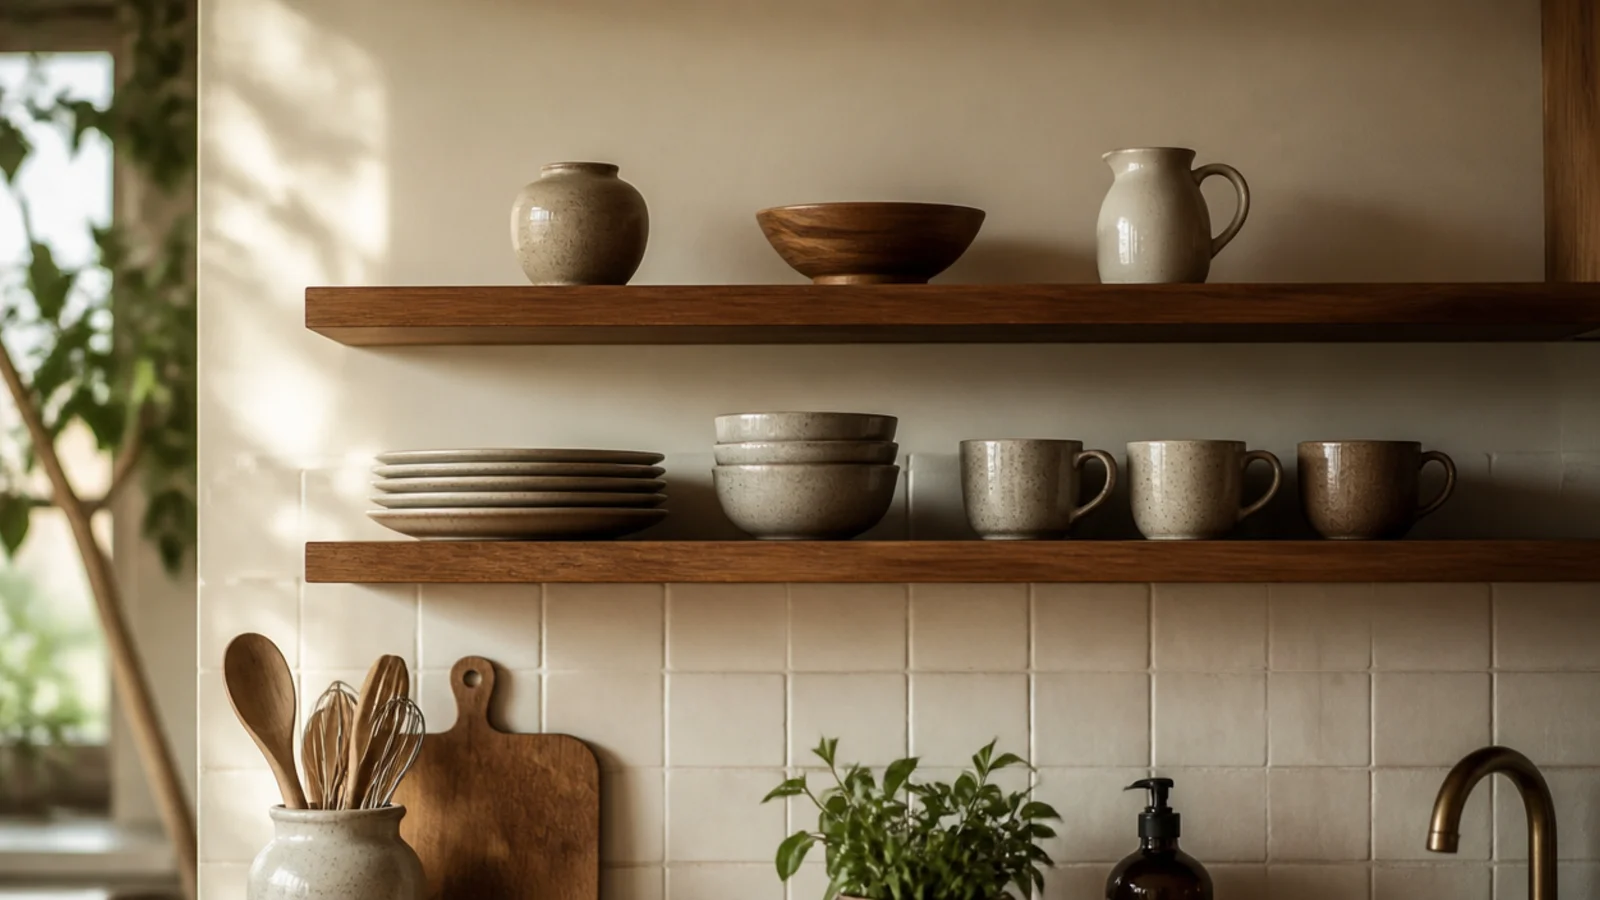
After: one cabinet removed and replaced with two oak shelves at 18 and 32 inches above the counter.
One cabinet, not four. That restraint is the whole reason it worked — the everyday plates and mugs went on display where they get used, and everything unattractive stayed behind the remaining doors. Cost $86 including brackets and a patch of paint.
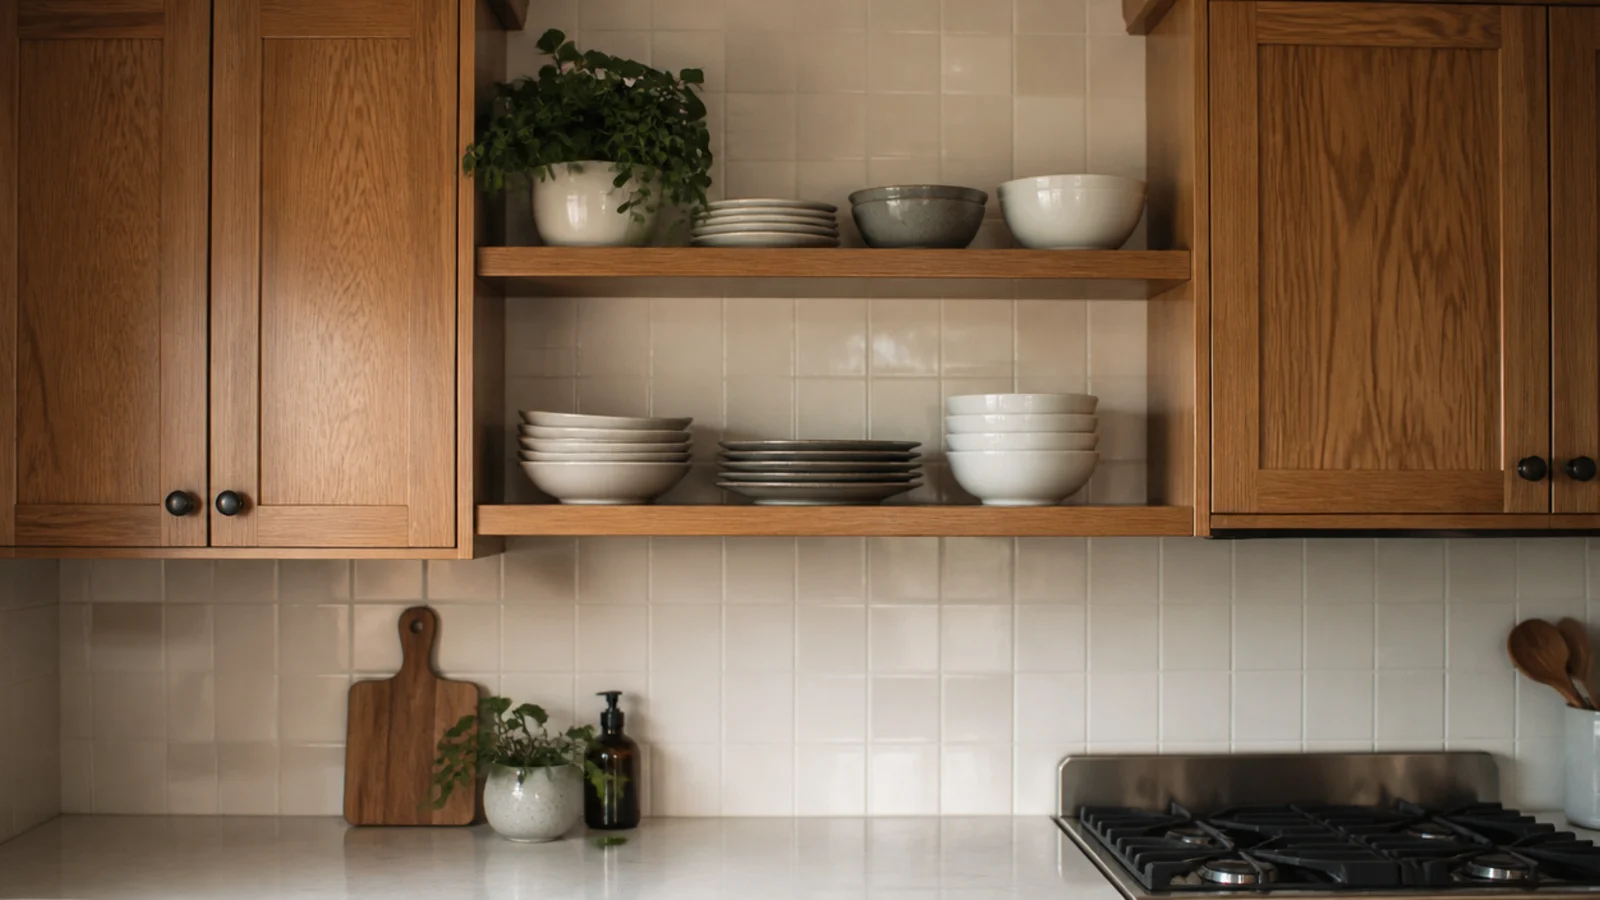
Makeover 2: The greasy shelf beside the stove
Before: a shelf 2 feet from the burners holding a decorative jug, dried stems and a stack of pretty bowls nobody ever used.
After: the same shelf holding everyday plates and mugs that cycle through the dishwasher twice a week.
Nothing was bought. Anything within about 4 feet of a stove picks up an airborne grease film, and the only defence is putting washable things there. The jug moved to the far end of the run and stopped needing degreaser.
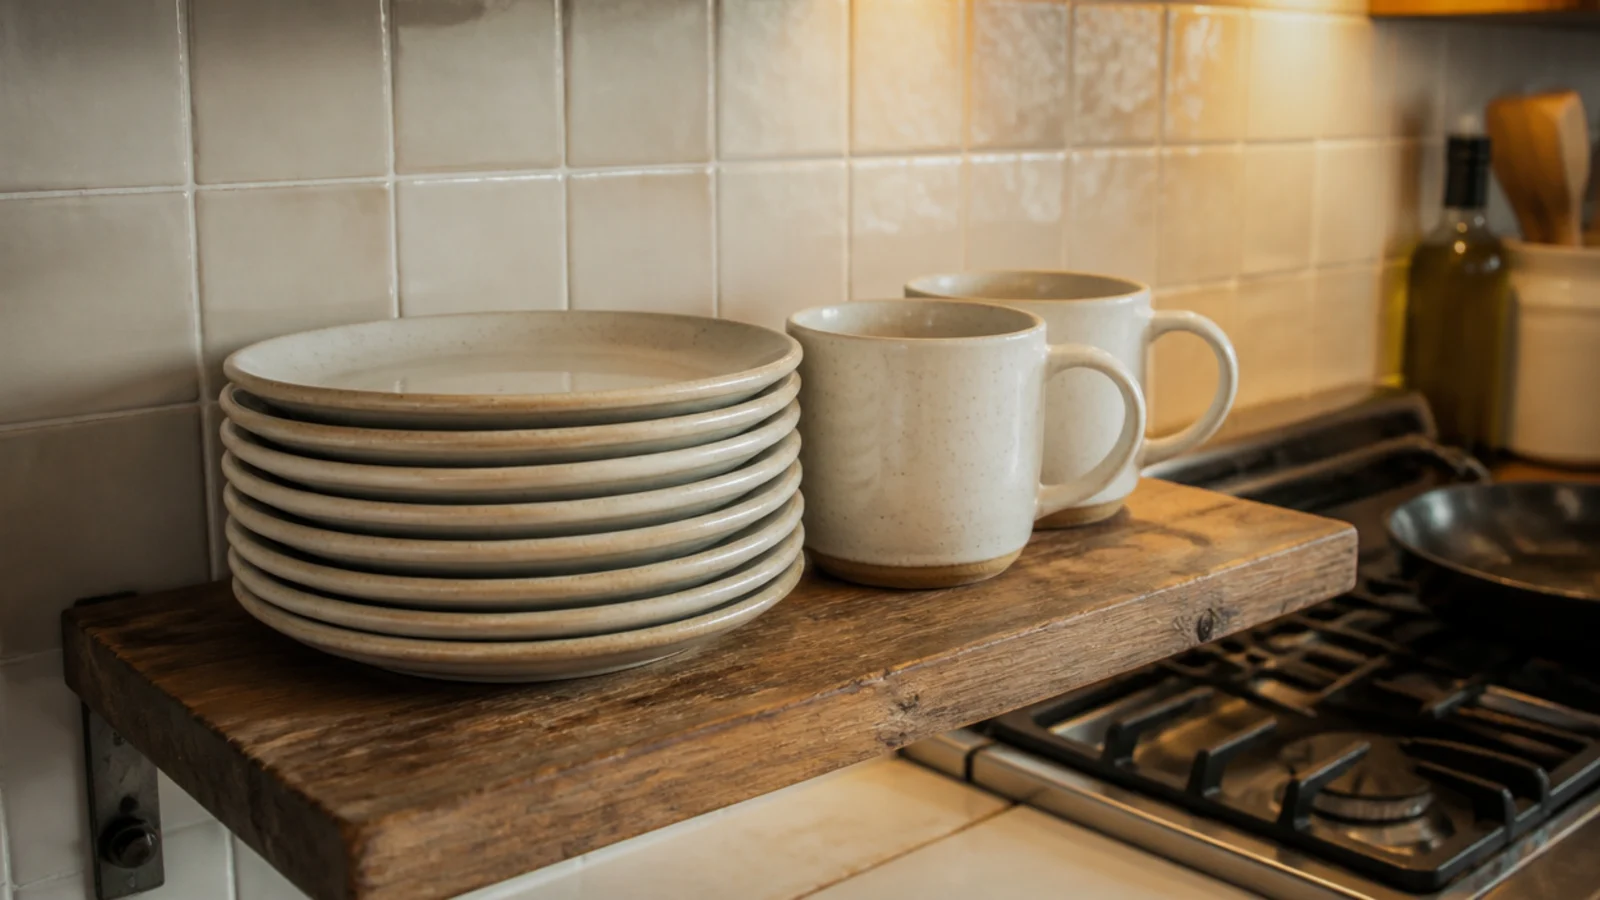
Makeover 3: The board that cupped
Before: an oak shelf sealed on the top face only, cupped enough after one winter that a plate rocked on it.
After: sanded flat, then three thin coats of water-based polyurethane on all six faces including the underside and the cut ends.
The unsealed underside was the entire cause. A kitchen goes from steamy to dry several times a day, and a board that can only breathe through five faces moves unevenly. An afternoon and $18 of finish.
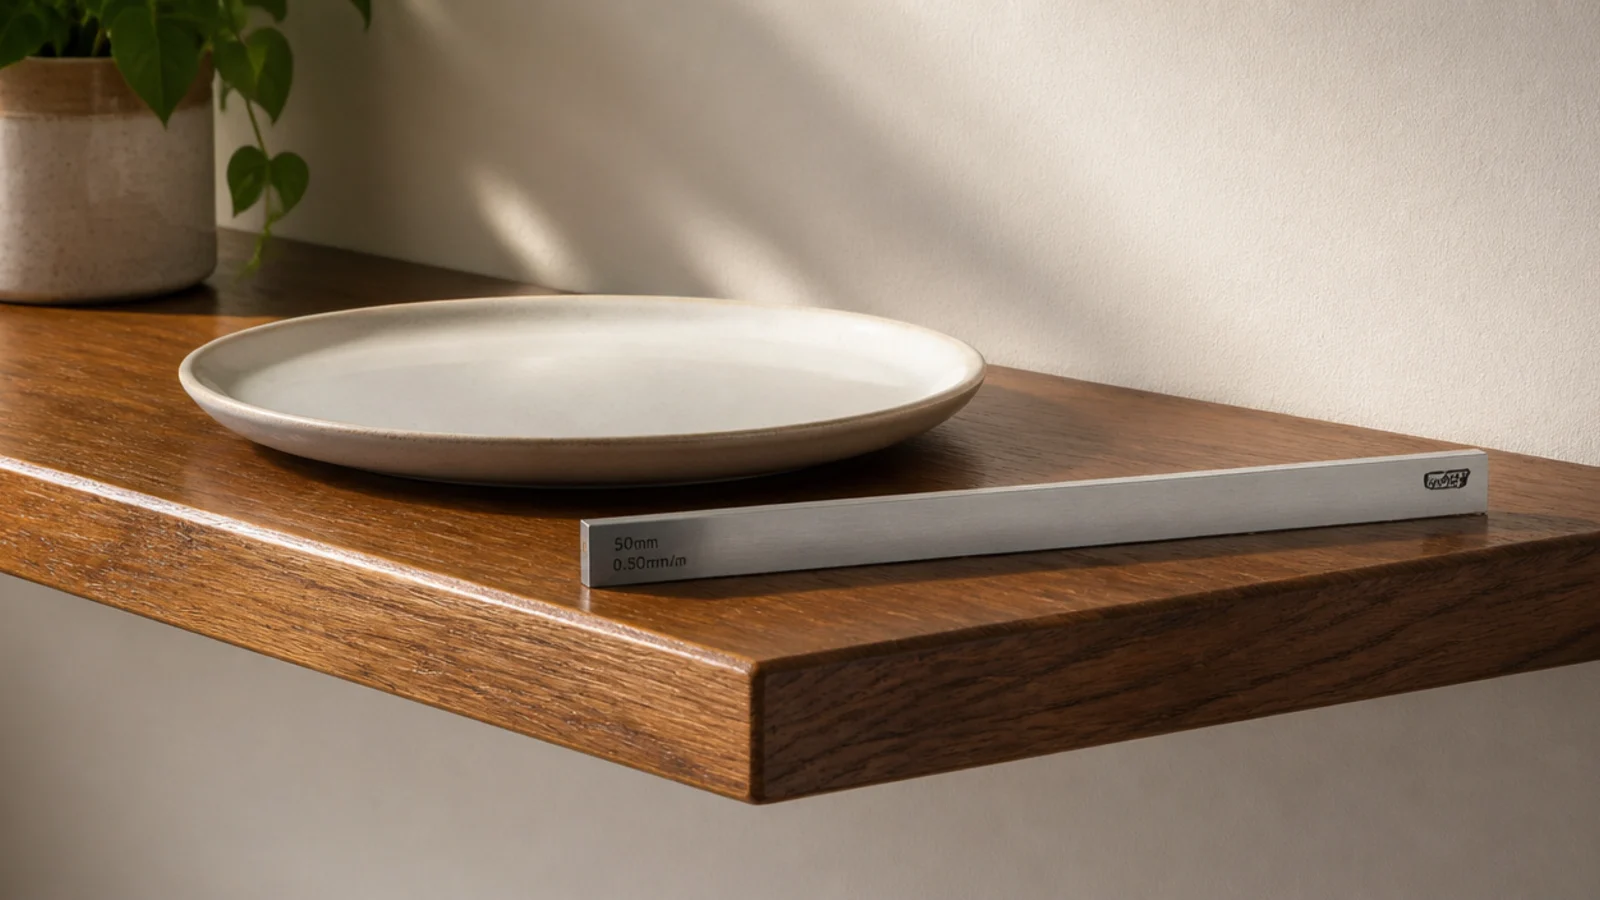
Makeover 4: The plate shelf that sagged
Before: half-inch stock spanning 34 inches under two stacks of dinner plates, with a visible dip in the middle.
After: a third bracket added into a stud, and a 1-inch strip glued and clamped under the front edge.
Ten dinner plates weigh about 12 pounds, and nobody stops at one stack. The glued strip doubled the apparent thickness and stiffened the span for around $6, and the shelf now reads as a substantial slab.
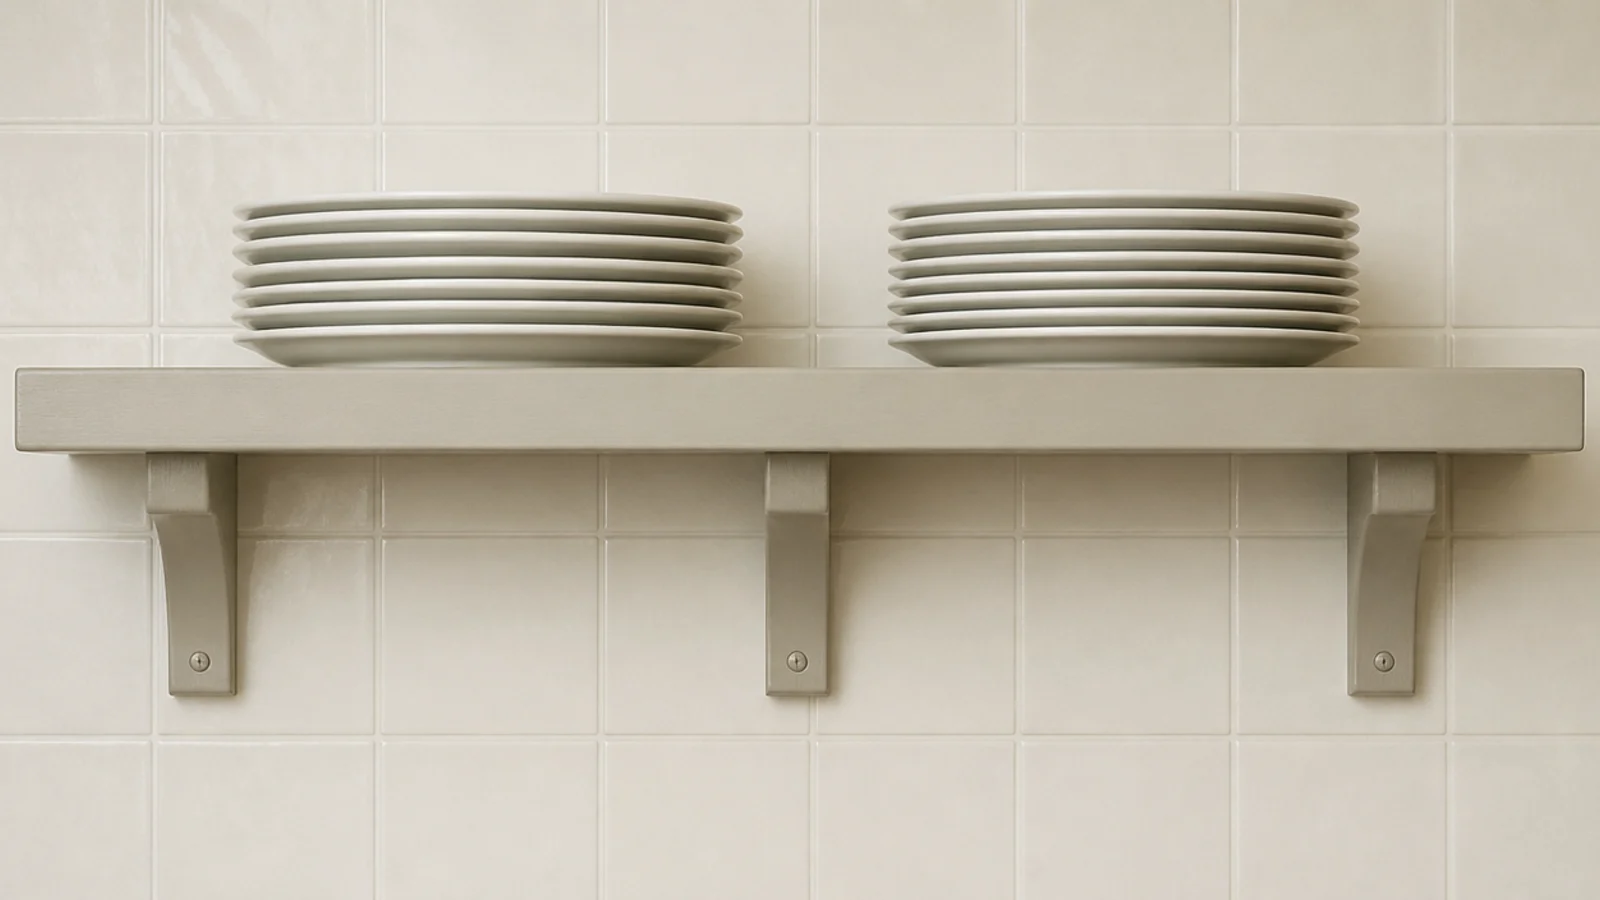
Makeover 5: The orange pine run
Before: stained pine shelves reading distinctly orange against warm cream walls and matching nothing else in the kitchen.
After: two coats of the wall color in a cabinet-grade eggshell, brackets included.
Painting wood shelves feels like a downgrade until you see it. The shelves stopped being objects stuck to a wall and the stoneware came forward instead. One sample pot, $11, one Saturday afternoon.
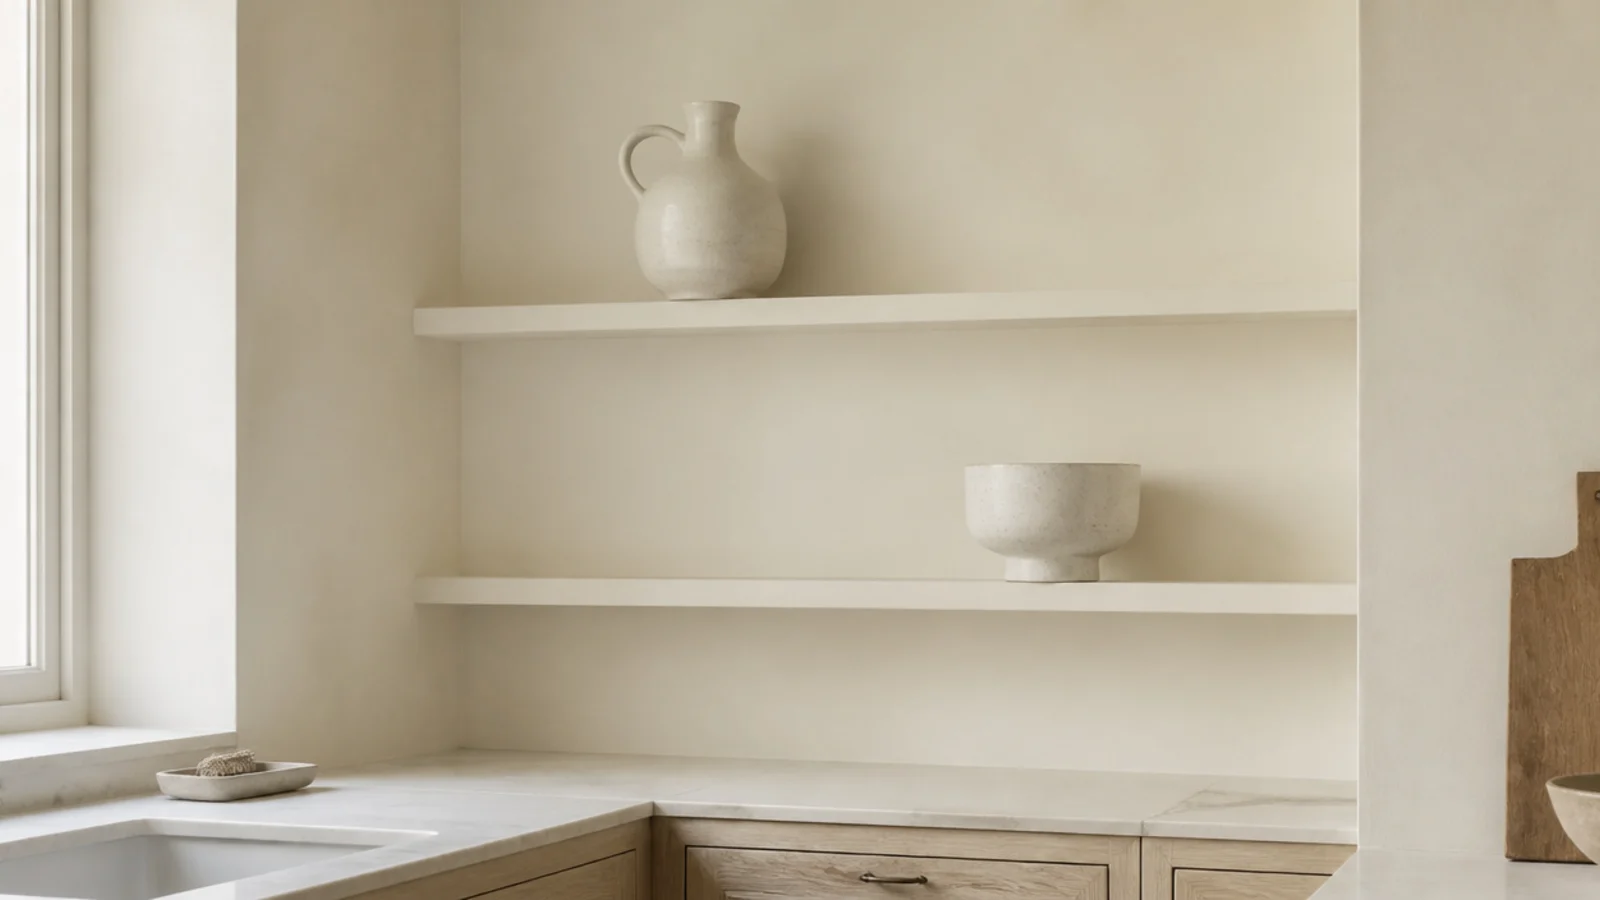
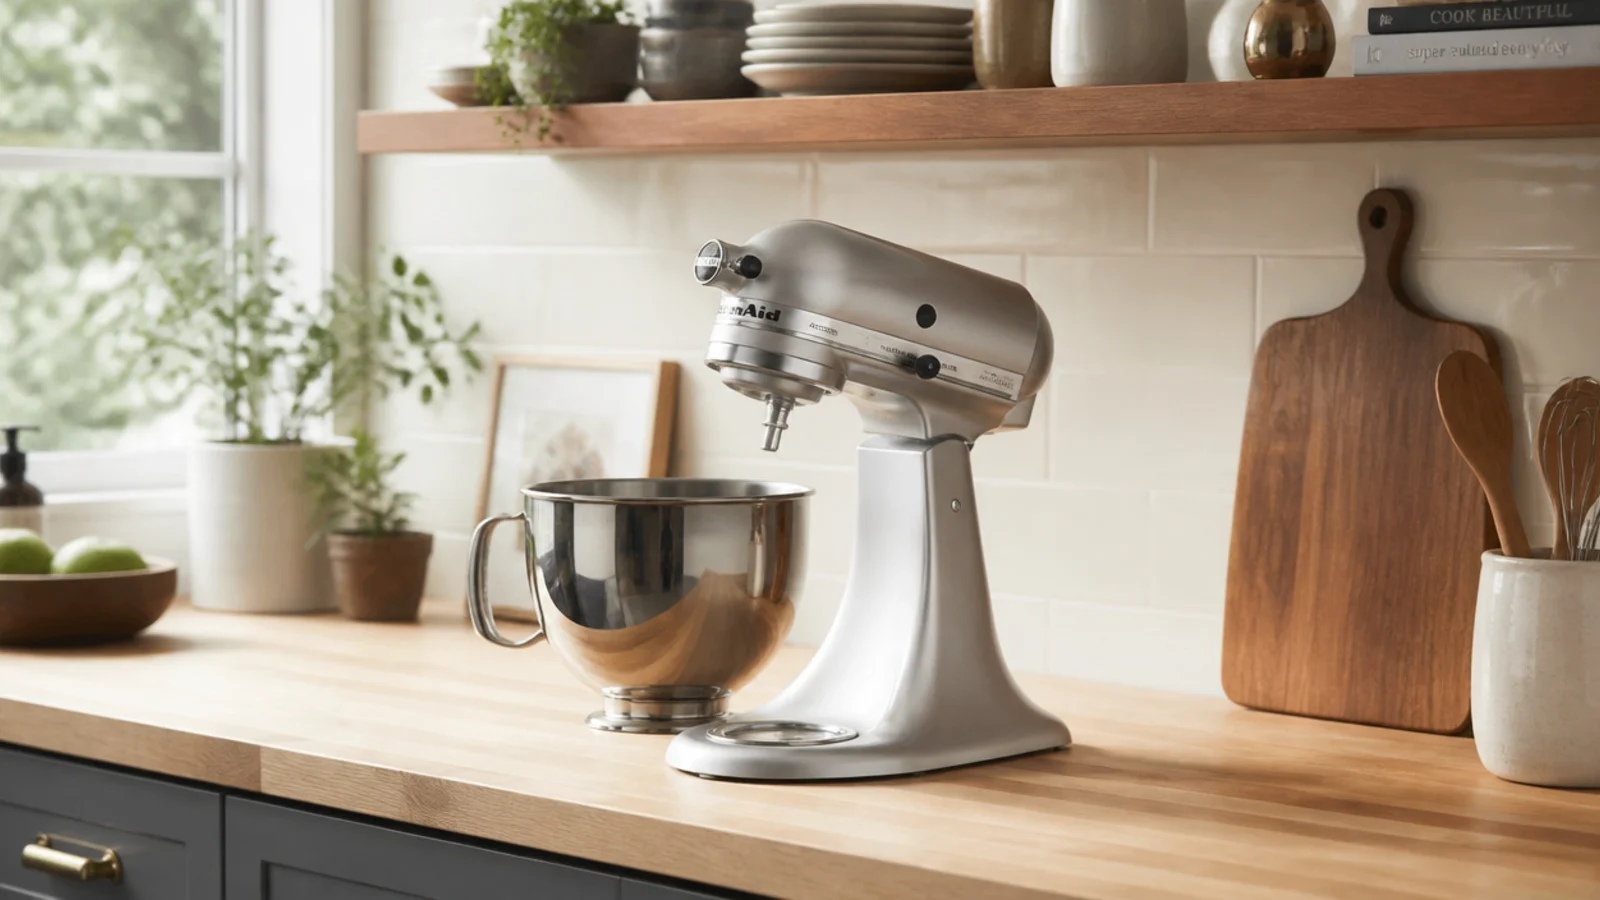
Makeover 6: The mixer that would not fit
Before: a shelf 14 inches above the counter with a stand mixer wedged underneath, so the bowl had to come out sideways.
After: the shelf remounted at 18 inches, with the second shelf 13 inches above that.
Eighteen inches is the number that clears a stand mixer and leaves lifting room. Two filled holes and forty minutes, and a daily irritation disappeared completely. Cost: a tub of spackle.
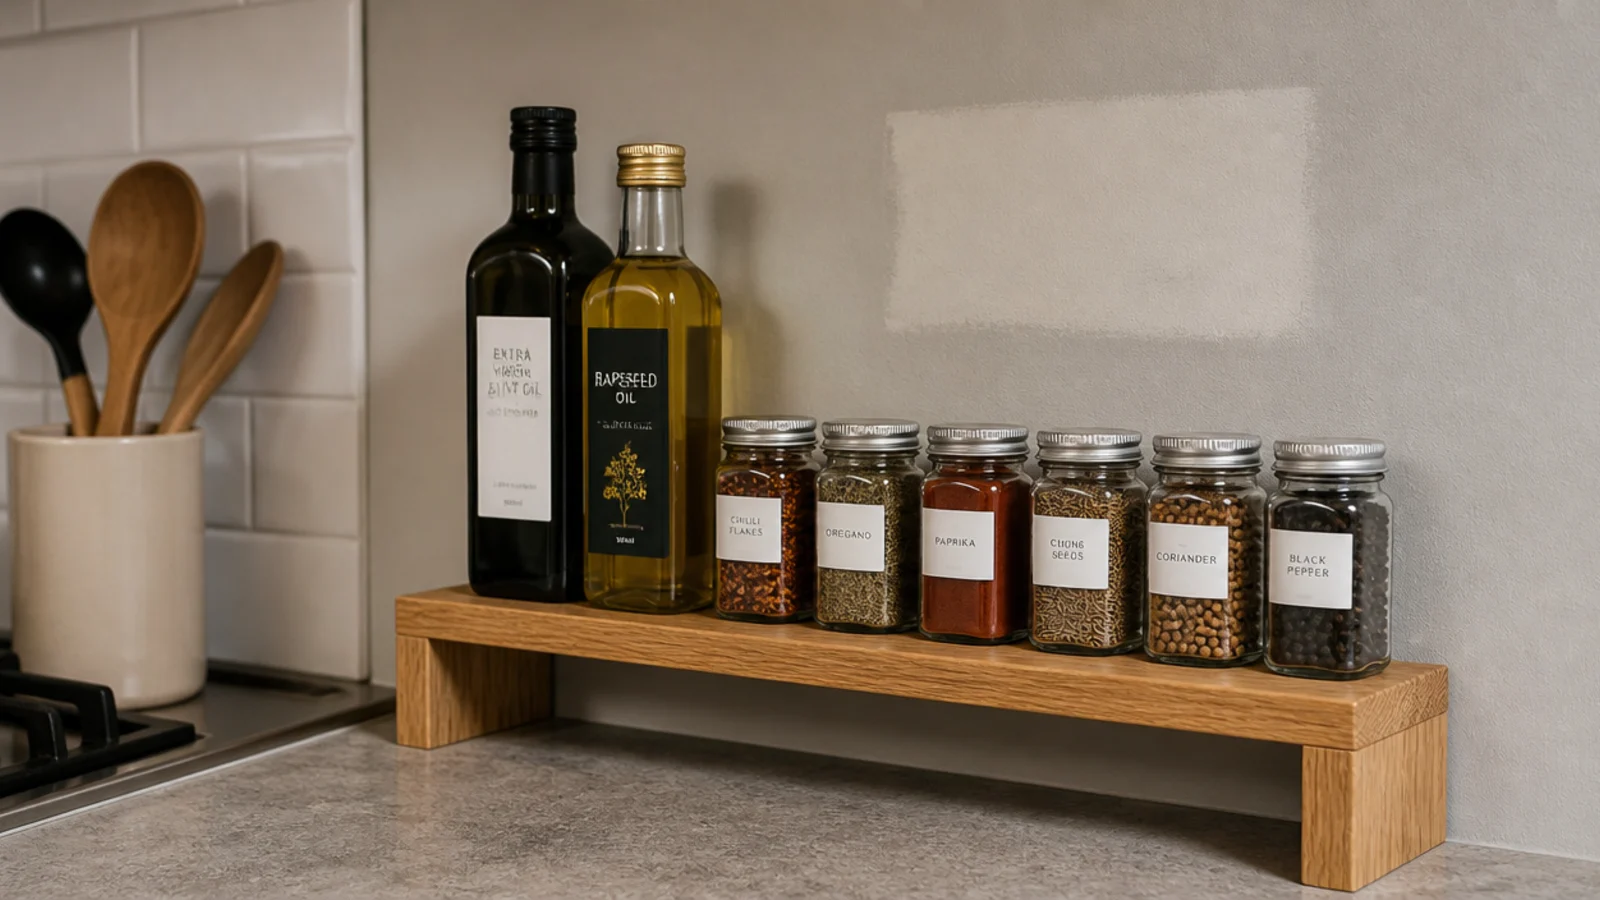
Makeover 7: The adhesive ledge that let go
Before: a rental ledge on heavy-duty strips, loaded with oils and a small plant, that peeled off the flat builder paint in month three.
After: a solid oak countertop riser standing on the counter, holding exactly the same things.
Adhesive strips are honestly good for about 15 pounds per pair, and a warm humid kitchen is harder on them than any other room. The riser cost $28 and needs no wall at all.
Makeover 8: The jars nobody could reach
Before: three shelves starting at 62 inches, so the top two held things the owner needed a chair to get to.
After: the whole run dropped so the lowest shelf sits 18 inches above the counter and the top lands at 54.
Build a run upward from something you use, not downward from the ceiling. Everything above 60 inches becomes storage for things you forget you own. Cost: nothing but new holes and filler.
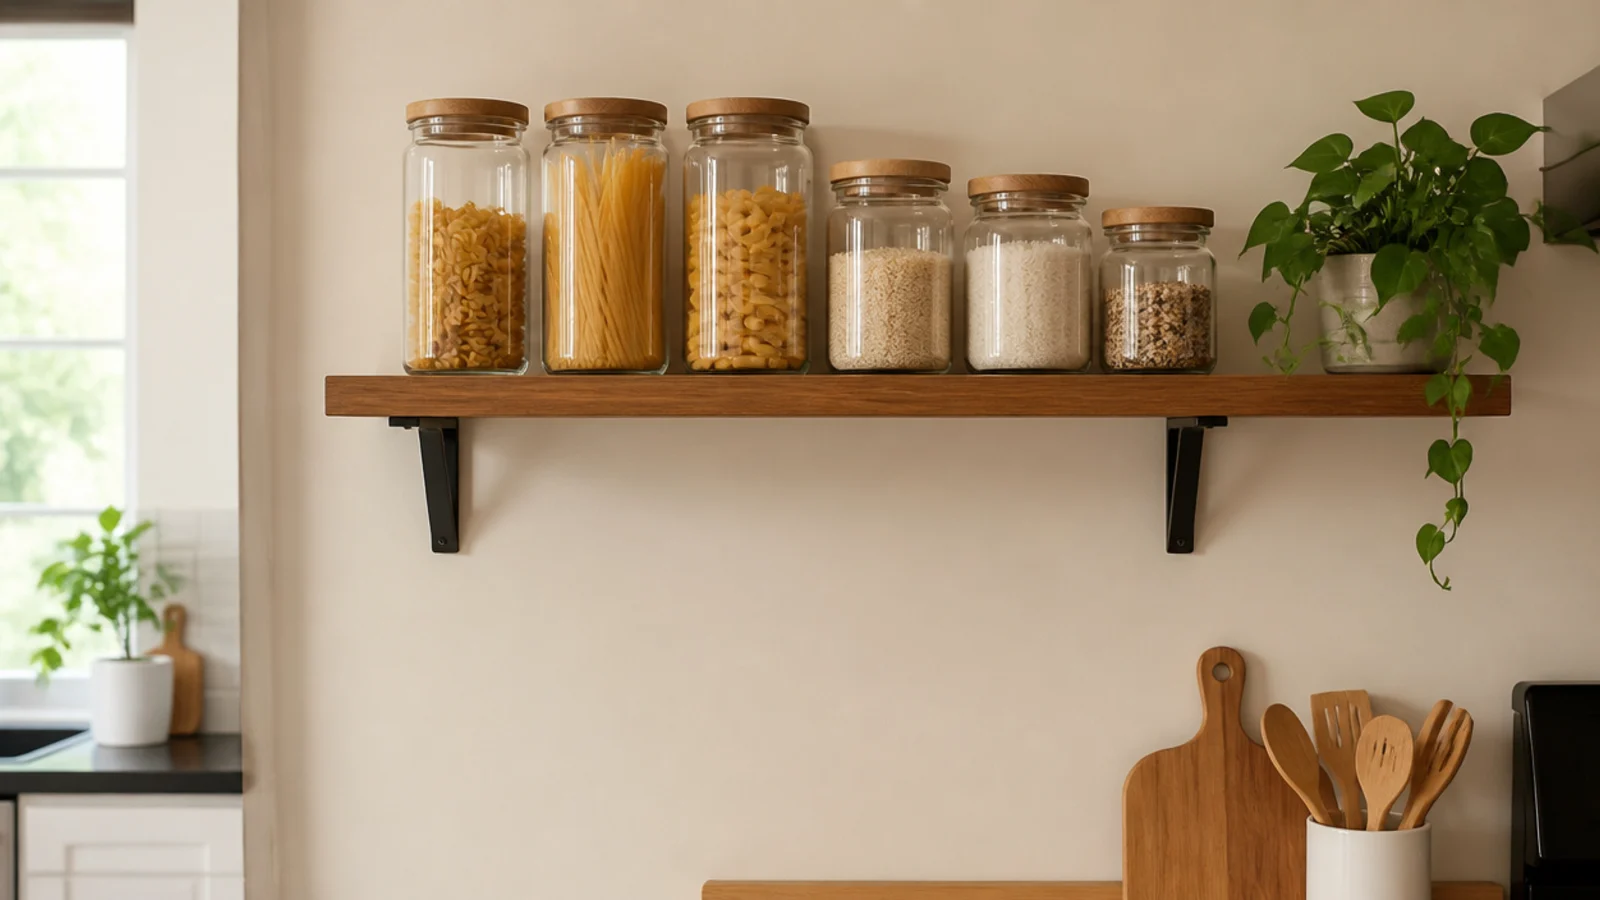
Makeover 9: The shelf with forty things on it
Before: two shelves packed edge to edge with mugs, jars, small bowls, three plants and a row of tins.
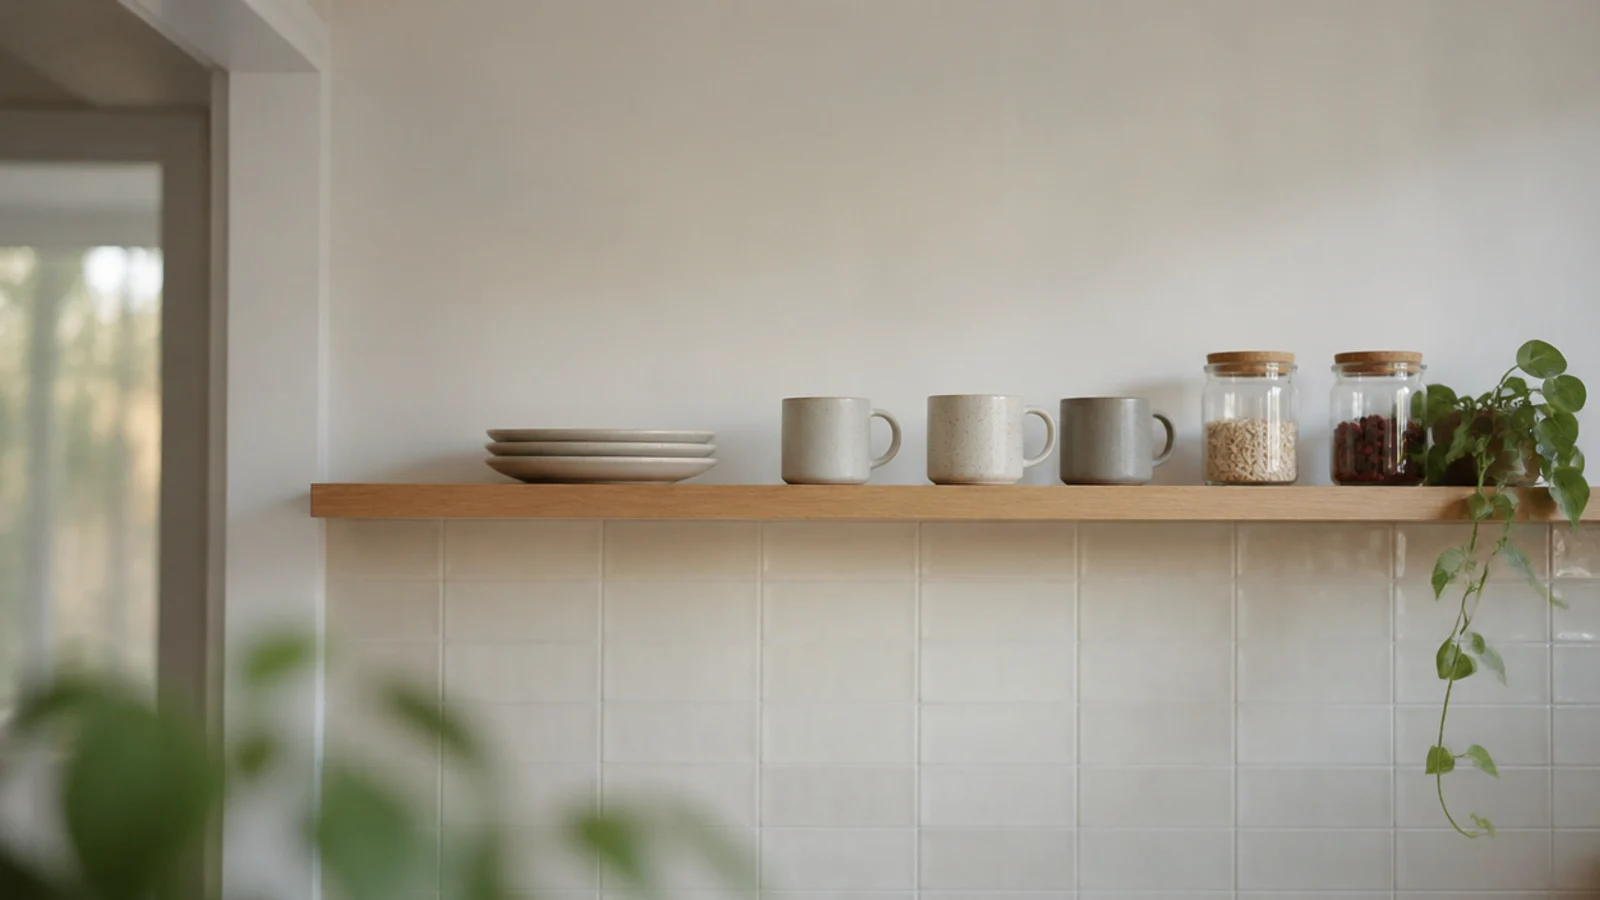
After: twelve objects total, grouped in threes, with real gaps between the groups.
Twenty-eight things went into a box, and half of them never came back out. Free, and the fastest change in this article — the shelves were never badly styled, they were simply overfull.
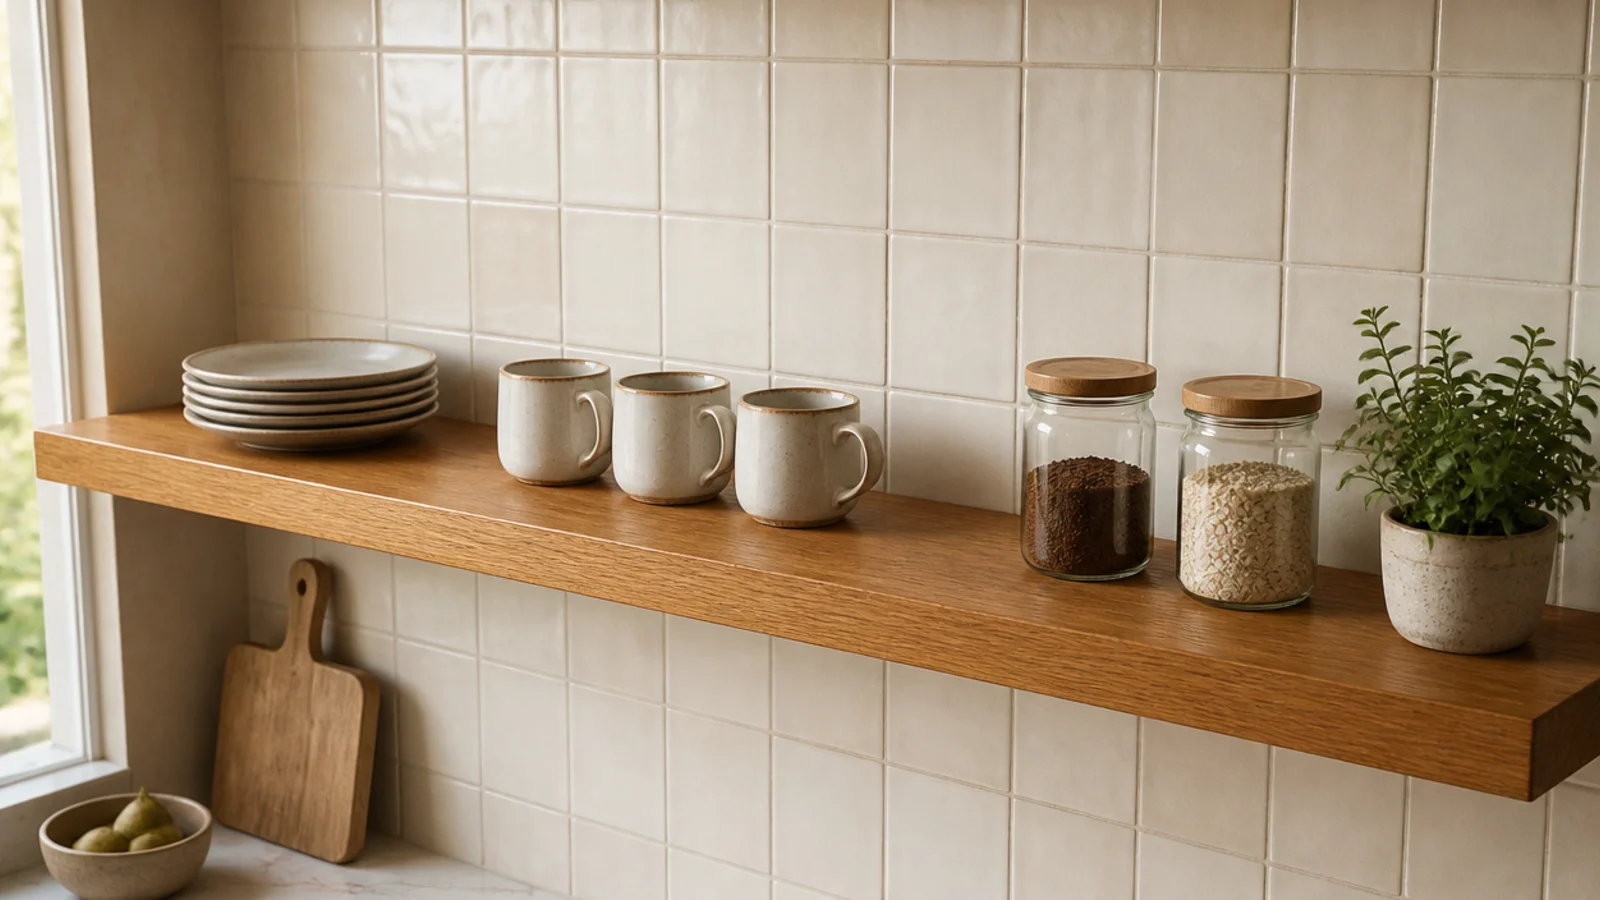
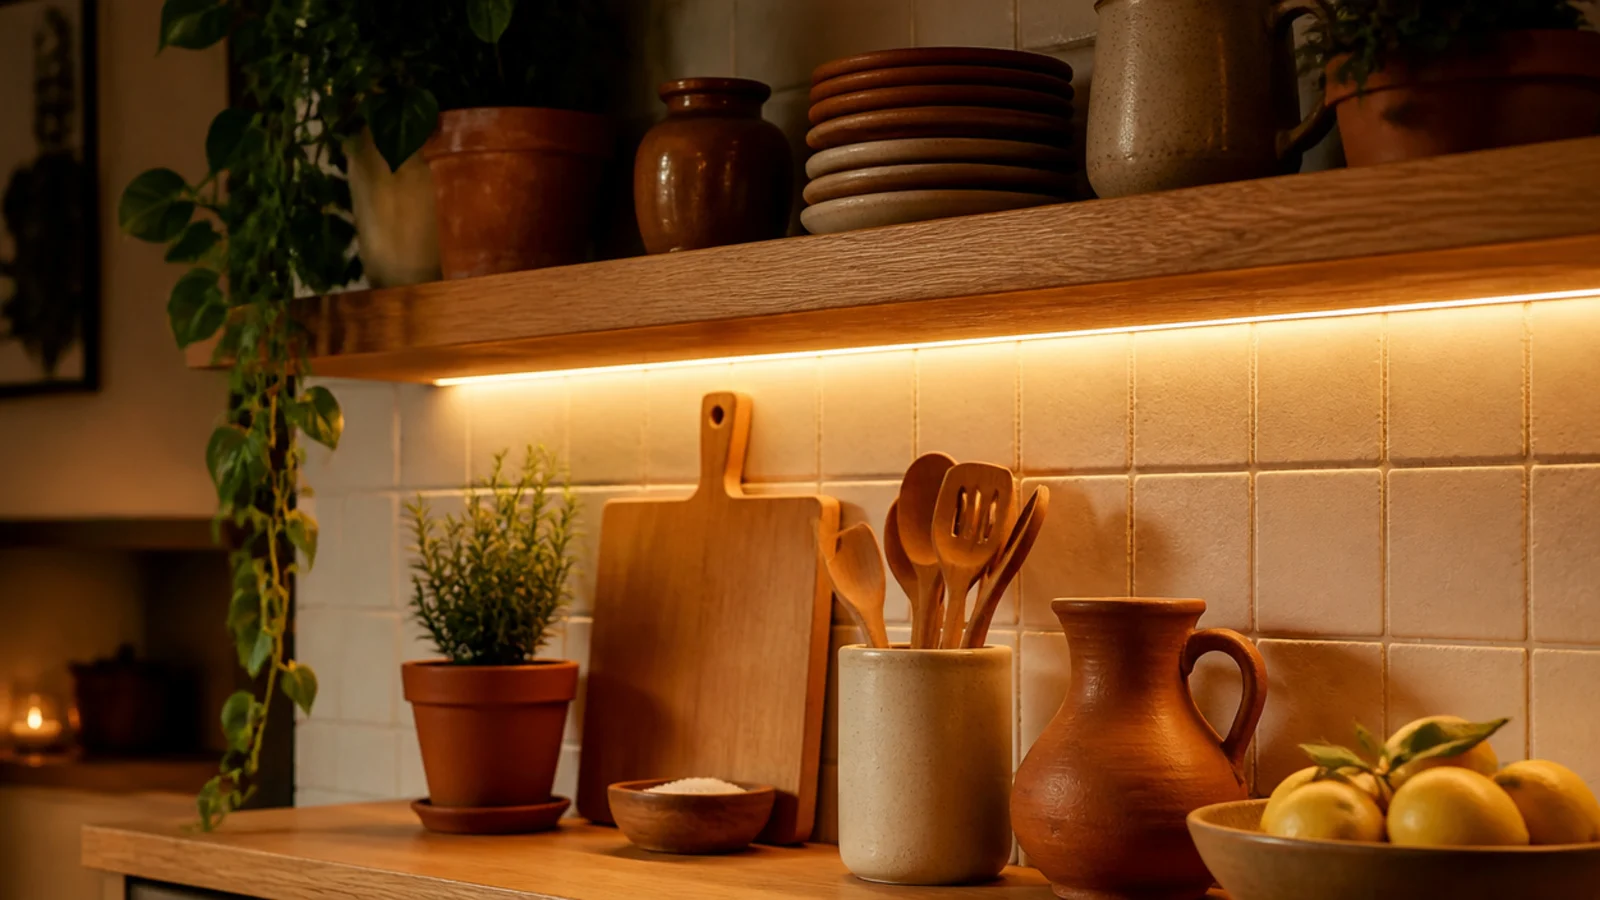
Makeover 10: The galley that read grey
Before: warm oak shelves and terracotta pots lit by a 4000K under-cabinet strip, reading flat and cold at night.
After: the same fittings swapped for 2700K, in a channel with a diffuser.
The owner had been planning to replace the pottery. The pottery was fine — the light was wrong. Around $22 and twenty minutes, and it is the best value change in the whole list.
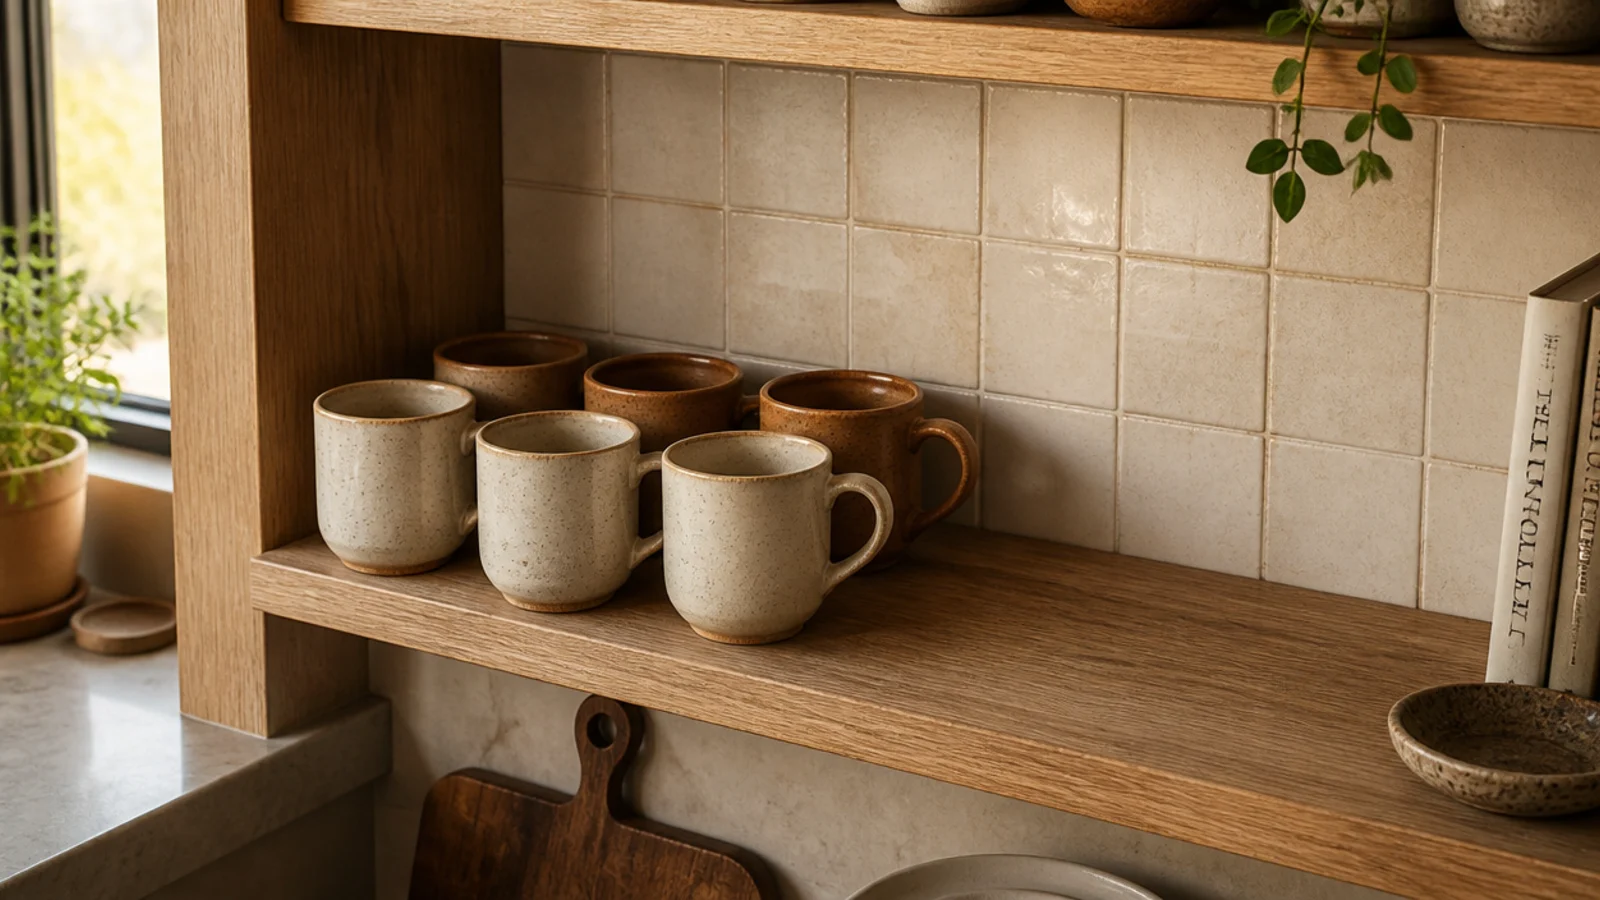
Makeover 11: The mug collection
Before: nineteen mugs across two shelves, in eleven different glazes, most of them chipped or inherited.
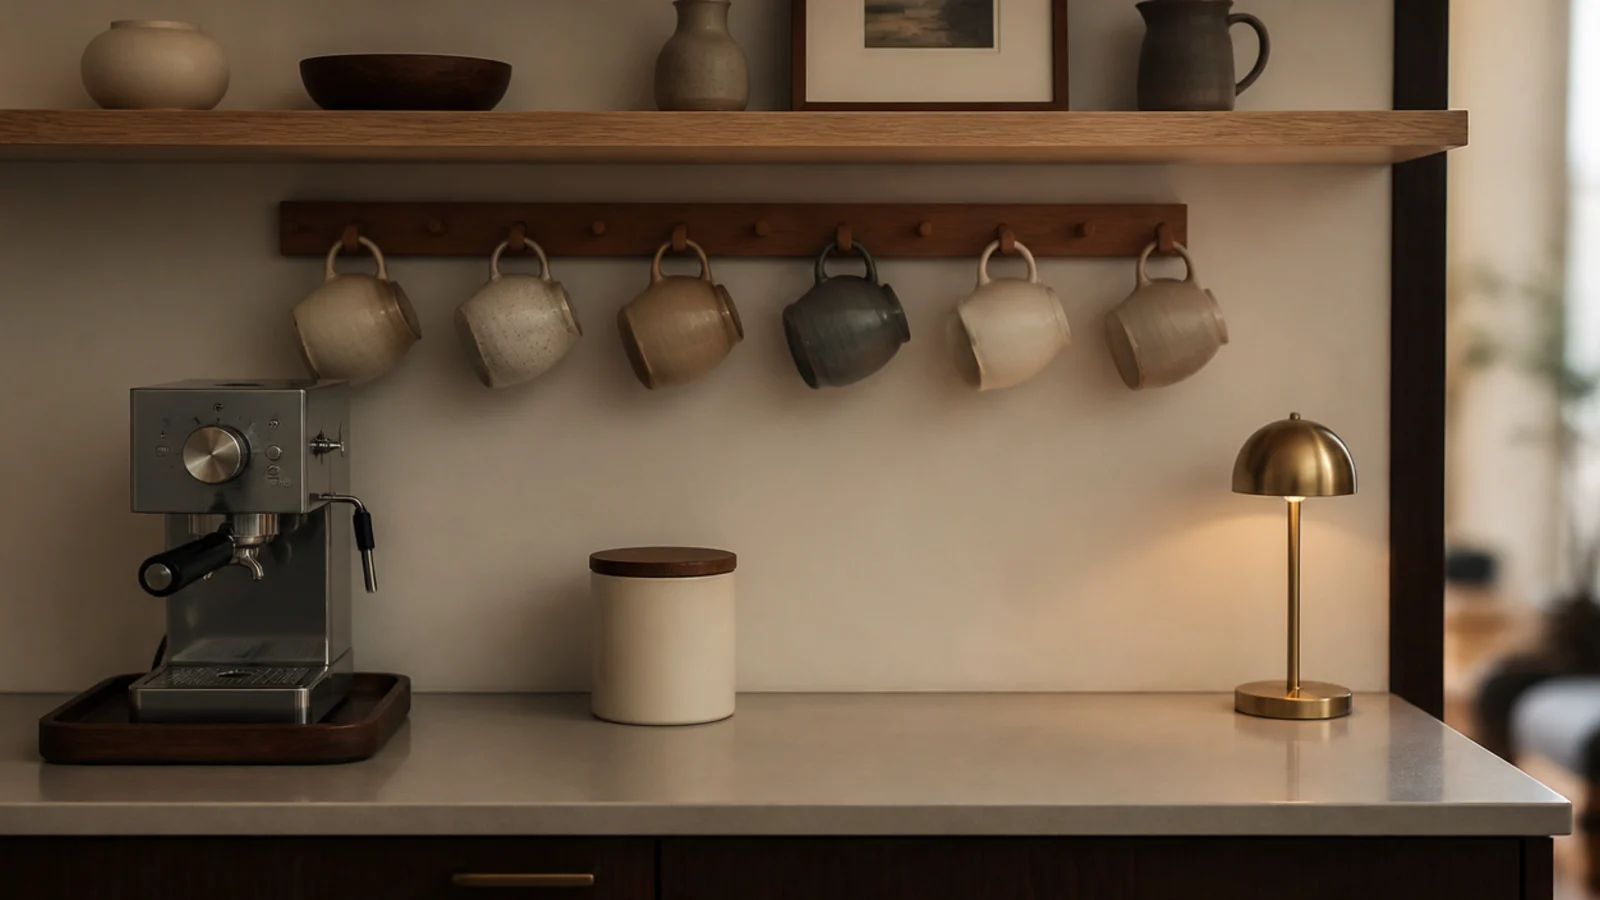
After: six stoneware mugs in two glazes, grouped in a block, with the rest donated.
We kept every mug that was genuinely used and let the rest go. A shelf of matching mugs you actually drink from beats a shelf of mismatched ones you resent washing. Cost: nothing.
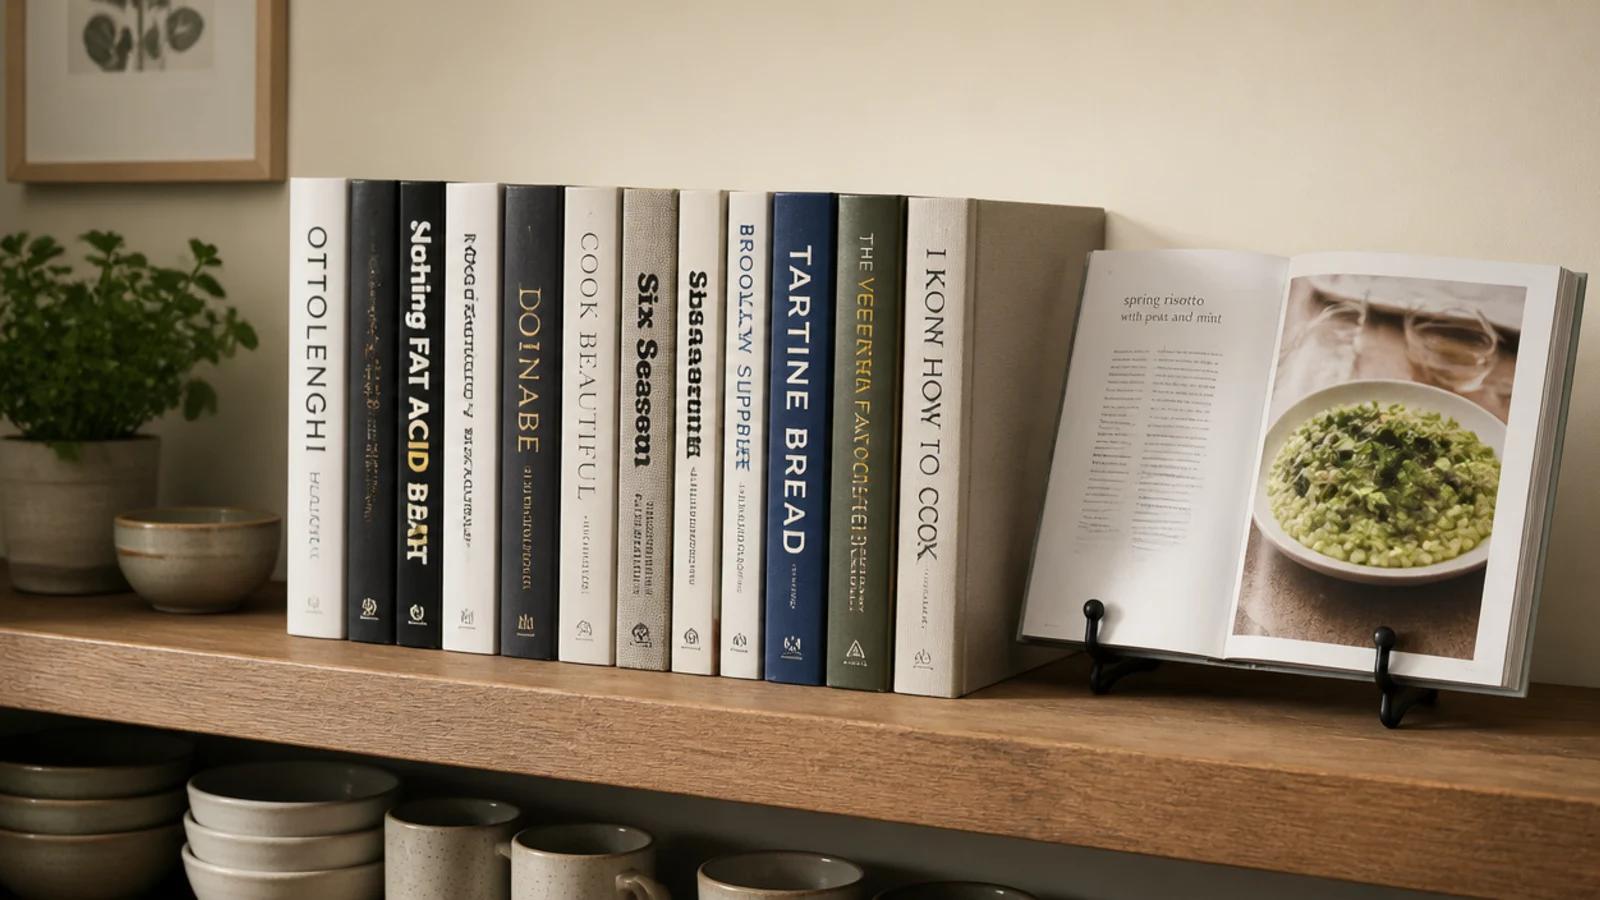
Makeover 12: The cookbooks that yellowed
Before: a row of cookbooks on the shelf directly beside the stove, page edges already going yellow and tacky.
After: the books moved to the far end of the run, with one book at a time on a small stand while cooking.
Paper absorbs an airborne grease film permanently and cannot be cleaned. Moving them cost nothing, and it is the single most preventable damage I see in kitchens.
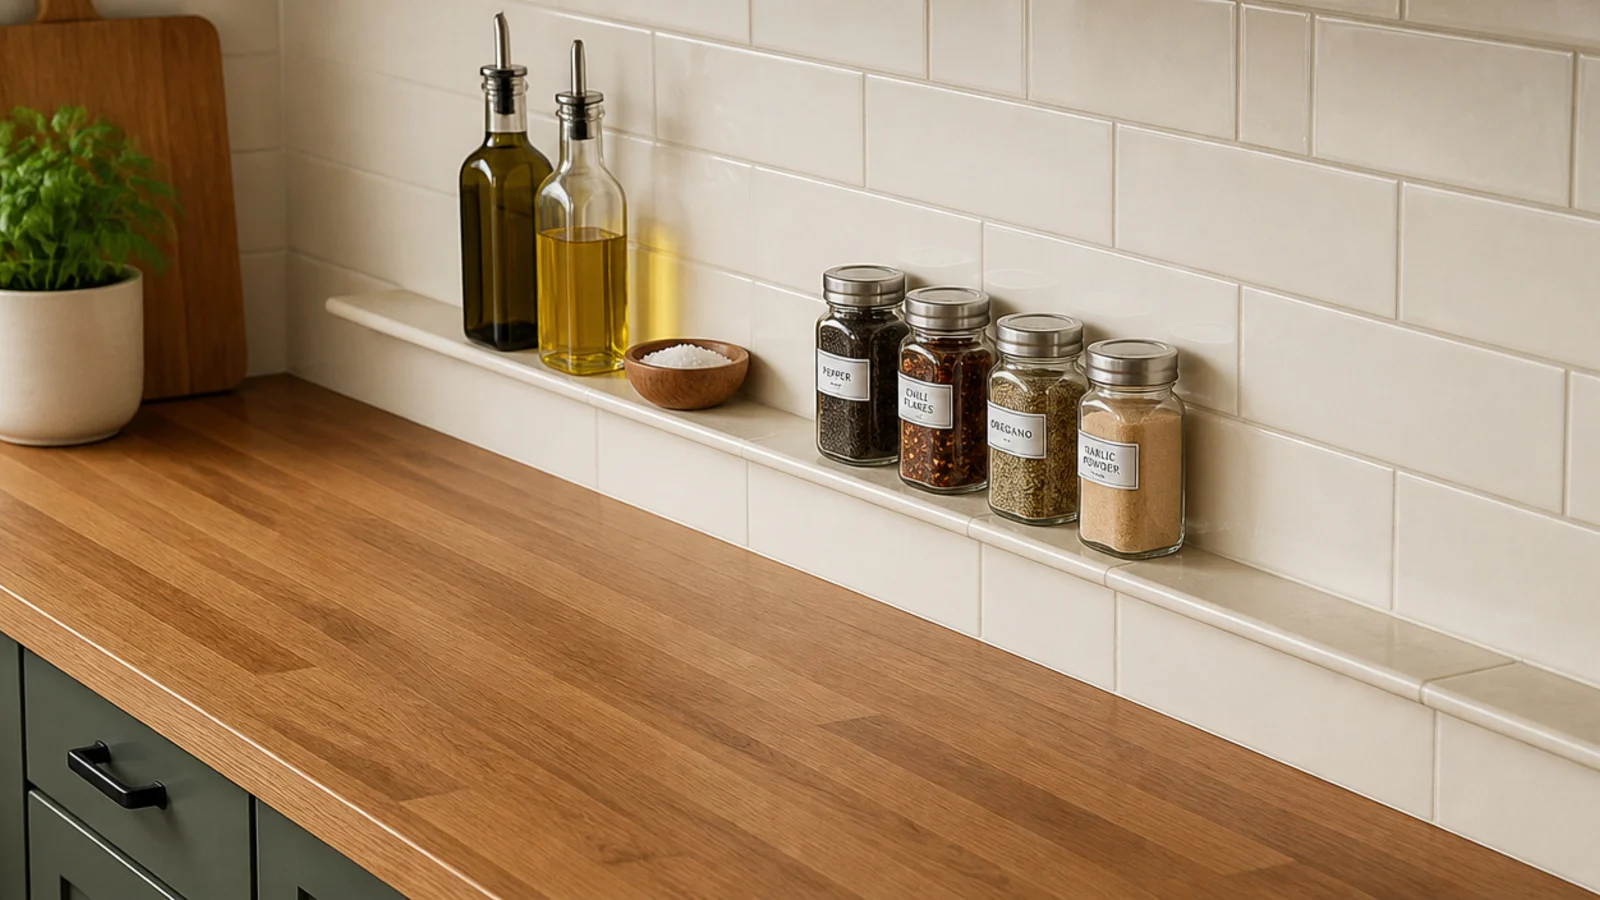
Makeover 13: The counter that vanished under jars
Before: oils, salt, a pepper mill and eight spice jars living permanently on the counter, leaving about 14 inches of usable prep space.
After: a 3-inch ledge along the backsplash holding all of it, and a clear counter beneath.
Three inches is deliberate — deep enough for bottles, shallow enough that you can still work and wipe behind them. Materials came to $34, and it gave back two feet of counter.
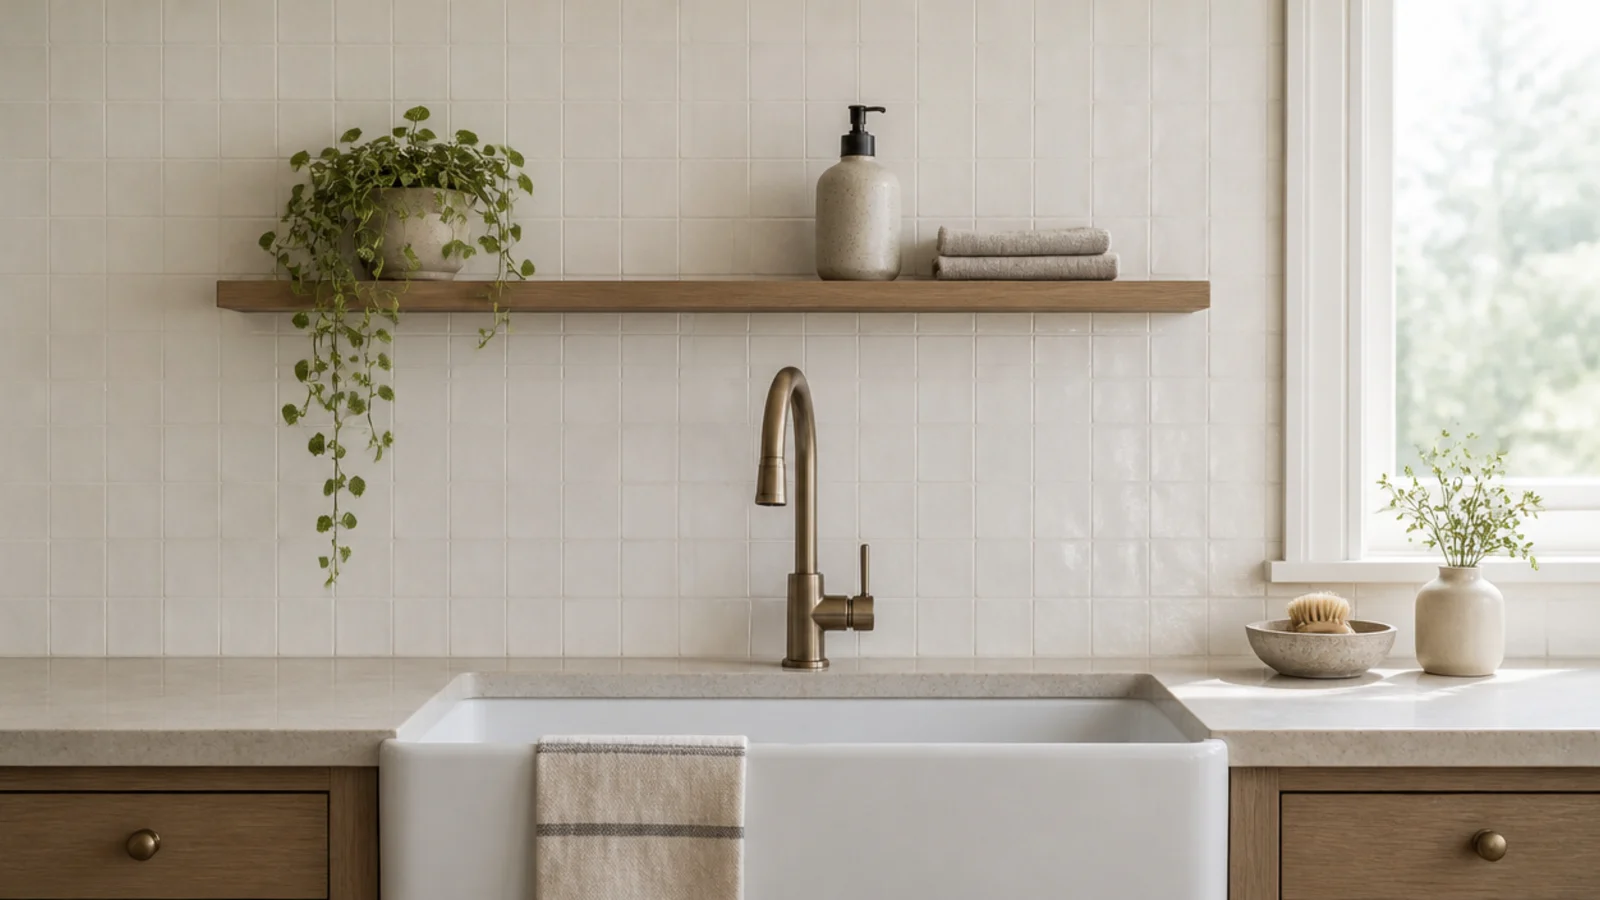
Makeover 14: The shelf above the sink
Before: a shelf over the sink holding a paper recipe folder, a tin of tea and a wooden box, all of them getting splashed daily.
After: a trailing plant, a stoneware soap bottle and a folded linen cloth.
Above a sink is the one kitchen shelf that gets splashed rather than greased. Nothing paper, nothing that hates water, nothing you have to move to fill a stockpot. Free.
Makeover 15: The brackets you saw first
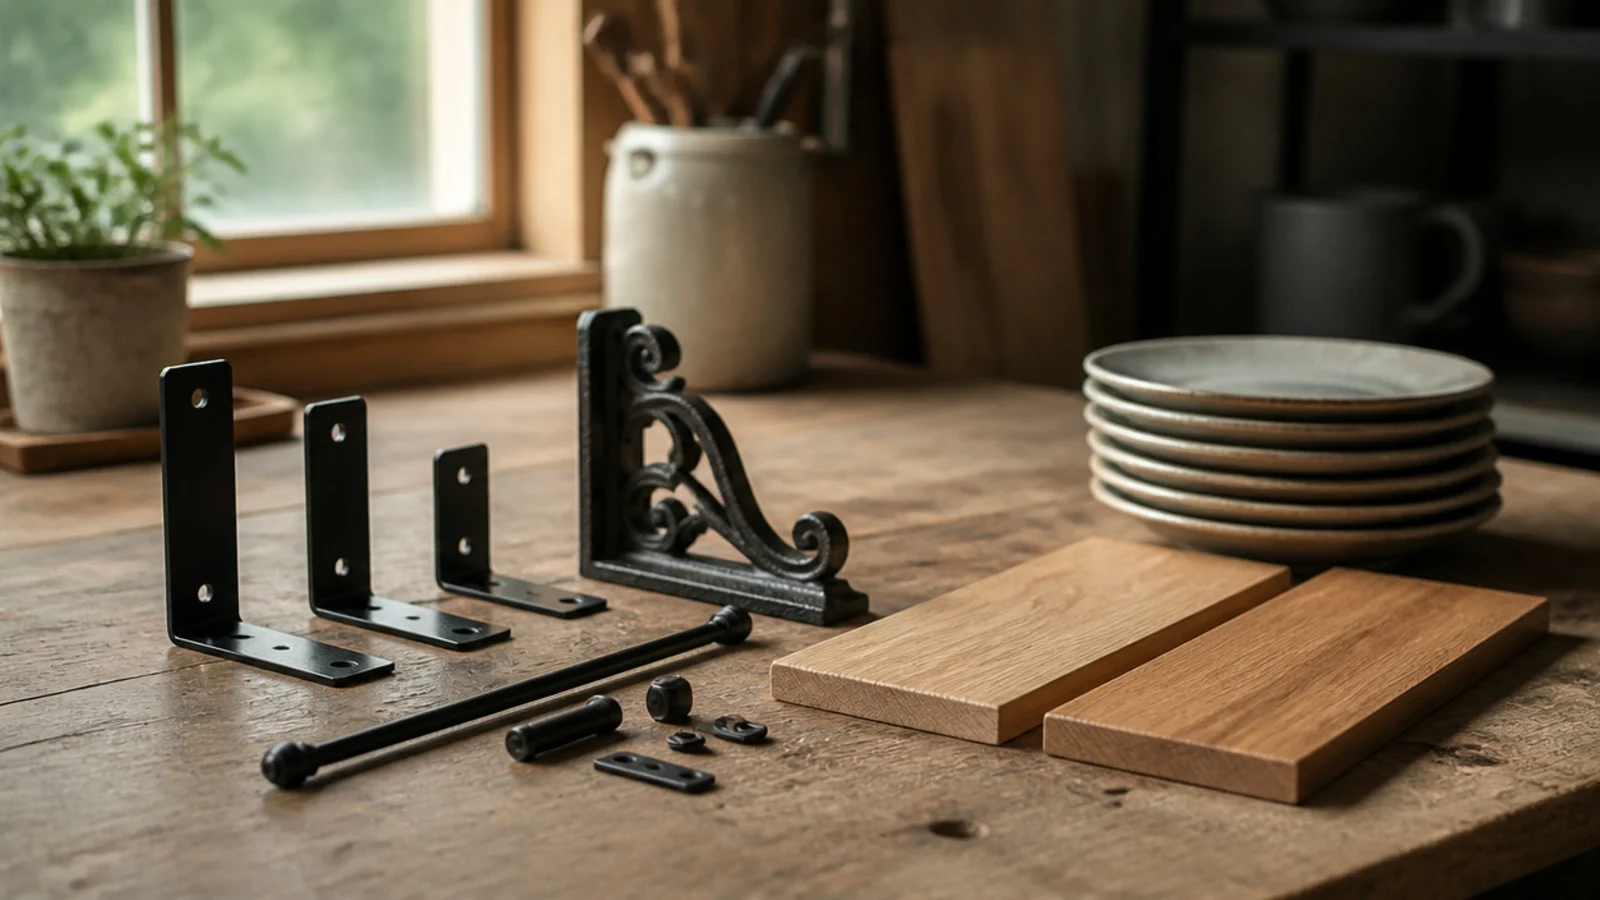
Before: warm oak shelves on bright galvanised brackets, where your eye went straight to the hardware every time.
After: two coats of wall-colored sample paint on the bracket plates.
Ten minutes and about $4. A painted bracket genuinely disappears from every normal viewing angle, and it is the cheapest upgrade I know of in a kitchen or anywhere else.
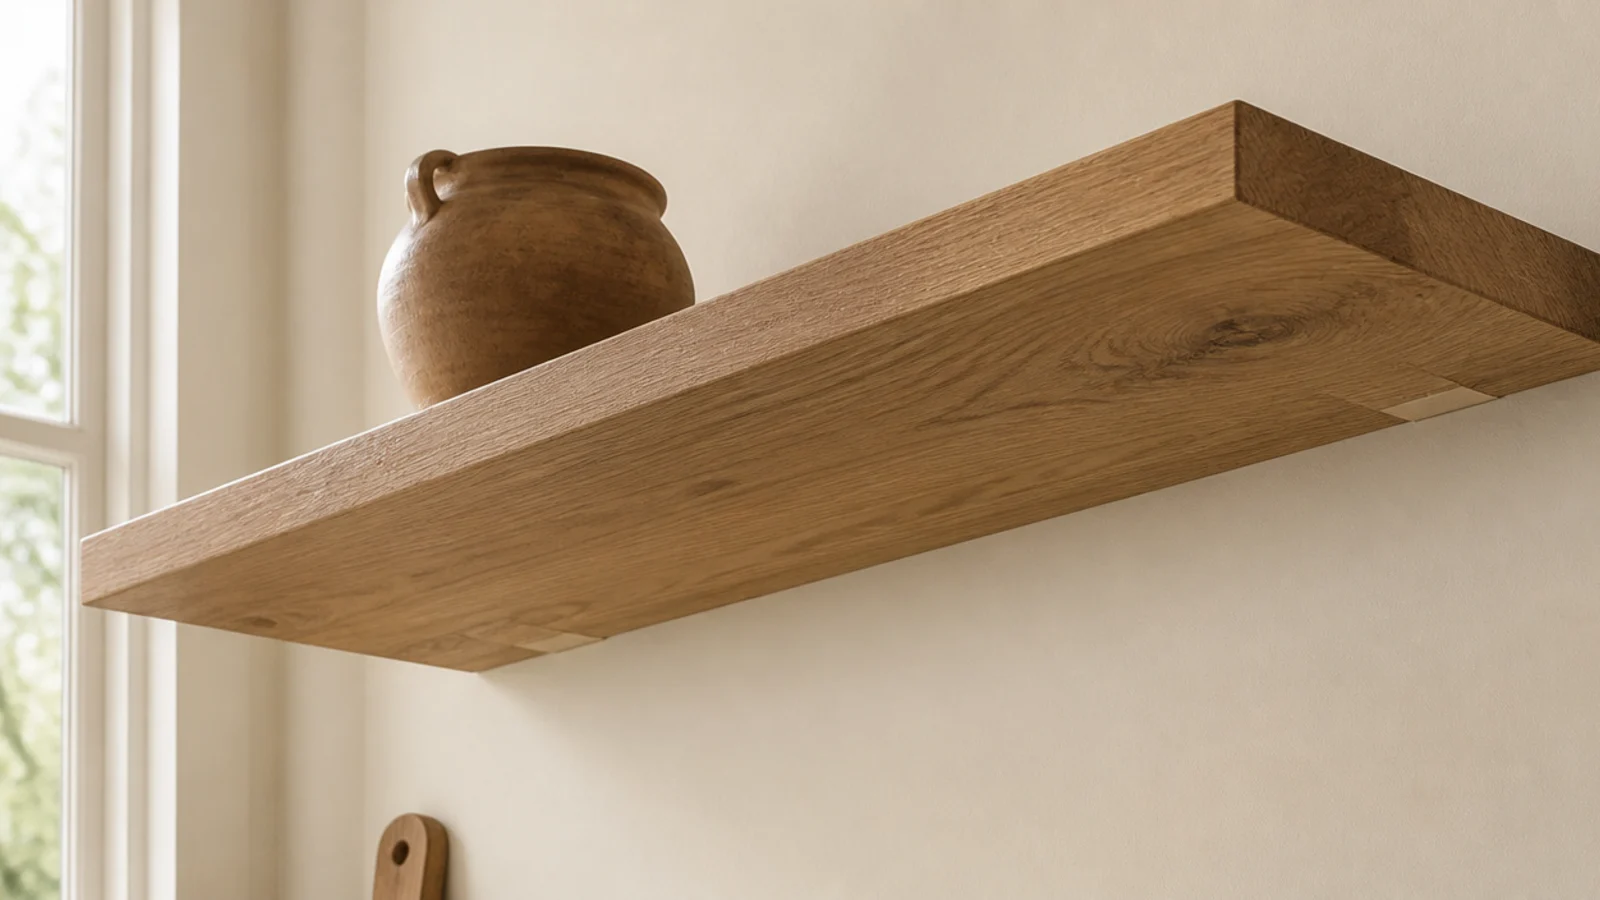
Makeover 16: The shelf run that stopped short
Before: a 3-foot shelf floating in the middle of an 8-foot wall, with the ends of the board hanging in space.
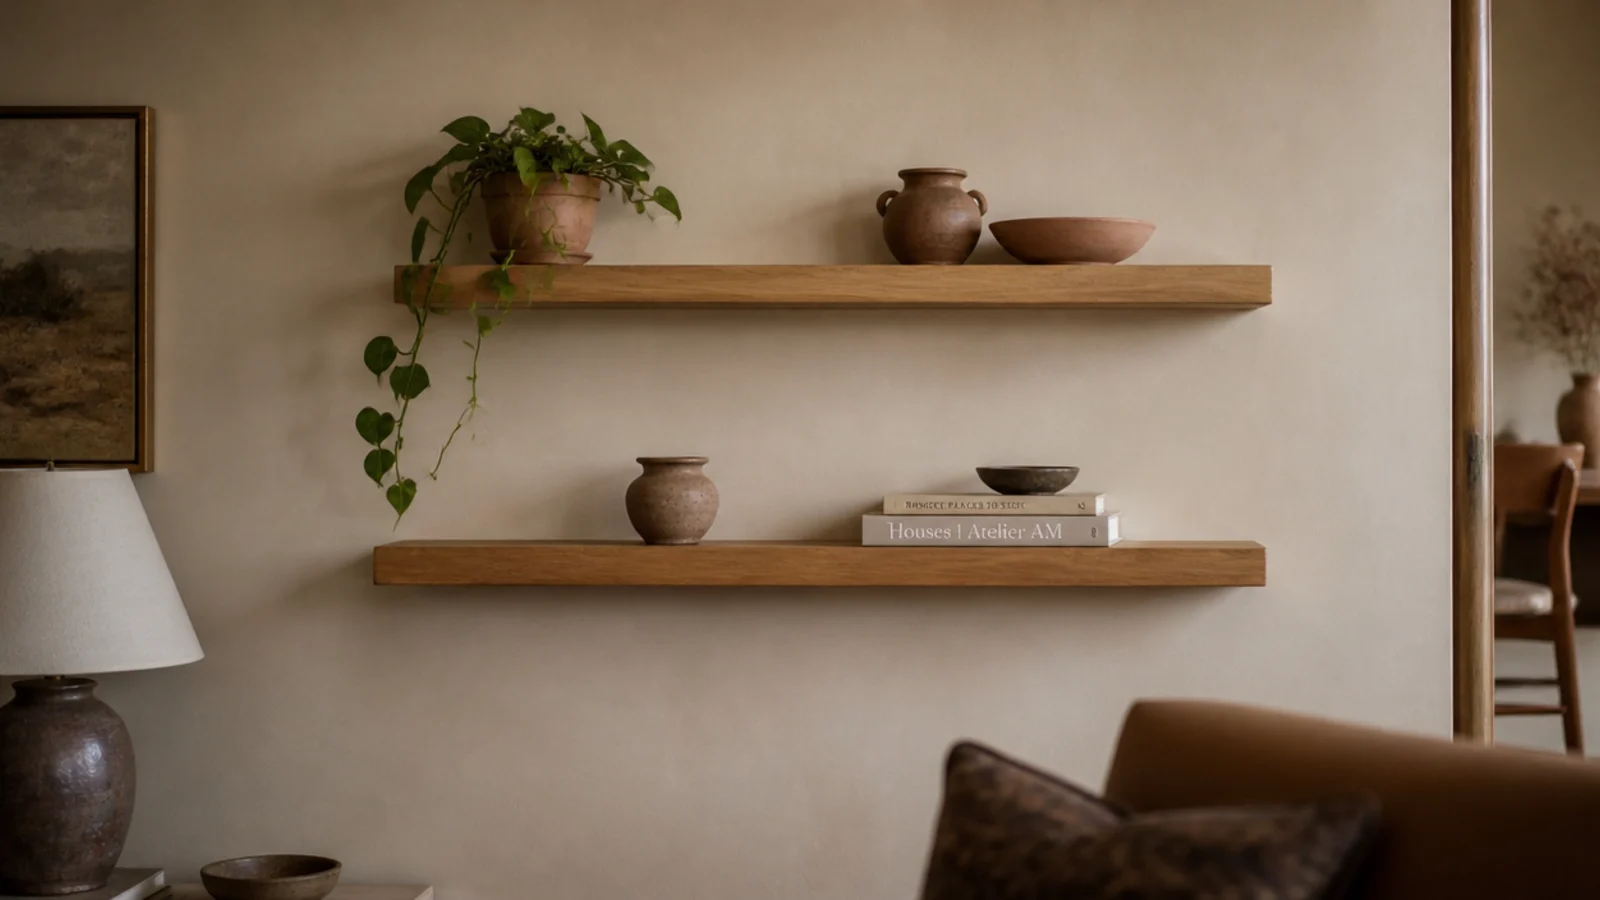
After: one continuous board running the full width, on four brackets landing in studs at 16-inch centers.
An unbroken horizontal line makes a narrow kitchen read wider, and the extra board cost $26. This is the change people notice without being able to say what happened.
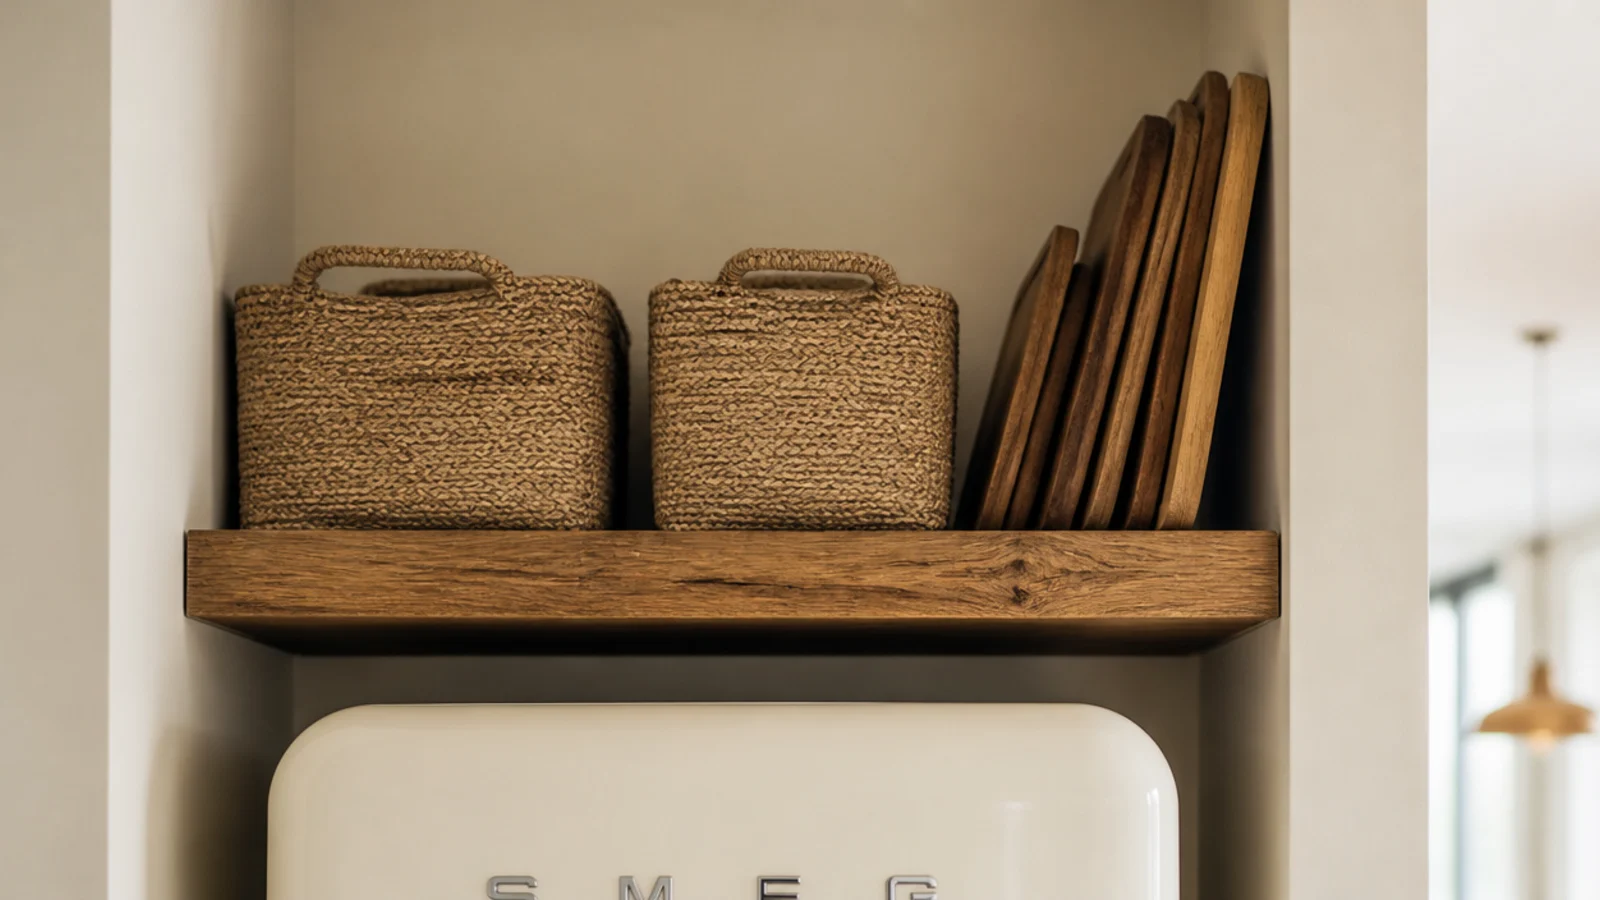
Makeover 17: The gap above the fridge
Before: 16 inches of open wall above the refrigerator holding nothing but dust and a cereal box on its side.
After: one sturdy shelf into studs, holding two baskets and a stack of trays on edge.
Leave 2 inches of clearance above the fridge for heat exchange, and use baskets rather than loose items, since you will be reaching blind. Around $40 including brackets.
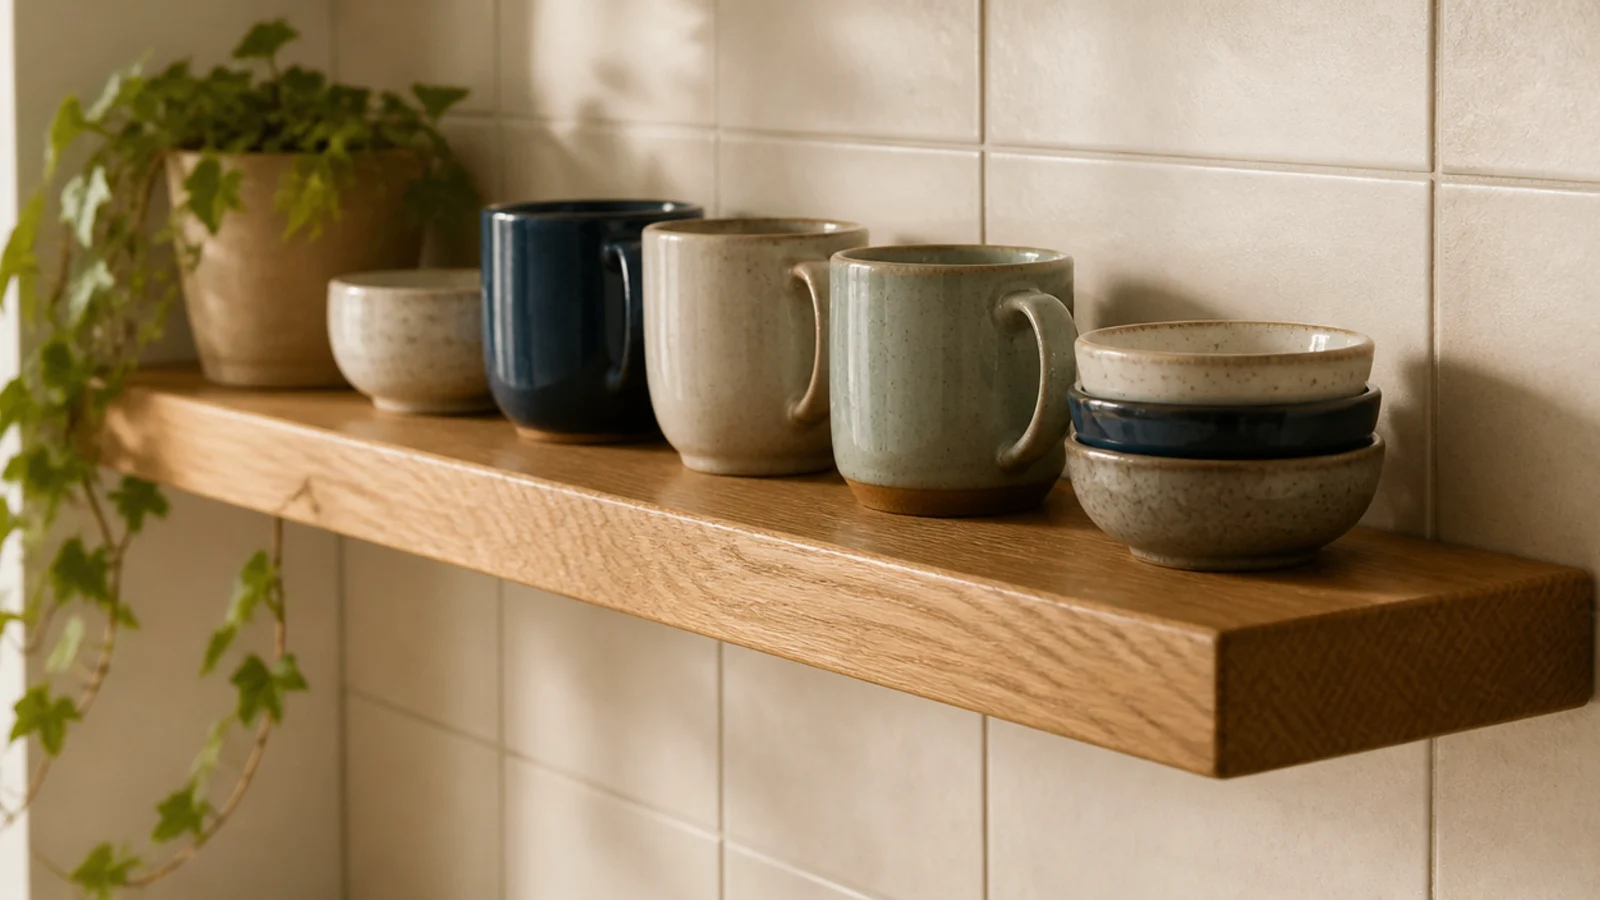
Makeover 18: The wire rack that came out
Before: a coated wire shelf that left ridge marks on the base of every mug and collected grease in the joints.
After: a solid oak board on the same brackets, sealed on all six faces.
Wire racks are fine in a pantry and poor in a working kitchen — there is nowhere for grease to go and nothing wipes properly. The board cost $22 and takes ten seconds to clean.
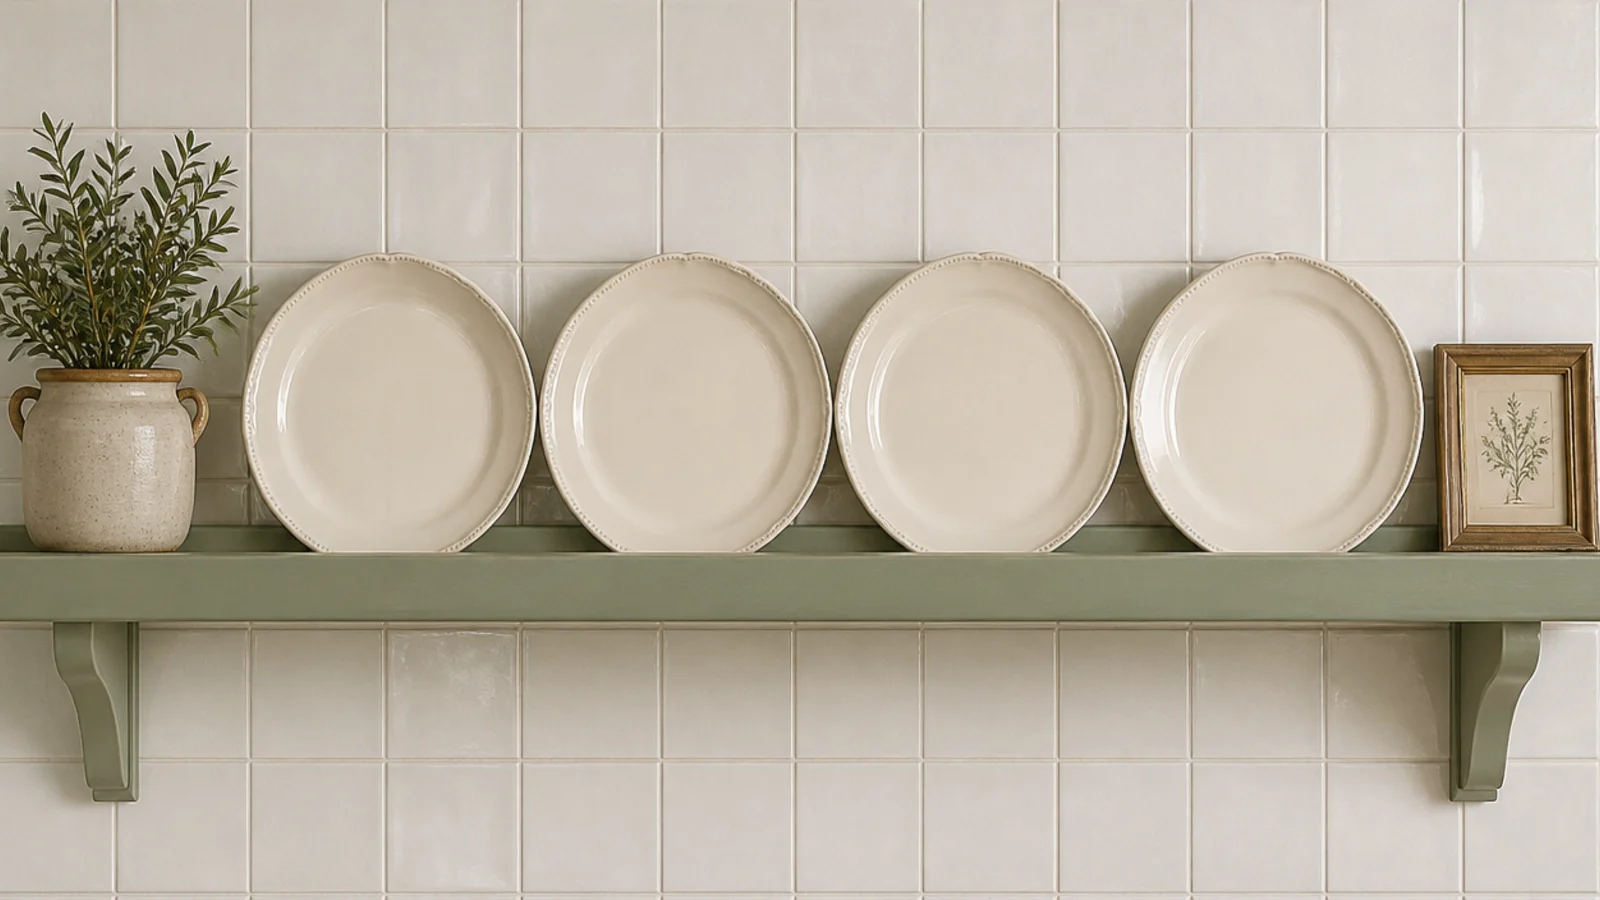
Makeover 19: The plates that slid forward
Before: serving plates leaning against the tile on a smooth shelf, creeping forward slightly every time a drawer slammed.
After: a groove routed a quarter inch deep, an inch back from the rear edge.
Plates on edge take about a third of the depth a flat stack needs, which is why this is worth doing properly rather than giving up on. Half an hour with a borrowed router.
Makeover 20: The wall of jars
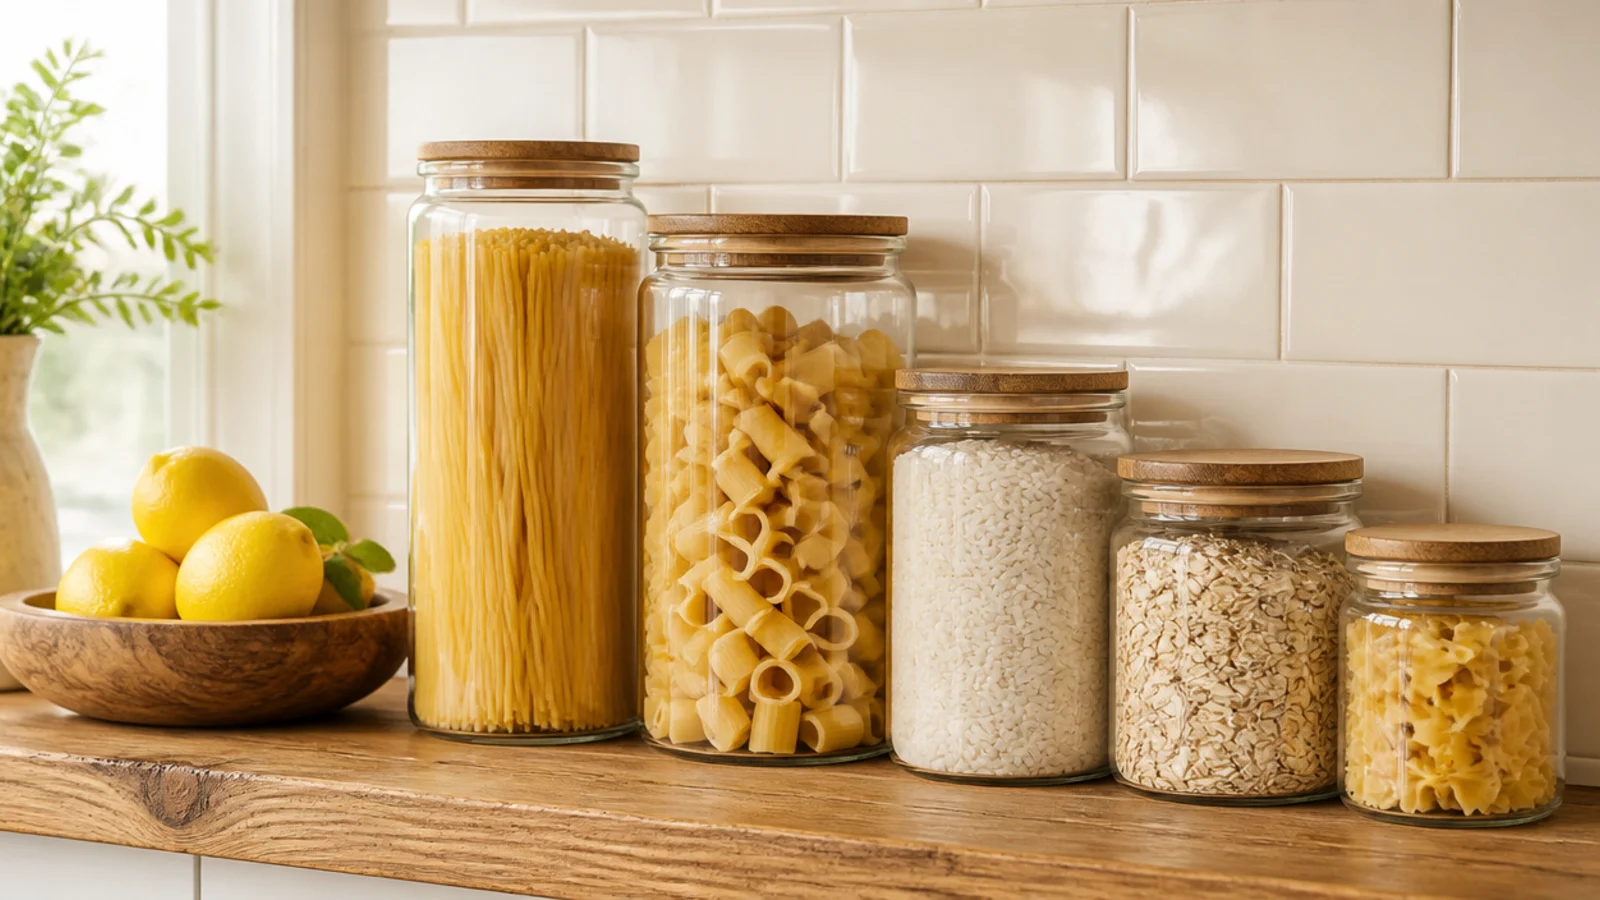
Before: fourteen matching jars in two rows, which had stopped reading as texture and started reading as a bulk store.
After: five jars grouped together, plus a shallow wooden bowl of lemons.
Nine jars went into the pantry, still useful, just not on display. Fruit is the cheapest color in a kitchen and it changes on its own schedule. The full method is in kitchen shelf styling.
Kitchen Shelves Before and After: What I'd Do Differently Now
Looking at twenty makeovers in a row, the pattern is uncomfortable: nearly everything that worked was subtraction.
Eight of these cost nothing at all. The changes that cost money were mostly physical fixes — the finish, the board thickness, the mounting height — where styling could never have helped. Everything else was removing objects, moving them away from the stove, or changing a bulb.
If I could give myself one instruction at the start, it would be to decide the rule before decorating the shelf. Mine is that everything on there gets used weekly, so it cycles through the sink and stays clean without a special cleaning job. That rule does more for a kitchen shelf than any object I have ever put on one.
The other thing I would change is the order. I used to style first and fix the structure later, which meant doing it twice. Now I check the finish, the fixings and the light before a single plate goes up.
Frequently asked questions
What is the cheapest kitchen shelf makeover that actually works?
Taking a third of the objects off and changing the bulb to 2700K. Together those cost about $9 and they changed more kitchens for me than anything I bought. The second cheapest is painting the brackets the wall color, which takes ten minutes of sample paint and makes a $40 shelf stop announcing its hardware.
How long does a kitchen shelf makeover take?
A styling-only reset takes 30 to 45 minutes, including the part where you take everything off and start from an empty board. Re-finishing a shelf is an afternoon plus overnight drying between coats. Swapping brackets or re-cutting a board to a shallower depth is one evening and one morning.
Should I restyle my kitchen shelves or replace them?
Restyle first. Most of the kitchens here needed nothing bought at all — the problem was quantity, grease placement or light. Replace only when the board bows under load, the depth catches you as you walk past, or the finish has let grease into the grain. Those three are physical faults that styling cannot touch.
What is the most common problem with open kitchen shelves?
Things that never get used, sitting within about 4 feet of a stove. Nothing there gets washed, so it quietly collects an airborne grease film in full view. The second most common is the finish: clear wax or bare timber lets grease into the grain, where no amount of scrubbing will bring it back.
Do I have to take everything off to restyle a kitchen shelf?
Yes, and it is the step people most want to skip. Nudging an existing arrangement just relocates the problem. Ten minutes rebuilding from an empty board beats an hour of adjusting, because you stop defending decisions you already made and start choosing what genuinely earns the space.
How do I stop a made-over kitchen shelf from getting cluttered again?
Give the shelf a rule and keep it. Mine is that everything on there gets used weekly, which means it cycles through the sink and stays clean without a special cleaning job. Anything that fails the test goes into the cupboard above the fridge, and the shelf simply stops re-collecting.
Try the free version first: take everything off the shelf you look at most, put back only what you used this week, and change the bulb if the room reads grey. If it still looks wrong, the fault is structural and worth spending on. The kitchen shelf ideas guide covers placement, open shelving mistakes covers what I got wrong first, and coffee corner before and after has the drinks-station equivalent. Save the pin before you buy anything new.
Want more like this? Browse all 15 kitchen shelf ideas guides — they all use the same measurements and budget tiers.
Pin it for later
Save this to your Kitchen Shelf Ideas board
Pin it now so it is waiting for you when the tape measure comes out — and so the next person hunting for this idea can find it too.
Save this pinKeep going
More ideas worth saving while you have the tape measure out.