Floating Shelves · UGC
20 Floating Shelf Before and After Makeovers

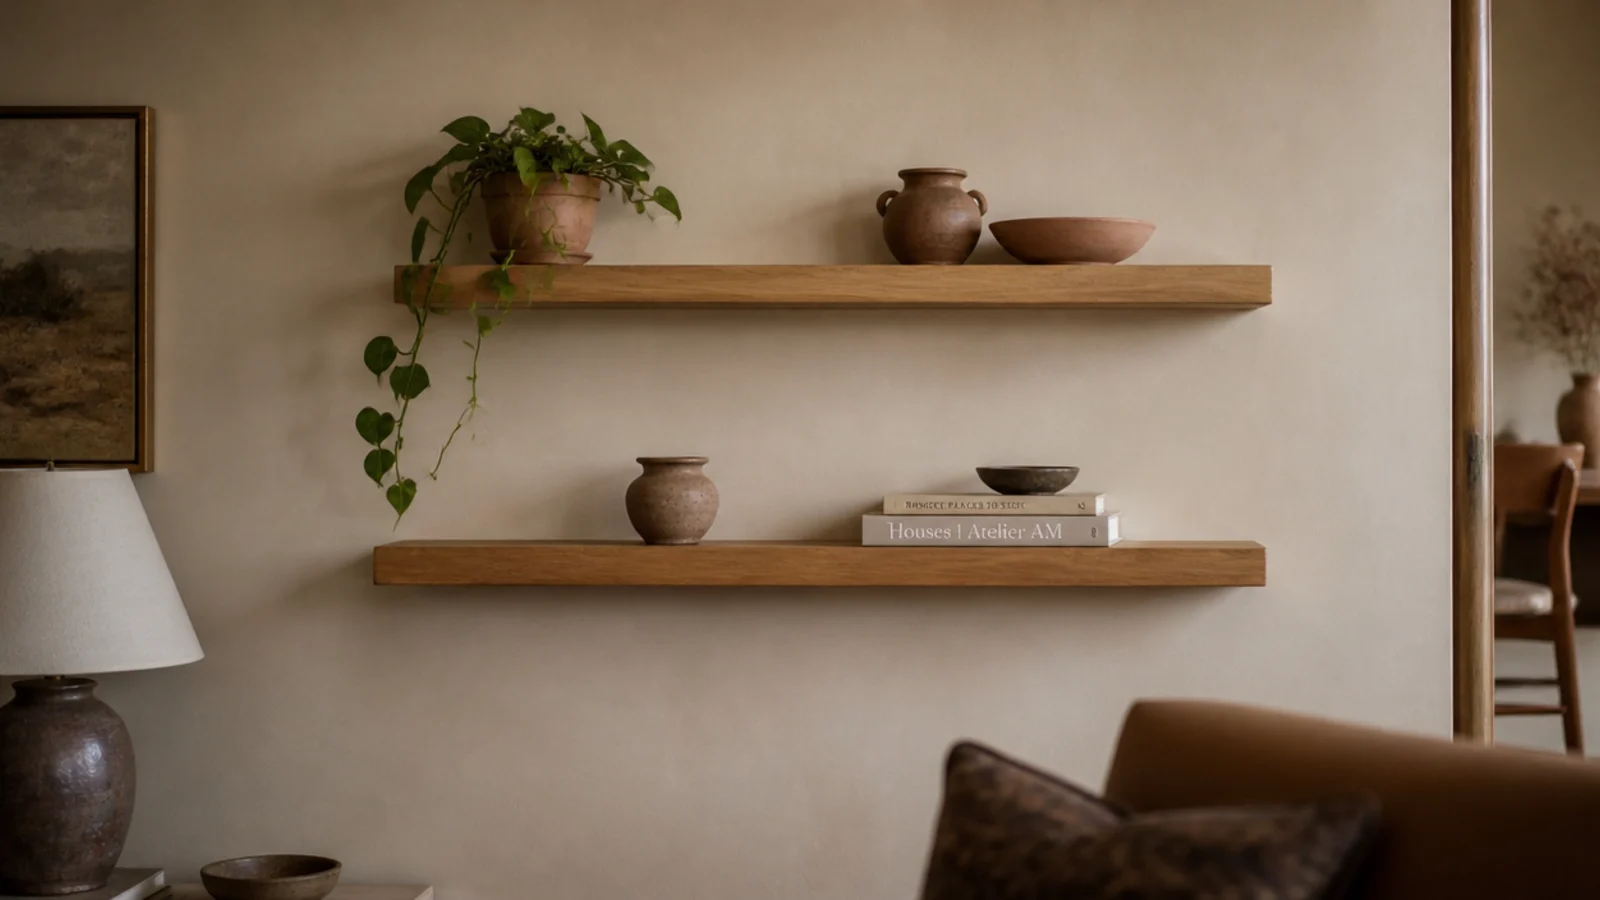
Floating shelves before and after is the most useful thing I can show anyone, because the changes that actually work are almost never the ones people expect to matter. I have restyled walls in five rentals and two houses of my own, and in a lot of other people's homes since.
Roughly two-thirds of the shelves I am asked to fix need nothing bought at all. The problem is quantity, height and light, not quality. The other third have a physical fault — the wrong anchor, a board too thin for its span, a depth that catches you when you walk past — and no amount of styling touches those.
What follows is twenty real makeovers: what the wall looked like before, what I changed, and what it cost. Eight of them cost nothing. The most expensive was $118. And the change that appears most often across all twenty is simply taking things off.
In this guide21 sections — tap to openHide
- 1.Makeover 1: The bare wall above the sofa
- 2.Makeover 2: The shelf that dipped in the middle
- 3.Makeover 3: The rental wall that allowed no holes
- 4.Makeover 4: The TV wall with cables everywhere
- 5.Makeover 5: The kitchen wall where a cabinet came off
- 6.Makeover 6: The bedroom with two bulky nightstands
- 7.Makeover 7: The hallway that felt like a tunnel
- 8.Makeover 8: The bathroom shelf that swelled
- 9.Makeover 9: The desk with no surface left
- 10.Makeover 10: The shelf mounted far too high
- 11.Makeover 11: The orange pine boards
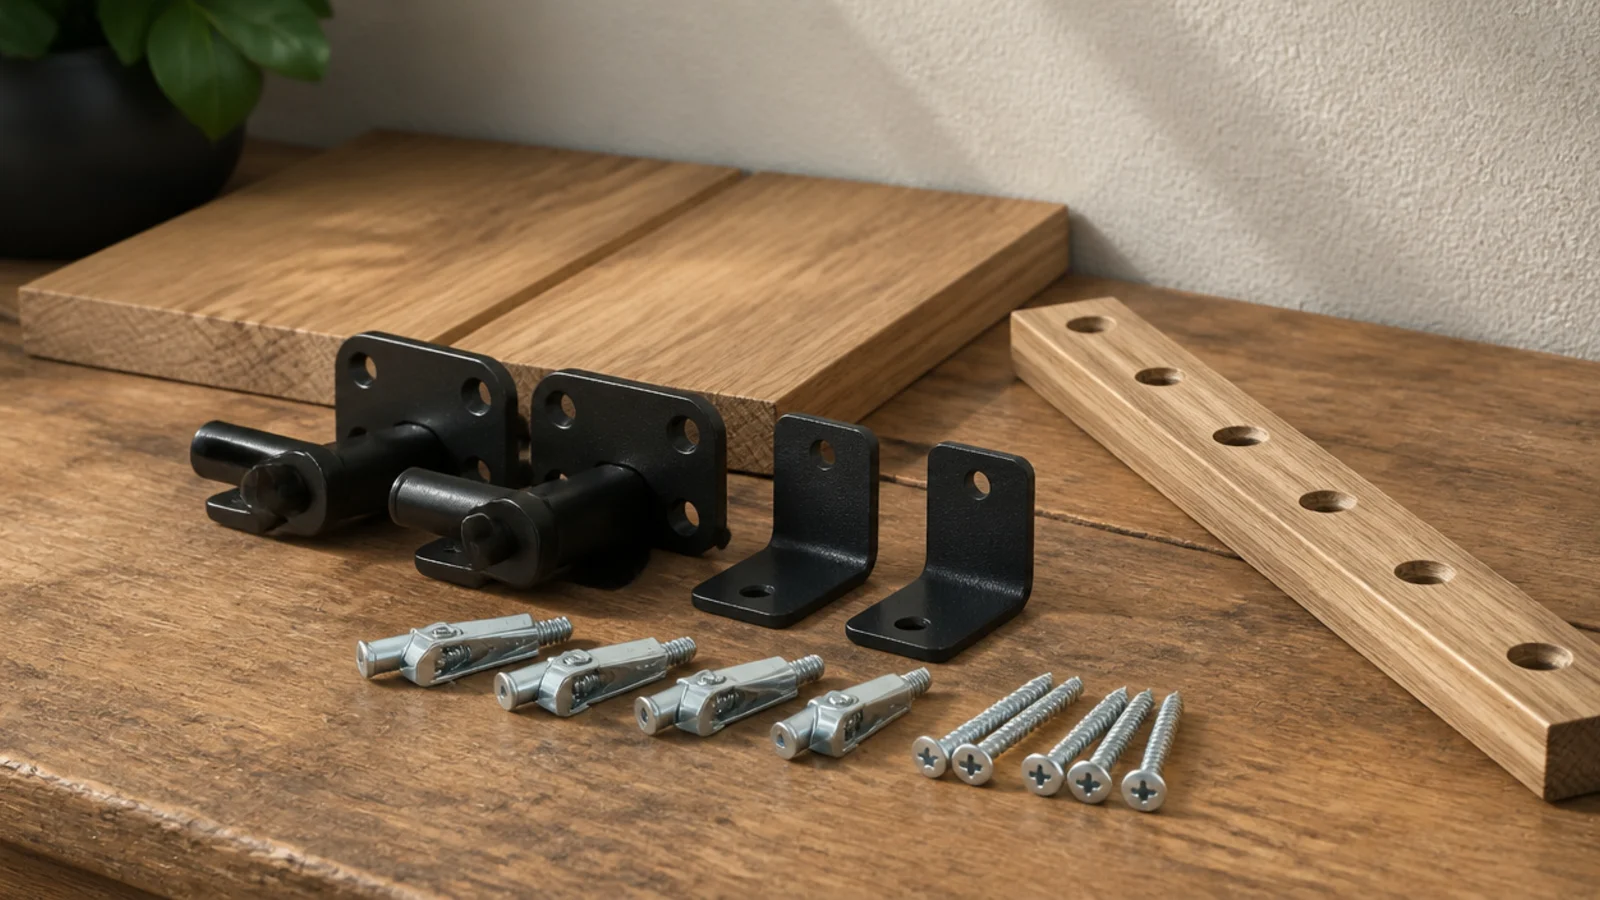
- 12.Makeover 12: The brackets you saw first
- 13.Makeover 13: The dead wall above the toilet
- 14.Makeover 14: The shelf nobody could see
- 15.Makeover 15: The blank stairwell wall
- 16.Makeover 16: The shelf that would not stop tilting
- 17.Makeover 17: The black plastic nursery pots
- 18.Makeover 18: The laundry nook nobody had touched
- 19.Makeover 19: The shelf where everything matched
- 20.Makeover 20: Five short shelves became one long one
- 21.Floating Shelves Before and After: What I'd Do Differently Now
Makeover 1: The bare wall above the sofa
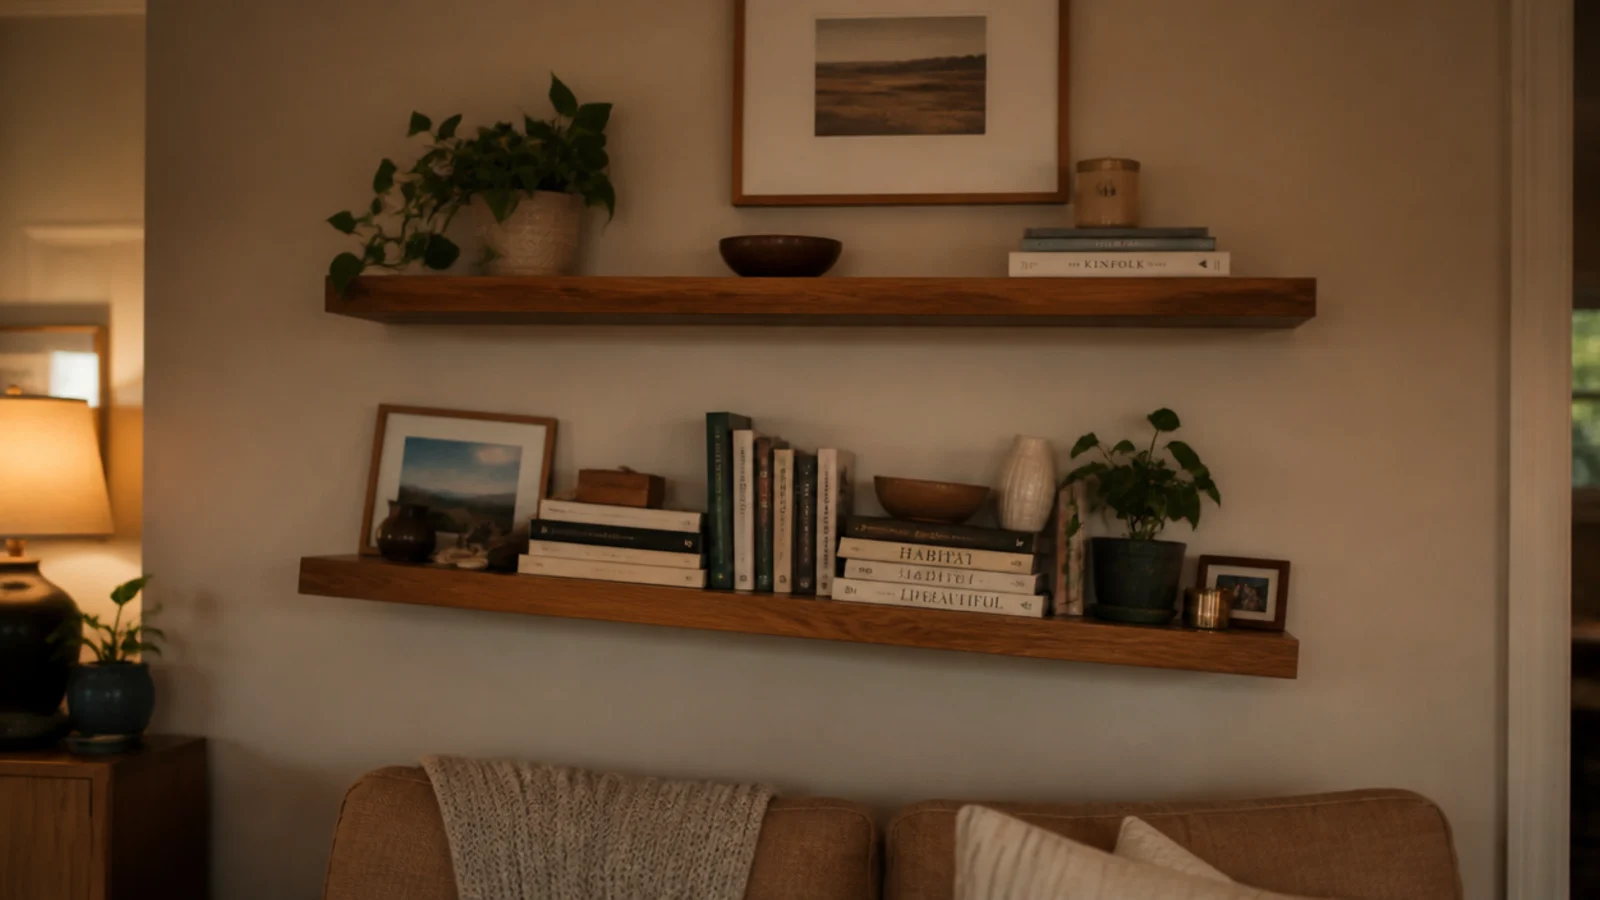
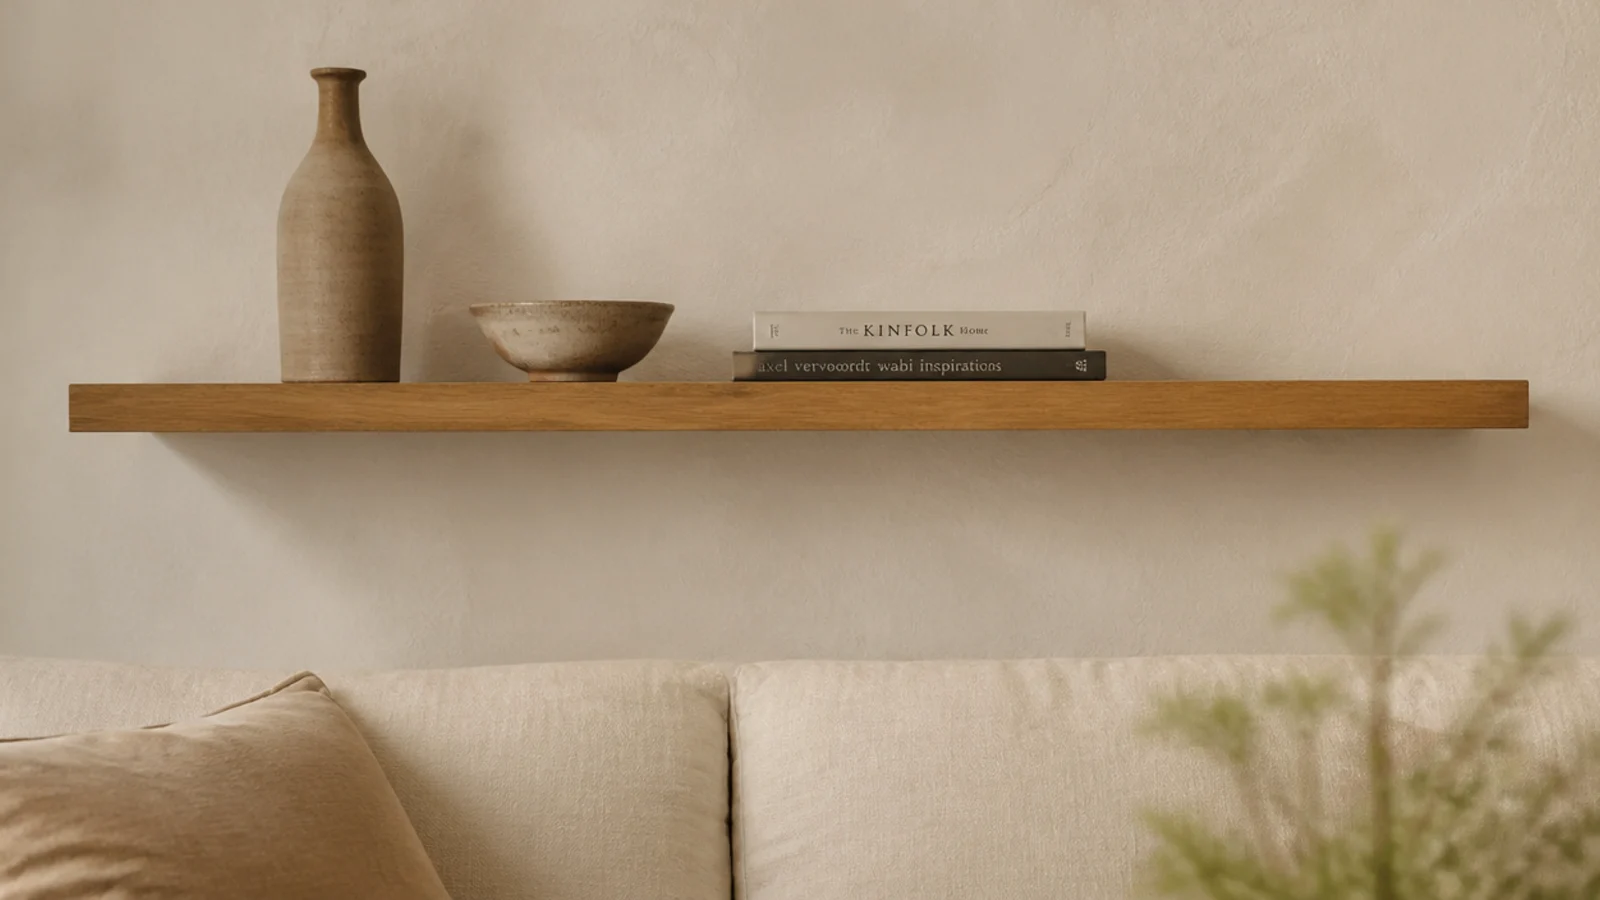
Before: a large blank wall behind a sofa that every visitor's eye slid straight past, with a phone charger trailing across the floor beneath it.
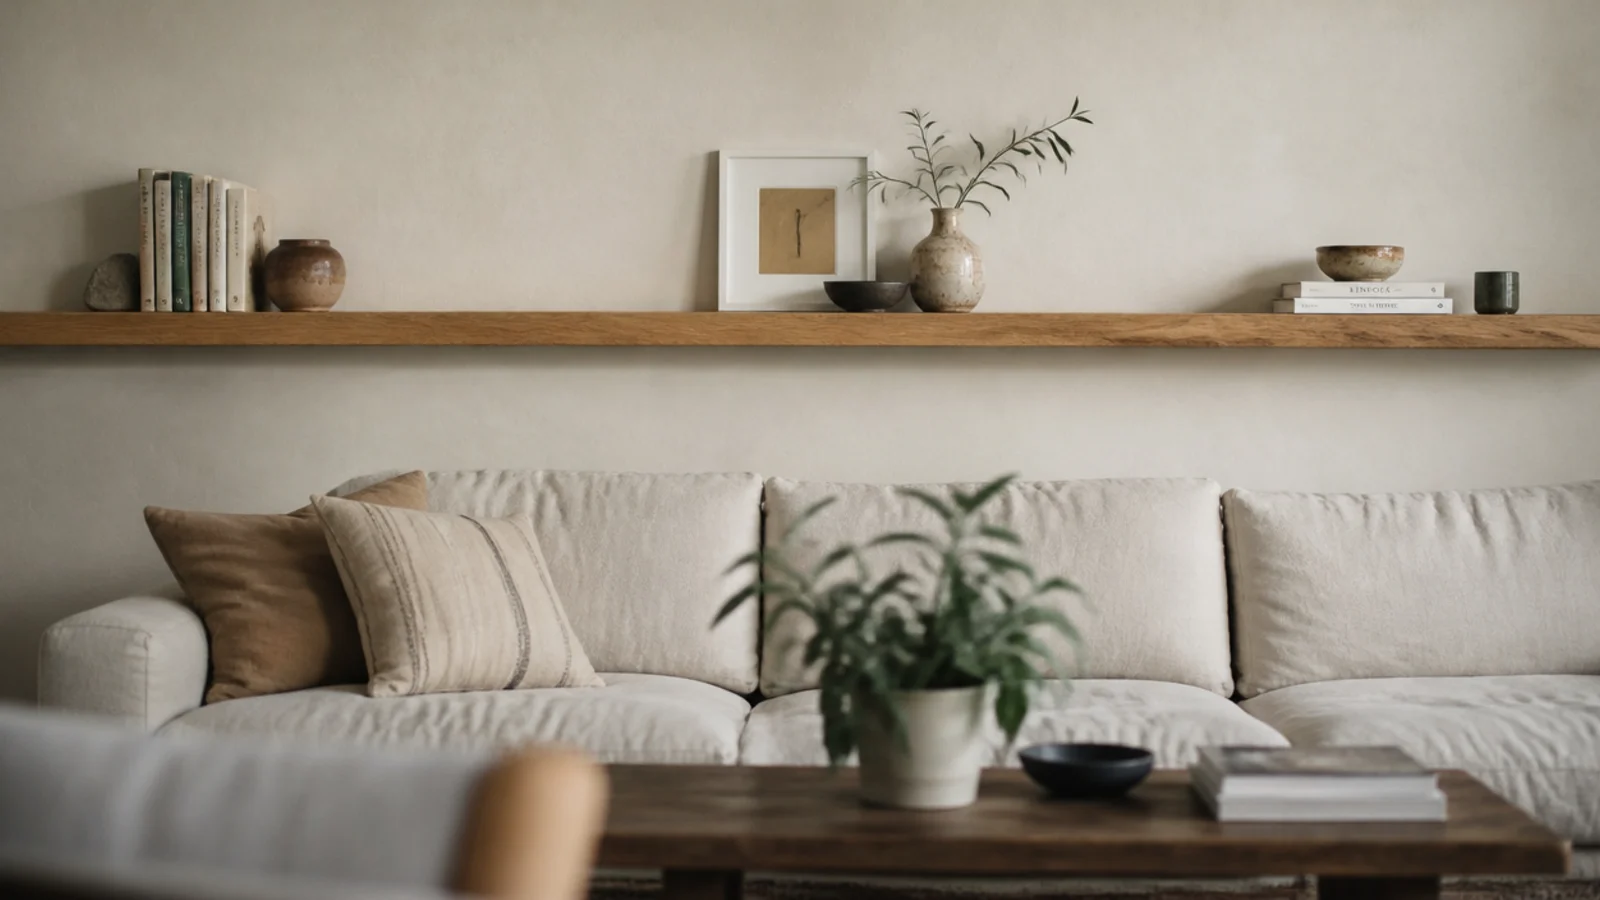
After: one 48-inch oak board mounted 12 inches above the sofa back, holding three objects in a single tight cluster.
One shelf, not three. The wall was already tall and a stack would have loomed over the seat. Restraint was the whole design decision here, and it cost $41 including brackets.
Makeover 2: The shelf that dipped in the middle
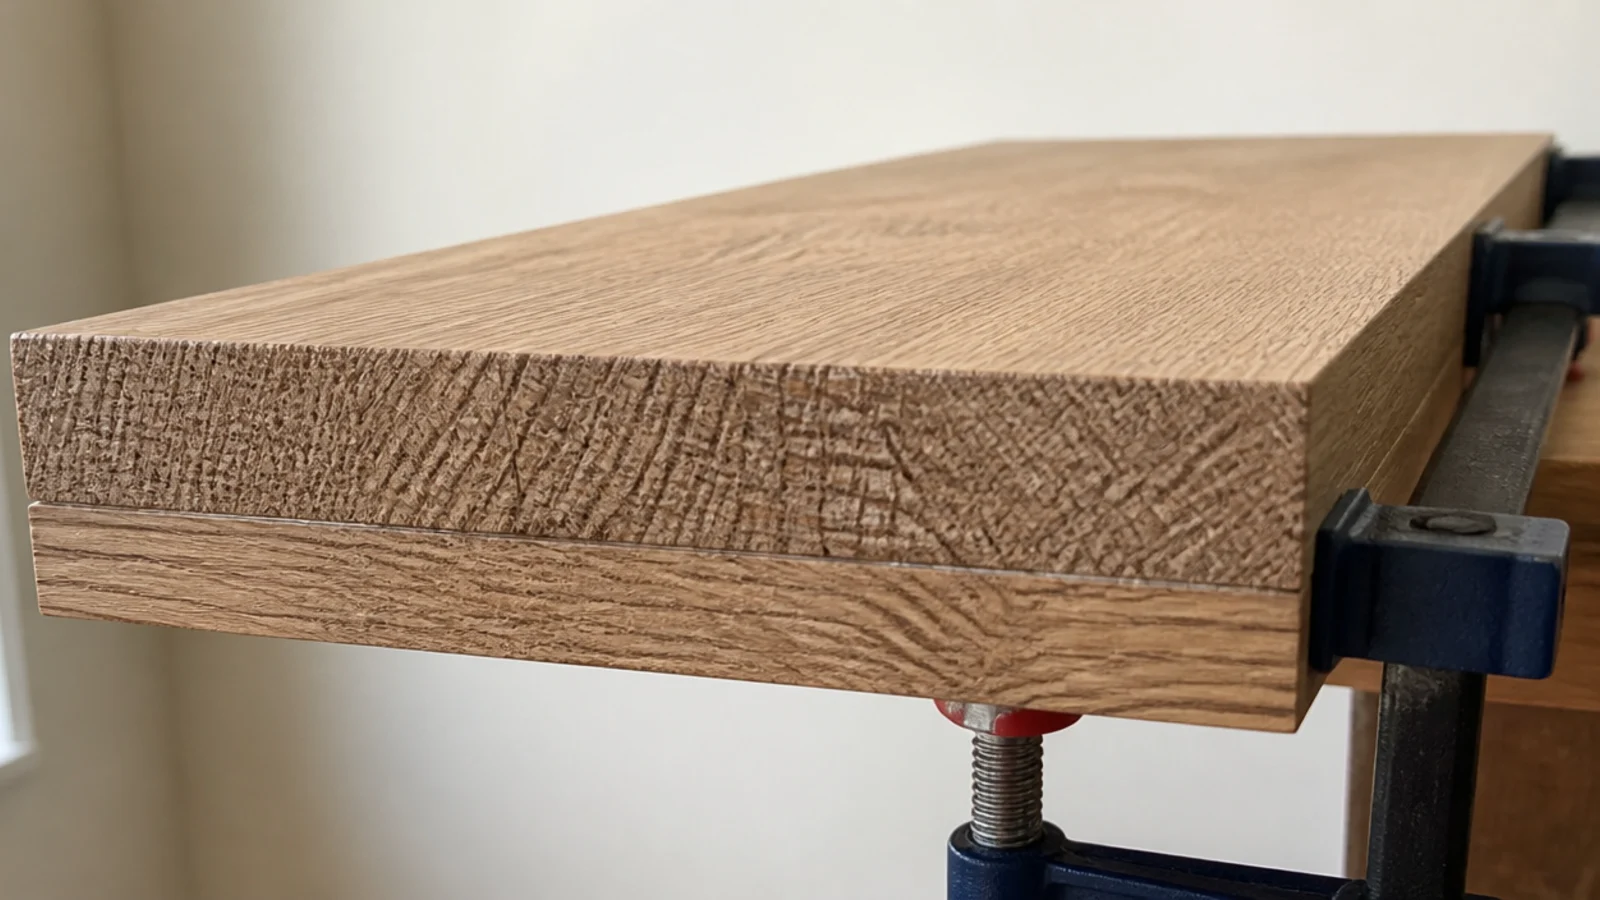
Before: an elegant half-inch board spanning 30 inches, with a dip in the centre you could see from the doorway once it held hardbacks.
After: a narrow strip glued and clamped under the front edge, doubling the apparent thickness and stiffening the span.
Half-inch stock bows at around 18 inches. The strip turned the board into something that reads as an inch and a half thick and holds the same books dead straight. Materials, $6 and an hour of clamping.
Makeover 3: The rental wall that allowed no holes
Before: a strict no-fixings lease, a bare wall, and books stacked in towers on the floor beside a radiator.
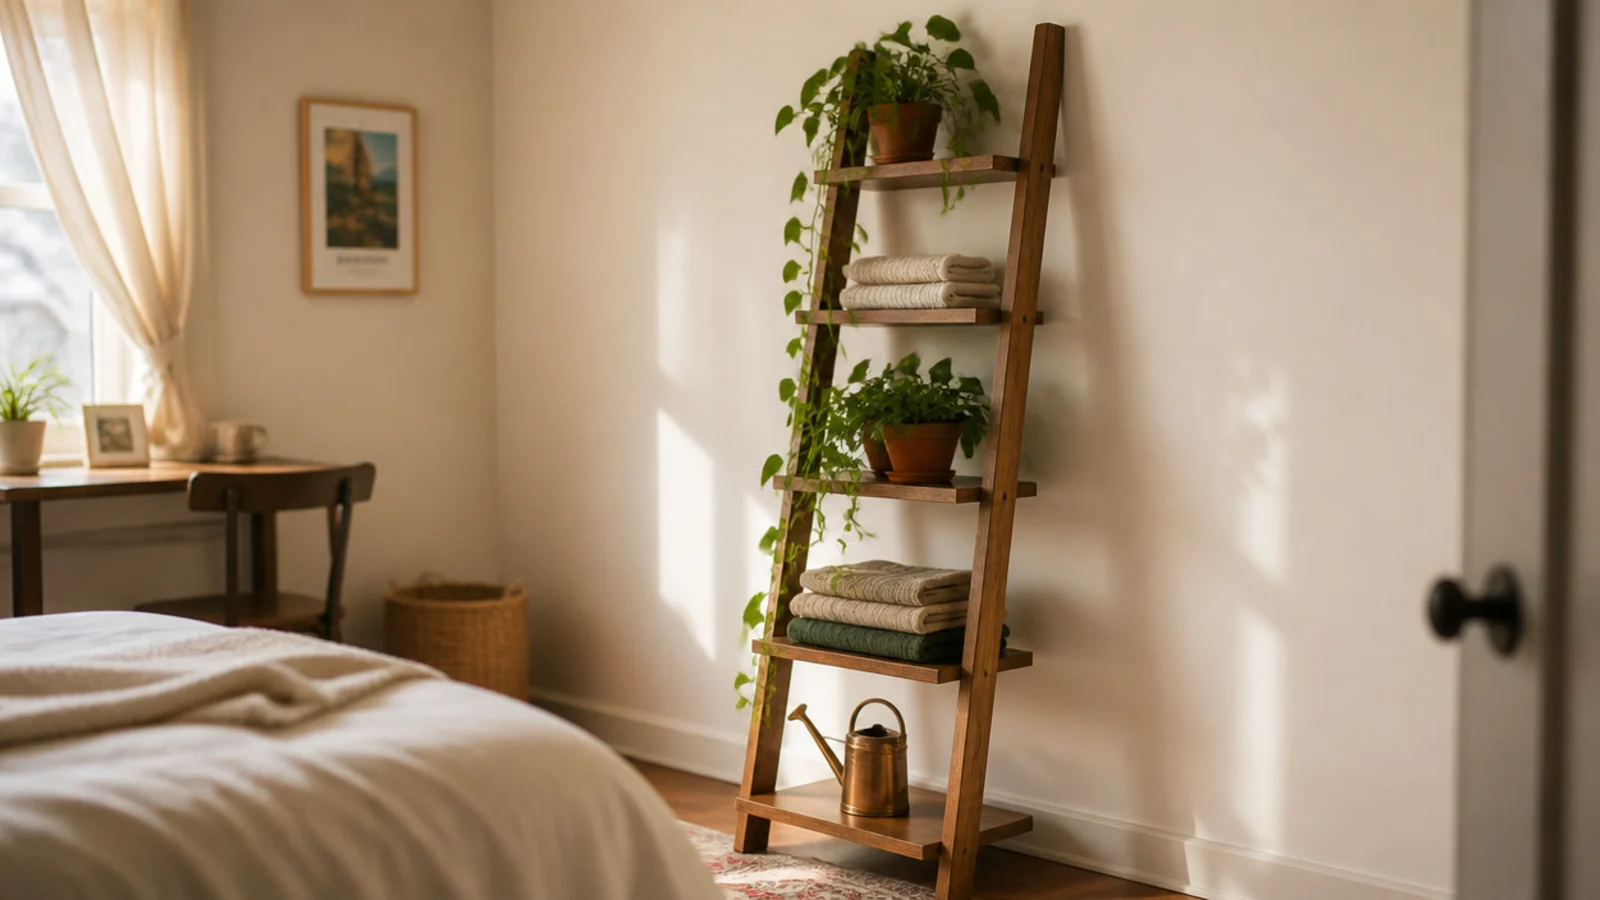
After: a five-rung leaning ladder shelf at roughly 15 degrees against the wall, with the heaviest load on the bottom rung.
Adhesive strips cap out near 15 pounds per pair and fail on flat builder-grade paint, so they were never going to hold books here. The ladder carries far more, needs a felt pad under each foot, and walks out on lease day. Cost $68.
Makeover 4: The TV wall with cables everywhere
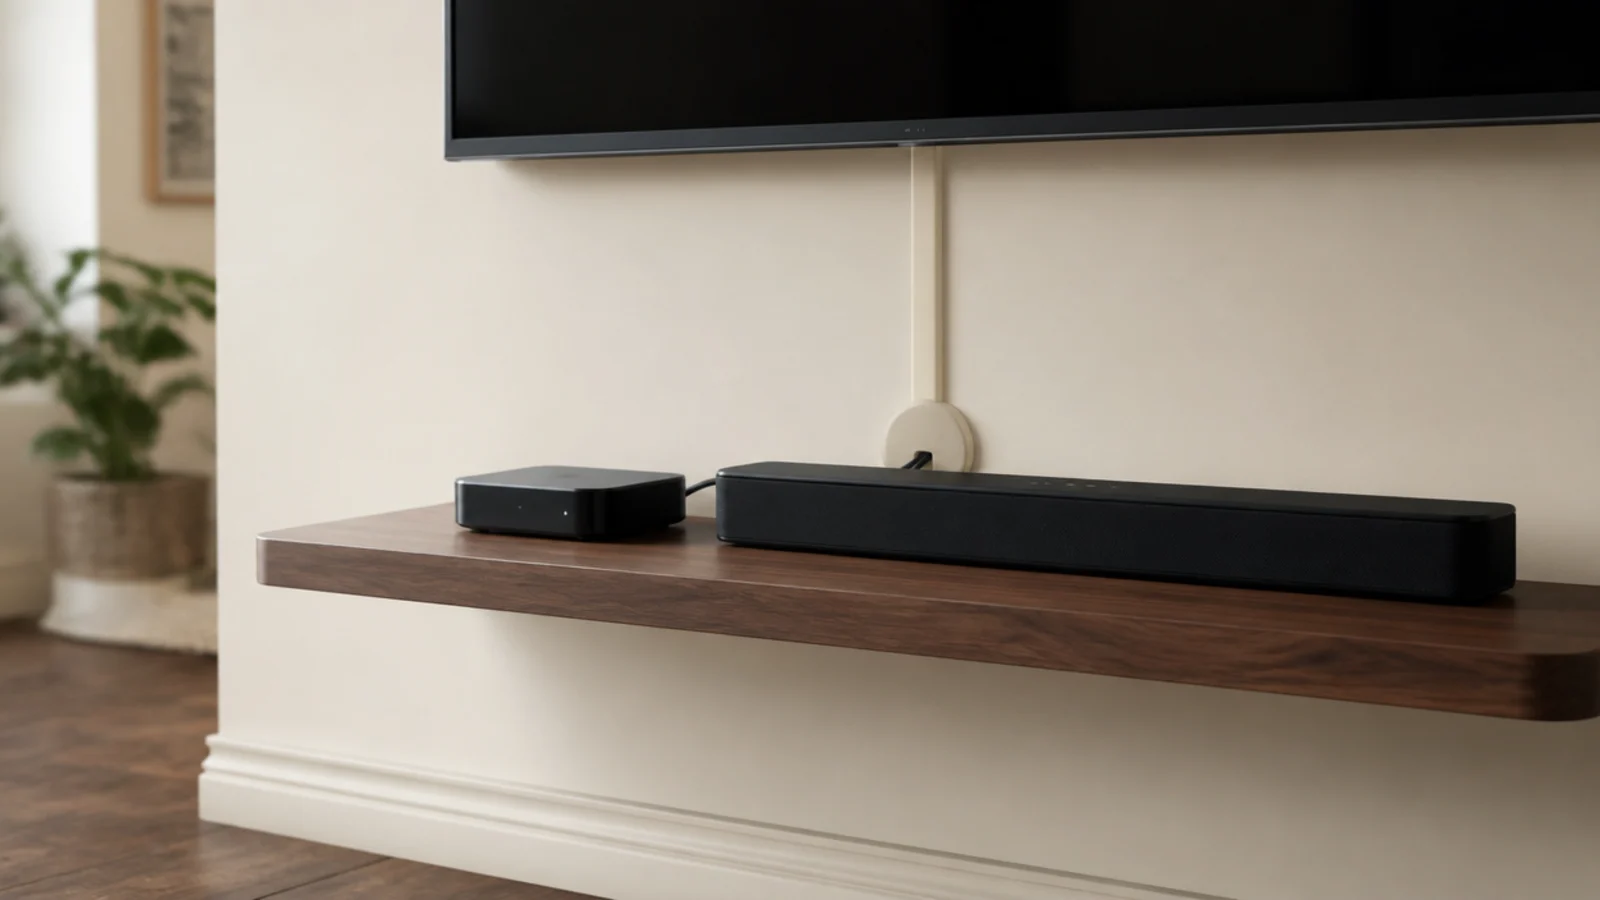
Before: a good walnut shelf under a wall-mounted TV, undone completely by four black cables hanging down pale plaster to the outlet.
After: the board taken down, a 1.5-inch grommet drilled at the back, and an adhesive channel painted the wall color running straight down.
Drilling the hole on a bench takes two minutes; doing it on the wall is a different job entirely. Total $16, and the shelf finally looked like the thing I had built.
Makeover 5: The kitchen wall where a cabinet came off
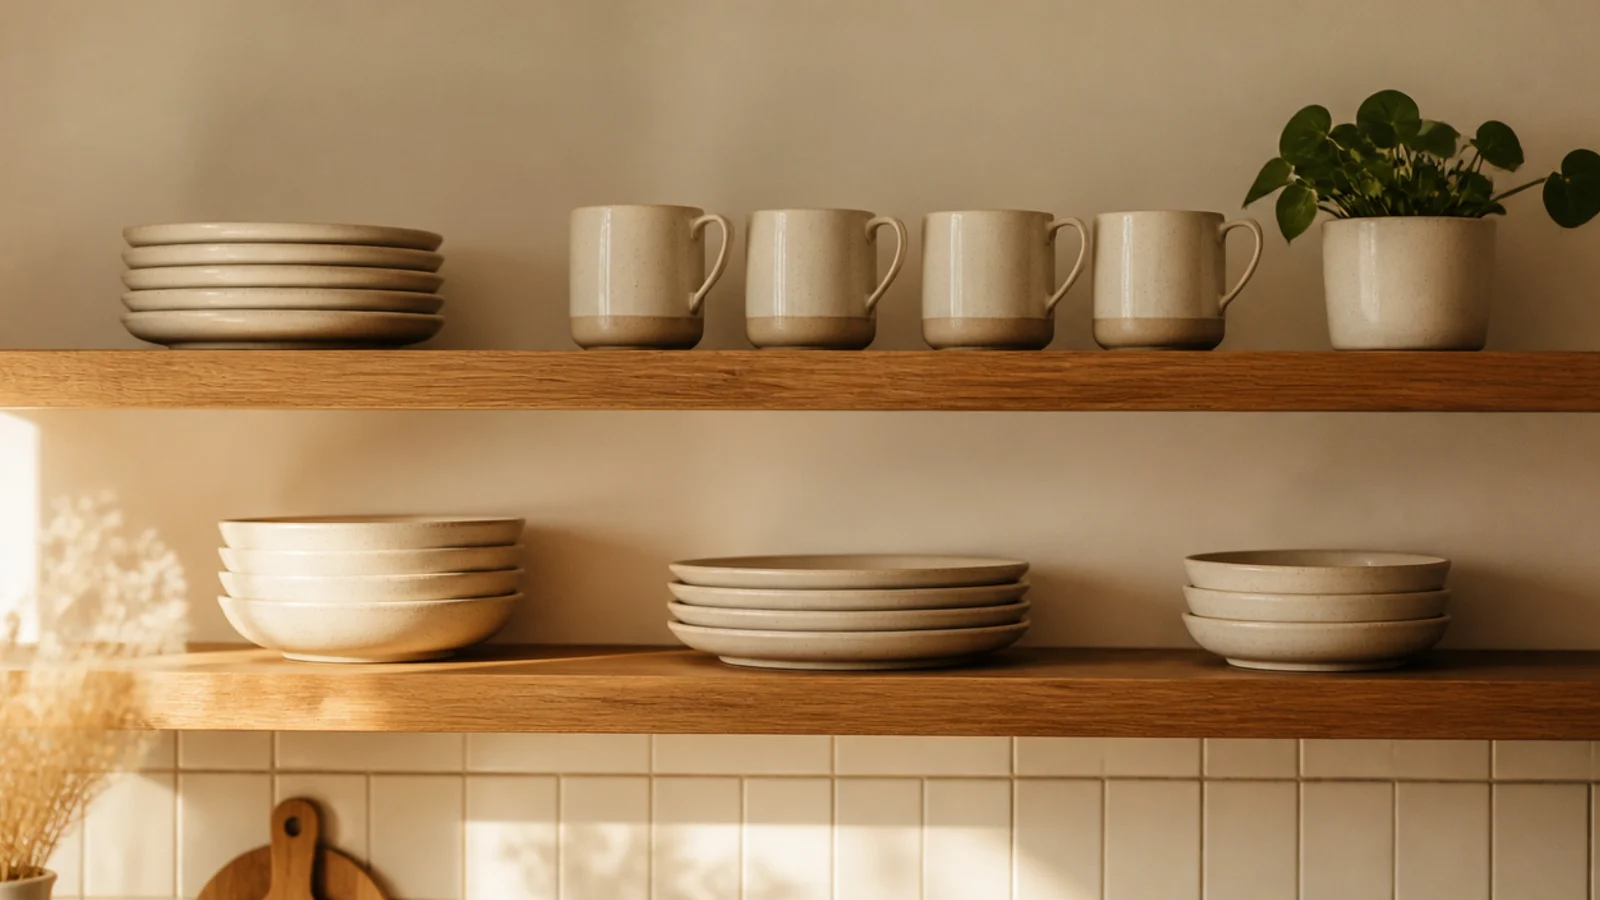
Before: a galley kitchen with upper cabinets on both walls, which made a narrow room feel like a corridor.
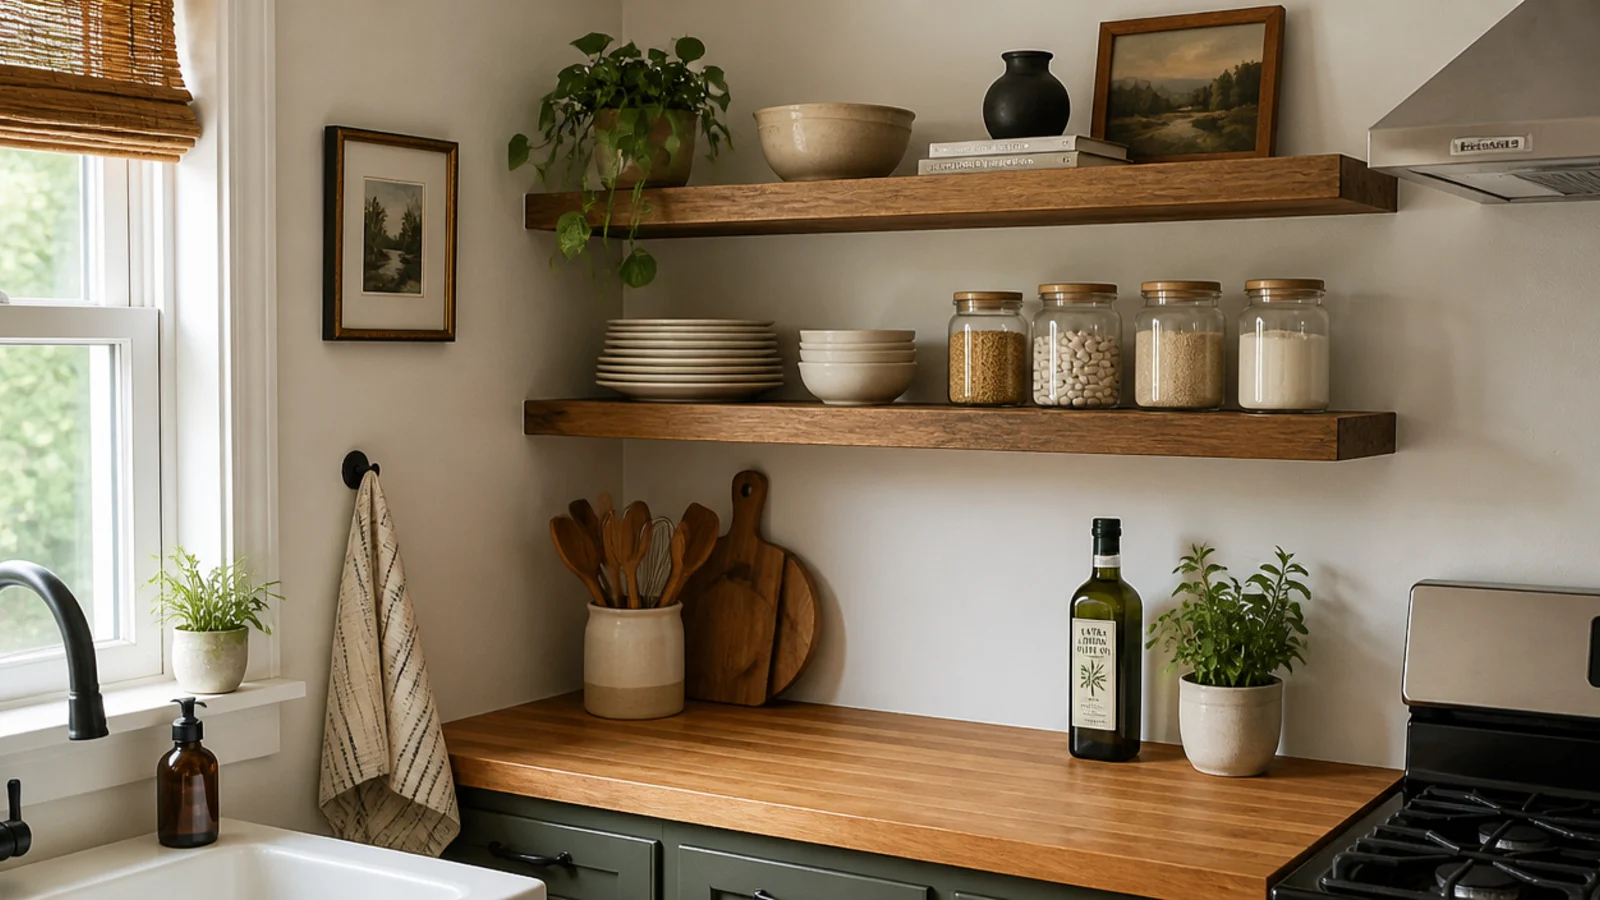
After: one cabinet removed and replaced with two 11-inch oak boards on the same stud line.
Daily plates and glasses only — anything used twice a year went behind a door on the opposite wall. The room reads noticeably wider because the wall came back. Materials and brackets, $88. There is more on this in floating shelves in the kitchen.
Makeover 6: The bedroom with two bulky nightstands
Before: a small bedroom where you turned sideways to pass the bed, with two nightstands eating about six square feet between them.
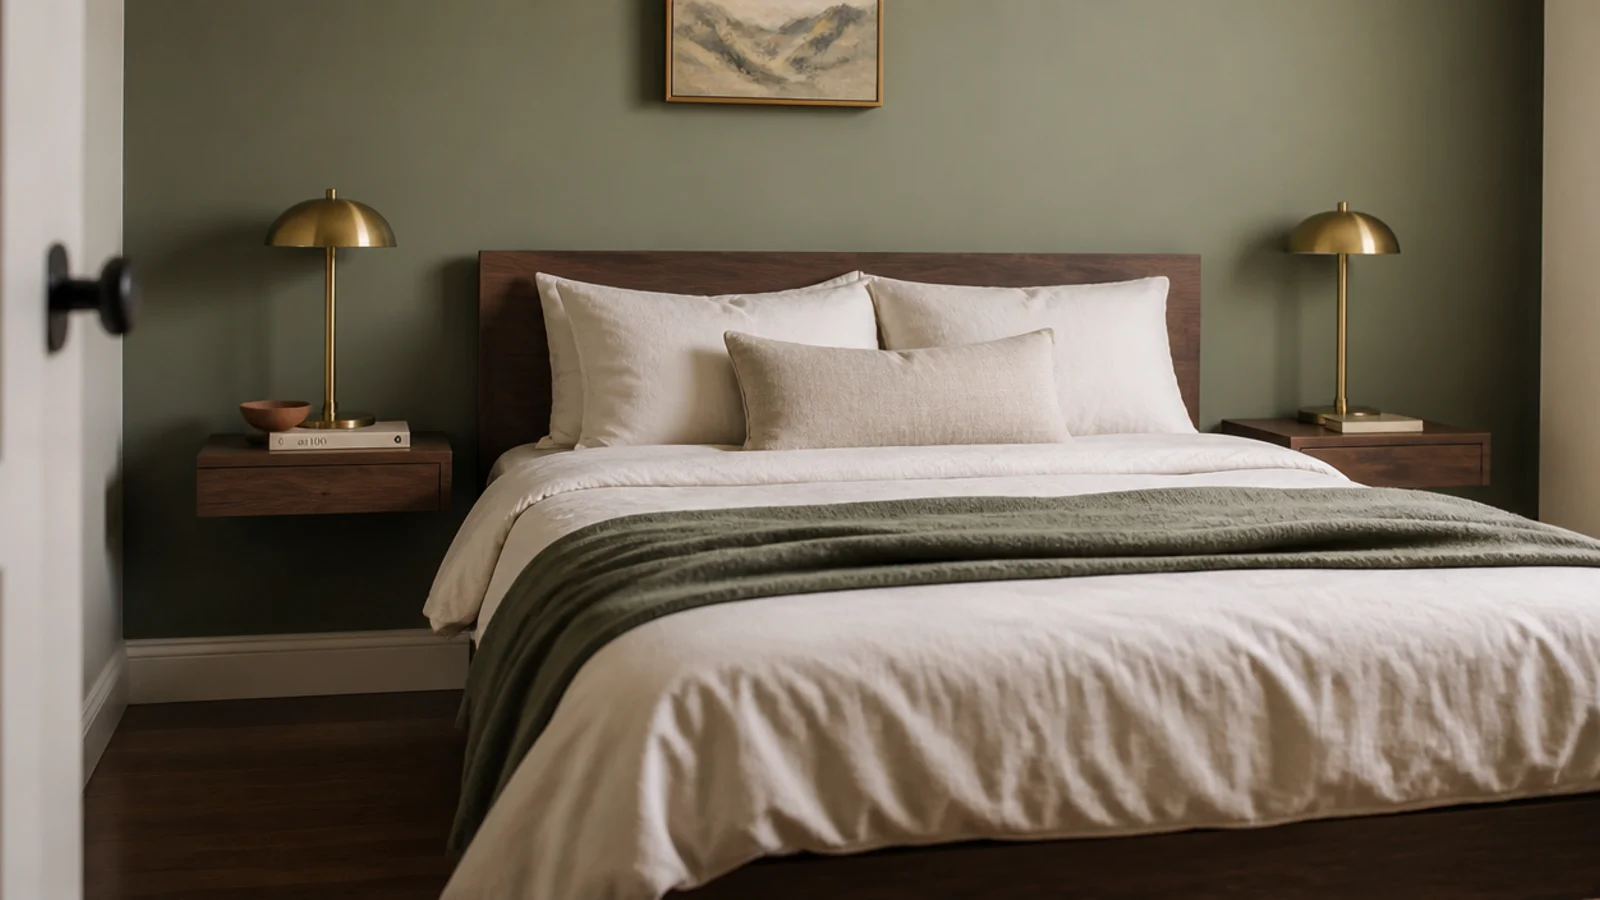
After: two slim walnut boards mounted level with the top of the mattress, one on each side, and the nightstands sold.
Mattress height matters because that is where your hand lands in the dark. More usable surface, zero floor footprint, and $64 spent against $90 recovered from selling the furniture.
Makeover 7: The hallway that felt like a tunnel
Before: eleven feet of blank wall on both sides, lit by one overhead fitting, which made a perfectly normal hallway feel narrow.
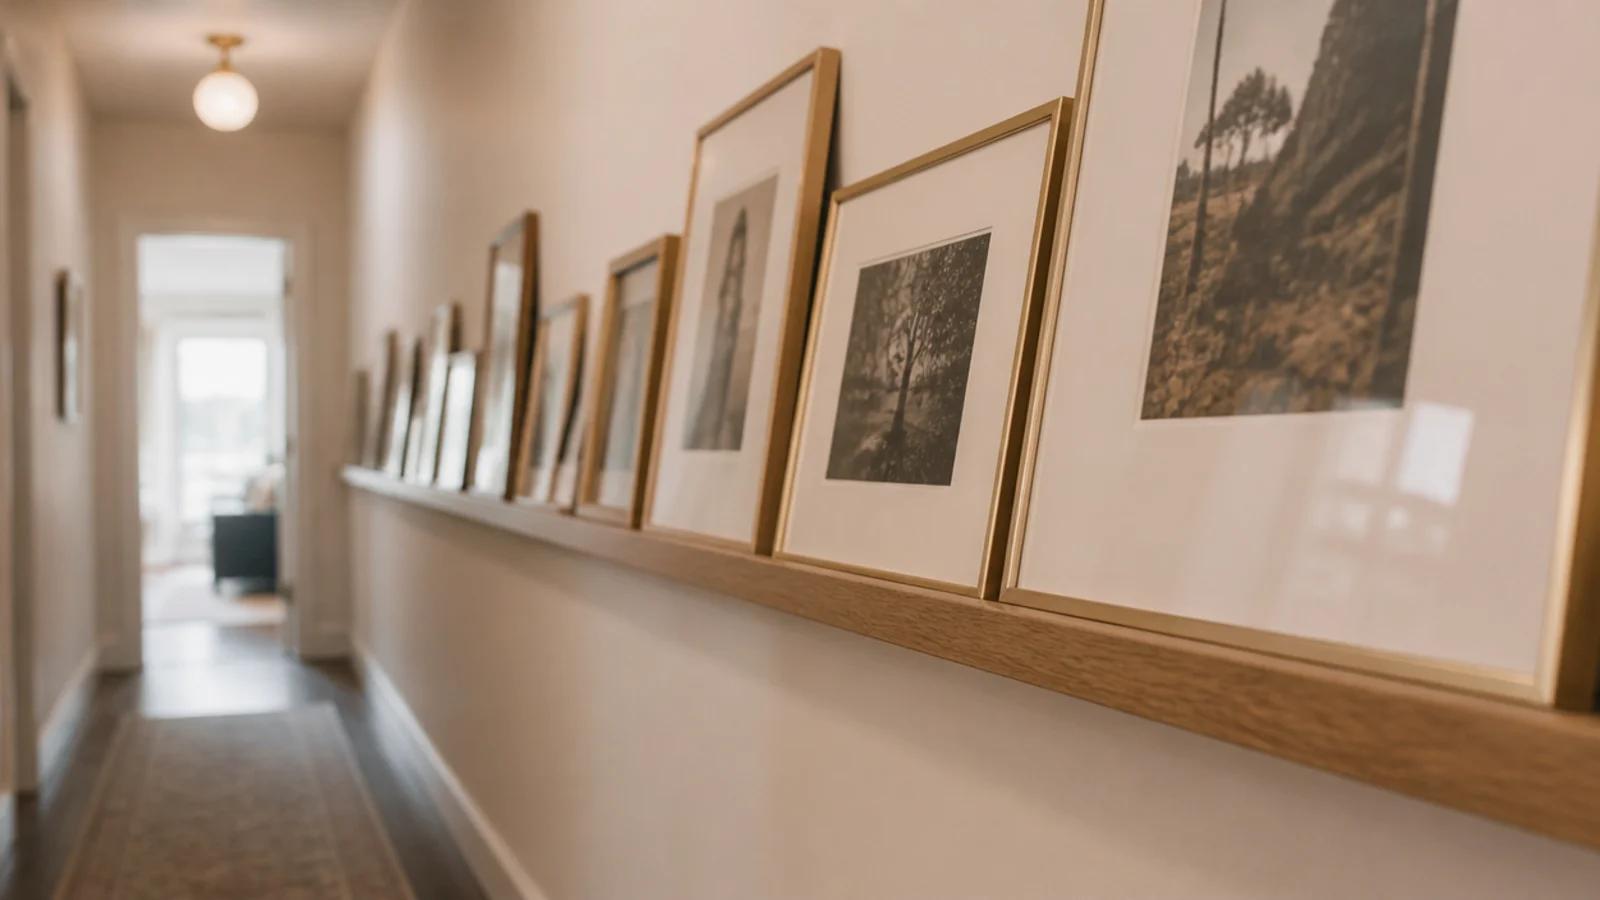
After: a single continuous 4-inch ledge at 60 inches on one wall, holding leaning prints.
Four inches never catches a shoulder, which is the only reason this works in a corridor. Fixed into all four studs it crossed. The eye now travels along the wall instead of stopping at it. Cost $37.
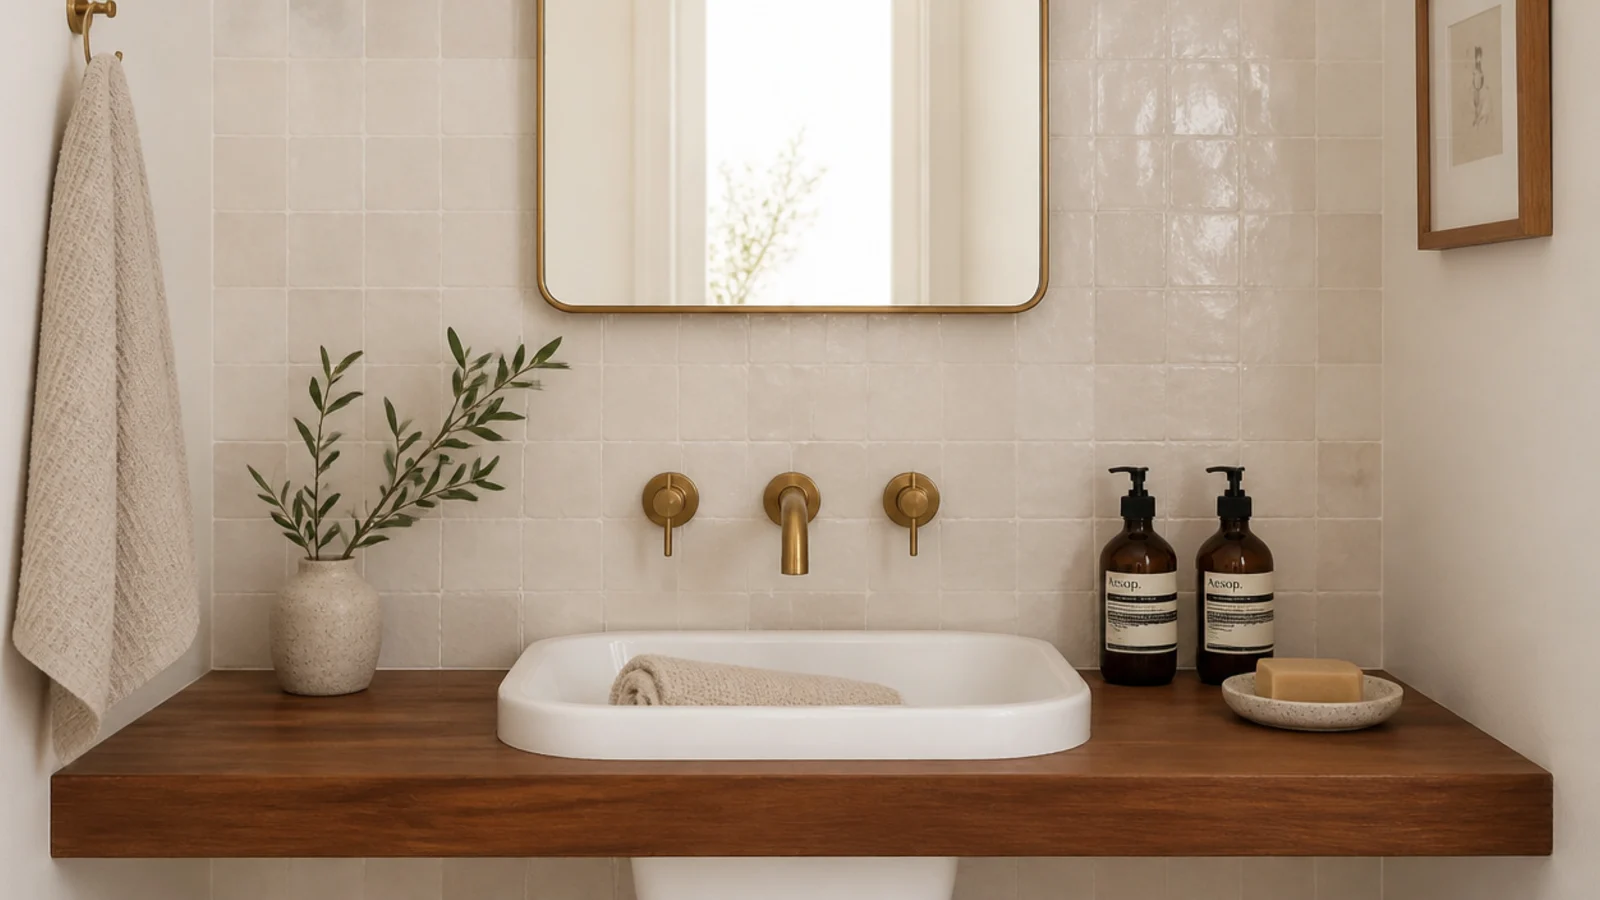
Makeover 8: The bathroom shelf that swelled
Before: a raw pine board above a basin in a windowless bathroom, with lifted grain and a grey stain along the front edge after one winter.
After: the same size board in sealed teak, mounted 6 inches deep so it cleared the shower door swing.
Bathrooms want sealed teak, bamboo, solid surface or powder-coated steel, and nothing else. Raw pine and MDF do this every time. The replacement cost $44 and has not moved since.
Makeover 9: The desk with no surface left
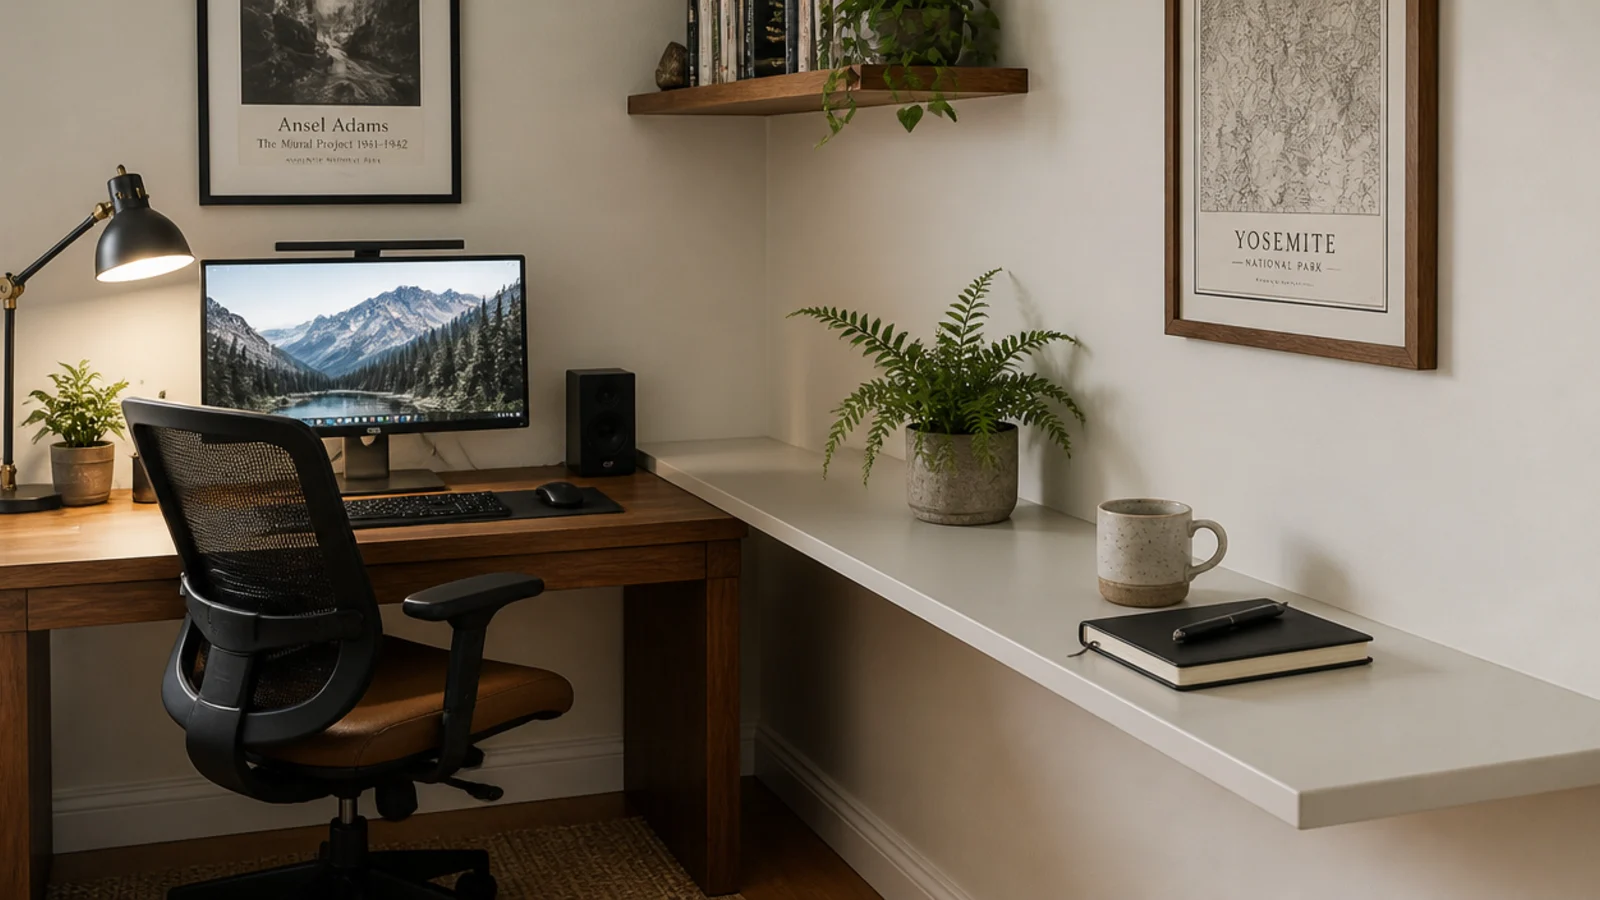
Before: a small desk with a monitor, a lamp and two stacks of paper, leaving roughly a notebook's worth of usable space.
After: a painted board mounted at exactly desk height on the adjacent wall, 10 inches deep.
Because the top sits level with the desk, your eye reads one continuous surface rather than two objects. That is what stops a small office looking cluttered. The whole thing cost $29 in materials.
Makeover 10: The shelf mounted far too high
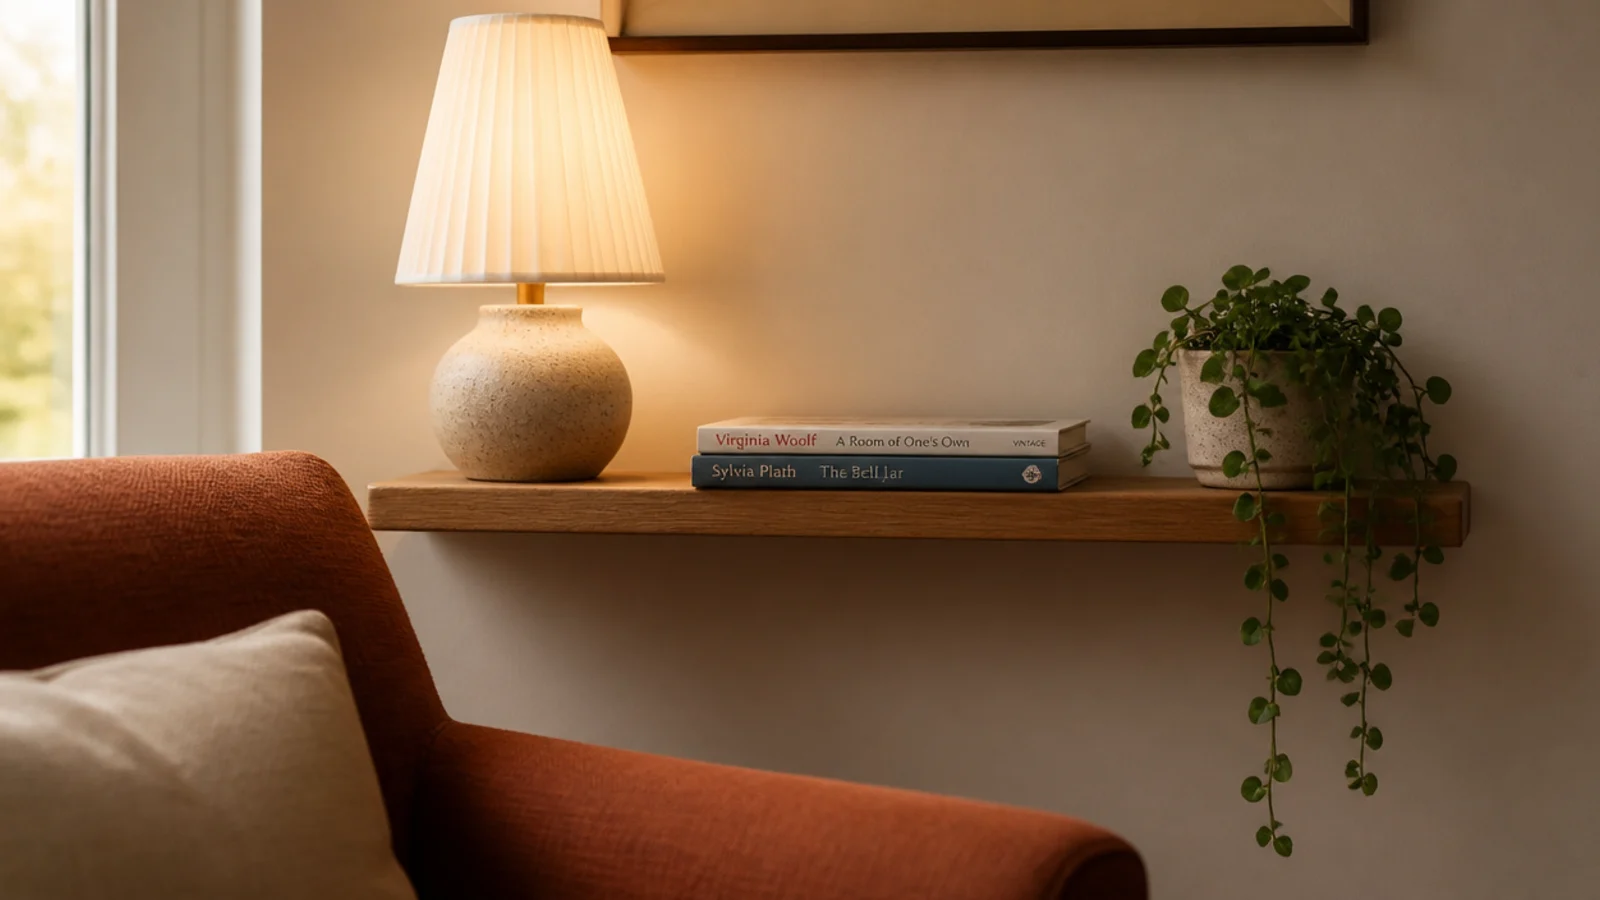
Before: a lovely oak board at 66 inches, marked out at standing eye level, holding objects nobody had touched in a year.
After: the same board remounted at 48 inches above a low reading chair, with a lamp and books on it.
Nothing was bought. Two holes were filled and two were drilled. Shelves live or die on whether you can reach them without thinking, and this one went from ornament to the most used surface in the room.
Makeover 11: The orange pine boards
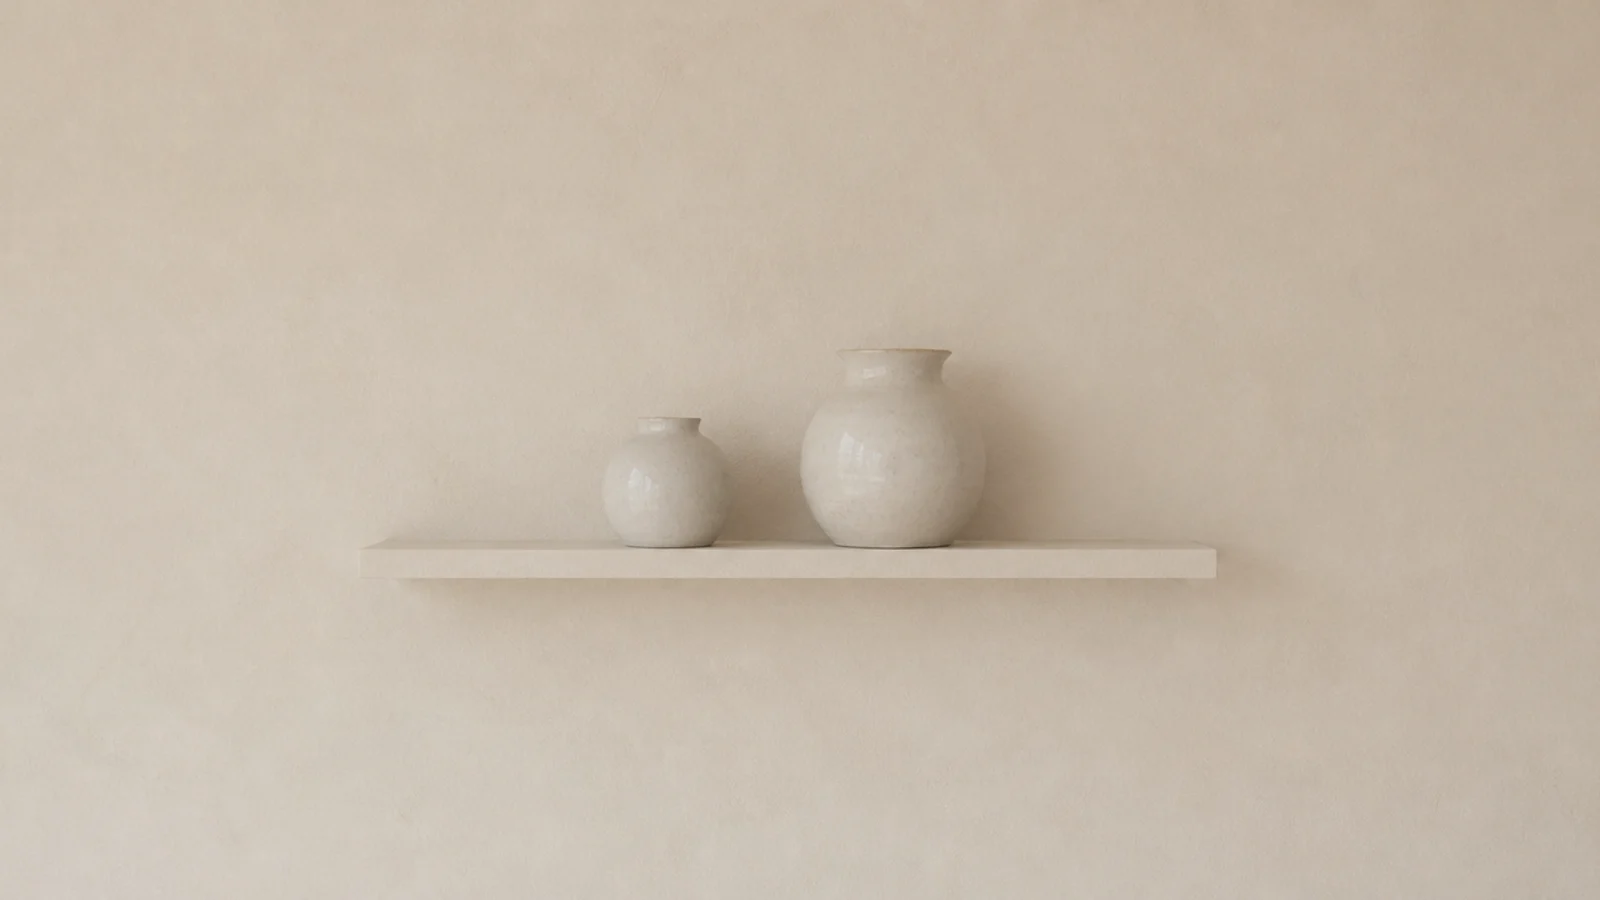
Before: two stained pine shelves reading distinctly orange against warm cream walls, matching nothing else in the room.
After: two coats of the wall color in eggshell, brackets included.
Painting a wood shelf feels like a downgrade right up until you see it. The boards stopped being objects stuck to a wall and started reading as part of the room, and the pottery on them came forward. Sand lightly first, because eggshell will not grip an old glossy stain. One sample pot, $9.
Makeover 12: The brackets you saw first
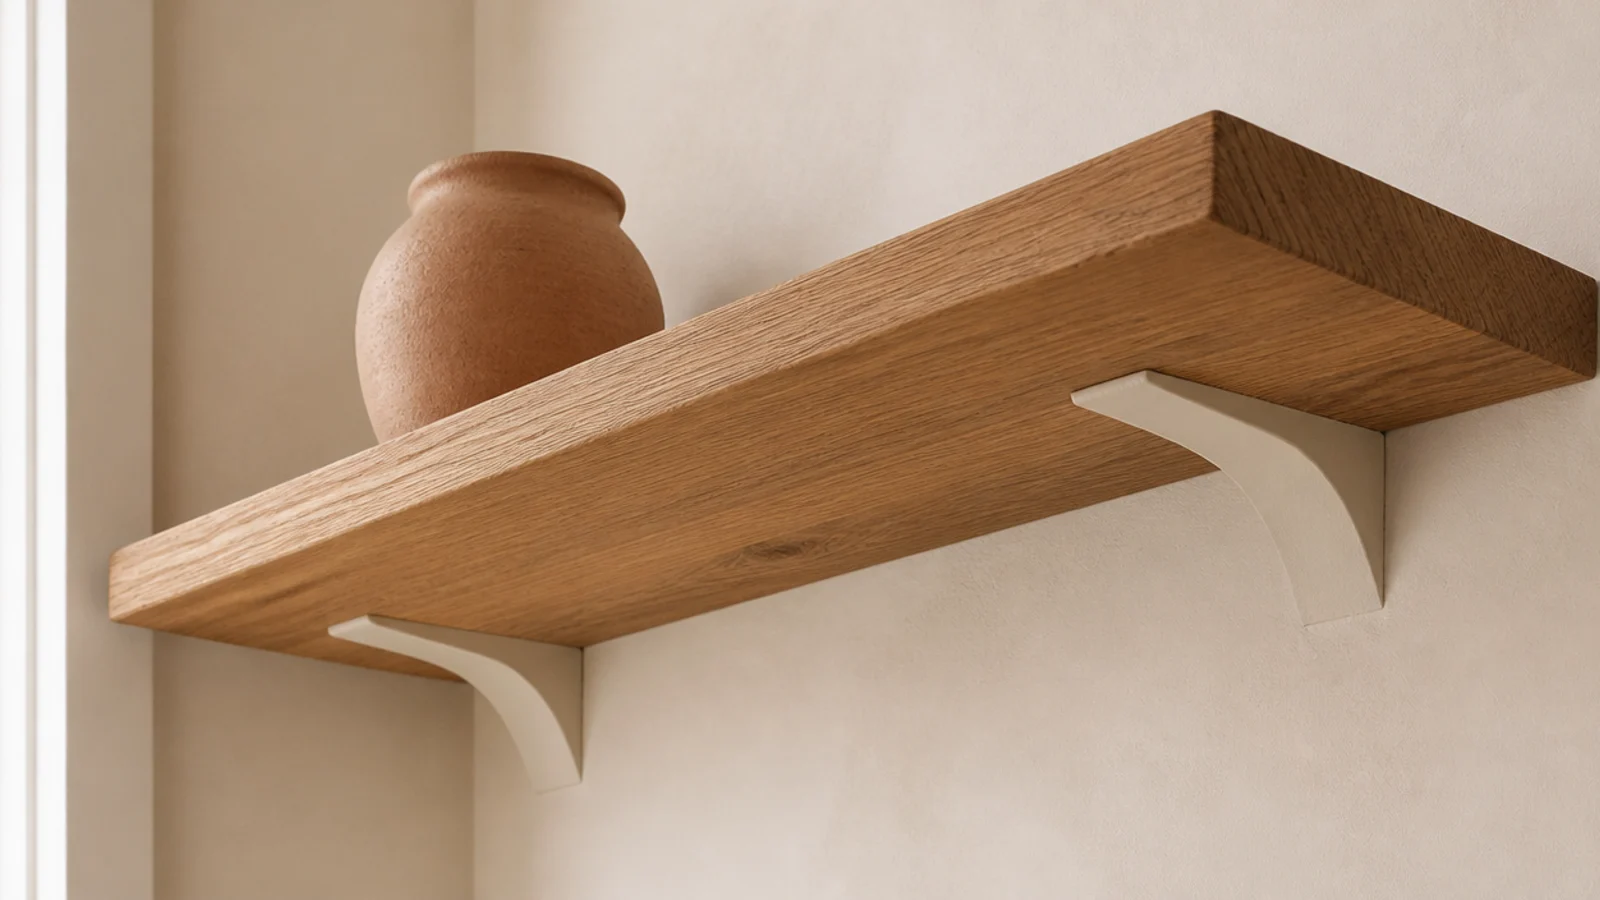
Before: warm oak boards on bright galvanised brackets, structurally perfect and visually the first thing anyone noticed.
After: two thin coats of the wall color on the bracket plates and arms.
Painted-out brackets read as floating from any normal viewing angle, which is the whole point of the expensive concealed systems people buy instead. Do the arms as well as the plates, because a bright edge underneath still catches the eye from a low seat. Fifteen minutes and the leftovers from another job, and it remains the cheapest upgrade I know.
Makeover 13: The dead wall above the toilet
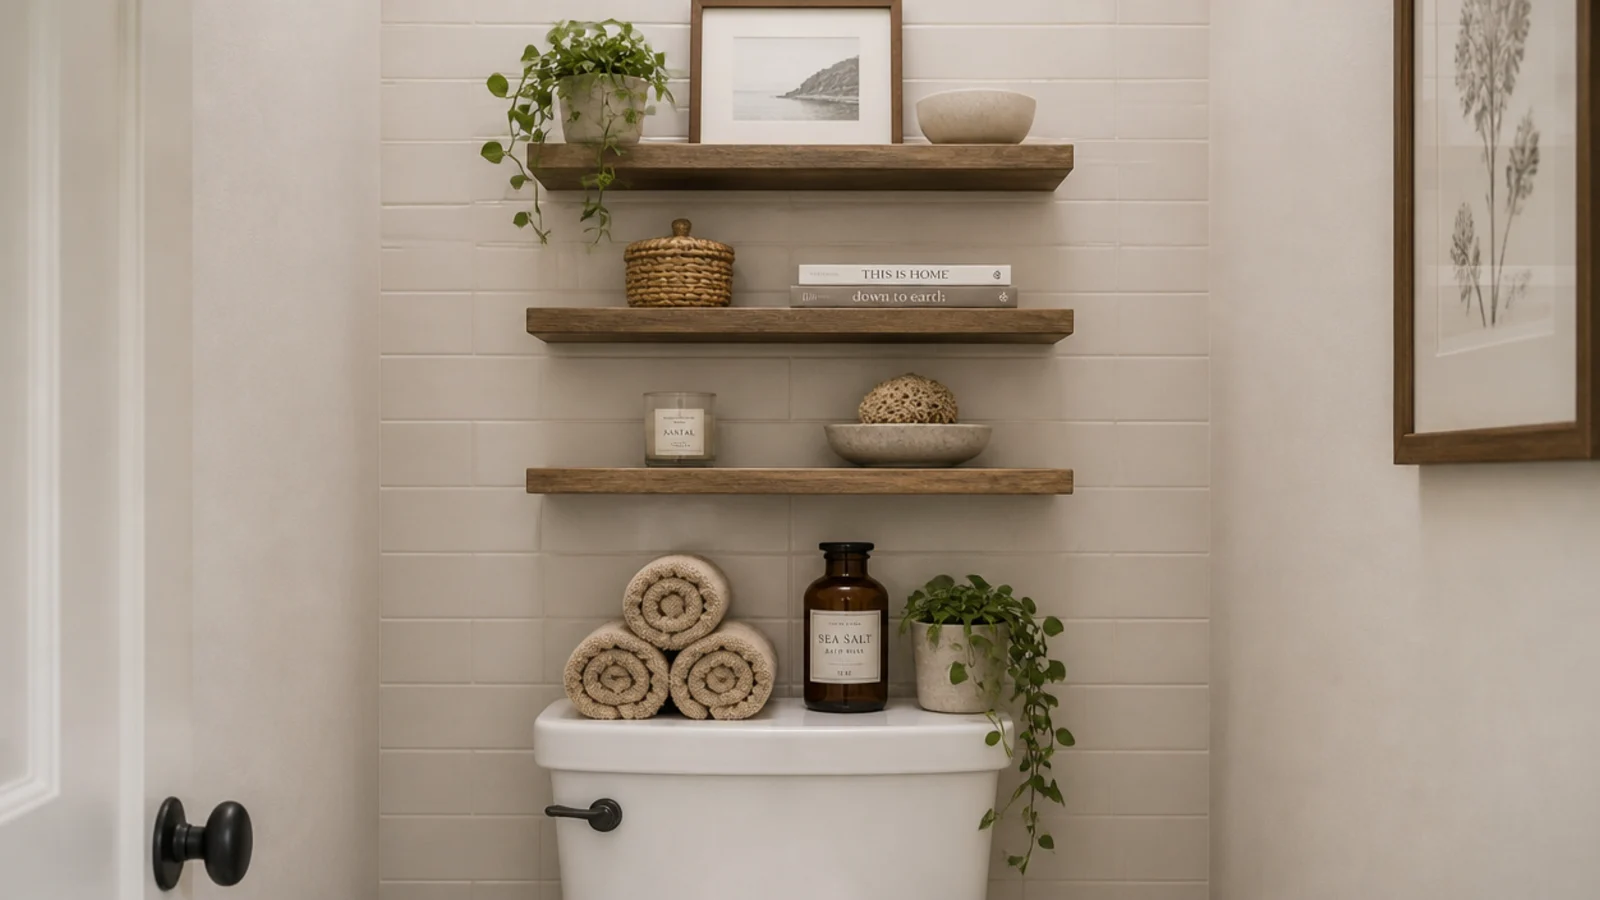
Before: thirty inches of blank wall above a toilet tank, with towels stacked on the cistern lid and knocked into the bath weekly.
After: three sealed boards, 6 inches deep, spaced 11 inches apart, starting 12 inches above the tank so the lid still lifts.
Shallow is essential here — anything deeper catches a shoulder in a small bathroom. Total cost $52, and it is the only storage that room has ever needed.
Makeover 14: The shelf nobody could see
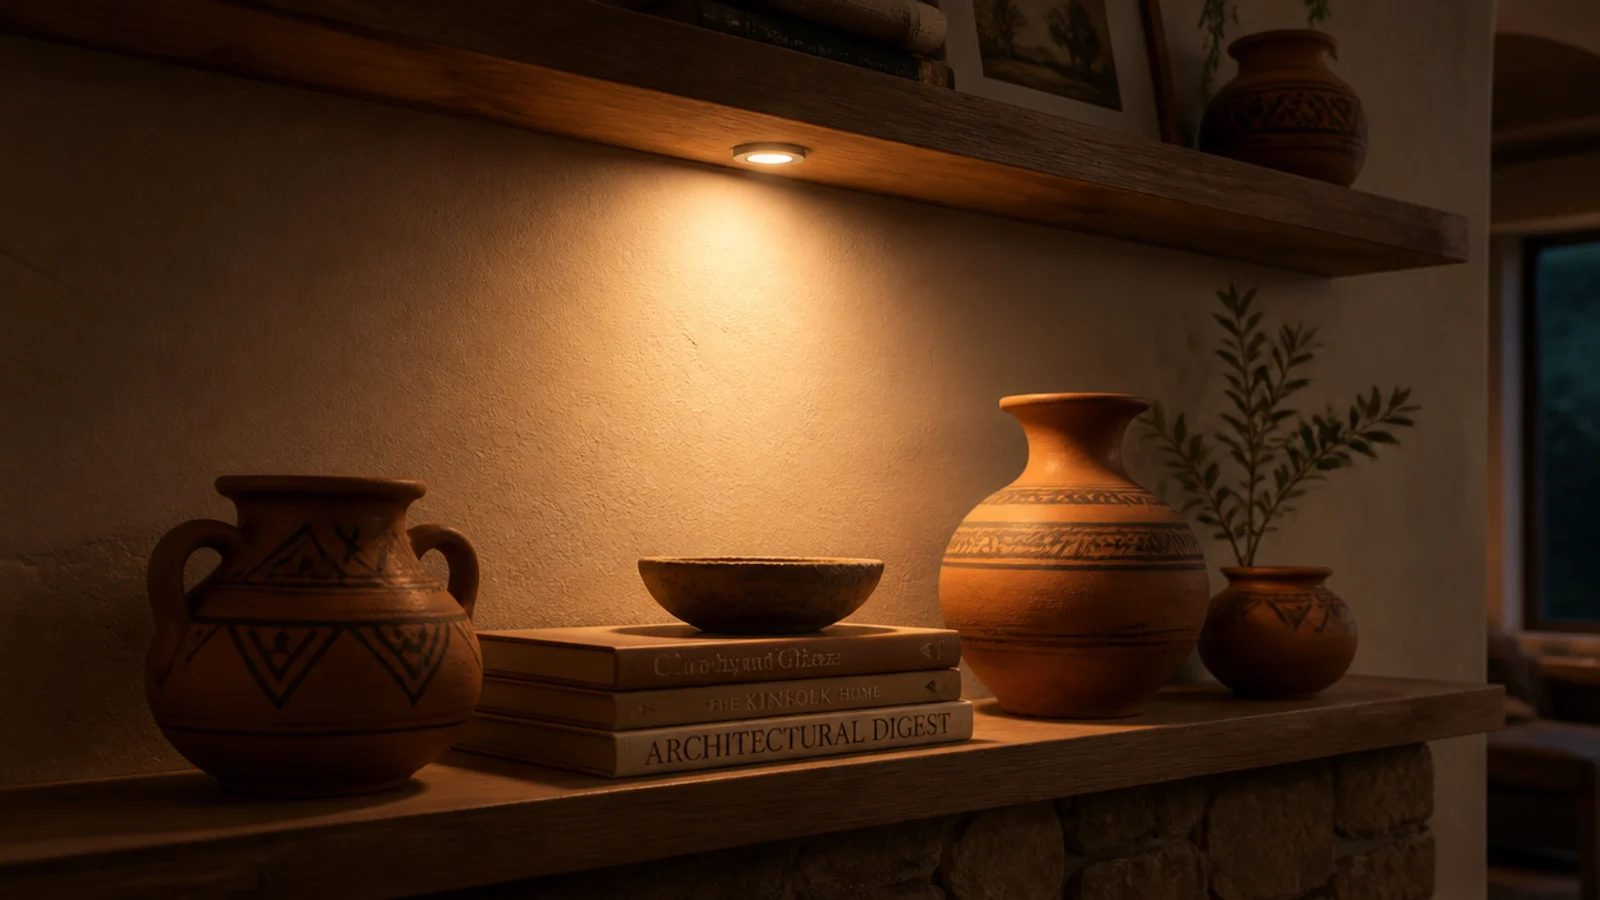
Before: a north-facing wall with well-chosen pottery on it that nobody had ever really looked at, because it sat in shadow from mid-afternoon.
After: one stick-on rechargeable puck light at 2700K, fixed under the upper board.
Stick it to the underside of the upper board rather than the wall, so the light washes down across the objects instead of glaring outward.
Ten dollars. It is genuinely the best-value change in this entire article, and I now check the light on a dim wall before I touch anything on the shelves.
Makeover 15: The blank stairwell wall
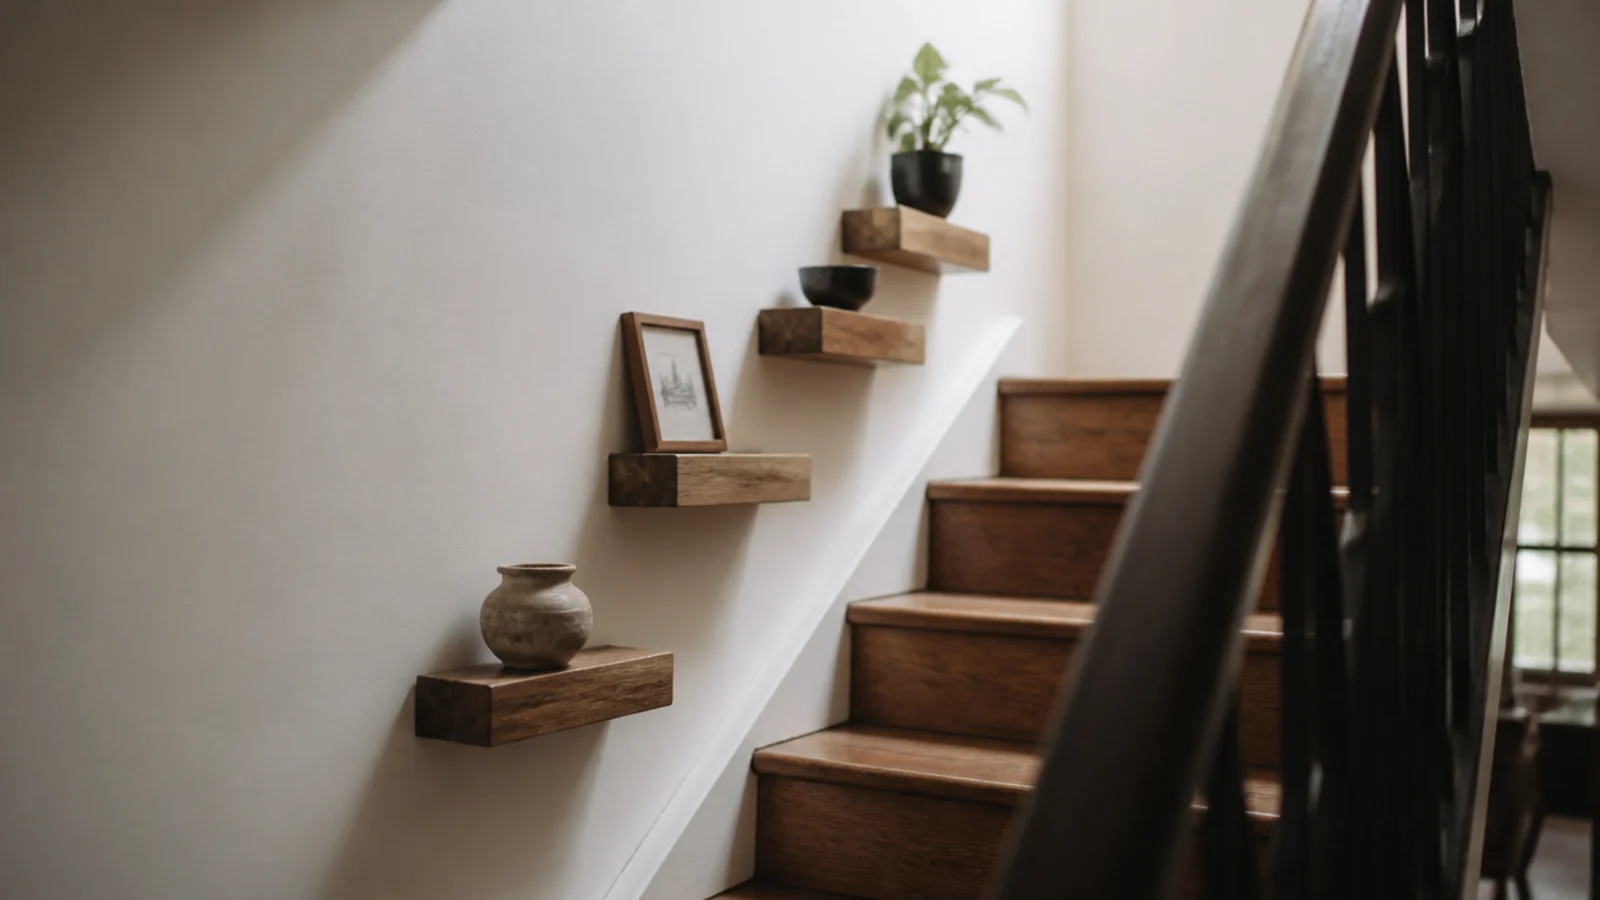
Before: two storeys of empty plaster that felt impossible to furnish, because nothing hangs comfortably on a wall you only see at an angle.
After: four short oak boards climbing in step with the treads, each one 16 inches above the tread nose below it.
One object per shelf and all four boards the same length. The rhythm does the work; adding more objects muddied it immediately when I tried. Every board went into a stud, because a stairwell is the last place I want a shelf on plugs. Cost $46.
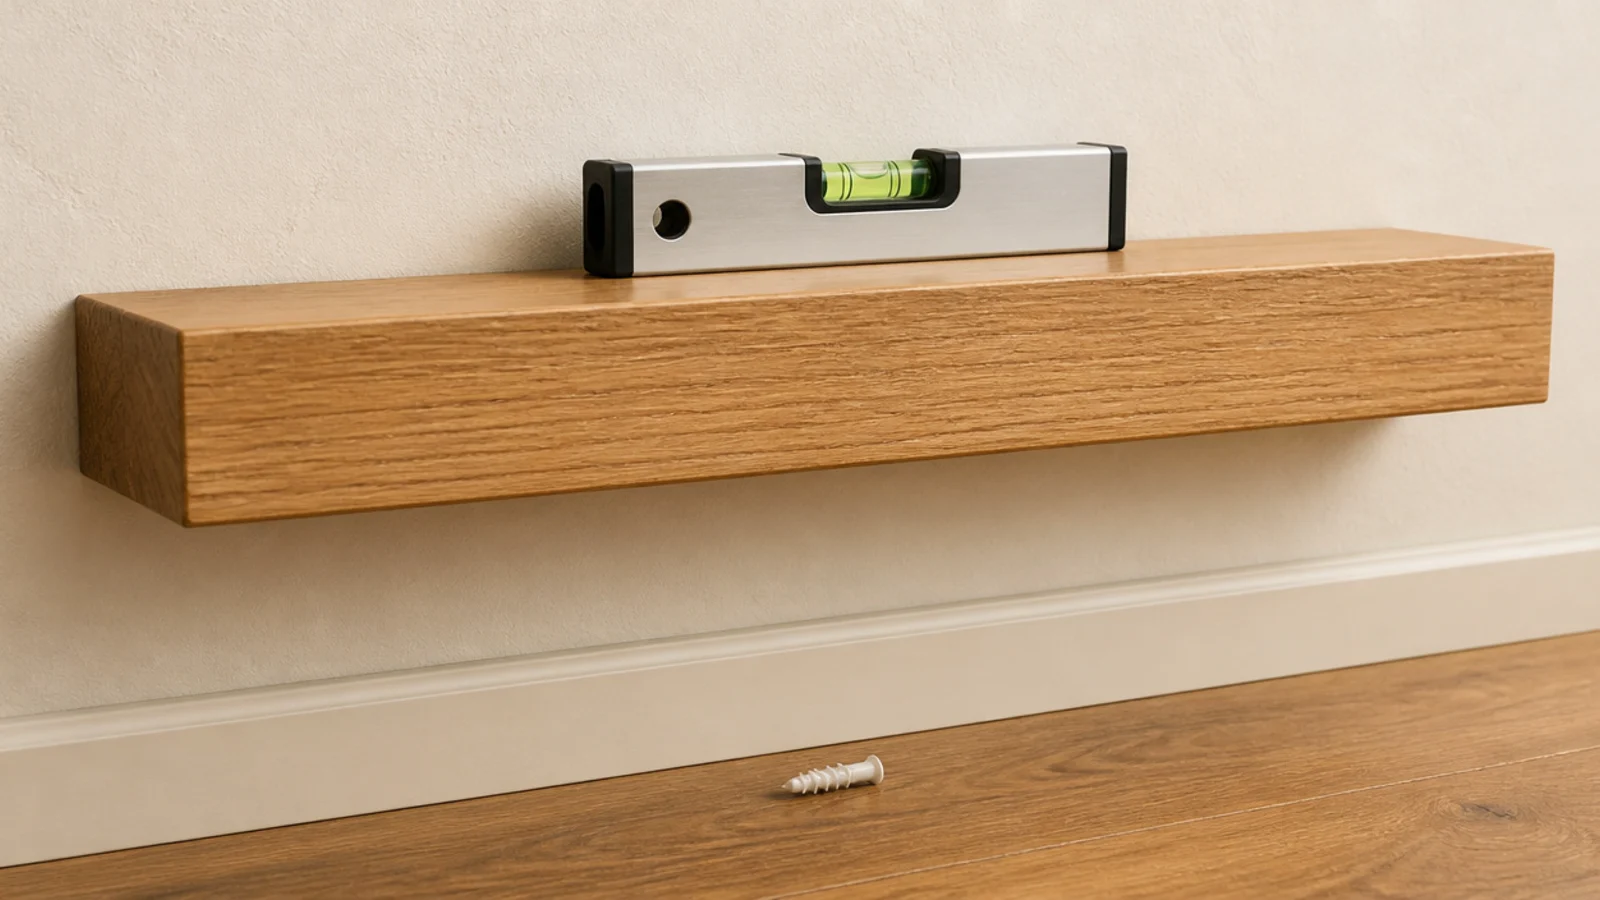
Makeover 16: The shelf that would not stop tilting
Before: a loaded board on the plastic plugs from the box, with a visible downward lean and a hairline crack in the paint beside one plate.
After: every plug replaced with a toggle bolt, and the shelf remounted level.
The plugs were rated around 10 pounds and the shelf carried close to 35. They had not failed suddenly; they had crushed the drywall around themselves and crept out over months. Four toggles cost $4.
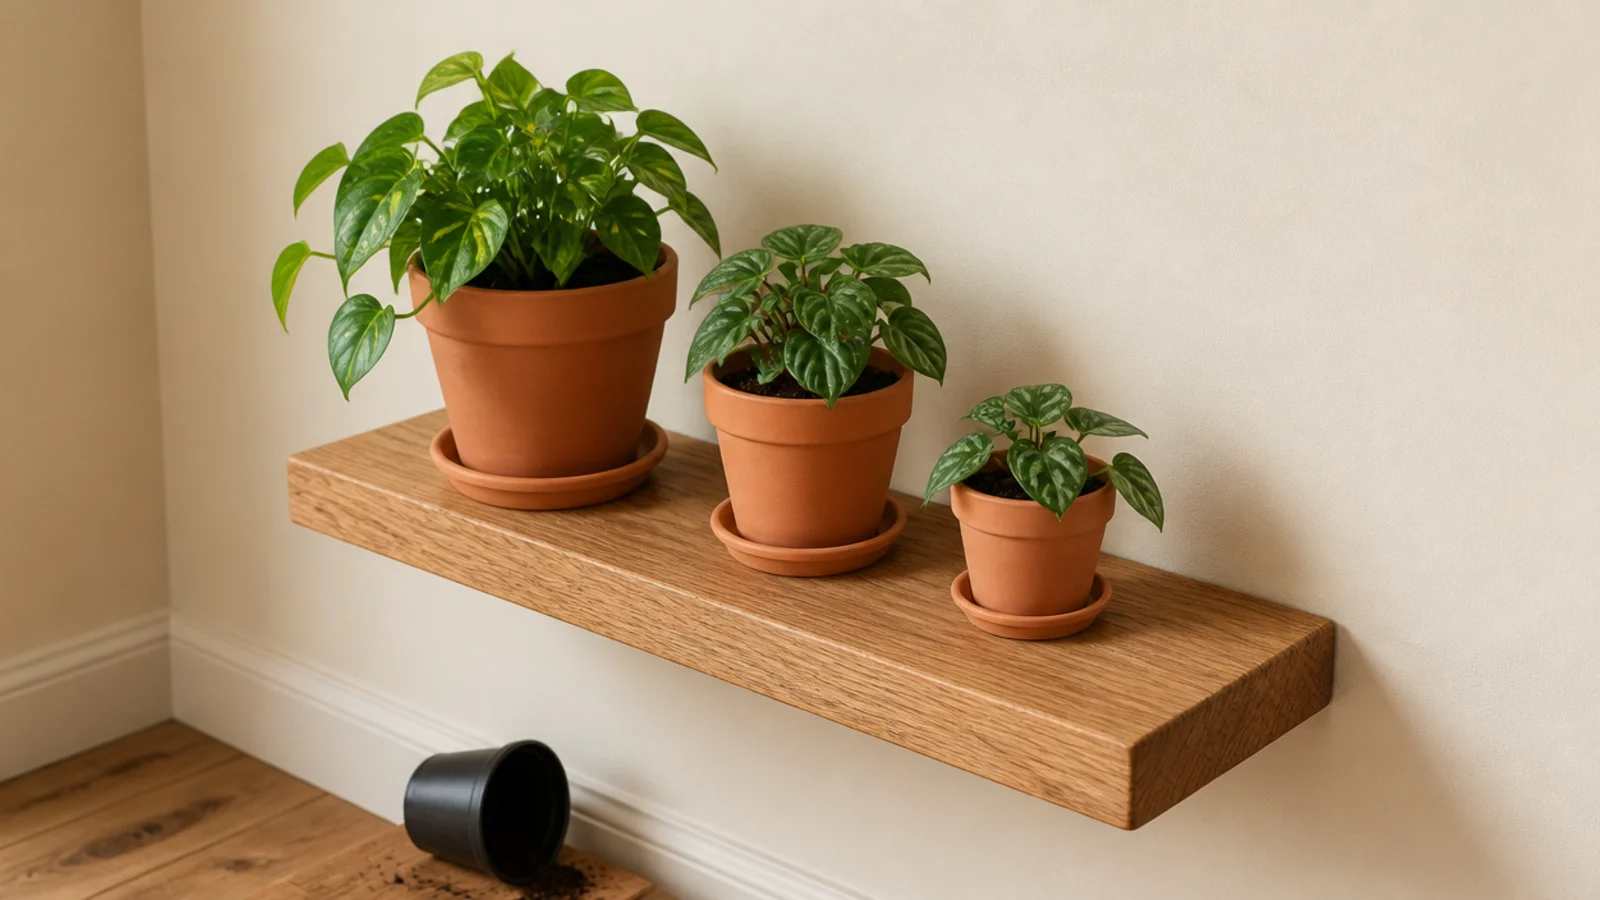
Makeover 17: The black plastic nursery pots
Before: three healthy plants on a nice oak shelf, all still in the black plastic pots they came home in.
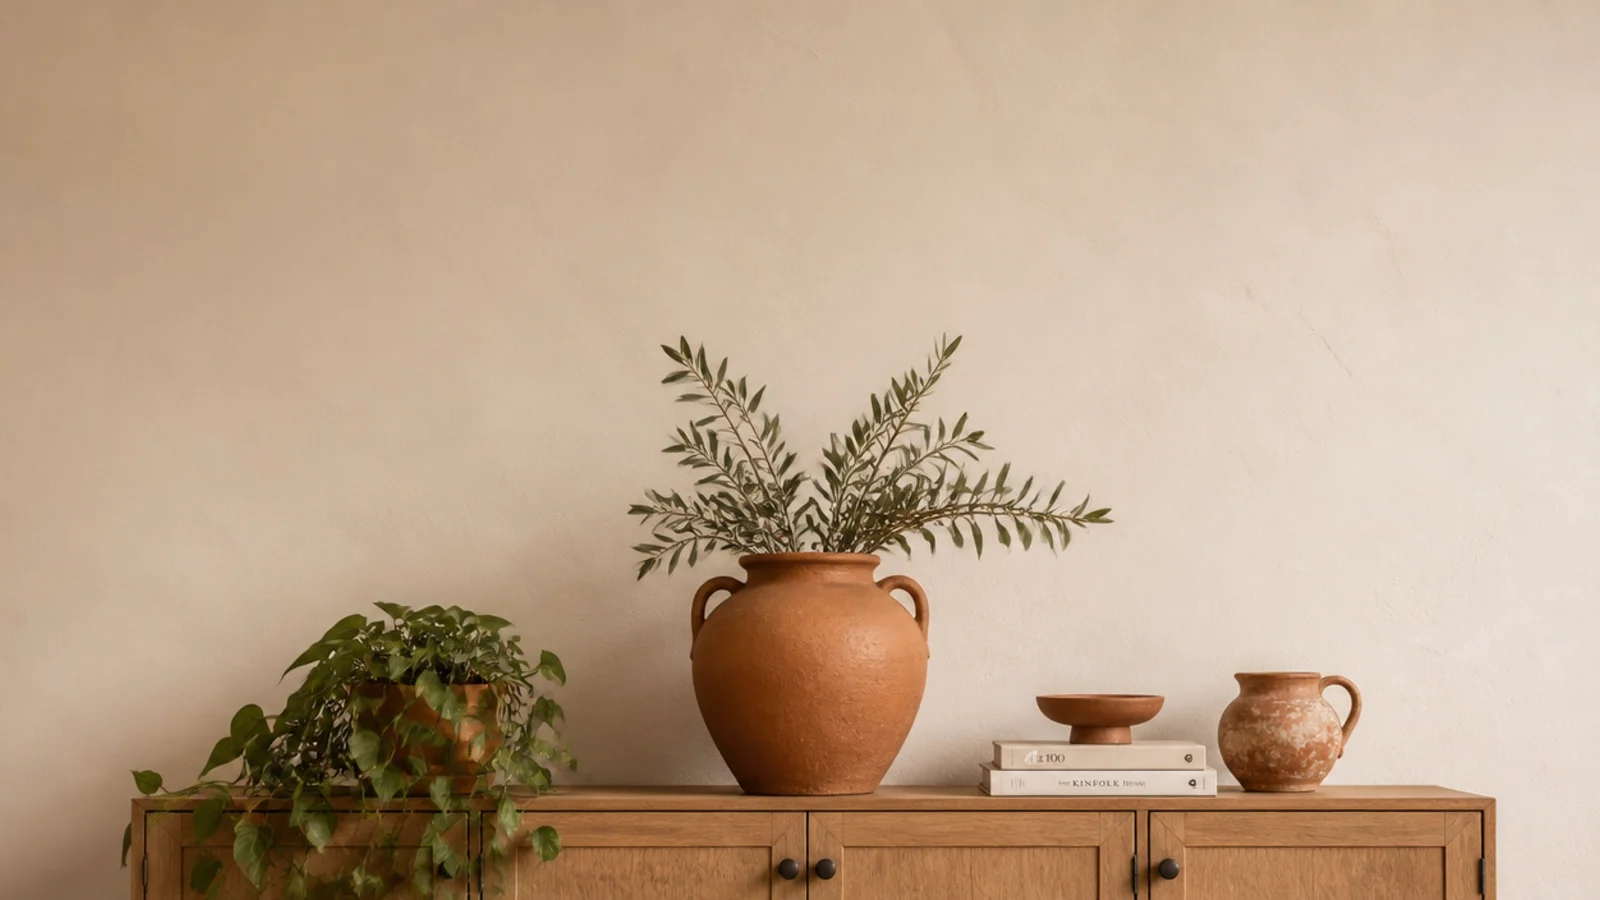
After: the same plants dropped into plain unglazed terracotta, one size up, with a handful of gravel underneath.
No repotting, no mess, about ten seconds each. Nine dollars total for three pots and the shelf looked like somebody had made decisions about it. There is more of this thinking in floating shelf decor.
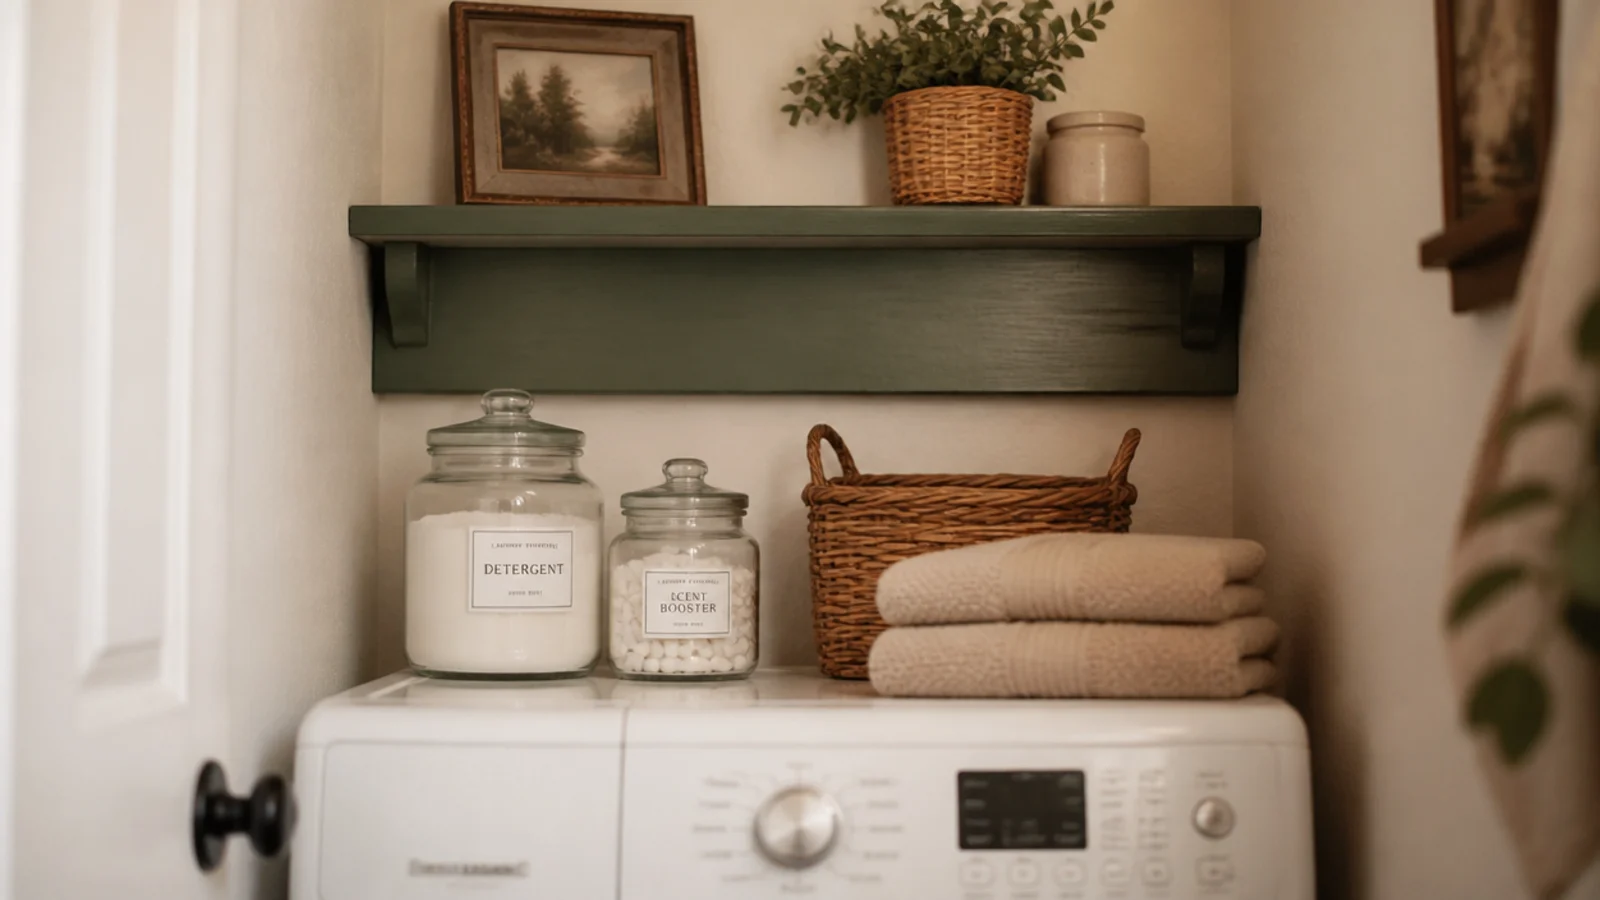
Makeover 18: The laundry nook nobody had touched
Before: detergent bottles on the floor beside a washing machine, in the most wasted six feet of wall in the entire flat.
After: one painted board at 60 inches, 10 inches deep, with a small front lip added.
The lip matters here. Vibration walks objects toward the edge over a few months, which is not a problem anywhere else in a house. I fixed into the blocking behind the machine hookups, which most laundry walls have. Cost $34 including a pair of decanted glass jars.
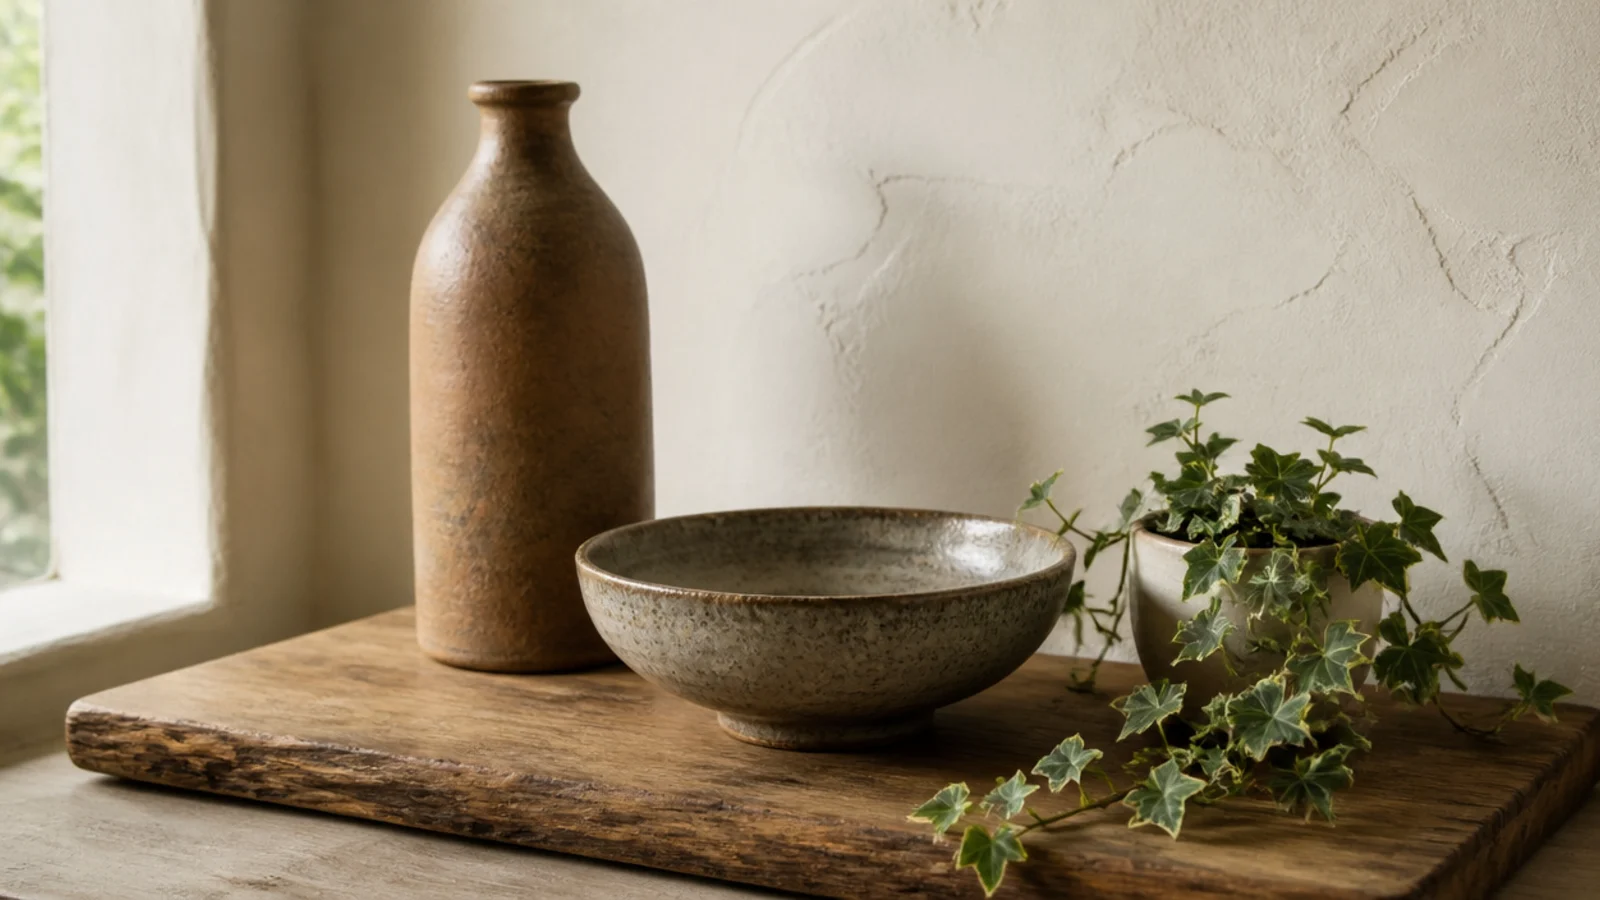
Makeover 19: The shelf where everything matched
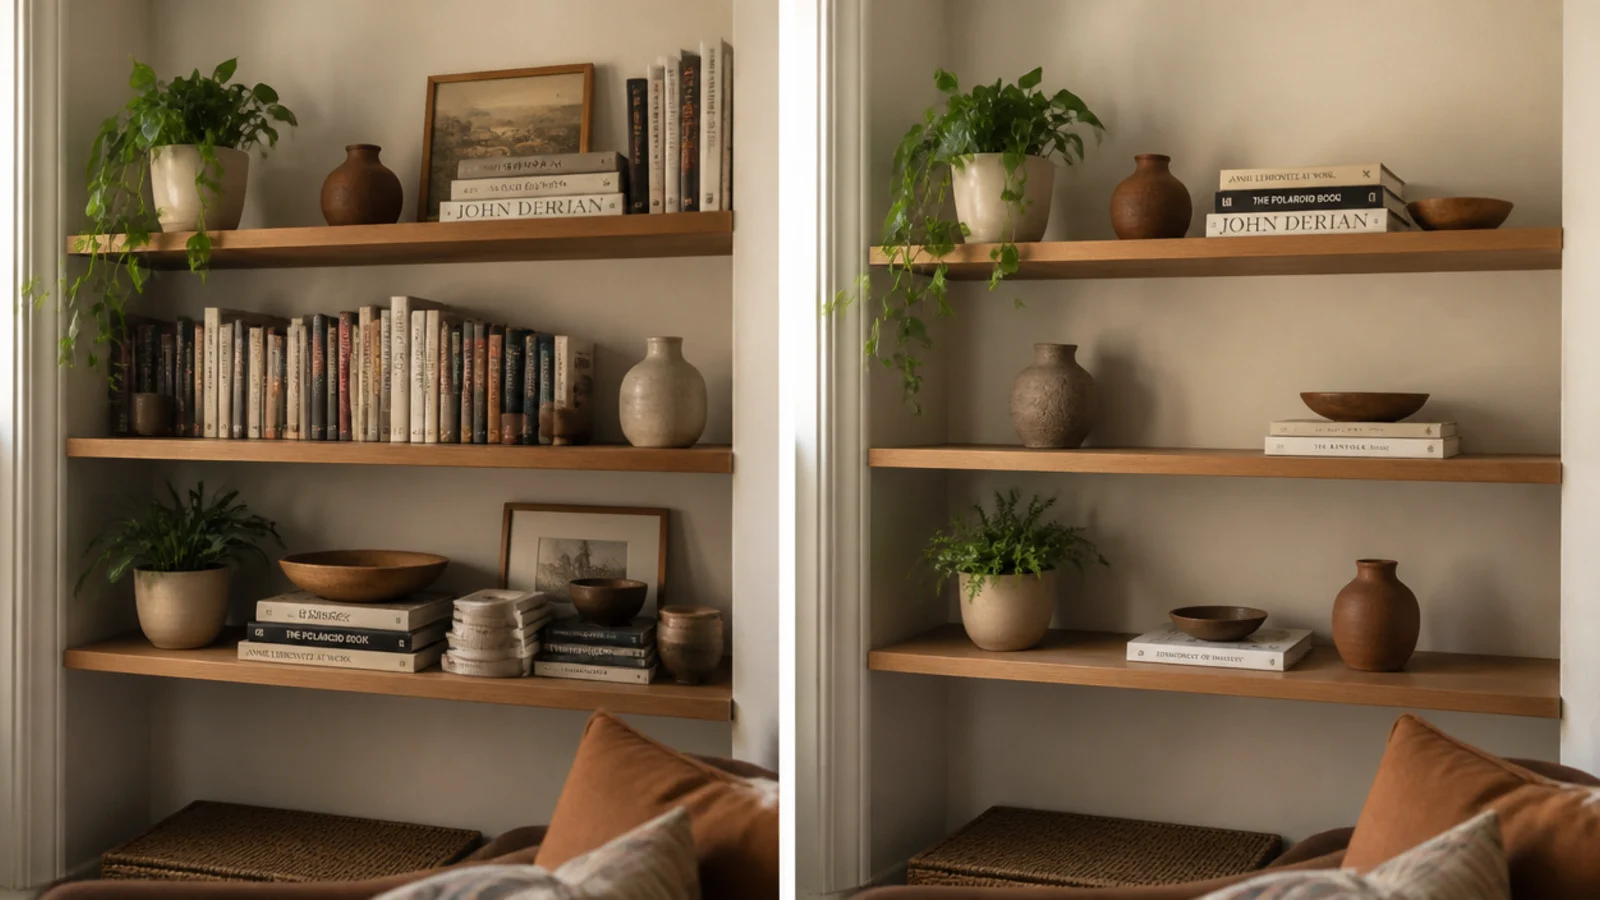
Before: five identical cream jars in an even row, which read as a shop display rather than someone's home.
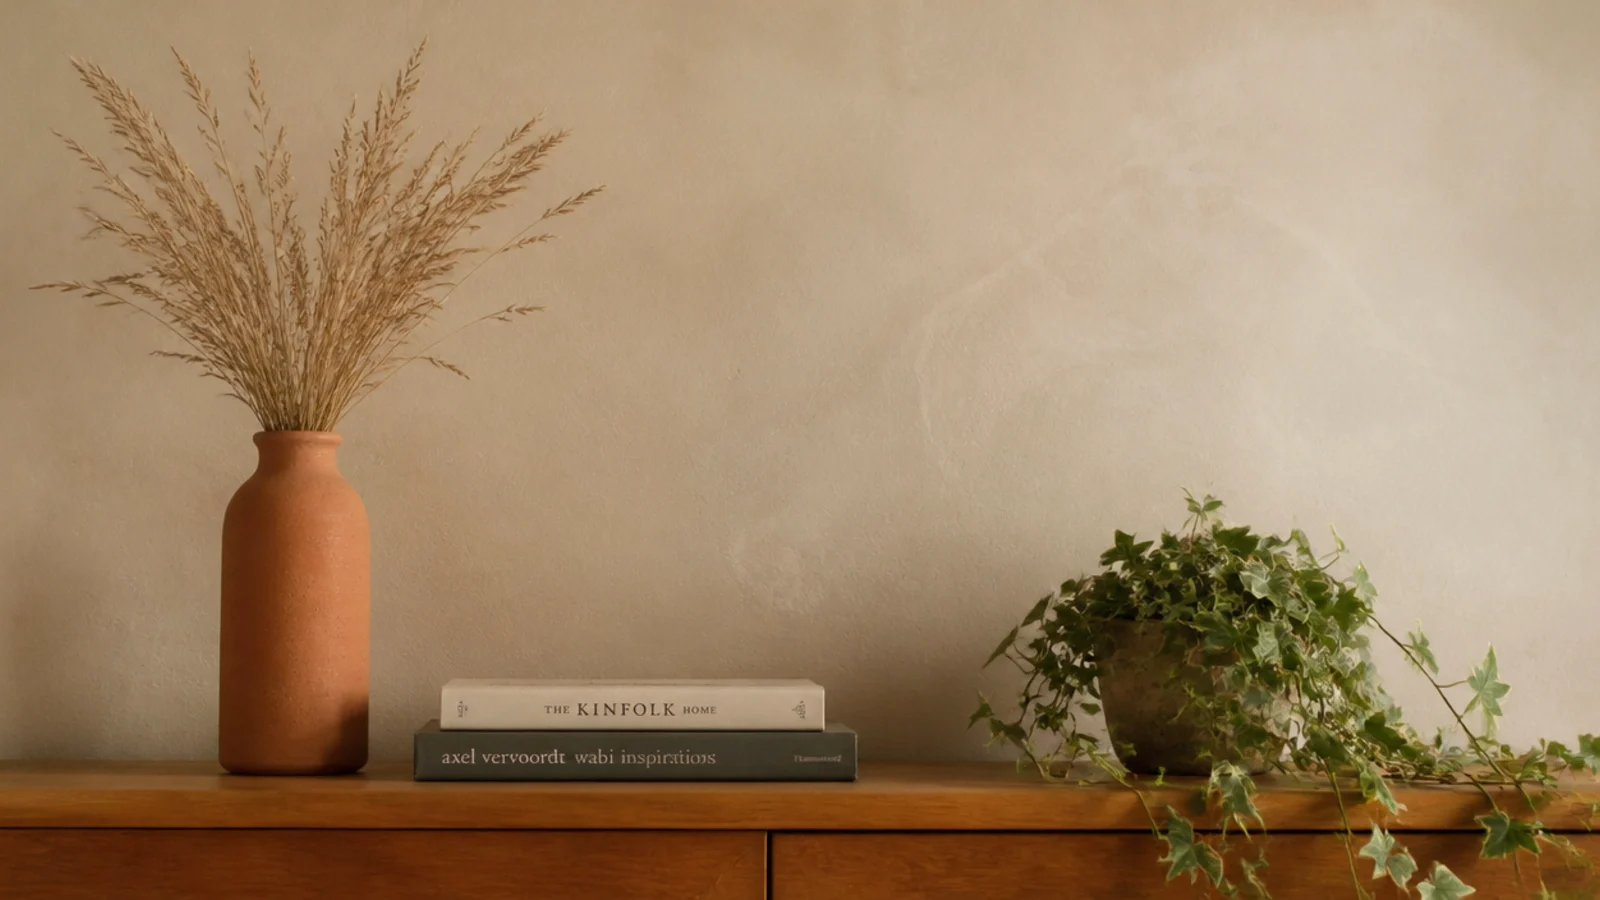
After: three objects — a tall clay bottle, a wide low bowl and a small trailing ivy — grouped tightly with a real gap beside them.
Two jars stayed, three went into a seasonal box under the bed. The gap beside the group is doing as much work as the objects inside it. Same shelf, same possessions, entirely different feeling, and it took four minutes and nothing at all.
Makeover 20: Five short shelves became one long one
Before: five short boards scattered across a living room wall at four different heights, which read as busy from every angle.
After: one continuous 72-inch board at 58 inches, fixed into every stud it crossed, styled in three tight clusters.
The unbroken horizontal makes the room read wider, and three clusters give the eye somewhere to rest between them. This was the most expensive makeover here at $118, and the one people notice first.
Floating Shelves Before and After: What I'd Do Differently Now
Looking at twenty of these in a row, the pattern is slightly uncomfortable: almost everything that worked was subtraction.
Eight cost nothing at all. The ones that cost money were mostly physical fixes — anchors, board thickness, material choice, clearance — where styling could never have helped no matter how carefully I arranged things. Everything else was removing objects, painting something out, or changing a bulb.
If I could hand my younger self one instruction it would be to stop treating an empty board as a problem to solve. I spent years adding to walls that were already full, and the shelves I am proudest of now are the ones where I took two-thirds of the objects away and stopped.
The other thing I would change is the order. I used to style first and fix the structure later, which meant doing the whole job twice. Now I check the anchor, the depth and the light before a single object goes on a board.
Frequently asked questions
What is the cheapest floating shelf makeover that works?
Painting the brackets the wall color and taking a third of the objects off. Both are free or close to it, and together they change how a shelf reads more than any purchase. Across the twenty makeovers here, those two changes appear more often than anything I bought, and neither takes more than half an hour.
How long does a floating shelf makeover take?
A styling-only change takes 20 to 40 minutes, including the part where you take everything off and start from an empty board. Swapping anchors or repainting is an afternoon plus overnight drying. Cutting, building and mounting a new shelf is one evening and one morning if you already own a drill.
Should I replace my floating shelves or just restyle them?
Restyle first. Most of the shelves I am asked to fix need nothing bought at all. Replace only when the board bows under load, the depth catches you when you walk past, or the anchors are creeping out of the drywall. Those three are physical problems that no amount of styling will hide.
What is the most common problem with a floating shelf?
Too many objects, all at similar heights, on a board that is slightly too high. It shows up in nearly every wall I look at. The second most common is the anchor: plastic plugs rated for about 10 pounds under a shelf carrying thirty, which fails so slowly that nobody notices until it tilts.
Do I need to empty the shelf before restyling it?
Yes, and it is the step everyone wants to skip. Nudging an existing arrangement moves the problem around rather than solving it, because you keep protecting decisions you already made. Ten minutes rebuilding from an empty board beats an hour of adjusting, every time I have tried both.
Try the free version first on whichever wall bothers you most: take everything off, put back three things at three heights, and change the bulb if the room reads grey. If it still looks wrong after that, the problem is structural and worth spending on. The floating shelf mistakes guide covers what I got wrong the first time, and for the straight-wall-versus-corner decision, corner shelves before and after has the other half. Save the pin before you buy anything new.
Want more like this? Browse all 15 floating shelves guides — they all use the same measurements and budget tiers.
Pin it for later
Save this to your Floating Shelves board
Pin it now so it is waiting for you when the tape measure comes out — and so the next person hunting for this idea can find it too.
Save this pinKeep going
More ideas worth saving while you have the tape measure out.