Floating Shelves · UGC
15 Floating Shelf Mistakes I Made and Fixed

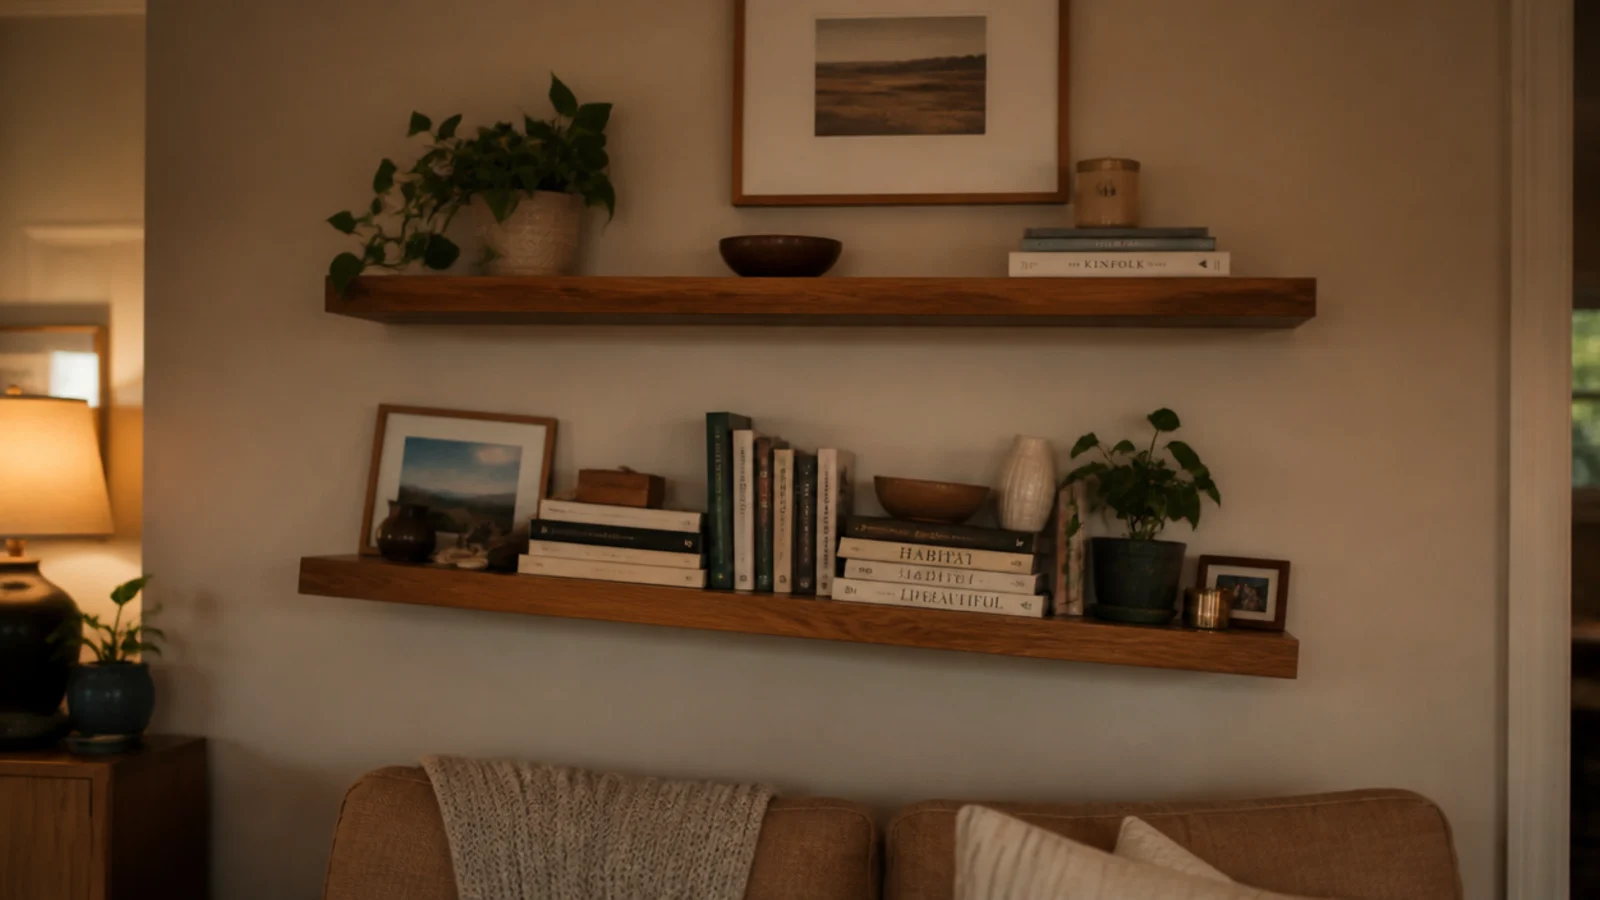
The floating shelf mistakes below are all mine, and I have made most of them more than once. Five rentals, two houses, and a long stretch of assuming that anything sold in a box came with the parts to hold it up.
The first shelf I ever hung came down on a Tuesday afternoon while I was at work. It was a 30-inch board with maybe 35 pounds of books on it, held by the small white plugs from the packet. It did not fall dramatically. It leaned, then slid, and I came home to a stack of paperbacks on the floor and two ragged holes in the drywall of a flat I did not own.
Everything since has been a correction of something. Here are fifteen of those corrections, in roughly the order I earned them, with what each one actually cost me to put right.
In this guide16 sections — tap to openHide
- 1.Mistake 1: I trusted the plugs that came in the box
- 2.Mistake 2: I spanned thirty inches with a half-inch board
- 3.Mistake 3: I put a concealed rod bracket into bare drywall
- 4.Mistake 4: I bought a twelve-inch deep shelf for a hallway
- 5.Mistake 5: I drilled before I found the studs
- 6.Mistake 6: I trusted adhesive strips on builder-grade paint
- 7.Mistake 7: I mounted the shelf too high to use
- 8.Mistake 8: I loaded the top shelf heaviest
- 9.Mistake 9: I skipped the cable grommet
- 10.Mistake 10: I put raw pine above a bathroom sink
- 11.Mistake 11: I bought a bracket shorter than the shelf was deep
- 12.Mistake 12: I left the brackets bright silver
- 13.Mistake 13: I levelled to the ceiling instead of the floor
- 14.Mistake 14: I hung a shelf right above the pillows
- 15.Mistake 15: I never photographed where the studs were
- 16.Floating Shelf Mistakes: What I'd Do Differently Now
Mistake 1: I trusted the plugs that came in the box
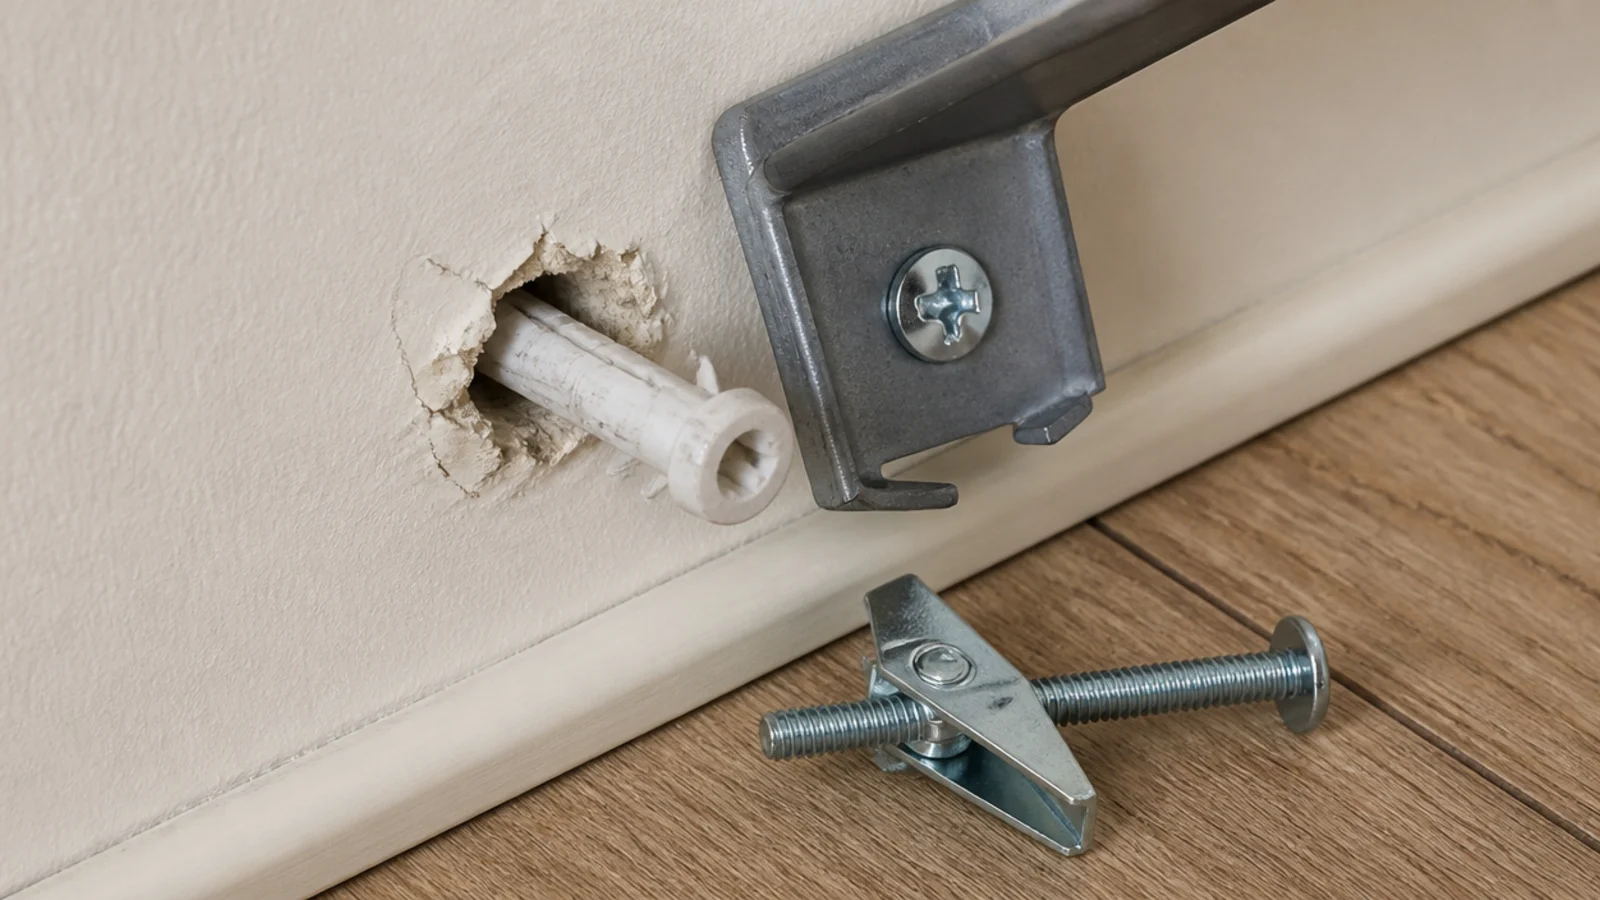
Those small plastic plugs are rated at roughly 10 pounds. A pair of them under a shelf carrying 35 pounds of books is not a close call.
They do not fail suddenly, which is what makes them dangerous. They crush the drywall around themselves and creep out over weeks, so the shelf looks fine right up until it does not.
The fix: toggle bolts, about a dollar each, carrying 25 to 35 pounds apiece in half-inch drywall. Better still, move the shelf sideways so one fixing catches a stud. A concealed rod bracket into a stud carries 30 to 40 pounds on a 24-inch shelf. I now throw the supplied plugs away before I open the rest of the box.
Mistake 2: I spanned thirty inches with a half-inch board
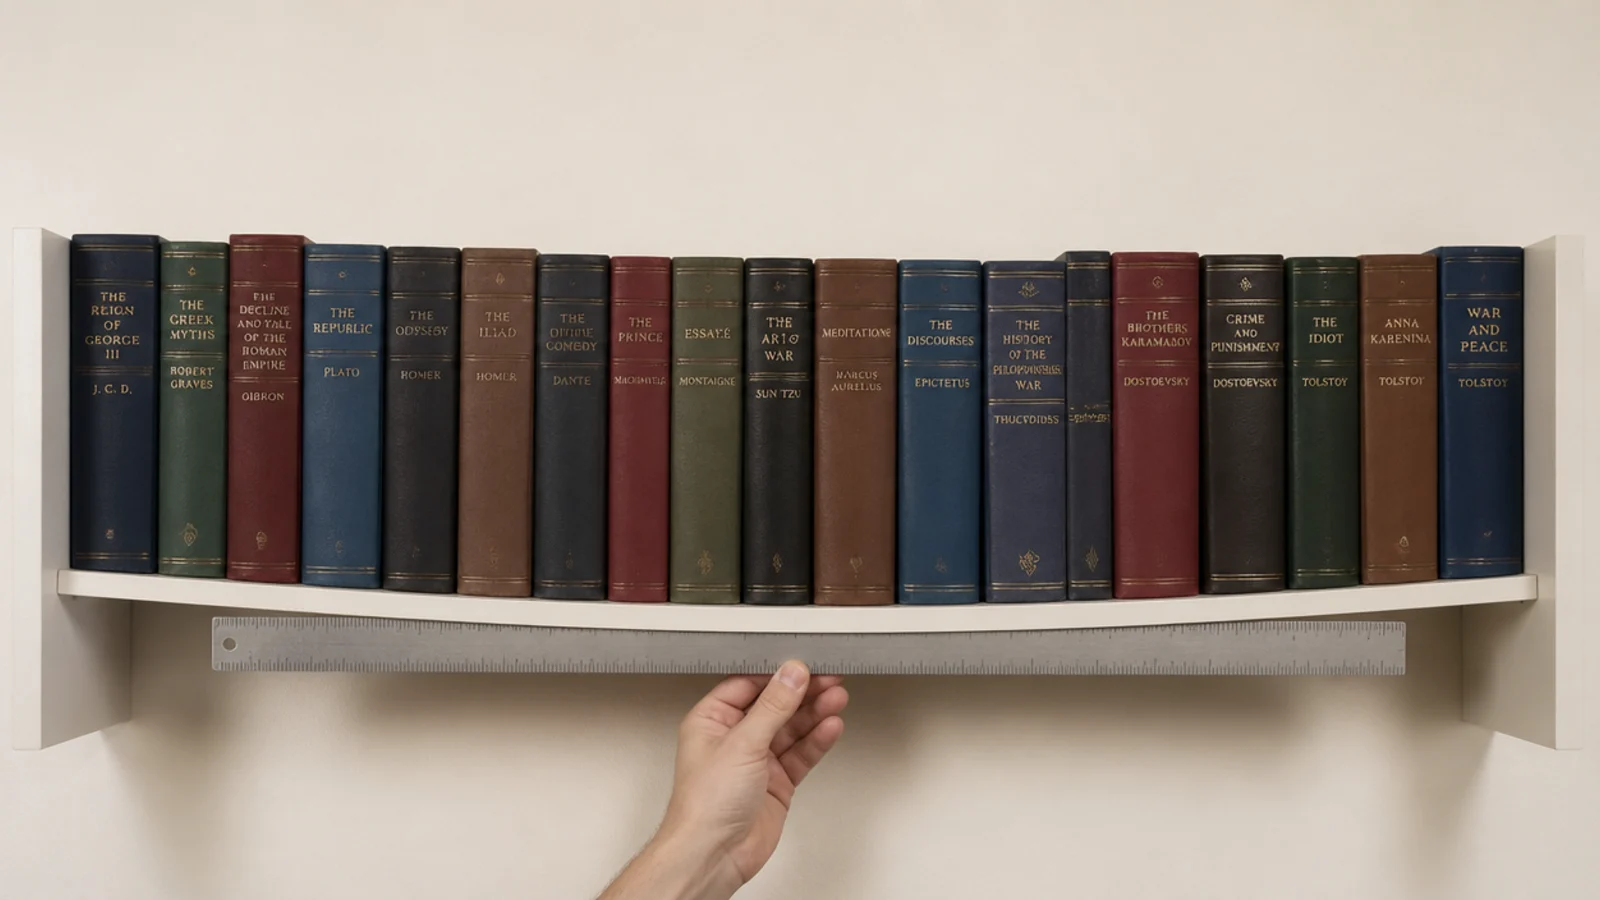
The board was beautiful, thin, and exactly wrong. Within a month of holding hardbacks it had a visible dip in the centre, and no amount of tightening at the ends does anything about a bow in the middle.
The fix: three-quarter-inch stock, which spans 24 inches under books without any visible deflection. Half-inch starts bowing at about 18 inches. If you want a thicker look without buying thick lumber, build a hollow box around a light frame — that gives you a 1.5 to 2 inch front edge cheaply and it will never sag, because the depth of the edge is doing the structural work.
Mistake 3: I put a concealed rod bracket into bare drywall
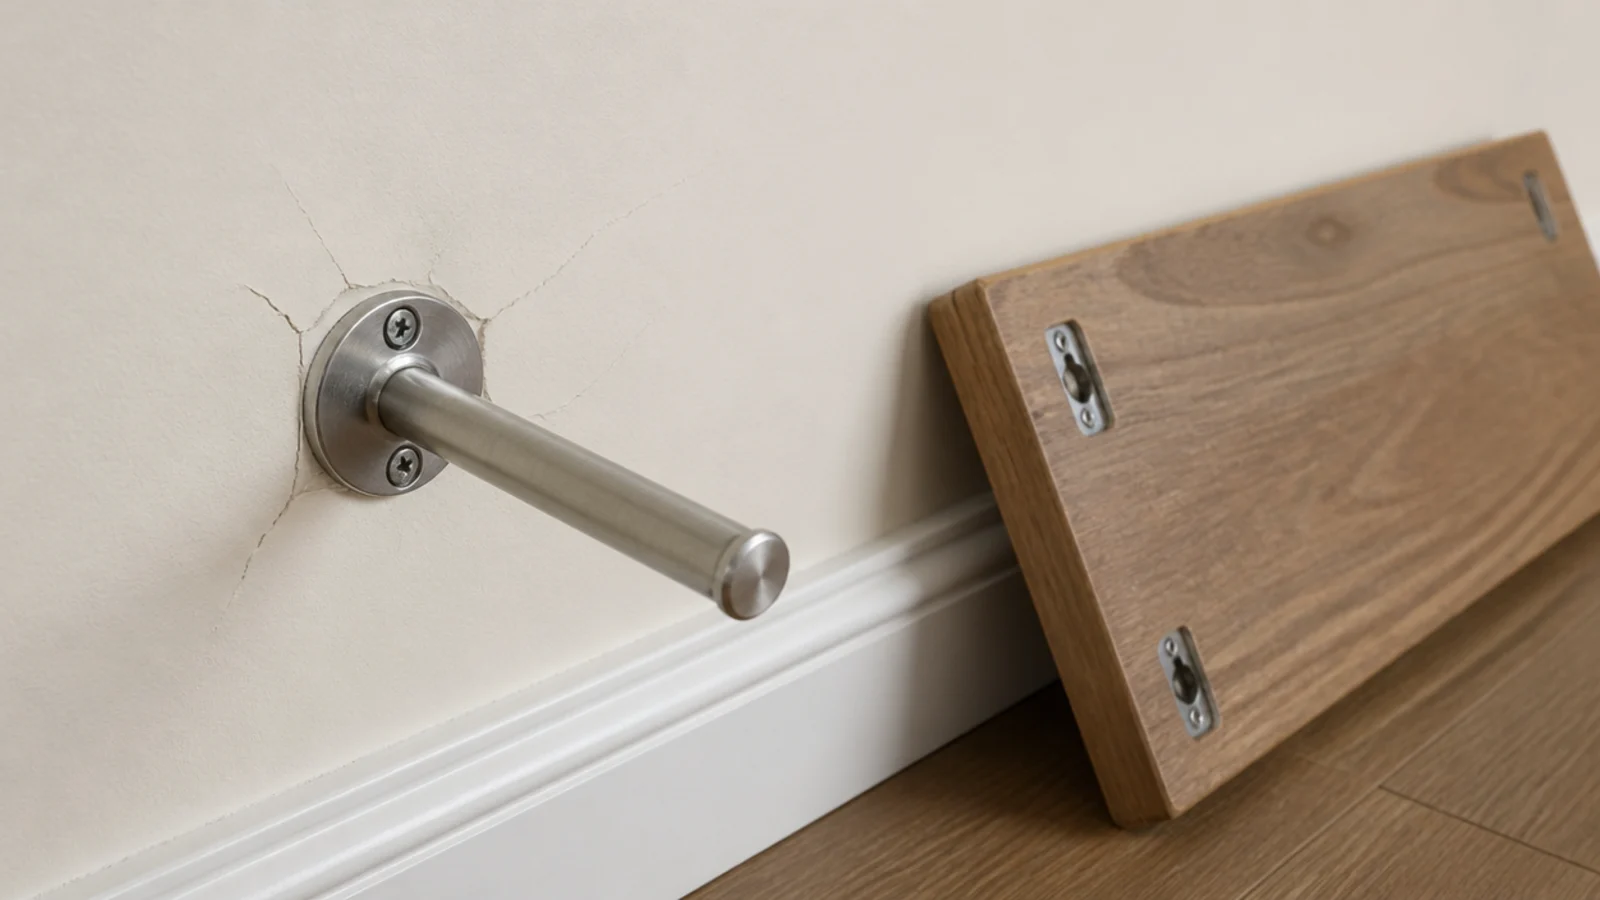
Concealed rod brackets look like magic and they are genuinely excellent — into framing. Into drywall alone, they are the weakest common setup, because a rod turns every pound on the shelf into leverage against a soft paper-faced board.
Mine tilted about three degrees within a season, and the paint cracked in a fine line around the mounting plate.
The fix: either hit a stud with at least one rod, or accept a visible bracket. Painted-out L brackets read as floating from any normal viewing angle anyway, and they cost a fifth as much. A shelf that looks floating from six feet away is floating enough.
Mistake 4: I bought a twelve-inch deep shelf for a hallway
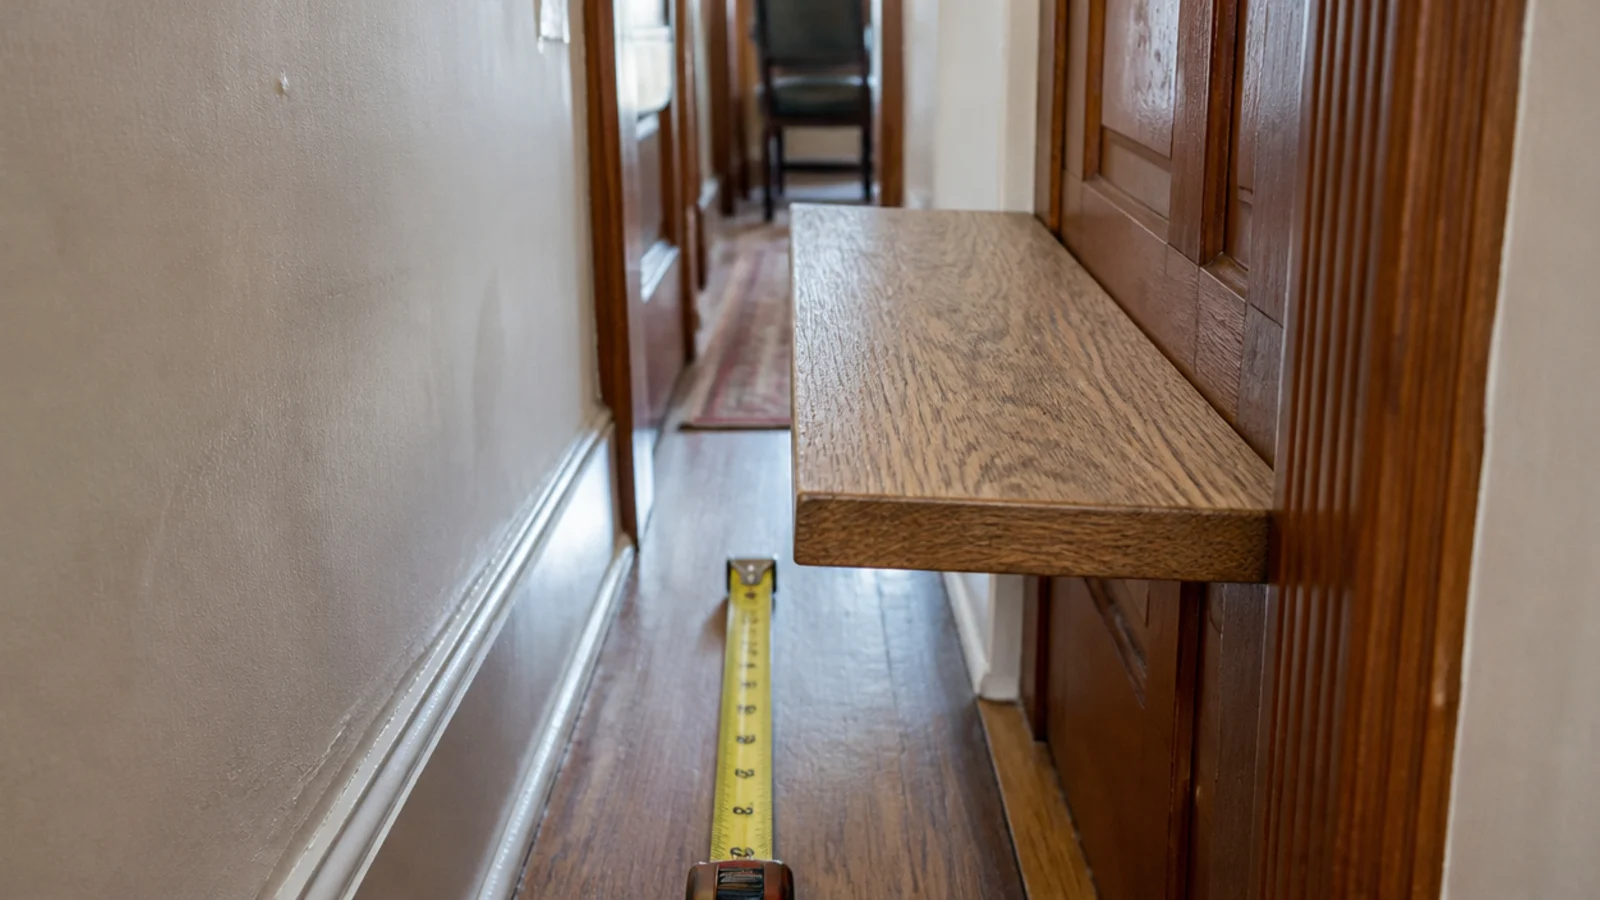
Twelve inches looked generous in the shop. In a hallway with 28 inches of clearance it meant catching it with my shoulder on the way past, daily, for eight months.
Depth is also a structural decision, and this is the part I did not understand at the time. Leverage rises with depth, so a 12-inch shelf doubles the pull-out force of a 6-inch one carrying the same weight.
The fix: 4 to 6 inches anywhere you walk past, 8 inches where there is a clear walkway, and 10 or more only on studs. I replaced that hallway board with a 5-inch ledge and stopped noticing it entirely.
Mistake 5: I drilled before I found the studs
I marked the shelf position, drilled, hit nothing, moved along, drilled again, hit nothing again. Four holes later I had a shelf in the right place and a wall that needed filling in three.
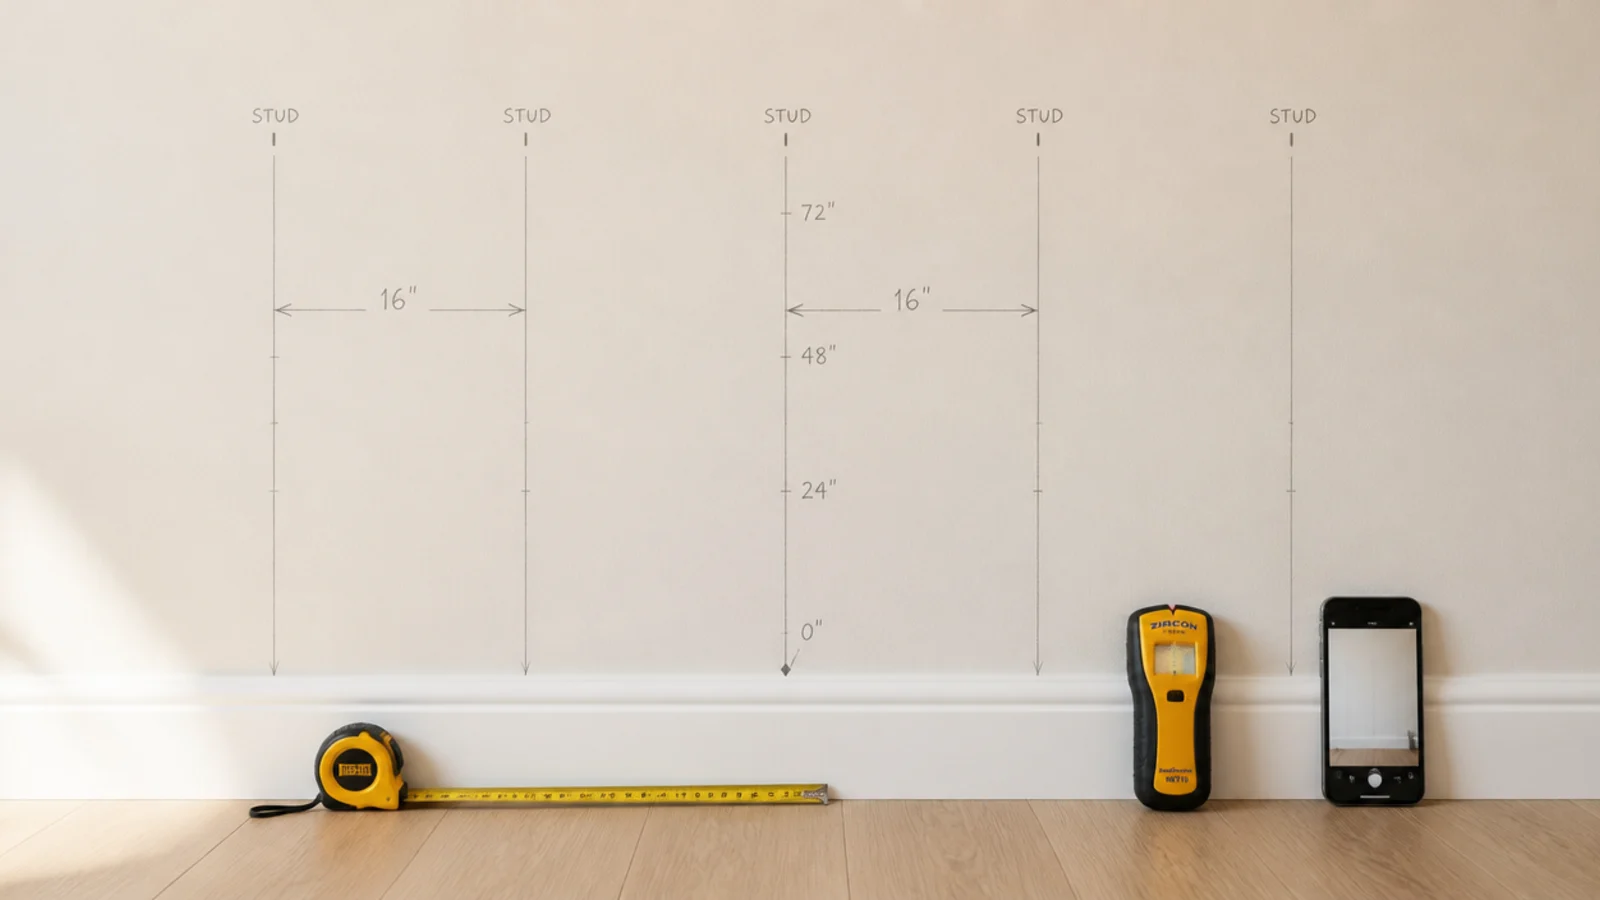
The fix: run the stud finder along the entire wall first and mark every stud in pencil before you decide where the shelf goes. Studs generally sit 16 inches apart. Moving a shelf 4 inches to land on framing is free and turns a 25-pound shelf into a 40-pound one. Tap the wall to confirm — a stud sounds solid, a cavity sounds hollow, and both are obvious once you have listened for them twice.
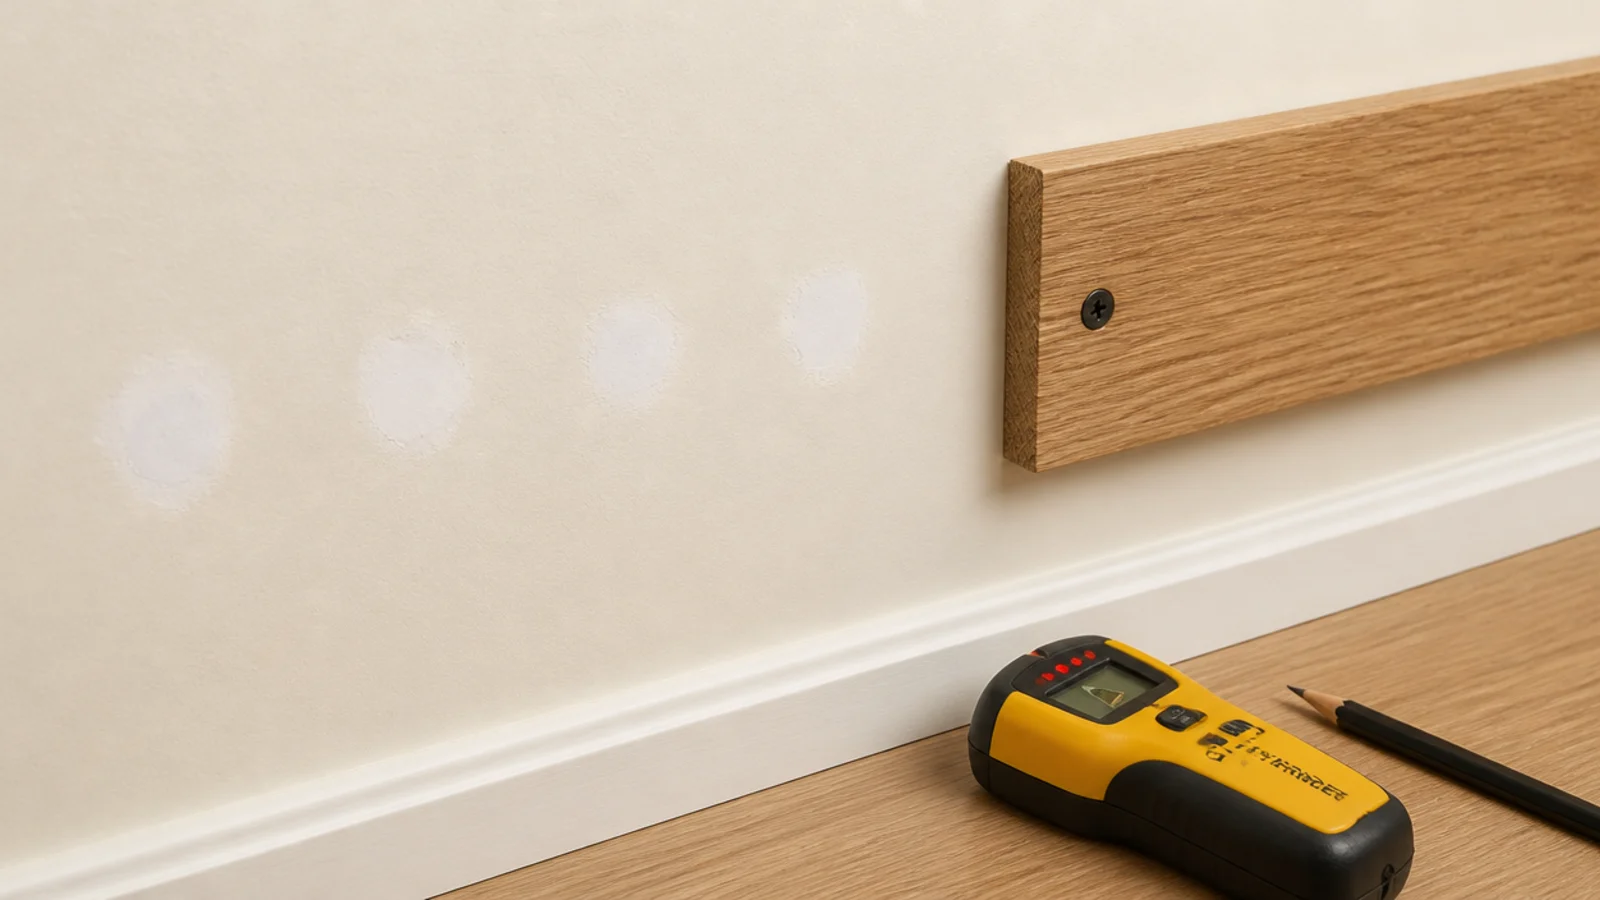
Mistake 6: I trusted adhesive strips on builder-grade paint
The strips were rated to 15 pounds per pair and I was well under that with a shallow ledge and two ceramics. They still came off, and they brought a hand-sized patch of paint with them.
Heavy-duty adhesive fails on flat builder-grade paint, which is exactly what almost every rental has. The strip does not let go of the paint; the paint lets go of the wall.
The fix: test one strip on a hidden patch and pull it after 24 hours before you trust a whole shelf. If the paint lifts, adhesive is not an option in that flat, and the answer is two small screw holes you can fill in ten minutes.
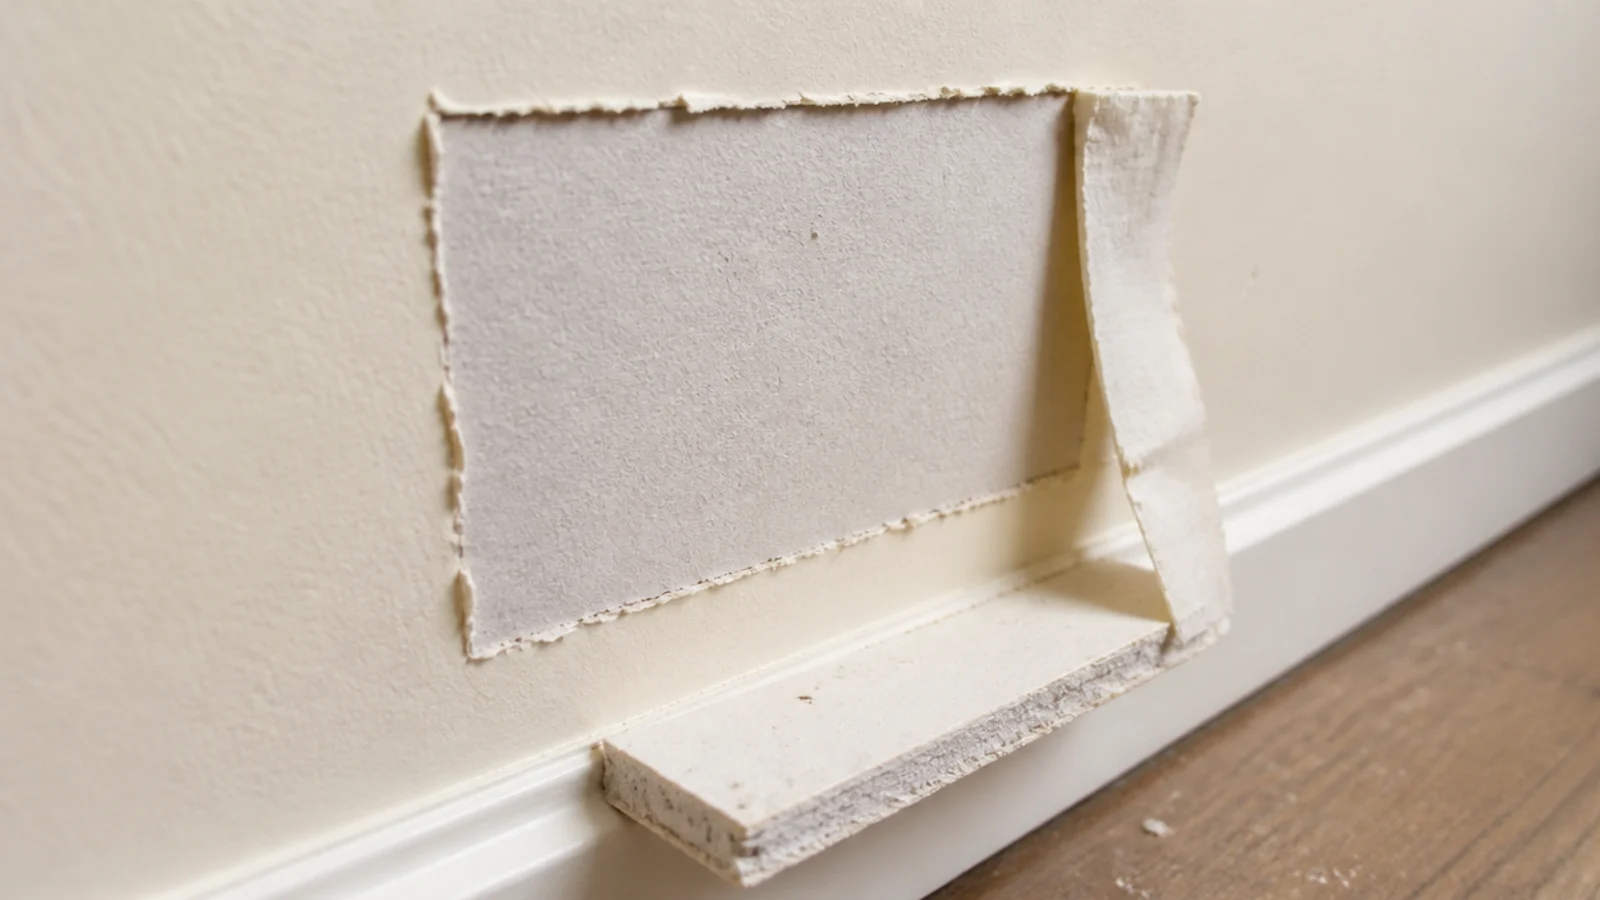
Mistake 7: I mounted the shelf too high to use
I marked it standing up with a pencil at eye level, which felt right in the moment. The shelf ended up at 66 inches, and everything on it became decoration I dusted twice a year.
The fix: start from something you actually use. In a living room the lowest board wants to be around 42 inches, or 10 to 12 inches above a sofa back. Beside a bed it wants to be level with the top of the mattress, because that is where your hand lands in the dark. Build upward from there rather than downward from the ceiling.
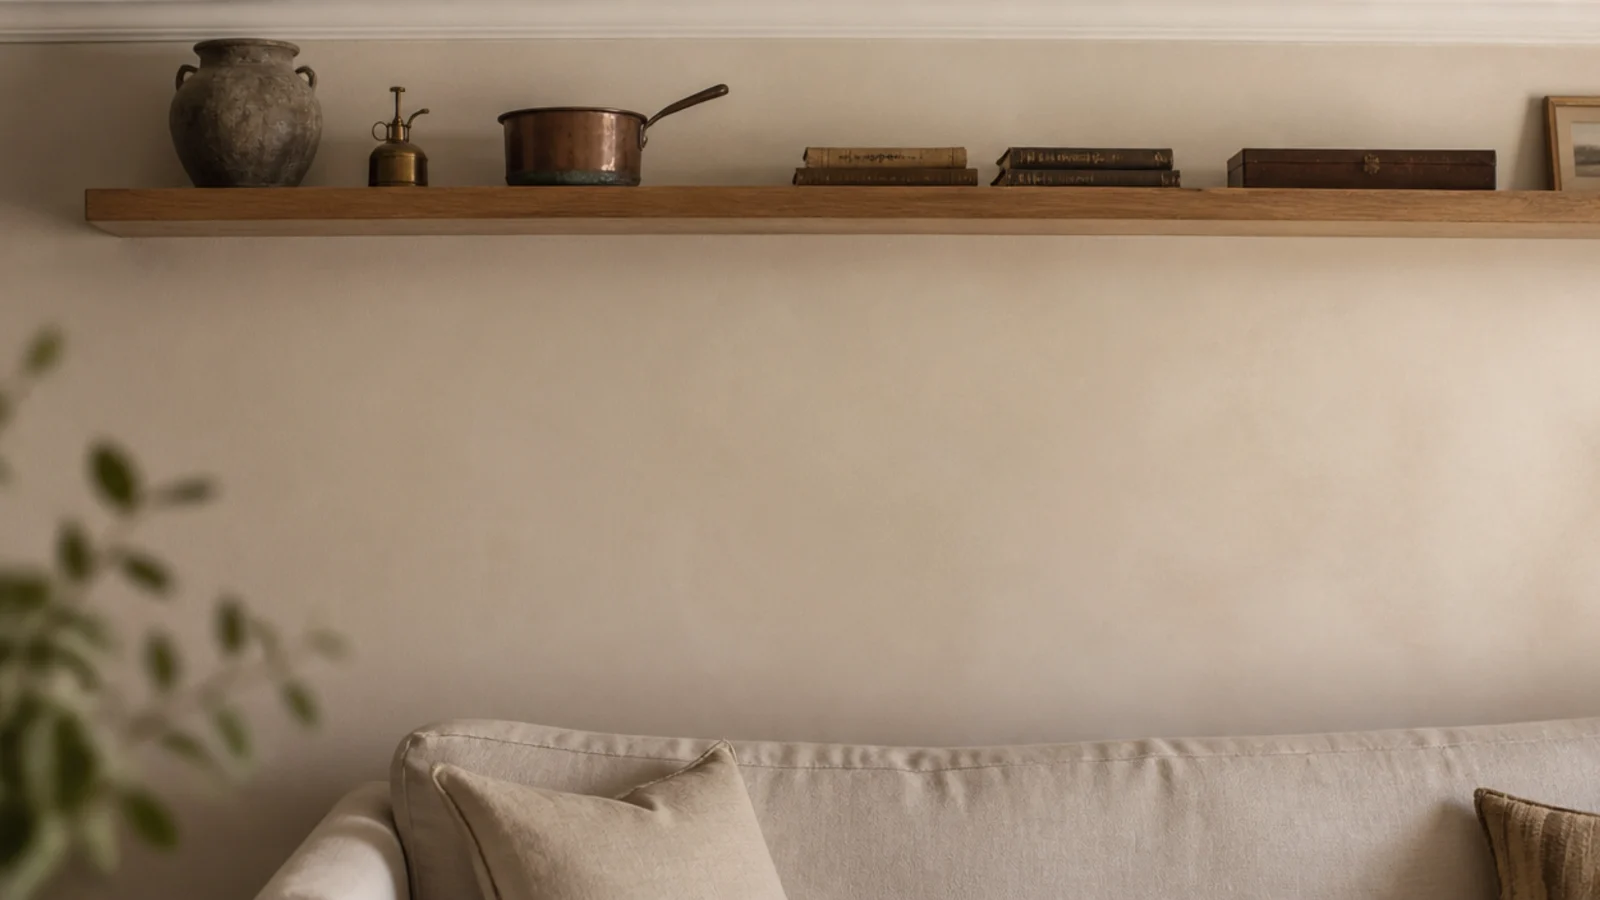
Mistake 8: I loaded the top shelf heaviest
A large stoneware crock, up top, because it looked good silhouetted against the wall. Within a month there was a hairline crack in the paint beside the upper bracket, which is drywall telling you it is being levered.
The fix: heaviest object on the lowest board, every time, regardless of how it photographs. Weight high puts a pulling load on the top anchors, and pulling loads are exactly what drywall fixings are worst at. Baskets and books low, ceramics and greenery high. It is also safer if anyone small lives in the house.
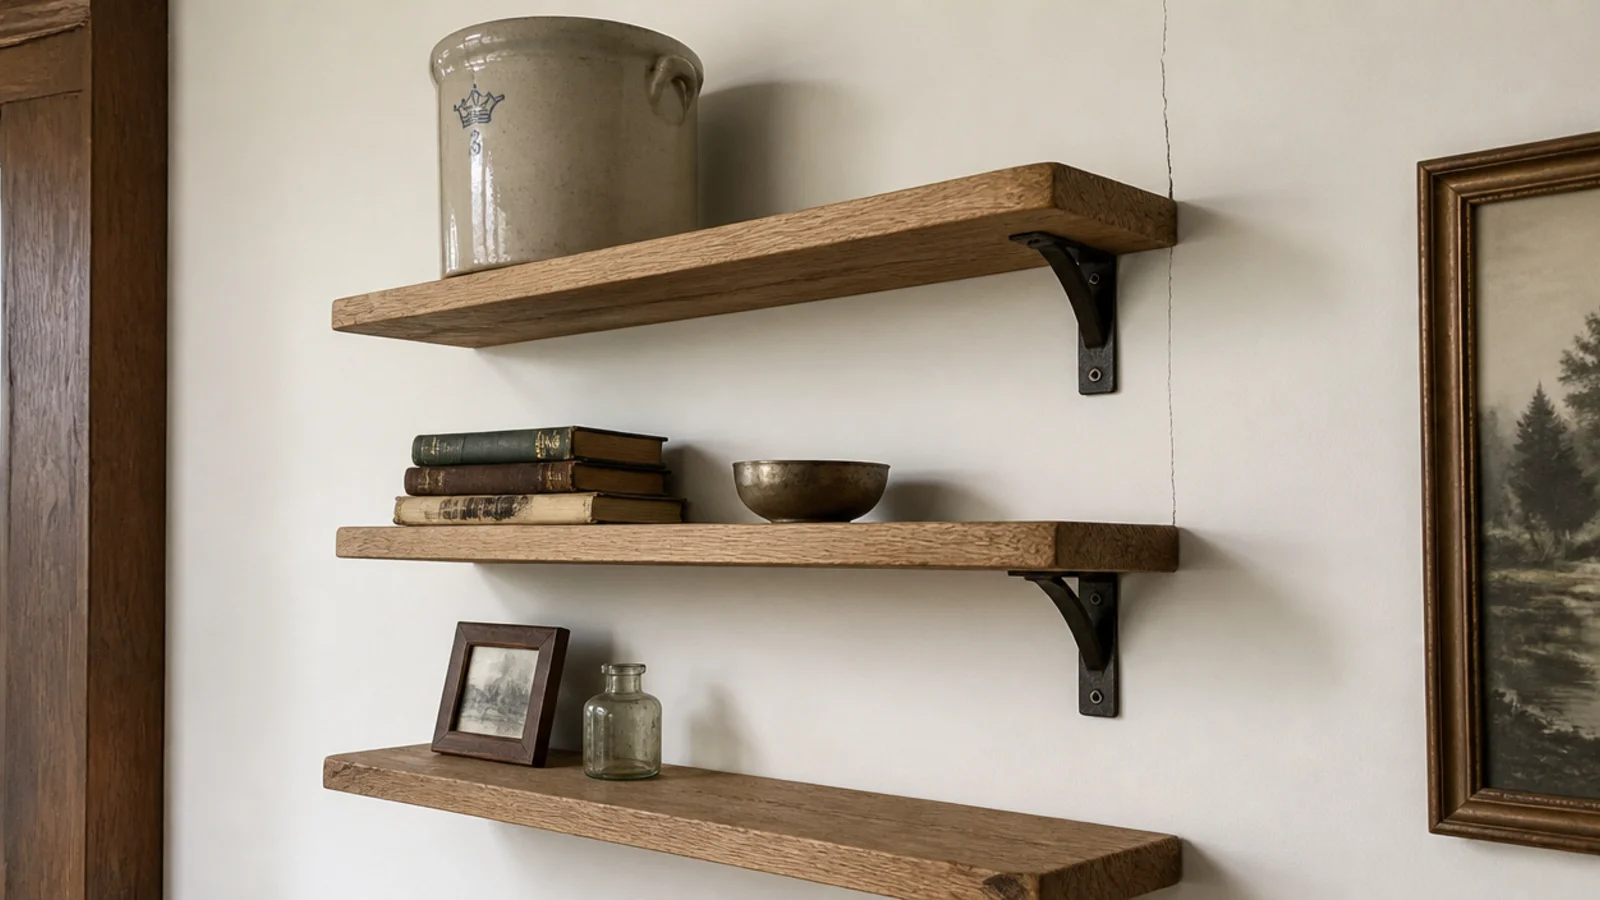
Mistake 9: I skipped the cable grommet
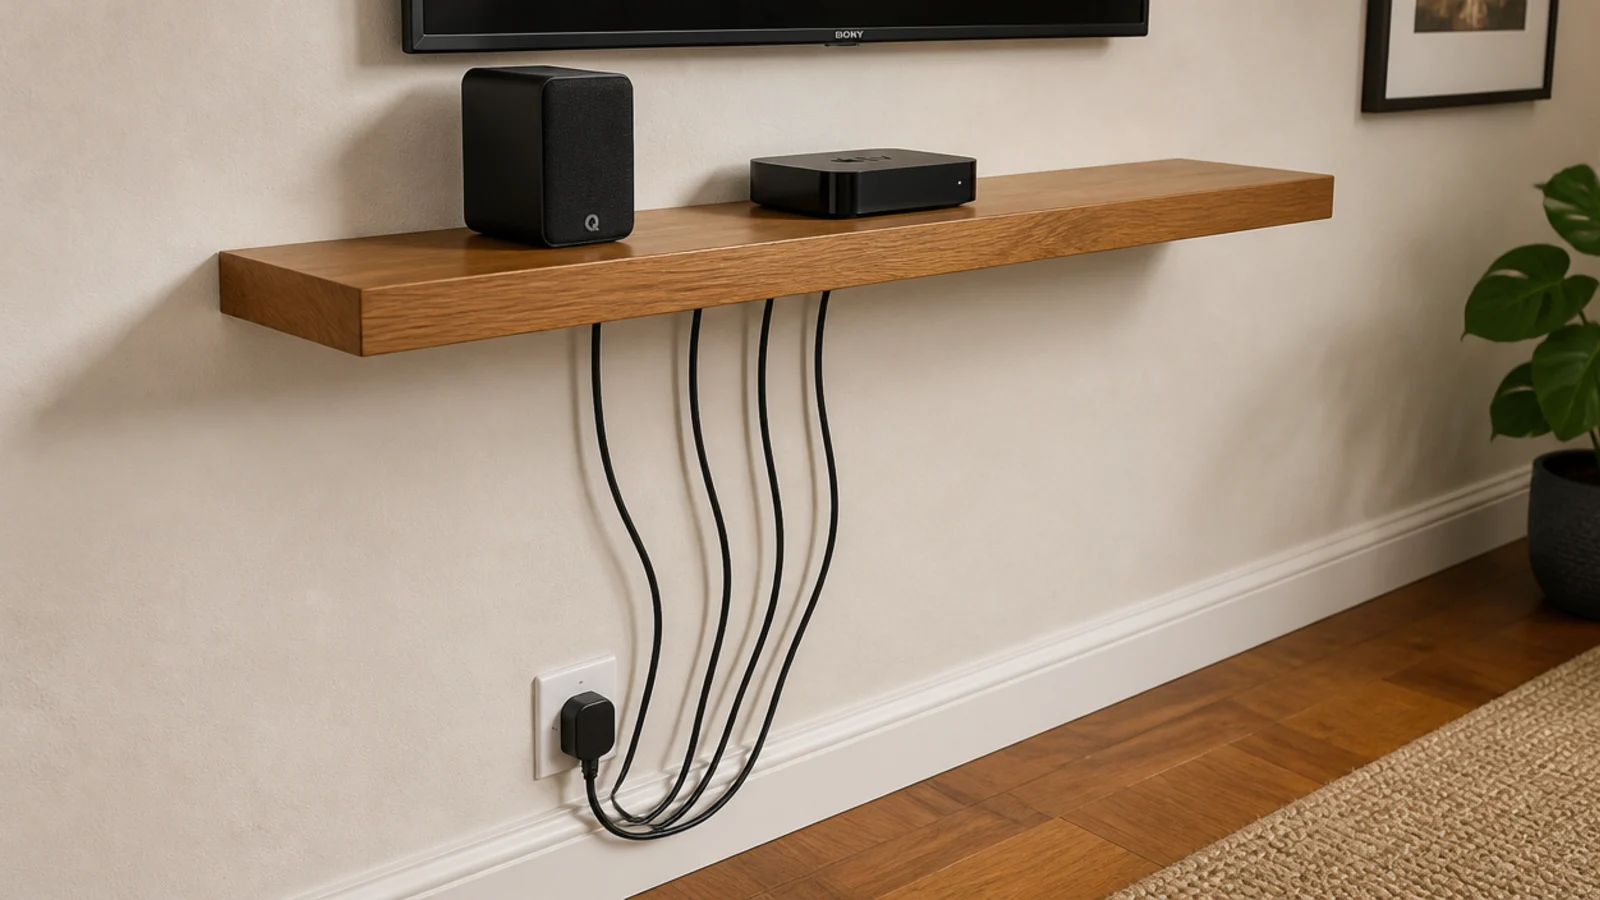
A beautifully mounted media shelf with a streaming box, a speaker and four black cables hanging down pale plaster to the outlet below. Every good decision on that wall was cancelled by the cables.
The fix: one 1.5-inch grommet hole drilled at the back of the shelf before it goes up, plus an adhesive cable channel painted the wall color running straight down. Total cost about $15. Do it before you mount the shelf, because drilling a clean hole in a board on a bench is a two-minute job and drilling it on the wall is not.
Mistake 10: I put raw pine above a bathroom sink
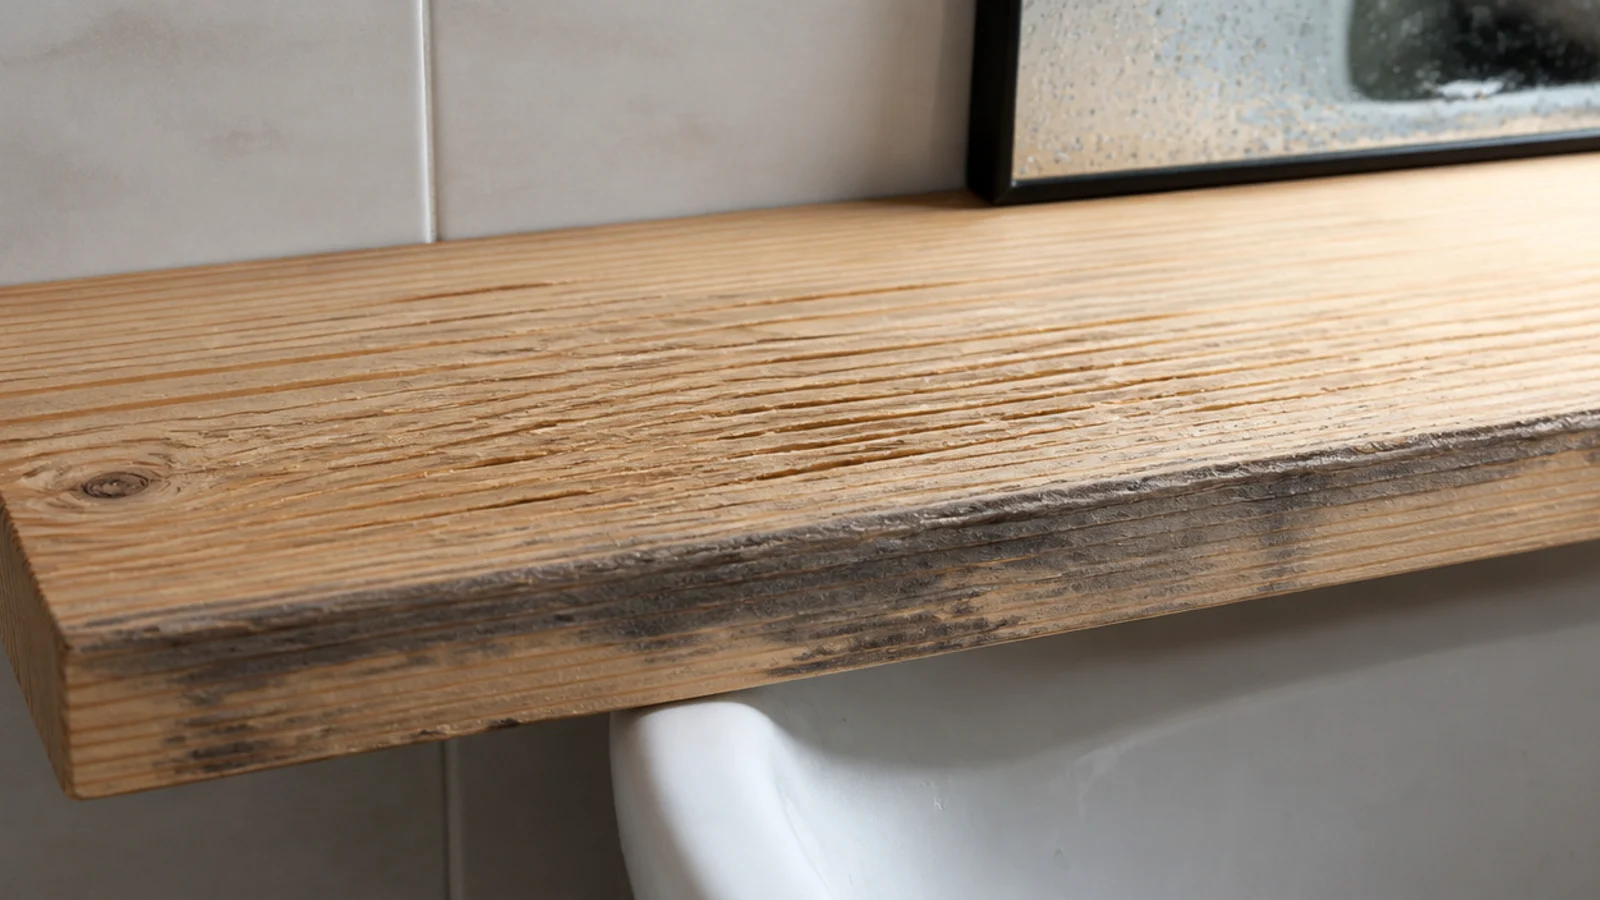
It looked lovely in September. By February the grain had lifted along the front edge and there was a grey water stain I could not sand out without losing the profile.
The fix: bathrooms want sealed teak, bamboo, solid surface or powder-coated steel, and nothing else. Raw pine and unsealed MDF swell and stain within a season in a room with no window. If you love a wood you already own, three coats of a proper penetrating oil and a yearly refresh will hold it — but sealed teak just works and stops being a maintenance task.
Mistake 11: I bought a bracket shorter than the shelf was deep
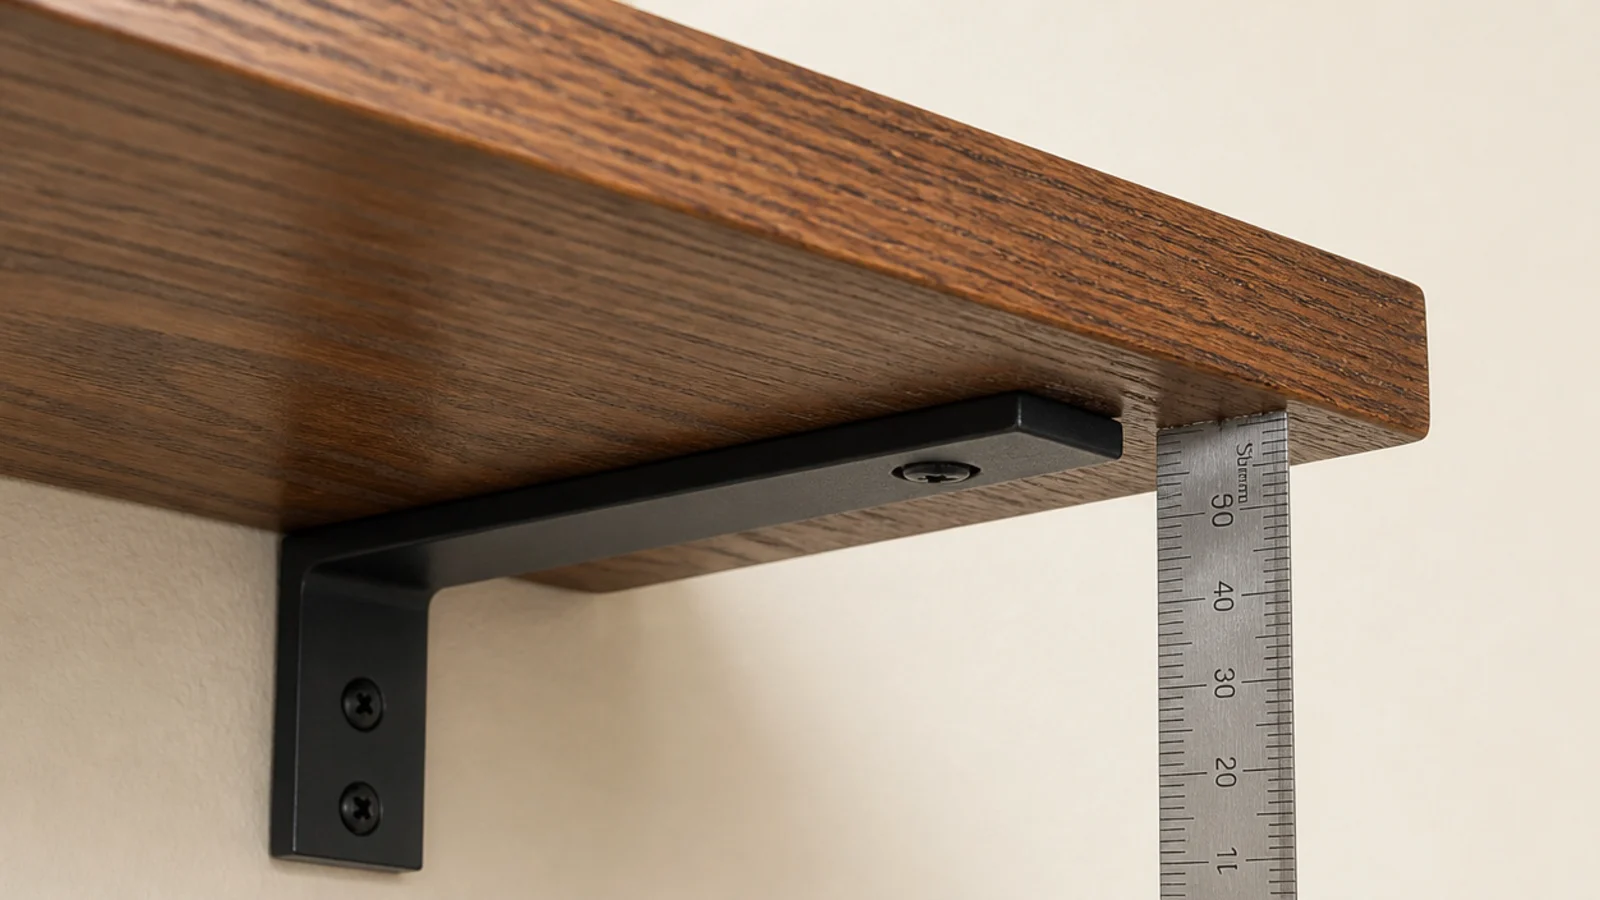
The brackets were 6 inches. The board was 9. Those unsupported 3 inches at the front acted like a hinge, and the shelf developed a permanent slight nose-down set that I could see from the doorway.
The fix: the bracket arm should reach at least two-thirds of the shelf depth, and ideally within an inch of the front edge. This is the specification nobody checks and it is on every product page. On a 10-inch board, buy an 8-inch bracket. The extra dollar is the cheapest insurance in this entire article.
Mistake 12: I left the brackets bright silver
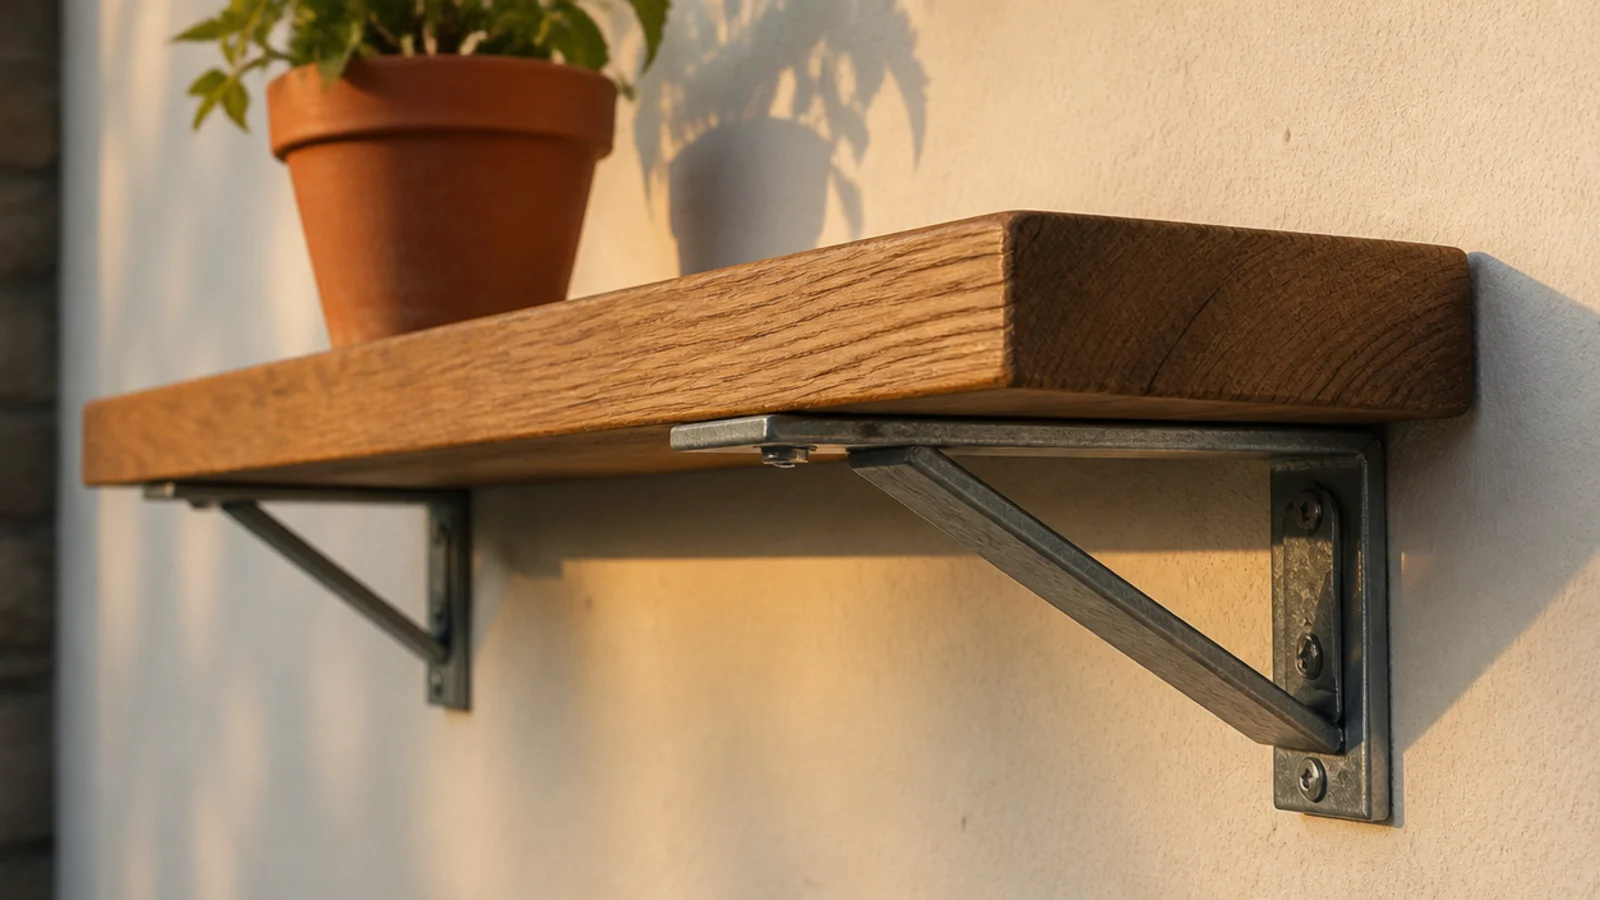
Galvanised steel brackets under warm oak. Structurally perfect, and they made a careful build look like a flat-pack kit, because the eye goes straight to bright hardware.
The fix: two thin coats of the wall color on the bracket plates and arms before you hang anything. Painted-out brackets read as floating from normal viewing angles, and a sample pot at about $9 does several shelves. If the wall is dark, paint them the same dark tone and they vanish completely. It remains the cheapest upgrade I know.
Mistake 13: I levelled to the ceiling instead of the floor
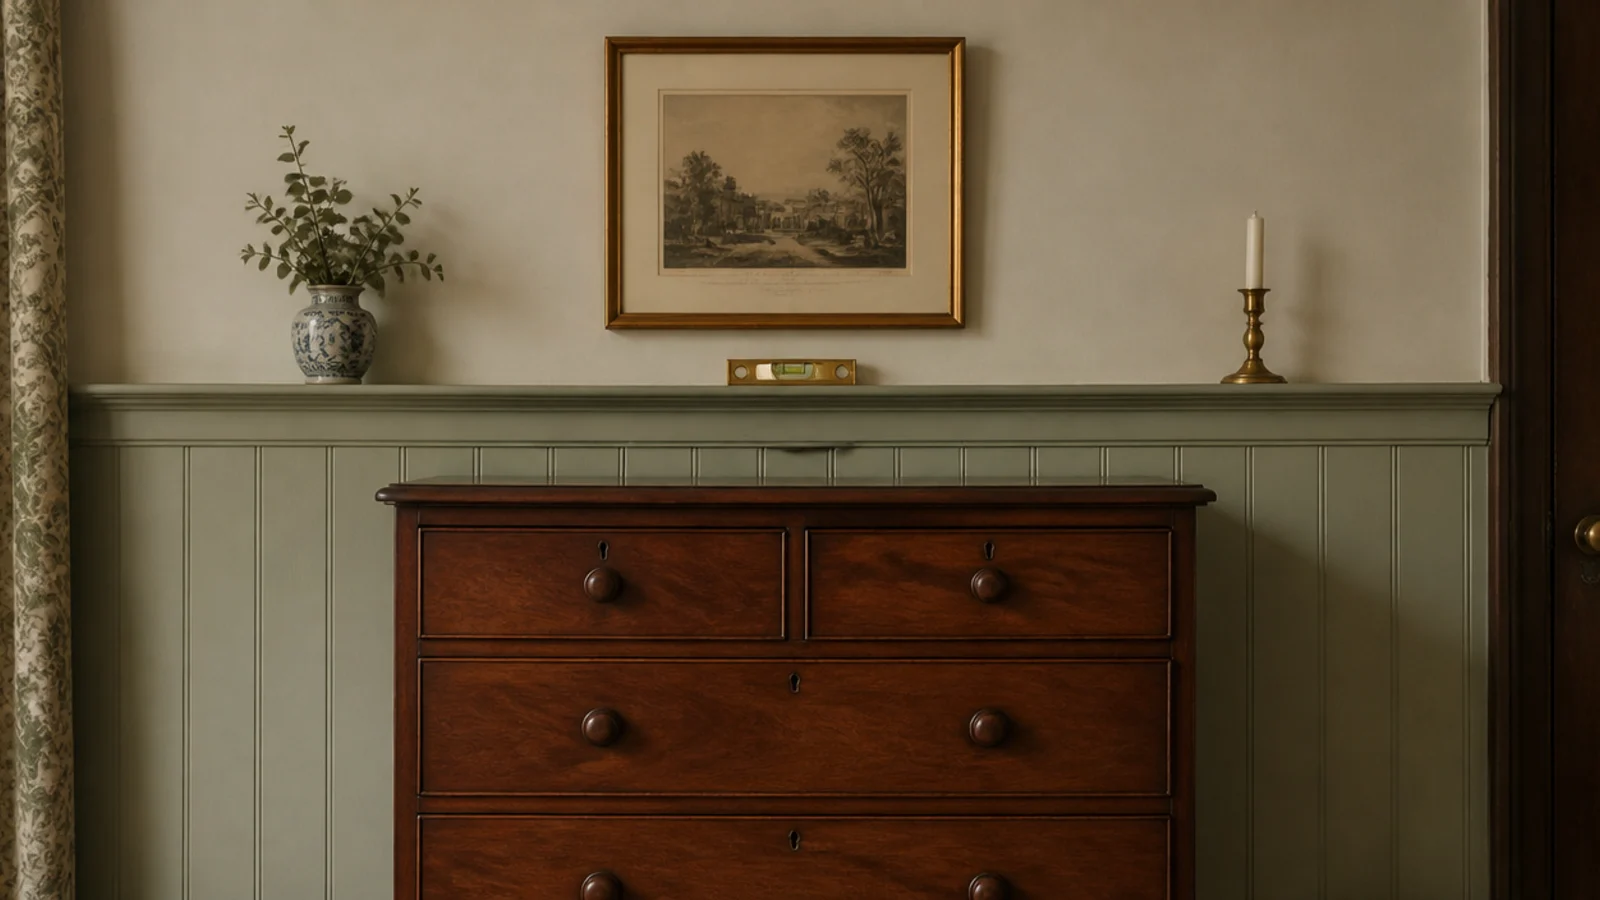
The flat was from the 1930s and the ceiling dropped about half an inch across the wall. I measured down from it because it was easier, and ended up with a shelf perfectly parallel to the ceiling and visibly wrong above a chest of drawers.
The fix: level to the floor and to the furniture your eye compares the shelf against. Your brain reads a shelf against horizontals in the room, never against the ceiling. Re-hanging took twenty minutes and two filled holes, and I have used a spirit level on everything since.
Mistake 14: I hung a shelf right above the pillows
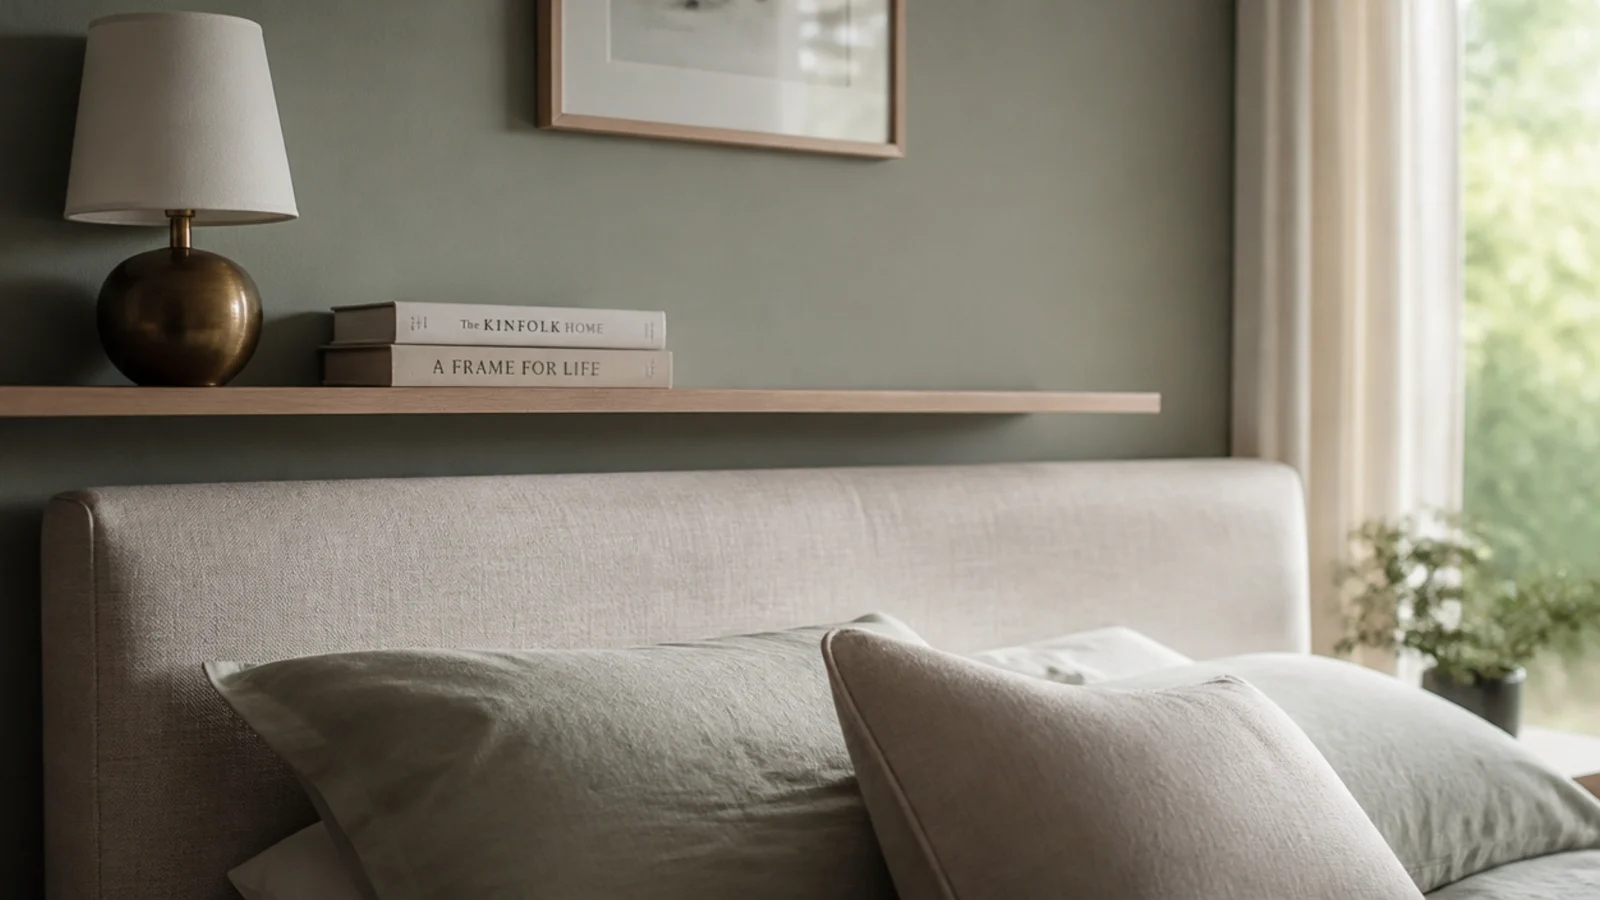
A slim board about a hand span above the headboard, holding a lamp and two books. It looked calm in daylight and it was a hazard every single night.
The fix: 14 to 16 inches of clearance above a headboard so nobody sits up into it, and nothing heavy or breakable above a bed at all. Ceramics belong on a wall you walk past, not one you sleep under. If the wall is short, put the shelf beside the bed at mattress height instead and get a nightstand's worth of surface with none of the risk.
Mistake 15: I never photographed where the studs were
Every time I moved a shelf, restyled a wall or patched a hole, I started the stud hunt from scratch. Over three flats that is genuinely hours of my life.
The fix: before you drill, mark the studs in pencil, put a tape measure in the frame, and take one photo on your phone. Note the paint color code in the same album. When you move the shelf, add a second board, or patch on move-out day, everything you need is already there. It costs ten seconds, which is the best ratio in this article.
Floating Shelf Mistakes: What I'd Do Differently Now
The pattern across all fifteen is that I treated the shelf as the product and the wall as a detail. It is the other way round. The board is the easy part.
So the order I use now is fixed: find the studs, choose a depth that suits both the walkway and the anchor, pick a board thick enough for the span, then buy the fixings on the same trip. Styling comes last, and it is the only part I can change on a Sunday afternoon.
The other change is restraint. I used to hang three shelves where one would do, then fill all three. Now I put up one board, live with it for a week and see whether the wall actually wants a second. Usually it does not.
And I photograph the wall before I drill. That habit alone has saved me more time than every clever bracket I have ever bought.
Frequently asked questions
Why does my floating shelf keep sagging?
Check the anchor first and the board second. Supplied plastic plugs carry about 10 pounds and creep out of drywall slowly, which is why a shelf looks fine for months and then tilts. If the anchors are sound, the board is the problem: half-inch stock bows at roughly 18 inches of span, while three-quarter-inch spans 24 inches cleanly.
Can a floating shelf go into drywall with no stud?
Yes, with the right anchor and honest expectations. Toggle bolts in half-inch drywall carry 25 to 35 pounds each, so a pair handles a shelf of books. A concealed rod bracket relying on drywall alone is the weakest common setup, because the rod turns every pound into leverage against a soft board. Keep depth under 8 inches without a stud.
How deep is too deep for a floating shelf?
Past 10 inches you are fighting physics. Leverage rises with depth, so a 12-inch shelf doubles the pull-out force of a 6-inch one carrying exactly the same weight. In drywall that difference decides whether an anchor holds for years or creeps out over a winter. Deep shelves belong on studs or not at all.
Do no-drill floating shelves actually work?
Within about 15 pounds per pair of heavy-duty adhesive strips, yes. They also fail on flat builder-grade paint, which is what most rentals have, so test one strip on a hidden patch and pull it after a day. Treat adhesive as a solution for a shallow ledge with two ceramics, never for books or anything above a bed.
What is the cheapest fix for an ugly floating shelf?
Two thin coats of the wall color on the brackets. Painted-out L brackets read as floating from any normal viewing angle, and a sample pot costs about $9 and covers several. The second cheapest is removing a third of what is on the shelf, which costs nothing and usually does more.
If you are about to hang your first shelf, spend the extra twenty minutes on the stud finder and the extra dollar on the fixings — those two decisions carry everything else. The best floating shelf brackets guide compares the hardware honestly, wood floating shelves for renters covers the minimal-hole versions, and if your problem wall turns a corner, corner shelf mistakes has that version. Save the pin so the numbers are with you at the hardware store.
Want more like this? Browse all 15 floating shelves guides — they all use the same measurements and budget tiers.

Pin it for later
Save this to your Floating Shelves board
Pin it now so it is waiting for you when the tape measure comes out — and so the next person hunting for this idea can find it too.
Save this pinKeep going
More ideas worth saving while you have the tape measure out.