Corner Shelf Ideas · UGC
15 Corner Shelf Mistakes I Made and Fixed

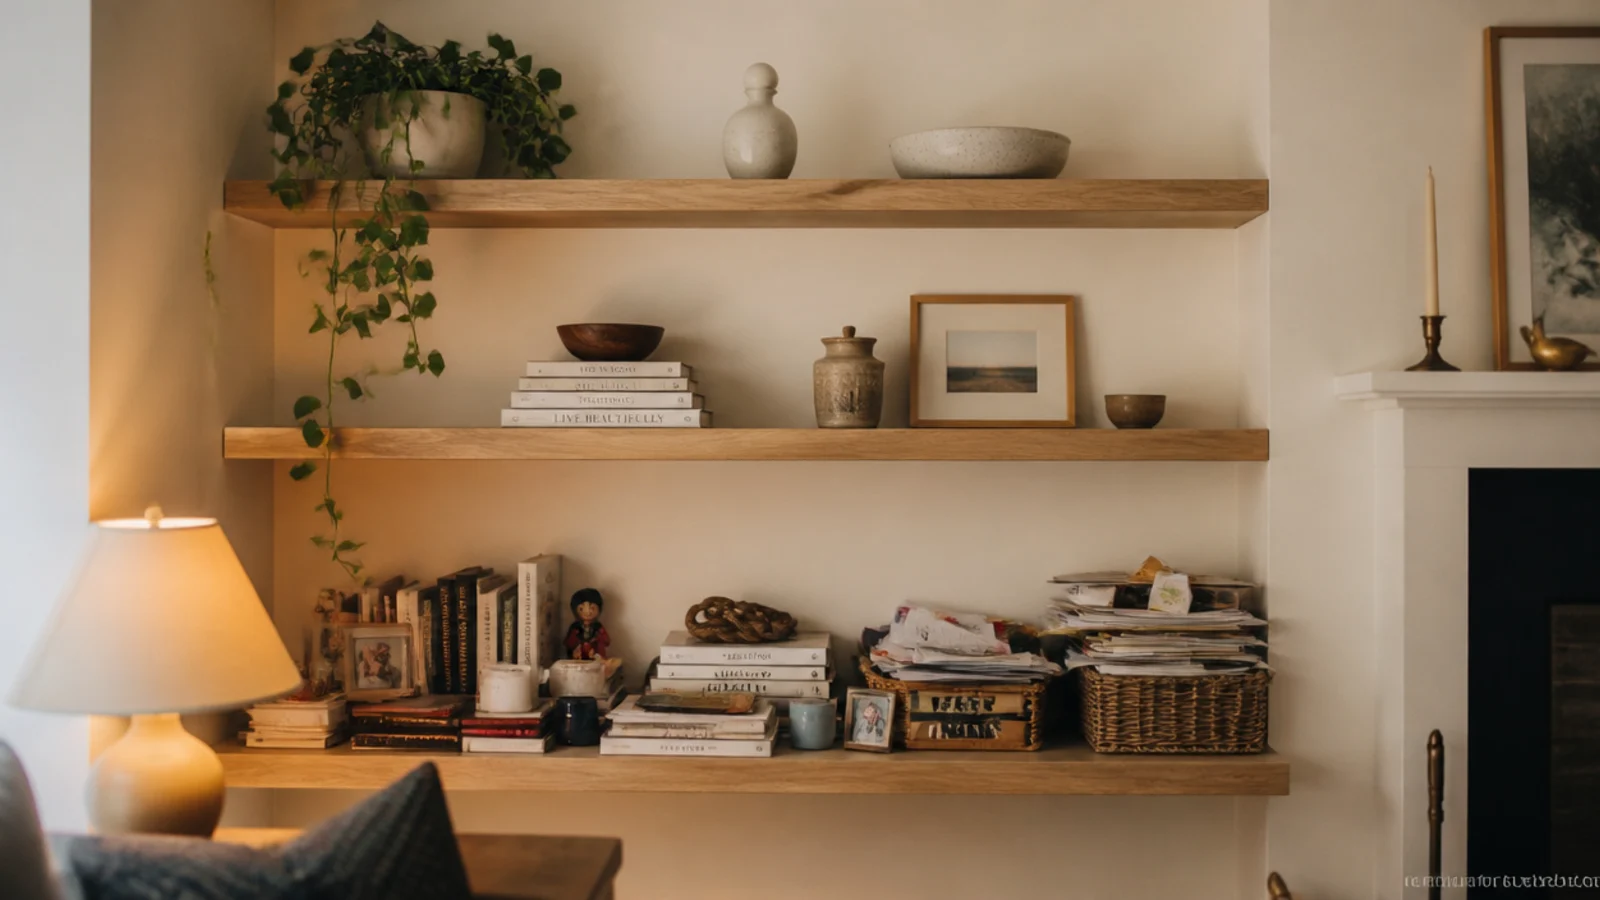
The corner shelf mistakes in this article are all mine. I have put shelves up in five apartments and two houses, and for the first three of those I got it wrong in ways that cost me money, wall repair and one genuinely frightening moment with a toddler.
The first set I ever hung came down at two in the morning in a rental in my twenties. Not dramatically — just a slow lean and then a slide, and a stack of books and one ceramic bowl on the floor. I had used the plastic plugs that came in the box, because I assumed the people who made the shelf knew what would hold it up. They did not, and I have thought about that assumption every time I have hung anything since.
Here are fifteen corner shelf mistakes I actually made, in the order I made them, with what I did to fix each one. Some cost me a Saturday. One cost me a security deposit.
In this guide16 sections — tap to openHide
- 1.Mistake 1: I trusted the plastic anchors in the box
- 2.Mistake 2: I went twelve inches deep in a walkway
- 3.Mistake 3: I spaced the tiers evenly at eight inches
- 4.Mistake 4: I leveled to the ceiling instead of the floor
- 5.Mistake 5: I bought veneered particle board
- 6.Mistake 6: I mounted the first shelf at eye level
- 7.Mistake 7: I put the heaviest thing on the top shelf
- 8.Mistake 8: I styled everything at the same height
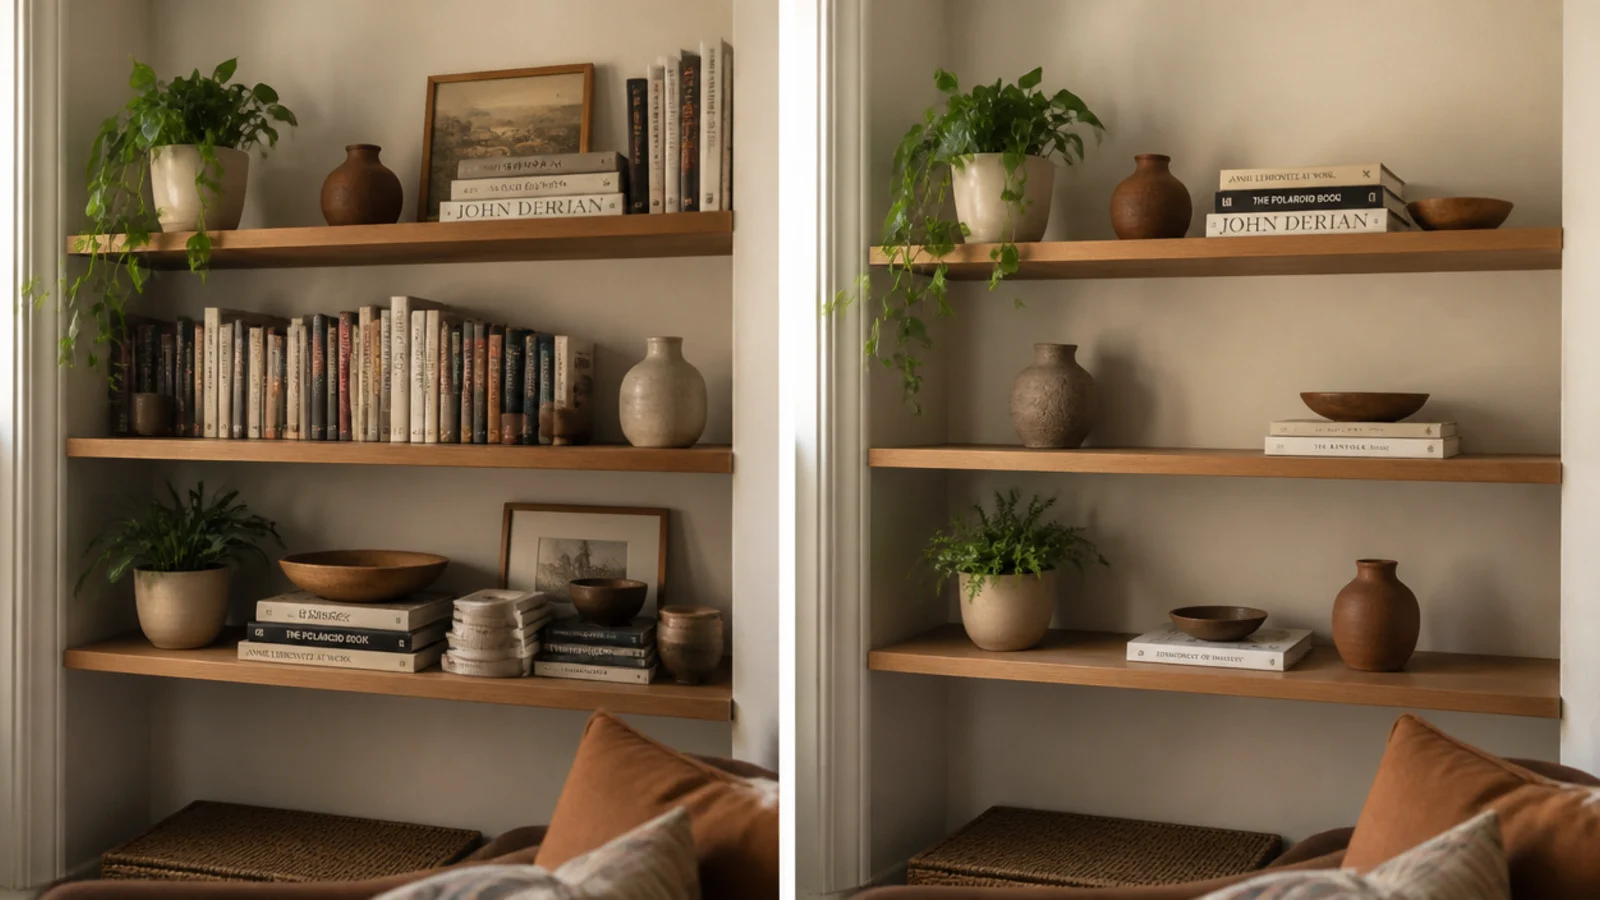
- 9.Mistake 9: I filled every single inch
- 10.Mistake 10: I ignored the door swing
- 11.Mistake 11: I made it a charging station with no cable plan
- 12.Mistake 12: I left the brackets a contrasting finish
- 13.Mistake 13: I hung a shelf over the radiator with no clearance
- 14.Mistake 14: I hung art on the same corner wall
- 15.Mistake 15: I skipped the anti-tip strap
- 16.Corner Shelf Mistakes: What I'd Do Differently Now
Mistake 1: I trusted the plastic anchors in the box
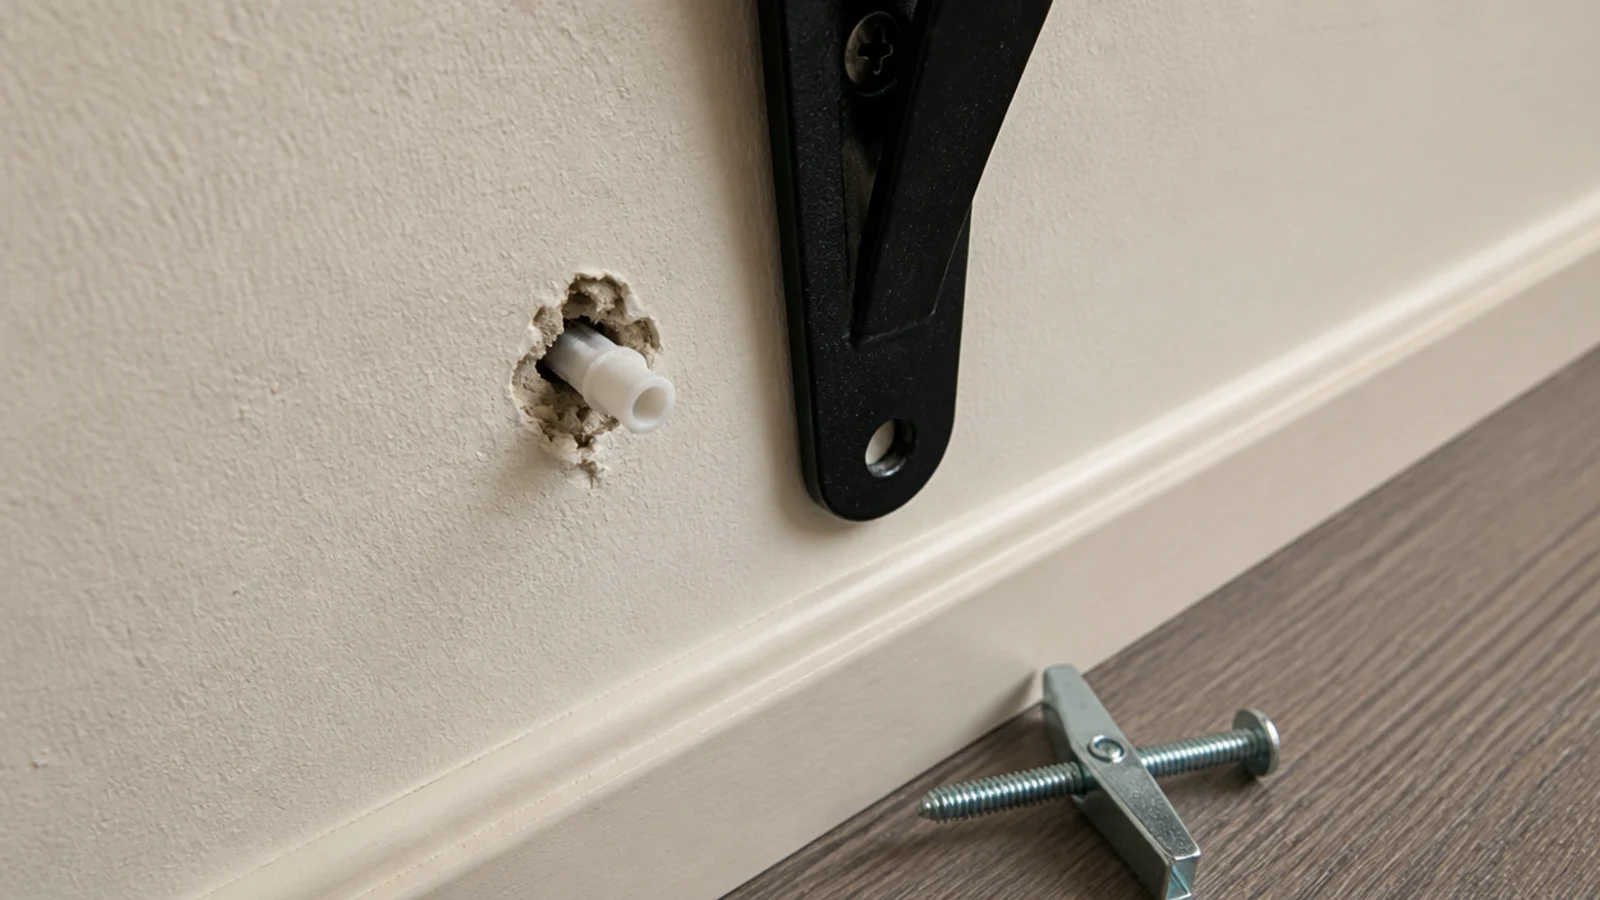
Those small white plugs are rated at roughly 10 pounds. A three-tier corner shelf with books on it is 30 to 40. They do not fail suddenly — they crush the drywall around themselves and creep out over weeks, which is why the shelf looks fine right up until it does not.
The fix: toggle bolts, about a dollar each, carrying 25 to 35 pounds apiece in half-inch drywall. Or reposition so at least one bracket catches a stud. I now throw the supplied plugs away before I open anything else in the box.
Mistake 2: I went twelve inches deep in a walkway
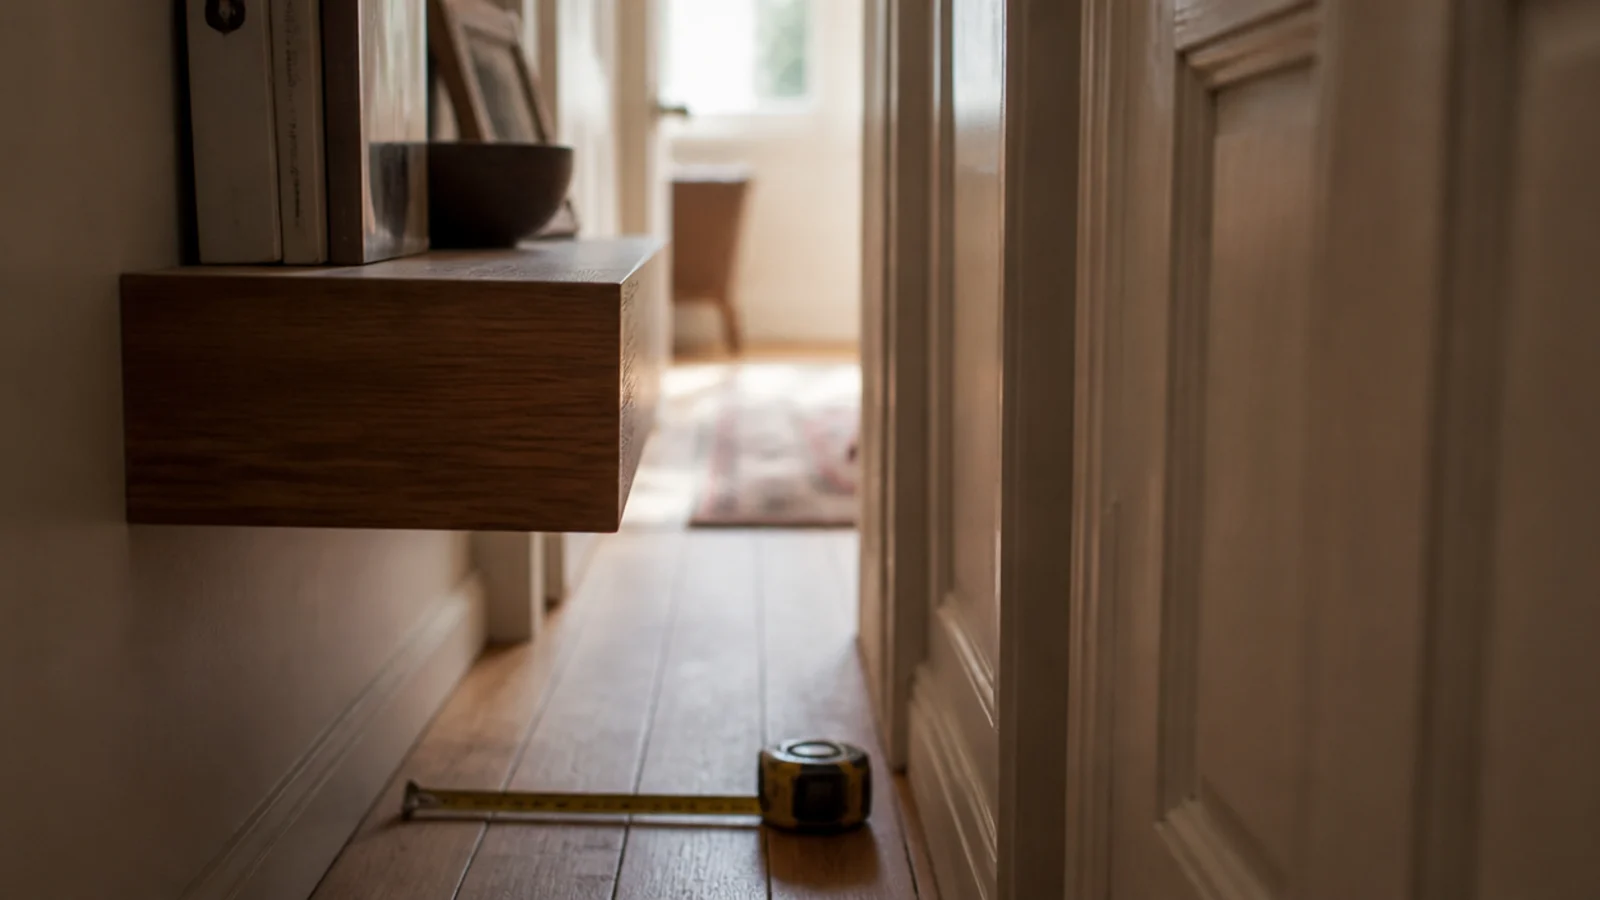
Twelve inches looked generous in the store. In a hallway corner with 28 inches of clearance, it meant catching it with my shoulder on the way to the bathroom, every single day, for eight months.
The fix: measure the walkway before the wall. Under 30 inches of clearance means a six-inch shelf. Thirty to forty allows eight. Save ten or twelve for corners you do not walk past. I replaced that shelf with a six-inch one and stopped noticing it existed, which is exactly what you want from a hallway.
Mistake 3: I spaced the tiers evenly at eight inches
Eight-inch gaps look tidy on an empty wall. Then I discovered that nothing I owned actually fit. Hardbacks had to lie flat. Plants got squashed against the shelf above. The whole unit turned into a filing system for small objects.
The fix: 13 inches of clear height between tiers. That takes a standing hardback with room above it, or a plant with the leaves free. It also means fewer shelves, which turned out to be an improvement on its own.

Mistake 4: I leveled to the ceiling instead of the floor
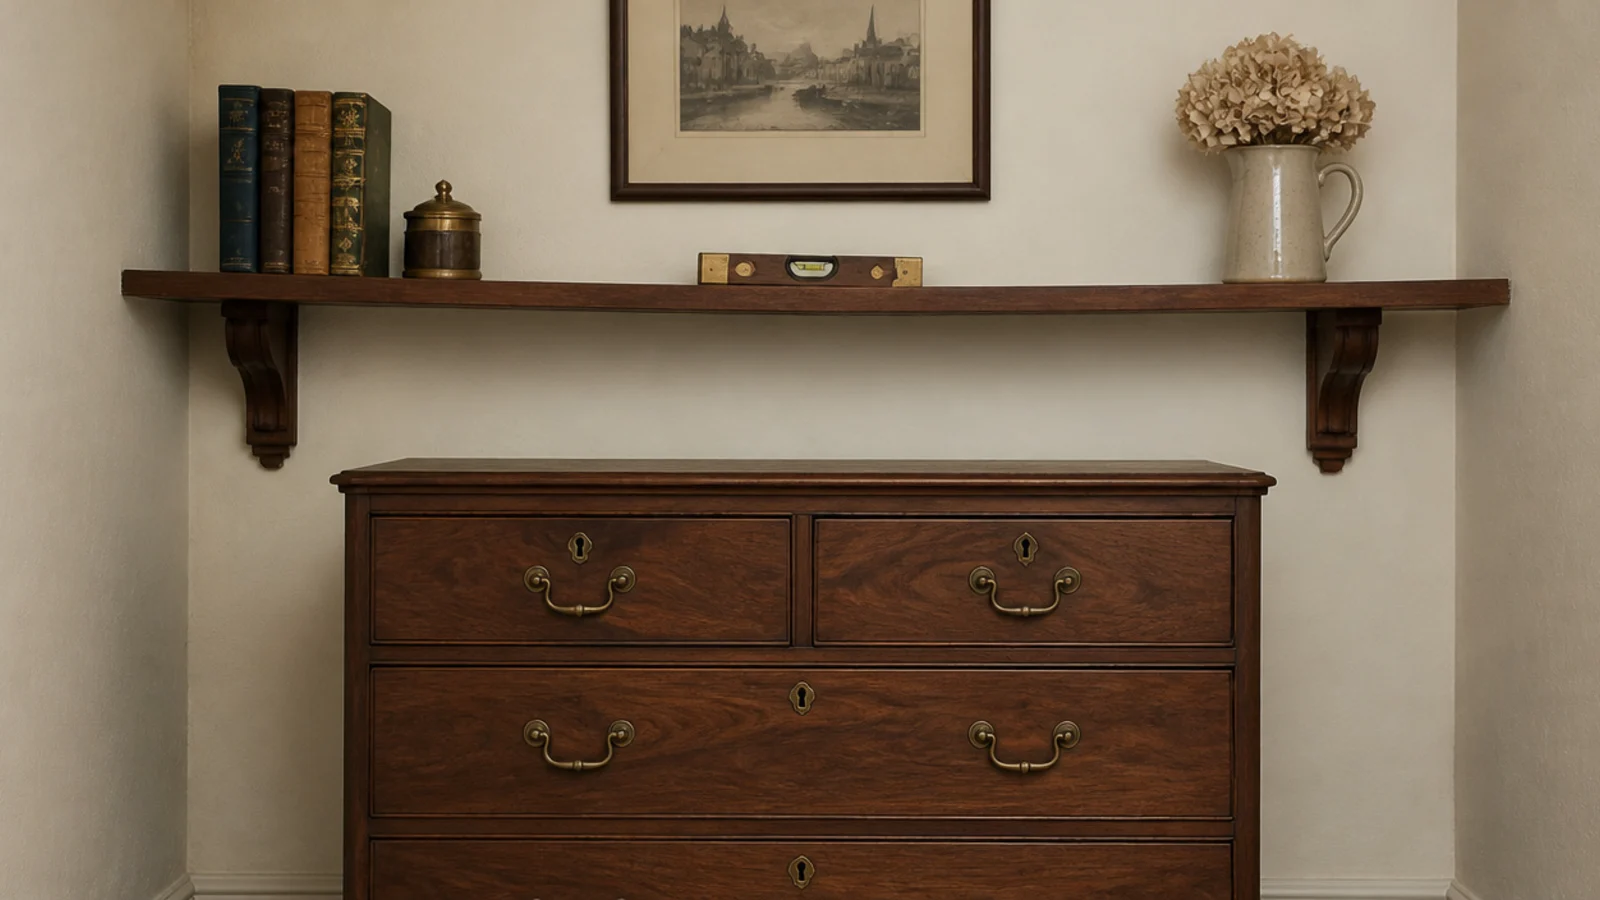
The apartment was from 1928 and the ceiling sloped about half an inch across the corner. I measured down from it because it was easier, and ended up with a shelf that was perfectly parallel to the ceiling and visibly wrong next to the chest of drawers below it.
The fix: always level to the floor and to the furniture your eye compares it against. Your brain reads a shelf against horizontal objects in the room, never against the ceiling. Re-hanging took twenty minutes and two filled holes.
Mistake 5: I bought veneered particle board
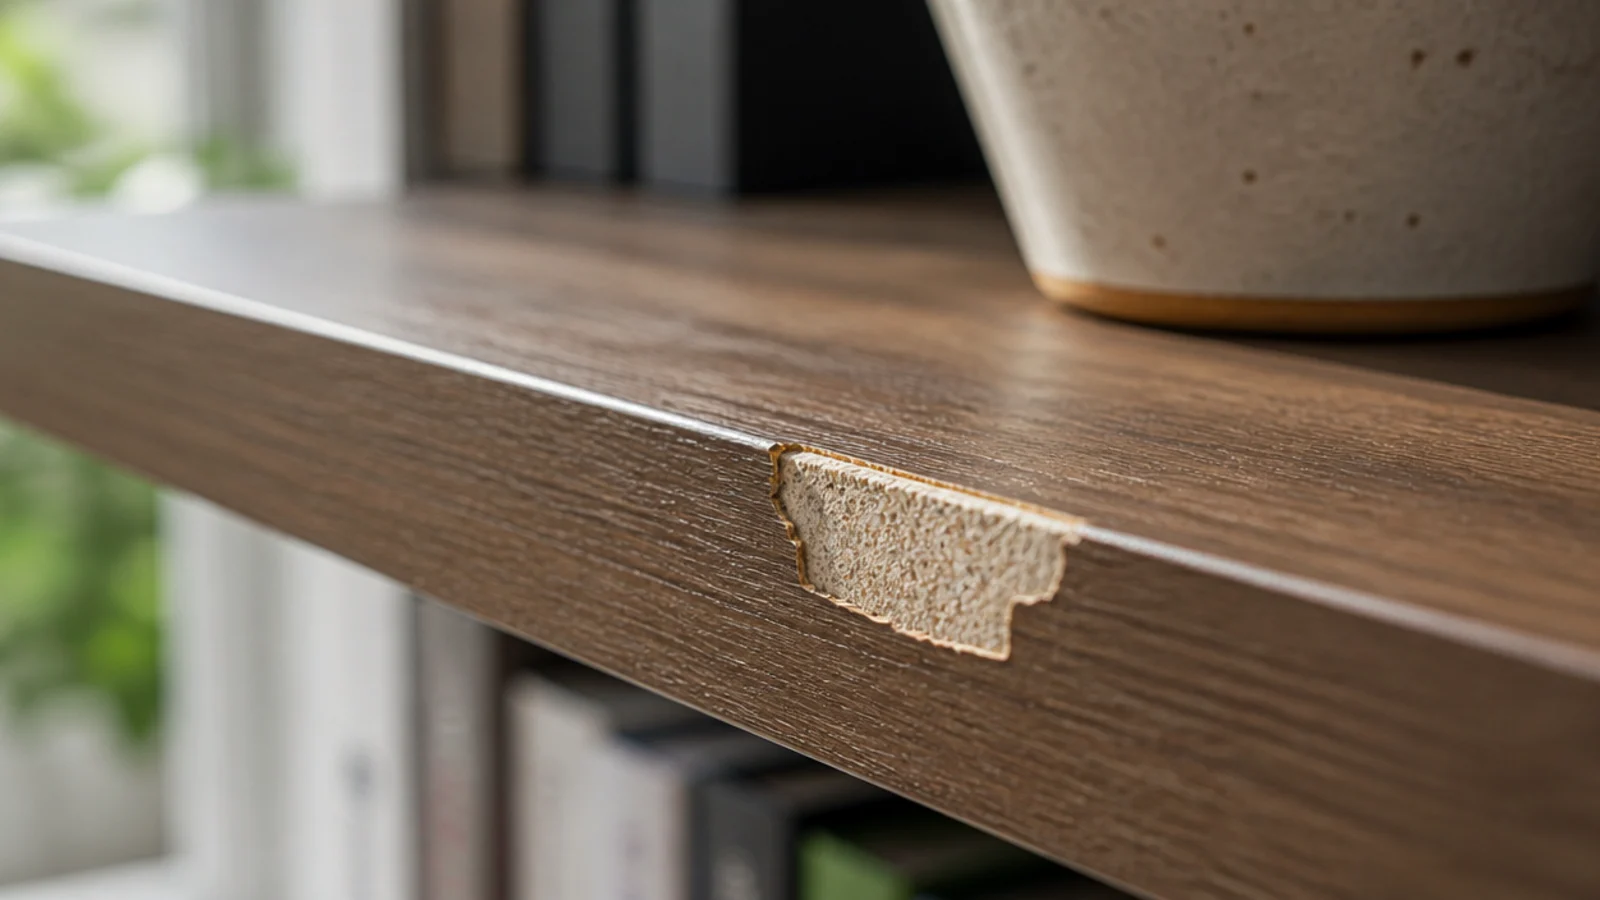
It photographed beautifully for about a year. Then the front edge chipped where I brushed past it, and once you can see the pale particle board underneath a wood-look edge, you cannot unsee it.
The fix: solid wood on any shelf whose front edge you will look at daily. Pine costs barely more than veneered board and takes a knock without exposing anything embarrassing. If budget is tight, paint the pine rather than buying veneer — a painted shelf ages honestly.
Mistake 6: I mounted the first shelf at eye level
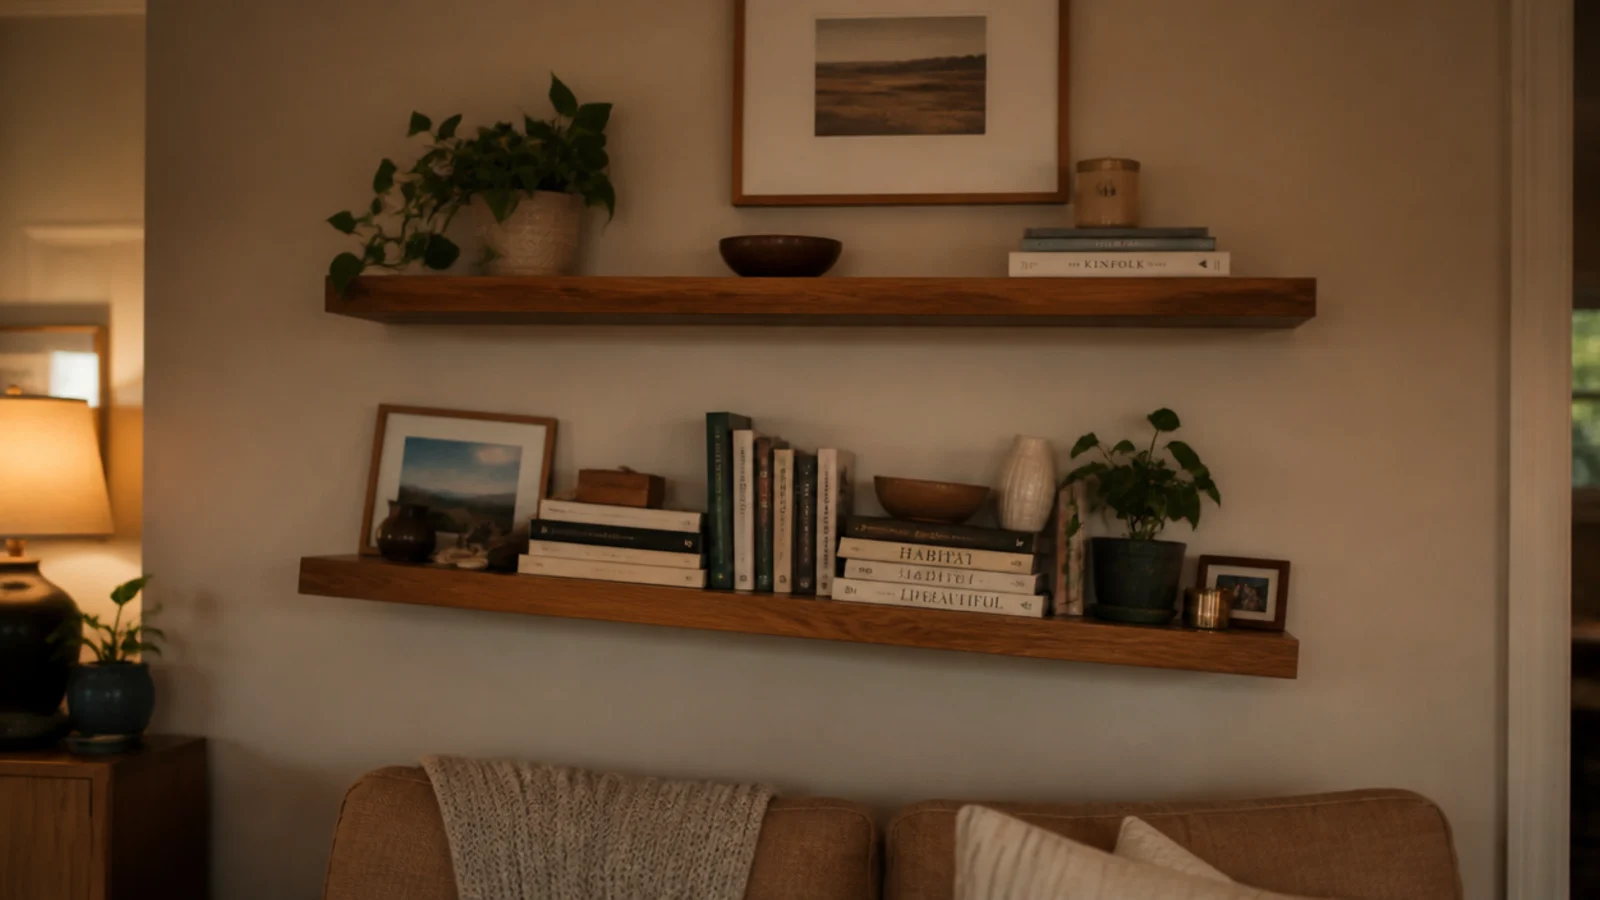
It felt right when I marked it, standing there with a pencil. But a bottom shelf at 62 inches puts the second at 75 and the third near the ceiling, and everything above the first became decoration I dusted twice a year.
The fix: start the lowest shelf around 42 inches in a living room, or level with the mattress top beside a bed. Build upward from something you actually use. Shelves you cannot reach are just high-altitude storage for things you have forgotten.
Mistake 7: I put the heaviest thing on the top shelf
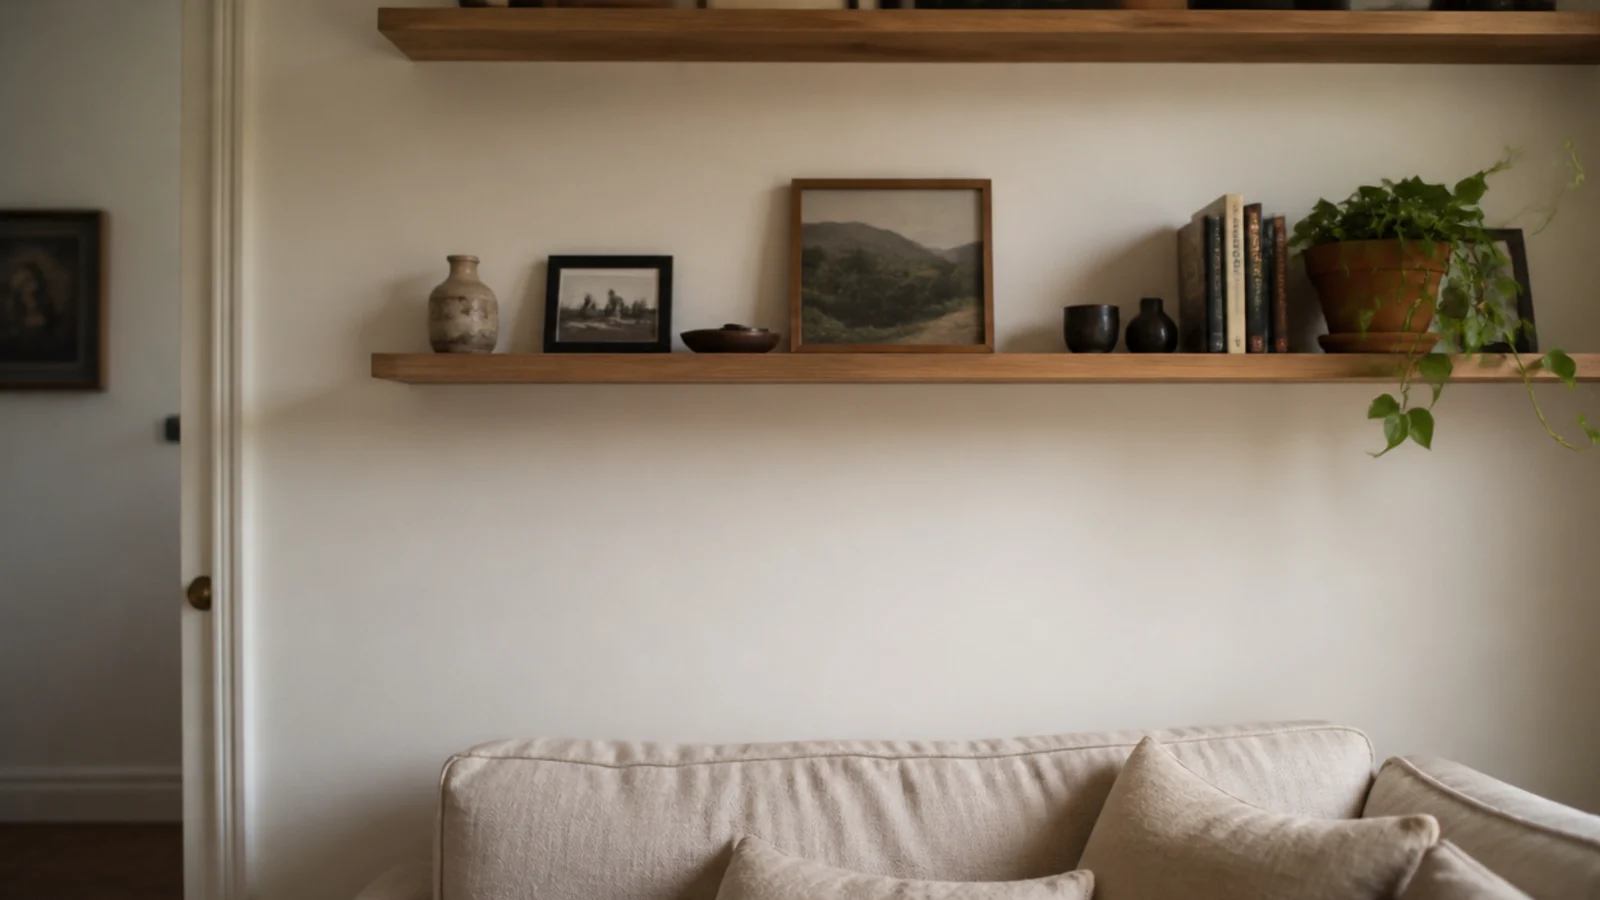
A large stoneware crock, up top, because it looked good silhouetted against the wall. Within a month there was a hairline crack in the paint beside the upper bracket, which is drywall telling you it is being levered.
The fix: heaviest object on the lowest shelf, every time, regardless of how it looks in a photograph. Weight high in a corner puts a pulling load on the top anchors, and pulling loads are exactly what drywall anchors are worst at.
Mistake 8: I styled everything at the same height
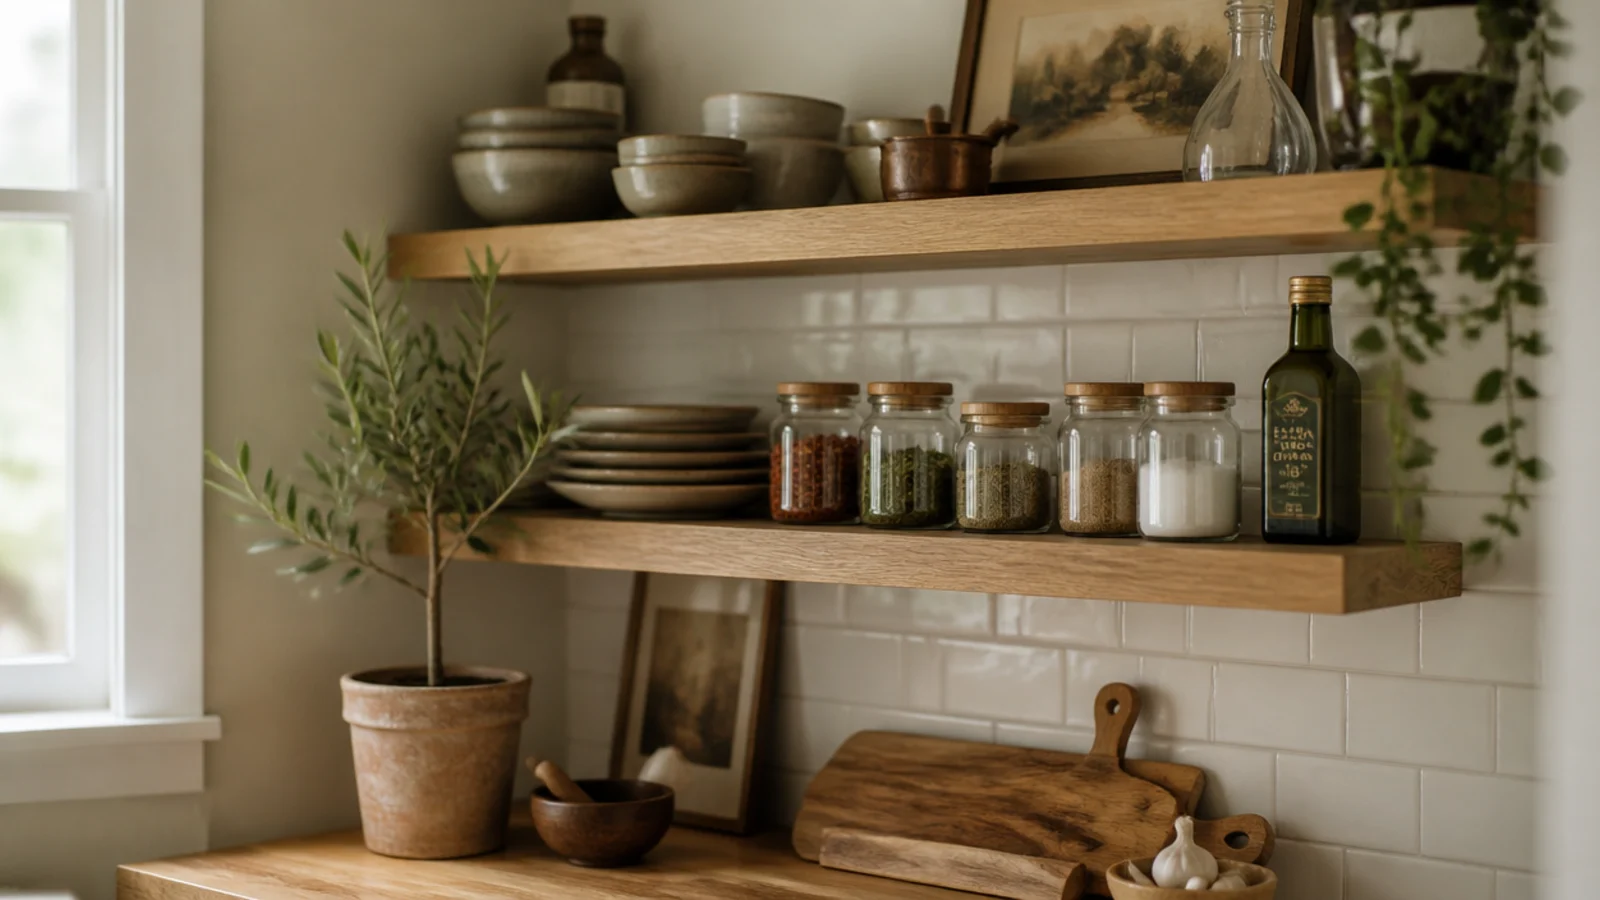
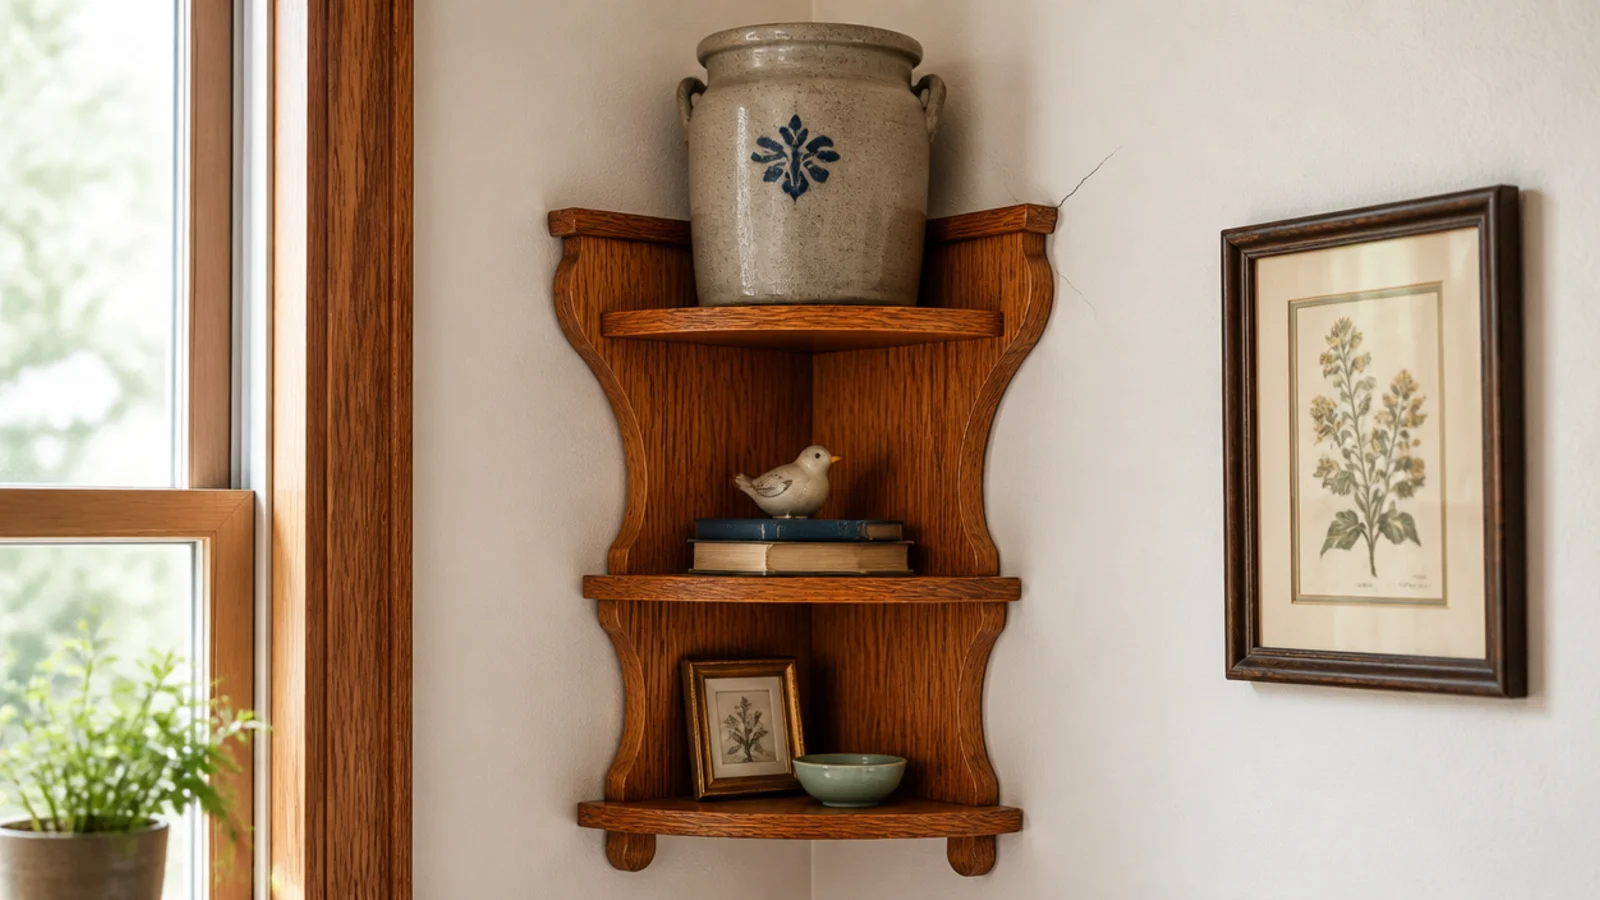
Five cream jars in a neat row. I remember being pleased with it. It read as a shop shelf — inventory, not decoration — because there was nothing for the eye to move between.
The fix: three objects at three different heights per shelf. Something tall, something low and wide, something soft that trails over the edge. That single rule fixed more corners for me than any purchase ever did, and I go into it properly in corner shelf styling.
Mistake 9: I filled every single inch
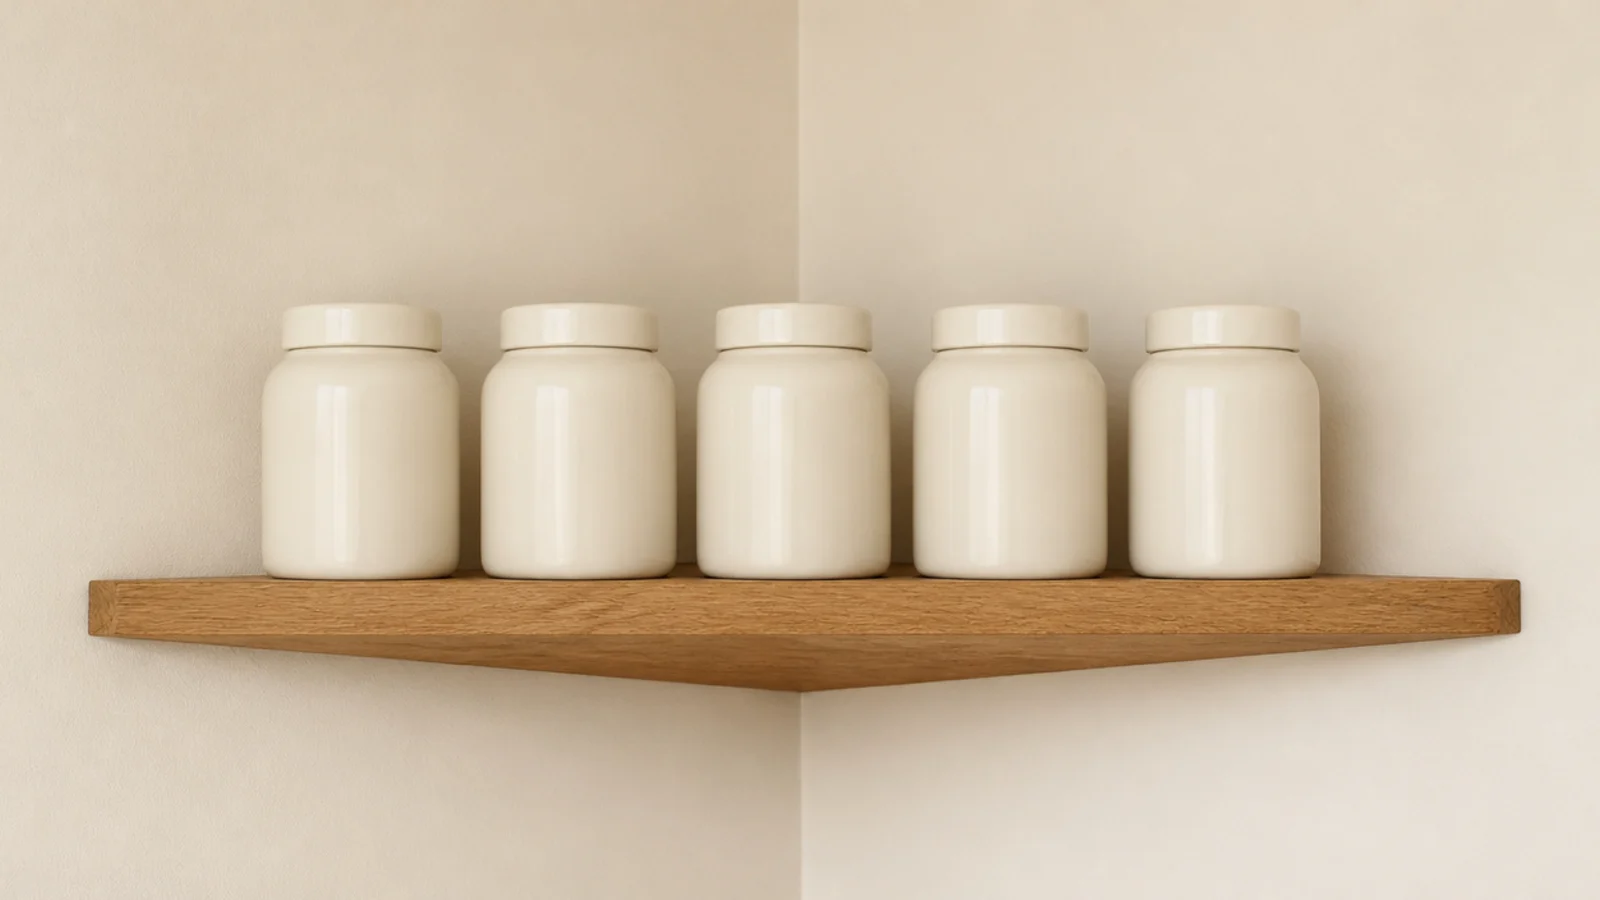
This was the worst-looking mistake and the easiest to fix. I owned genuinely nice pieces and I put all of them out at once, so nobody could see any of them.
The fix: leave roughly a third of every shelf empty. I took two thirds of the objects off, boxed them, and rotated them in seasonally. Same shelves, same possessions, completely different room — and the pieces I kept out suddenly looked deliberate.

Mistake 10: I ignored the door swing
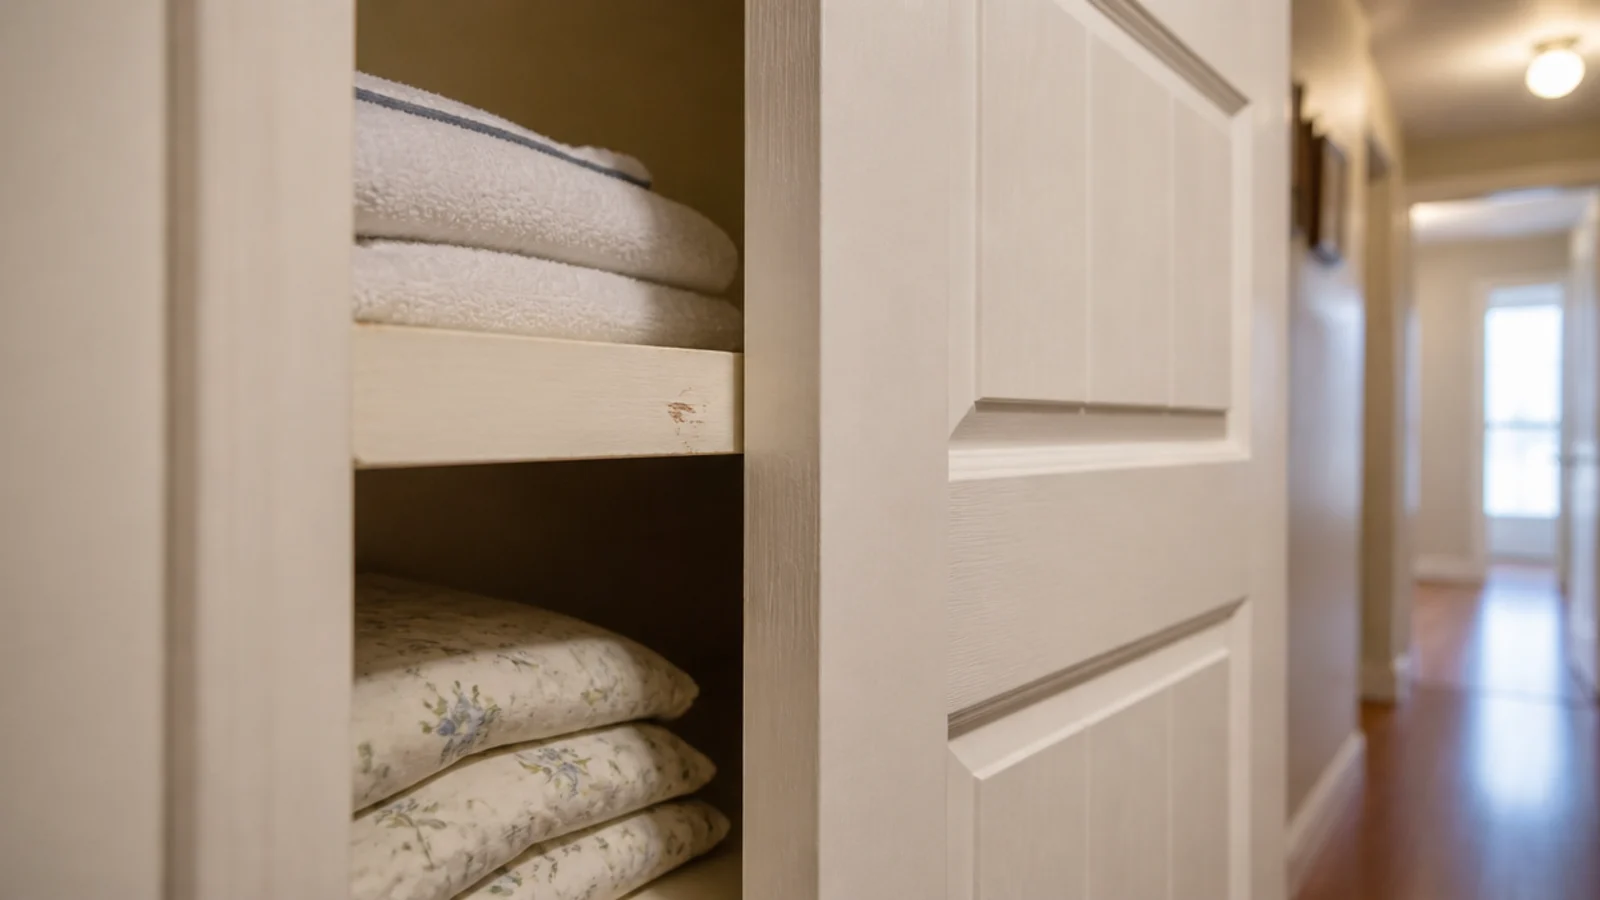
The wall behind a door is free storage, which is why I put a five-inch shelf there. The door opened, touched it, and left a scuff on the shelf edge and a matching mark on the door within a week.
The fix: open the door fully, measure from wall to door face, then subtract two inches. That is your maximum depth, usually four. Doors get pushed harder than anyone plans for, and a shelf in that spot has no margin at all.
Mistake 11: I made it a charging station with no cable plan
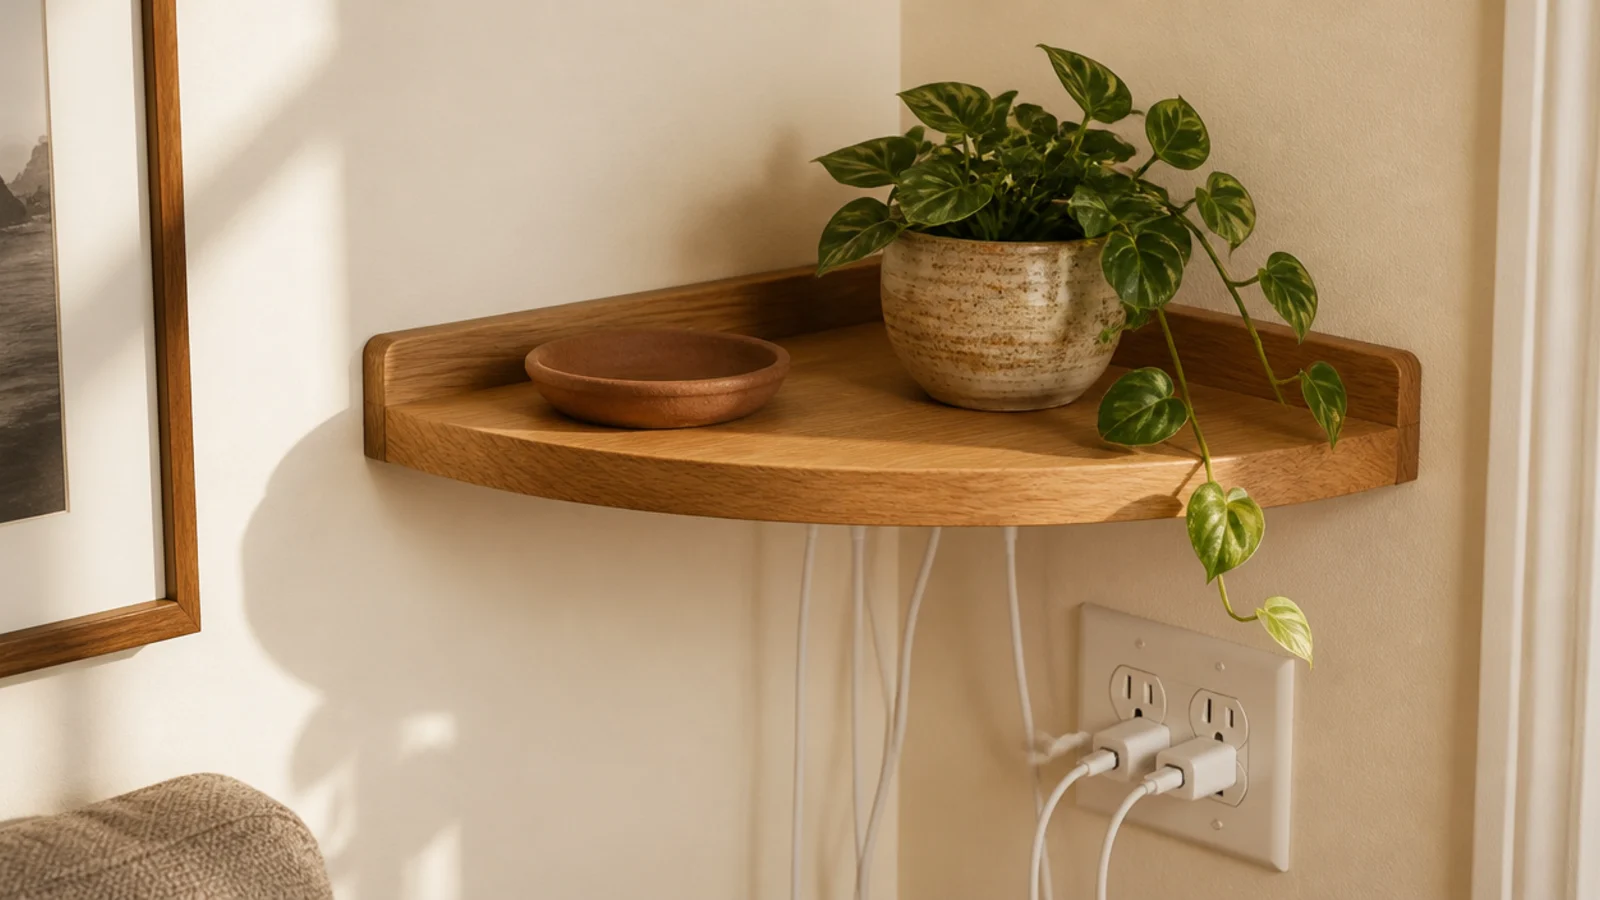
A beautifully styled shelf with a clay dish, a small plant, and three white charging cables hanging down the wall to the outlet below. Every good decision on that shelf was cancelled by the cables.
The fix: an adhesive cable channel painted the wall color, running the cables down the corner line where two walls meet. They vanish. Alternatively, accept that the charging corner is a charging corner and stop styling it — a job and a display in one spot rarely works.
Mistake 12: I left the brackets a contrasting finish
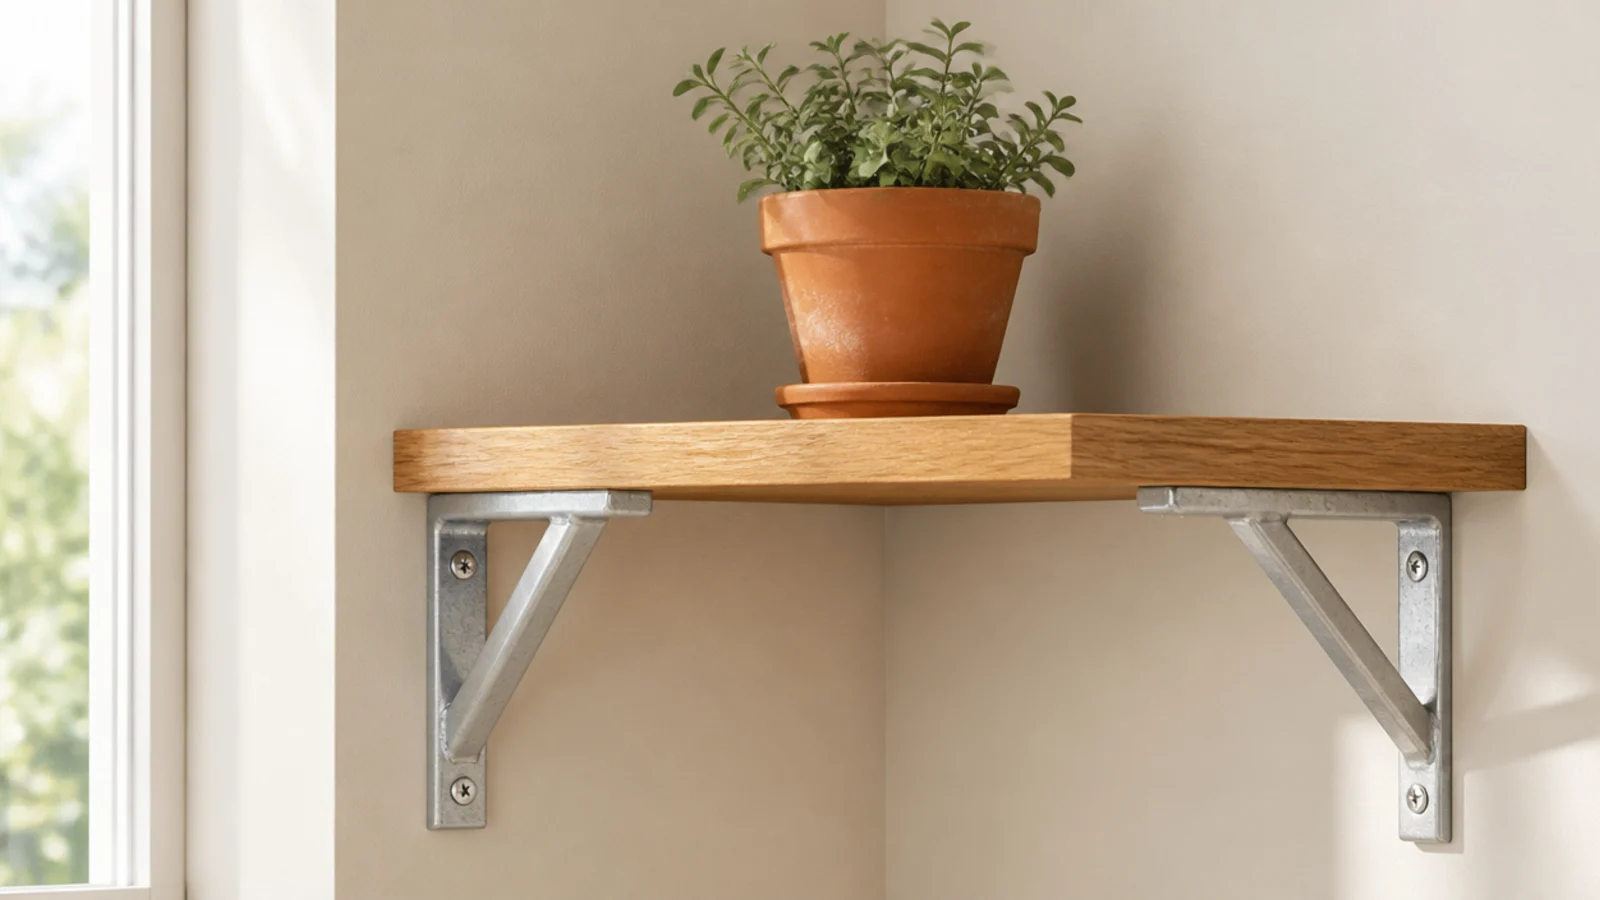
Bright galvanised steel brackets under warm oak shelves. They were structurally perfect and they made a careful build look like a flat-pack kit, because the eye goes straight to the hardware.
The fix: paint the brackets the wall color, even under stained wood. Two coats of sample-pot paint on the bracket plates costs almost nothing and makes the shelf read as floating rather than fixed. It is the cheapest upgrade in this entire list.
Mistake 13: I hung a shelf over the radiator with no clearance
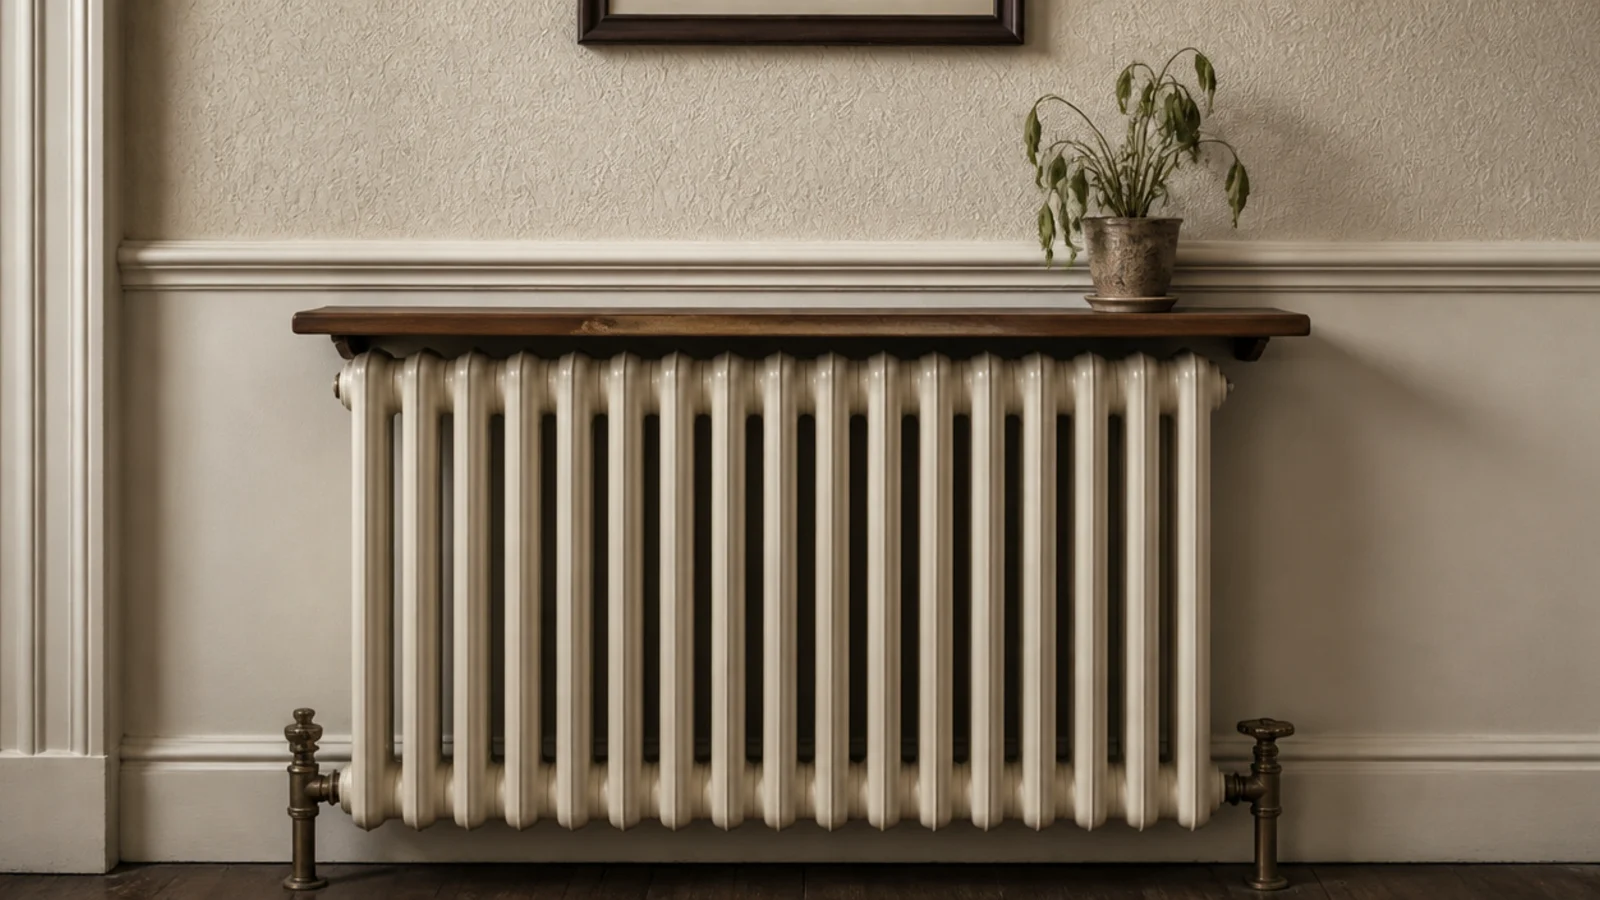
Two inches above a cast column radiator seemed fine in April. By January the front edge had lifted slightly and the small plant on it had given up entirely.
The fix: four inches minimum of clear air between a radiator top and the shelf underside, and solid wood or metal rather than anything laminated. Repeated heat cycles lift laminate edges permanently. Anything living up there wants to be a tolerant trailing plant, not a fern.
Mistake 14: I hung art on the same corner wall
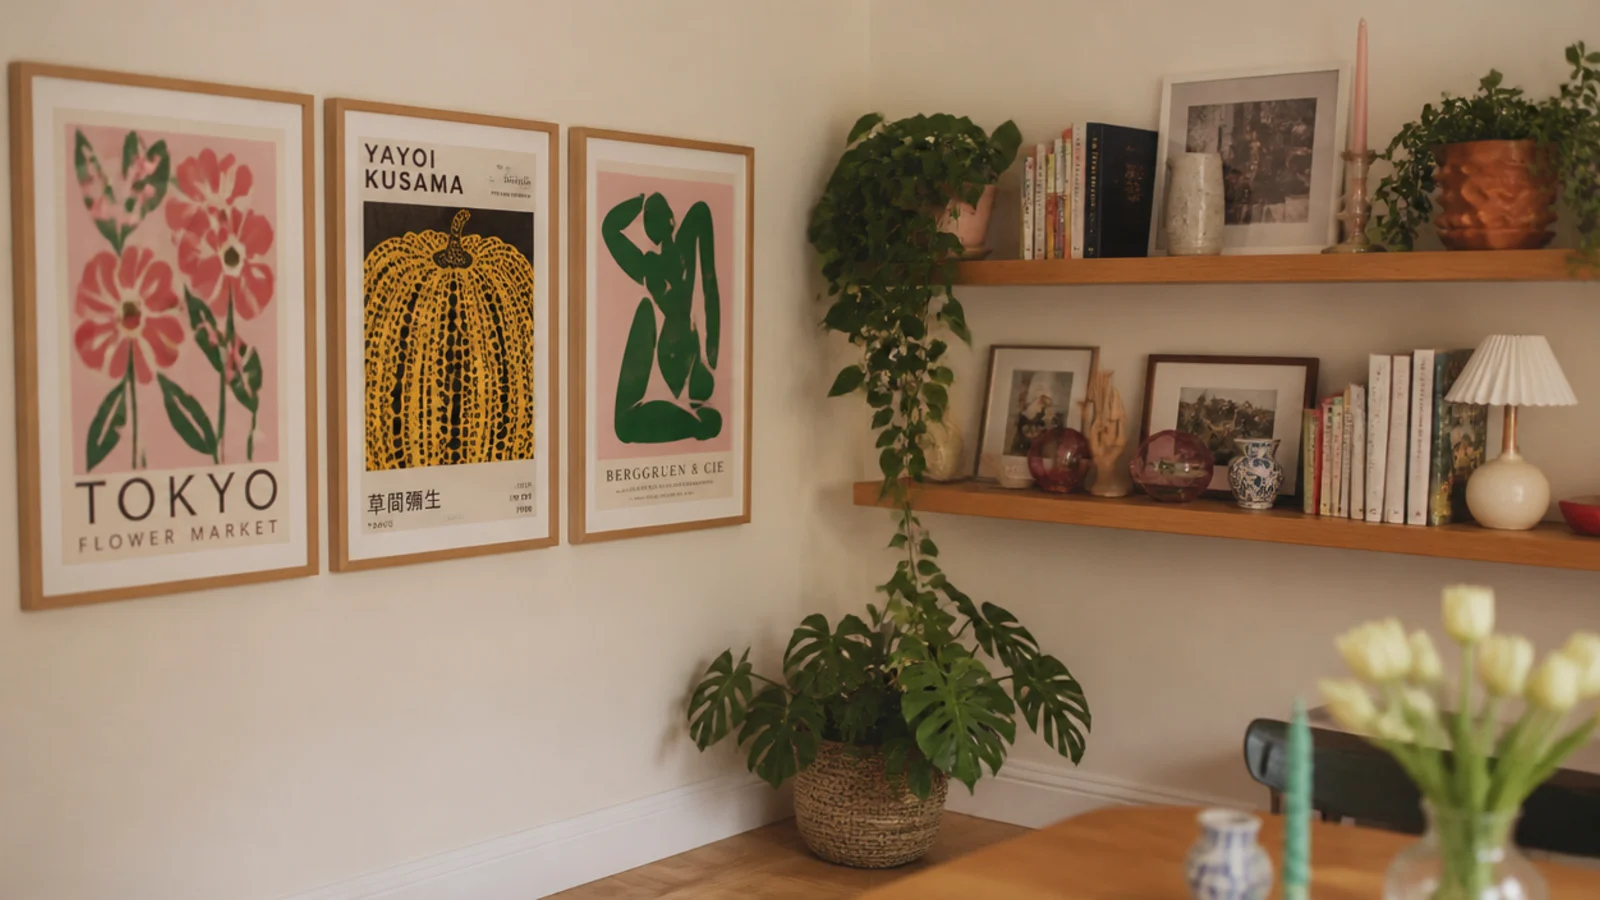
Three framed prints on the left wall, two loaded shelves on the right, meeting at the corner. Both were fine on their own. Together they made the corner feel like a noticeboard.
The fix: one focal point per corner. I moved the art to the opposite wall and the corner immediately calmed down. If you want both, use a picture ledge so the art and the shelving are physically the same object rather than two competing systems.
Mistake 15: I skipped the anti-tip strap
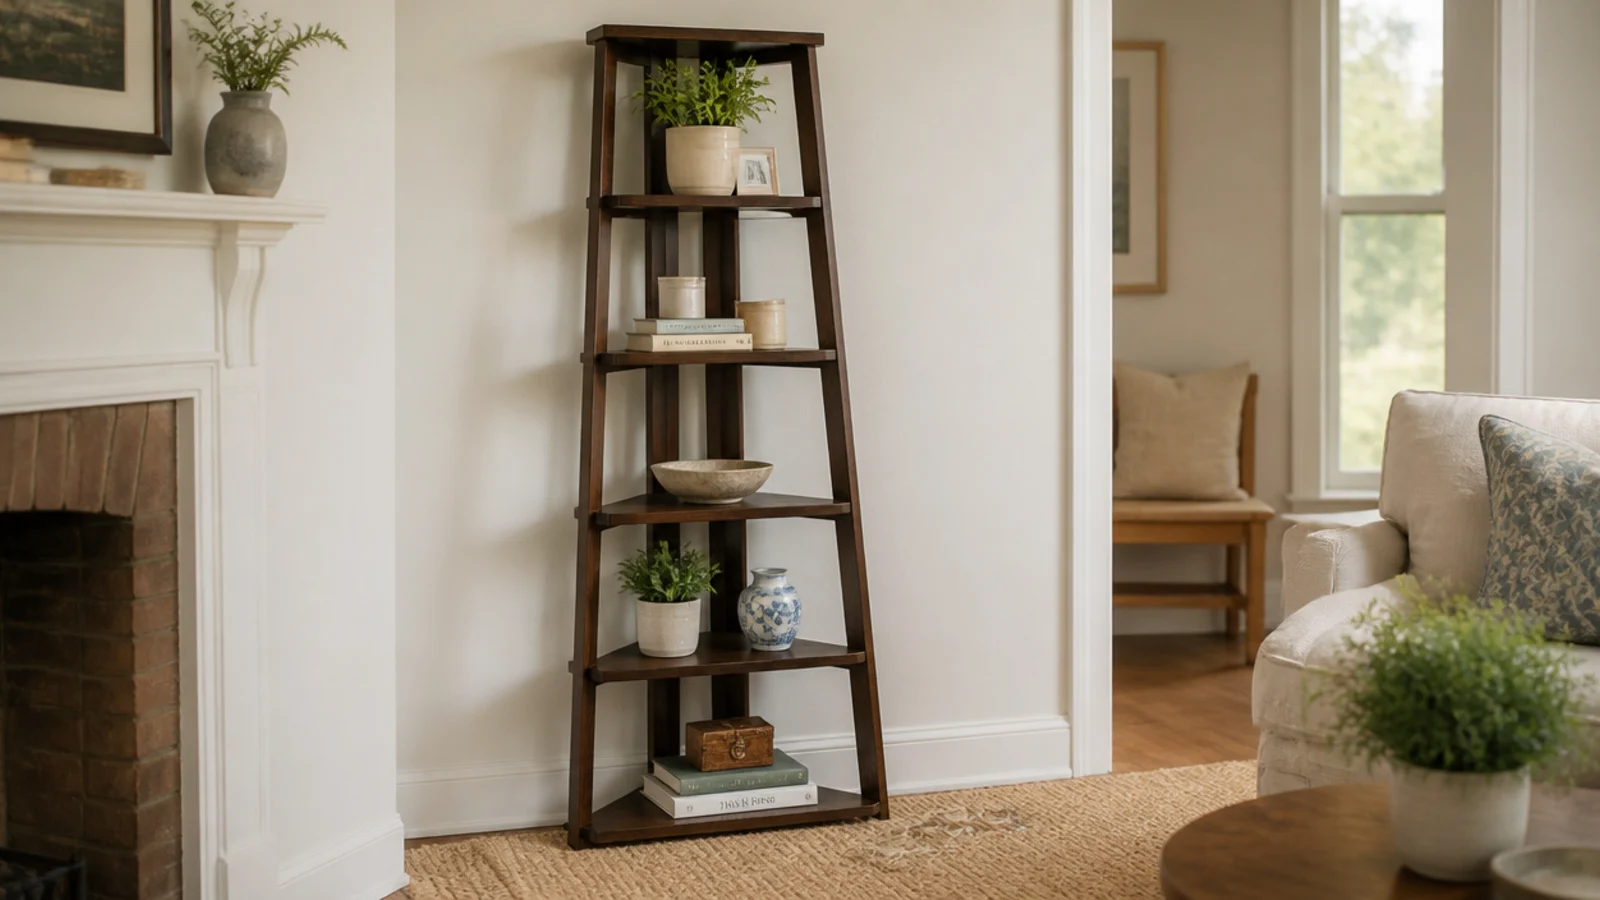
A tall freestanding corner unit, no wall fixing, because the whole point was not drilling. My eldest was two and pulled herself up on the bottom tier. It leaned. It did not come down, and I have never moved faster in my life.
The fix: one anti-tip strap and one small screw into the wall. If you rent, that is a single hole that fills in thirty seconds on move-out day. There is no version of this where the hole is the bigger problem.
Corner Shelf Mistakes: What I'd Do Differently Now
If I could hand my younger self one page, it would be shorter than this article. Measure the walkway before choosing a depth, because that decision is permanent in a way the styling never is. Buy toggle bolts on the same trip as the shelf, not on the emergency second trip. Put the lowest shelf where your hand naturally lands.
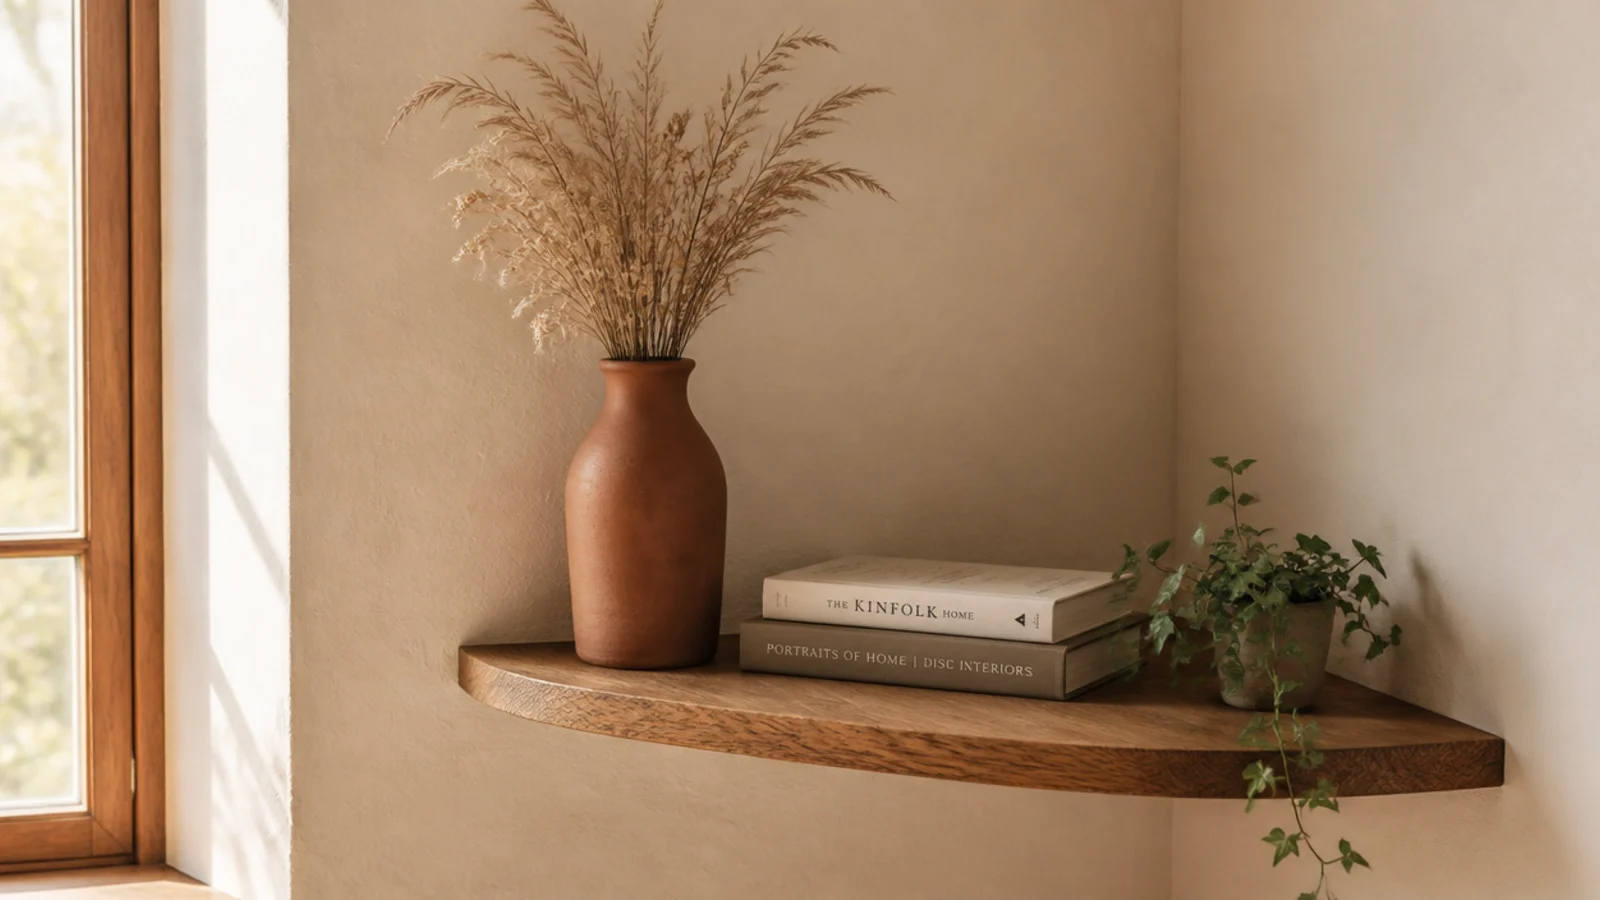
Then style with restraint I did not have at 26: three objects, three heights, a third of the shelf left empty, and everything else boxed for a seasonal swap.
The thing I actually regret is not the sagging shelf or the chipped veneer. It is the years I spent thinking a corner needed more on it. Nearly every corner I have fixed since was fixed by removing things, not adding them — which is the cheapest decorating advice there is.
Frequently asked questions
Why do my corner shelves keep sagging?
Almost always the anchor, not the shelf. The plastic plugs supplied in most shelf kits are rated around 10 pounds and pull slowly out of drywall under a static load. Swap them for toggle bolts, which carry 25 to 35 pounds each in half-inch drywall, or reposition so at least one bracket hits a stud. A sagging board itself usually means half-inch stock on a span over 18 inches.
How do I fix a corner shelf that looks cluttered?
Take everything off, then put back only three objects per shelf at three different heights and stop. Most cluttered corner shelves are not badly styled, they are simply overfull. Leaving about a third of each shelf empty is what makes the remaining objects read as chosen rather than stored.
Can I move a corner shelf without patching the wall?
Not really — bracket holes need filling regardless. But if you are moving it a short distance, patch with lightweight spackle, sand flush when dry and touch up with the original paint. Toggle bolt holes are wider than screw holes and need two thin passes of filler rather than one thick one.
What depth stops me hitting a corner shelf with my shoulder?
Measure from the corner to the nearest thing you walk around. If that walkway is under 30 inches, cap the shelf at six inches deep. Thirty to forty inches allows eight. Only go to ten or twelve when the corner sits genuinely outside the traffic path, like behind a chair.
Should corner shelves match the wall color or the furniture?
Match the wall if you want the shelf to disappear into the room and the objects on it to carry the attention, which is usually right in a small space. Match the furniture only in a large room where you want the shelf to read as a deliberate piece. Matching neither is what makes a corner look accidental.
If you are about to put shelves in a corner, start with the depth and the anchors and let everything else follow — those are the two decisions you cannot easily undo. The fifteen corner shelf ideas guide has the measurements laid out by room, the step-by-step build covers the mounting properly, and if you are working with a straight wall instead, floating shelf mistakes covers the same ground. Save the pin so it is with you at the hardware store.
Want more like this? Browse all 15 corner shelf ideas guides — they all use the same measurements and budget tiers.

Pin it for later
Save this to your Corner Shelf Ideas board
Pin it now so it is waiting for you when the tape measure comes out — and so the next person hunting for this idea can find it too.
Save this pinKeep going
More ideas worth saving while you have the tape measure out.