Corner Shelf Ideas · UGC
20 Corner Shelf Before and After Makeovers

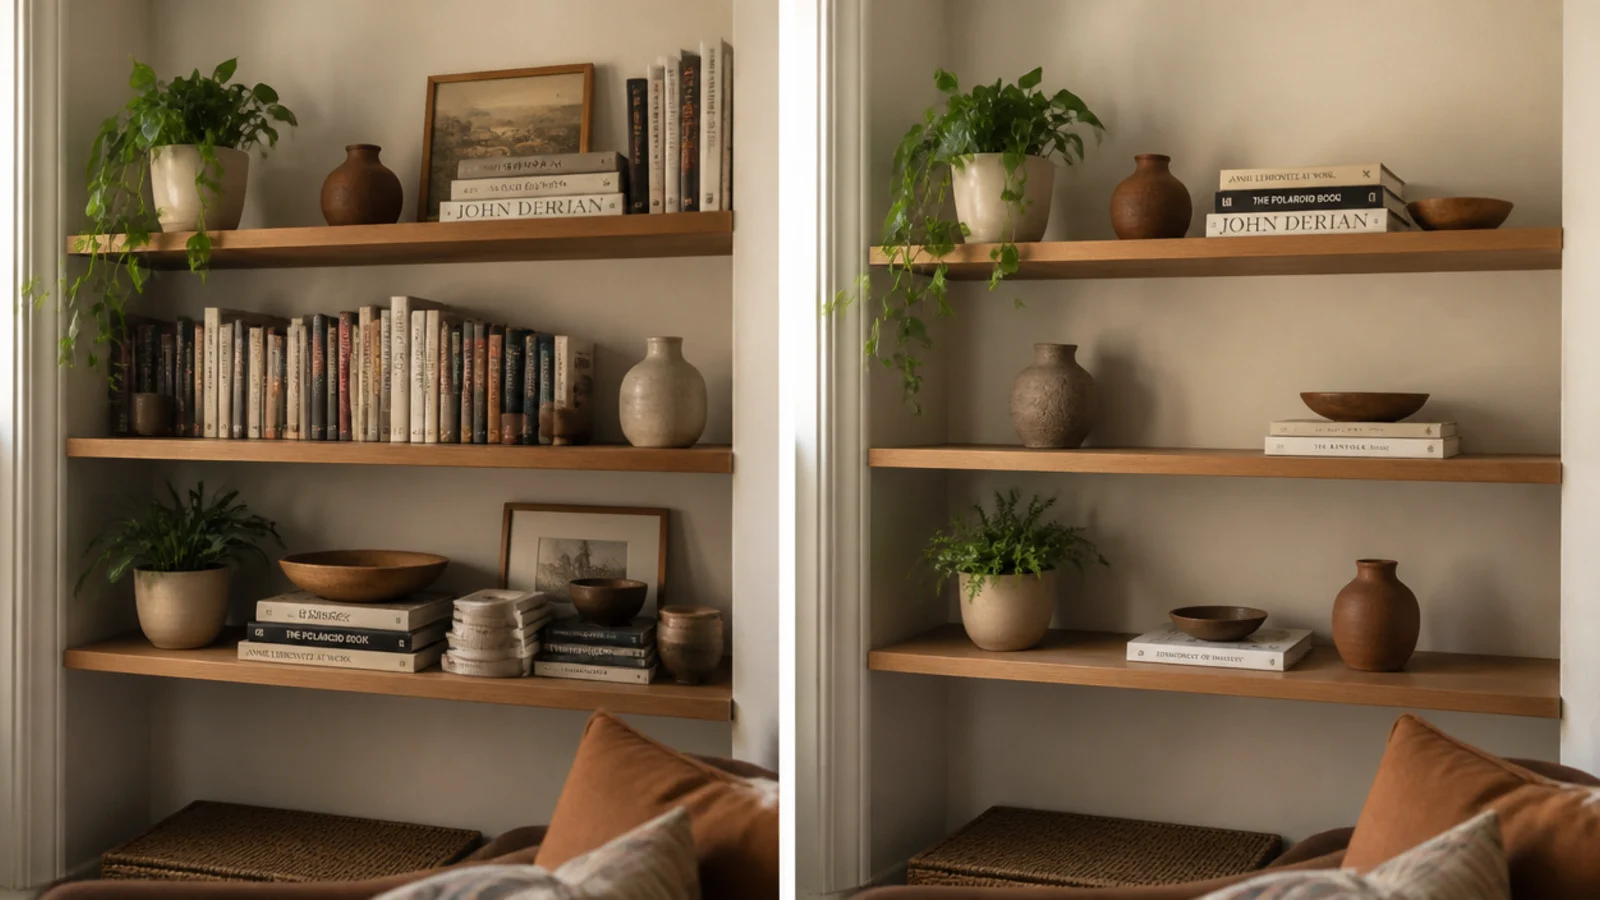
Corner shelves before and after is the most useful thing I can show you, because the changes that actually work are almost never the ones people expect. I have restyled corners in my own five apartments and two houses, and in more client homes than I can count, and the pattern is remarkably consistent.
Roughly two-thirds of the corners I am asked to fix need nothing bought at all. The problem is quantity and height, not quality. The other third have a physical fault — the wrong anchor, the wrong depth, a board too thin for its span — and no amount of styling touches those.
What follows is 20 real makeovers, what the corner looked like before, what I changed, and what it cost. Nine of them cost nothing. The most expensive was $110. And the single change that appears most often across all twenty is simply taking things off.
In this guide21 sections — tap to openHide
- 1.Makeover 1: The dead living room corner
- 2.Makeover 2: The overloaded bookshelf corner
- 3.Makeover 3: The bare rental bathroom corner
- 4.Makeover 4: The shelf that would not stop tilting
- 5.Makeover 5: The orange pine shelf
- 6.Makeover 6: The entry corner that ate everything
- 7.Makeover 7: The corner nobody could see into
- 8.Makeover 8: The nightstand that blocked the walkway
- 9.Makeover 9: The kids' room shelf nobody could reach
- 10.Makeover 10: The radiator corner that cooked a shelf
- 11.Makeover 11: The kitchen corner behind the kettle
- 12.Makeover 12: The desk with no surface left
- 13.Makeover 13: The black plastic nursery pots
- 14.Makeover 14: The brackets you saw first
- 15.Makeover 15: The shelf that bowed in the middle
- 16.Makeover 16: The bare wall above the sofa
- 17.Makeover 17: The dead space behind the door
- 18.Makeover 18: The unit that leaned when leaned on
- 19.Makeover 19: The corner that looked grey
- 20.Makeover 20: The shelf where everything matched
- 21.Corner Shelves Before and After: What I'd Do Differently Now
Makeover 1: The dead living room corner
Before: a bare wall meeting another bare wall, with a phone charger dangling into it and a laundry basket that had migrated there permanently.
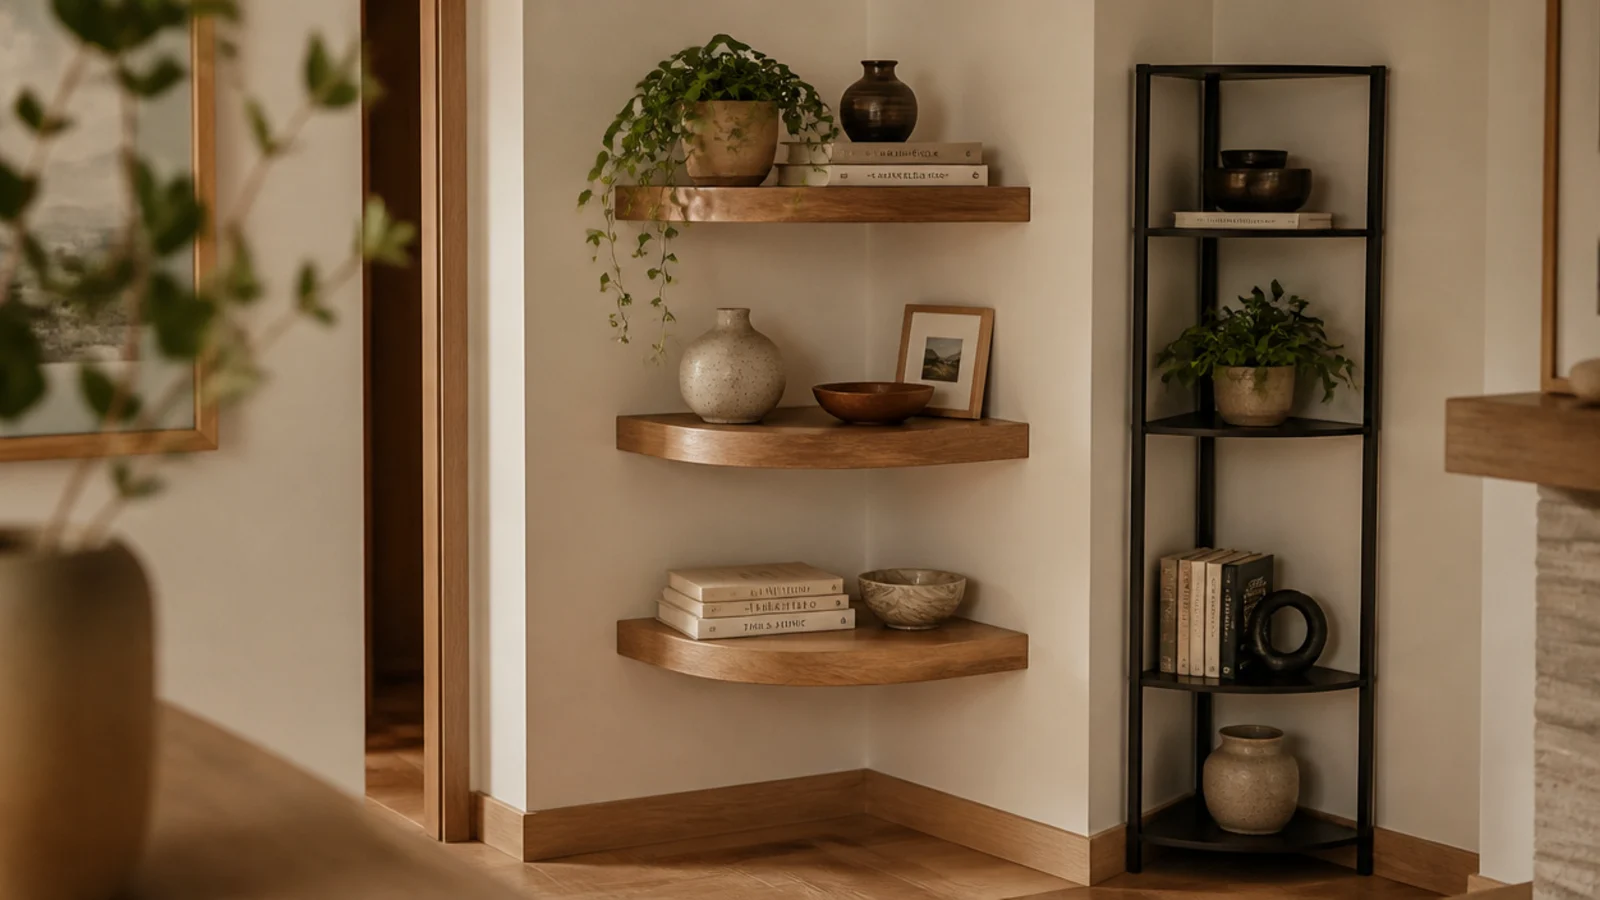
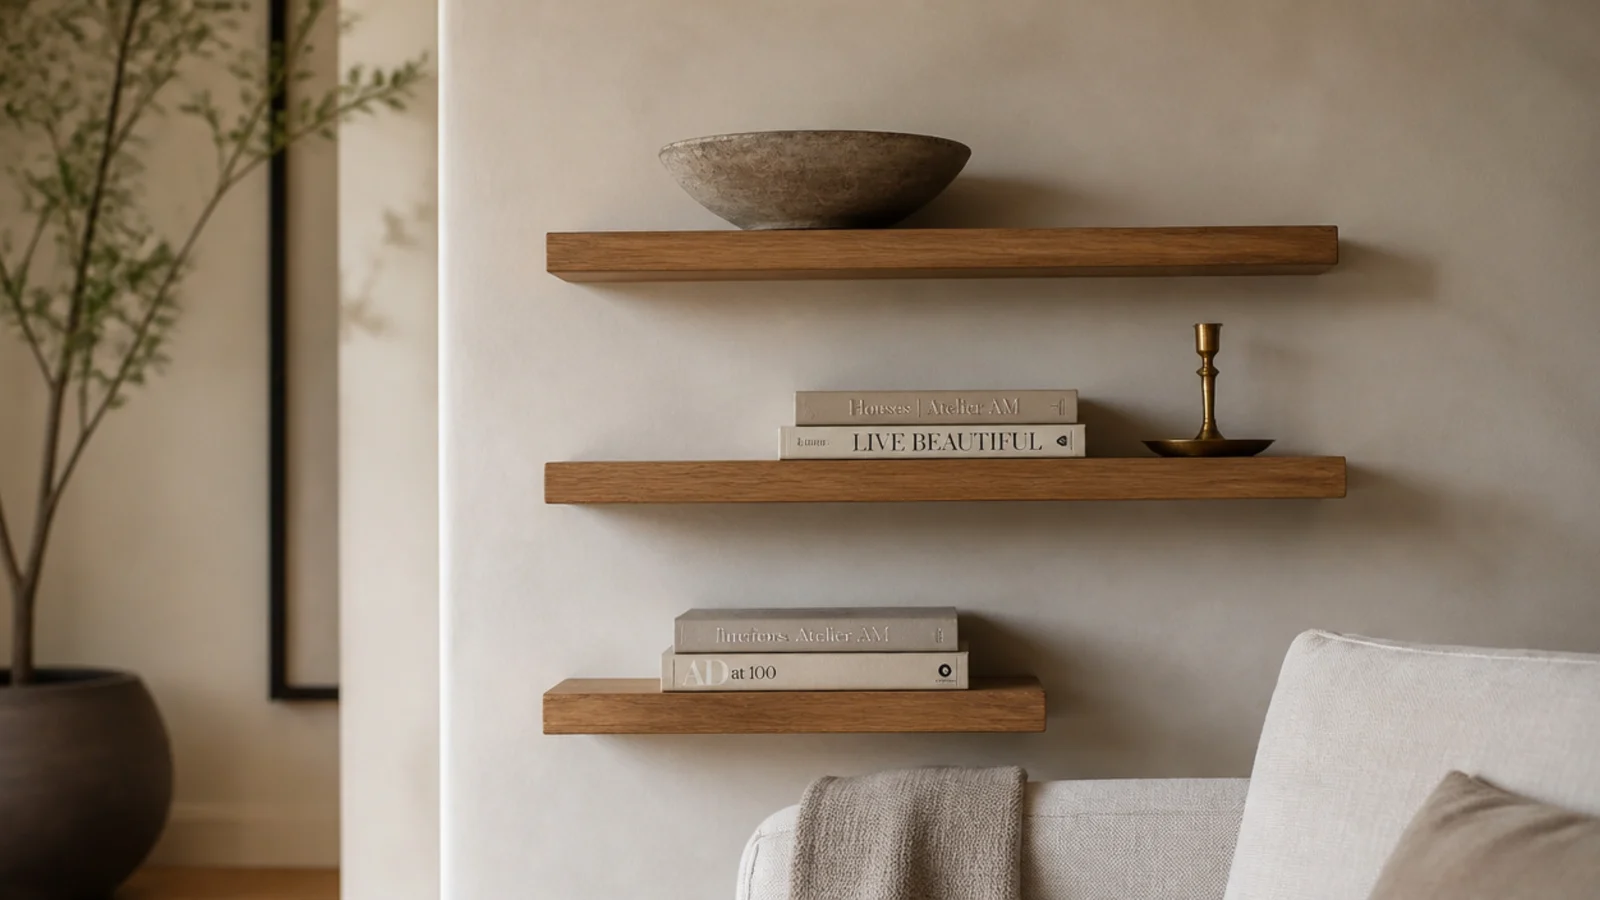
After: three staggered oak shelves at 24, 20 and 16 inches, spaced 13 inches apart, starting at 42 inches from the floor.
The taper was the decision that mattered. Three equal shelves would have read as a block on an already-dark corner; the decreasing lengths give the eye a line to climb. Total cost $74 including brackets, and the laundry basket went back to the bedroom.
Makeover 2: The overloaded bookshelf corner
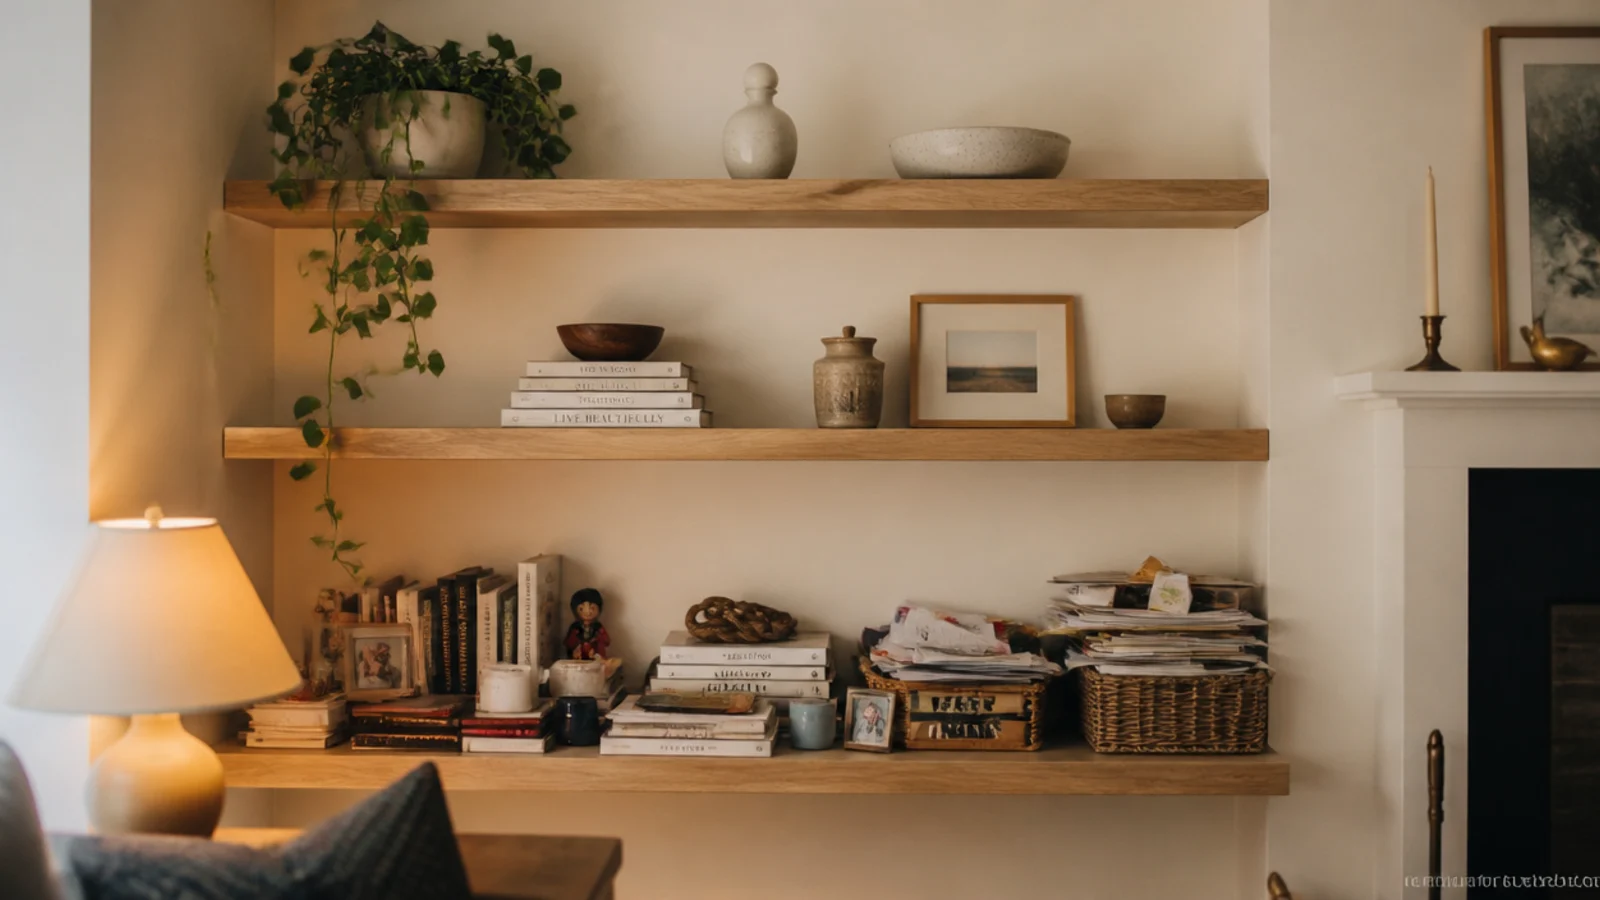
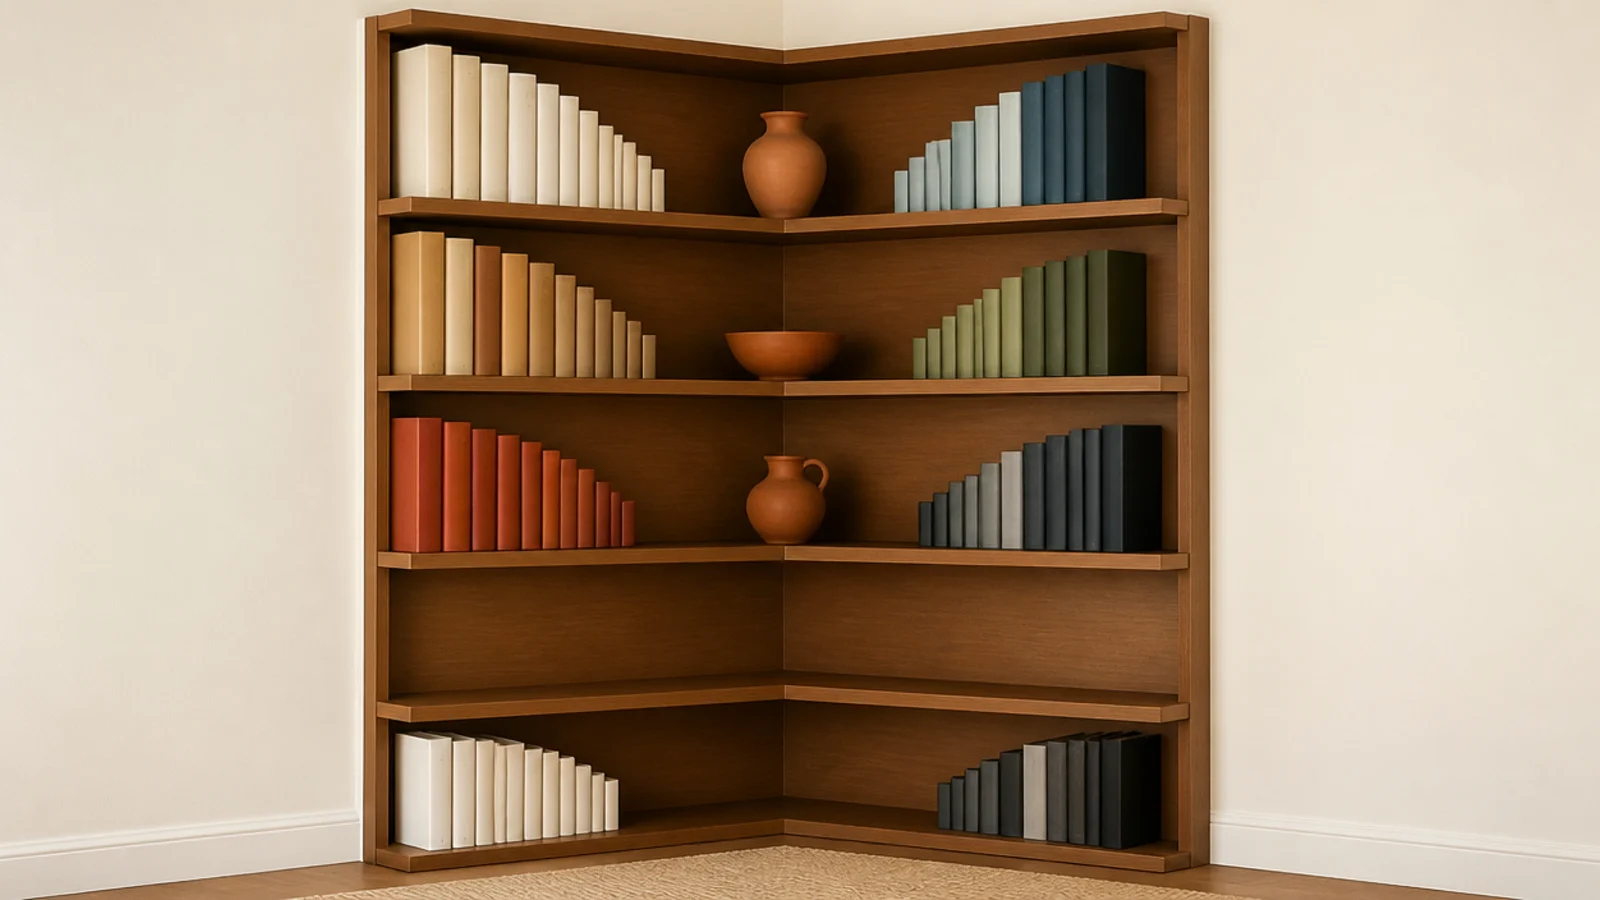
Before: every shelf packed edge to edge with books, plus framed photos wedged in horizontally on top of the rows.
After: two thirds of the books boxed for the basement, the rest grouped by height, and three terracotta pieces breaking the rows.
I left one whole shelf two-thirds empty and the client thought I had lost my mind. A week later she messaged to say it was the first time the room had felt calm. Cost: nothing.
Makeover 3: The bare rental bathroom corner
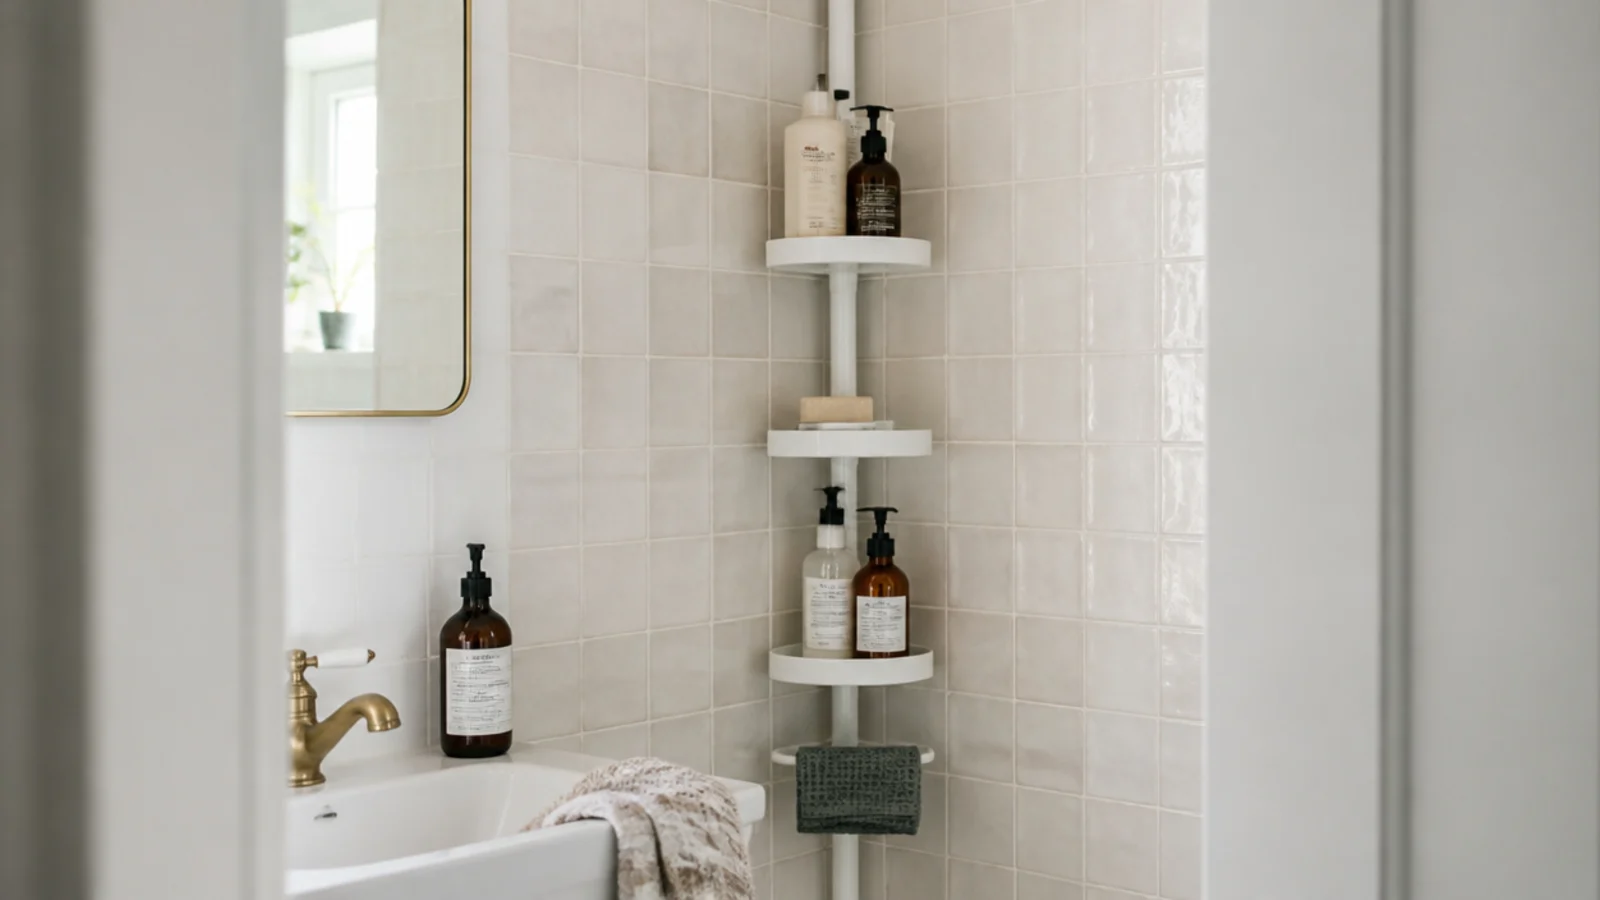
Before: shampoo bottles balanced on the tub edge, knocked into the bath roughly weekly, because the lease forbade drilling.
After: a tension-pole caddy wedged floor to ceiling in the shower corner, four tiers, set at uneven spacings so tall bottles fit the top and soap fits the bottom.
Ten minutes, no tools, $32, zero holes. The uneven tier spacing is the part most people skip, and it is what makes the difference between a caddy that holds everything and one that holds half of it.
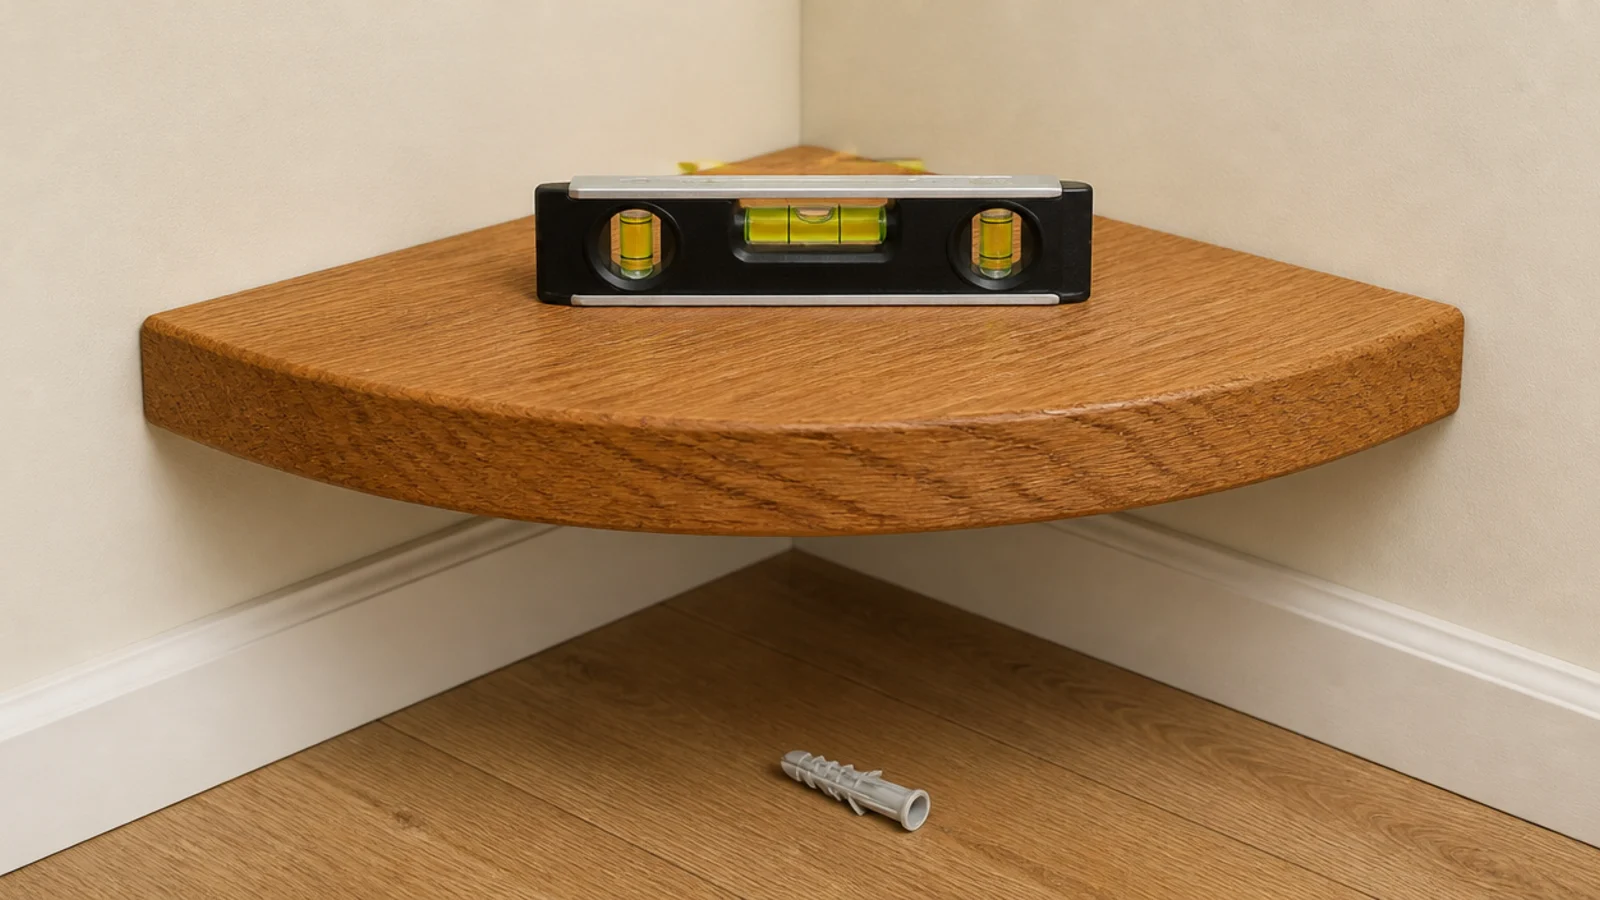
Makeover 4: The shelf that would not stop tilting
Before: a three-tier set on the plastic plugs from the box, with a visible downward lean and a hairline crack in the paint by the top bracket.
After: every plug replaced with toggle bolts, and the shelf remounted level.
The plugs were rated around 10 pounds and the shelf carried close to 35. They had not failed suddenly — they had crushed the drywall around themselves and crept out over months. Four toggle bolts cost $4 and took twenty minutes.
Makeover 5: The orange pine shelf
Before: a stained pine shelf that read distinctly orange against warm cream walls and matched nothing else in the room.
After: two coats of the wall color in satin, brackets included.
Painting a wood shelf feels like a downgrade until you see it. The shelf stopped being an object stuck to a wall and started reading as part of the room, and the pottery on it came forward. One sample pot, $9.
Makeover 6: The entry corner that ate everything
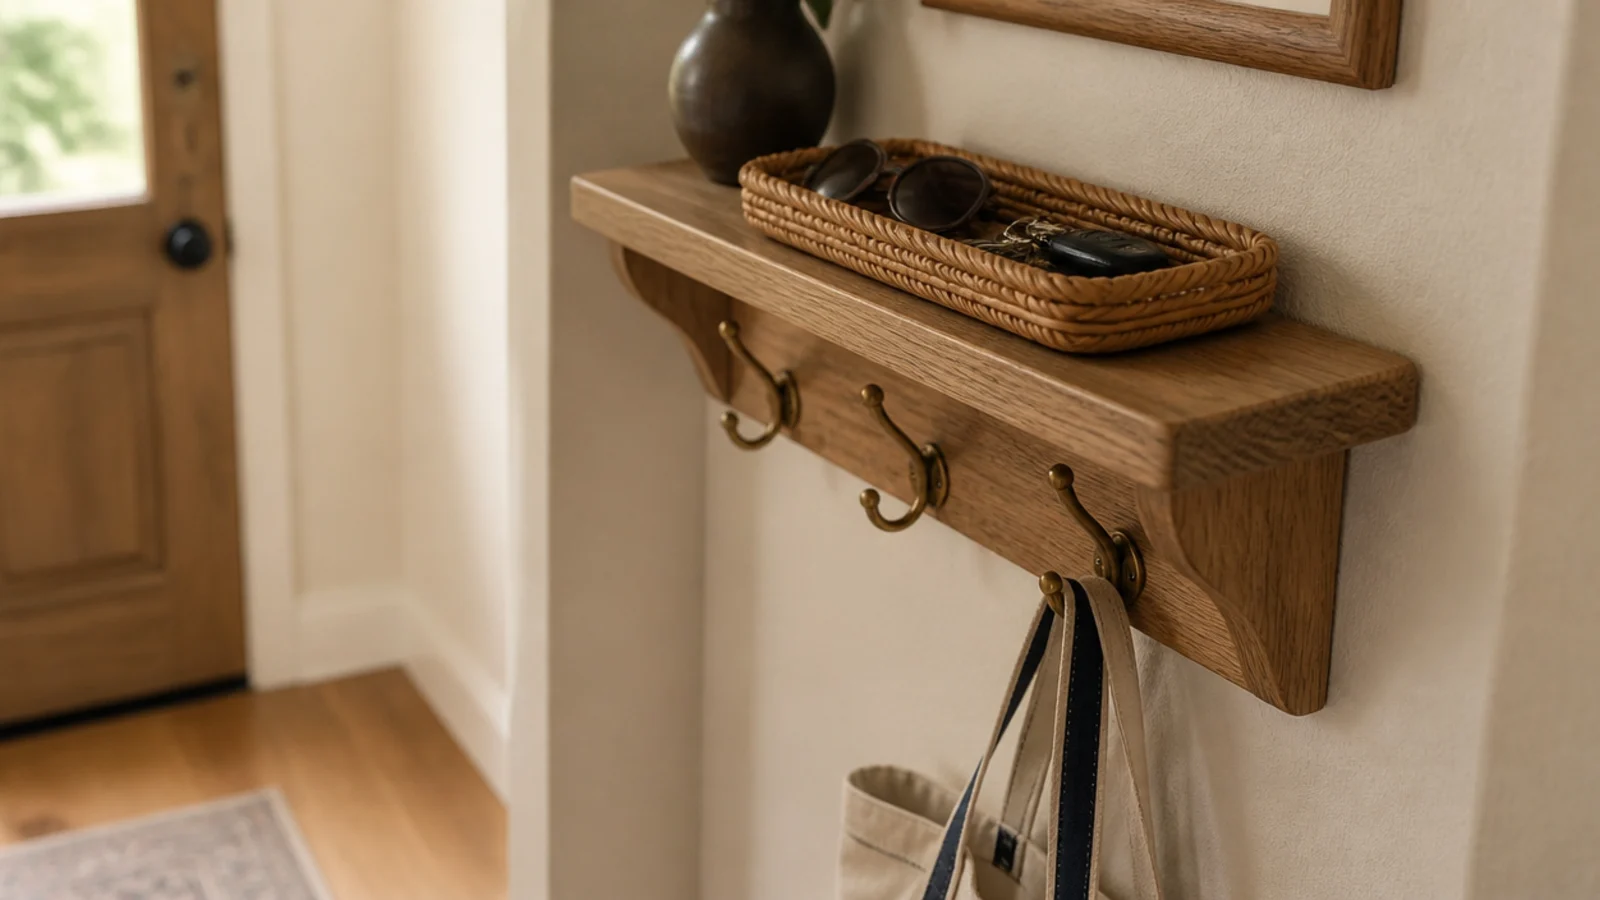
Before: mail, keys, sunglasses, a hat and two receipts, spread across a shelf with nothing to contain them.
After: one woven tray on the shelf and three brass hooks 14 inches below it.
The tray is doing all the work. Without something with a raised edge, small items slide to the back and to the floor. With it, the same objects read as one contained group. Tray and hooks, $28 total.
Makeover 7: The corner nobody could see into
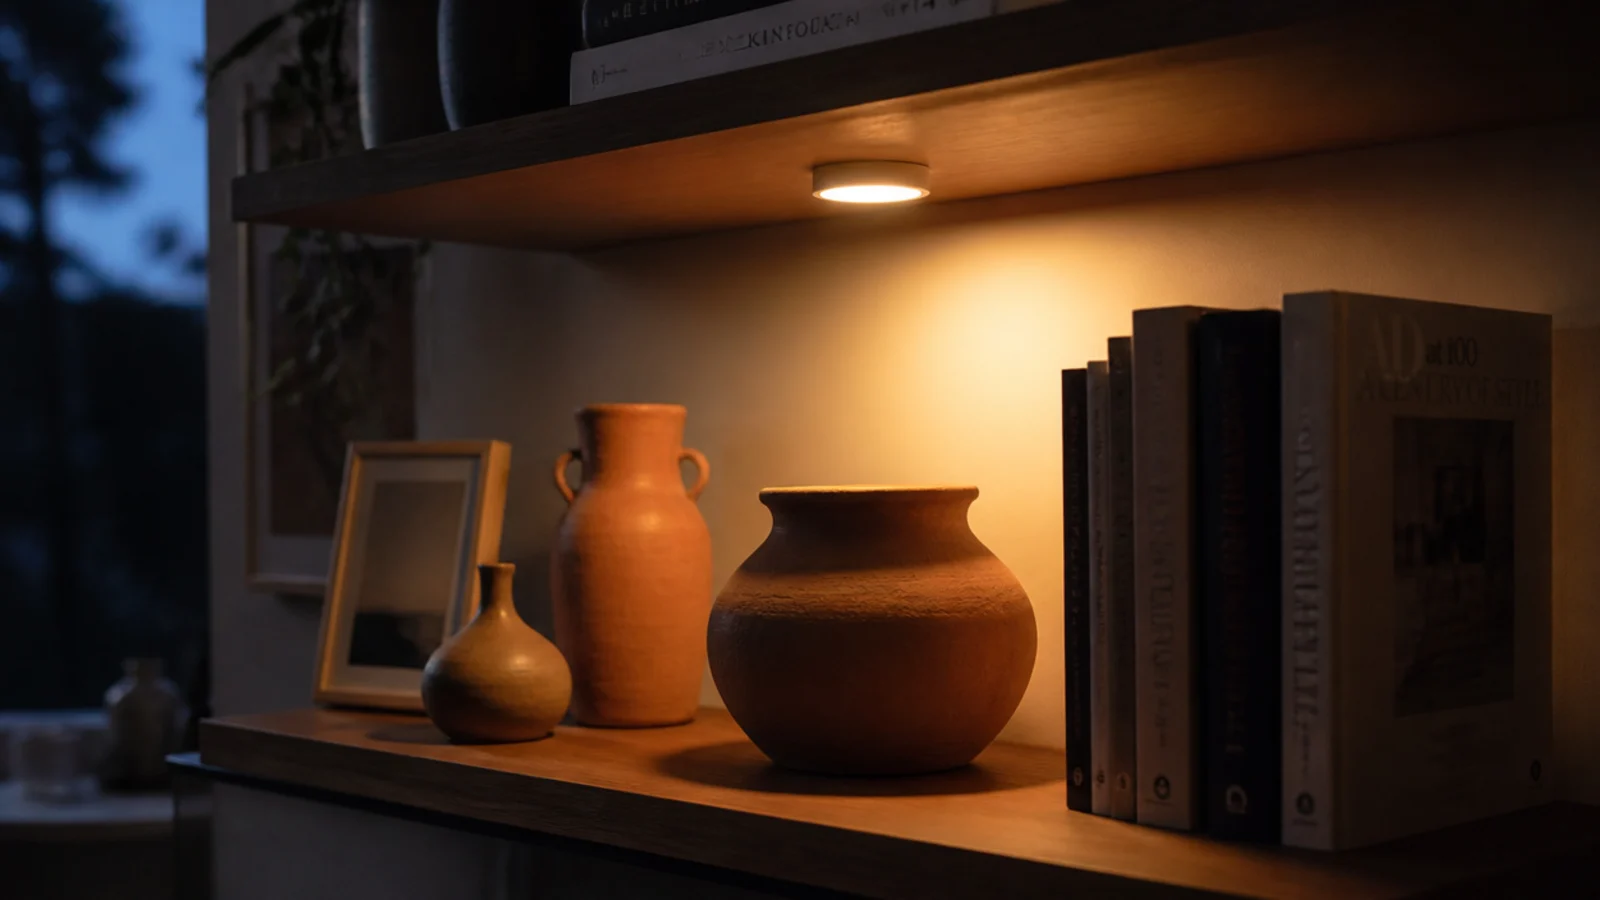
Before: a north-facing corner with well-chosen pottery on it that nobody had ever really looked at, because it sat in shadow from 3pm onward.
After: one stick-on rechargeable puck light under the top shelf, 2700K.
Ten dollars. It is genuinely the best value change in this entire article, and I now check the light in a dark corner before I look at anything on the shelves.
Makeover 8: The nightstand that blocked the walkway
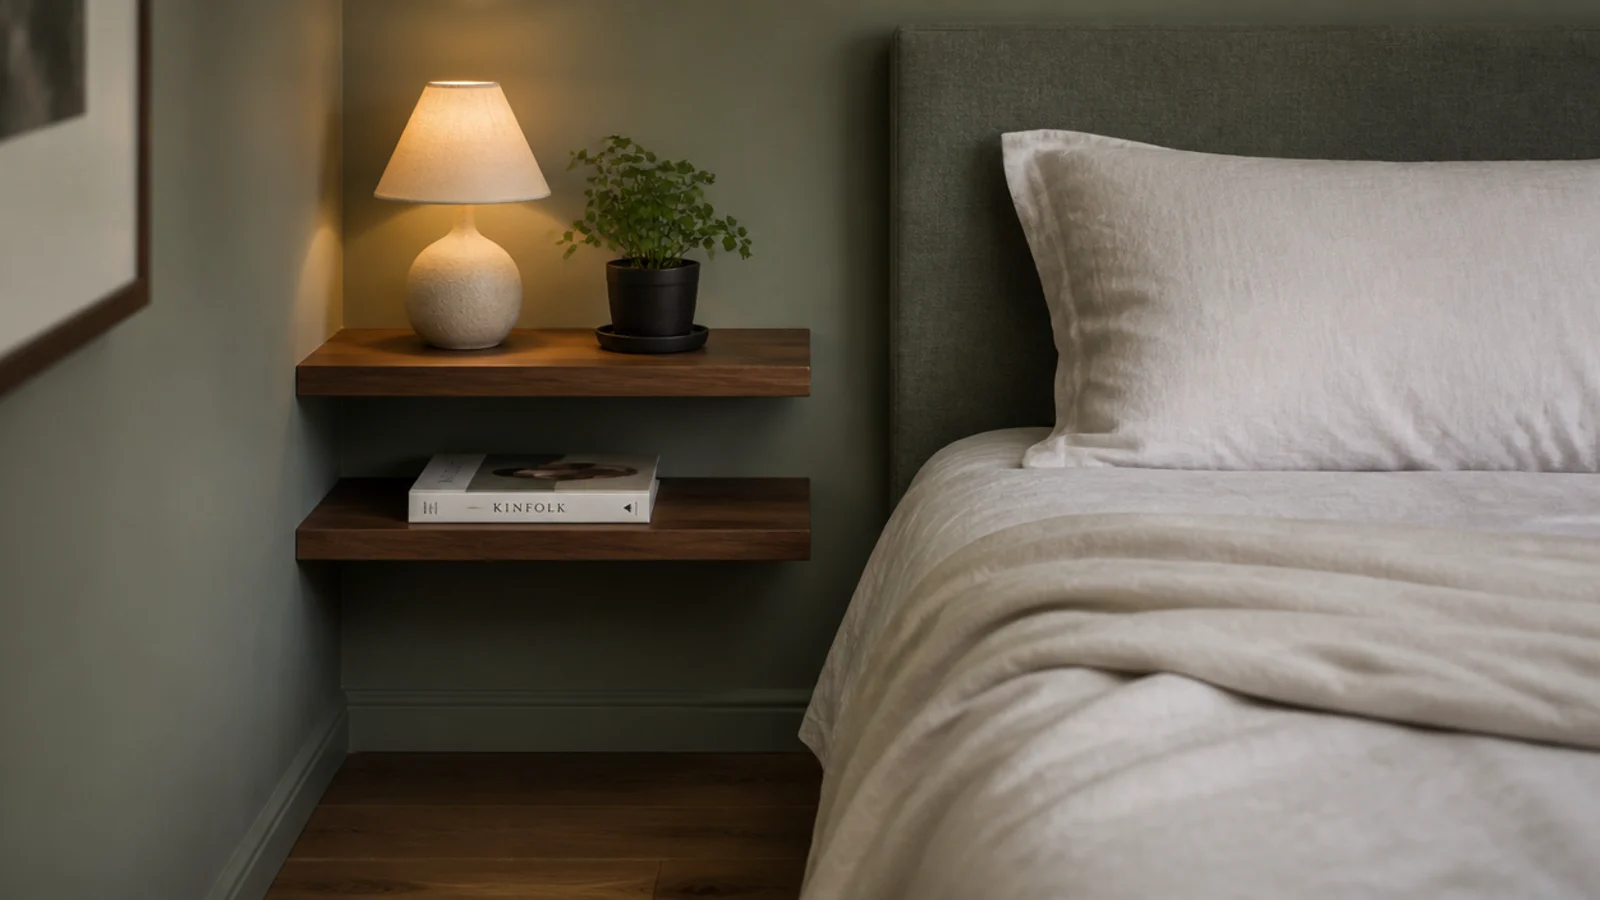
Before: a bed pushed into a corner with a nightstand that left about 14 inches to squeeze past.
After: two floating walnut shelves — one at mattress height, one 14 inches above — and the nightstand sold.
More usable surface, zero floor footprint, and a walkway you can pass without turning sideways. In a small bedroom this is not a compromise; it is straightforwardly better. Cost $58.
Makeover 9: The kids' room shelf nobody could reach
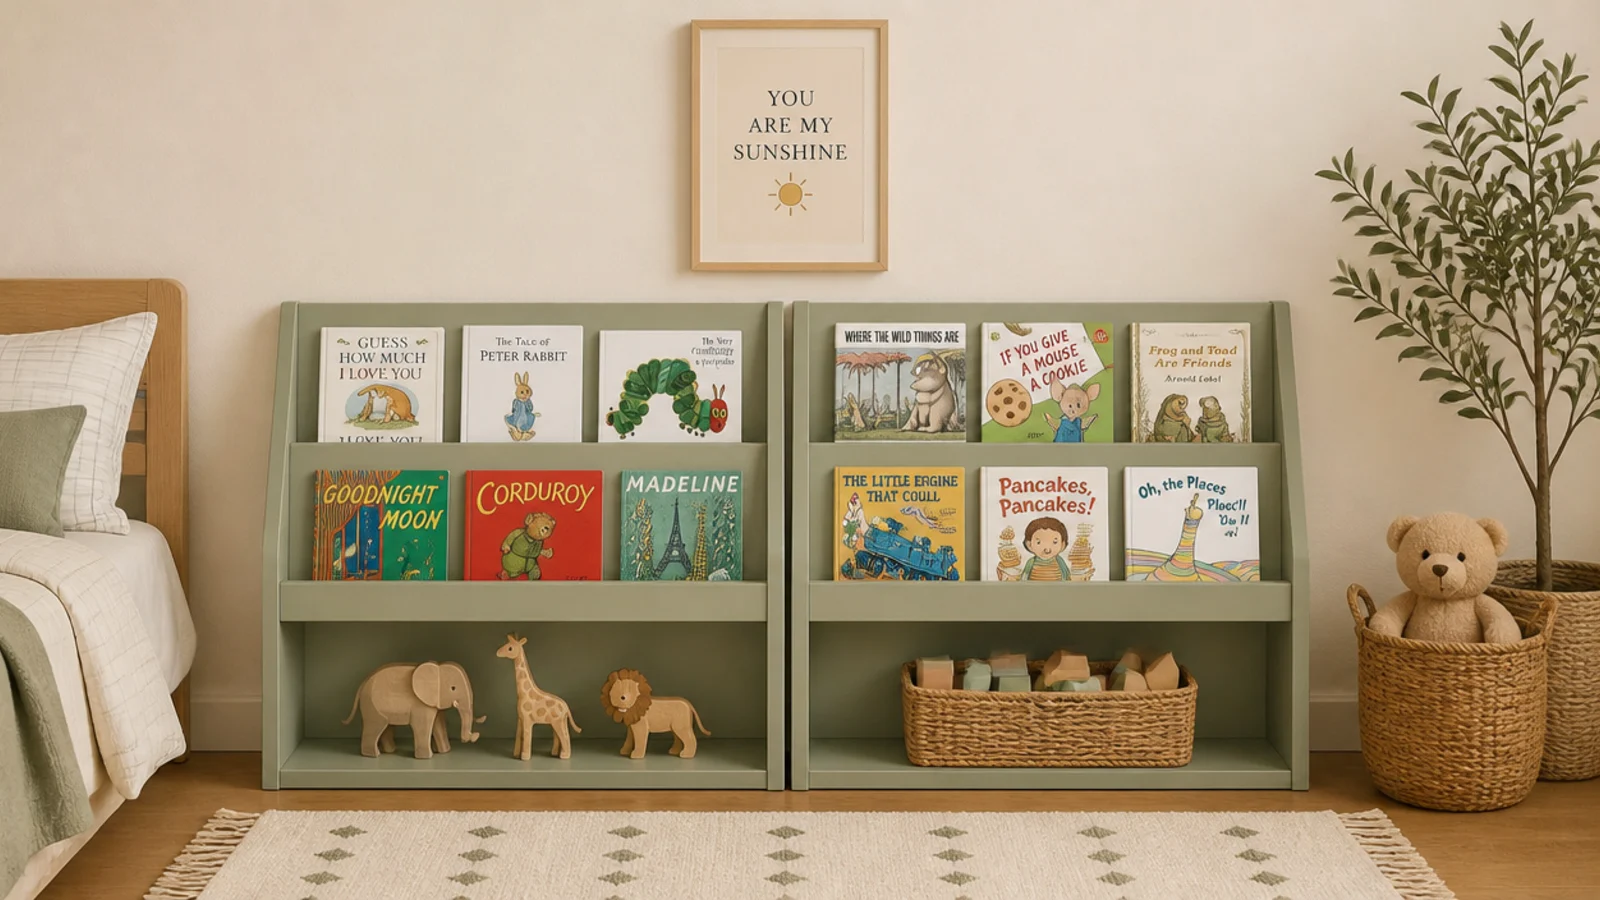
Before: shelves mounted at adult height in a four-year-old's room, holding her books where she could not get them.
After: two shelves capped at 36 inches, edges rounded, unit anchored to a stud, picture books stored forward-facing.
She chose books by cover for the first time. The lowest shelf is the only one that matters at that age, and it needs to be low enough that no climbing is involved. Cost $40.
Makeover 10: The radiator corner that cooked a shelf
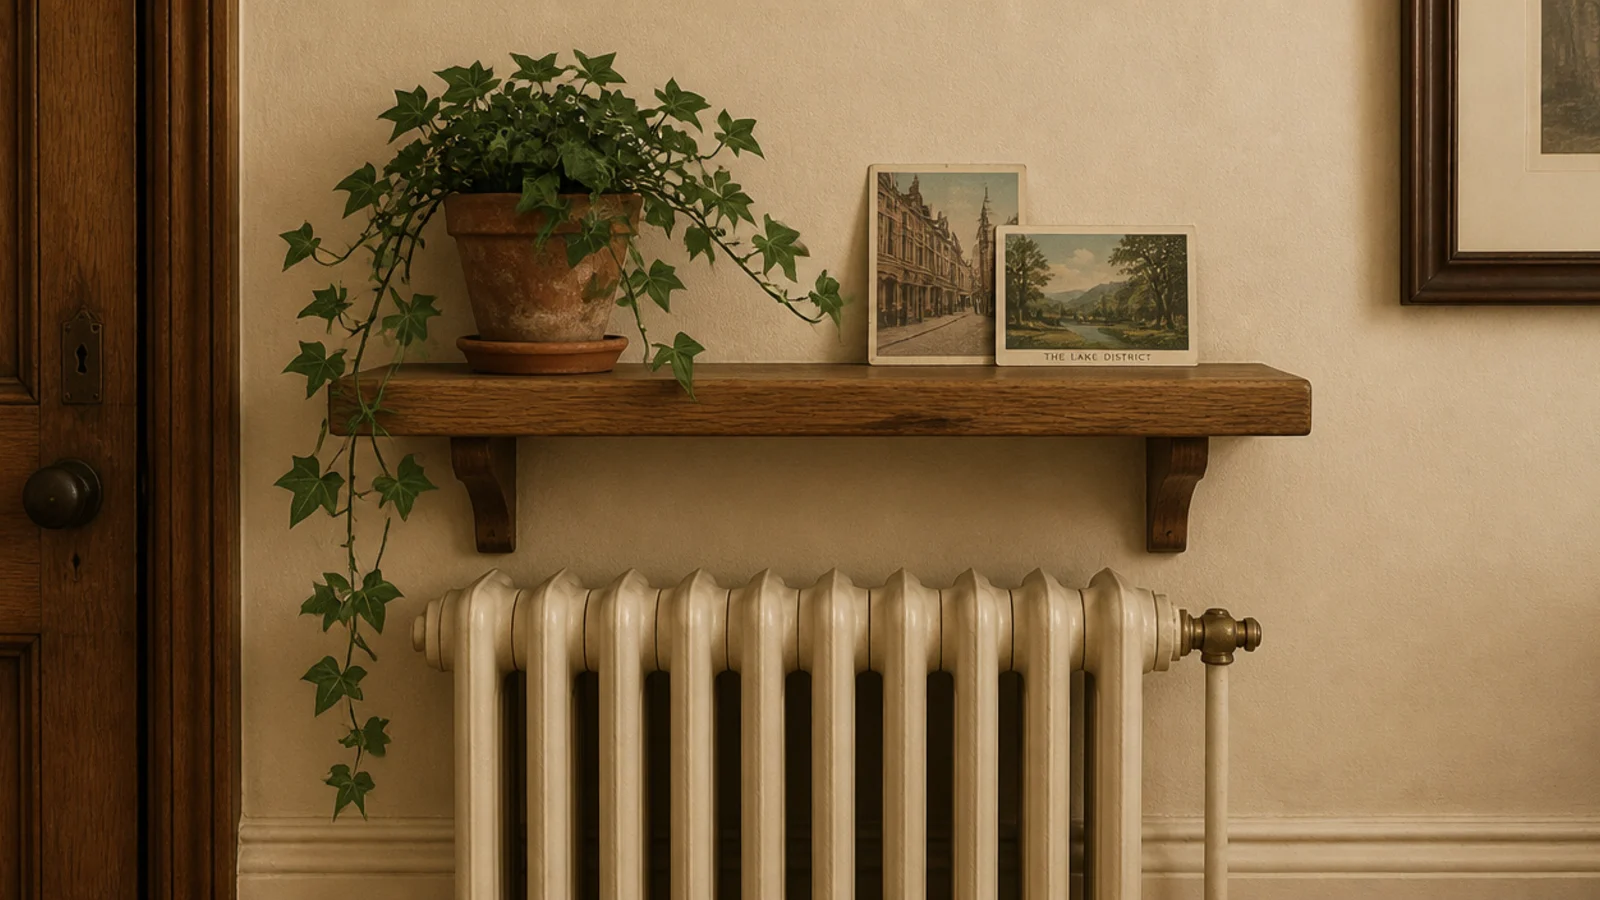
Before: a laminate shelf two inches above a cast column radiator, front edge visibly lifting, with a wilting fern on top.
After: a solid oak board mounted four inches above the radiator, with trailing ivy instead.
Four inches of clear air is the number. Laminate edges lift permanently under repeated heat cycles, and no plant that likes even moisture will survive directly above a radiator in January.
Makeover 11: The kitchen corner behind the kettle
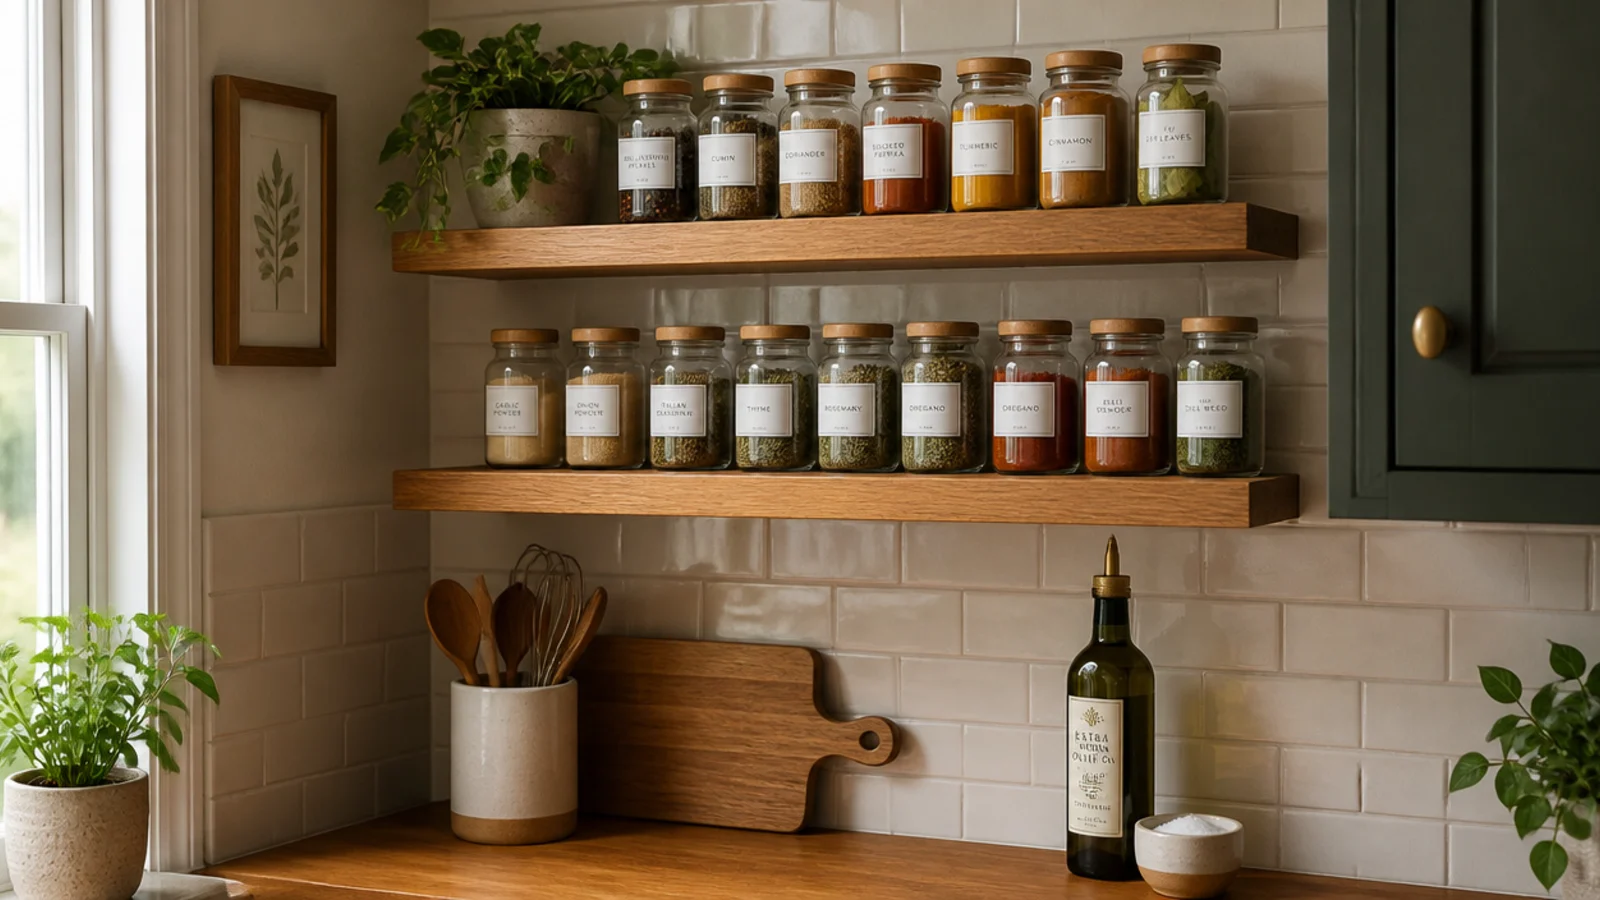
Before: a counter corner buried under spice jars, oil bottles and a bag of coffee, with no clear prep space left.
After: two shelves at 11 and 22 inches above the counter, holding only daily items.
The rule that made it stick: only what gets used weekly goes up. The paprika used twice a year went back in a cupboard, and the corner stopped re-cluttering within a month. Cost $46.
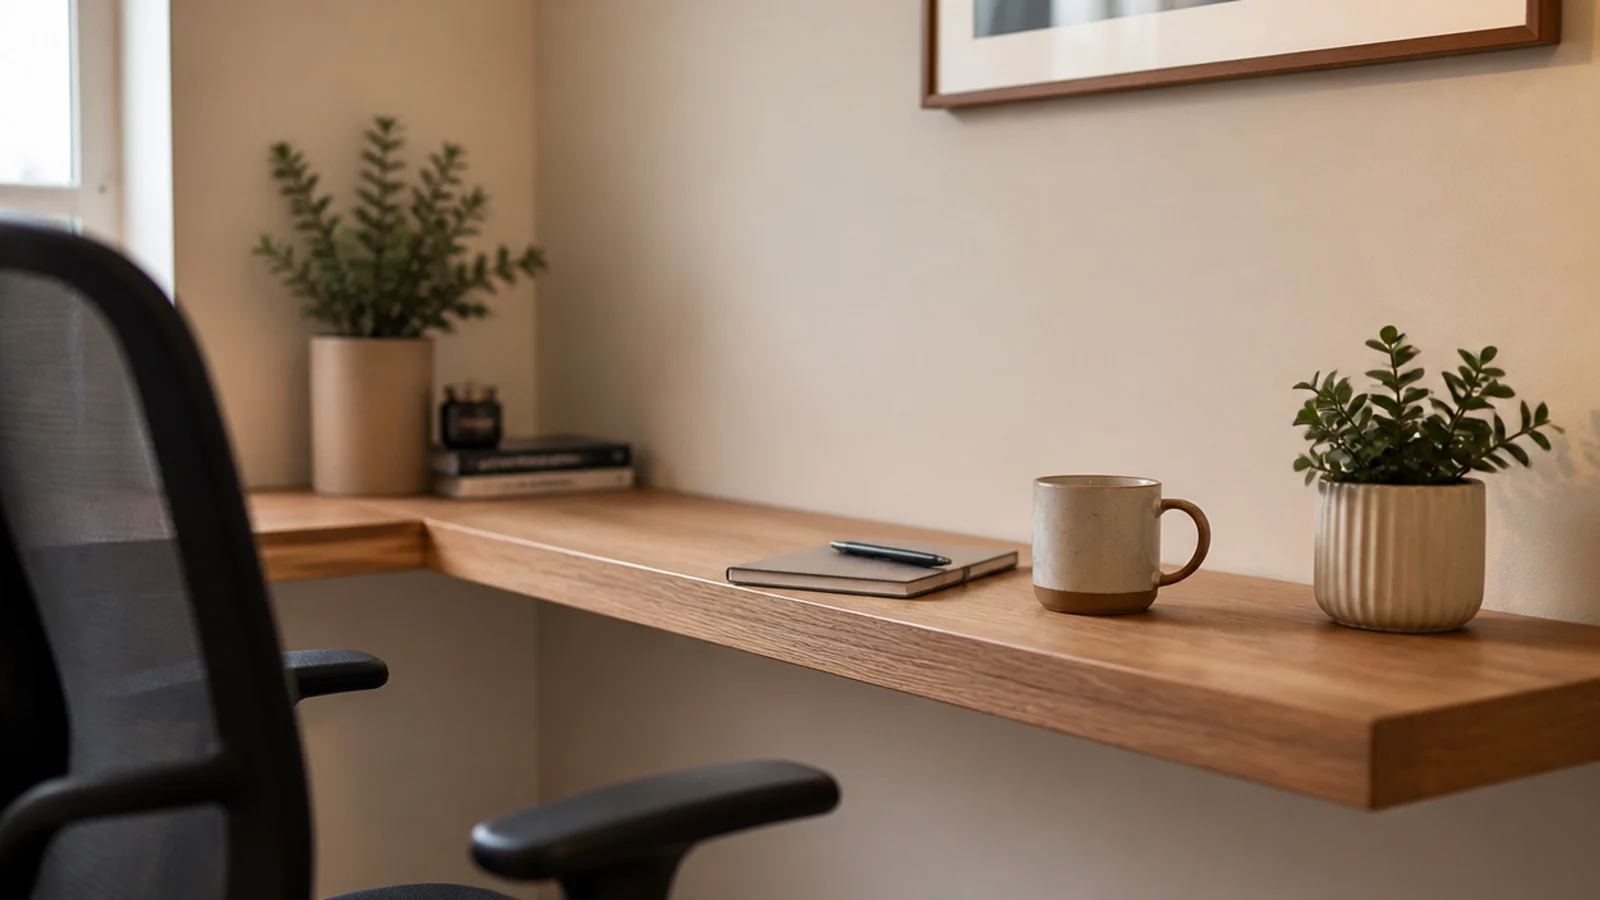
Makeover 12: The desk with no surface left
Before: a small corner desk permanently covered, with a printer taking a third of it.
After: a floating shelf at 29 inches continuing the desk surface around the corner, both fixings into studs.
Desk surfaces get leaned on, which is a very different load to a vase, so this one is worth doing properly. It bought back about 40 percent of the usable desk. Cost $34.
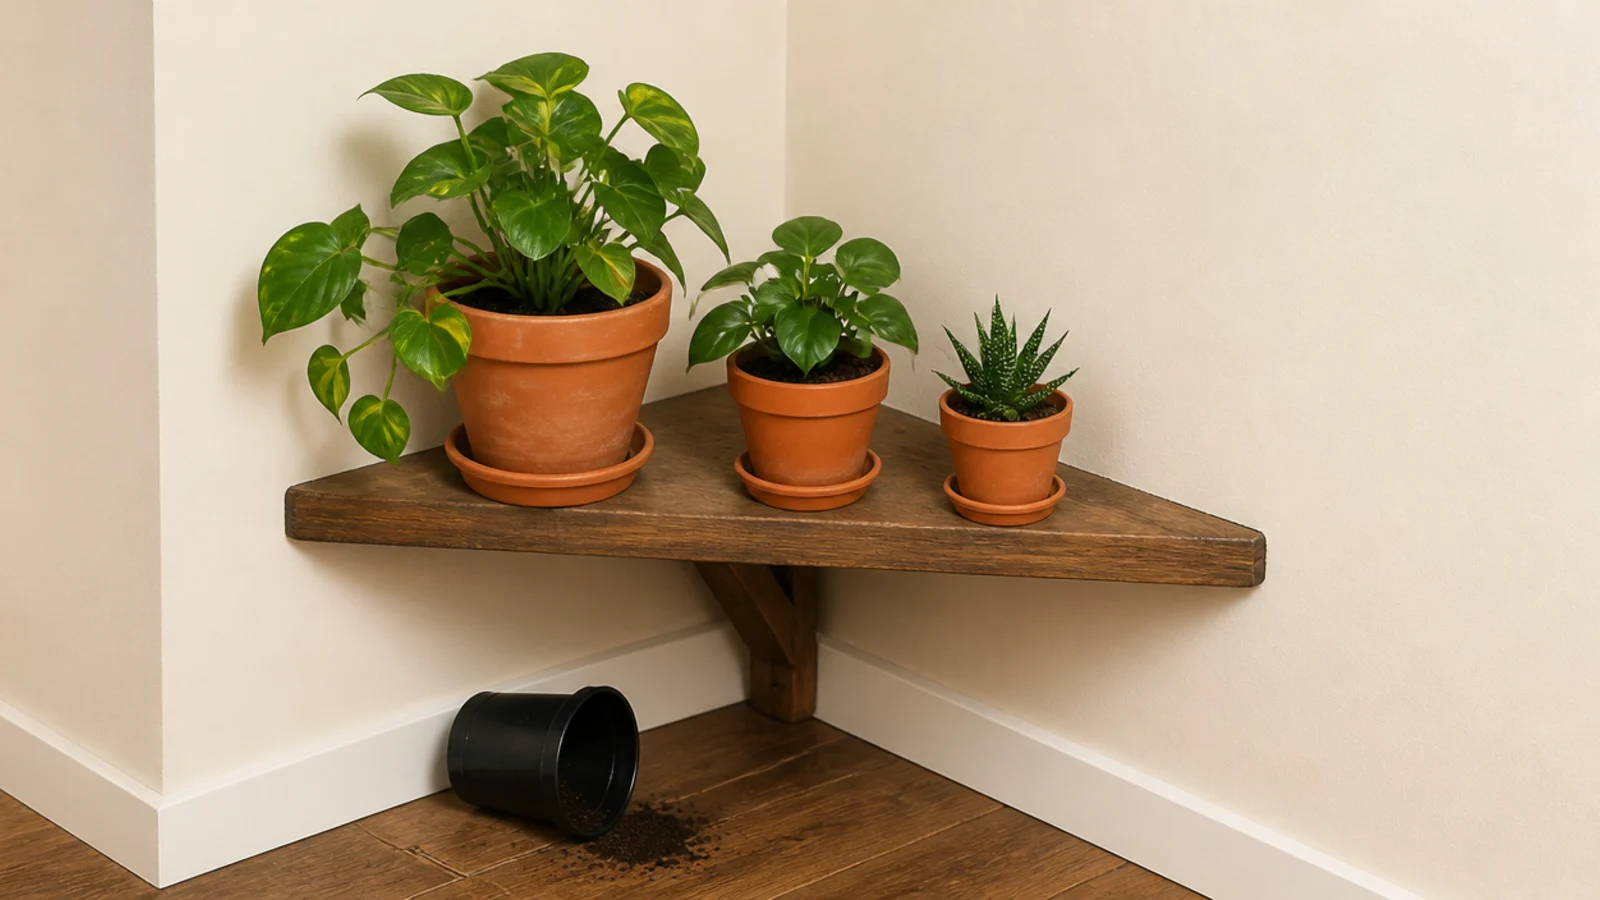
Makeover 13: The black plastic nursery pots
Before: four healthy plants on a lovely oak shelf, all still in the black plastic pots they came home in.
After: four plain unglazed terracotta pots in graduated sizes.
Three dollars a pot. It is the single most disproportionate improvement per dollar I know of, and I have never once regretted repotting something. The clay also breathes, so the plants preferred it too.
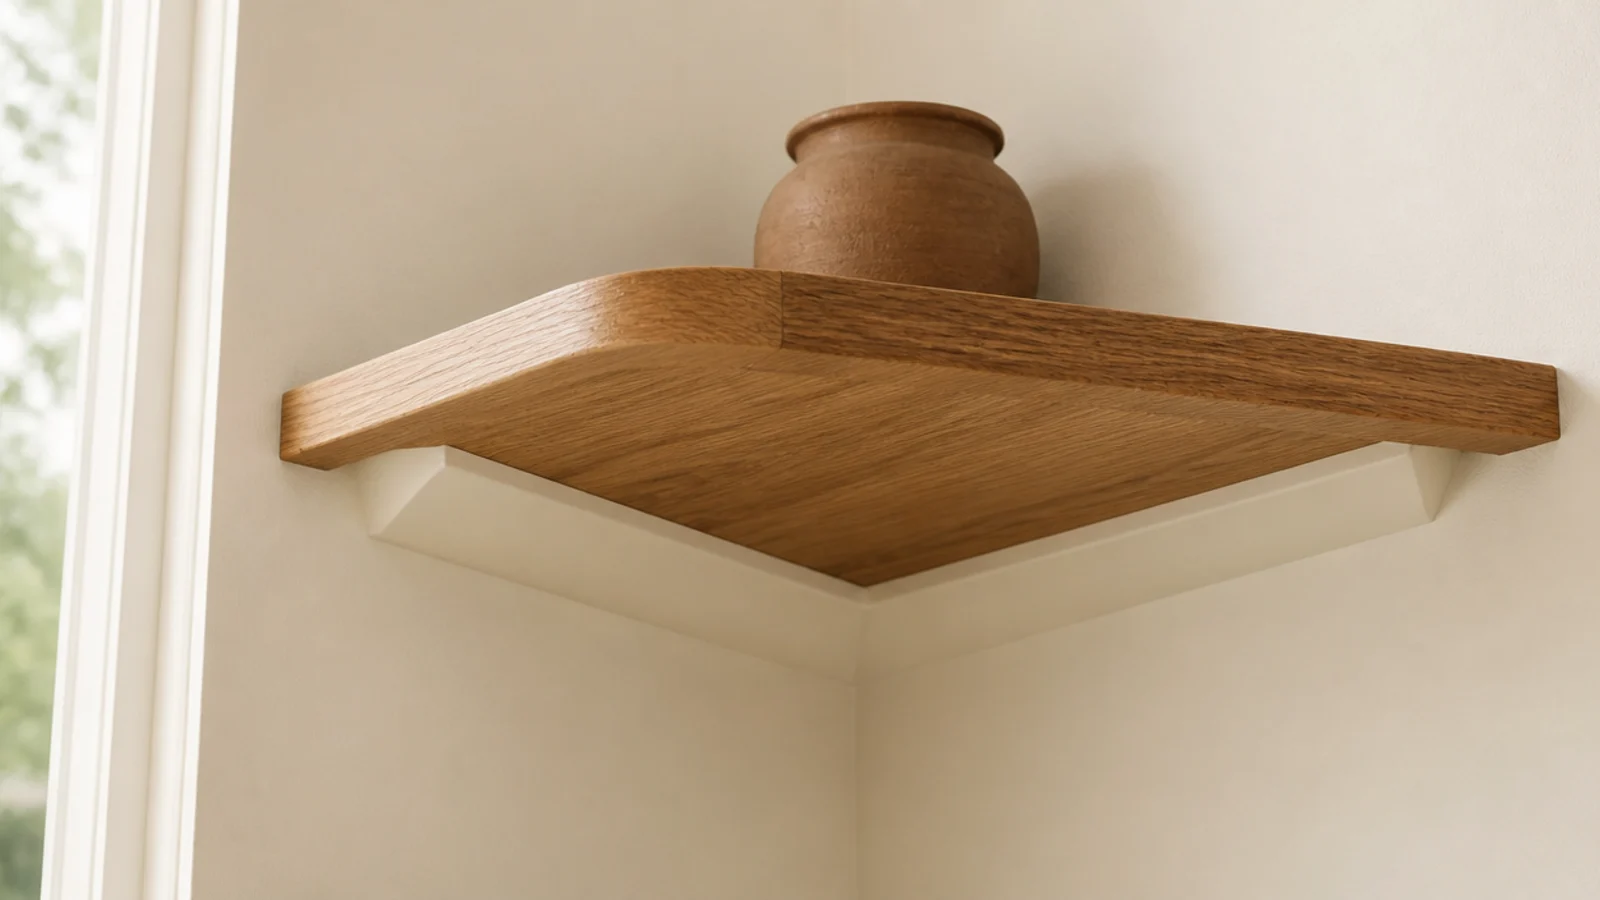
Makeover 14: The brackets you saw first
Before: warm oak shelves on bright galvanised brackets, where your eye went straight to the hardware.
After: two coats of wall-colored sample paint on the bracket plates.
Ten minutes and about $4. It is the cheapest upgrade on this list and the one people are most surprised by, because a painted bracket genuinely disappears from every normal viewing angle.
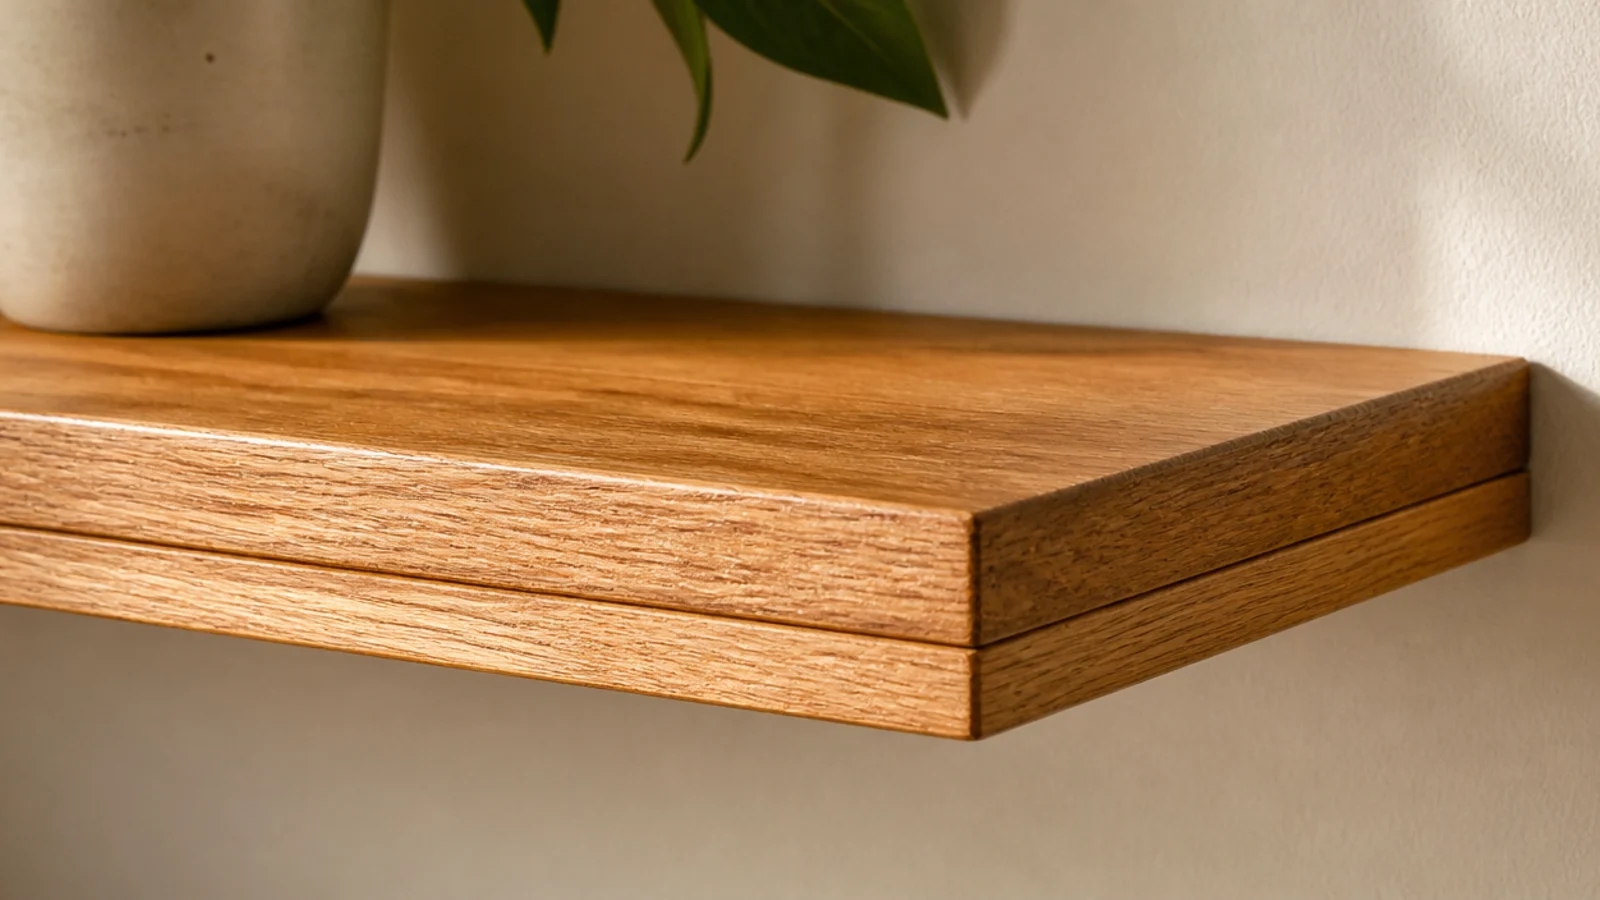
Makeover 15: The shelf that bowed in the middle
Before: an elegant half-inch board spanning 26 inches, visibly sagging under a row of hardbacks.
After: a narrow strip glued and clamped under the front edge, doubling the apparent thickness and stiffening the span.
The shelf now reads as a substantial inch-and-a-half slab and holds the same books dead straight. A glued strip costs a few dollars and about an hour including clamping time.
Makeover 16: The bare wall above the sofa
Before: a large empty wall meeting the corner behind a sofa, which every visitor's eye slid straight past.
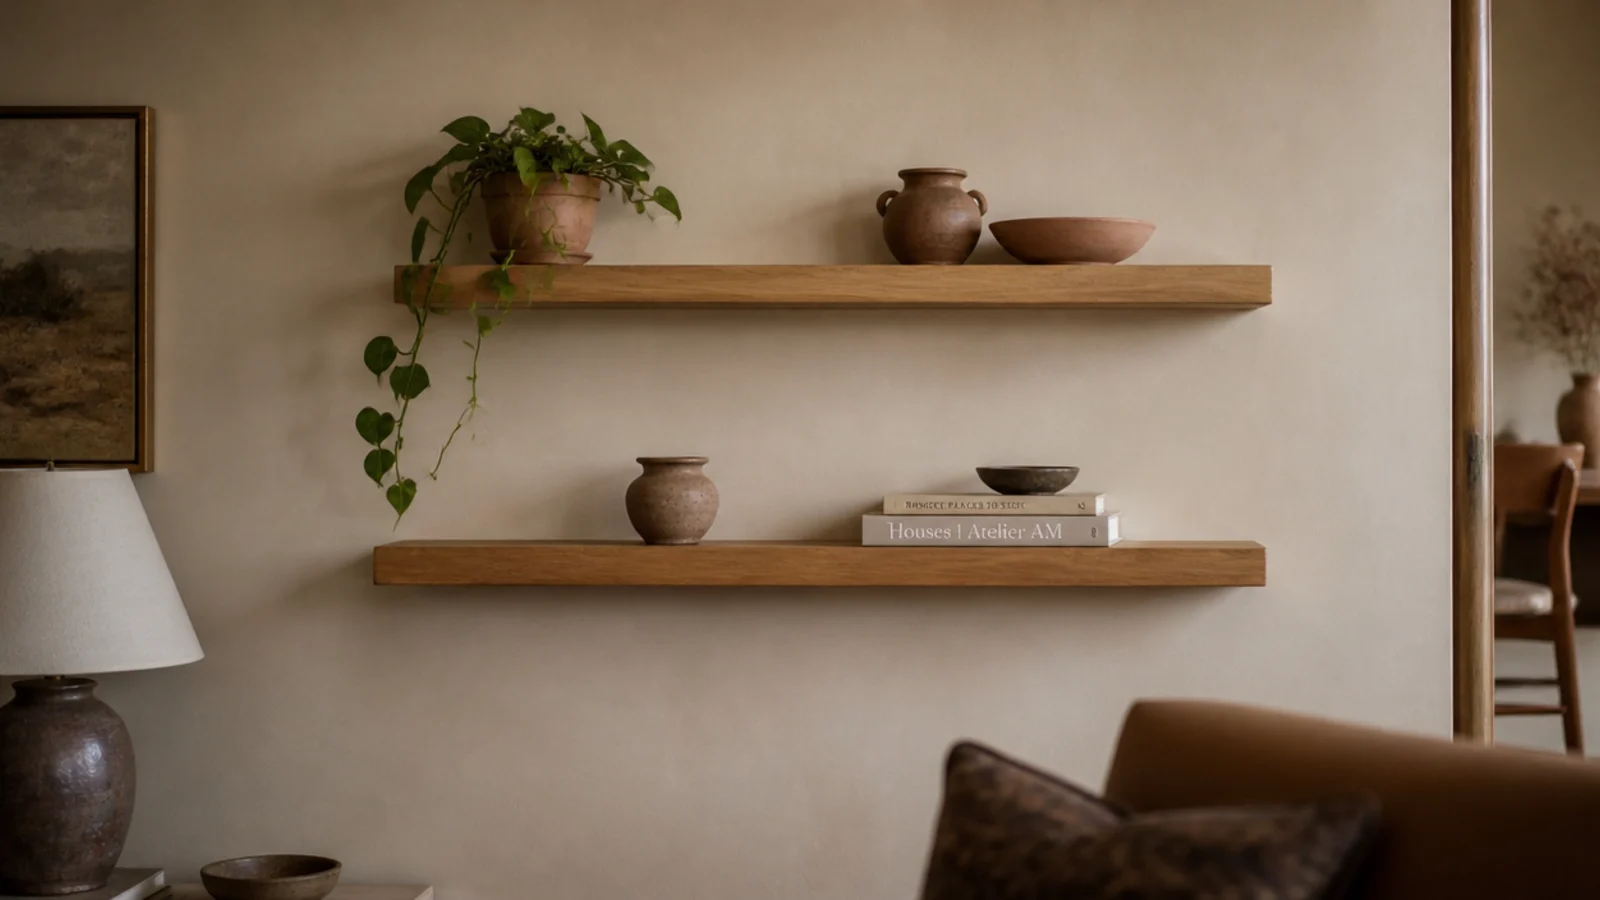
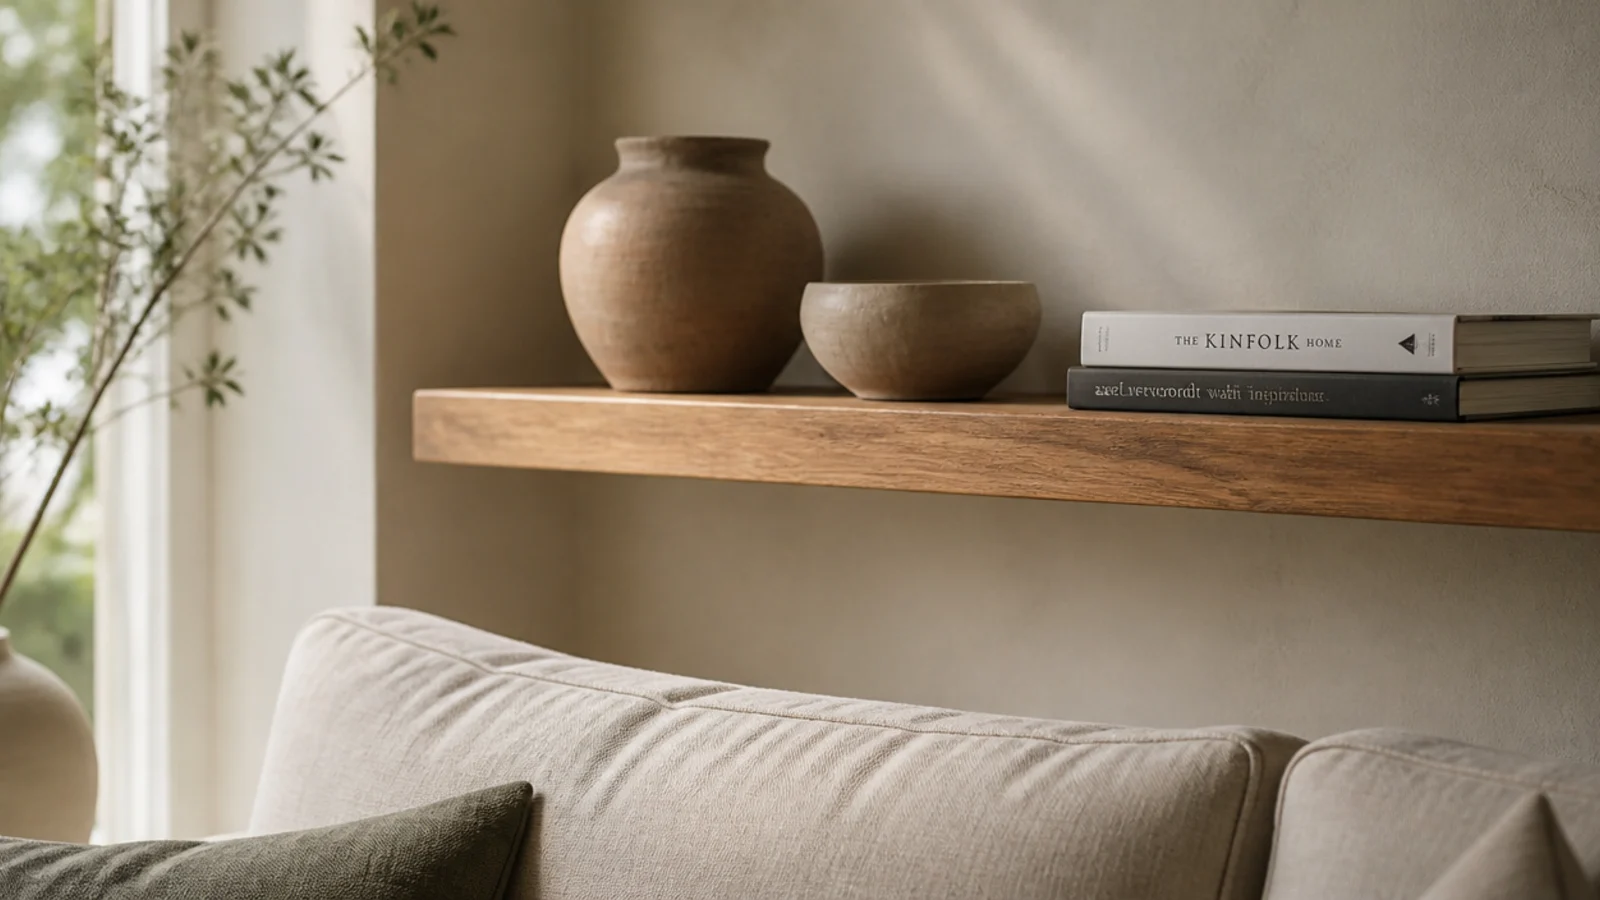
After: one 24-inch oak shelf mounted 12 inches above the sofa back, holding three objects.
One shelf, not three. The wall was already tall and a full stack would have loomed. Restraint here was the design decision. Cost $31.
Makeover 17: The dead space behind the door
Before: completely unused wall behind a bedroom door that opened flat against it.
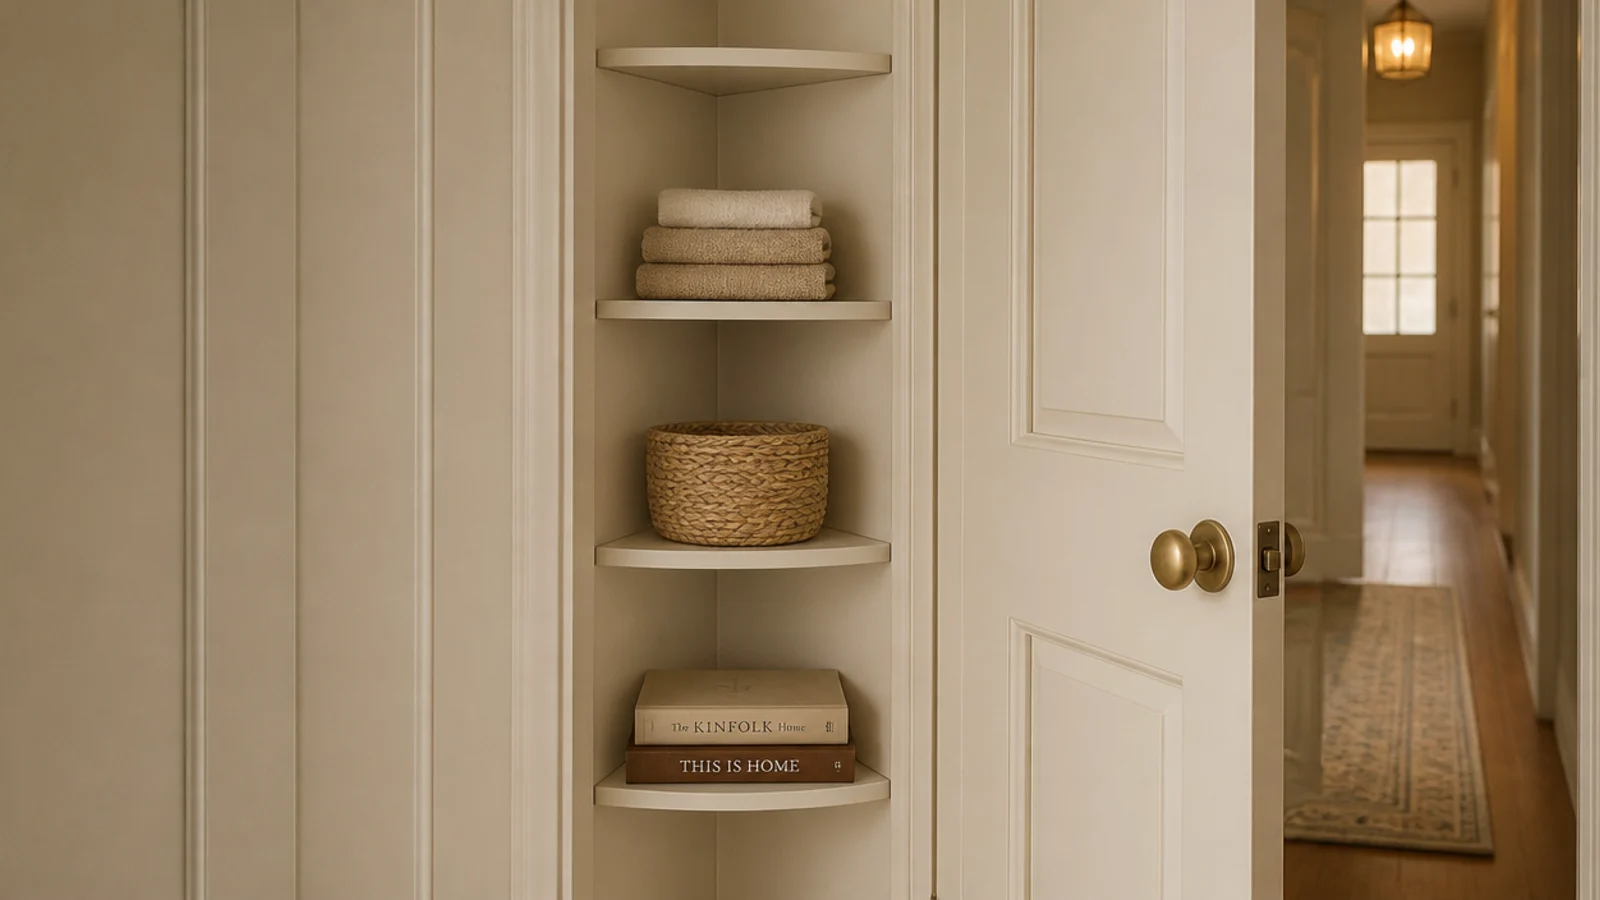
After: three four-inch shelves holding folded linens and a basket of chargers.
The depth came from measuring with the door fully open and subtracting two inches. Nothing breakable goes here — doors get pushed harder than anyone plans for. Cost $22.
Makeover 18: The unit that leaned when leaned on
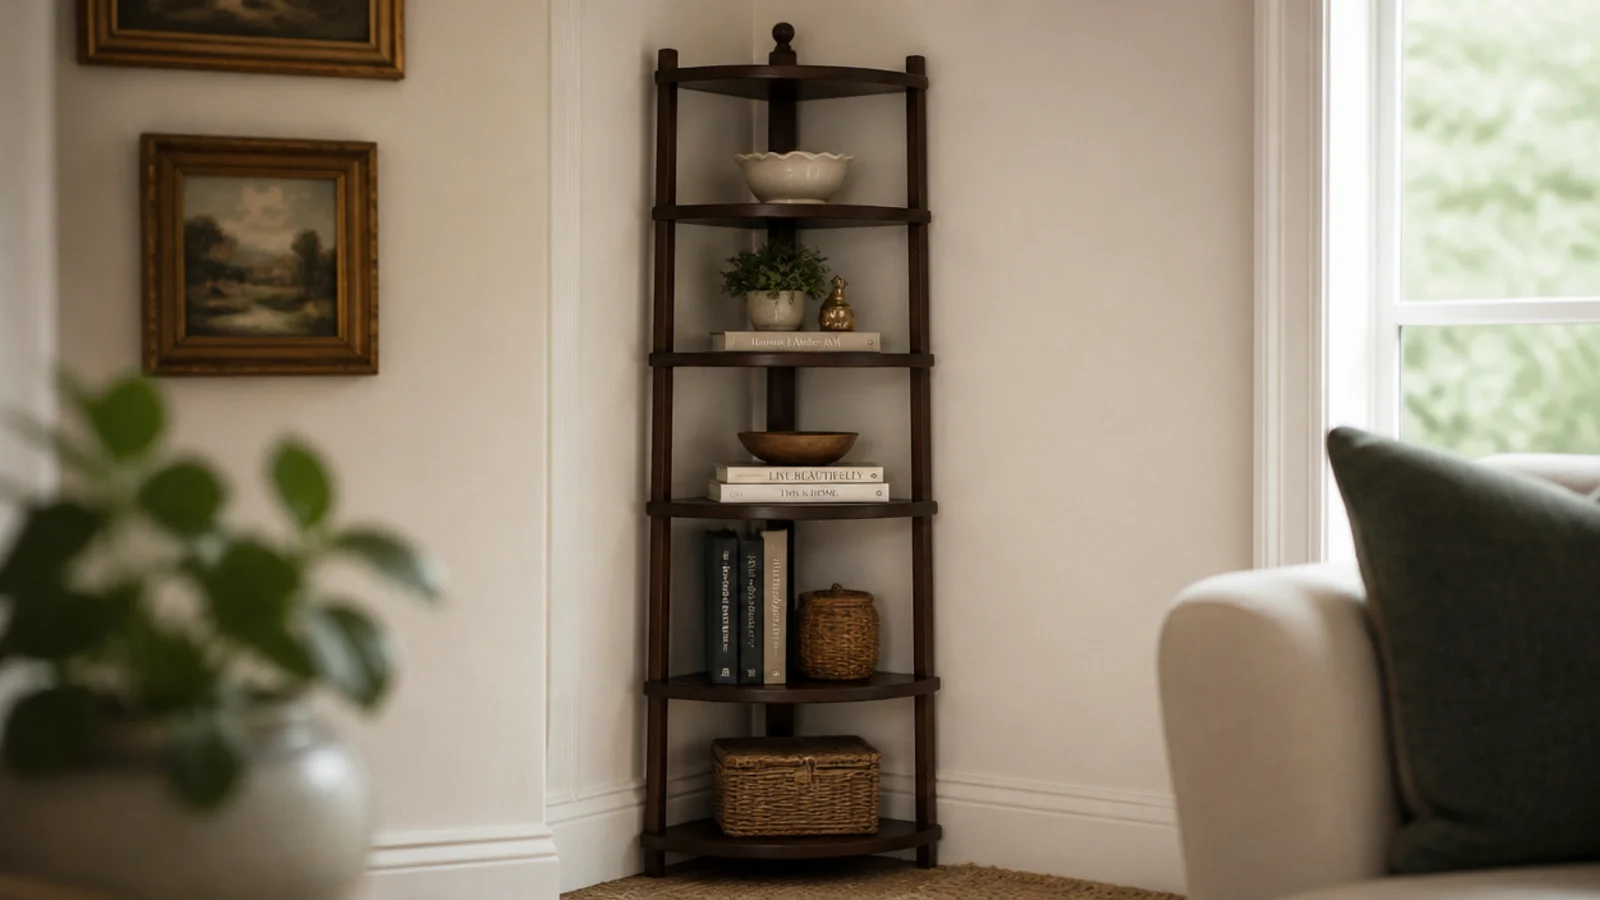
Before: a tall freestanding corner etagere with the heavy pottery on the top two tiers, tilting when a toddler pulled on it.
After: weight redistributed to the bottom two tiers and one anti-tip strap into the wall.
One screw, one small hole. There is no version of this where the hole is the bigger problem, and I say that as someone who has stood in a room watching a loaded shelf lean.
Makeover 19: The corner that looked grey
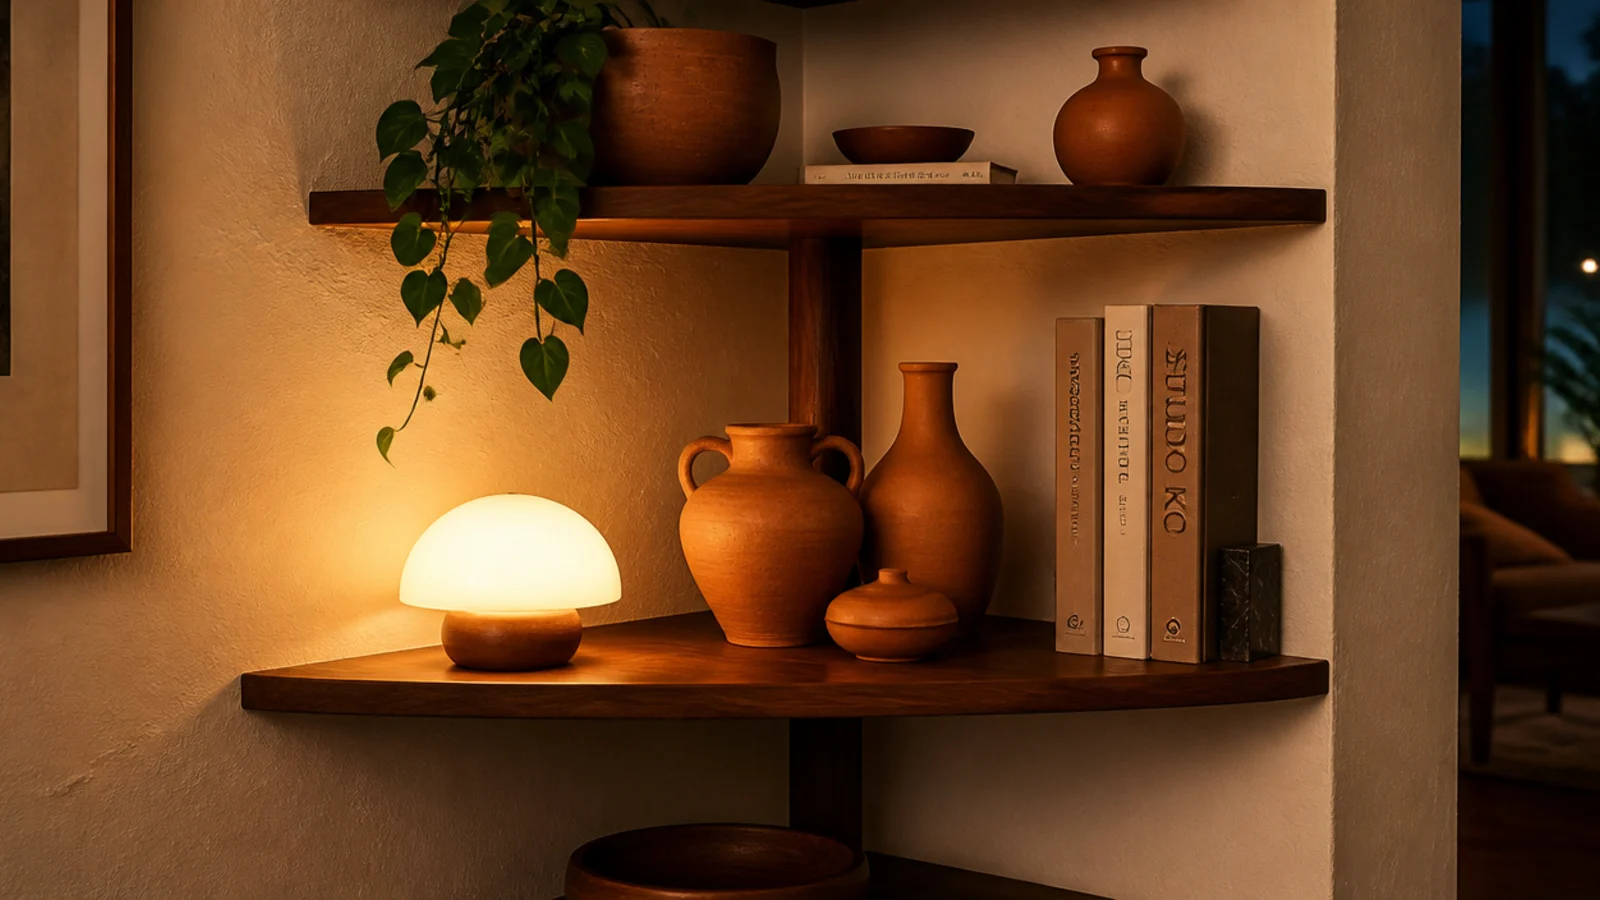
Before: beautifully chosen terracotta and walnut, lit by a 4000K bulb in a nearby floor lamp, reading flat and cold.
After: one 2700K bulb in the same lamp.
The client had been about to replace all the pottery. The pottery was fine; the light was wrong. Four dollars fixed a problem she had been planning to spend $200 on.
Makeover 20: The shelf where everything matched
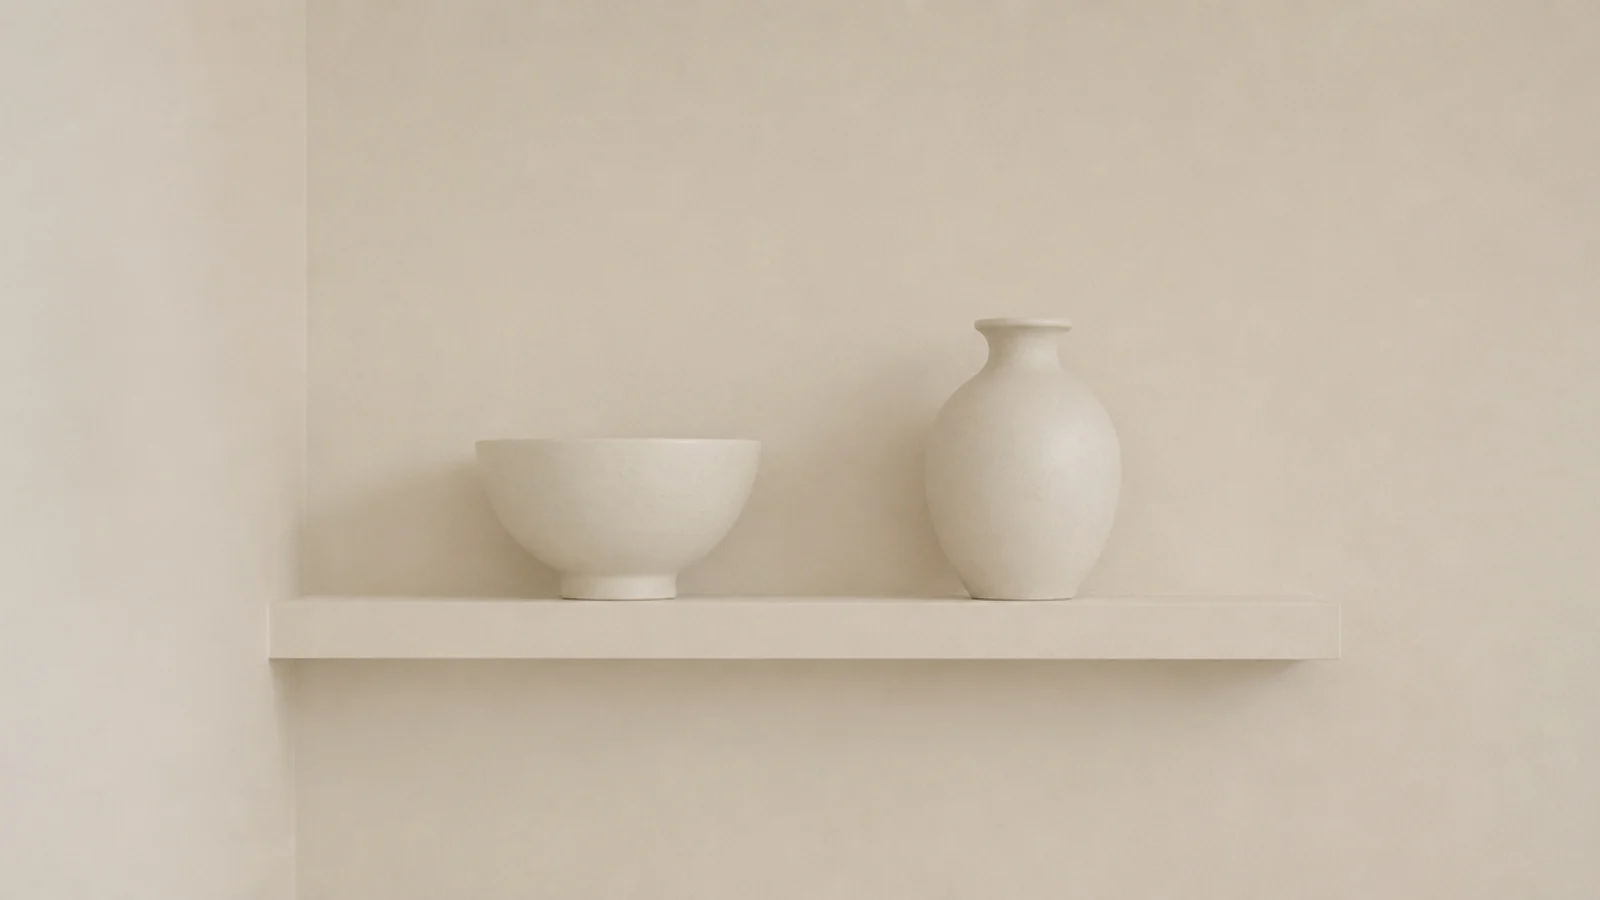
Before: five identical-height cream jars in an even row, which read as a shop display rather than a home.
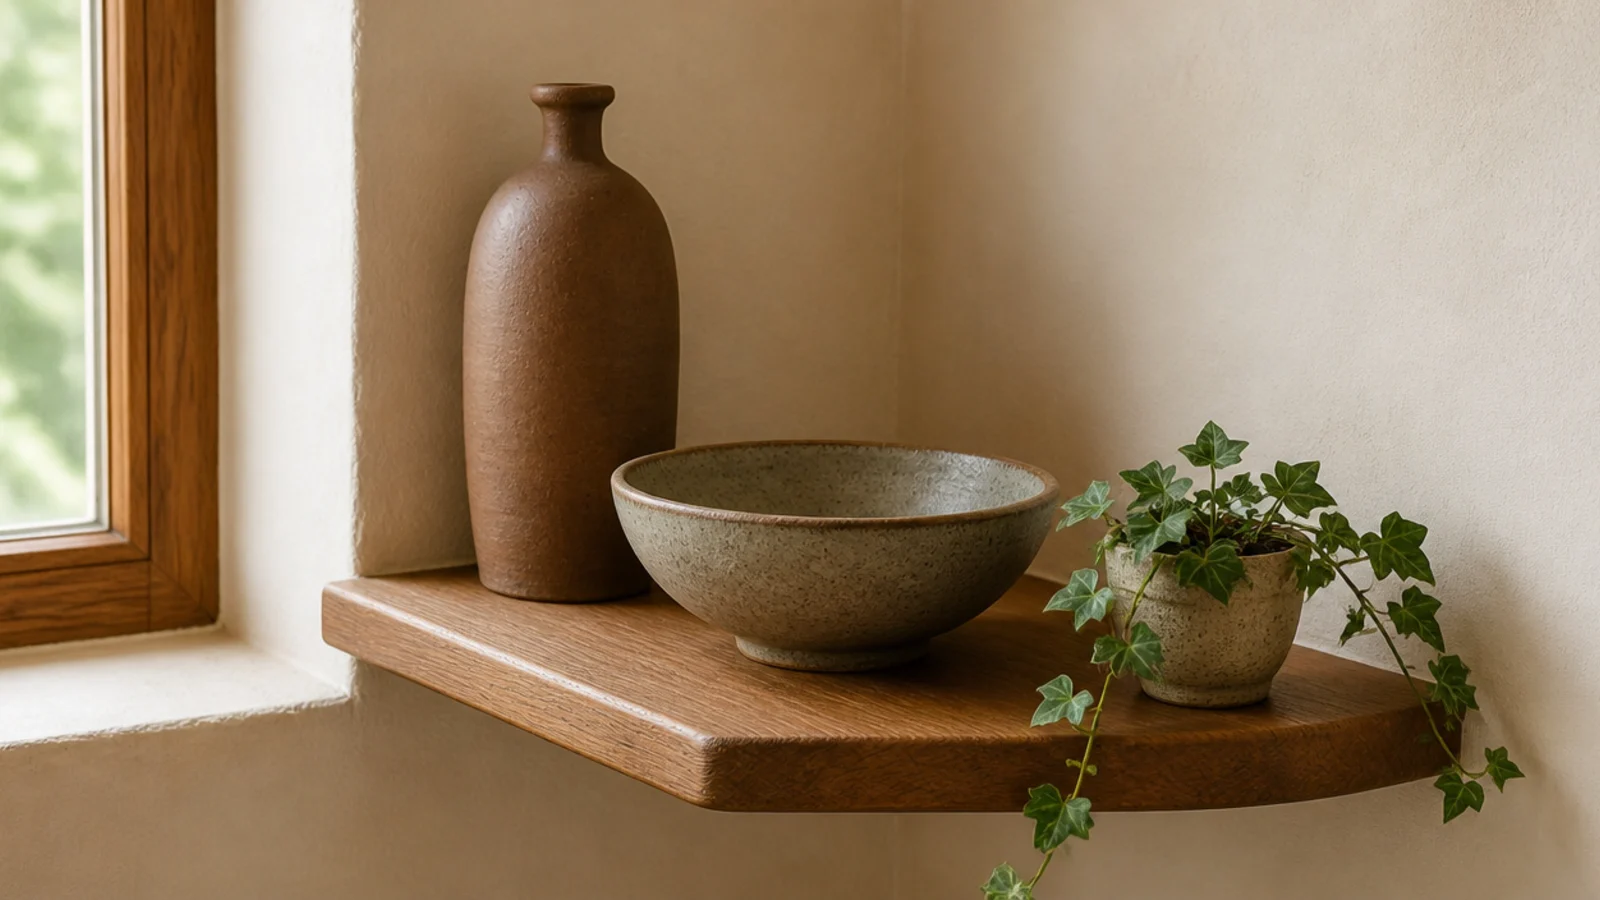
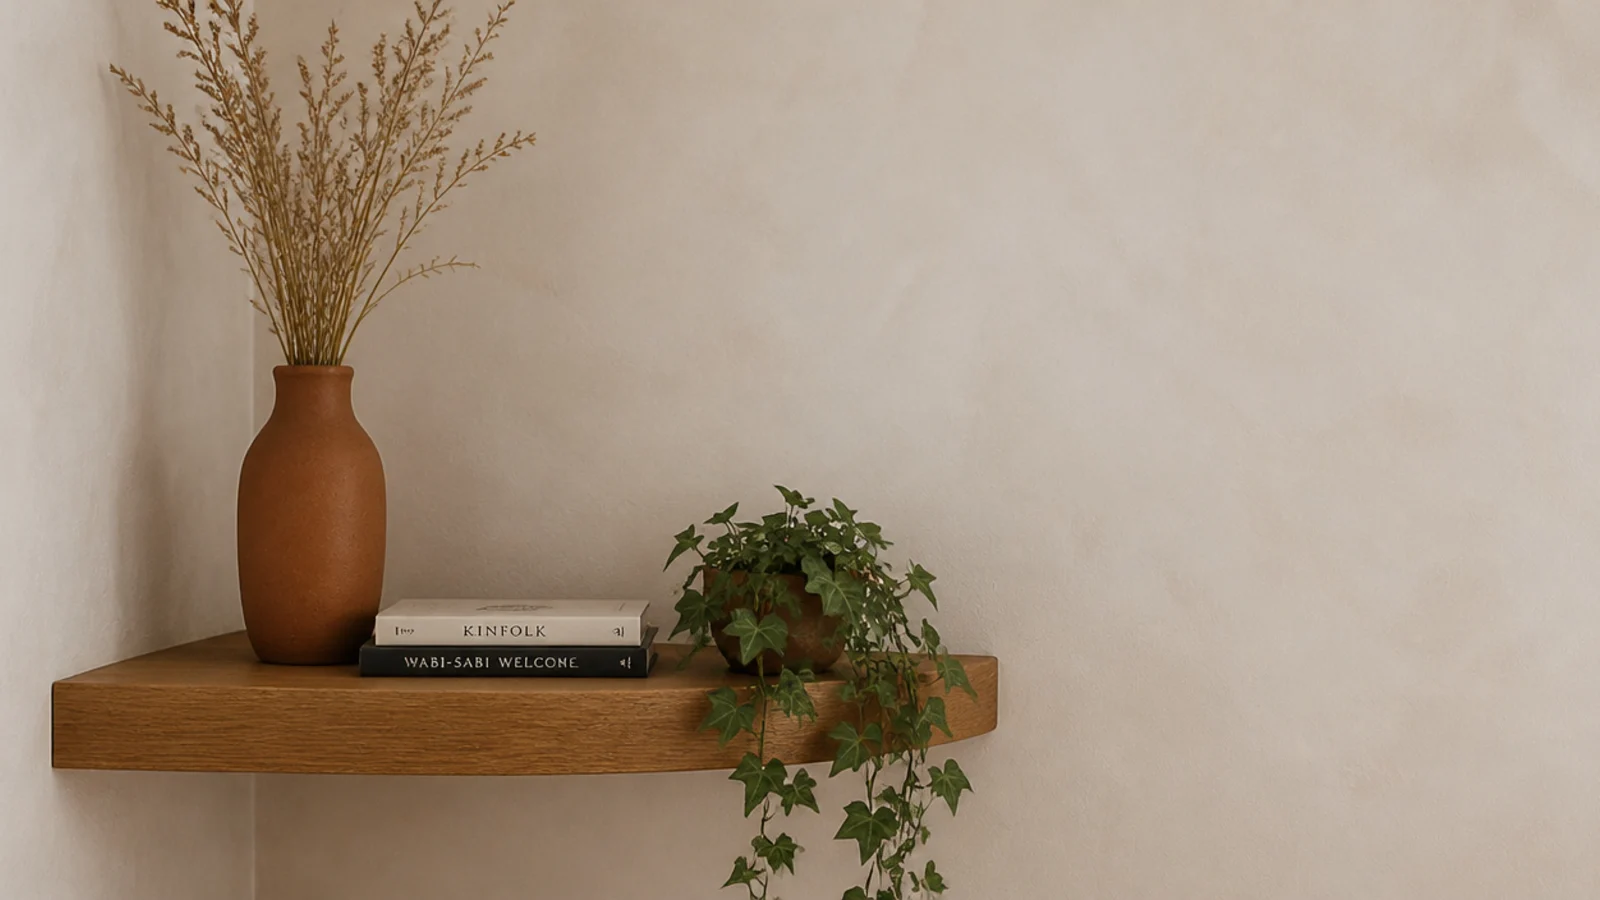
After: three objects — a tall clay bottle, a wide low bowl, a small trailing ivy — grouped tightly with a real gap beside them.
Two of the jars stayed, three went into the seasonal box. Same shelf, same room, entirely different feeling, and it took about four minutes. The full method is in corner shelf styling.
Corner Shelves Before and After: What I'd Do Differently Now
Looking at twenty makeovers in a row, the pattern is uncomfortable: almost everything that worked was subtraction.
Nine of these cost nothing. The changes that cost money were mostly physical fixes — anchors, board thickness, clearance — where styling could never have helped. Everything else was removing objects, painting something out, or changing a bulb.
If I could go back and give myself one instruction at 26, it would be to stop treating an empty shelf as a problem to solve. I spent years adding to corners that were already full, and the corners I am proudest of now are the ones where I took two-thirds of the things away and stopped.
The other thing I would change is the order. I used to style first and fix the structure later, which meant restyling twice. Now I check the anchor, the depth and the light before a single object goes on a shelf. Those three decide what is possible; everything after that is arrangement.
Frequently asked questions
What is the cheapest corner shelf makeover that actually works?
Painting the brackets the wall color and removing a third of the objects. Both are free or nearly free, and together they change how a corner reads more than any purchase. In the twenty makeovers here, those two changes appear more often than anything I bought.
How long does a corner shelf makeover take?
A styling-only makeover takes 20 to 40 minutes including the step where you take everything off and start from empty. Swapping brackets or repainting a board is an afternoon plus overnight drying. Building and mounting new shelves is one evening and one morning.
Should I replace my corner shelves or restyle them?
Restyle first, always. Roughly two-thirds of the corners I have fixed needed nothing bought at all. Replace only when the board bows under load, the spacing is under ten inches so nothing fits, or the depth catches you when you walk past — those three are physical problems styling cannot solve.
What is the most common thing wrong with a corner shelf?
Too many objects, all at similar heights. It shows up in almost every corner I am asked to look at. The second most common is the anchors — plastic plugs rated for ten pounds under a shelf carrying thirty, which is a slow failure people do not notice until the shelf tilts.
Do I need to take everything off to restyle a corner shelf?
Yes, and it is the step people most want to skip. Nudging an existing arrangement relocates the problem rather than solving it. Ten minutes rebuilding from an empty shelf gives a better result than an hour of adjusting, because you stop protecting decisions you already made.
Try the free version first on whichever corner bothers you most: take everything off, put back three things at three heights, and change the bulb if the room feels grey. If it still looks wrong after that, the problem is structural and worth spending on. The fifteen corner shelf ideas guide covers placement, corner shelf mistakes covers what I got wrong the first time, and floating shelves before and after has the straight-wall equivalent. Save the pin before you buy anything new.
Want more like this? Browse all 15 corner shelf ideas guides — they all use the same measurements and budget tiers.

Pin it for later
Save this to your Corner Shelf Ideas board
Pin it now so it is waiting for you when the tape measure comes out — and so the next person hunting for this idea can find it too.
Save this pinKeep going
More ideas worth saving while you have the tape measure out.