Coffee Corner Ideas · UGC
20 Coffee Corner Before and After Makeovers

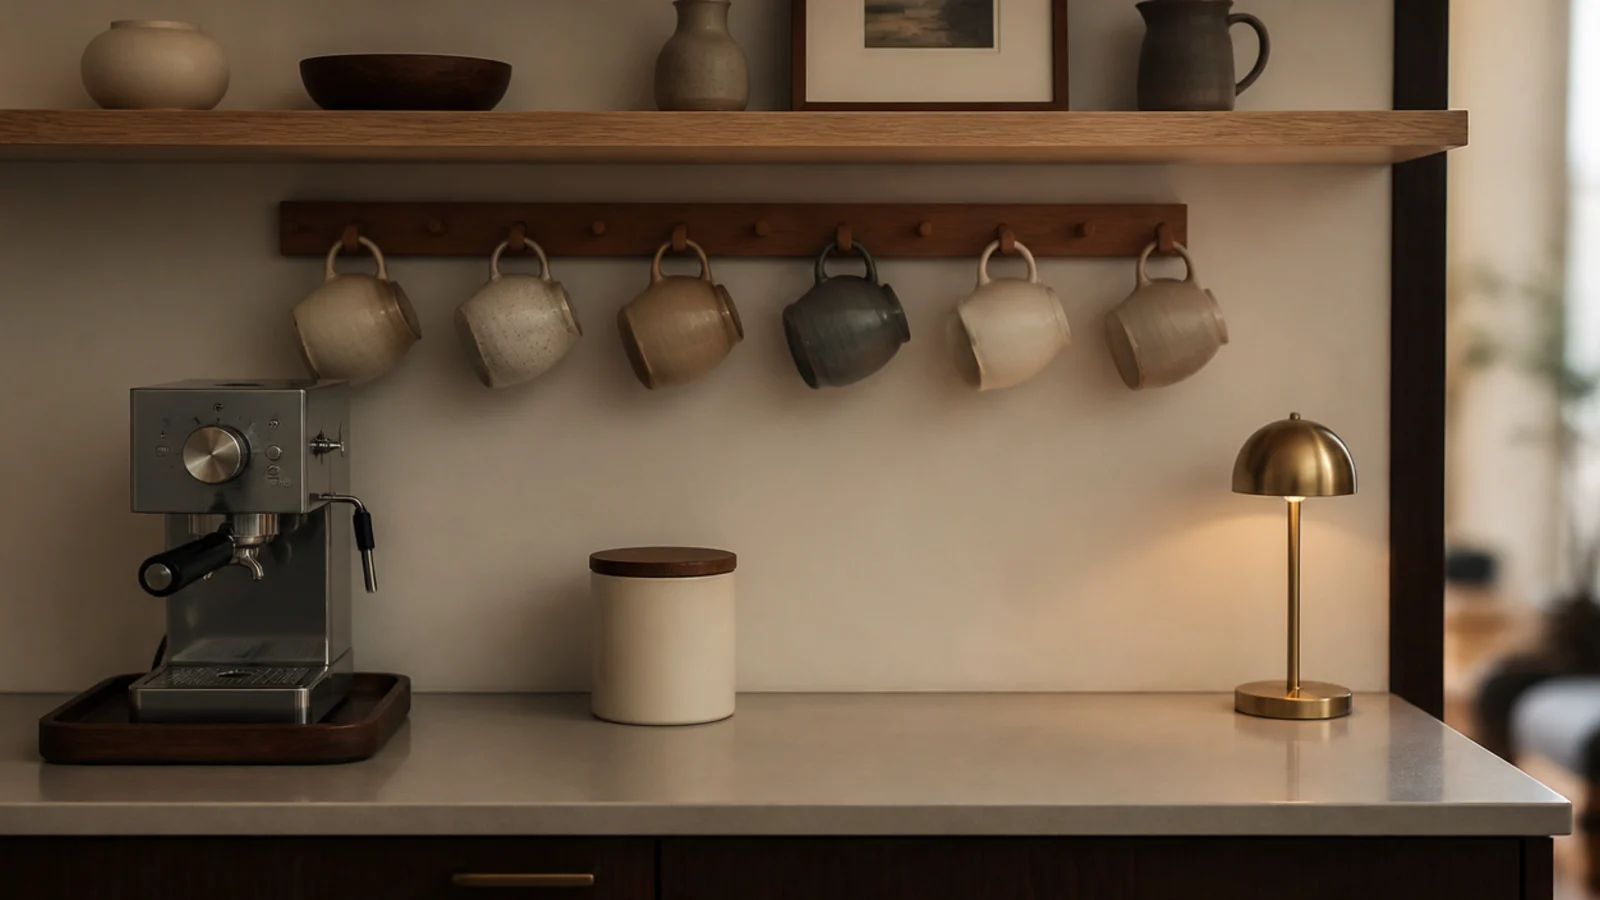
Coffee corner before and after is the most honest way to show what actually works, because the changes that fix a station are rarely the ones people expect to spend money on. I have rebuilt this corner in four of my own kitchens and helped with a lot more, and the pattern repeats.
Eight of the twenty makeovers below cost nothing at all. The most expensive was $180, and that was a cart. The changes that cost real money were almost always physical — power, clearance, a counter that was too shallow — and no amount of rearranging touches those.
The one that surprised me most was a friend's kitchen where we changed a bulb and moved a jar, and she messaged two days later to say the coffee tasted better. It did, because the beans had come out of the sun. Here is what changed in each corner, and what it cost.
In this guide21 sections — tap to openHide
- 1.Makeover 1: The counter with no outlet
- 2.Makeover 2: Forty shared inches became twenty-six defined ones
- 3.Makeover 3: The clear bean jar on the sill
- 4.Makeover 4: The machine wedged under the cabinet
- 5.Makeover 5: The shelf hung at fourteen inches
- 6.Makeover 6: The eleven-mug shelf
- 7.Makeover 7: The rental with no wall rights
- 8.Makeover 8: The cart that wandered
- 9.Makeover 9: The corner nobody could see into
- 10.Makeover 10: The station beside the sink
- 11.Makeover 11: The tangle of three cords
- 12.Makeover 12: The spinning pod carousel
- 13.Makeover 13: The studio with two feet of kitchen
- 14.Makeover 14: The dining sideboard doing nothing
- 15.Makeover 15: The tired laminate counter
- 16.Makeover 16: The bedroom that needed a first cup
- 17.Makeover 17: The guest room welcome tray
- 18.Makeover 18: The corner that re-cluttered every week
- 19.Makeover 19: The machine that got slower every month
- 20.Makeover 20: The corner I finally left alone
- 21.Coffee Corner Before and After: What I'd Do Differently Now
Makeover 1: The counter with no outlet
Before: a machine in the prettiest corner with a cord running six feet along the backsplash to the nearest outlet, past the kettle and the sink.
After: the whole station moved four feet to the outlet corner, cord length now eight inches.
The new spot is objectively less charming and I have not thought about the cord since. An extension cord run near a water source is the wrong answer, and power decides the layout before anything else does. Cost: nothing.
Makeover 2: Forty shared inches became twenty-six defined ones
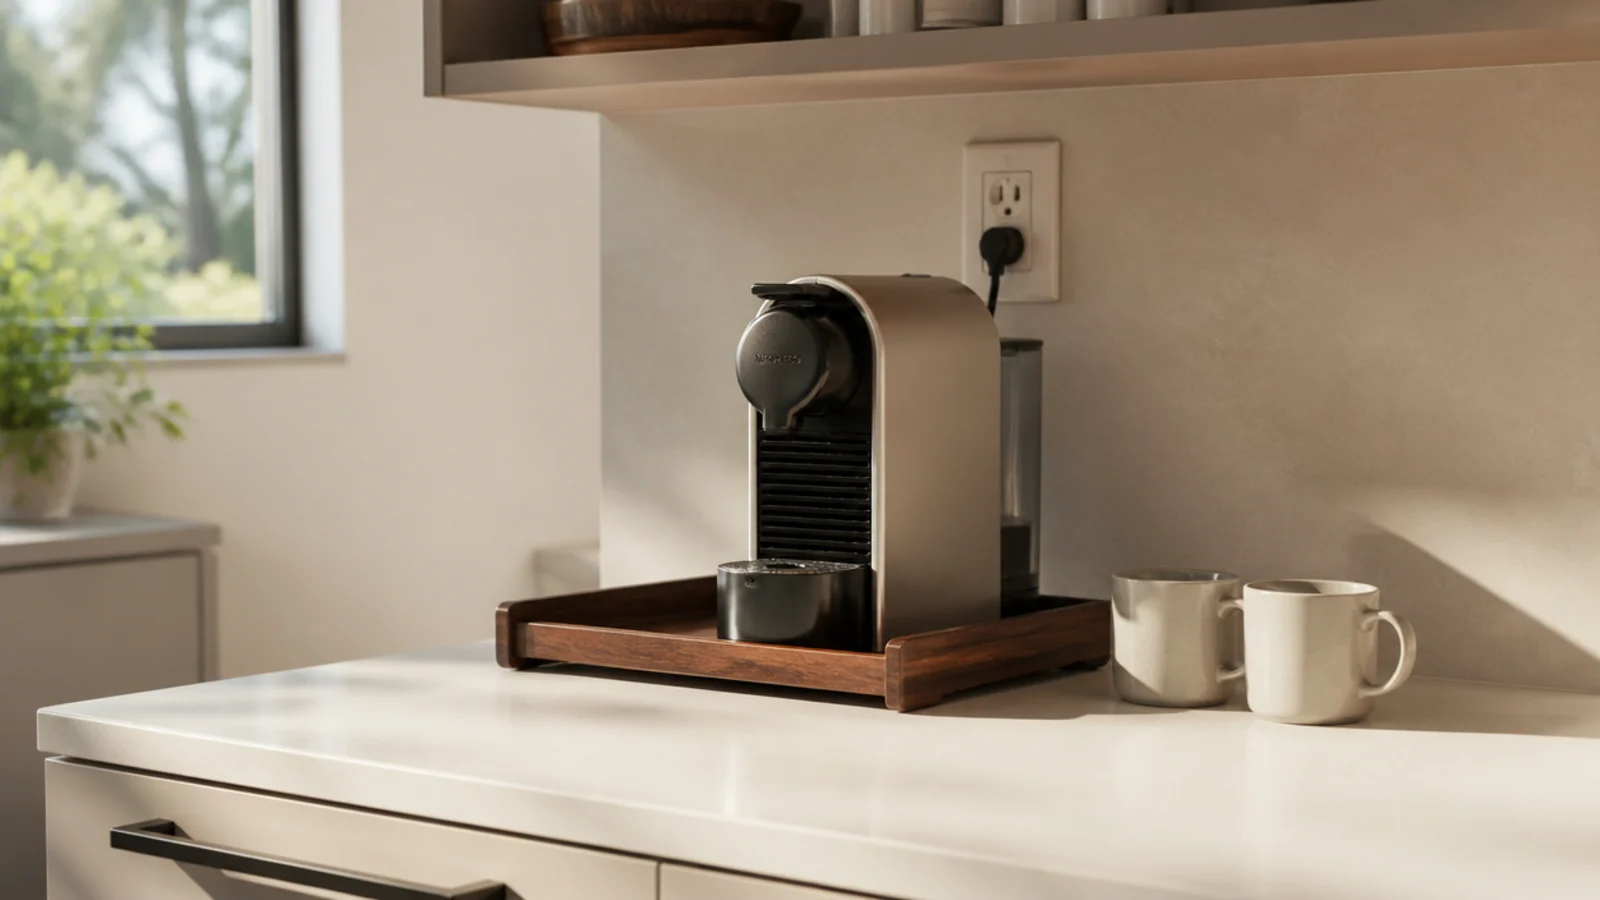
Before: a long counter run holding the coffee machine, the toaster, a bread bag and a fruit bowl, with crumbs in the tray.
After: a 26-inch strip marked with a linen runner, and the toaster relocated to the other side of the hob.
Shared counter always ends up being the toaster. A visible boundary is what stops the drift, and 26 inches that belong to the coffee corner beat 40 it has to negotiate for. Cost: $18 for the runner.
Makeover 3: The clear bean jar on the sill
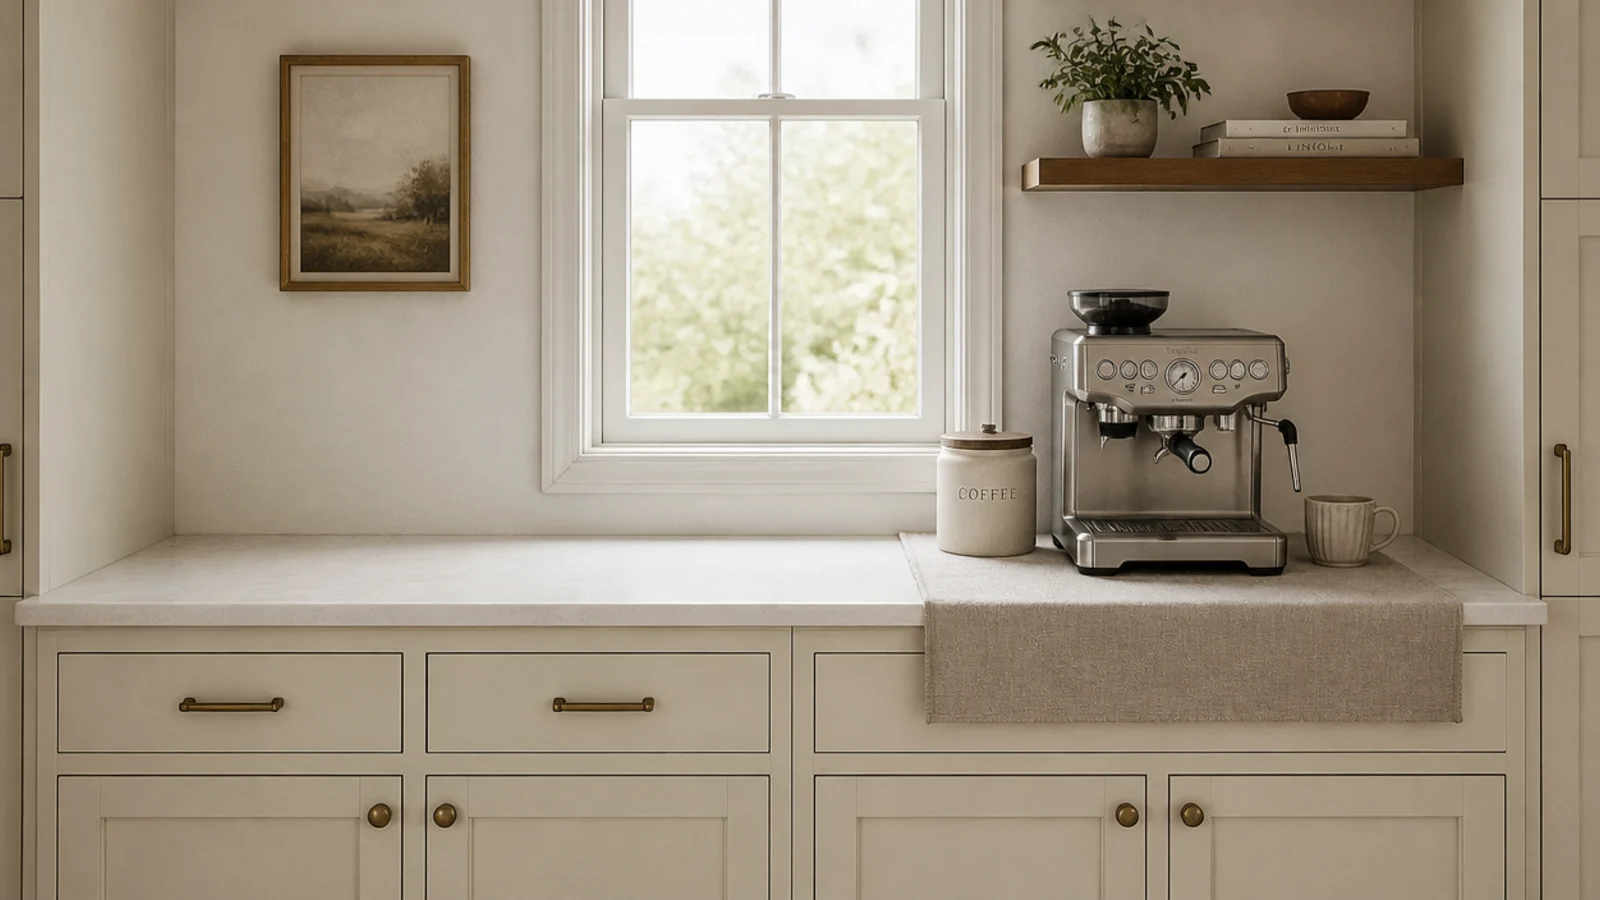
Before: whole beans in a glass jar on a south-facing windowsill, beautiful and flat-tasting by Wednesday.
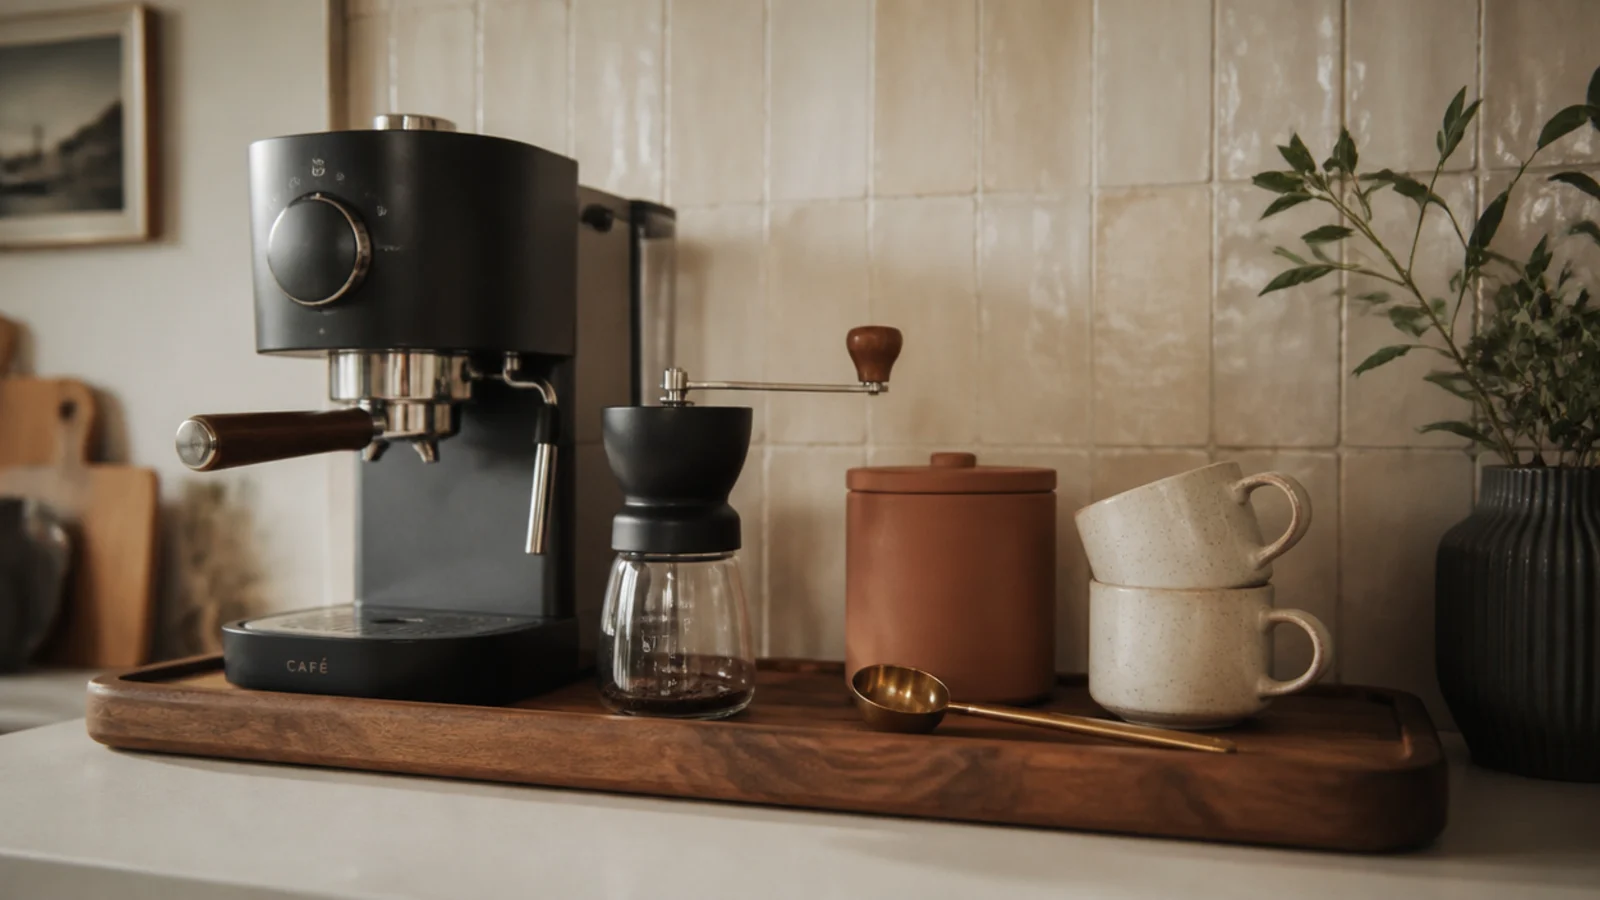
After: the same beans in an opaque clay canister with a sealed lid, on the shaded end of the counter.
Whole beans keep in an opaque airtight container at room temperature — not the fridge, and not a clear jar in the sun. This is the cheapest genuine improvement to how coffee tastes that I know of. Cost: $22.
Makeover 4: The machine wedged under the cabinet
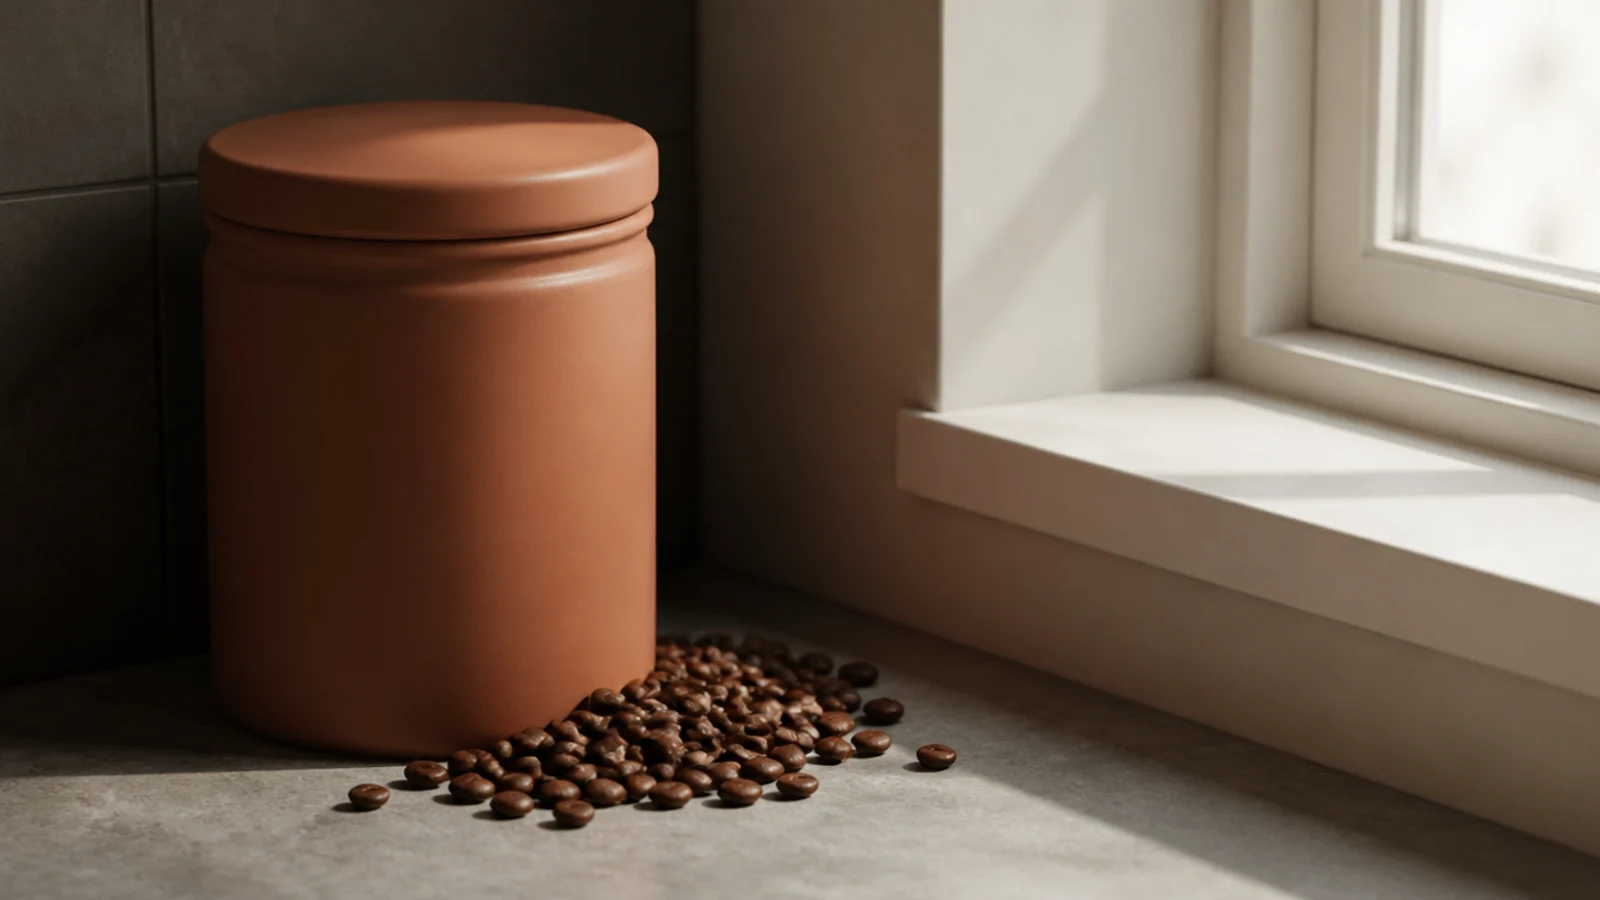
Before: two inches of clearance above the machine, a dark bloom on the cabinet underside and a lifting laminate edge.
After: the station moved to the end of the run where nothing is above it, with a foot of open air.
Leave at least 6 inches of clear air above the tallest machine for steam, and more if the lid lifts or the reservoir fills from the top. The cabinet repair cost more than the move would have. Cost: nothing to move, $90 to repair.
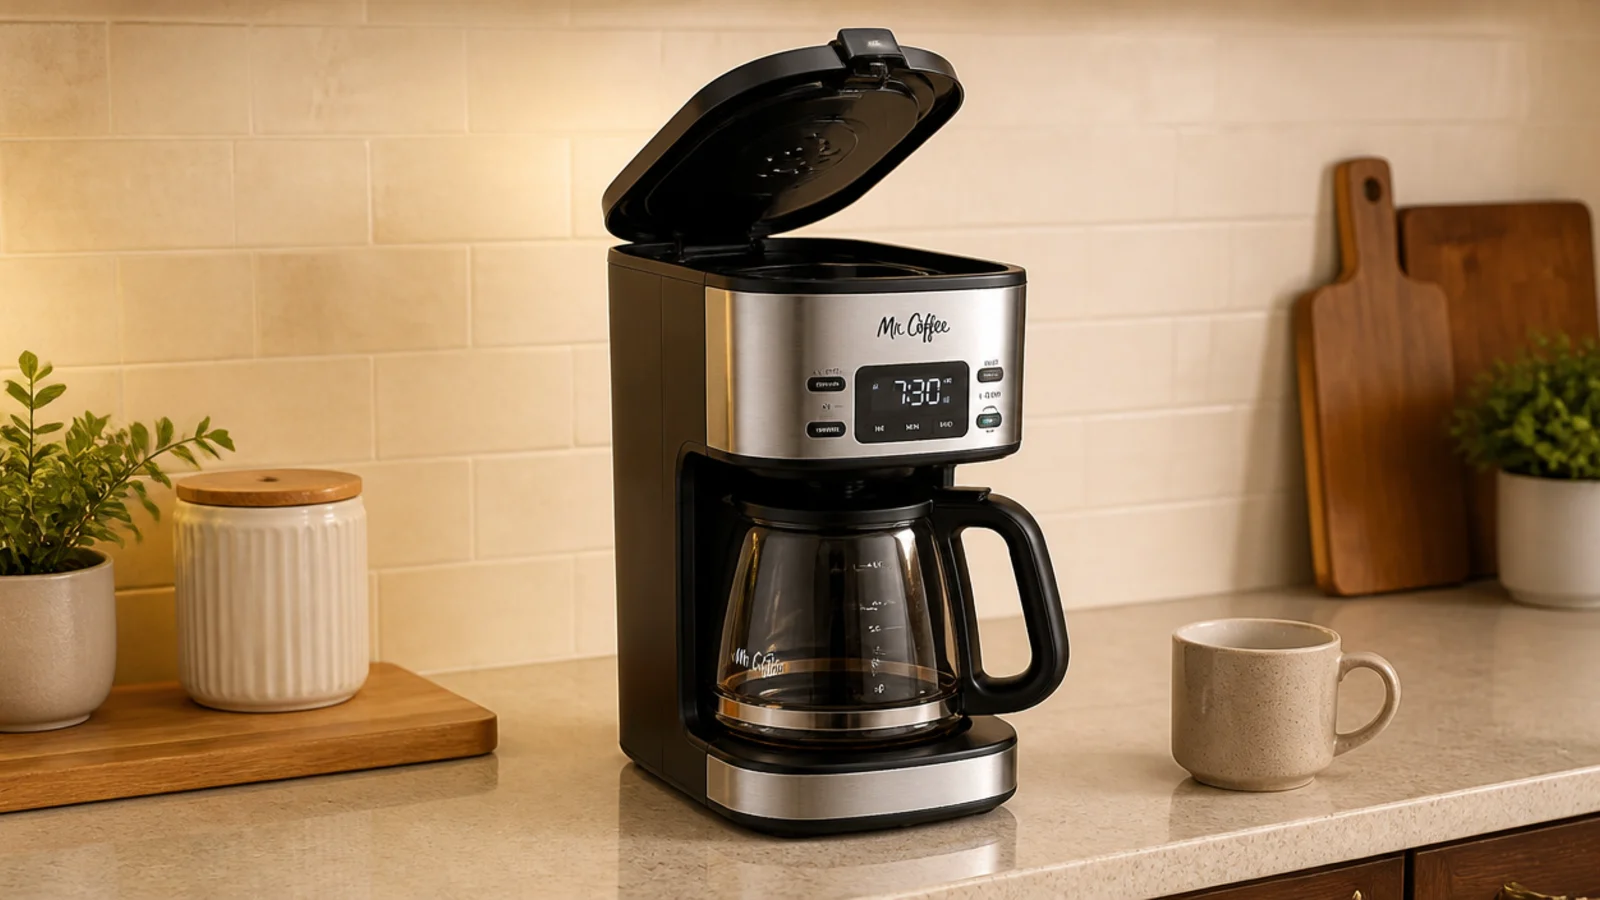
Makeover 5: The shelf hung at fourteen inches
Before: a shelf so low the reservoir lid touched it, so the machine got slid forward and back every morning.
After: the same shelf remounted at 18 inches above the counter.
A shelf above the machine sits 18 inches off the counter. That clears the tallest common machine, leaves room for steam and lets a lifting lid open fully. Forty minutes and two filled holes. Cost: $4 of filler.
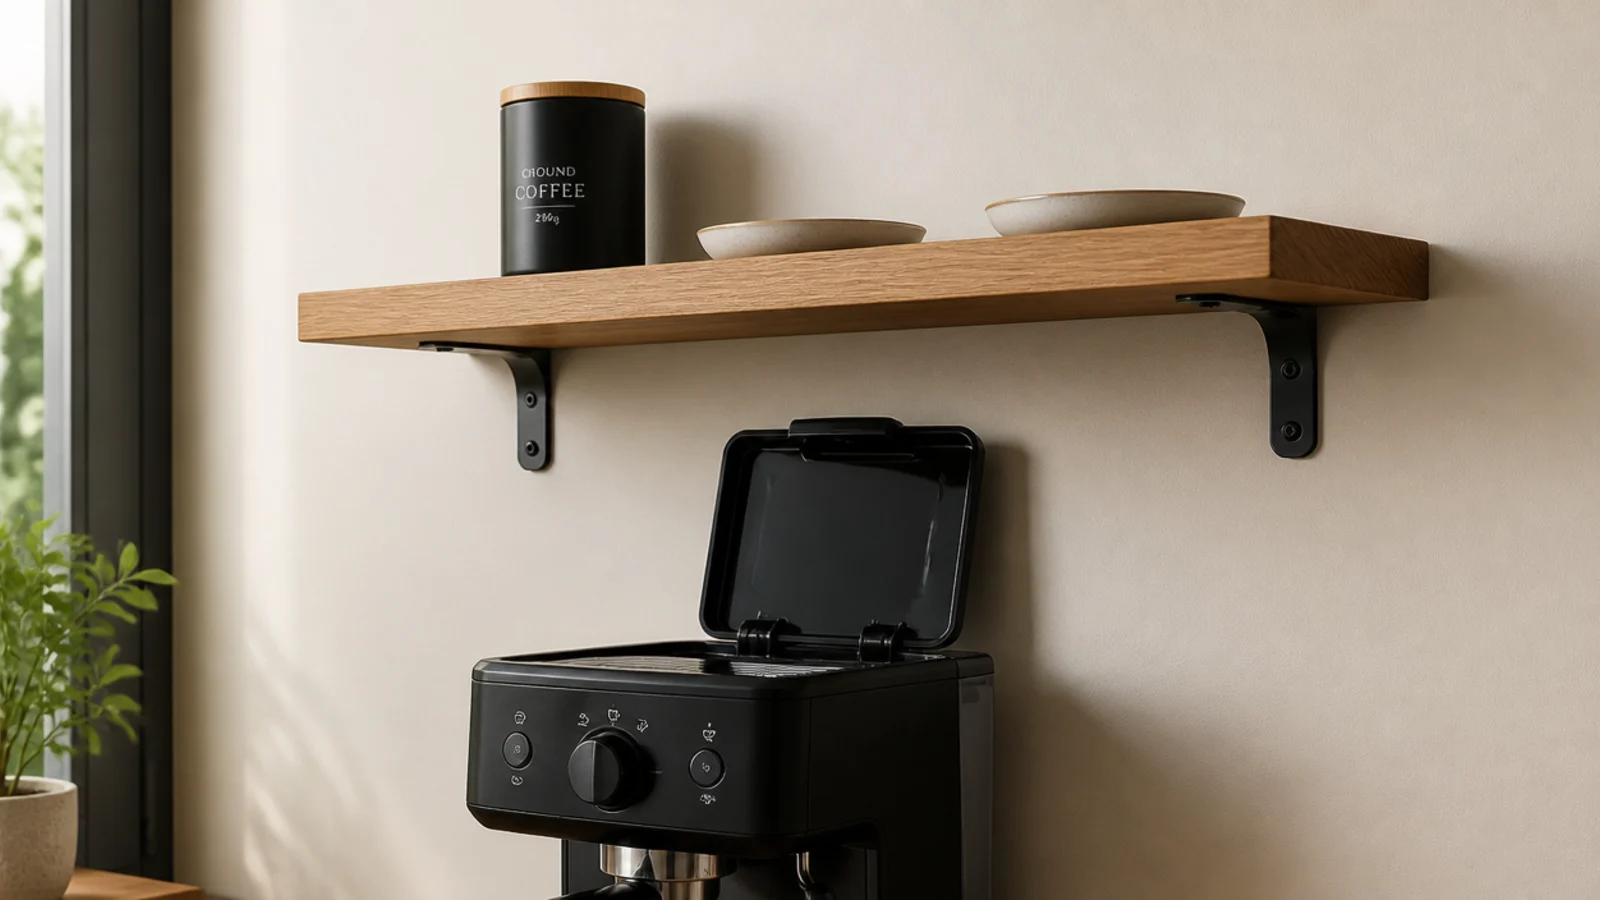
Makeover 6: The eleven-mug shelf
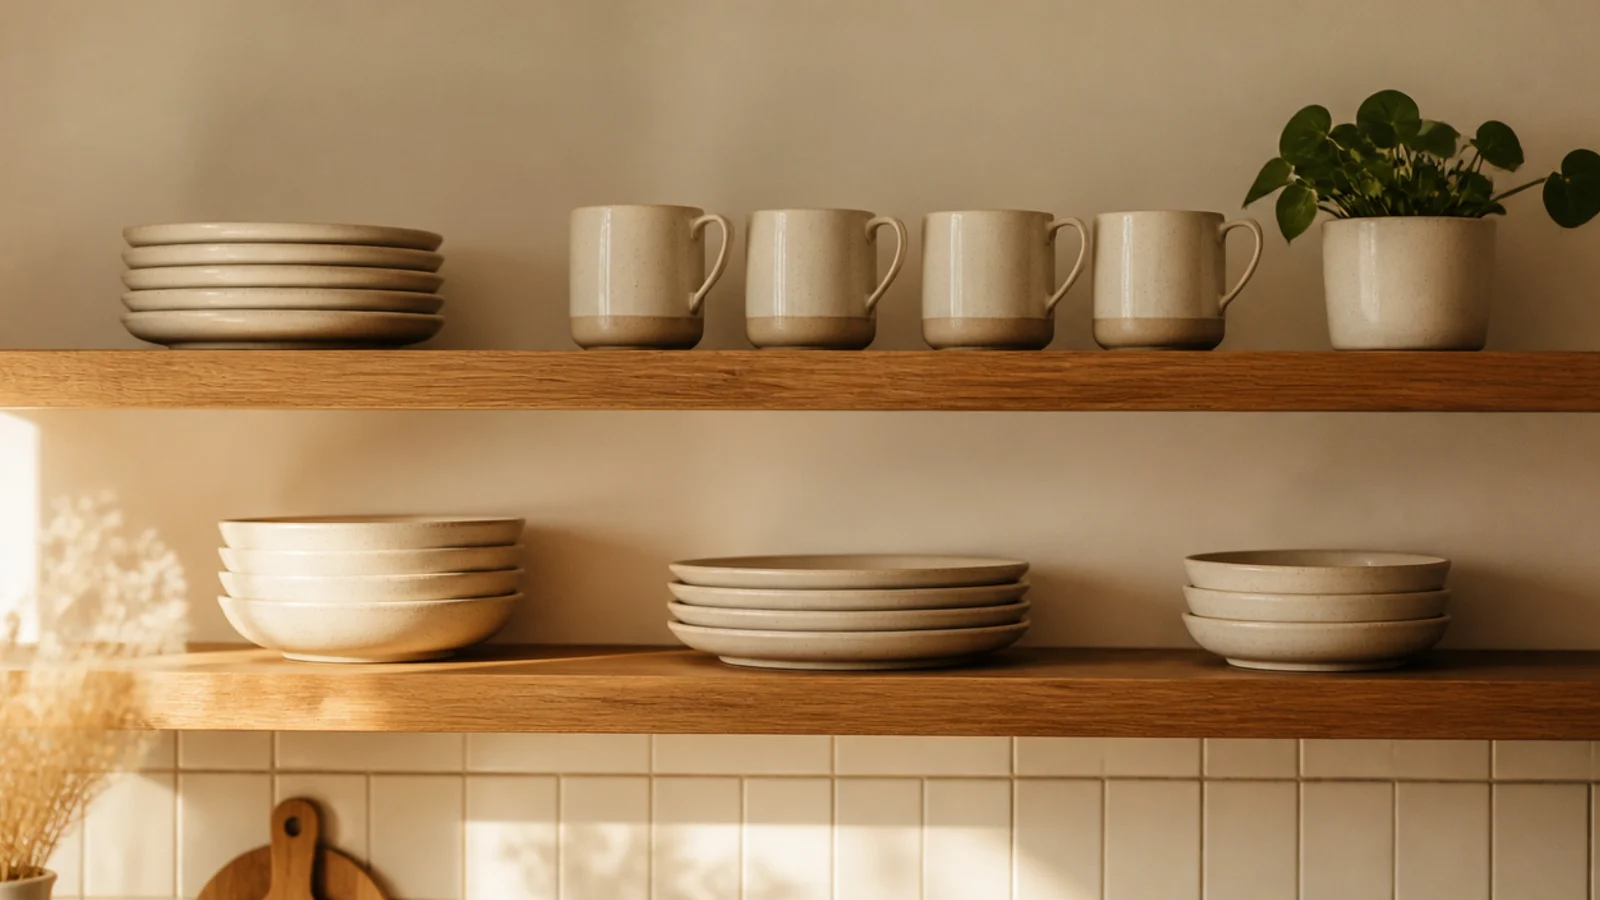
Before: eleven mugs in seven shapes filling an entire shelf, with two of them in daily use.
After: six matching stackable mugs out, the rest boxed, and the shelf about a third full.
Six matching mugs take roughly a third of the room eleven mismatched ones do. It cost nothing, took ten minutes, and it is the change people notice first when they walk in. Cost: nothing.
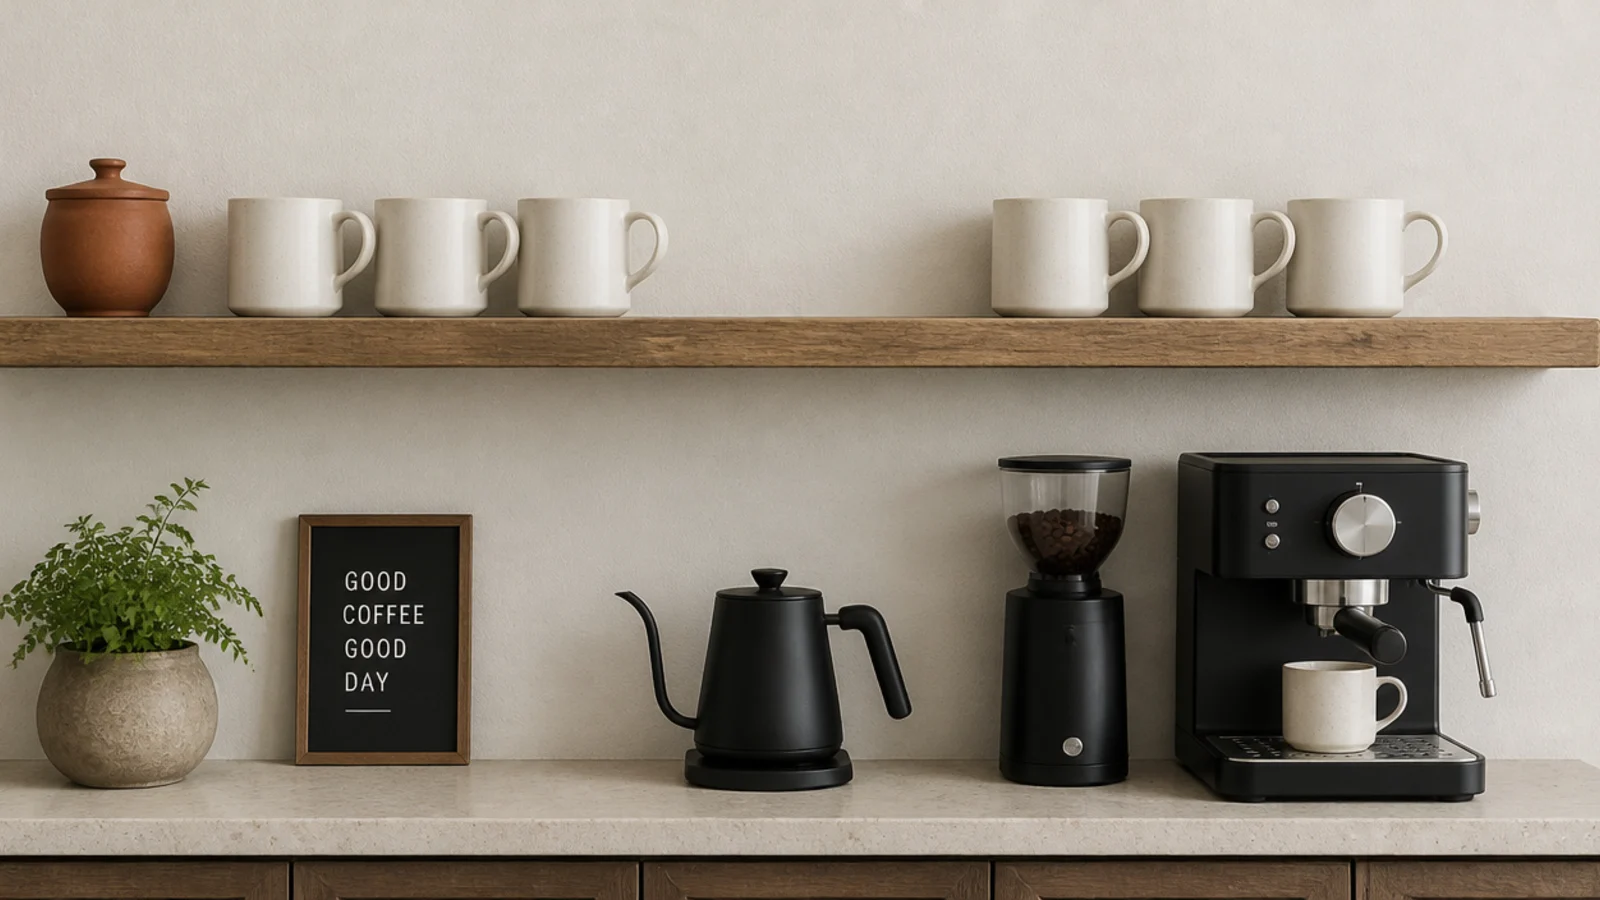
Makeover 7: The rental with no wall rights
Before: a flat counter with everything competing on one level, in a lease that forbade drilling entirely.
After: a low oak riser and a two-tier hutch giving three usable levels, with the wall untouched.
Renters lose vertical storage and get it back with freestanding pieces. The riser lifted the mugs and gave the machine its own level underneath, which effectively doubled the counter. Cost: $62 for both.
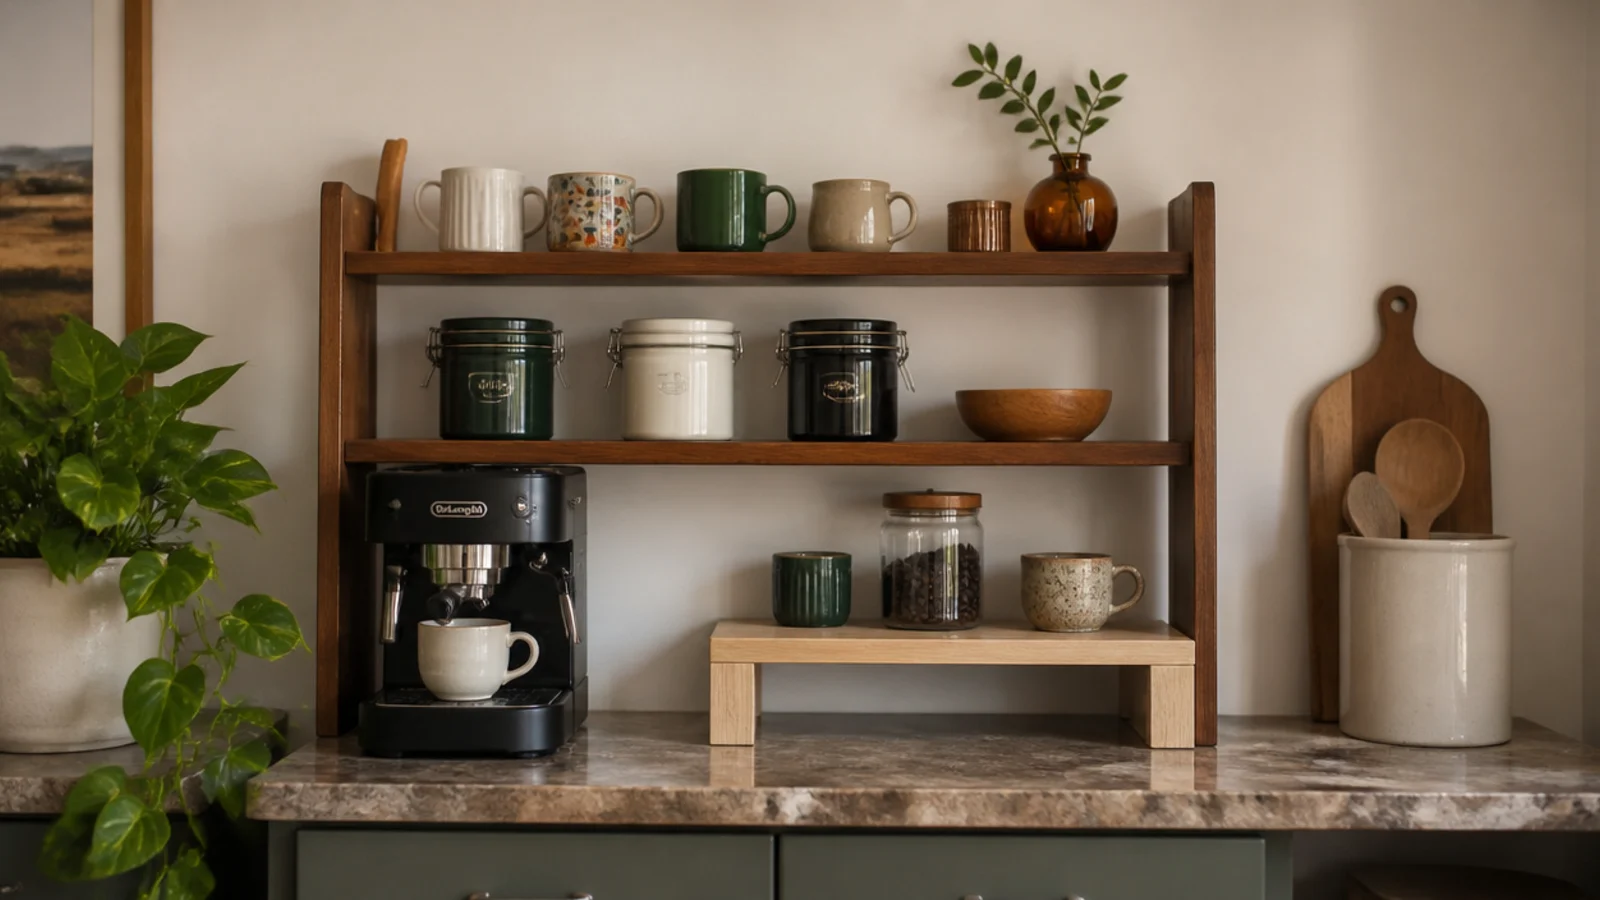
Makeover 8: The cart that wandered
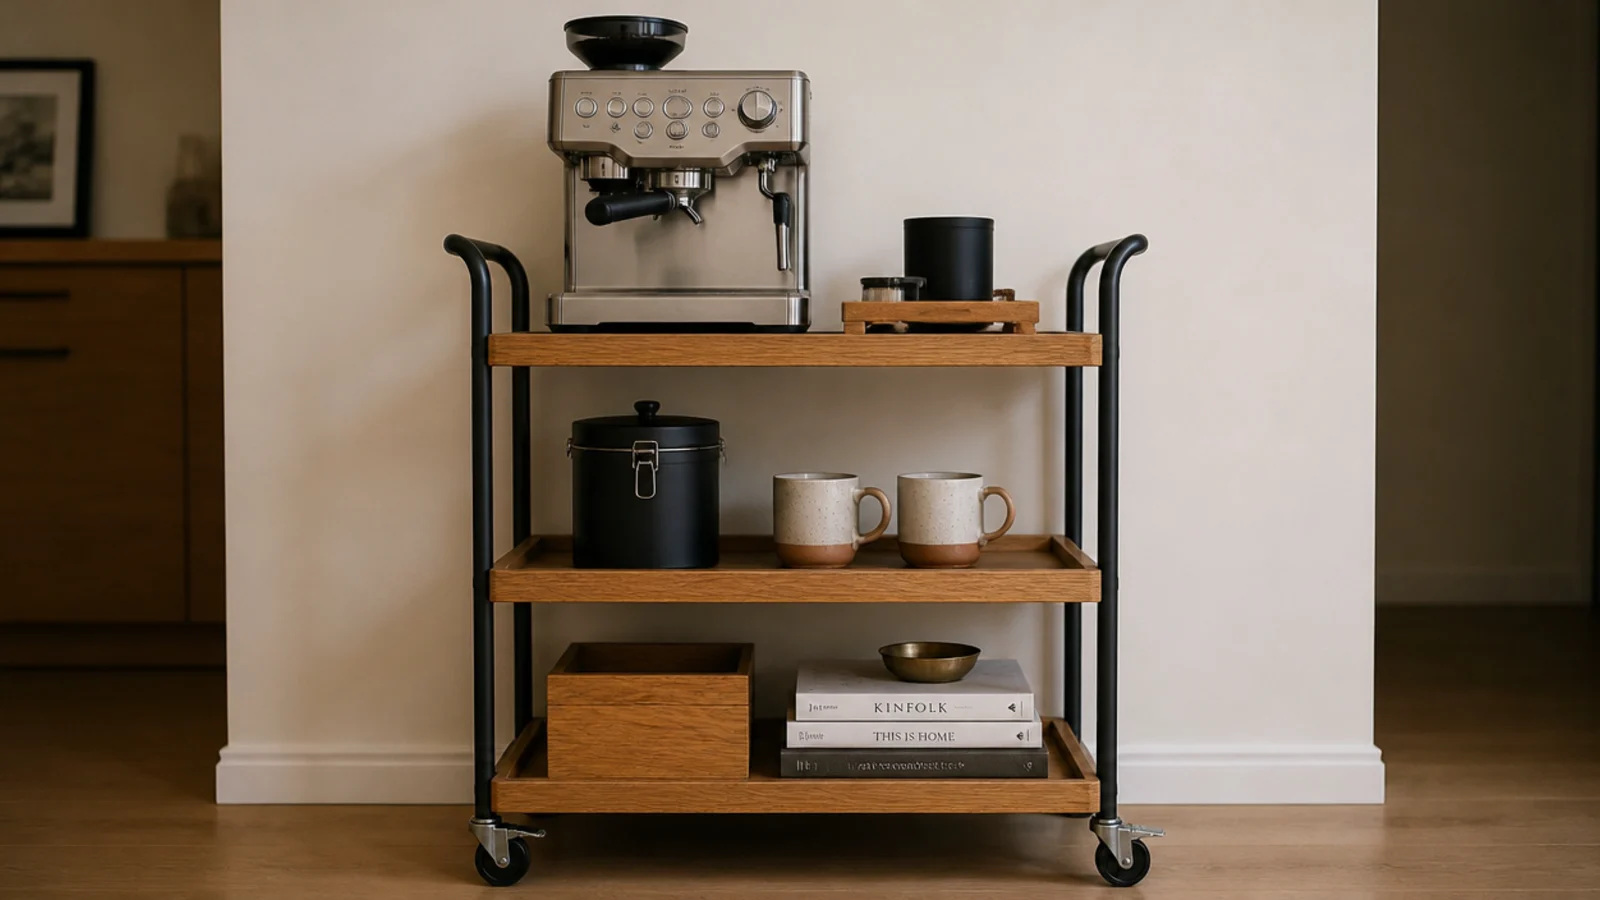
Before: a three-tier cart that shifted an inch every time the pour-over got a stir, on an uneven kitchen floor.
After: front casters locked, felt pads on the two rear feet, and the cart parked square against the wall.
Locking casters exist and almost nobody uses them. Two seconds of attention removed a wobble that had been quietly irritating for a year. Cost: nothing.
Makeover 9: The corner nobody could see into
Before: a north-facing counter lit only by a 4000K ceiling downlight, with the cabinet casting a shadow straight onto the machine.
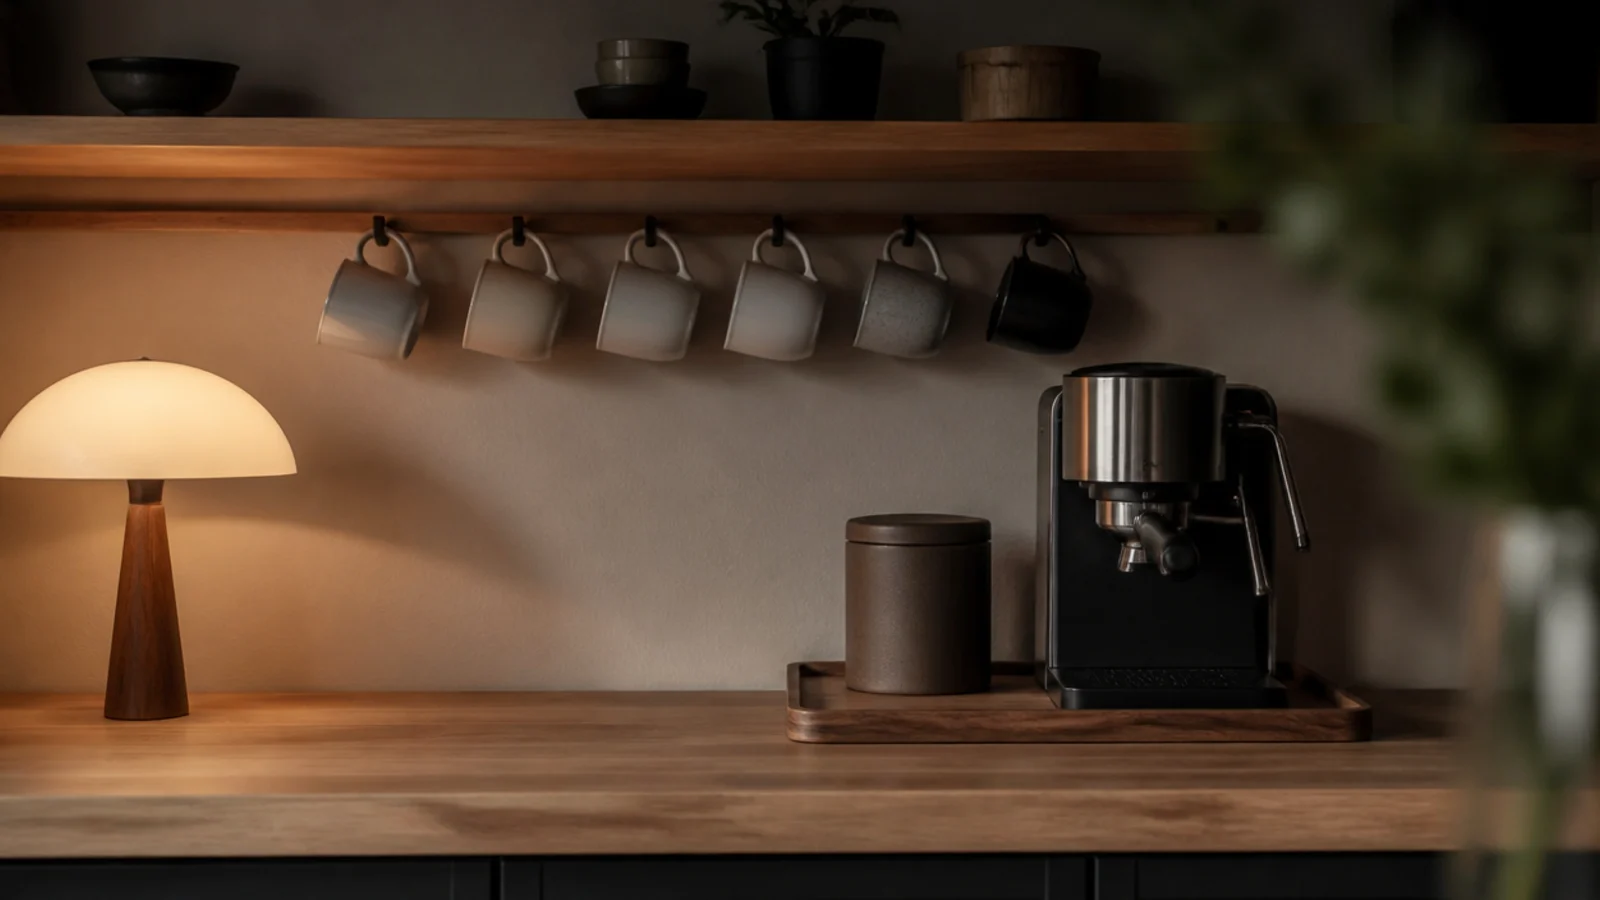
After: one small 2700K lamp at counter level, set to the side.
Terracotta and walnut came back to life and the shadow moved off the pour. The client had been considering replacing the mugs. Cost: $28.

Makeover 10: The station beside the sink
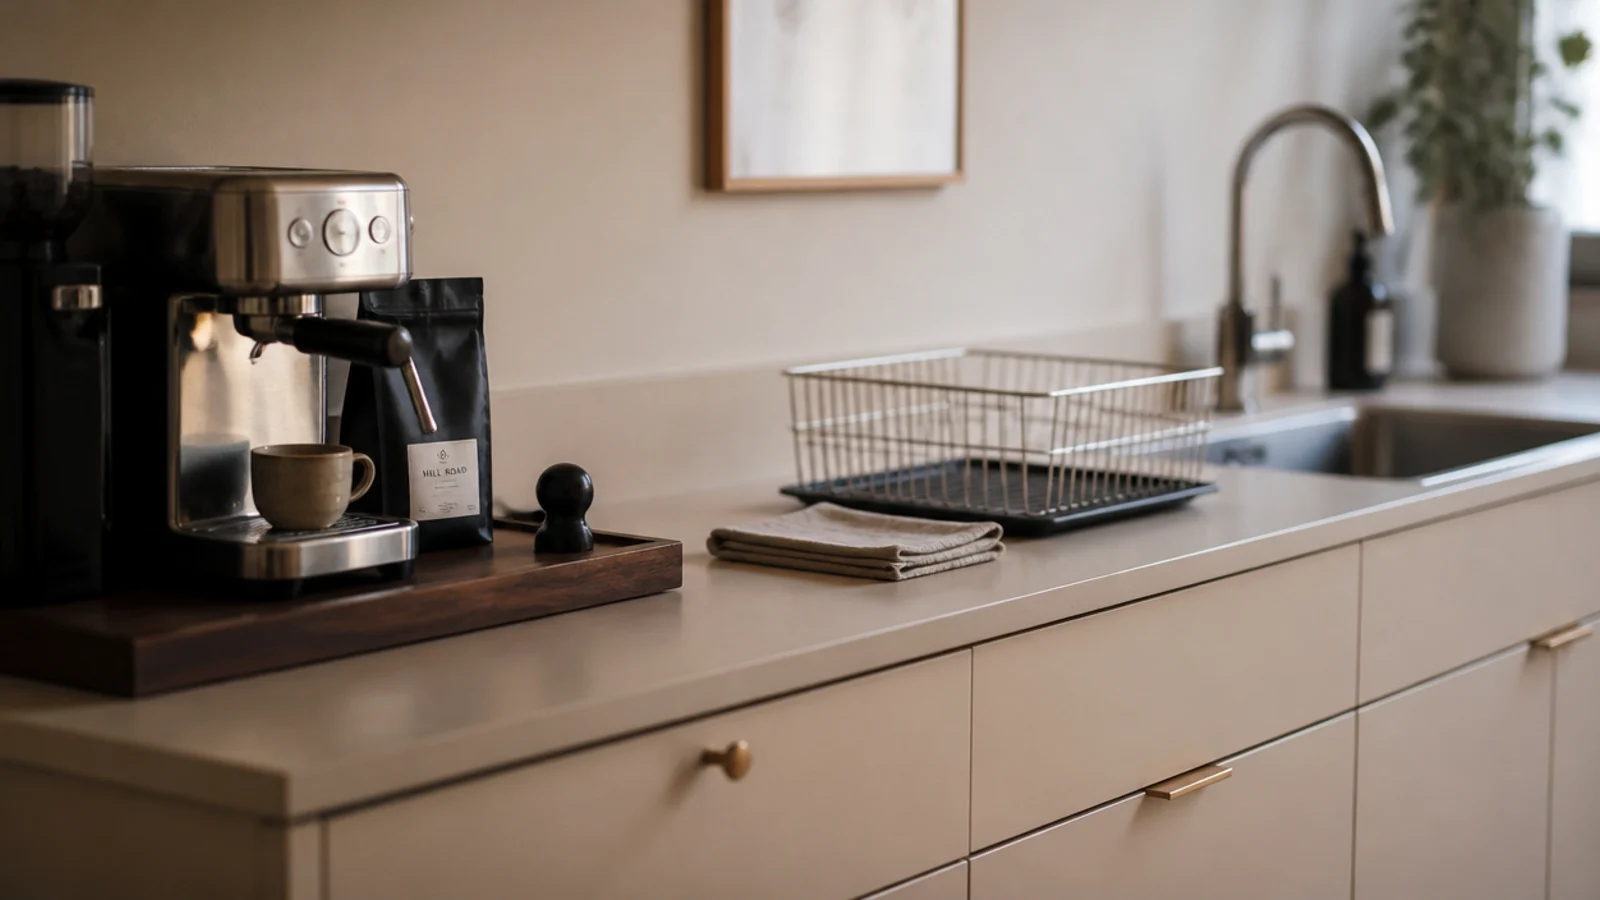
Before: the machine eight inches from the tap, casing spotted with hard water, tray permanently damp, drying rack in the only free space.
After: machine moved along the run with 18 clear inches between it and the sink.
That gap does three jobs: it keeps splashes off, it dries out, and it gives you somewhere to set a hot cup down mid-pour. Cost: nothing.
Makeover 11: The tangle of three cords
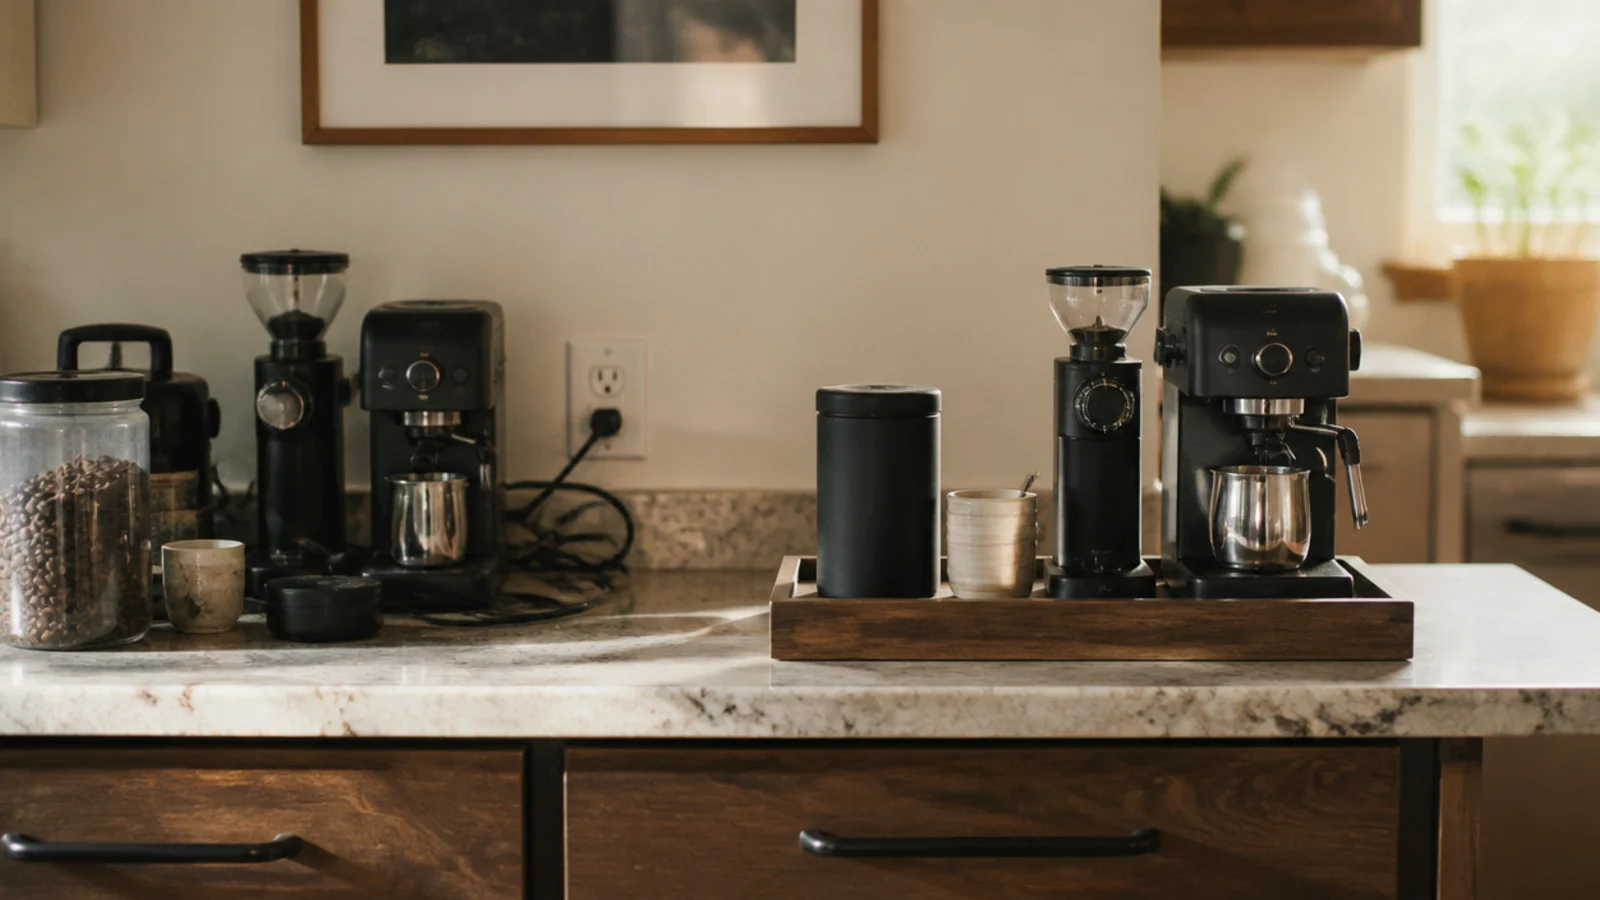
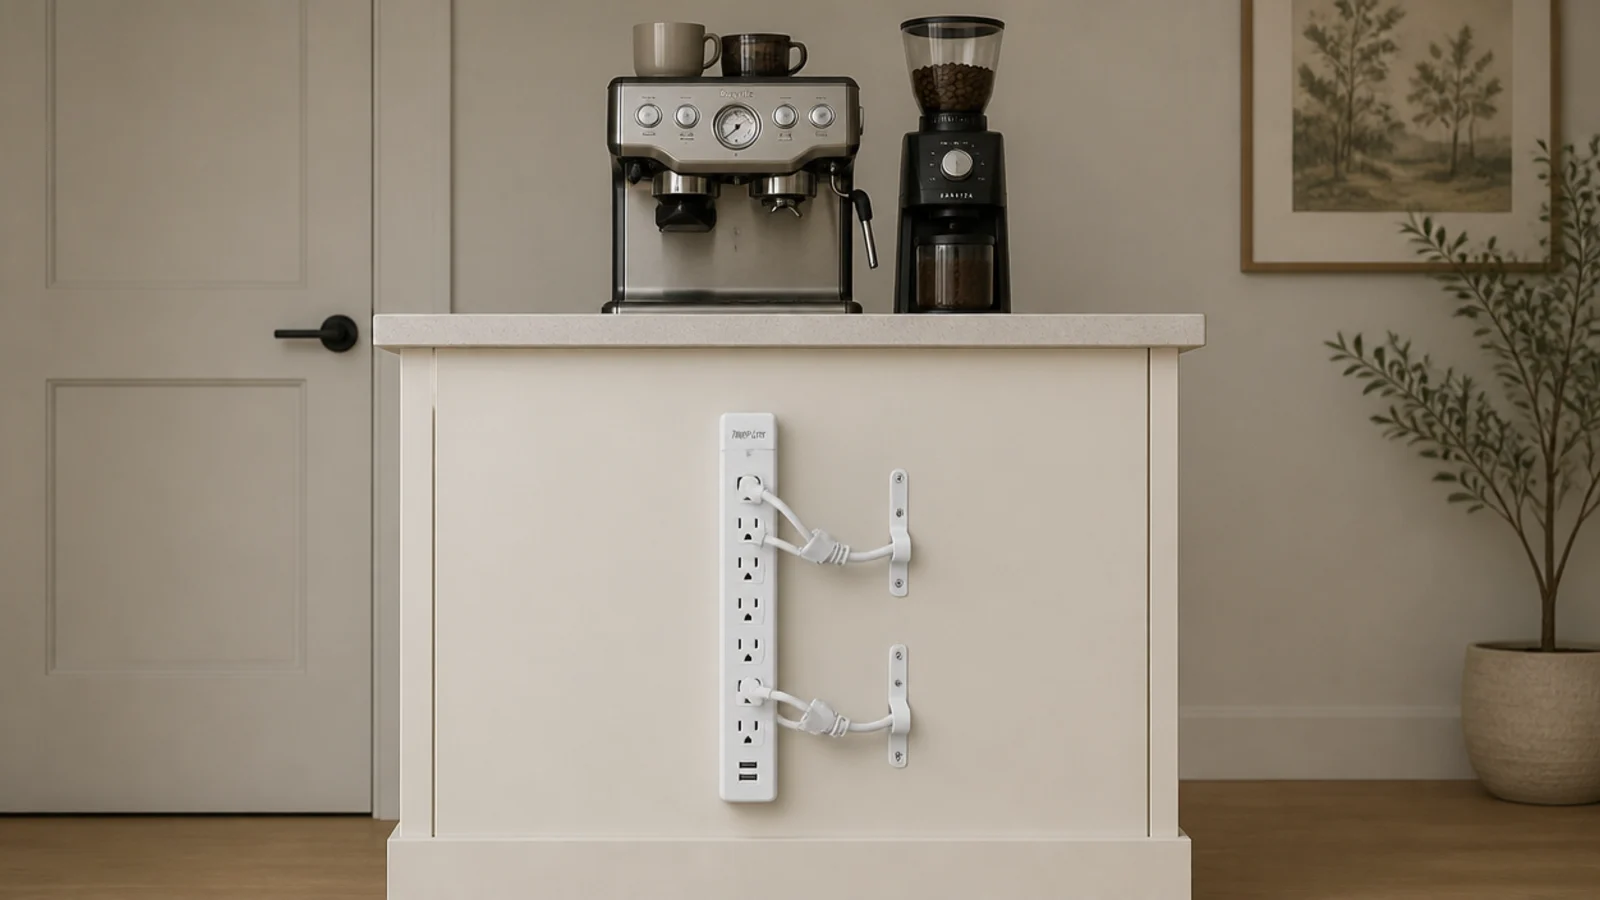
Before: a machine, a grinder and a kettle all reaching for one outlet, with loops of white cable across a cream backsplash.
After: a low-profile plug strip mounted on the exposed cabinet side, every cord shortened and clipped.
Cable is the last thing people fix and the first thing the eye finds. Twenty minutes with adhesive mounting blocks and cord clips. Cost: $24.
Makeover 12: The spinning pod carousel
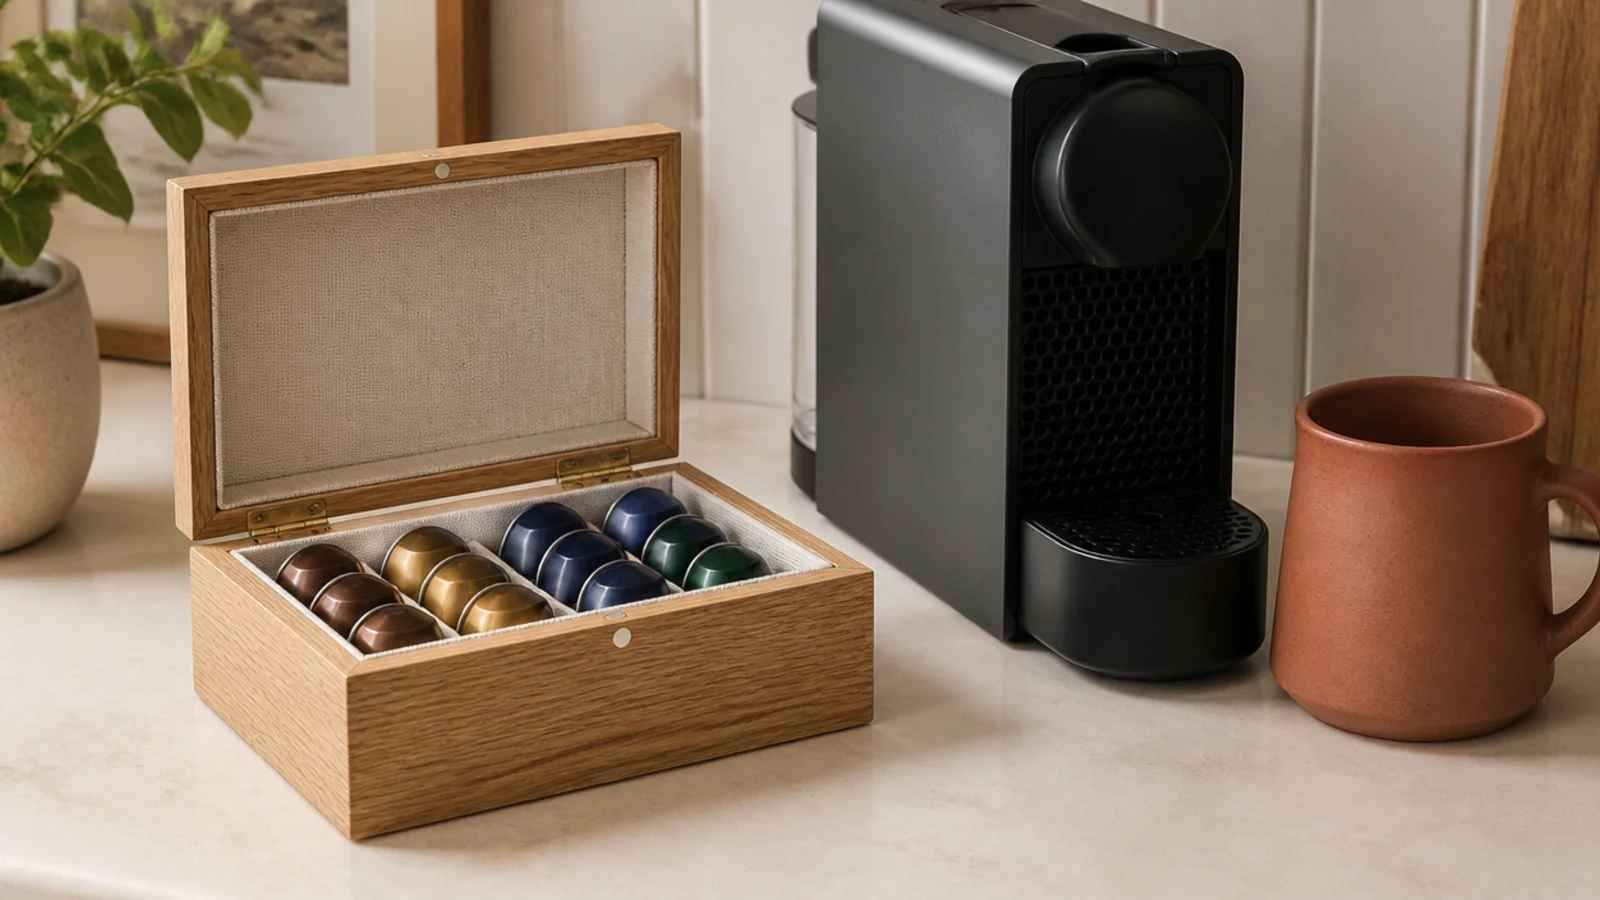
Before: a plastic carousel taking a 9-inch circle of counter and reading like a vending machine.
After: a lidded oak box with a canvas liner holding the same number of pods in half the footprint.
Daily use does not mean permanently visible. One closed box kept the same things within reach and gave back a genuinely useful corner of counter. Cost: $26. More small-kitchen versions of this are in small coffee corner.
Makeover 13: The studio with two feet of kitchen
Before: a machine on the only clear counter, moved every time anyone cooked.
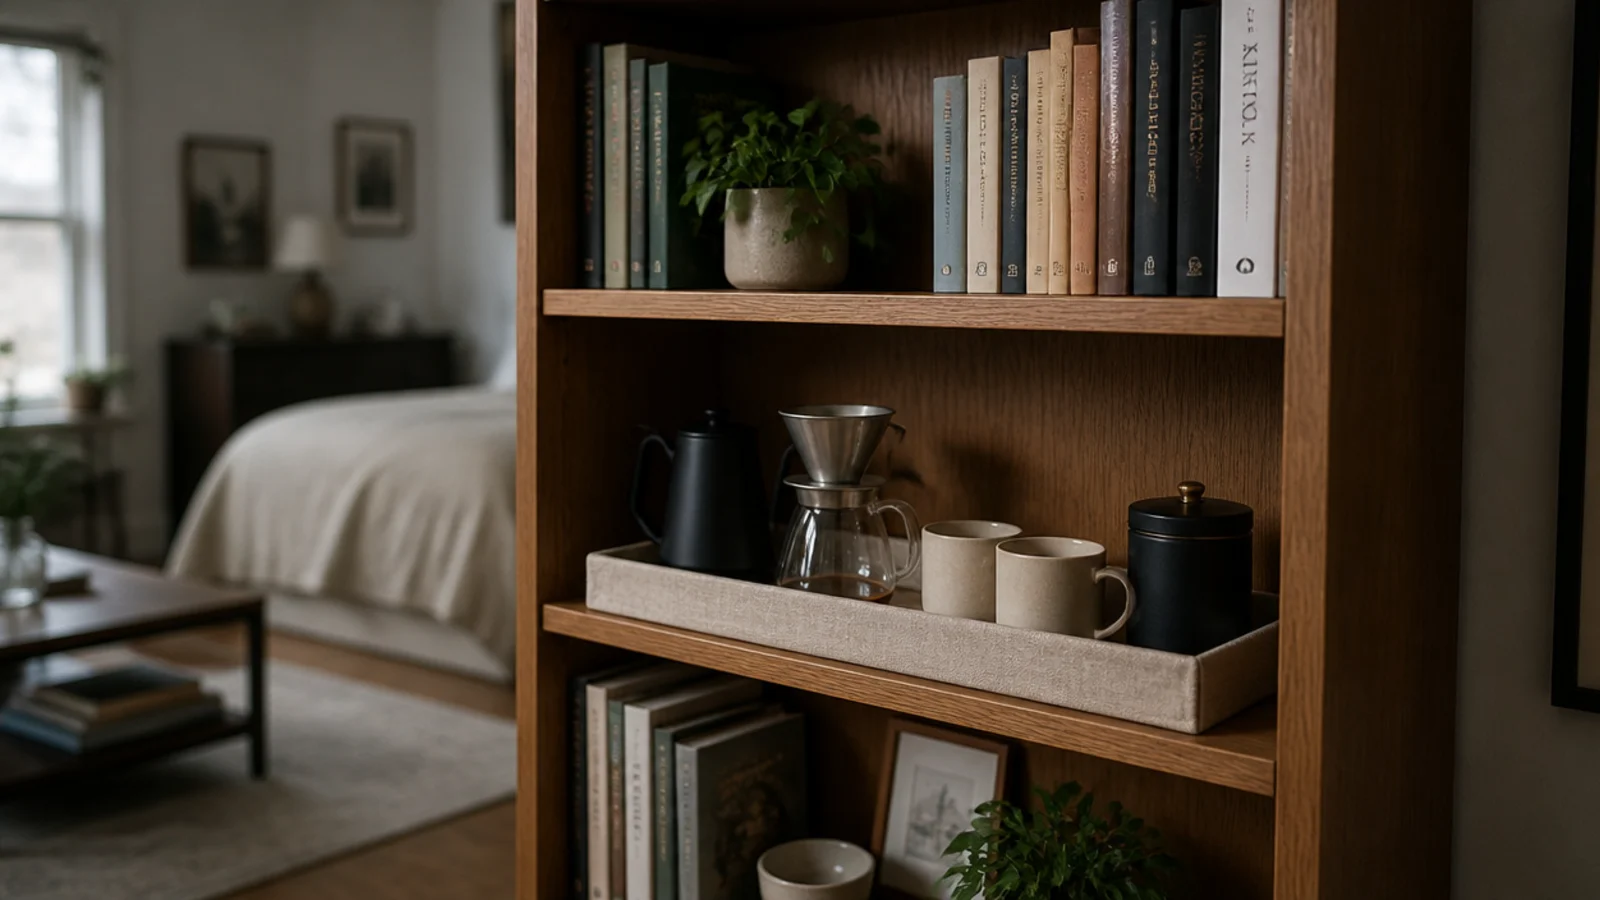
After: one bookshelf shelf at 42 inches with a lined tray, a kettle, a cone and two mugs.
In a studio, the coffee corner does not have to be in the kitchen. Giving it a shelf of its own meant it stopped being packed away and started being used. Cost: $34 for the tray and cone.
Makeover 14: The dining sideboard doing nothing
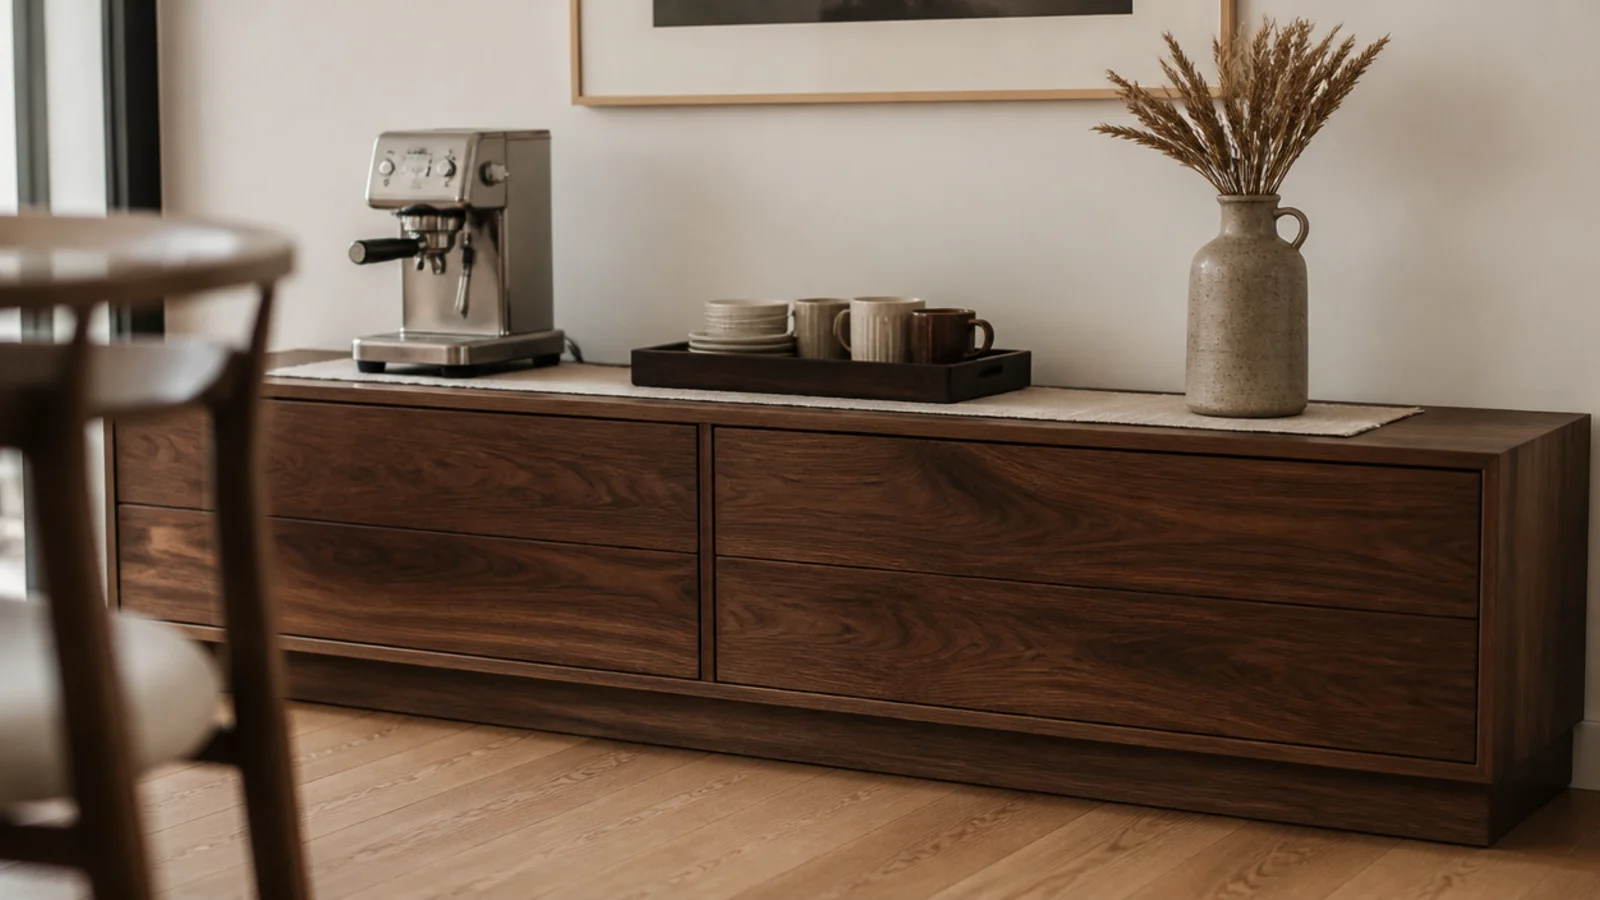
Before: a walnut sideboard collecting mail, three feet from an unused outlet.
After: a linen runner, the machine at one end, a tray of mugs, and the mail rehomed to a drawer.
A sideboard is already the right height at 32 to 34 inches and already has storage. It became a coffee station in the morning and a drinks station at night. Cost: $30.
Makeover 15: The tired laminate counter
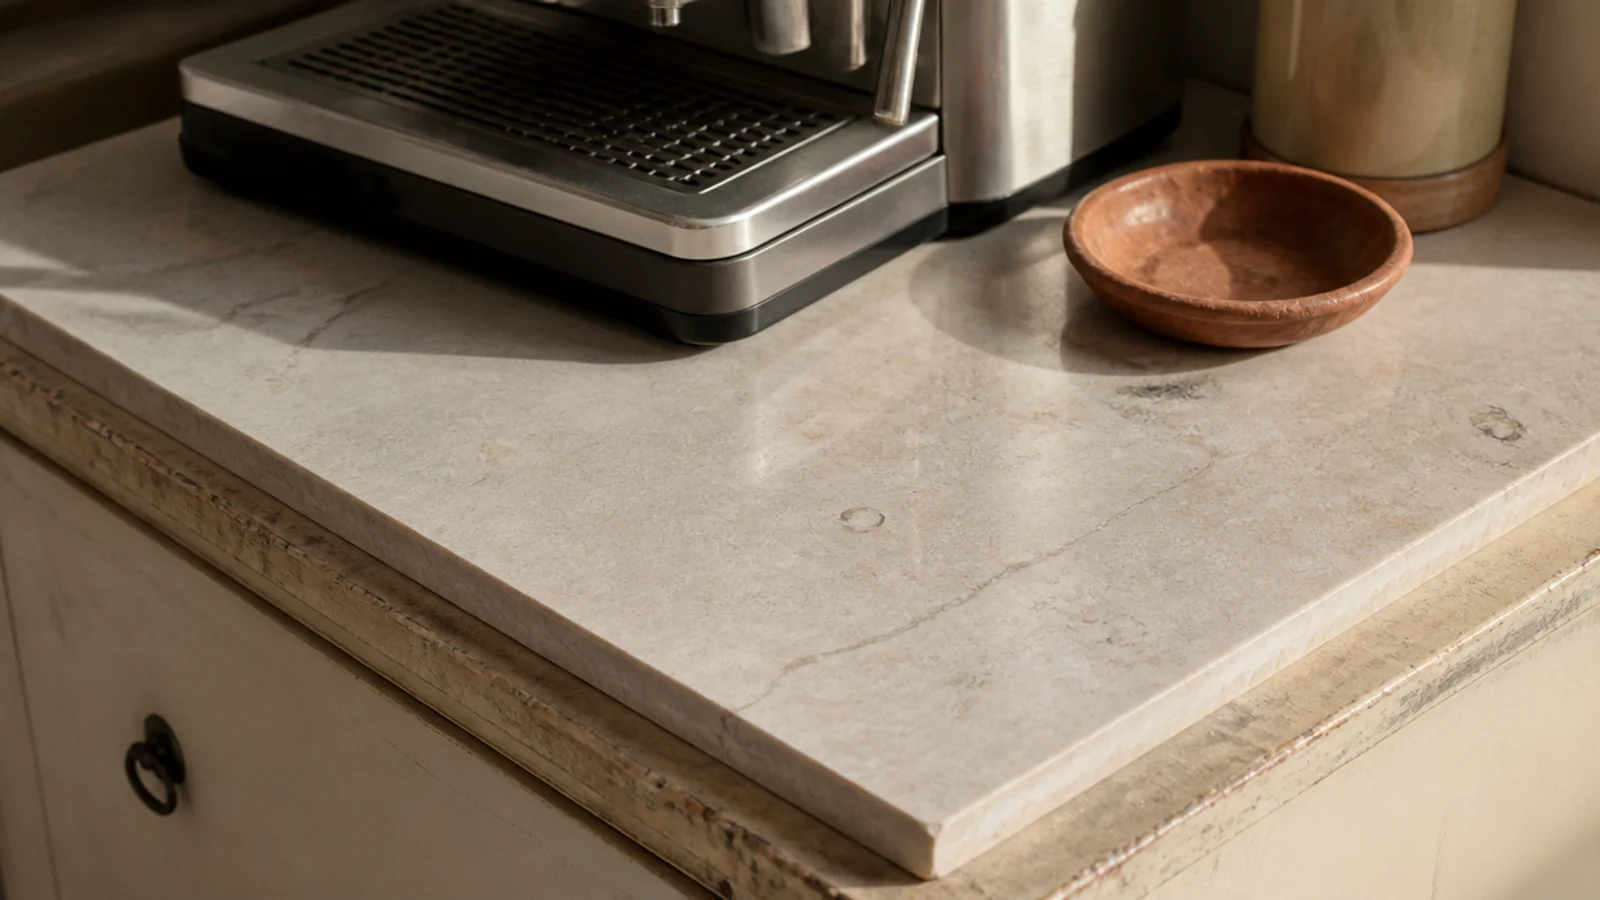
Before: a scuffed cream laminate counter under the machine, with old ring marks that would not come out.
After: a 12 by 18 inch honed marble offcut laid over it, felt pads underneath.
It covered the damage, gave the corner a proper material story, and doubles as the drip tray. Stone yards sell remnants cheaply. Cost: $38.
Makeover 16: The bedroom that needed a first cup
Before: a long walk downstairs at 5:45am, through a hallway, in a cold house.
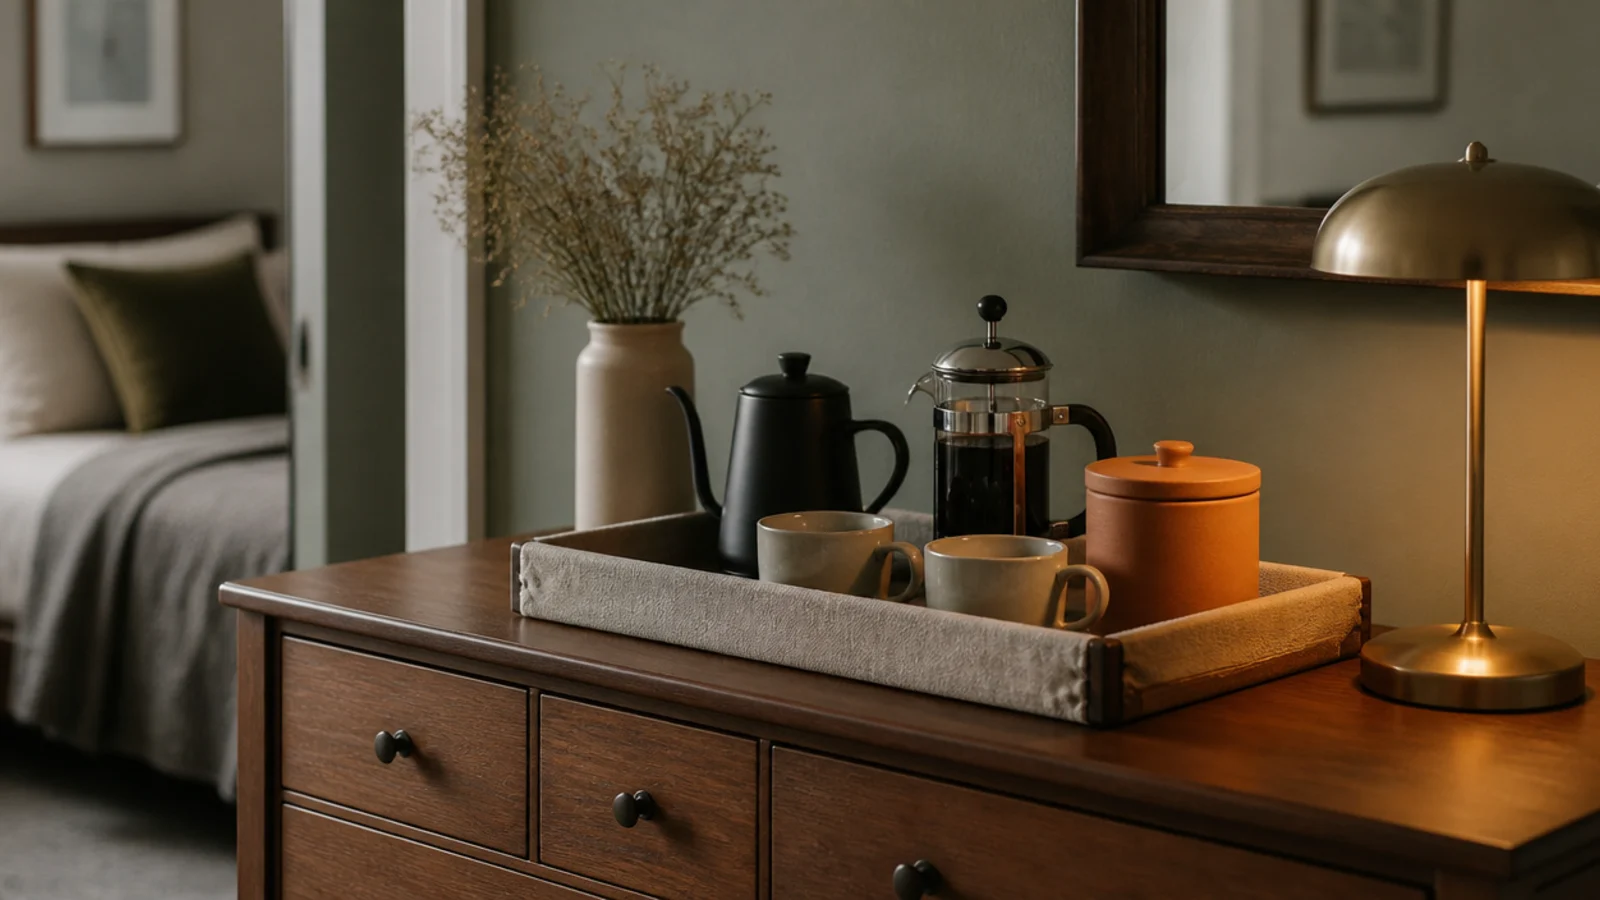
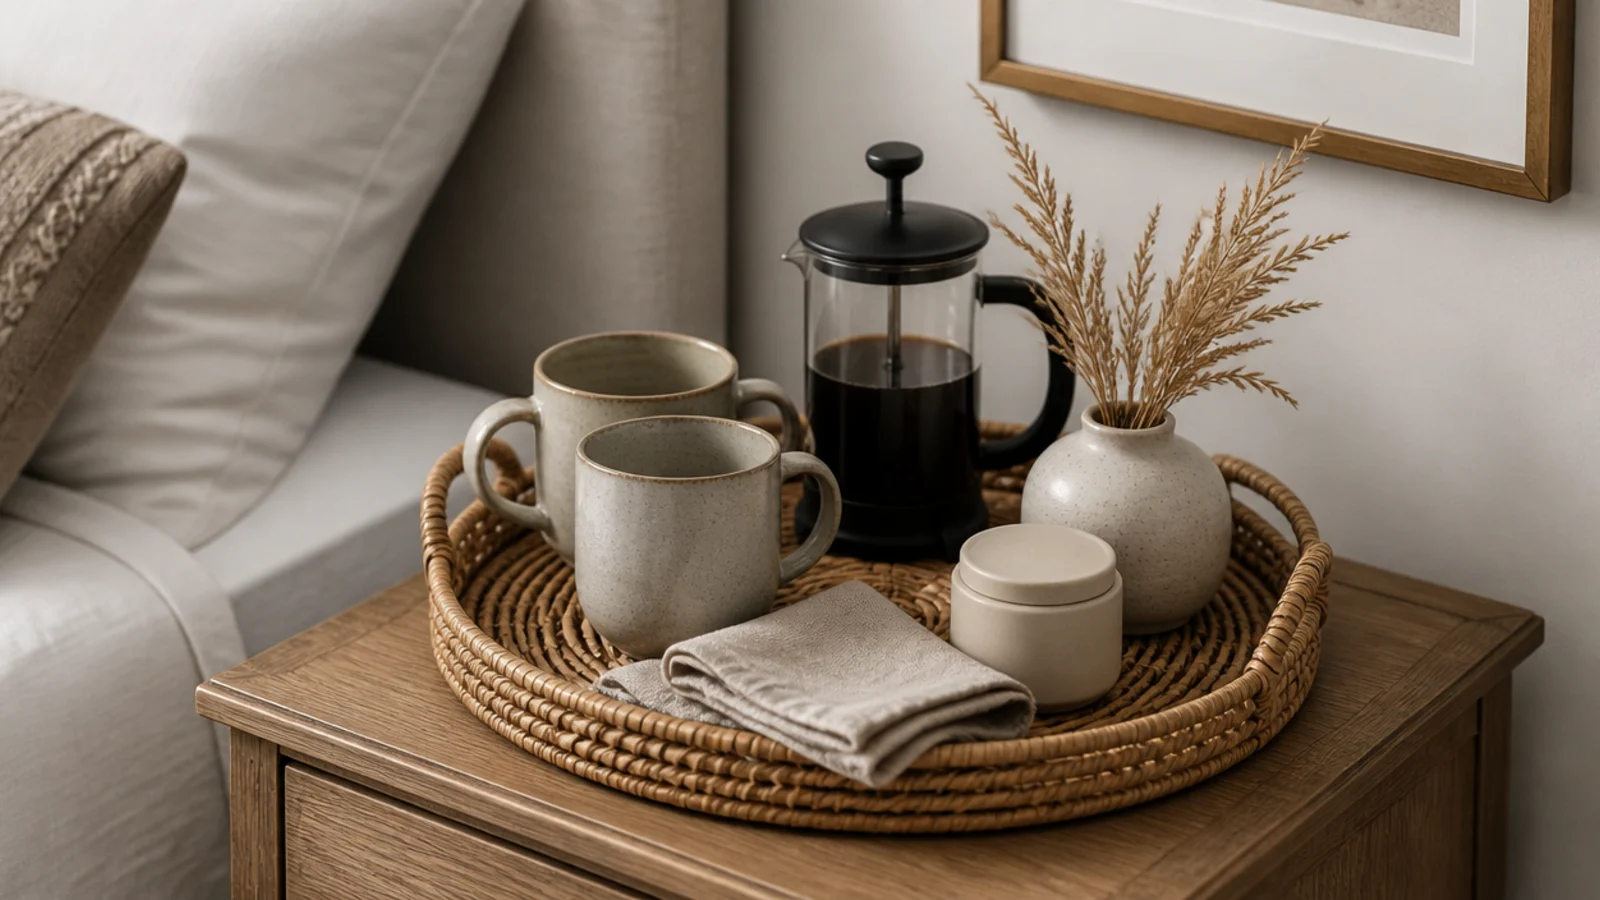
After: a lined tray on the bedroom dresser with a small kettle, a press, two mugs and a tiny canister.
It sounds indulgent and it changed the mornings completely. Keep the tray lipped, since there is no backsplash, and keep the beans in the opaque canister. Cost: $55.
Makeover 17: The guest room welcome tray
Before: guests going through unfamiliar cupboards looking for a mug at seven in the morning.
After: a rattan tray with two mugs, a small press, a napkin and a canister holding about four days of beans.
The best kind of makeover: it takes twenty minutes, costs almost nothing and people mention it every single time. Cost: $32, most of it the press.
Makeover 18: The corner that re-cluttered every week
Before: a tidy station on Sunday that had pods, three bags, a bag clip and two spoons on it by Thursday.
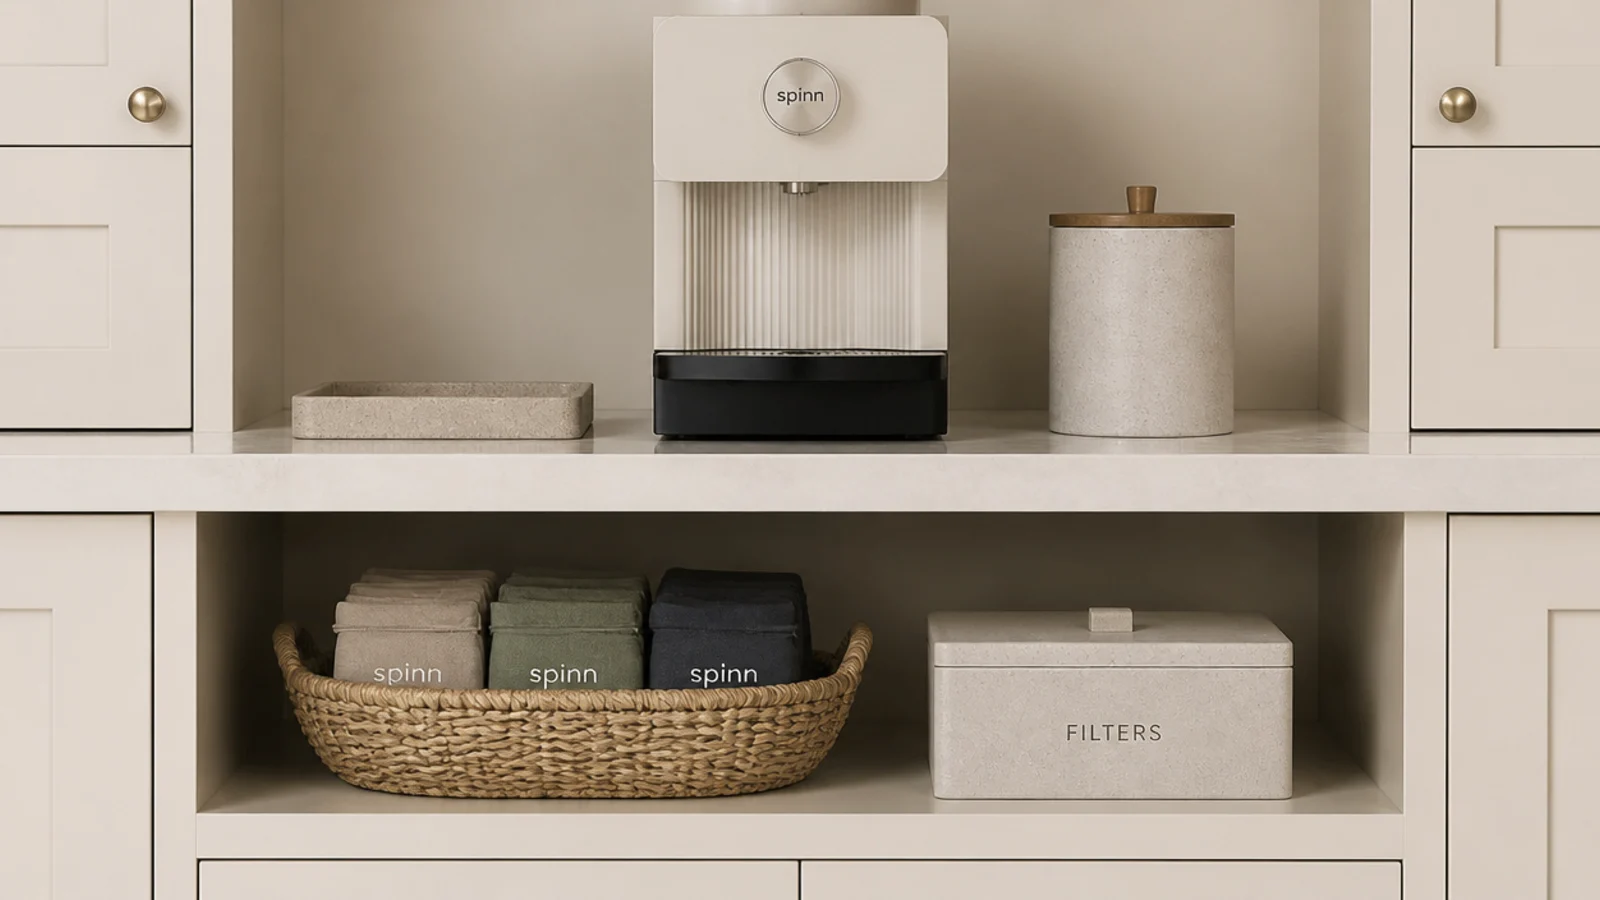
After: one shallow basket for spare bags, one lidded box for filters and pods, both on the shelf below.
Corners that re-clutter are missing containers, not space. The visible layer stayed at four objects for the first time in a year. Cost: $29.
Makeover 19: The machine that got slower every month
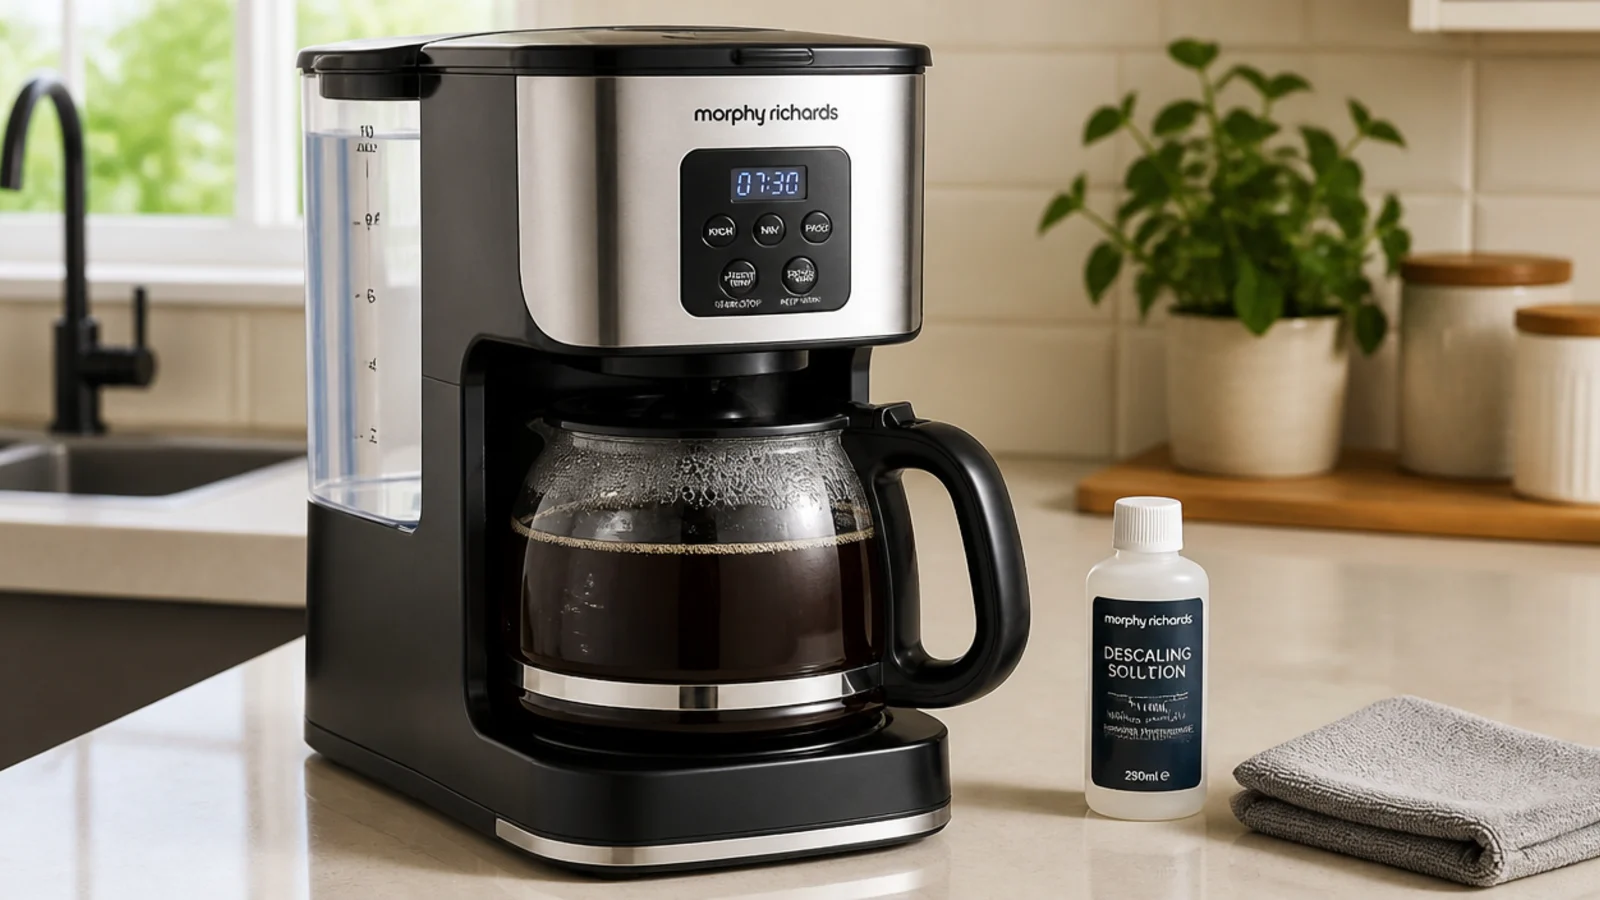
Before: four years without descaling in hard water, coffee arriving cool and slow, blamed on the beans.
After: a full descale, a filter jug in the fridge door, and a fixed date every two months.
The brew temperature came back the same afternoon. This is the makeover with the highest return and the least to photograph. Cost: $8 for solution, $30 for the jug.
Makeover 20: The corner I finally left alone
Before: a station styled with two vases, a stack of books, a candle and a fruit bowl, and nowhere to set a hot cup down.
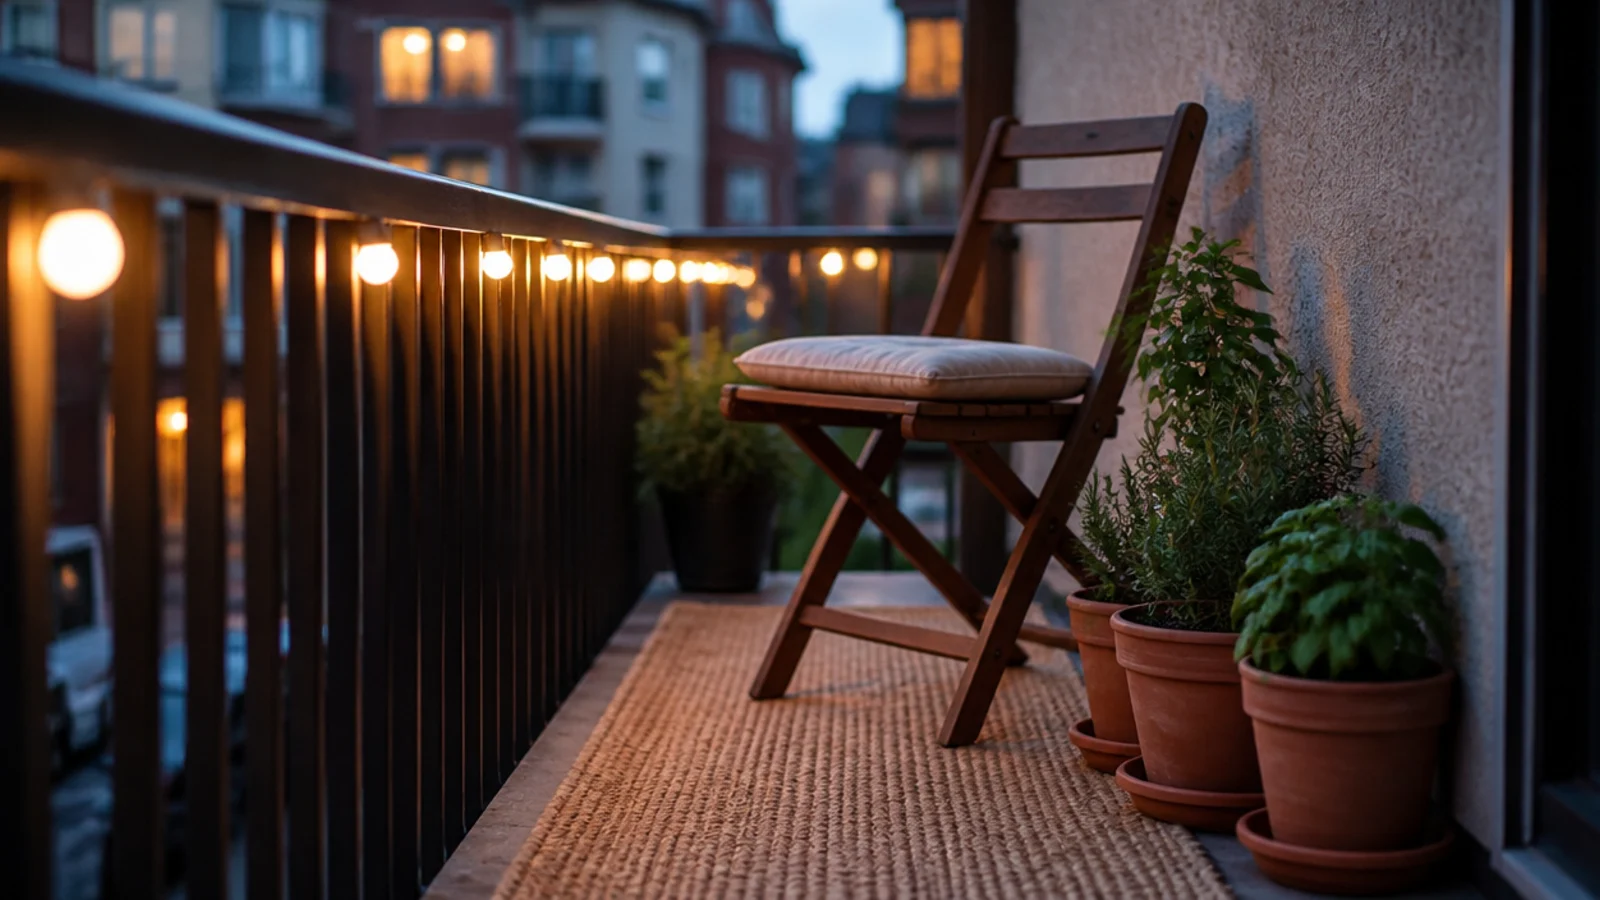
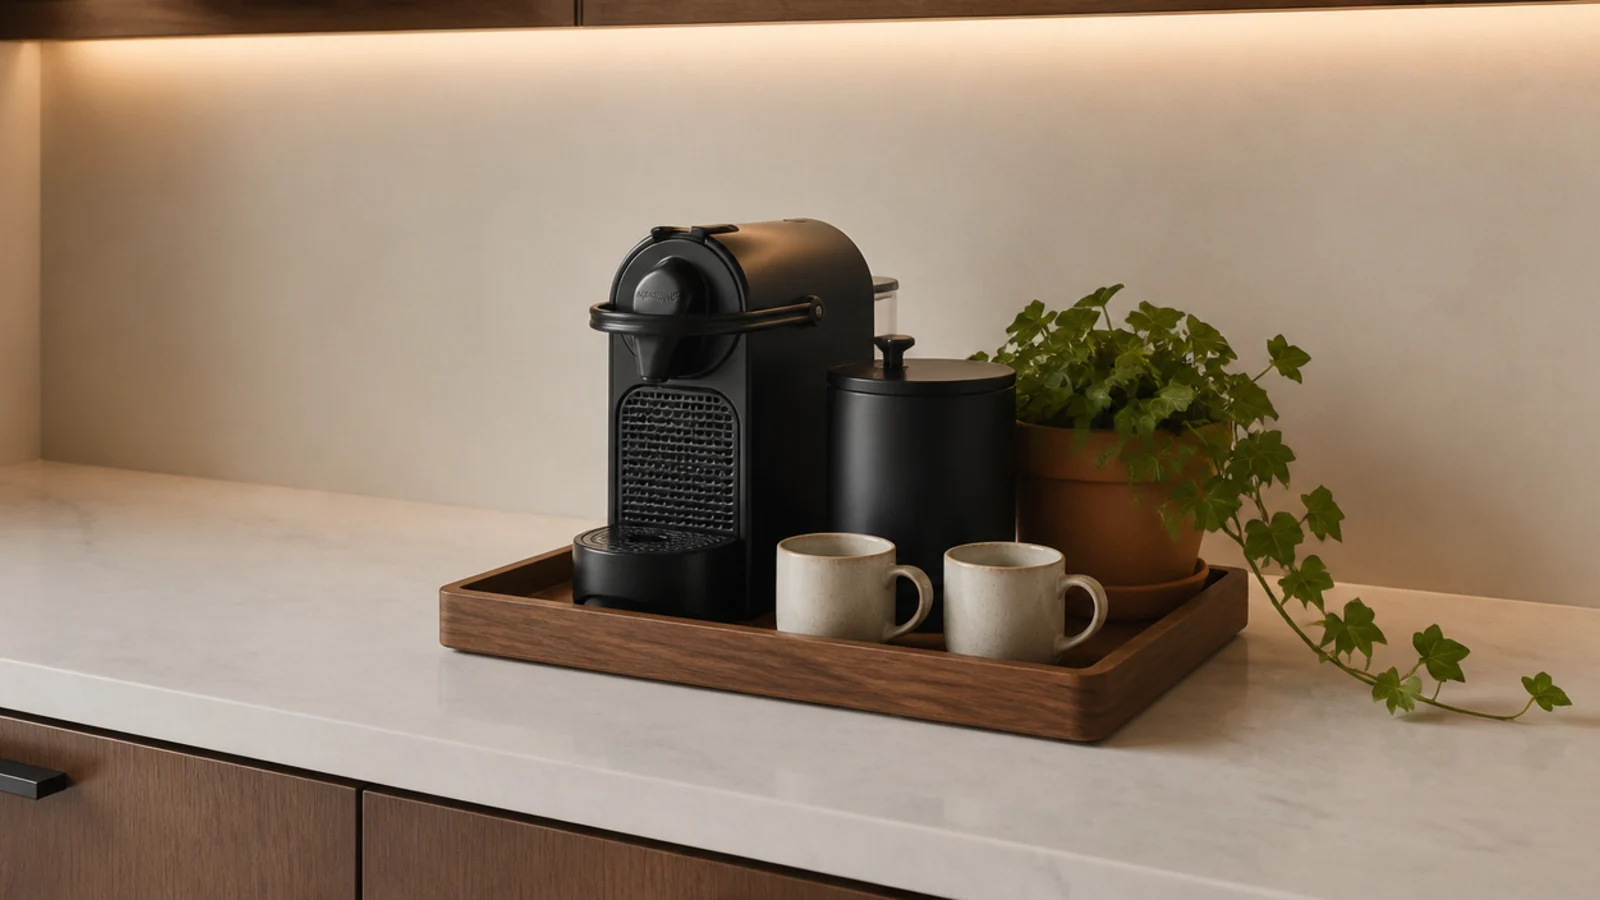
After: a tray, a canister, two mugs and one trailing ivy. Everything else gone.
I use this corner ten times a day and it has stayed exactly like this for two years. The full list of what I got wrong before this point is in coffee bar mistakes. Cost: nothing, and it looks the most expensive of all of them.
Coffee Corner Before and After: What I'd Do Differently Now
Twenty makeovers in a row makes the pattern uncomfortable: nearly everything that worked was either subtraction or a physical correction, and almost nothing was a purchase.
Eight cost nothing. The ones that cost money fixed power, clearance, depth or scale — the four things styling can never touch. Everything else was removing objects, containing the leftovers or changing a bulb.
If I could give myself one instruction at the start, it would be to fix the boring things first and in order: outlet, headroom, tray, light. I used to do it backward, styling a corner and then discovering the lid would not open, which meant doing it twice.
The other change is that I now leave a corner bare for a week before deciding anything. Watching where my hand lands at six in the morning has produced better layouts than any plan I have drawn on paper.
Frequently asked questions
What is the cheapest coffee corner makeover that works?
Moving the beans into an opaque canister and changing the bulb to 2700K. Together those cost under $40 and they fix the two things people most often blame on the machine: coffee that tastes flat by midweek, and a corner that looks grey and unwelcoming in the morning. Neither needs a single tool.
How long does a coffee corner makeover take?
A styling and storage reset takes about 40 minutes, including the step where you clear the counter completely and start from empty. Hanging one shelf and a peg rail is an evening. Moving the station to a different outlet or fitting a cart takes an afternoon, most of which is deciding what does not come with it.
Should I buy new equipment or reorganise what I have?
Reorganise first. In these twenty makeovers, eight cost nothing at all, and the ones that cost money were mostly physical fixes — clearance, power, a tray — that no amount of arranging could solve. Replace equipment only when it does not fit the counter or has failed, not because the corner feels wrong.
Why does my coffee corner keep getting cluttered again?
Because it has no visible boundary and nowhere for the second-string items to live. A tray or runner that marks the edge, plus one closed box and one basket for pods, spare bags and filters, is what stops the drift. Corners that re-clutter are almost always missing a container rather than missing space.
What is the first thing to change in a bad coffee corner?
Check where the outlet is. If the station is powered by a cord that crosses a walkway or runs near the sink, move the whole thing before you improve anything else, because that decision constrains every other one. After power, fix the headroom above the machine, then add a tray underneath it.
Try the free version first on whatever corner is annoying you: clear it completely, move the beans into something opaque, put back four objects and change the bulb. If it still feels wrong after that, the problem is power, clearance or depth, and those are worth spending on. For layouts by kitchen type, coffee station ideas has the options, and kitchen shelves before and after covers the wall above the counter. Save the pin before you buy anything new.
Want more like this? Browse all 15 coffee corner ideas guides — they all use the same measurements and budget tiers.

Pin it for later
Save this to your Coffee Corner Ideas board
Pin it now so it is waiting for you when the tape measure comes out — and so the next person hunting for this idea can find it too.
Save this pinKeep going
More ideas worth saving while you have the tape measure out.