Apartment Balcony Ideas · UGC
20 Apartment Balcony Before and After Makeovers

Apartment balcony before and after photos usually sell you furniture, and furniture is almost never what fixed the balcony. I have reworked four of my own across eleven years and a long run of other people's since, and the pattern is consistent enough to be slightly boring.
Six of the twenty makeovers below cost nothing at all. The median spend was around $45. The changes that cost real money were physical — a floor that dries, seating that fits the slab, containers big enough to hold water for a day — and everything else was subtraction, repositioning, cleaning, or changing the colour of the light.
Almost every balcony I am asked to look at has the same two invisible problems before it has a styling one: weight massed along the outer rail instead of against the building wall, and pots with no saucers raining onto the neighbour below. I fix those first, every time, before touching anything decorative.
Here is what changed, what it cost, and what actually did the work.
In this guide21 sections — tap to openHide
- 1.Makeover 1: The bare slab nobody ever stepped onto
- 2.Makeover 2: The balcony that was really a storage cupboard
- 3.Makeover 3: The chair that kept blowing over
- 4.Makeover 4: The rug that stained the concrete
- 5.Makeover 5: The rail planters on the wrong side
- 6.Makeover 6: The pots that watered the neighbour
- 7.Makeover 7: The patio set that ate the whole slab
- 8.Makeover 8: The lavender that was living in shade
- 9.Makeover 9: The screen that broke the building rules
- 10.Makeover 10: The doorway you had to turn sideways through
- 11.Makeover 11: The balcony lit like a stairwell
- 12.Makeover 12: The cushions that grew mould
- 13.Makeover 13: The railing nobody had ever cleaned
- 14.Makeover 14: The nine mismatched pots
- 15.Makeover 15: The corner that went dark at seven
- 16.Makeover 16: Nowhere to put a cup down
- 17.Makeover 17: The balcony with nothing in February
- 18.Makeover 18: The fourteenth floor that lost an umbrella
- 19.Makeover 19: The balcony that could only seat one
- 20.Makeover 20: The one nobody actually used
- 21.Apartment Balcony Before and After: What I'd Do Differently Now
Makeover 1: The bare slab nobody ever stepped onto
Before: 4 by 9 feet of grey concrete with a dead plant and a phone charger, used roughly twice a summer.
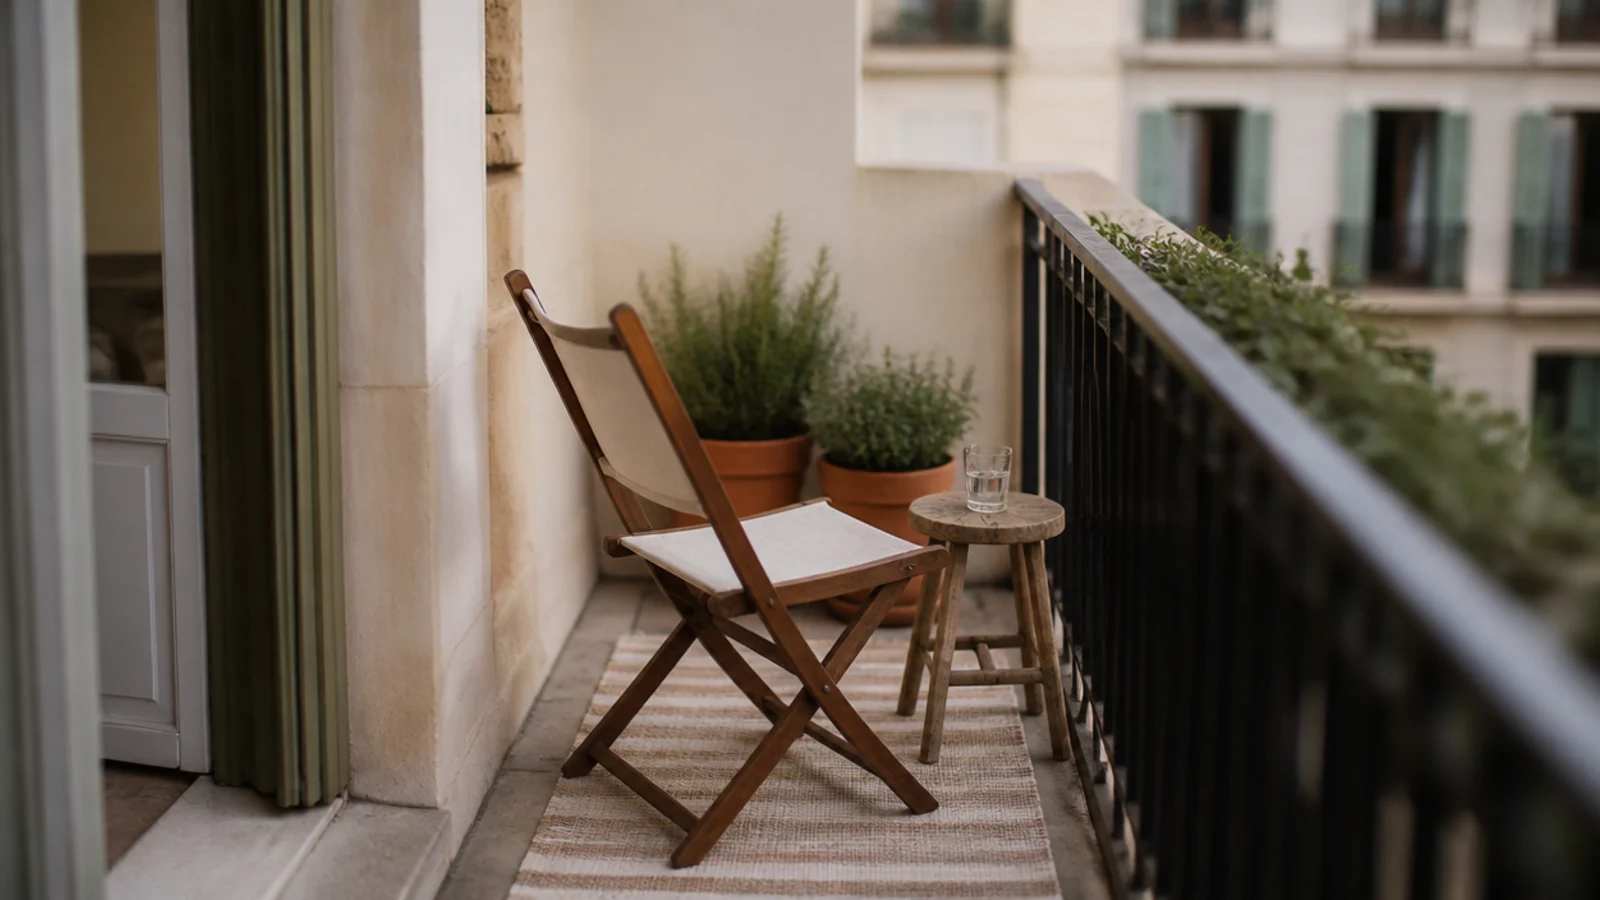
After: a sand open-weave runner, one folding acacia chair, a thrifted stool as a side table and two herb pots against the wall.
Four pieces, and the balcony went from decoration to a place someone sat every morning. I deliberately stopped at one chair — a second would have taken the walkway and neither would have been comfortable. Total $96, of which the chair was $58.
Makeover 2: The balcony that was really a storage cupboard
Before: a folding bike, four moving boxes, a broken drying rack and a bag of soil that had split.
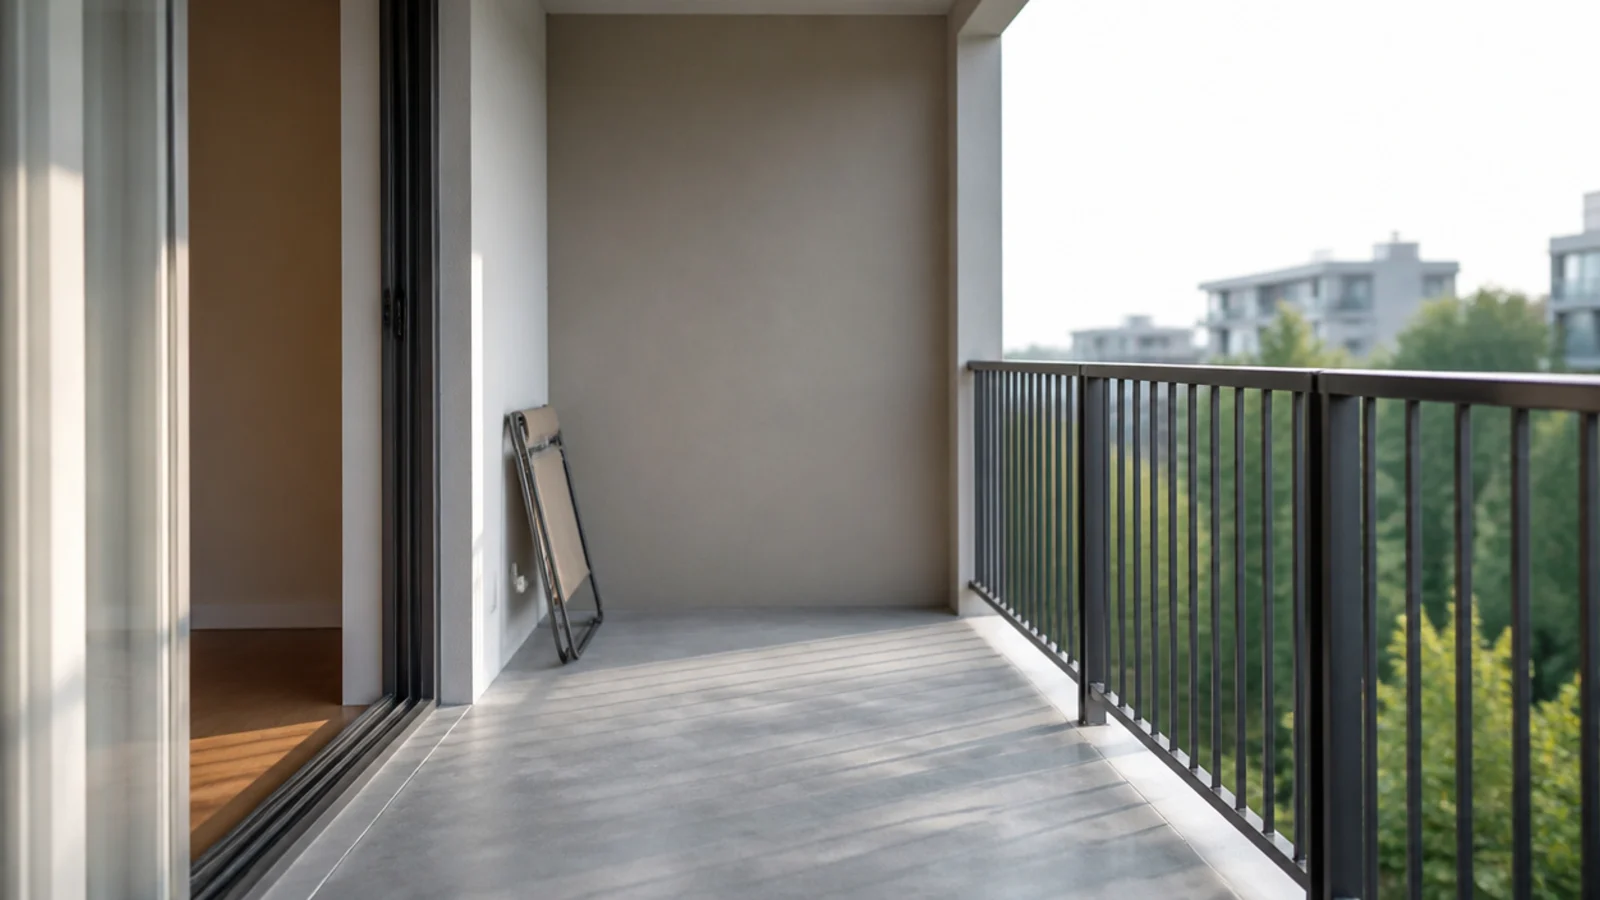
After: completely empty, scrubbed, and one folded chair leaning against the wall.
We added nothing that day. Emptying a balcony to bare concrete is the most underrated step there is, because you cannot judge 30 square feet with anything on it. She lived with it empty for a week, then bought half of what she had planned. Cost: nothing.
Makeover 3: The chair that kept blowing over
Before: two hollow resin chairs on an eleventh-floor balcony that tipped in any real breeze and had once slid the width of the slab.
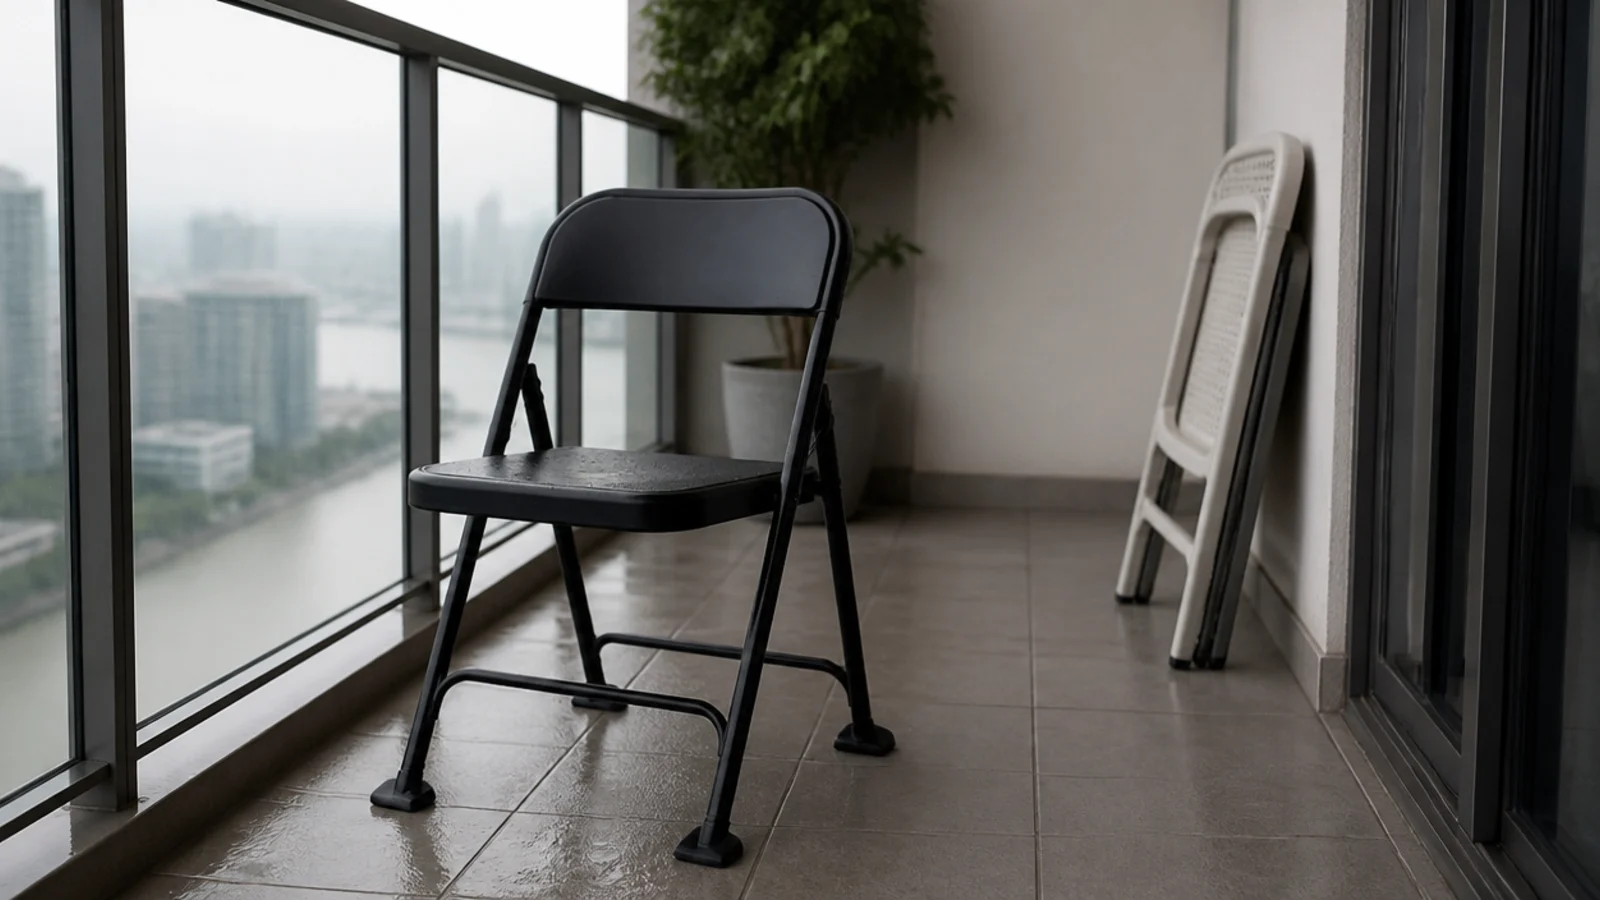
After: two powder-coated steel folding chairs with wide feet, about 11 pounds each.
Weight is the entire specification on a high floor. Anything you can slide across concrete with one finger will move in a gust, and above the third floor whatever leaves a balcony lands on someone. Cost $70 for the pair, secondhand in September.
Makeover 4: The rug that stained the concrete
Before: a thick rubber-backed outdoor rug that never dried, with a dark tide-marked rectangle already set into the slab beneath it.
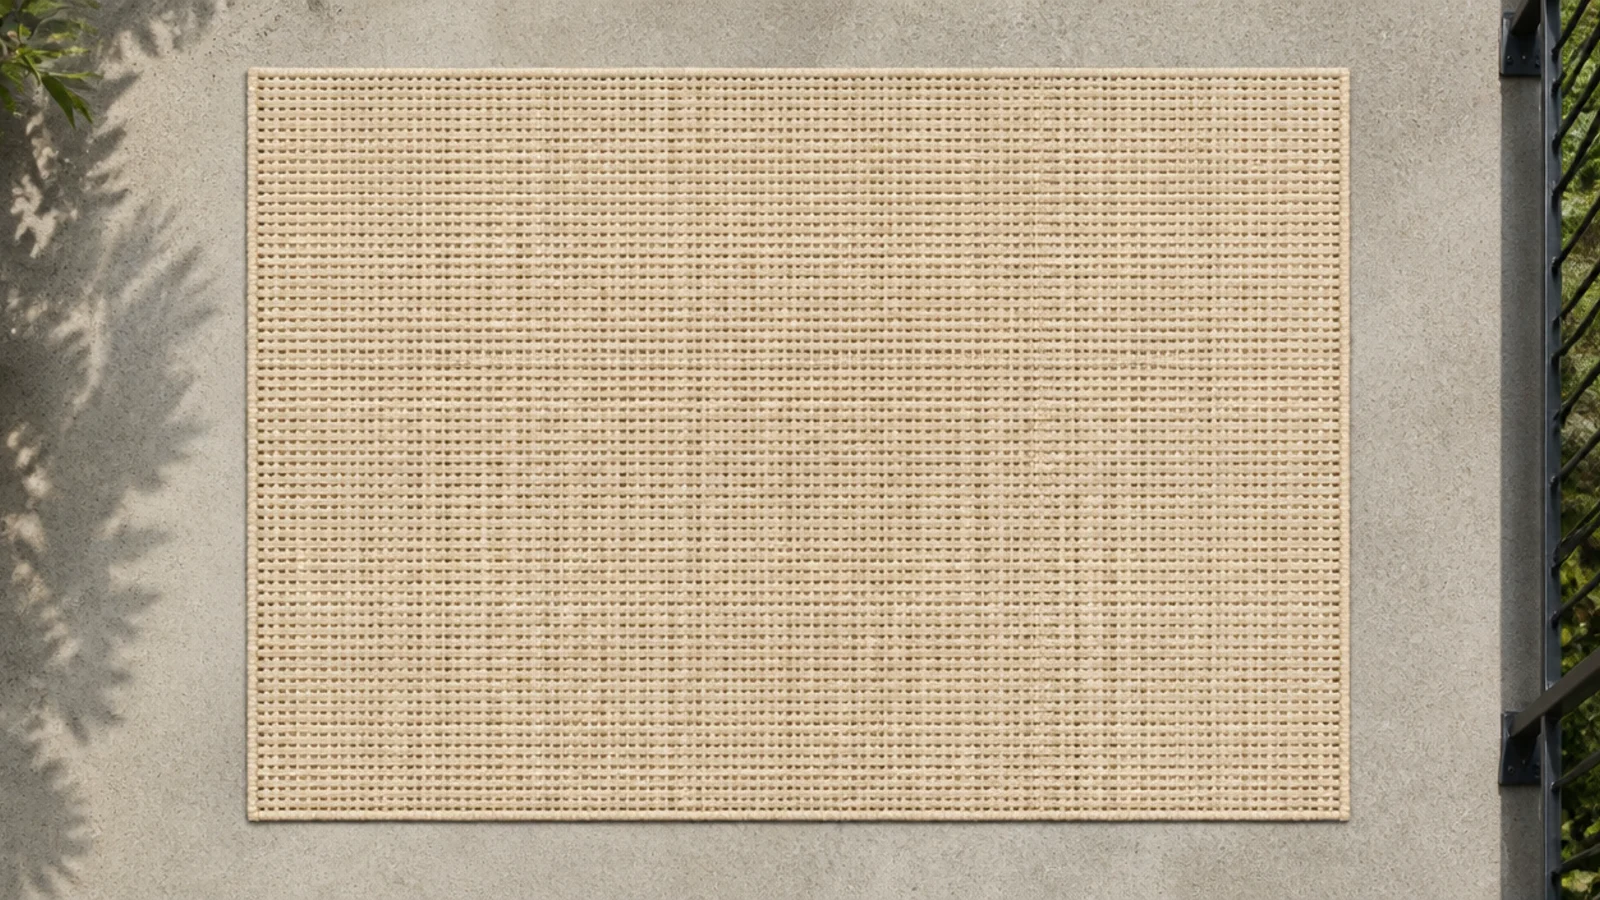
After: a 2 by 6 foot open-weave flatwoven runner with 5 inches of bare concrete left at every edge.
The stain did not come out, which is a $180 lesson in someone else's deposit. Open weave lets water reach the drain and dries in an hour. Cost $45.
Makeover 5: The rail planters on the wrong side
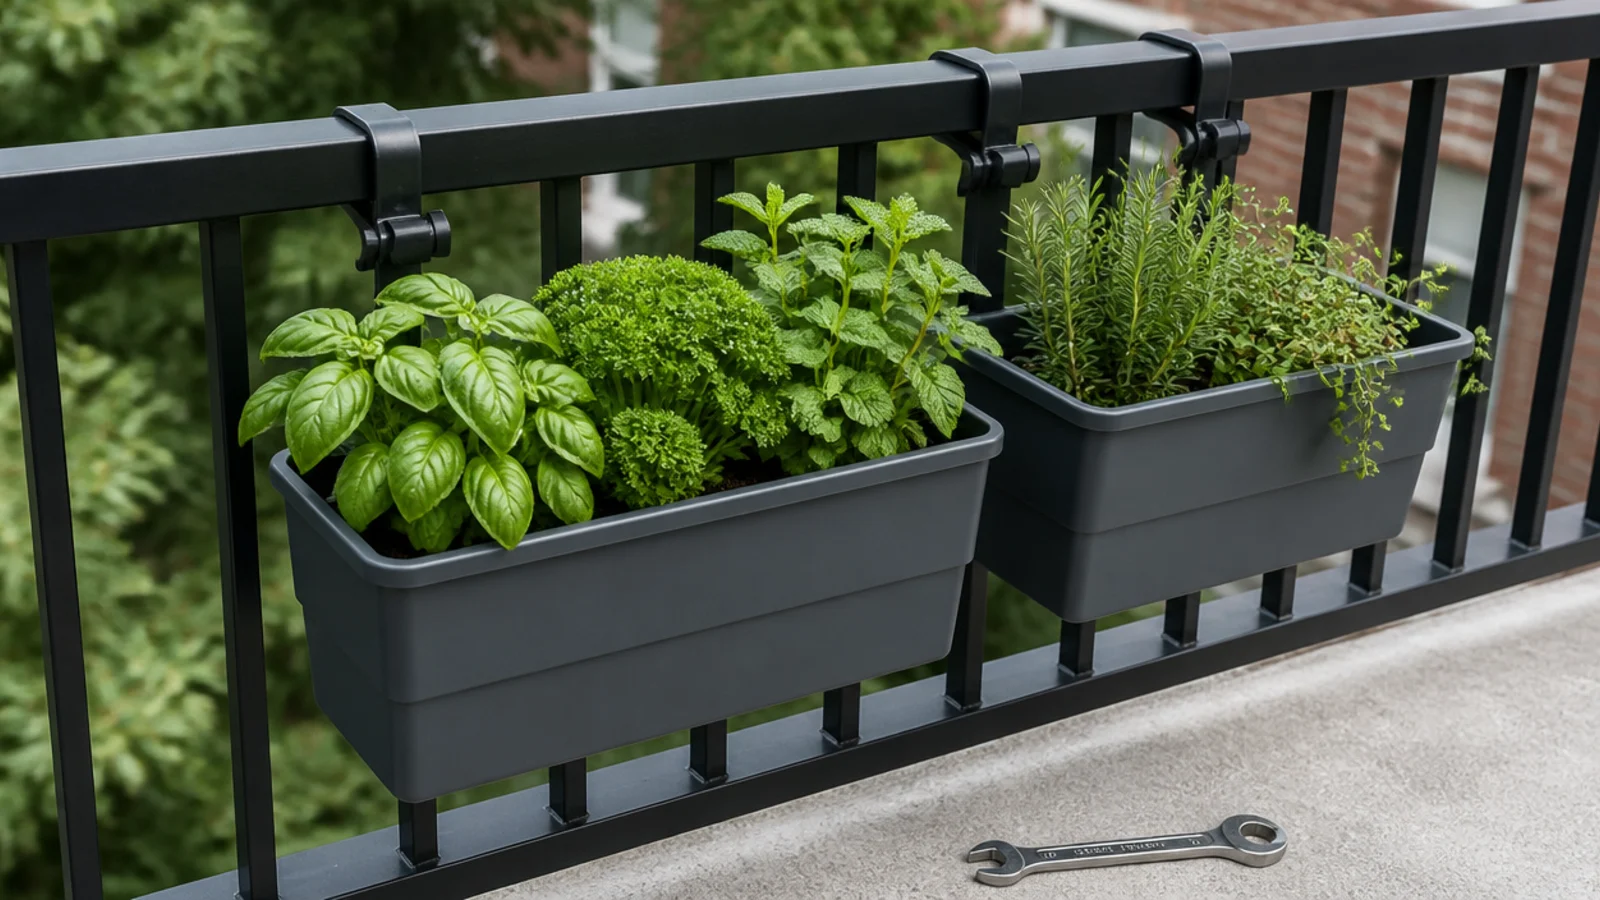
Before: three hook-over boxes mounted on the outside face of a fifth-floor railing, with one bracket already loose enough to move by hand.
After: the same three boxes, hooked over onto the inside face with the brackets clamped down hard against the top rail.
This is the only change on the list I would call urgent. Wet soil in one of those boxes is around 25 pounds, and below that railing was a courtyard path. Nothing ever mounts outboard. Cost: nothing, twenty minutes, and a monthly reminder to check the clamps.
Makeover 6: The pots that watered the neighbour
Before: seven pots straight onto the slab, watered every morning, all of it running out of the drainage gap onto the balcony below.
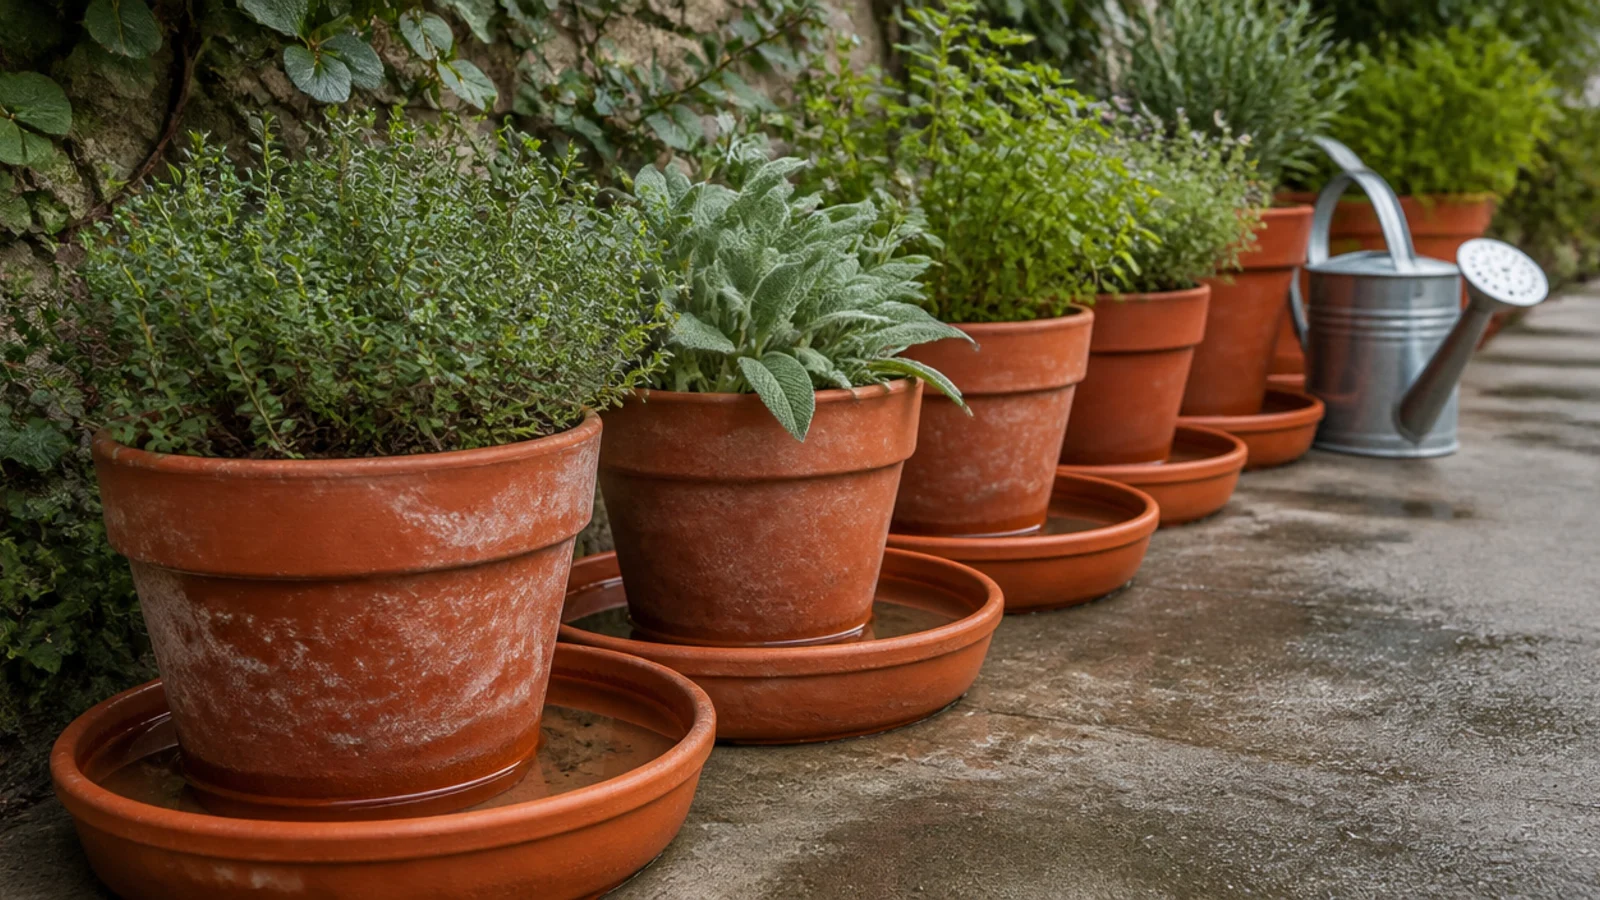
After: a saucer under every single pot, each one wider than the pot base.
The neighbour had mentioned it twice, politely. Slow watering in two passes thirty seconds apart also helps — the mix absorbs rather than channelling straight through. Cost $14.
Makeover 7: The patio set that ate the whole slab
Before: a four-piece patio set assembled on a balcony 4 feet deep, where nobody could pull a chair back without turning sideways.
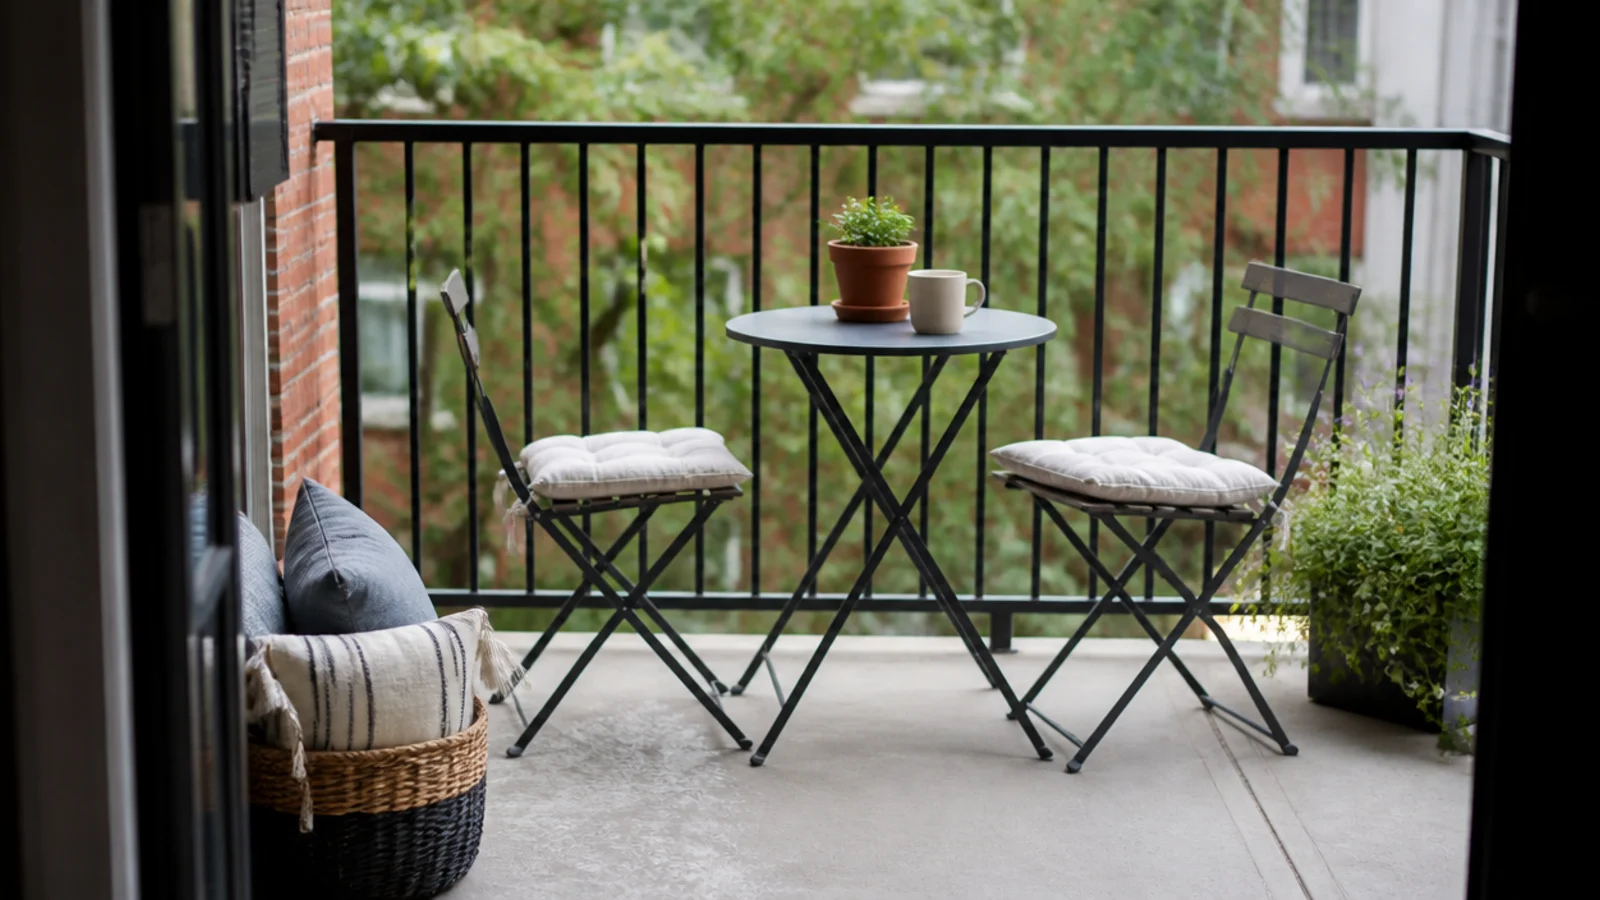
After: a folding 24-inch round table and two folding chairs, with the old set sold locally.
A bistro setup needs roughly 4 by 4 feet of clear floor once chairs are out, and folding is what makes a small balcony work year round — the whole thing stores flat against 18 inches of wall in November. Net cost after the sale: about $30.
Makeover 8: The lavender that was living in shade
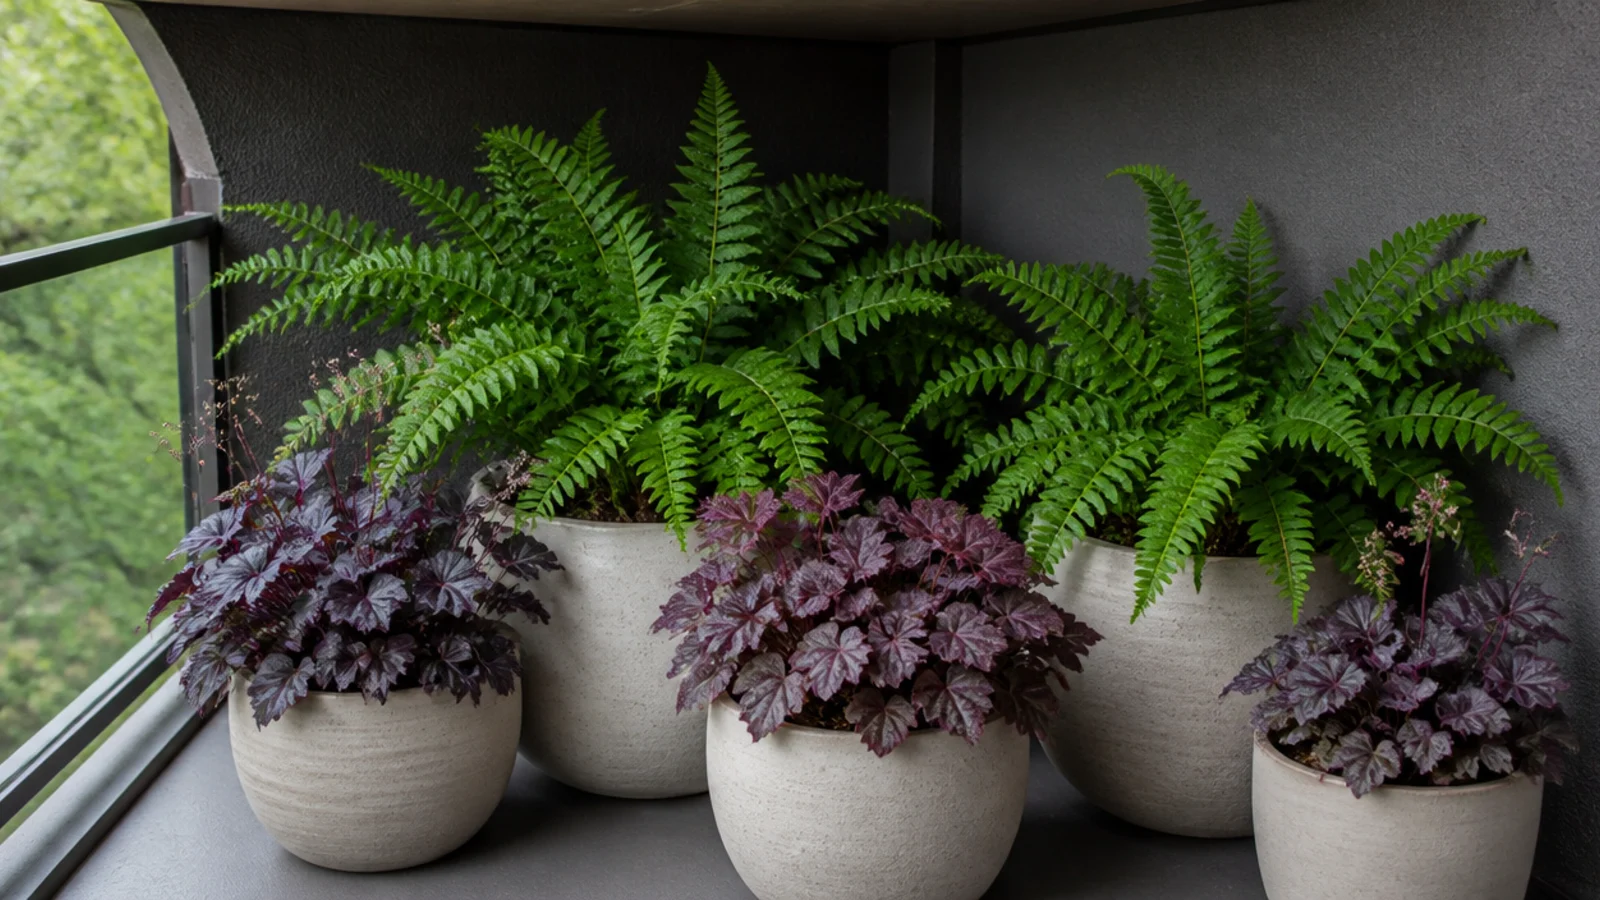
Before: lavender, rosemary and a small olive on a north-facing slab that got ninety minutes of direct sun in June and none after August.
After: ferns, heuchera and trailing ivy in the same pots, and the Mediterranean plants rehomed to a friend's sunny balcony.
Aspect is not negotiable and no amount of watering substitutes for light. Deep shade is a real category with a real plant list, not a consolation prize. Cost $38.
Makeover 9: The screen that broke the building rules
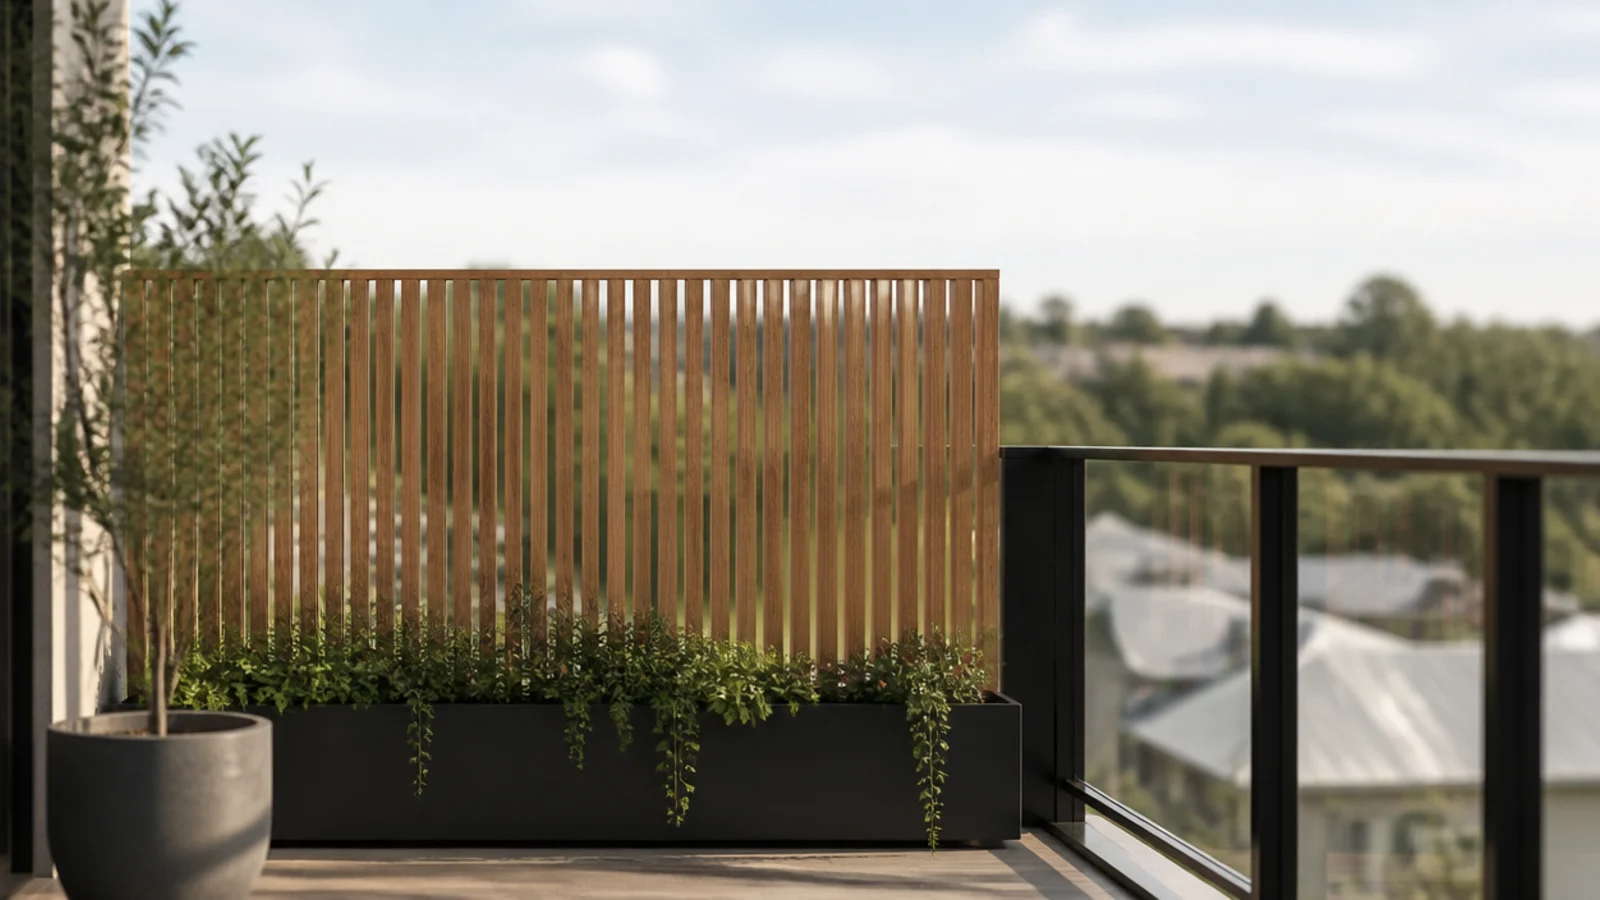
Before: a reed roll standing about 18 inches proud of the top rail, visible from the street, with a management letter already received.
After: the same reed, trimmed to finish level with the balustrade, across one section only where the sight line actually mattered.
Sit down before you decide what to screen. Seated eye height is usually 40 to 46 inches, and blocking that one band gives you privacy without a wall. Slatted or reed rather than solid, so wind passes through instead of loading the panel. Cost: nothing.
Makeover 10: The doorway you had to turn sideways through
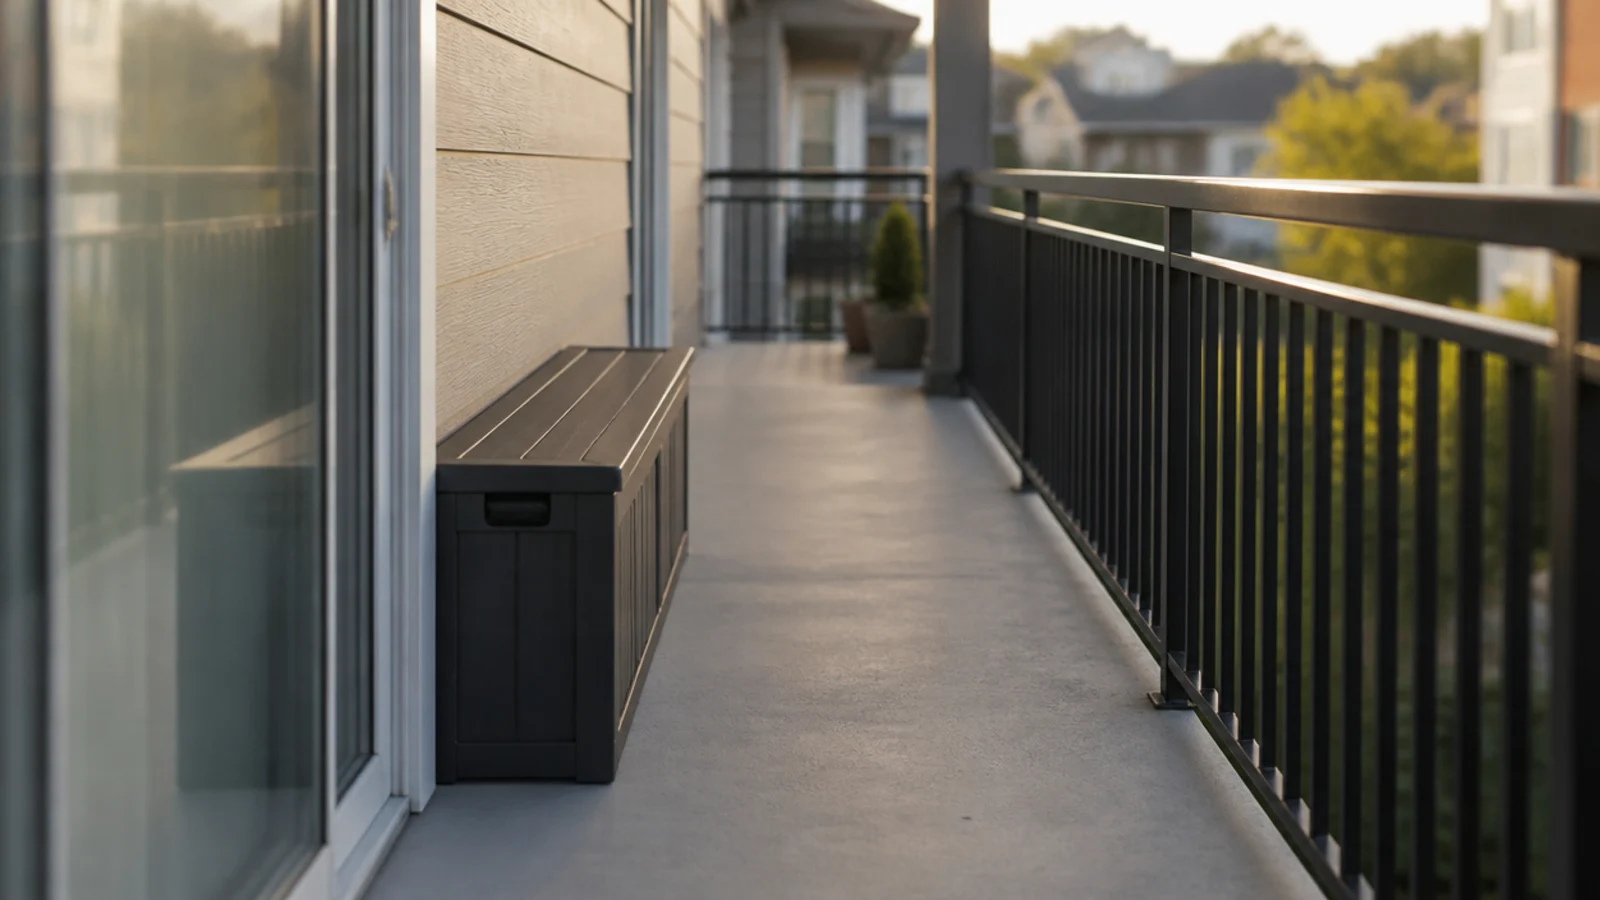
Before: a storage bench pulled out from the wall to make room for pots behind it, leaving 11 inches beside the sliding door.
After: bench flat against the wall, pots moved to the far end, and a clear 26-inch path from door to rail.
The balcony is an egress route in most buildings, so this is a code issue before it is a comfort one. It also changed how often the balcony got used, immediately. Cost: nothing, fifteen minutes.
Makeover 11: The balcony lit like a stairwell
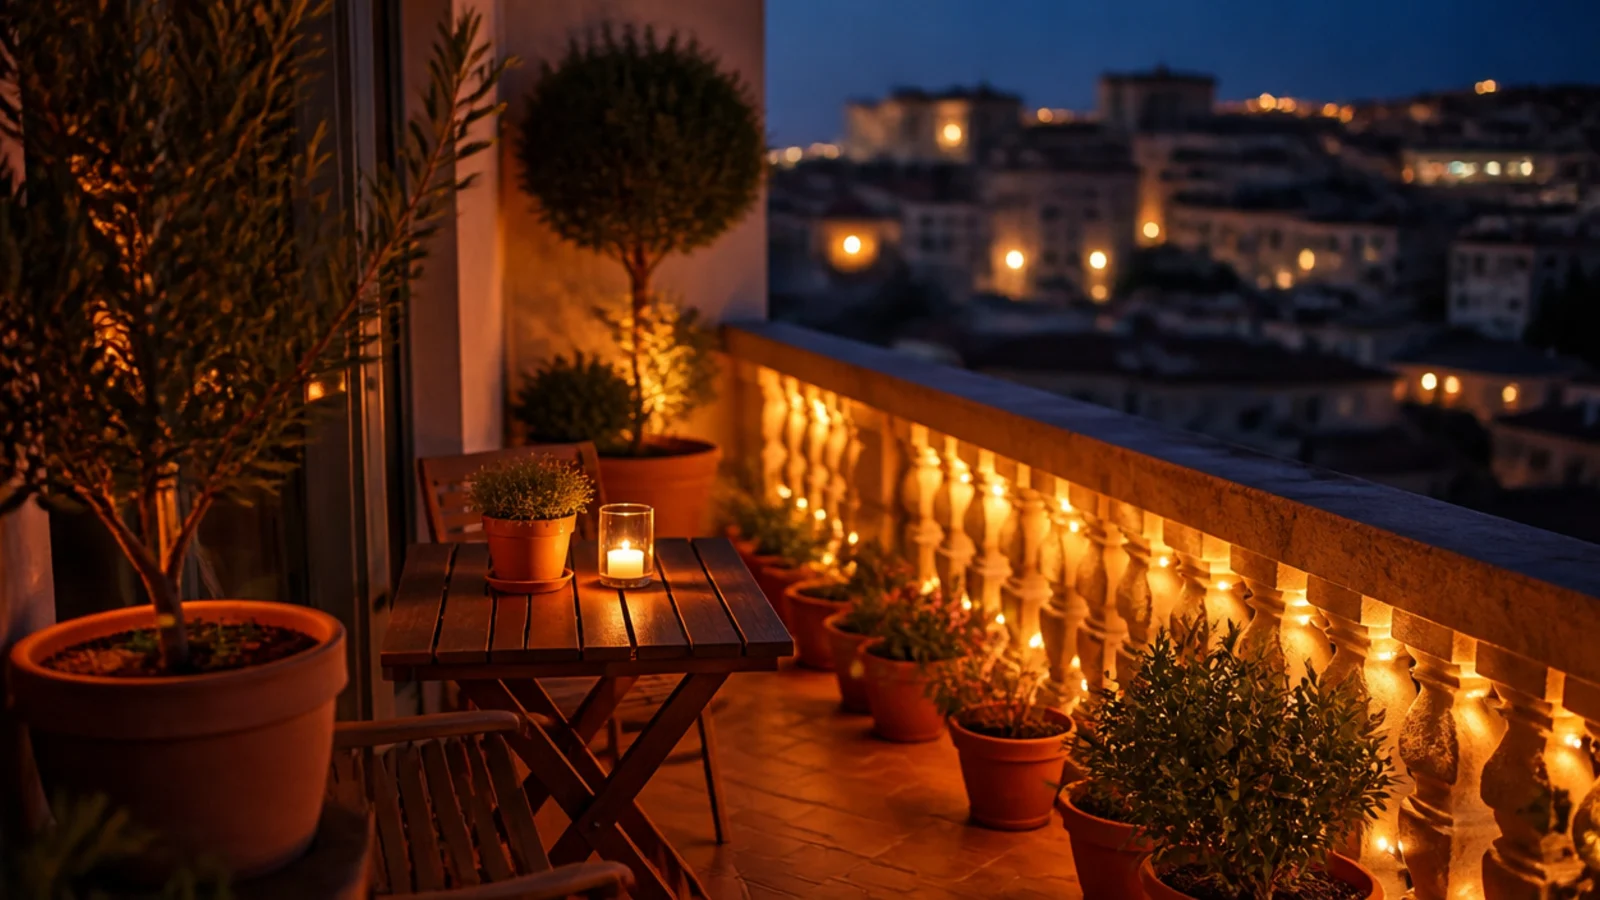
Before: a 5000K solar strand that made terracotta look grey, timber look grey and the whole slab read like a parking garage.
After: the same length of solar bulbs at 2700K, zip-tied every 15 inches inside the balustrade.
The client had been planning to replace the furniture. The furniture was fine; the light temperature was wrong. Warm white is the single cheapest transformation available out there, and it works at every price point. Cost $24. There is a full renter-safe kit in apartment balcony lighting.
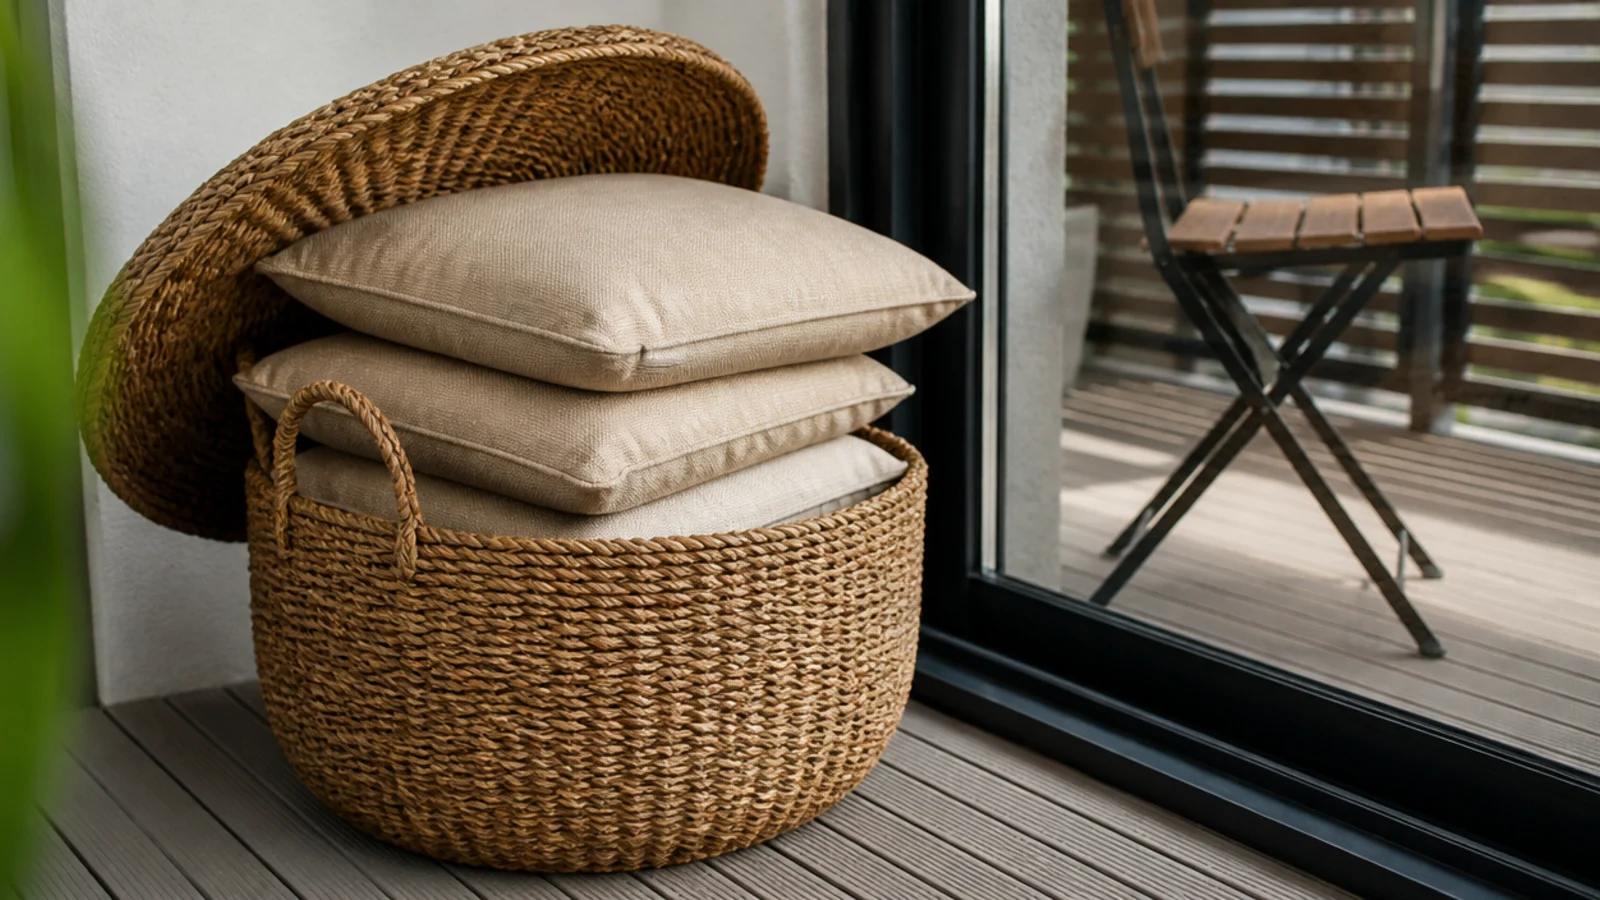
Makeover 12: The cushions that grew mould
Before: printed polyester seat pads left out through a wet fortnight, dark and spotted on the undersides.
After: solution-dyed acrylic pads and a lidded basket standing right beside the sliding door.
The fabric upgrade matters, but the basket is what actually fixed it. If putting cushions away takes more than about ten seconds, they sit out through the rain. Cost $60.
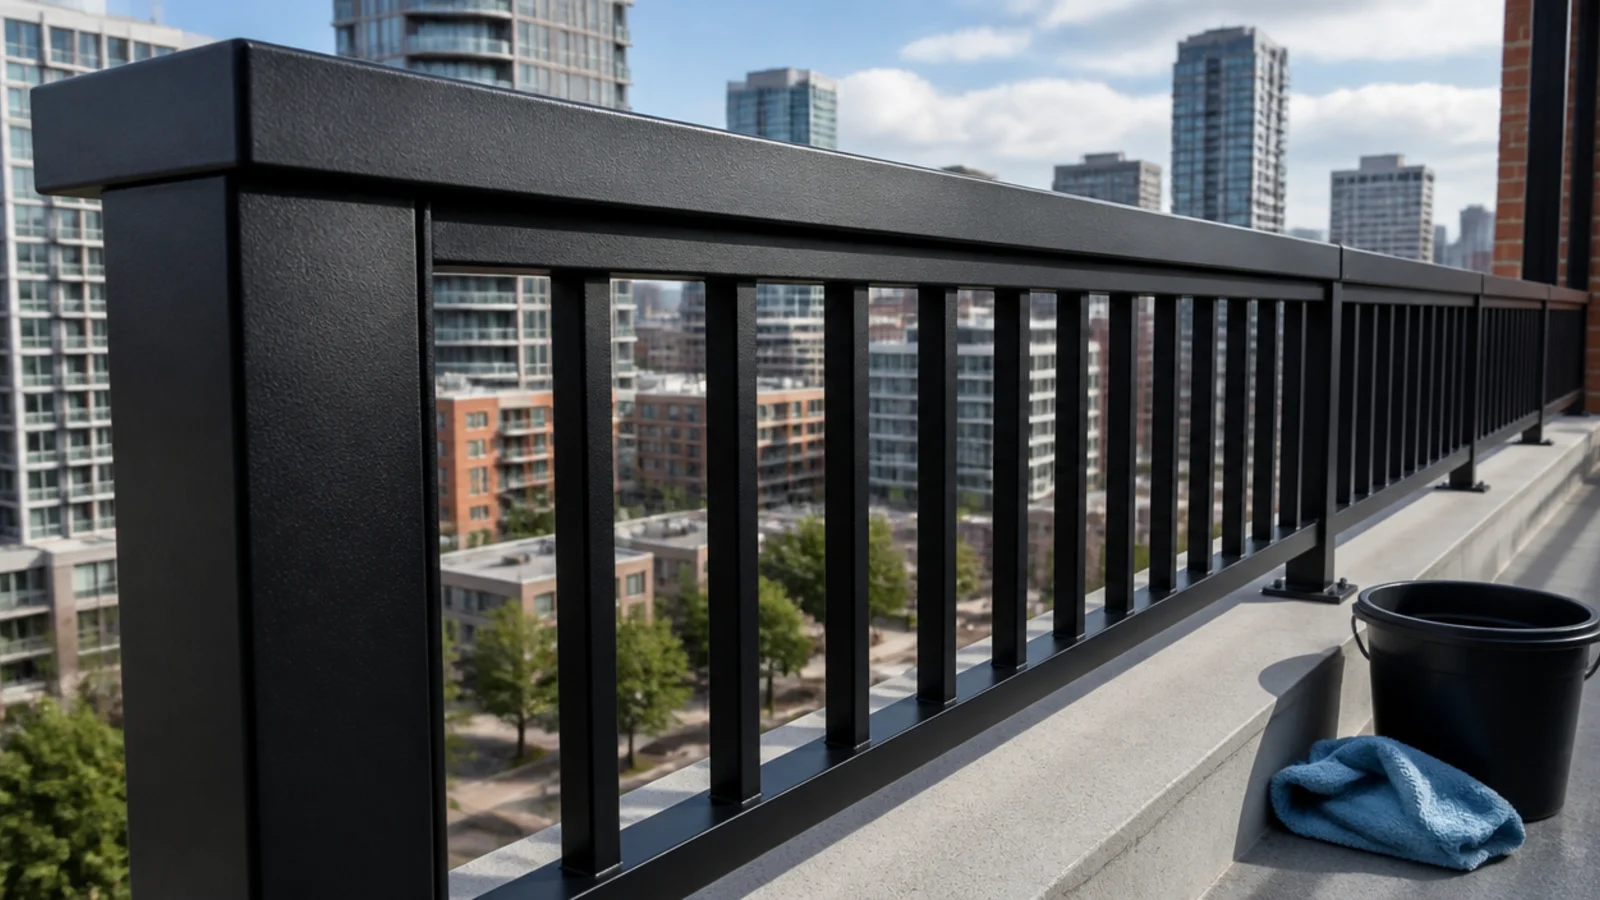
Makeover 13: The railing nobody had ever cleaned
Before: four years of traffic film on a black powder-coated balustrade, dulling everything behind it.
After: one hour, a bucket of warm soapy water, a microfibre cloth and a rinse.
I now do this before I look at anything else, because a grey railing makes every other decision look tired and it costs almost nothing to undo. Cost $6 for the cloths.
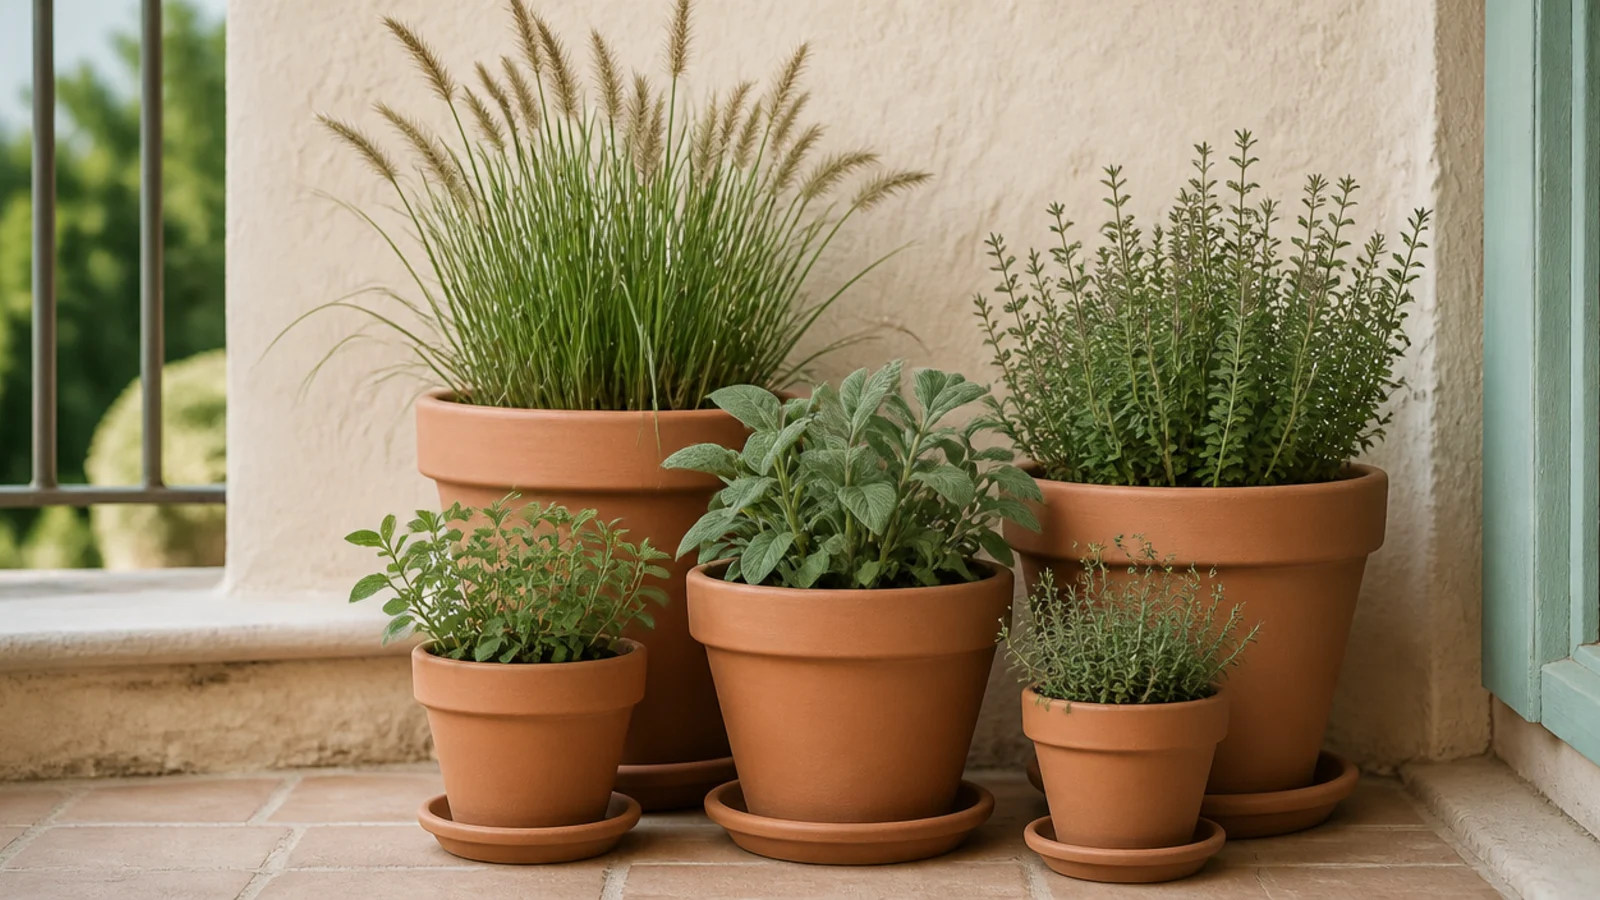
Makeover 14: The nine mismatched pots
Before: nine containers in nine finishes — black plastic, two glazed blues, a green resin, four different terracottas.
After: matching unglazed terracotta in three graduated sizes, same plants, arranged in one wall-side group.
Matching pots do what matching plants cannot. The collection had been fine all along; the containers were the noise. Repeat one material at least three times and a mixed balcony reads composed. Cost $52. The full container logic is in apartment balcony plants.
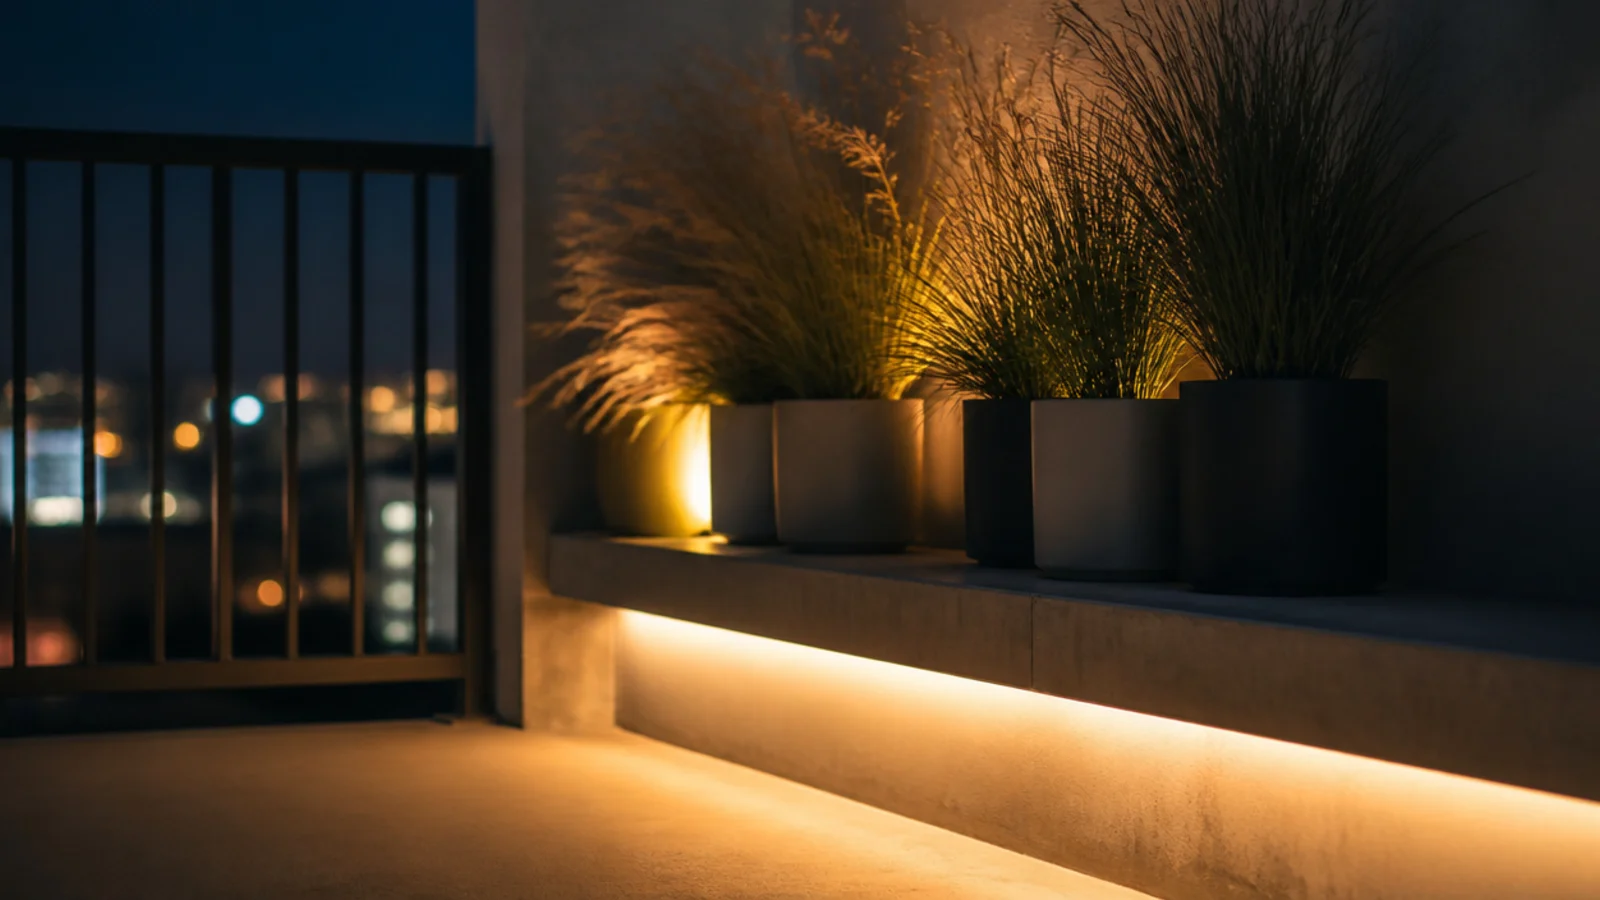
Makeover 15: The corner that went dark at seven
Before: a well-planted corner nobody ever saw after sunset, because the only light came from the living room behind the glass.
After: warm LED tape stuck under the front lip of the bench, washing light across the concrete.
Hidden light is the most expensive-looking cheap thing you can do outdoors. Outdoor-rated silicone-sleeved tape on a dry sheltered surface, cleaned with alcohol first. Cost $18.
Makeover 16: Nowhere to put a cup down
Before: a comfortable chair, a lovely view, and every mug balanced on the floor.
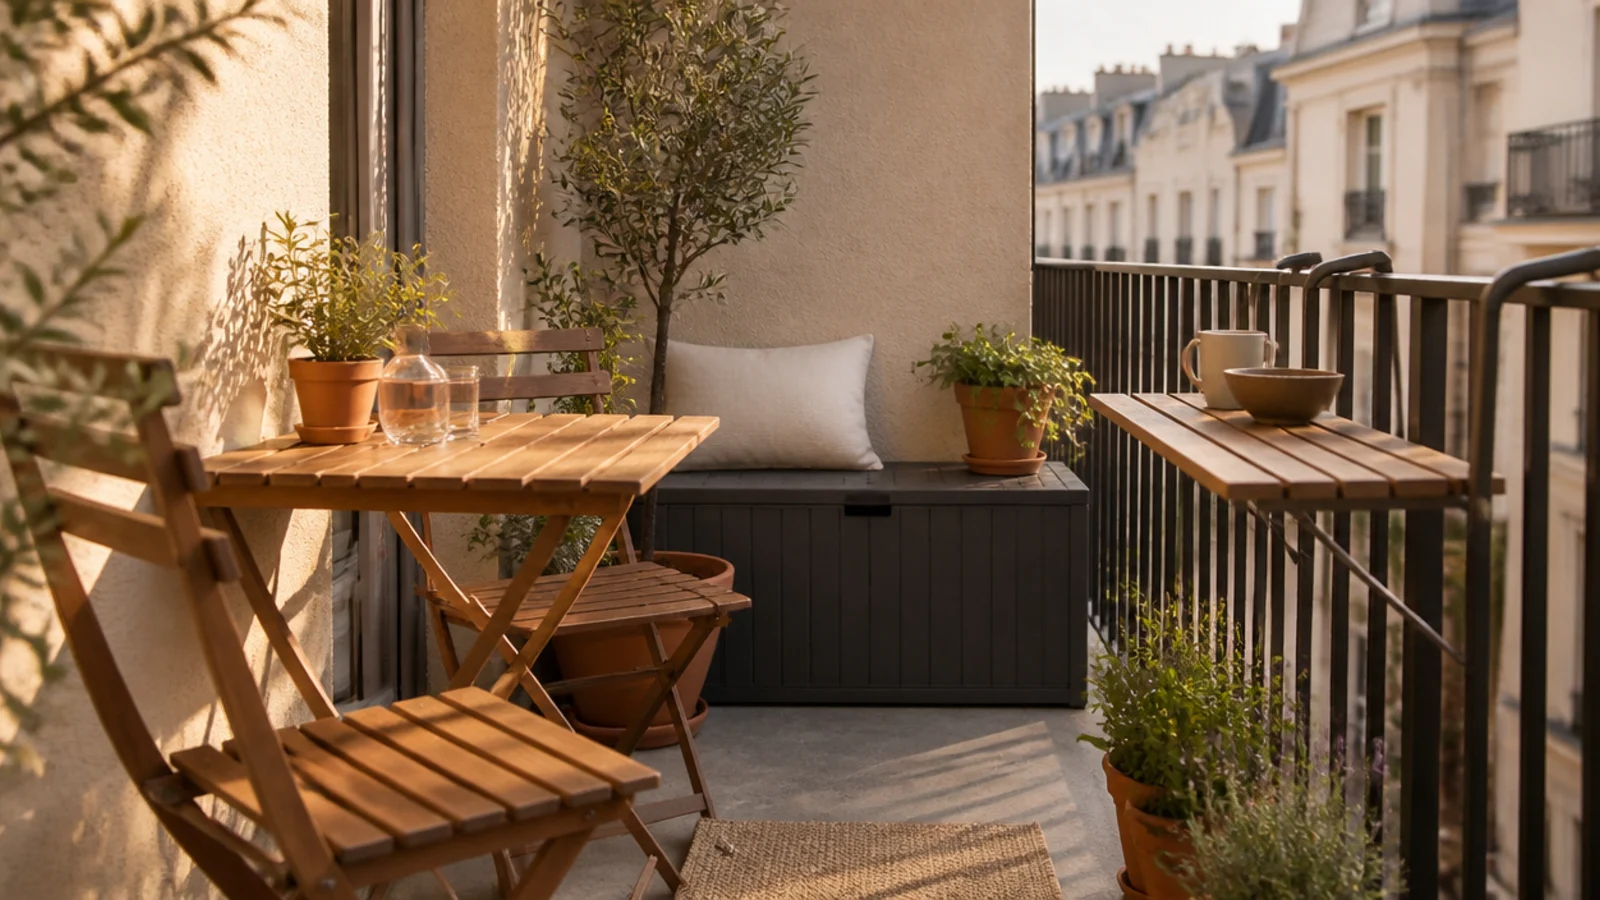
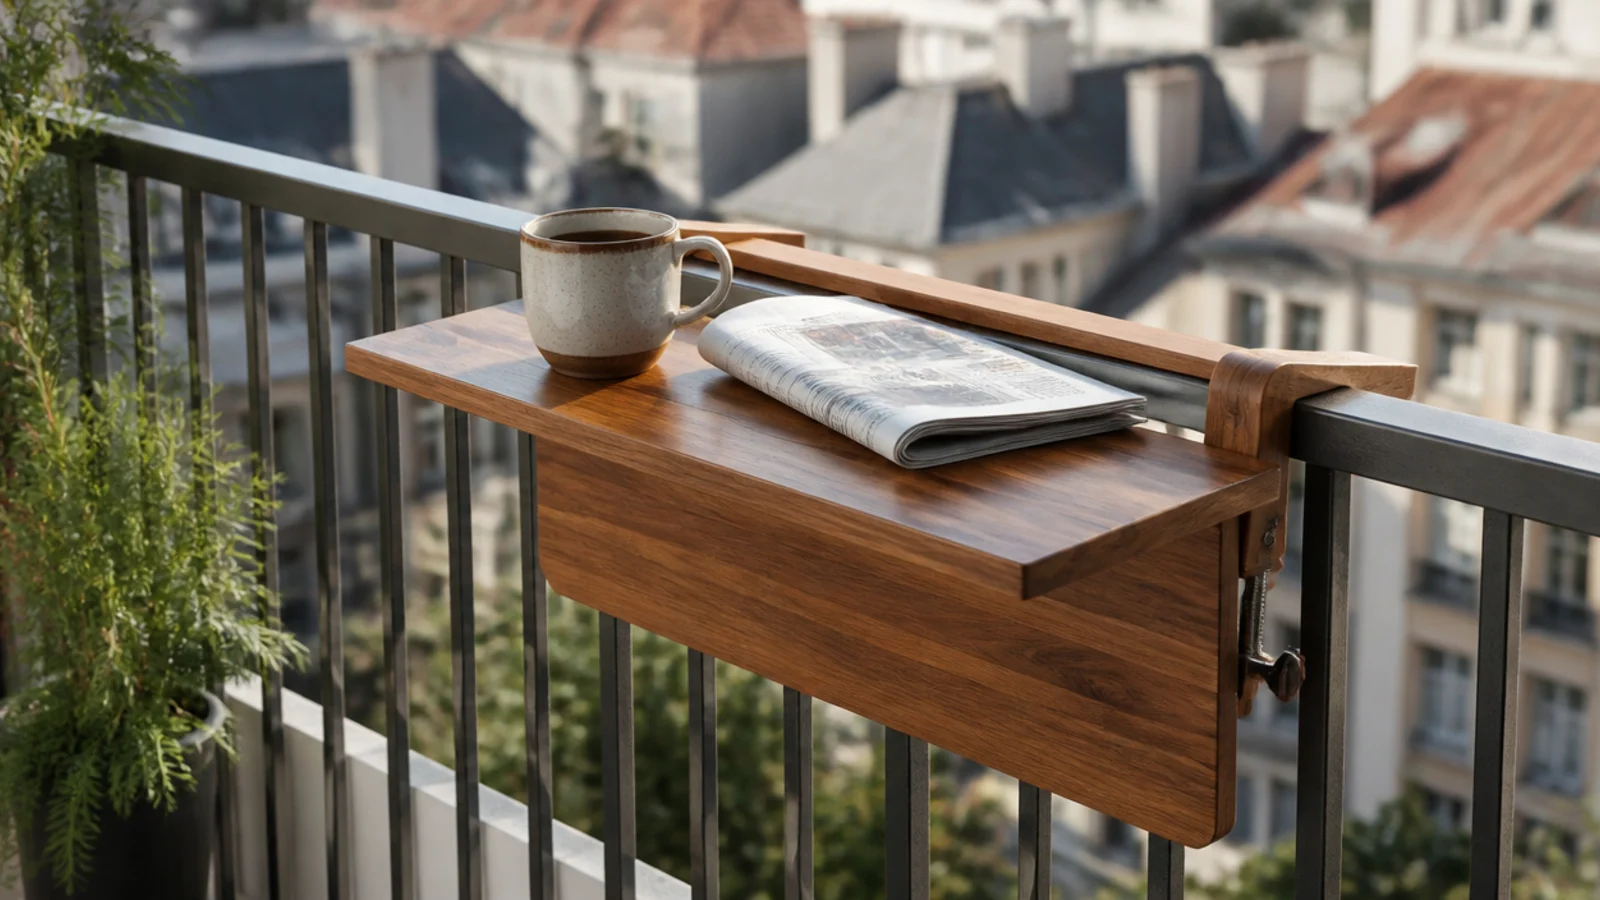
After: a hook-over drop-leaf table clamped to the inside of the top rail, folding flat to about 2 inches.
A balcony gets used when there is somewhere to set something down, and this is the smallest possible version of that. Inner face only, thumbscrews checked monthly, and load it with a cup and a plate rather than a laptop. Cost $40.
Makeover 17: The balcony with nothing in February
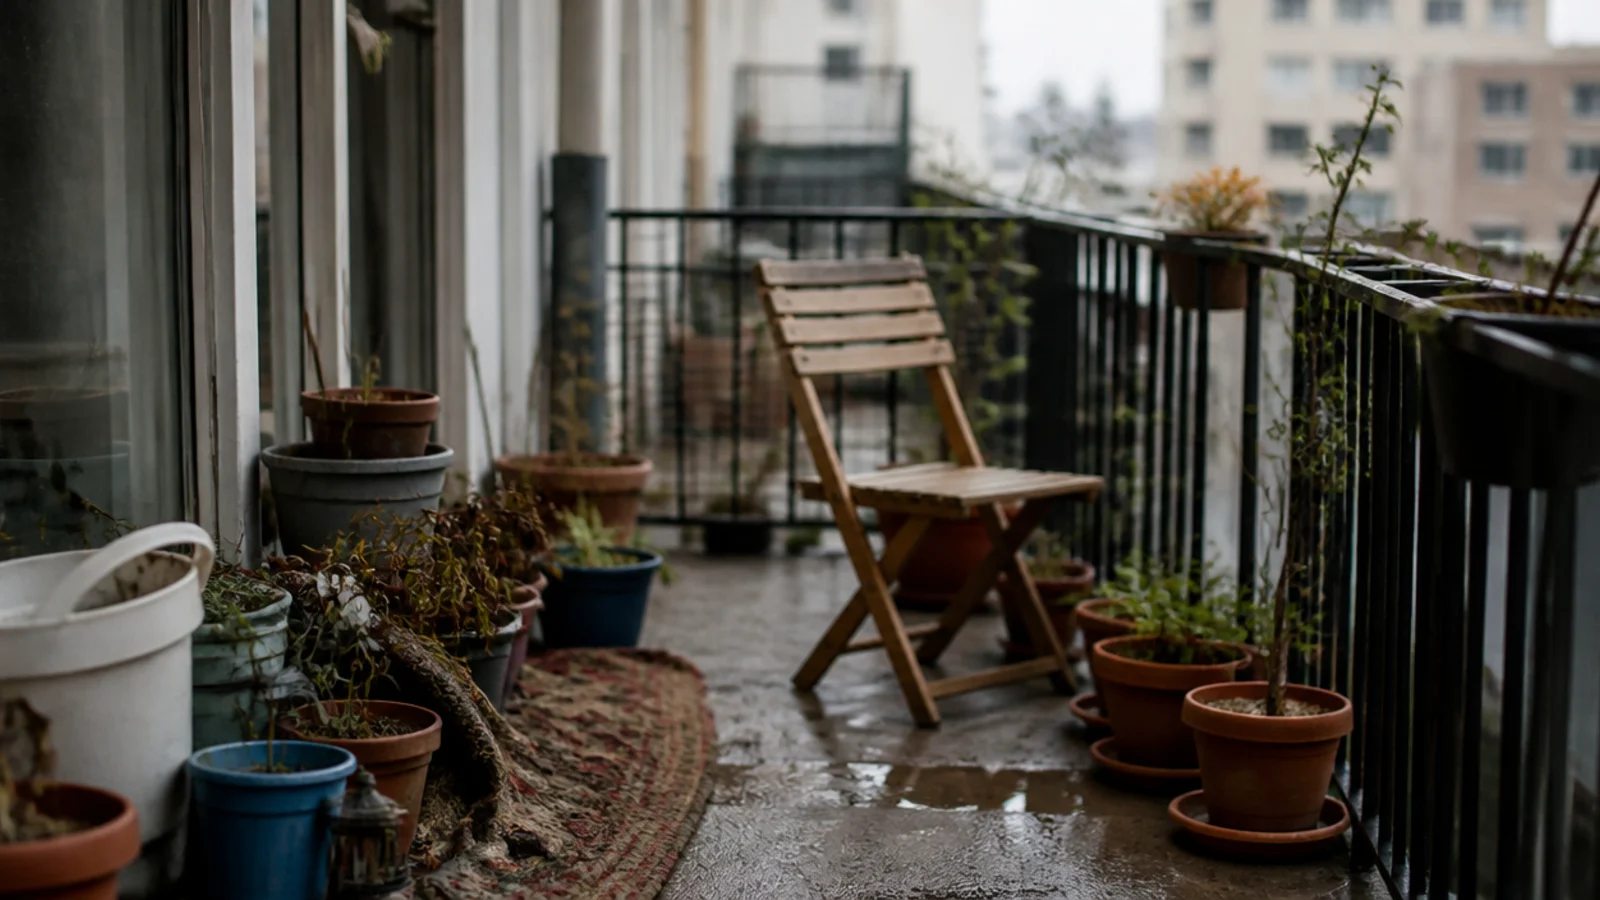
Before: a summer balcony full of annuals that looked completely dead from November to April, right outside the living room glass.
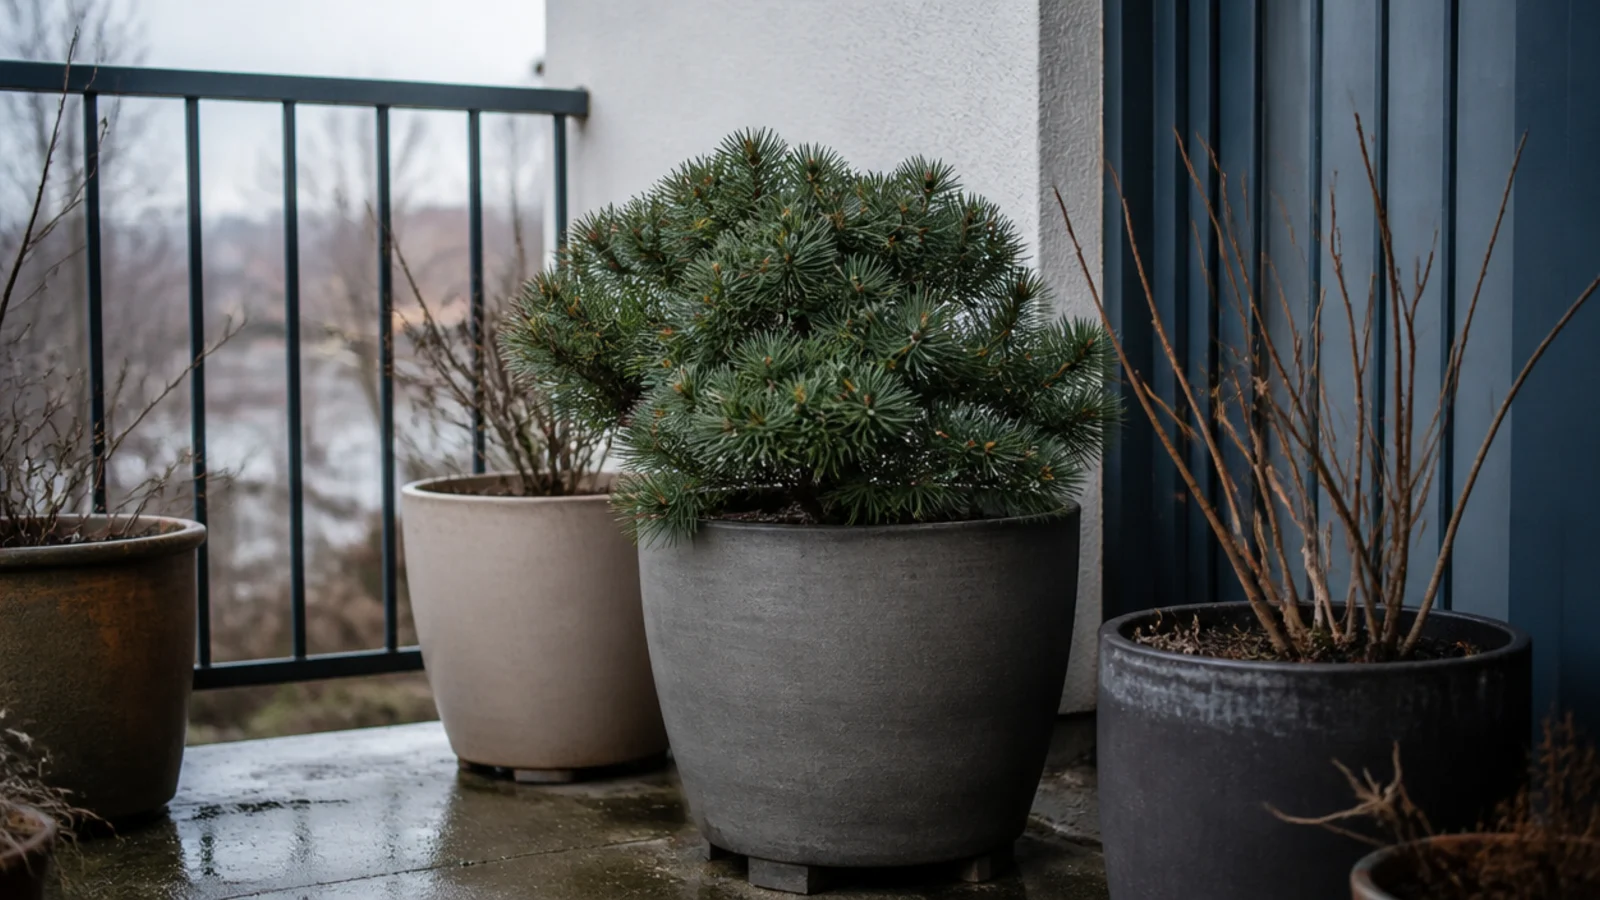
After: one dwarf pine in a 16-inch fiberstone planter, placed where the door frames it.
One evergreen carries five months of the year. Put it in the spot you see from inside, raise it on pot feet so it is not sitting in ice, and group the dormant pots against the wall behind it. Cost $45.
Makeover 18: The fourteenth floor that lost an umbrella
Before: a clamp umbrella on a very exposed high balcony that had already inverted twice and once left the building entirely.
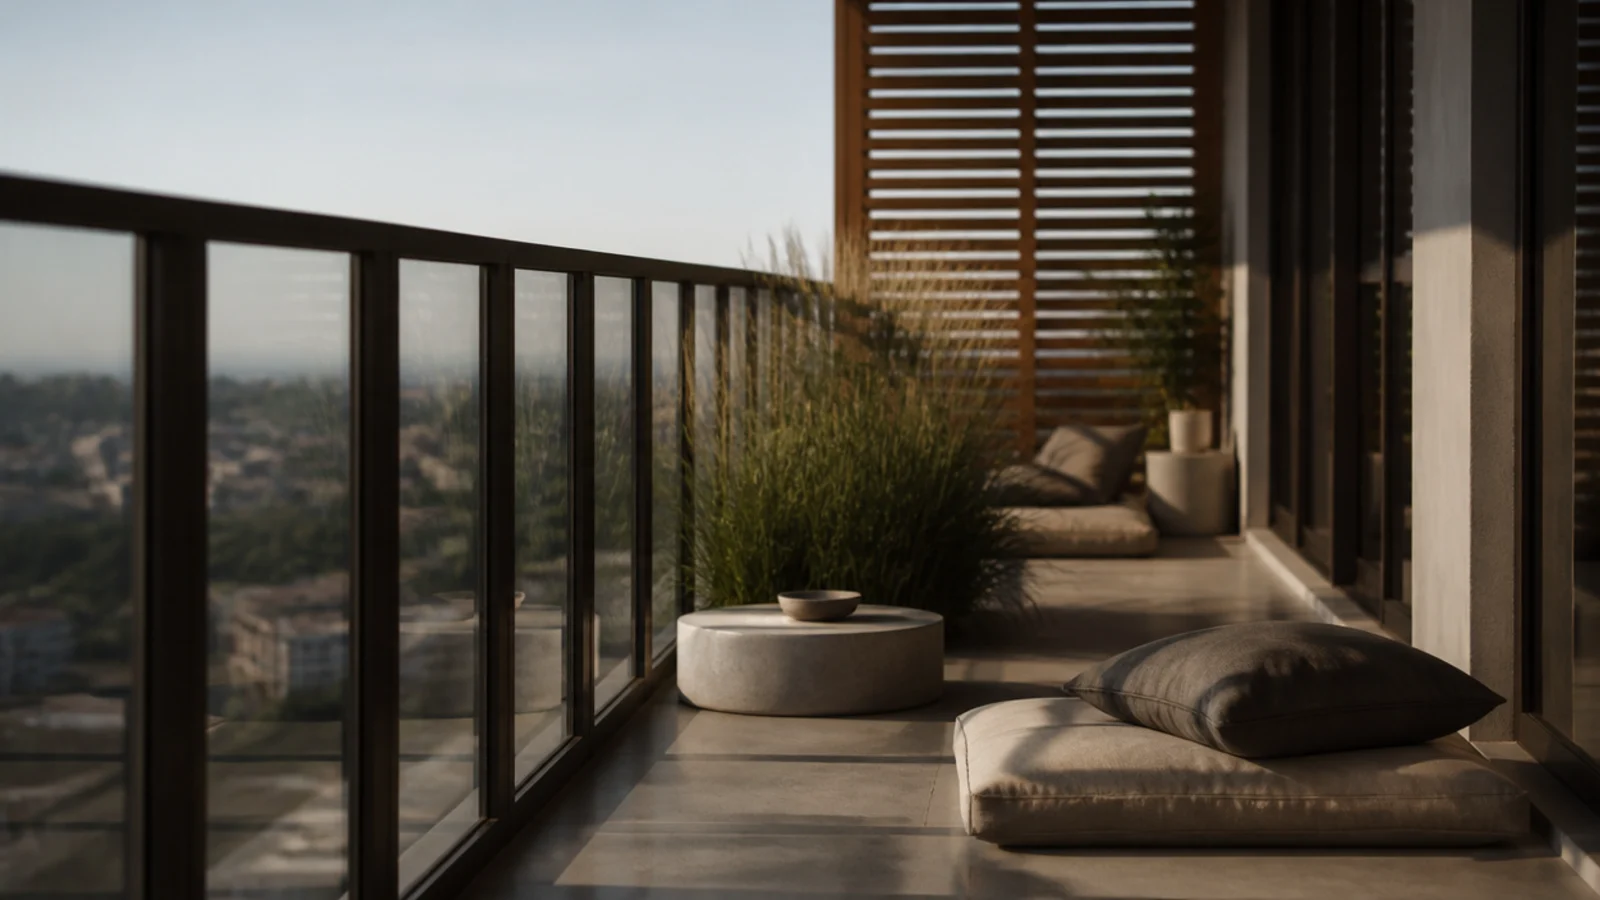
After: no umbrella at all, shade from a tall grass and a low slatted panel at the sunny end instead.
Some makeovers are removals. An umbrella above the third floor is a sail with a handle, and even a weighted base plus a tether only reduces the risk rather than removing it. If shade is essential up high, it has to come from something that cannot leave. Cost: nothing.
Makeover 19: The balcony that could only seat one
Before: a single armchair taking the middle of a 5 by 7 foot slab, with no way to add a second seat without blocking the door.
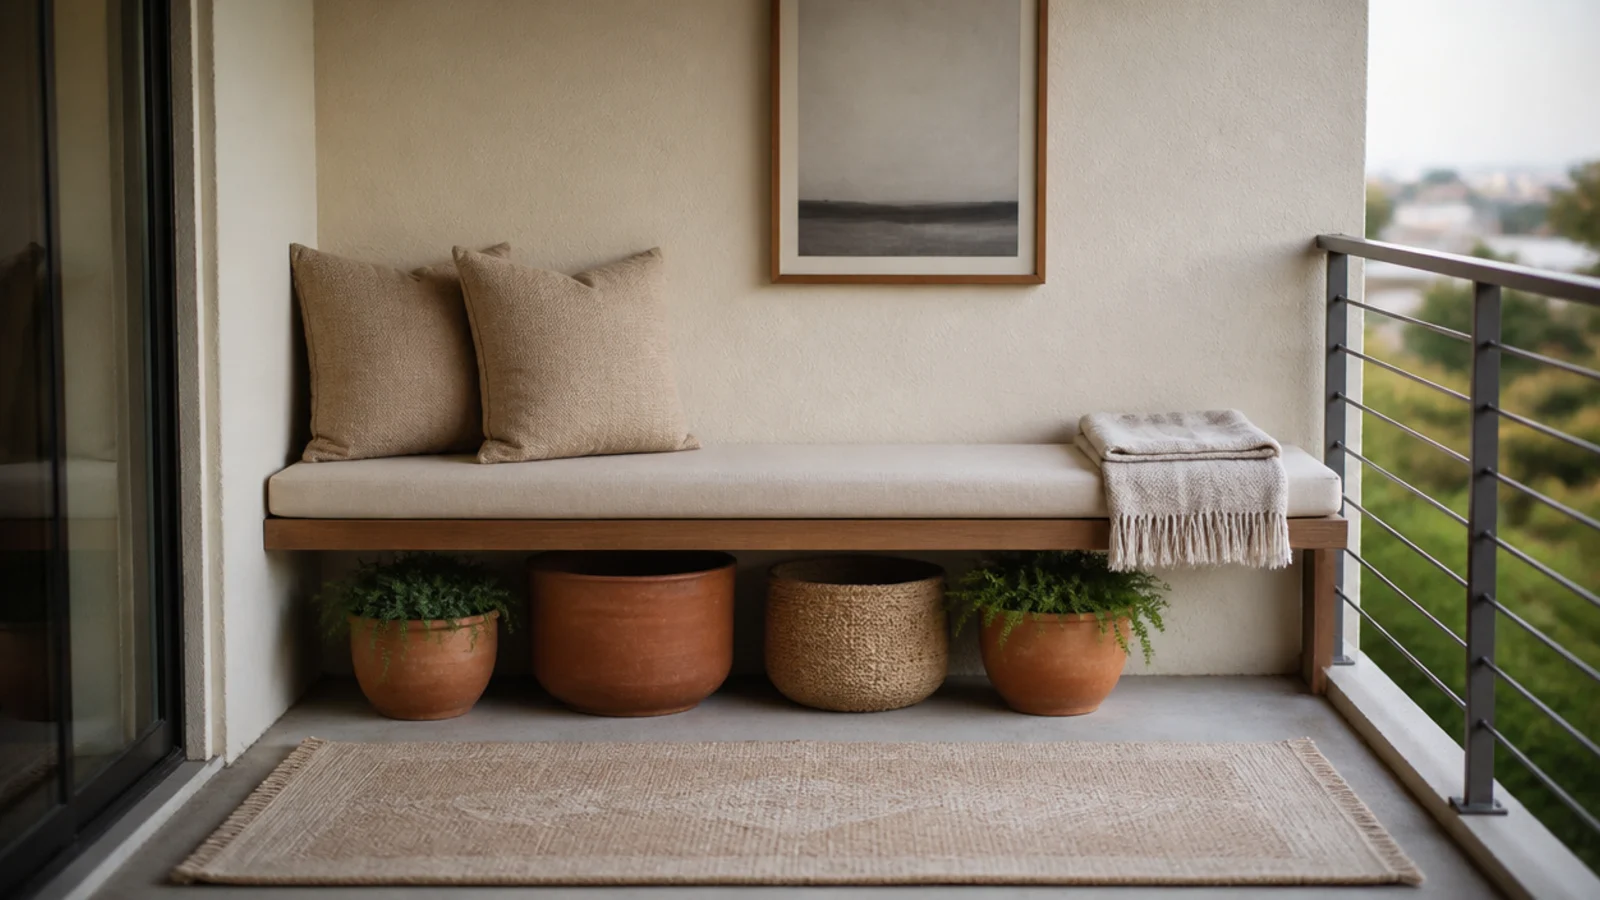
After: a bench 14 inches deep running the full width of the end wall, with baskets underneath.
A bench along a wall seats two in the space one chair was wasting, puts the mass where the slab is strongest, and leaves the whole floor clear in front of it. Cost $130, the biggest single spend in this list.
Makeover 20: The one nobody actually used
Before: a properly styled balcony that got looked at through the glass every day and stepped onto about once a month.
After: the same balcony, plus a decision to have the first coffee of the day out there.
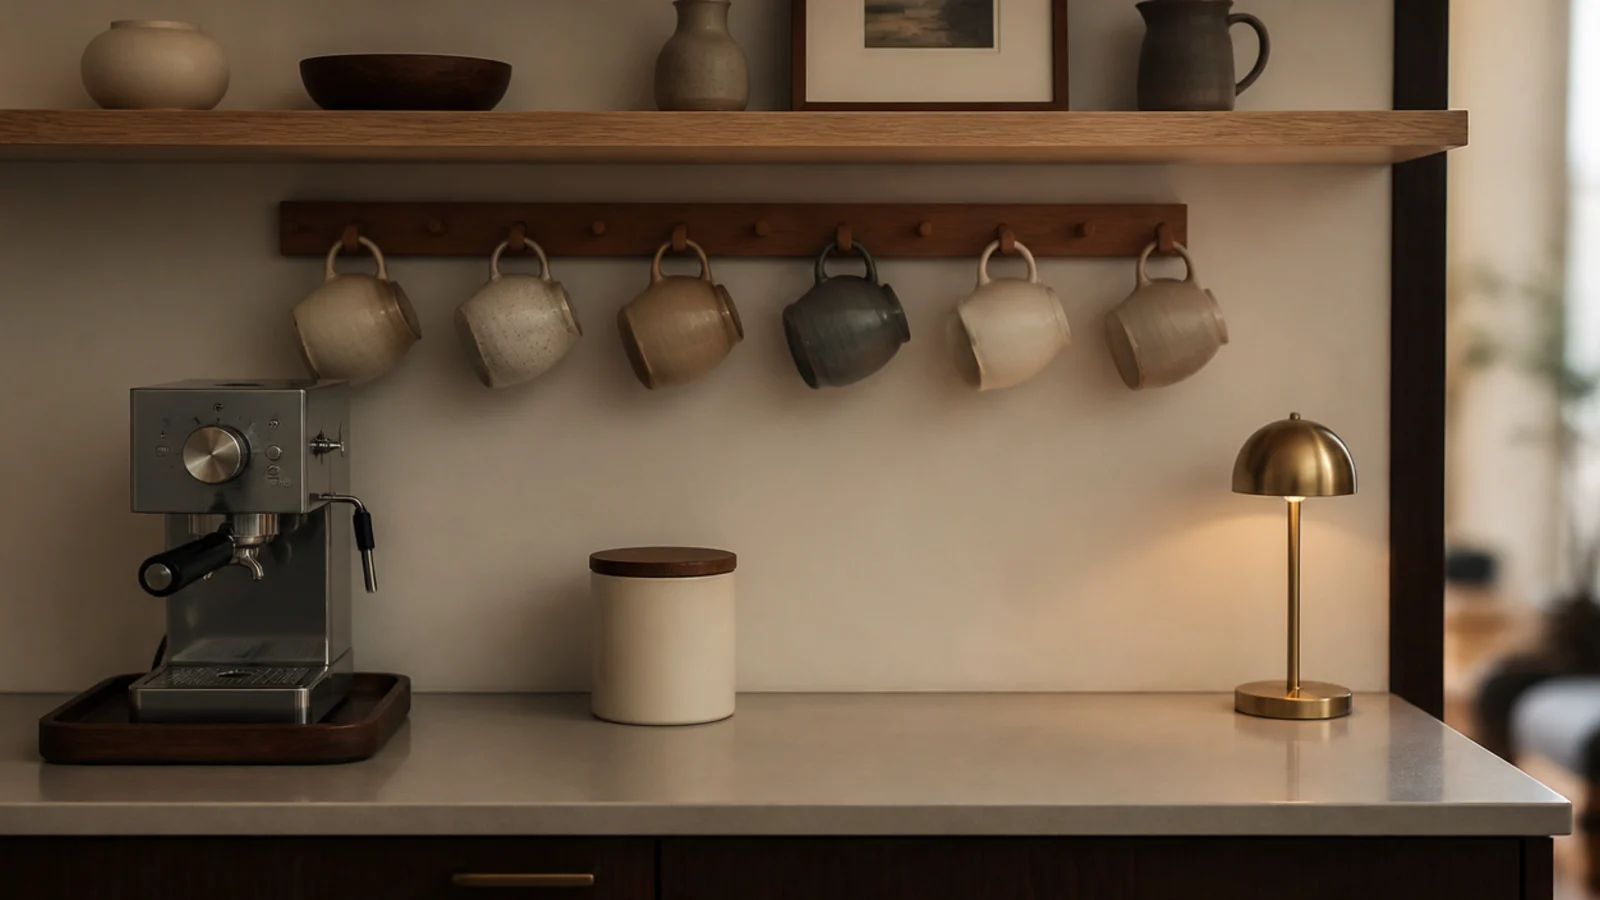
The change was a habit, not a purchase. A balcony that is not attached to something you already do every day stays decorative. Pairing it with the morning cup is what made it real — the same principle as building a coffee corner inside. Cost: nothing.
Apartment Balcony Before and After: What I'd Do Differently Now
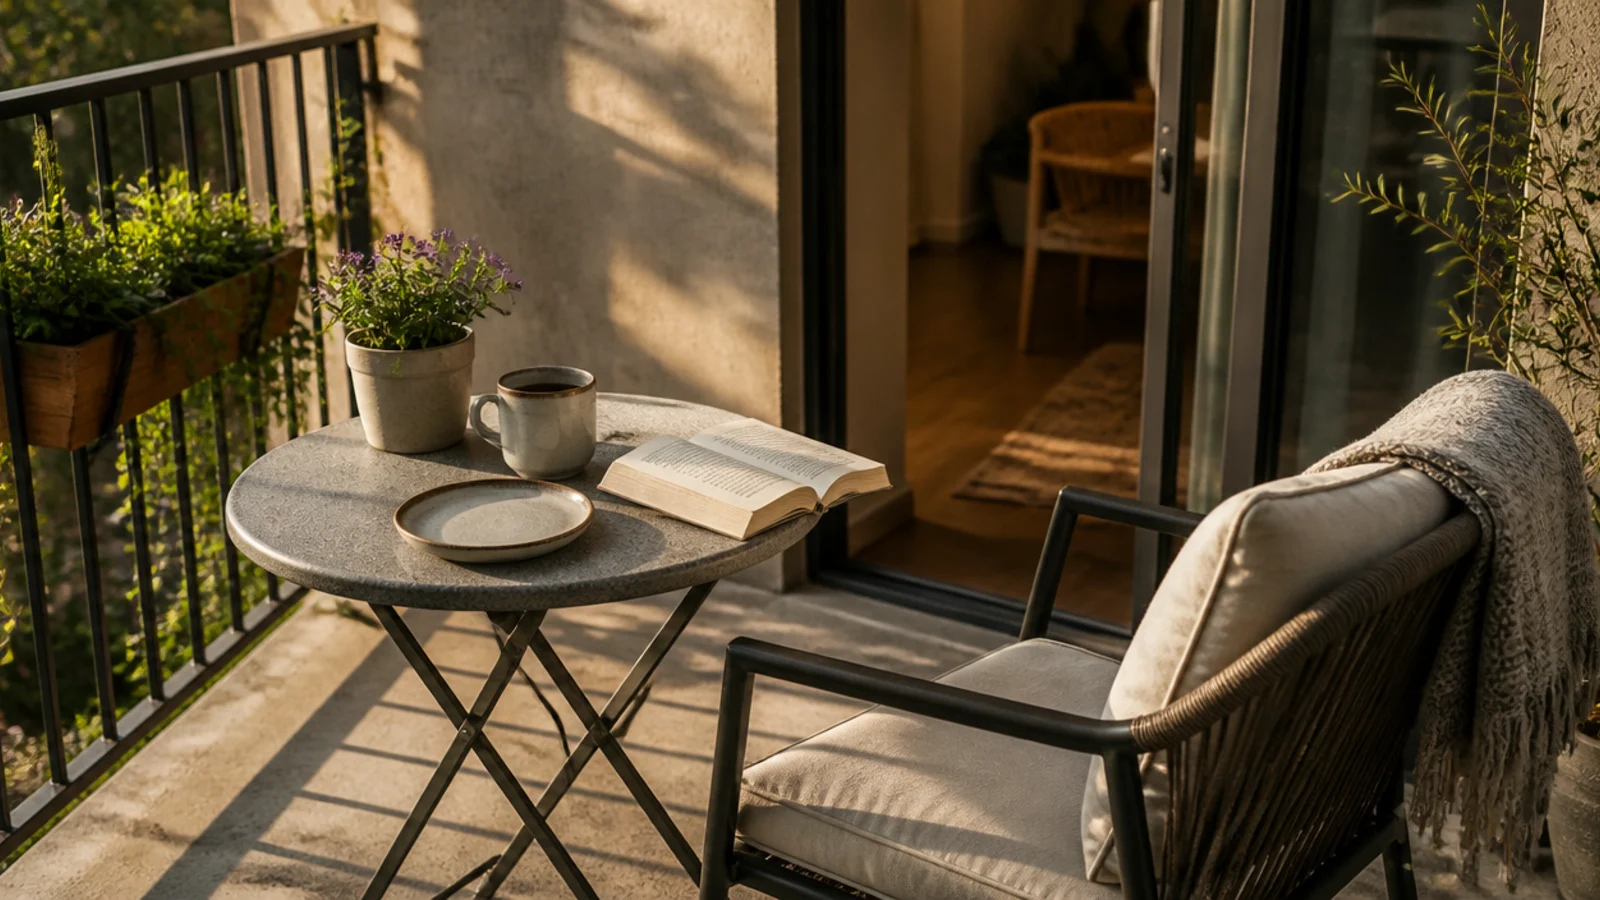
Twenty in a row makes the pattern hard to argue with: the boring fixes carried almost all of it.
Cleaning the railing, changing a light temperature, adding saucers, moving the heavy pots to the wall, moving a bench eight inches — none of those photograph as transformations and all of them changed the balcony more than furniture did.
What I would change is the order. I used to style first and fix the structure afterwards, which meant doing everything twice. Now I check five things before a single decorative decision: the lease clause, the sun hours, where the water goes, where the weight sits, and whether the 24-inch walkway is clear. Those five decide what is possible. Everything after that is arrangement.
The other thing I would change is how much I bought. Six of these cost nothing, and the ones I am proudest of are mostly the ones where we took things away — the umbrella that had to go, the boxes that went back inside, the seven pots that became three.
Frequently asked questions
What is the cheapest balcony makeover that actually works?
Cleaning the railing and swapping the bulb colour. An hour with a bucket and a warm 2700K light strand costs under $30 between them and changes how the whole slab reads at every hour of the day. In the twenty makeovers here, those two changes show up more often than anything I bought.
How long does a balcony makeover take?
A styling-only reset takes an afternoon, including emptying the slab completely and scrubbing the concrete. Adding a floor, seating and planting is a weekend. The part people underestimate is the sun log, which needs one whole free day beforehand and decides every plant you buy afterwards.
Do I need to spend much to transform a balcony?
No. Six of these twenty cost nothing at all, and the median spend was about $45. The expensive changes were almost always physical fixes — proper seating, a real floor, containers big enough to hold water — and the cheap ones were subtraction, repositioning and light colour.
What is the most common problem on an apartment balcony?
Weight and water in the wrong places. Heavy pots massed along the outer rail rather than against the building wall, and no saucers, so every watering lands on the neighbour below. Both are invisible in photos and both are the first things I check before touching anything decorative.
Should I restyle my balcony or start over?
Restyle first. Empty the slab completely, scrub it, and put back only what earns its place — most balconies I am asked to fix need nothing bought at all. Start over only when the furniture is genuinely wrong for the dimensions or the floor is holding water against the concrete.
If your balcony feels wrong, empty it completely, scrub the slab, clean the railing and put back only what earns its place — that alone fixes most of them, and it costs an afternoon. Then work through the five checks before you shop. Apartment balcony mistakes covers what happens when you skip them, and a cozy apartment balcony has the budget version of every fix above. Save the pin before you buy anything new.
Want more like this? Browse all 15 apartment balcony ideas guides — they all use the same measurements and budget tiers.
Pin it for later
Save this to your Apartment Balcony Ideas board
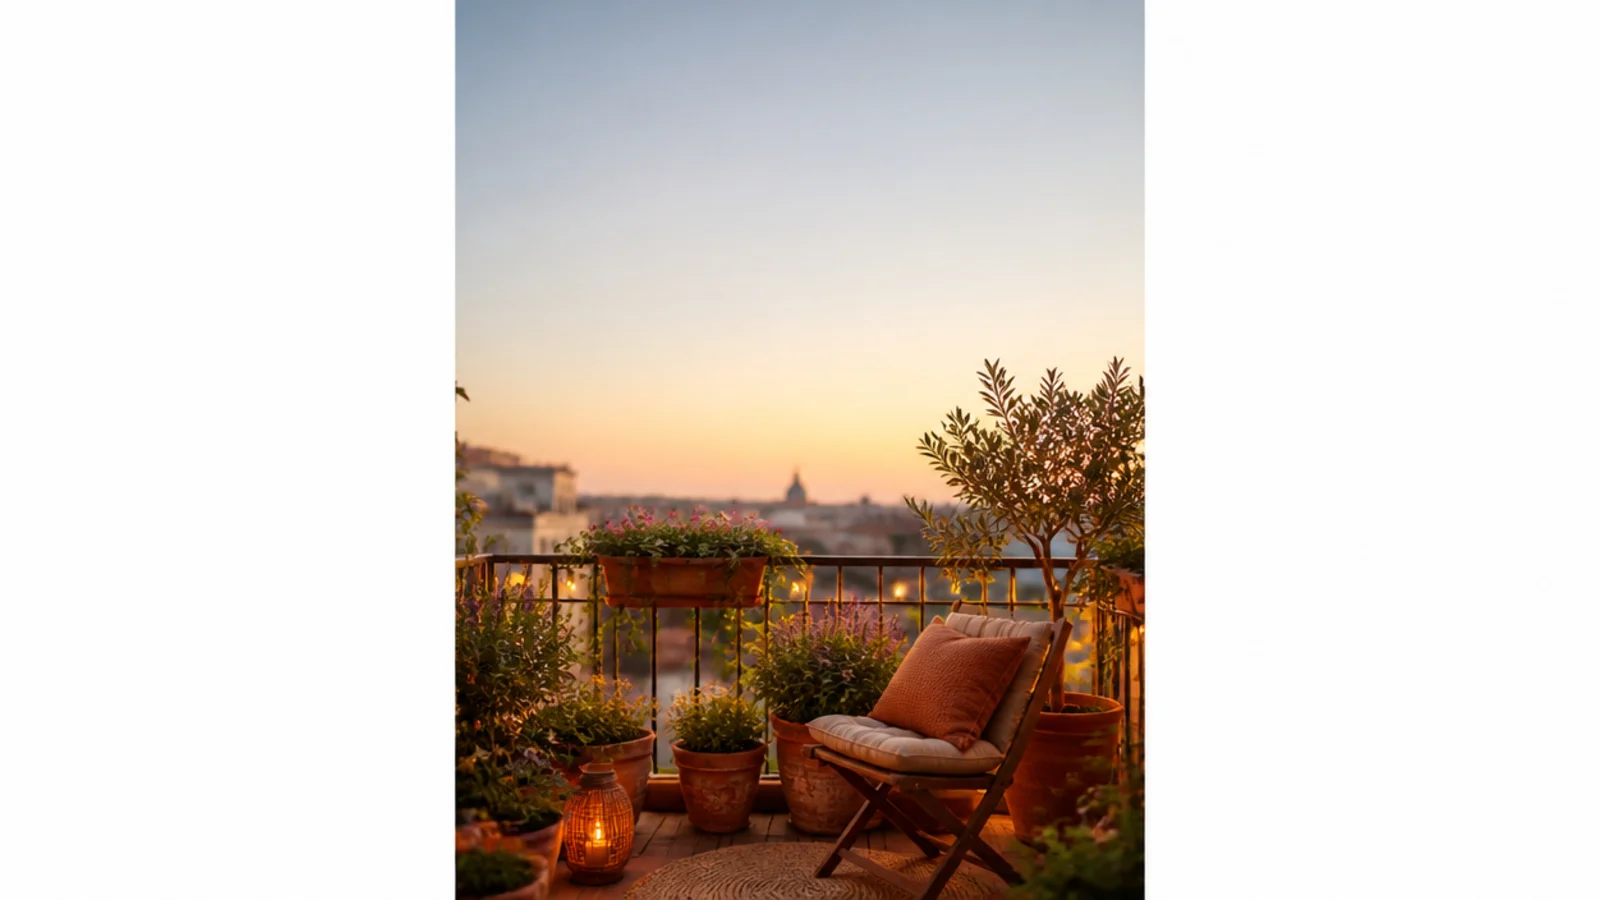
Pin it now so it is waiting for you when the tape measure comes out — and so the next person hunting for this idea can find it too.
Save this pinKeep going
More ideas worth saving while you have the tape measure out.