Aesthetic Candle Decor · UGC
20 Aesthetic Candle Before and After Makeovers

Candle corner before and after is the most honest thing I can show you, because the changes that work are almost never the ones people expect to spend money on. I have restyled candle corners in six rentals, two houses and a lot of friends' living rooms, and the pattern barely varies.
Roughly two-thirds of the corners I am asked to fix need nothing bought at all. They need fewer candles, three clear heights and something heat-proof underneath. The other third have a real physical fault — a flame under a shelf, a jar sitting on paint, pillars too narrow to burn straight — and no amount of arranging touches those.
What follows is twenty real makeovers: what the corner looked like before, what I changed, what it cost. Eleven of them cost nothing. The most expensive was $62. And the change that shows up most often is simply taking candles away.
In this guide21 sections — tap to openHide
- 1.Makeover 1: The dead side table by the sofa
- 2.Makeover 2: The coffee table with nine candles on it
- 3.Makeover 3: The bathroom counter
- 4.Makeover 4: The candle wedged between paperbacks
- 5.Makeover 5: The nightstand that outlasted me
- 6.Makeover 6: The rental with no mantel
- 7.Makeover 7: The tunneled jar collection
- 8.Makeover 8: The corner where every wax color clashed
- 9.Makeover 9: The entry console
- 10.Makeover 10: The dining table that smelled of vanilla
- 11.Makeover 11: The scorched wall above a sconce
- 12.Makeover 12: The windowsill with the drifting curtain
- 13.Makeover 13: The reading chair with no light
- 14.Makeover 14: The kitchen counter
- 15.Makeover 15: The crowded tealight plate
- 16.Makeover 16: The console under the air vent
- 17.Makeover 17: The balcony corner
- 18.Makeover 18: The stairwell nook
- 19.Makeover 19: The console the cat walks along
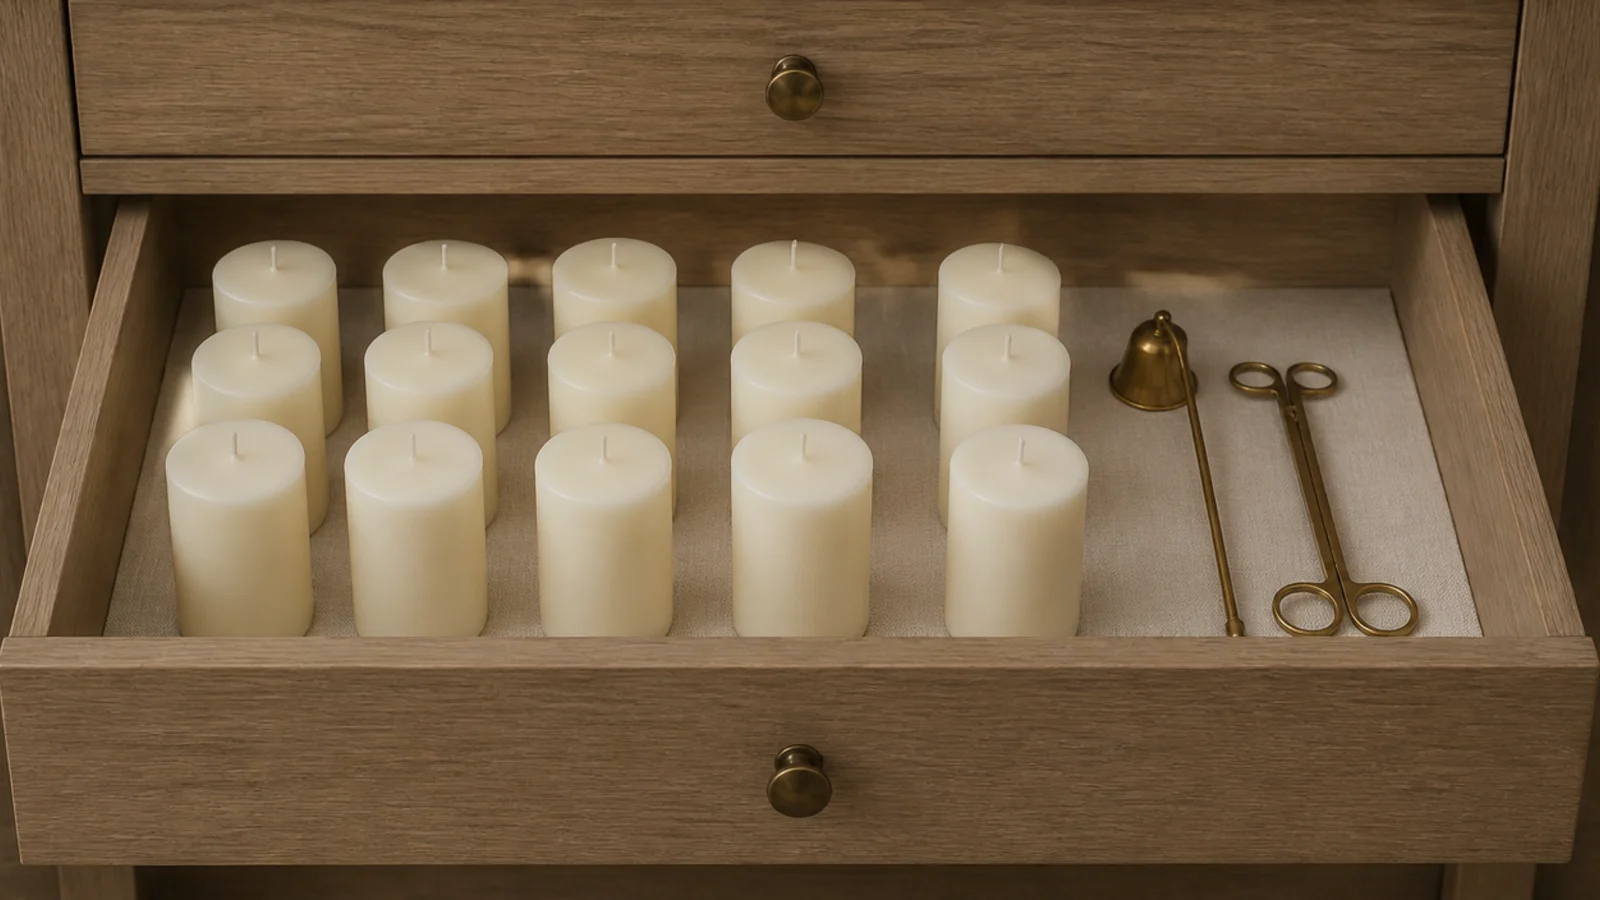
- 20.Makeover 20: The drawer where candles went to warp
- 21.Candle Corner Before and After: What I'd Do Differently Now
Makeover 1: The dead side table by the sofa
Before: a small walnut side table holding a phone charger, two coasters and a candle standing directly on the wood.
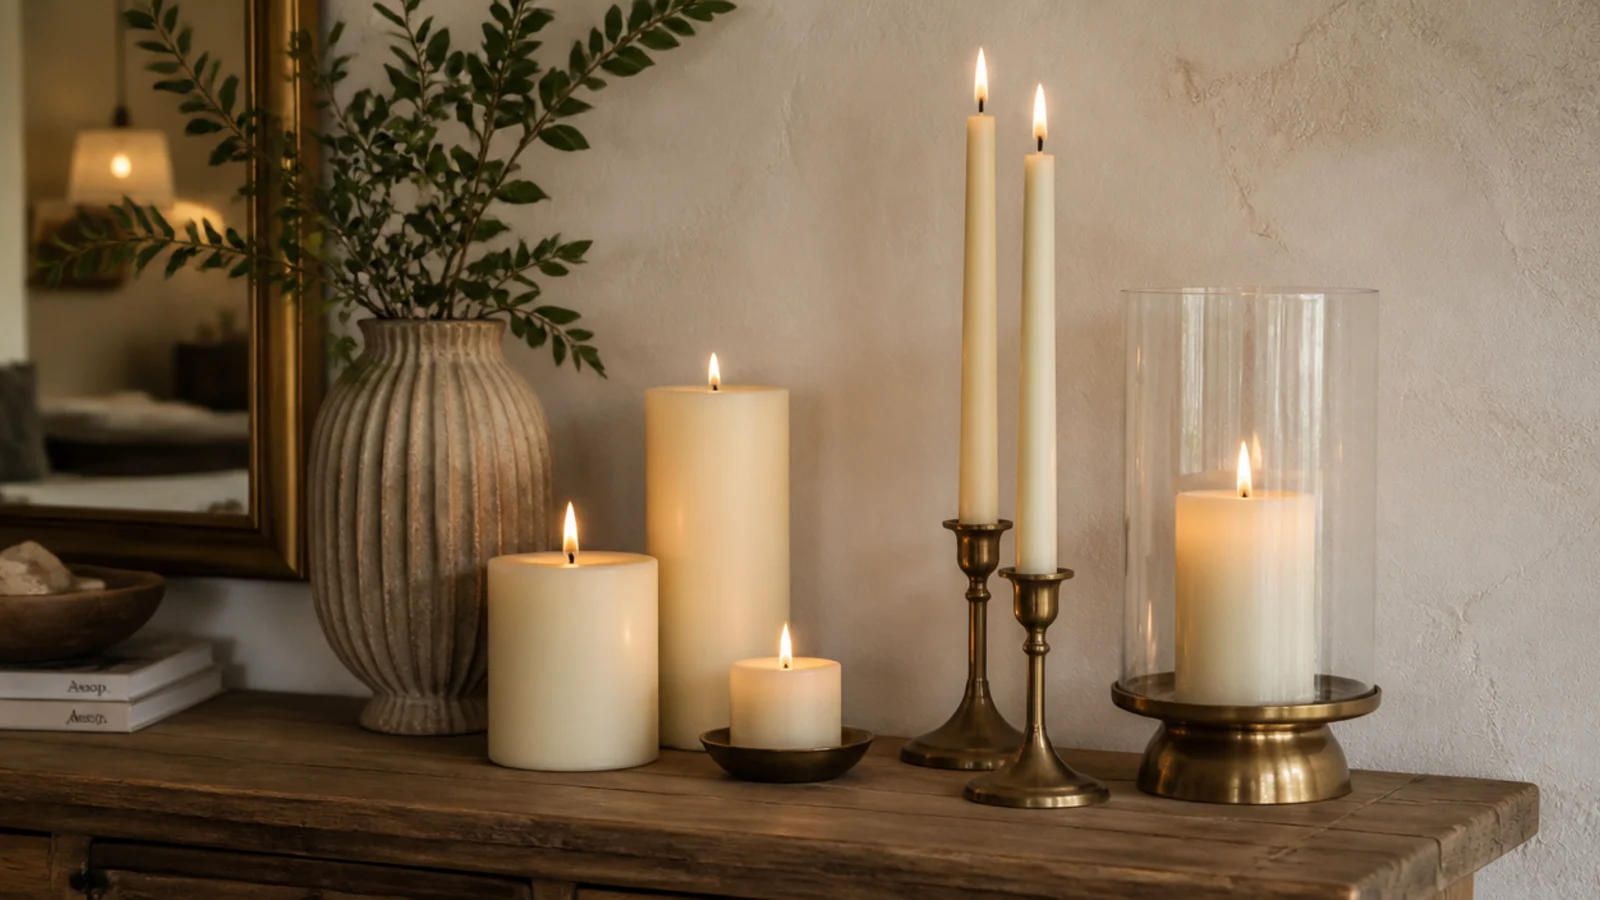
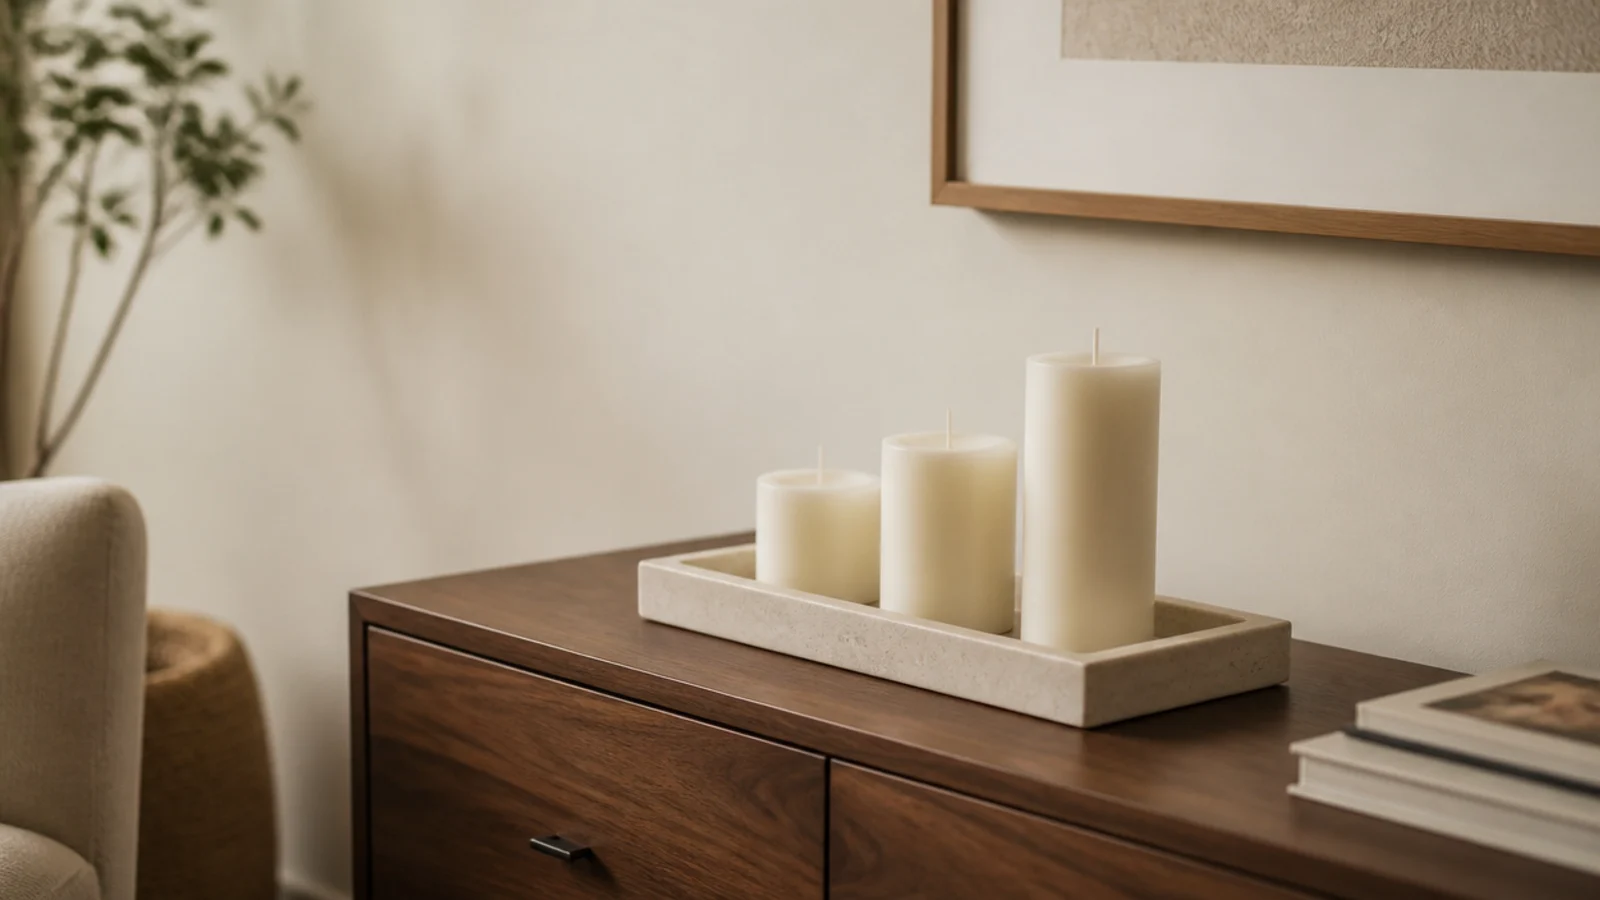
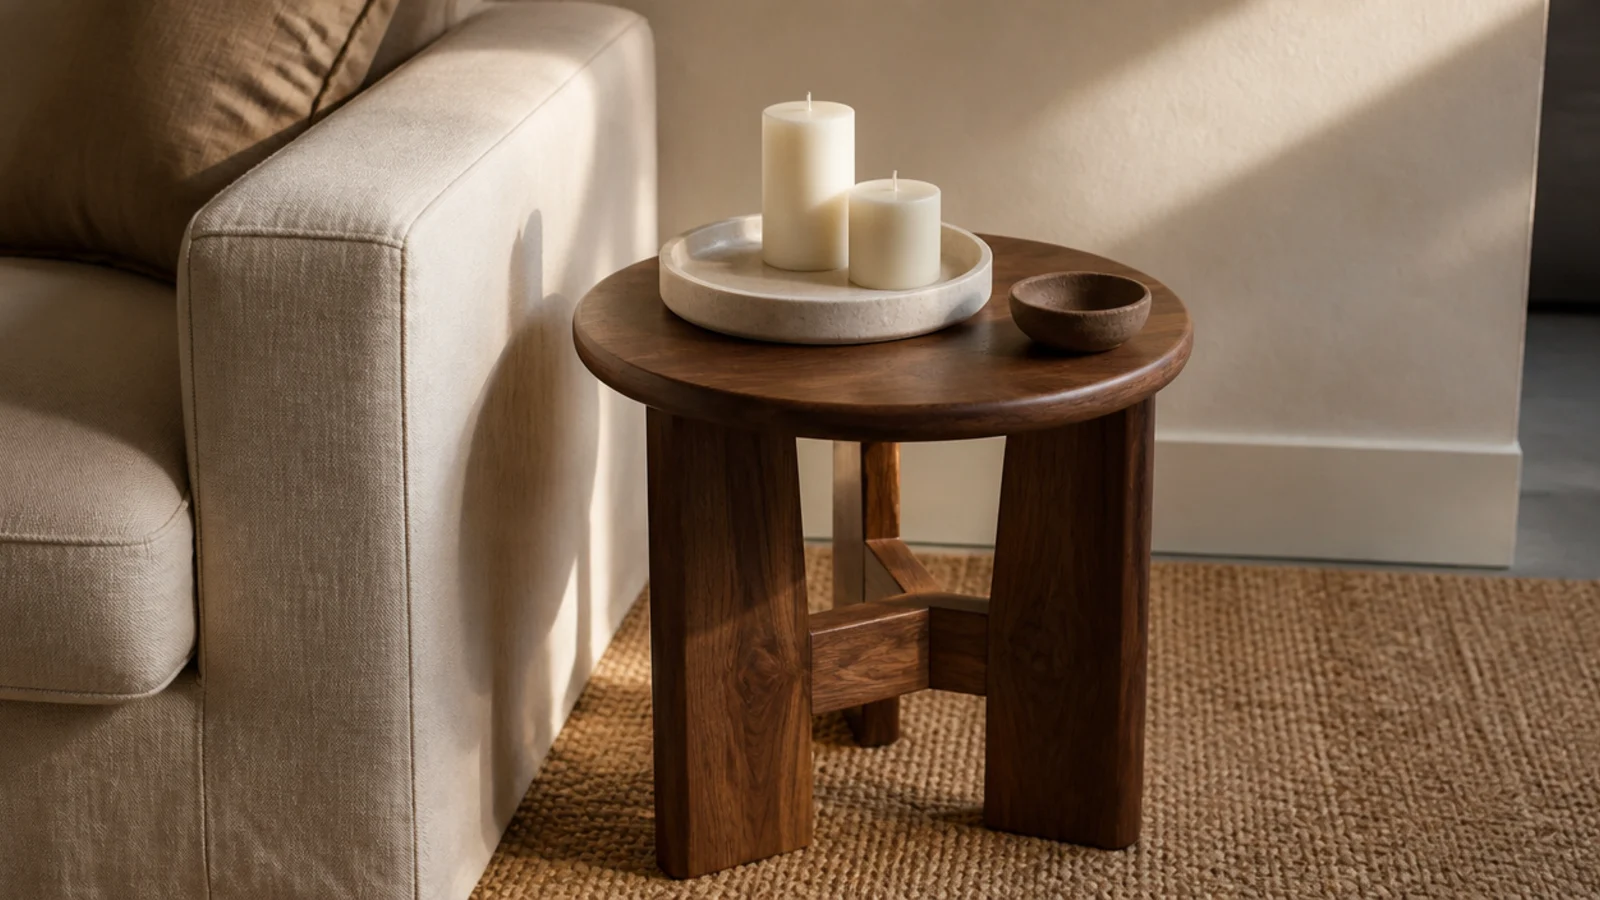
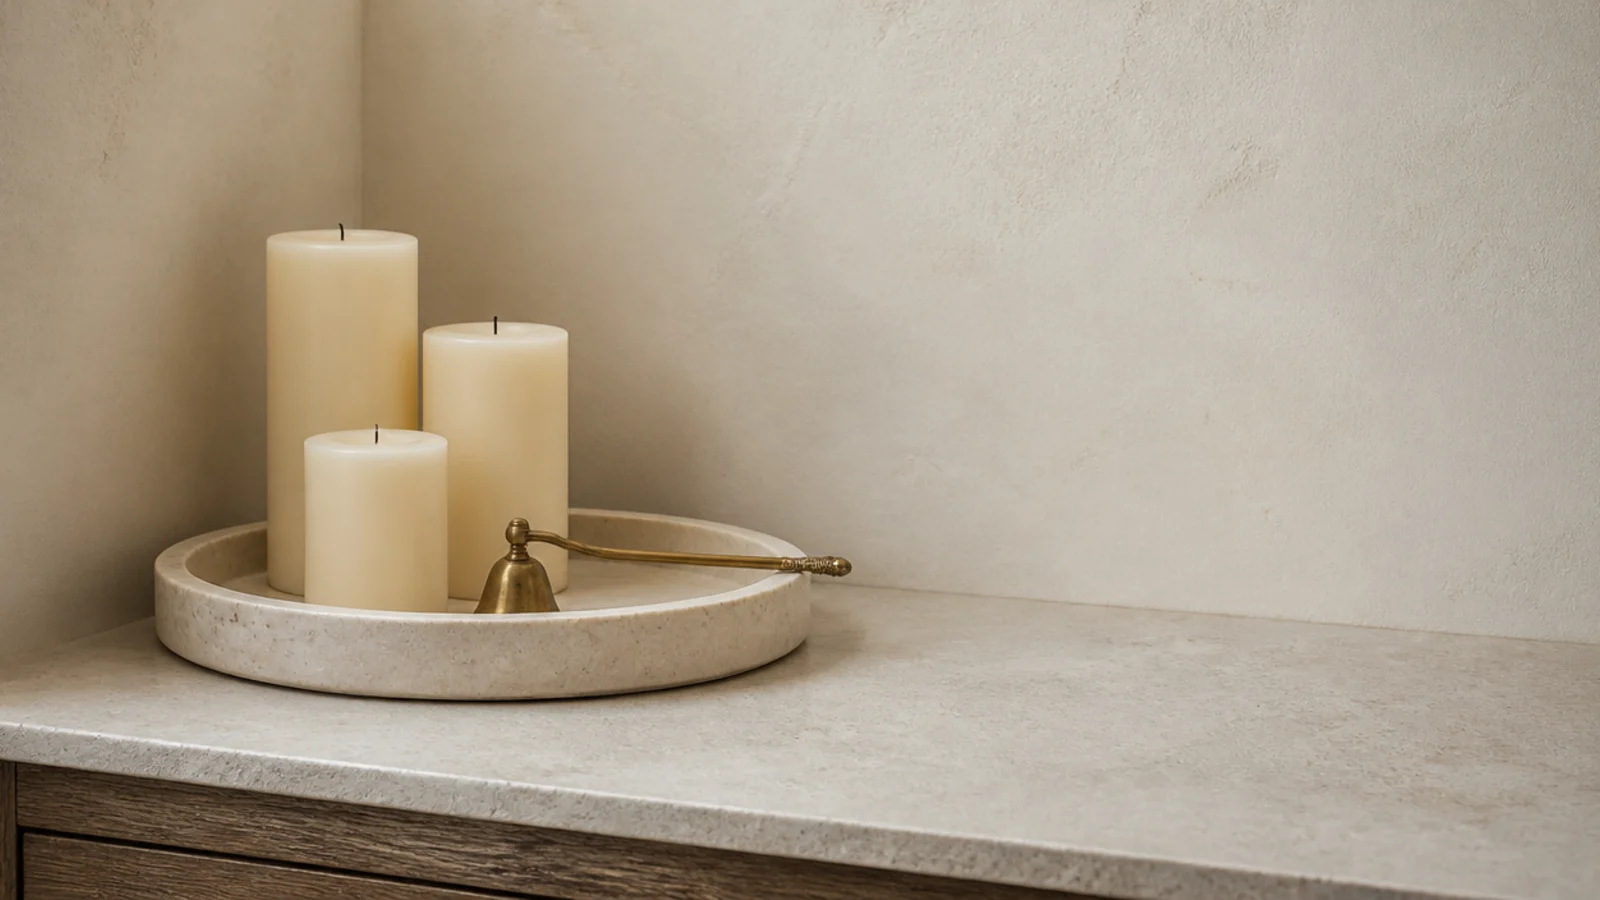
After: a pale stone tray, two cream pillars at different heights and one small clay dish.
The stone came first, because that table already had a faint ring in the finish from the jar. Cost $18 for the tray, and the charger moved to a drawer with a cable channel. Same table, entirely different corner.
Makeover 2: The coffee table with nine candles on it
Before: nine jars and votives spread across a large coffee table in no particular arrangement, half of them tunneled.
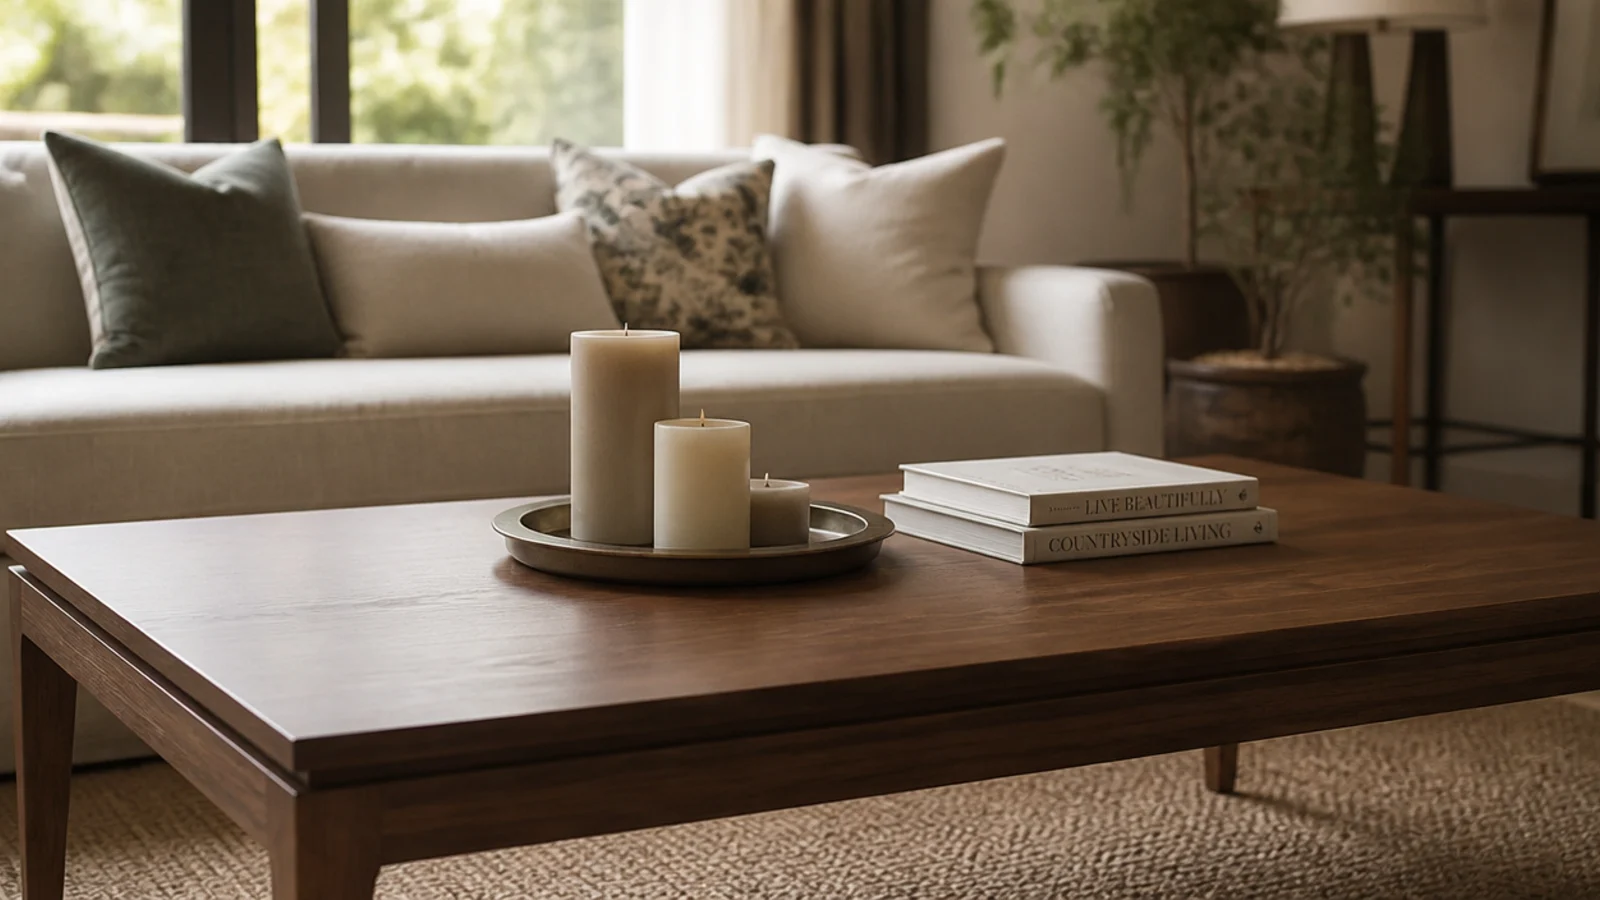
After: three candles on one metal tray, six boxed for rotation.
Nothing was bought. Taking six candles away made the remaining three look deliberate, and it left actual table for mugs and books. My client thought I was being severe until she saw it lit.
Makeover 3: The bathroom counter
Before: a candle burning about four inches from a stack of folded towels, with a hanging robe behind it.
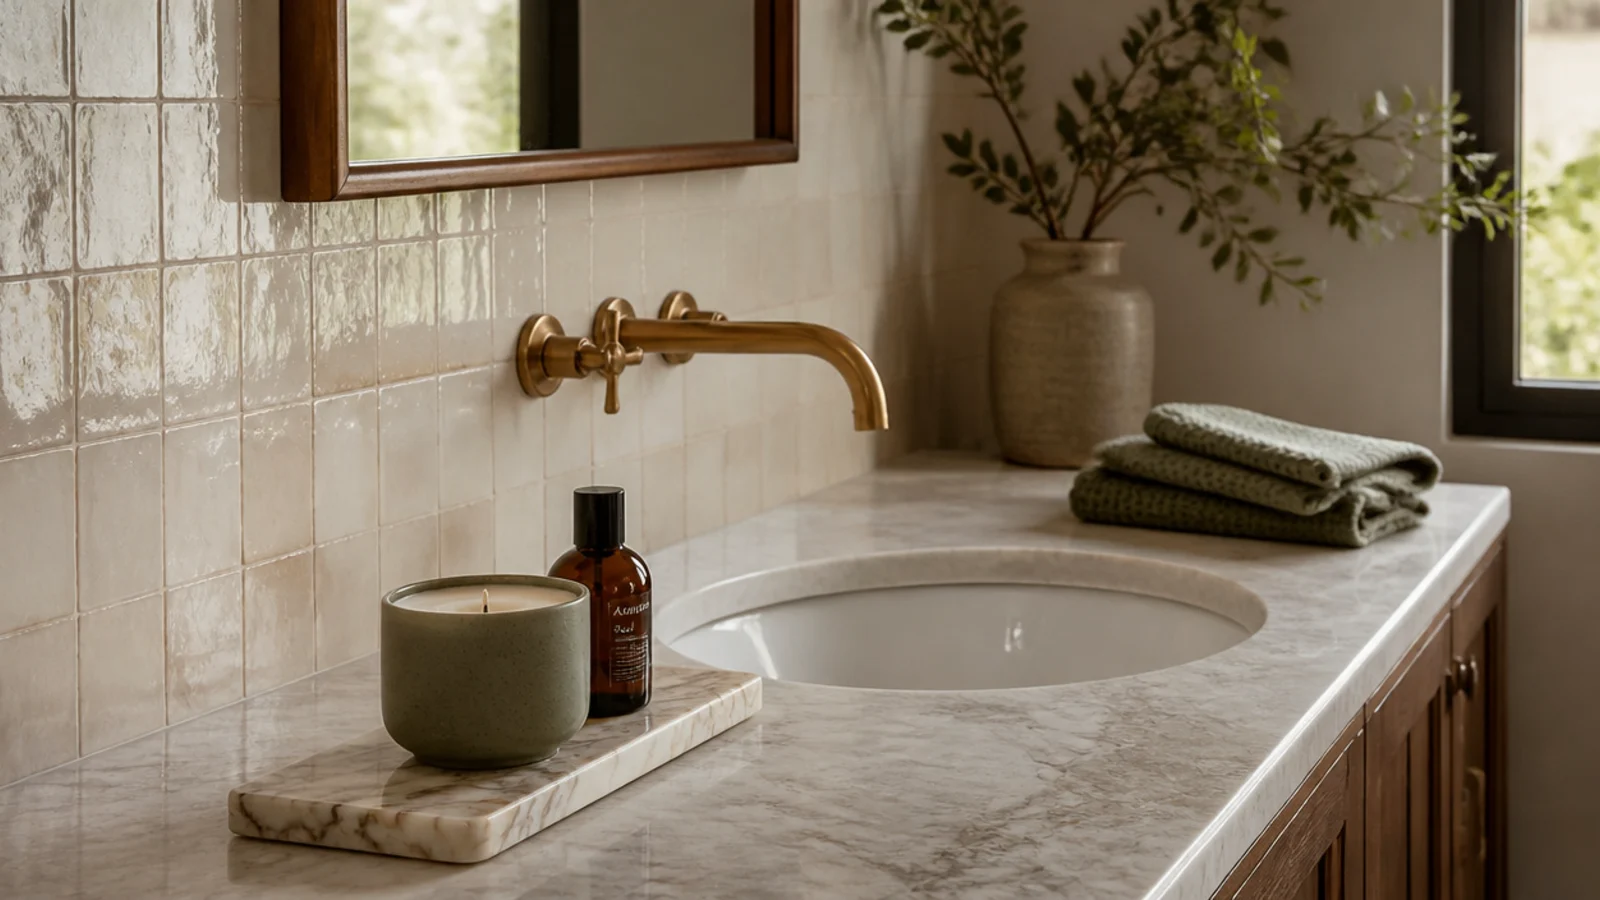
After: the same candle on a narrow marble tray at the opposite end of the counter, towels moved, a clear foot of air in every direction.
Bathrooms feel like the safest room for candlelight and are quietly one of the busiest with soft flammable things. Cost $14 for the tray.
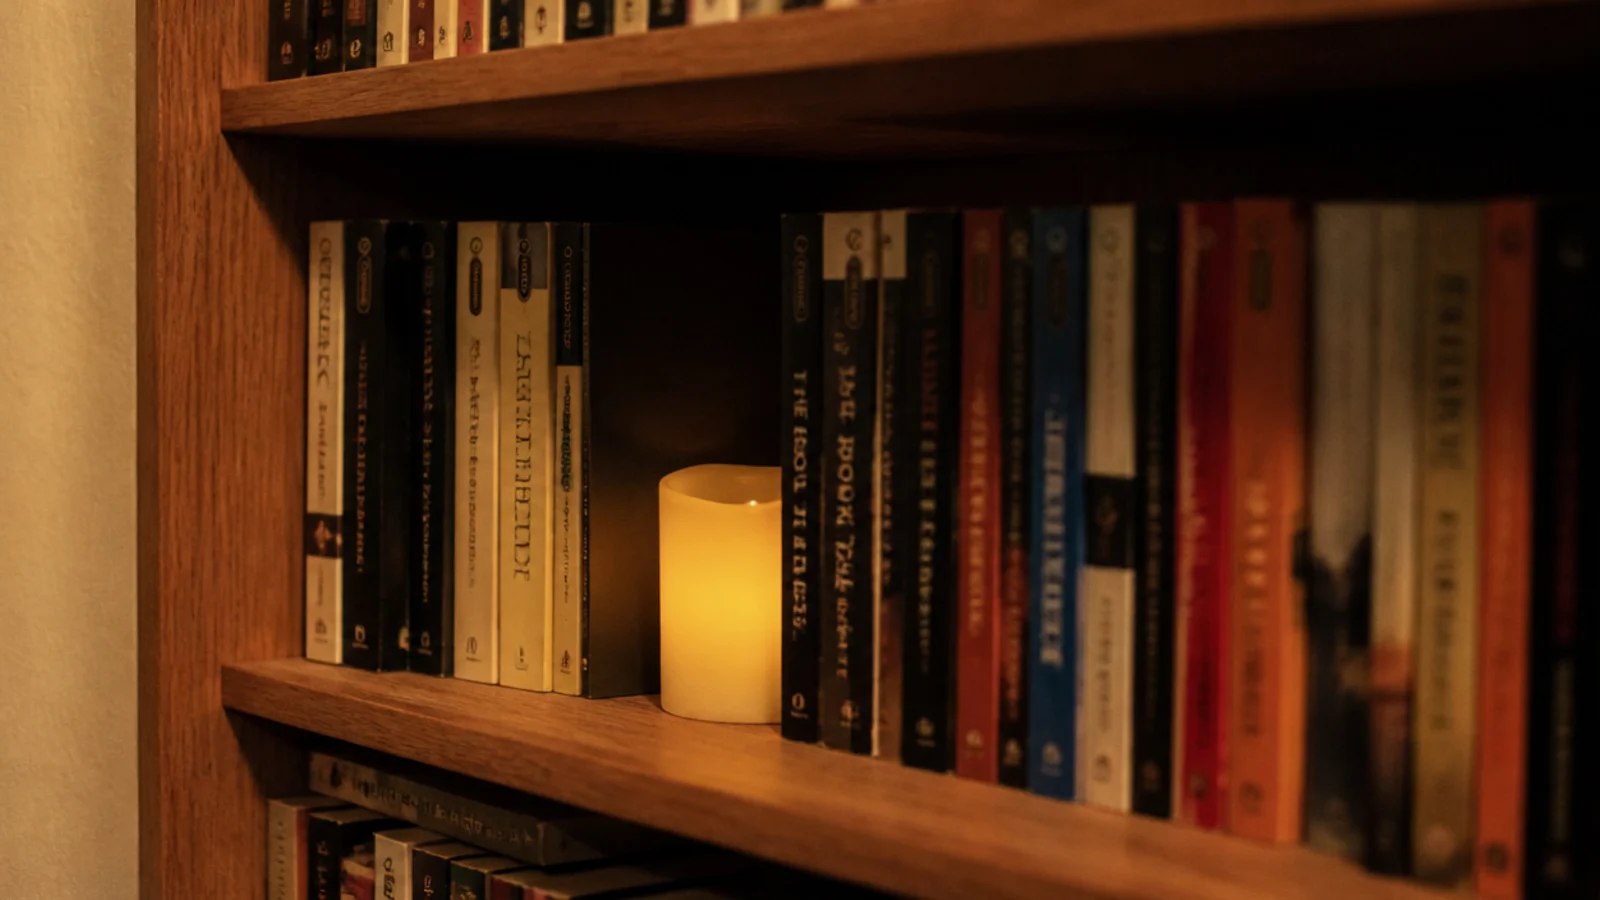
Makeover 4: The candle wedged between paperbacks
Before: a lit votive slotted into a gap on a packed bookshelf, paper on both sides, the next shelf about six inches above.
After: a flameless wax candle in the same gap.
This is the swap I make most often. The look is identical from two feet away, the books never move, and nothing is heating the shelf overhead. Around $12 for a set of three.
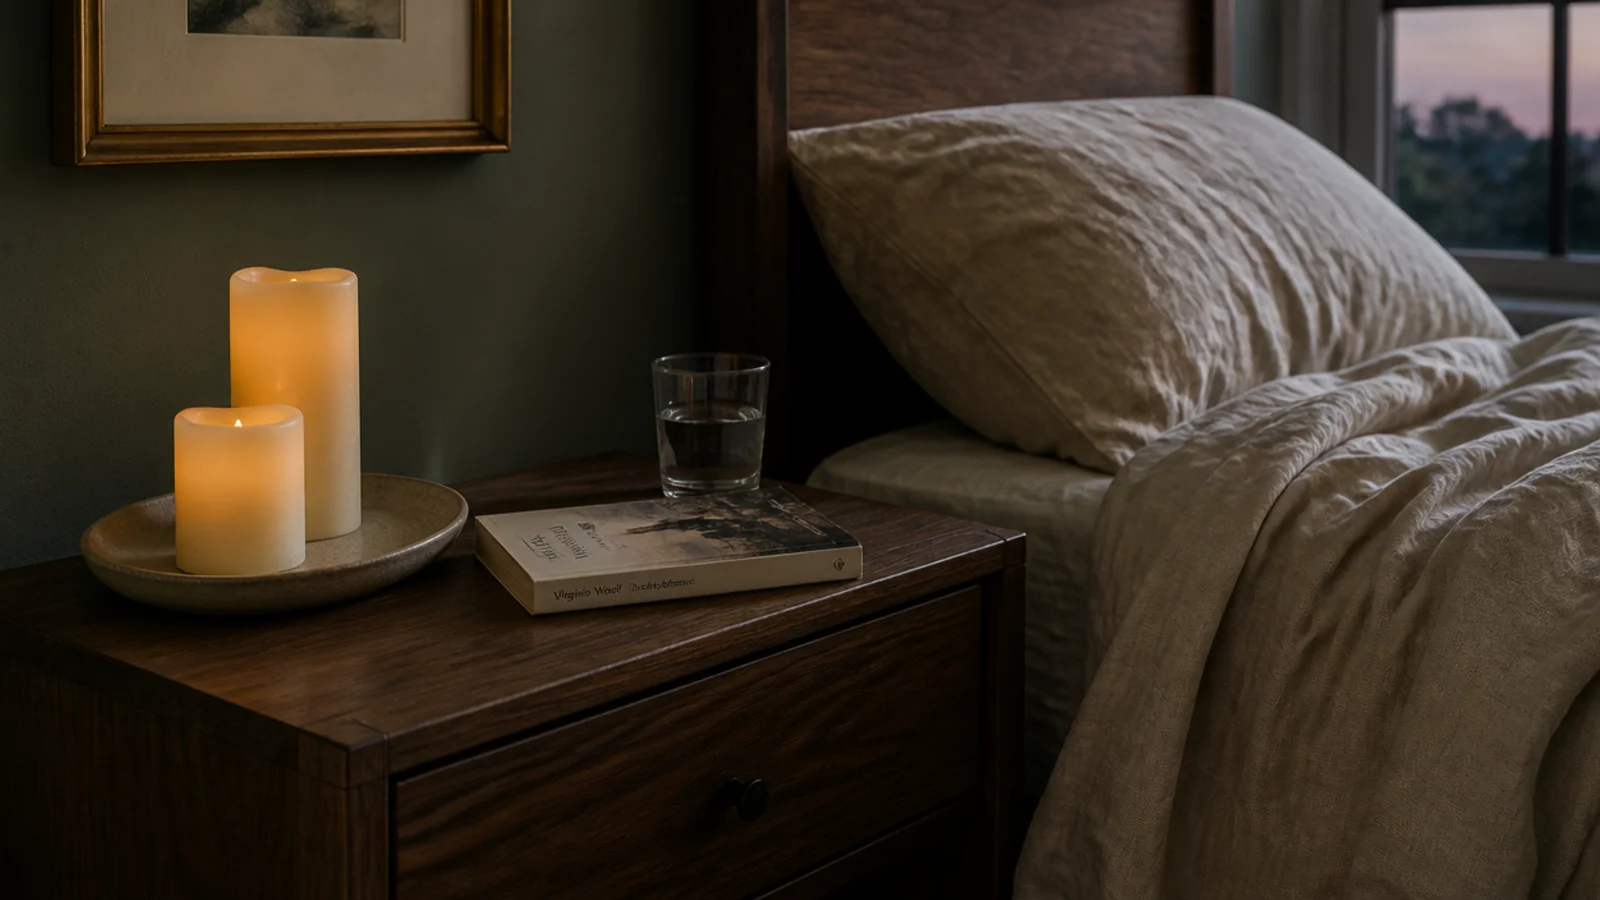
Makeover 5: The nightstand that outlasted me
Before: a jar candle on a bedside table, lit most evenings while reading.
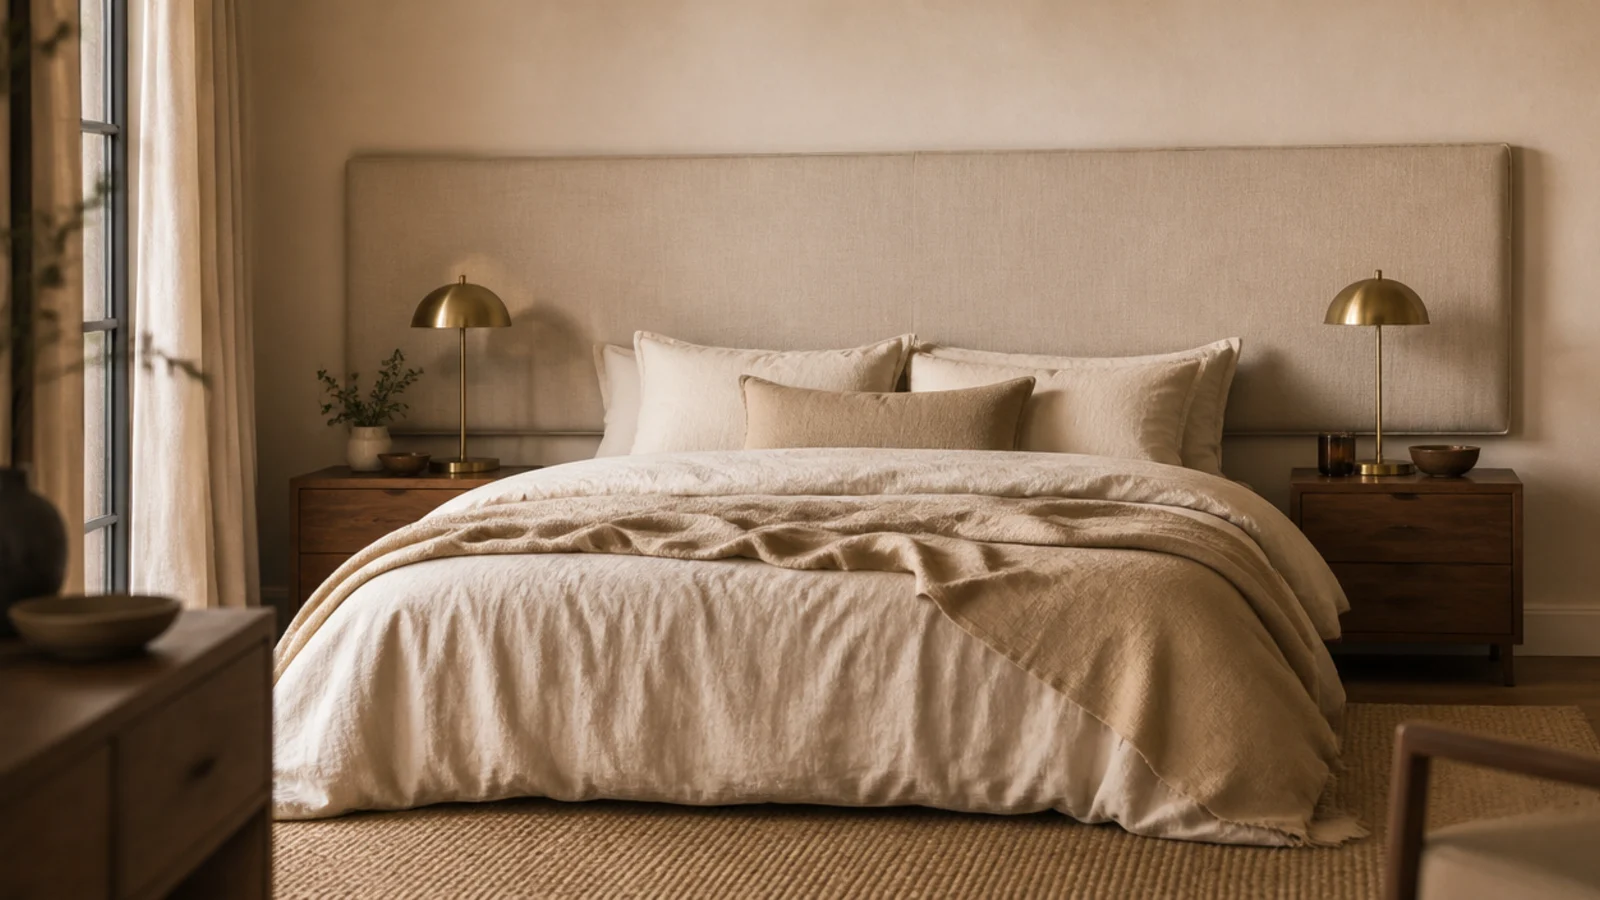
After: two flameless candles on a ceramic tray, set to a two-hour timer.
I stopped keeping open flames in bedrooms after one burned itself down while I slept. The glow from the bed is honestly indistinguishable, and the timer means nothing depends on me remembering.
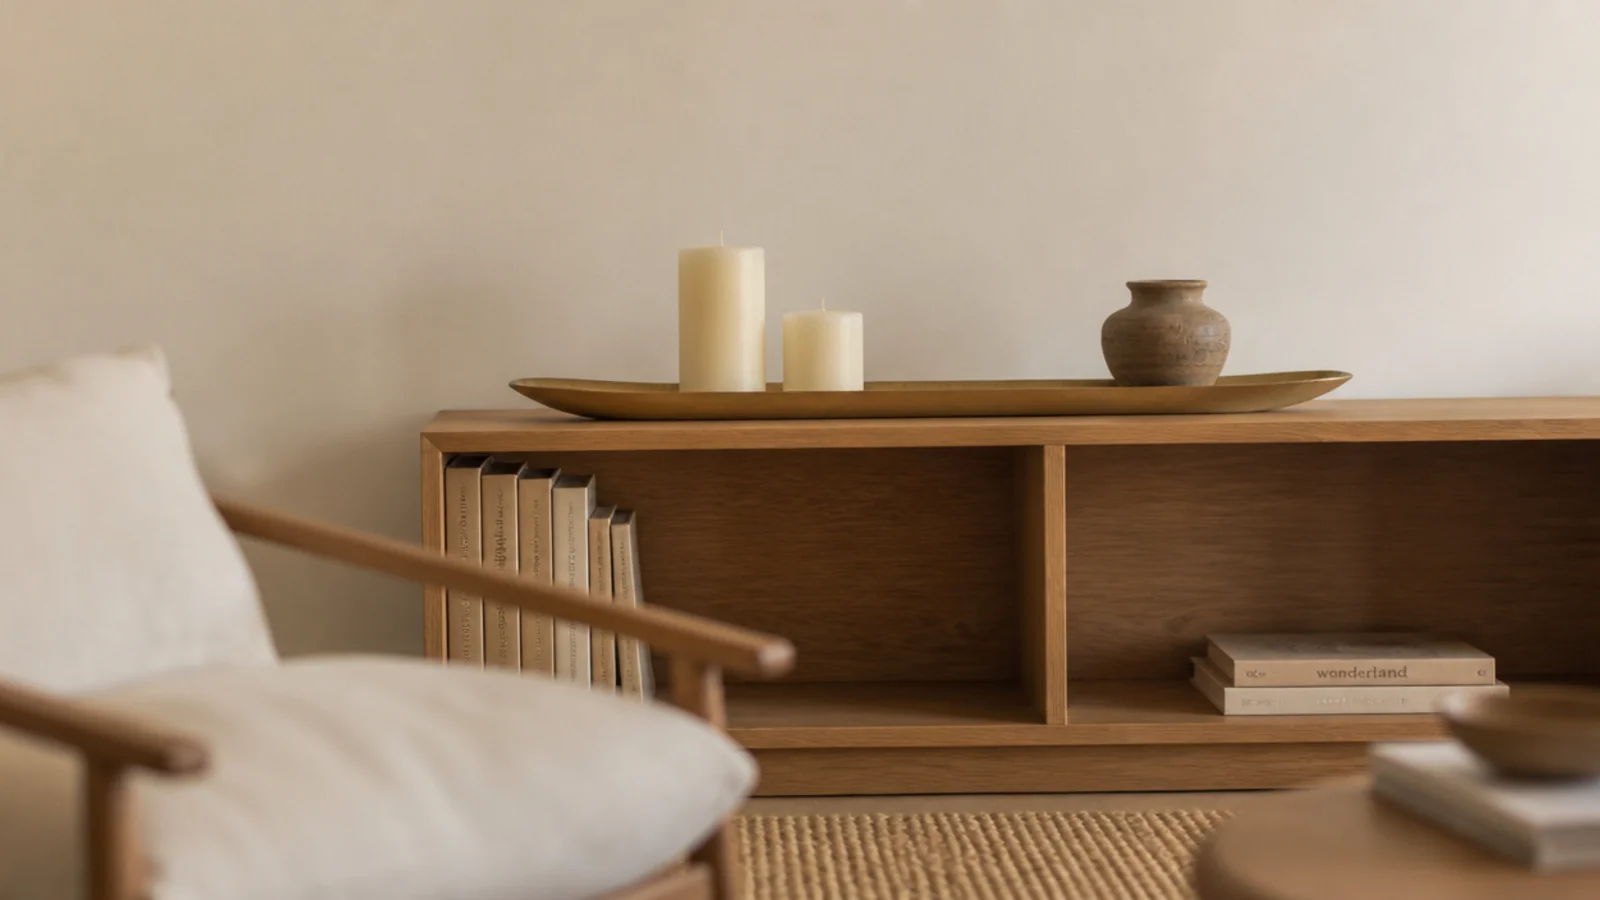
Makeover 6: The rental with no mantel
Before: a blank wall in a flat with no fireplace, and candles scattered across three low surfaces.
After: one long brass tray on the top of a low bookcase, holding two pillars and a clay vessel.
A bookcase top at chest height behaves exactly like a mantel. The one thing to check is what is above — this wall had a clear run of plaster, so real flames were fine. Cost $22.
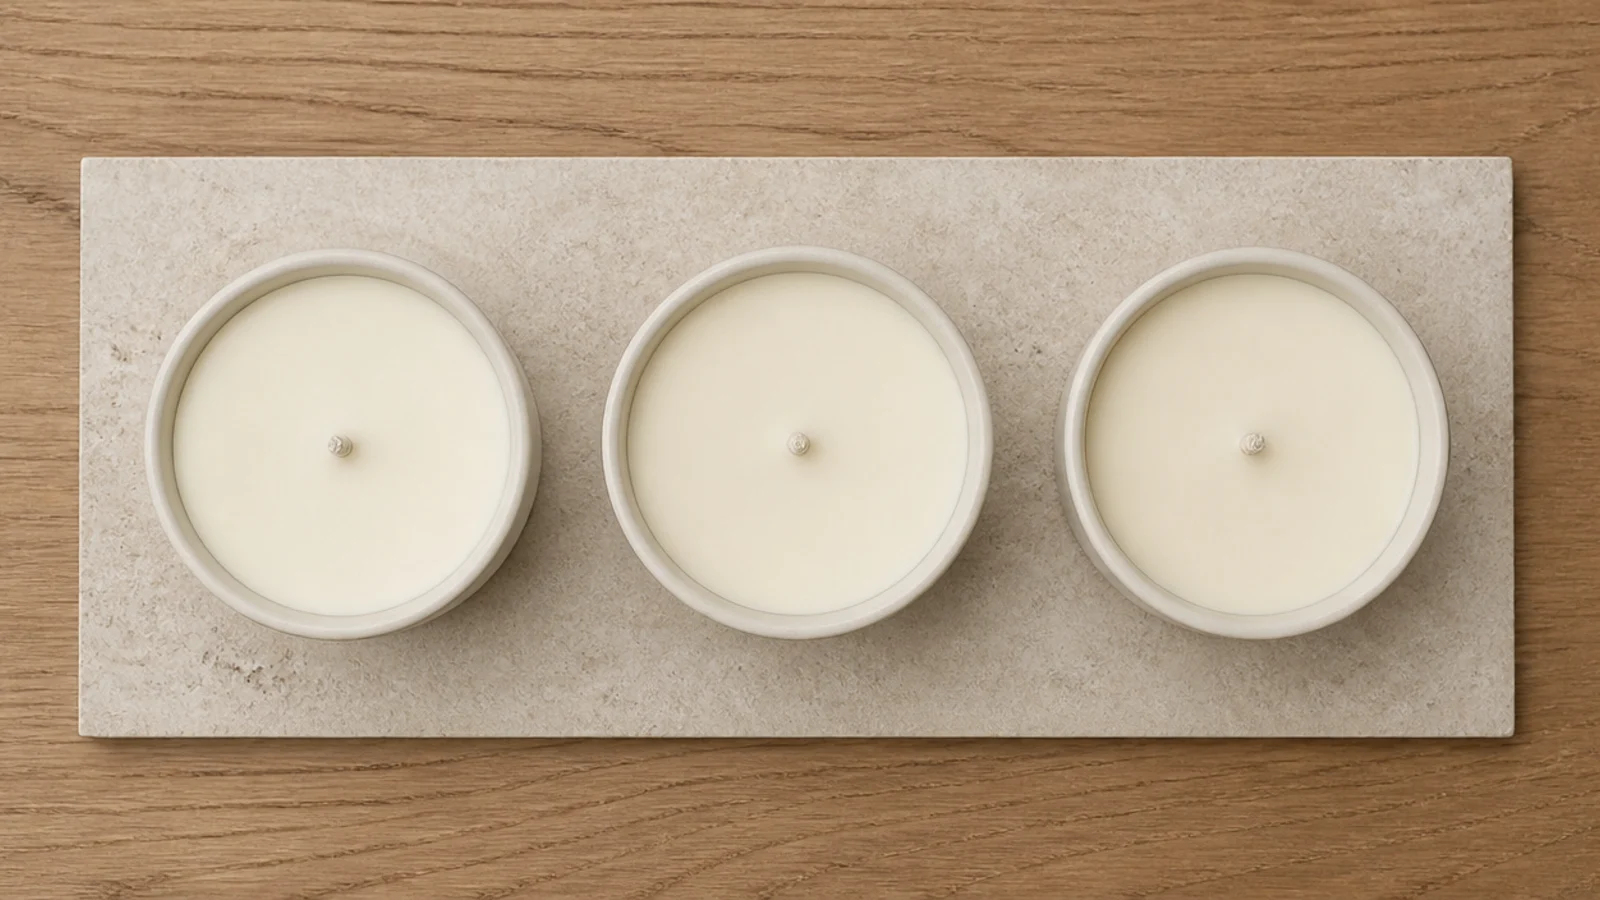
Makeover 7: The tunneled jar collection
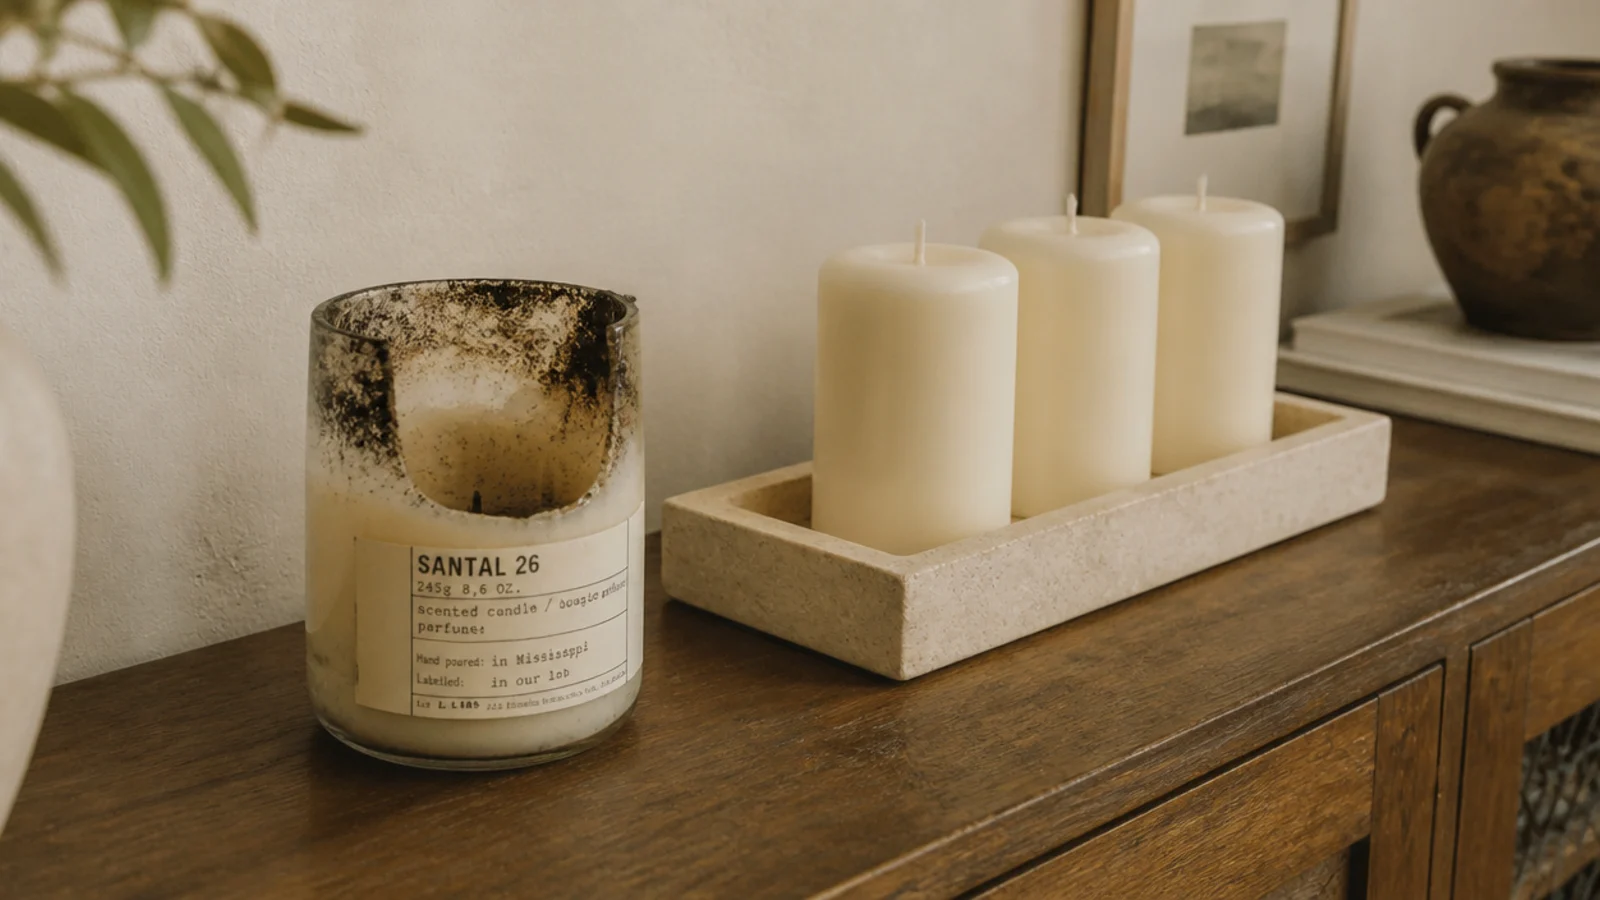
Before: five jars, every one with a narrow tunnel down the middle and thick wax walls, wicks drowning.
After: the same jars, wicks trimmed to a quarter inch and each given one long uninterrupted burn to the edge.
Three recovered completely. Two were too far gone and became melts. The rule that prevents this costs nothing: about one hour of first burn per inch of container width.
Makeover 8: The corner where every wax color clashed
Before: five candles in five slightly different whites — one grey-white, one cream, one bone, two builder-white.
After: one repeated warm cream, the odd ones moved to a cupboard.
Nothing looks cheaper than four near-misses sitting together. Committing to one wax tone made a shelf of budget candles read as a considered set. Cost nothing.
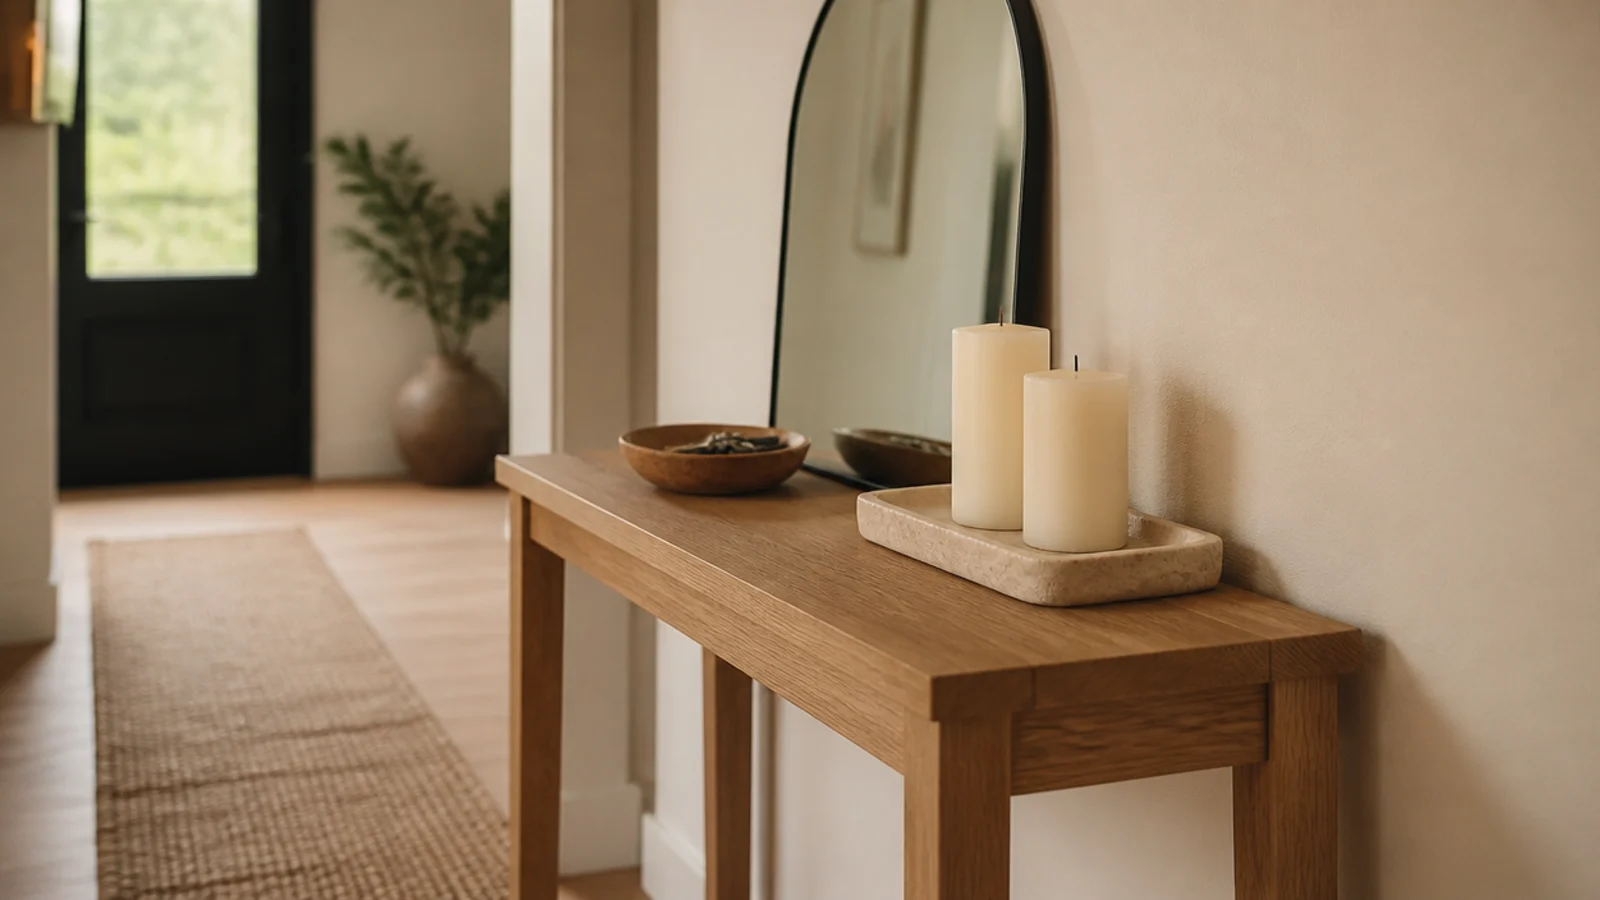
Makeover 9: The entry console
Before: keys, post, sunglasses and a candle competing for a narrow surface by the door.
After: a stone tray with two pillars, a shallow clay bowl for keys, everything else relocated.
The bowl does the real work. Without something with a rim, small objects spread and the candles end up looking like part of the clutter. Tray and bowl together, $26.
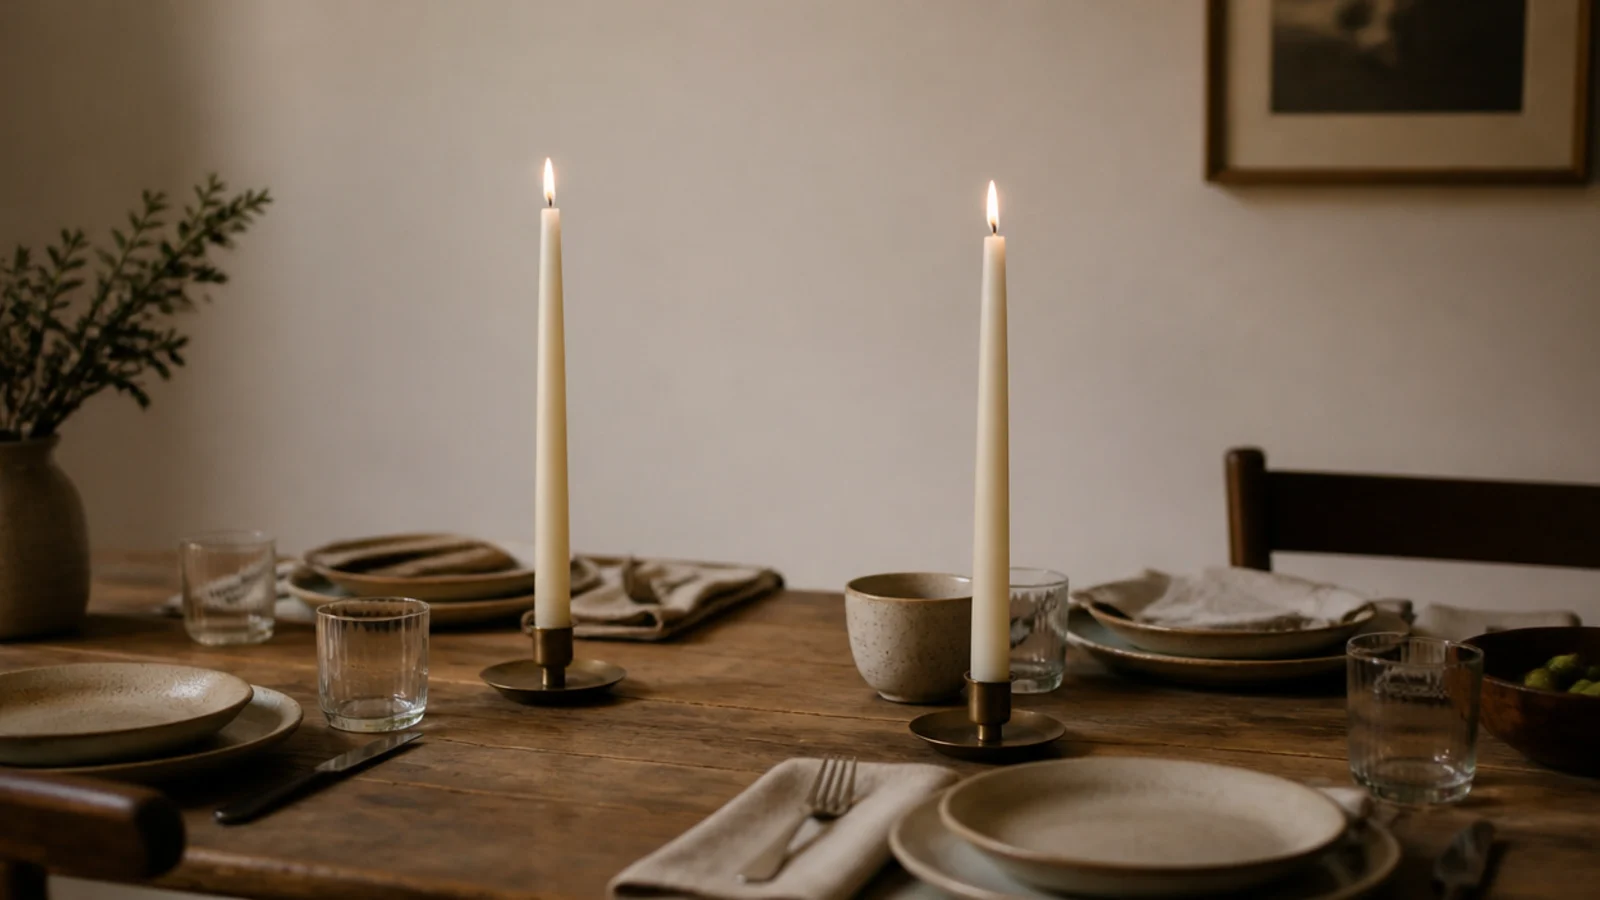
Makeover 10: The dining table that smelled of vanilla
Before: a large scented candle burning at the center of the table through dinner.
After: two unscented ivory tapers in low brass holders, and the scented candle relit in the hallway instead.
Fragrance at plate level flattens everything you cooked. Low holders also mean people can see each other, which matters more than any of the styling. Cost $16 for the thrifted holders.
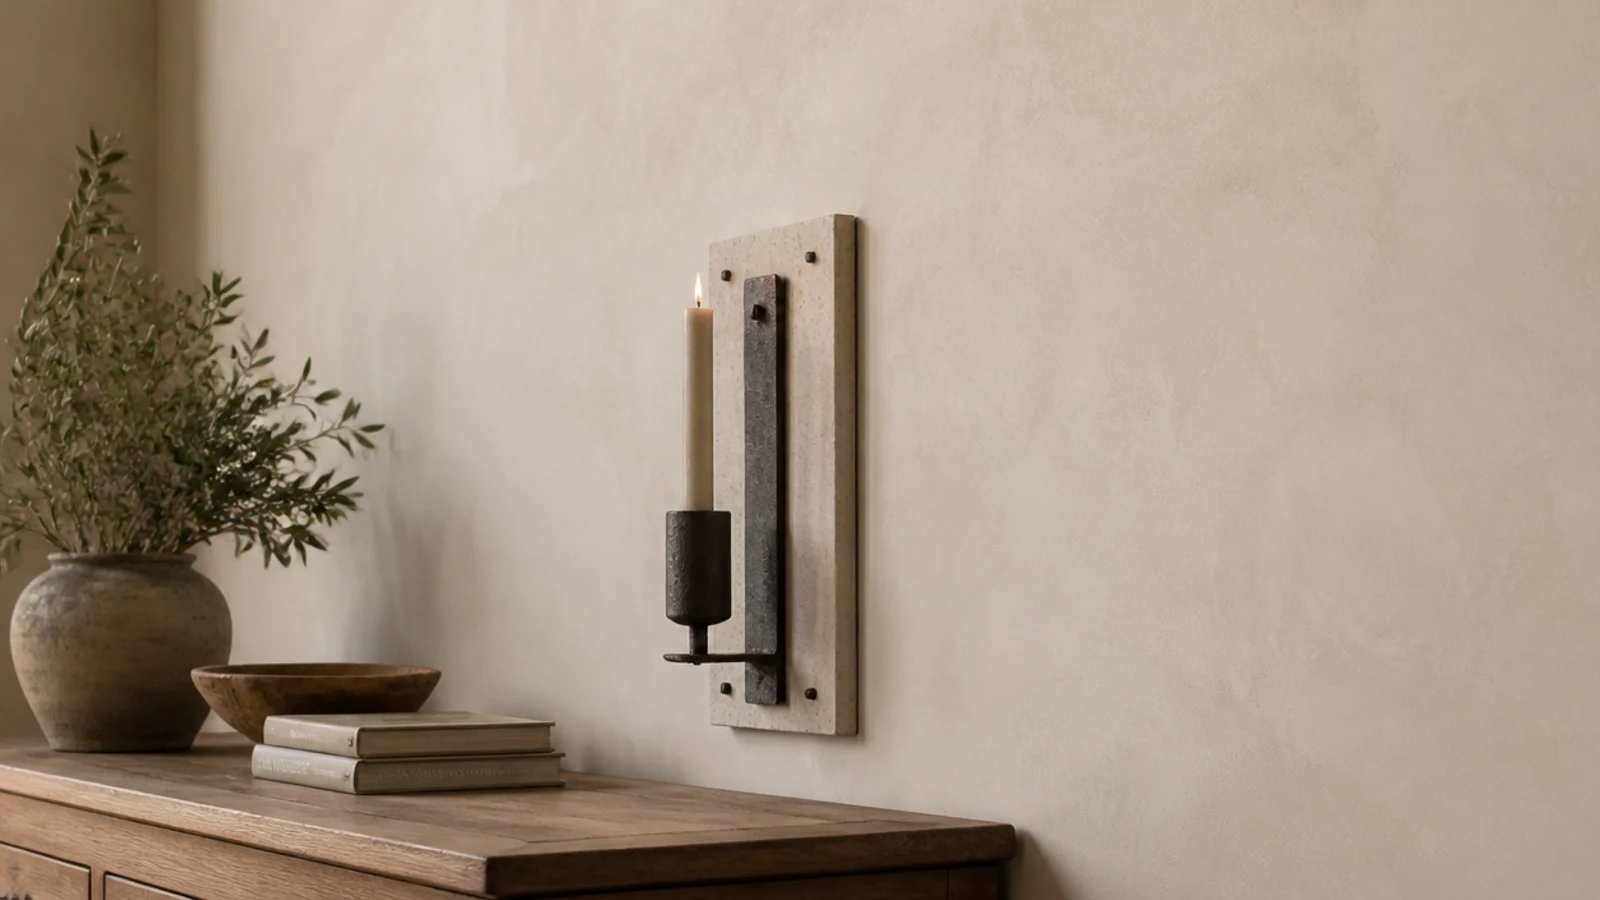
Makeover 11: The scorched wall above a sconce
Before: a metal wall holder mounted about eight inches below an oak floating shelf, with the timber above visibly darkened.
After: the holder moved down onto a pale stone panel, with a clear span of plaster running above it.
The shelf stayed exactly where it was. Only the flame moved. Stone panel and fixings, $34, and the scorch was sanded and touched up.
Makeover 12: The windowsill with the drifting curtain
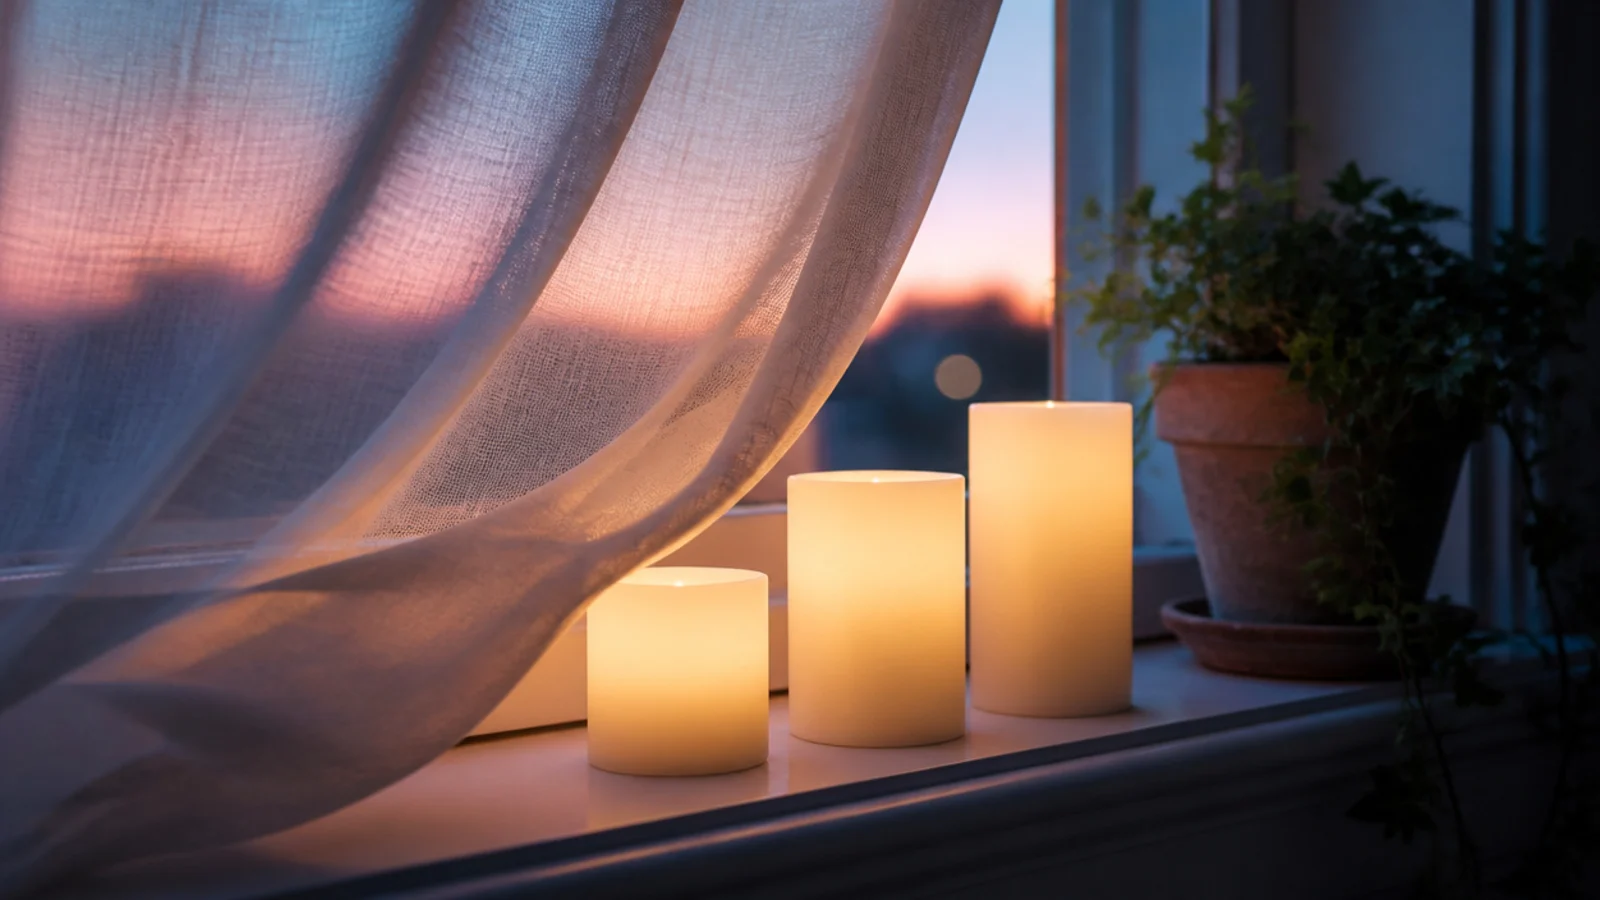
Before: three real candles on a deep sill, with a sheer linen curtain that moved every time the window was cracked open.
After: three flameless pillars on a timer, curtain left exactly as it was.
This is a spot where I will not compromise. Sheer fabric and an open flame in the same square foot is a genuine risk, and the flameless version looks the same from the sofa. Cost $24.
Makeover 13: The reading chair with no light
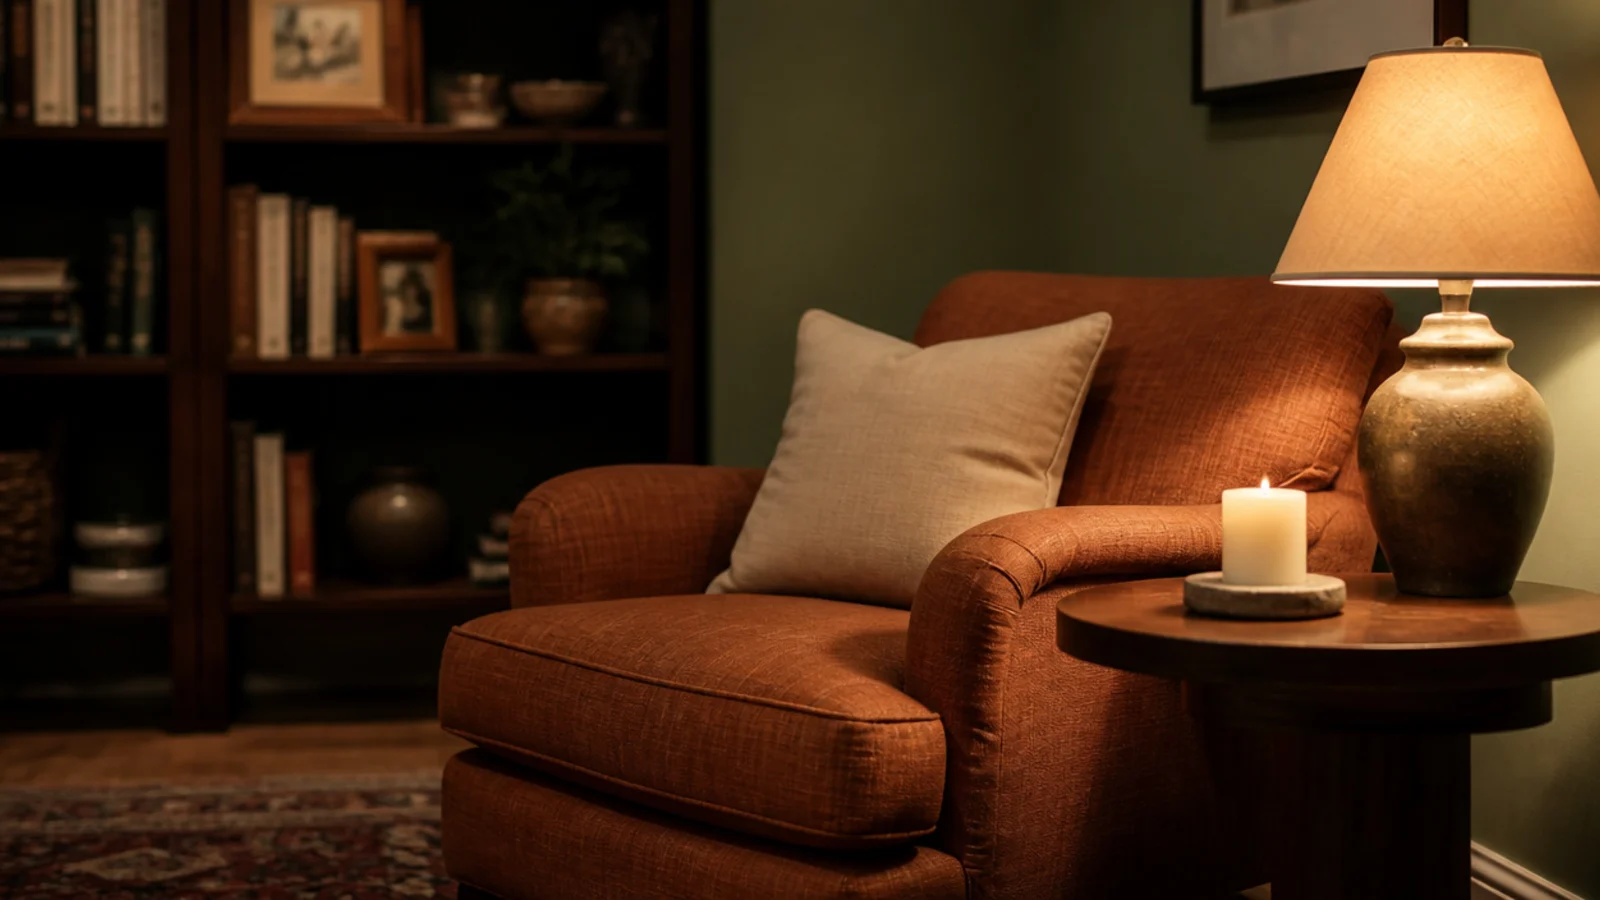
Before: a good armchair lit only by a cool-white ceiling fixture, with candles across the room doing nothing for it.
After: one candle on a stone coaster on the side table, a small lamp with a 2700K bulb, and the overhead switched off.
Candles do not light a room; they warm one. Paired with a warm lamp, that chair became the best seat in the flat. Cost $9 for the bulb.
Makeover 14: The kitchen counter
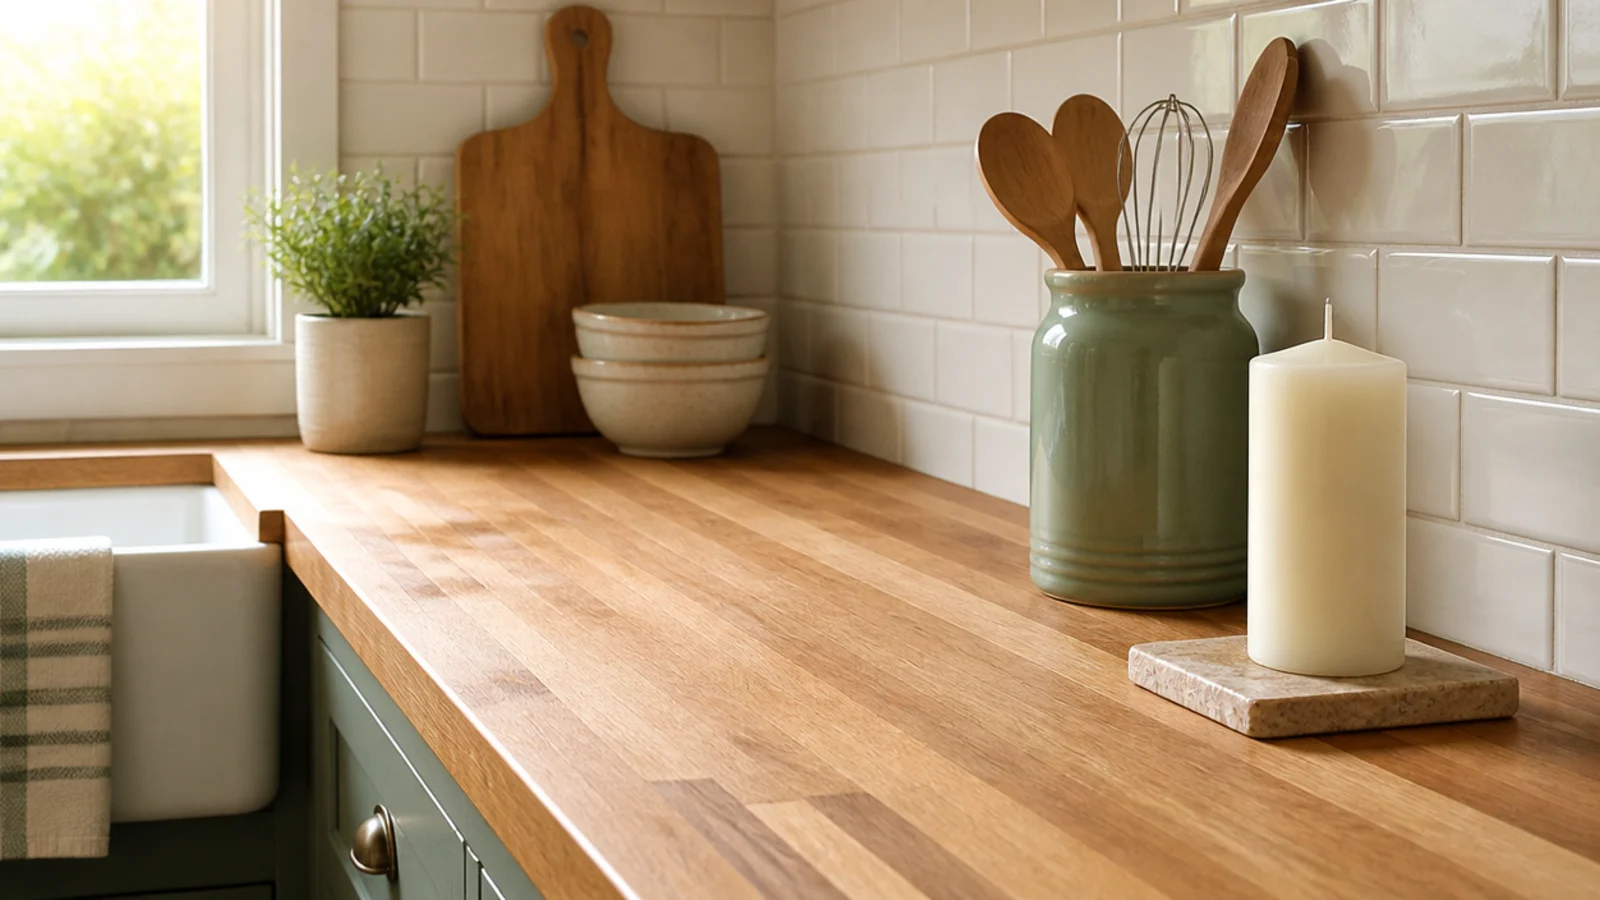
Before: a scented candle burning near the hob, beside a tea towel and a roll of paper.
After: an unscented candle on a stone tile at the far end of the counter, well away from anything that catches.
Kitchens have more flammable clutter than any other room and more open flames already. The candle moved eighteen inches and the risk essentially disappeared. Cost nothing.
Makeover 15: The crowded tealight plate
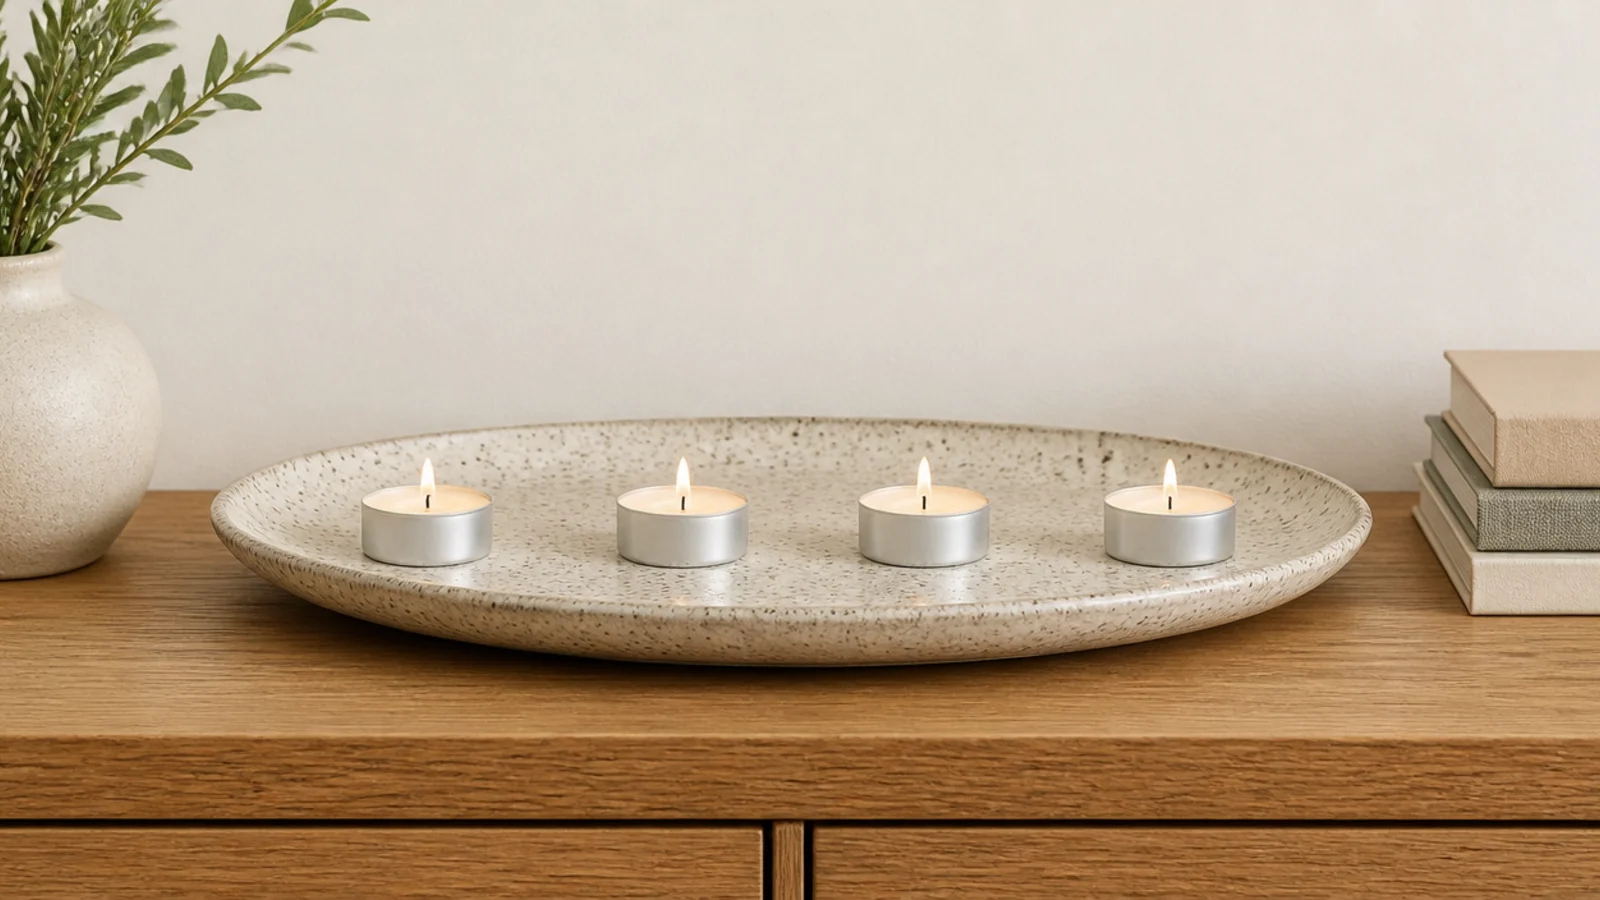
Before: six tealights pushed shoulder to shoulder on a plate, wax pooling between the cups and flames leaning together.
After: four tealights with an inch and a half of clear plate between each.
Crowded tealights heat each other and can flare. Fewer, spaced properly, also look better — the gaps are what let each flame read as its own point of light. Cost nothing.
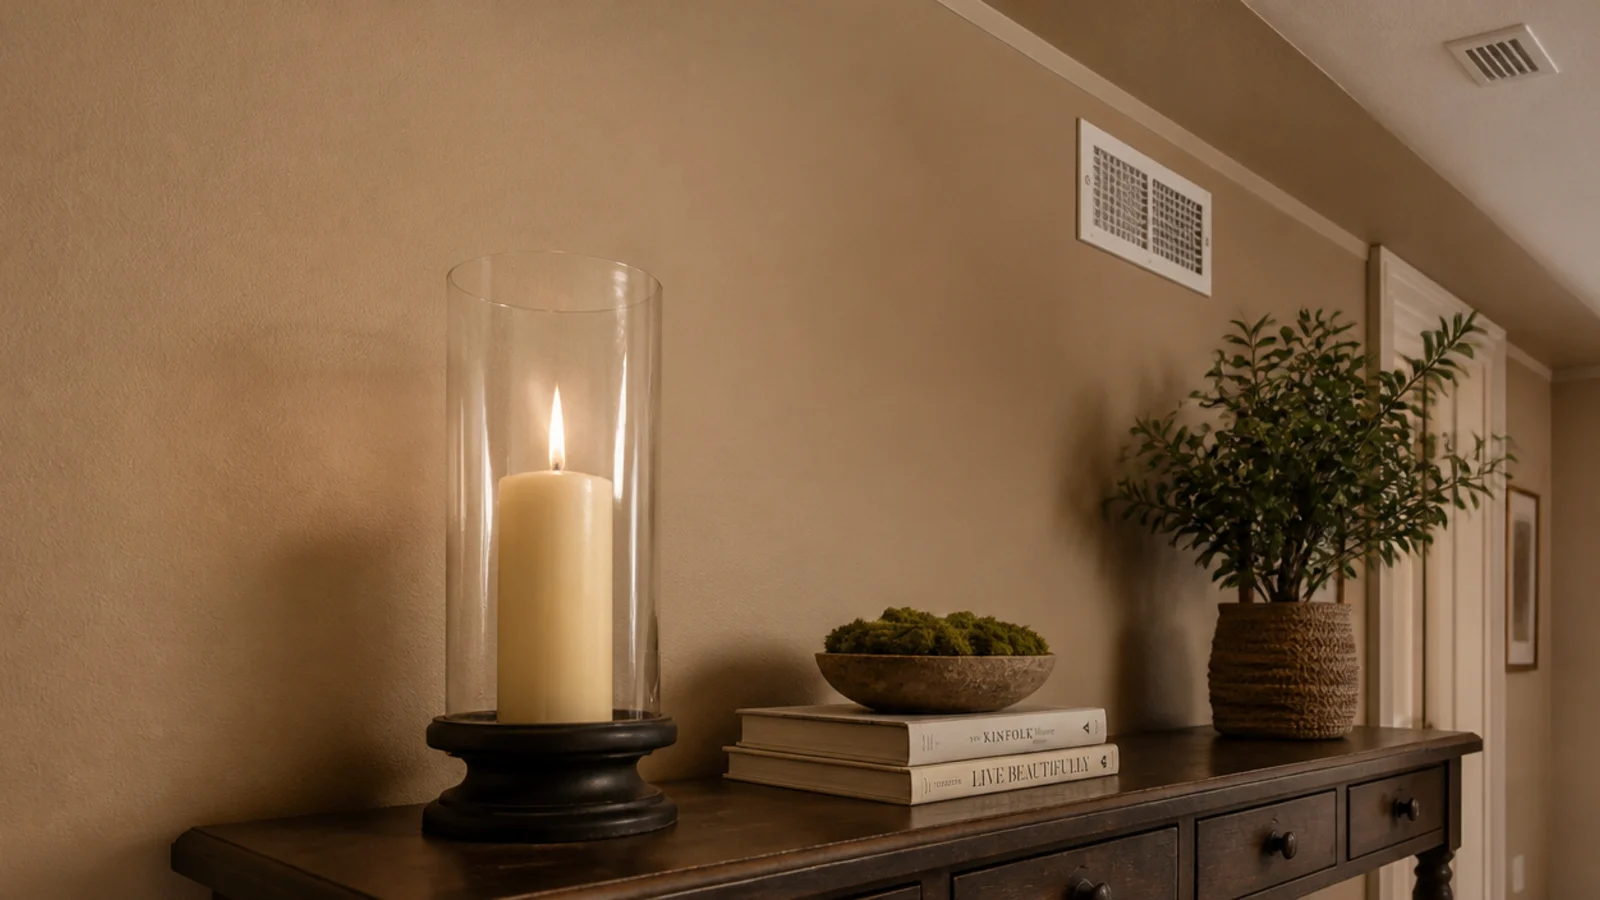
Makeover 16: The console under the air vent
Before: candles directly beneath a ceiling vent, flames leaning sideways whenever the heating ran, black marks on one side of every rim.
After: the grouping shifted two feet along the wall, with a glass hurricane over the tallest pillar.
A dancing flame is a smoking flame. Moving it stopped the soot and the uneven burn in the same afternoon. Hurricane, $18.
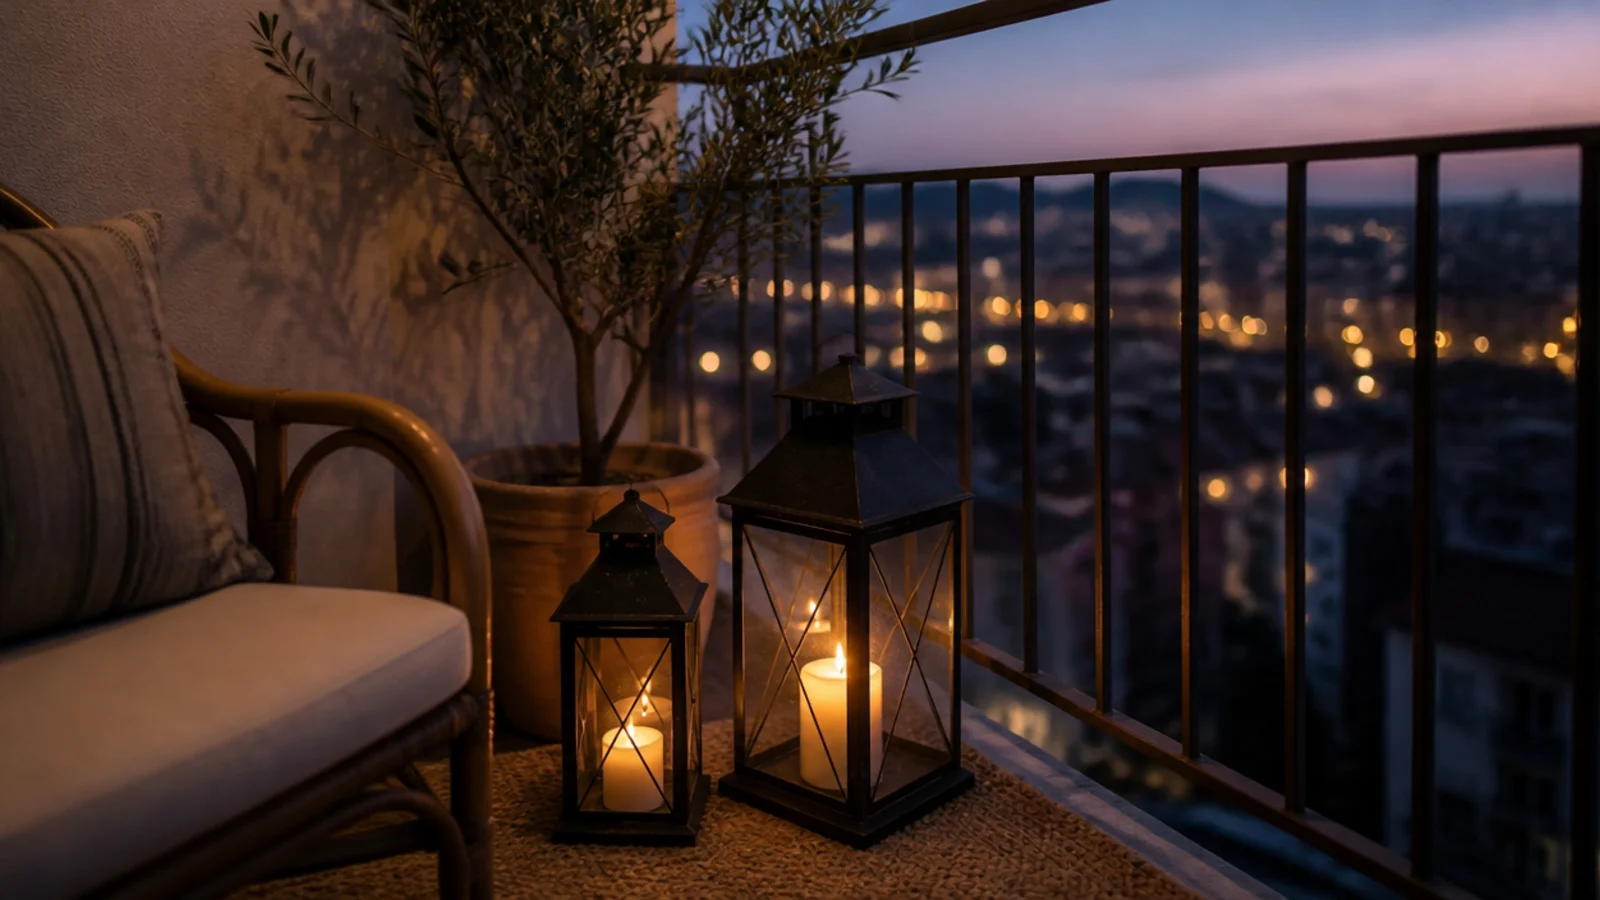
Makeover 17: The balcony corner
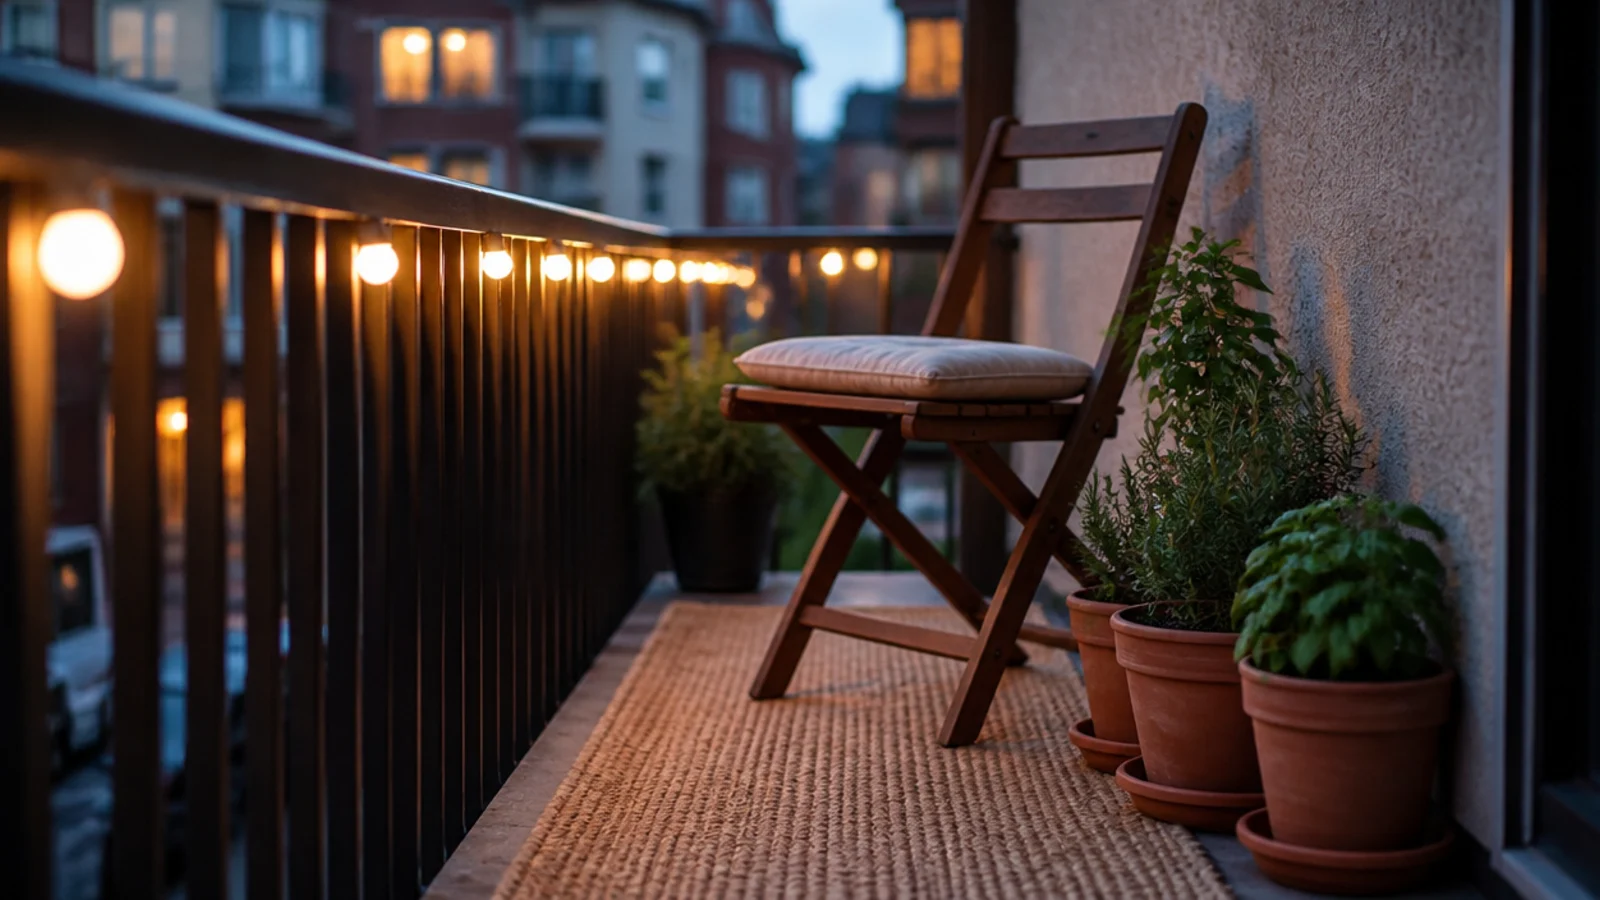
Before: open jar candles on an outdoor side table, blown out by every gust and tipped over twice.
After: two fully enclosed metal and glass lanterns on a jute mat, well clear of the potted planting.
Outdoors, wind decides everything, and enclosed glass is the only thing that copes. The full outdoor version lives in apartment balcony lighting. Cost $46 for the pair.
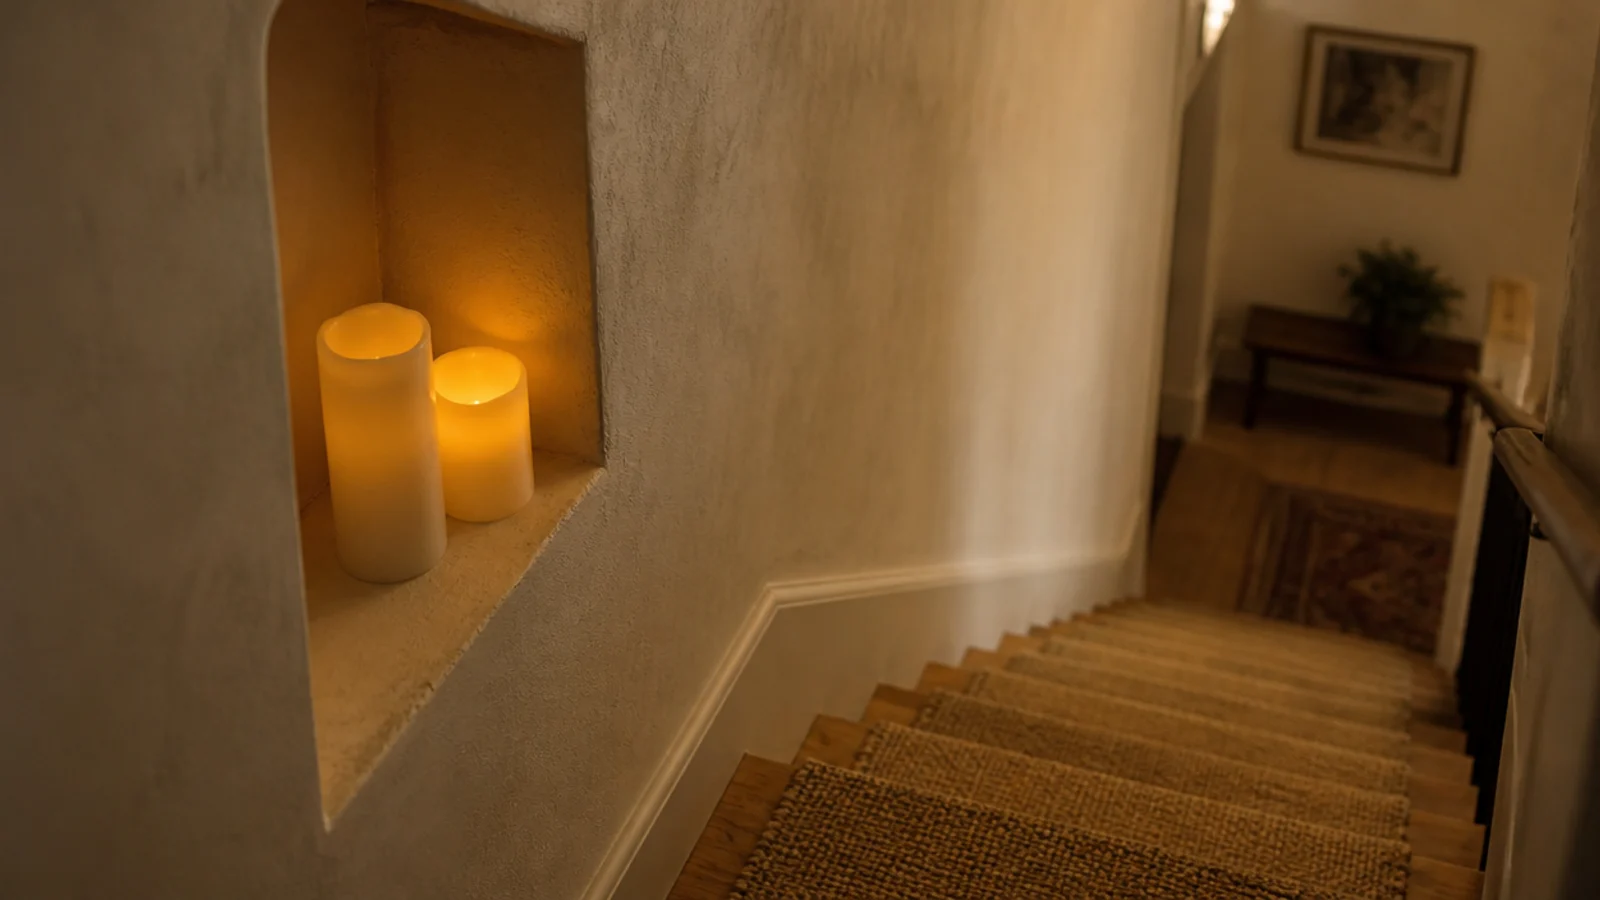
Makeover 18: The stairwell nook
Before: real tealights in a shallow recess on a staircase wall, lit for guests.
After: flameless candles in the same recess, on a timer.
A staircase is an escape route, and it behaves like a chimney. Nothing with a live flame belongs on one, however lovely the nook is. Cost $15.
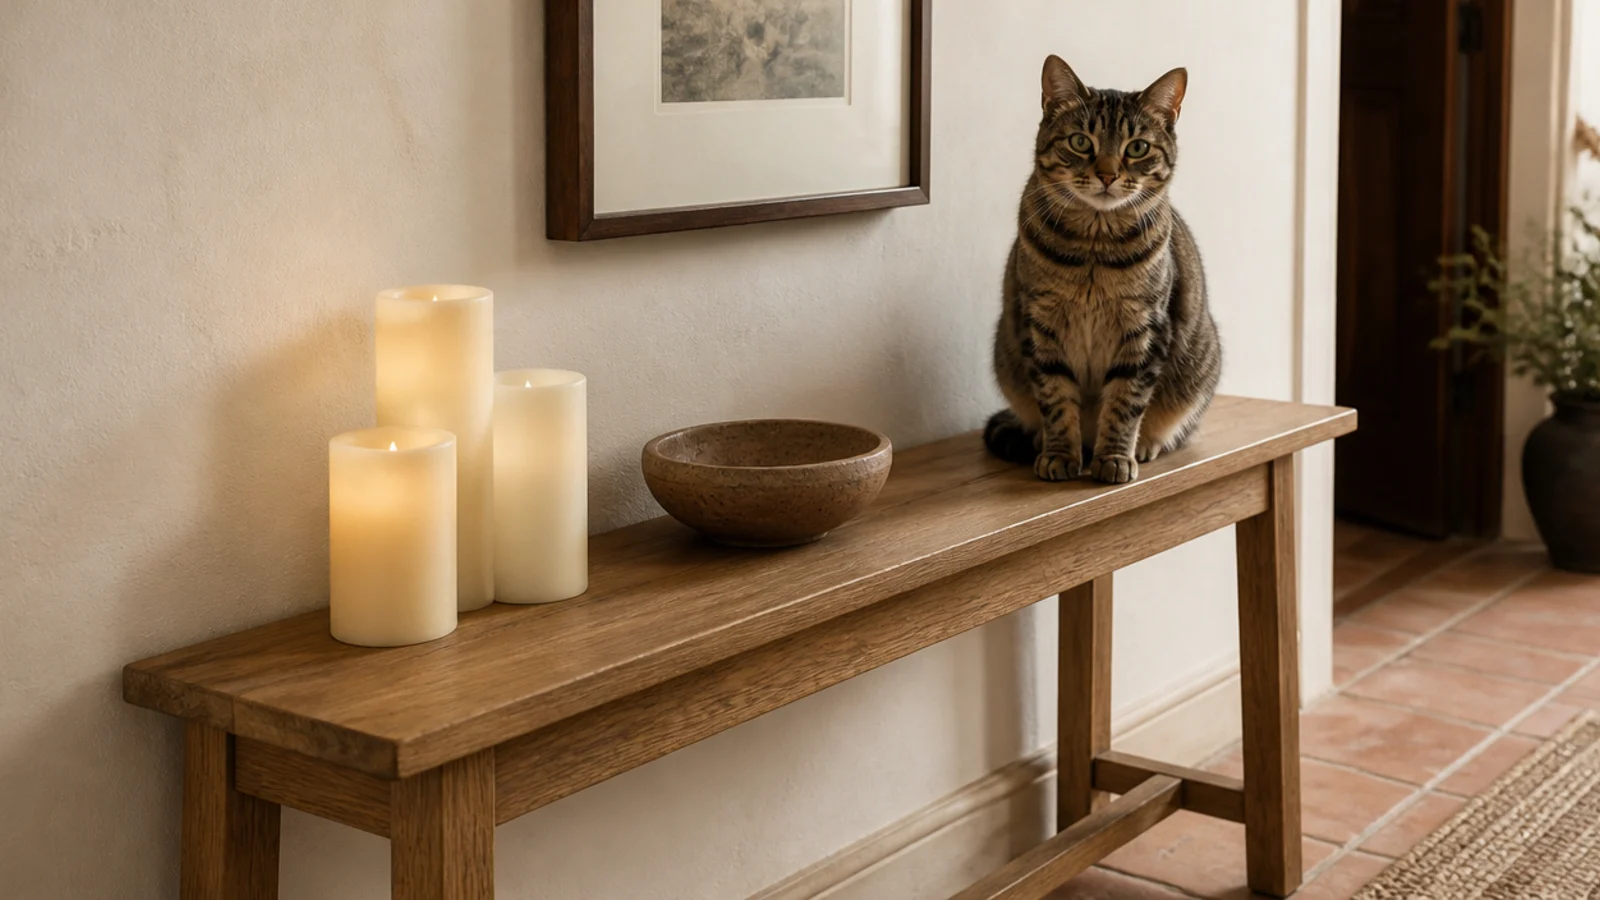
Makeover 19: The console the cat walks along
Before: three lit candles on a narrow console that the household cat uses as a nightly route between a chair and a windowsill.
After: the same three positions filled with flameless candles.
She had never knocked one over. That is luck rather than a plan, and luck is not a safety measure. Cost $18, and the corner looks identical.
Makeover 20: The drawer where candles went to warp
Before: spare pillars stored on a sunny windowsill, several bowed permanently out of shape.
After: a linen-lined drawer, candles upright, out of sunlight, with the trimmer and snuffer alongside.
Sun softens wax, and a bowed pillar never stands straight again. Storing them properly turned a bag of unusable candles into a supply that lasts. Cost nothing.
Candle Corner Before and After: What I'd Do Differently Now
Looking at twenty makeovers in a row, the pattern is uncomfortable: almost everything that worked was subtraction, and almost everything that cost money was a safety fix rather than a styling one.
Eleven of these cost nothing. The paid changes were stone trays, a stone wall panel, enclosed lanterns and flameless sets — all of them buying clearance or a heat-proof surface rather than a better look.
If I could give myself one instruction at the start, it would be to choose the surface before the candle. Heat-proof underneath, twelve inches of clear air around, far more above, nothing flammable overhead, out of the path of a cat or a child. Once a spot passes that test, styling it takes four minutes: odd numbers, three heights, one tray.
The other thing I would change is the order I work in. I used to arrange first and notice the hazard later, which meant doing it twice. Now the clearance check comes before a single candle is placed.
Frequently asked questions
What is the cheapest candle makeover that actually works?
Putting everything on one tray and taking half of it away. A thrifted plate or a tile offcut costs a couple of dollars, protects the surface underneath and gathers loose objects into a single composition. In these twenty makeovers, that one move appears more often than anything I bought.
How long does a candle corner makeover take?
Most of these took under twenty minutes, including the step where you clear the whole surface and start from empty. Swapping to flameless takes about five. The only ones that took longer were the wall fixes, where the mounting had to move to somewhere with proper clearance above the flame.
Should I buy new candles or restyle what I have?
Restyle first. Around two-thirds of the corners here needed nothing bought at all — they needed fewer objects, three clear heights and a heat-safe base. Replace only when the wax is genuinely wrong: pillars under three inches wide that drip, tunneled jars, or scented candles on a surface where people eat.
What is the most common thing wrong with a candle corner?
Too many candles at the same height, sitting too close to something flammable. Both show up in almost every corner I am asked to look at. The second most common is the surface — glass jars standing directly on wood or paint, which leaves marks that no amount of styling will hide.
Do I need to take everything off to restyle a candle corner?
Yes, and it is the step people skip. Nudging an existing arrangement just relocates the problem. Ten minutes rebuilding from an empty surface beats an hour of adjusting, because you stop defending the decisions you already made and you can see the clearances honestly. Photograph the surface before you clear it and the crowding becomes obvious immediately.
Try the free version first on whichever corner bothers you most: clear it completely, put back three candles at three heights on something heat-proof, and check what sits above them. If it still looks wrong, the problem is the wax, not the arrangement. Candle tray styling covers the trays, the mistakes I made first covers what I got wrong, and cozy candle corner has the full build. Save the pin before you buy anything new.
Want more like this? Browse all 15 aesthetic candle decor guides — they all use the same measurements and budget tiers.
Pin it for later
Save this to your Aesthetic Candle Decor board
Pin it now so it is waiting for you when the tape measure comes out — and so the next person hunting for this idea can find it too.
Save this pinKeep going
More ideas worth saving while you have the tape measure out.