Headboard Ideas · UGC
20 Headboard Before and After Makeovers

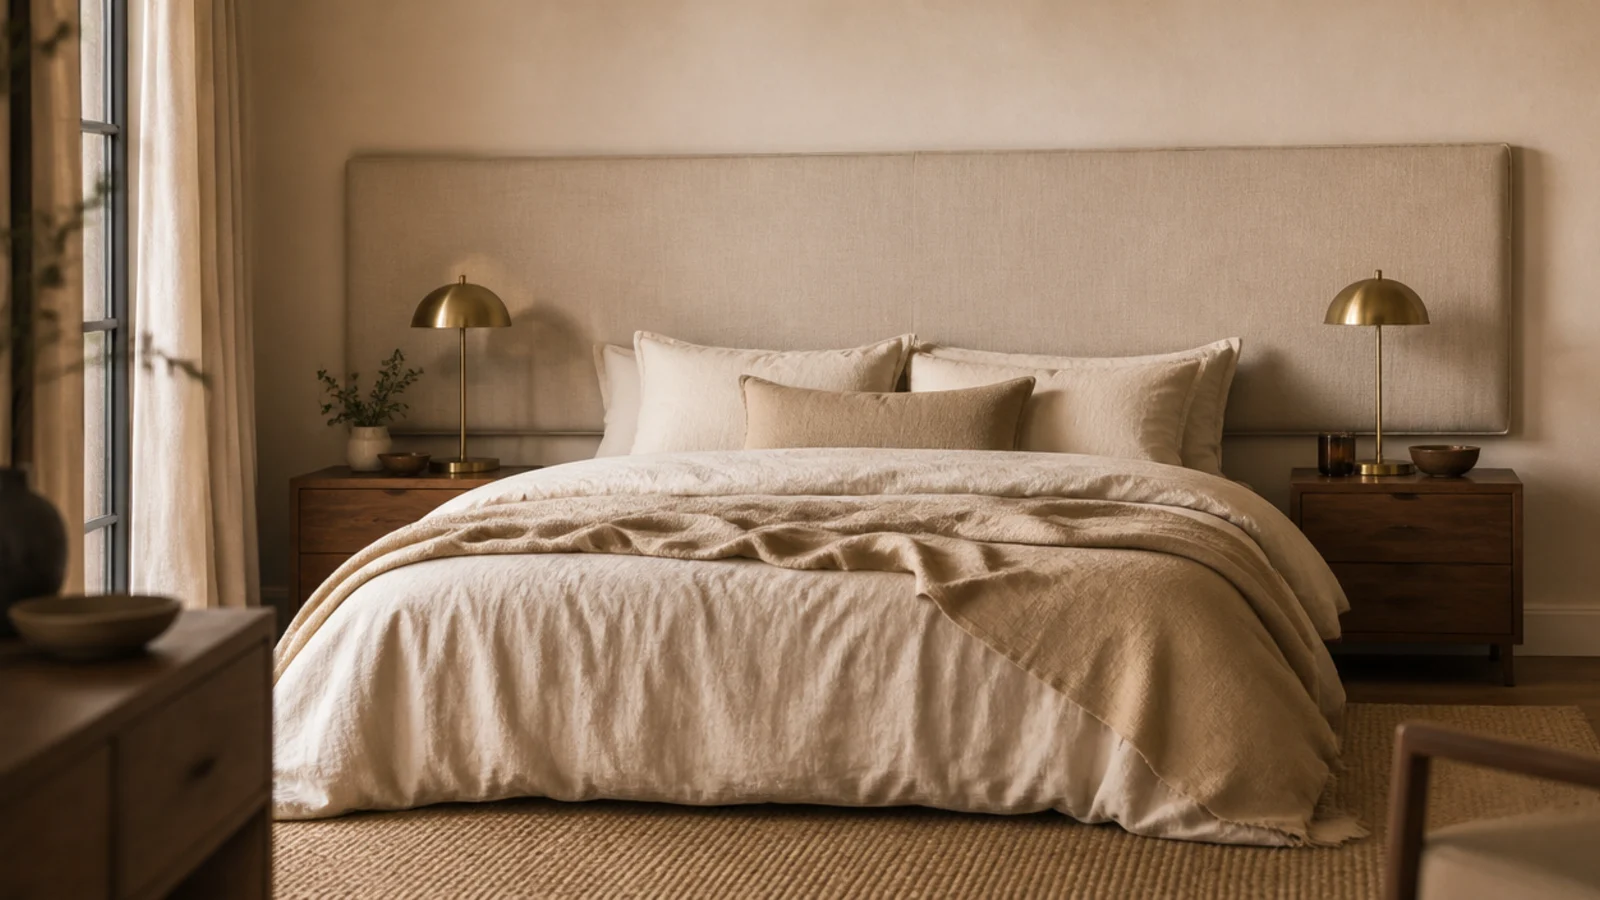
Headboard before and after is the most useful thing I can show anyone, because the changes that actually work are almost never the expensive ones. I have fixed bed walls in five of my own homes and a long list of friends' spare rooms, and the pattern barely varies.
Eleven of the twenty makeovers below needed nothing bought beyond paint, fabric or a $4 bulb. The other nine had a physical fault — the panel was too narrow, the foam was too thin, the anchors were wrong — and no amount of styling would have touched any of those.
The single most common problem, by a wide margin, is a headboard hung too low because the height was measured from the floor instead of the mattress top. It appears in six of these. The second is a panel cut to the bed frame width rather than the mattress width.
Here is what each one looked like before, what changed, and what it cost.
In this guide21 sections — tap to openHide
- 1.Makeover 1: The bed with no headboard at all
- 2.Makeover 2: The flat-pack panel that went flat
- 3.Makeover 3: The panel that was too narrow for a king
- 4.Makeover 4: The orange pine headboard
- 5.Makeover 5: The rental that banned drilling
- 6.Makeover 6: The north-facing bedroom that read cold
- 7.Makeover 7: The panel that would not stop tilting
- 8.Makeover 8: The fabric I could not clean
- 9.Makeover 9: The bedroom with no room for nightstands
- 10.Makeover 10: The attic bed under a slope
- 11.Makeover 11: The hard wooden edge in a kids room
- 12.Makeover 12: The guest room with two mismatched beds
- 13.Makeover 13: The bed pushed under a window
- 14.Makeover 14: The wall of charging cables
- 15.Makeover 15: The three metal finishes
- 16.Makeover 16: The bare gap above a low panel
- 17.Makeover 17: The nightstands at two different heights
- 18.Makeover 18: The box room that felt full
- 19.Makeover 19: The radiator directly behind the bed
- 20.Makeover 20: The room with no texture anywhere
- 21.Headboard Before and After: What I'd Do Differently Now
Makeover 1: The bed with no headboard at all
Before: a queen bed against a bare cream wall, with two pillows permanently sliding down the gap behind the mattress.
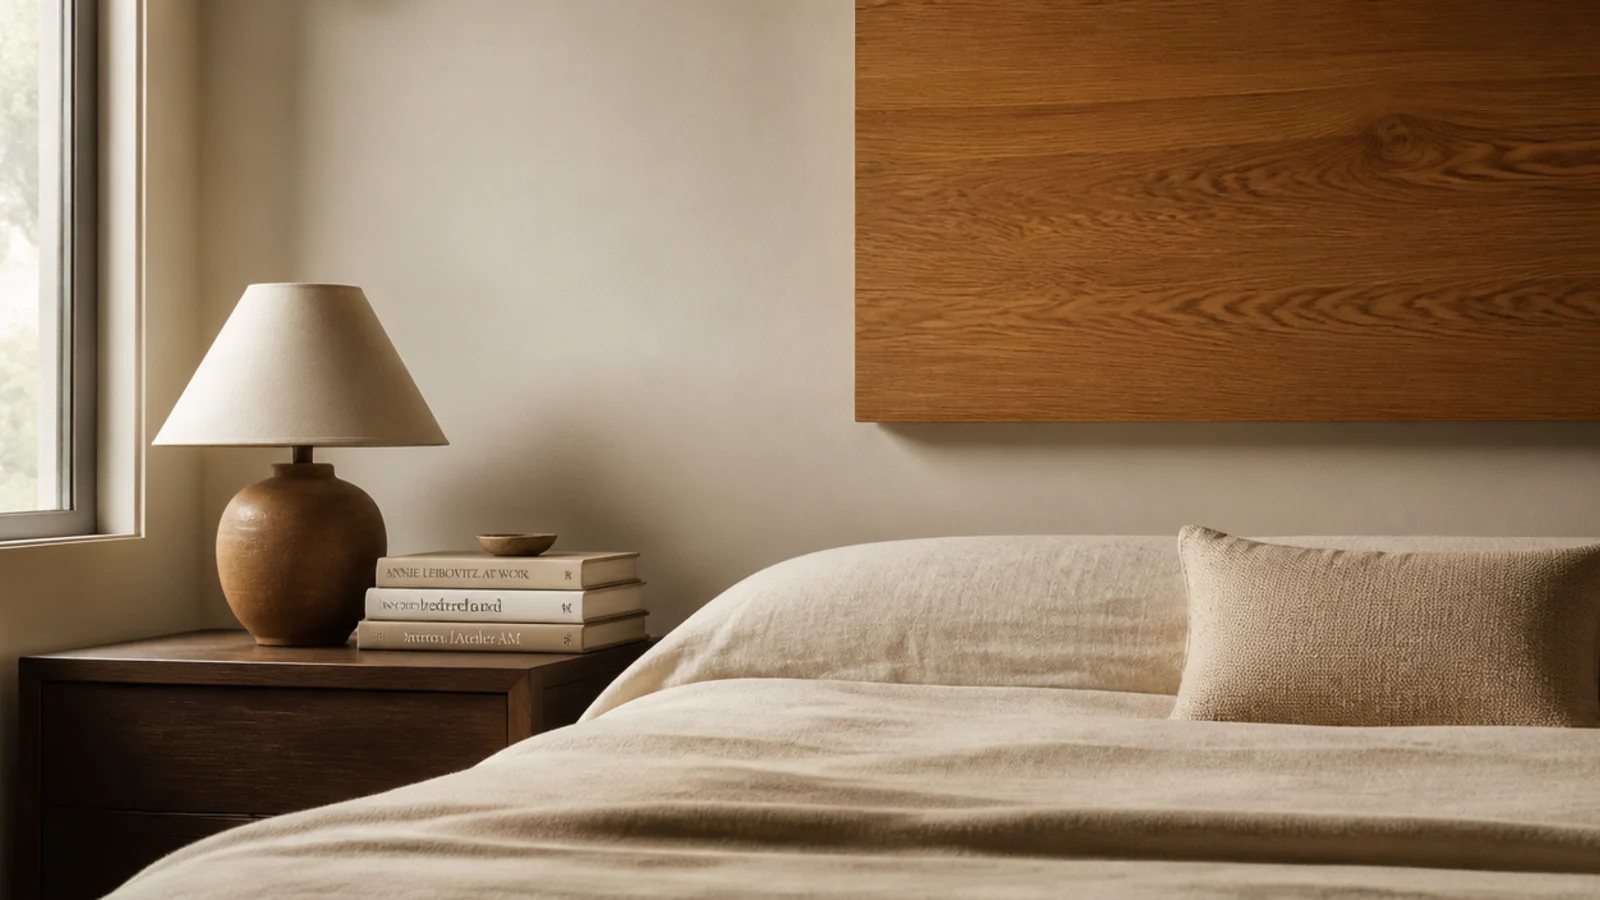
After: a 60-inch solid oak panel on a french cleat, bottom edge 3 inches above the mattress, finishing 26 inches up.
The gap at the bottom is the part people skip and the part that stops pillows disappearing. Two structural screws into studs, one afternoon, $95 in oak and hardware.
Makeover 2: The flat-pack panel that went flat
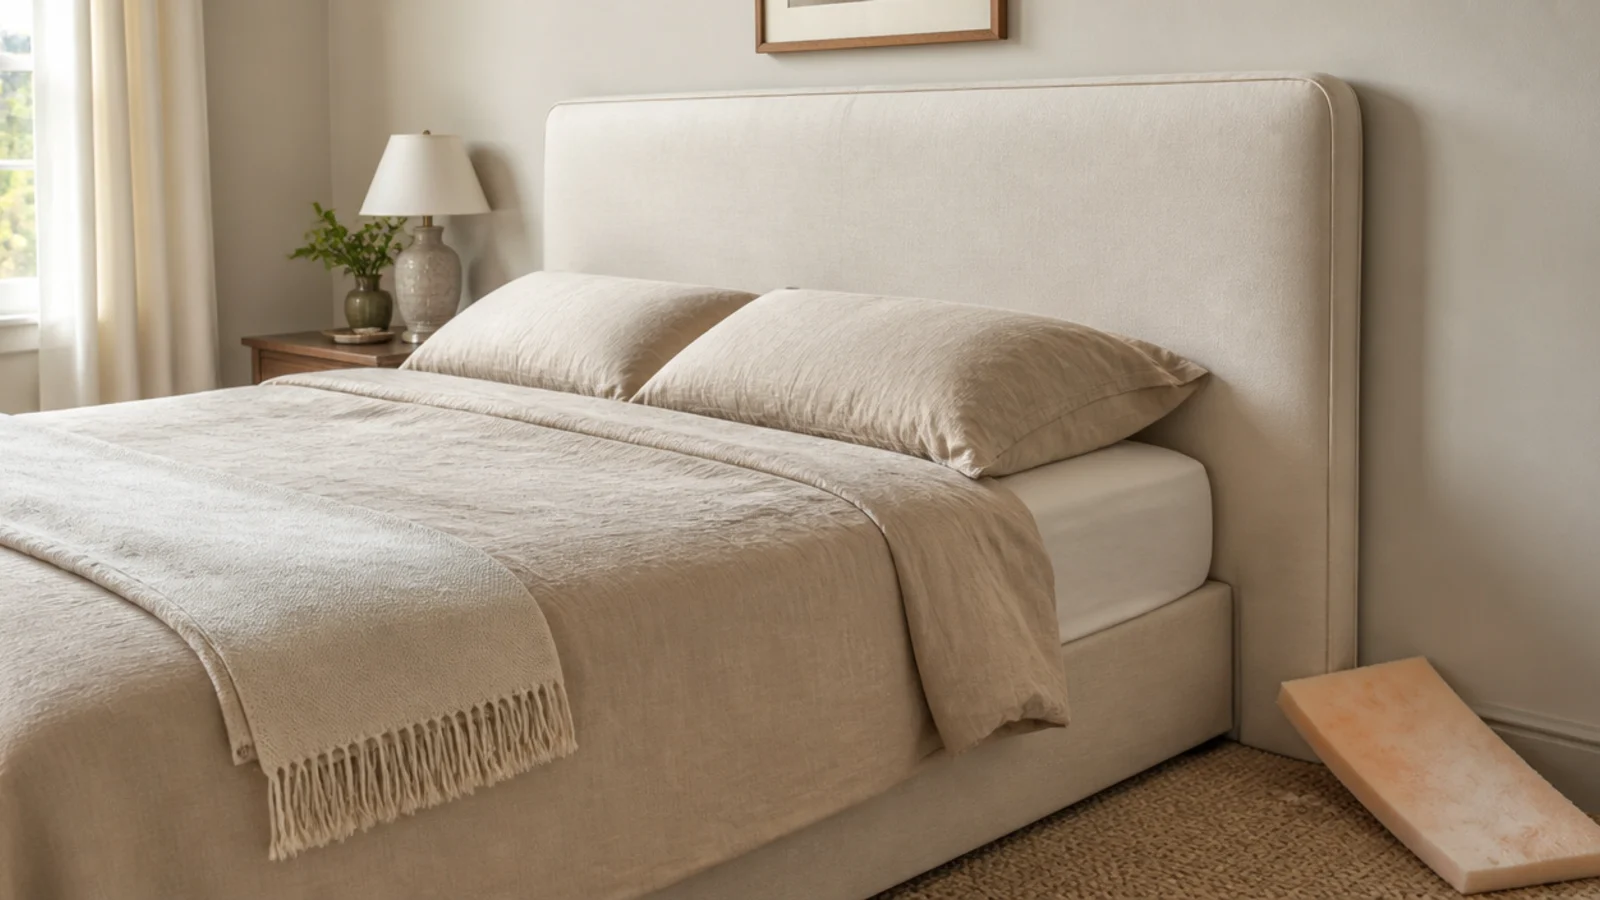
Before: a bought tufted headboard whose padding had compressed to nothing in about eighteen months, with visible dents where two people had leaned nightly.
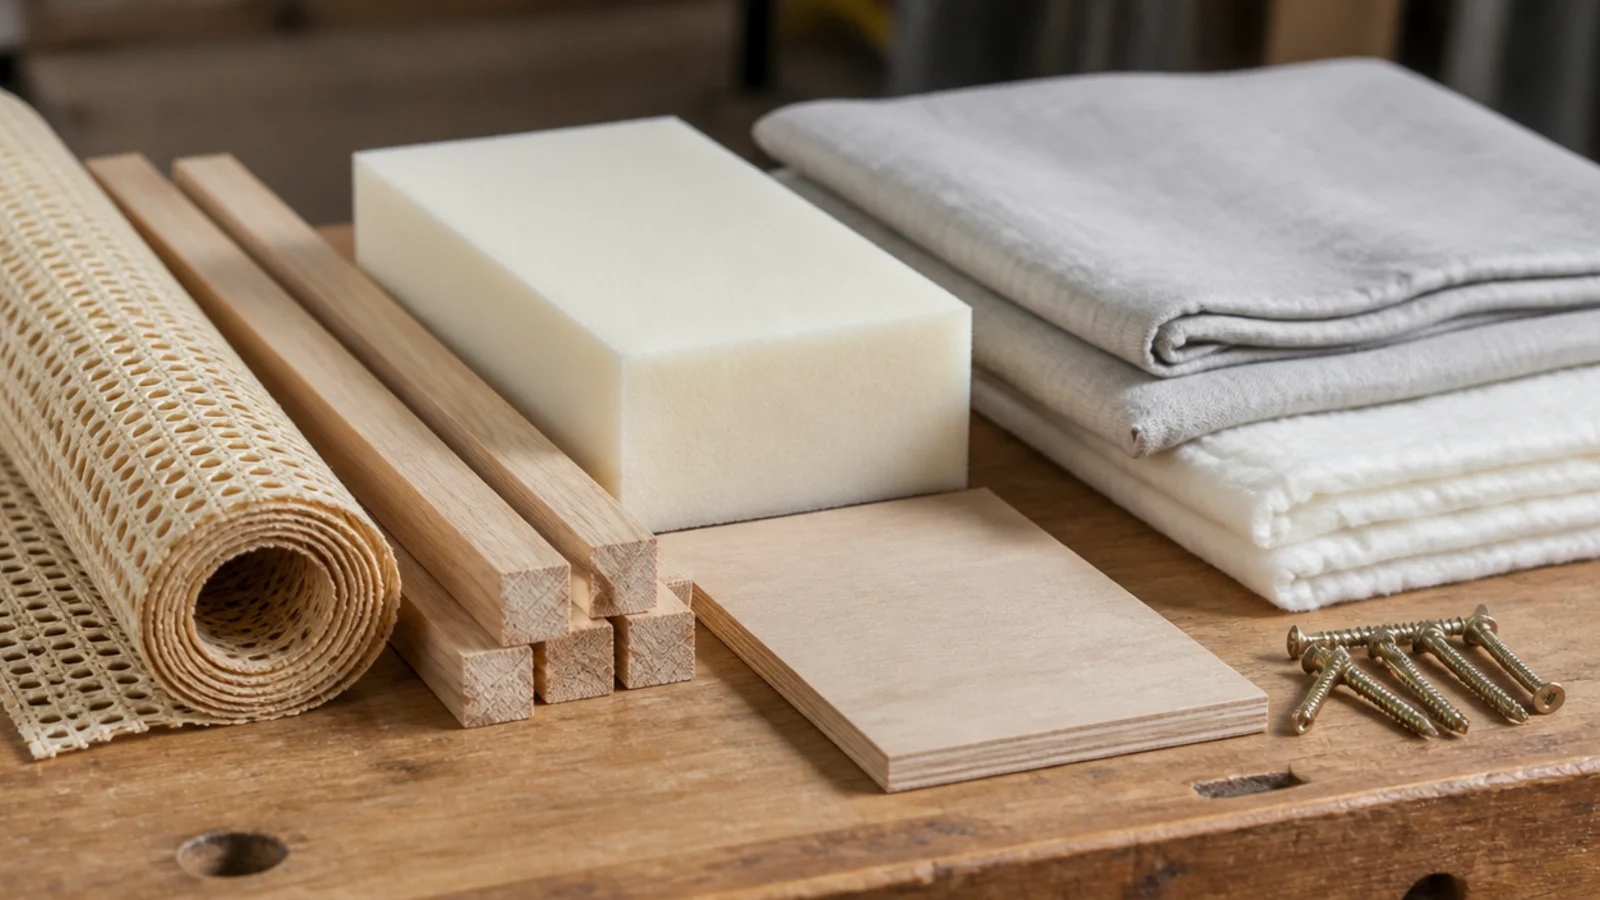
After: the same plywood back, stripped and rebuilt with 2 inches of high-density foam, a layer of batting and washed linen.
Density is what failed, not thickness — the original foam was soft craft foam. Rebuilding cost $74 and one Saturday morning, against $340 to replace it.
Makeover 3: The panel that was too narrow for a king
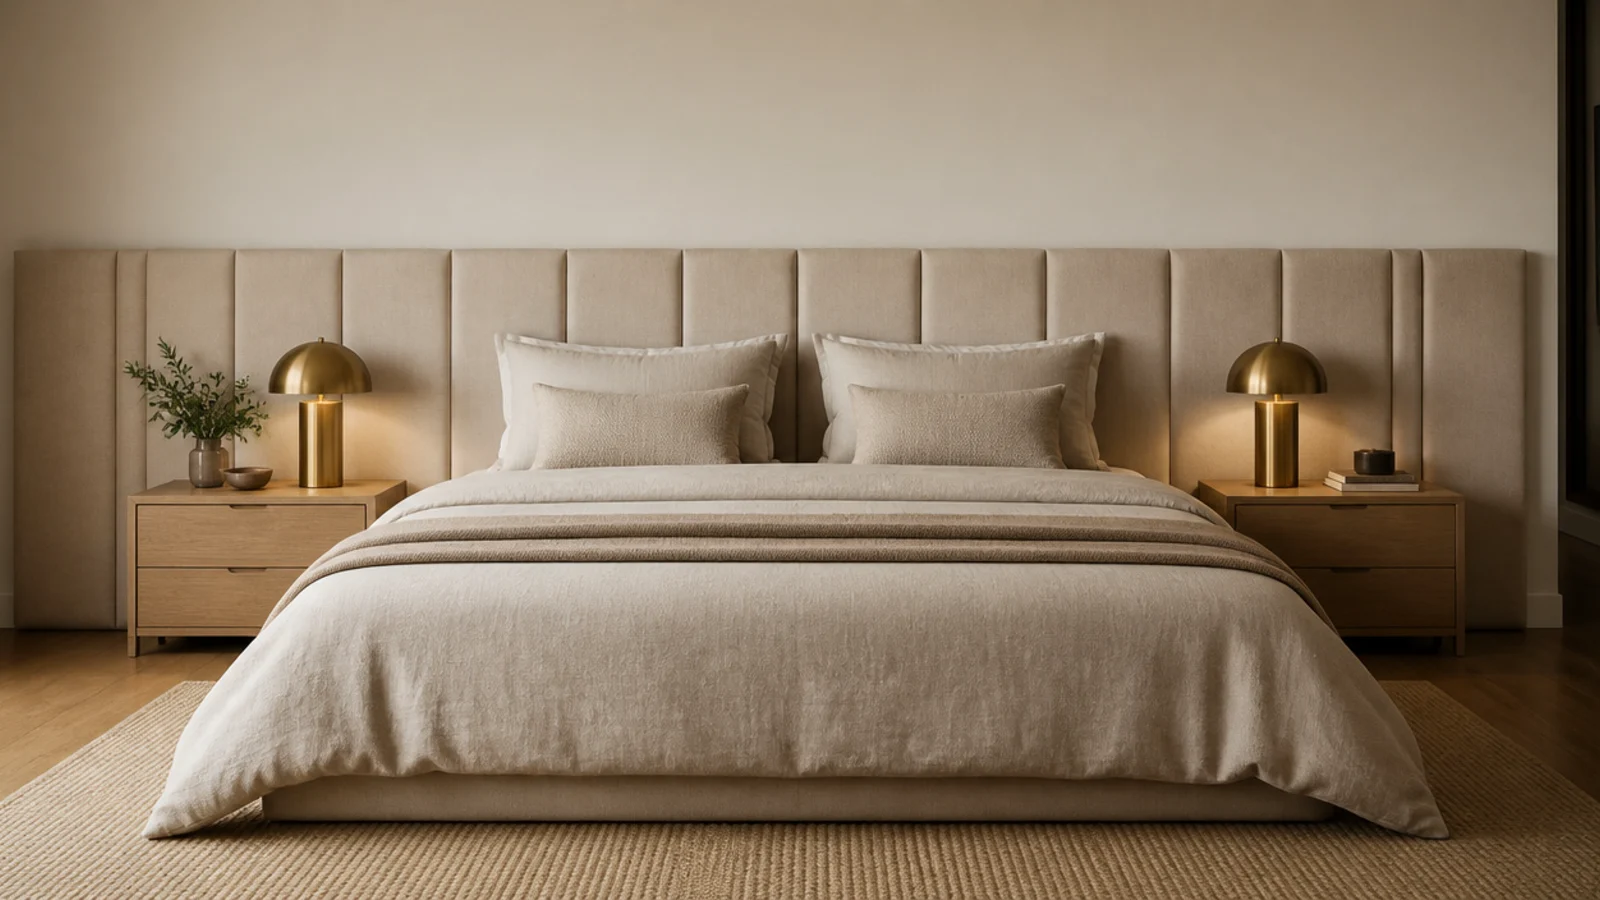
Before: a 60-inch panel behind a 76-inch king mattress, leaving an eight-inch step at each corner that every visitor's eye found immediately.
After: a new 84-inch panel running past both nightstands, built as two halves joined behind the fabric.
Nothing about the old panel was badly made. It was simply the wrong number. Materials came to $160, and the room finally looked deliberate.
Makeover 4: The orange pine headboard
Before: a solid pine headboard with an orange-toned stain that matched nothing else in a room of cream, clay and walnut.
After: two coats of the wall color in satin, edges included.
Painting solid wood feels like vandalism until you see it. The panel stopped being an object stuck on a wall and became part of the room. One sample pot, $12, ninety minutes plus drying.
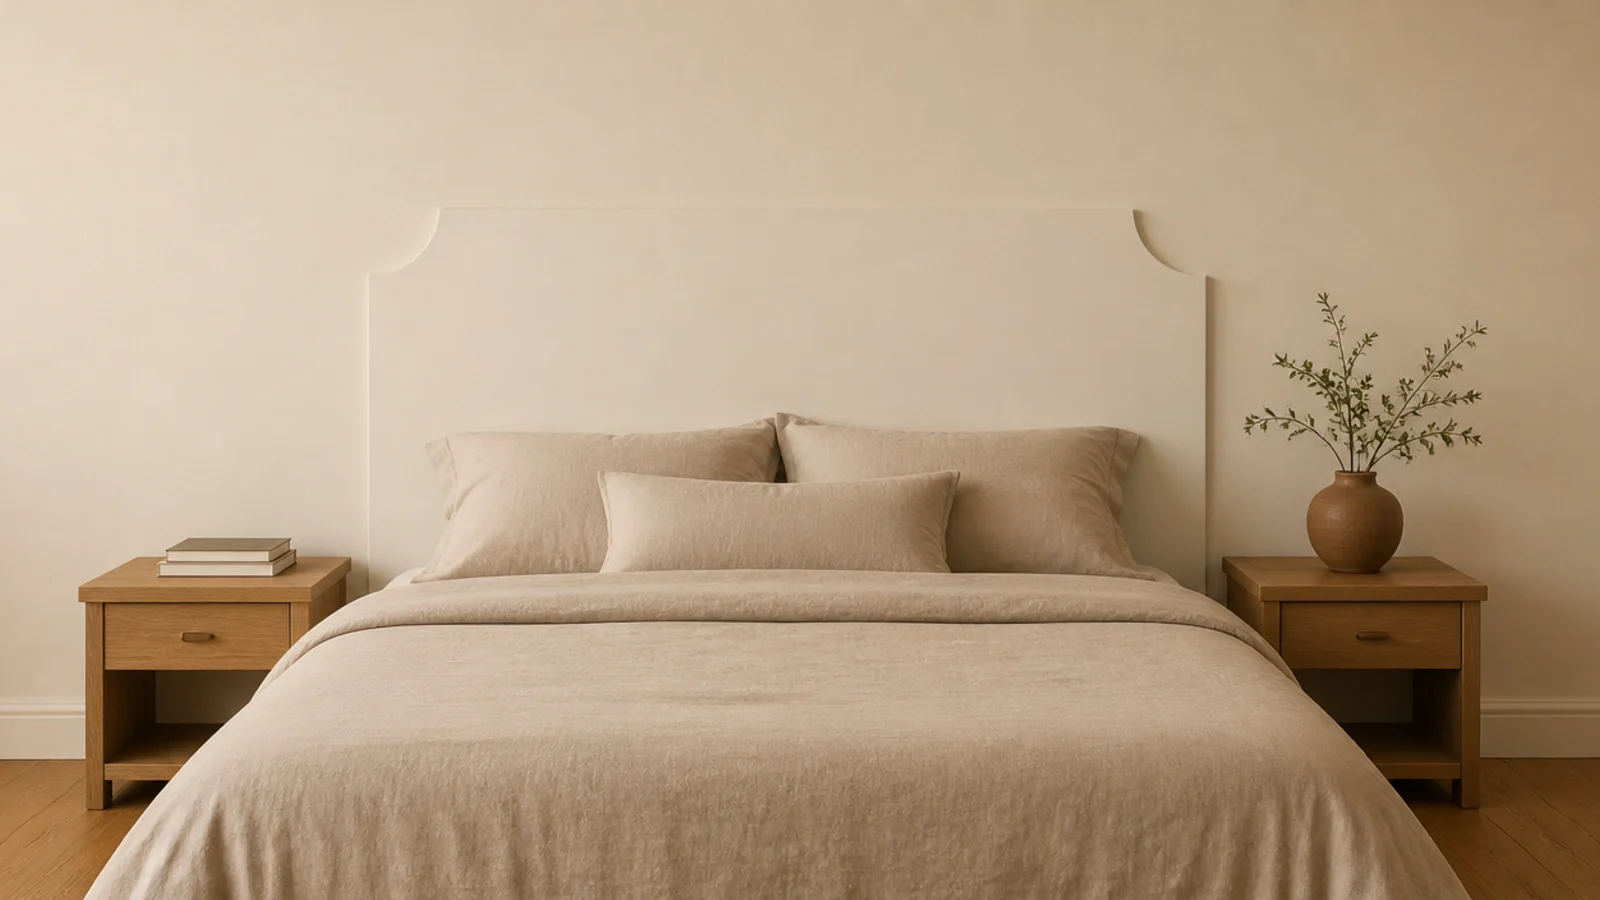
Makeover 5: The rental that banned drilling
Before: a strict no-fixings lease, a bed floating in the middle of a wall, and a landlord who had already deducted for picture hooks once.
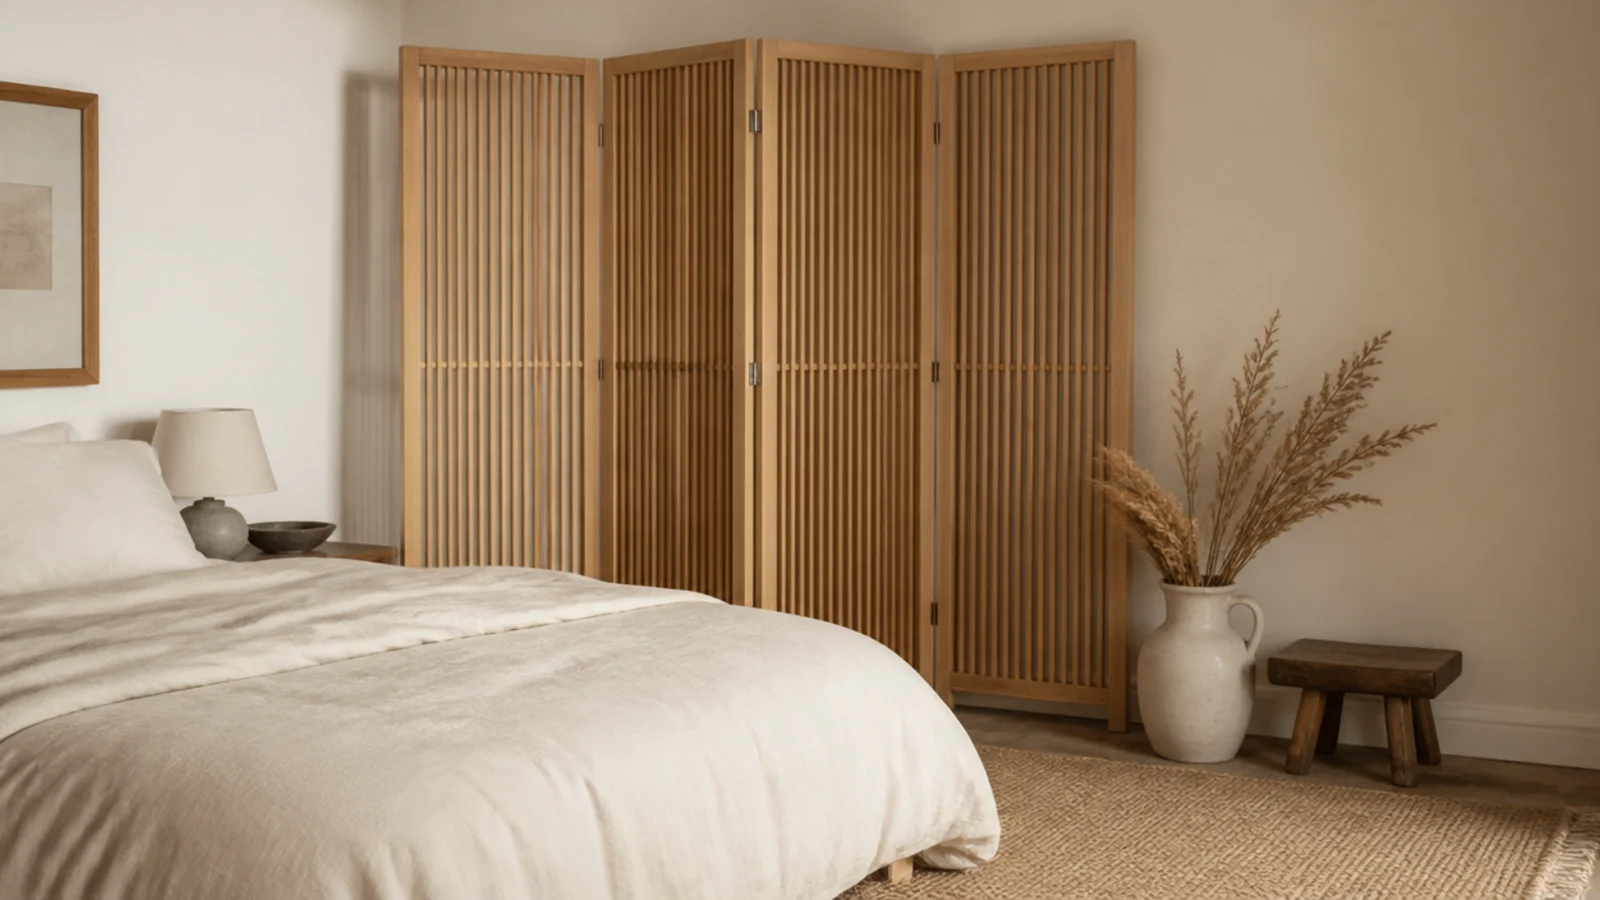
After: a slatted oak folding screen leaning at about 10 degrees behind the bed, with the frame pushed back to hold its base.
Zero holes and it moved to the next flat as furniture. The screen was $110 secondhand. More options like it sit in headboard alternatives.
Makeover 6: The north-facing bedroom that read cold
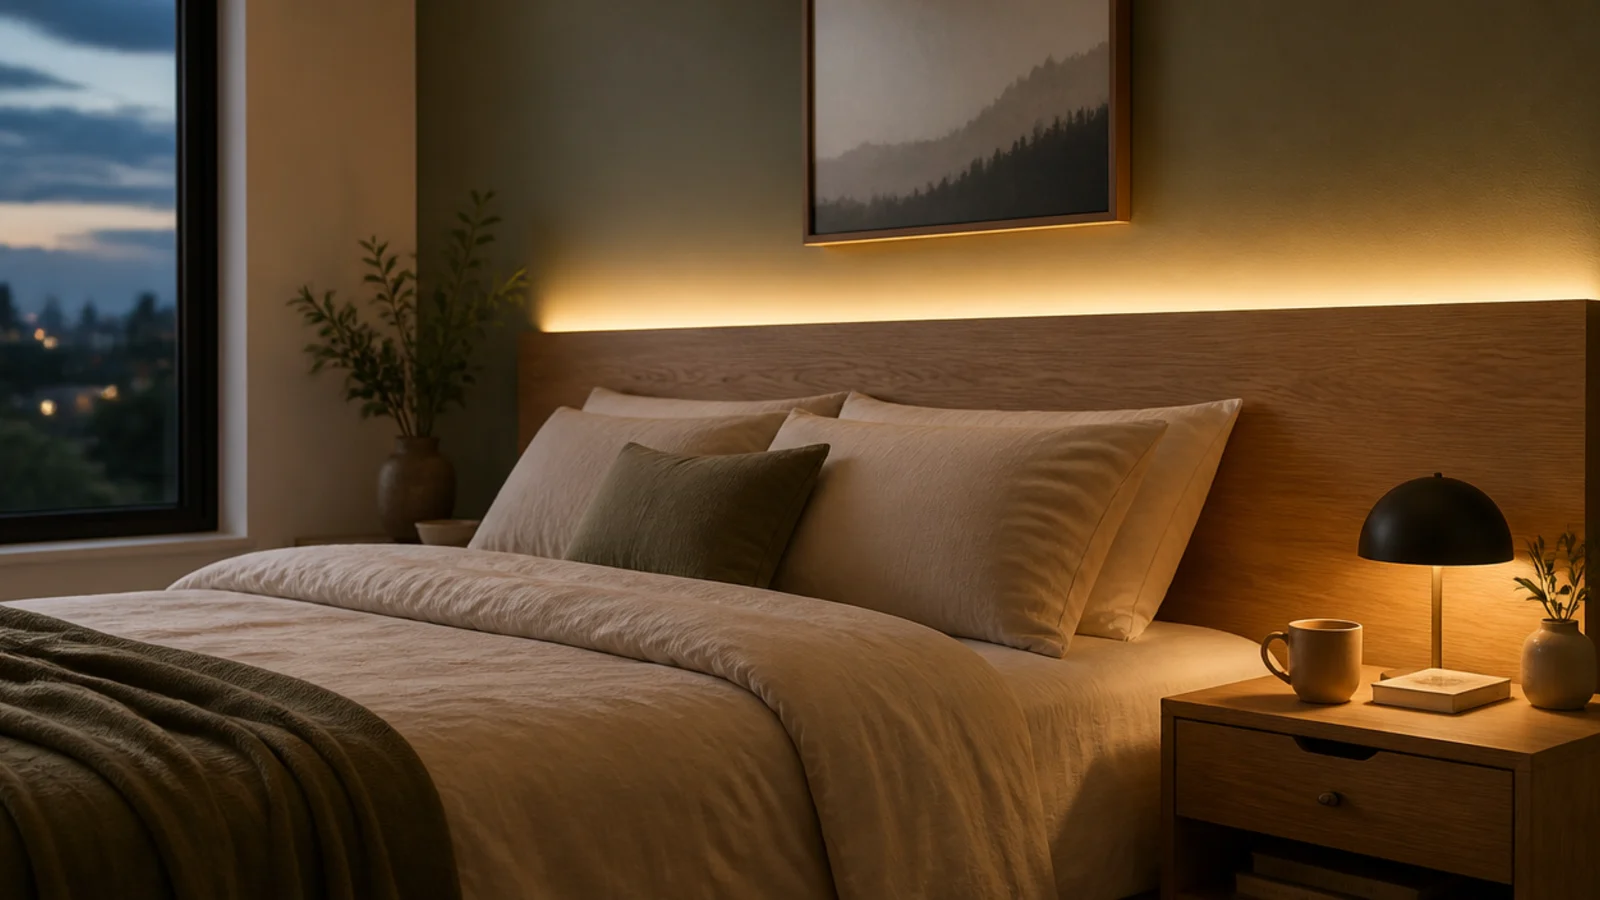
Before: a good oak panel, decent bedding, and a room that felt grey at every hour because both bedside bulbs were 4000K.
After: 2700K bulbs in both lamps and a warm LED strip tucked behind the panel edges.
The client had been pricing new bedding. The bedding was fine; the light was wrong. Bulbs and tape came to $34 and changed the entire room after dark.
Makeover 7: The panel that would not stop tilting
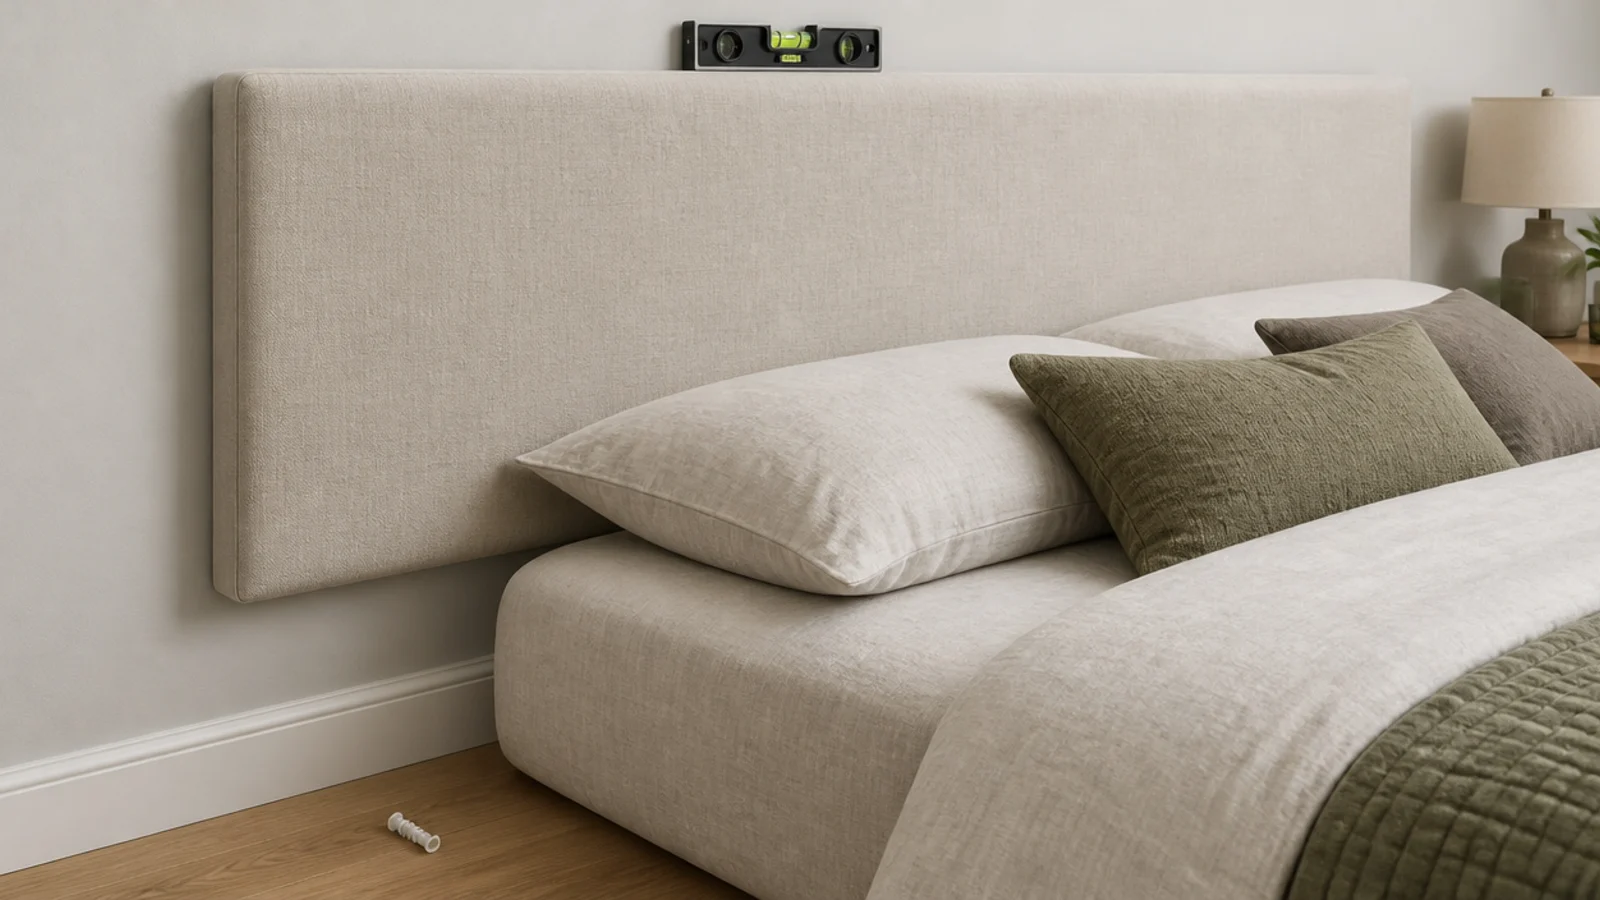
Before: a padded panel on four drywall anchors, sitting visibly low on the left, with a hairline crack in the paint beside the top fixing.
After: re-hung on a french cleat with structural screws into two studs, dead level.
The anchors had not snapped — they had crept out under the nightly sideways push a headboard takes. Four screws, $6, twenty-five minutes, and two filled holes.
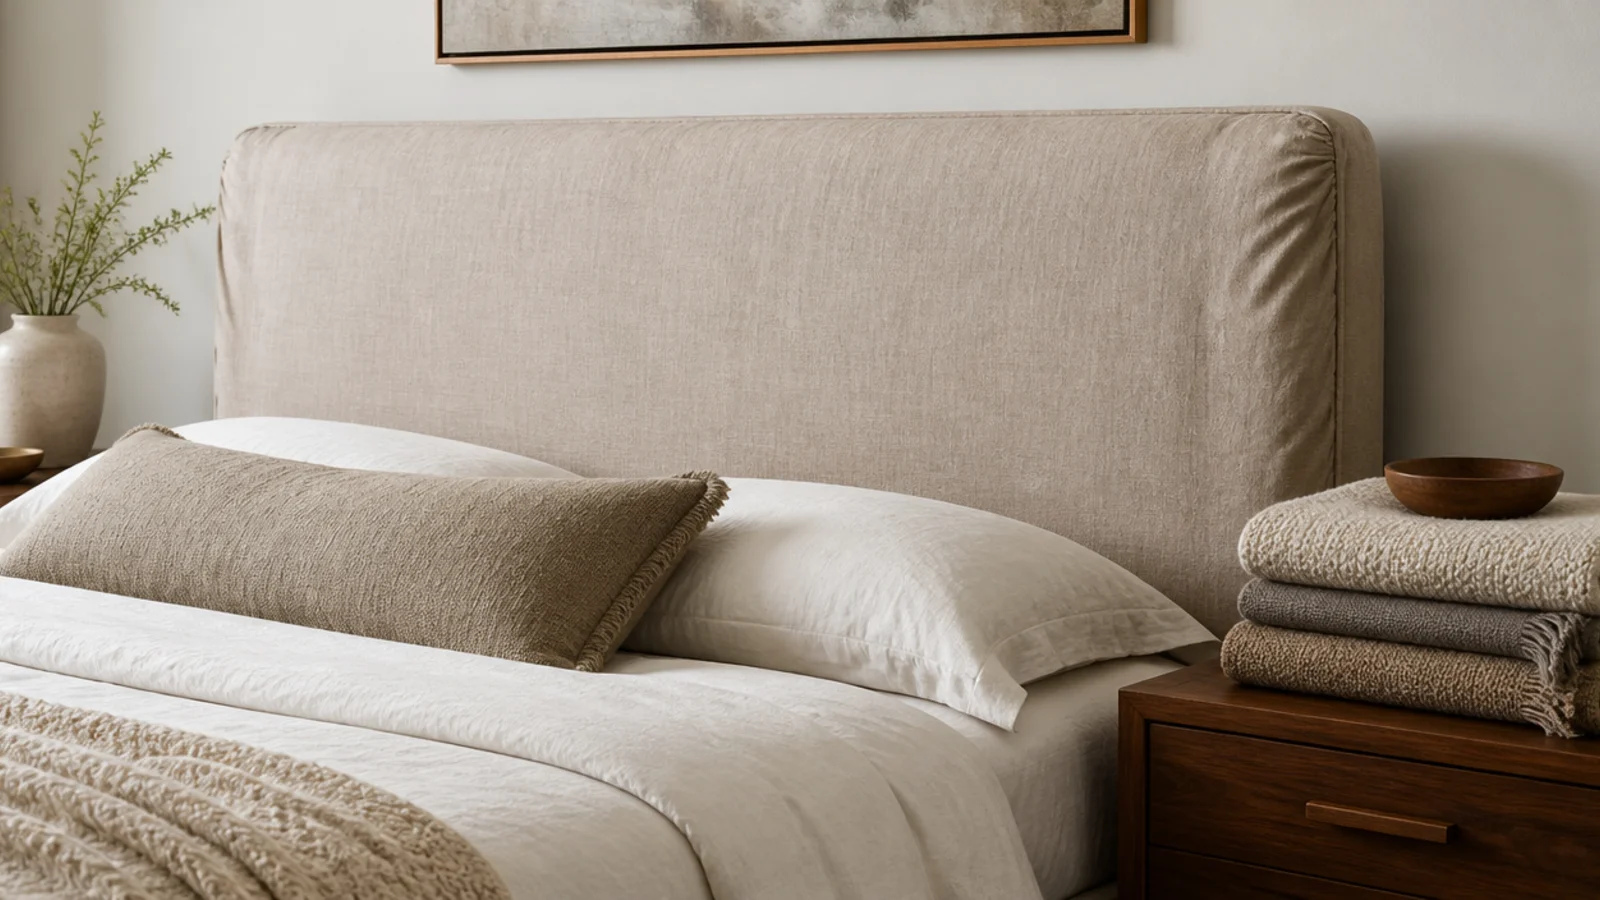
Makeover 8: The fabric I could not clean
Before: a pale dry-clean-only weave with a faint darker band along the top third, invisible from the door and obvious from the bed.
After: a loose washed-linen slipcover over the whole panel, made to size, that goes in the machine twice a year.
It cost $110, against $300 to rebuild. The lesson stuck: I have not used an unwashable fabric behind a bed since. Headboard mistakes has the rest of that story.
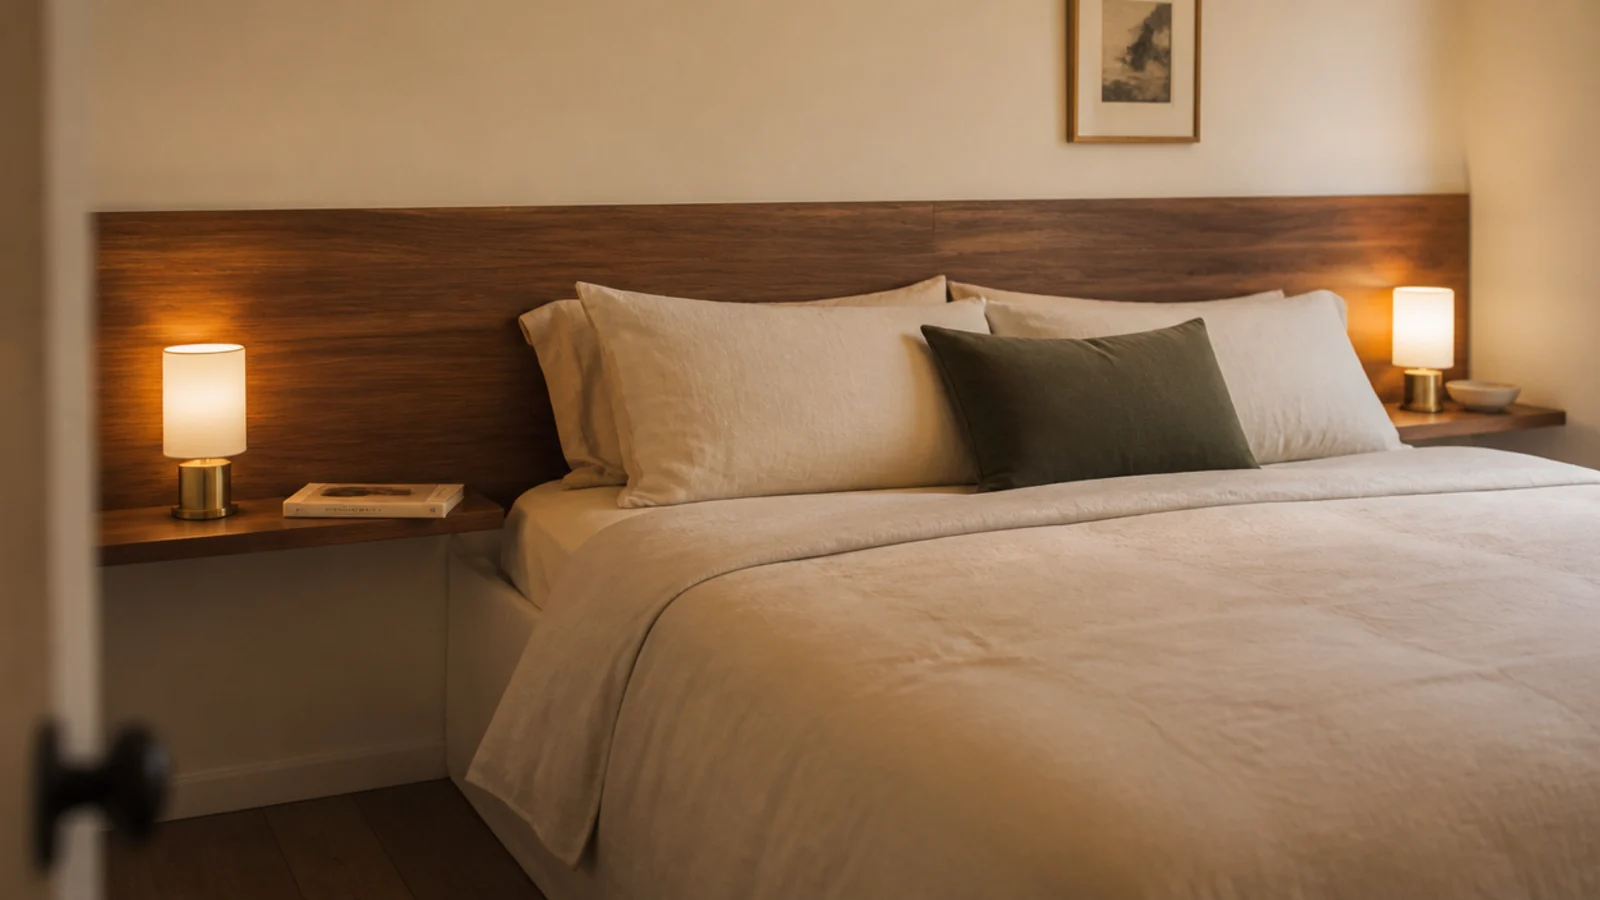
Makeover 9: The bedroom with no room for nightstands
Before: a queen bed in a narrow room with two bulky nightstands leaving a 15-inch squeeze on each side.
After: an 84-inch panel with slim walnut ledges continuing from it at mattress height on both sides.
More usable surface, zero floor footprint, and a walkway you can pass without turning sideways. Materials came to $140, and both nightstands sold for more than that.
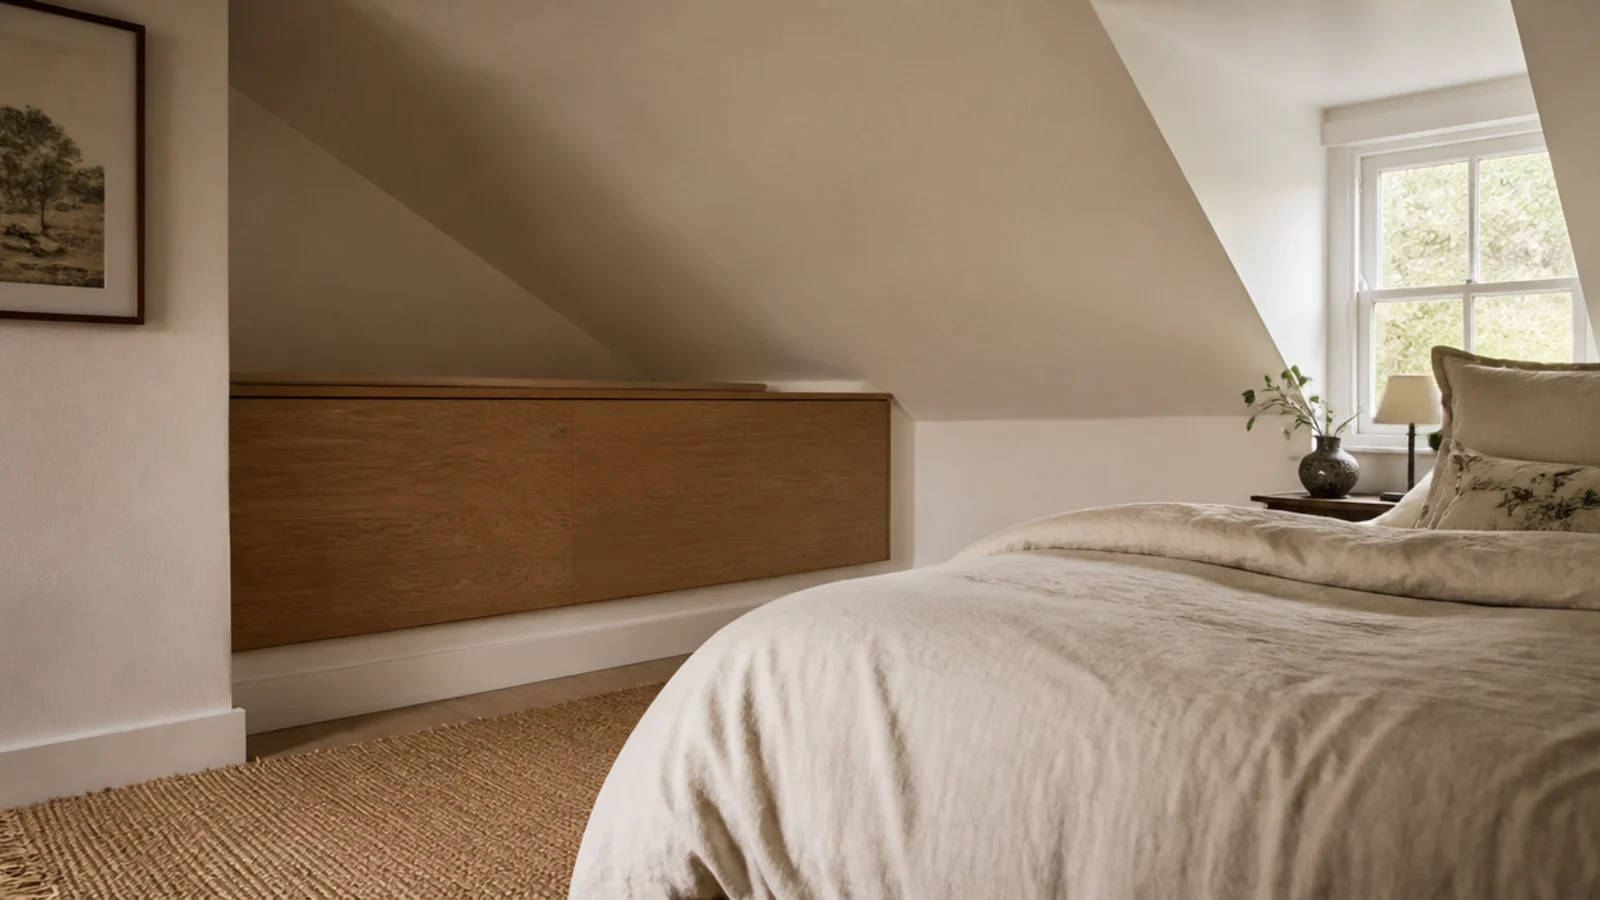
Makeover 10: The attic bed under a slope
Before: a tall headboard jammed under a sloping ceiling, hitting the slope at one corner and sitting out of parallel with everything.
After: a low wide oak panel, 24 inches above the mattress and 8 inches wider than the bed, fixed to the short knee wall.
Under a slope, low and wide always beats tall and narrow. The cleat needs the knee wall, since a slope gives a fixing almost nothing to bite. Cost $85.
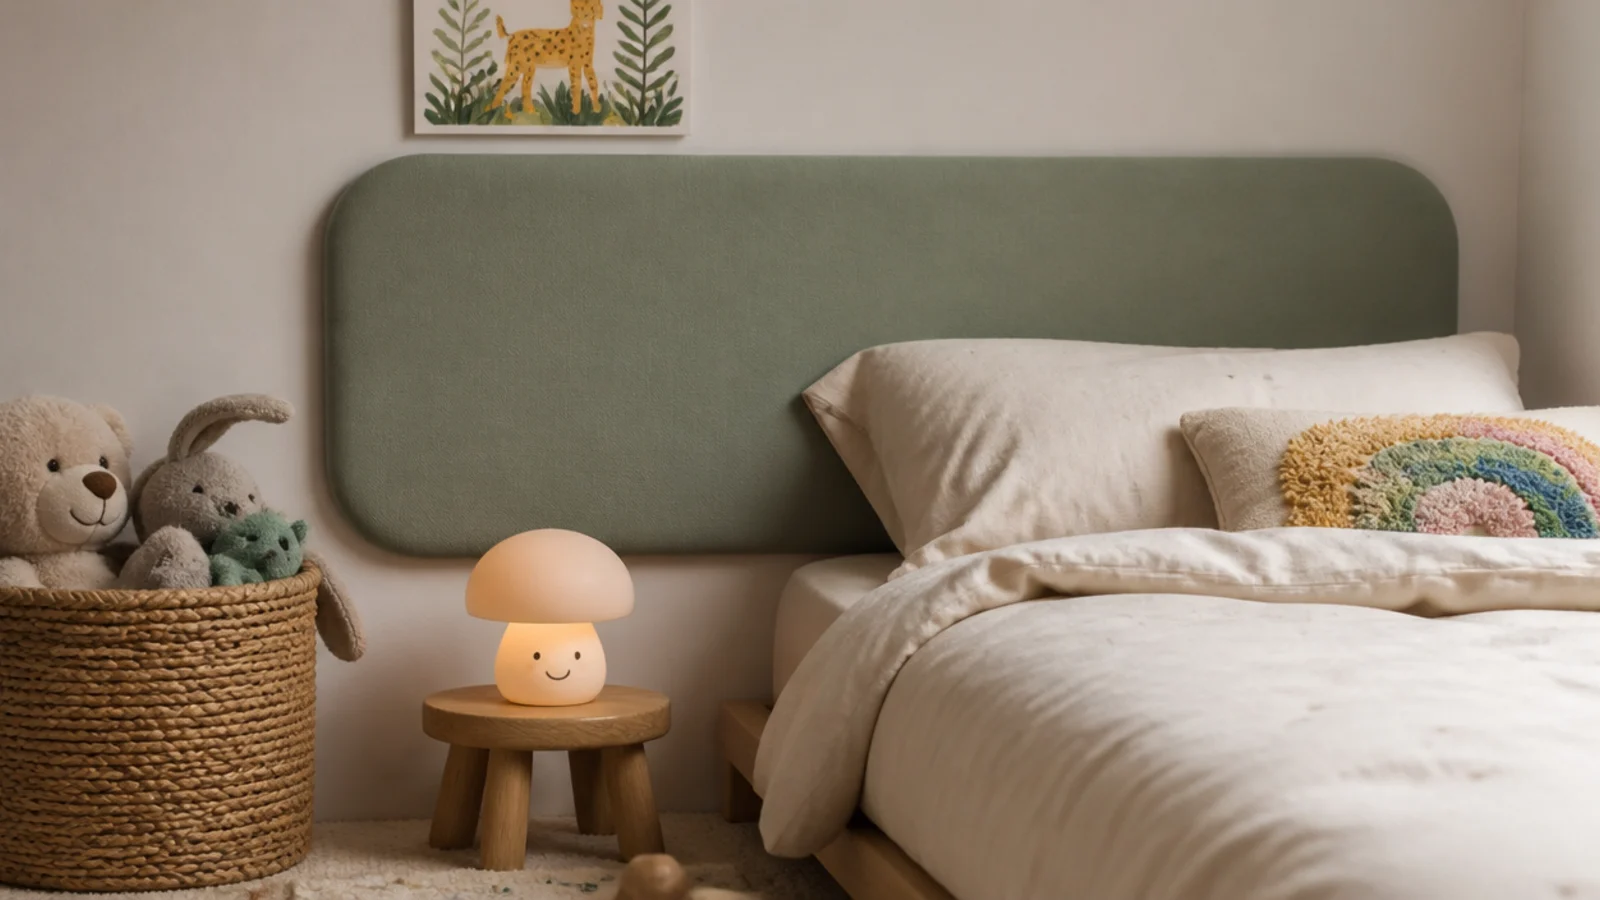
Makeover 11: The hard wooden edge in a kids room
Before: a slatted wooden headboard at head height in a five-year-old's room, with a hard square edge exactly where she sat up.
After: a low padded panel in a wipeable performance fabric, corners rounded to a 1-inch radius, capped 24 inches above the mattress.
Cleated into studs rather than anything adhesive, because children lean and climb. Materials $60, and the fabric sponges clean.
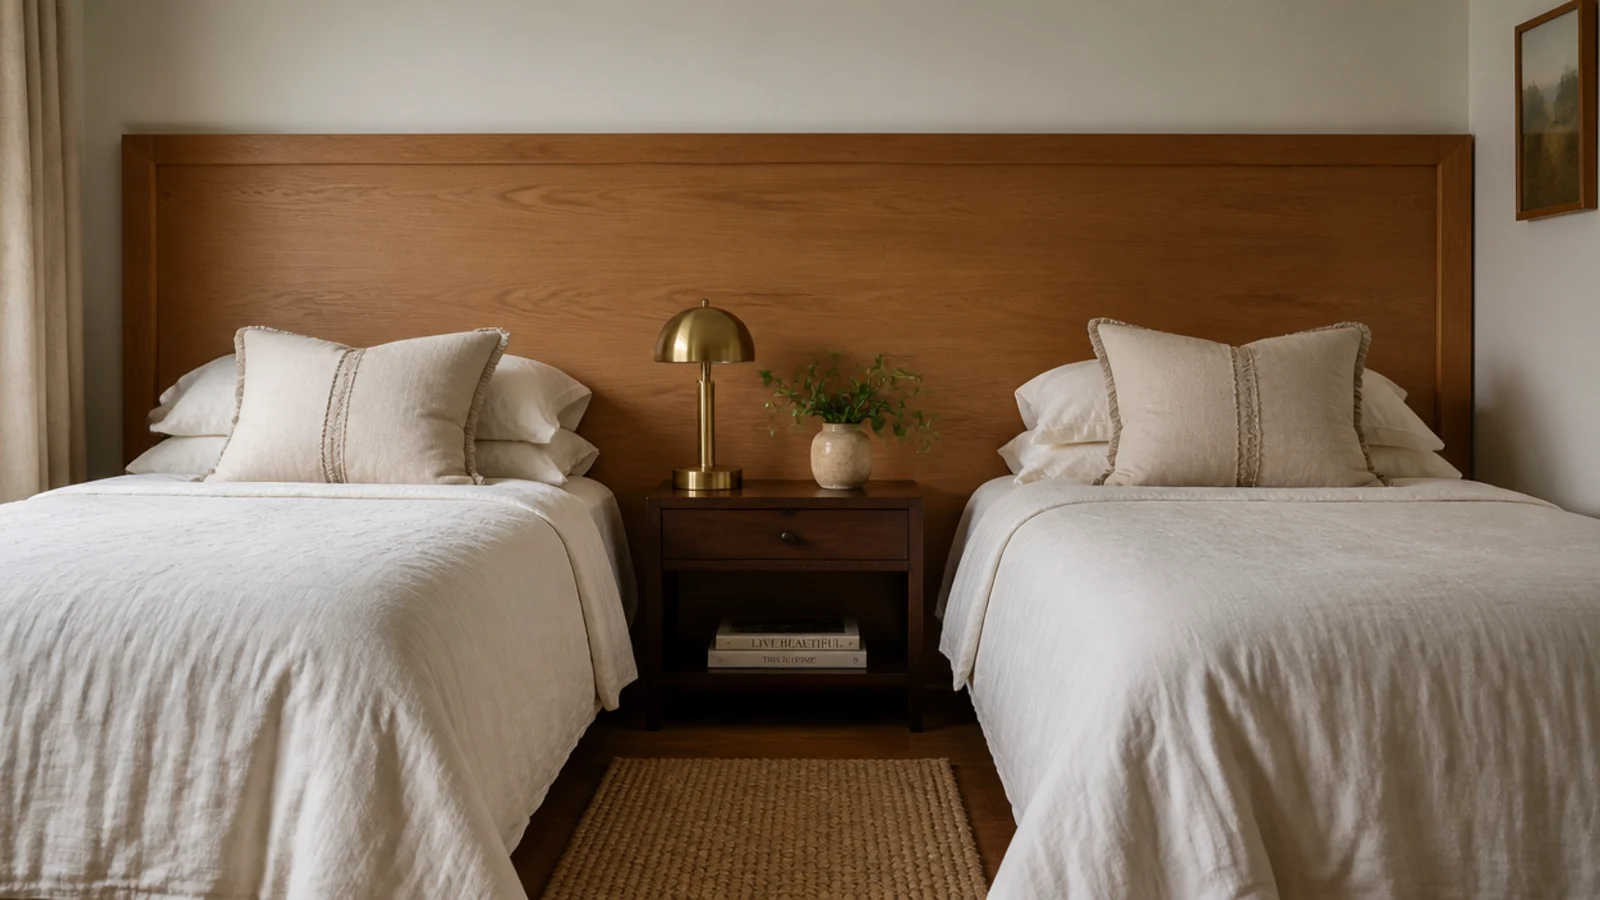
Makeover 12: The guest room with two mismatched beds
Before: two twin beds with two different inherited headboards, which made a tidy room look like storage for spare furniture.
After: one 96-inch oak panel spanning both beds and the table between them, built in two halves meeting behind the table.
One panel unified the whole wall instantly. It is the single most effective guest room fix I know. Materials $180.
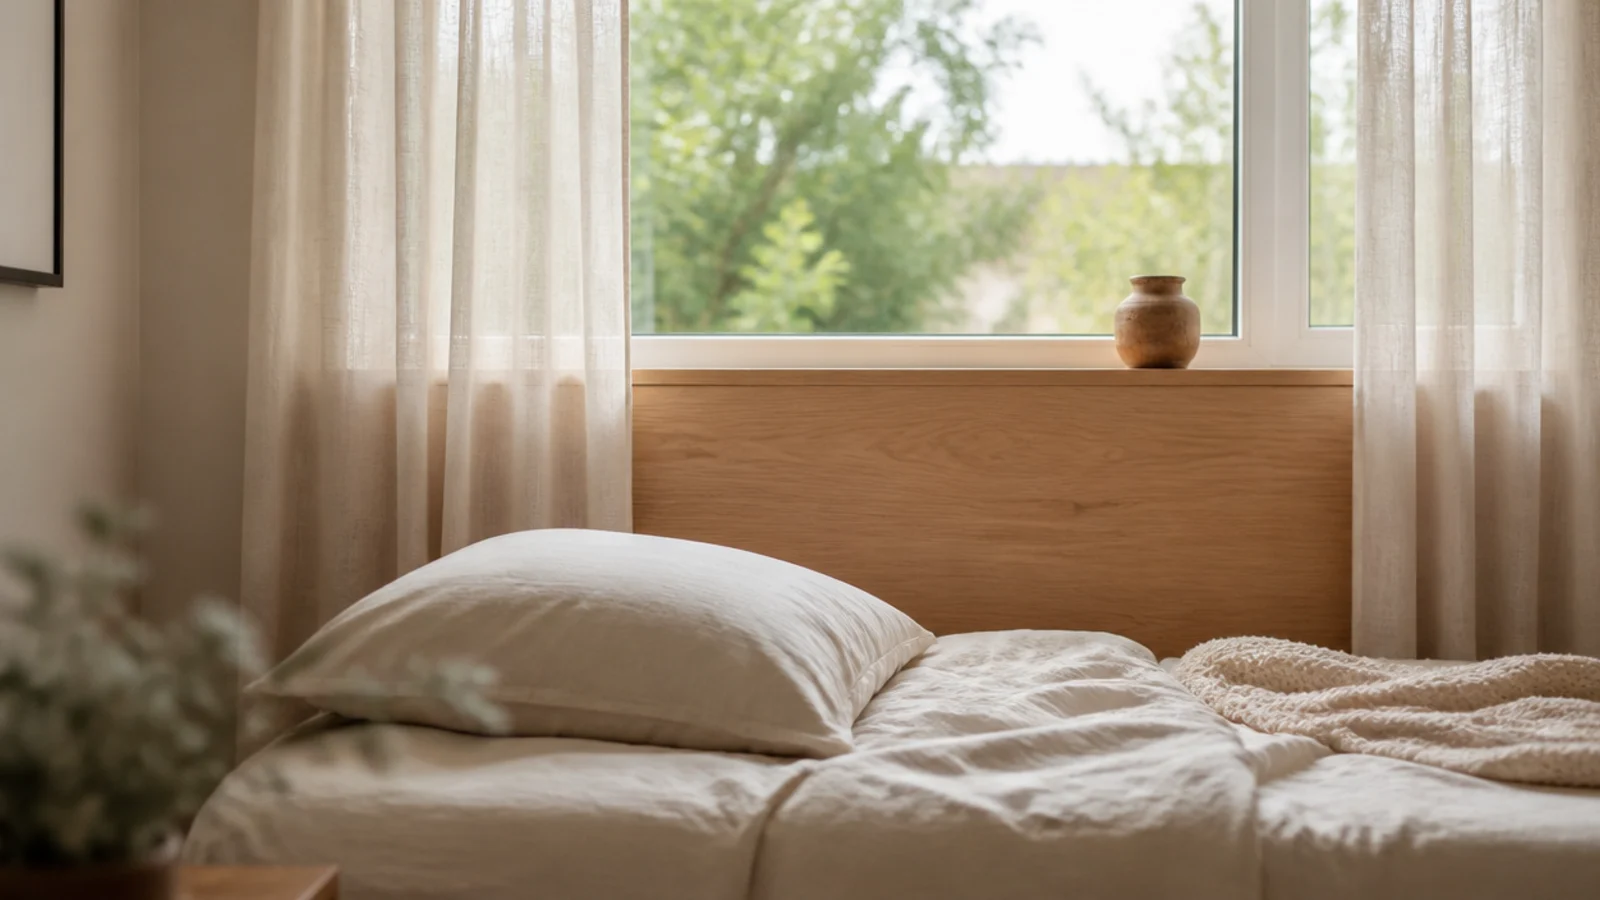
Makeover 13: The bed pushed under a window
Before: a standard-height headboard covering the lower third of a window, blocking light and looking accidental.
After: a low oak panel finishing 3 inches below the sill, with the curtains rehung wider so they clear the glass entirely.
A bed under a window is not a mistake — a tall panel under a window is. Panel and curtain hardware came to $120 together.
Makeover 14: The wall of charging cables
Before: a genuinely lovely cane panel with three white cables hanging down the wall to a floor outlet, cancelling every other decision.
After: an adhesive cable channel painted the wall color, run down behind the nightstand.
Twelve dollars and twenty minutes. It is the least glamorous change here and one of the three biggest visual improvements, which tells you something about bed walls.
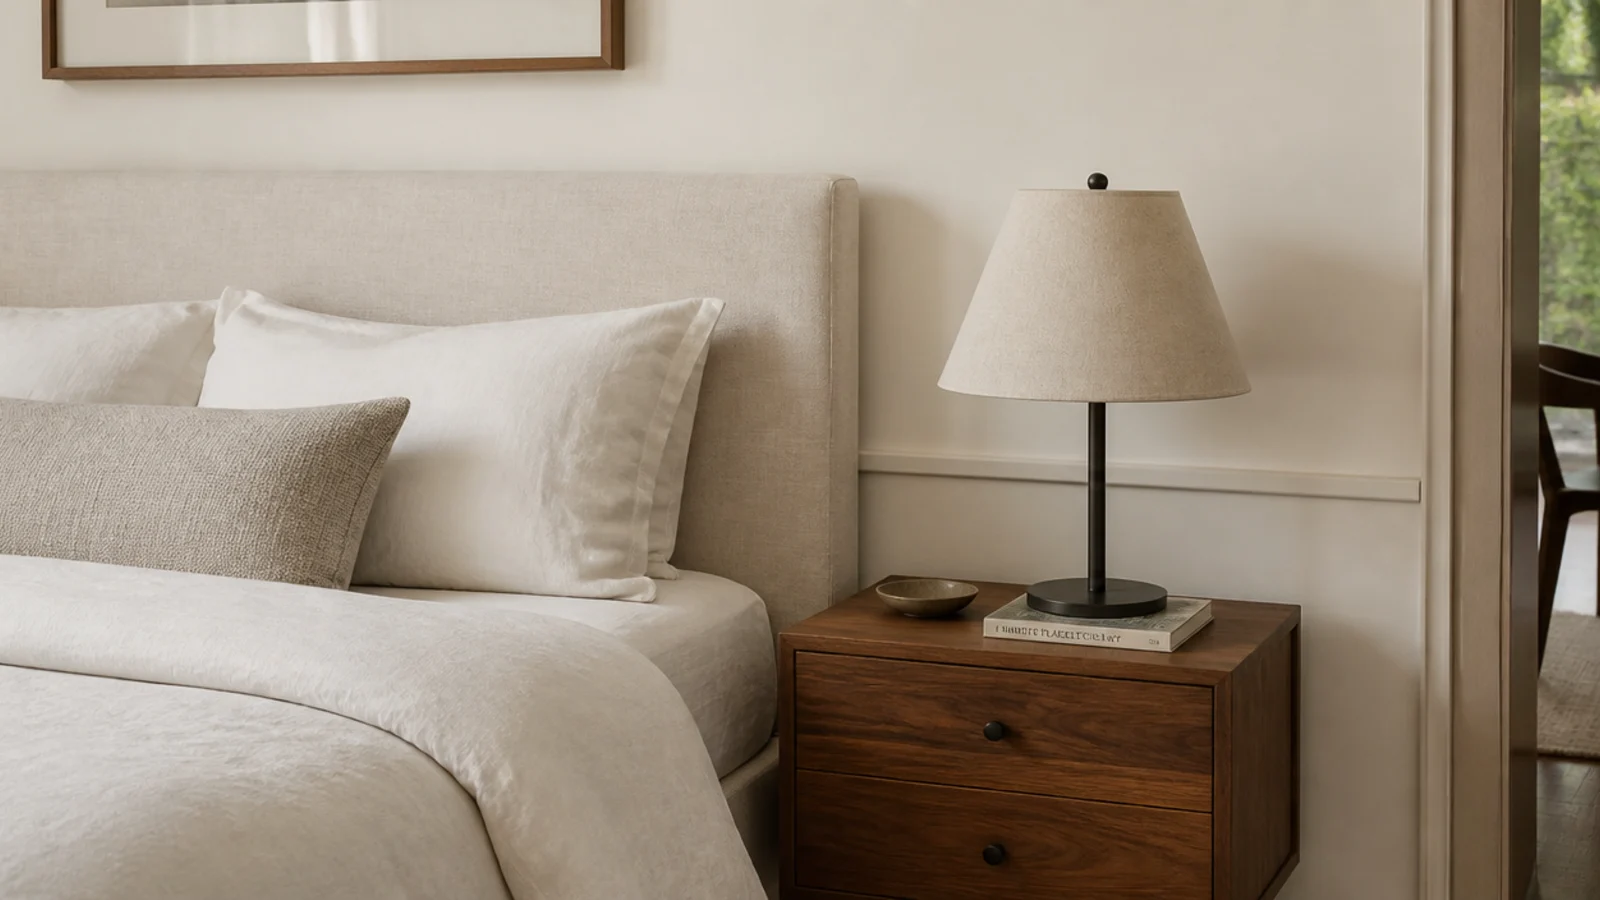
Makeover 15: The three metal finishes
Before: a chrome sconce, brass drawer pulls and a black picture frame on one bed wall, each fine alone and restless together.
After: brass repeated exactly three times — sconce, pulls, one frame — and the chrome moved to the bathroom.
Nothing was bought except a $28 sconce. Three of one finish reads intentional; two reads accidental and four starts reading like a theme.
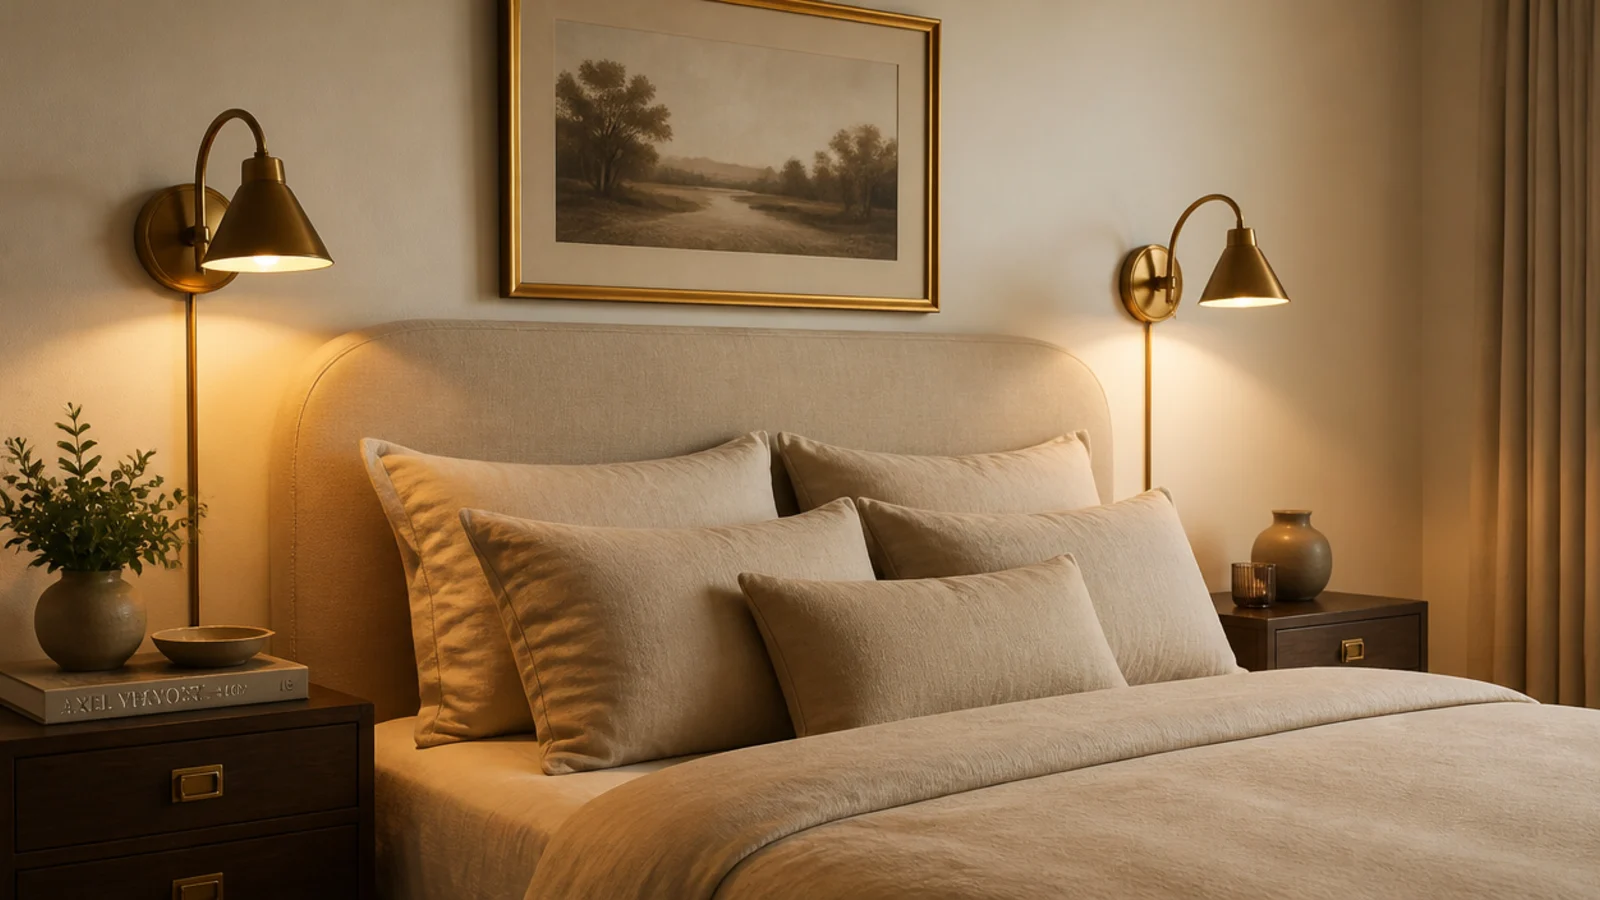
Makeover 16: The bare gap above a low panel
Before: a 26-inch panel with four feet of empty wall above it, which made the bed look like it had slipped down the room.
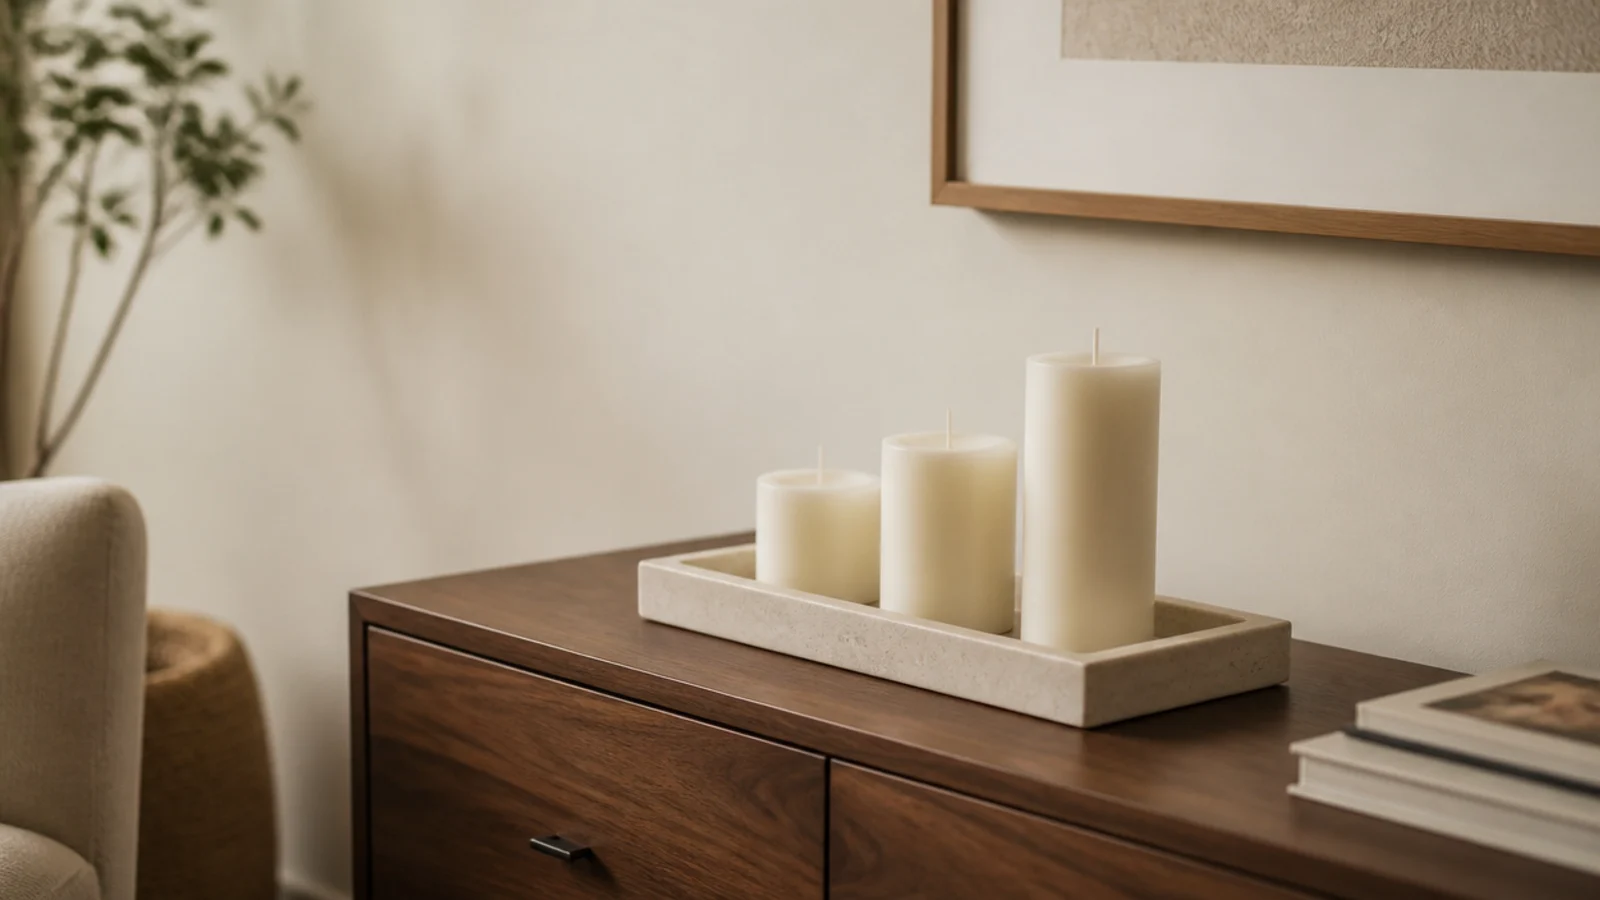
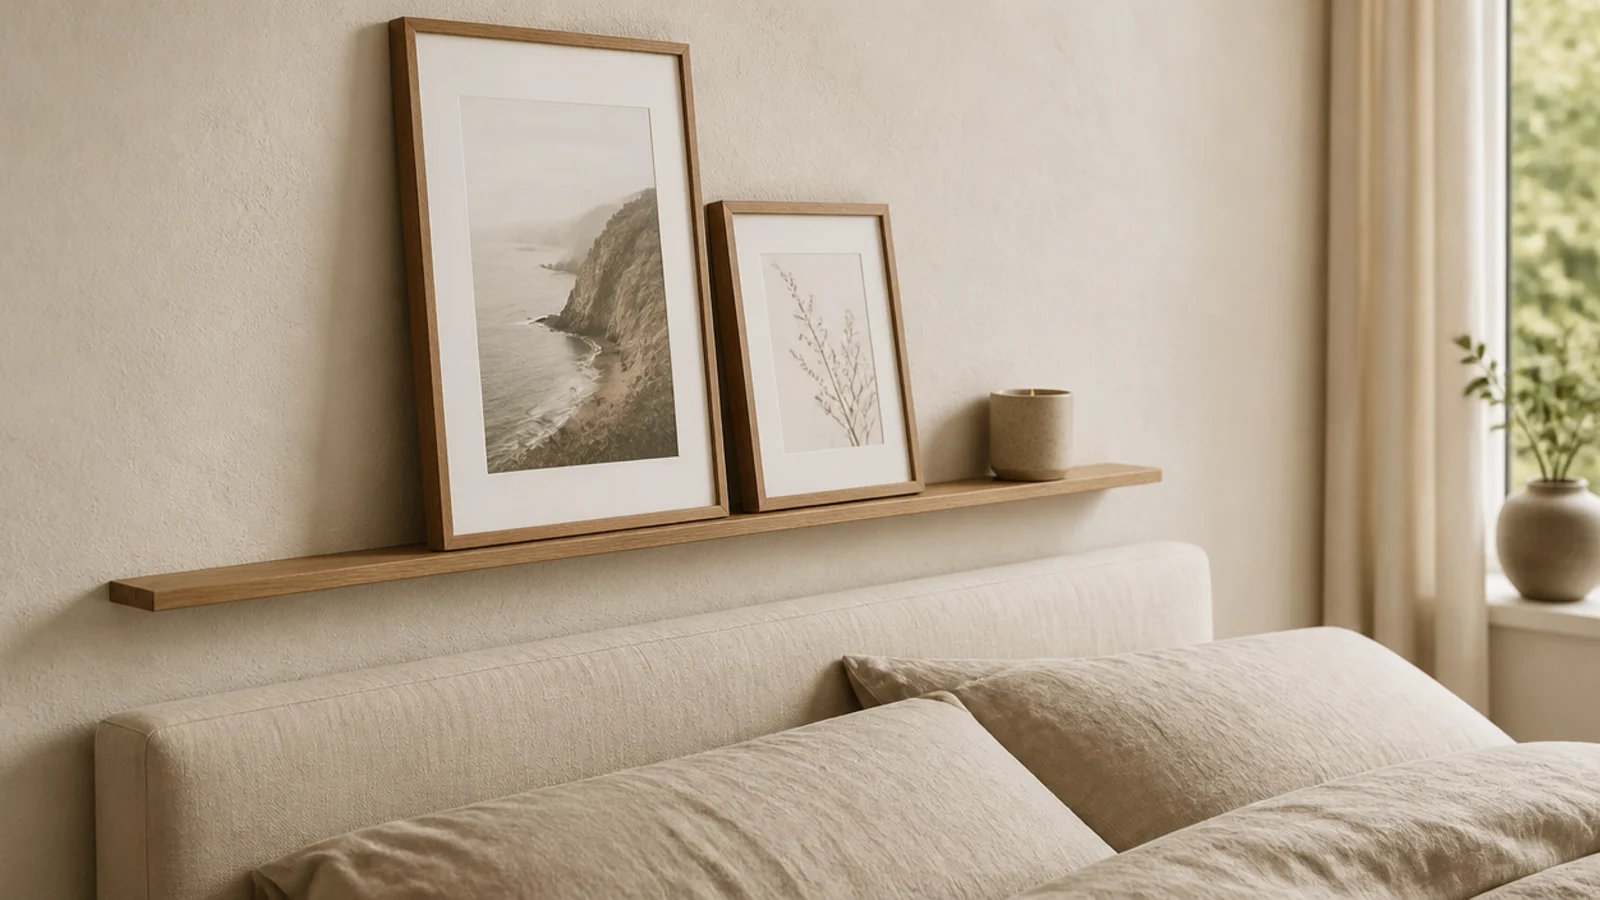
After: one 4-inch oak picture ledge mounted 12 inches above the panel, holding two leaning prints and a candle.
Two screws instead of the fourteen a gallery wall would need. Ledge and frames came to $58, and the whole thing restyles in five minutes.
Makeover 17: The nightstands at two different heights
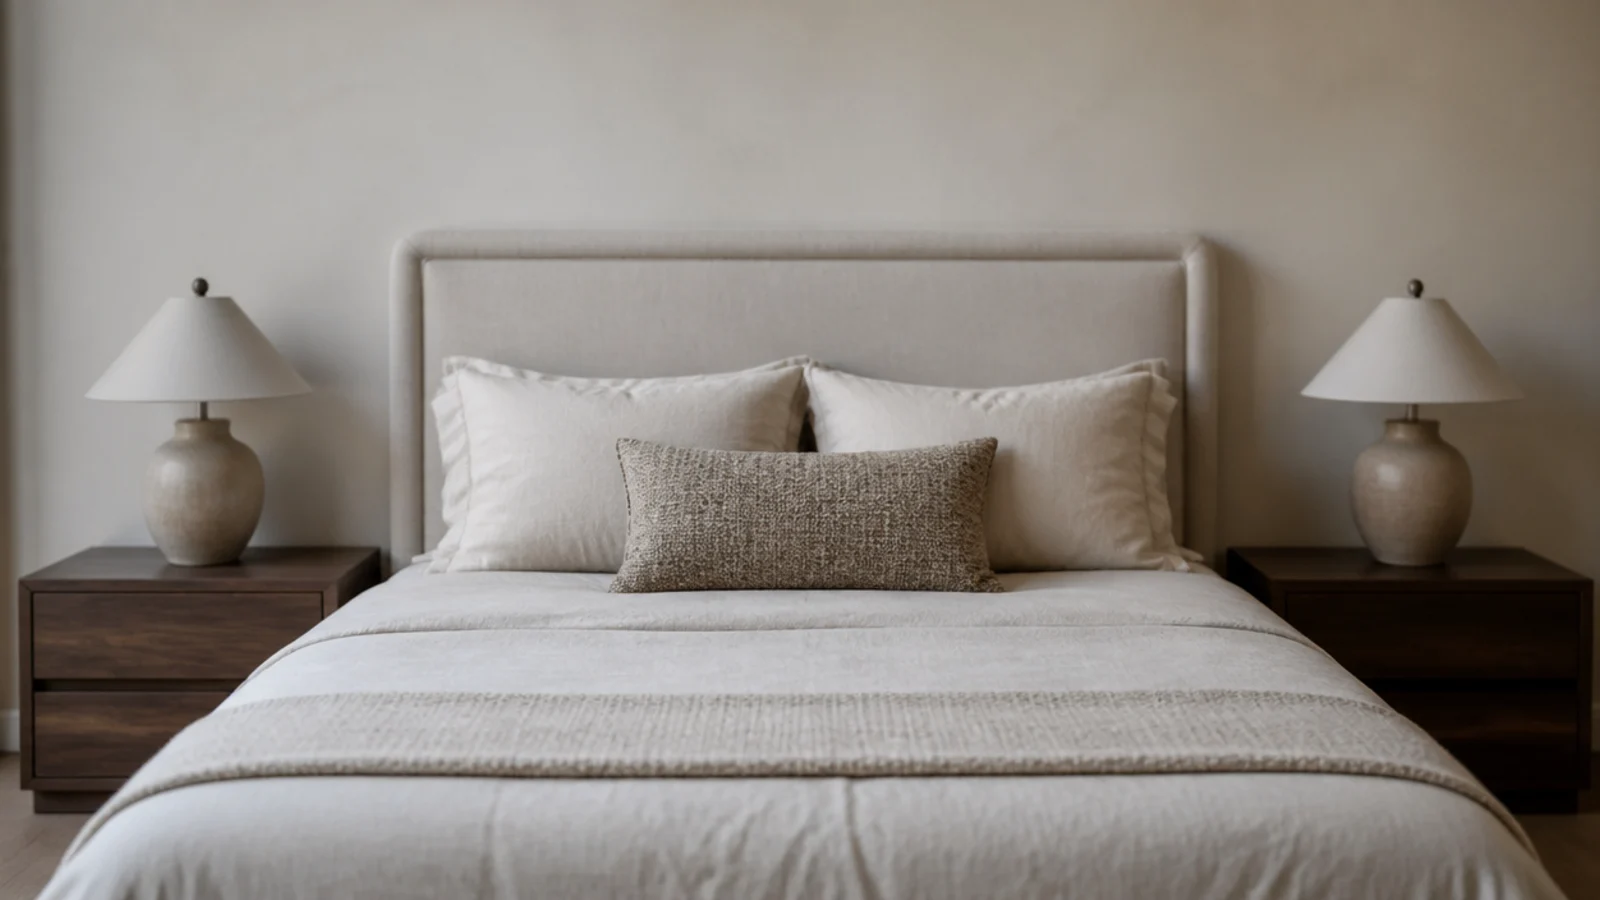
Before: an inherited nightstand on one side at 30 inches and a small table on the other at 24, with the mattress top at 26.
After: both surfaces brought within 2 inches of the mattress top, one by cutting the legs and one by swapping to a taller stool.
Free, apart from a saw blade. The bed wall stopped looking lopsided in a way nobody had been able to name.
Makeover 18: The box room that felt full
Before: a dark stained panel in a 9 by 8 foot bedroom, absorbing what little light there was and making the wall feel close.
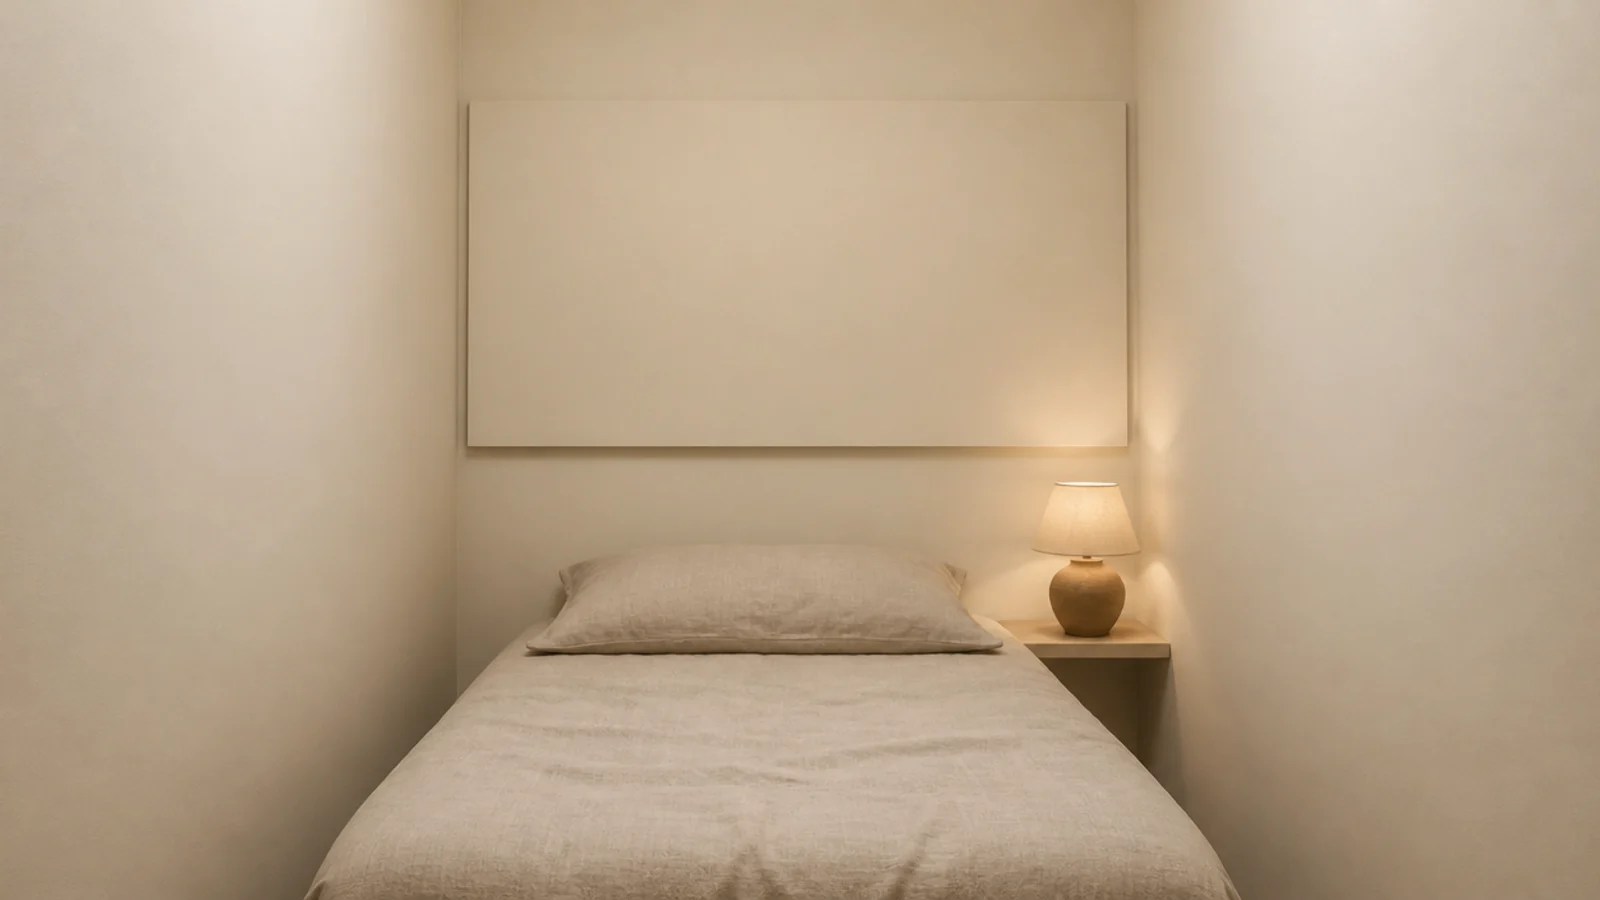
After: the same panel painted the exact wall color in the same sheen, so only its shadow line reads.
The room measured identically afterwards and felt noticeably bigger. A sample pot and an evening, $14. It is the best trick I know for a genuinely tiny bedroom.
Makeover 19: The radiator directly behind the bed
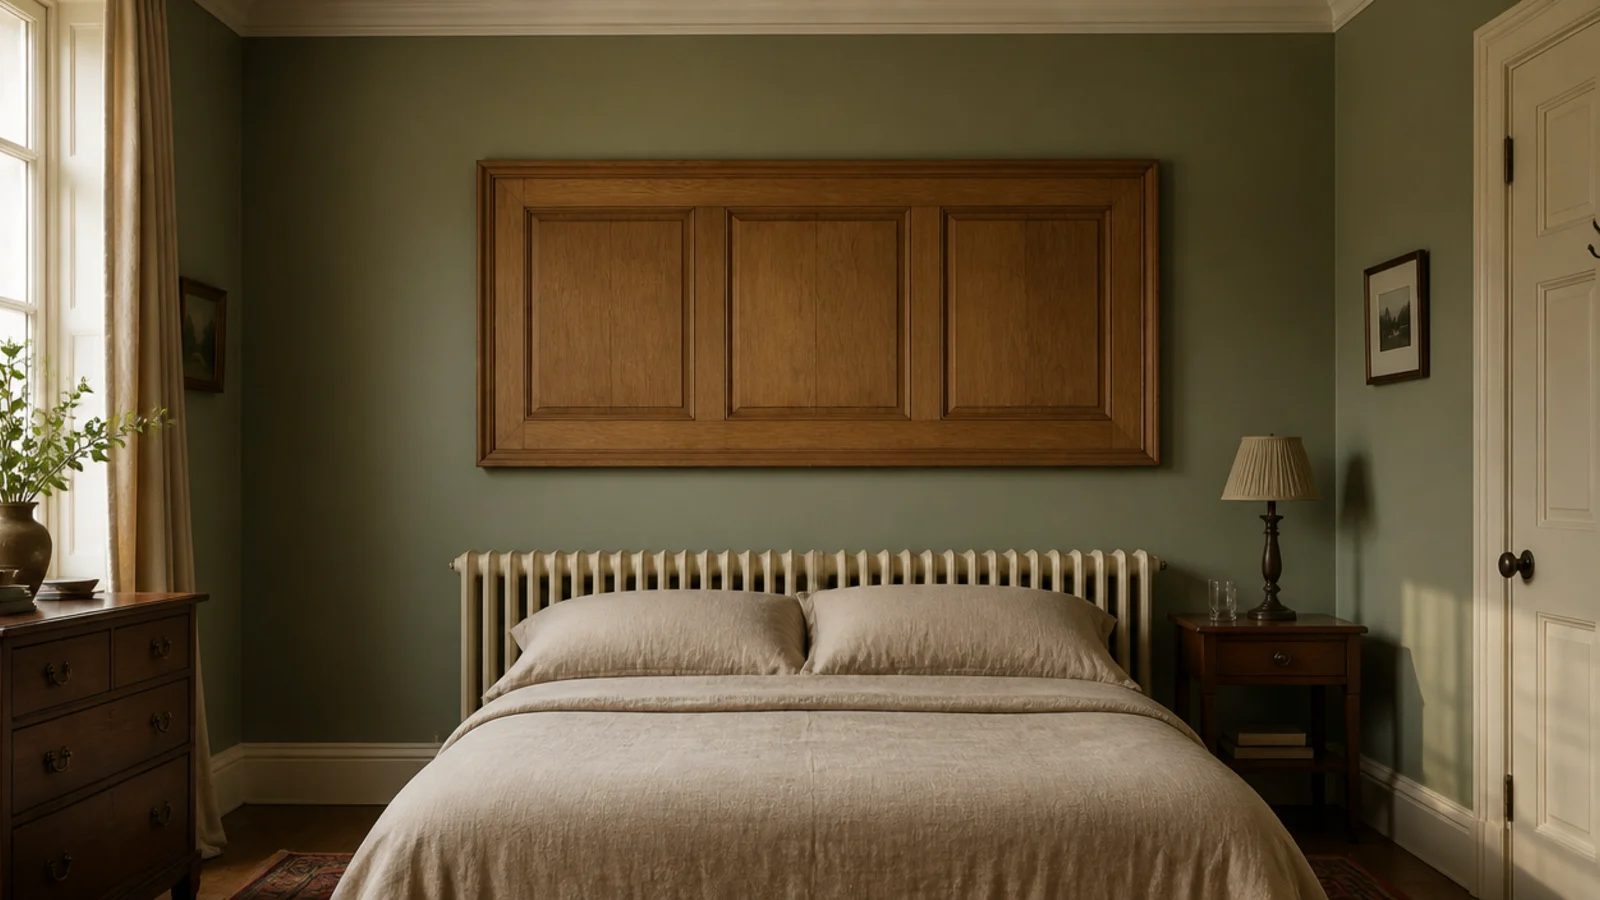
Before: a wood-look laminate panel mounted 2 inches above a column radiator, with the bottom edge visibly lifting after one winter.
After: a solid oak panel with 4 inches of clear air above the radiator and spacer blocks holding it off the wall.
Laminate edges lift permanently under repeated heat cycles. Solid wood tolerates it. The replacement panel cost $105 and has been through three winters.
Makeover 20: The room with no texture anywhere
Before: a well-proportioned bedroom in cream, cream and more cream, which read flat rather than calm and photographed better than it felt.
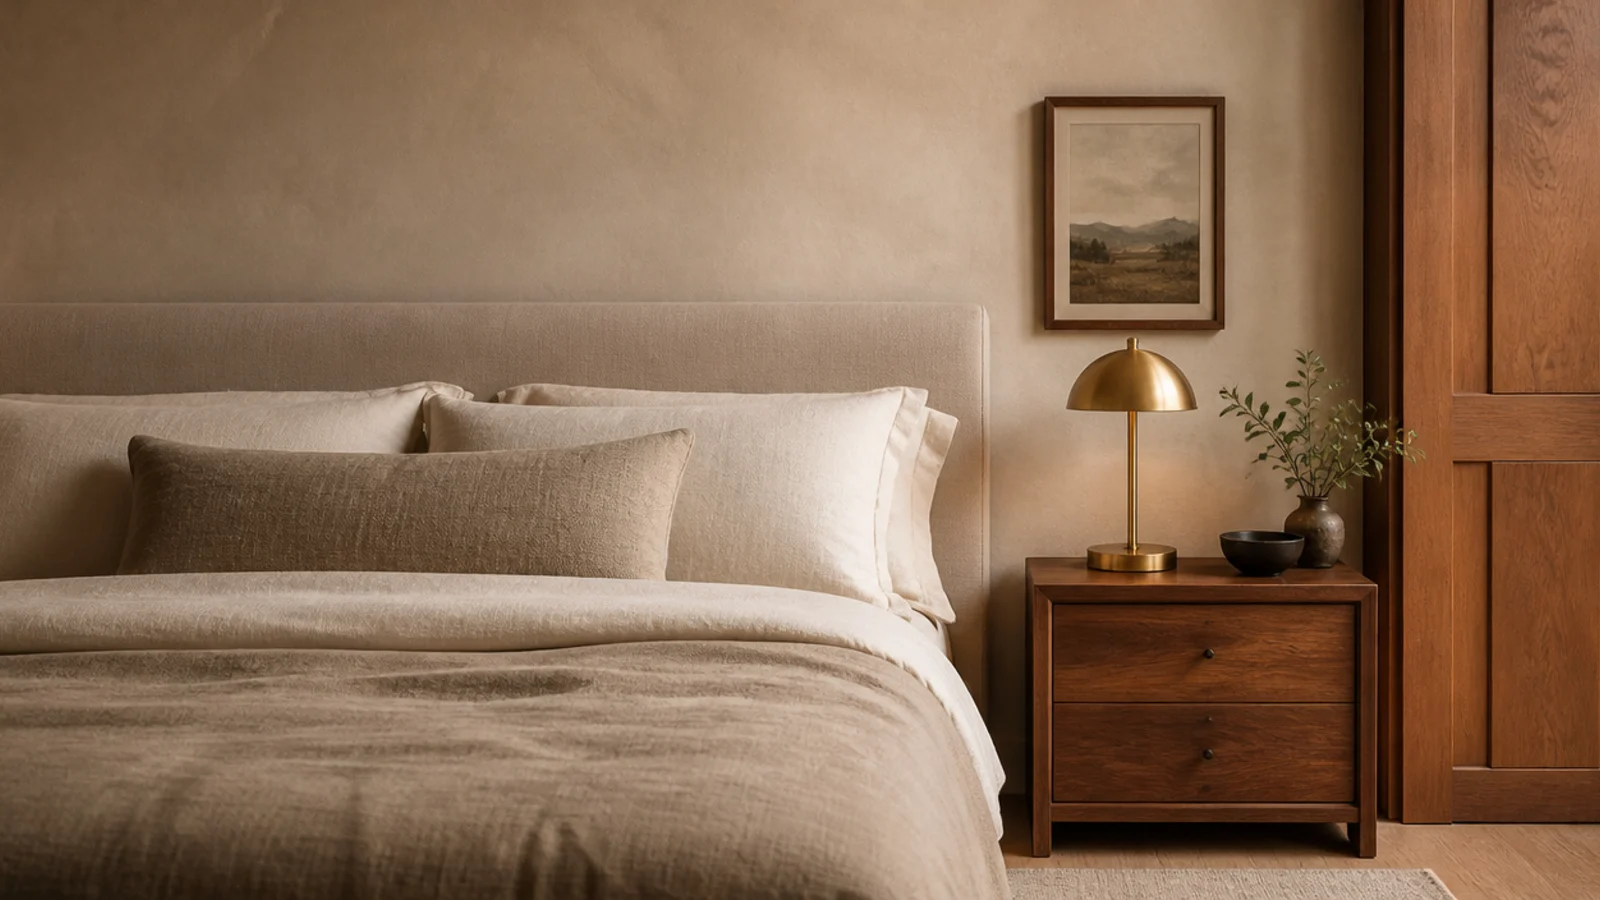
After: a faded terracotta kilim hung above the bed on a slim rod, a wool throw across one corner and washed linen replacing percale.
Three textures, one color story. The kilim was $70 thrifted, the throw already in the house. It is the cheapest warmth you can add to a cold room.

Headboard Before and After: What I'd Do Differently Now
Twenty makeovers in a row make the pattern uncomfortable to look at. Almost nothing that worked was a purchase.
Eleven of these cost under $40. The ones that cost real money were dimension and material problems — a panel too narrow for its mattress, foam too soft to hold up, a board that swelled on a cold wall — and those are exactly the faults styling can never reach. Everything else was paint, bulbs, a cable channel, or moving something 6 inches.
If I could go back, I would change my order of operations. For years I chose the material first, because that is the fun part, then fitted the dimensions around it. Now I set the height and the width before I have any idea what the panel will be made of, because those two numbers are the ones you cannot fix later without starting again.
The other thing I would tell myself is to stop adding. The bed walls I am proudest of have a correctly sized panel, one light, one object and a lot of quiet wall. Every one of these makeovers that went wrong the first time went wrong because I put a second thing on the wall.
Frequently asked questions
What is the cheapest headboard makeover that actually works?
Painting an existing wooden headboard the same color as the wall behind it. One sample pot, about $12, and the panel stops competing with everything else in the room. The second cheapest is swapping both bedside bulbs to 2700K, which costs around $8 and changes how every warm material in the room reads.
How long does a headboard makeover take?
A paint or styling change is an afternoon plus overnight drying. Re-hanging an existing panel at the correct height takes about thirty minutes including filling the old holes. A full upholstered rebuild with new foam, batting and fabric is one evening of cutting and one morning of stapling, plus a shopping trip.
Should I replace a headboard or fix the one I have?
Fix it first. In these twenty makeovers, eleven needed nothing bought beyond paint or fabric. Replace only when the panel is physically wrong: too narrow for the mattress, too thin to pad properly, or built from a board that has swollen. Those three are dimension and material problems that no amount of restyling solves.
What is the most common thing wrong with a headboard?
It is hung too low, because the height was measured from the floor rather than the mattress top. That single error accounts for more awkward-looking bed walls than any style choice. The second most common is a panel cut to the bed frame width instead of the mattress width, which leaves a visible step at both corners.
Do I have to take the bed apart to re-hang a headboard?
Usually not. Pull the bed 3 feet from the wall, strip the bedding so you can see the mattress edge clearly, and work from there. A wall-hung panel on a french cleat lifts straight off. Only a headboard bolted to the frame legs needs the mattress off, and that is a good moment to switch to a cleat instead.
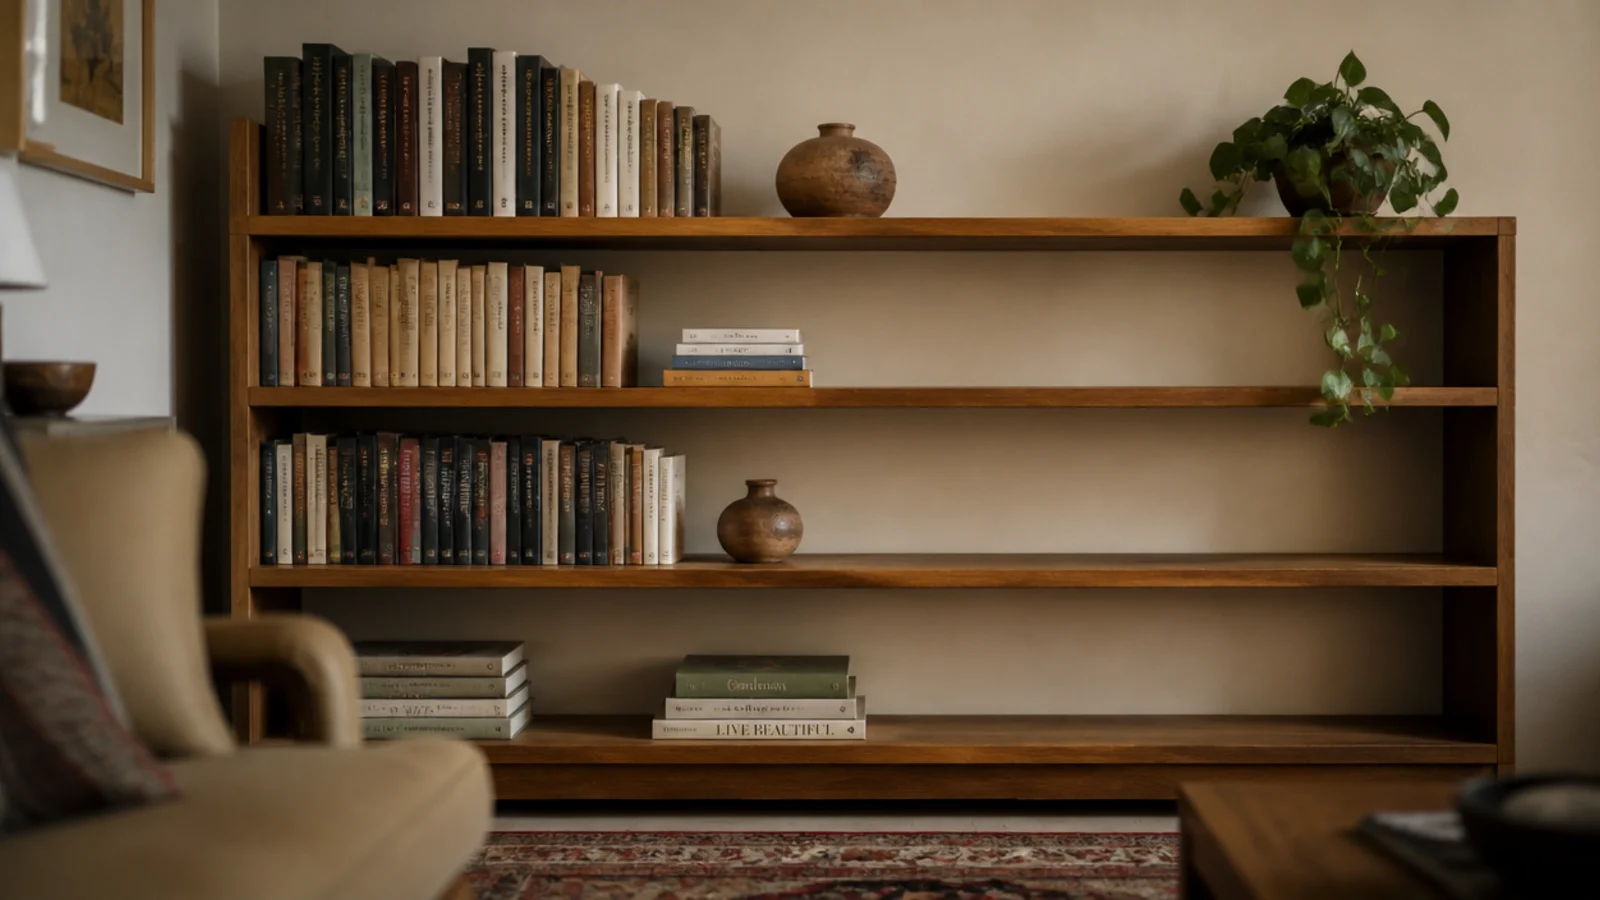
Try the free version first: pull the bed out, measure from the mattress top rather than the floor, and see whether your panel is simply hanging 8 inches too low. That one check fixes more bedrooms than any purchase. If it is genuinely the wrong panel, cheap headboard ideas covers the low-budget replacements and upholstered headboard ideas covers the padded builds, while a bedroom bookshelf handles the wall opposite. Save the pin before you buy anything new.
Want more like this? Browse all 15 headboard ideas guides — they all use the same measurements and budget tiers.
Pin it for later
Save this to your Headboard Ideas board
Pin it now so it is waiting for you when the tape measure comes out — and so the next person hunting for this idea can find it too.
Save this pinKeep going
More ideas worth saving while you have the tape measure out.