Bookshelf Ideas · UGC
20 Bookshelf Before and After Makeovers

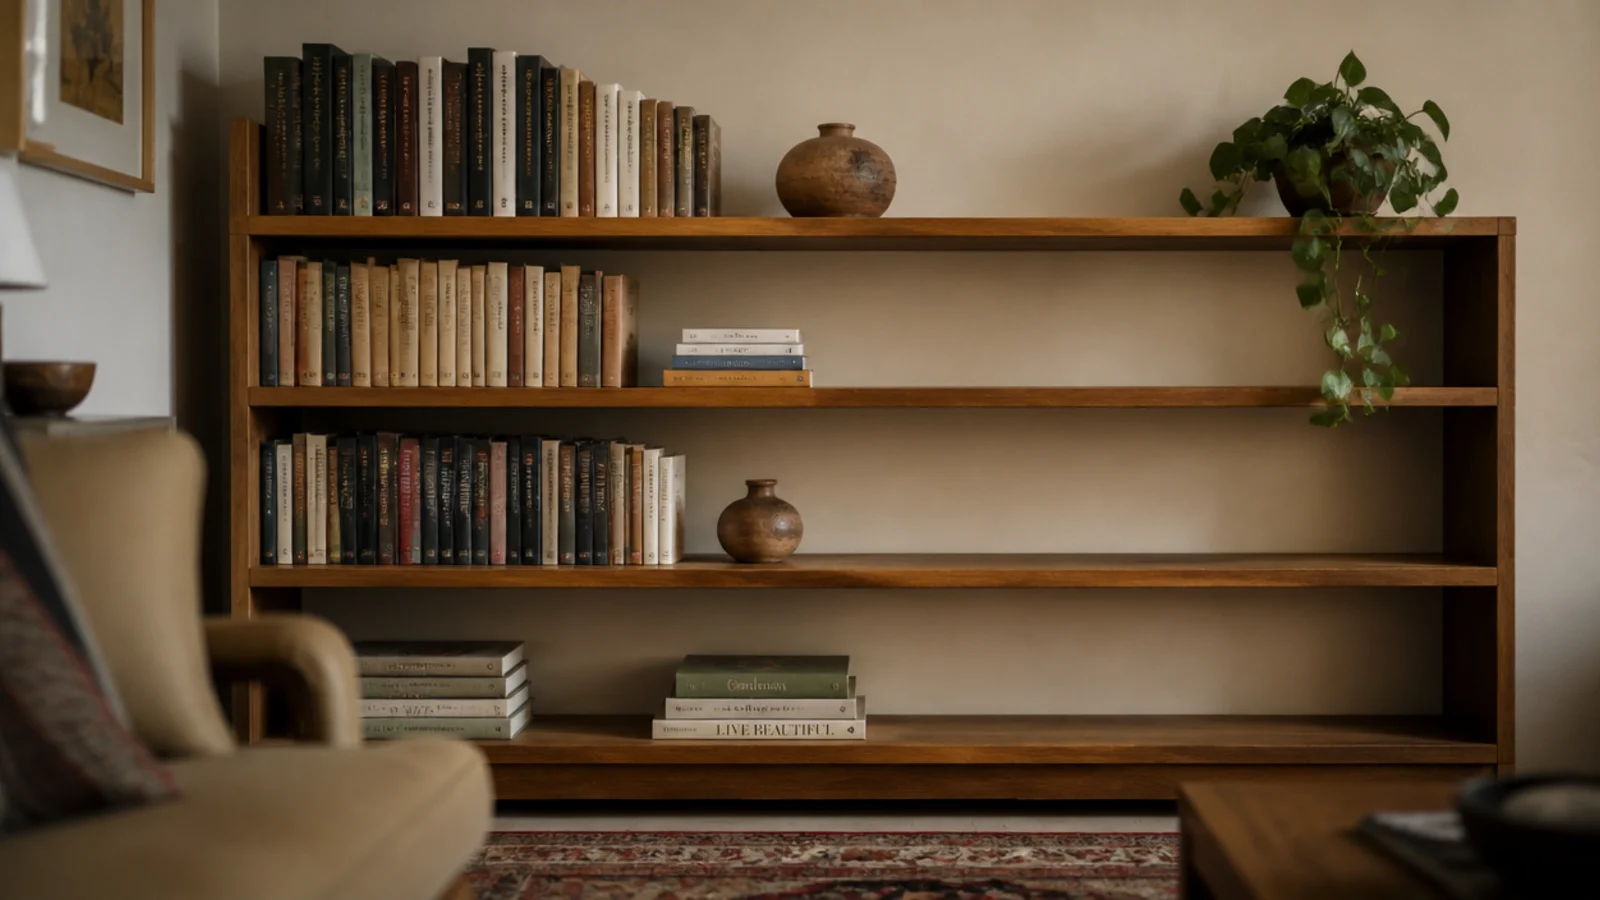
Bookshelf before and after is the most honest thing I can show you, because the changes that actually work are almost never the ones people expect. I have restyled cases in my own five rentals and two houses, and in more friends' living rooms than I can count.
The pattern is uncomfortably consistent. Around two-thirds of the shelves I am asked to look at need nothing bought at all — the problem is quantity and height, not quality. The other third have a physical fault: a span that is too long, a clear height that is too short, a depth that leaves hardbacks hanging over the front edge. No amount of styling touches those.
What follows is twenty real makeovers: what the case looked like before, what I changed, and what it cost. Eleven of them cost nothing. The most expensive was $96. And the change that appears most often across all twenty is simply taking books off.
In this guide21 sections — tap to openHide
- 1.Makeover 1: The dead corner of a rental living room
- 2.Makeover 2: The shelf with a visible curve in it
- 3.Makeover 3: The rainbow wall
- 4.Makeover 4: The case with nothing left to look at
- 5.Makeover 5: The hardbacks hanging over the front edge
- 6.Makeover 6: The nine-inch gaps nothing would stand in
- 7.Makeover 7: The orange pine case
- 8.Makeover 8: The gray plastic bins
- 9.Makeover 9: The case nobody could see into
- 10.Makeover 10: The hidden second row
- 11.Makeover 11: The cable down the middle of the wall
- 12.Makeover 12: The flat-pack that leaned when leaned on
- 13.Makeover 13: The black plastic nursery pots
- 14.Makeover 14: The bare wall above the sofa
- 15.Makeover 15: The bedroom case that blocked the walkway
- 16.Makeover 16: The kids shelves nobody could reach
- 17.Makeover 17: The alcove that swallowed all the light
- 18.Makeover 18: The forty-inch span
- 19.Makeover 19: The brackets you saw first
- 20.Makeover 20: The case that refilled every fortnight
- 21.Bookshelf Before and After: What I'd Do Differently Now
Makeover 1: The dead corner of a rental living room
Before: a bare corner with a laundry basket that had lived there since move-in day, and a stack of books on the floor beside it.
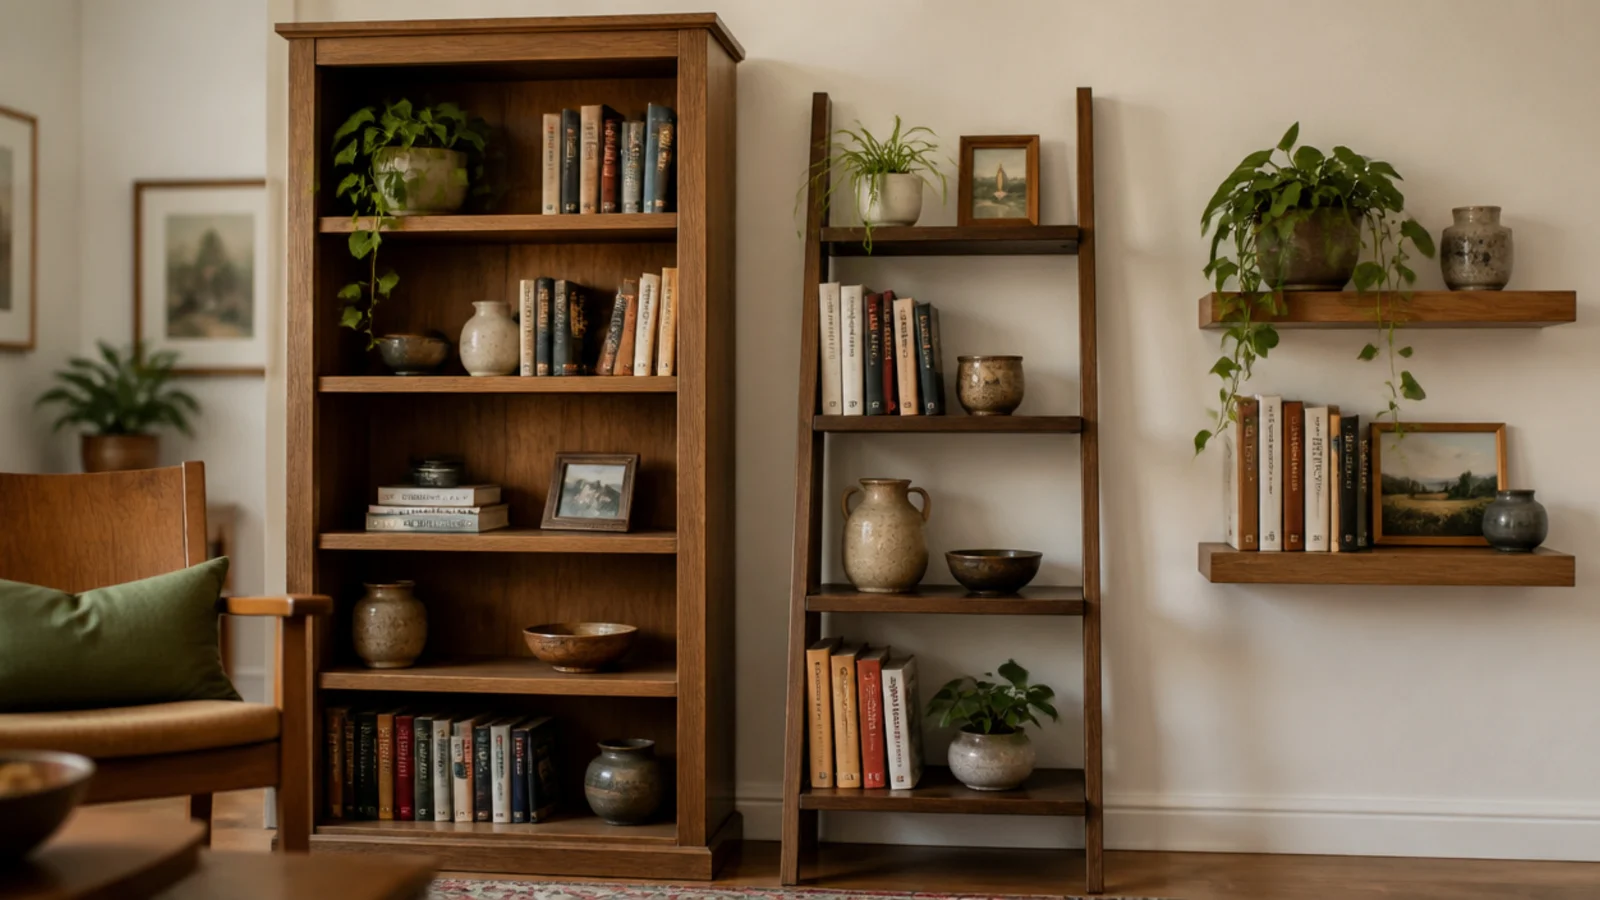
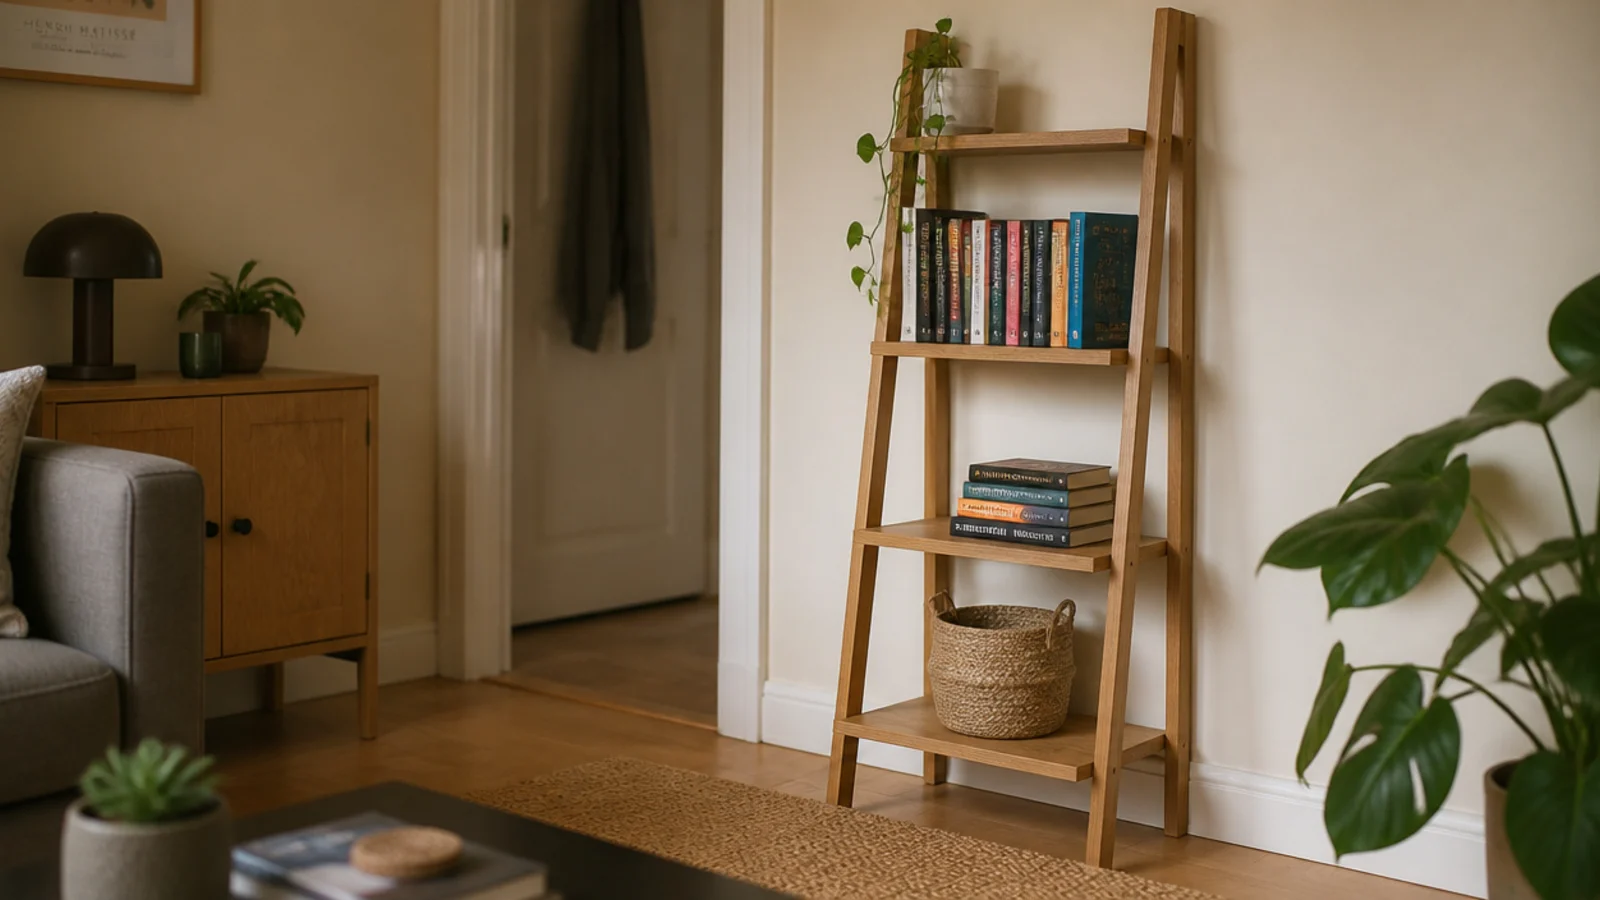
After: a five-rung leaning oak ladder shelf, felt pads under the feet, holding paperbacks, one jute basket and a trailing plant.
No drilling, no landlord conversation, and it walks out on lease day. Heaviest items on the bottom rung, lightest on top. Cost $62, and the laundry basket went back where it belonged.
Makeover 2: The shelf with a visible curve in it
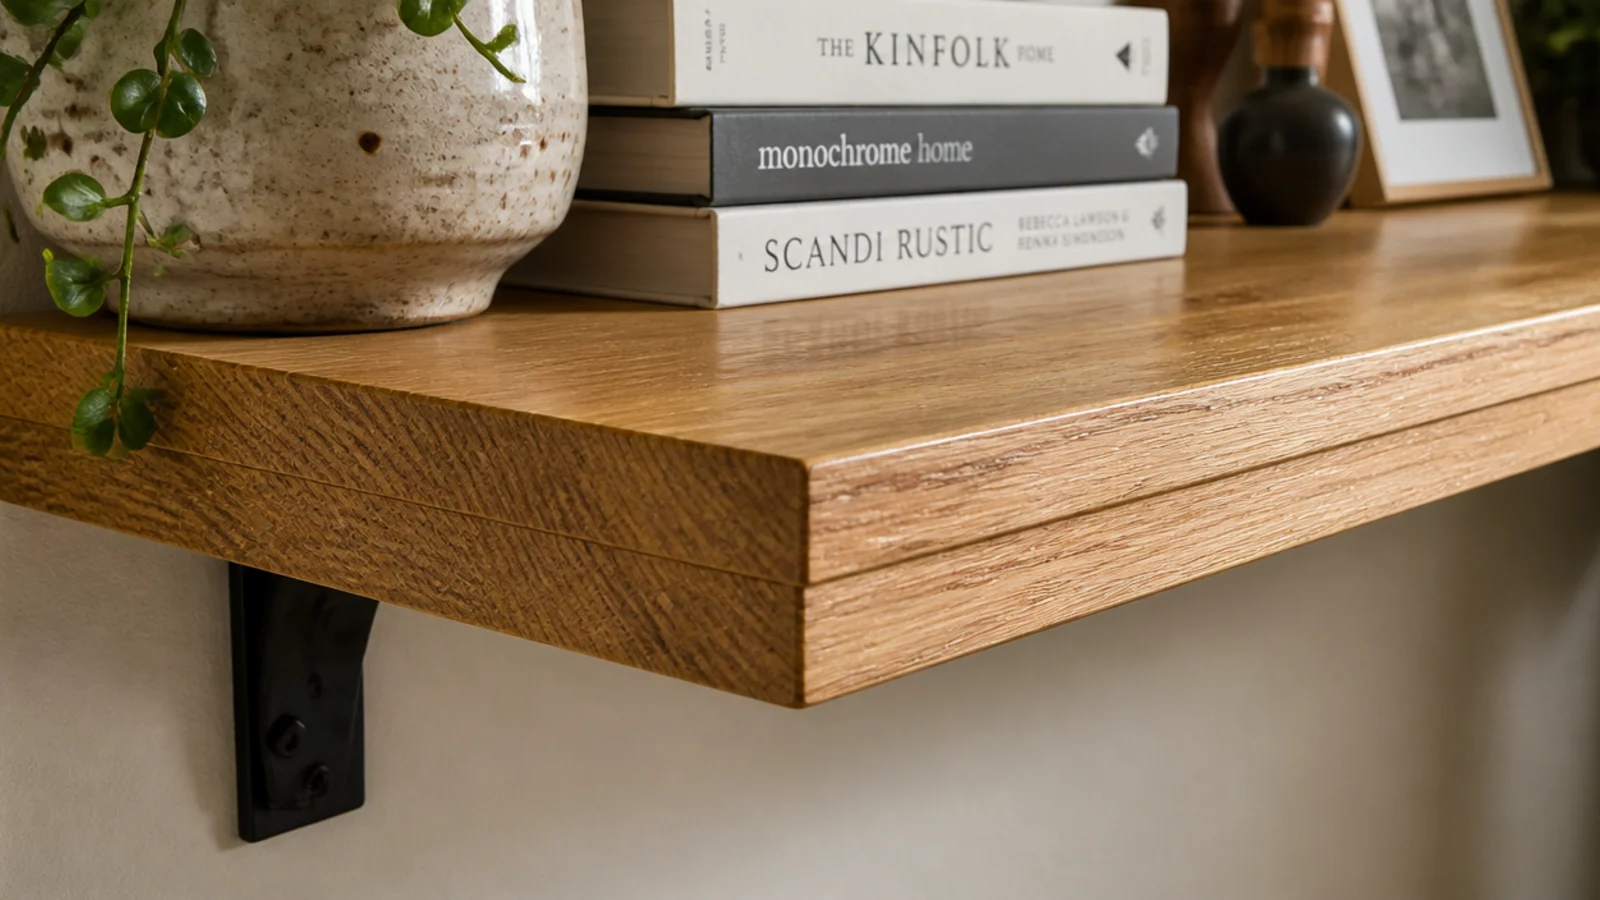
Before: a 3/4-inch pine board spanning 38 inches, bowing clearly in the middle under a row of hardbacks.
After: a narrow strip glued and clamped under the front edge, doubling the apparent thickness and stiffening the whole span.
Three-quarter-inch stock sags past about 32 inches, and a linear foot of hardbacks is 20 to 25 pounds. The shelf now reads as a substantial slab and holds the same books dead straight. A few dollars and an hour, most of it clamping.
Makeover 3: The rainbow wall
Before: every spine sorted into graded color blocks, which had taken a full Sunday and looked flat from the second week onward.
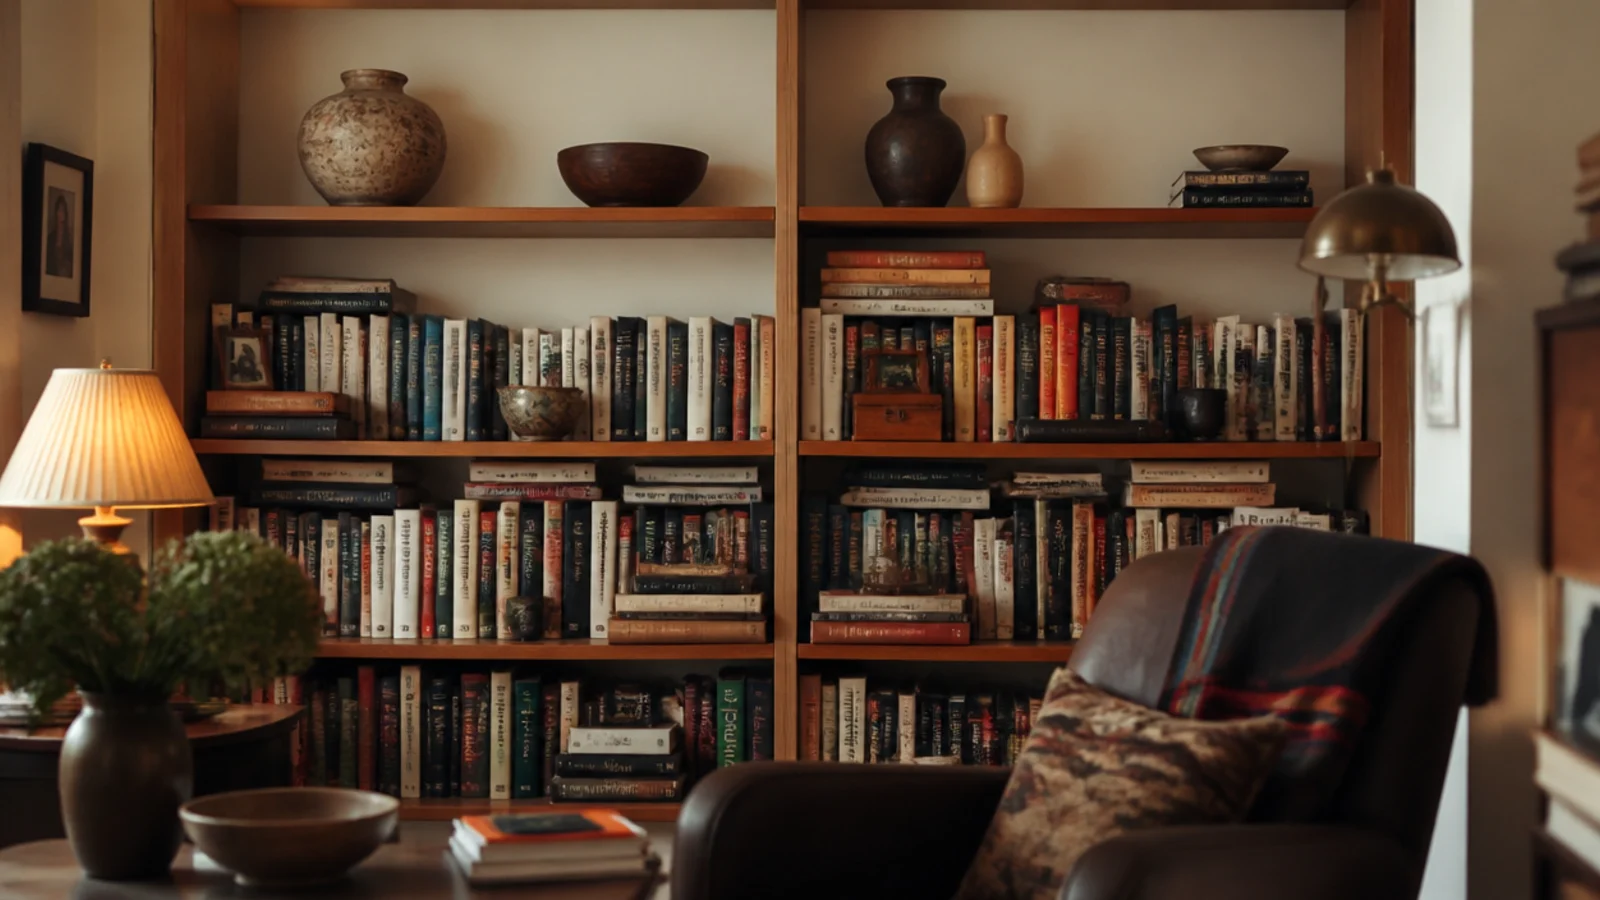
After: regrouped by height, with a flat stack breaking every second row and one clay bowl per shelf.
Color-sorting strips out the height variation your eye uses to move along a shelf. Undoing it took forty minutes and nothing else. The owner said it was the first time the wall had felt like a collection rather than a display.
Makeover 4: The case with nothing left to look at
Before: packed edge to edge, with more books wedged horizontally on top of the upright rows and small frames filling every remaining gap.
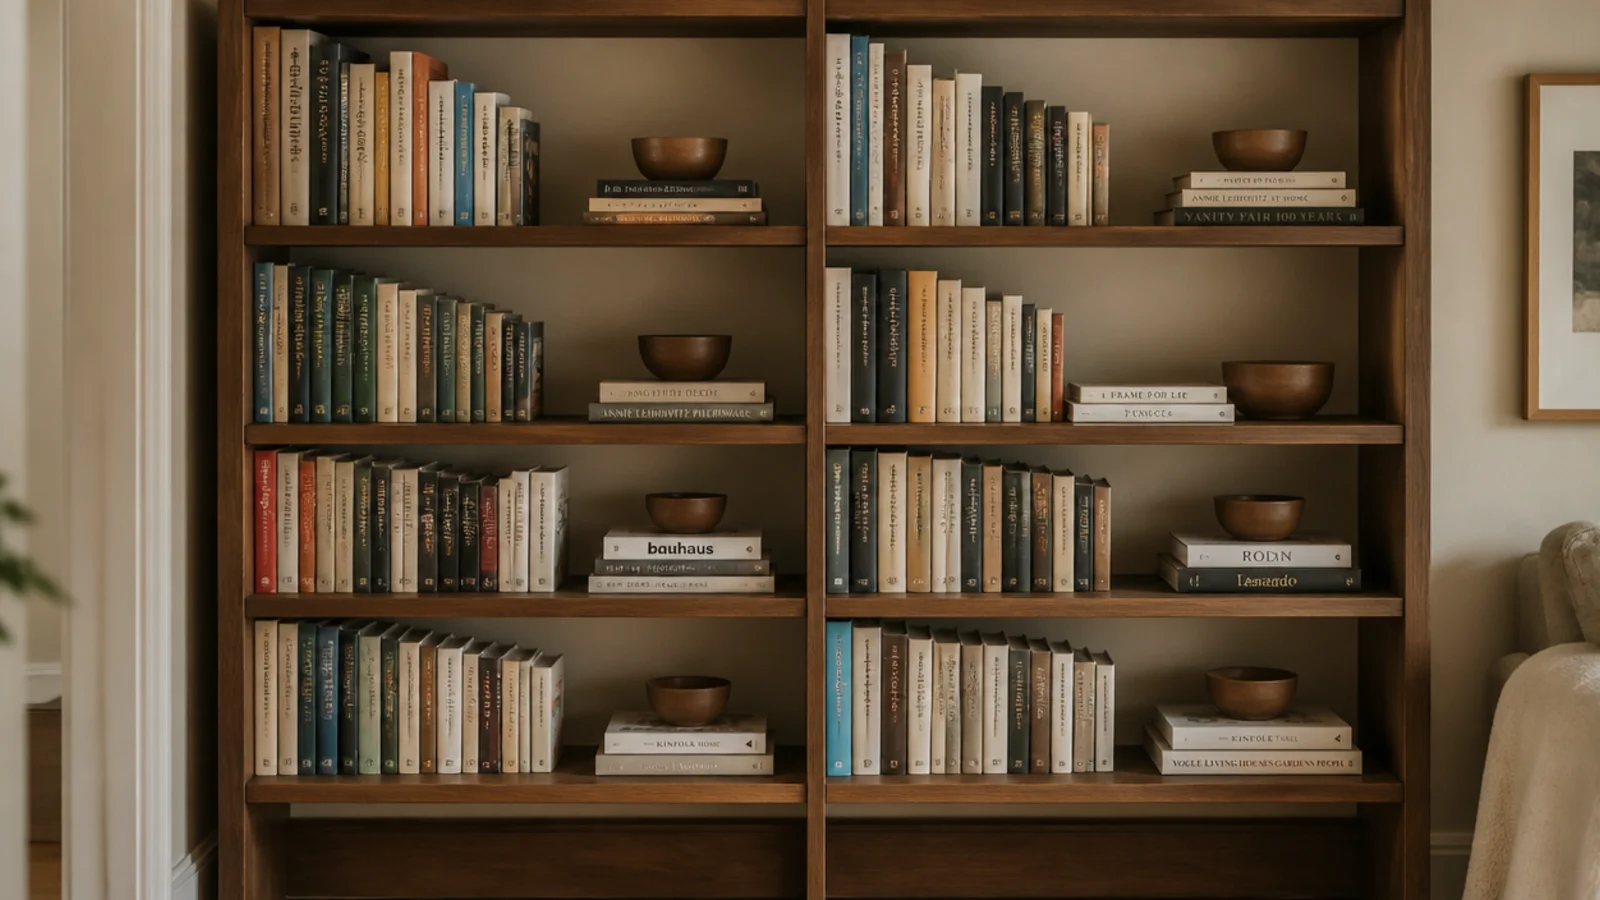
After: two-thirds of the books boxed, the rest regrouped, and roughly a third of every board left bare.
Cost nothing. This is the change that appears in more of these twenty makeovers than any other, and it is the one people resist hardest — right up until they see the shelf they already owned.
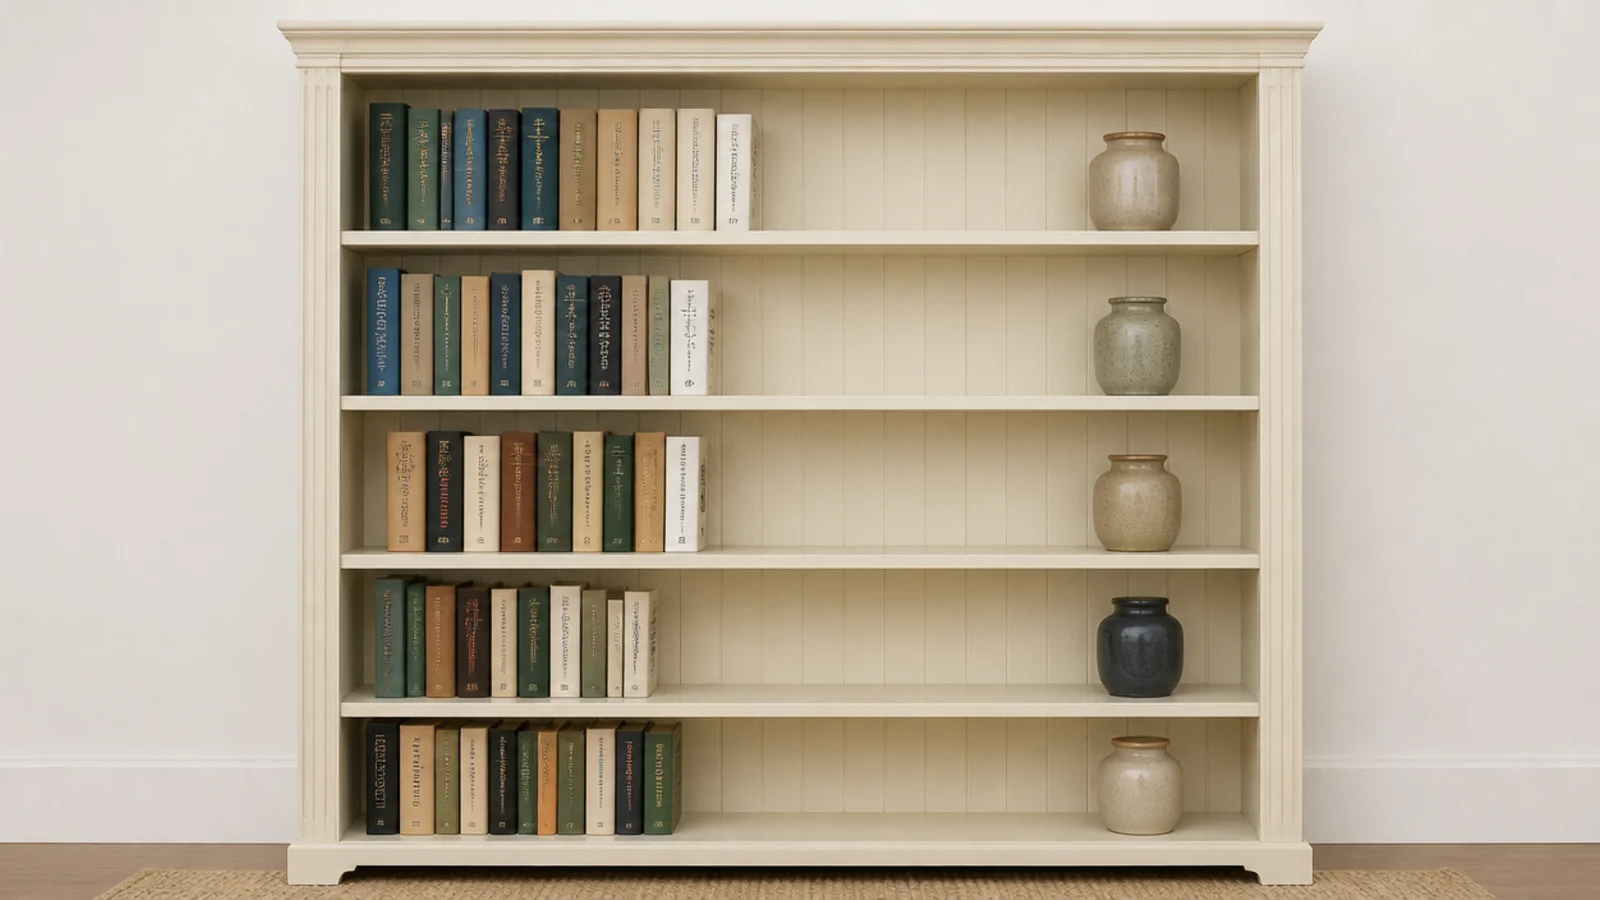
Makeover 5: The hardbacks hanging over the front edge
Before: eight-inch-deep shelves holding large hardbacks that projected two inches past the board, with covers starting to curl.
After: the hardbacks moved to a deeper case in the next room, and the shallow shelves given over entirely to paperbacks.
Eleven to twelve inches is the depth hardbacks want; nine to ten suits paperbacks. Nothing was bought, nothing was thrown out, and both cases ended up better than they started. Cost nothing.
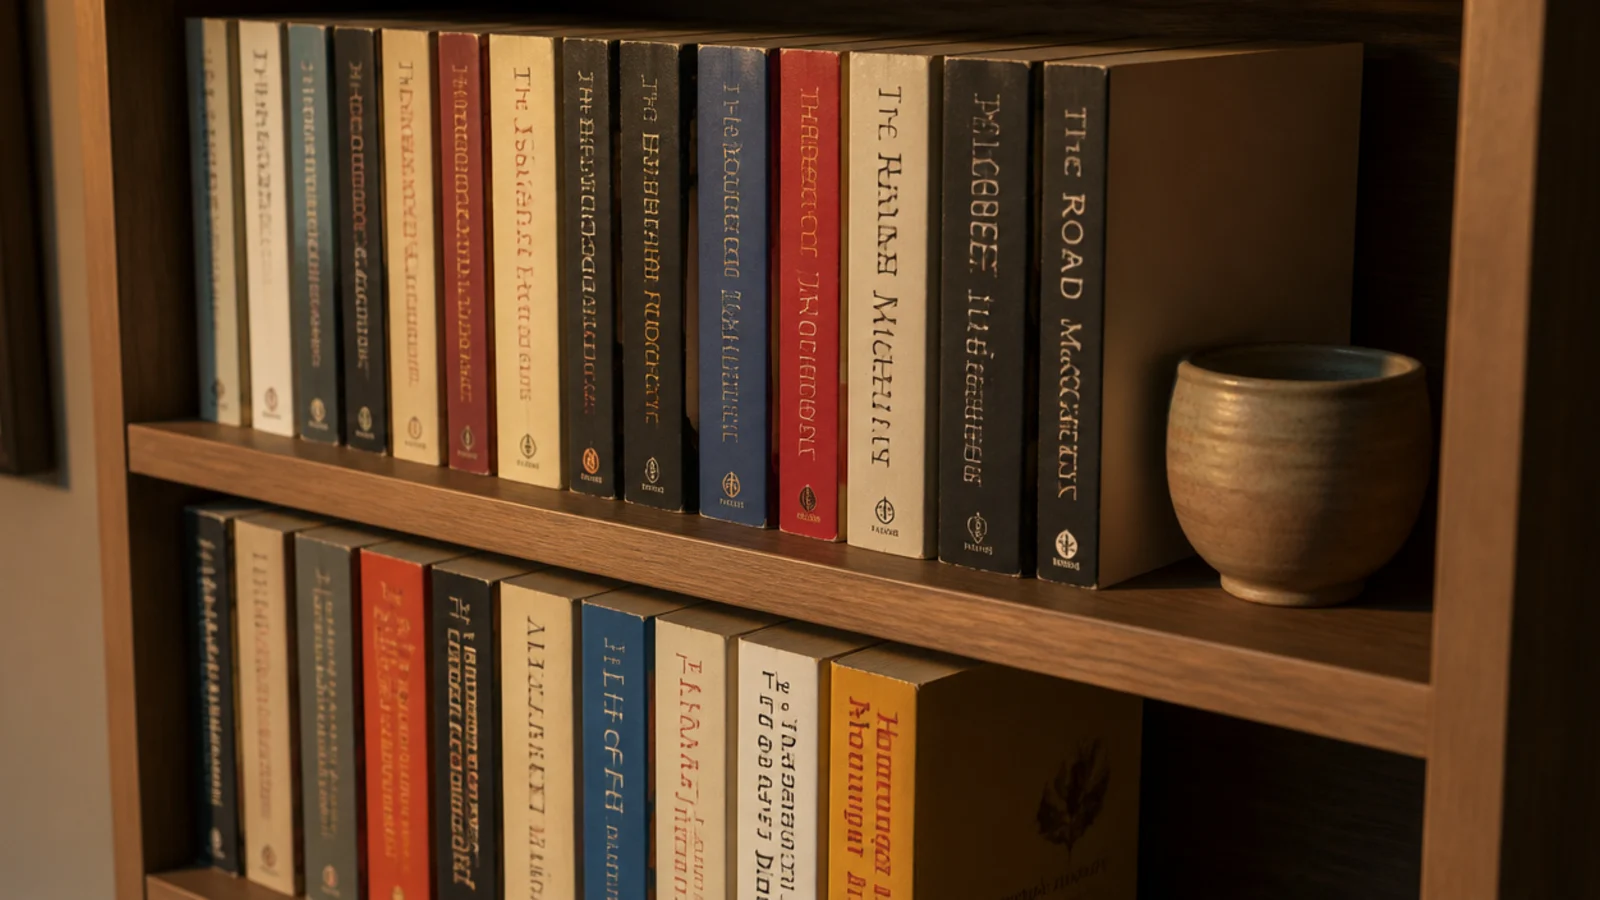
Makeover 6: The nine-inch gaps nothing would stand in
Before: five shelves at nine-inch spacing, so every hardback lay flat and a small plant was pressed against the board above it.
After: one shelf removed entirely and the remaining four respaced to about twelve inches of clear height.
Eleven to thirteen inches lets a hardback stand upright with a hand's width of air above. Losing a shelf felt like losing storage and gained back a case that actually worked. Twenty minutes, no cost.
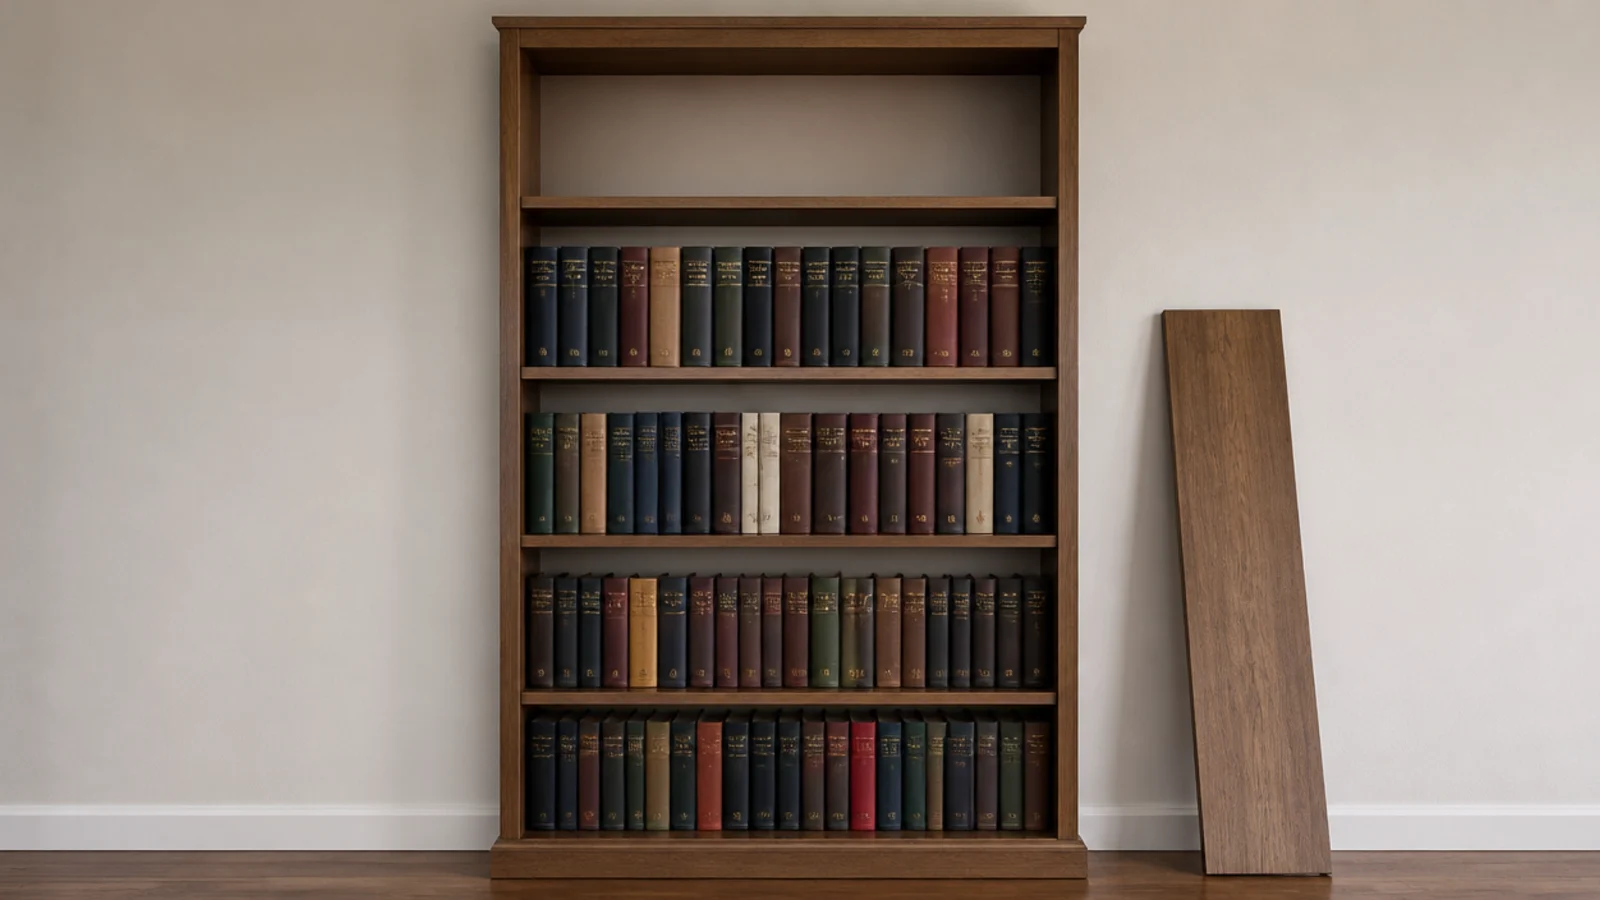
Makeover 7: The orange pine case
Before: a stained pine bookcase reading distinctly orange against warm cream walls and matching nothing else in the room.
After: two coats of the wall color in eggshell, including the back panel and the edges.
Painting a wood case feels like a downgrade until you see it. It stopped being an object stuck to a wall and started reading as part of the room, and the books came forward instead of competing. One tin, about $32.
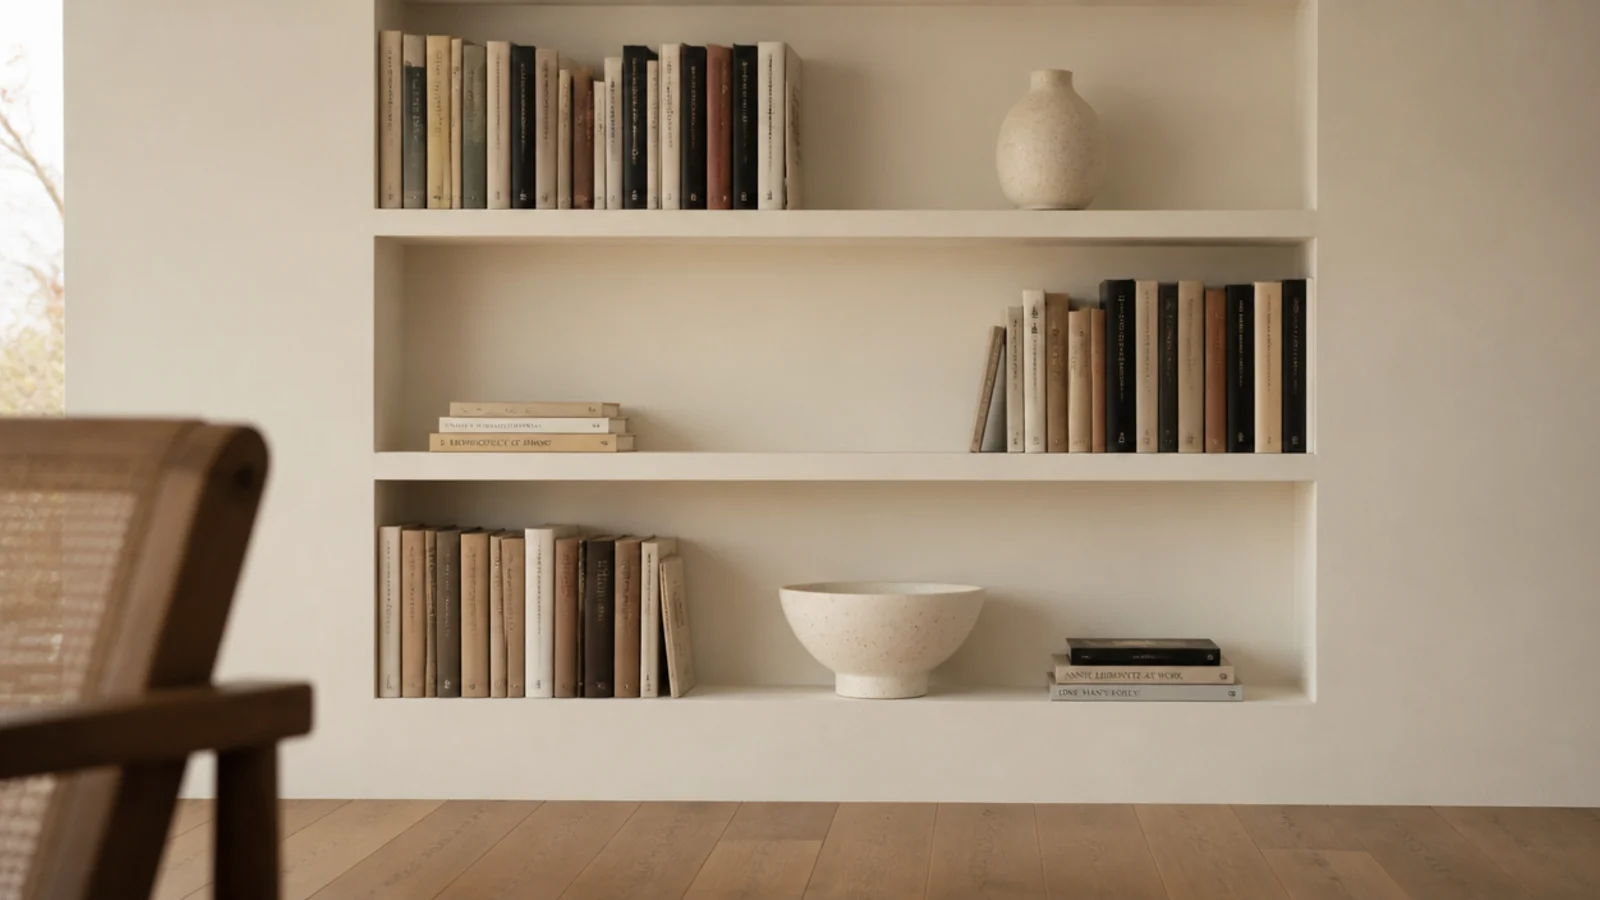
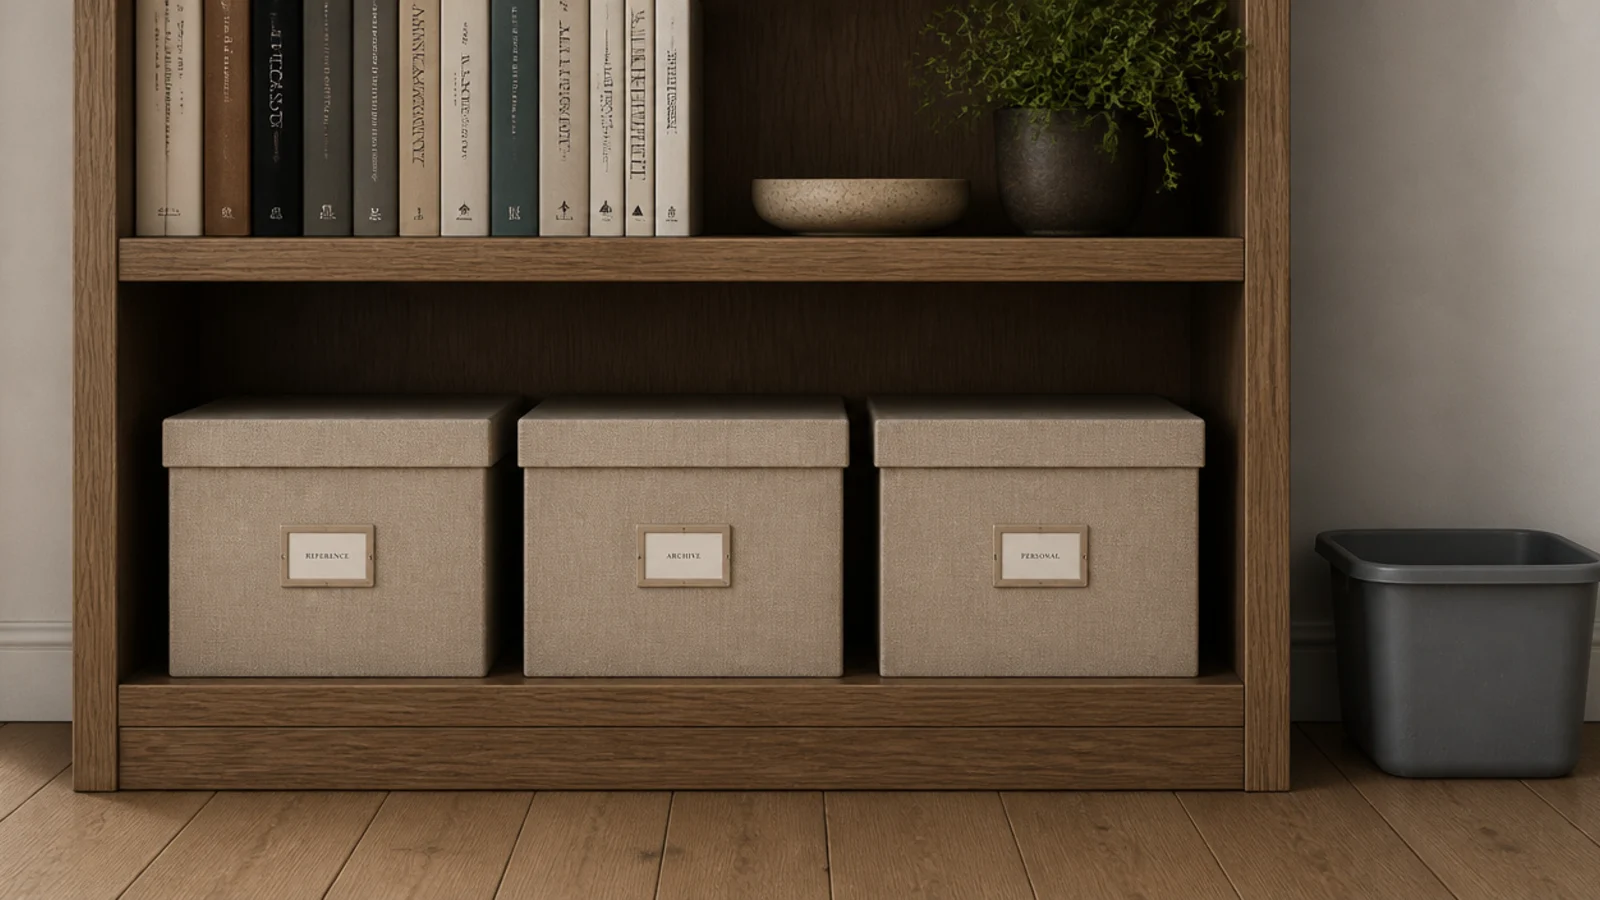
Makeover 8: The gray plastic bins
Before: four gray plastic storage tubs on the lower shelves holding cables, batteries and paperwork, visible from the sofa.
After: three matching warm sand linen-covered boxes with small card label tabs.
Identical is the operative word. Three matching boxes read as a decision; four mismatched tubs read as a drawer that escaped. Cost $54 for the set, and the lowest shelf stopped being the part of the room nobody looked at.
Makeover 9: The case nobody could see into
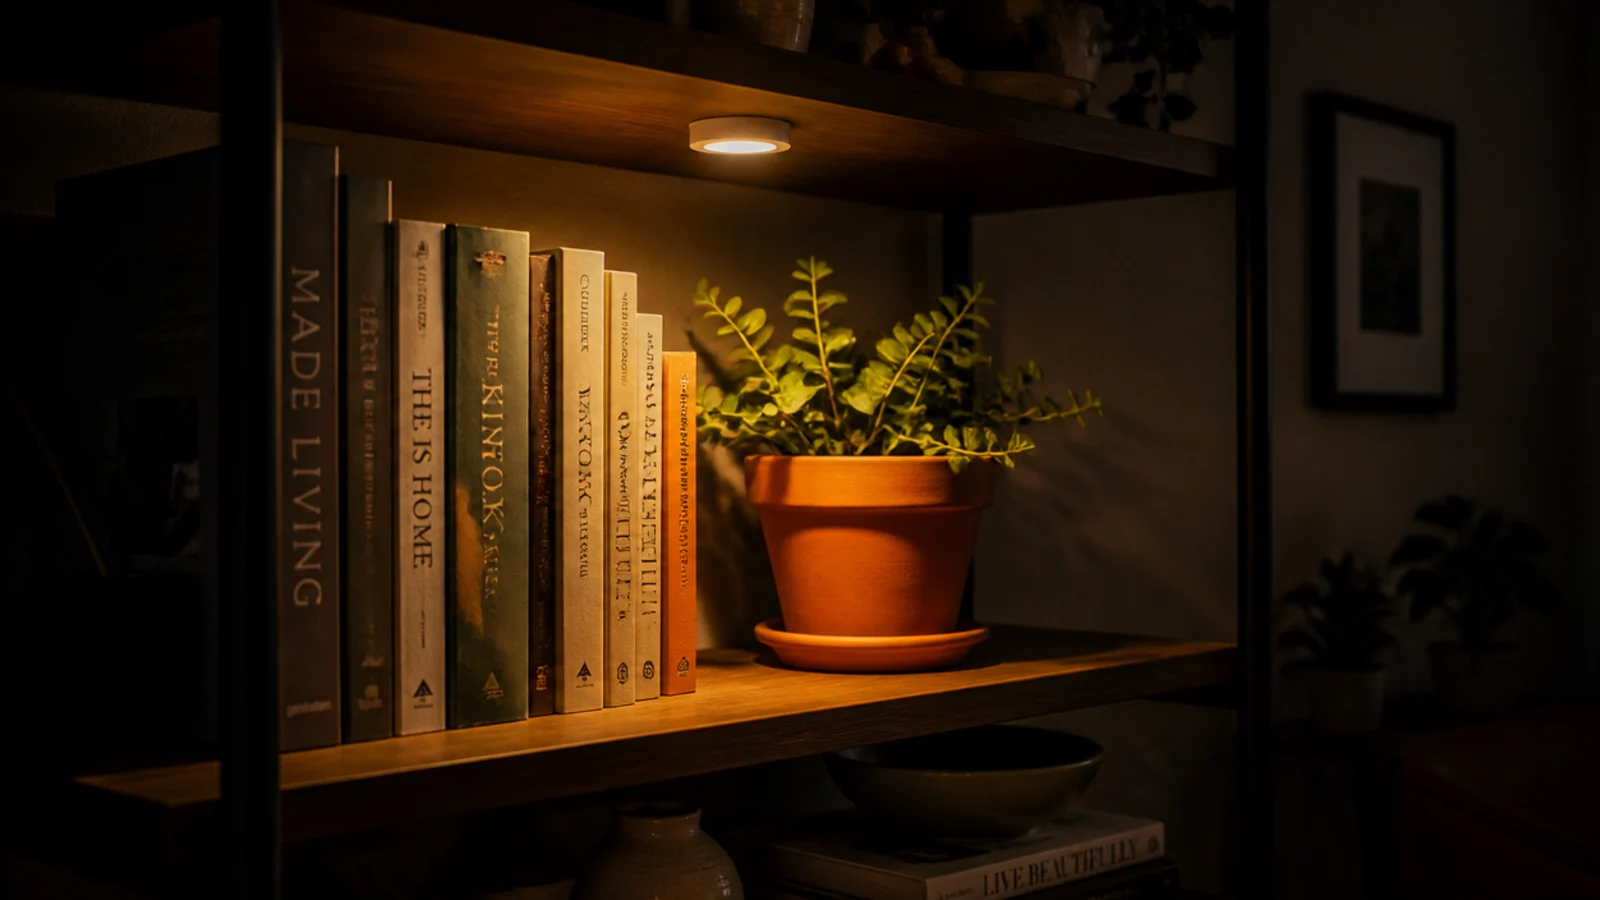
Before: a north-facing wall of well-chosen books and pottery that sat in shadow from mid-afternoon and effectively disappeared.
After: one stick-on rechargeable puck light under the upper board, at 2700K.
Ten dollars, and it is the best value change in this entire article. I now check the light on a dark case before I look at anything actually on the shelves, because a cool bulb or no bulb undoes every other decision.
Makeover 10: The hidden second row
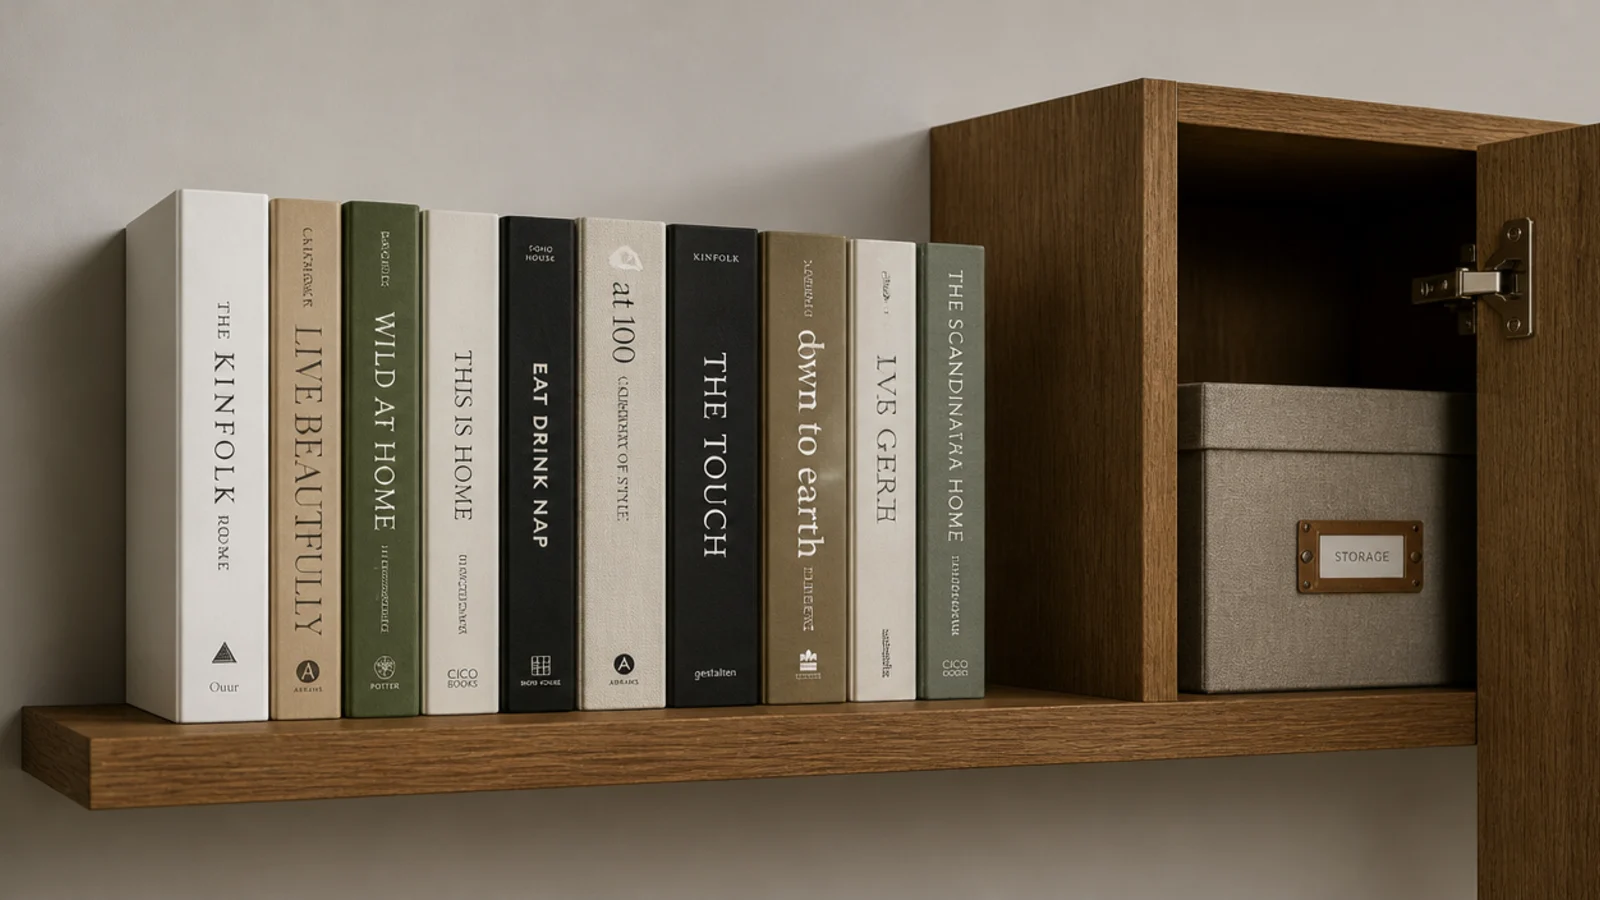
Before: fourteen-inch shelves with a completely hidden second row of books behind the first, including one novel bought twice.
After: a single front-aligned row per shelf and the overflow moved to a labeled box in the hall cupboard.
A double-stacked case is storage, not a library. The box now rotates seasonally, so nothing was given away and the shelf became searchable again. Cost of one cardboard box: $4.
Makeover 11: The cable down the middle of the wall
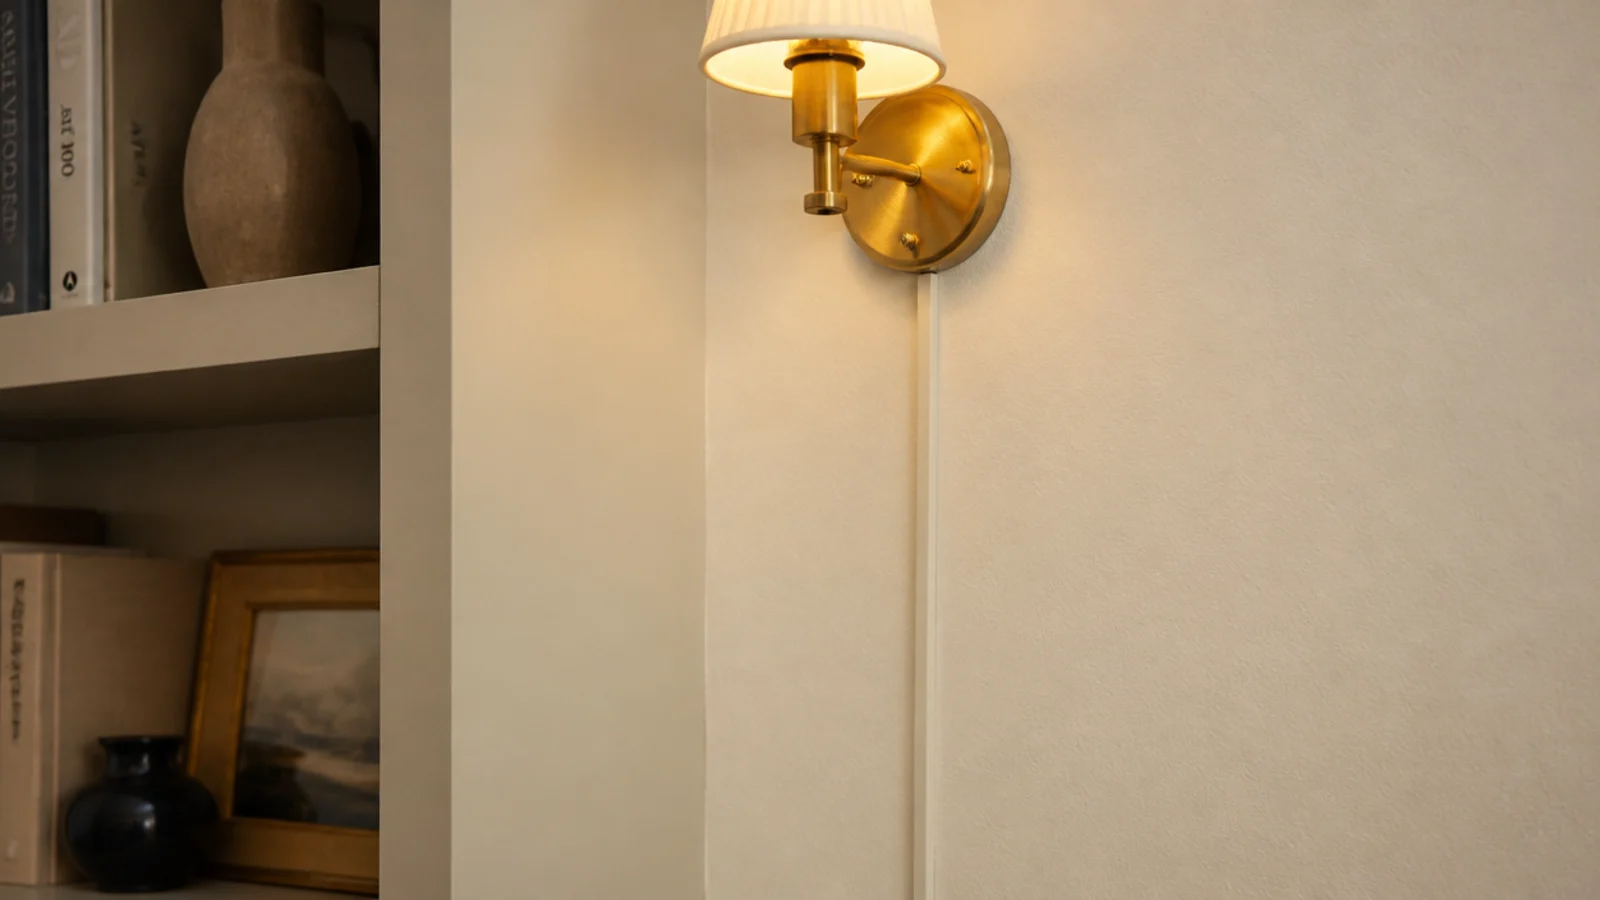
Before: a carefully styled case with a small brass lamp on it and a white power cord looping down the cream wall to the outlet.
After: a slim adhesive cable channel painted the wall color, run down the case upright.
Eight dollars and ten minutes. Every good decision on that shelf had been cancelled by one cord, which is a very common way for a well-styled case to look unfinished.
Makeover 12: The flat-pack that leaned when leaned on
Before: a six-foot case with oversized art books on the top two shelves, tilting perceptibly when a child pulled on the lower board.
After: weight redistributed to the two lowest shelves and one anti-tip strap fixed into a stud.
One screw, one small hole. Every freestanding bookcase in a home with children gets a strap, without exception, and there is no version of this where the hole is the bigger problem.
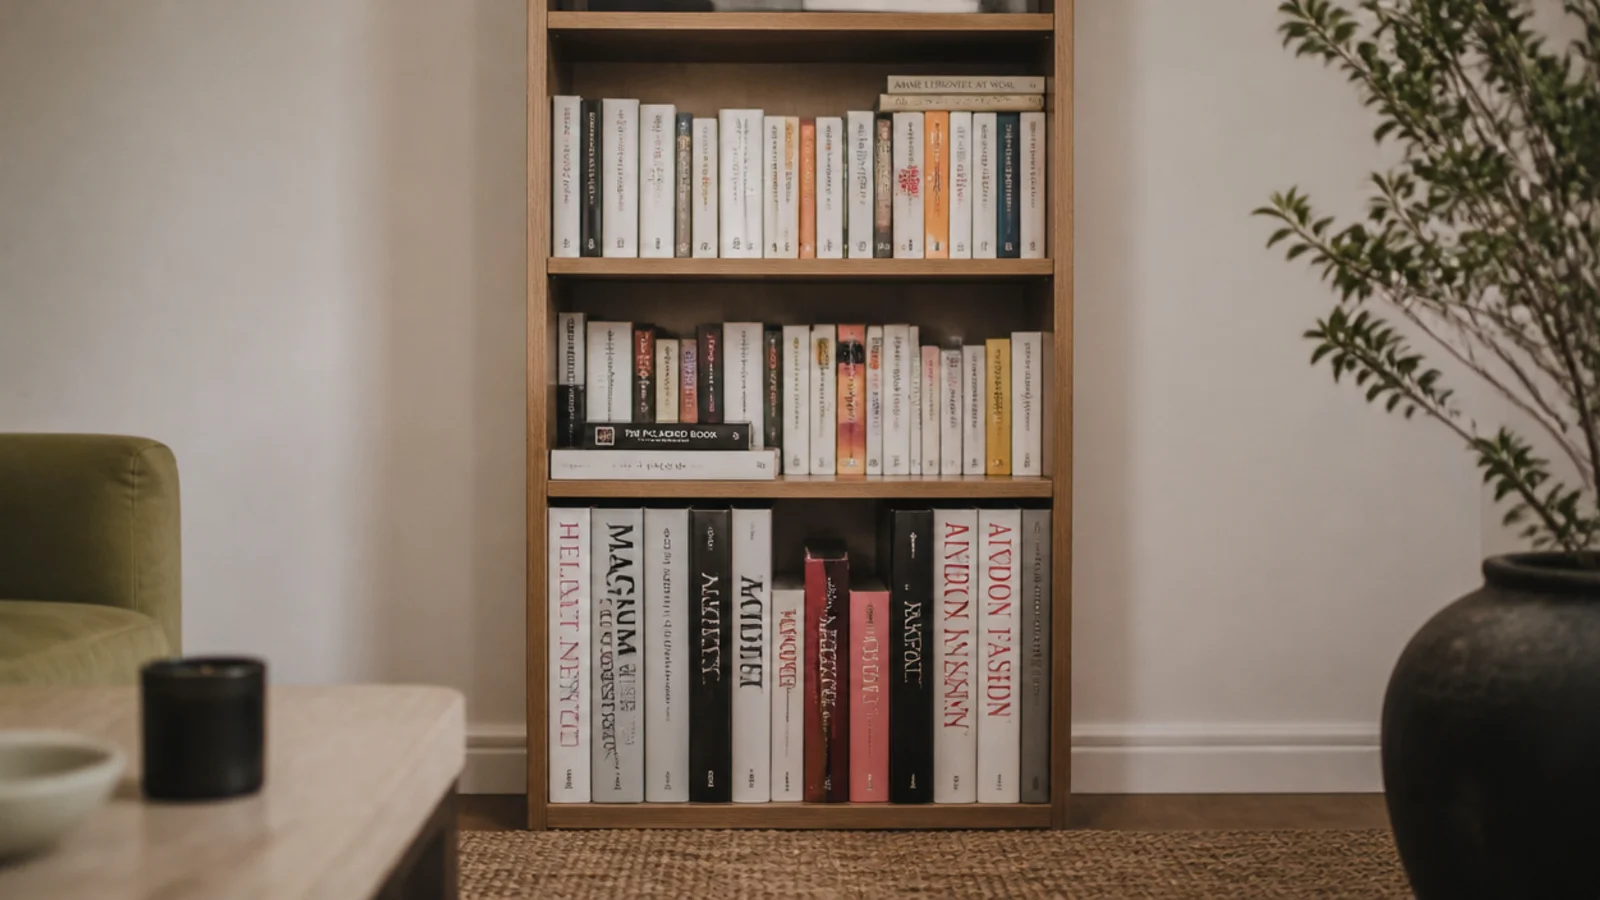
Makeover 13: The black plastic nursery pots
Before: three healthy plants on a lovely oak case, all still in the black plastic pots they came home in eighteen months earlier.
After: three plain unglazed terracotta pots in graduated sizes.
About three dollars each. It is the most disproportionate improvement per dollar I know of, and the clay breathes, so the plants preferred it too. Ten minutes including repotting.
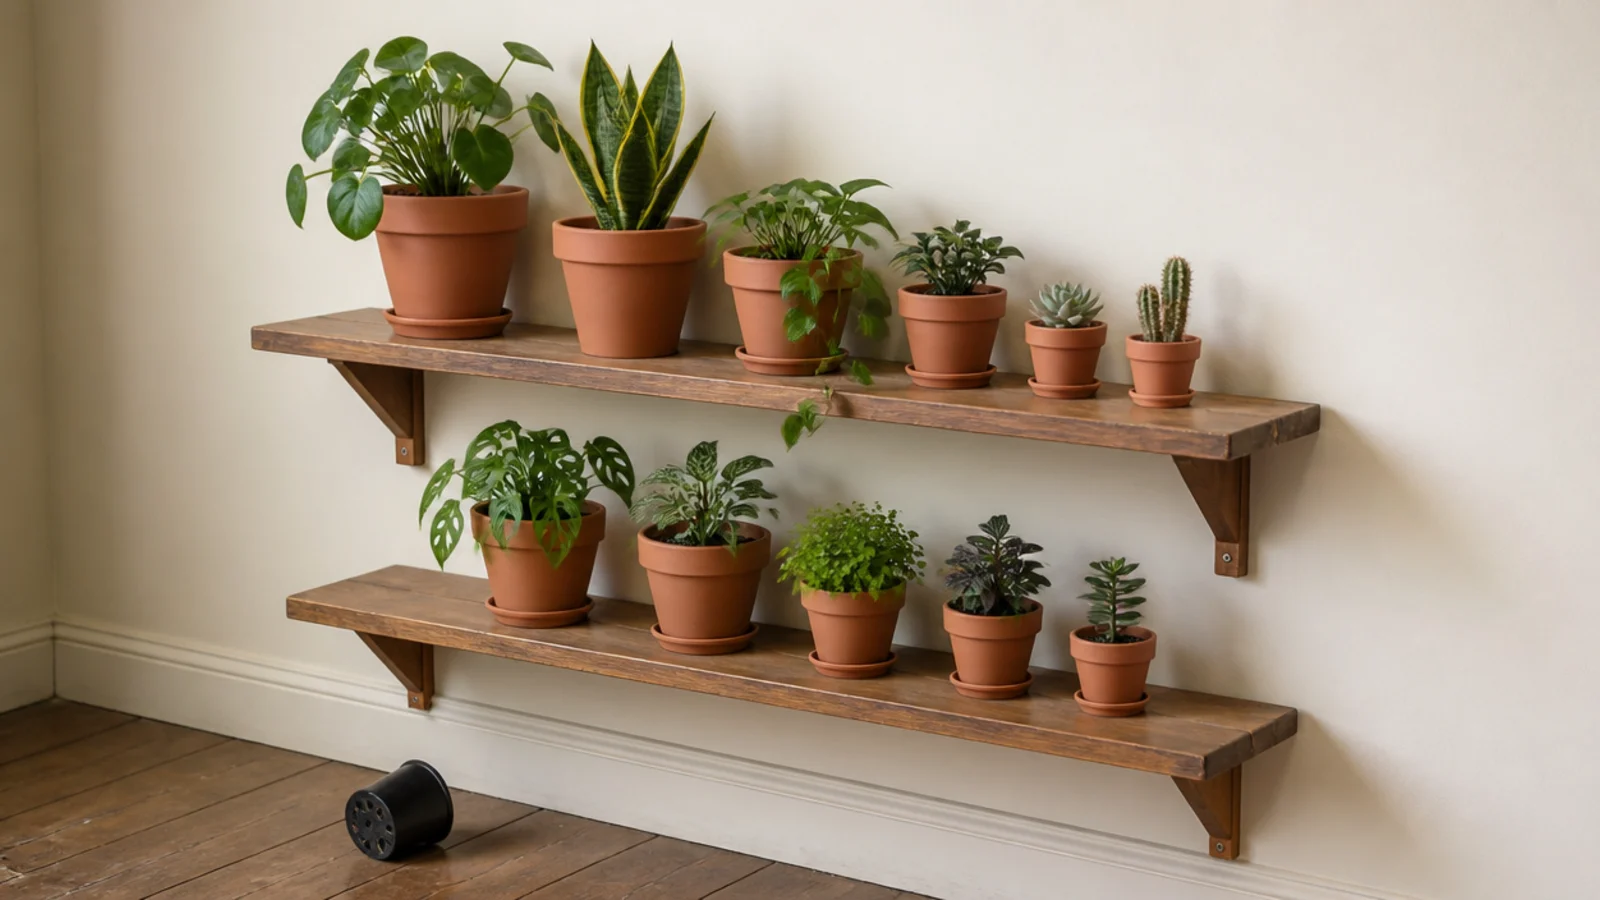
Makeover 14: The bare wall above the sofa
Before: a large blank wall above a linen sofa that every visitor's eye slid straight past, with the books stacked on the floor beneath it.
After: three long picture ledges, the lowest starting twelve inches above the sofa back and the rest spaced thirteen inches apart.
Four inches deep so nobody meets a shelf edge with their head. Forward-facing covers get books picked up in a way spines never do. Cost $78 for three.
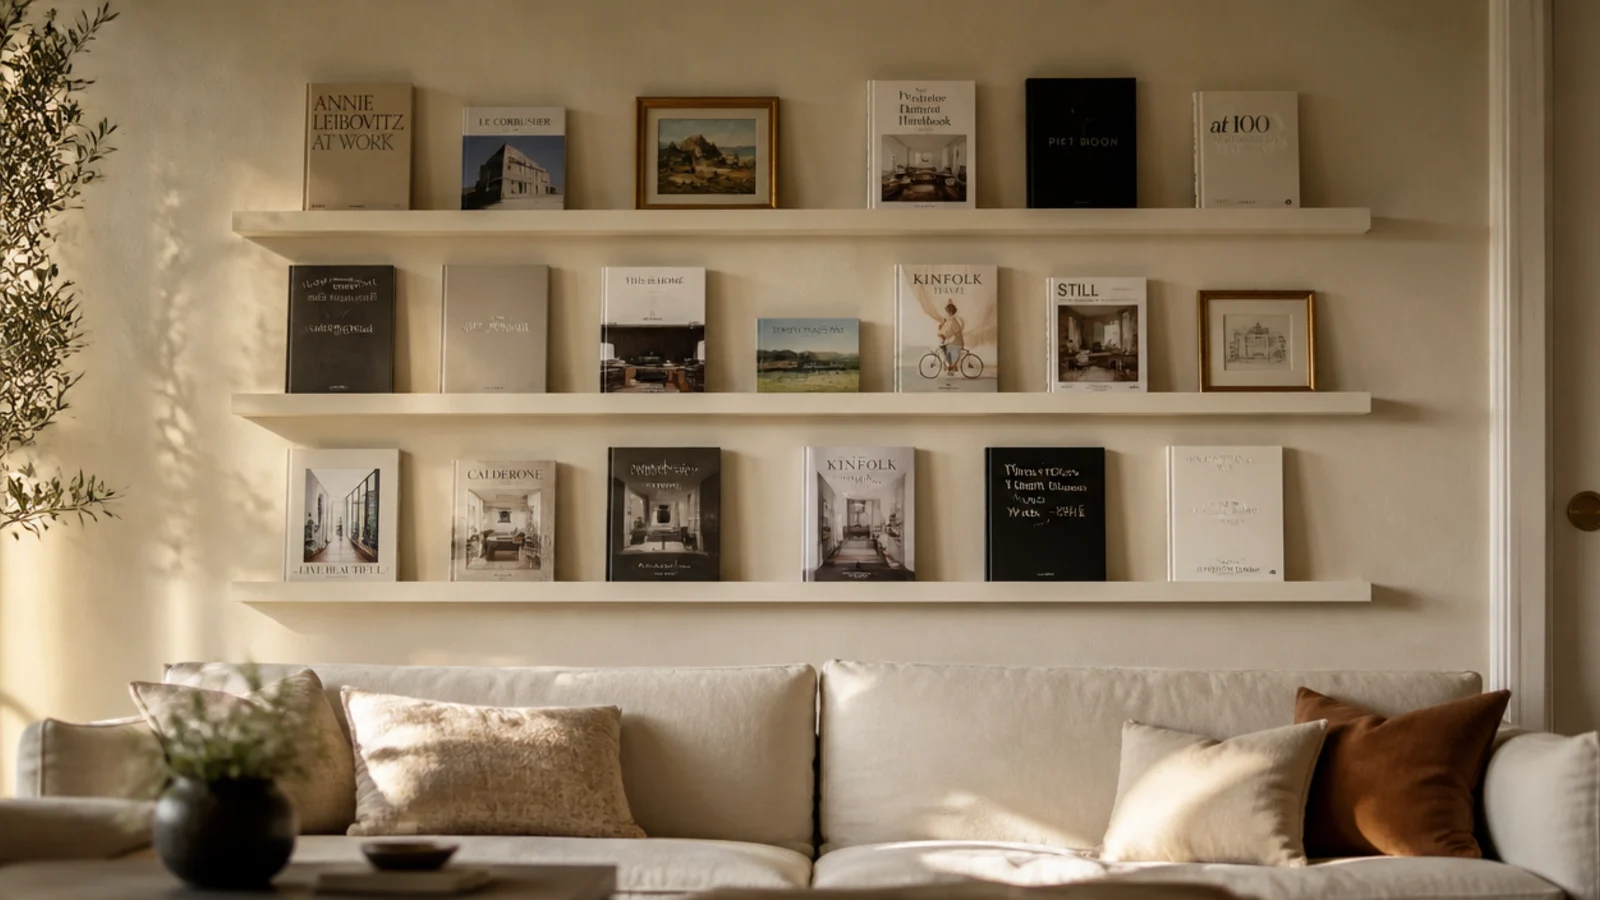
Makeover 15: The bedroom case that blocked the walkway
Before: a freestanding bookcase beside a bed leaving about fifteen inches to squeeze past on the way to the wardrobe.
After: two floating walnut shelves on the same wall — one at mattress height, one fourteen inches above — and the case moved to the landing.
More usable surface, zero floor footprint, and a walkway you can pass without turning sideways. In a small bedroom that is straightforwardly better. Cost $64.
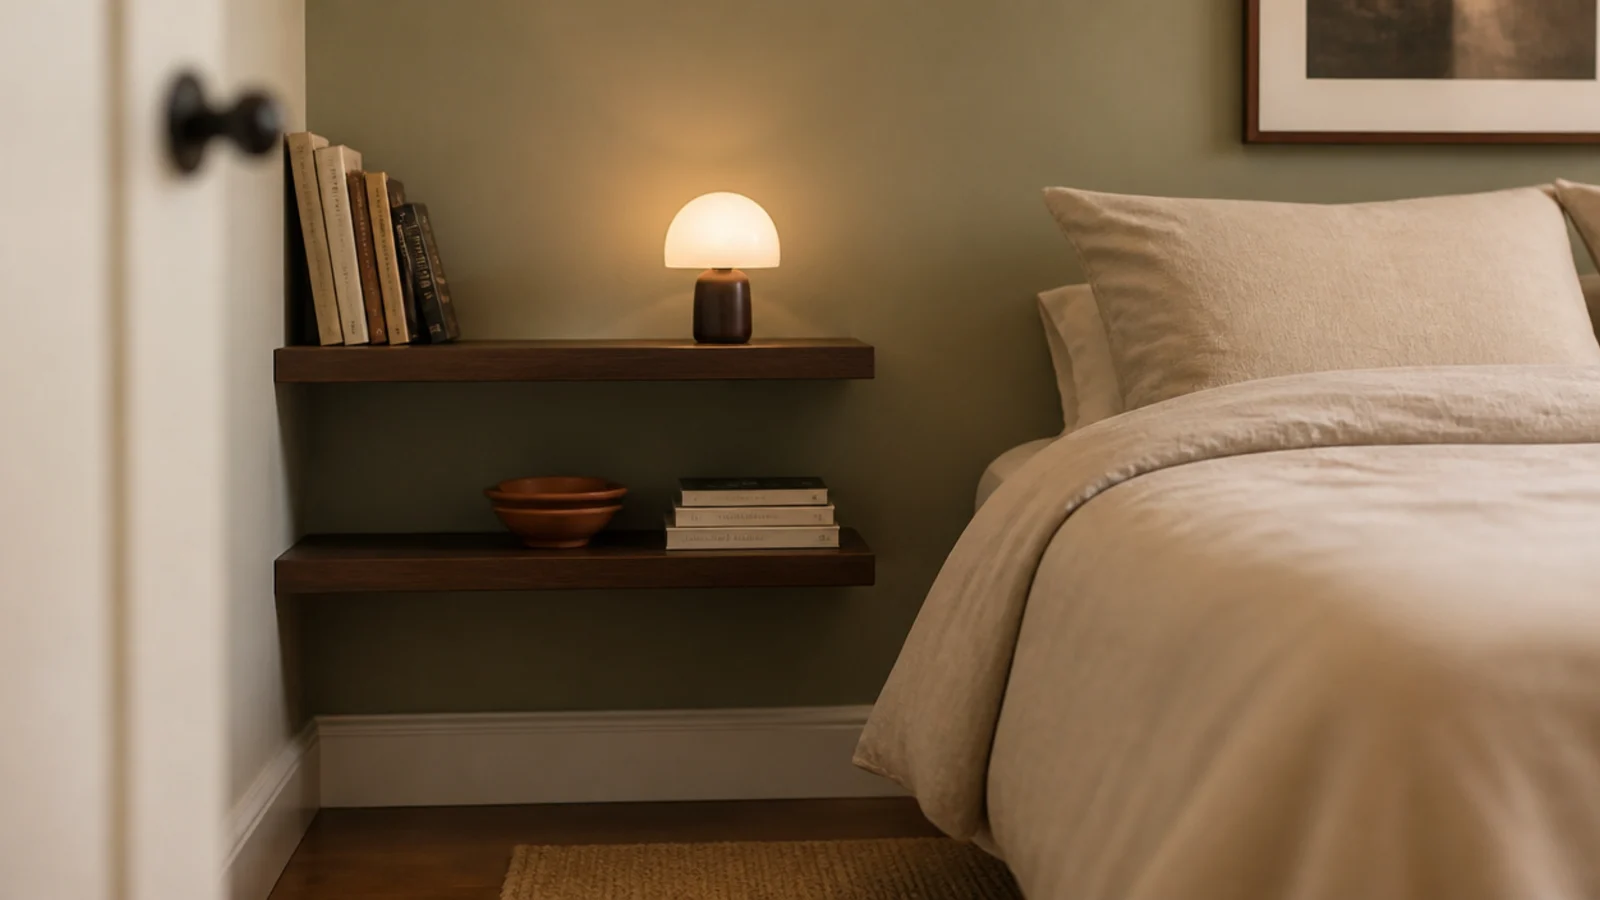
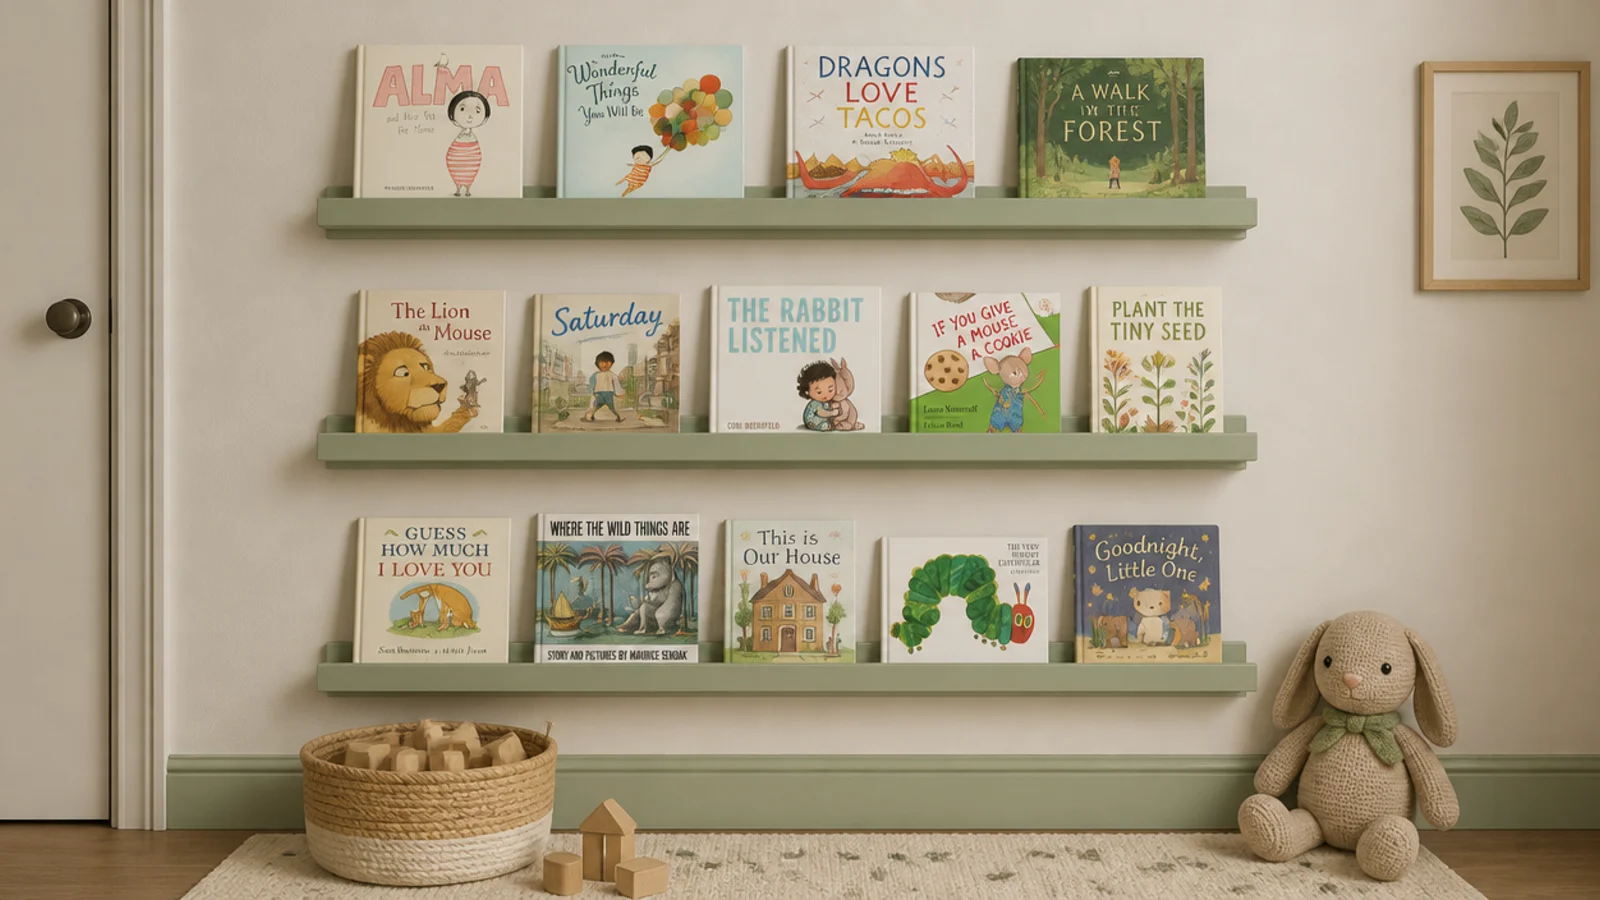
Makeover 16: The kids shelves nobody could reach
Before: shelving mounted at adult height in a five-year-old's room, holding her picture books where she could not get to any of them.
After: three shallow ledges capped at 36 inches, edges rounded, every one fixed into a stud, books stored cover-out.
She chose her own book for the first time that evening. The lowest shelf is the only one that matters at that age, and it has to be low enough that no climbing is involved. Cost $46.
Makeover 17: The alcove that swallowed all the light
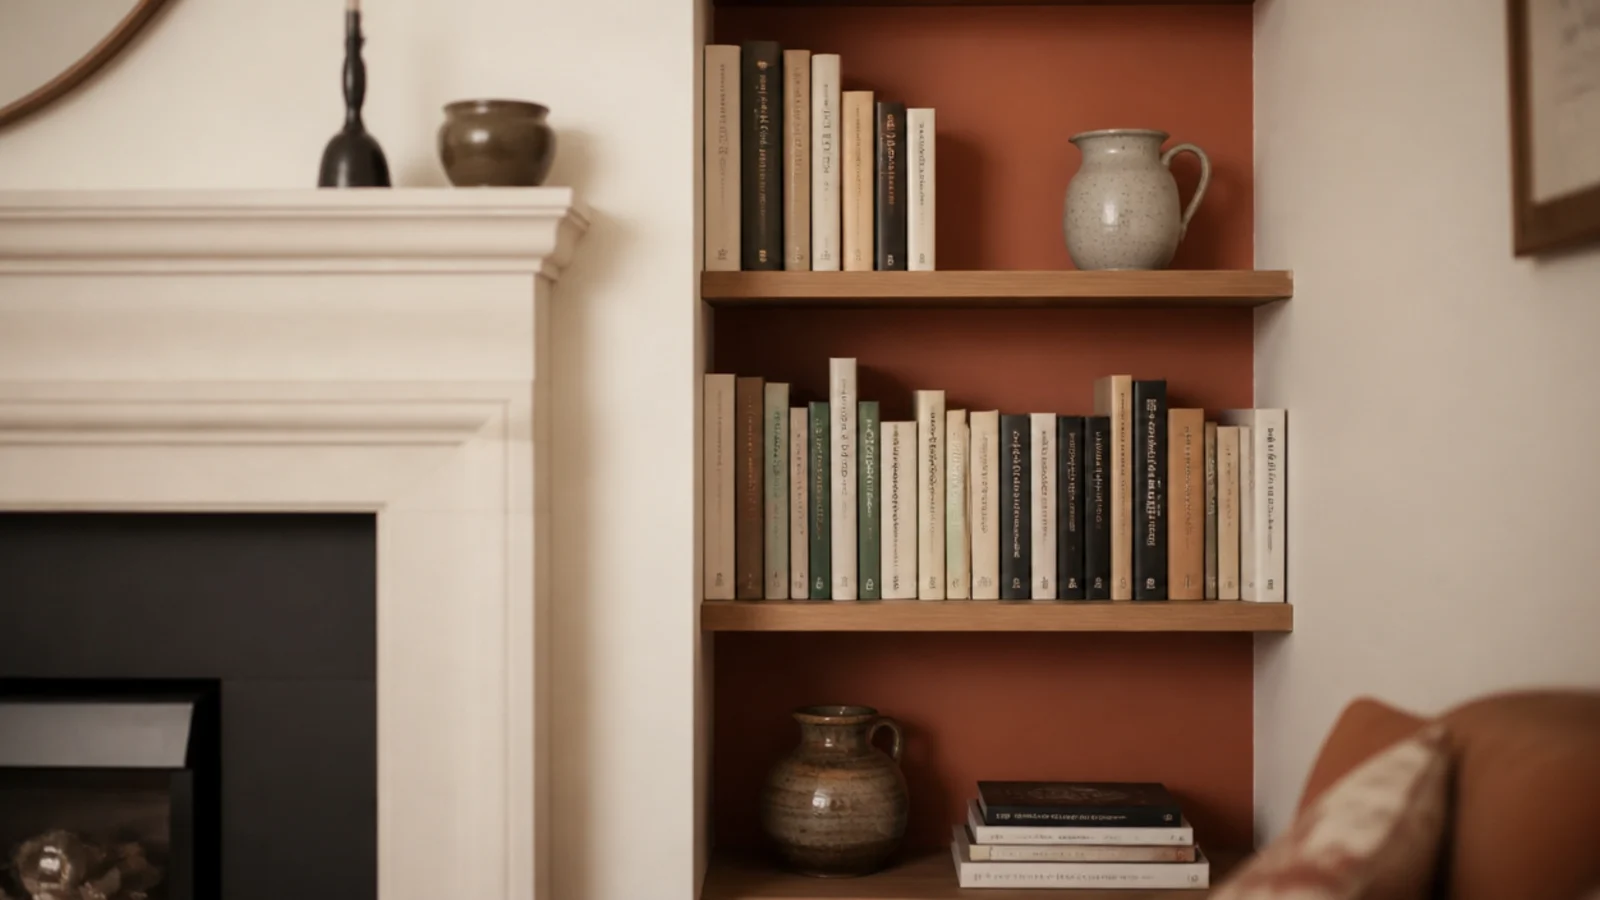
Before: shelving in a chimney alcove that read as a dark hole from across the room, with everything on it lost in shadow.
After: the rear panel painted a muted terracotta, everything else left cream.
You only ever see a back panel in narrow slivers between books, so a warm color reads two or three times stronger there than it does on a test card. One sample pot, $9, and the recess started to glow instead of swallowing light.
Makeover 18: The forty-inch span
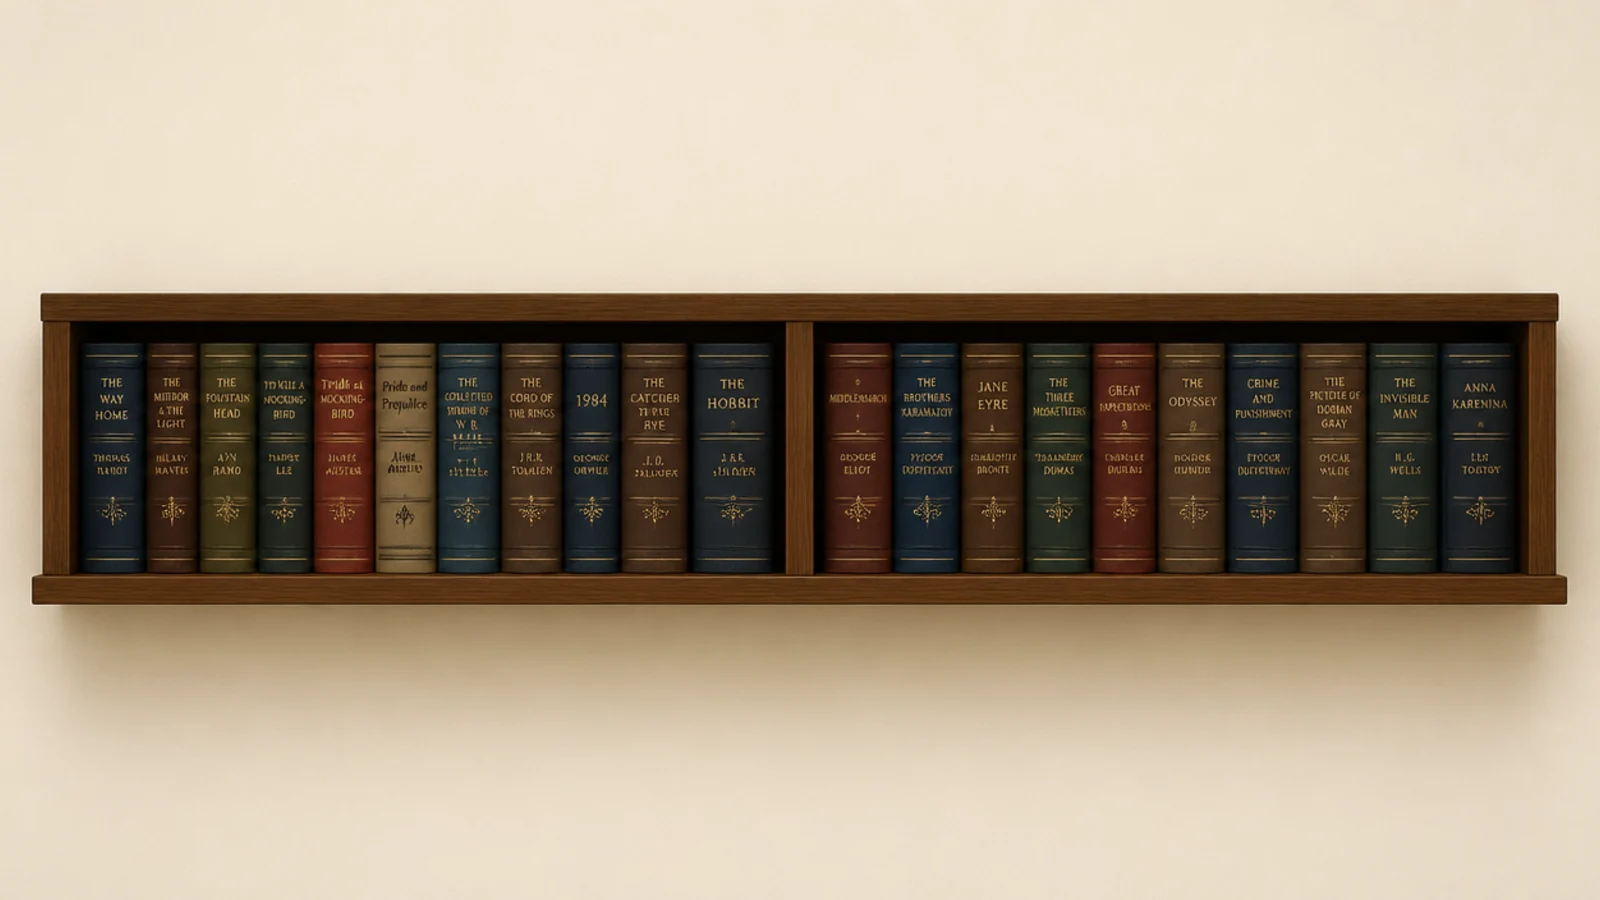
Before: a long single shelf running 40 inches between supports with a slow but definite bow developing under hardbacks.
After: a slim vertical support added at the midpoint, splitting the run into two 20-inch bays.
A 36-inch shelf of hardbacks carries 60 to 75 pounds, which is a lot to ask of an unsupported board. Adding the divider cost $12 in timber and made the run look deliberately structured rather than merely long.
Makeover 19: The brackets you saw first
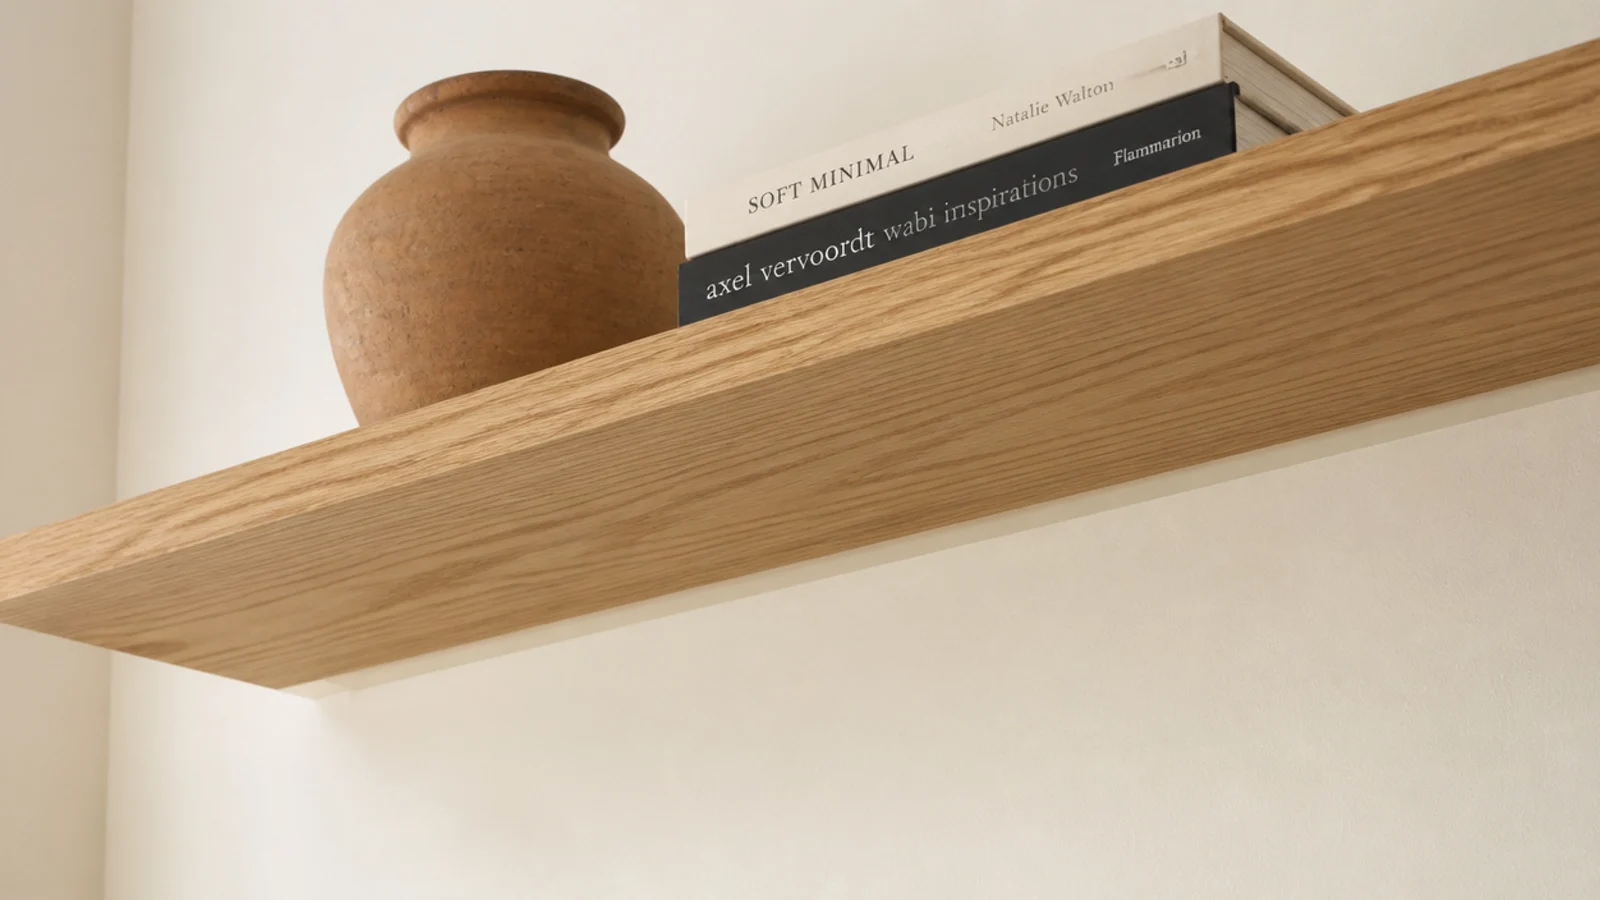
Before: warm oak shelves on bright unpainted steel brackets, where your eye went to the hardware before it reached a single book.
After: two coats of wall-colored sample paint on the bracket plates.
Ten minutes and about $4. A painted bracket genuinely disappears from every normal viewing angle, and it is the cheapest upgrade on this list. The same trick works on visible fixings anywhere in a room.
Makeover 20: The case that refilled every fortnight
Before: a shelf that had been beautifully restyled twice already and was full again within two weeks both times.
After: one labeled box in a cupboard for the rotation, one basket on the lowest shelf for daily strays, and a two-minute reset on Sundays.
Shelves refill because the extra things have nowhere else to go. Giving the overflow an address is the only version of this that survives real life. Cost $9 for the basket.
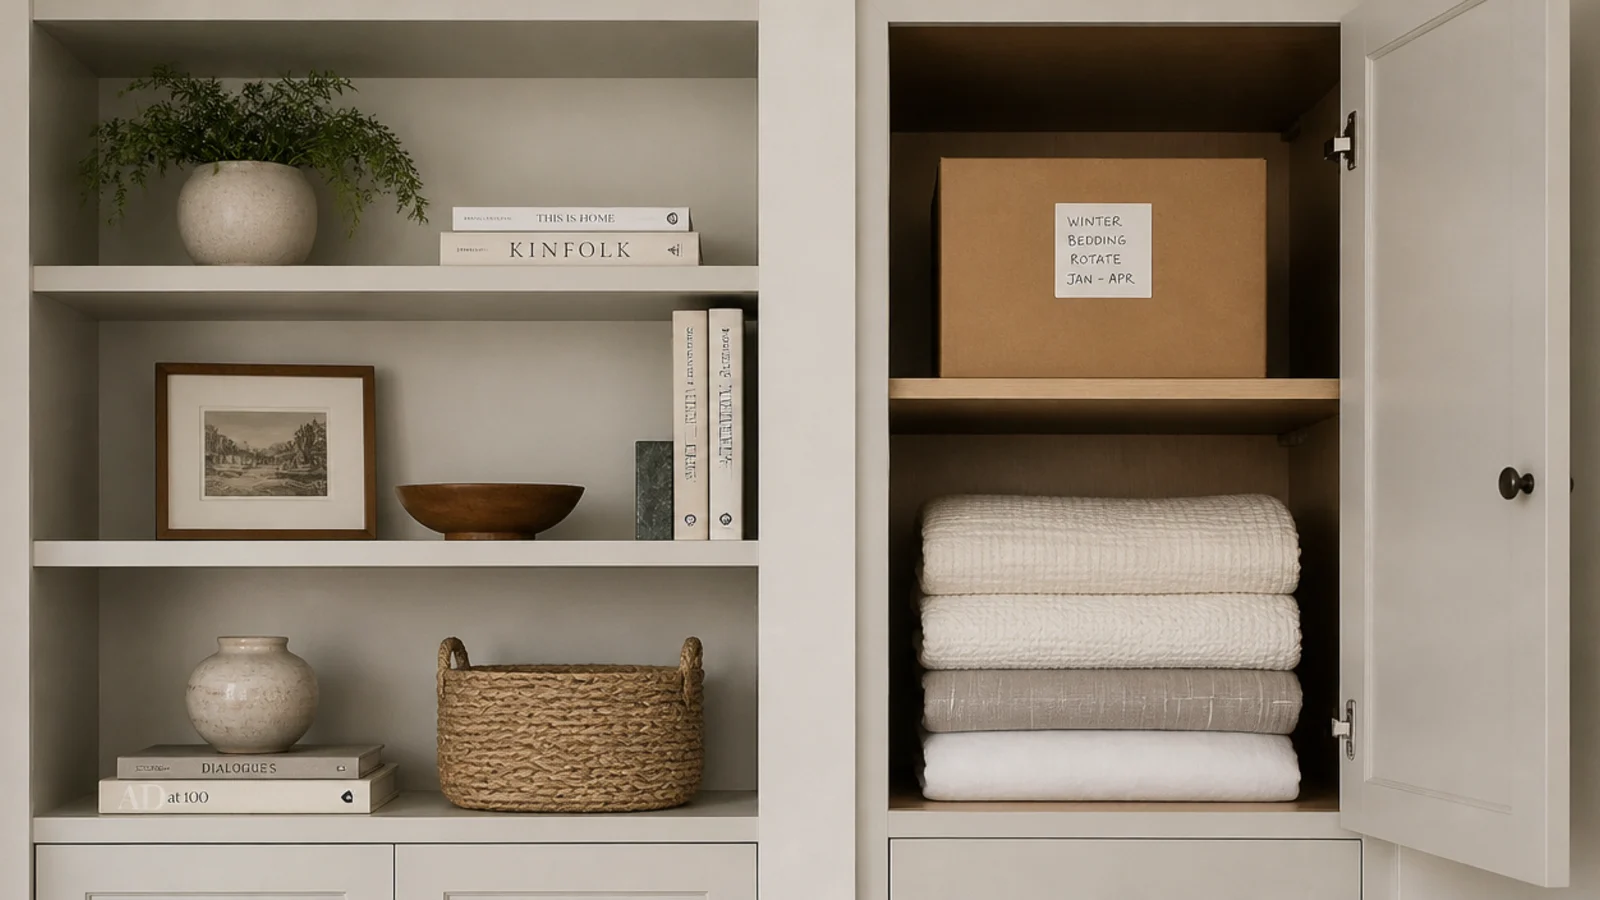
Bookshelf Before and After: What I'd Do Differently Now
Looking at twenty makeovers in a row, the pattern is not flattering to anyone who likes shopping. Almost everything that worked was subtraction.
Eleven of these cost nothing at all. The ones that cost money were mostly physical fixes — a span too long, a clear height too short, a depth too shallow, a missing strap — where styling could never have helped. Everything else was removing books, painting something out, or changing a bulb to 2700K.
If I could give myself one instruction at twenty-six, it would be to stop treating an empty shelf as a problem to solve. I spent years adding to cases that were already full, and the shelves I am proudest of now are the ones where two-thirds of the contents went into a box.
The other thing I would change is the order. I used to style first and fix the structure afterwards, which meant restyling twice. Now I check the span, the depth, the clear height and the light before a single book goes back on a board. Those four decide what is possible; everything after that is arrangement.
Frequently asked questions
What is the cheapest bookshelf makeover that actually works?
Taking a third of the books off and regrouping the rest by height. It is free, takes twenty minutes per case, and in these twenty makeovers it appears more often than anything I bought. The second cheapest is a 2700K bulb, which costs about four dollars and rescues every warm material on the shelf.
How long does a bookshelf makeover take?
A styling-only reset takes 20 to 40 minutes per case, including the step where you take everything off and start from an empty board. Painting a case is an afternoon plus overnight drying. Fixing a sagging span with a glued front lip is about an hour, most of which is clamping time.
Should I replace my bookshelf or restyle it?
Restyle first. Around two-thirds of the cases I am asked to look at need nothing bought at all. Replace only when the board bows under load, the clear height is under ten inches so hardbacks will not stand, or the depth is under nine inches so books overhang the front edge.
What is the most common thing wrong with a bookshelf?
Too many books out at once, all standing vertically at similar heights. It shows up in nearly every case I see. The second most common is the anchor: plastic plugs rated around ten pounds under a 36-inch shelf carrying 60 to 75 pounds of hardbacks, which fails slowly enough that nobody notices.
Do I have to take everything off to restyle a bookshelf?
Yes, and it is the step everybody wants to skip. Nudging an existing arrangement just relocates the problem, because you keep protecting decisions you already made. Ten minutes rebuilding from an empty board beats an hour of adjusting, every single time I have tried both on the same case.
Try the free version first on whichever case bothers you most: take everything off, put back two-thirds grouped by height, and change the bulb if the room reads gray. If it still looks wrong after that, the problem is structural and worth spending on. The full styling walkthrough covers the method in order, bookshelf styling mistakes covers what I got wrong first, and headboard before and after has the equivalent for the wall behind your bed. Save the pin before you buy anything new.
Want more like this? Browse all 15 bookshelf ideas guides — they all use the same measurements and budget tiers.
Pin it for later
Save this to your Bookshelf Ideas board
Pin it now so it is waiting for you when the tape measure comes out — and so the next person hunting for this idea can find it too.
Save this pinKeep going
More ideas worth saving while you have the tape measure out.