Aesthetic Candle Decor · UGC
15 Aesthetic Candle Mistakes I Made and Fixed

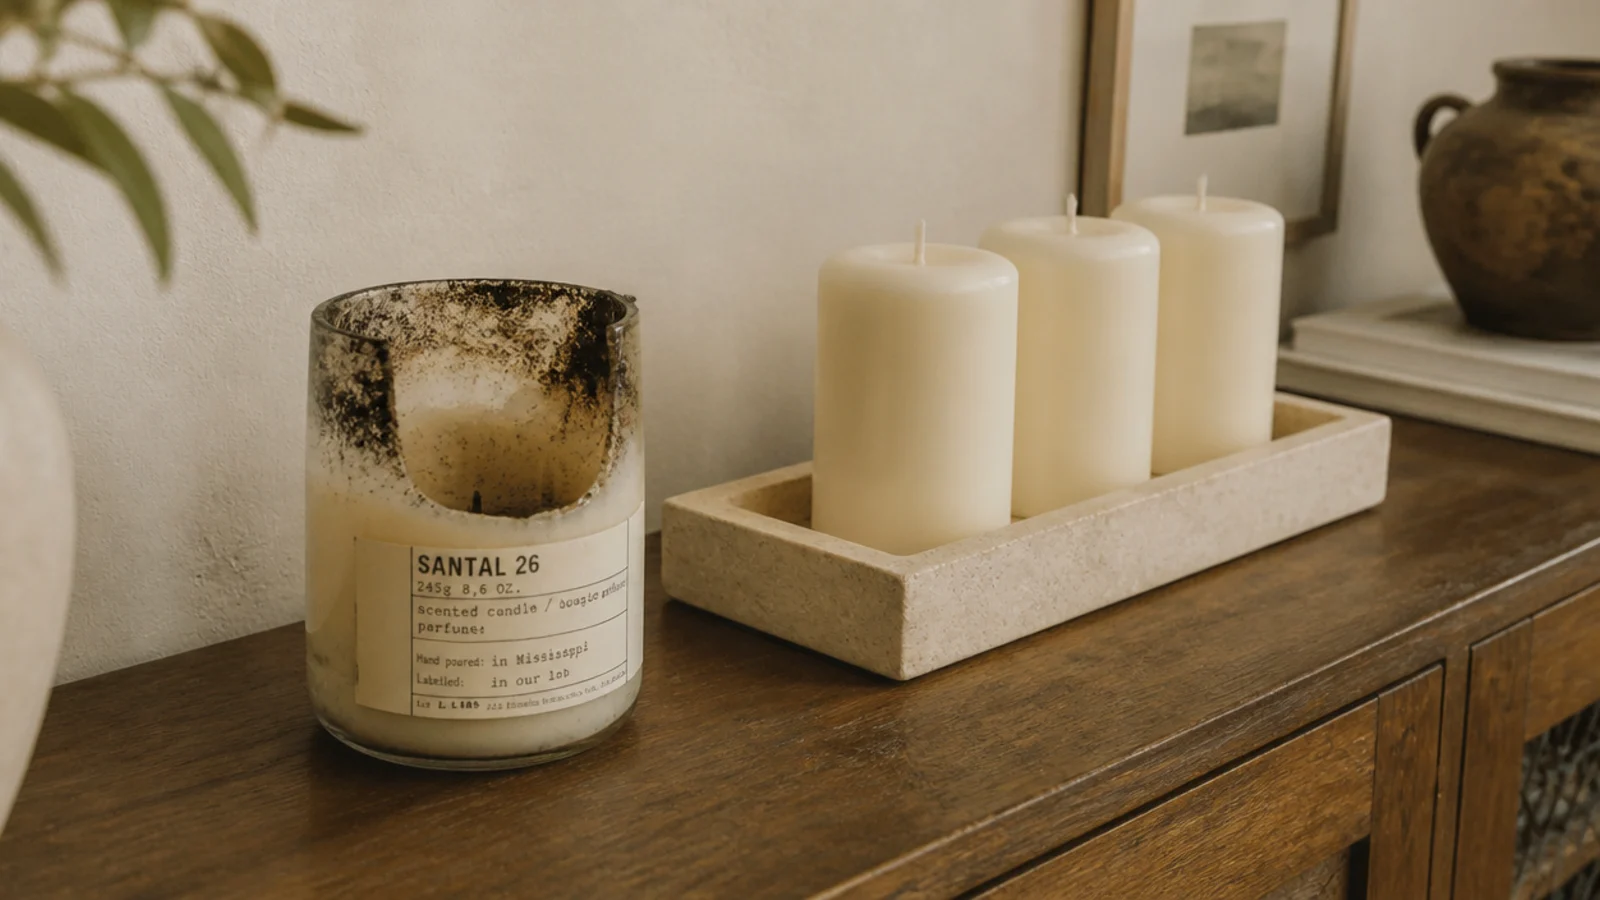
The candle decor mistakes in this article are all mine, and two of them still make me uncomfortable to write down. I have styled candles in six rentals and two houses, mostly badly for the first four of them.
For years I treated candles as decoration rather than as small open fires. They photographed beautifully. They also left a scorch mark on the underside of a shelf I had to explain to a landlord, a permanent ring in a painted table, and one evening I would rather not repeat involving a stem of dried eucalyptus and about one second of flame.
Nothing here is dramatic for the sake of it. These are ordinary errors that ordinary careful people make, because a candle looks harmless right up until the moment the clearance is wrong. Fifteen mistakes, in roughly the order I made them, with what I do instead now.
In this guide16 sections — tap to openHide
- 1.Mistake 1: I left the room with a candle burning
- 2.Mistake 2: I fell asleep with one lit at the bedside
- 3.Mistake 3: I let dried stems creep in beside a flame
- 4.Mistake 4: I set jars straight onto painted furniture
- 5.Mistake 5: I hung a sconce under a floating shelf
- 6.Mistake 6: I burned jars to the very bottom
- 7.Mistake 7: I never trimmed a wick
- 8.Mistake 8: I cut the first burn short
- 9.Mistake 9: I crowded tealights together
- 10.Mistake 10: I put candles on a bookshelf between books
- 11.Mistake 11: I bought skinny pillars
- 12.Mistake 12: I lit them under an air vent
- 13.Mistake 13: I ignored where the cat jumps
- 14.Mistake 14: I used scented candles at the dinner table
- 15.Mistake 15: I kept matches on the low tray
- 16.Candle Decor Mistakes: What I'd Do Differently Now
Mistake 1: I left the room with a candle burning
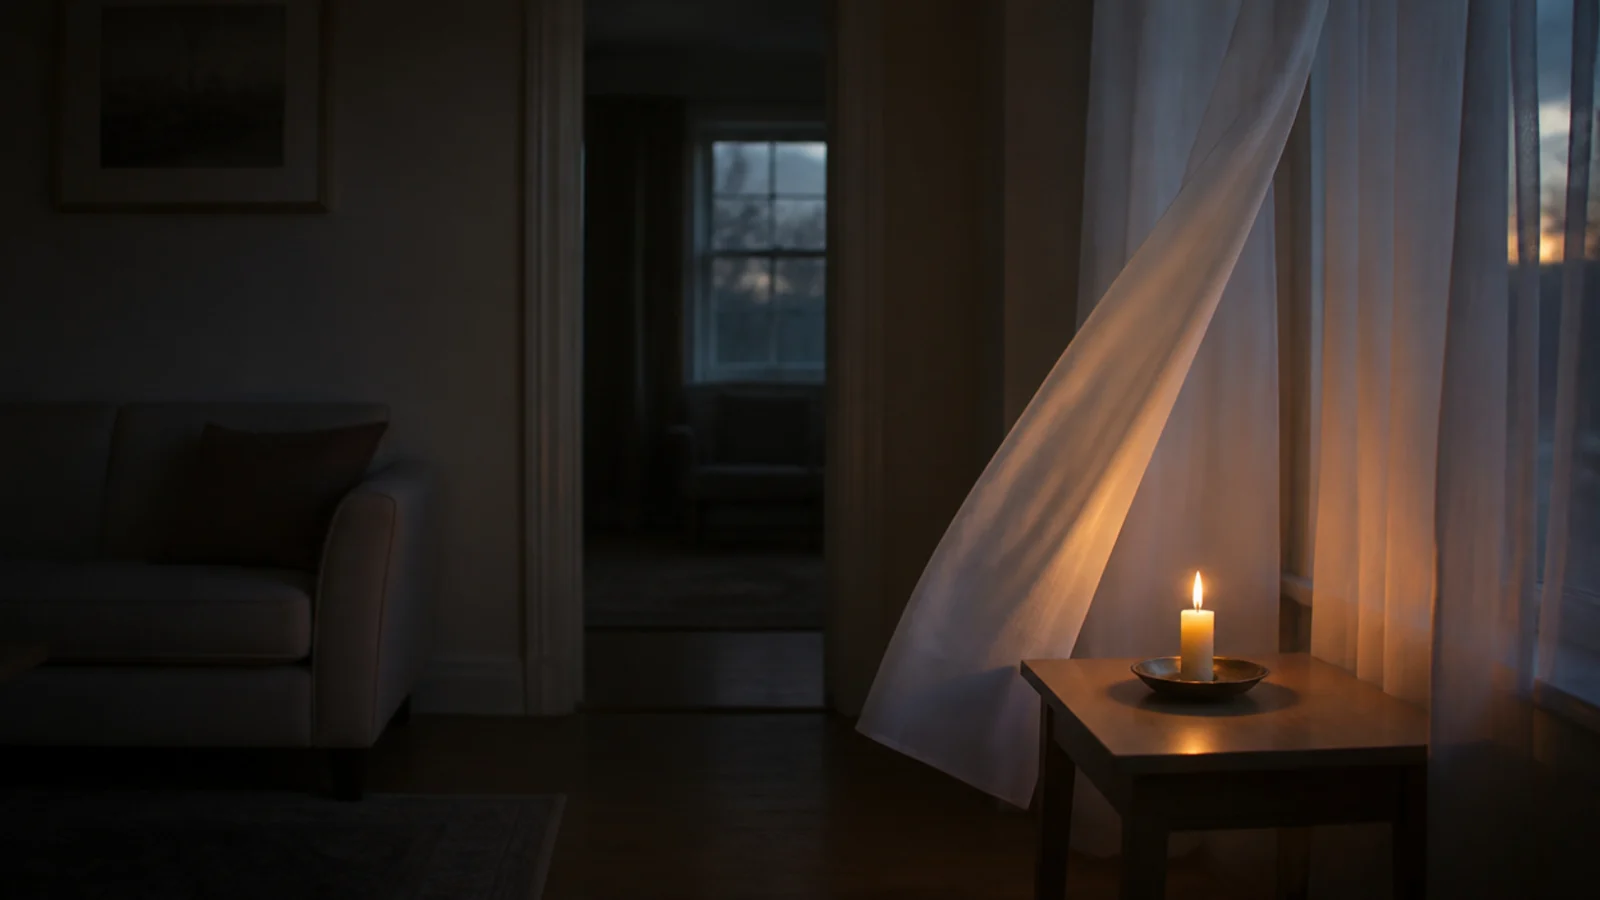
I went to answer the door and ended up talking on the step for ten minutes. When I came back the linen curtain by the side table had drifted inward on the draft from the open front door, and the candle was still burning underneath it.
Nothing happened. That is the only reason this is a story rather than an incident.
The fix: the candle goes out when I leave the room, every time, including for a two-minute errand. It is a small inconvenience compared to trying to guess which errand will turn into ten minutes. Relighting takes four seconds.
Mistake 2: I fell asleep with one lit at the bedside
I read in bed most nights, and for a long time there was a jar candle on the nightstand. One evening I woke at 3am and it had burned itself down to the tab, with about an inch of glass between the flame and a stack of paperbacks.
That was the night I stopped keeping open flames in bedrooms.
The fix: flameless candles with real wax shells and a warm moving flame tip, on a timer, on a ceramic tray. From the bed you cannot tell. And a candle can no longer outlast me.

Mistake 3: I let dried stems creep in beside a flame
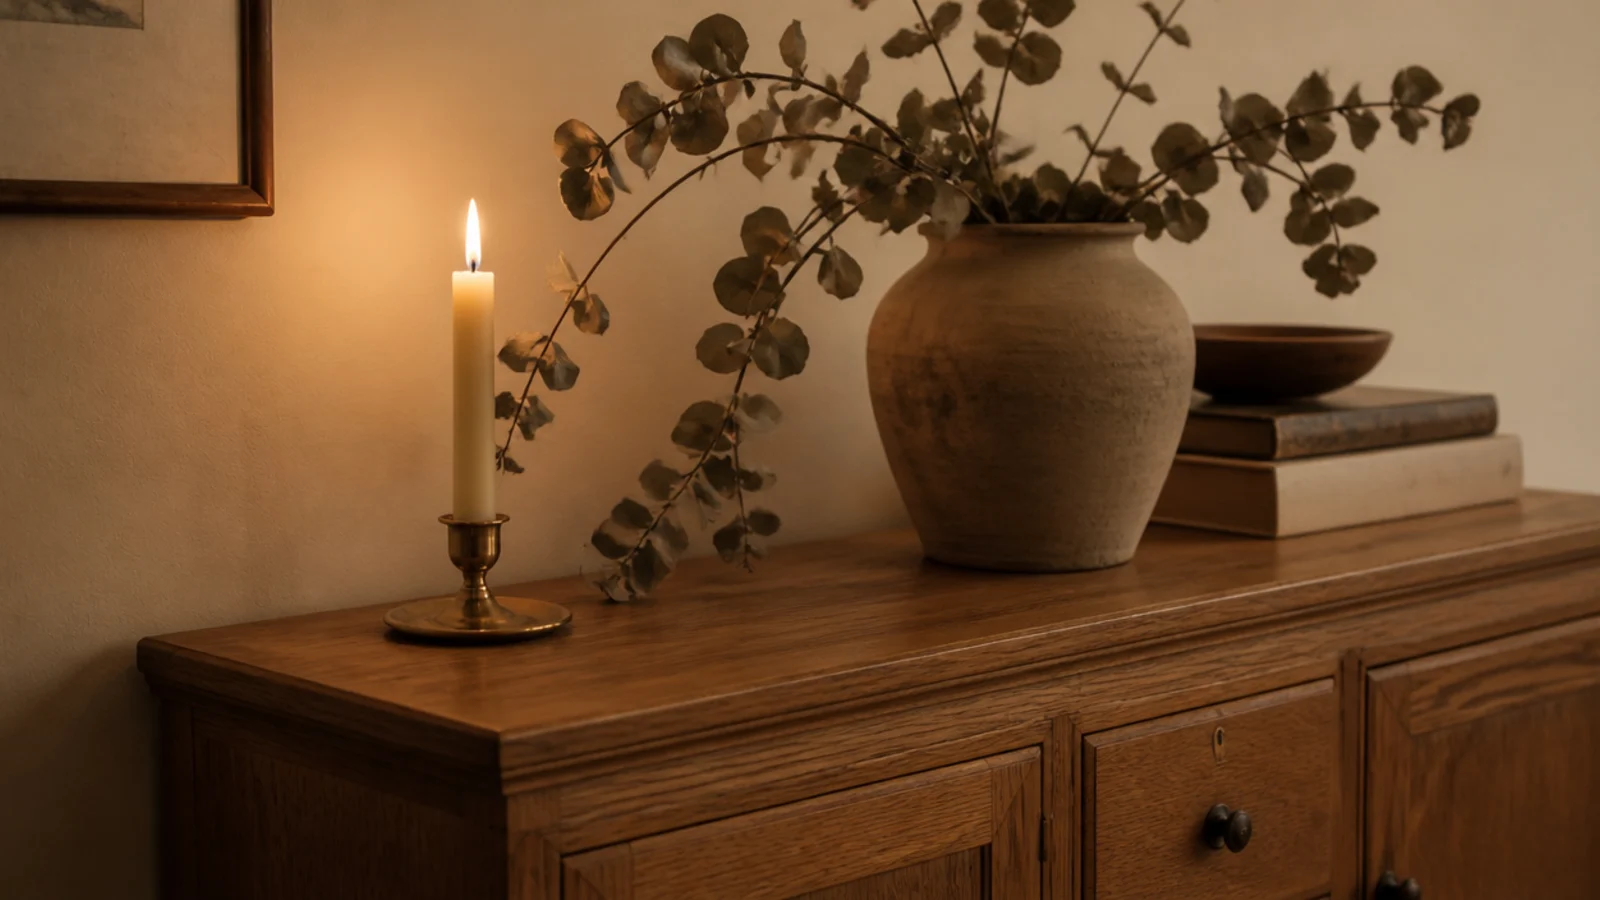
Dried eucalyptus in a clay vase, a taper in a brass holder, the two of them styled together on a sideboard because that is the photograph everyone loves.
Over a few weeks the stems dried further and drooped. One leaf touched the flame while I was standing right there, and it was gone in about a second — a flare, a smell, and a small pile of ash.
The fix: twelve inches minimum between any flame and any dried material, and I place stems at the opposite end of a surface rather than beside candles. Dried grasses are effectively kindling, and they move as they age.
Mistake 4: I set jars straight onto painted furniture
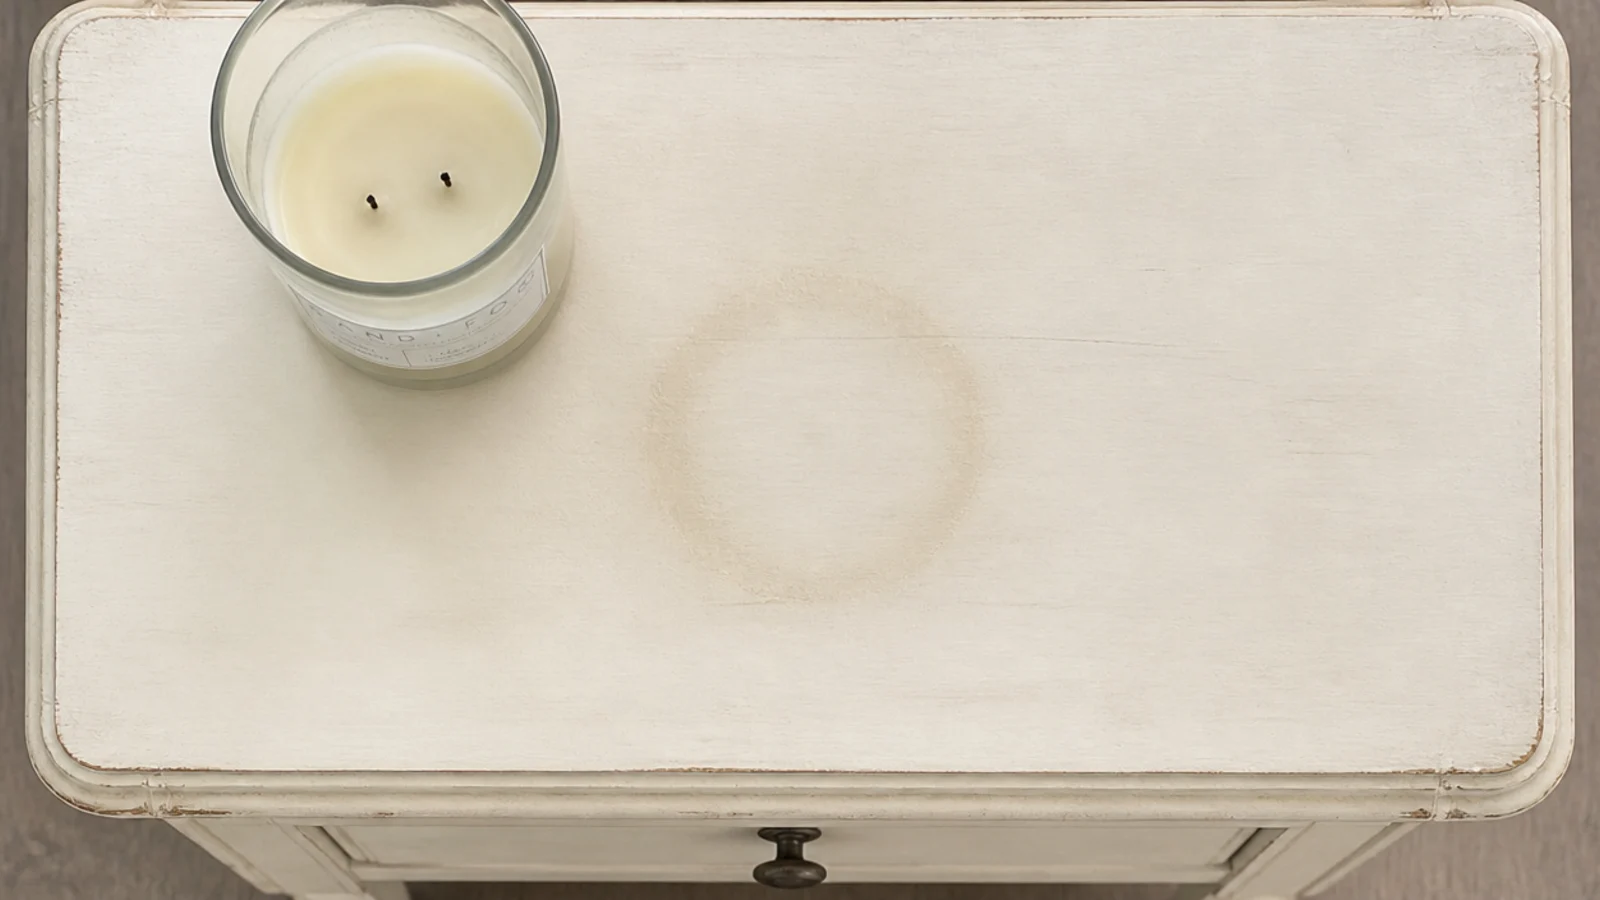
A glass jar candle lived on a cream painted side table for a winter. When I finally moved it there was a dulled ring in the finish, permanently, because the base of a burning jar gets far hotter than people expect.
The fix: nothing burns in this house without stone, ceramic, glazed tile or solid metal underneath it. A stone tray costs $15 to $35, tile offcuts cost a dollar or two, and either one is cheaper than refinishing a tabletop. Felt pads underneath stop the stone scratching what it protects.
Mistake 5: I hung a sconce under a floating shelf
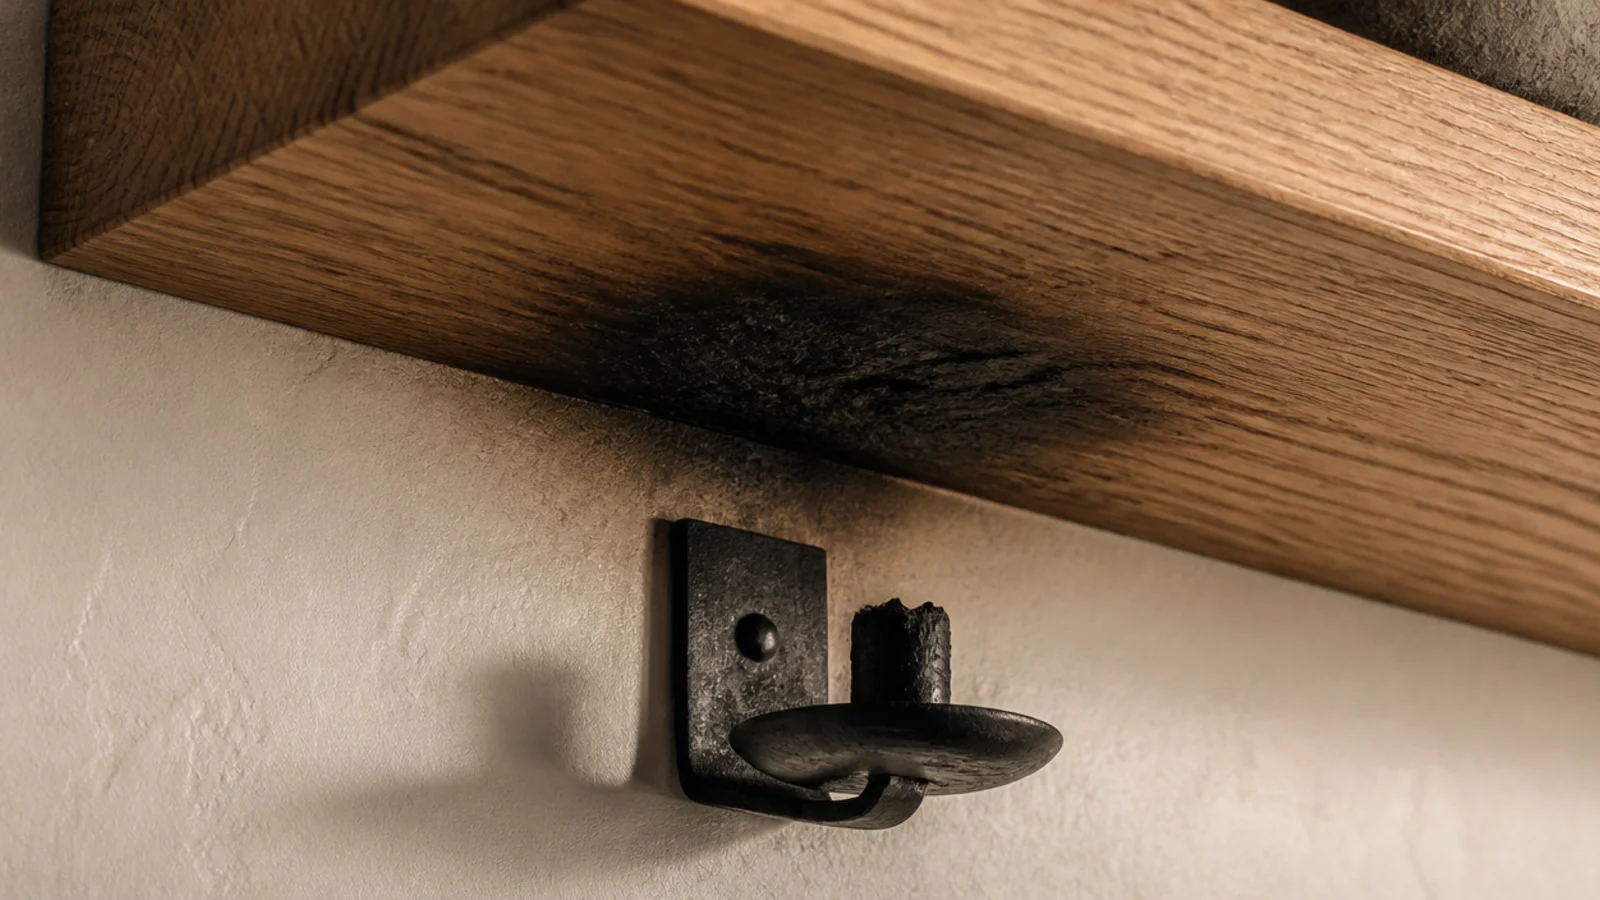
I mounted a small metal wall holder about eight inches below an oak floating shelf, which looked wonderful and trapped every bit of rising heat against the timber above.
Within two months the underside had a dark scorched patch. I never smelled anything; I only noticed because I was dusting.
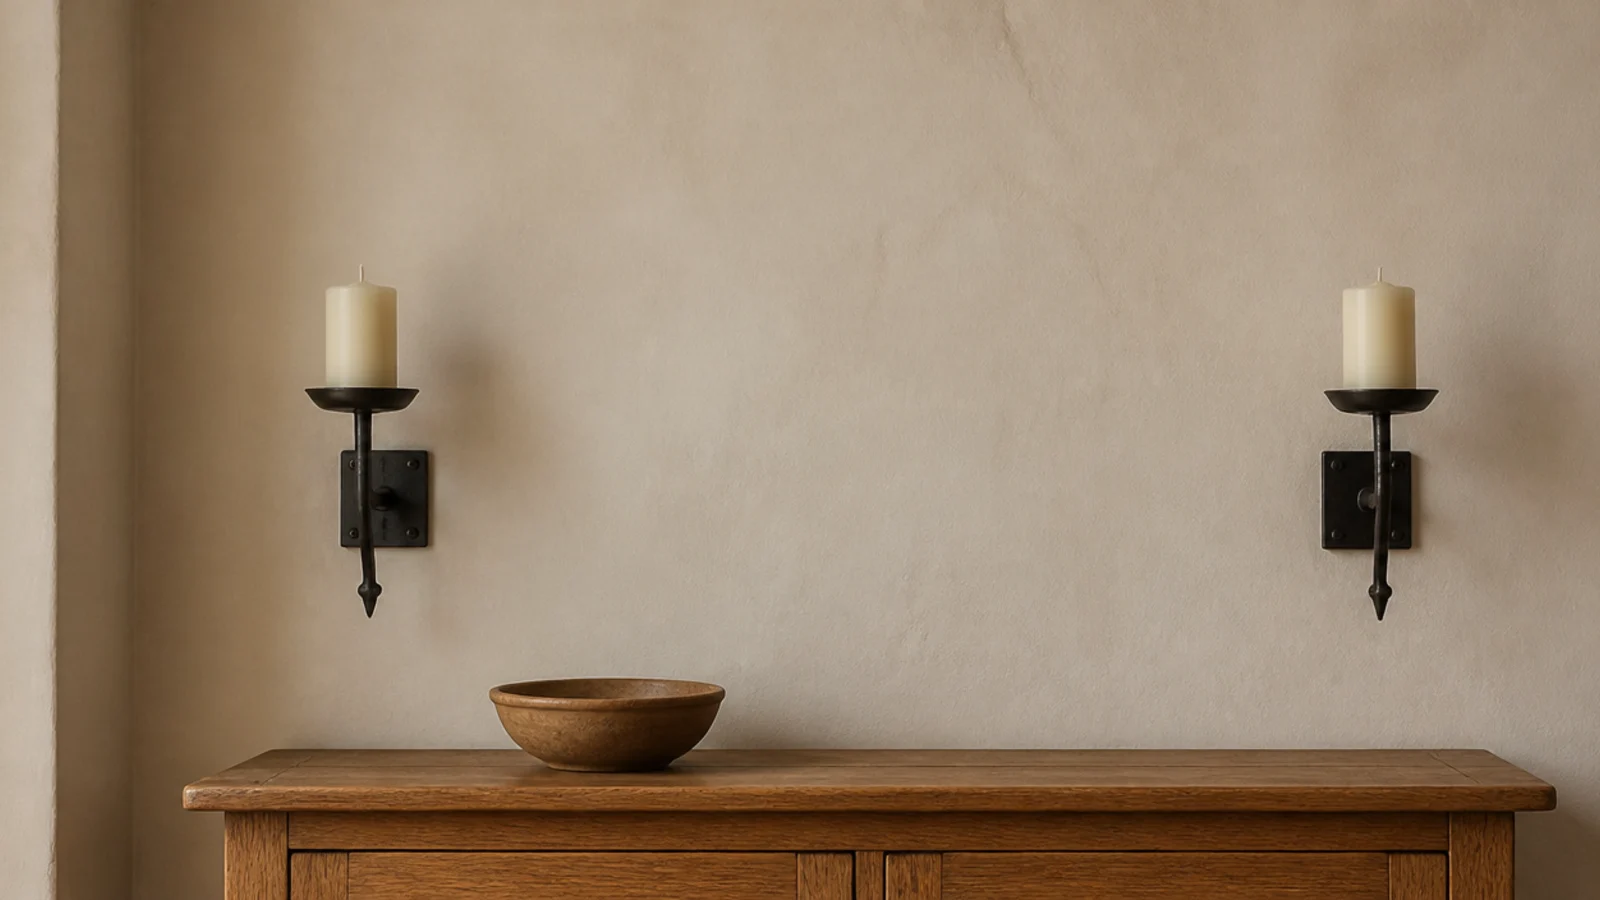
The fix: no live flame under a shelf, a cabinet or any overhang. Above a wall flame I now want at least thirty-six inches of bare, non-combustible surface, and anything closer than that gets a flameless candle. There is a full version of this in candle wall decor.
Mistake 6: I burned jars to the very bottom
It felt wasteful to throw away a candle with wax still in it, so I would burn each one until the wick tab was sitting in a puddle. One evening a jar cracked from the base up while it was lit.
The fix: stop while at least half an inch of wax remains. Below that, the flame sits close to the glass and heats it unevenly. Never relight a cracked vessel, and pour hot water into a spent jar to release the last wax rather than scraping it out.
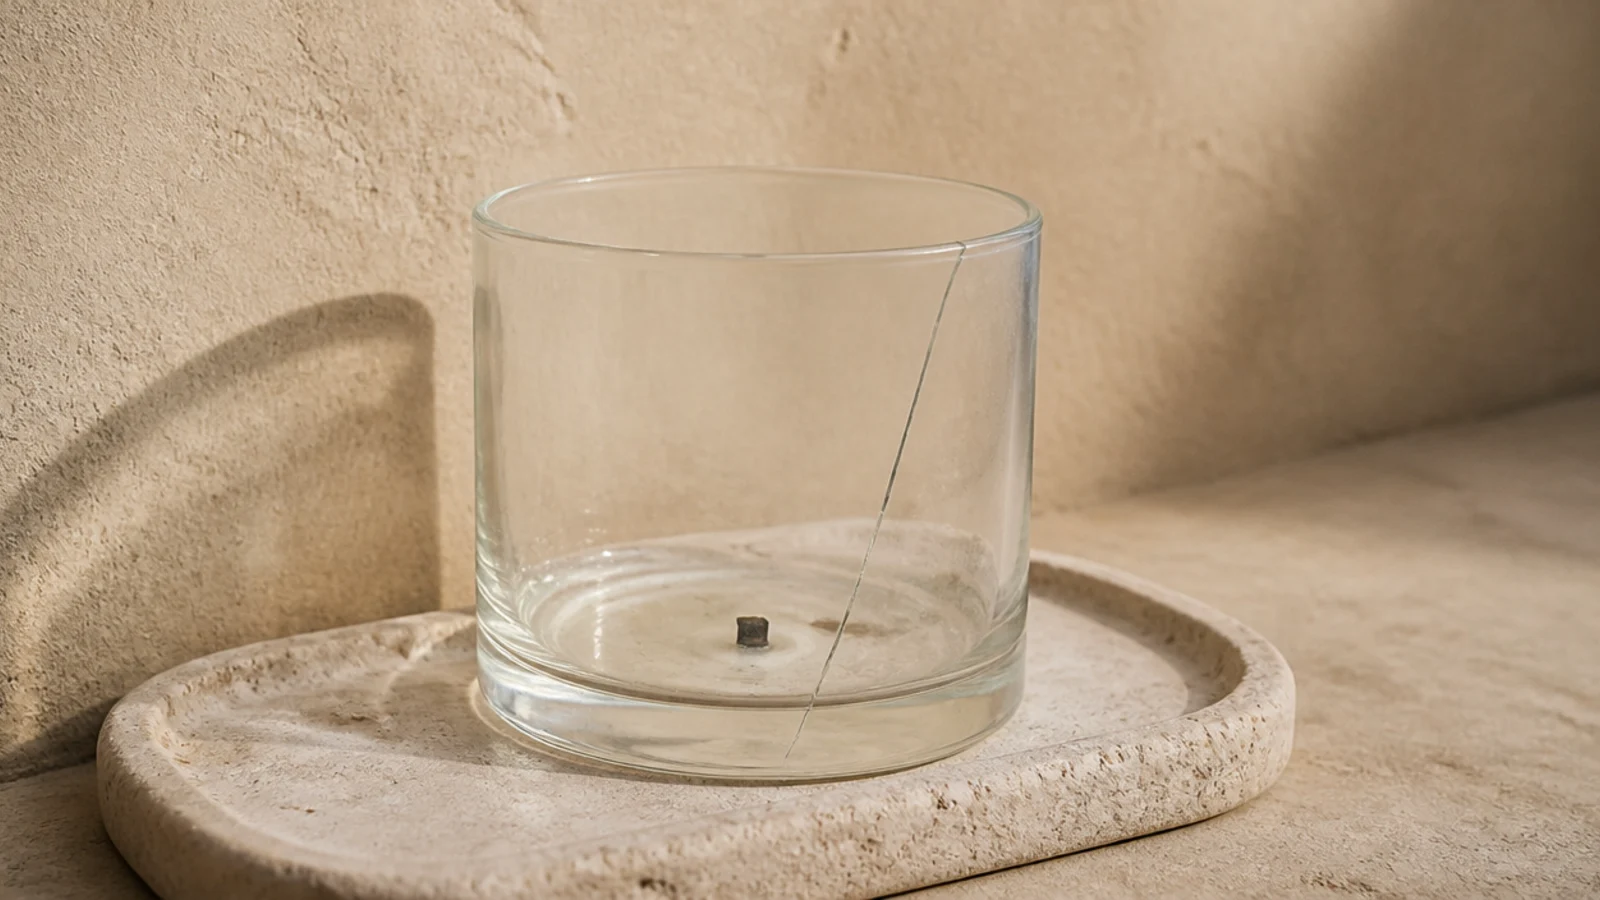
Mistake 7: I never trimmed a wick
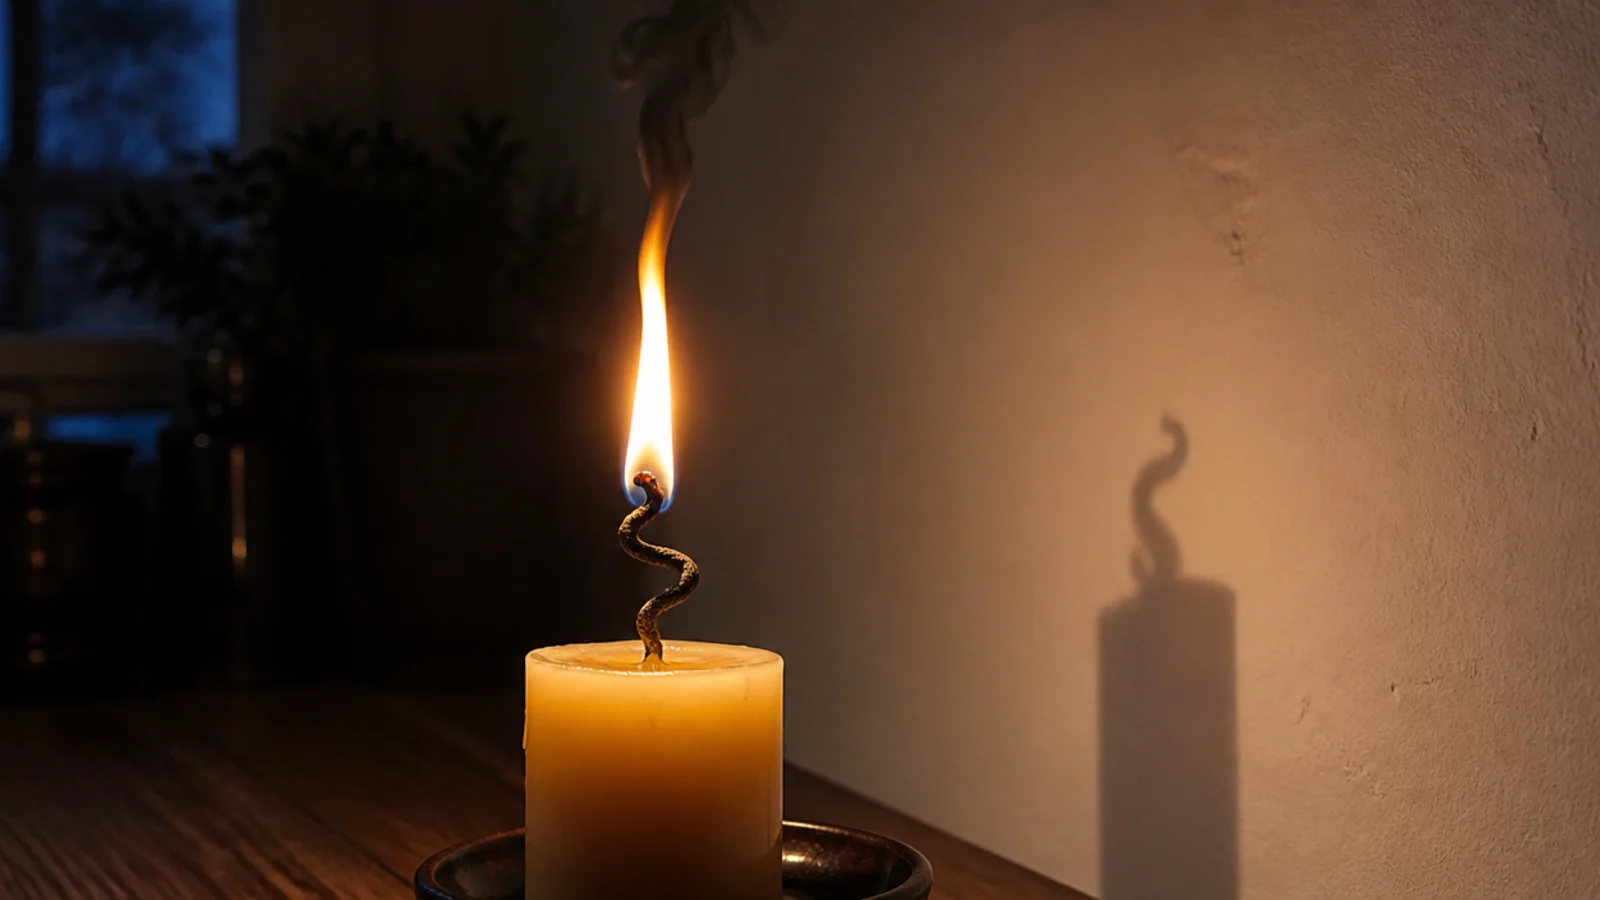
For years I lit candles straight from the drawer. The flames were tall and restless, the glass rims went black, and a grey shadow crept up the plaster above my favorite corner.
The fix: trim to a quarter inch before every burn, without exception. Nail scissors work; a proper wick trimmer costs $10 and reaches into a deep jar. A short wick makes a small steady flame, which is both the safer flame and the prettier one.
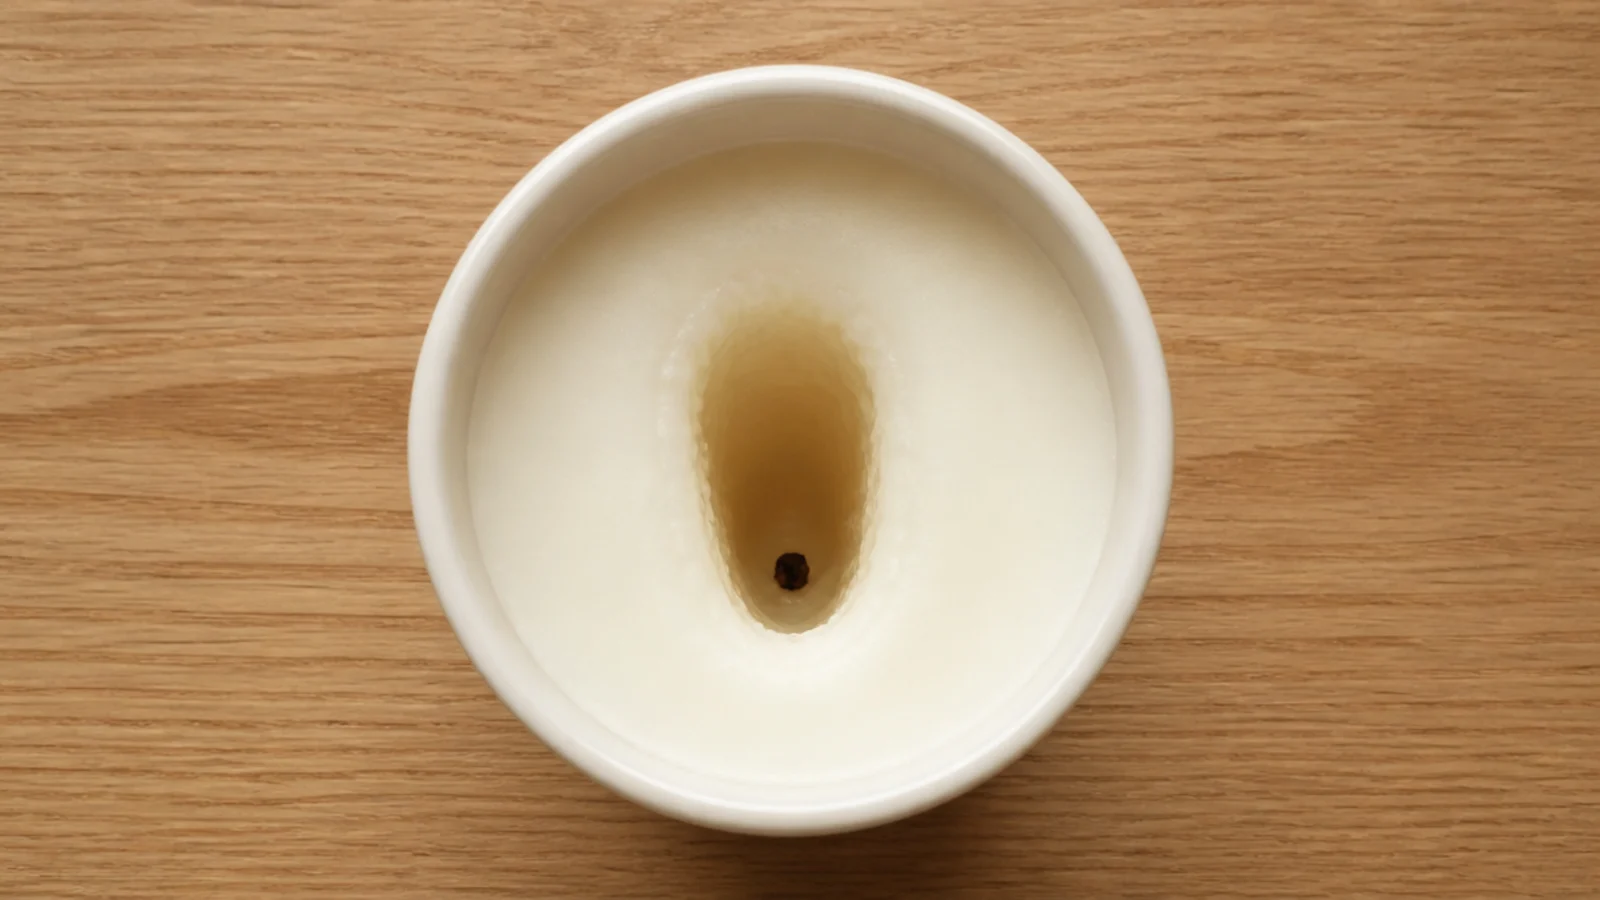
Mistake 8: I cut the first burn short
I would light a new candle for twenty minutes while making dinner, then put it out. Every one of them tunneled — a narrow hole down the middle, thick wax walls, and a wick drowning at the bottom within a fortnight.
The fix: a full first burn until the melt pool reaches the edge, about one hour for every inch of container width. A three-inch jar needs roughly three hours. A candle remembers its first burn, and no later burn undoes it.
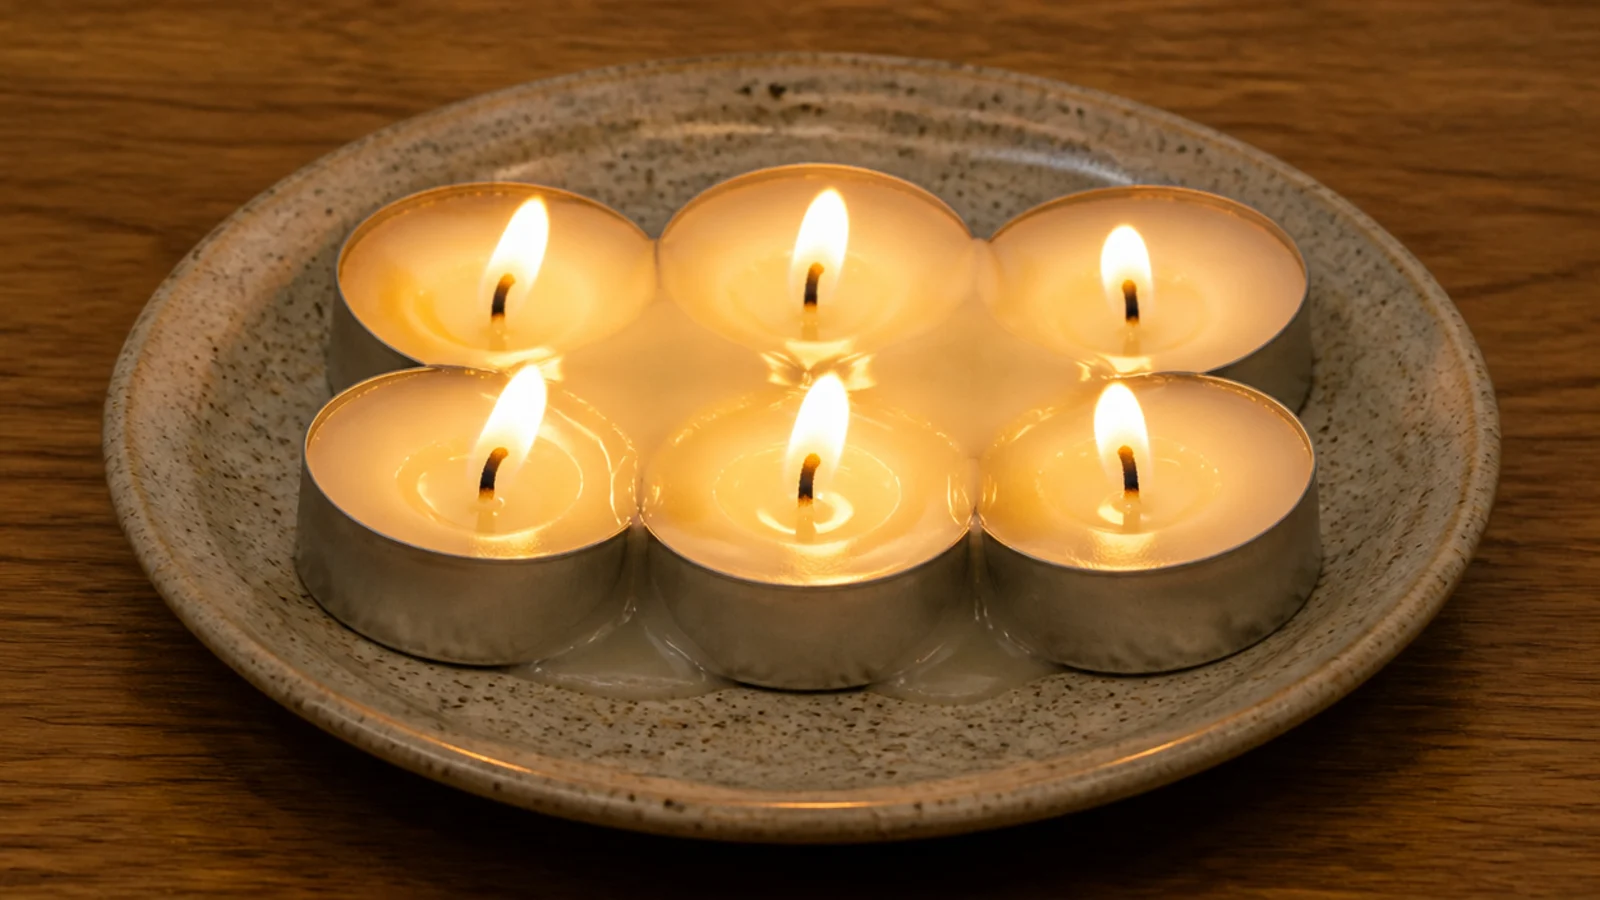
Mistake 9: I crowded tealights together
Six tealights shoulder to shoulder on a plate looked generous. What actually happened was that they heated each other, the wax liquefied far too fast, and two flames leaned together and flared.
The fix: at least an inch and a half of clear plate between metal cups, and never more than five on a small plate. Tealights stay in their cups, always, on stone or ceramic, and never on a windowsill where a curtain can drift across them.
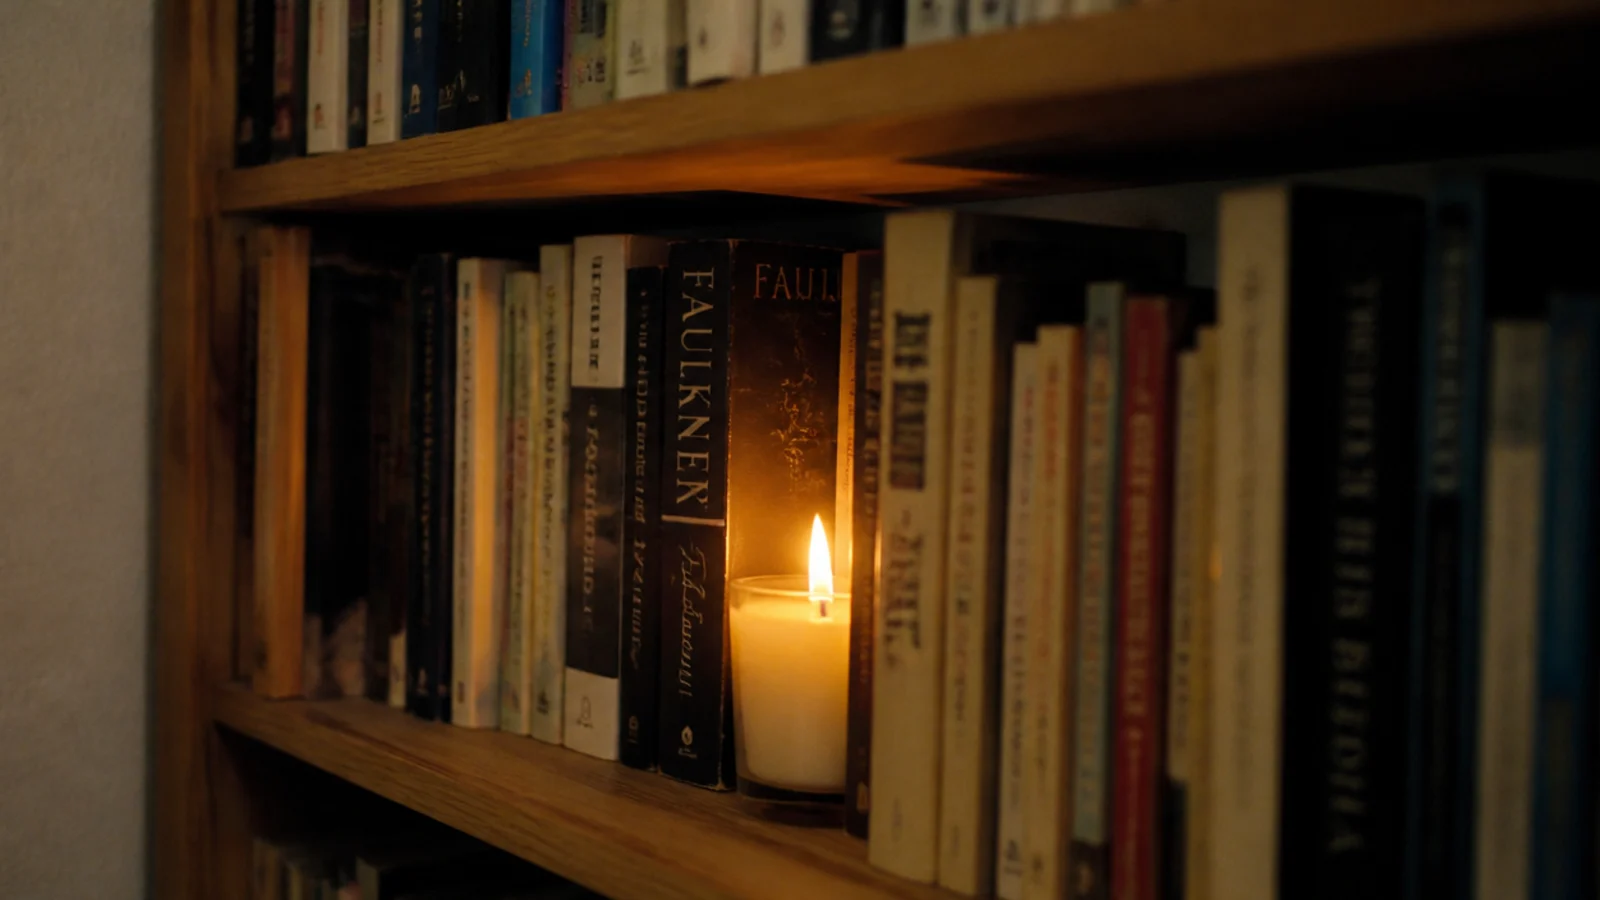
Mistake 10: I put candles on a bookshelf between books
Paper on both sides, a shelf close overhead, and a candle in the middle of it. I did this for a whole winter and thought it looked like a library.
The fix: a candle on a bookshelf needs its own clear zone — twelve inches from paper in every direction and a clear span above, or it does not go there. On a packed shelf I use flameless, which lets me keep the books exactly where they are.
Mistake 11: I bought skinny pillars
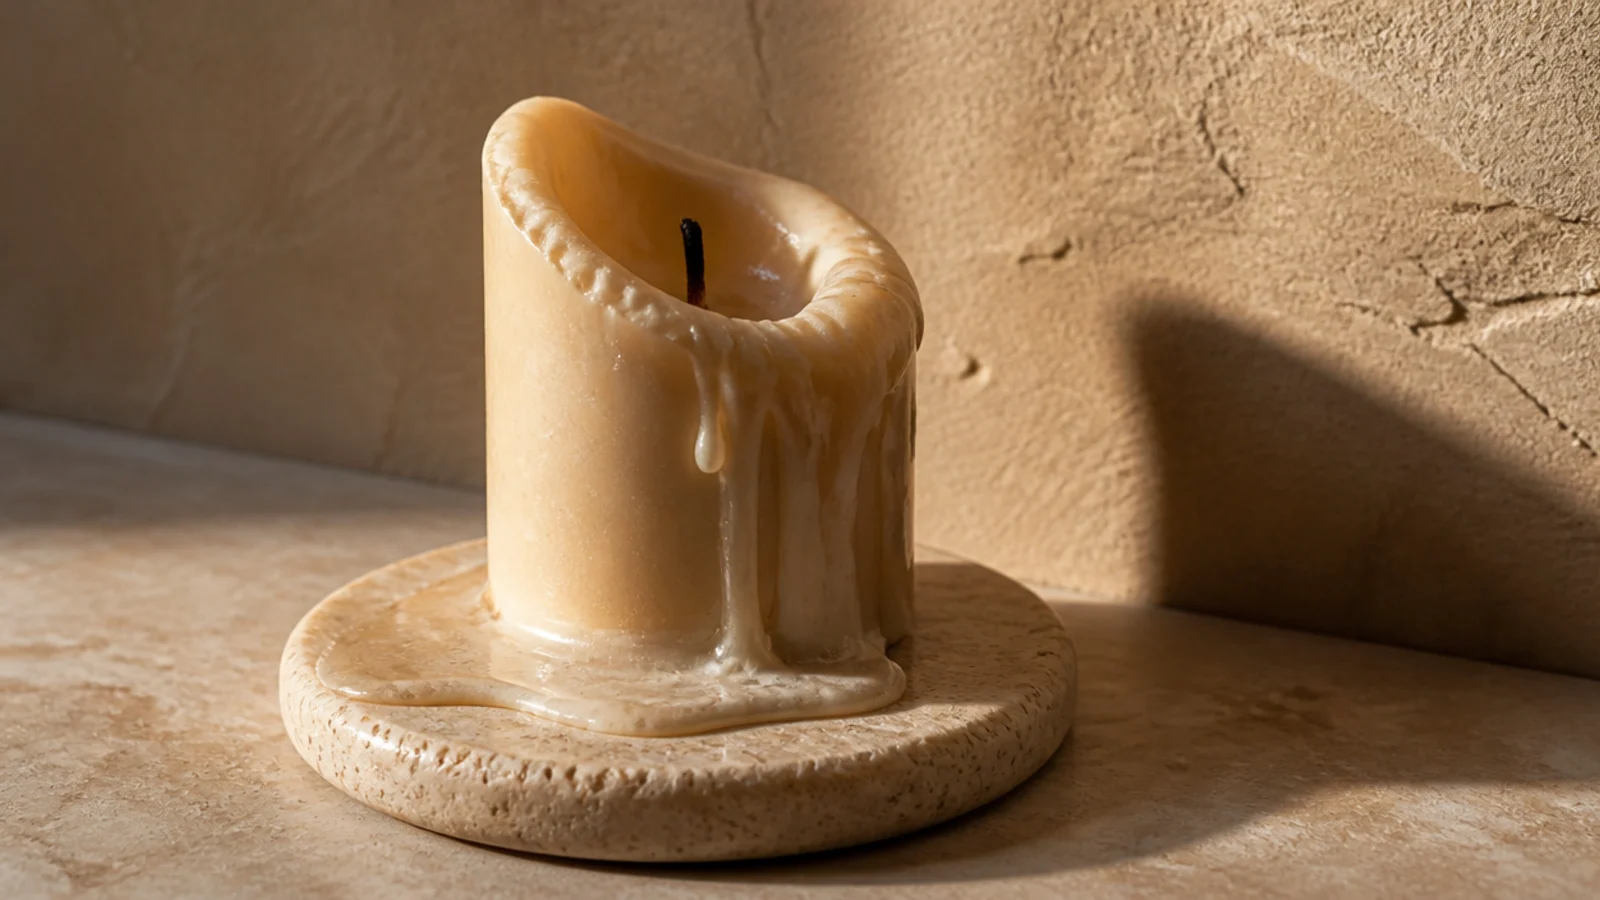
Two-inch pillars are cheap and they look elegant in a photograph. In use they burn down one side, collapse and run wax over whatever they are standing on.
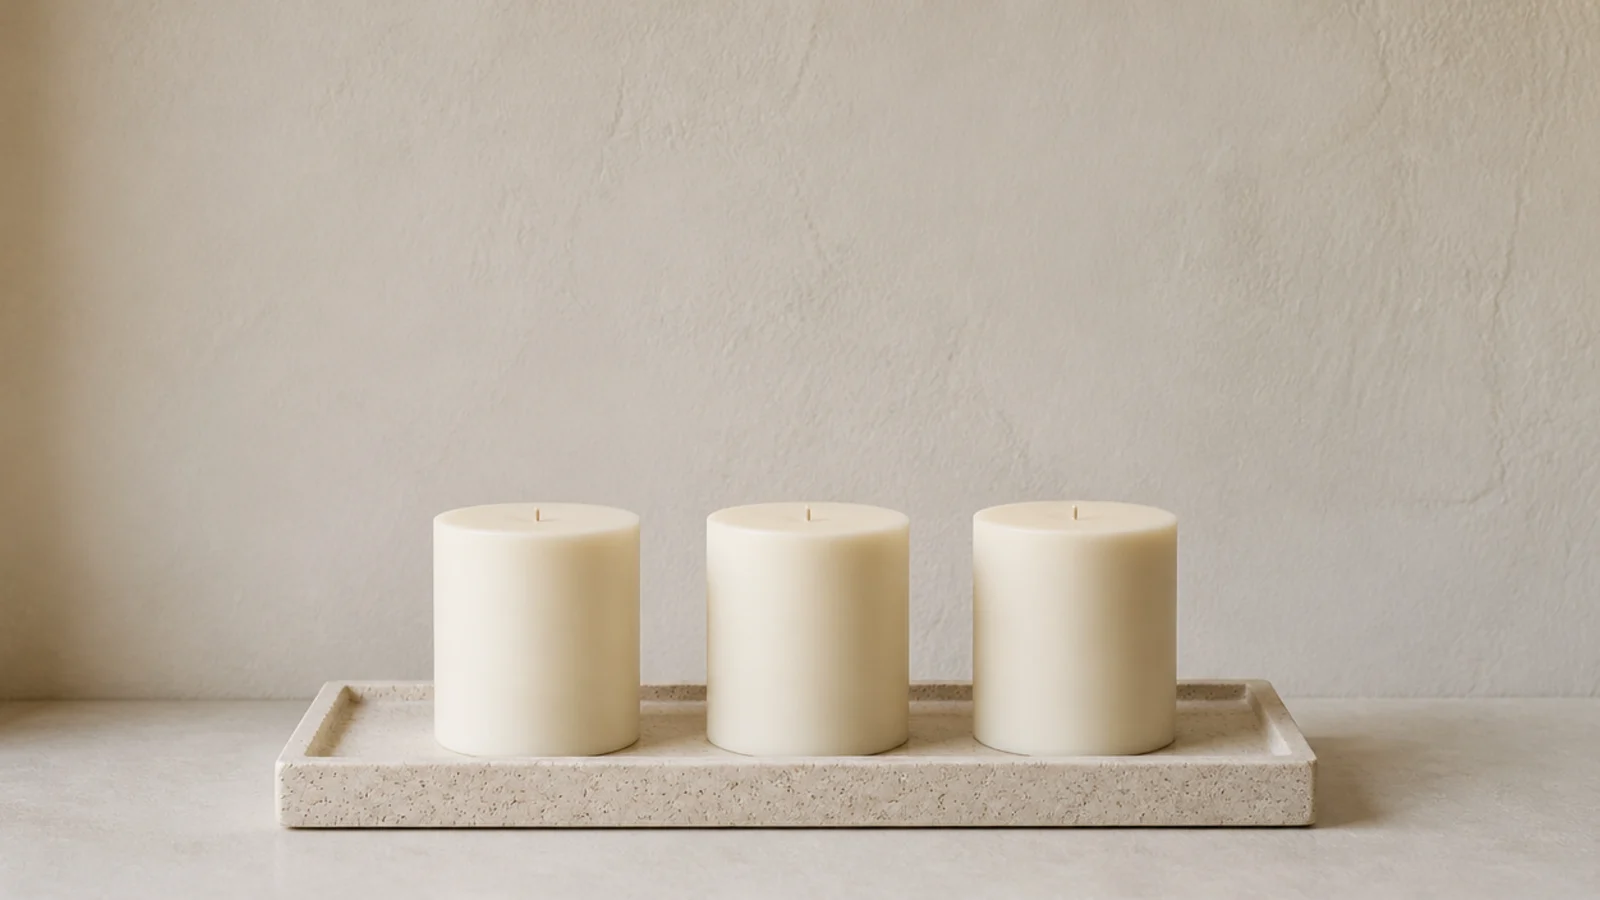
The fix: three inches wide or more. Wider pillars melt across their full diameter, keep a flat even top and stay upright for months. They cost a few dollars more and last considerably longer, which is the rare case of the better version also being better value.
Mistake 12: I lit them under an air vent
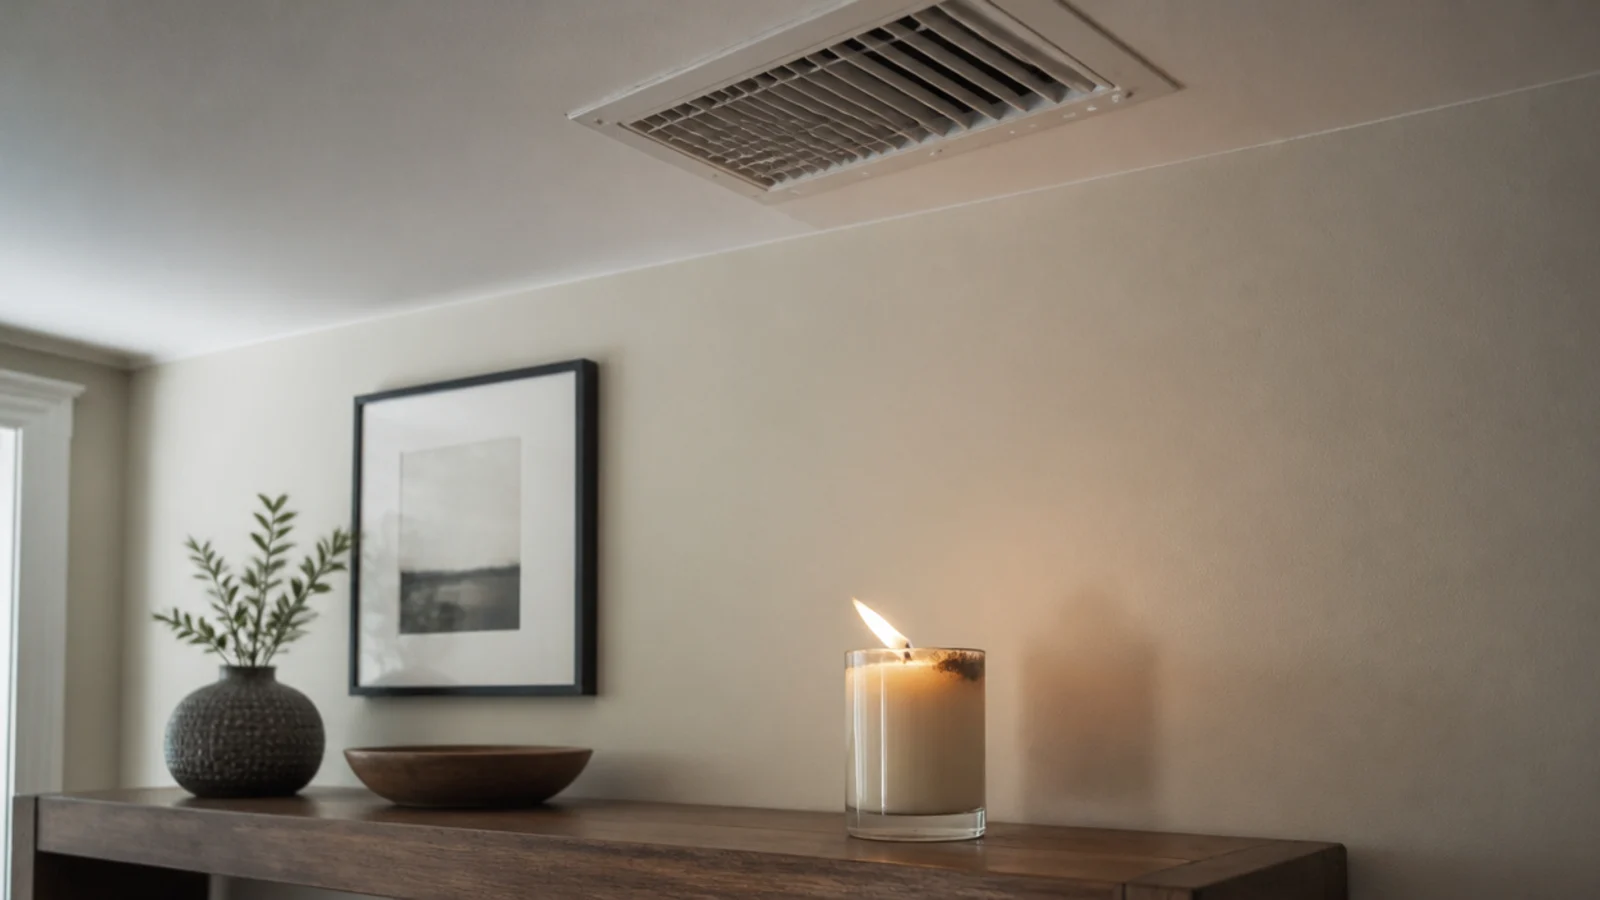
The console under the ceiling vent was the natural place for candles, and the flames leaned sideways every time the heating came on. Uneven wax, a black mark on one side of every glass rim, soot on the ceiling above.
The fix: move the candle, or put a glass hurricane over it. I now check for drafts before choosing a spot — vents, doors, windows and fans all count. A flame that dances is a flame that smokes.
Mistake 13: I ignored where the cat jumps
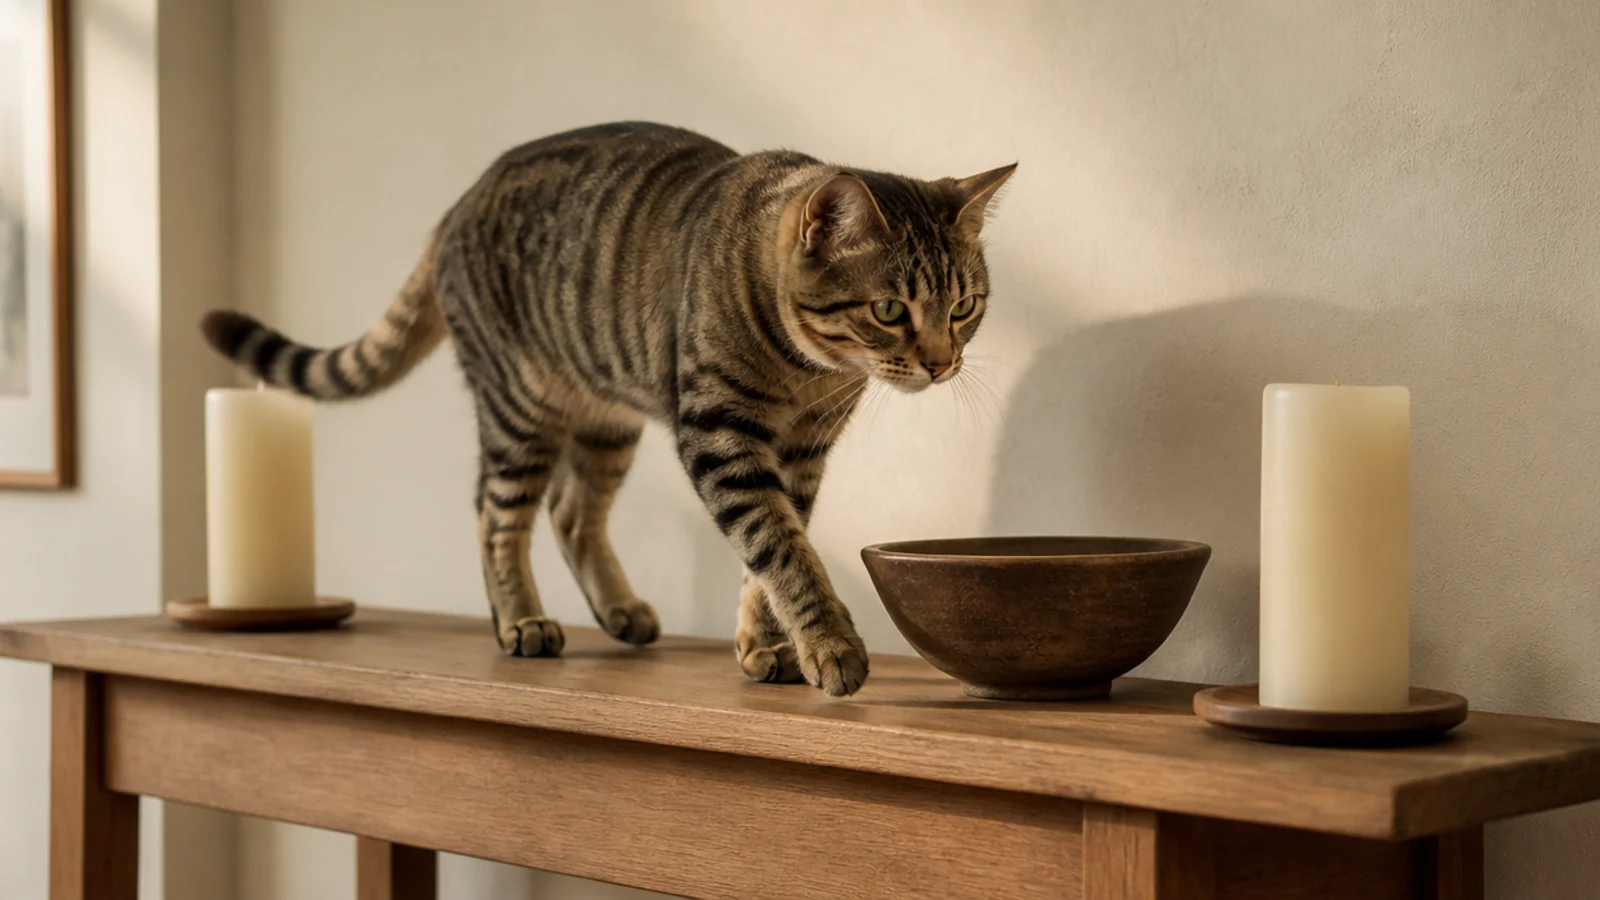
Our cat has a fixed route through the living room: chair arm, console, windowsill. I styled that console with candles for a year before I noticed she was stepping between them nightly.
She never knocked one over while lit. Others have not been that lucky.
The fix: flames are not allowed on any surface a pet uses as a path. Where I do want light on that console, it is flameless, and real candles live on surfaces with no route across them.
Mistake 14: I used scented candles at the dinner table
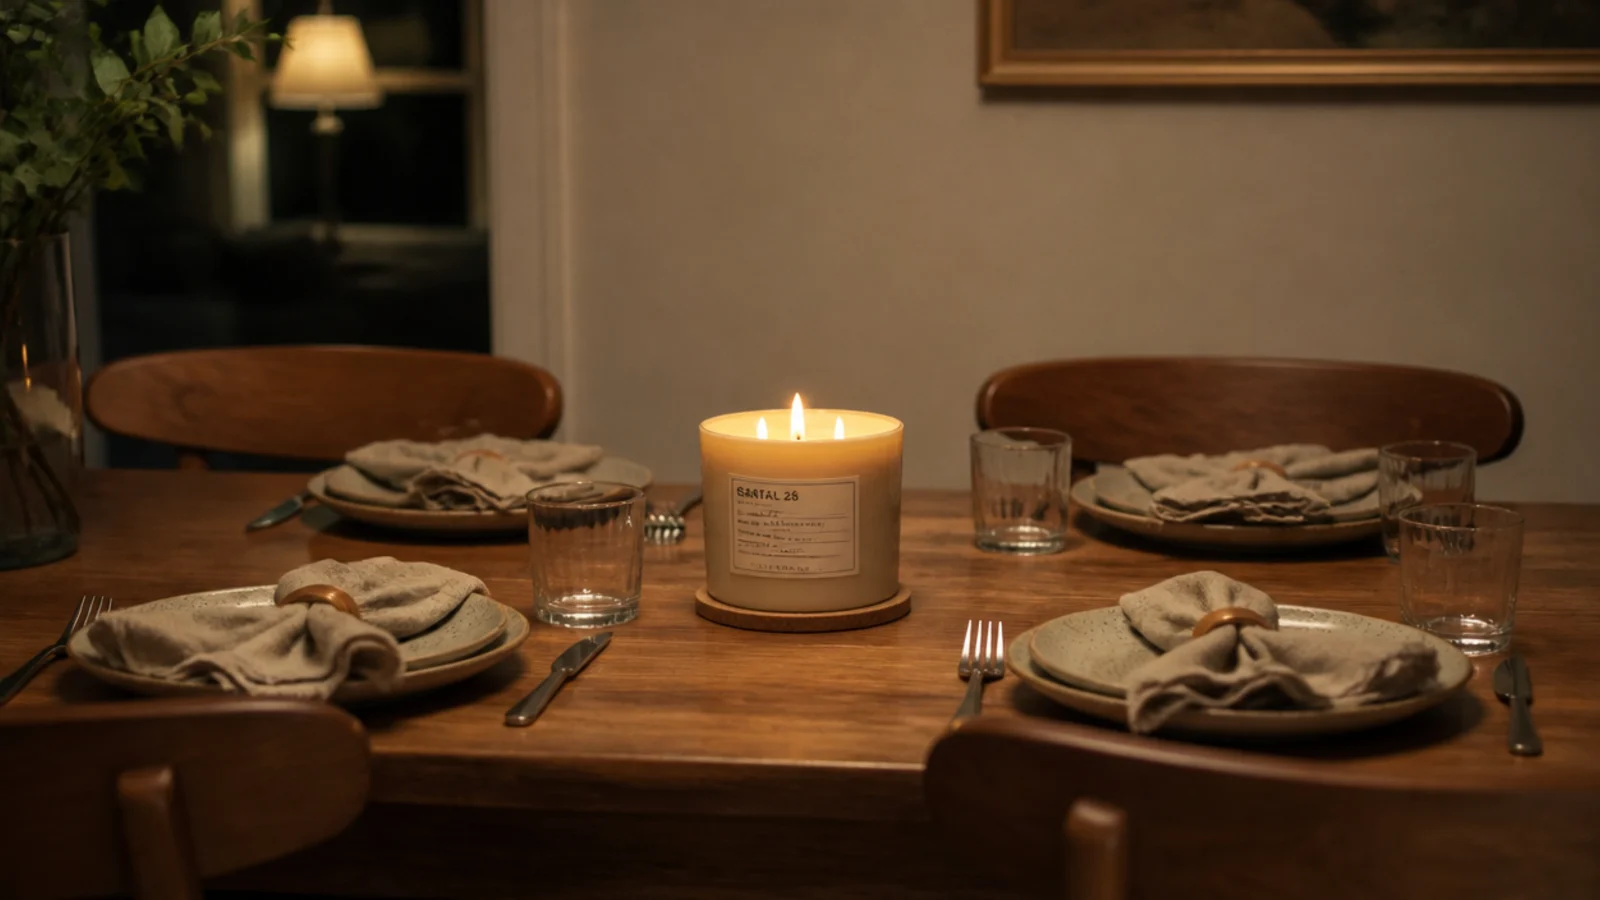
A large fragranced candle at plate level, burning through a meal I had spent two hours cooking. Everything tasted faintly of it, and one guest had a headache by dessert.
The fix: unscented on any surface where food is served, always. Low holders so people can see each other, and if I want scent in the room, one scented candle burns somewhere else entirely, well before people sit down.
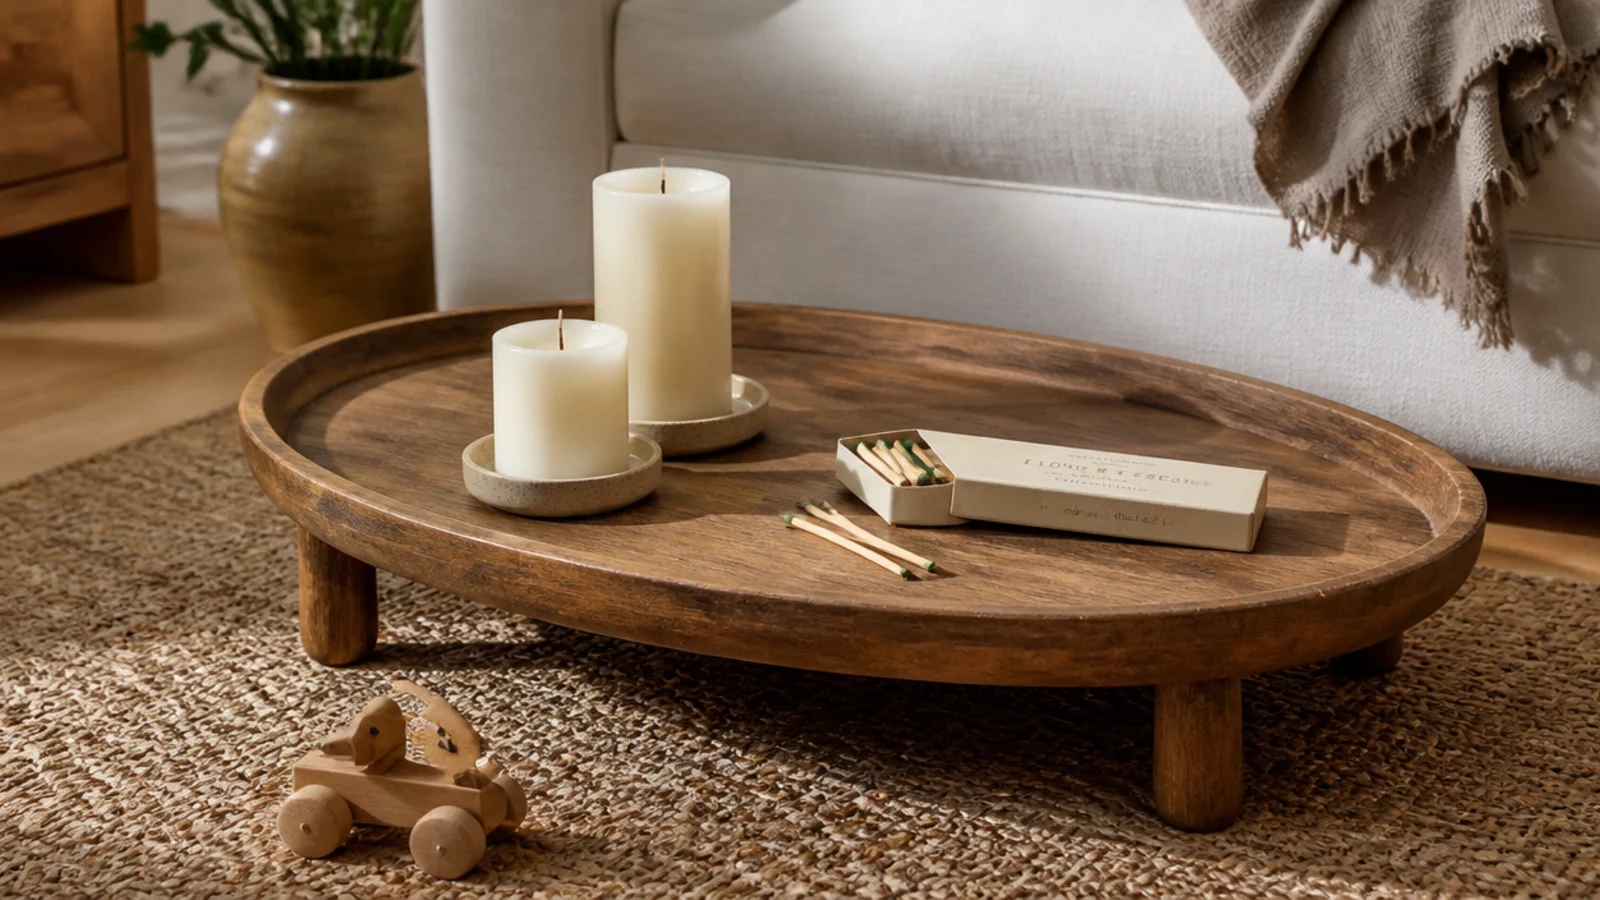
Mistake 15: I kept matches on the low tray
Long matches in an open box, sitting on the coffee table tray because they looked good next to the stoneware. That tray is at exactly the height of a three-year-old.
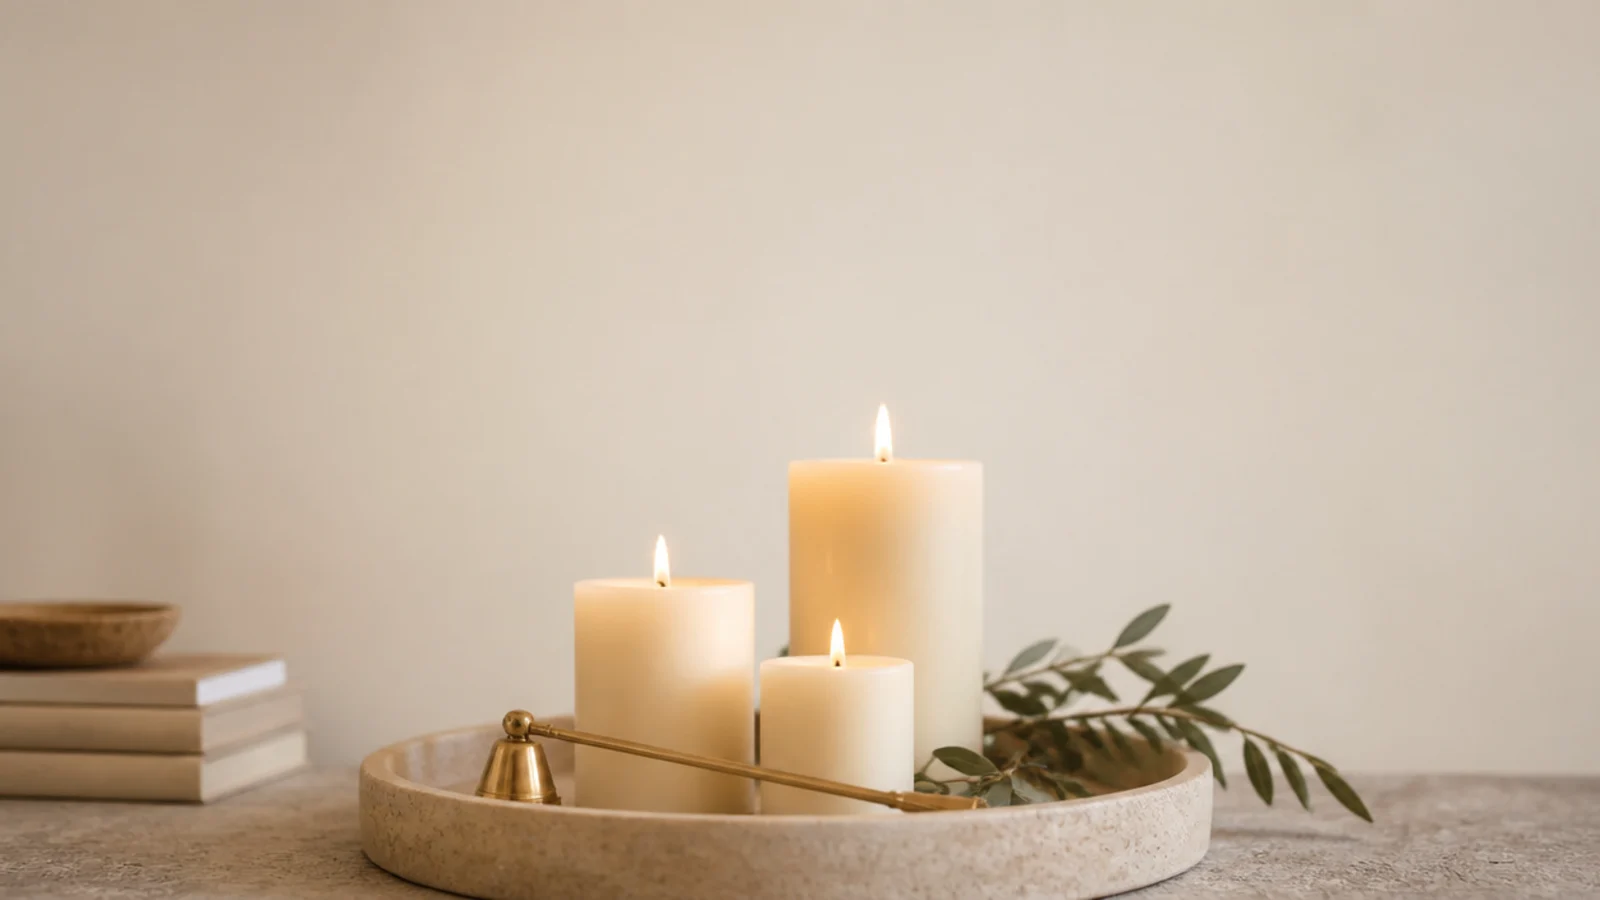
The fix: matches and lighters live high, in a closed drawer, out of sight. The tray keeps the snuffer and the wick trimmer instead, which look just as good and cannot be lit. It is the smallest change on this list and probably the most important.
Candle Decor Mistakes: What I'd Do Differently Now
If I could give my younger self one page, it would fit on a postcard. Put stone under everything. Keep twelve inches of clear air around every flame and far more above it. Trim the wick to a quarter inch before you light it and let the first burn run until the wax reaches the edge.
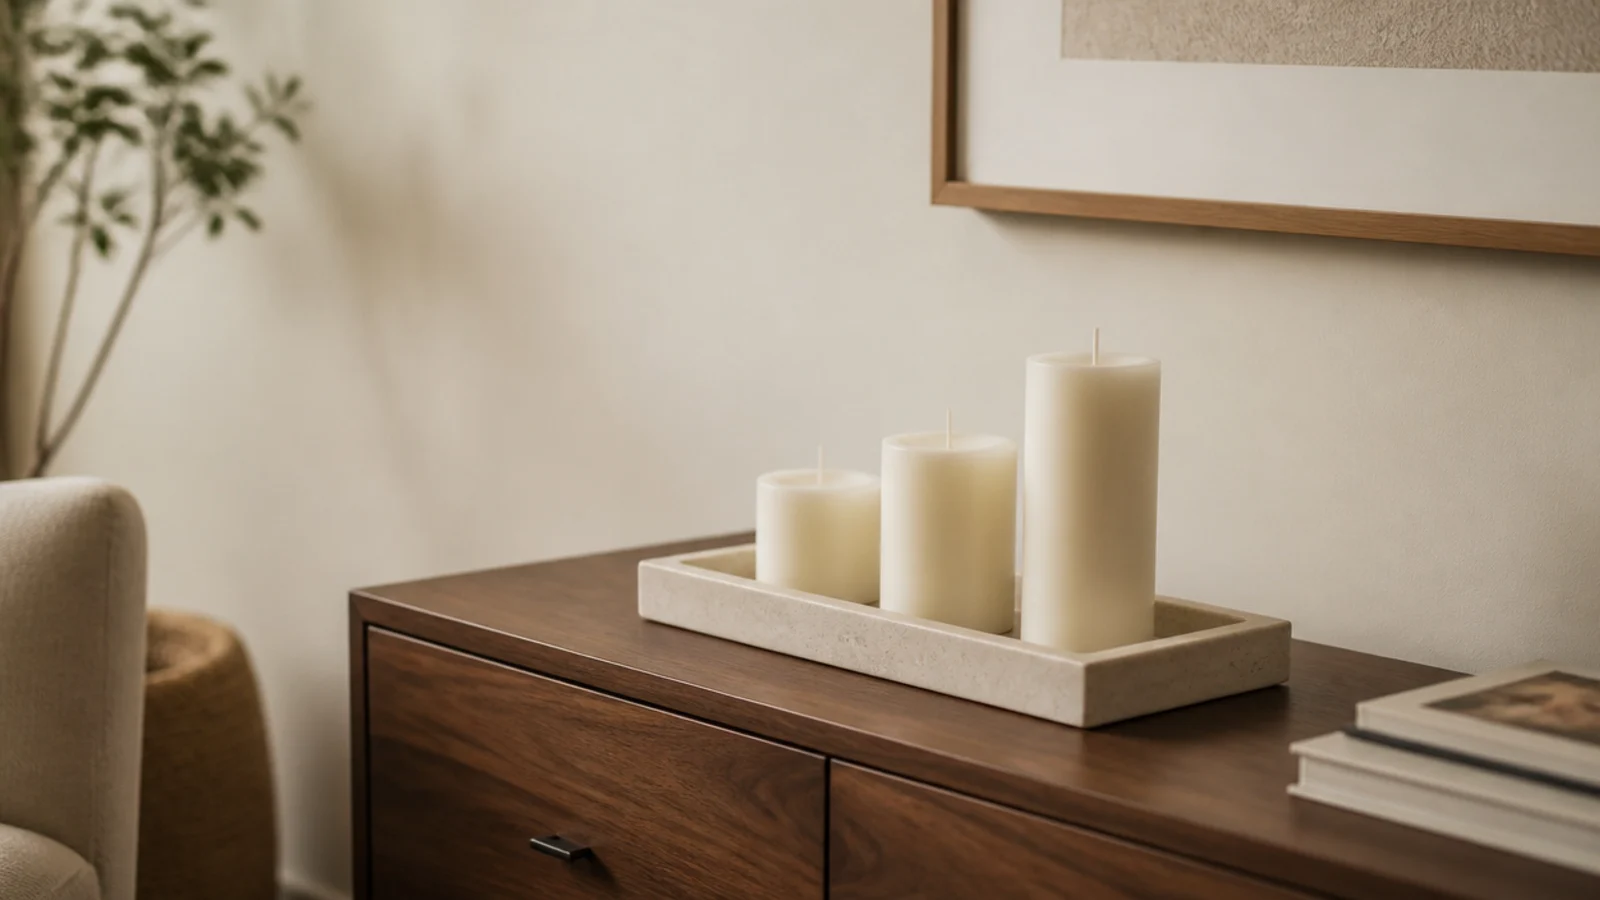
Buy pillars three inches wide or wider, group them in odd numbers at three heights on one tray, and let the tray be the thing you carry away at the end of the night.
The bigger change is a mental one. I used to place candles where they looked best and then hope. Now I choose the surface first — heat-proof, out of the traffic path, nothing flammable above — and style within what that spot allows. The rooms look better for it, oddly, because the constraint keeps the groupings simple.
And every flame goes out before I leave the room. That single habit has done more for my peace of mind than any purchase in this article.
Frequently asked questions
What is the most common candle decor mistake?
Clearance. Almost every problem I have had came from something flammable sitting too close — a curtain, a dried stem, a shelf overhead, a stack of books. Twelve inches of clear air in every direction fixes most of it, and heat rising means the space above a flame matters even more than the space beside it.
Why does my candle tunnel down the middle?
The first burn was cut short. A candle remembers its first melt pool, so if the wax does not liquefy right out to the edge on the first light, it never will. Allow about one hour for every inch of container width. A three-inch jar needs roughly three hours before you put it out.
How do I fix a candle that has already tunneled?
Trim the wick to a quarter inch, then burn it for a long uninterrupted session on a heat-resistant surface, staying in the room the whole time. If the wax wall is thin, it will often melt back. If it is stubborn, level the top with a warm spoon rather than wrapping foil around a burning candle.
What surfaces are actually safe for candles?
Stone, ceramic, glazed tile, thick glass and solid metal. Wood, laminate, painted MDF, acrylic, paper and fabric are not, because a burning jar transfers real heat downward and leaves marks or worse. A stone tray under everything solves it permanently and costs less than replacing a scorched tabletop.
Are candles safe around pets and children?
Only when they are physically out of reach and never unattended. Cats jump onto exactly the surfaces we style, and a low table is toddler height. Use flameless in those rooms, keep matches and lighters stored high and out of sight, and put every flame out before you leave the room.
How do I stop soot marks on the wall above a candle?
Trim the wick to a quarter inch before every single burn and keep the candle out of drafts. A long wick or a moving flame burns unevenly and throws carbon upward. If the wall already has a grey shadow, wipe it with a dry sponge before it sets, and move the candle further from the surface.
If you take one thing from my six rentals of trial and error, make it the clearance and the surface — those two decisions prevent almost everything else. Candle tray styling is where I would start rebuilding a corner, pillar candle decor covers the widths that actually burn well, and apartment balcony mistakes has the outdoor equivalent of this list. Save the pin so it is with you tonight.
Want more like this? Browse all 15 aesthetic candle decor guides — they all use the same measurements and budget tiers.
Pin it for later
Save this to your Aesthetic Candle Decor board
Pin it now so it is waiting for you when the tape measure comes out — and so the next person hunting for this idea can find it too.
Save this pinKeep going
More ideas worth saving while you have the tape measure out.