Aesthetic Candle Decor · Listicle
30 Beautiful Aesthetic Candle Ideas to Steal Today

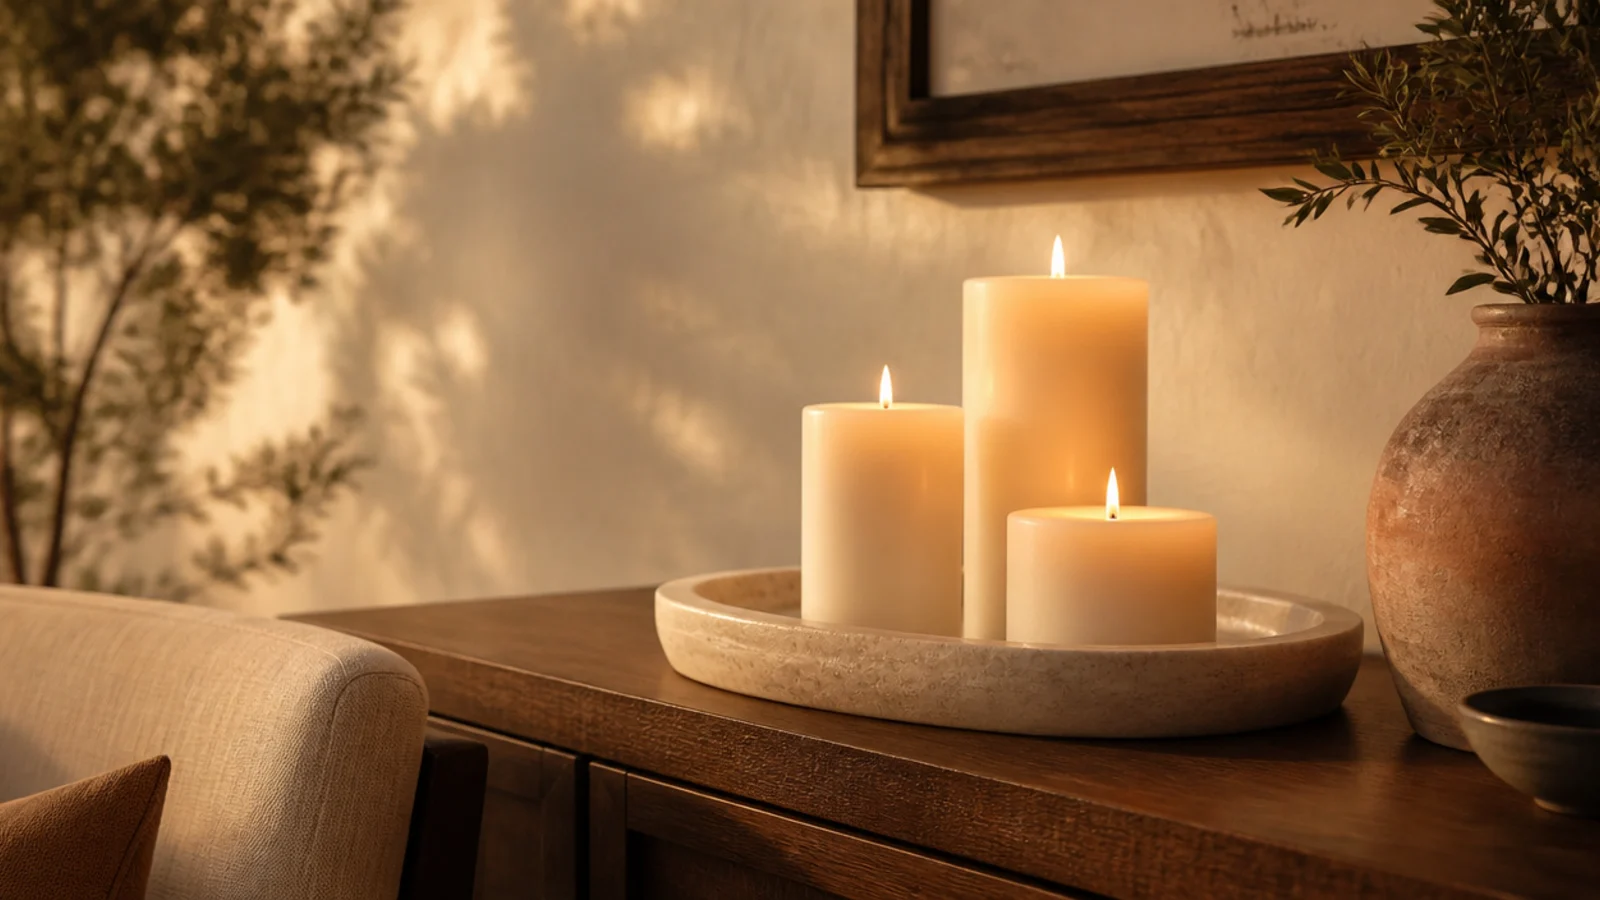
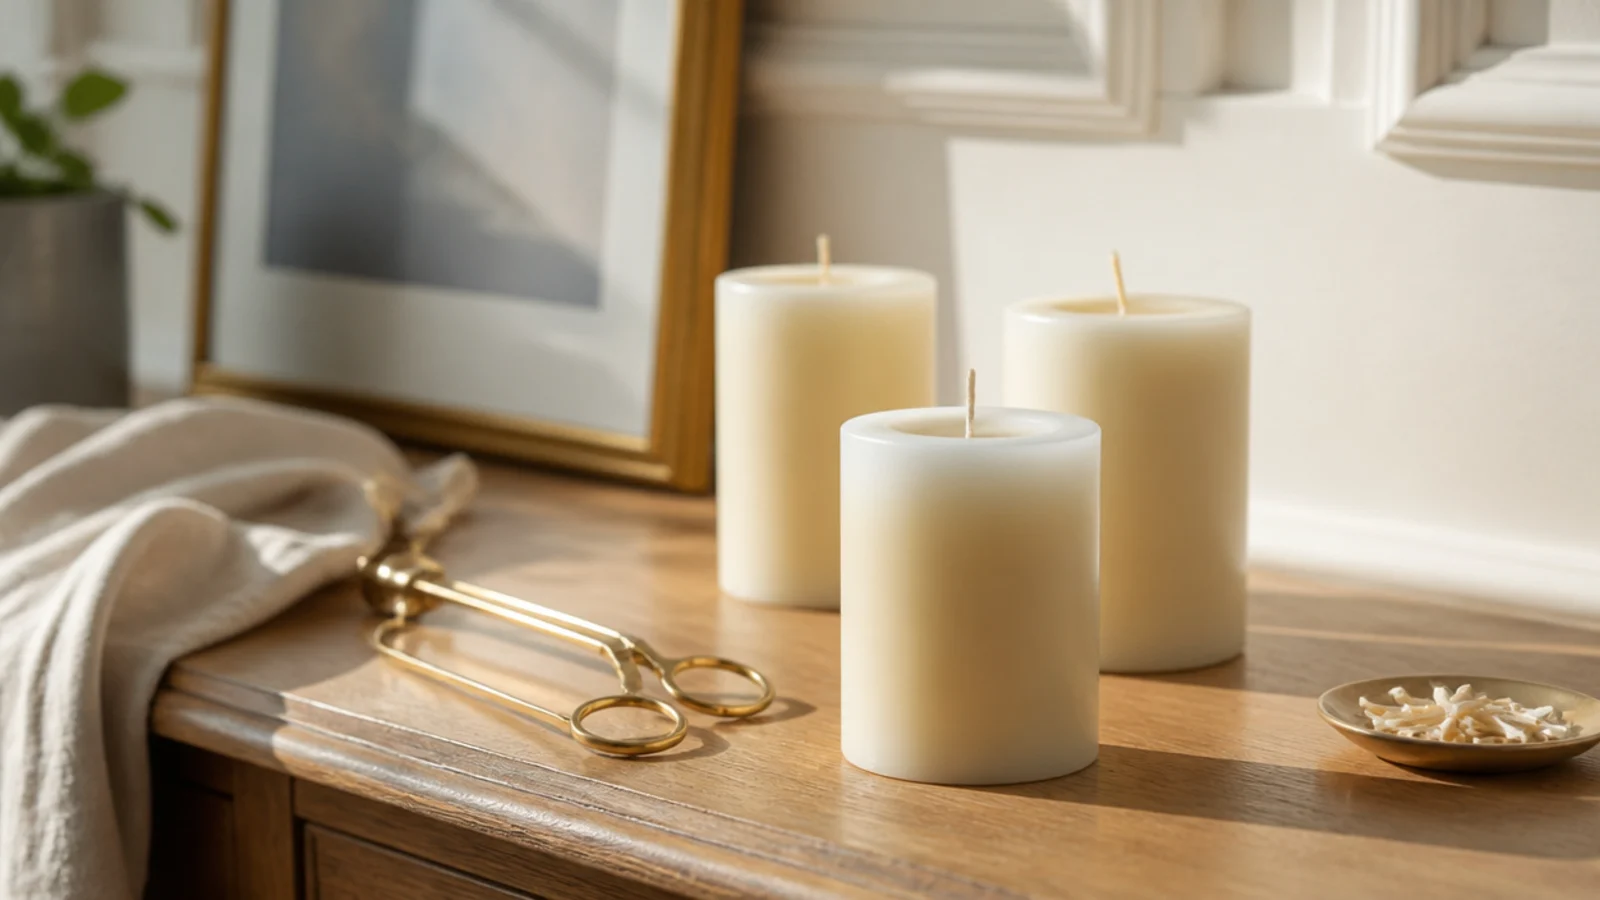
Pillar candle decor lives or dies on one number, and it is not price. A pillar three inches across or wider melts to its own edges and burns down evenly; anything narrower digs a shaft down the middle and leaves a thick wall of unused wax you paid for. Get the diameter right, then group in odd numbers at three heights, and thirty setups become easy.
In this guide32 sections — tap to openHide
- 1.What makes pillar candle decor look considered
- 2.Buy three inches wide or wider
- 3.The six, four and three inch ladder
- 4.Odd numbers, every time
- 5.One tray to gather the group
- 6.Cluster tight, an inch and a half apart
- 7.Mix diameters, not colors
- 8.Ribbed, smooth and twisted together
- 9.A tile offcut as a heatproof plinth
- 10.Five pillars in the empty fireplace
- 11.On the mantel, set back three inches
- 12.A hurricane over a pillar for draughts
- 13.Pillars inside a heavy open lantern
- 14.A shallow bowl with river stones
- 15.A line of pillars down a long table
- 16.A book stack riser under one pillar
- 17.Flameless pillars for every shelf tier
- 18.Flameless pillars on the nightstand
- 19.A pillar plate for the bathroom
- 20.One pillar on a vanity marble tray
- 21.Outdoor pillars in weighted lanterns
- 22.Give the first burn a full melt pool
- 23.Trim the wick to a quarter inch
- 24.Hug a tunneled pillar back into shape
- 25.Cap every burn at four hours
- 26.Retire a pillar at half an inch
- 27.Store spare pillars cool and dark
- 28.Flameless pillars in wall sconces
- 29.Swap the wax color by season
- 30.Repeat one material three times
- 31.The weekly pillar reset
- 32.Mistakes to Skip
What makes pillar candle decor look considered
Diameter first. Three inches or wider, so a single wick can reach the outer wall. A wide pillar costs $8 to $14 against $4 for a narrow one, and it gives you three times the usable burn.
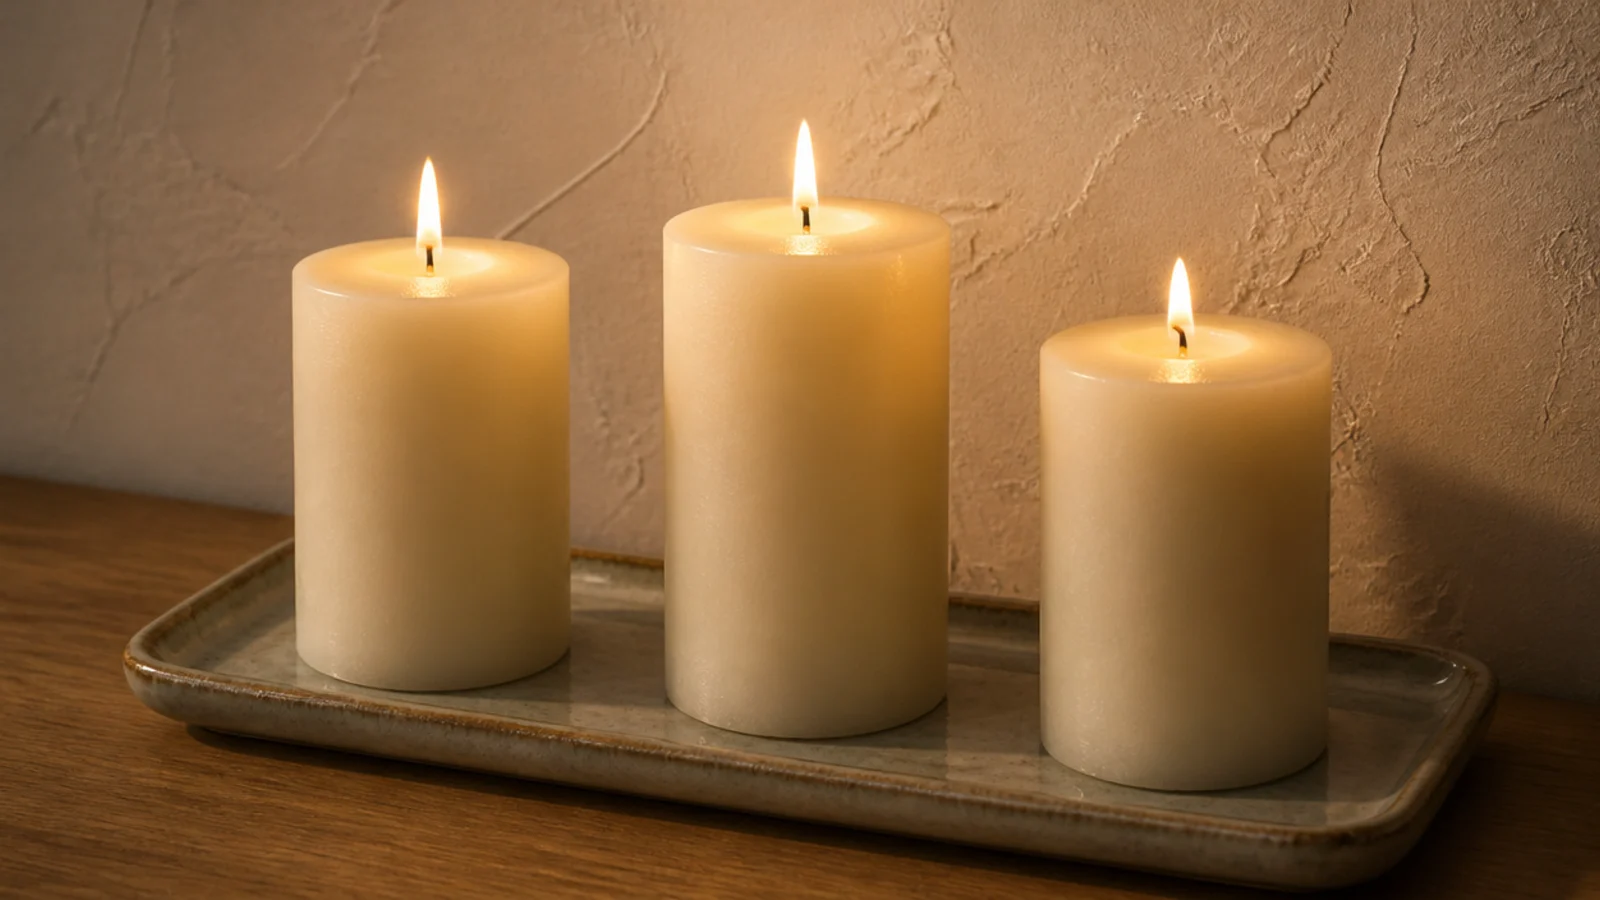
Then composition. Odd numbers, three obviously different heights, one tray underneath, and about an inch and a half between candles. Close enough to read as a group, far enough apart that two flames do not soften each other and start leaning.
Then the surface and the air. Stone, ceramic, glass, metal or a lipped tray made from one of them — pillars bleed wax as they burn and mark wood permanently. Twelve inches of clear space above and around every flame, with nothing that can catch: no shelf underside, no curtain, no dried stems, no lampshade.
And then the burning itself, which is where most pillars are ruined in the first ten minutes. Give the very first burn long enough for the melt pool to reach the full diameter, roughly one hour per inch of width, then snuff it. Cap later burns at four hours, trim to a quarter inch every time, and never leave one burning in an empty room or while anyone sleeps.
Budget tiers: plain unscented pillars and a tile offcut run $6 to $20 ($). A stone tray, a trimmer and a set of three wide pillars land at $30 to $60 ($$). Weighted lanterns, hurricanes and real wax flameless pillars run $45 and up ($$$).
1. Buy three inches wide or wider
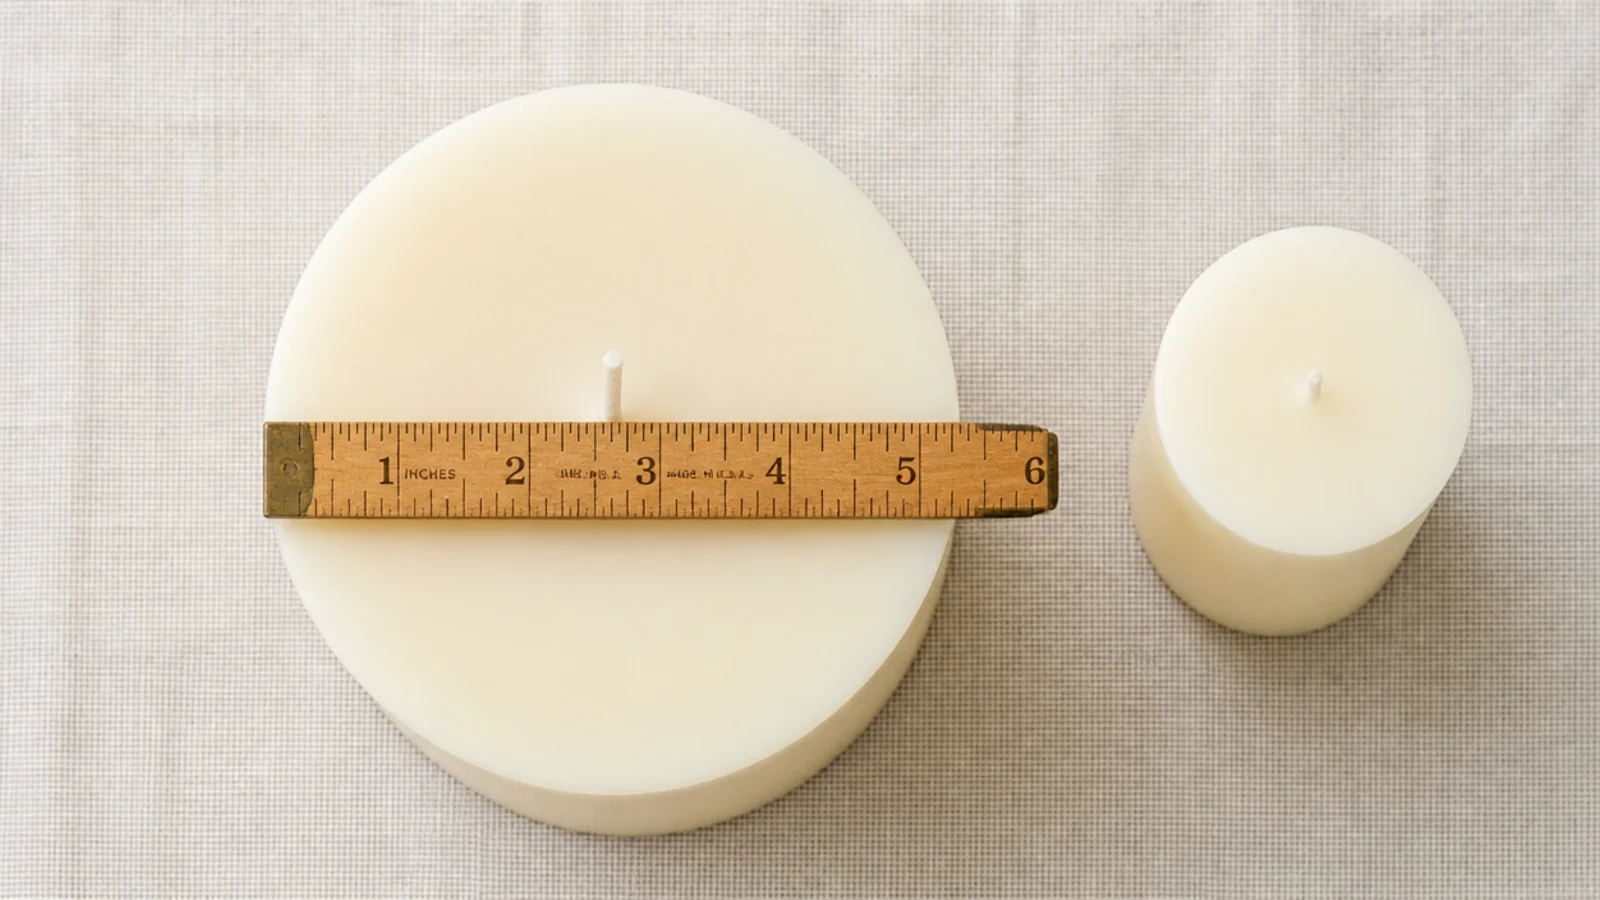
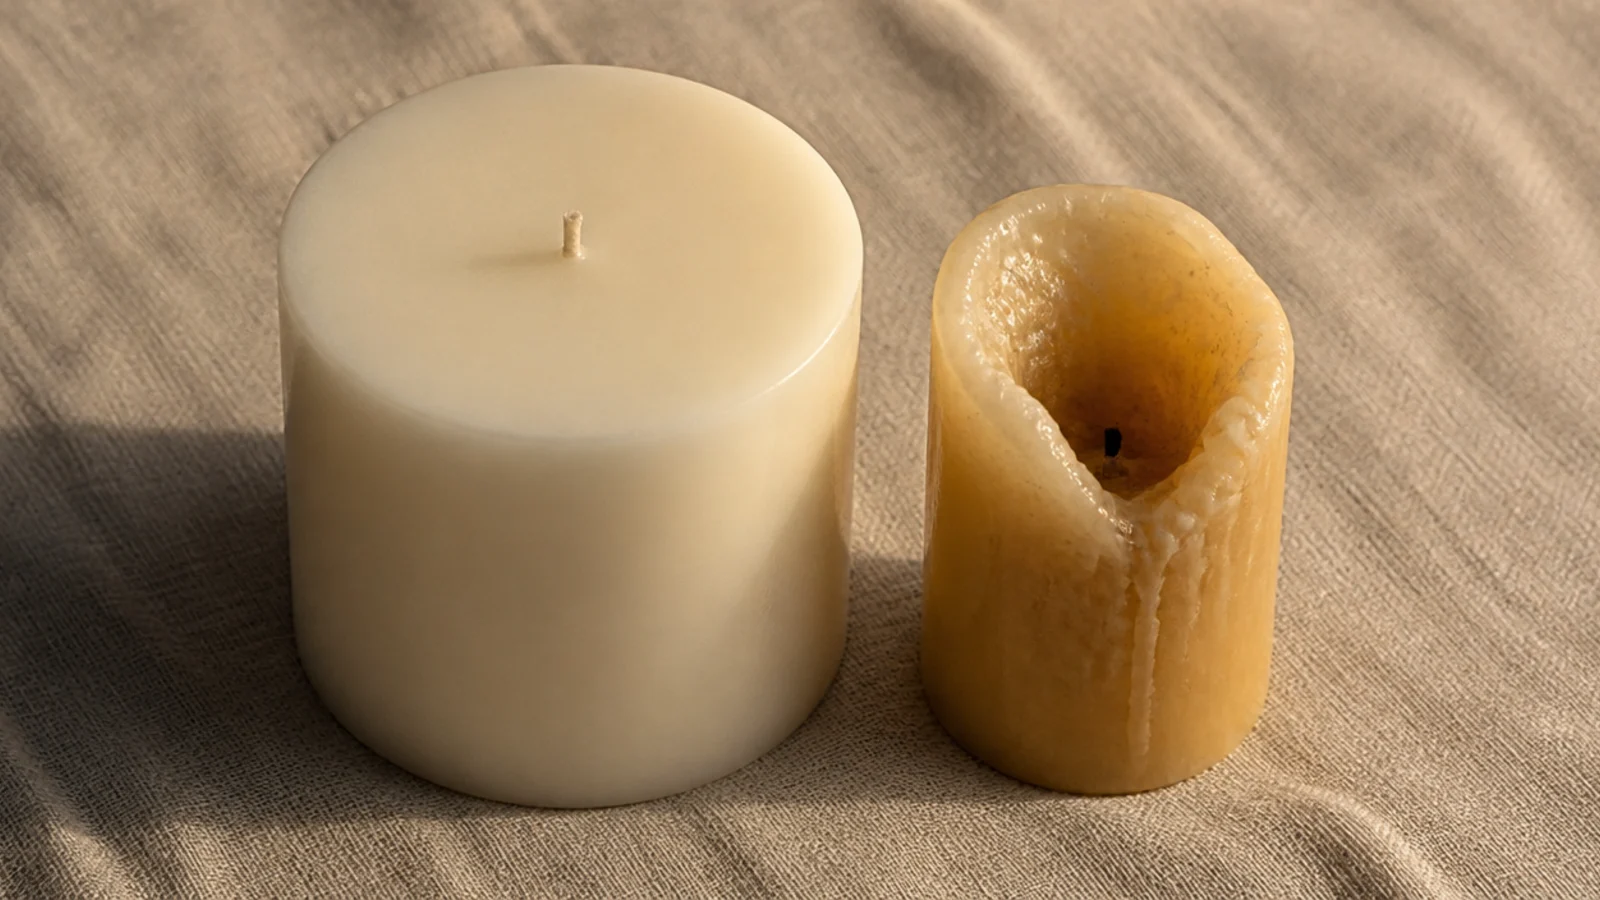
The single decision that changes everything. Below three inches, one wick cannot melt out to the edge, so the candle tunnels and you burn maybe half the wax.
Wide pillars also hold their shape as they burn down, which is what keeps a grouping looking styled at week six rather than week one.
2. The six, four and three inch ladder
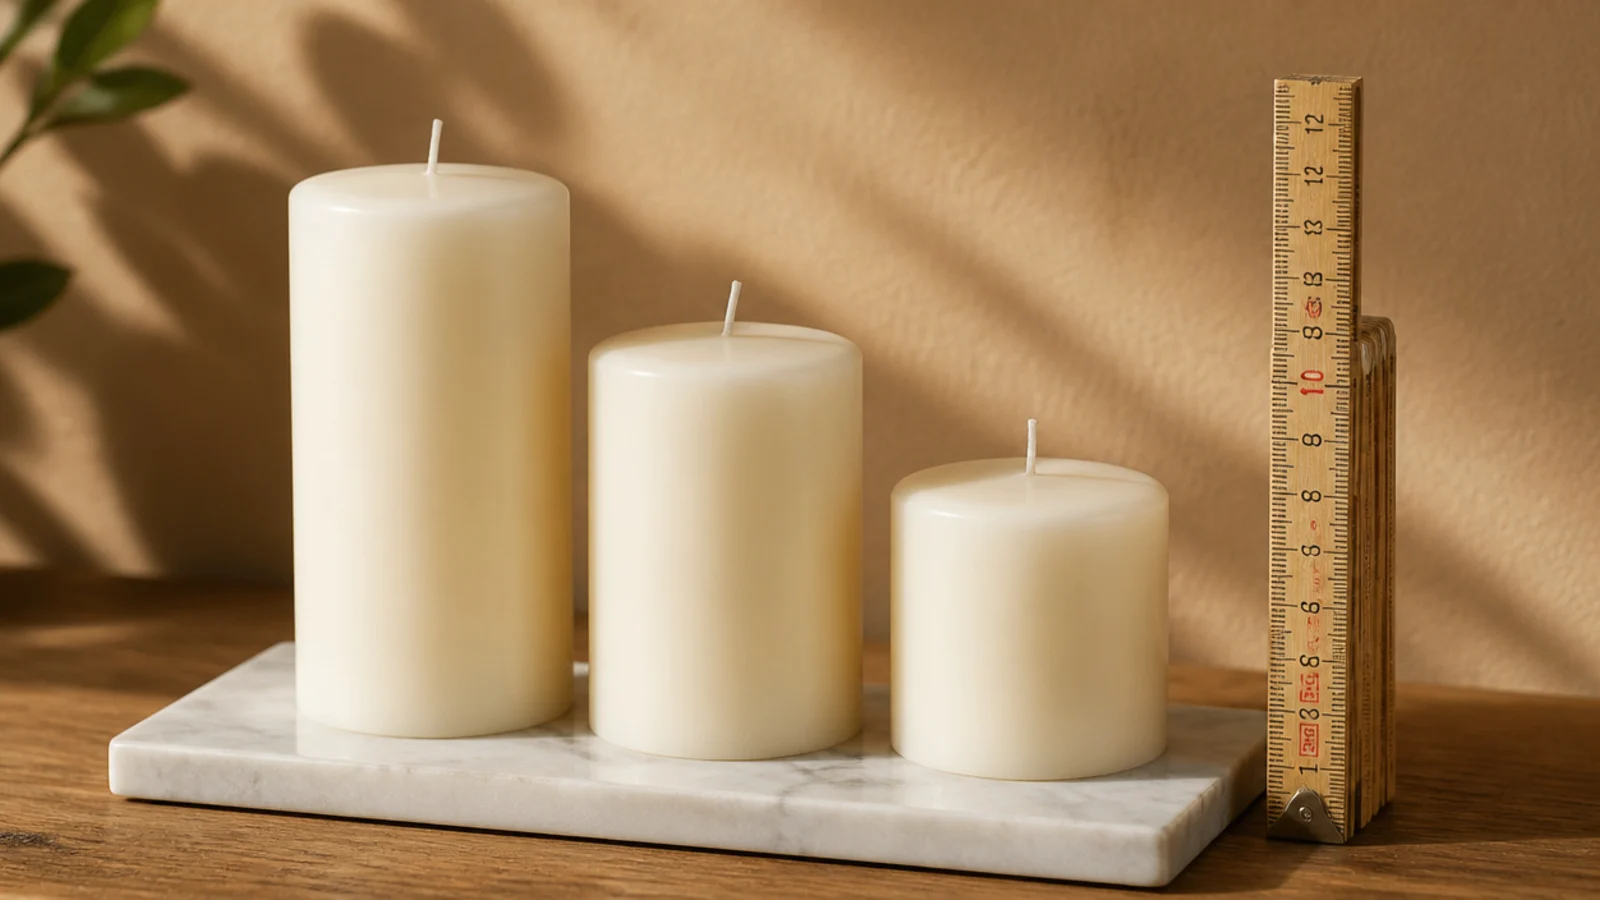
Three heights with obvious steps between them. Six, four and three inches is the ladder I use by default.
An inch of variation reads as a mistake rather than a decision. If your pillars are all the same height, raise one on a flat stone or a small stoneware dish.
3. Odd numbers, every time
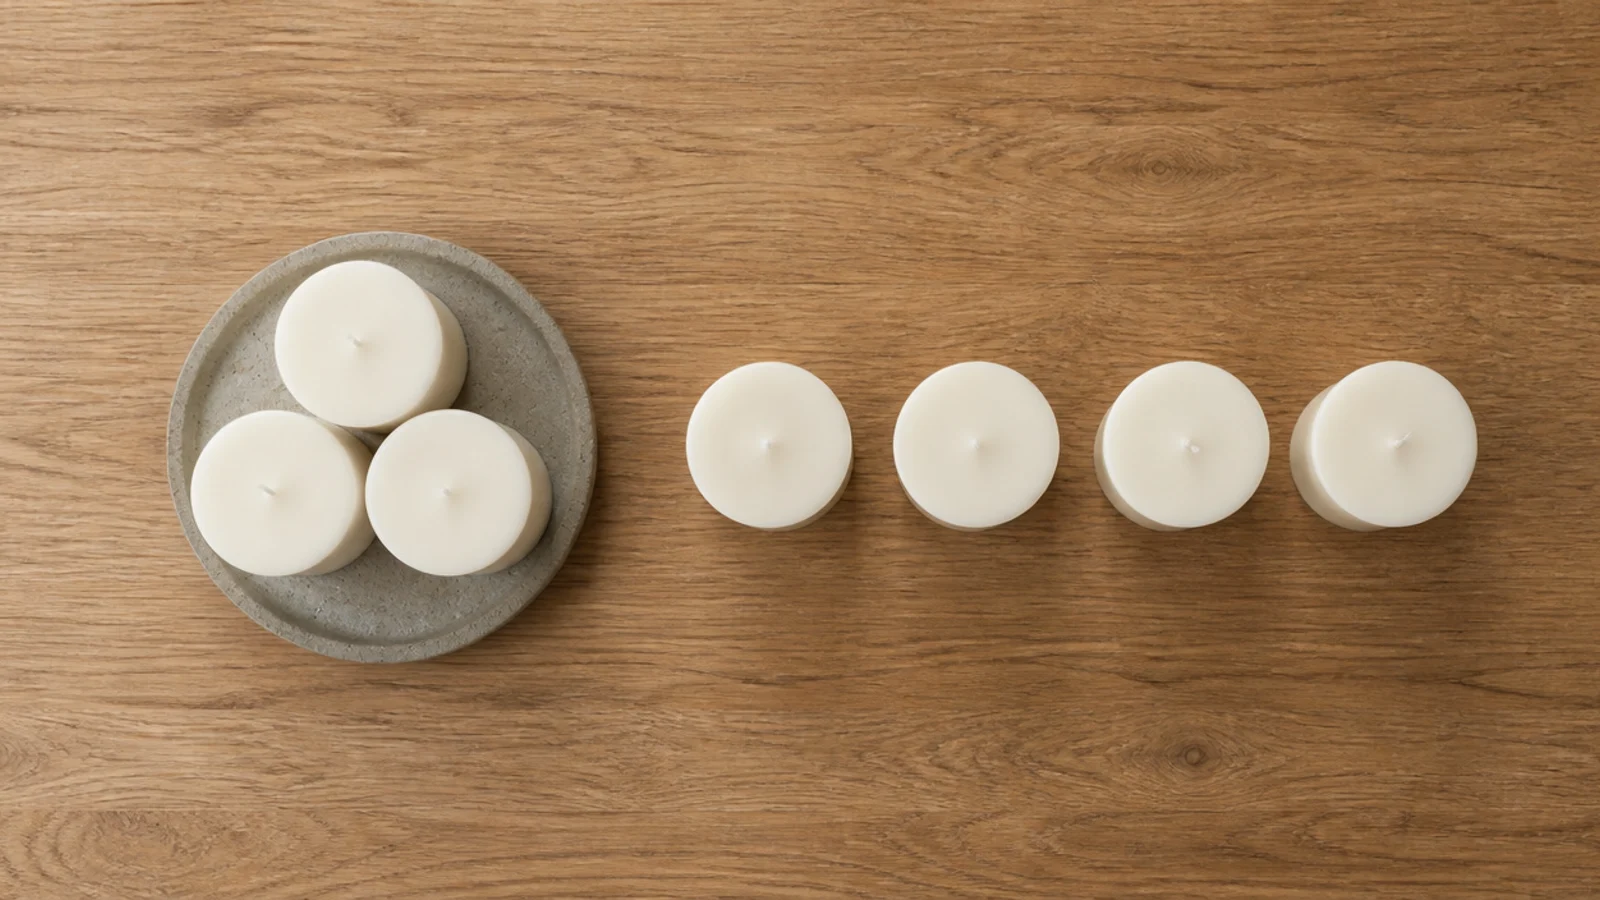
Three on a console or coffee table, five on a wide mantel or in a fireplace opening, one on a small bathroom ledge.
Even numbers read as matched pairs rather than one arrangement. Four identical pillars in a row look exactly like the shelf you bought them from.
4. One tray to gather the group
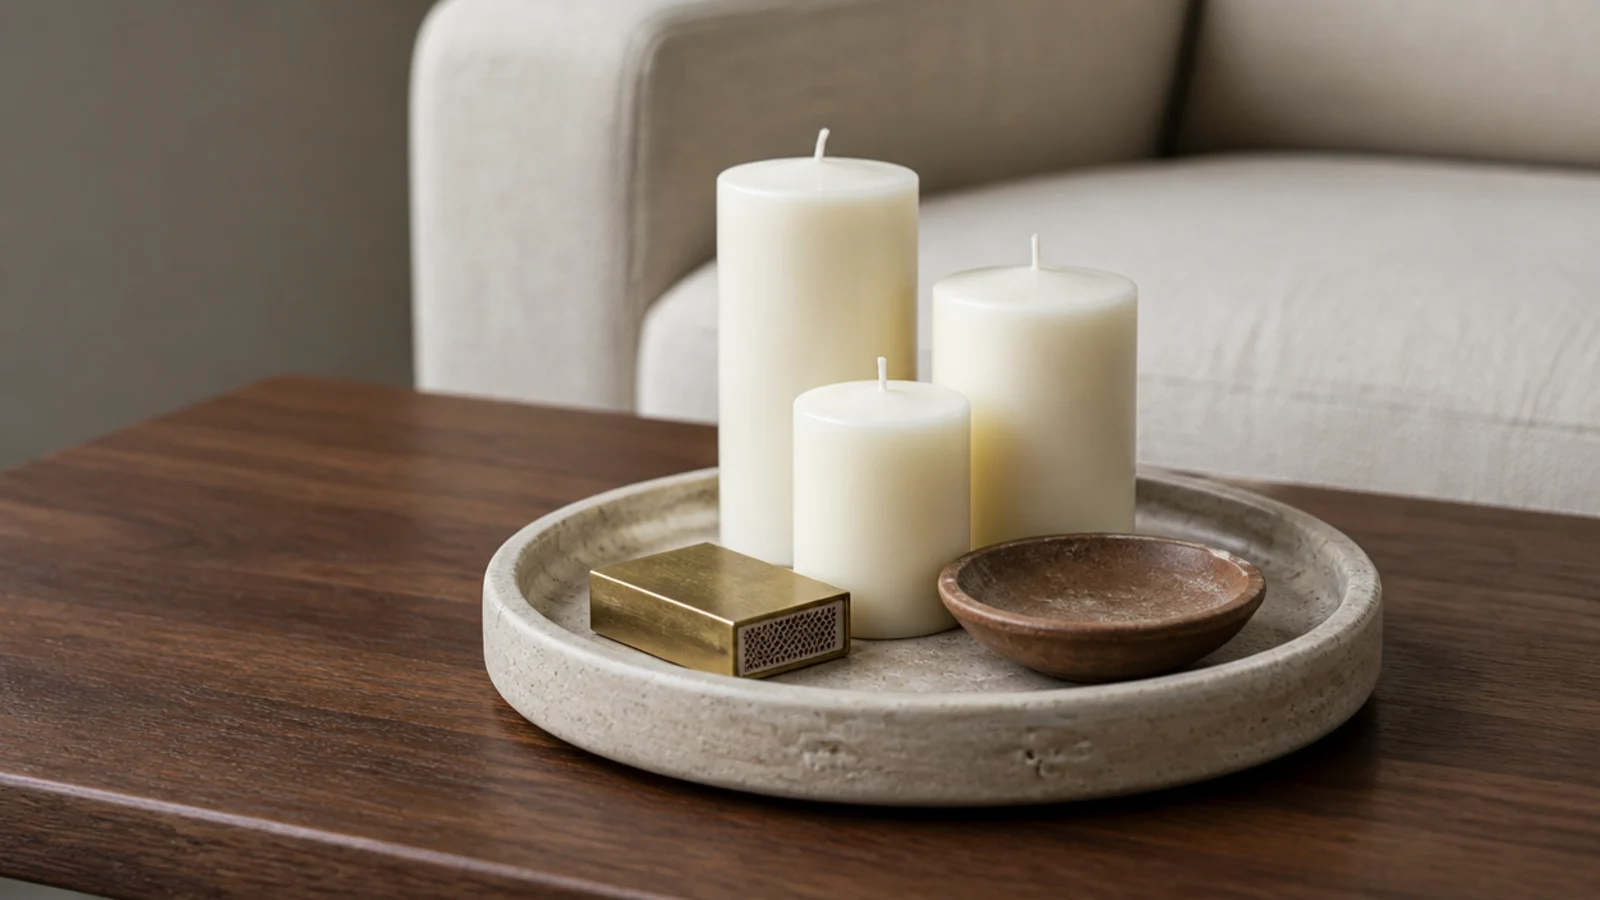
Nine to twelve inches across, with a small lip. Stone, glazed ceramic or metal.
It defines an edge, catches wax, protects the surface and lets you lift the whole arrangement off in one hand. At $12 to $30 it is the highest-value object in pillar styling. More on sizing in candle tray styling.
5. Cluster tight, an inch and a half apart
Close enough that they read as one group, never touching. An inch and a half is the spacing I aim for.
Two flames set very close soften the wax between them, and softened pillars lean and drip sideways. If you see a group starting to slump toward each other, spread them out.
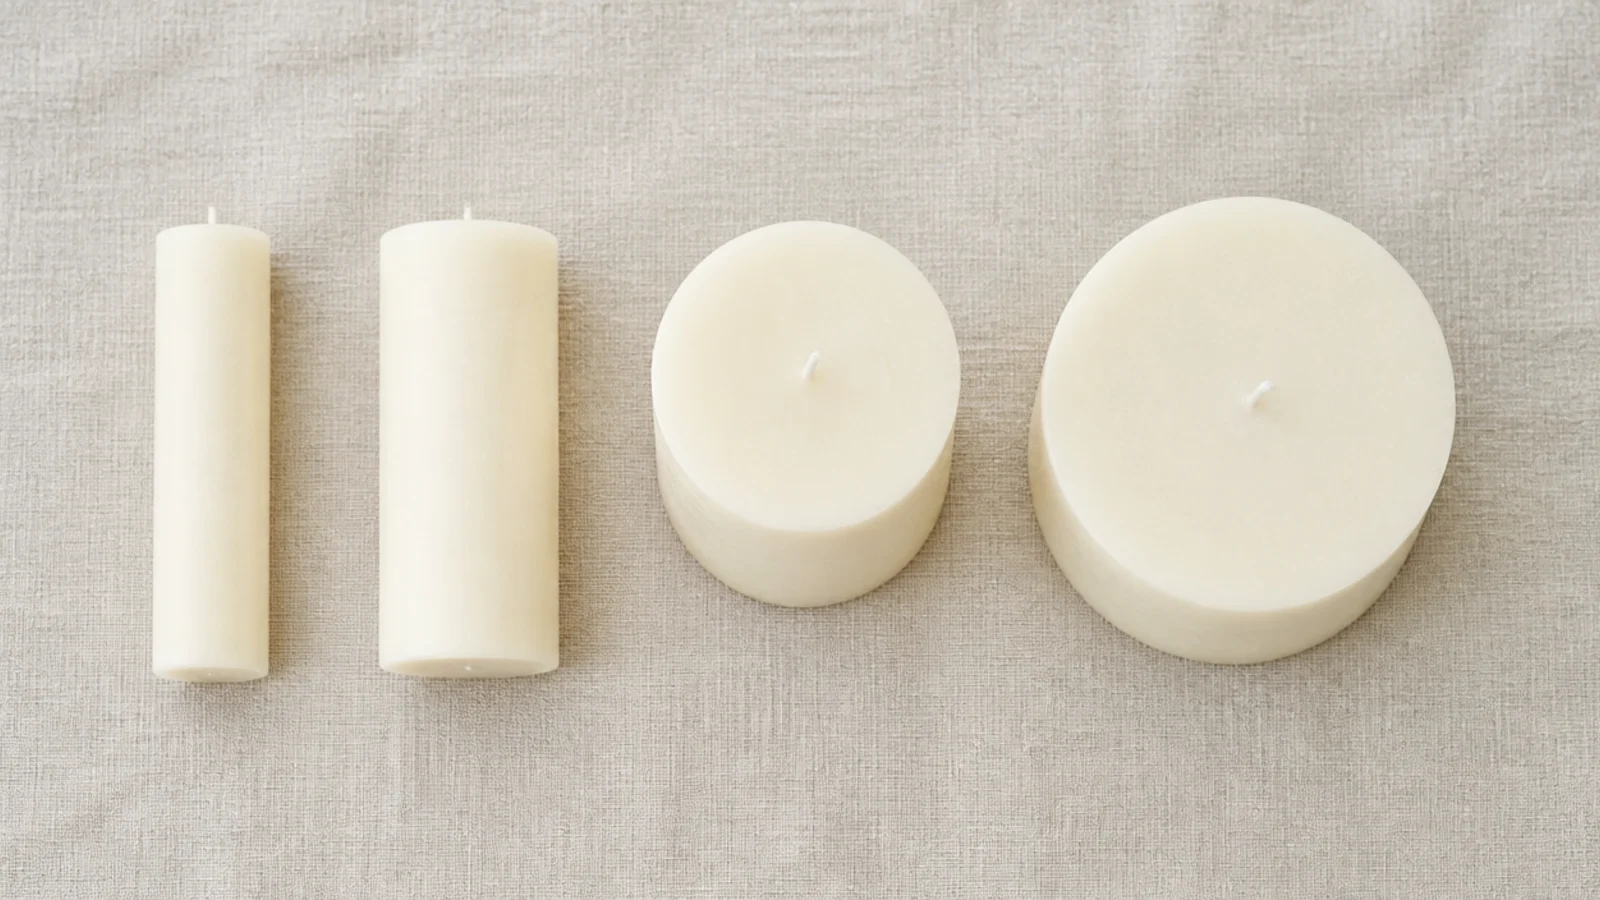
6. Mix diameters, not colors
Four widths in one wax color always beats four colors in one width. Diameter variation gives you interest without noise.
It is also practical: a wide pillar burns slowly and a slimmer one burns faster, so the group develops its own height variation over a season.
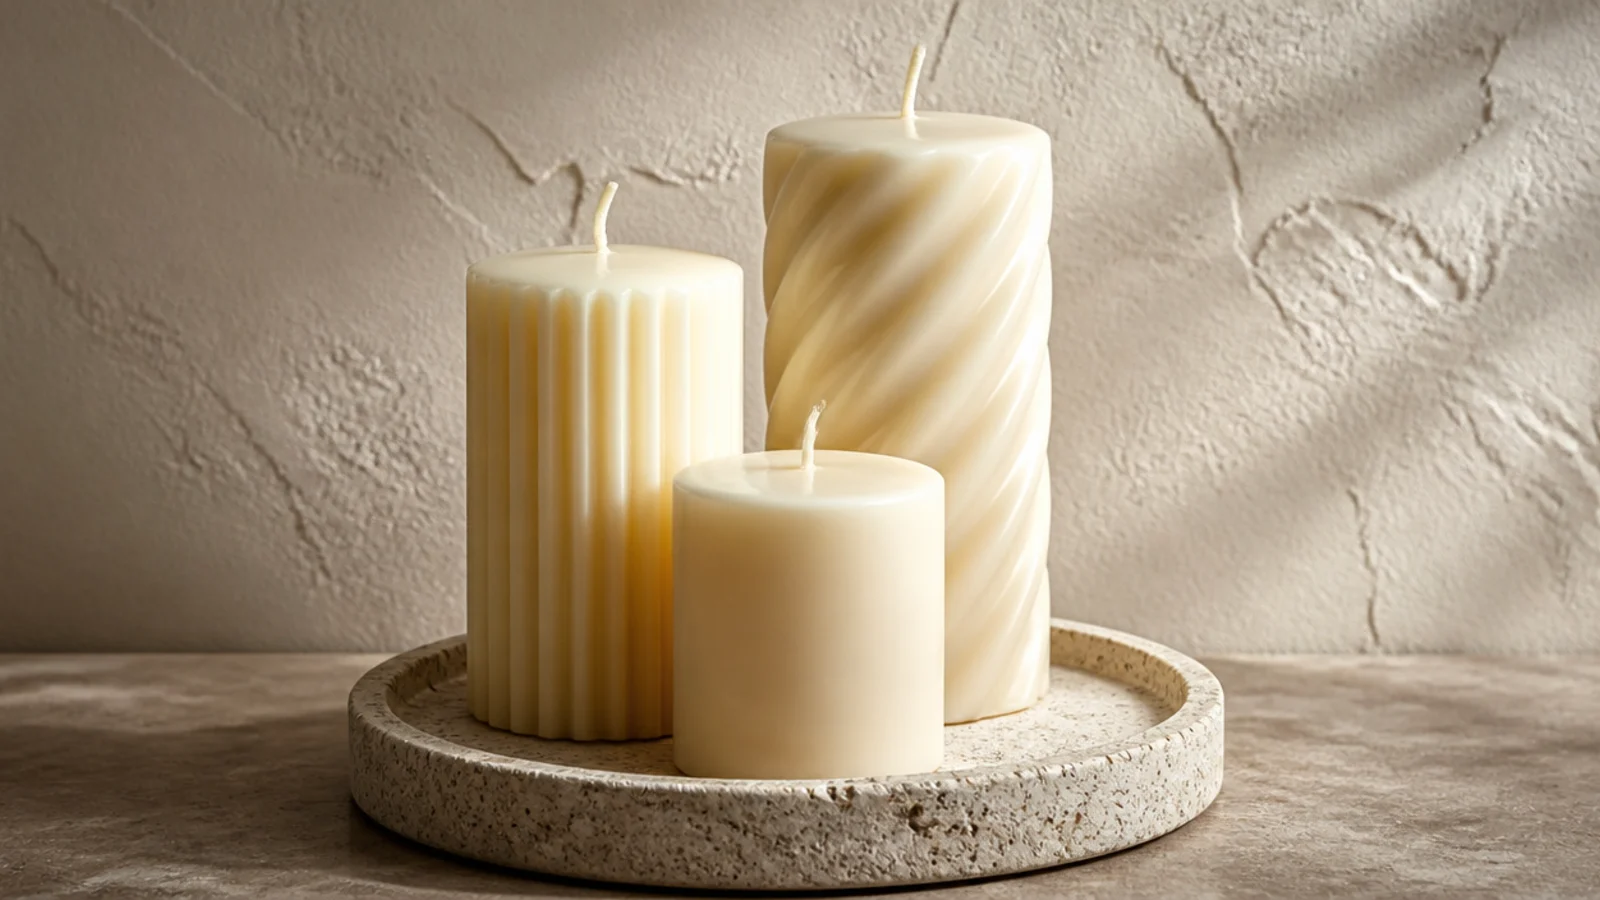
7. Ribbed, smooth and twisted together
Texture carries a neutral grouping. One ribbed, one smooth, one twisted, all in cream or ivory, and the group looks like it came from somewhere expensive.
Shape is the quiet variable and color is the loud one. Let shape do the work and $5 supermarket pillars pass for far more.
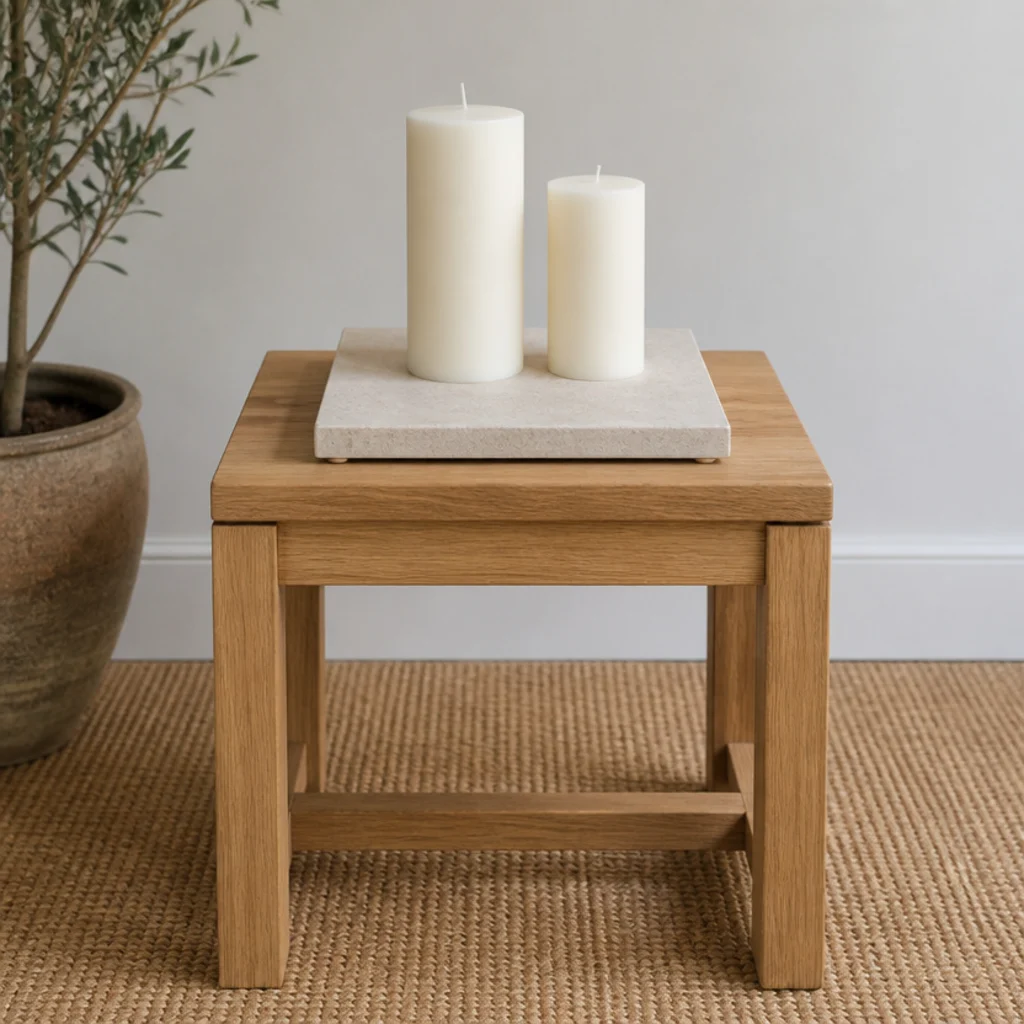
8. A tile offcut as a heatproof plinth
Tile shops sell single offcuts of limestone, slate or marble for $2 to $6. A 12-inch square becomes a heatproof plinth.
Stick felt pads underneath so it does not scratch. This is the cheapest way to make a wooden coffee table or a painted dresser candle-safe.
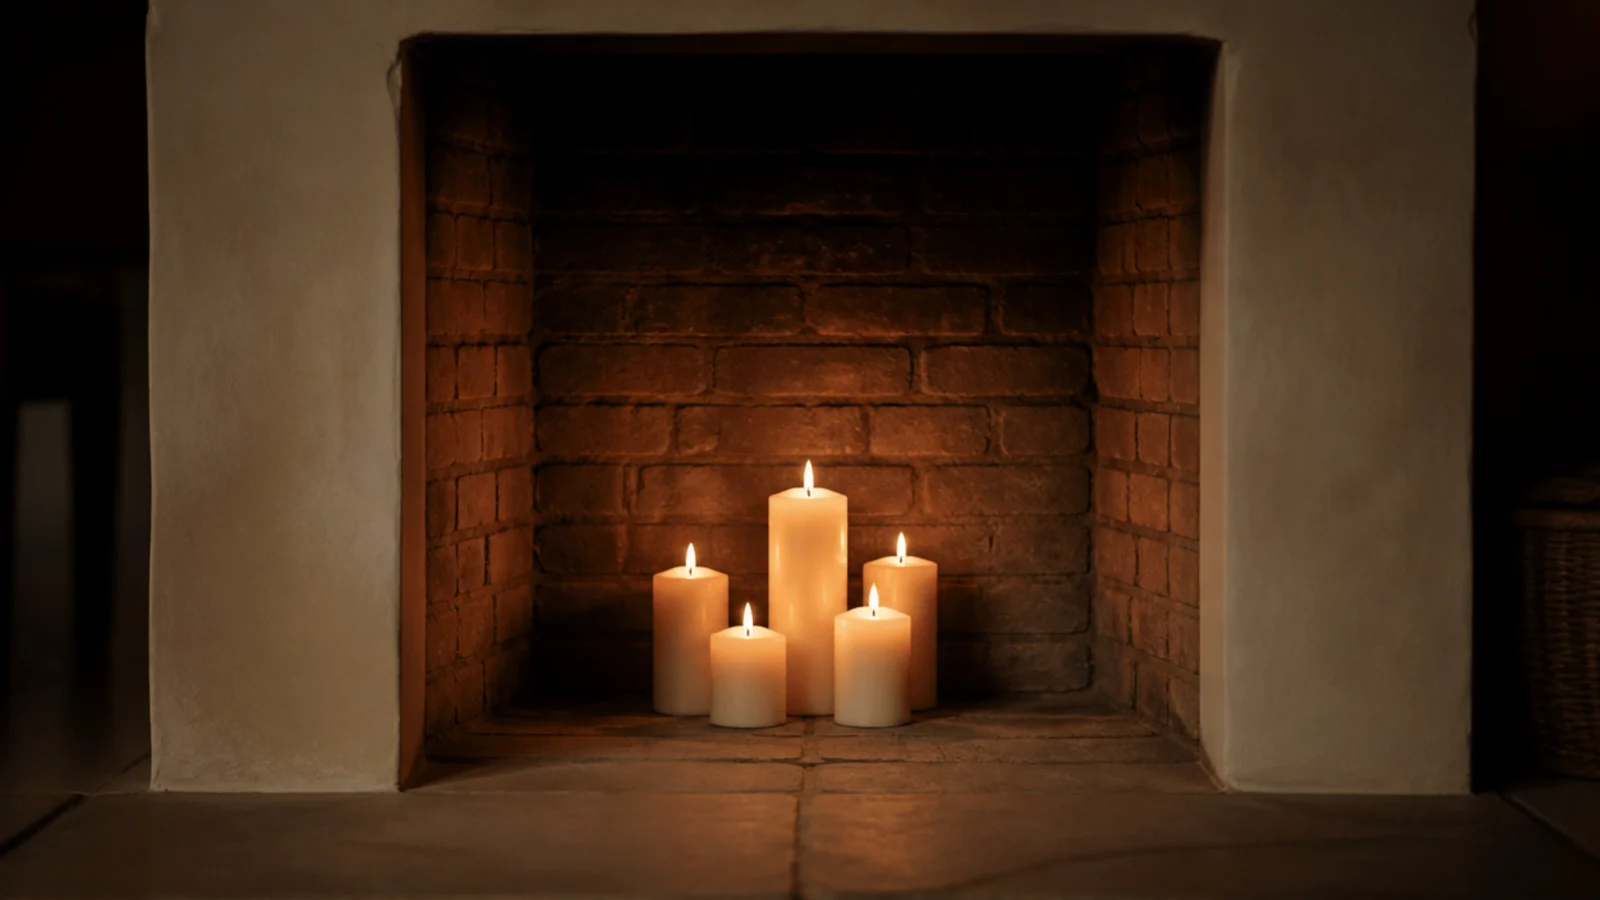
9. Five pillars in the empty fireplace
An unused firebox was built to contain a flame, which makes it the best free display space in a house.
Stand five graduated pillars directly on the stone hearth, tallest at the back, and keep everything else out of the opening — no logs, no baskets, no dried stems. With children or pets in the room, use flameless instead; a firebox sits at exactly toddler height.
10. On the mantel, set back three inches
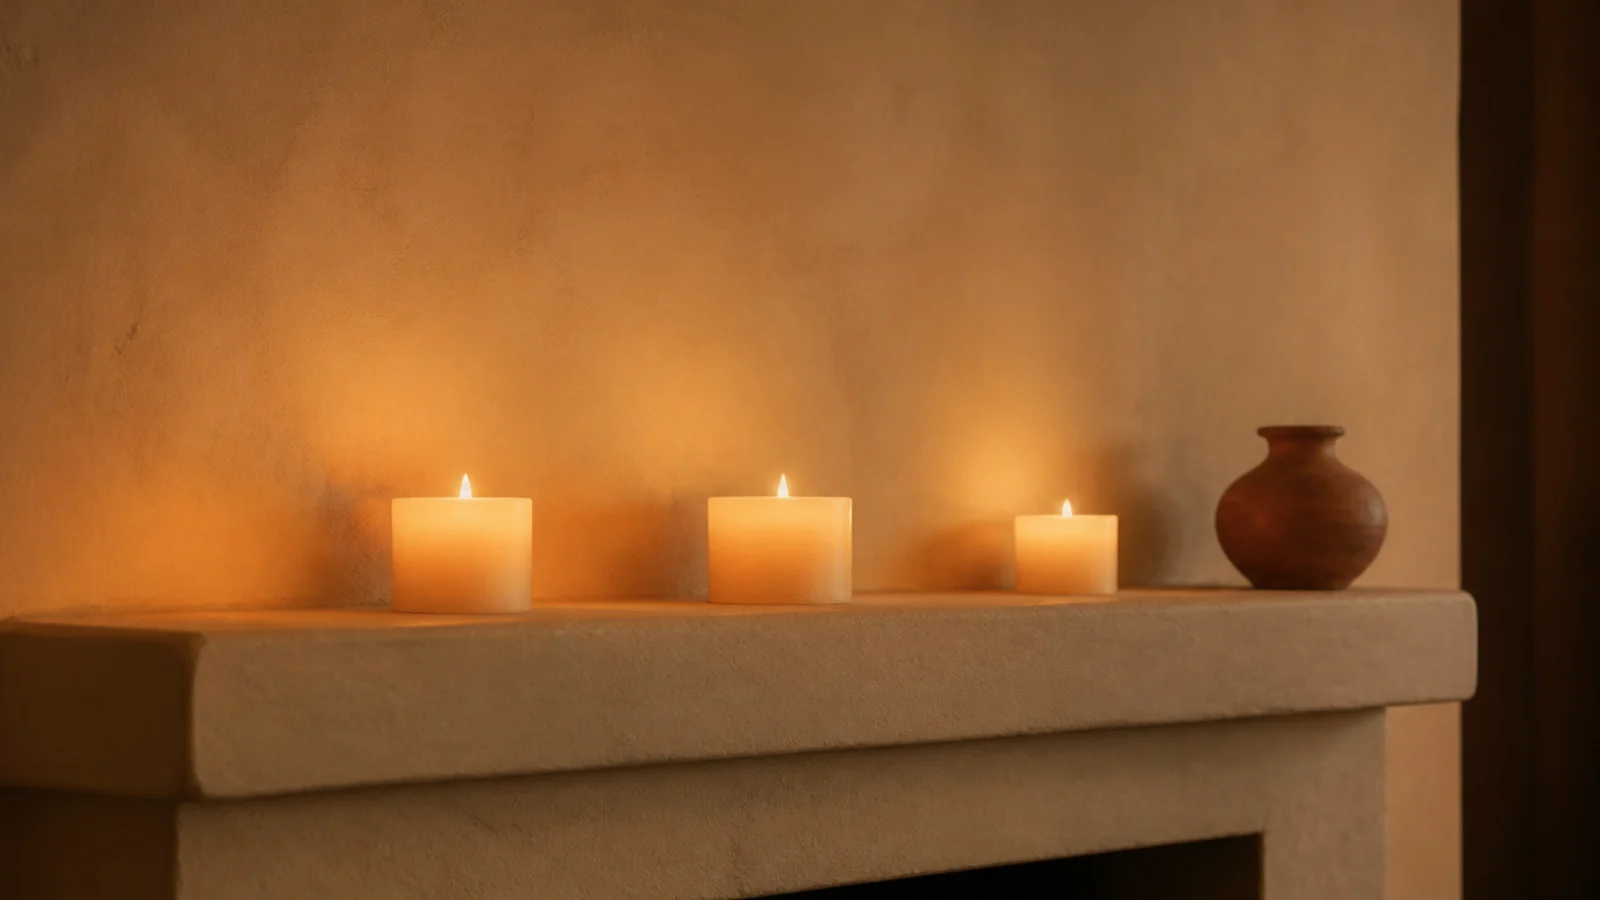
Mantels are stone or painted wood with open air above, which makes them one of the few naturally safe live-flame surfaces.
Set candles back three inches from the front edge so sleeves clear them, and check what hangs above. A mirror, art, a TV or a garland within twelve inches means the mantel gets flameless pillars.
11. A hurricane over a pillar for draughts
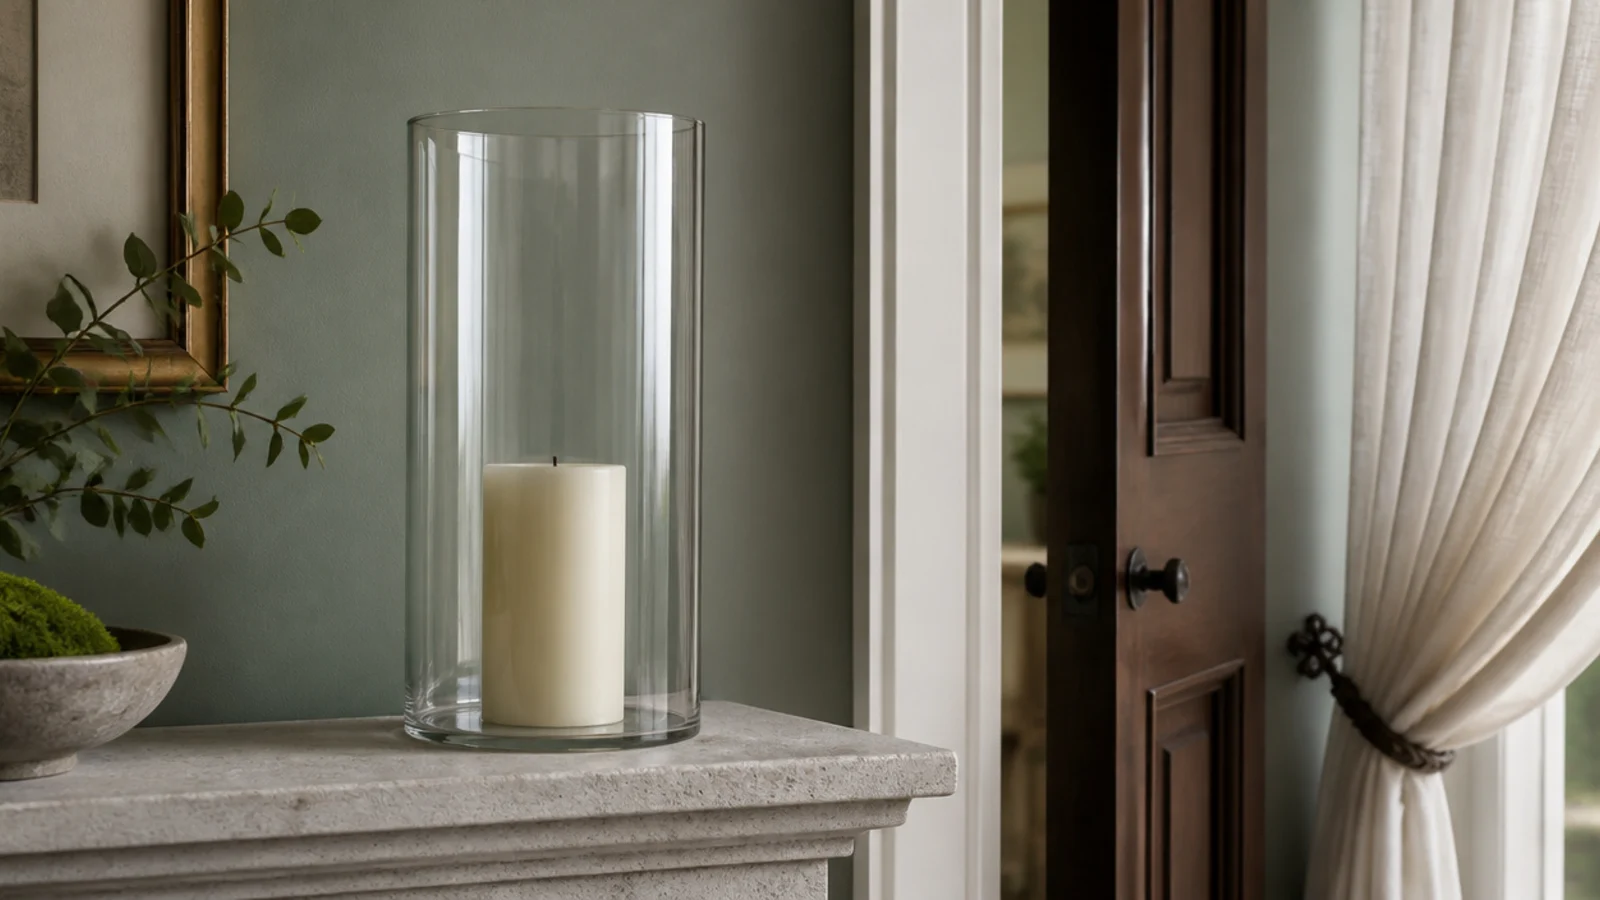
Near a door, stairwell or open window, a flame leans, smokes and soots the wall behind it.
An open-topped hurricane glass four inches taller than the flame blocks side air while heat escapes upward. Never swap in a closed lantern: an enclosed flame starves, smokes heavily and can crack glass.
12. Pillars inside a heavy open lantern
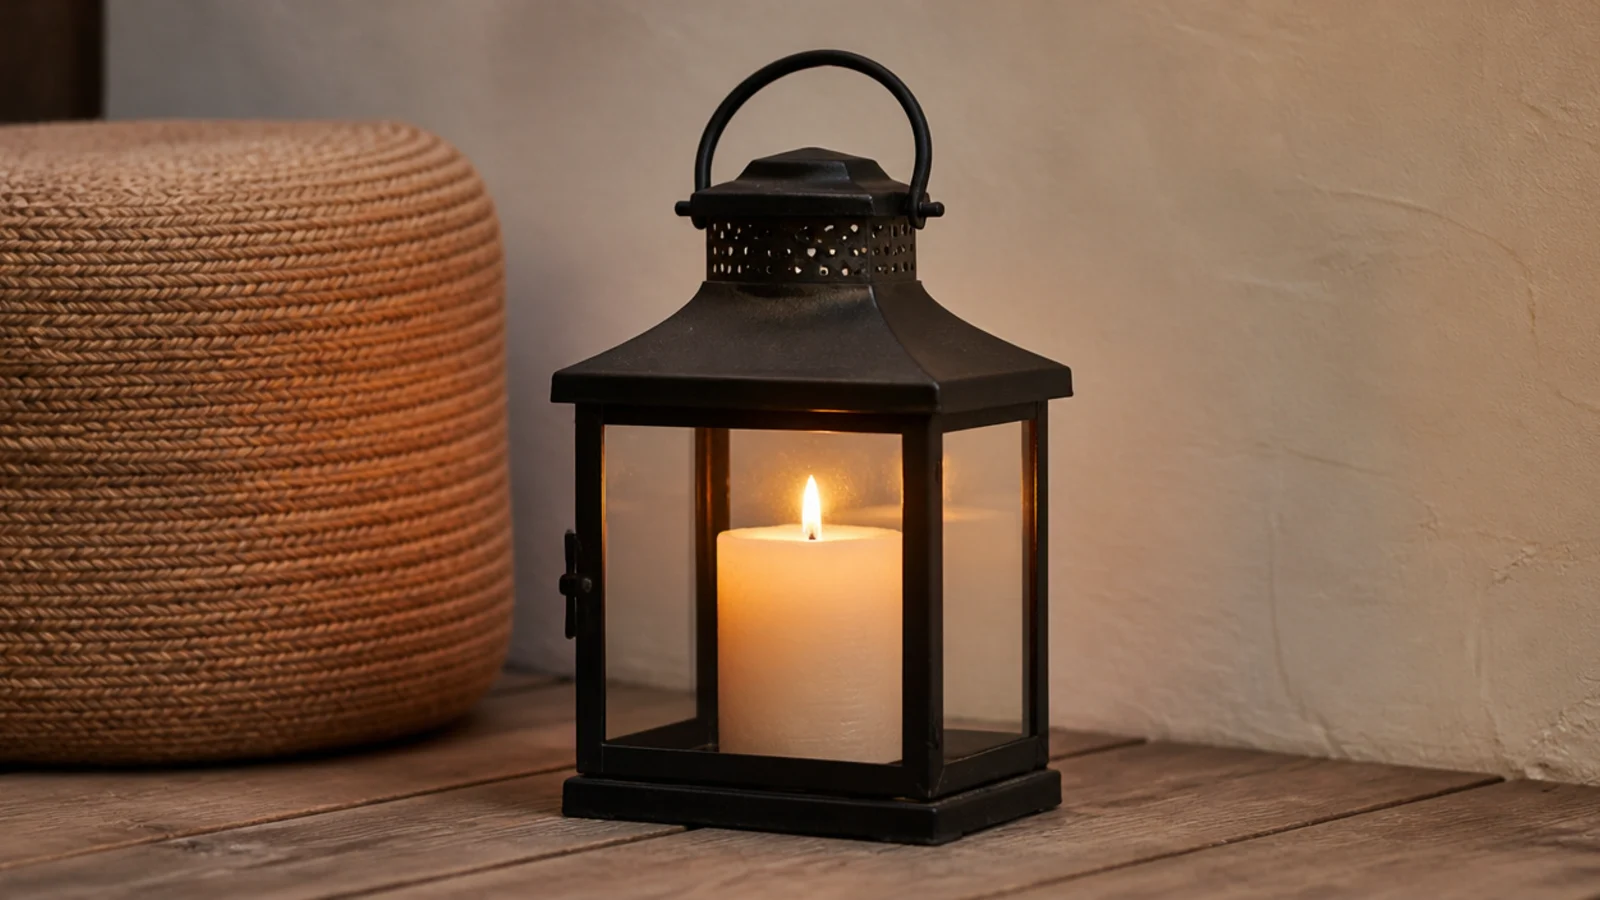
A metal-and-glass lantern with a weighted base and a vented or open top is the safest way to burn a pillar at floor level.
Stand it on bare boards or stone, never on a rug or a jute mat, and keep it out of the walkway. Sealed lanterns with no vent are display pieces only.
13. A shallow bowl with river stones
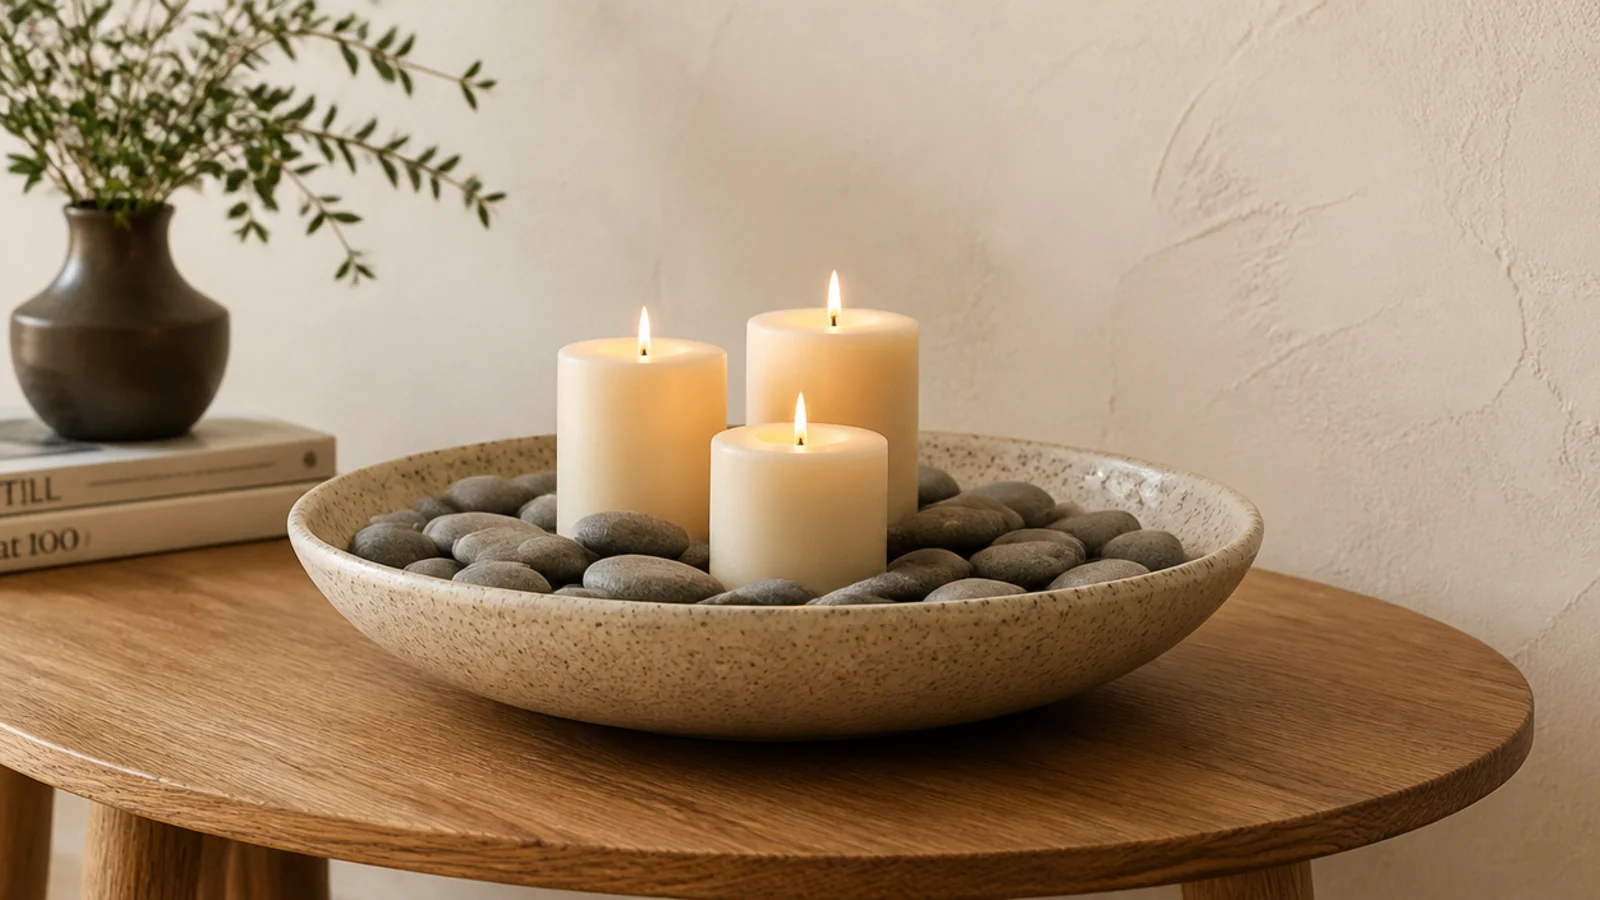
Three short pillars nestled into a wide shallow stoneware bowl, with flat river stones packed between them.
The stones stop the candles sliding together as the wax softens, the bowl contains any drips, and the whole thing sits under six inches, which is exactly right for a round table.
14. A line of pillars down a long table
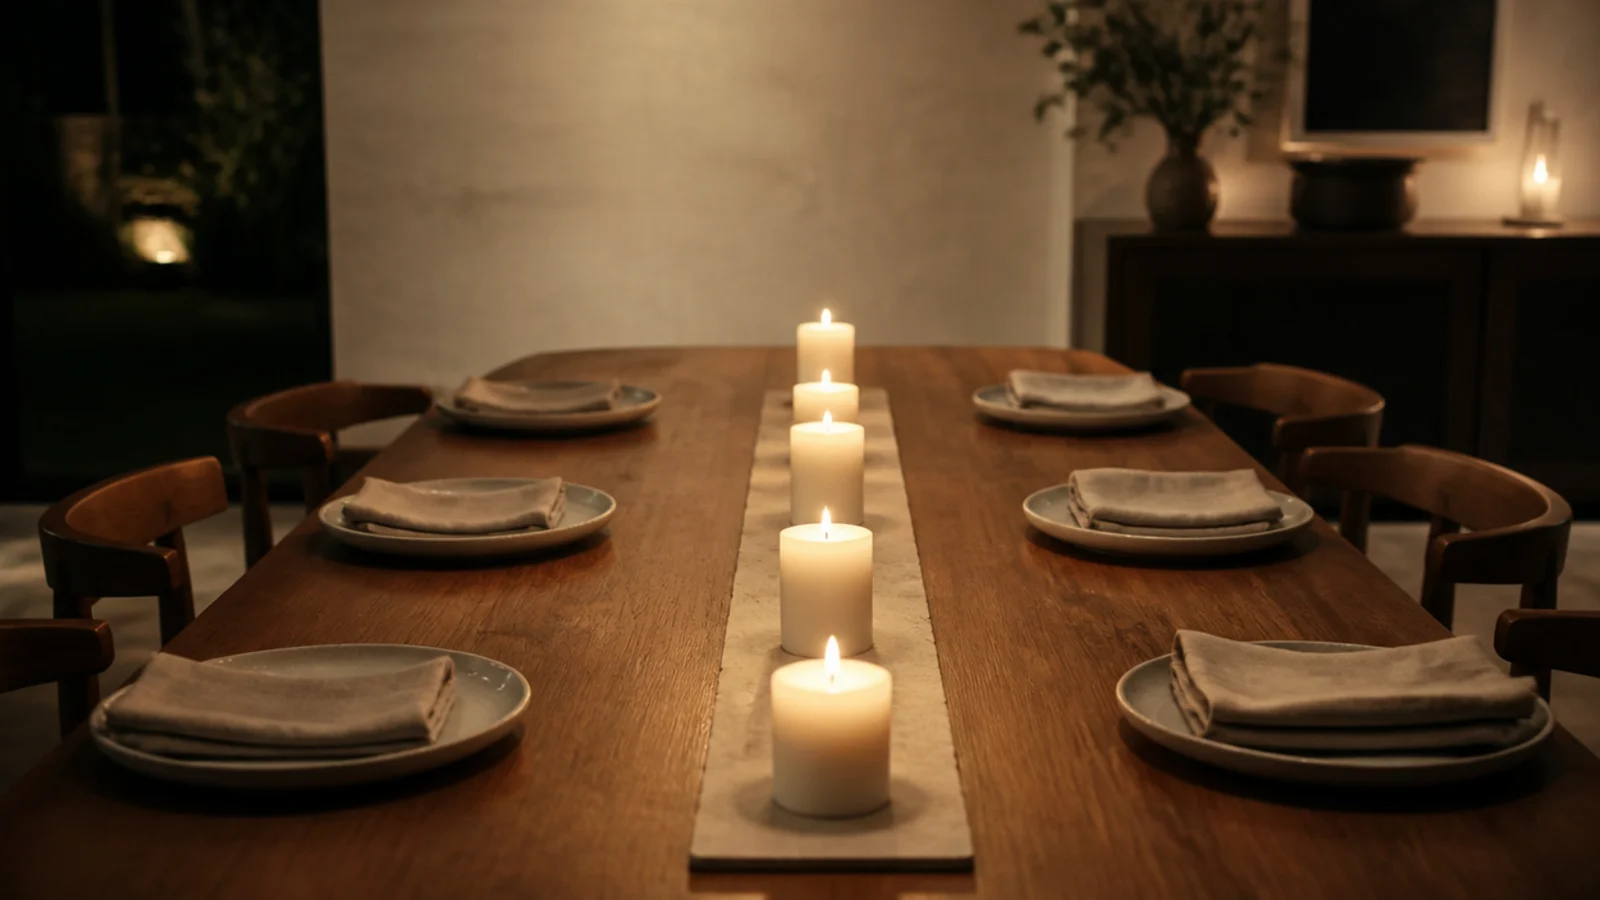
Five short pillars on a slim stone runner, spanning about two thirds of the table length so serving dishes still fit.
Keep the total lit height under twelve inches so people can see each other, and use unscented wax at any table where food is served. See candle centerpiece ideas for the full table method.
15. A book stack riser under one pillar
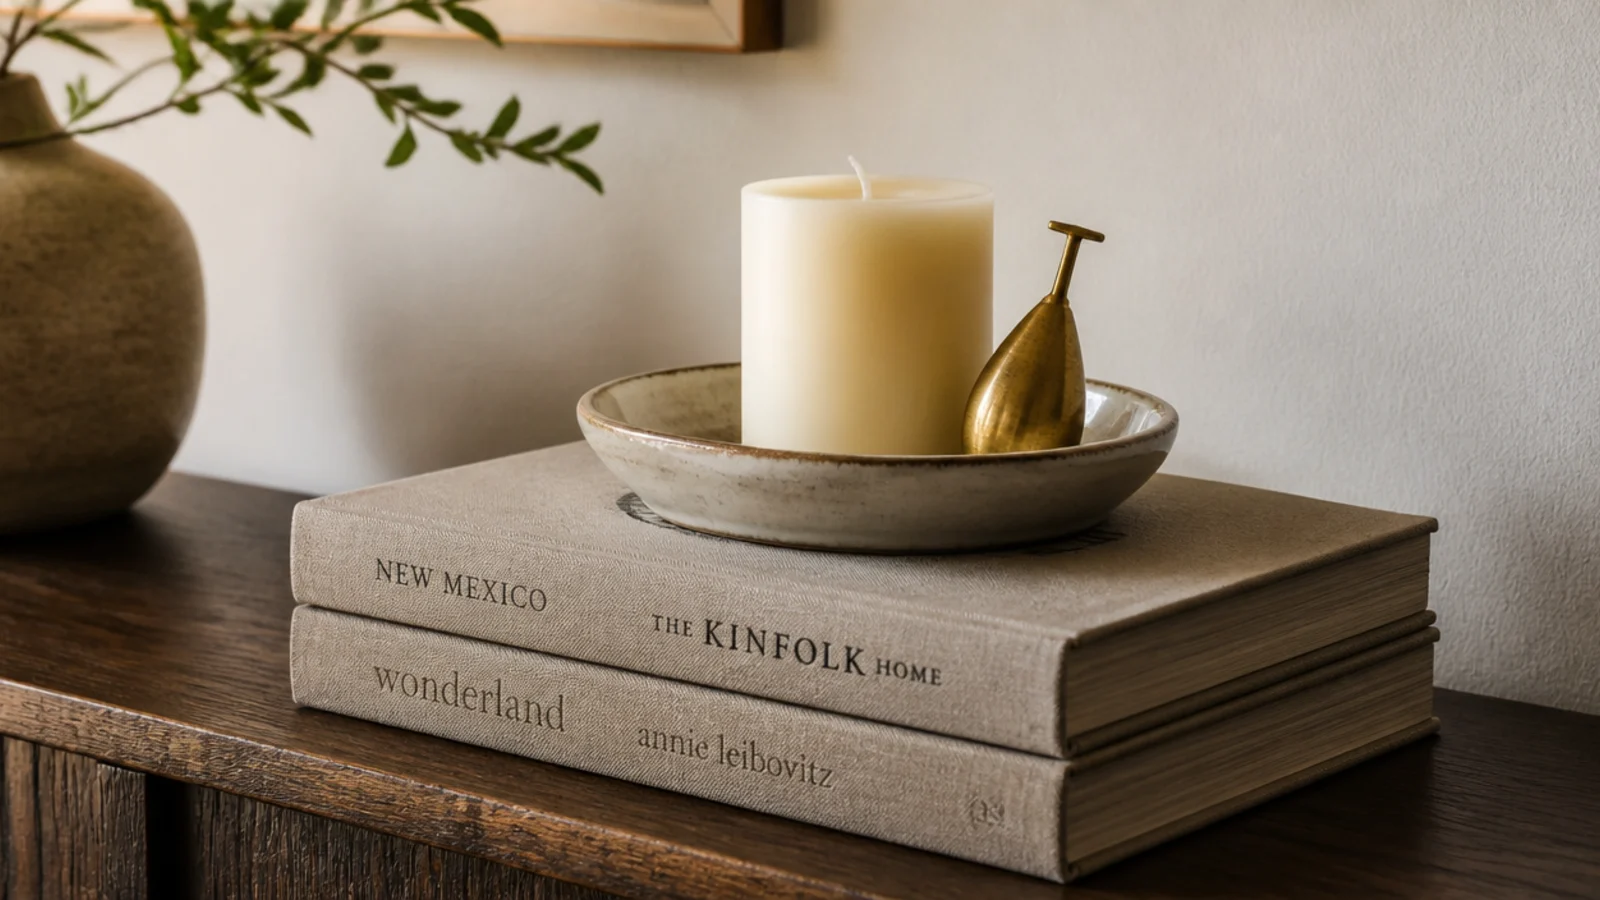
Two horizontal hardbacks give three inches of free height, which is exactly what a flat console lacks.
Put a glazed dish between the top book and the candle every time. Paper is fuel, and even an unlit pillar bleeds oil into a cover in a warm room.
16. Flameless pillars for every shelf tier
A flame under a shelf traps heat against the underside, scorches finish and sits inches from paper spines. There is no version of this that is safe.
Real wax flameless pillars with a warm flicker solve every tier of a shelving unit, at $18 to $35 for three. Save the live flame for the open top surface.

17. Flameless pillars on the nightstand
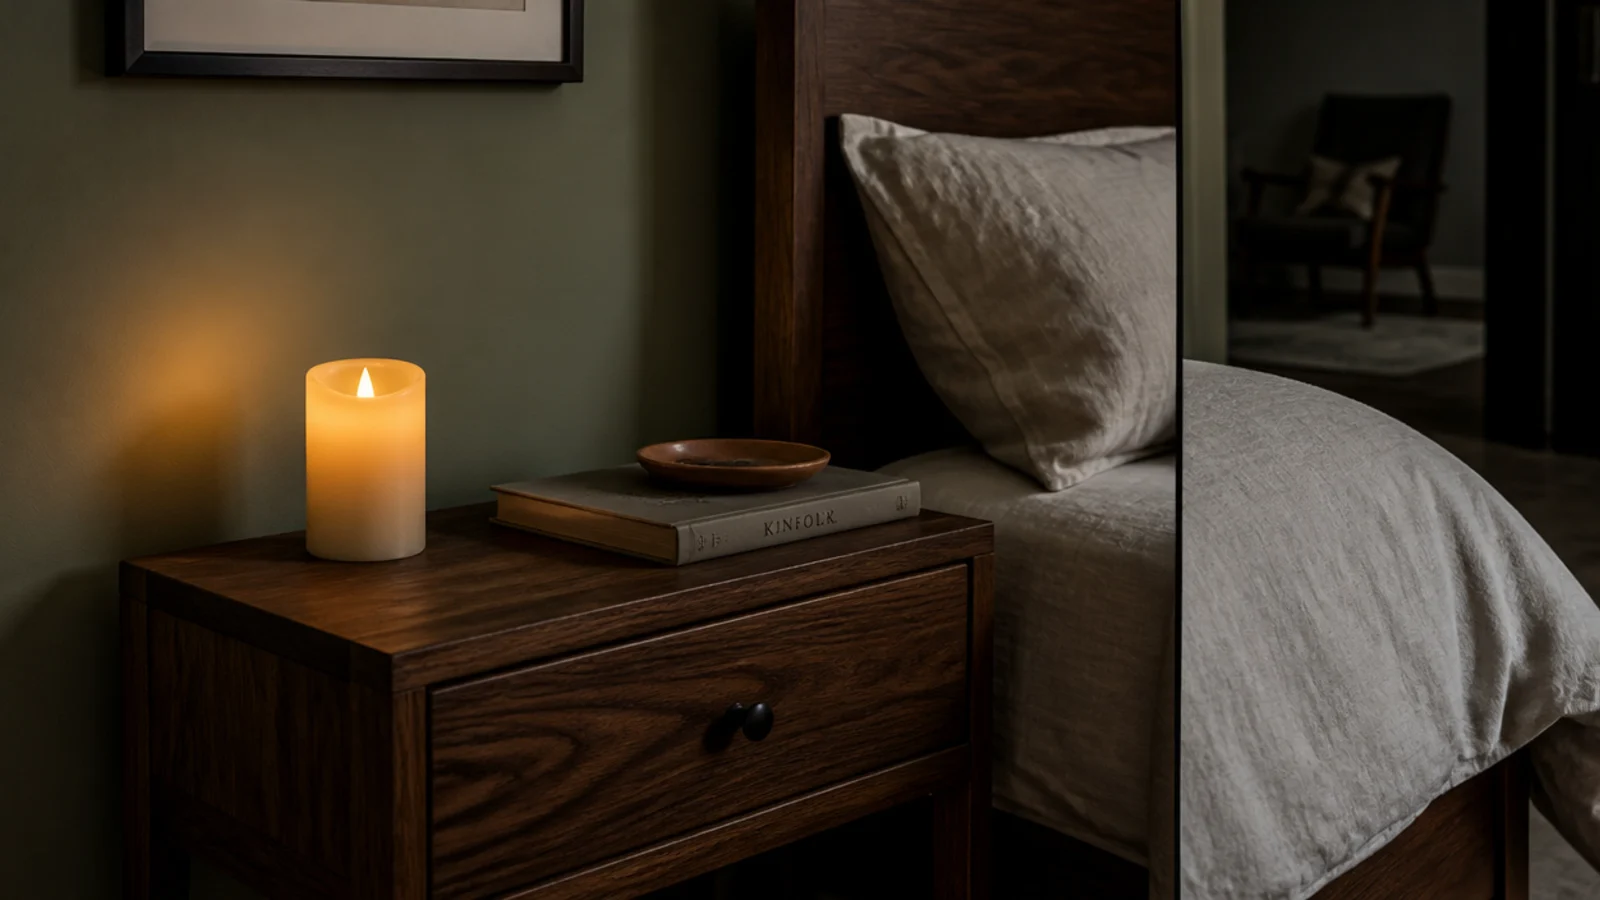
Bedding, books and a lampshade sit within a foot of most nightstands, so nothing with a wick goes there.
A flameless pillar with a two-hour timer gives the same glow while you read and switches itself off after you are asleep. Any real flame in a bedroom burns on a dresser across the room, and it is out before anyone gets into bed.
18. A pillar plate for the bathroom
Tile, stone and porcelain are the safest surfaces in a house, and a bathroom is where a scented pillar earns its money.
One wide pillar on a glazed plate, with twelve inches between the flame and the towel stack, the shower curtain and the toilet roll. Snuff it on your way out rather than leaving it burning behind a closed door.

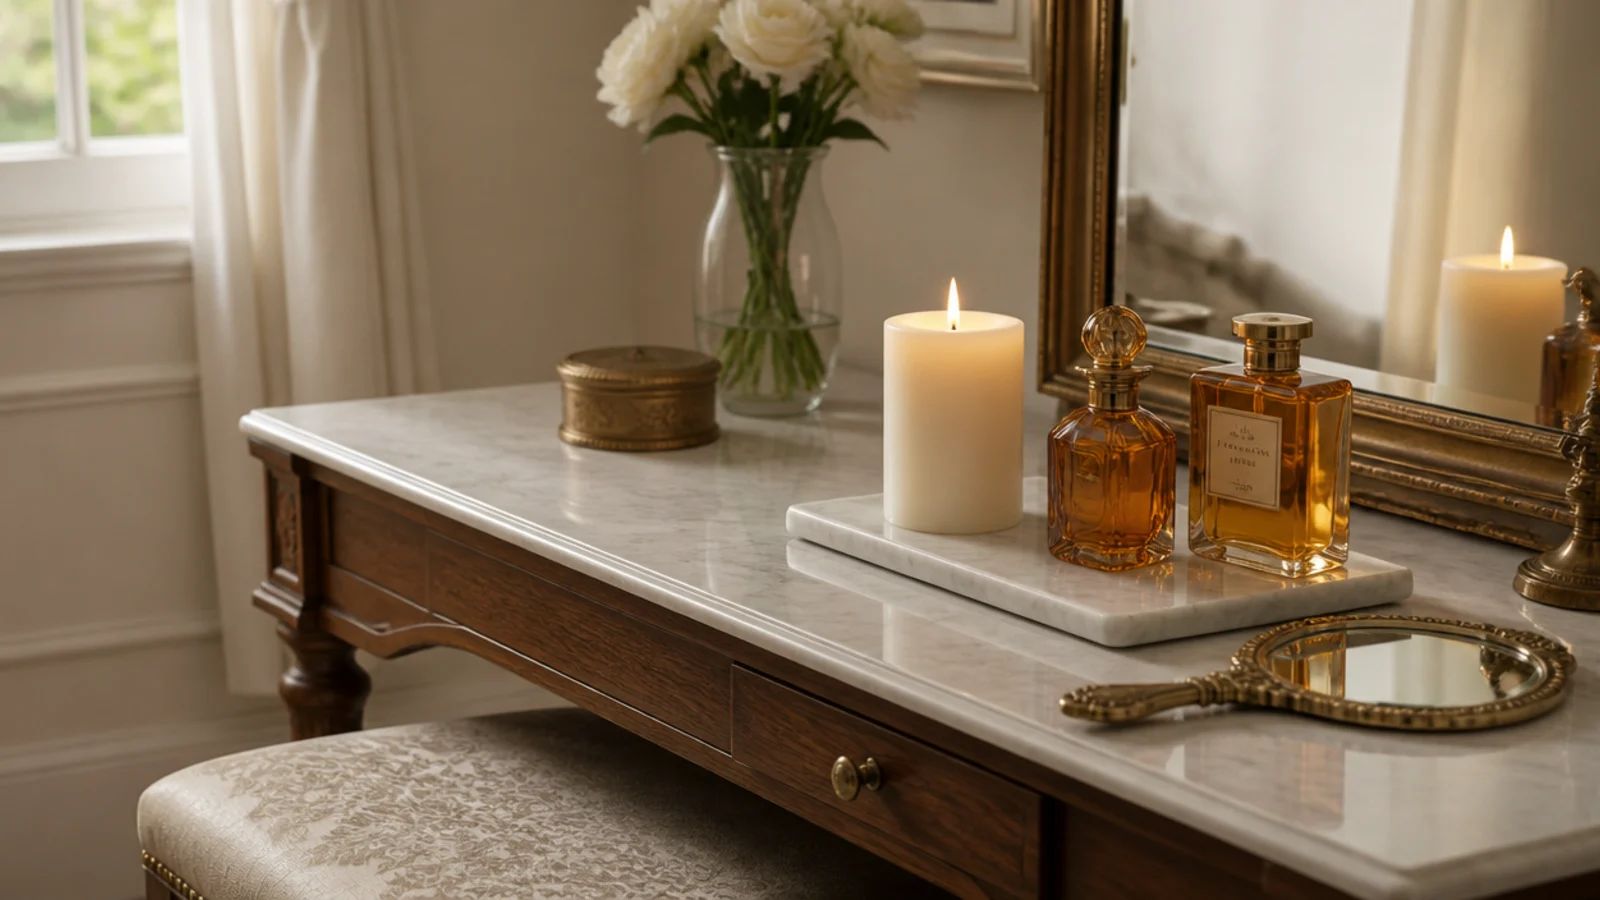
19. One pillar on a vanity marble tray
A vanity is a good live-flame spot because you sit at it, awake, with a hard surface in front of you.
Keep cotton pads, tissues, hairspray and anything aerosol a foot clear, and tie long hair back before you lean toward it. One pillar on a marble tray is plenty at a 30-inch vanity.
20. Outdoor pillars in weighted lanterns
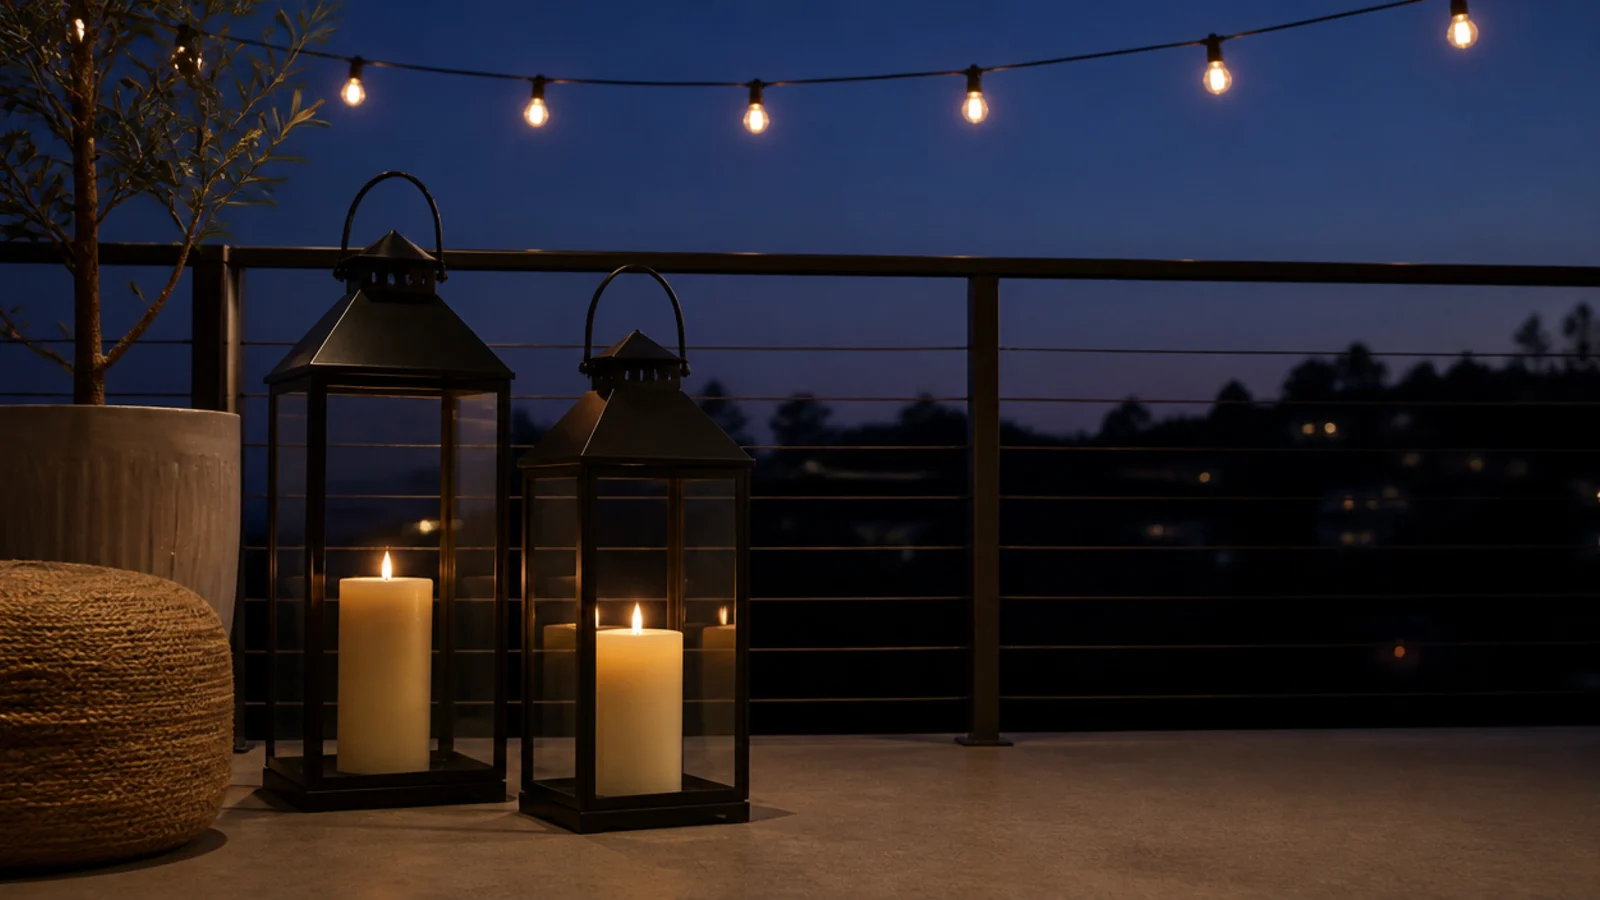
Outside, wind is the whole problem: a bare pillar blows out, and a light holder blows over.
Use heavy lanterns with weighted bases and vented tops, set on concrete or stone rather than decking or a jute mat, twelve inches from cushions and railing fabric. Bring them in when you go in — see balcony lighting after dark.
21. Give the first burn a full melt pool
Roughly one hour per inch of diameter, so about three hours for a three-inch pillar and four for a four-inch one.
Wax remembers. Whatever width melted the first time is the width that melts forever, and no amount of later burning repairs a tunnel that formed on night one.

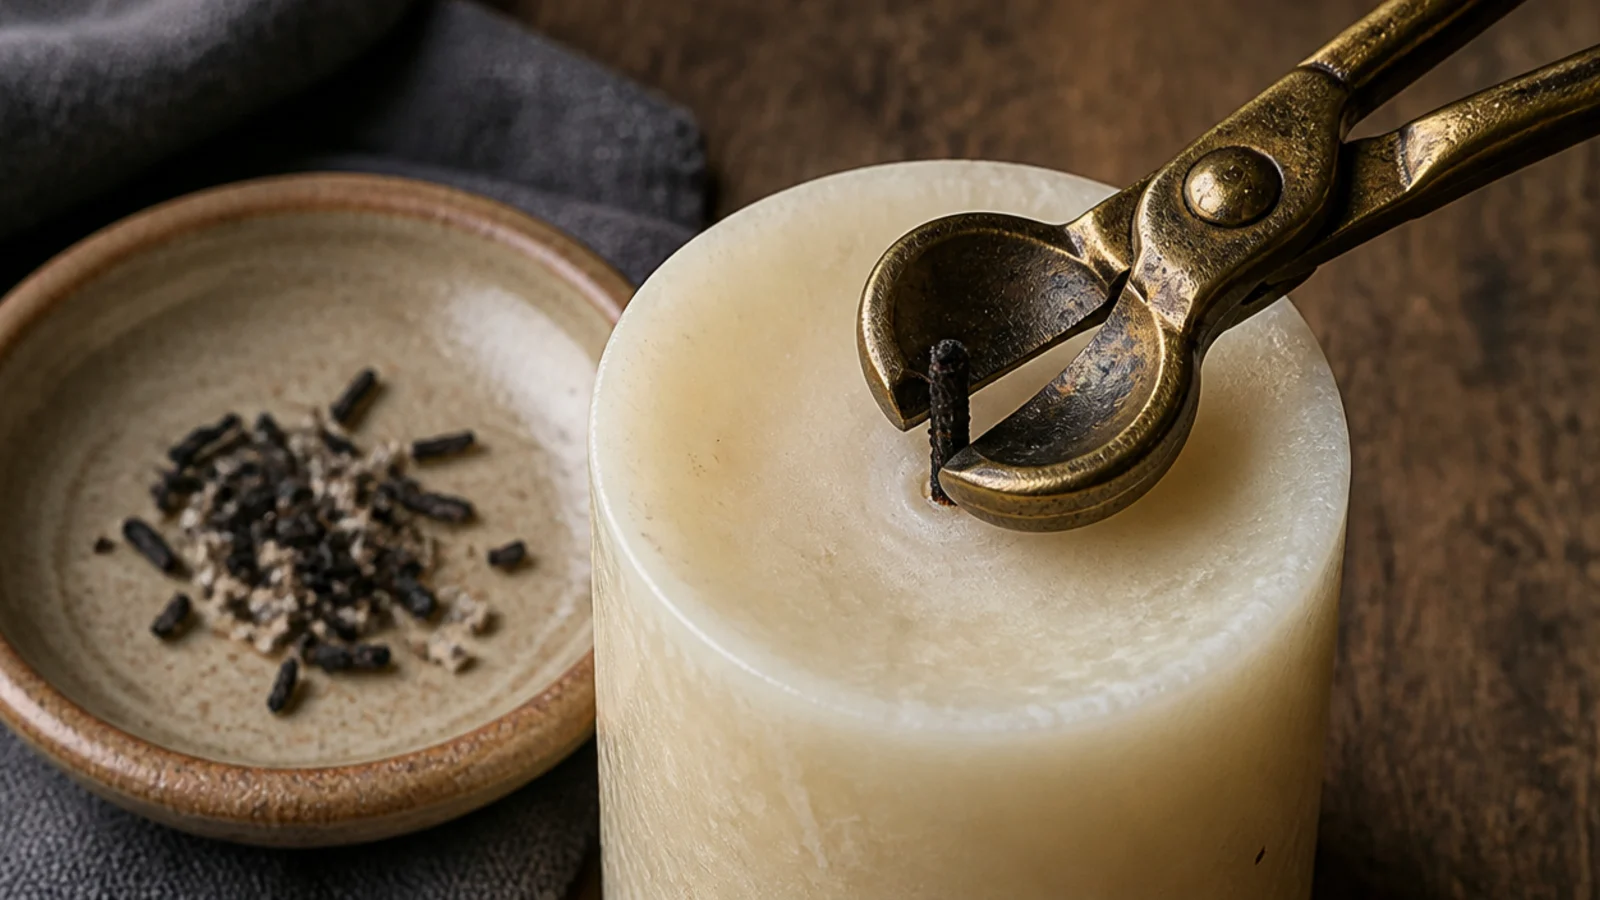
22. Trim the wick to a quarter inch
Before every burn, on cold wax, with an angled trimmer. A quarter inch keeps the flame low and stable.
A long wick makes a tall flame, and a tall flame means soot up your wall, a mushroomed wick and wax burning through in half the hours you paid for. The $9 trimmer is the best money in this guide.
23. Hug a tunneled pillar back into shape
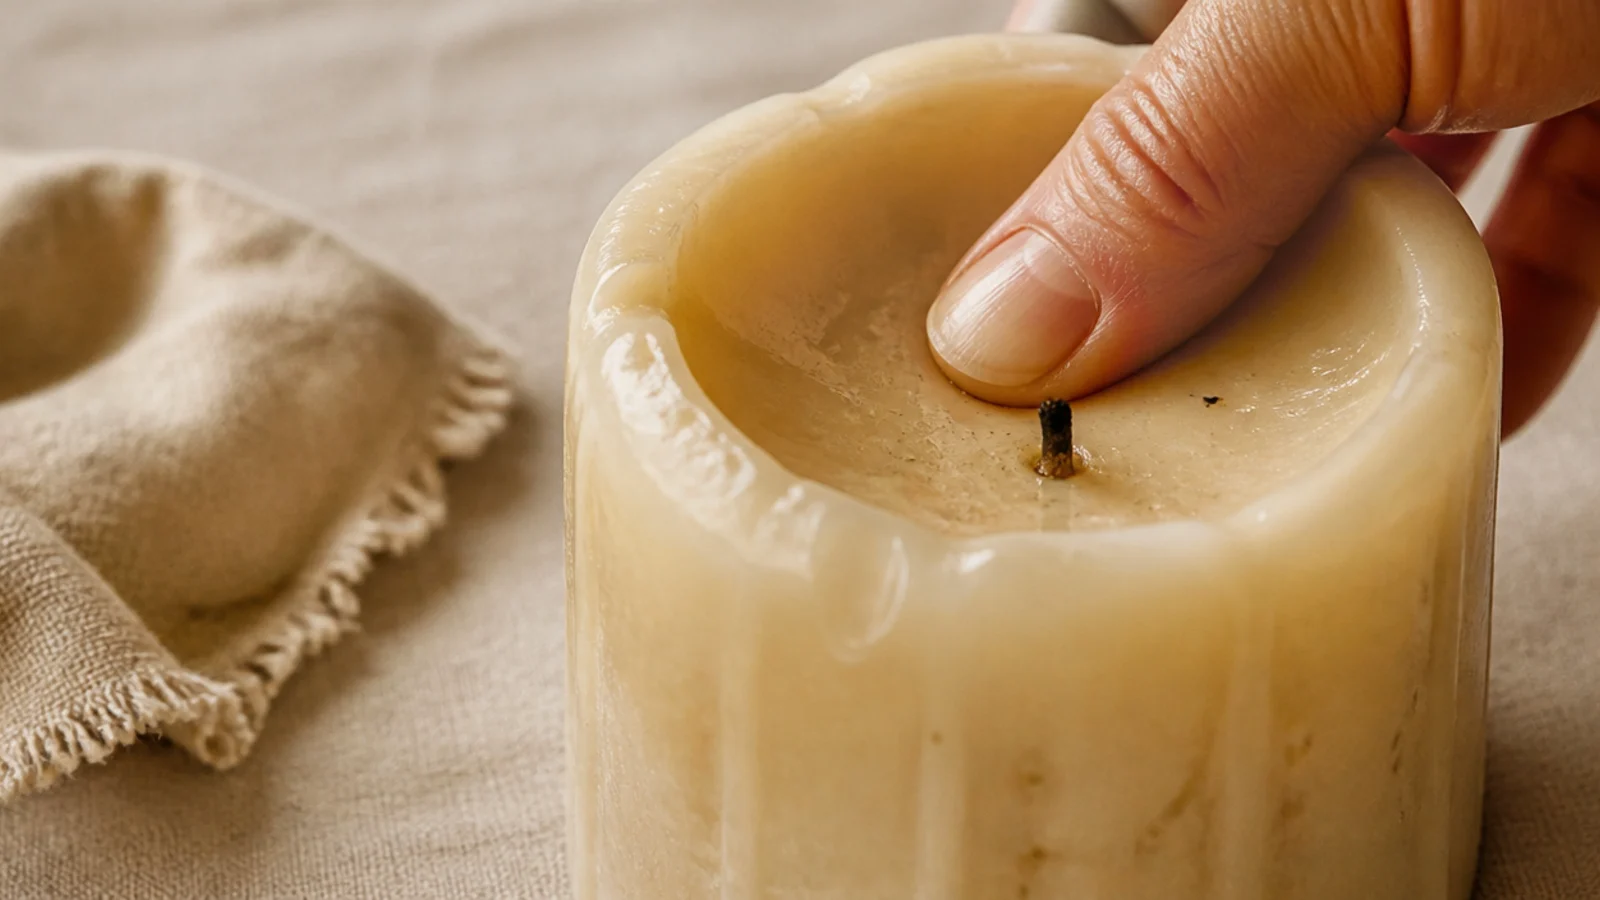
If a pillar has already tunneled, burn it until the outer wall is soft and warm, then snuff it and press the wall inward with your thumbs to level the top.
Let it set fully before relighting. This recovers most pillars in one go, and it costs nothing. Keep the wick centered as you press.
24. Cap every burn at four hours
Past four hours the wick mushrooms, the flame climbs and a pillar body can soften enough to slump.
Snuff it, let the wax set, trim the wick, and light it again later. And a burning candle stays in a room with a person in it — never overnight, never while anyone sleeps, out on your way out.
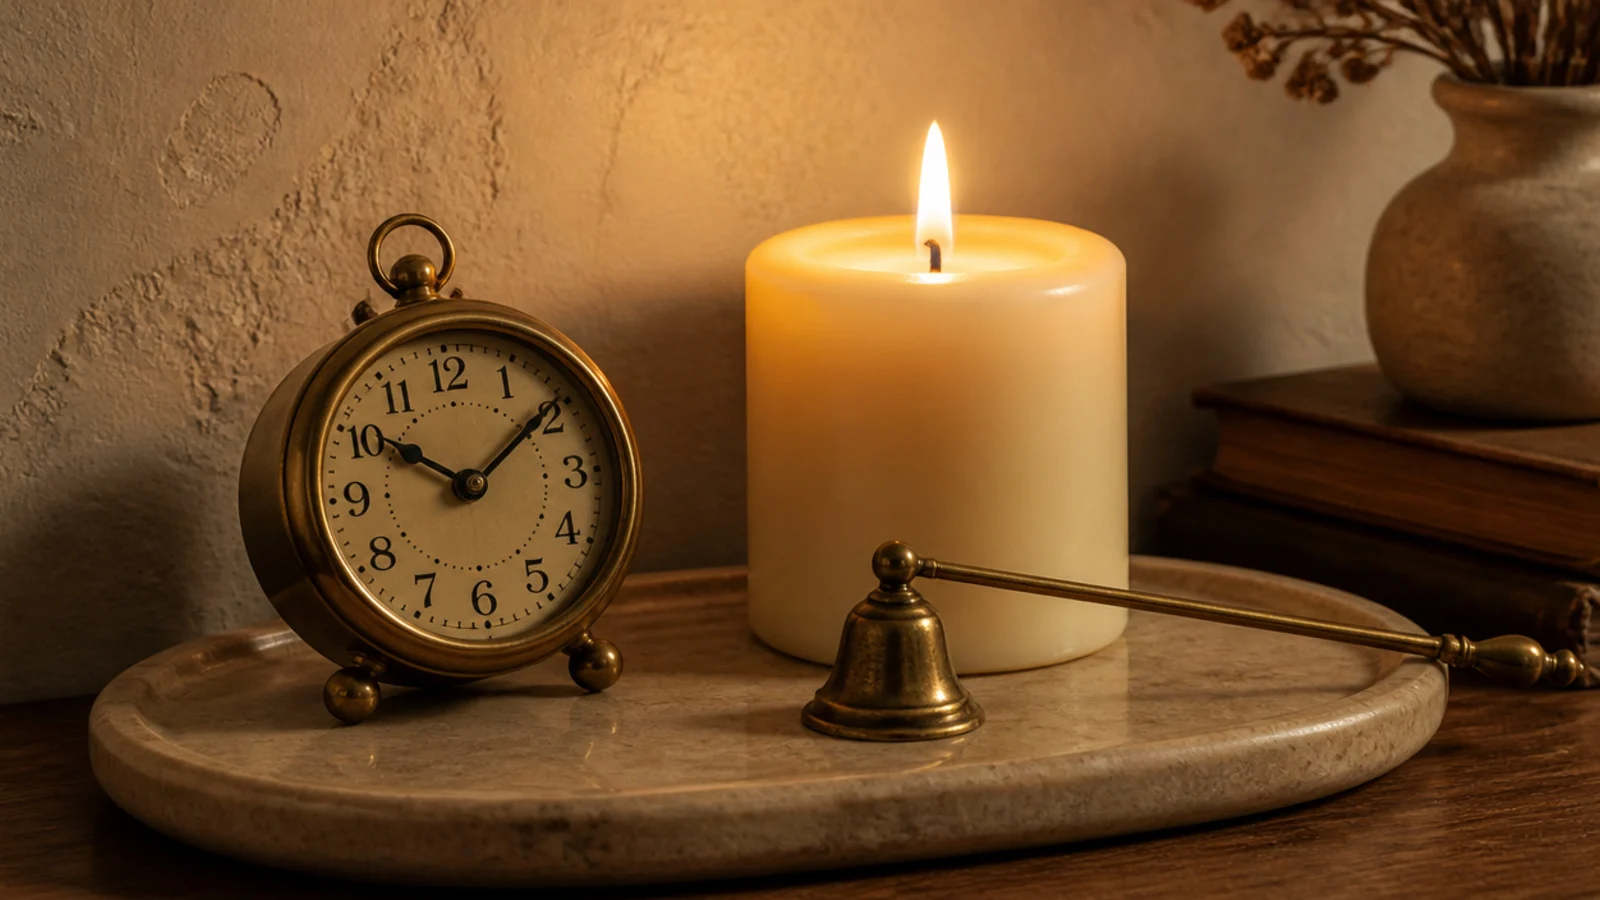
25. Retire a pillar at half an inch
Below half an inch of wax, the flame sits very close to whatever is underneath and can heat a glass or ceramic base hard enough to crack it.
Take it out of rotation. Melt the stub in a warmer, or keep it in a group as an unlit object — short candles among tall ones actually help the height ladder.
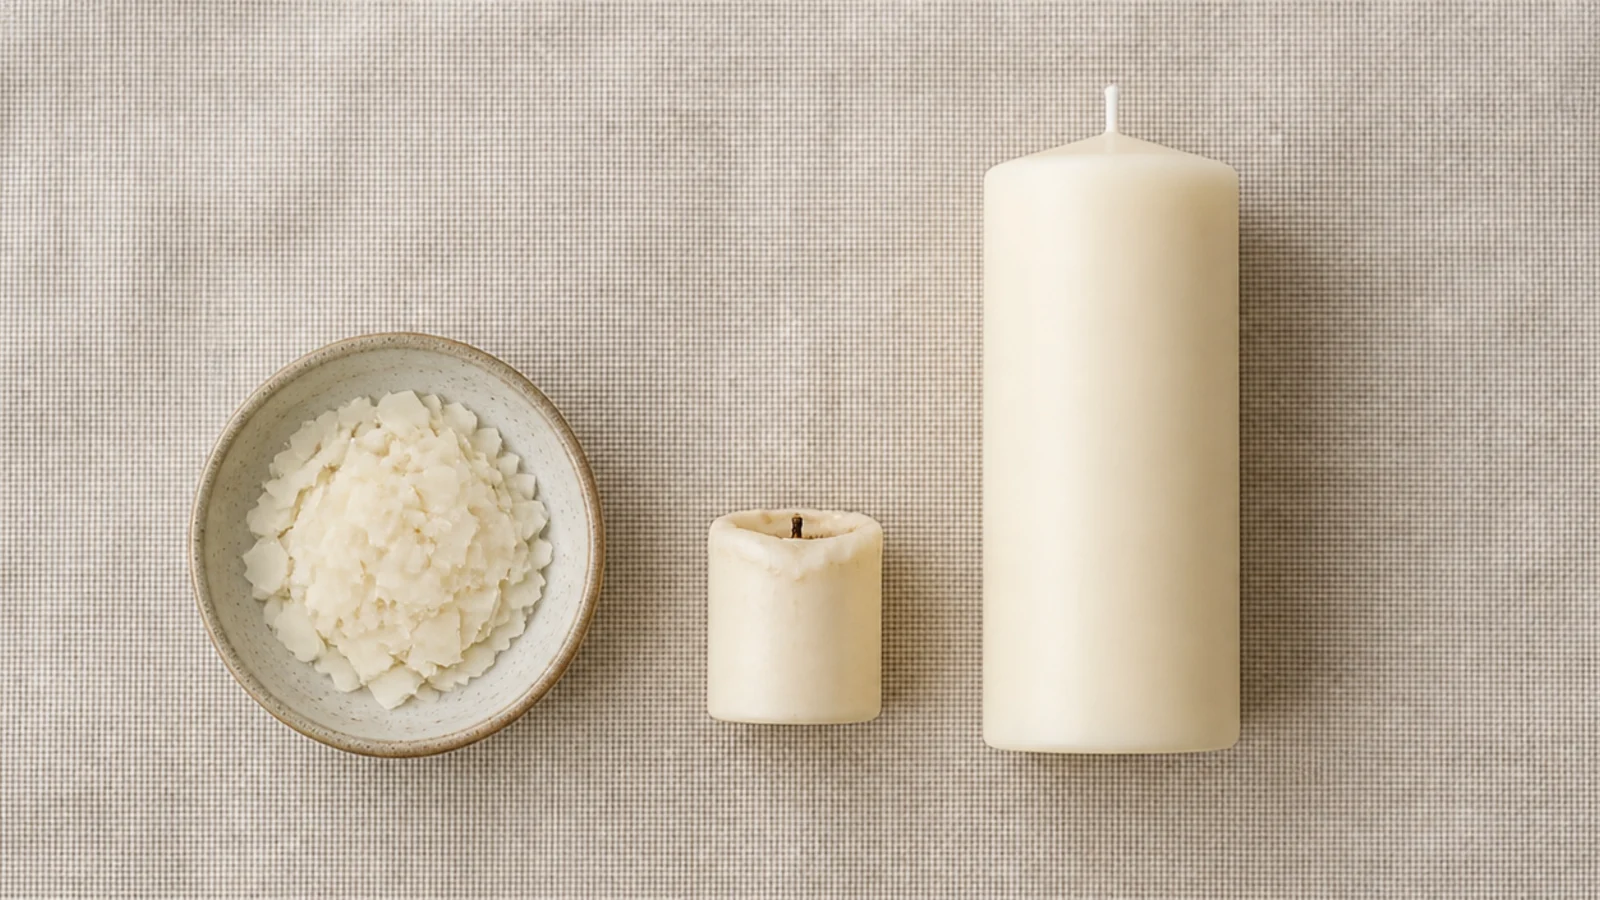
26. Store spare pillars cool and dark
Sunlight fades wax and warmth softens pillars until they bow. A candle stored in a sunny window is already ruined before you light it.
Keep spares upright in a drawer or a cupboard, away from radiators, with the trimmer and matches in the same place so the whole kit lives together.
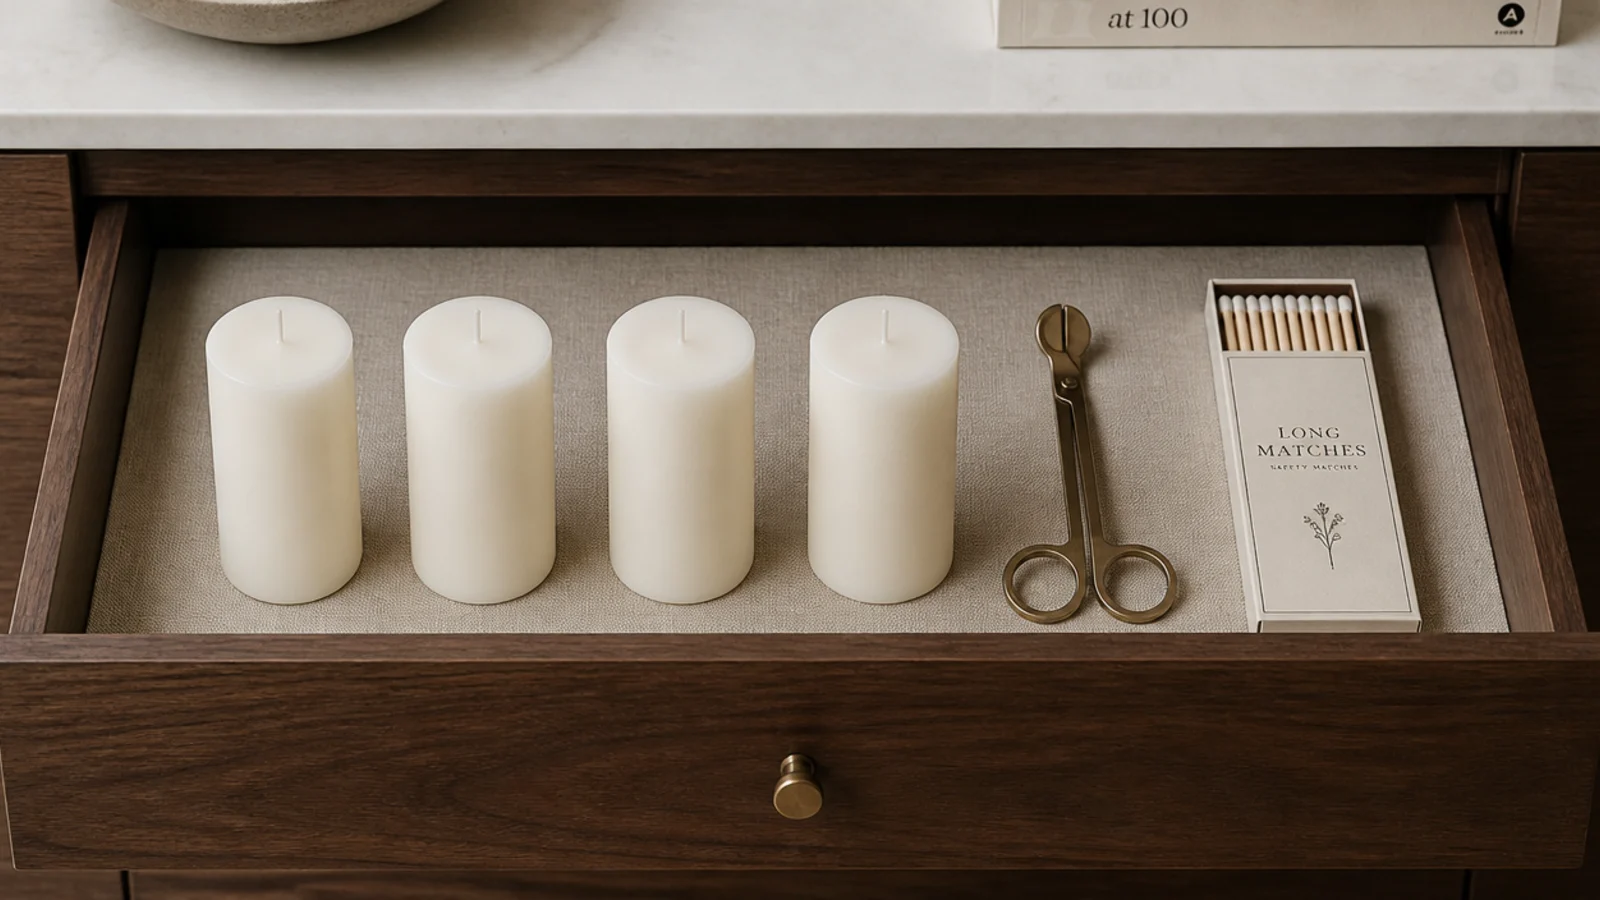
27. Flameless pillars in wall sconces
Sconces put a flame near a wall, usually under art, and out of easy reach for snuffing. All three are reasons to keep them battery-powered.
A pair at 60 to 66 inches, spaced 30 to 36 inches apart, frames a console beautifully. Adhesive versions rated to 5 pounds mean renters keep their walls.
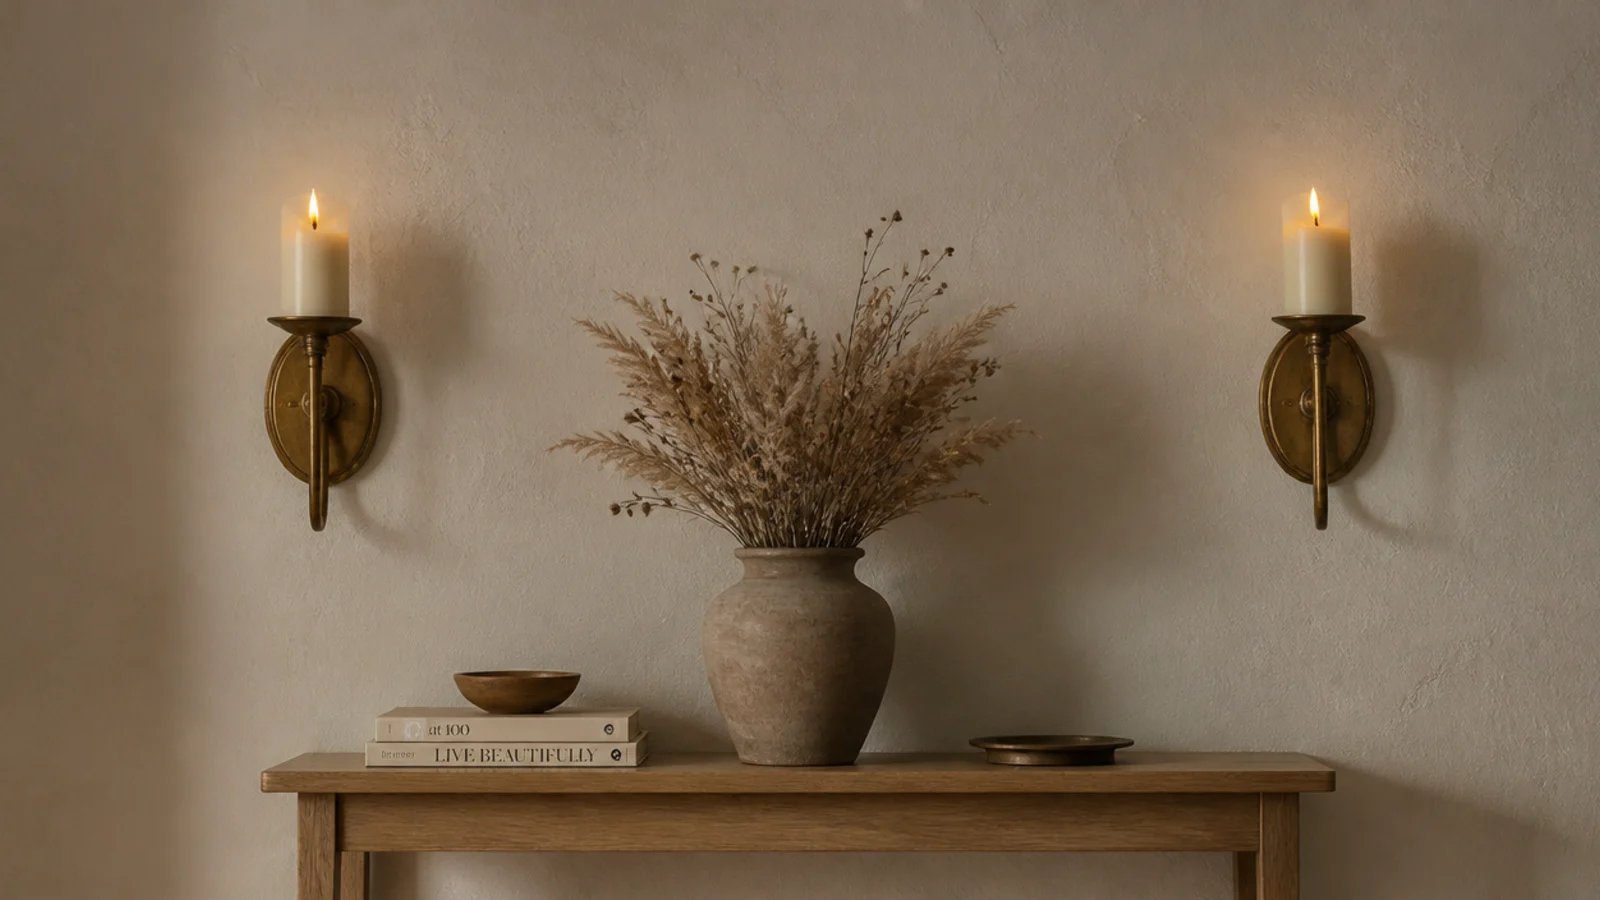
28. Swap the wax color by season
Keep the trays and holders, change the pillars. Cream through spring and summer, terracotta and clay tones for autumn, deep olive for winter.
About $6 to $12 a pair, no new storage, and the room reads as different from the doorway. This is how to have seasonal decor without a cupboard full of it.

29. Repeat one material three times
One brass tray, one brass snuffer, one small brass frame nearby, all at different heights. That is what makes a grouping read as designed rather than assembled.
Repetition is the trick behind almost every room that looks styled. One brass object alone always looks like it wandered in from somewhere else.

30. The weekly pillar reset
Trim every wick to a quarter inch, level any tunneling with the hug method, wipe soot from the tray, and rotate which pillar sits at the front.
Then take one thing off the tray. A grouping a week later, minus one object, is almost always the better version. There is more on the routine in fifteen aesthetic candle groupings.
Mistakes to Skip
- Buying narrow pillars because they cost less. A two-inch pillar tunnels on the first burn and leaves most of its wax behind, so the cheap candle is the expensive one.
- Standing pillars directly on wood, a woven mat or a linen runner. Pillars bleed and drip as they burn down, and hot wax on a fabric runner is both a stain and a fire risk.
- Burning a pillar under a shelf, inside a sealed lantern or beside a curtain. Trapped heat and moving fabric are the two ways a beautiful grouping goes wrong. Twelve inches of clear air, or flameless.
Frequently asked questions
What size pillar candle burns the most evenly?
Three inches in diameter or wider. Below that, a single wick cannot melt the wax all the way to the edge, so the candle burns down a narrow shaft and leaves a thick wall behind. Wide pillars also last far longer per dollar, because you actually use the wax you paid for.
How do you stop a pillar candle from tunneling?
Give the very first burn enough time for the melt pool to reach the full diameter, roughly one hour per inch of width. If it has already tunneled, use the hug method: burn it until the outer wall softens, then press the warm wax inward with your thumbs to level the top, and let it set.
How long can you burn a pillar candle at once?
About four hours, then snuff it. Past that the wick mushrooms, the flame climbs and the candle body softens enough to slump. Trim the wick back to a quarter inch once the wax is cold and light it again later. A burning candle also stays in a room with a person in it, always.
What do you put under pillar candles?
A stone tray, a tile offcut, a glazed ceramic dish or a metal plate. Pillars drip and bleed wax as they burn down, and unlit pillars still release oil into a wooden or painted surface in a warm room. A lipped tray also lets you lift a whole grouping off in one movement.
How do you group pillar candles so they look styled?
Odd numbers, three different heights, one tray, and about an inch and a half between each candle. Six, four and three inches is a reliable ladder. Set the tallest in the back third rather than dead center, and leave roughly a third of the tray empty so the group has room to read.
When should you throw a pillar candle away?
When less than half an inch of wax is left. Burning past that puts the flame very close to the surface underneath and heats a glass or ceramic base hard enough to crack it. Melt the last stub down as a wax melt, or keep it as an unlit object in a group.
Buy one wide pillar, one tile offcut and a trimmer, and give that first burn its full three hours — you will see the difference against every narrow candle you have owned. From there, twenty steps of candle styling covers the grouping method in order, and the centerpiece guide handles tables specifically. Save the pin below so the three-inch rule is with you in the shop.
Want more like this? Browse all 15 aesthetic candle decor guides — they all use the same measurements and budget tiers.

Pin it for later
Save this to your Aesthetic Candle Decor board
Pin it now so it is waiting for you when the tape measure comes out — and so the next person hunting for this idea can find it too.
Save this pinKeep going
More ideas worth saving while you have the tape measure out.