Mirror Wall Decor · UGC
20 Mirror Wall Decor Before and After Makeovers

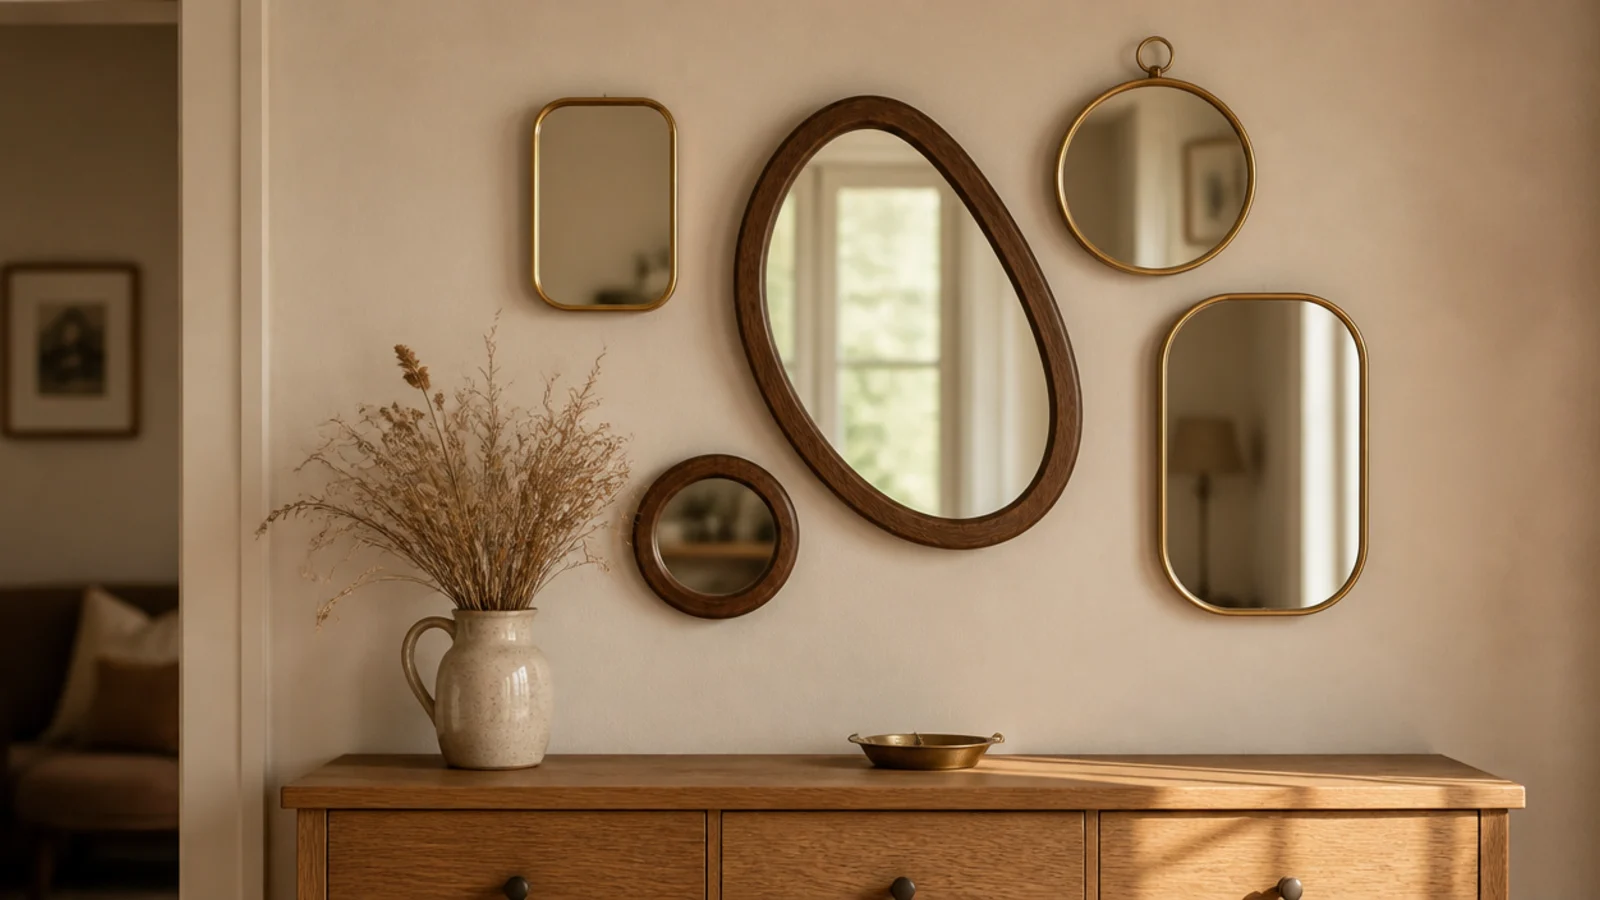
Mirror wall before and after is the most honest way I can show you what actually works, because the changes that fix a room are almost never the ones people expect to spend money on. I have rehung mirrors in my own six homes and in more client rooms than I have counted, and the pattern barely varies.
Eleven of the twenty rooms below needed nothing bought at all. The mirror was fine; the wall was wrong, or the height was wrong, or the glass was reflecting a closed door. The other nine had a real fault — an anchor that was failing, a frame that had swollen, a piece genuinely too small for the furniture underneath it.
What follows is what each room looked like, what I changed, and what it cost. The most expensive was $260. Seven of them cost nothing at all. And the single change that appears most often is simply moving a mirror that was already in the house.
In this guide21 sections — tap to openHide
- 1.Makeover 1: The blank wall above the sofa
- 2.Makeover 2: The mirror that hung eight inches too high
- 3.Makeover 3: The dark north-facing hallway
- 4.Makeover 4: The cluster with four frame finishes
- 5.Makeover 5: The mirror facing a closed door
- 6.Makeover 6: The tilting round on plastic plugs
- 7.Makeover 7: The console with an eighteen-inch gap
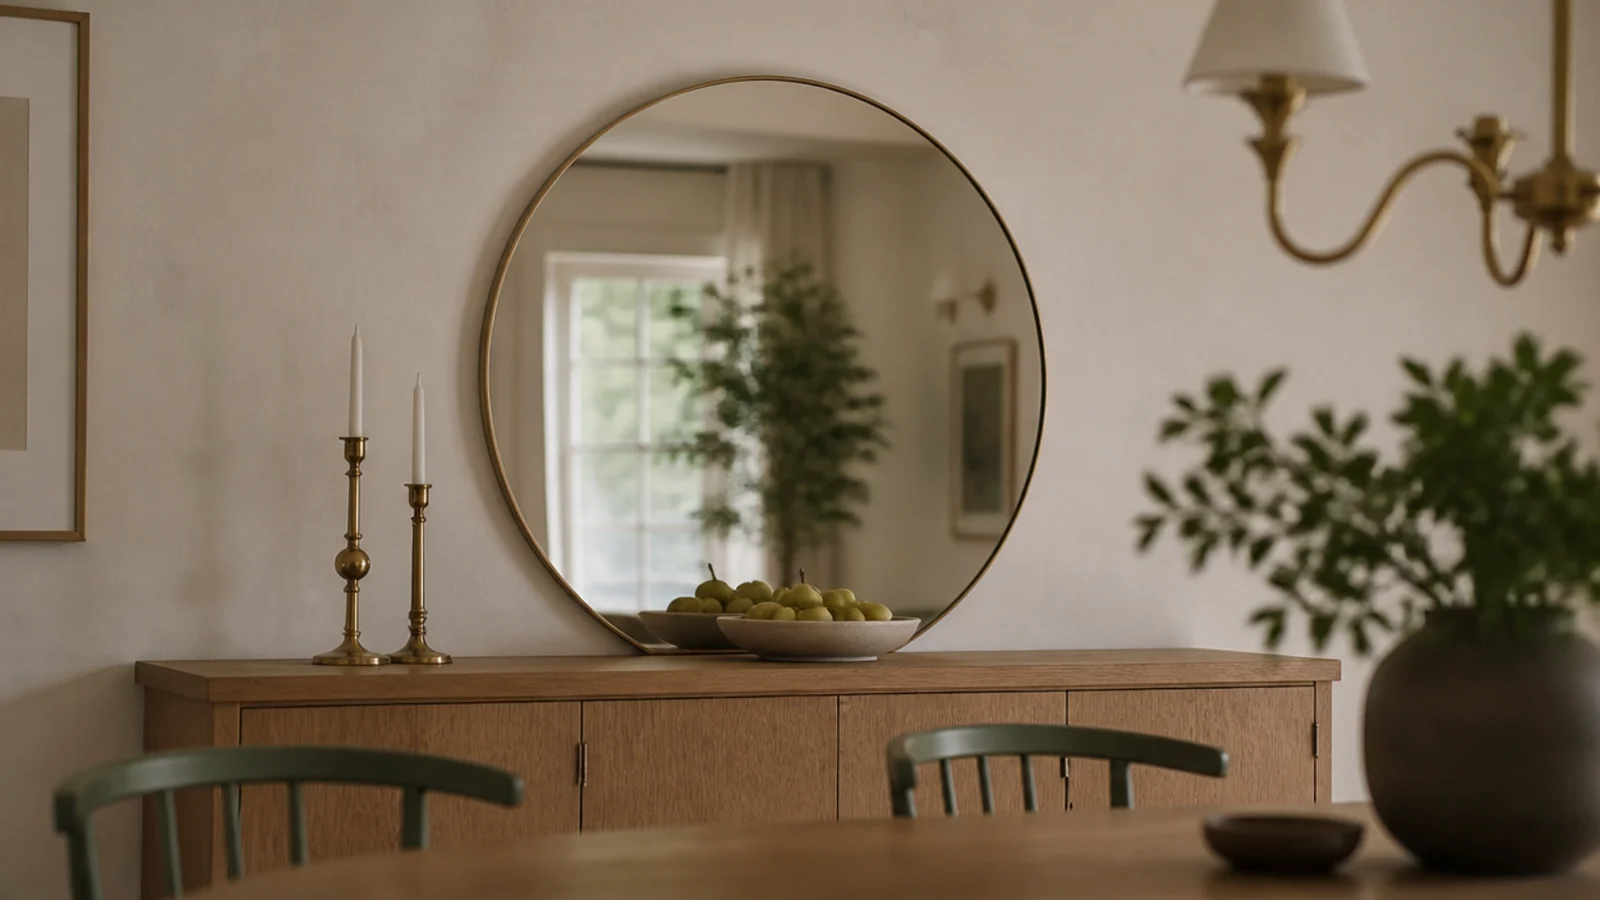
- 8.Makeover 8: The undersized mirror over a sideboard
- 9.Makeover 9: The unstrapped bedroom leaner
- 10.Makeover 10: The bathroom frame that swelled
- 11.Makeover 11: The gilt frame nobody liked
- 12.Makeover 12: The stairwell nobody decorated
- 13.Makeover 13: The pier between two windows
- 14.Makeover 14: The dining wall with afternoon glare
- 15.Makeover 15: The entry with nowhere to check your face
- 16.Makeover 16: The mirror that reflected a cluttered counter
- 17.Makeover 17: The mantel that was doing too much
- 18.Makeover 18: The dim alcove beside the chimney
- 19.Makeover 19: The corridor that felt like a tunnel
- 20.Makeover 20: The wall with one hook and a wobble
- 21.Mirror Wall Before and After: What I'd Do Differently Now
Makeover 1: The blank wall above the sofa
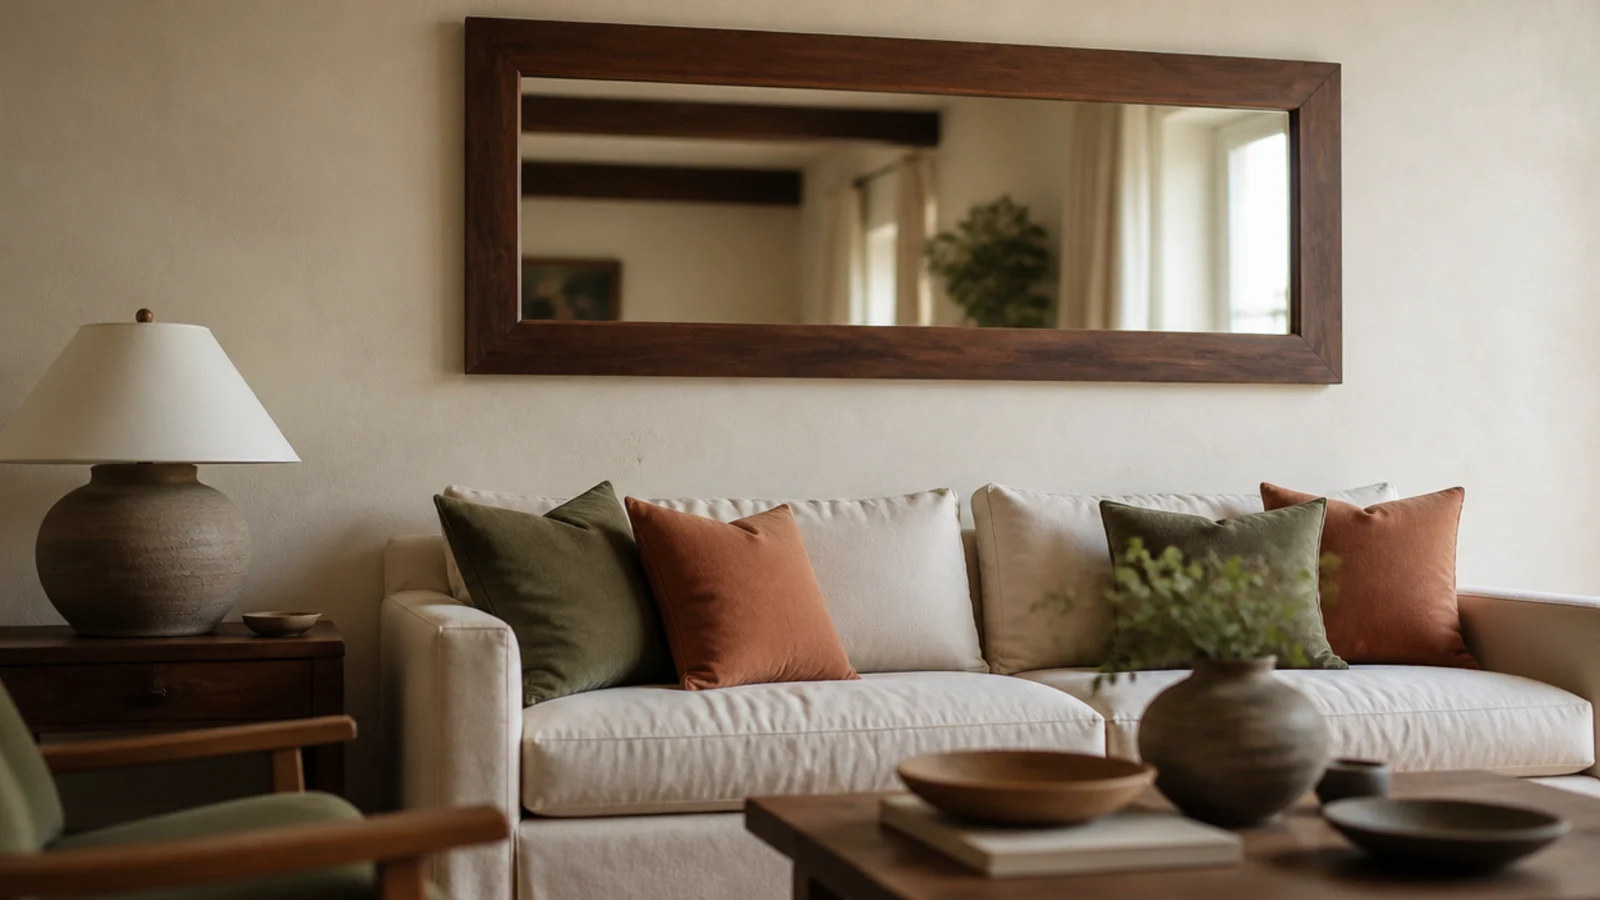
Before: eight feet of empty plaster above a linen sofa that every visitor's eye slid straight past.
After: one 44-inch walnut-framed mirror, bottom edge 14 inches clear of the sofa back, both fixings into studs.
The clearance was the decision that mattered, not the mirror. Heavy glass over a seat back gets hung high and fixed properly or it does not get hung. Cost $140.
Makeover 2: The mirror that hung eight inches too high
Before: a round mirror floating near the picture rail because the previous owner had used an existing hook.
After: the same mirror, centred at 58 inches from the floor, on two new fixings.
Nothing was bought. The wall went from looking unfinished to looking designed in twenty minutes, plus two filled holes. It is the most common problem I find and the easiest one to solve.
Makeover 3: The dark north-facing hallway
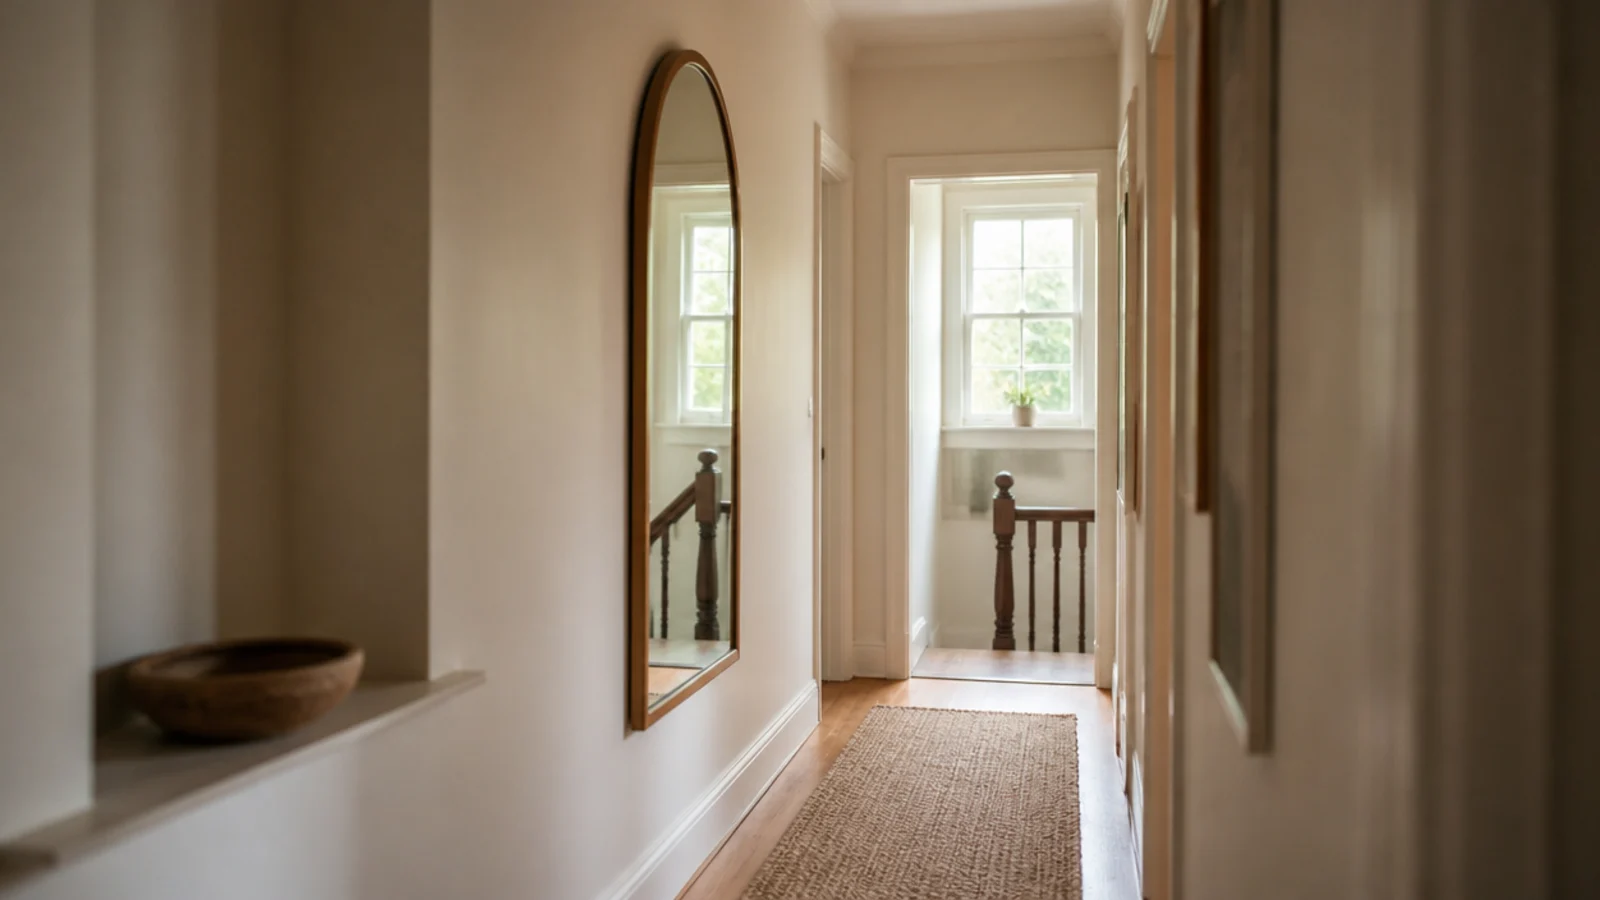
Before: a windowless hall lit by one ceiling fitting, dim from mid-afternoon onward.
After: a 48 by 20-inch arched mirror on the long wall, positioned to catch light spilling from the landing window.
Placement did everything. The same mirror on the end wall would have reflected the front door and achieved nothing. Cost $95 and two toggle bolts.
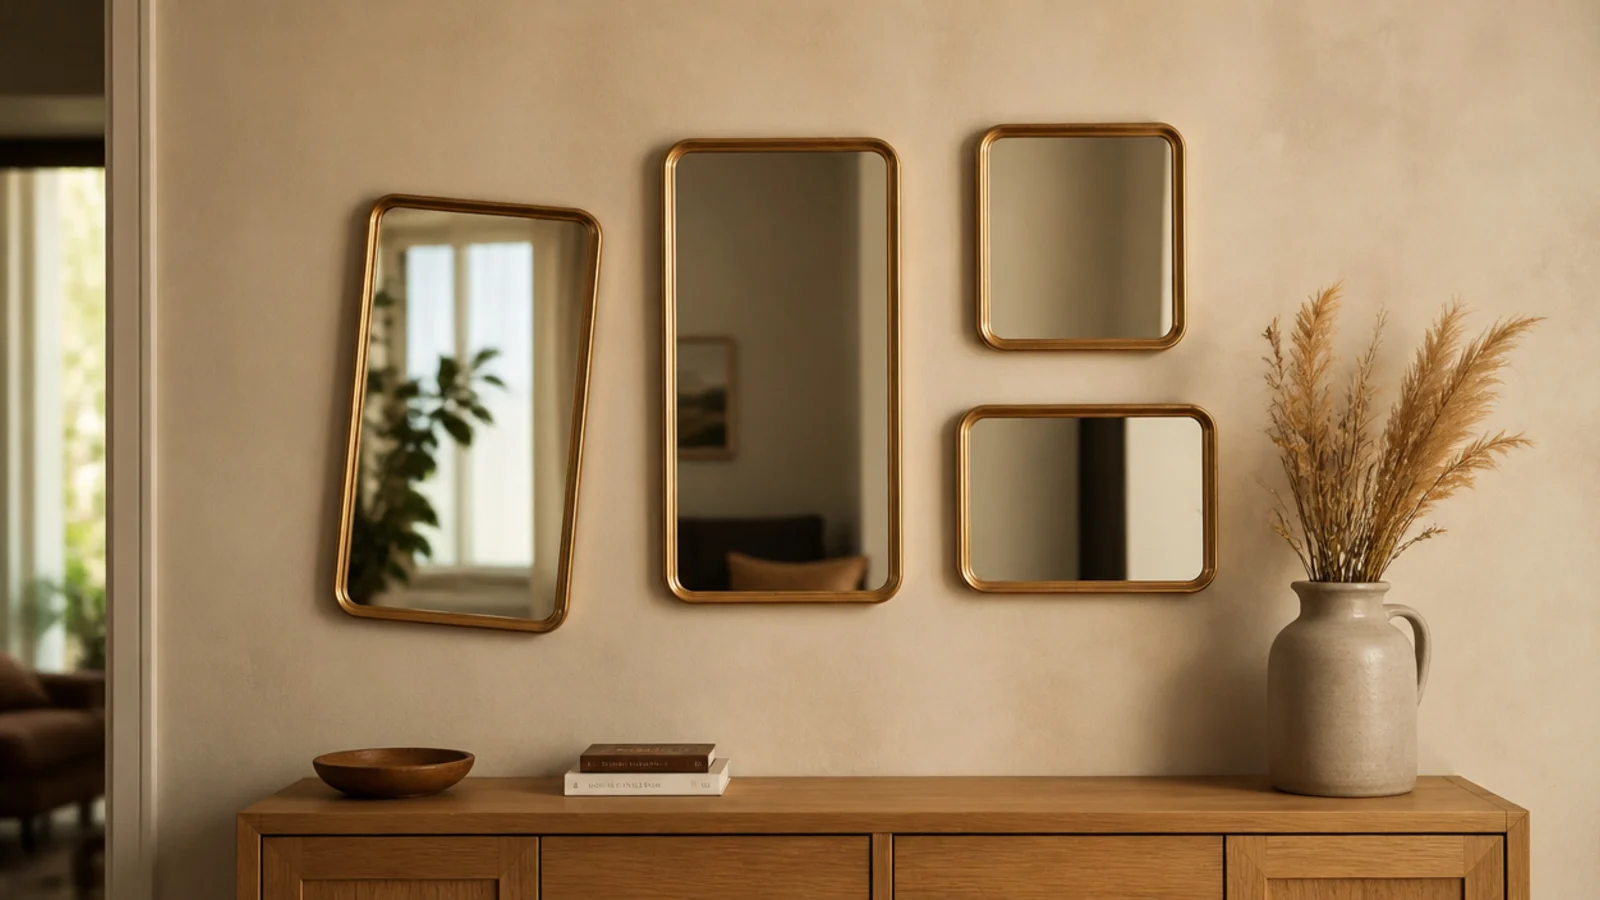
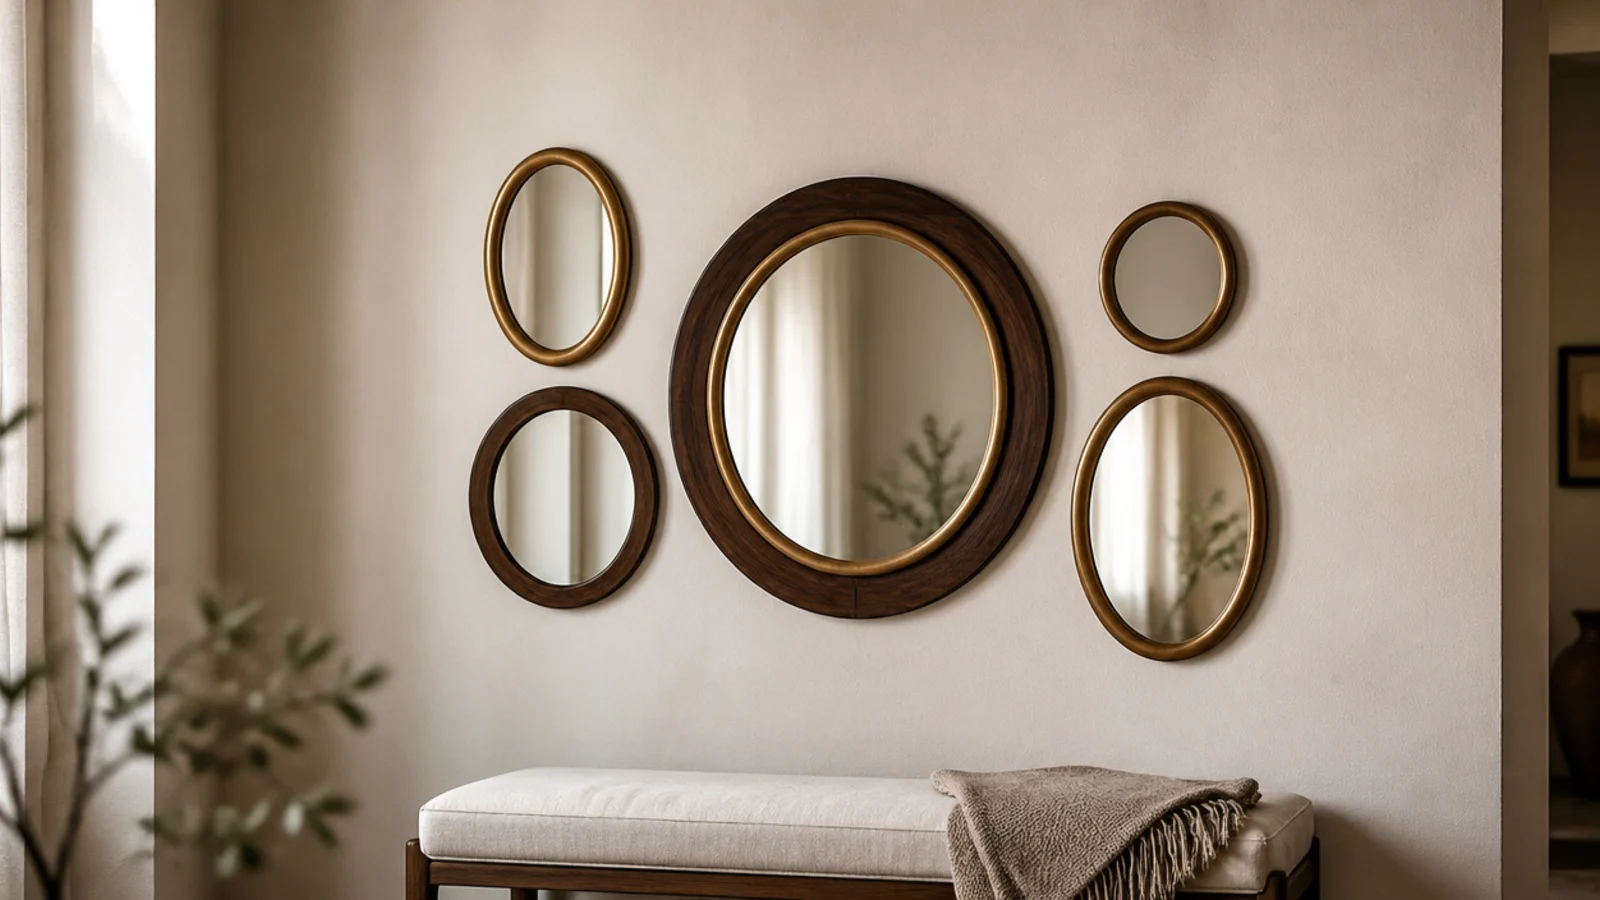
Makeover 4: The cluster with four frame finishes
Before: six mirrors in gilt, chrome, matte black and white, each bought separately and lovely on its own.
After: the chrome and the white one moved to other rooms, leaving brass and walnut only.
Two finishes is the ceiling. Removing pieces rather than rearranging them is what settled the wall, and it took ten minutes and cost nothing.
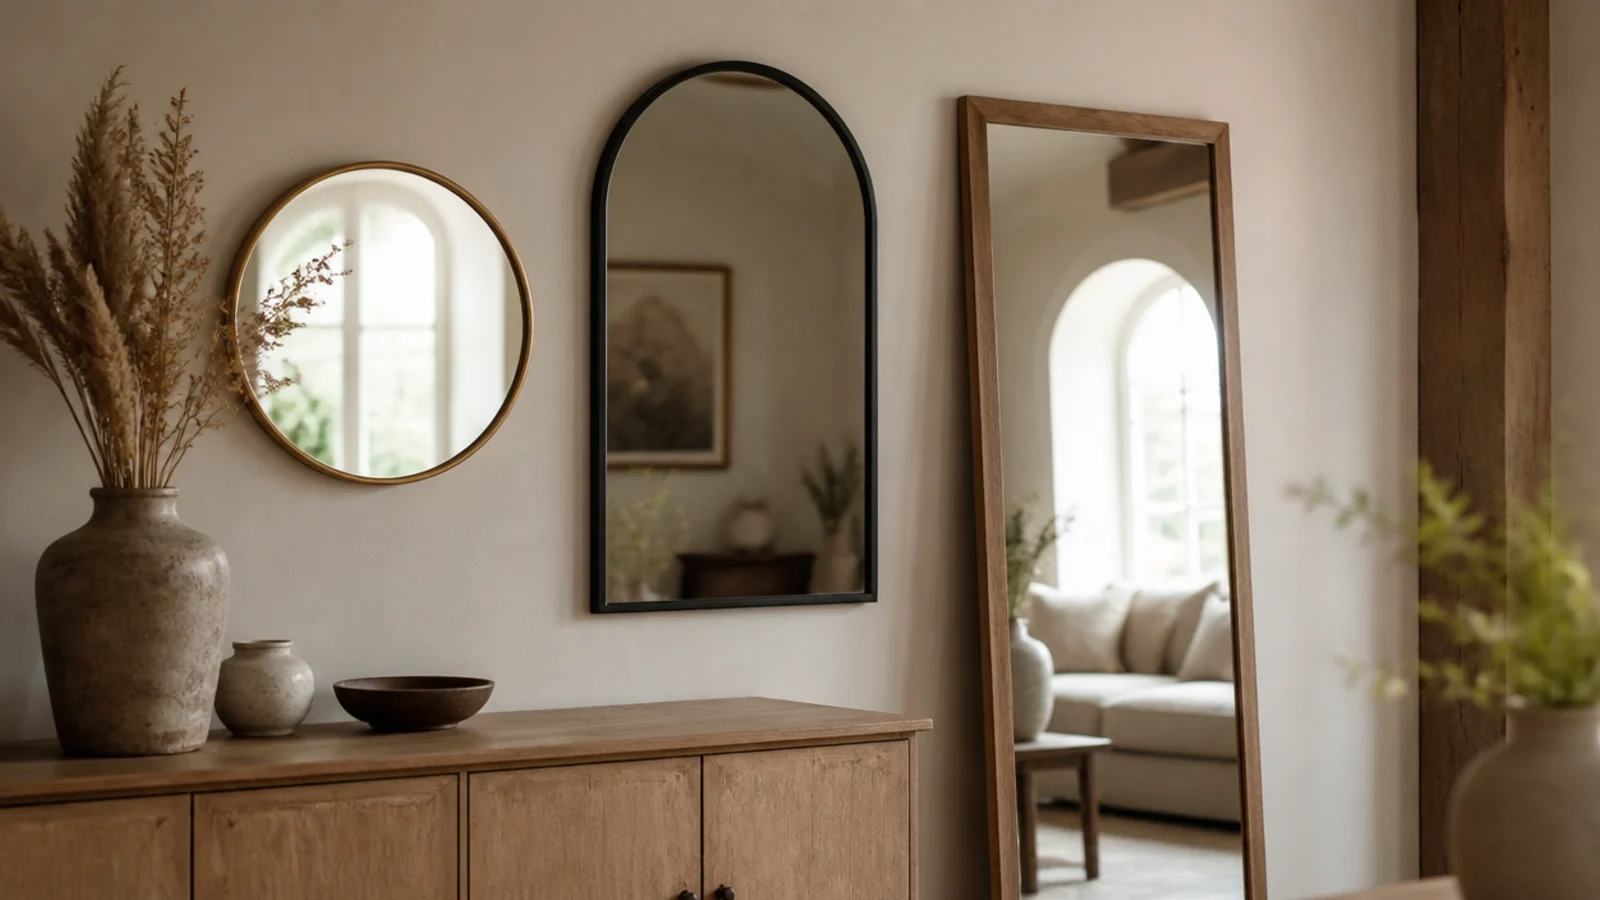
Makeover 5: The mirror facing a closed door
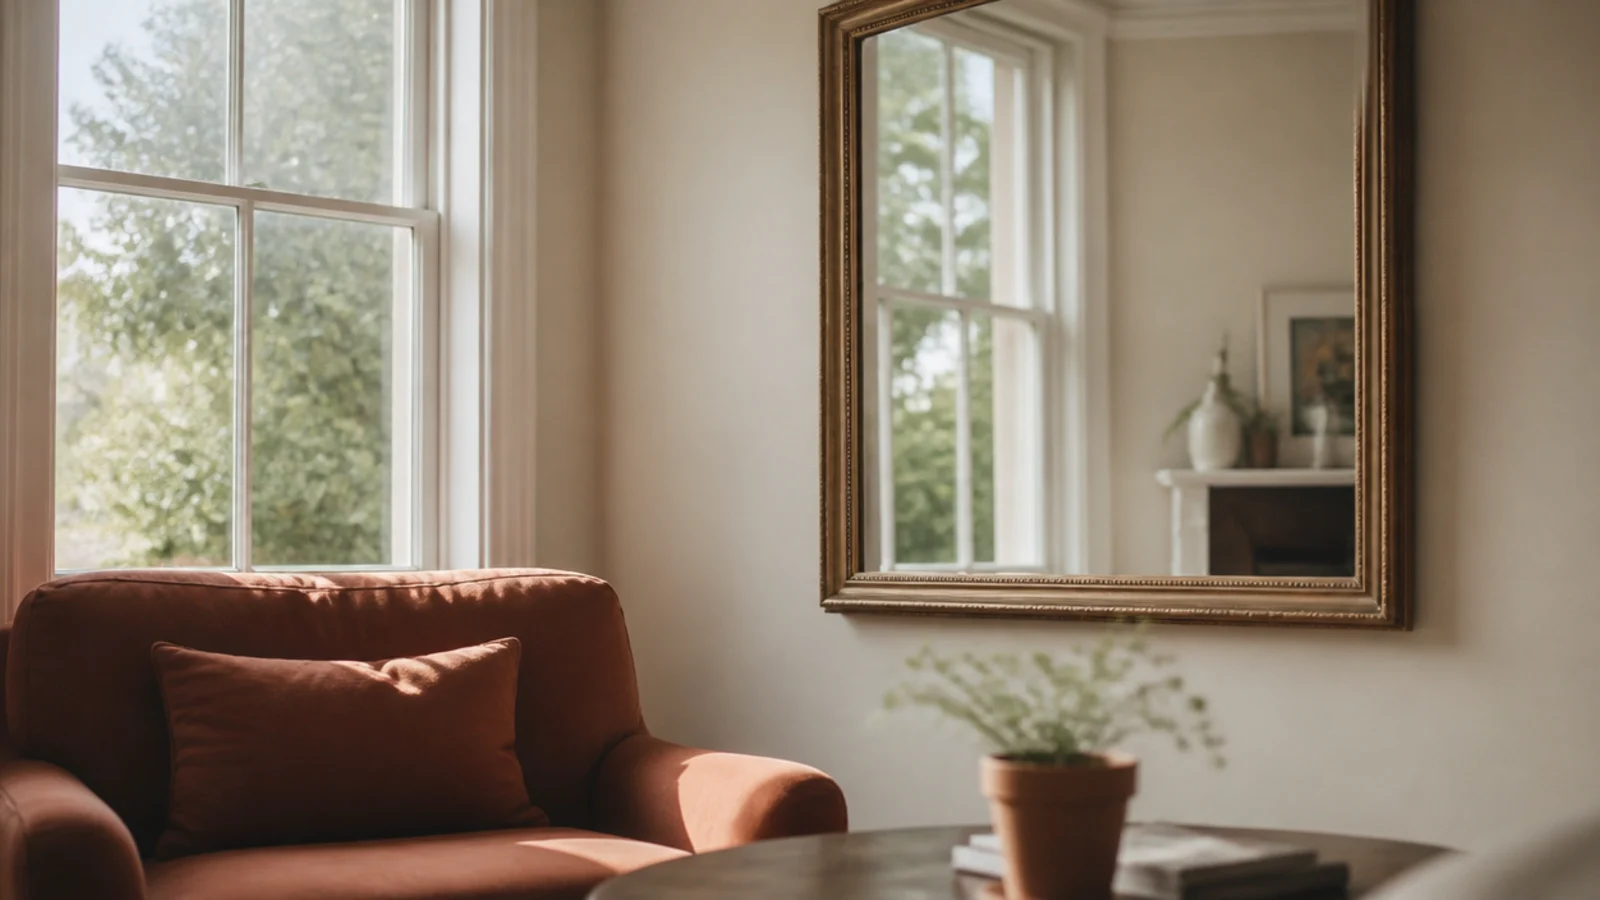
Before: a beautiful arched mirror reflecting a flat beige wall and the edge of a panel door.
After: the same mirror moved nine feet to the wall opposite a sash window.
A mirror is only worth what it shows. Stand where people stand, look at the reflection, and choose the wall from that rather than from the furniture layout. Two holes, no purchase.
Makeover 6: The tilting round on plastic plugs
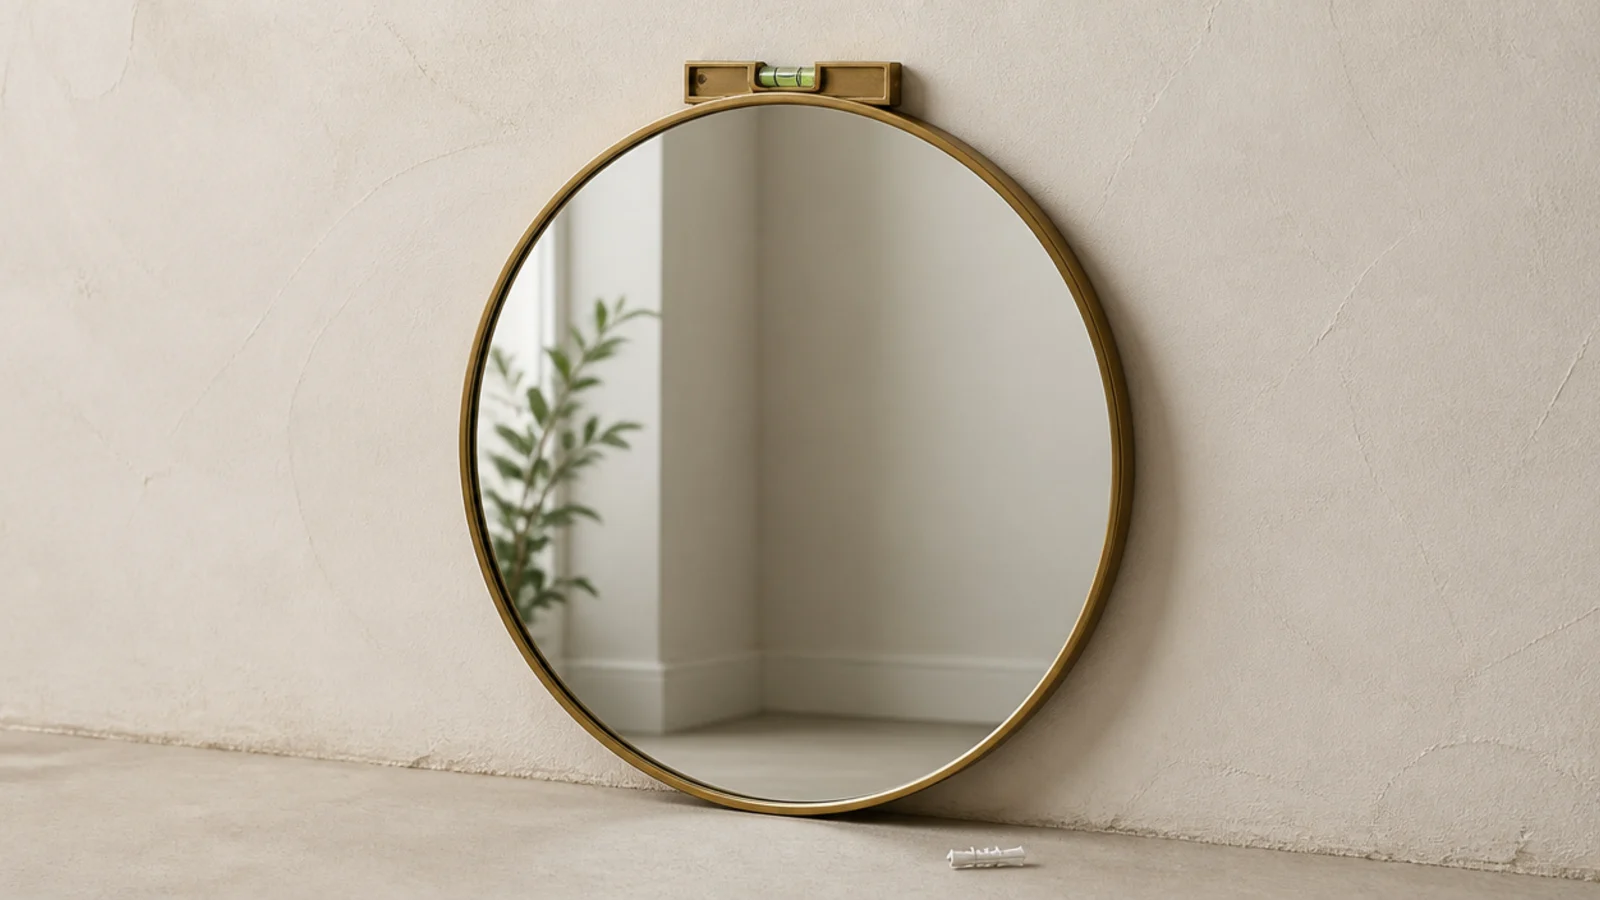
Before: a 22-pound round on the plugs from the box, leaning visibly, with a hairline crack in the paint above it.
After: two toggle bolts rated to 50 pounds each, and the mirror dead level.
The plugs had not failed suddenly. They had crushed the drywall and crept out across months. Four dollars of hardware and twenty minutes.
Makeover 7: The console with an eighteen-inch gap
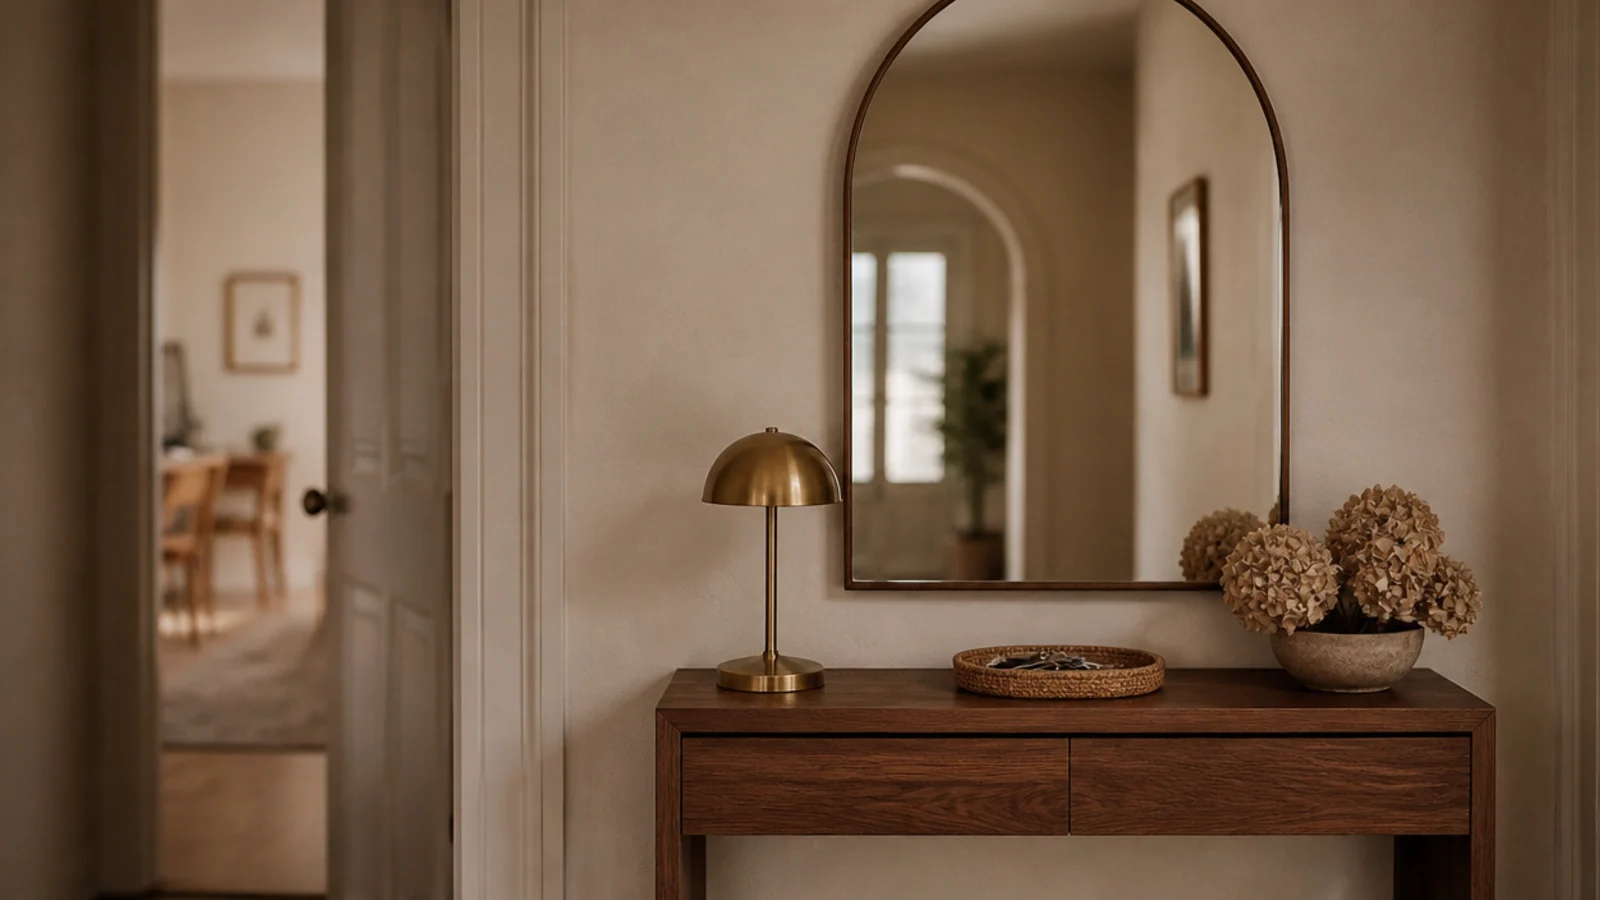
Before: a mirror centred at eye height above a low console, with a wide band of bare wall between them.
After: the same mirror lowered so the gap read seven inches.
The 57-inch rule stops applying when there is furniture underneath. Six to eight inches between the console top and the frame bottom groups them into one arrangement. Free.
Makeover 8: The undersized mirror over a sideboard
Before: a 24-inch round above a 60-inch dining sideboard, which read as a coin taped to the wall.
After: a 42-inch round, spanning about two-thirds of the furniture width.
This is the one category where buying new is genuinely the answer, because scale cannot be fixed by moving something. Cost $180 and it changed the whole room.
Makeover 9: The unstrapped bedroom leaner
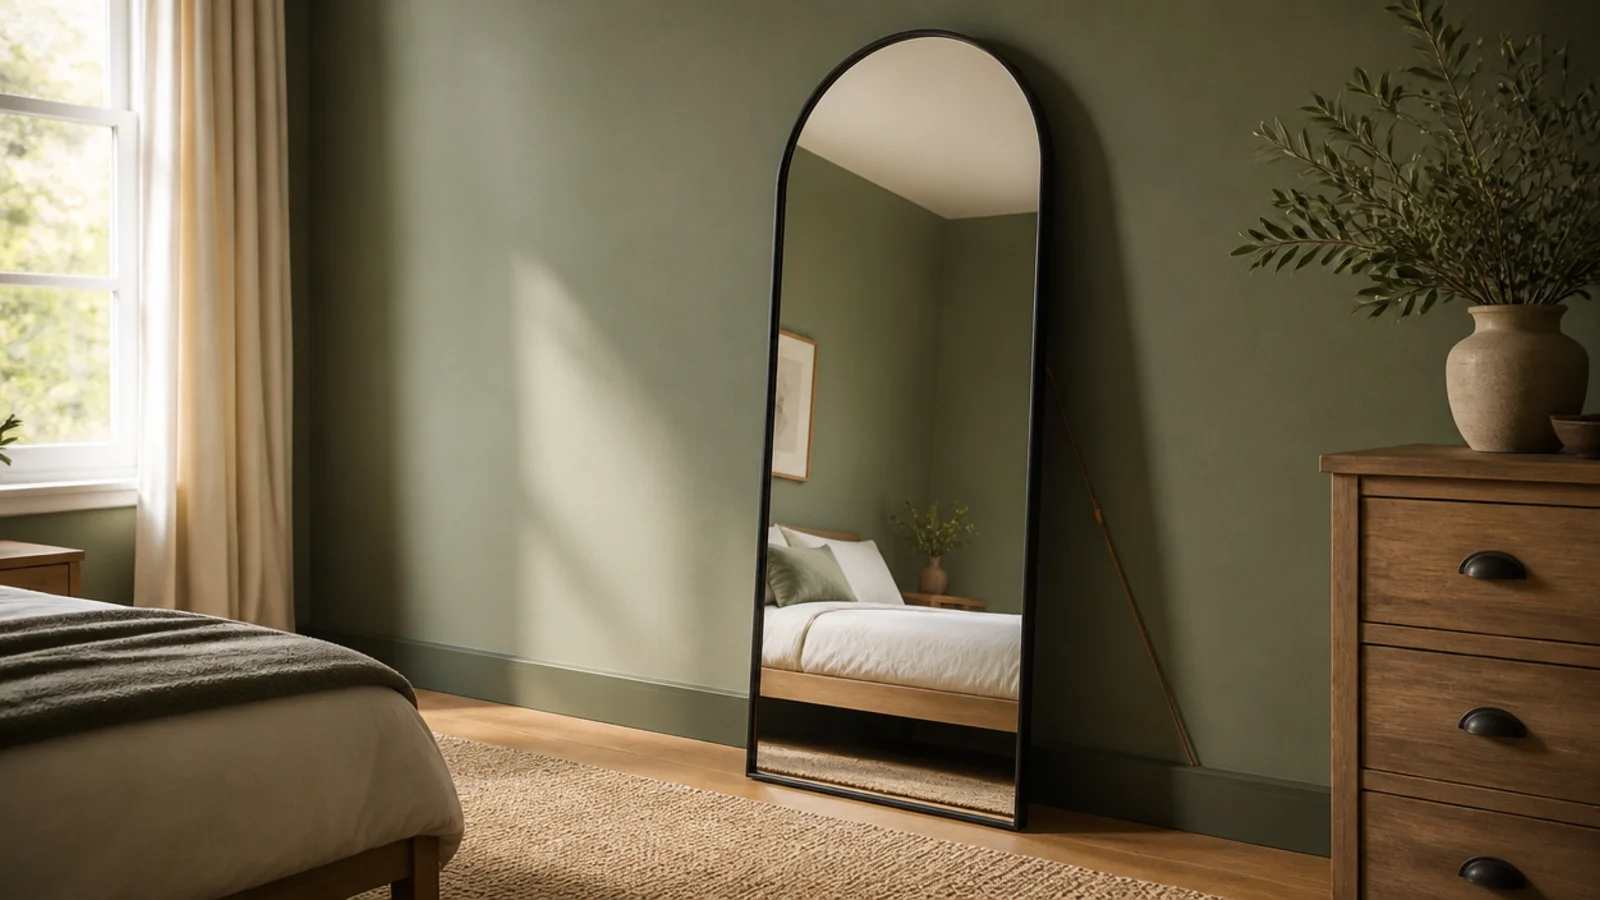
Before: a 62-pound arched floor mirror leaning on oak boards in a house with a toddler.
After: one nylon furniture strap and one screw into a stud, hidden behind the frame.
Five minutes and about $9. Every floor leaner gets anchored in a home with children, without exception, and I no longer treat this as an optional step in any room.
Makeover 10: The bathroom frame that swelled
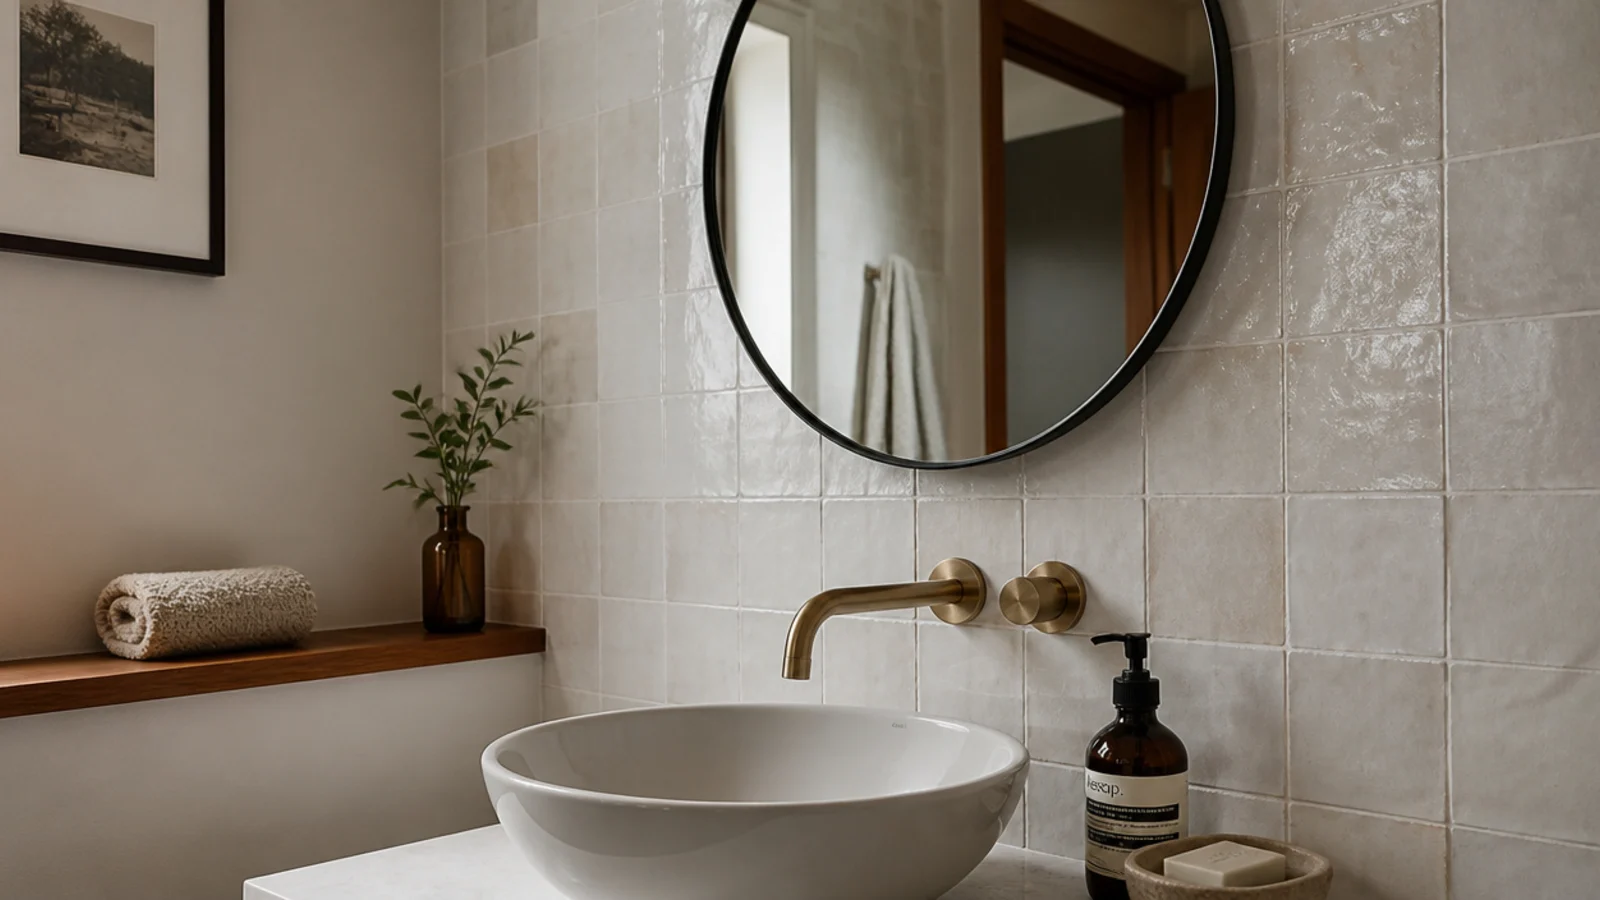
Before: an unsealed pine frame in a windowless bathroom, with open mitres and grey staining along the bottom rail.
After: a slim powder-coated metal frame that ignores humidity entirely.
Bathrooms punish anything unsealed, and a mirror sits exactly where steam condenses. Cost $65, and the extractor now runs ten minutes after every shower.
Makeover 11: The gilt frame nobody liked
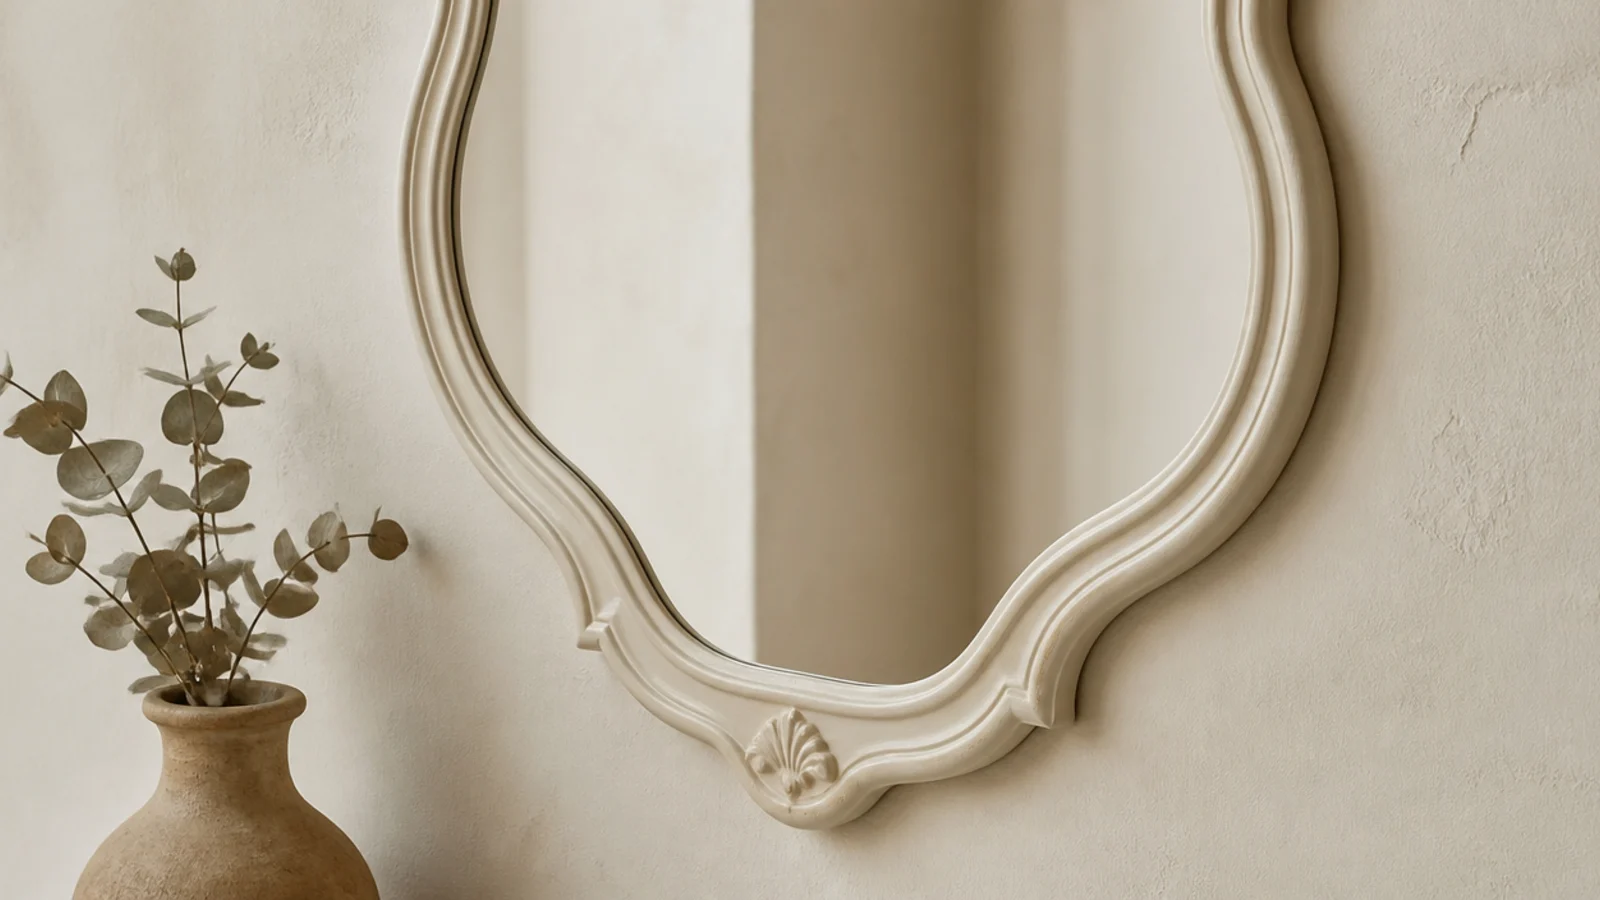
Before: an inherited ornate gilt mirror that fought every other warm tone in the room.
After: two coats of the wall color in satin, brushed carefully into the mouldings.
Painting a frame feels like vandalism until you see it. The carving survives as shadow, the glass becomes the subject, and the piece reads as architecture. One sample pot, $9.
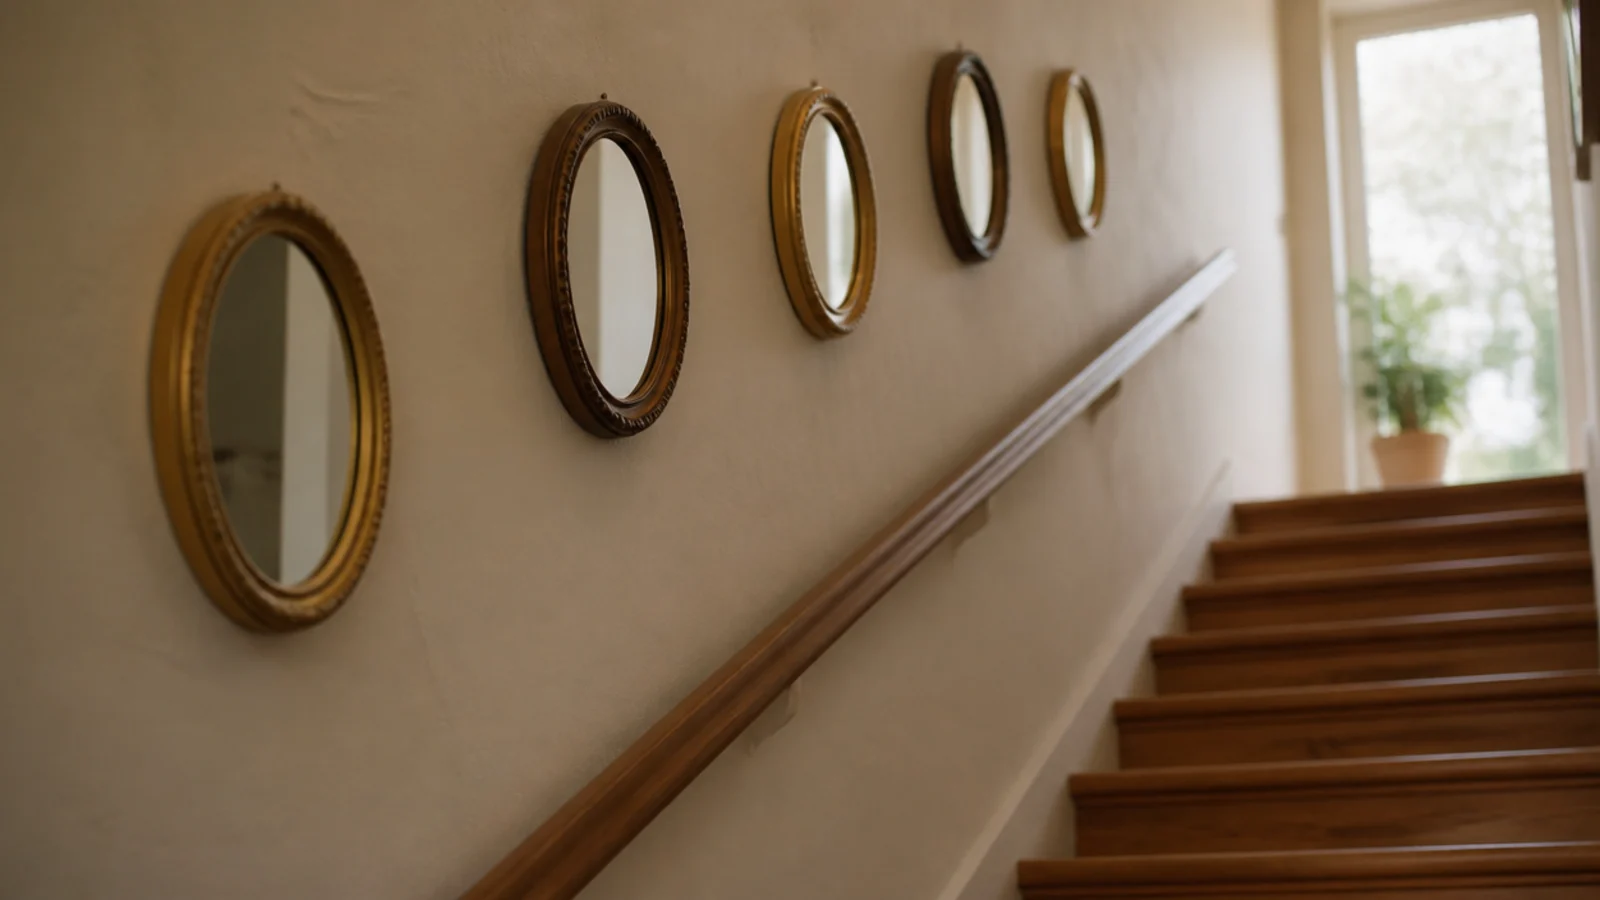
Makeover 12: The stairwell nobody decorated
Before: a tall blank stairwell wall that had been empty for eleven years because nothing seemed to fit.
After: five small oval mirrors stepping up parallel to the handrail.
Following the stair angle rather than the ceiling is the whole trick. Each mirror sits the same distance above the tread below it. Five thrifted ovals came to $70.
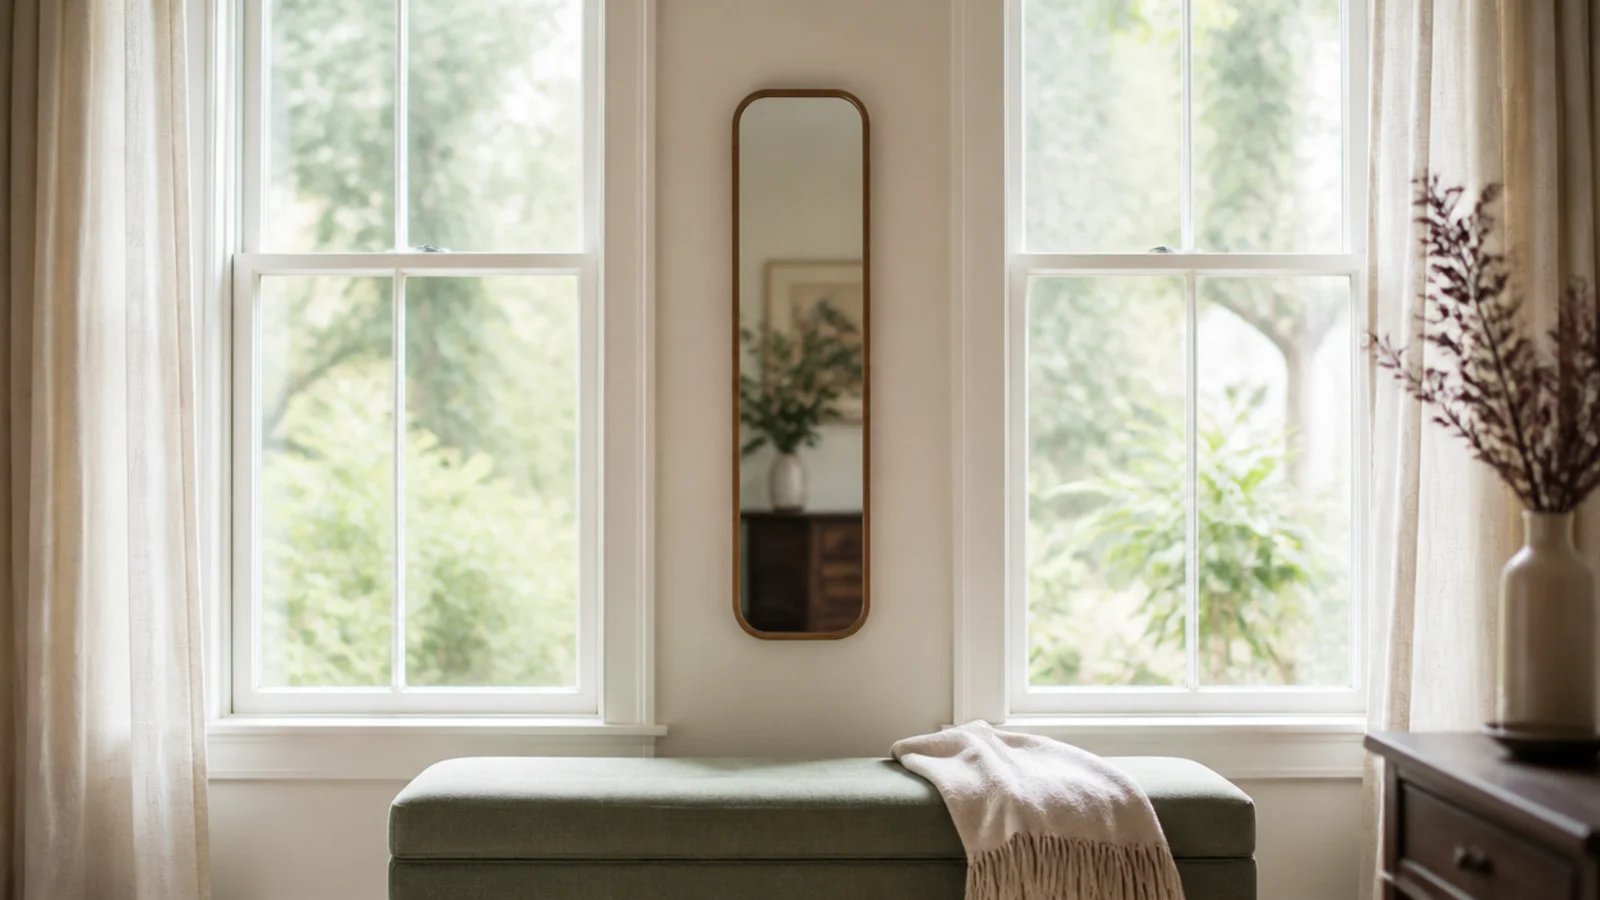
Makeover 13: The pier between two windows
Before: a narrow strip of wall between two sash windows holding a small square print that looked stranded.
After: one slim vertical mirror, four inches narrower than the pier.
The mirror sits in daylight from both sides and throws it back into the room. It is the easiest win in any house with paired windows. Cost $55.
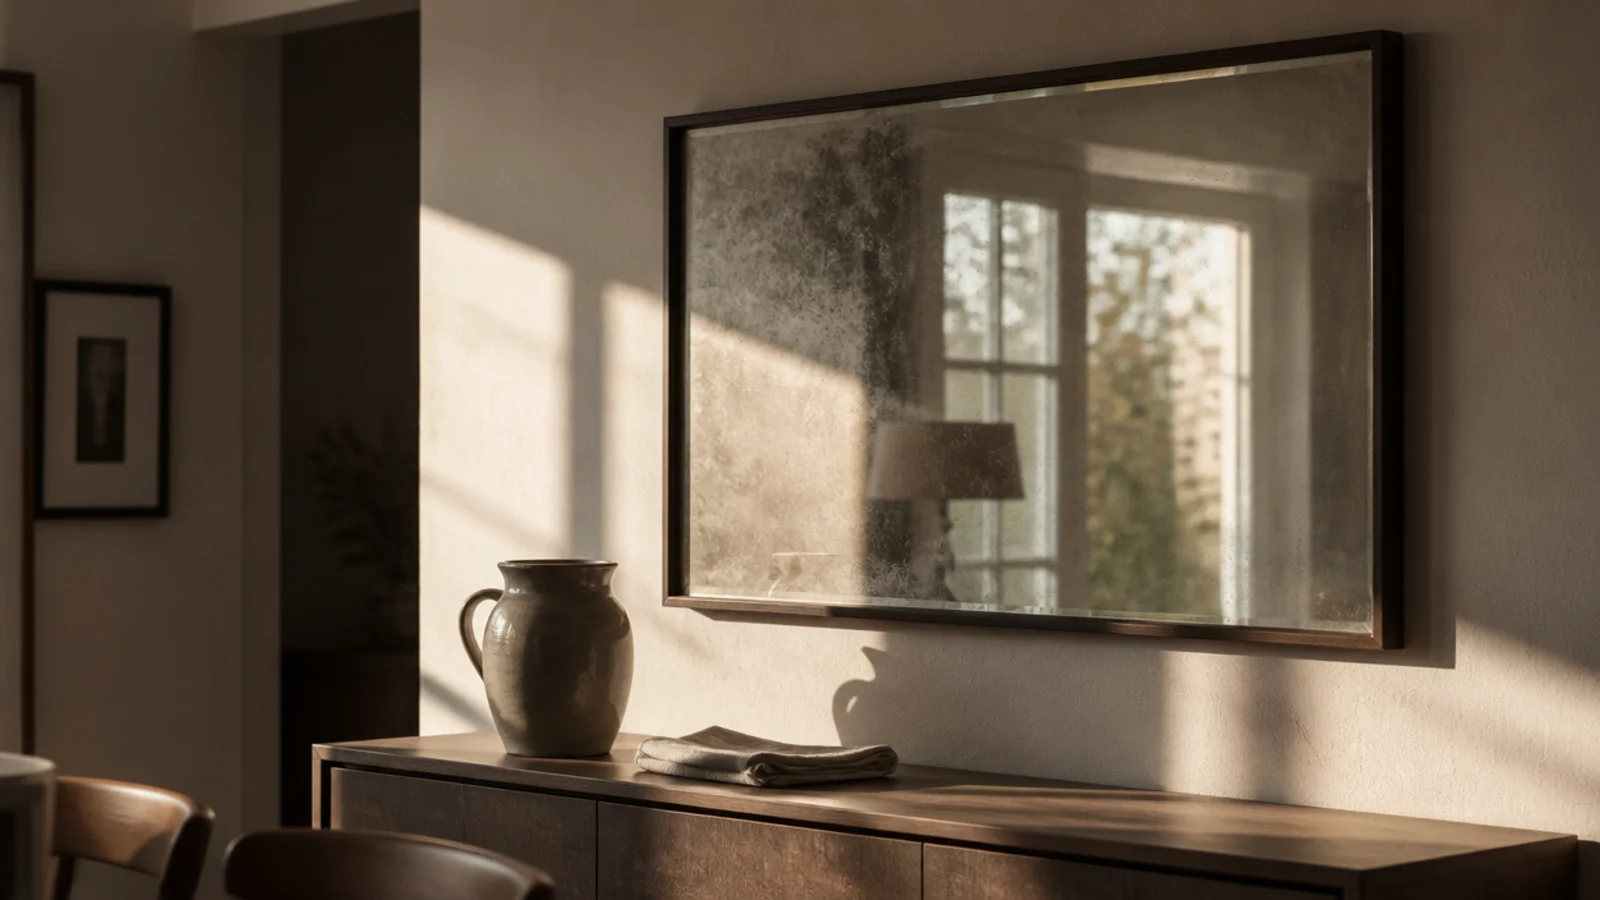
Makeover 14: The dining wall with afternoon glare
Before: a large clear mirror on a west wall throwing a hard bright rectangle across the table from four o'clock.
After: an antiqued panel in the same frame, diffusing the light instead of firing it back.
Not cheap at $260, and the correct answer for a west-facing room. Vintage pieces often arrive with that patina already.
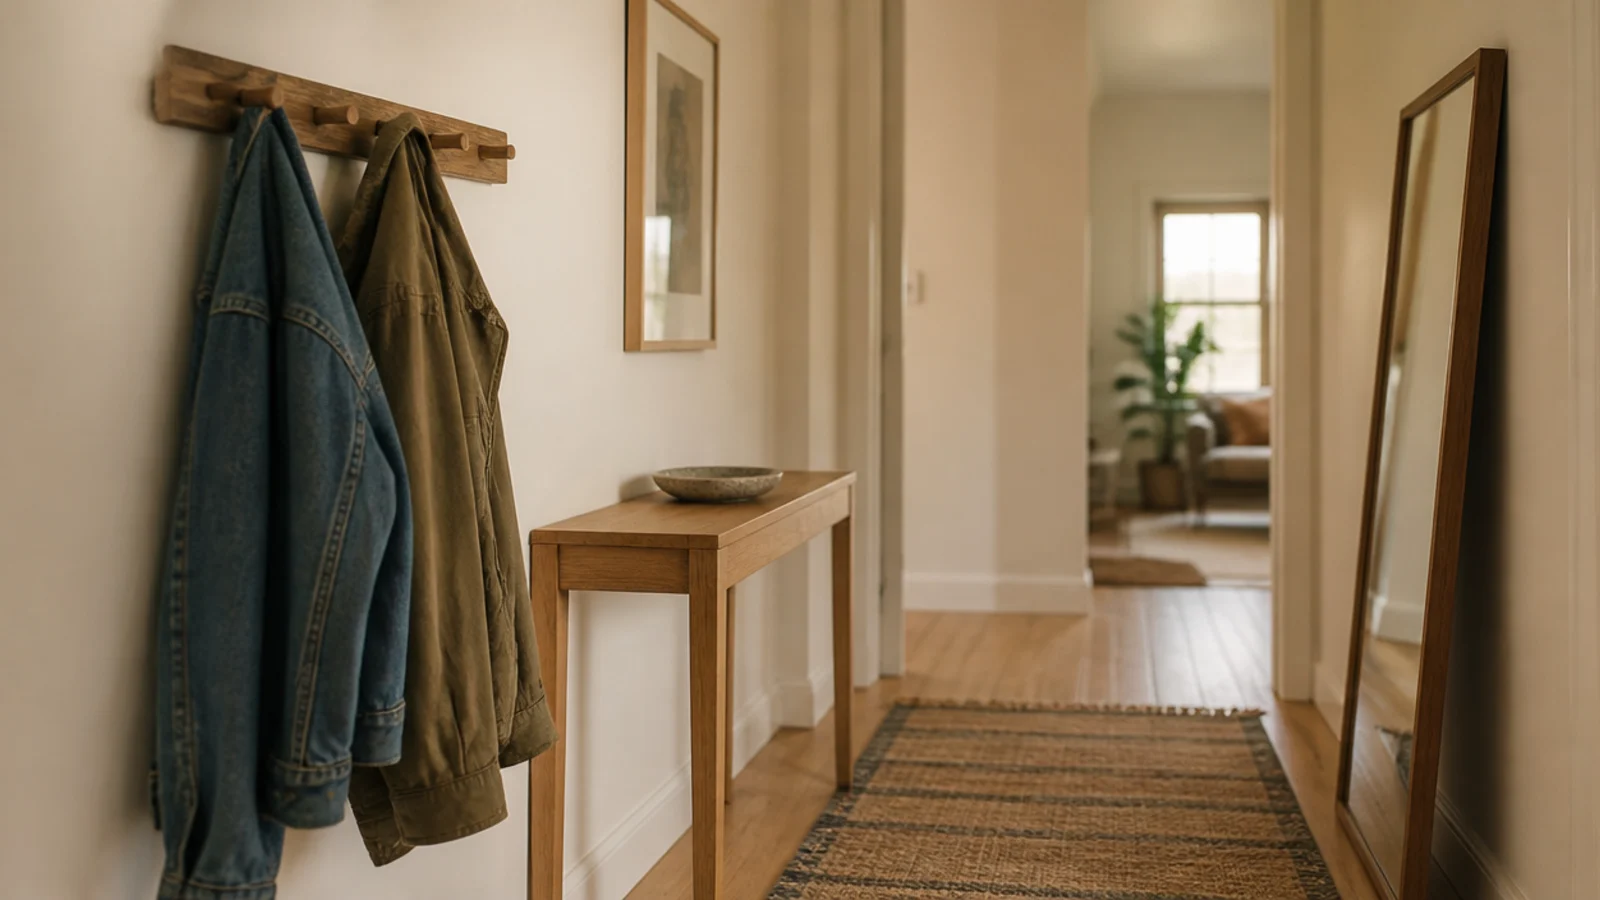
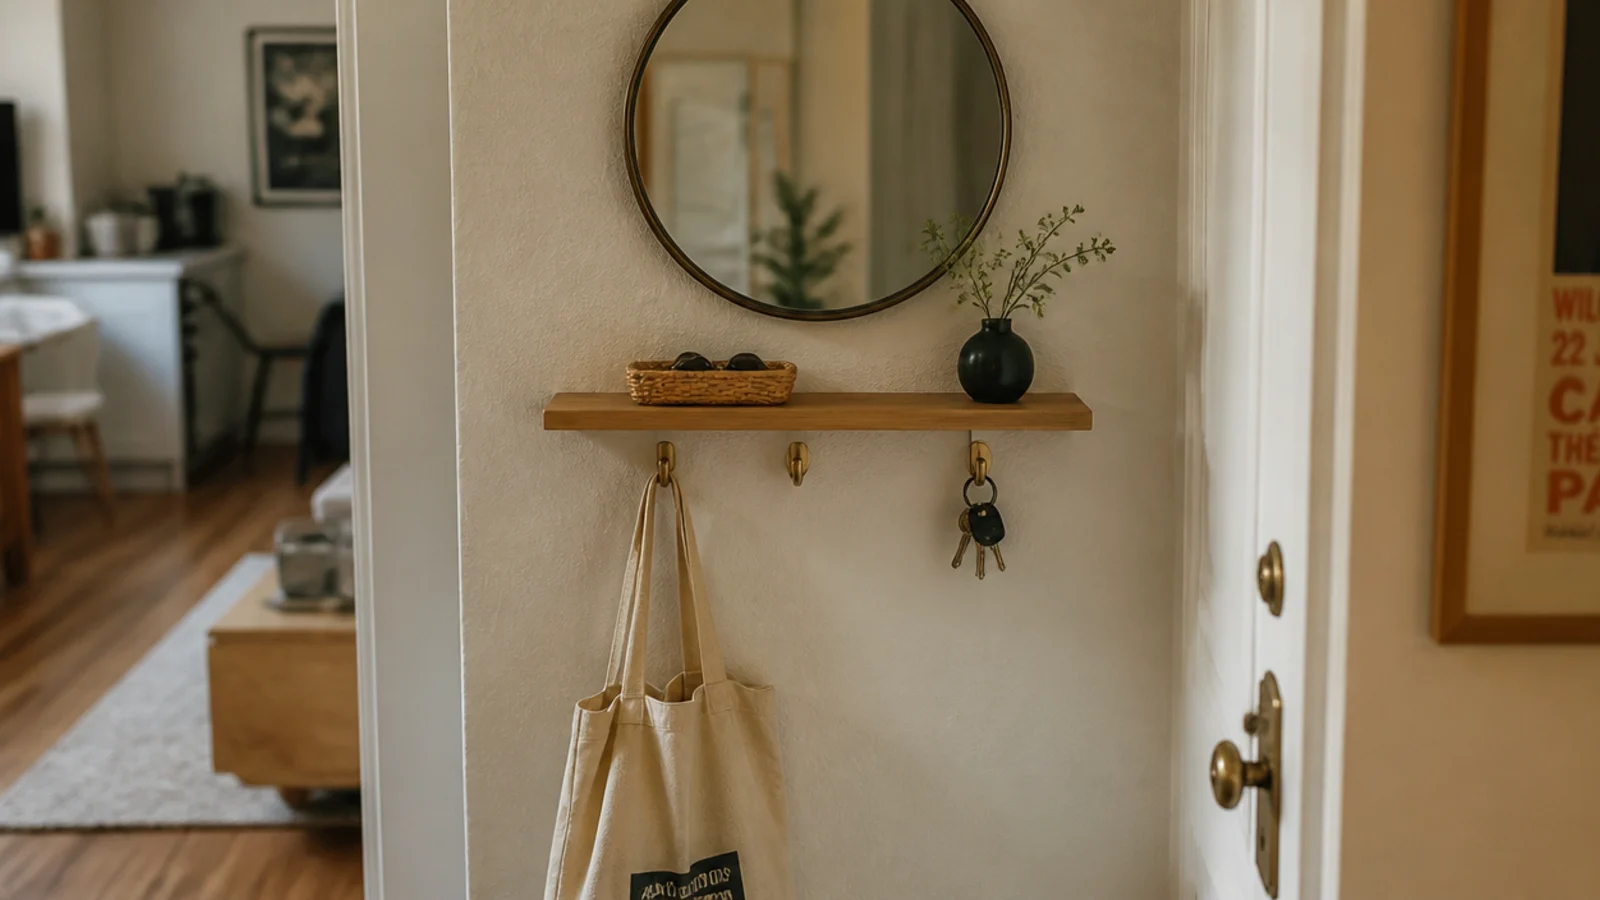
Makeover 15: The entry with nowhere to check your face
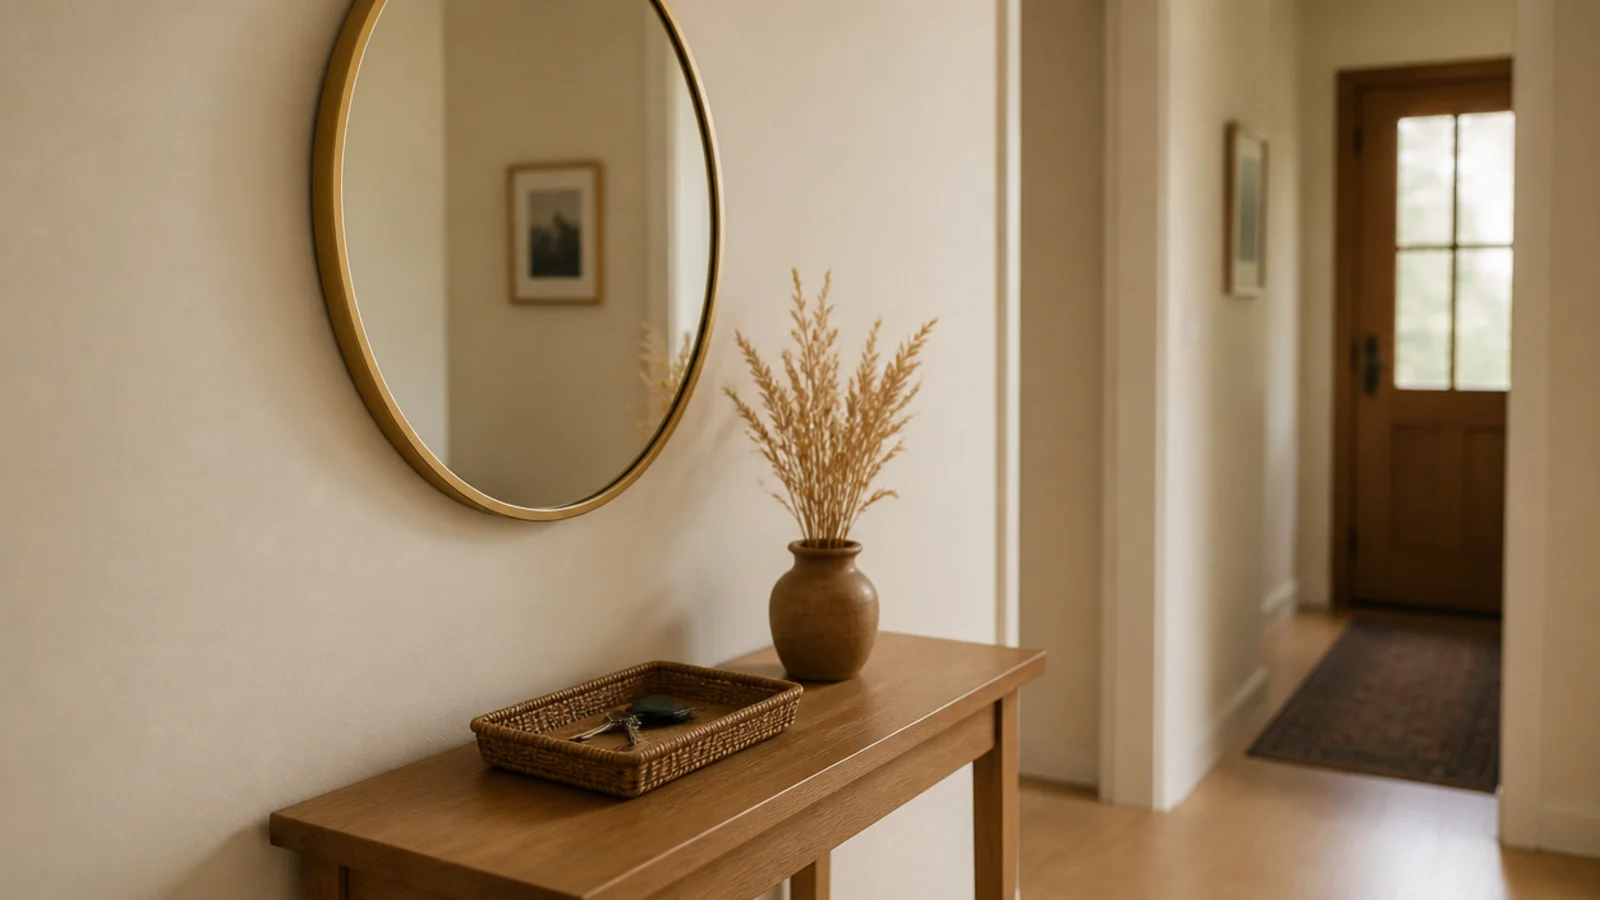
Before: a bare entry wall, keys on the floor by the door, and a coat pile on a chair.
After: a 20-inch round at 60 inches, a shallow oak ledge, and three brass hooks 14 inches below.
The mirror is what makes it feel deliberate rather than practical. Total $78, and the coat chair went back to being a chair.
Makeover 16: The mirror that reflected a cluttered counter
Before: a good mirror positioned so it showed the busiest work surface in the house from every seat in the room.
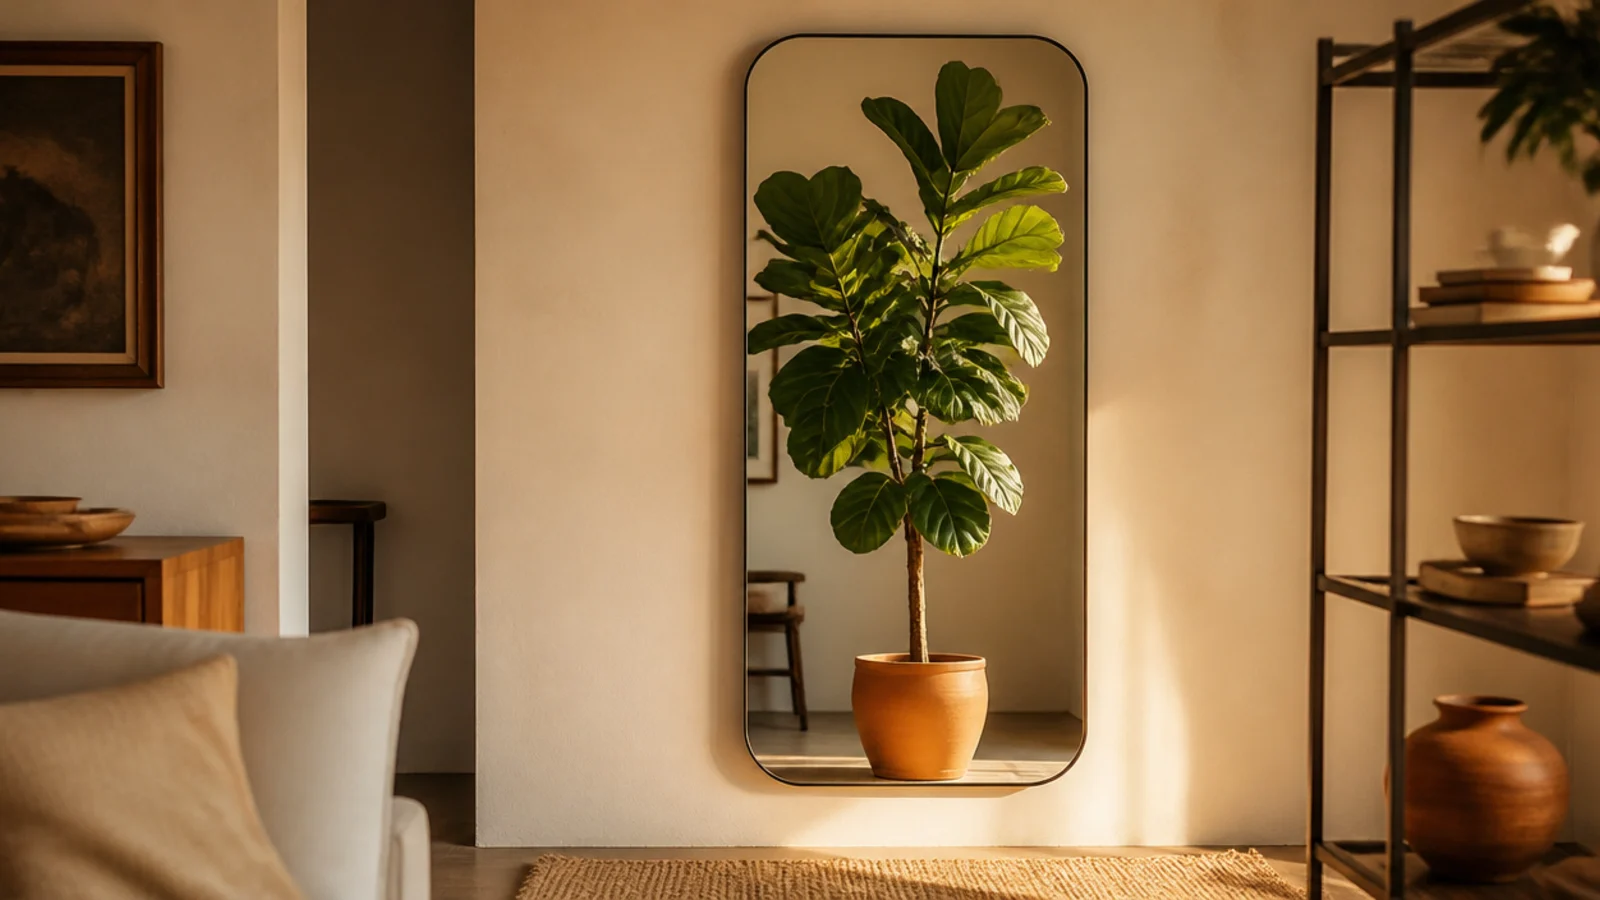
After: the same mirror on the adjacent wall, now reflecting a tall fiddle leaf fig.
Reflections double whatever they find. Free, and the room stopped feeling untidy without anything being tidied.
Makeover 17: The mantel that was doing too much
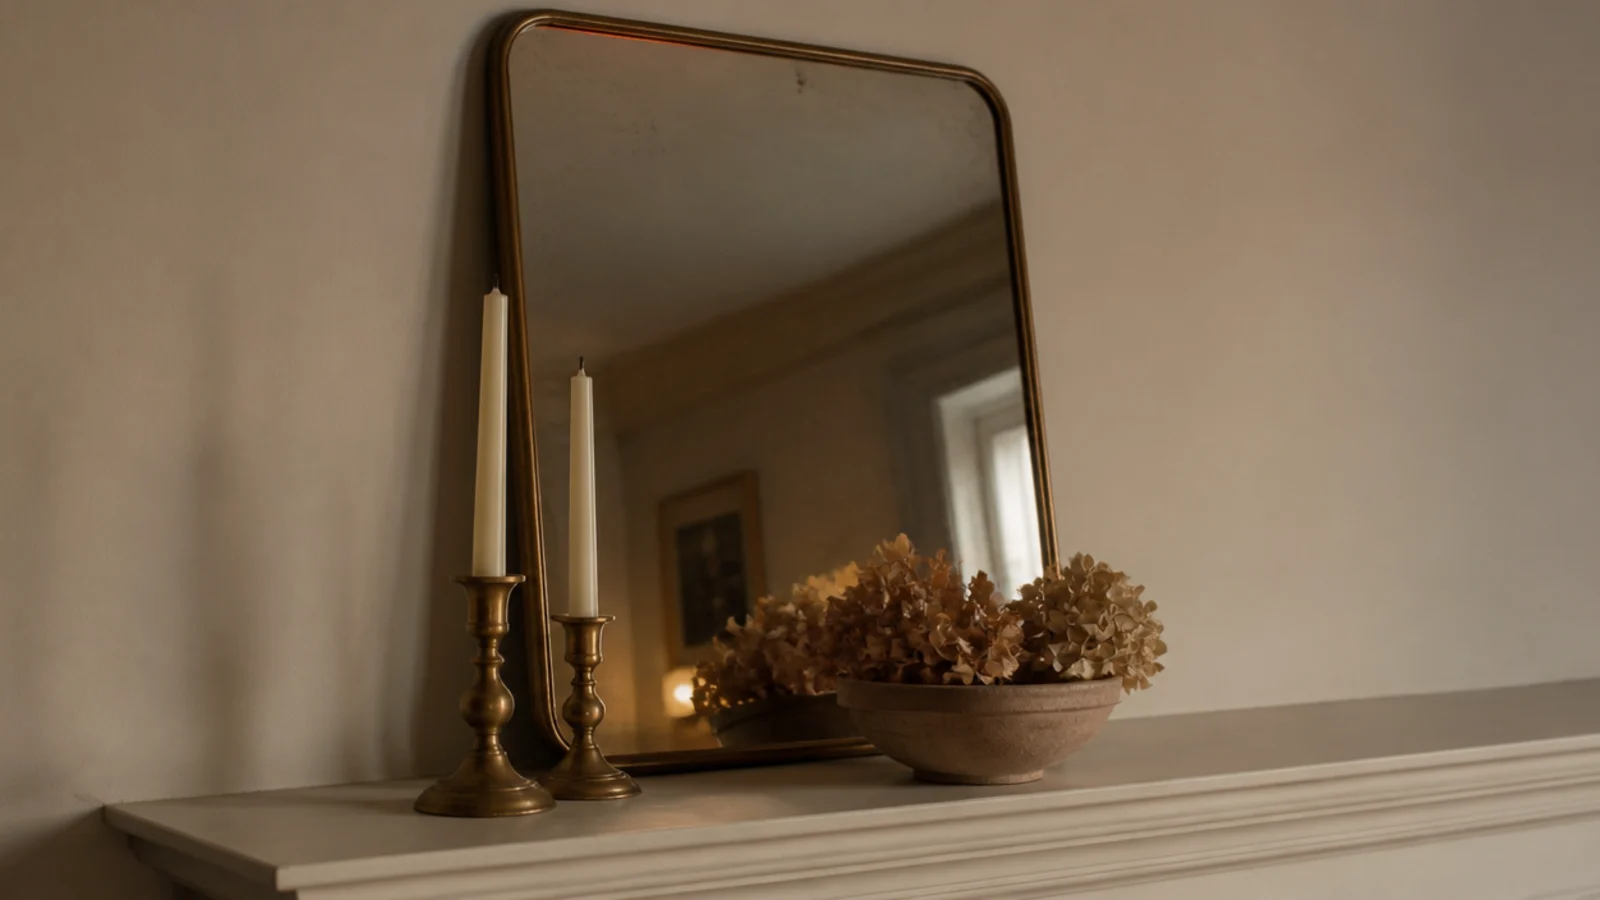
Before: a leaning mirror behind eleven objects, none of which you could see properly.
After: the mirror, two brass candlesticks and one low bowl, with real space either side.
Subtraction again. The mirror had always been fine; it simply could not be seen. Four minutes and nothing spent, which is the pattern across most of this list.
Makeover 18: The dim alcove beside the chimney
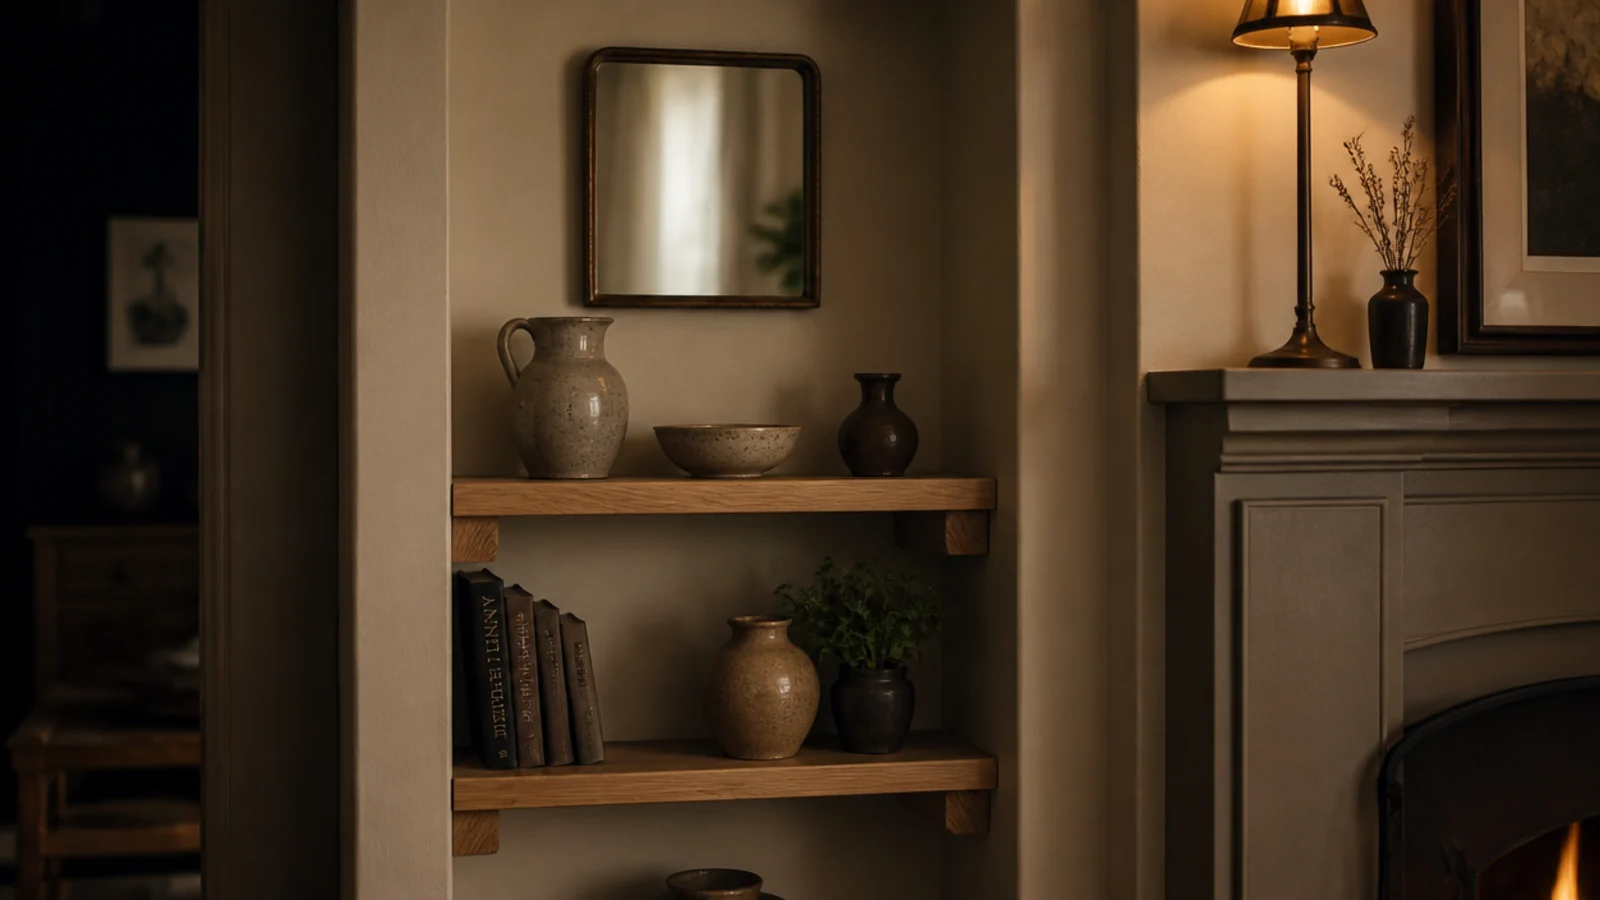
Before: a shallow alcove holding shelves that disappeared into shadow by mid-afternoon.
After: one small rectangular mirror above the shelves, plus a warm 2700K bulb in the nearby lamp.
The bulb was doing as much work as the glass. Alcoves are the dimmest square footage in most living rooms, which makes them the highest return. Cost $34.
Makeover 19: The corridor that felt like a tunnel
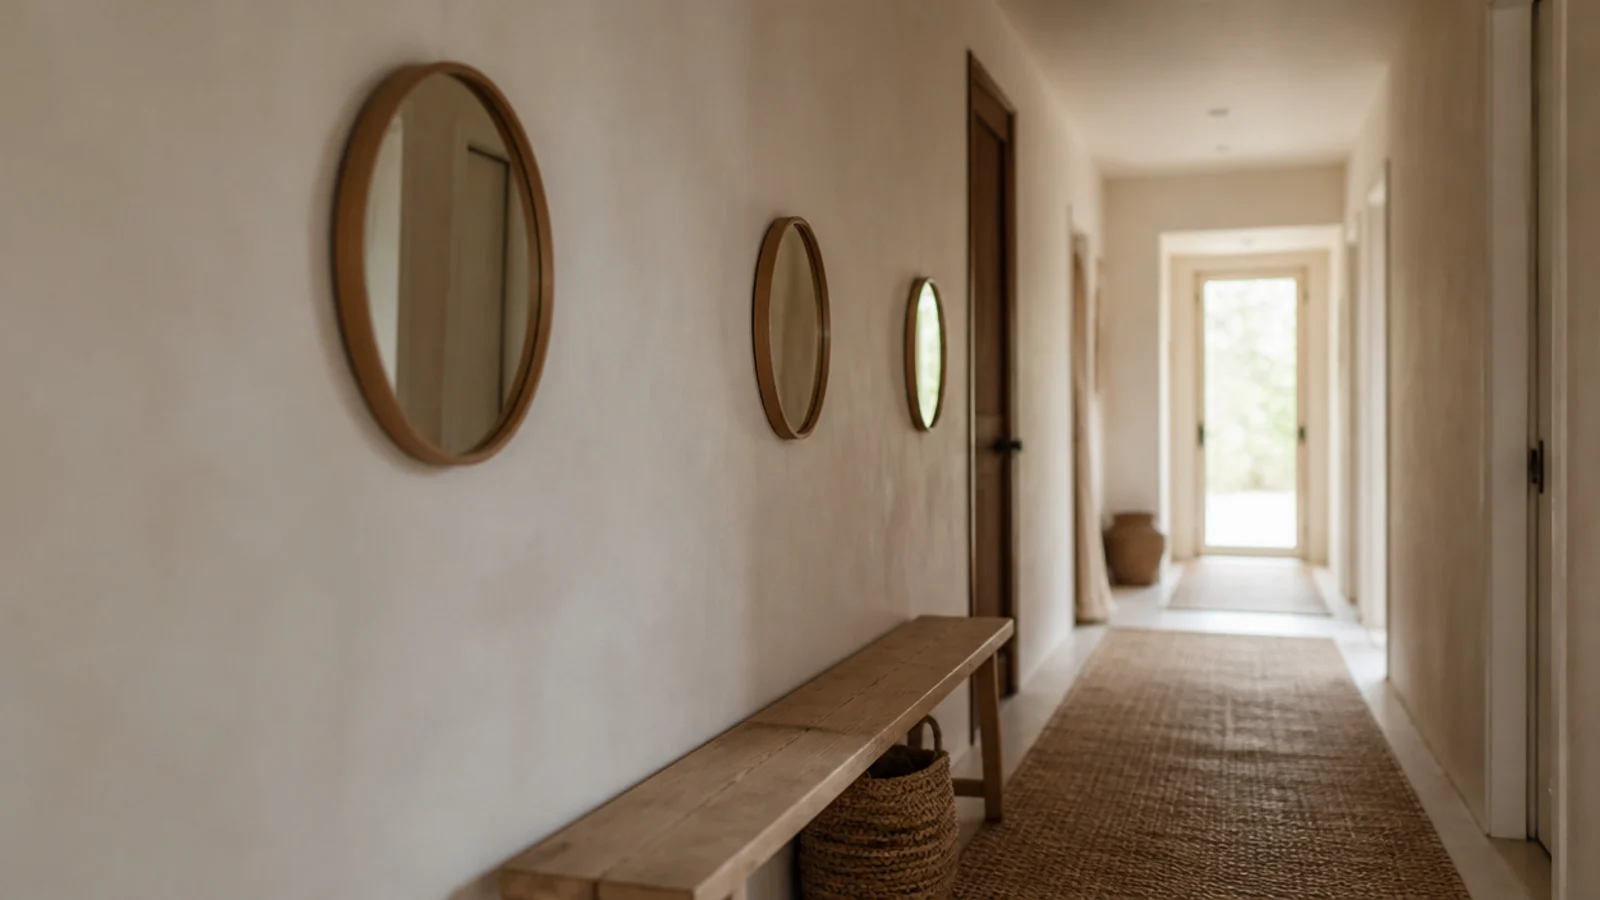
Before: a long blank run of plaster with one mirror on the end wall, which mostly reflected people walking toward themselves.
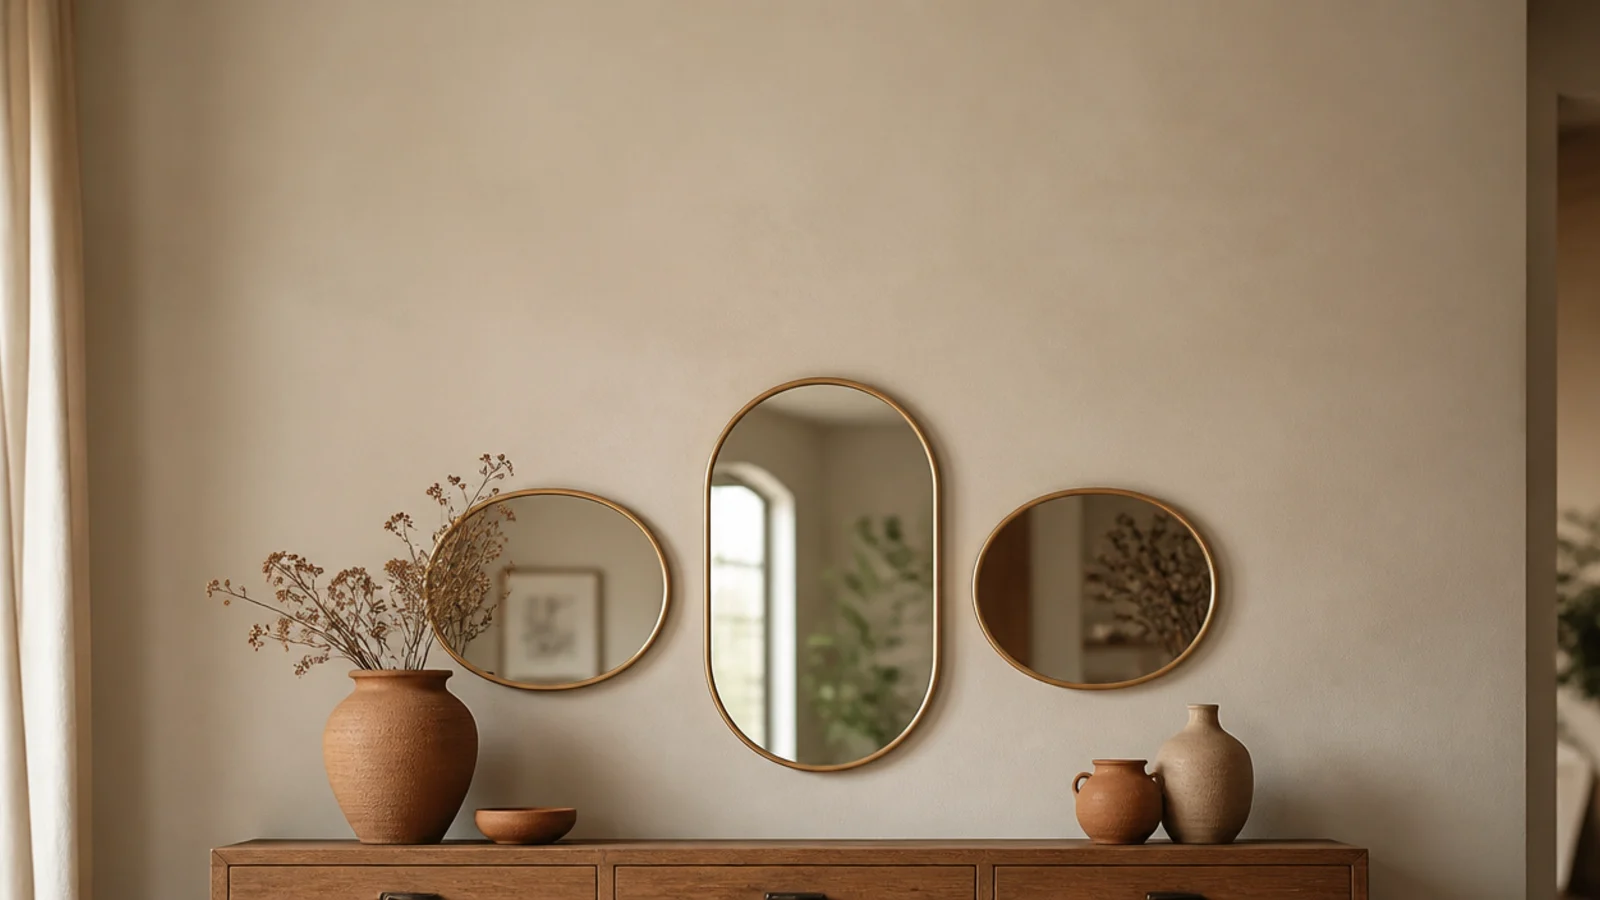
After: three small rounds spaced along the side wall instead.
End-wall mirrors shorten a corridor. Side-wall rhythm widens it. Same three mirrors, different wall, $0 beyond the hardware. More layouts live in mirror cluster wall.
Makeover 20: The wall with one hook and a wobble
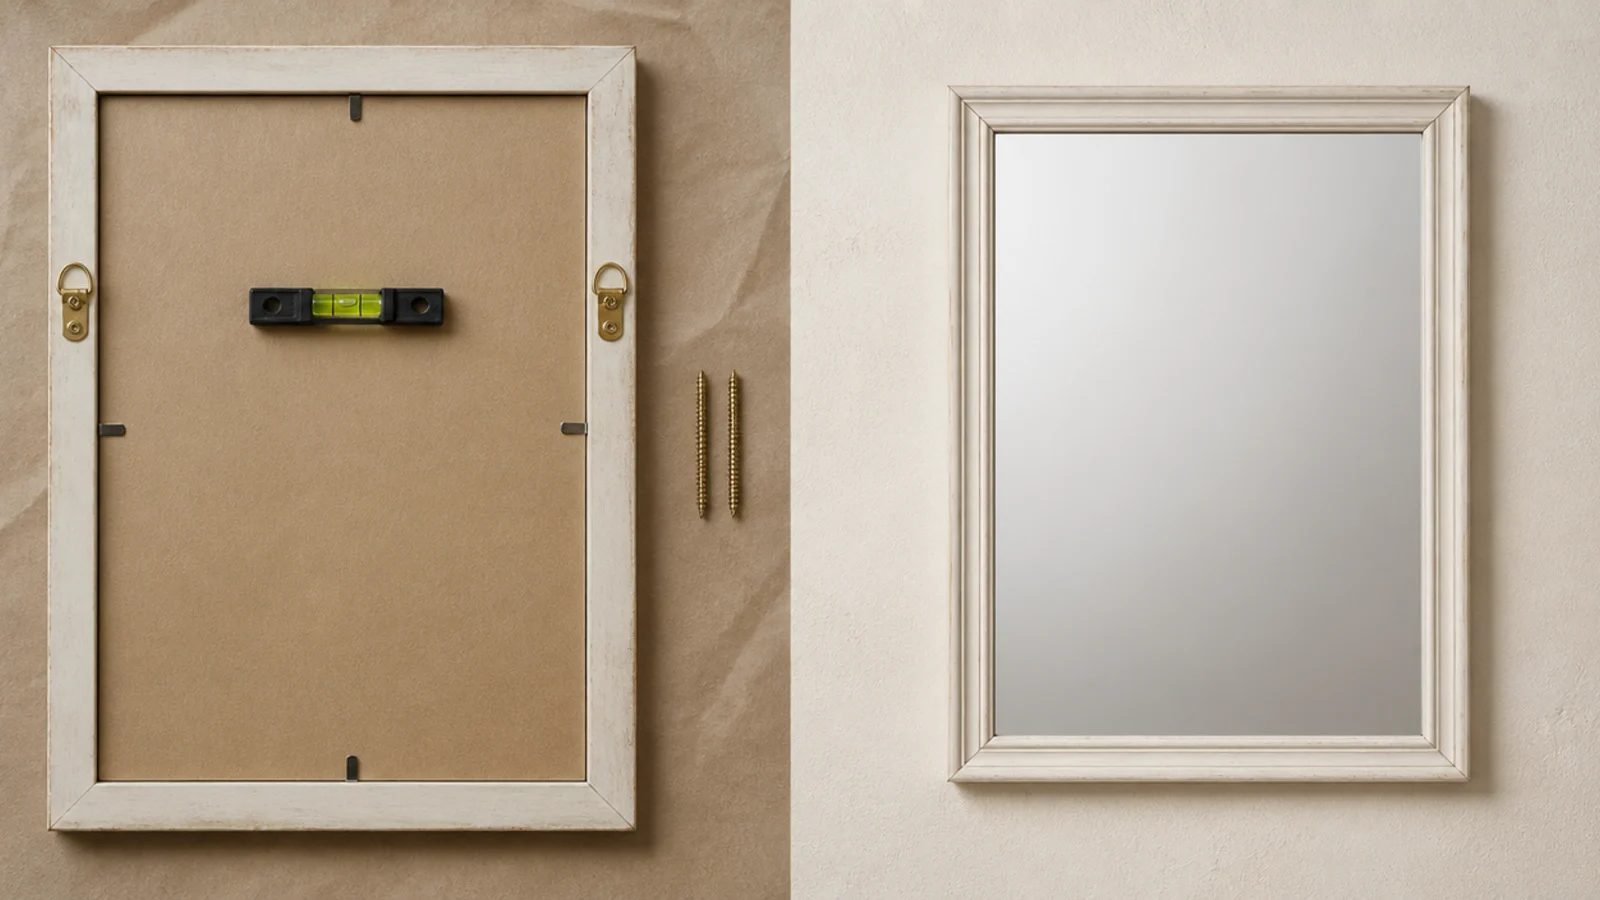
Before: a 30-pound mirror on a single central hook, going crooked every time the front door closed.
After: two D-rings fitted a third of the way down the frame, hooked onto two separate wall fixings.
Two points 10 inches apart stop a frame pivoting permanently. One extra anchor, about a dollar, and I have not straightened it since.
Mirror Wall Before and After: What I'd Do Differently Now
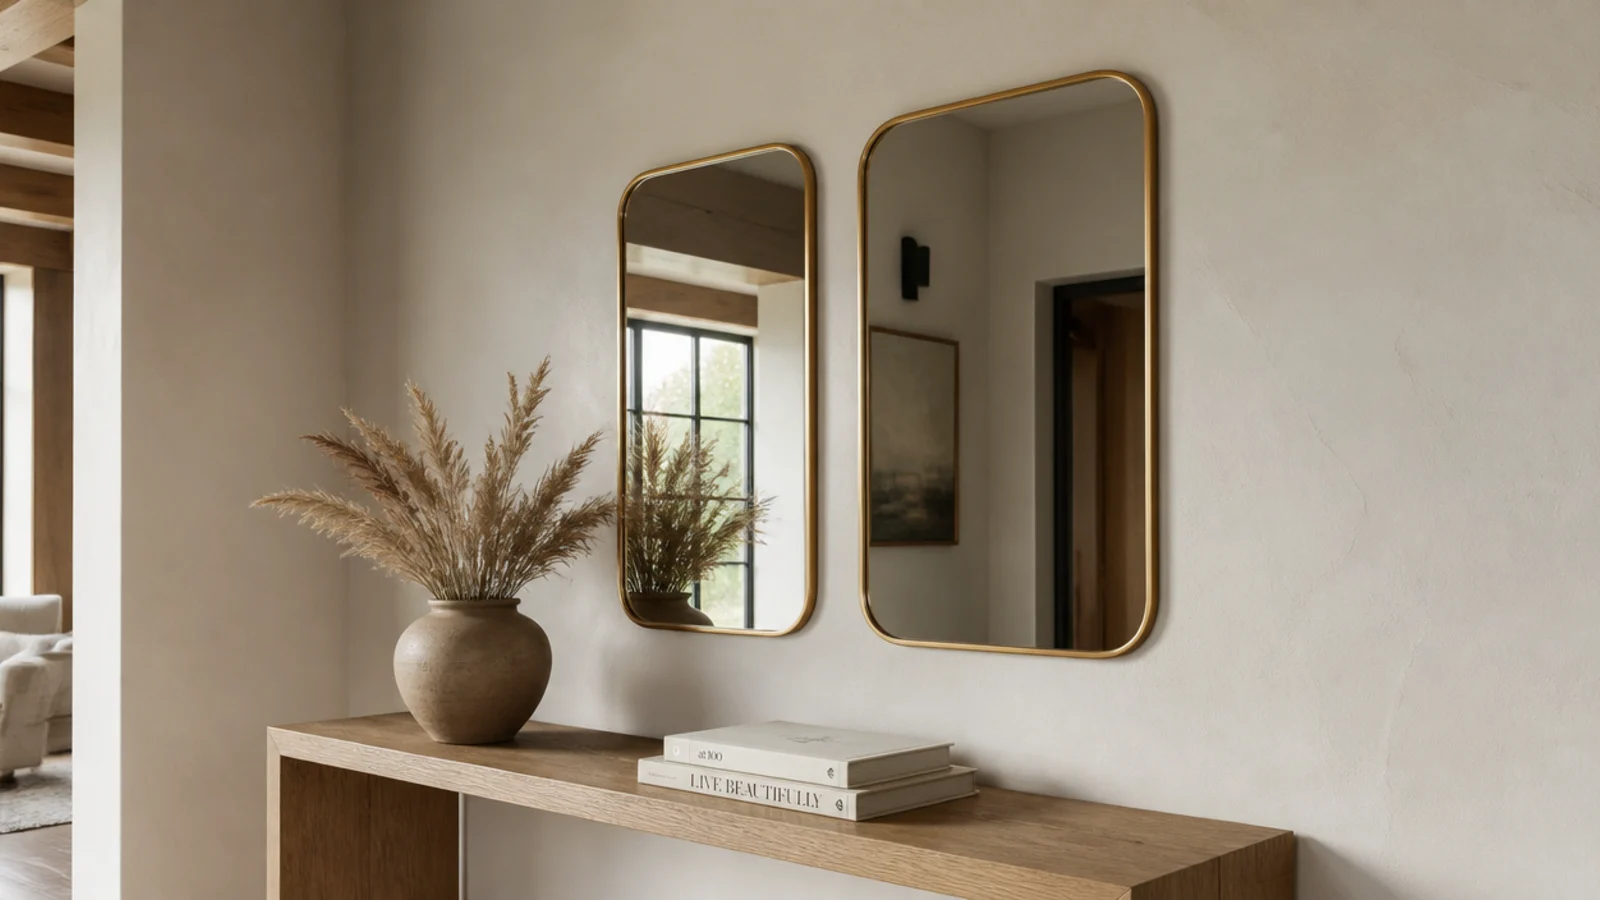
Looking at twenty rooms in a row, the pattern is uncomfortable and consistent: most of what worked was moving something, not buying something.
Seven of these cost nothing. The changes that cost real money were physical problems styling could never solve — a mirror genuinely too small for the furniture, a frame that had swollen, clear glass in a room with hard western sun. Everything else was height, wall choice, finish count or a bulb.
If I could give myself one instruction ten years ago, it would be to check the reflection before choosing the wall. I used to pick a wall by where the furniture sat and then wonder why the mirror felt flat. Now I stand in the room, hold the glass up, and look at what comes back.
The other thing I would change is the order. I used to hang first and fix the structure later, which meant patching twice. Now the anchor, the height and the reflection get decided before a drill comes out of the drawer.
Frequently asked questions
What is the cheapest mirror makeover that actually works?
Moving the mirror you already own to the wall opposite a window. It costs two holes and twenty minutes, and it changes the light in a room more than any purchase. Second cheapest is painting an ornate frame the wall color, which turns a piece you tolerate into architecture for the price of a nine dollar sample pot.
Should I move a mirror or buy a new one?
Move it first, always. In these twenty rooms, eleven needed nothing bought at all — the mirror was fine and the wall was wrong. Buy new only when the piece is genuinely undersized for the furniture beneath it, the frame has failed structurally, or clear glass is throwing glare in a room with hard afternoon sun.
How long does a mirror wall makeover take?
Rehanging a single mirror is about thirty minutes including patching the old holes. A cluster laid out on paper templates first takes an afternoon. Painting a frame is an evening plus overnight drying. The only jobs that run into a second day are anything involving cut glass panels or a wall that needs repainting.
What is the most common problem with an existing mirror wall?
Height, followed closely by finish count. Most mirrors I am asked to look at are hung four to eight inches too high, or floating a foot above the console they belong with. After that it is walls carrying three or four frame finishes, where removing a single odd frame settles everything.
Do I need to patch the old holes before rehanging?
Yes, and do it before the new mirror goes up rather than after. Lightweight spackle in two thin passes, sanded flush when dry, then touch-up paint feathered outward with a small foam roller. Patching around a hung mirror is awkward and you will end up with sanding dust on the glass.
Try the free version first in whichever room bothers you most: move the mirror you already own to the wall facing the window, drop it to 57 inches, and see what happens. If it still feels wrong, the problem is scale or glass and worth spending on. The full mirror wall decor guide covers placement, mirror wall mistakes covers what I got wrong first, and entryway before and after has the equivalent for the wall by your front door. Save the pin before you buy anything new.
Want more like this? Browse all 15 mirror wall decor guides — they all use the same measurements and budget tiers.
Pin it for later
Save this to your Mirror Wall Decor board
Pin it now so it is waiting for you when the tape measure comes out — and so the next person hunting for this idea can find it too.
Save this pinKeep going
More ideas worth saving while you have the tape measure out.