Entryway & Foyer Ideas · UGC
20 Entryway Before and After Makeovers

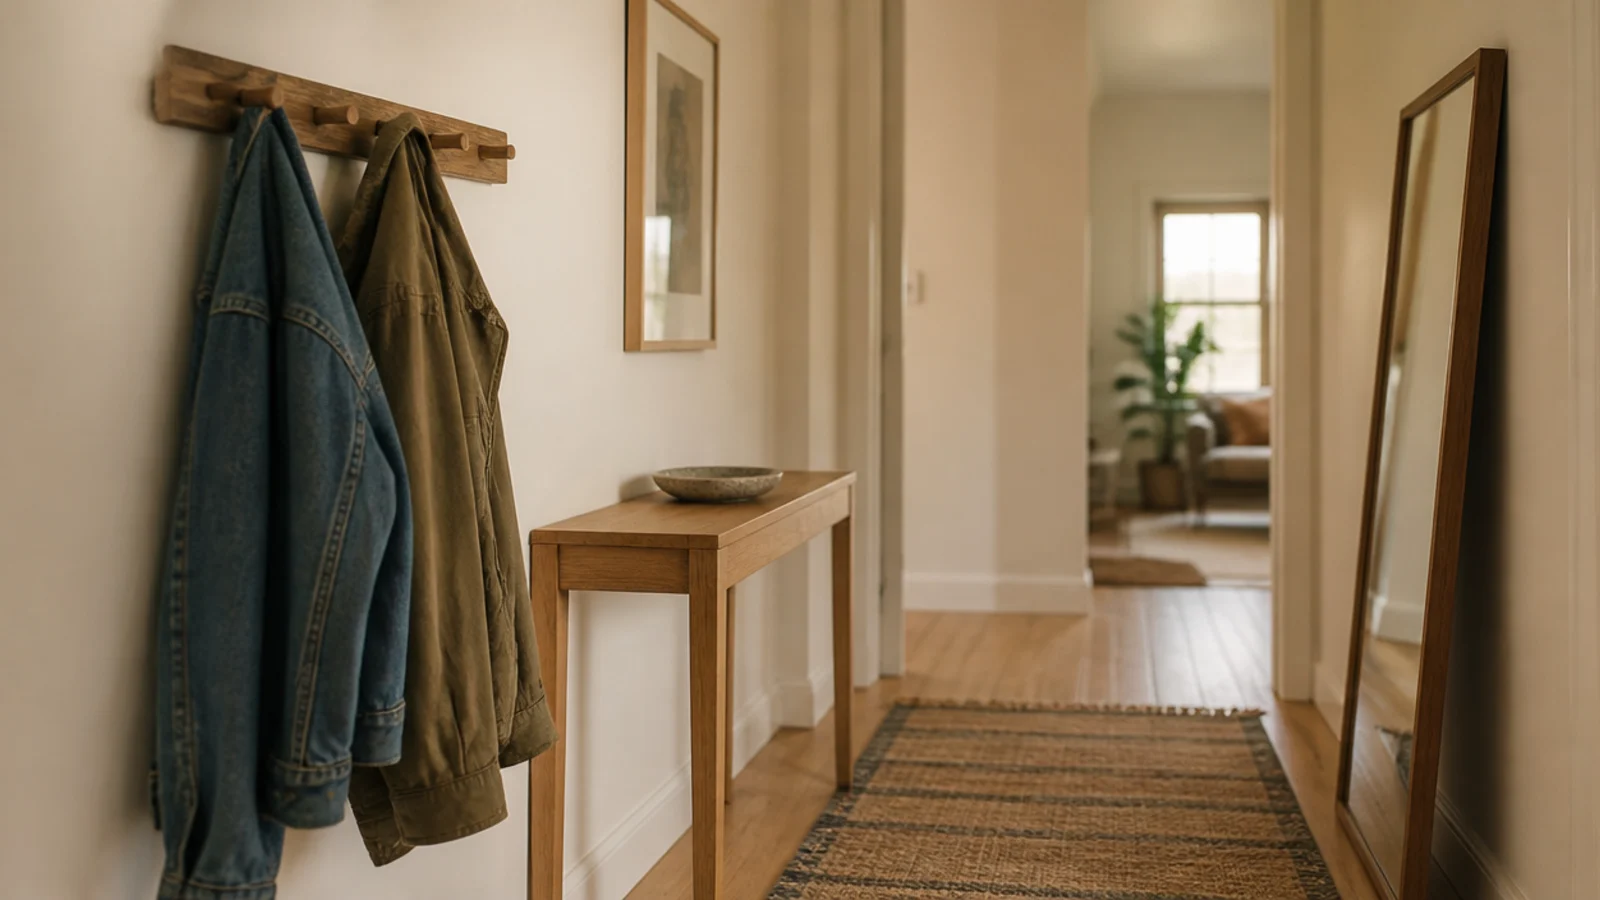
Entryway before and after is the honest way to show this room, because the changes that actually work are almost never the ones people expect. I have redone the entry in five homes of my own and more client hallways than I can count, and the pattern barely varies.
Twelve of the twenty below needed nothing bought beyond hardware. The problem is usually height, depth or quantity — a hook rail six inches too high, a console four inches too deep, three containers where one would hold. Those are free to fix once you know the numbers.
The other eight had a physical fault that styling cannot touch: a deep-pile runner in a grit trap, a bench in a hallway that could not take one, plastic anchors under forty pounds of wet wool.
What follows is what each hallway looked like, what I changed, and what it cost. The most expensive was $180. Six cost nothing at all.
In this guide21 sections — tap to openHide
- 1.Makeover 1: The door that opened straight into the sofa
- 2.Makeover 2: The coat pile on the bannister
- 3.Makeover 3: The console that bruised my hip
- 4.Makeover 4: The mirror nobody could see themselves in
- 5.Makeover 5: The wool runner that went grey
- 6.Makeover 6: The corridor with one flat ceiling light
- 7.Makeover 7: The console that collected everything
- 8.Makeover 8: The basket everyone shared
- 9.Makeover 9: The wet boots on the runner
- 10.Makeover 10: The closed cabinet nobody opened
- 11.Makeover 11: The entry with nowhere to sit
- 12.Makeover 12: The art that lived behind the coats
- 13.Makeover 13: The builder-grade ceiling fixture
- 14.Makeover 14: The scuffed door and baseboards
- 15.Makeover 15: The rental where nothing could be drilled
- 16.Makeover 16: The hallway under 36 inches wide
- 17.Makeover 17: The mail mountain
- 18.Makeover 18: The parcels on the floor
- 19.Makeover 19: The orange pine bench
- 20.Makeover 20: The entry doing all five jobs badly
- 21.Entryway Before and After: What I'd Do Differently Now
Makeover 1: The door that opened straight into the sofa
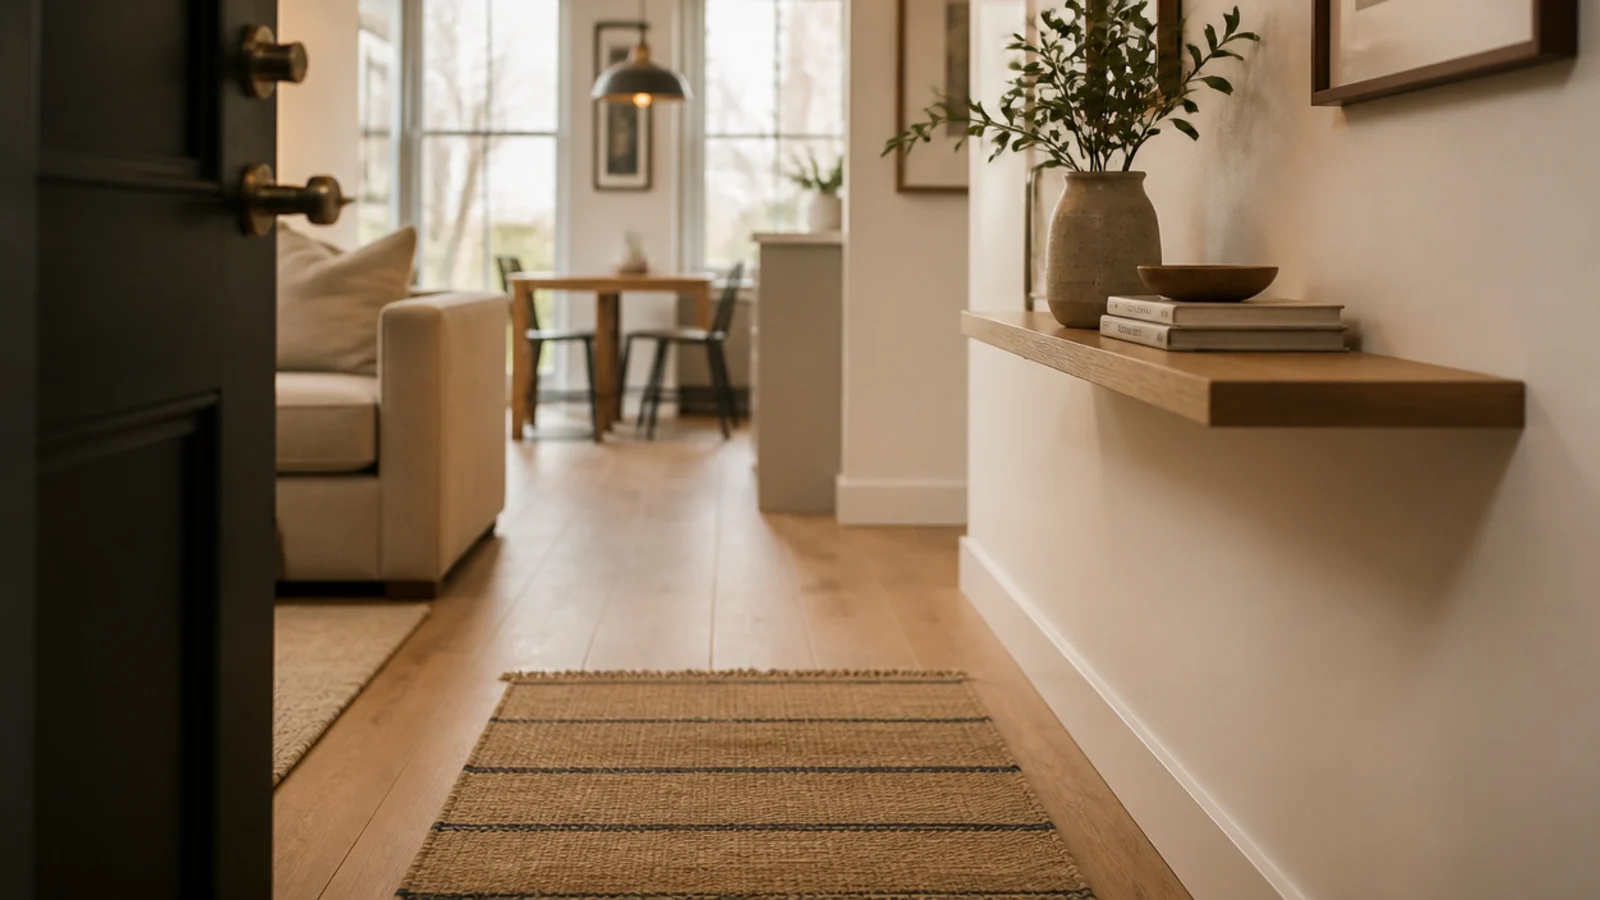
Before: a one-bedroom apartment with no entry whatsoever. The front door swung open two feet from the sofa arm, and shoes, bags and post landed wherever gravity put them.
After: a 3-foot flat-weave runner squared to the door and a floating oak shelf at 10 inches deep above it.
The runner did most of the work. It draws a boundary your eye reads instantly, and once the zone existed, everything we put in it looked deliberate instead of stranded. Total cost $96, and no furniture with legs anywhere.
Makeover 2: The coat pile on the bannister
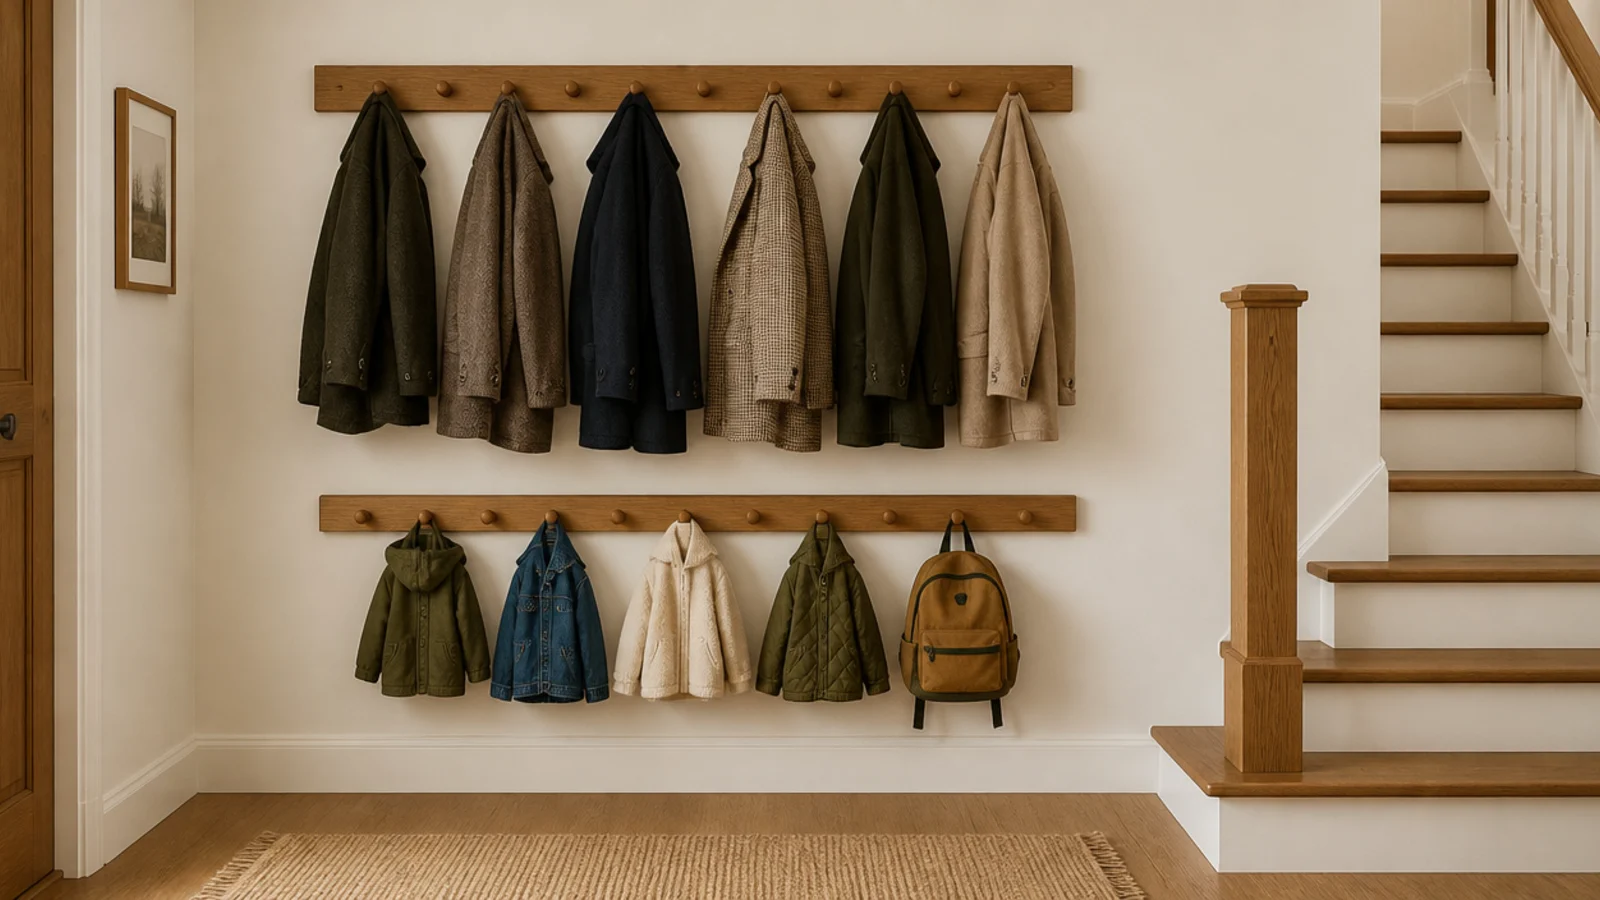
Before: a family of four with a beautiful empty wall and every single coat draped over the newel post at the bottom of the stairs.
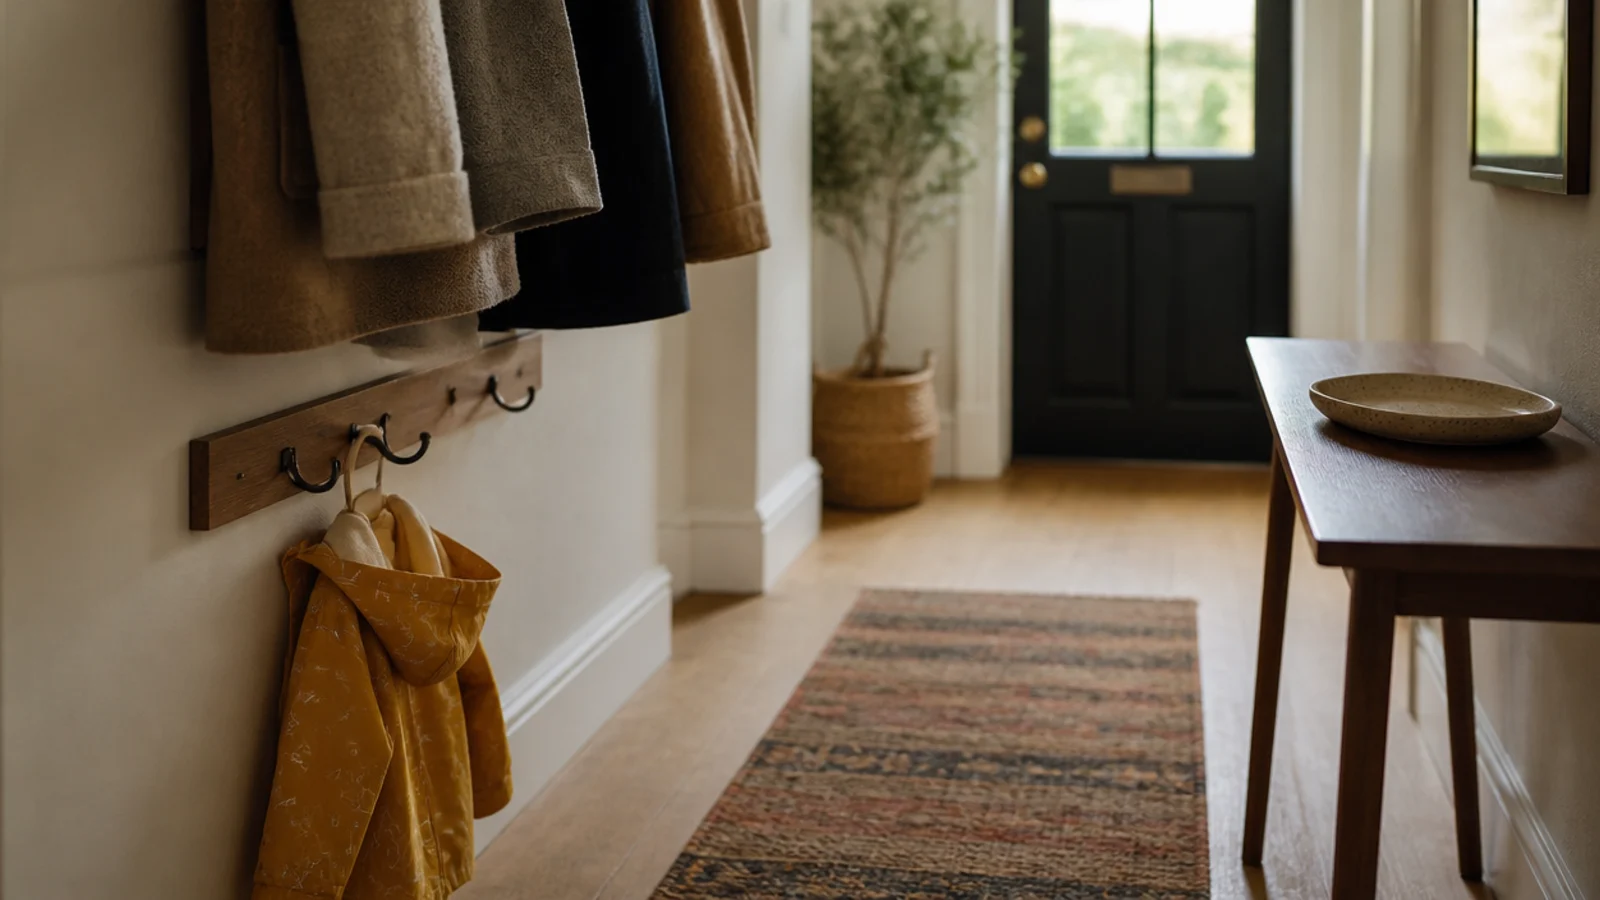
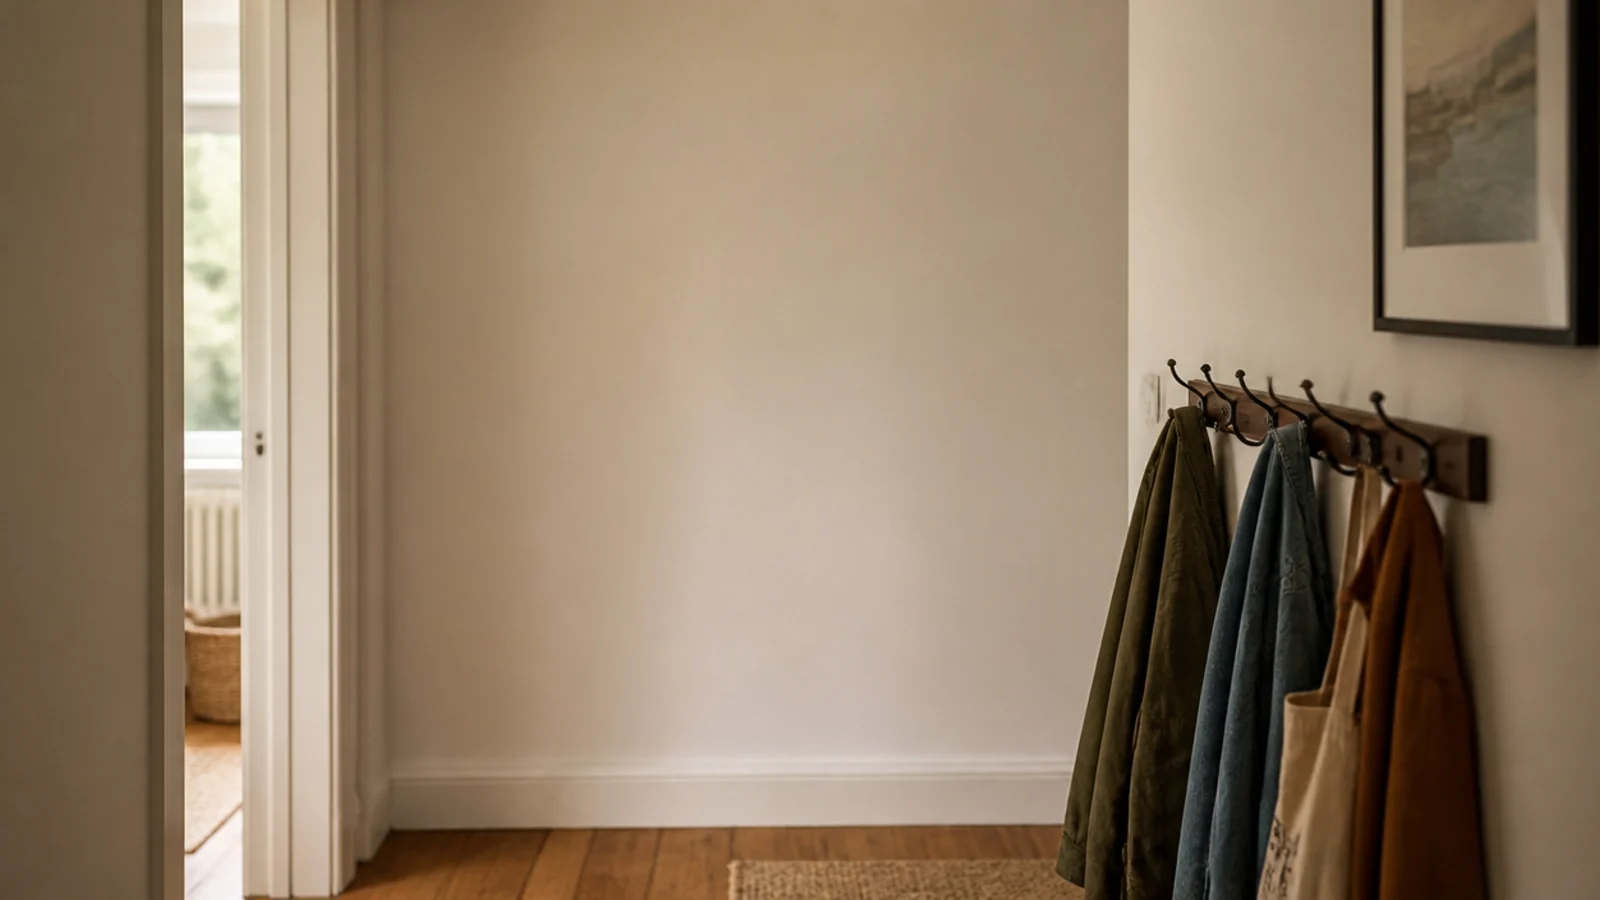
After: an oak rail at 52 inches for the adults and a second rail at 40 inches for the children.
The lower rail is the part people skip and it is the part that changed the house. A coat hung above a child is a coat on the floor. Within a week the bannister was clear and it stayed clear. Two rails and toggle bolts, $54.
Makeover 3: The console that bruised my hip
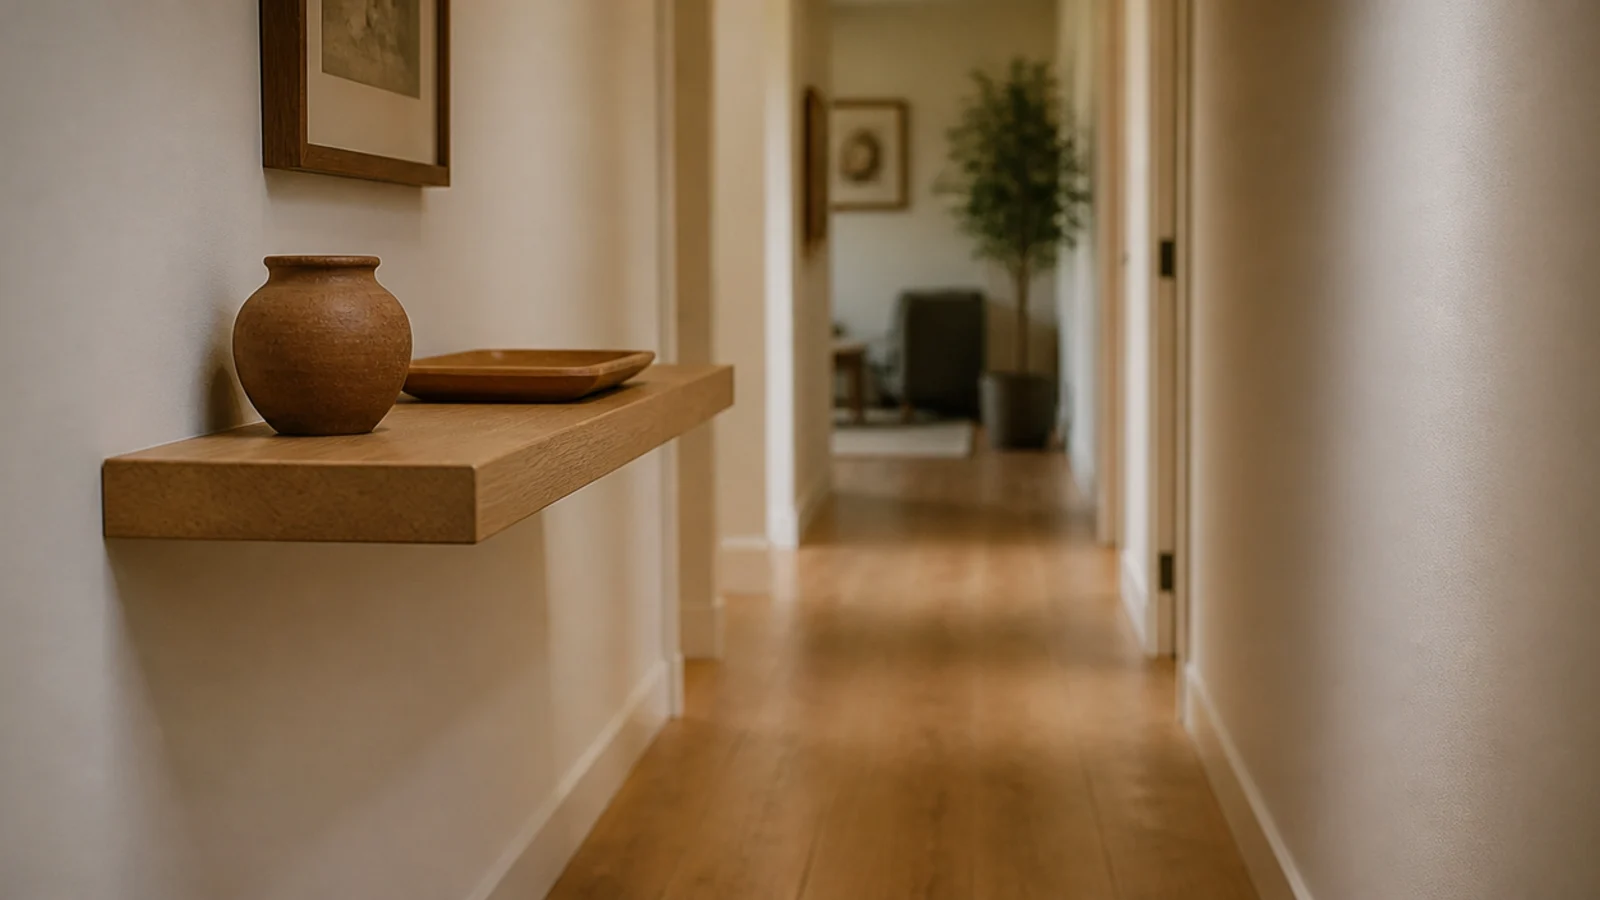
Before: a 16-inch-deep console in a hallway with 34 inches of walkway, which left 18 inches to pass through and a permanent bruise on my right hip.
After: a 10-inch floating shelf at 31 inches high, and the console sold.
Twelve inches is the maximum depth most halls take, and under 36 inches of walkway you go wall-mounted instead of freestanding. I lost four inches of surface and gained a hallway I could carry a laundry basket down. Shelf and brackets, $48.
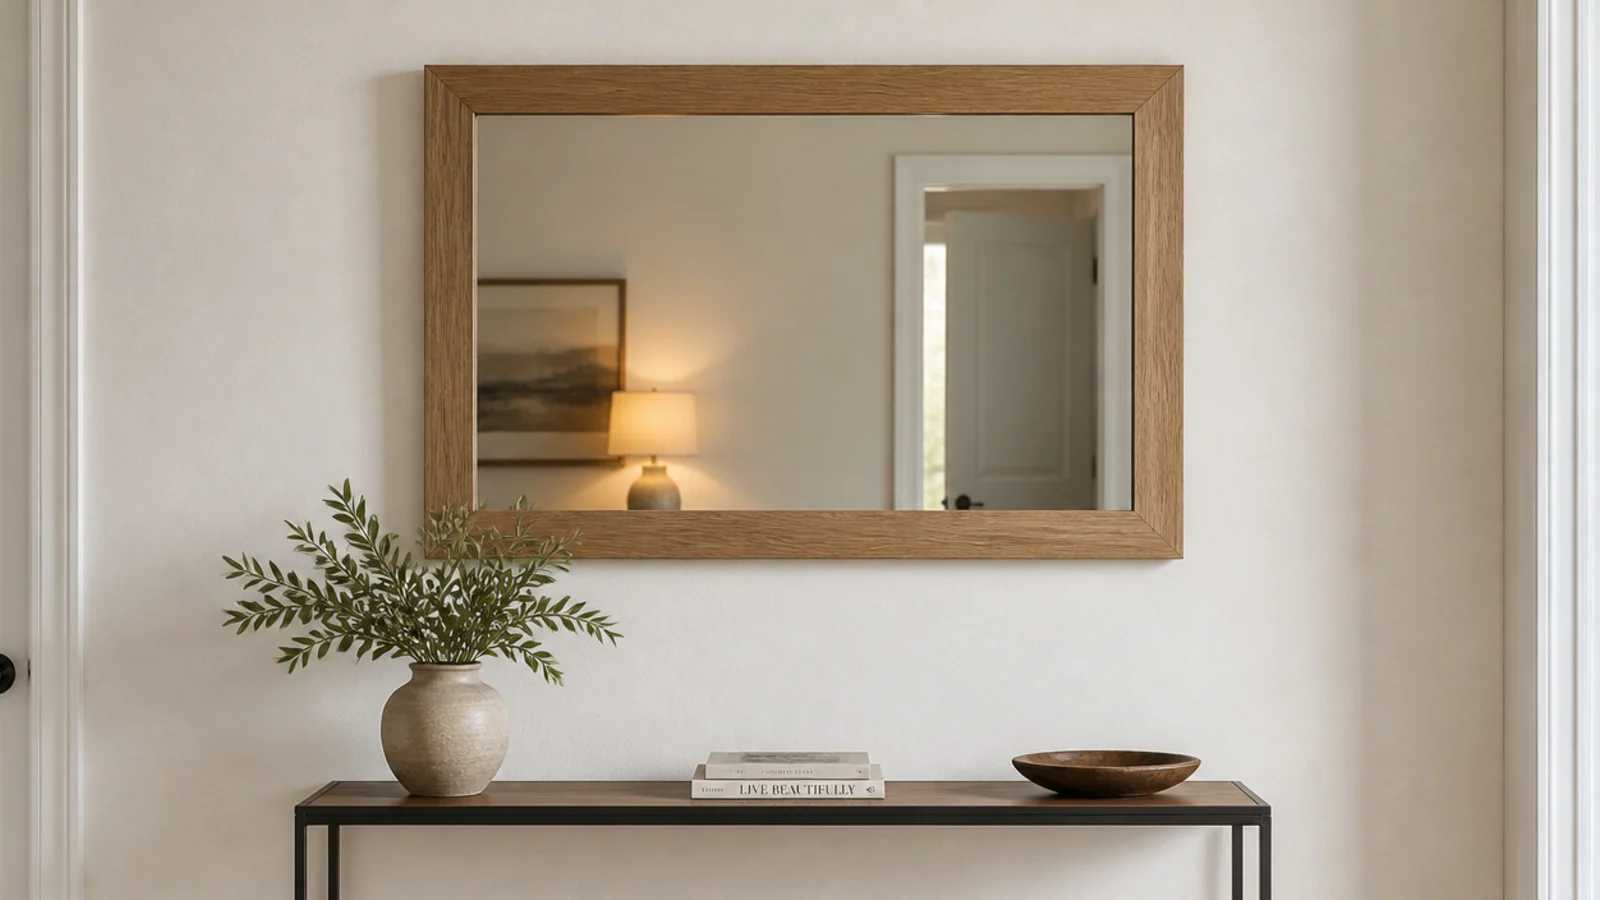
Makeover 4: The mirror nobody could see themselves in
Before: a good mirror hung with its centre at roughly 66 inches, reflecting the ceiling, the light fitting and the top of my head.
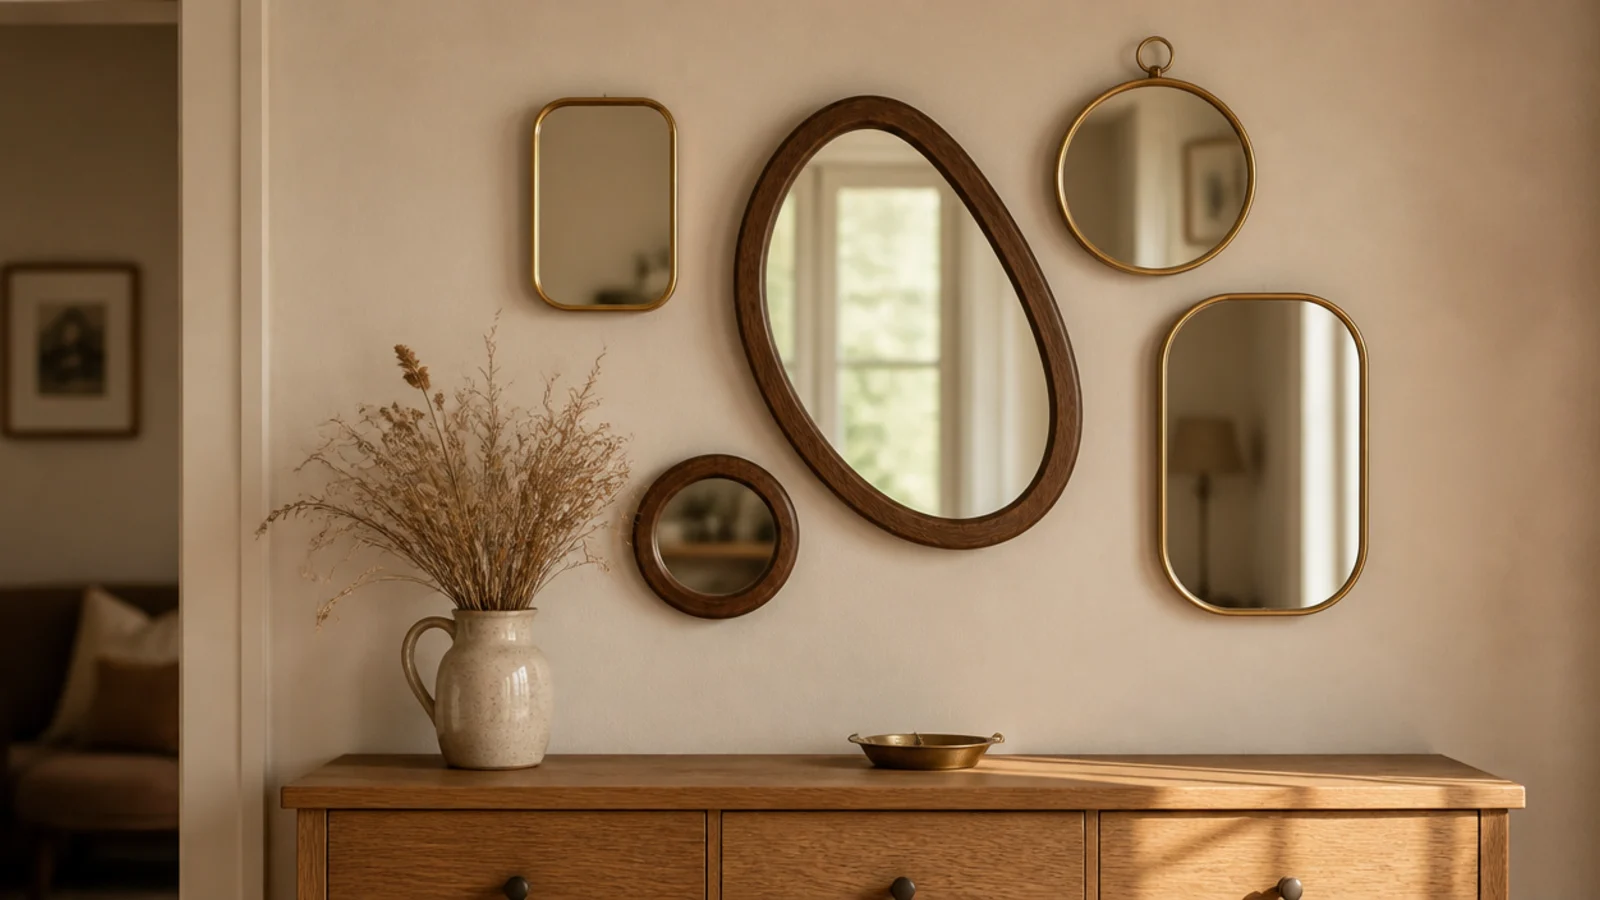
After: the same mirror rehung with the glass centred at 58 inches.
Two holes, twenty minutes, no money. Everybody in the house could suddenly use it, including the children, and the whole wall looked better because the mirror finally related to the console instead of floating above it.
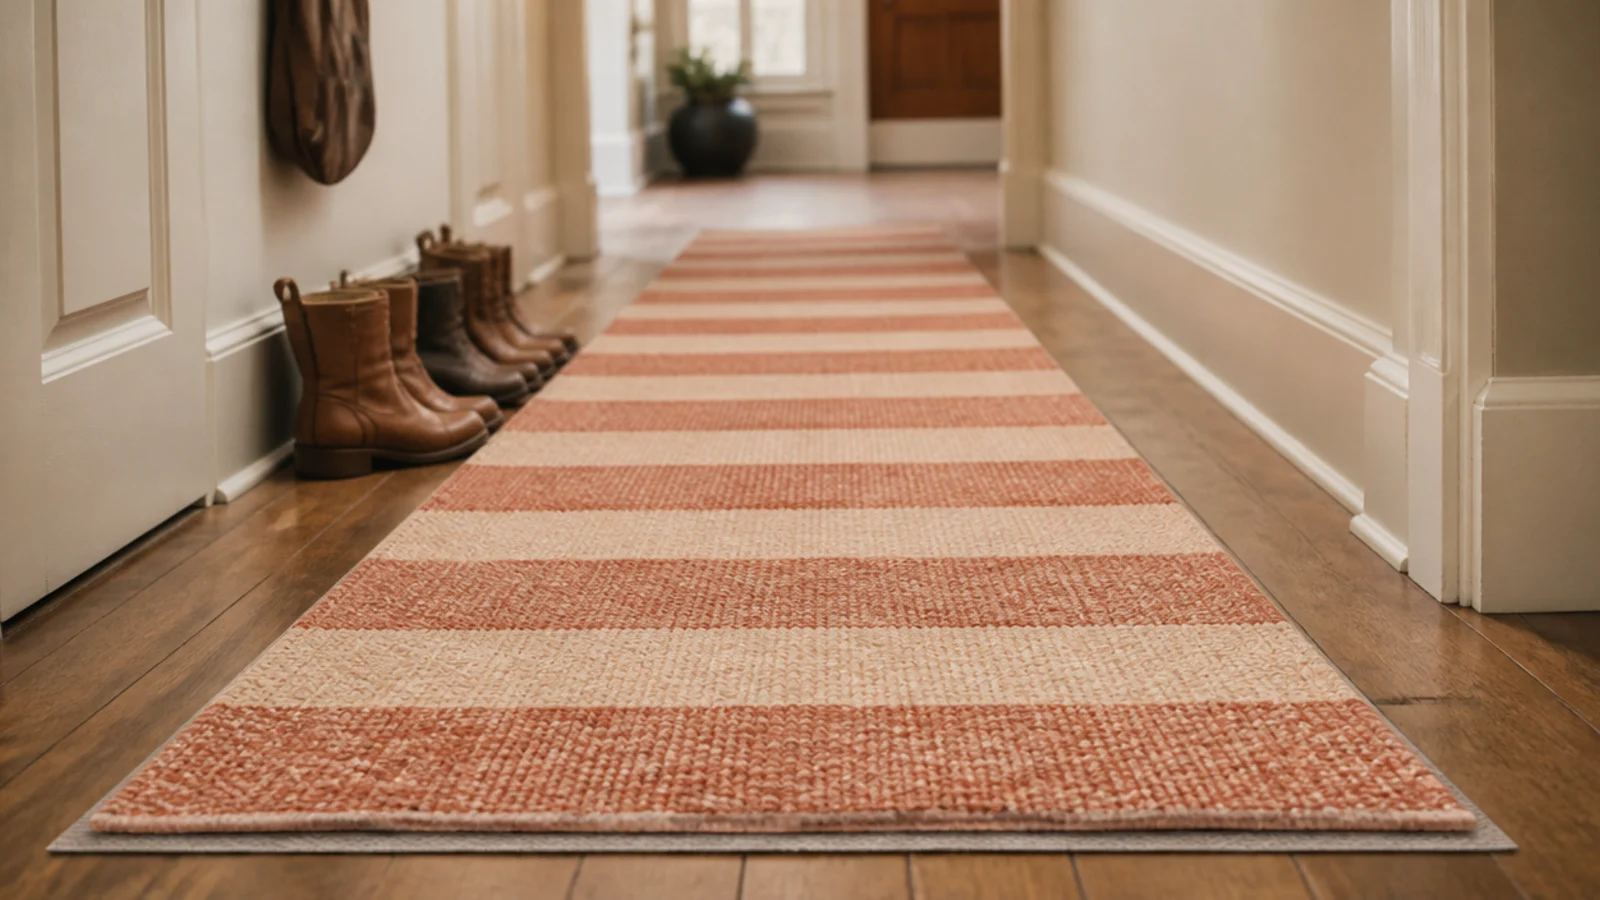
Makeover 5: The wool runner that went grey
Before: a high-pile oatmeal wool runner directly inside a front door in a house with a gravel path. Six weeks of grit and it never looked clean again.
After: a flat-weave washable runner in sand and terracotta, with a thin non-slip pad underneath.
Flat weave survives an entry; deep pile does not and never recovers. This one goes in the machine every six weeks. The pad matters more than it sounds — people pull boots off standing on it. Runner and pad, $110.
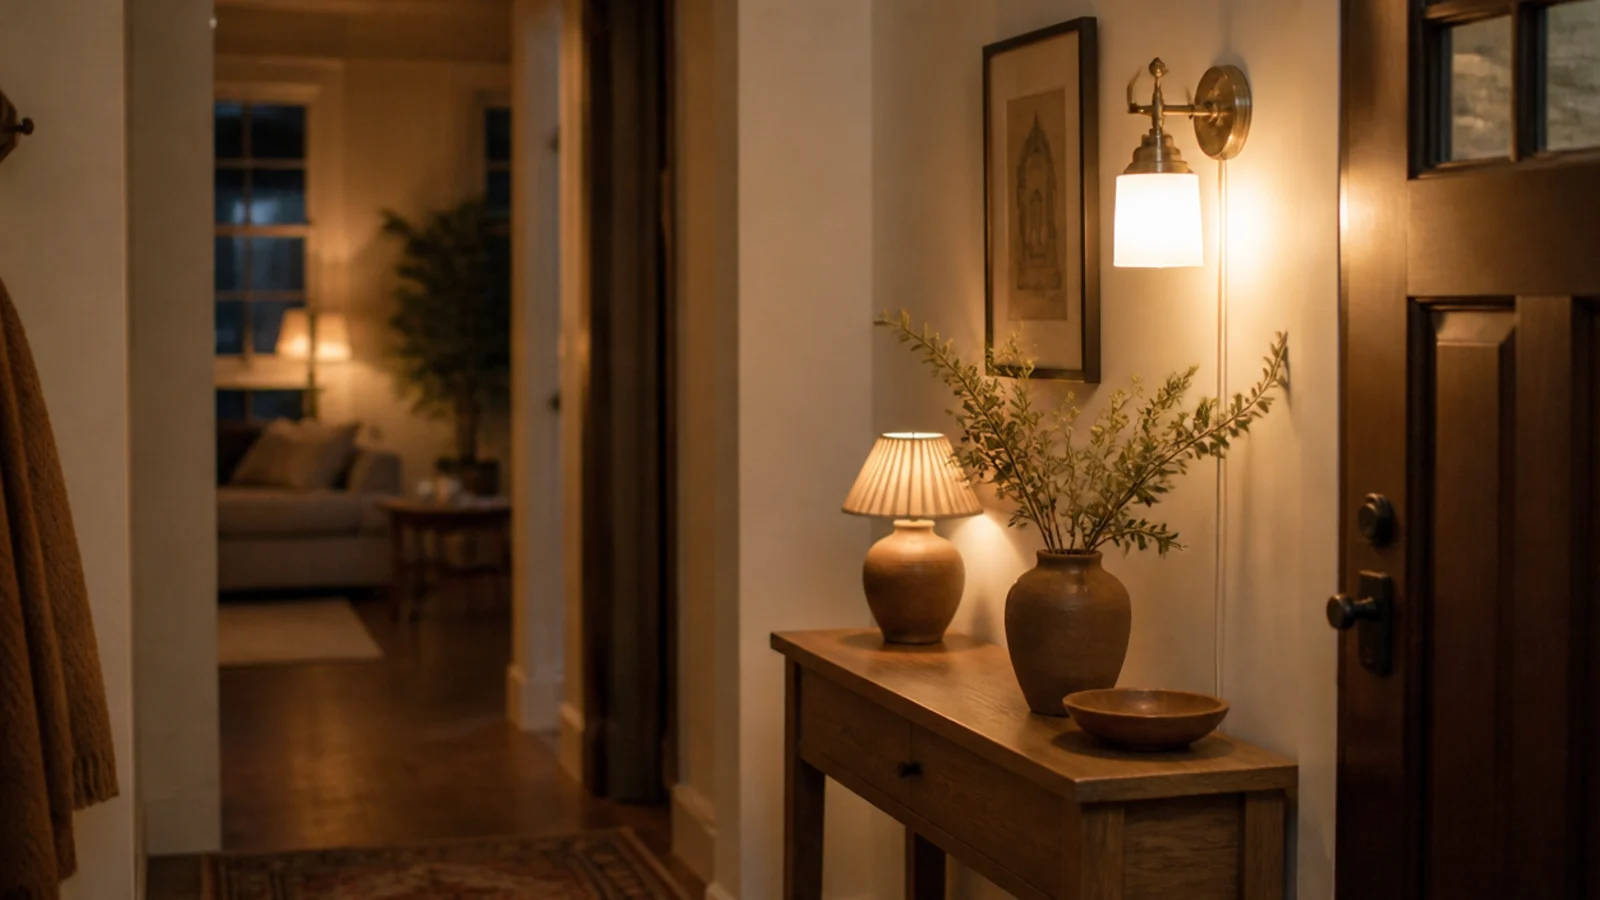
Makeover 6: The corridor with one flat ceiling light
Before: a windowless entry lit by a single cool-white flush fixture that made oak look grey and clay look dusty.
After: a plug-in brass sconce at 60 inches, a small lamp on the console, and 2700K bulbs throughout.
One ceiling fixture flattens an entry no matter what is in it. Two warm sources at eye level gave the space depth for about $45 including the cord channel, and the client stopped talking about repainting.
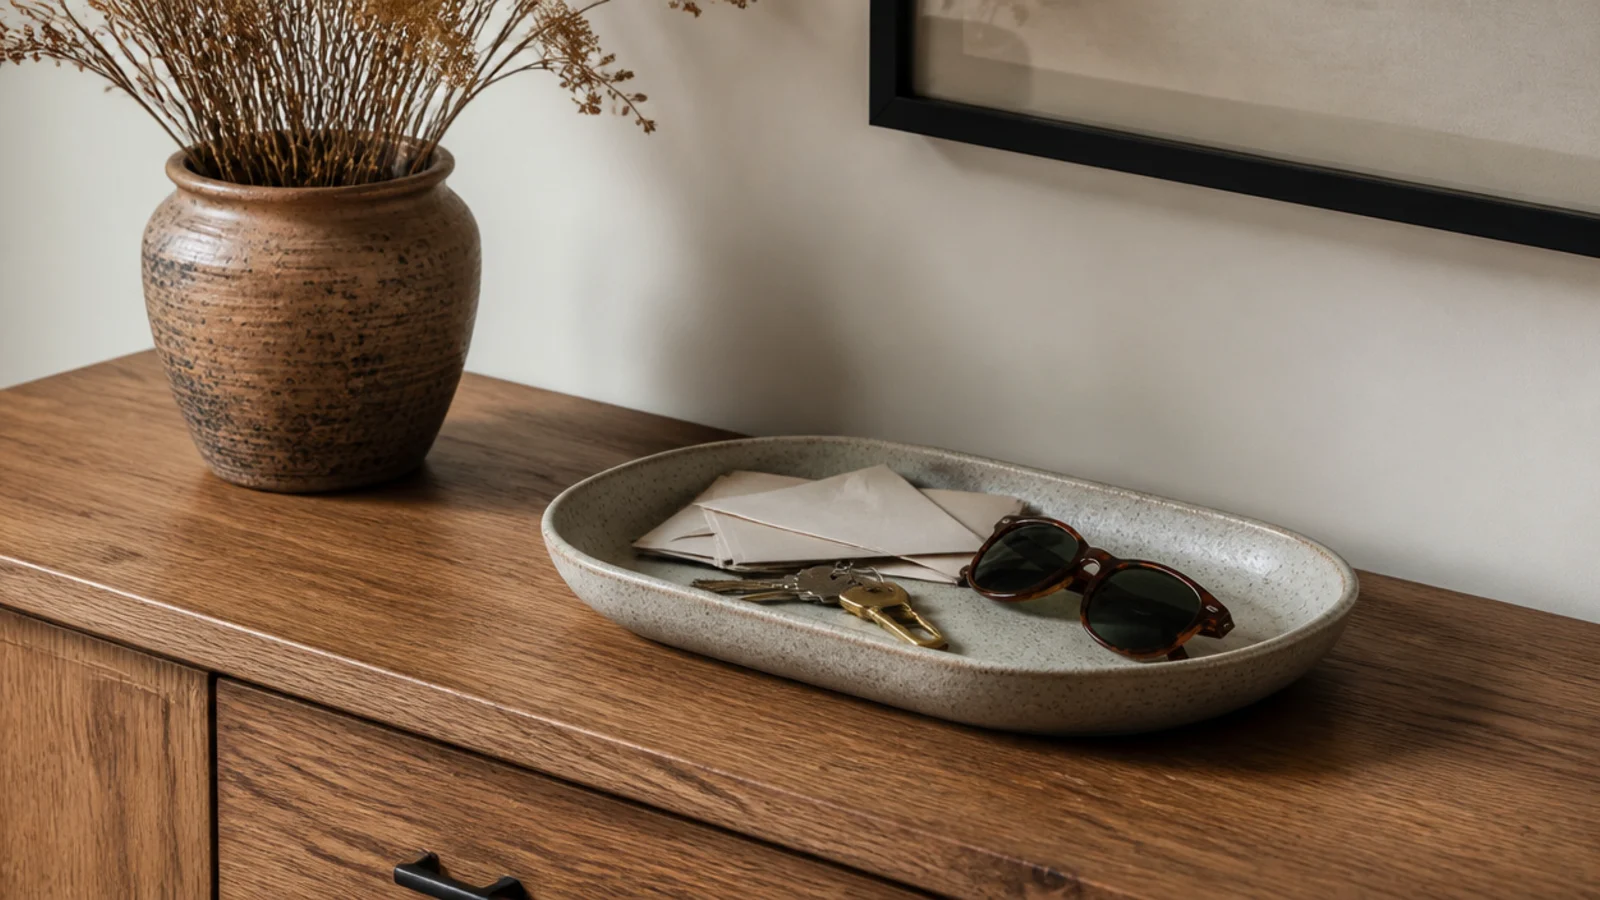
Makeover 7: The console that collected everything
Before: keys, post, receipts, chargers and two pairs of sunglasses spread edge to edge across a lovely oak surface.
After: one shallow stoneware tray with a raised rim, and nothing else added.
The raised edge is the entire mechanism — flat plates let things slide off and small items migrate to the floor. One tray, not three, because several containers just distribute the mess more elegantly. Twelve dollars, and it held.
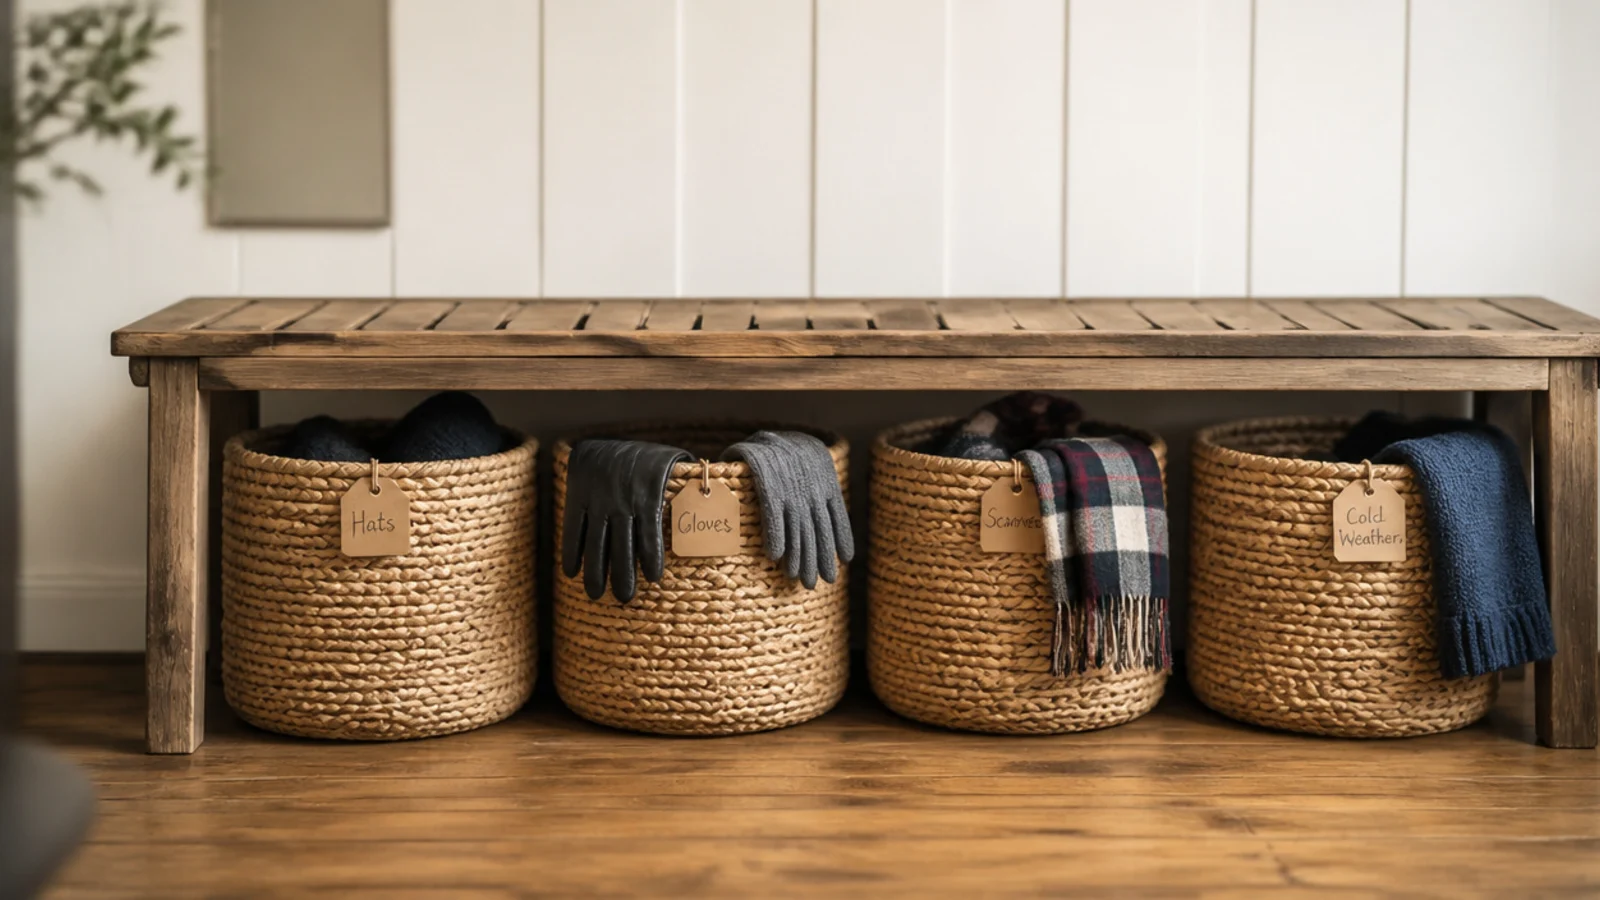
Makeover 8: The basket everyone shared
Before: two large baskets under a bench for the whole family, both overflowing by December, neither ever emptied by anyone.
After: four smaller baskets, one per person, each with a kraft tag on the rim.
Named individual space is what makes an entry system stick. Shared storage fails because nobody owns the overflow. Same bench, same cupboard, entirely different outcome, and it works with children far better than asking. Baskets and tags, $46.
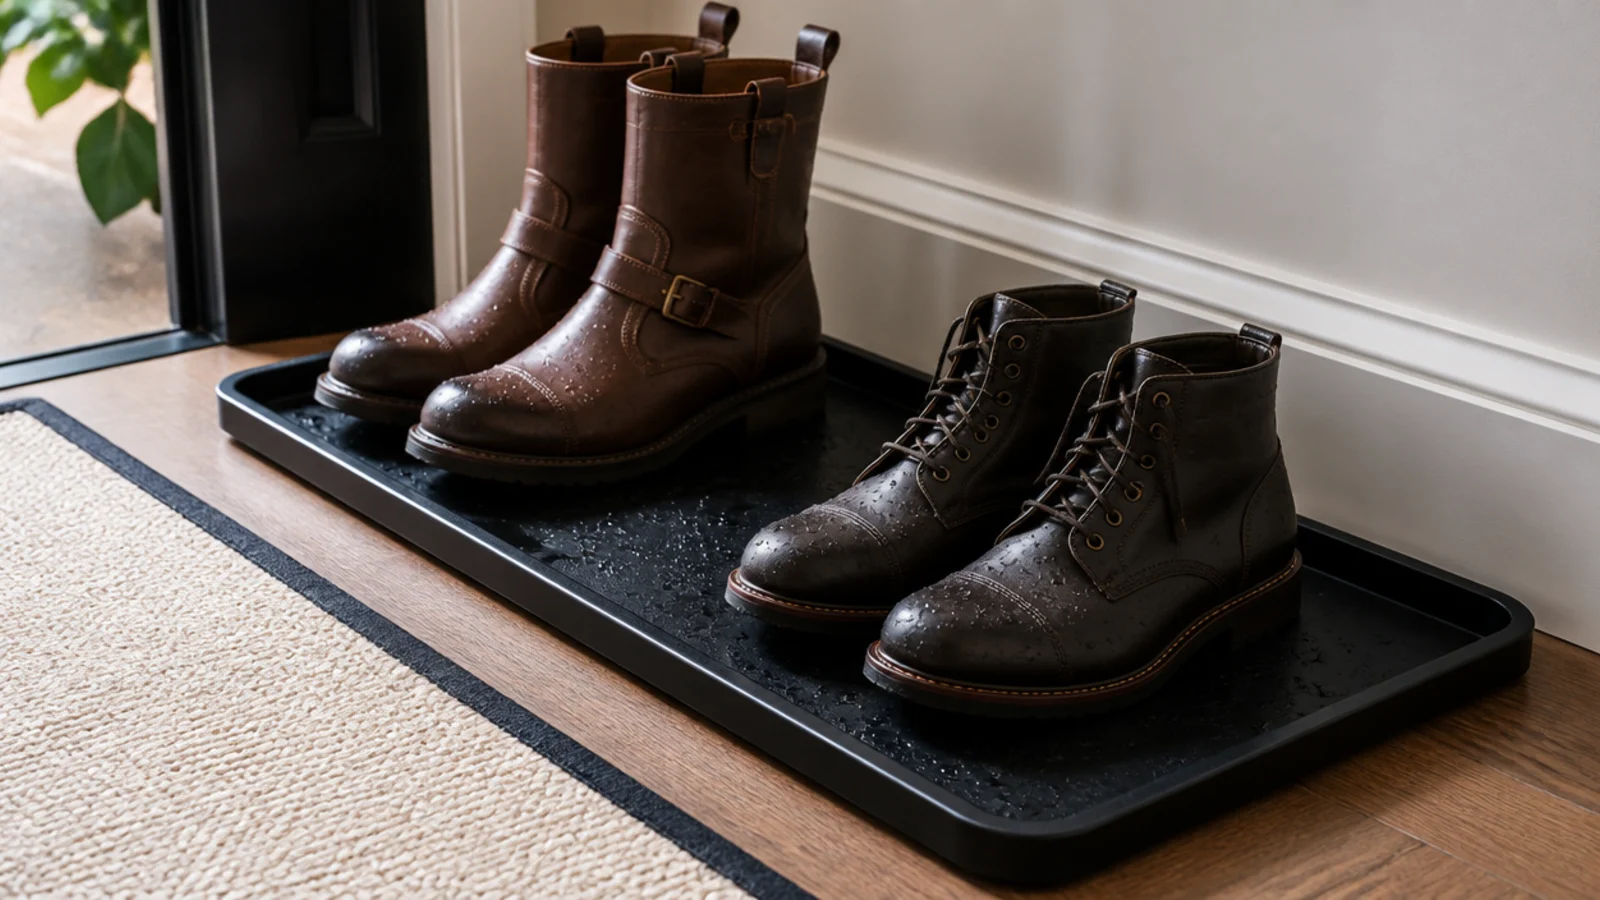
Makeover 9: The wet boots on the runner
Before: four pairs of wet winter boots standing on a fabric runner, with dark water marks working into the weave and the floorboards beneath.
After: a raised-lip metal boot tray 16 inches deep, placed beside the storage rather than inside it.
Boots put into an enclosed cabinet stay wet and pass the damp to everything beside them. A drip zone on the floor prevents most of the problems people blame on their shoe storage. Twenty-two dollars.
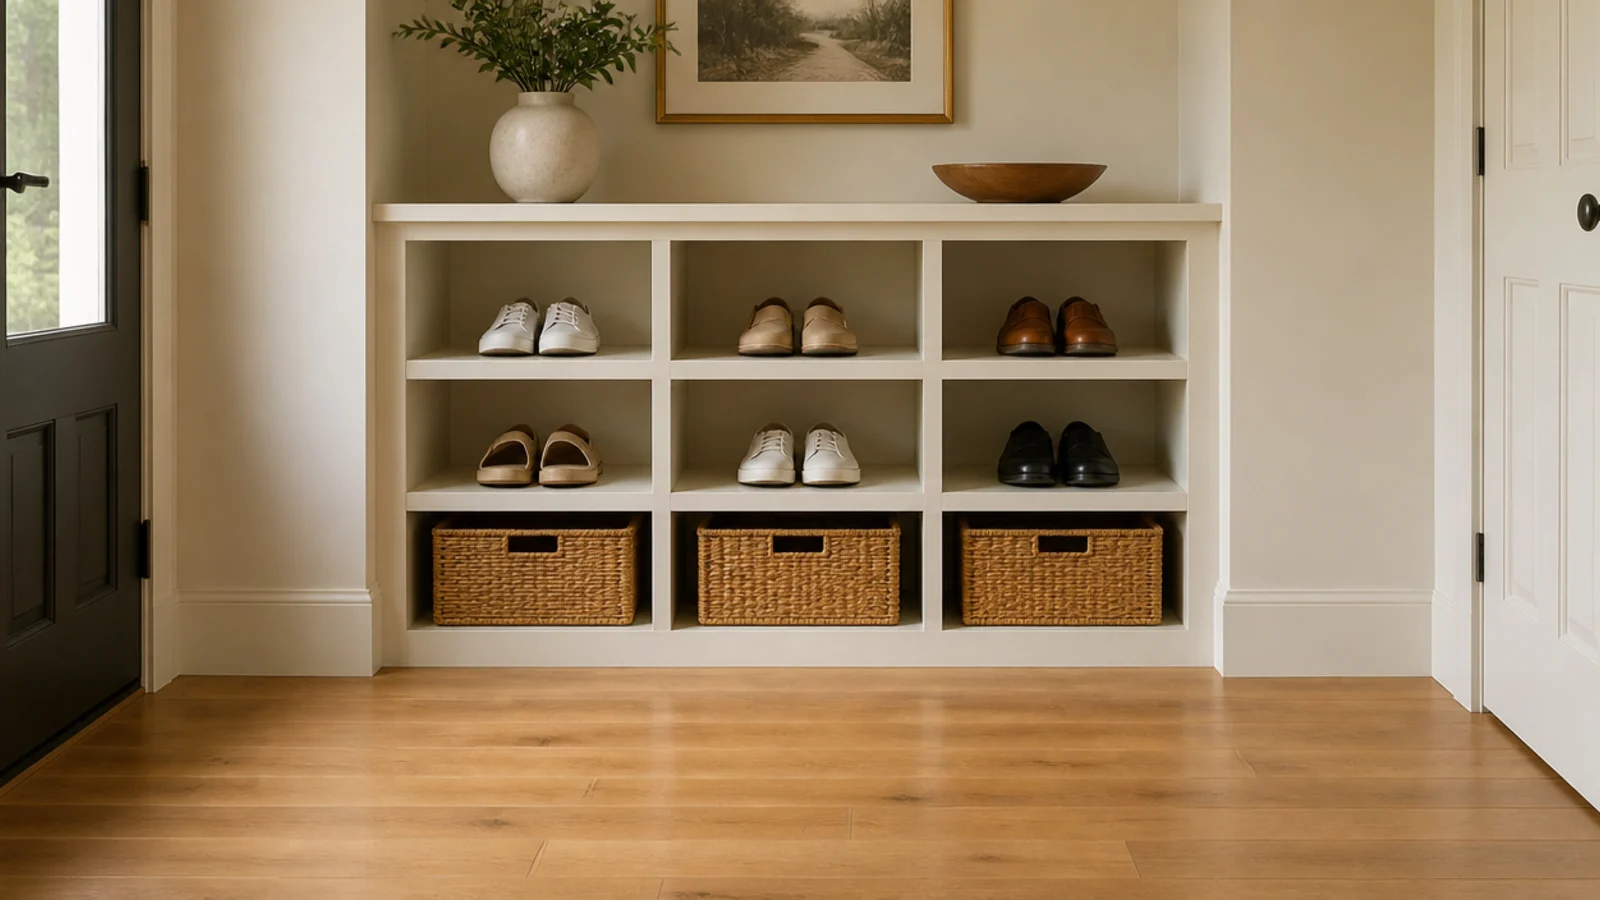
Makeover 10: The closed cabinet nobody opened
Before: a handsome closed shoe cabinet with the doors permanently shut and five pairs of shoes on the floor directly in front of it every afternoon.
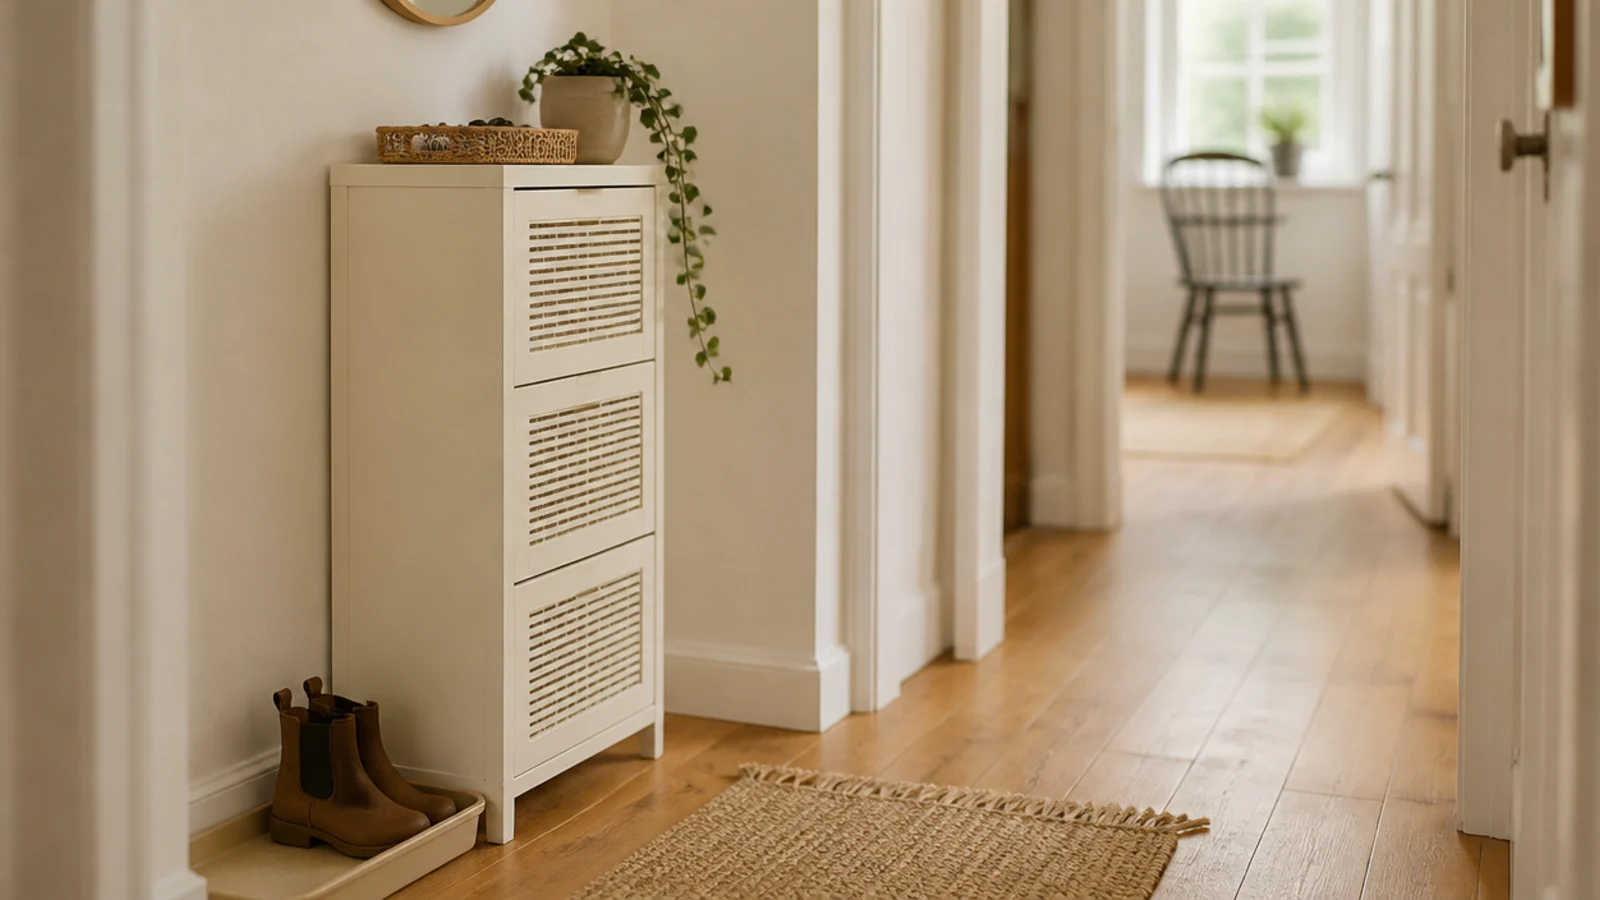
After: the doors removed and the interior turned into open cubbies, one pair per opening.
Every door is a step people skip when their hands are full or they are late. Open storage works with children because there is nothing to decide. The entryway shoe storage guide has the pair counts. Cost: a screwdriver.
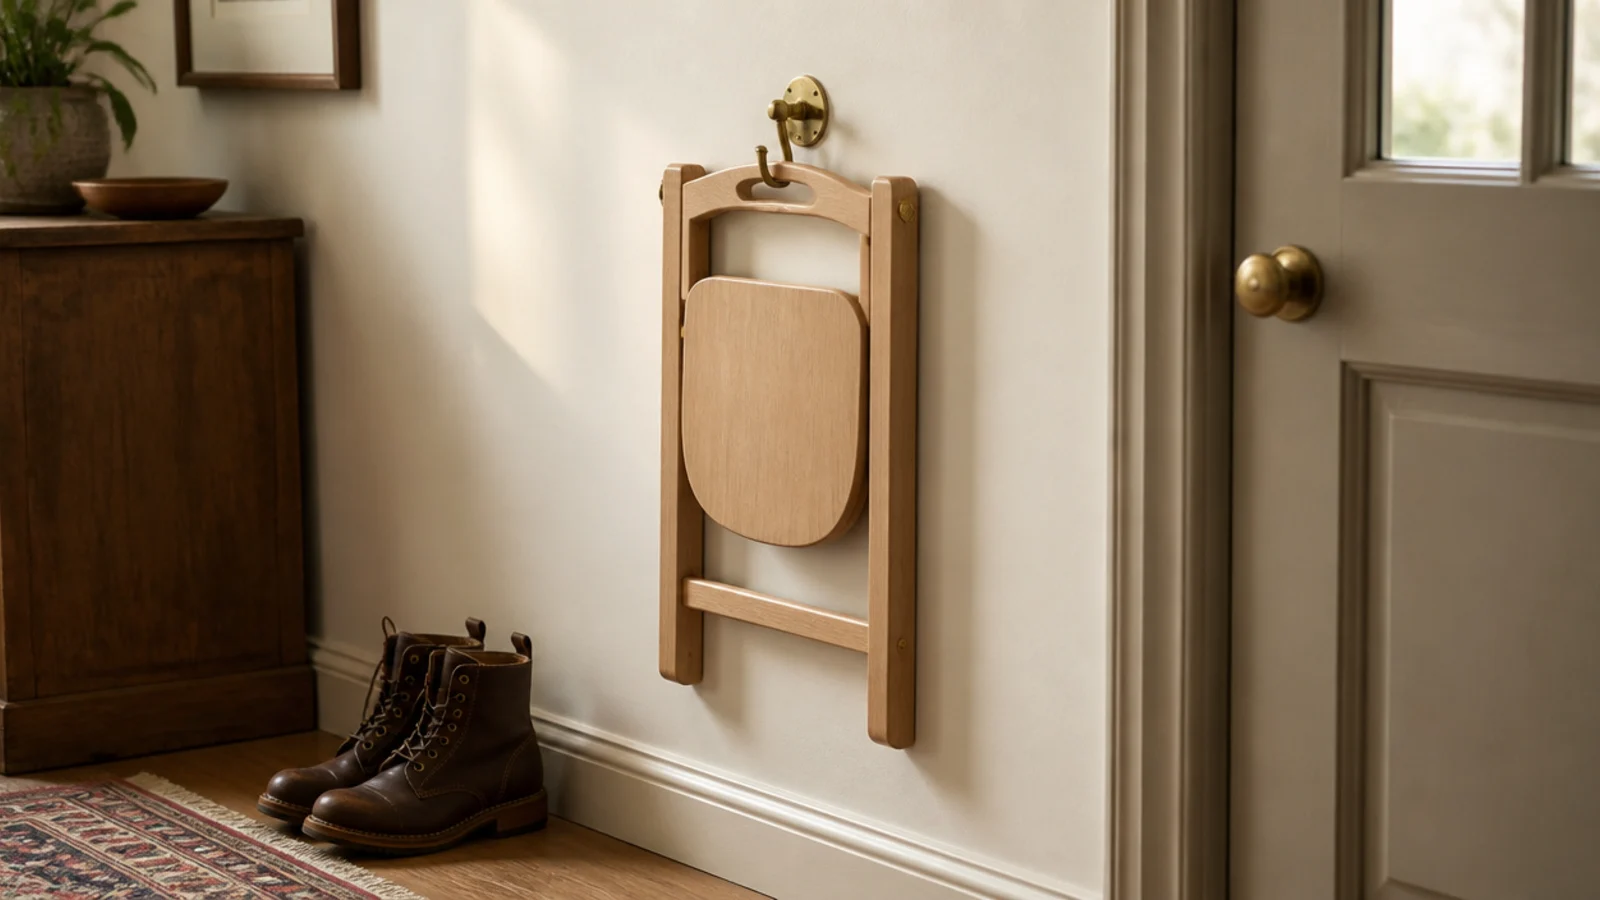
Makeover 11: The entry with nowhere to sit
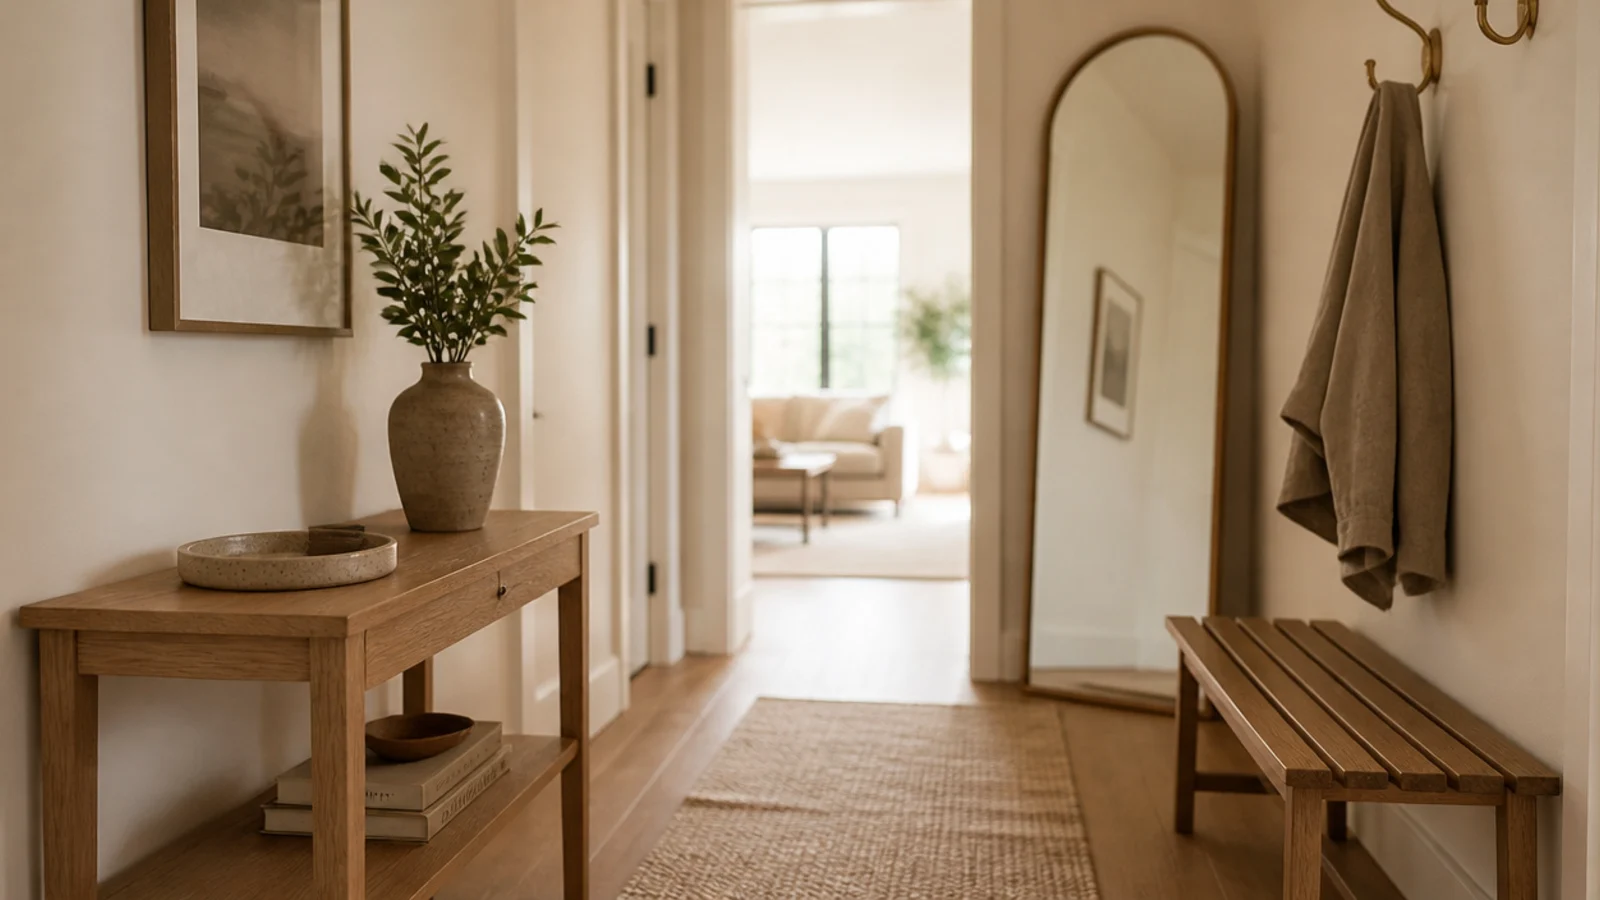
Before: a well-styled hallway with a console, a mirror and dried grasses, and everyone leaning on the wall to unlace boots. The paint showed it at shoulder height.
After: a folding beech stool hanging on its own hook at 40 inches.
Somewhere to sit is one of the five jobs an entry has, and this one was doing two and a half. A stool fits where a bench never will, and it lives on the wall between uses. Thirty-eight dollars.
Makeover 12: The art that lived behind the coats
Before: a small framed print hung six inches above the coat rail, invisible from October onwards and brushed by a damp wool sleeve every morning.
After: the same print moved three feet along to a wall nothing hangs on.
Leave the wall above hooks emptier than feels right, because coats fill that space daily. This is the cheapest lesson in the article and the one people argue with most before they try it. Cost: nothing.
Makeover 13: The builder-grade ceiling fixture
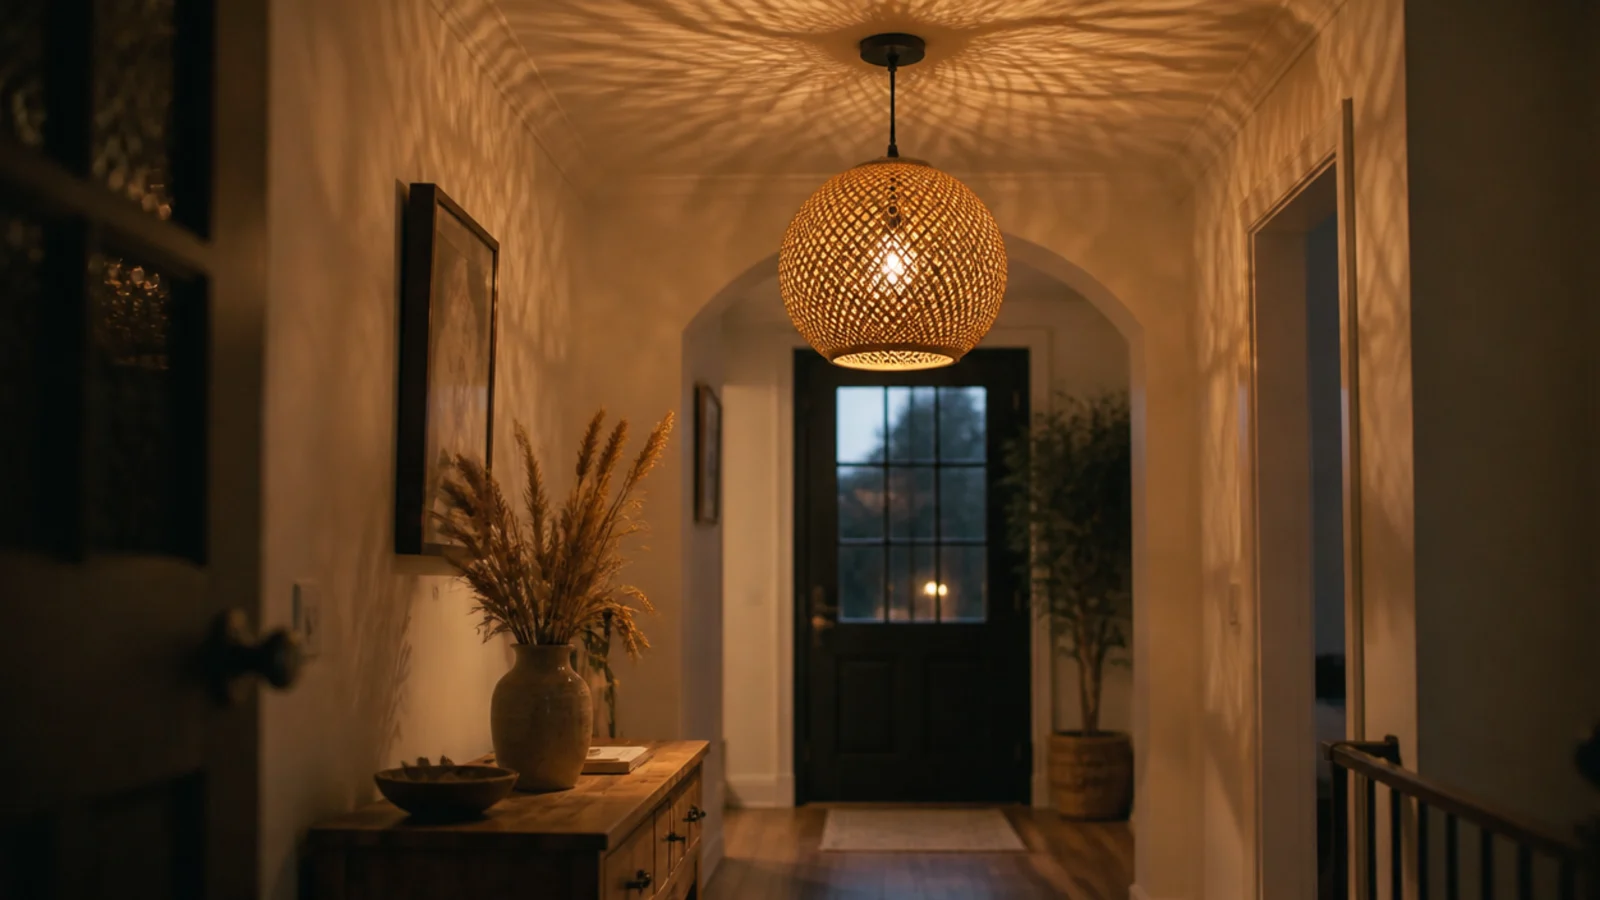
Before: a flat glass dome light, the kind fitted in every apartment in the building, throwing hard shadowless light down a narrow hall.
After: a woven rattan pendant with the bottom of the shade at 7 feet.
The original fixture went in a box for move-out day. A woven shade throws pattern across the ceiling and makes a corridor feel like a room, which is a lot to buy for $65.
Makeover 14: The scuffed door and baseboards
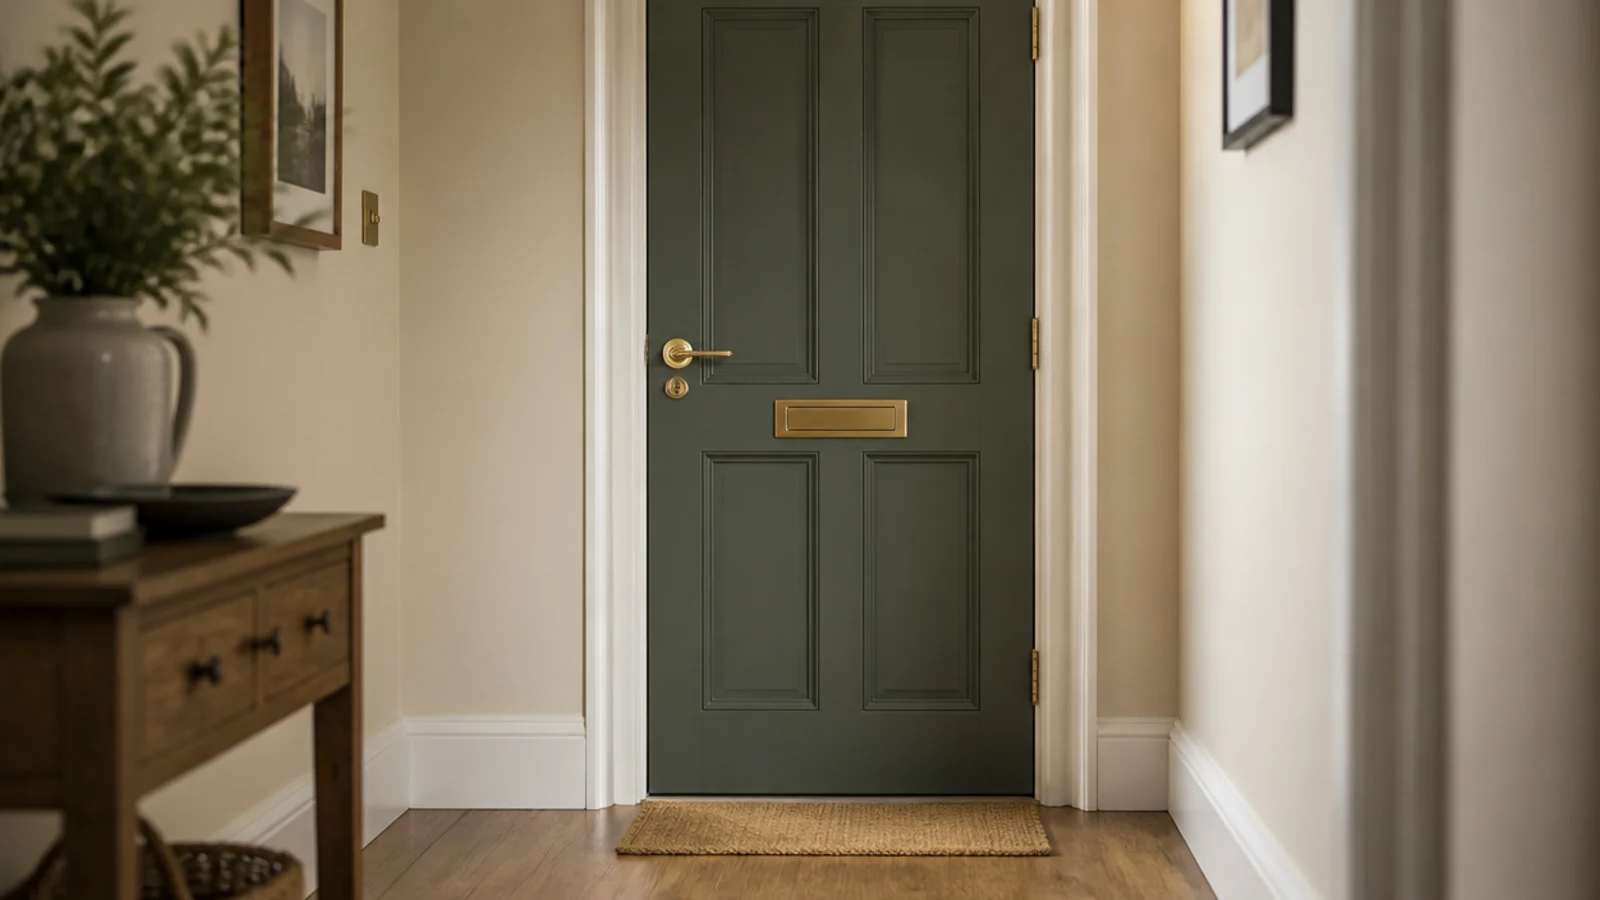
Before: a chipped white front door, marked baseboards and a frame that had been touched up in three slightly different whites over the years.
After: the inside face of the door in deep sage, and fresh crisp trim paint on the frame and baseboards.
Nothing makes secondhand furniture look intentional faster than clean trim behind it. It is the least exciting job here and the one visitors notice most. Paint, $40.
Makeover 15: The rental where nothing could be drilled
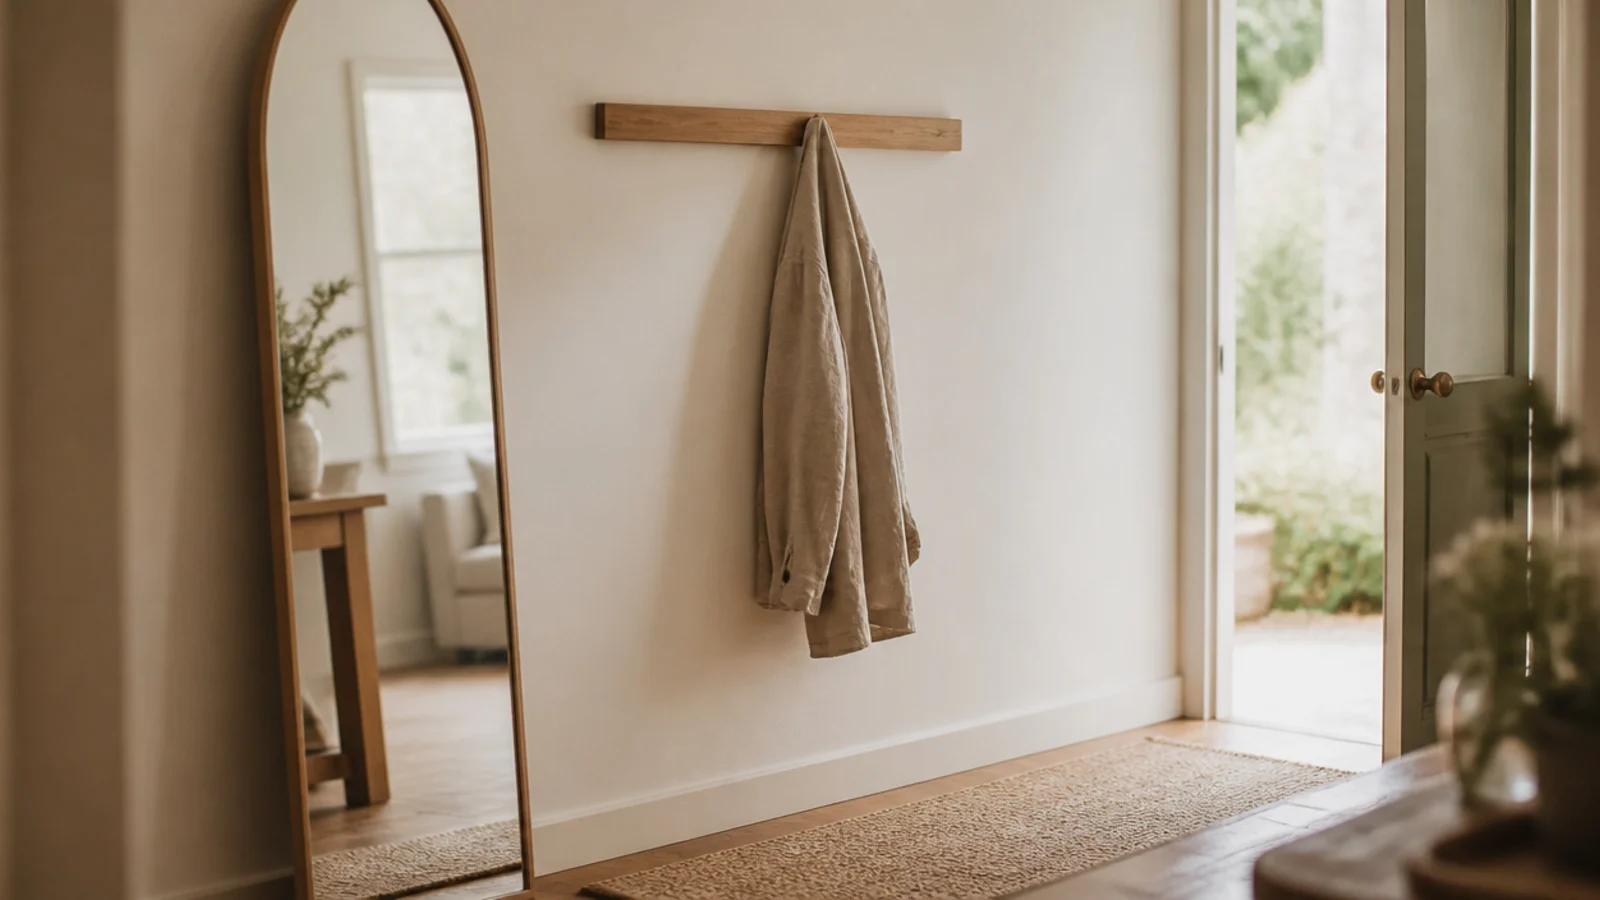
Before: a strict no-fixings lease, bare walls, and coats over a dining chair beside the door.
After: a tall arched mirror leaning against the wall and a slim oak hook rail on heavy-duty adhesive strips carrying two coats.
Strips are honestly rated around 15 pounds per pair and a wet wool coat is 6 to 8, so the rail is a two-coat solution, not a family one. Everything else went freestanding. Total $130, zero holes.
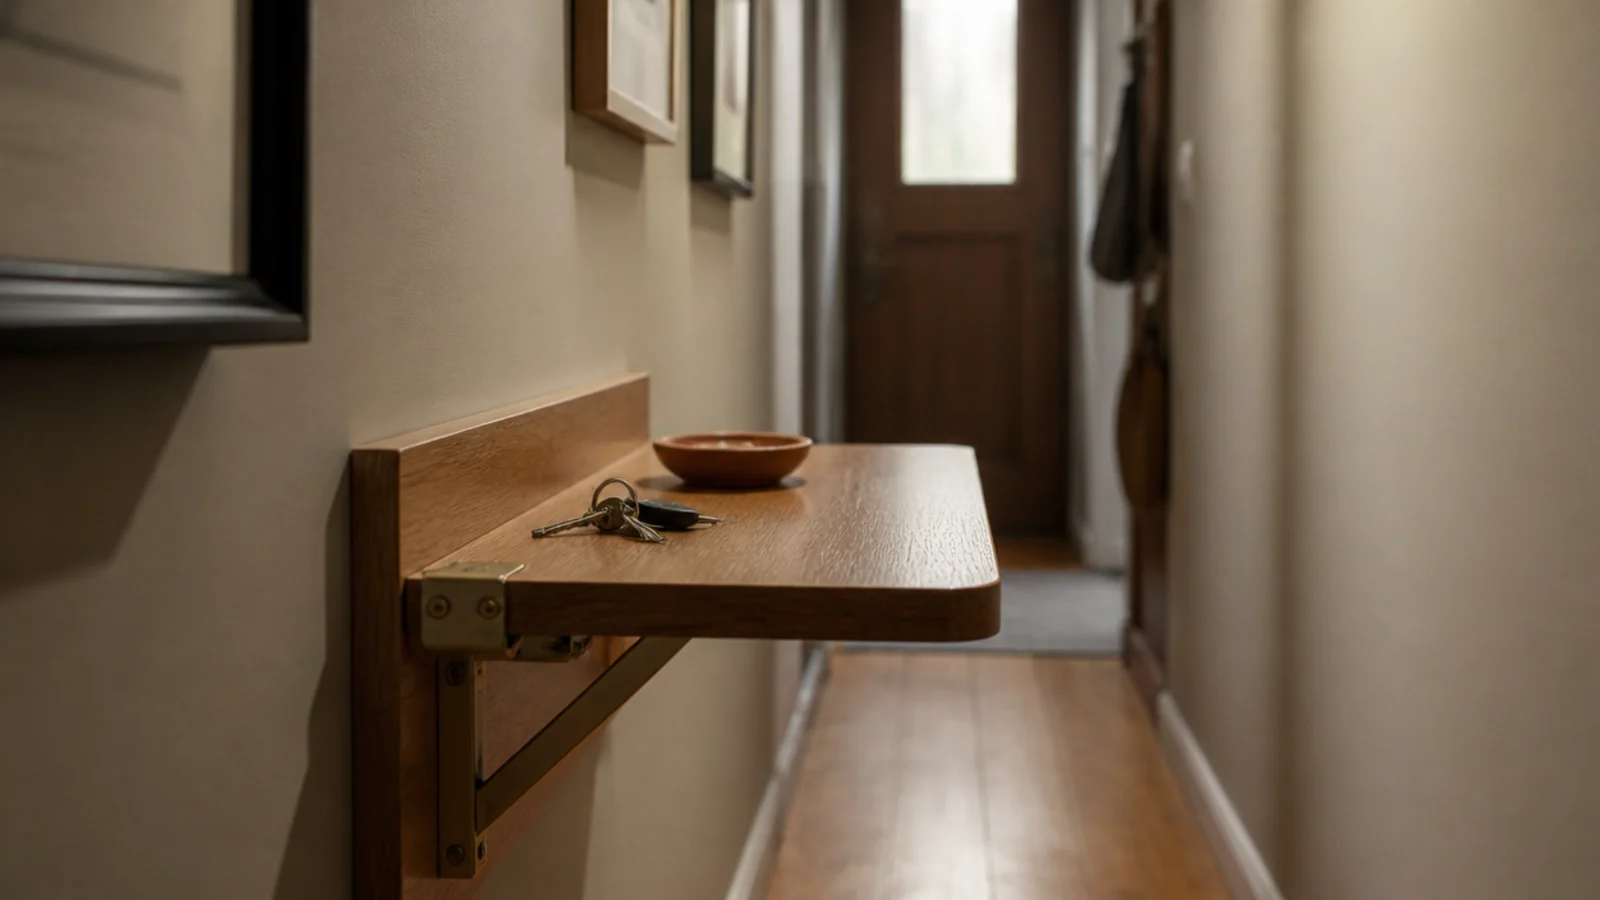
Makeover 16: The hallway under 36 inches wide
Before: a 33-inch hallway with a slim console that still had to be edged past sideways, every day, by everyone.
After: a wall-mounted drop-leaf shelf at 31 inches high and 10 inches deep, folded flat most of the time.
Under 36 inches of walkway, no console works, however narrow the marketing says it is. A hinged shelf gives you a surface when you want one and your hallway back when you do not. Fifty-two dollars.
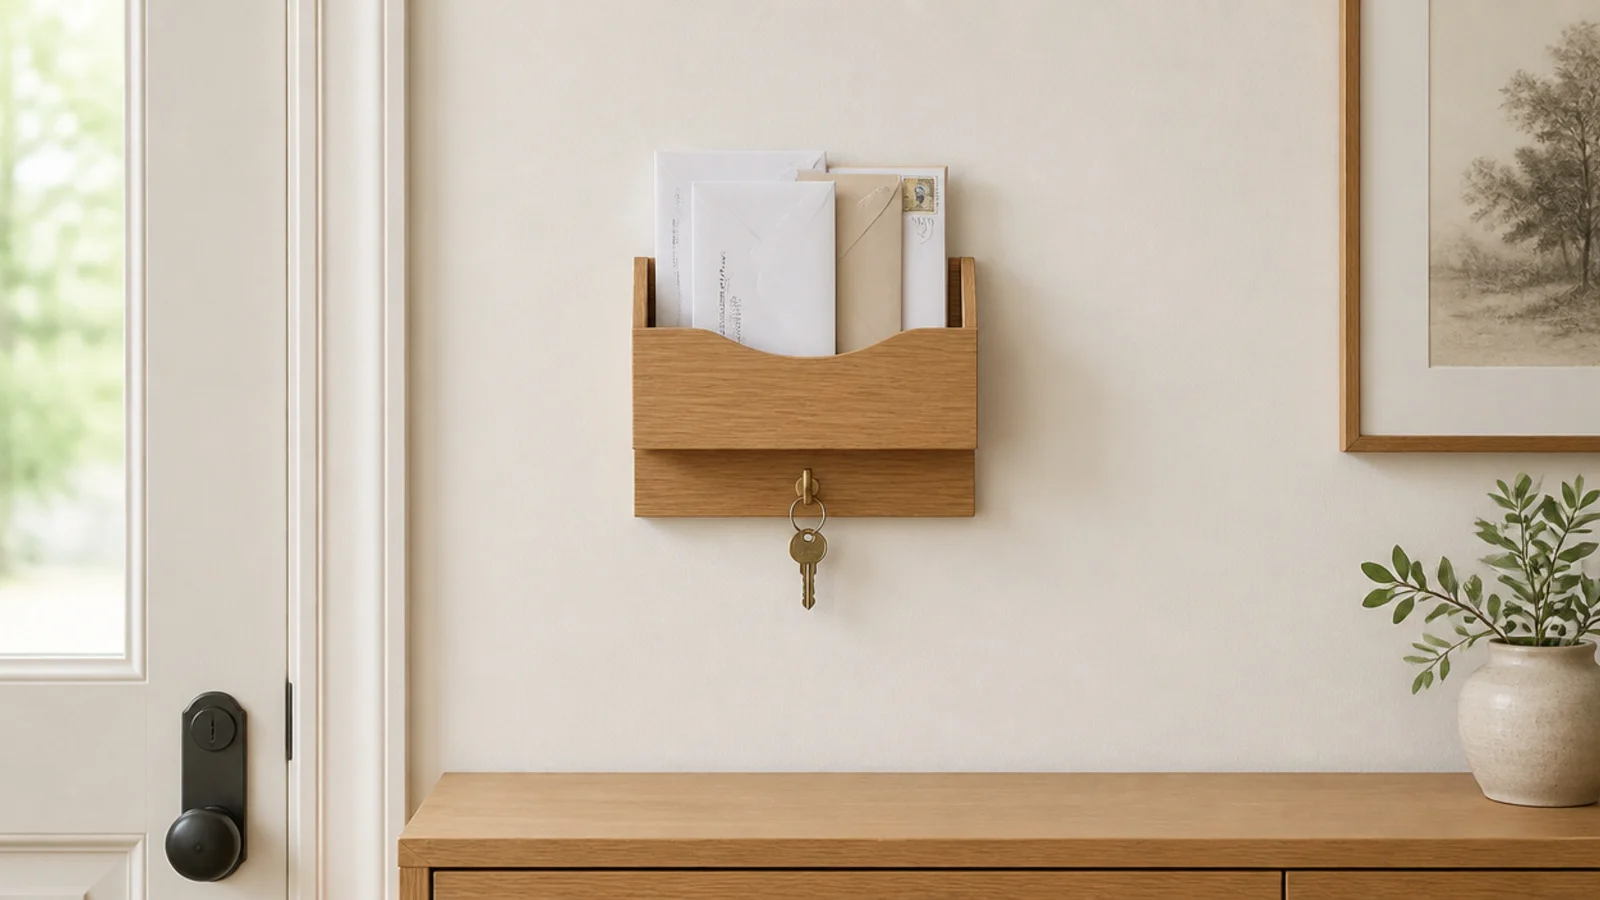
Makeover 17: The mail mountain
Before: post in three separate stacks — console, stair tread and windowsill — because none of them had ever been designated.
After: one slim wall-mounted rack at 48 inches holding everything vertically, with a key hook screwed underneath.
Post stacks horizontally and consumes surfaces; stored upright it takes 3 inches of depth. The rule that made it hold was emptying it every Sunday. Rack and hook, $34.
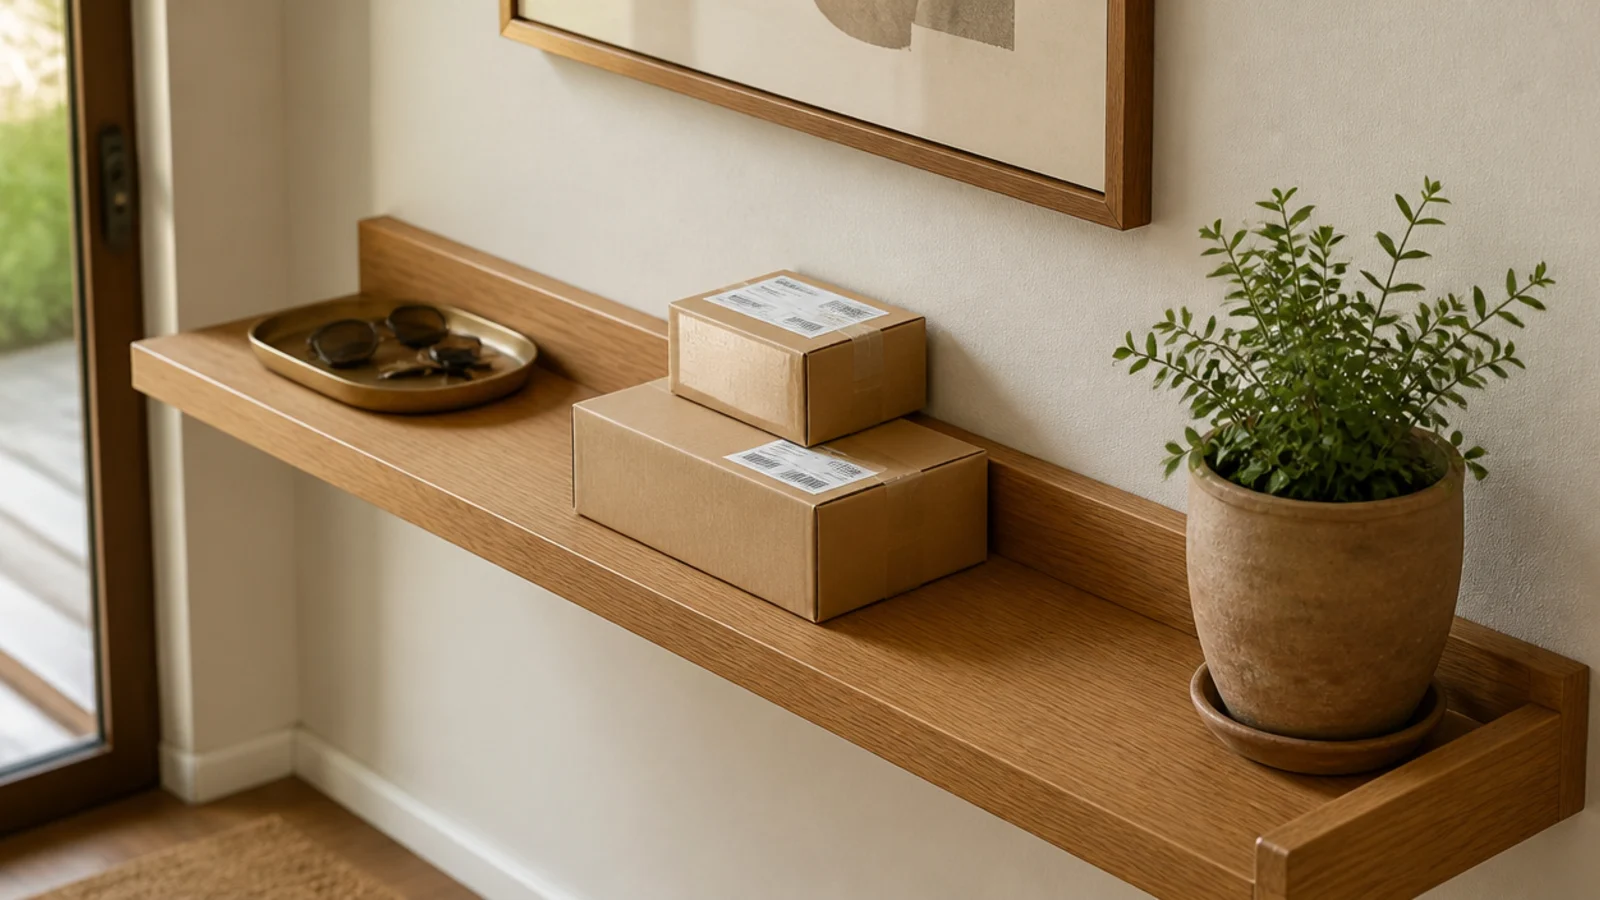
Makeover 18: The parcels on the floor
Before: a household getting four or five deliveries a week, with boxes stacked in the walkway because every surface was already occupied.
After: the last third of the console kept permanently empty as a parcel landing spot.
It is a rule rather than a purchase, and it is the single reason some entries stay tidy while identical ones do not. Nothing to buy, and it survived a Christmas.
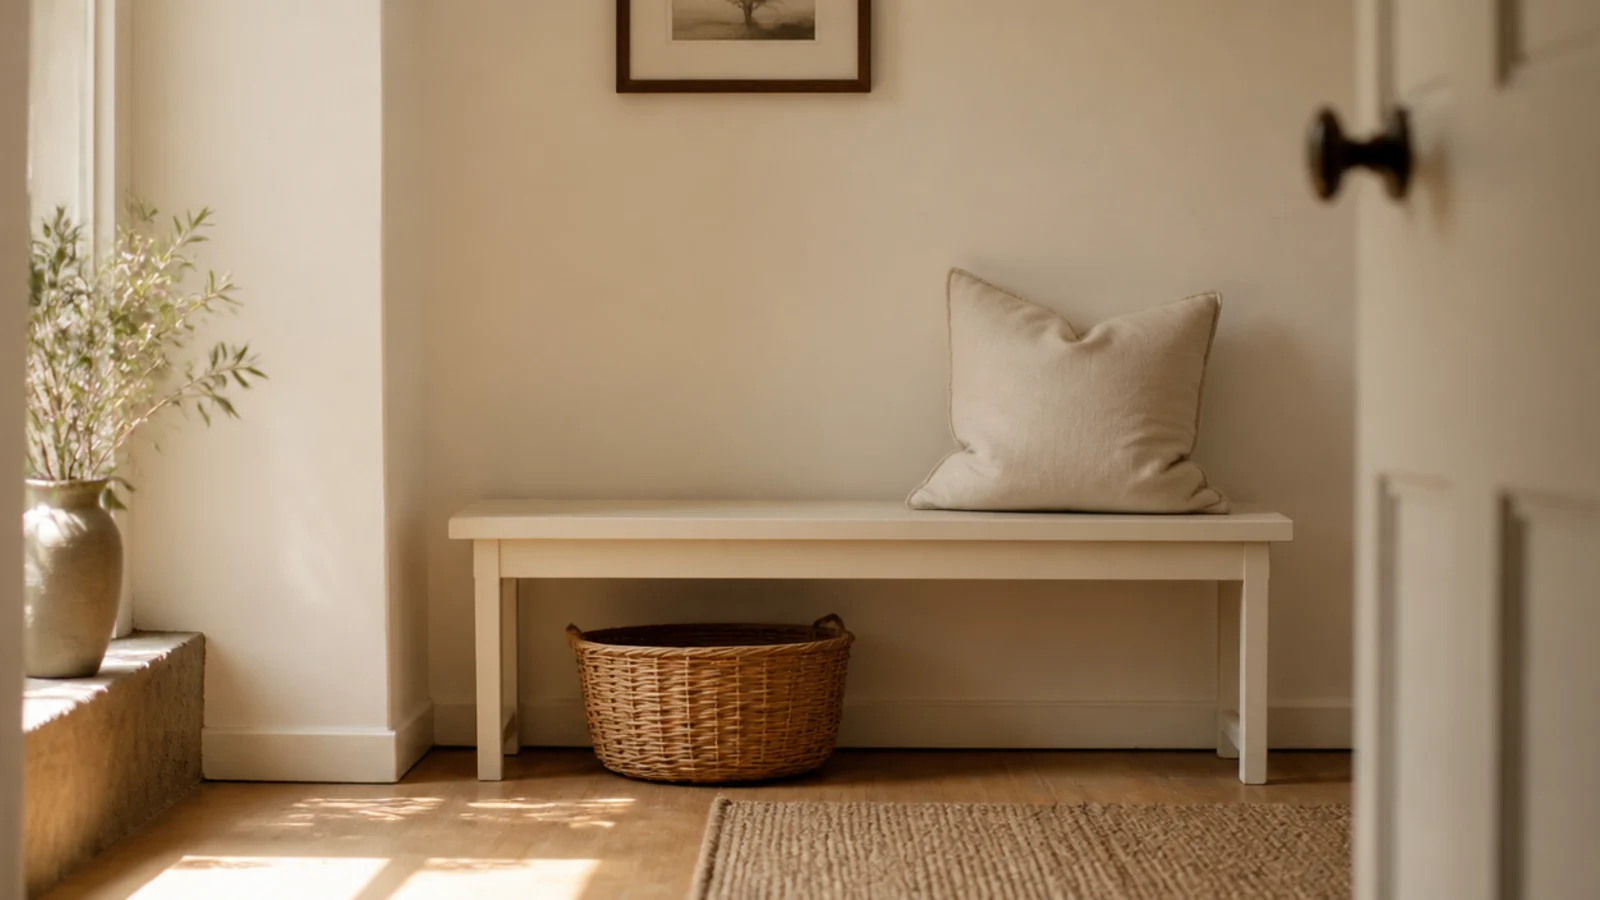
Makeover 19: The orange pine bench
Before: a solid, useful bench in stained pine that read distinctly orange against warm cream walls and matched nothing else in the house.
After: two coats of the wall colour in satin, over a light sand.
Painting good wood feels like a downgrade right up until you see it. The bench stopped being an object stuck in a hallway and started reading as part of the room. One sample pot and an afternoon, $11.
Makeover 20: The entry doing all five jobs badly
Before: a bench, a shoe cabinet, a console, a mirror and a coat rail crammed into eight feet, with about 30 inches to walk through.
After: the bench and the cabinet removed, leaving hooks, a slim shelf and a mirror.
An entry has five jobs and only needs to do three of them well. Taking two out gave back the walkway and made the remaining three usable. The shoes moved to a slim shoe cabinet around the corner. Cost: nothing, and two things sold.
Entryway Before and After: What I'd Do Differently Now
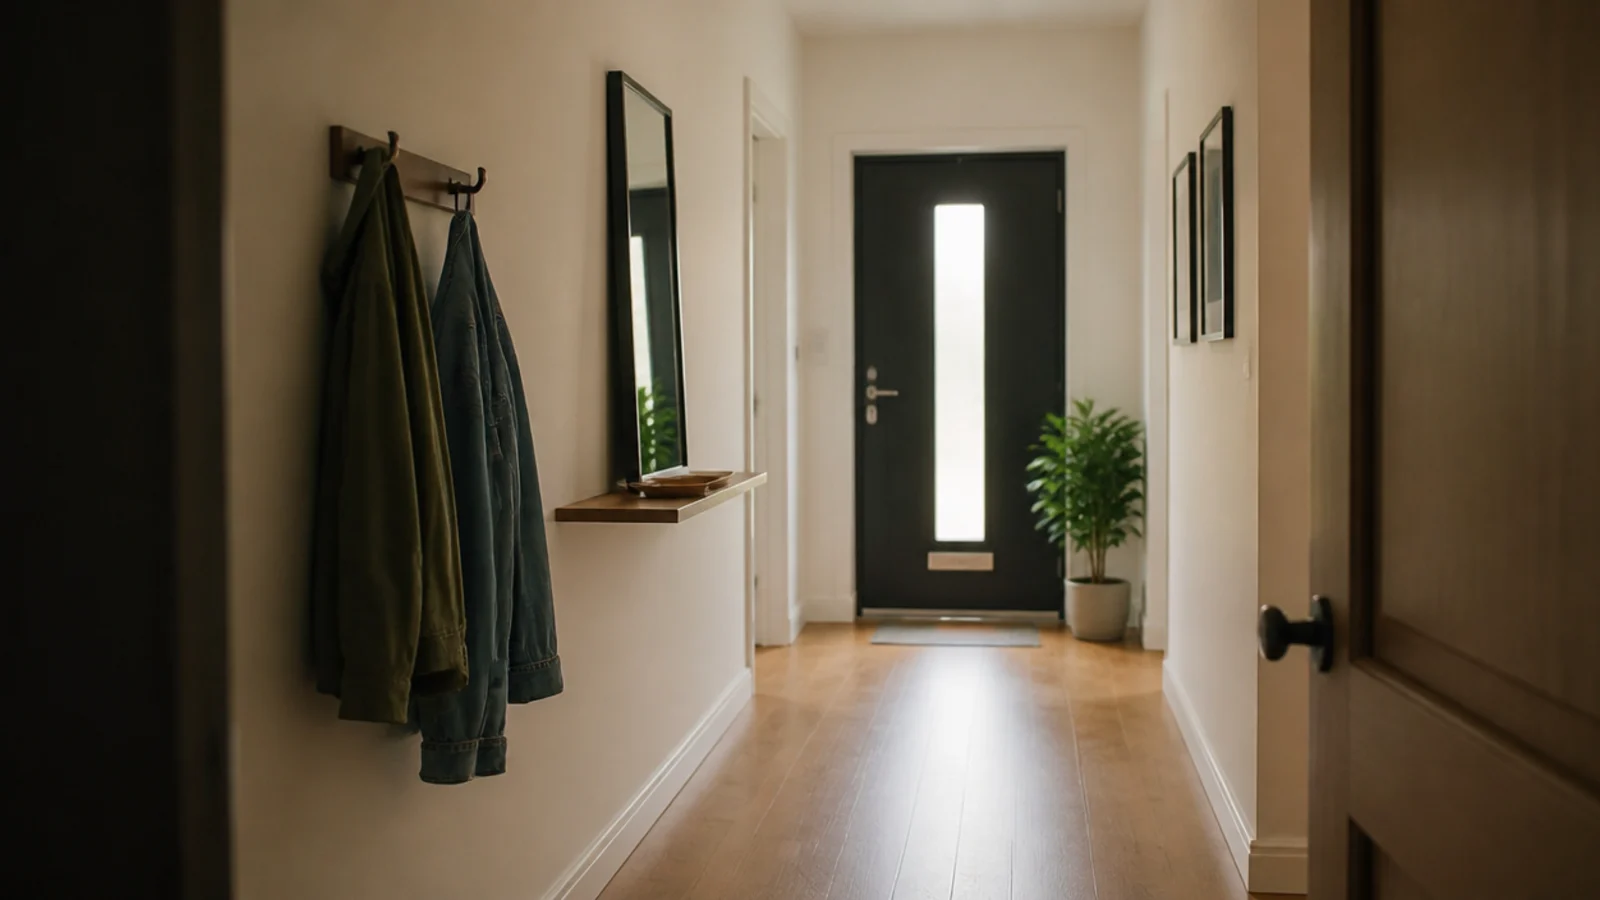
Looking at twenty of these in a row, the uncomfortable pattern is that most of what worked was measuring, not buying.
Six cost nothing. The changes that cost real money were dimensional fixes — a runner that could survive, a console that fit, a rail anchored properly — and no amount of styling would have rescued any of them.
If I could go back and give myself one instruction, it would be to live in the space for a month with a runner, two hooks and one tray before buying anything else. Every hallway I have done that way has needed less furniture and worked better, because the house tells you where things land and it is never quite where the plan said.
The other change is order. I used to decorate first and fix the function later, which meant doing it twice. Now I set the four numbers — hooks at 52, a child rail at 40, a console no deeper than 12, a mirror centred at 57 to 60 — and only then think about what anything looks like.
Frequently asked questions
What is the cheapest entryway makeover that actually works?
Hooks at the right height and one tray, for about $30 together. Both fix daily friction rather than appearance, which is why they hold. Across these twenty makeovers, the free changes — moving art off the coat wall, emptying a shelf for parcels, swapping a bulb to 2700K — show up more often than anything I bought.
How long does an entryway makeover take?
A styling and rehanging session takes two to three hours, including the part where you take everything off the wall and start empty. Painting a door or a wall block is an afternoon plus overnight drying. Fitting a wall-mounted console or a cabinet is one evening, assuming you find the studs first.
Should I buy new furniture or rework what I have?
Rework first. In these twenty makeovers, twelve needed nothing bought beyond hardware. Replace only when the piece is physically wrong for the space — a console deeper than 12 inches in a narrow hall, a deep-pile runner, a bench that blocks the walkway. Those are dimensional problems that styling cannot solve.
What makes the biggest visual difference in an entryway?
Light, then the floor. Swapping a cool 4000K bulb for 2700K and adding a second warm source at eye level changes how every material in the room reads, for about $40. After that, a flat-weave runner in the right size does more than furniture, because it defines the zone and hides the wear.
How do I keep an entryway tidy after the makeover?
Give every person one named hook and one named basket, and keep the last third of any surface permanently empty. Shared storage collapses because nobody owns the overflow, and an entry with no landing spot for parcels turns the floor into one. Both rules cost nothing and outlast every organiser I have bought.
Try the free version first on whichever hallway annoys you most: move the hooks to 52 inches, put one tray on the surface, take the art off the coat wall and swap the bulb for 2700K. If it still feels wrong, the problem is dimensional and worth spending on. The full walkthrough is in entryway ideas, and the errors behind these fixes are catalogued in entryway mistakes. Save the pin before you buy any furniture.
Want more like this? Browse all 15 entryway & foyer ideas guides — they all use the same measurements and budget tiers.
Pin it for later
Save this to your Entryway & Foyer Ideas board
Pin it now so it is waiting for you when the tape measure comes out — and so the next person hunting for this idea can find it too.
Save this pinKeep going
More ideas worth saving while you have the tape measure out.