Shoe Cabinet Ideas · UGC
20 Shoe Cabinet Before and After Makeovers

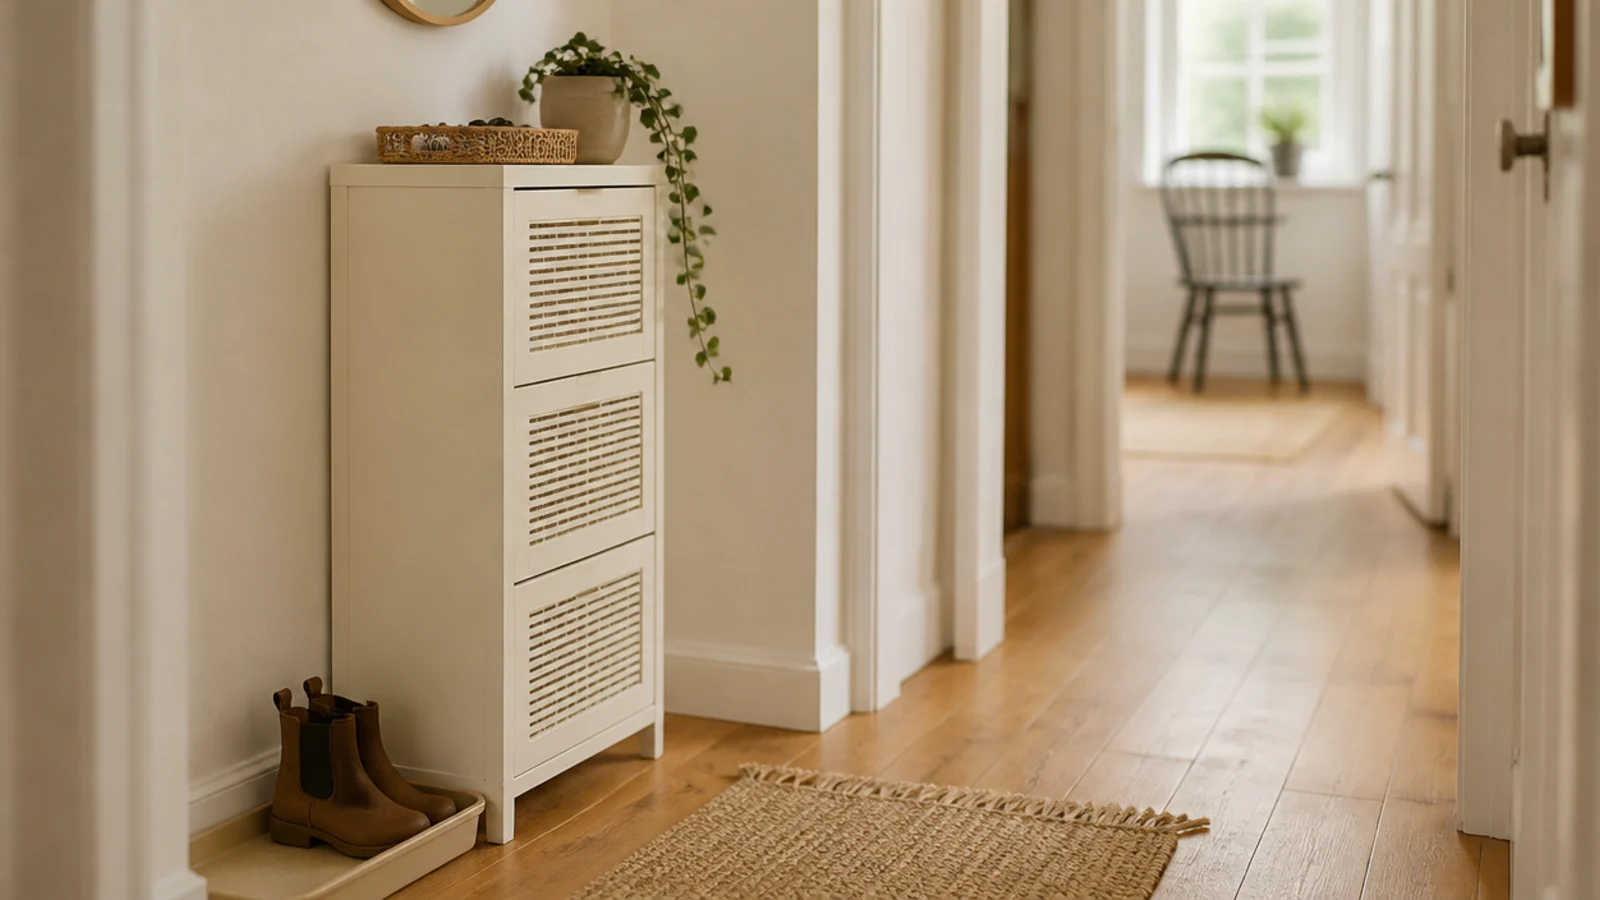
Shoe cabinet before and after is more useful than any buying guide, because the changes that actually work are rarely the ones people expect. I have reworked these in my own four hallways and in a lot of other people's, and the pattern repeats with almost boring consistency.
About half the cabinets I am asked to look at need nothing bought at all. They are too full, they have no airflow, and there is nowhere for wet shoes to go. The other half have a physical fault — the wrong depth for the walkway, flat internal shelves under 13 inches, a carcass hung on plastic plugs — and styling cannot touch any of those.
What follows is 20 real makeovers: what the hallway looked like first, what I changed, and what it cost. Seven of them cost nothing. The most expensive was $240. And the change that appears most often across all twenty is simply taking shoes out.
In this guide21 sections — tap to openHide
- 1.Makeover 1: The thirteen-inch cabinet in a thirty-four inch hall
- 2.Makeover 2: The cabinet that smelled every evening
- 3.Makeover 3: The top that became a mail pile
- 4.Makeover 4: The dark cabinet in a narrow passage
- 5.Makeover 5: The boots stranded beside a full cabinet
- 6.Makeover 6: The flat-pack that looked like flat-pack
- 7.Makeover 7: The drawer front that split from slamming
- 8.Makeover 8: The wall-hung cabinet that crept out of level
- 9.Makeover 9: The stained drawer bases
- 10.Makeover 10: The hallway with nowhere for wet pairs
- 11.Makeover 11: The drawer that would not close
- 12.Makeover 12: The bare wall above the cabinet
- 13.Makeover 13: The entry that read grey all winter
- 14.Makeover 14: The handles that caught every sleeve
- 15.Makeover 15: The tapering gap along the wall
- 16.Makeover 16: The cabinet nobody opened because of doors
- 17.Makeover 17: The unit too tall for a small landing
- 18.Makeover 18: The dead space under the stairs
- 19.Makeover 19: The cabinet that tipped when a drawer opened
- 20.Makeover 20: The one that only needed emptying
- 21.Shoe Cabinet Before and After: What I'd Do Differently Now
Makeover 1: The thirteen-inch cabinet in a thirty-four inch hall
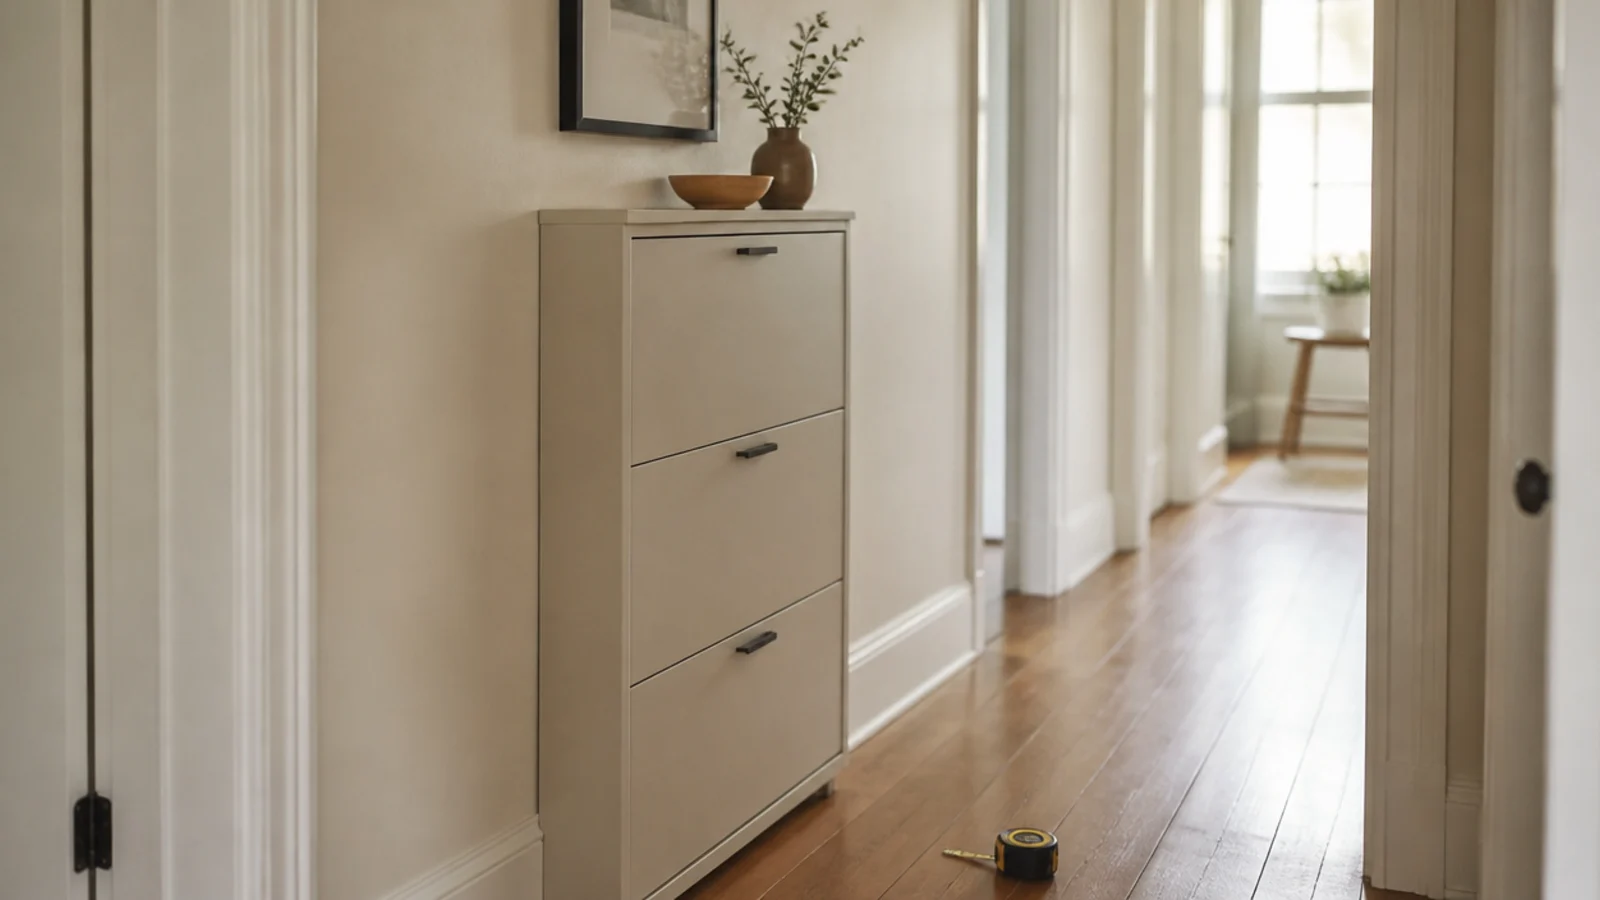
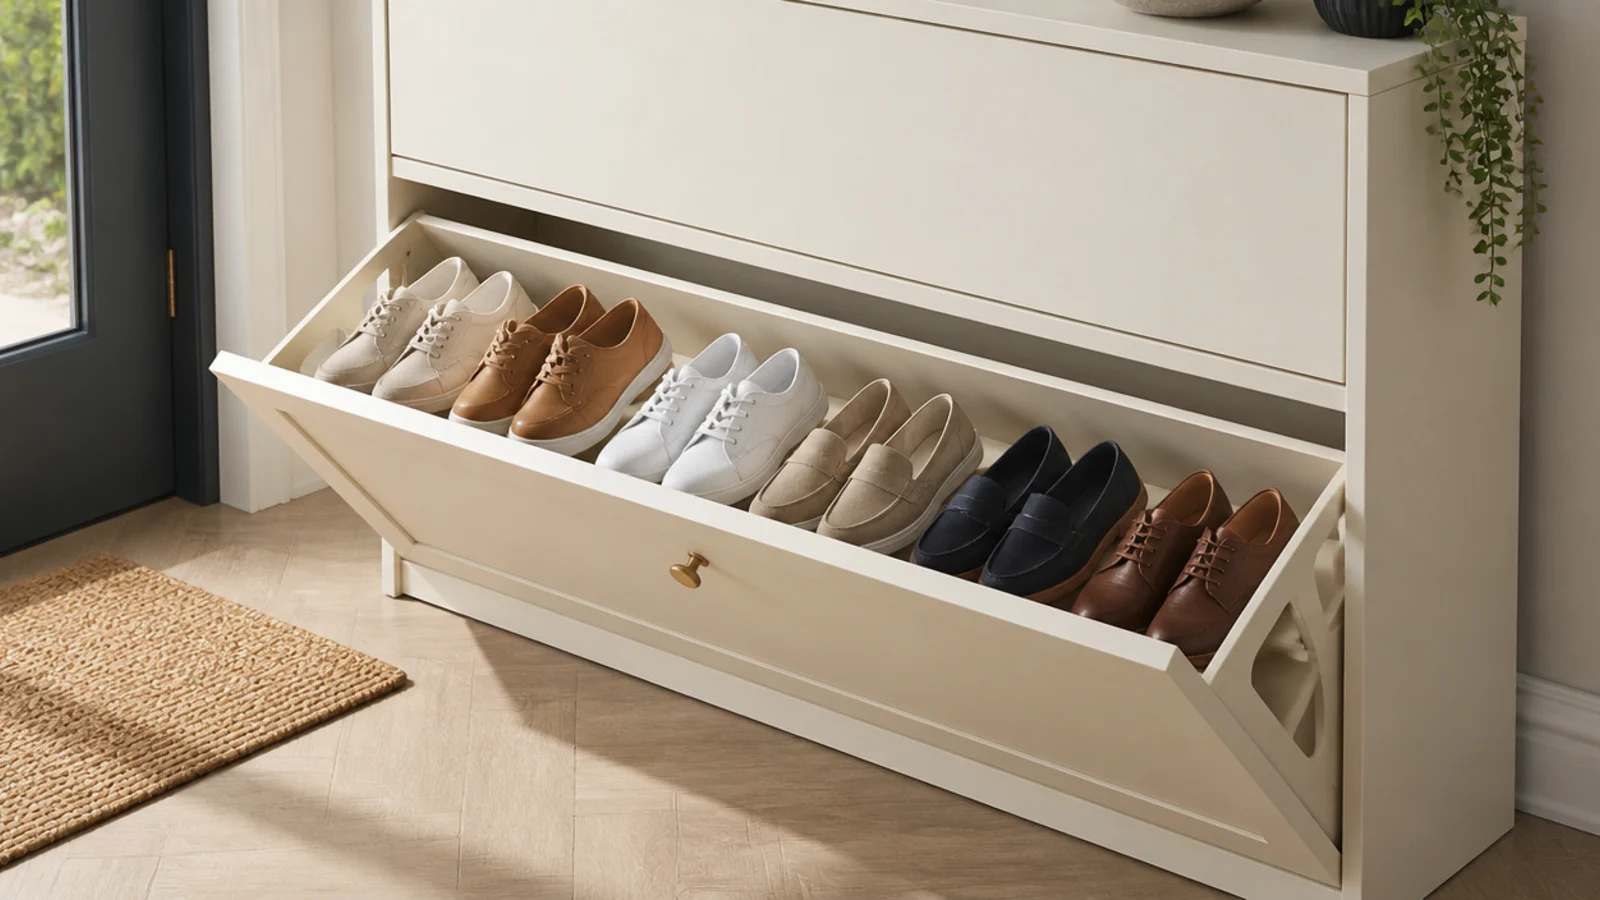
Before: a flat-shelf cabinet 13 inches deep in a passage measuring 34 inches wide, clipped with a shoulder daily for the better part of a year.
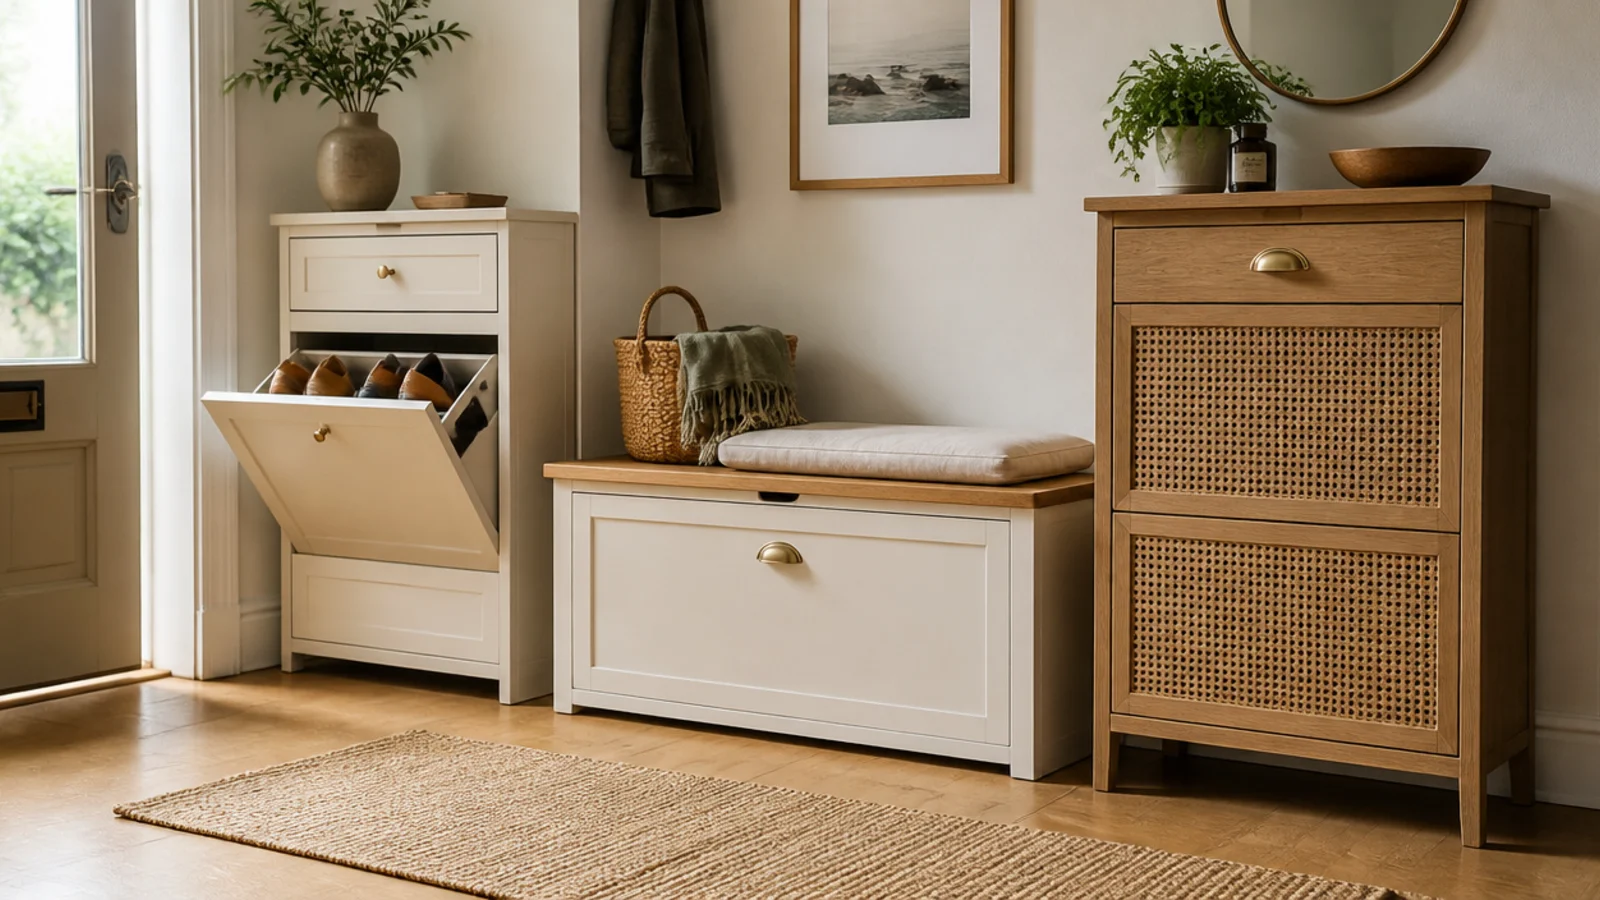
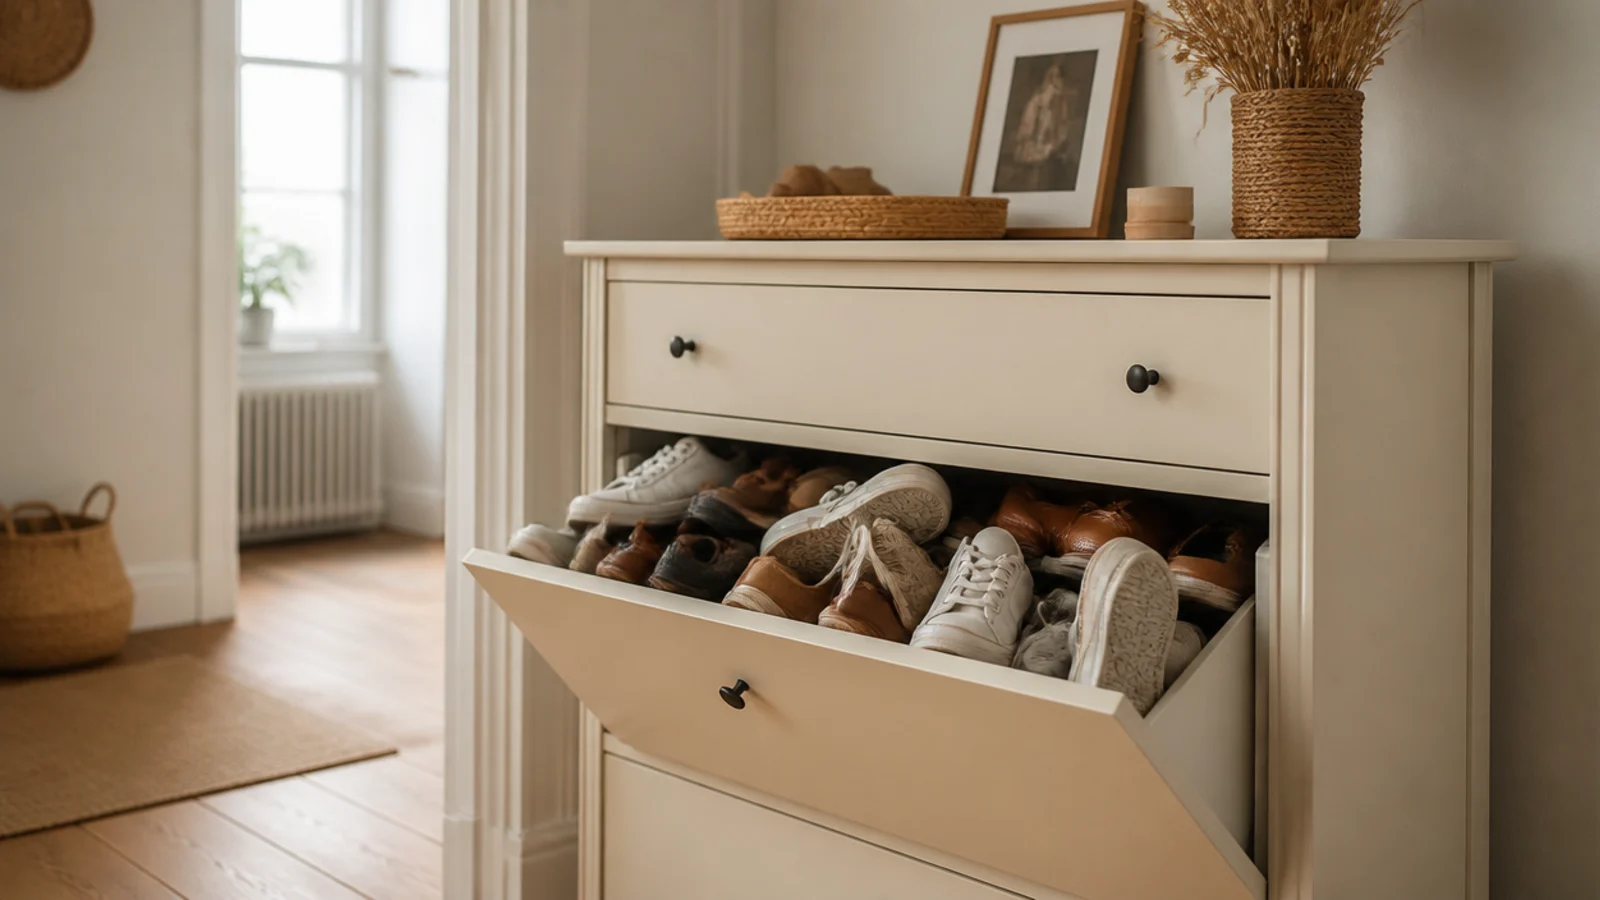
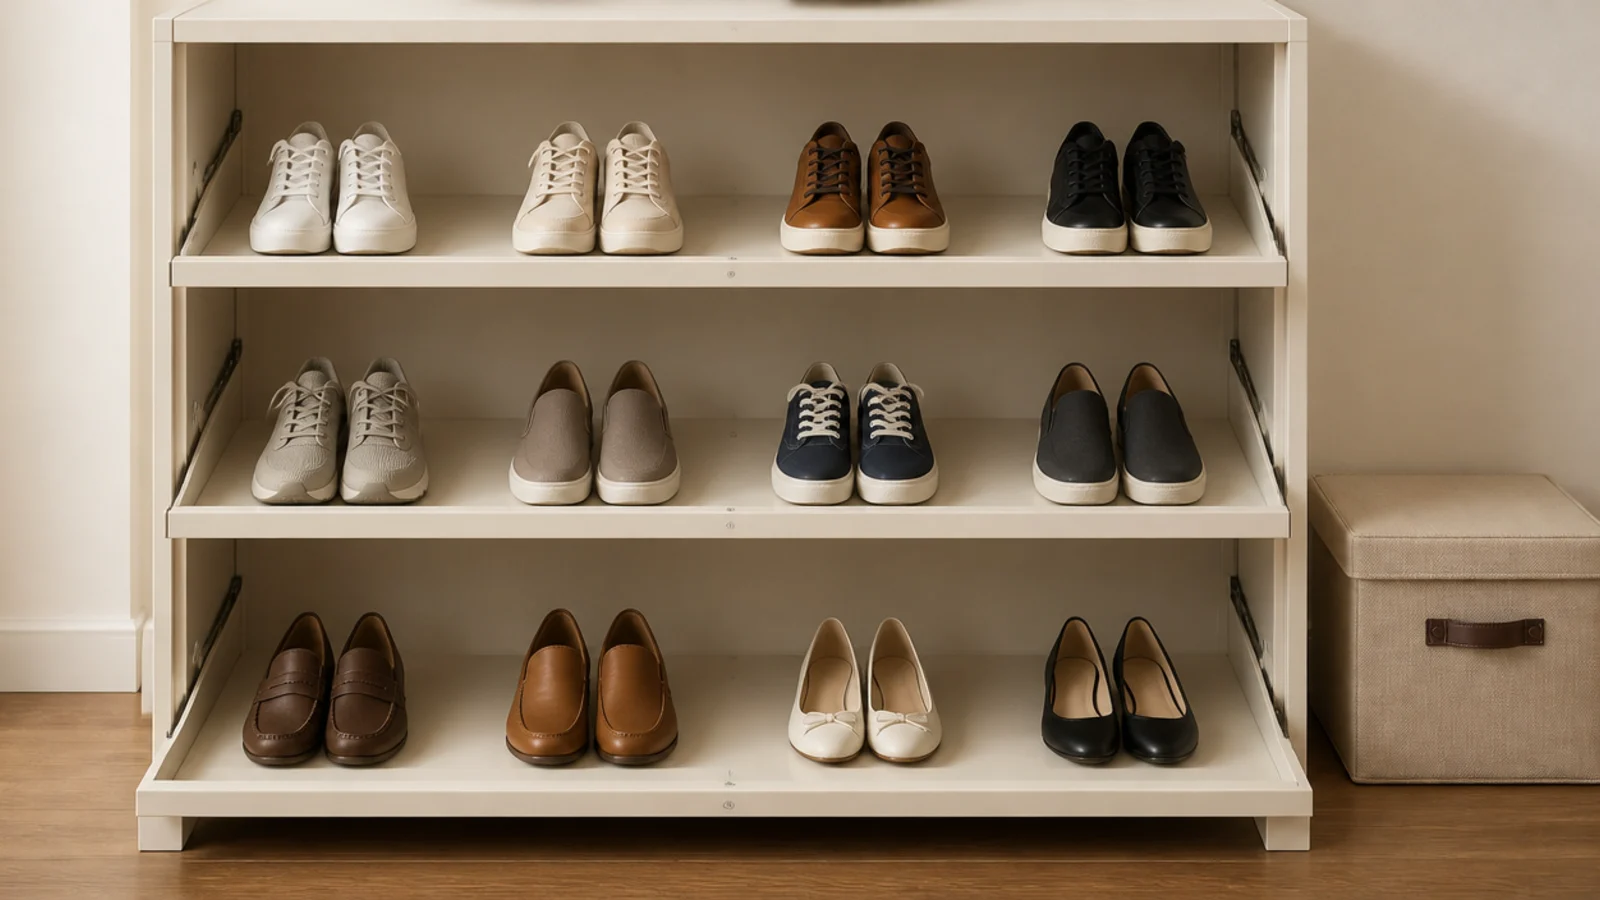
After: a 9-inch tilt-out cabinet holding the same number of pairs.
The shoes sit at 45 degrees inside a tilt-out drawer, so a 12.5-inch sneaker fits in a carcass four inches shallower. Same capacity, four inches of hallway back, and the cabinet stopped being something anyone noticed. Cost $140 and one afternoon.
Makeover 2: The cabinet that smelled every evening
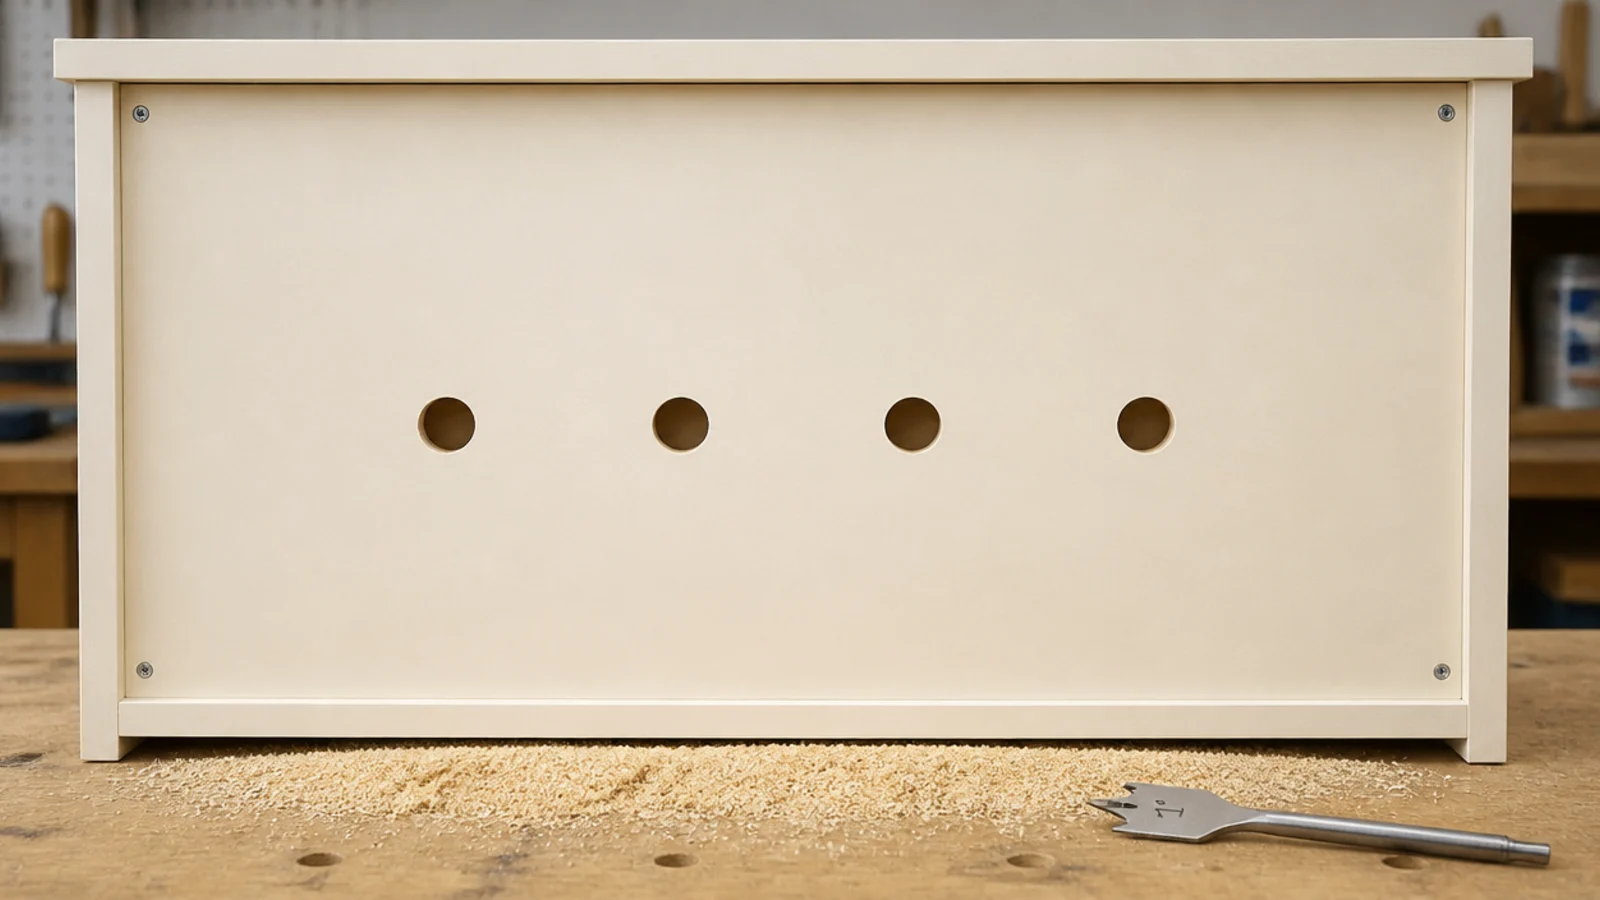
Before: clean, dry shoes in a sealed carcass with a solid back board and a solid front, and a faint smell every single evening.
After: four one-inch holes drilled through the back panel, level with the middle of each drawer.
The smell is trapped humidity, not the shoes. Fifteen minutes with a spade bit and a scrap board clamped behind so the panel did not tear out. Nobody sees the back. Cost: a $6 drill bit.
Makeover 3: The top that became a mail pile
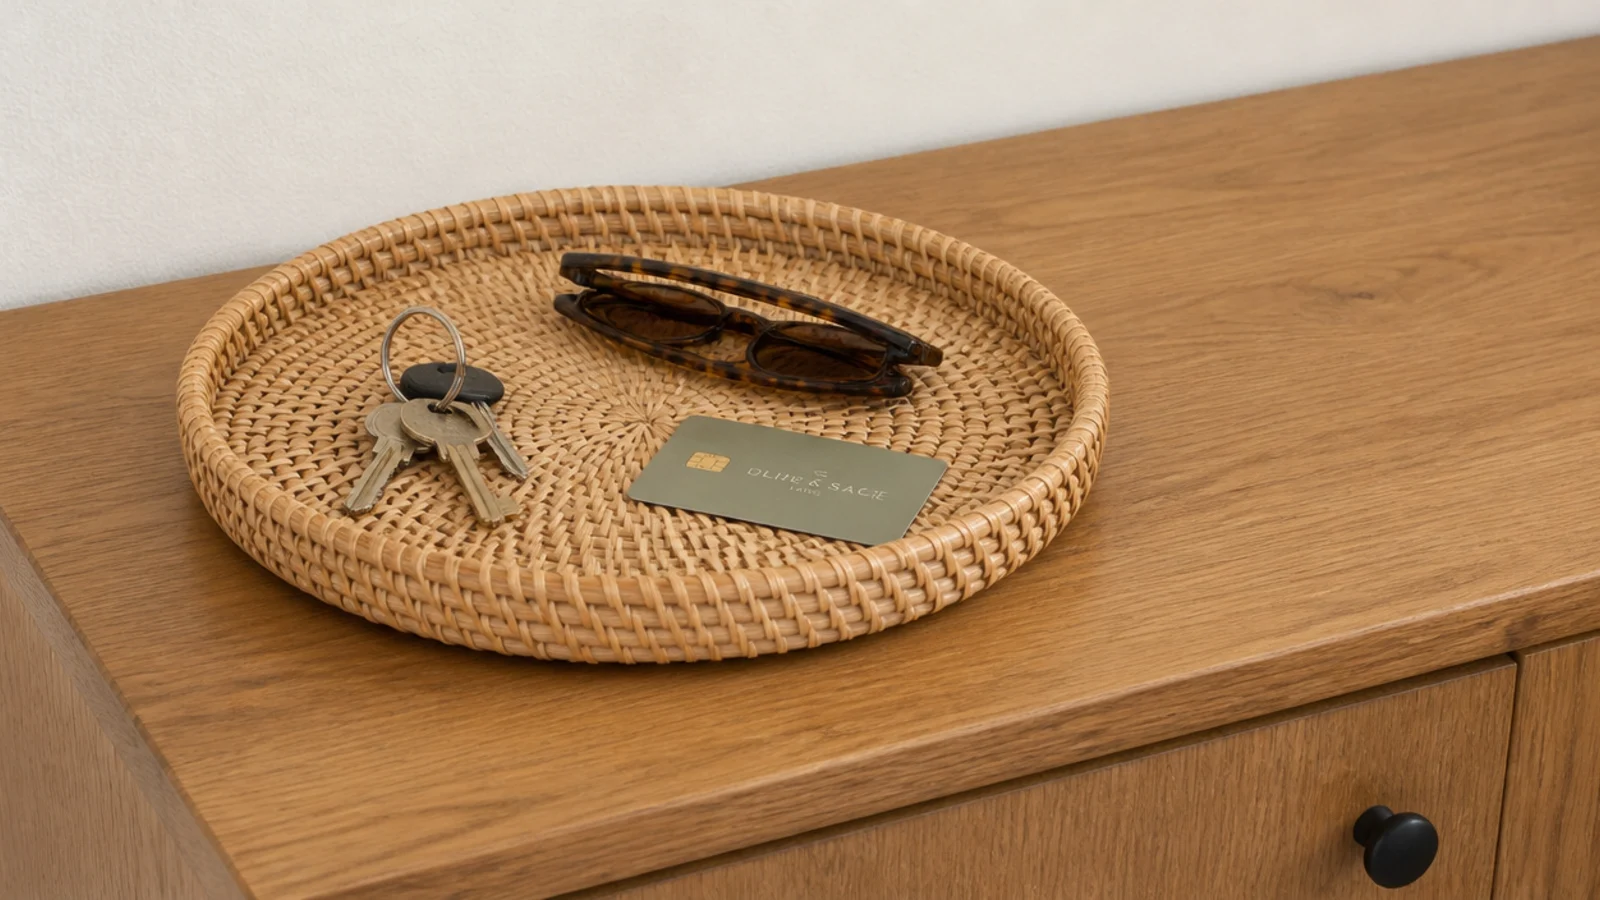
Before: a flat surface two feet inside the front door, buried under envelopes, receipts and two sets of keys.
After: one rattan tray, 14 inches wide, with a raised edge.
The lip is the entire mechanism. A flat board does nothing, because small things slide across it and onto the floor. Everything loose goes in the tray, and the rest of the surface stayed clear enough to be worth styling. Cost $22.
Makeover 4: The dark cabinet in a narrow passage
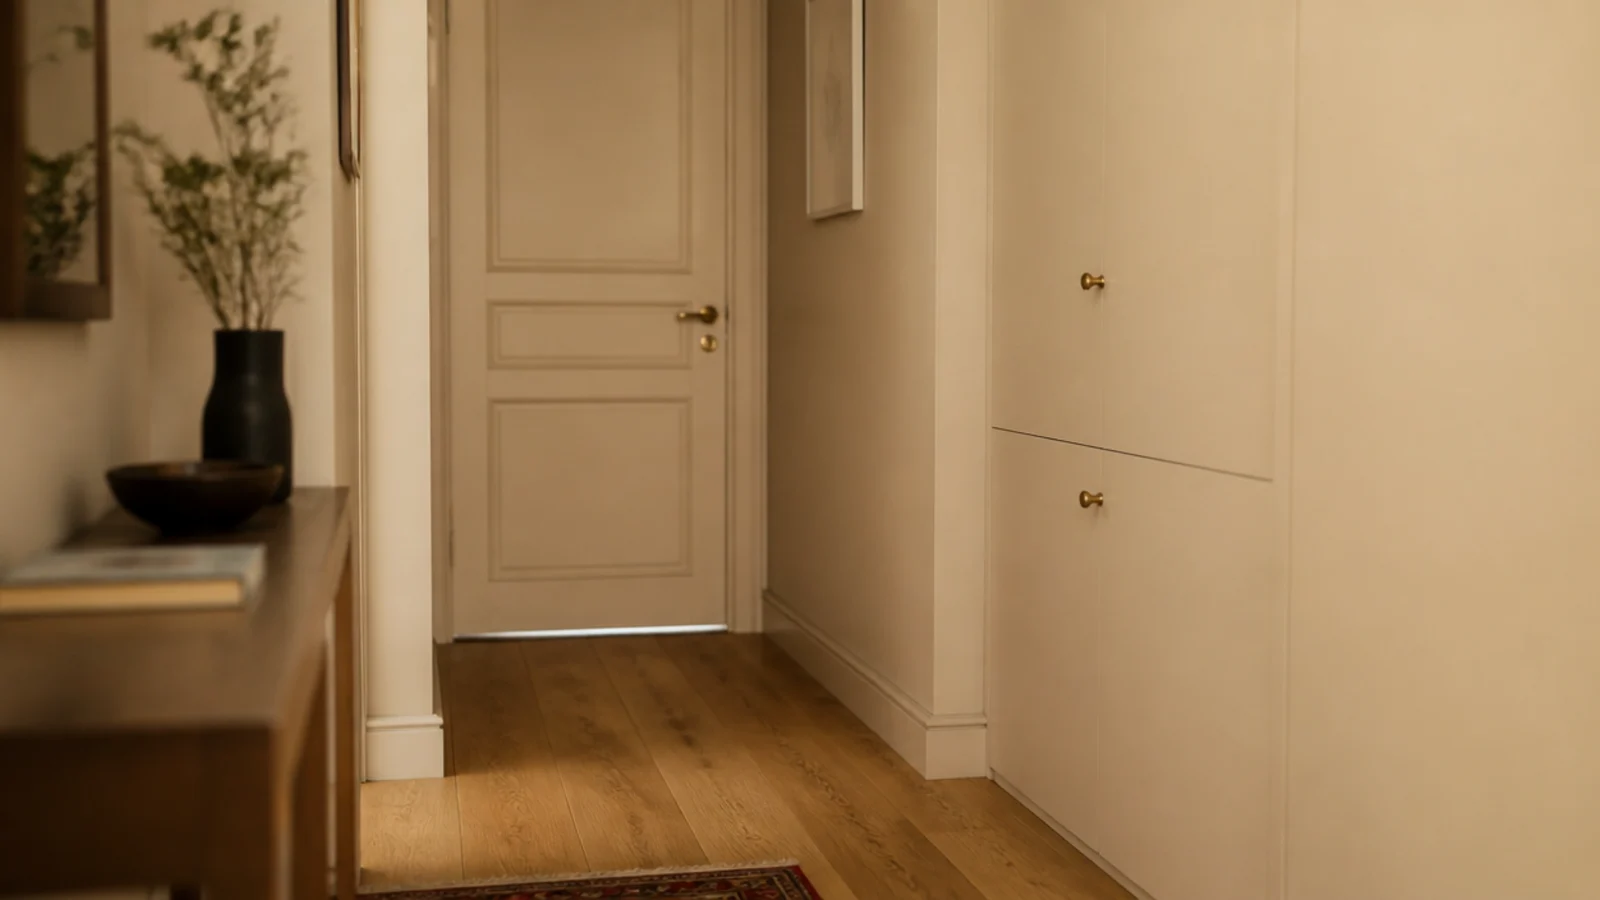
Before: a deep walnut cabinet against cream walls in a 36-inch hallway, reading as a solid dark block that stopped the eye.
After: two thin coats of the wall color in satin, over a bonding primer.
Painting good timber feels like vandalism until you see it. The passage immediately read wider, because low furniture is visual weight and matching the wall removes it. One quart and a week of curing before reloading. Cost $38.
Makeover 5: The boots stranded beside a full cabinet
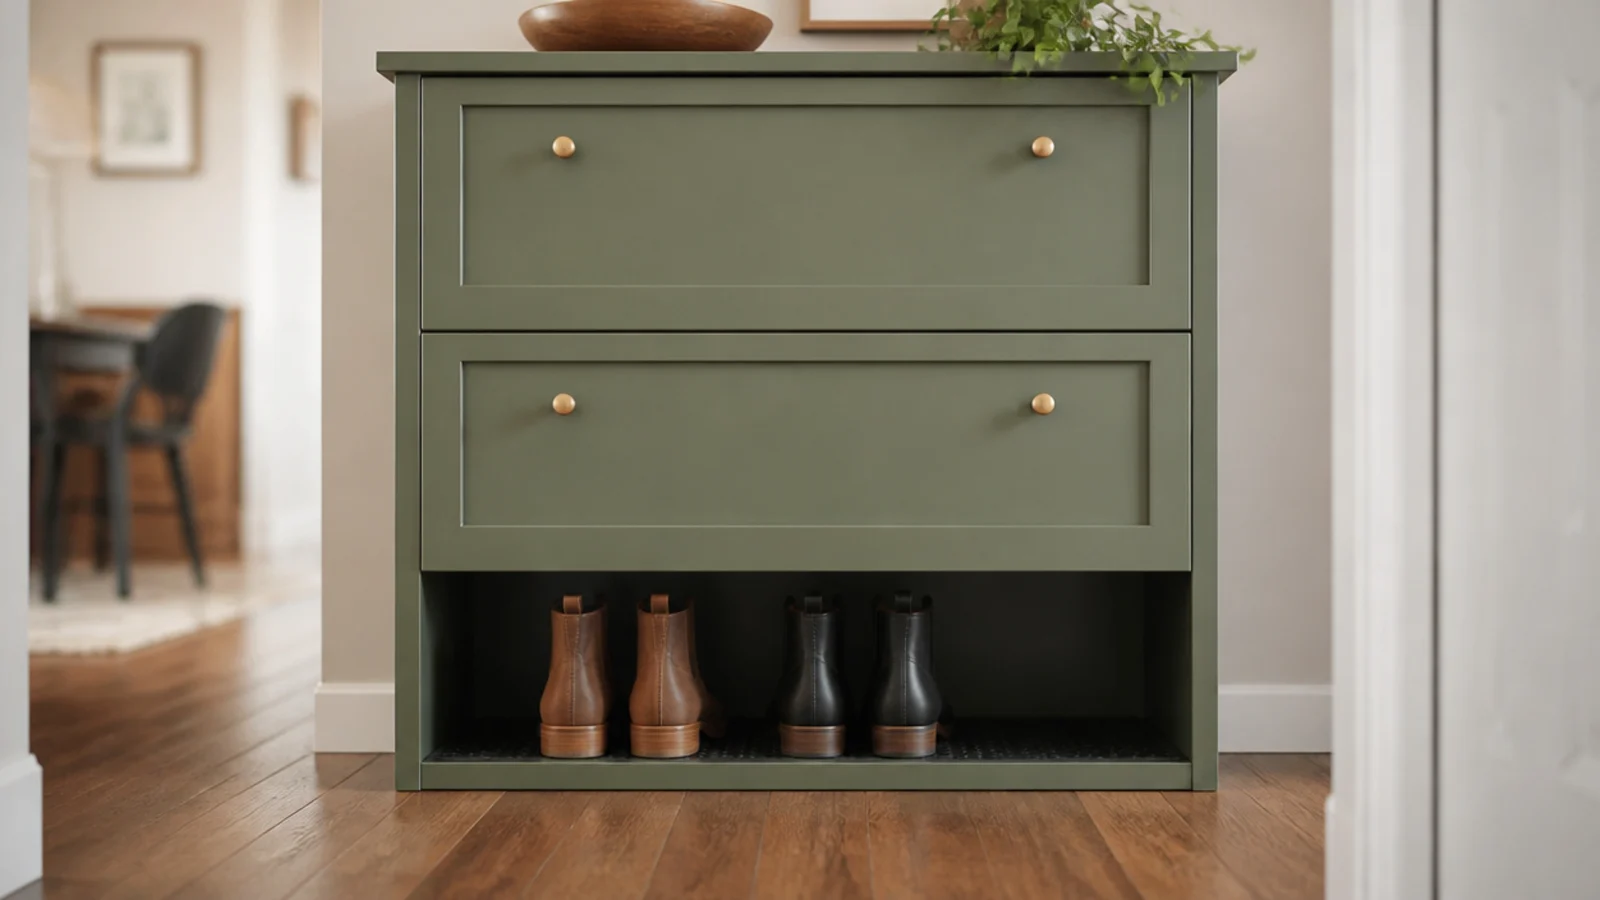
Before: a full three-drawer tilt-out and three pairs of boots on the floor next to it, because no tilt-out has ever held a boot.
After: the tilt insert removed from the bottom drawer, leaving an open bay 15 inches tall.
It cost eight pairs of capacity and returned the hallway floor. Two pairs of ankle boots stand upright in there on a cut rubber liner. Cost: nothing, plus $9 of matting.
Makeover 6: The flat-pack that looked like flat-pack
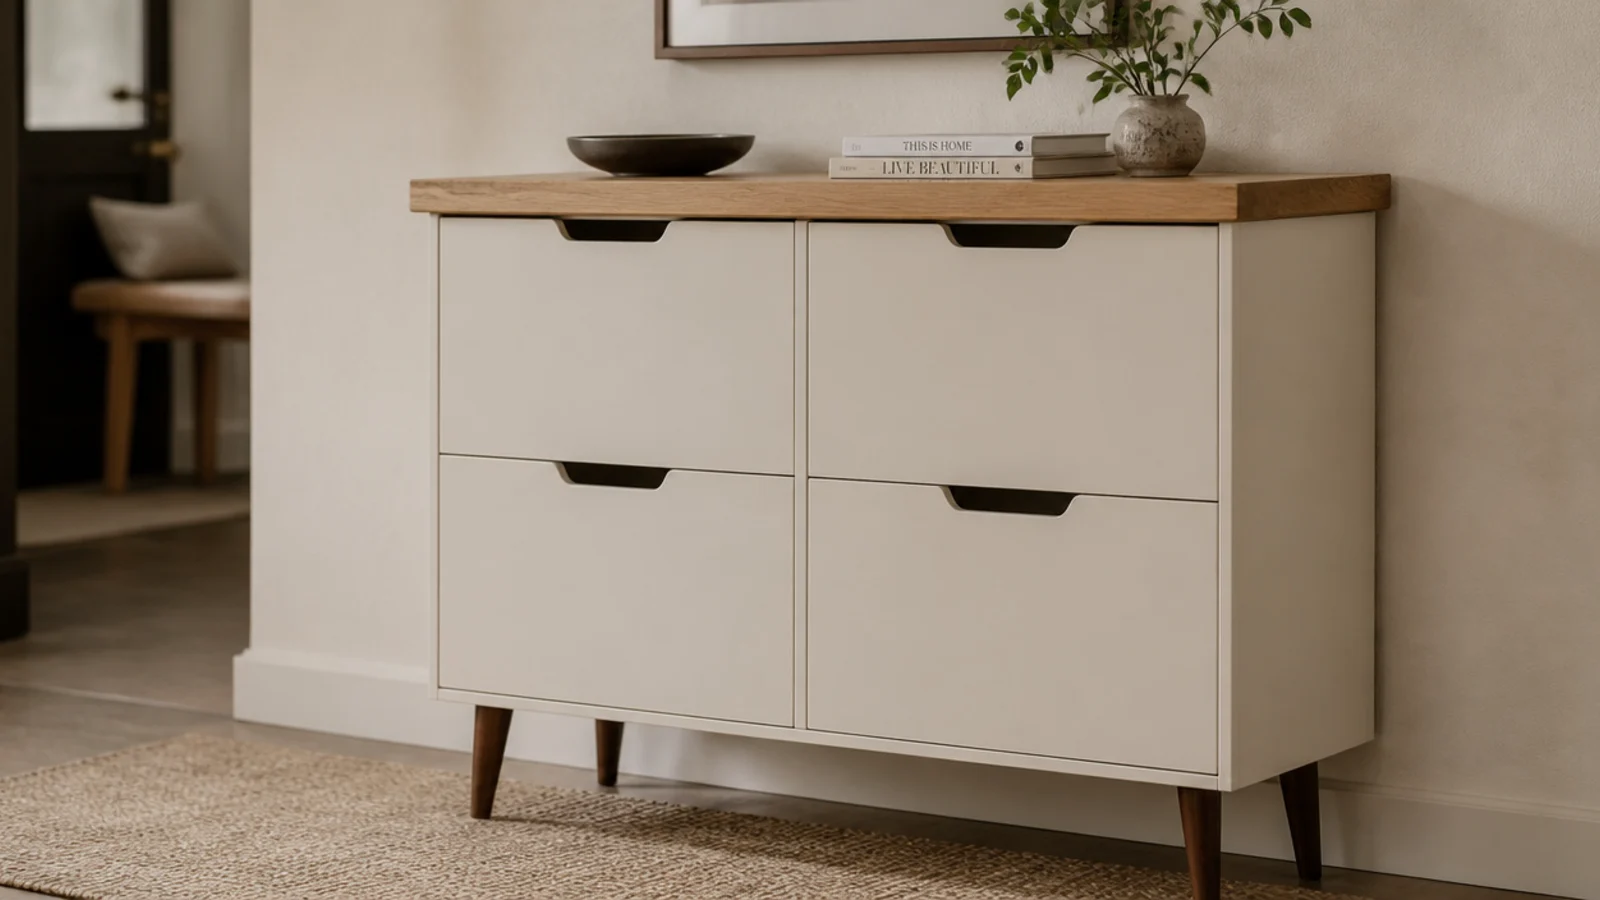
Before: a plain white carcass sitting flat on the floor, unmistakably a box that arrived in a box.
After: a solid oak top with a half-inch overhang and four tapered legs lifting it 6 inches.
Those two changes do more than a repaint. The overhang throws a shadow line that reads like real furniture, and the gap underneath lets a vacuum through and makes the hall feel wider. Cost $95 together.
Makeover 7: The drawer front that split from slamming
Before: a hairline crack running out from the hinge corner, after two years of being closed with a foot by everybody in the house.
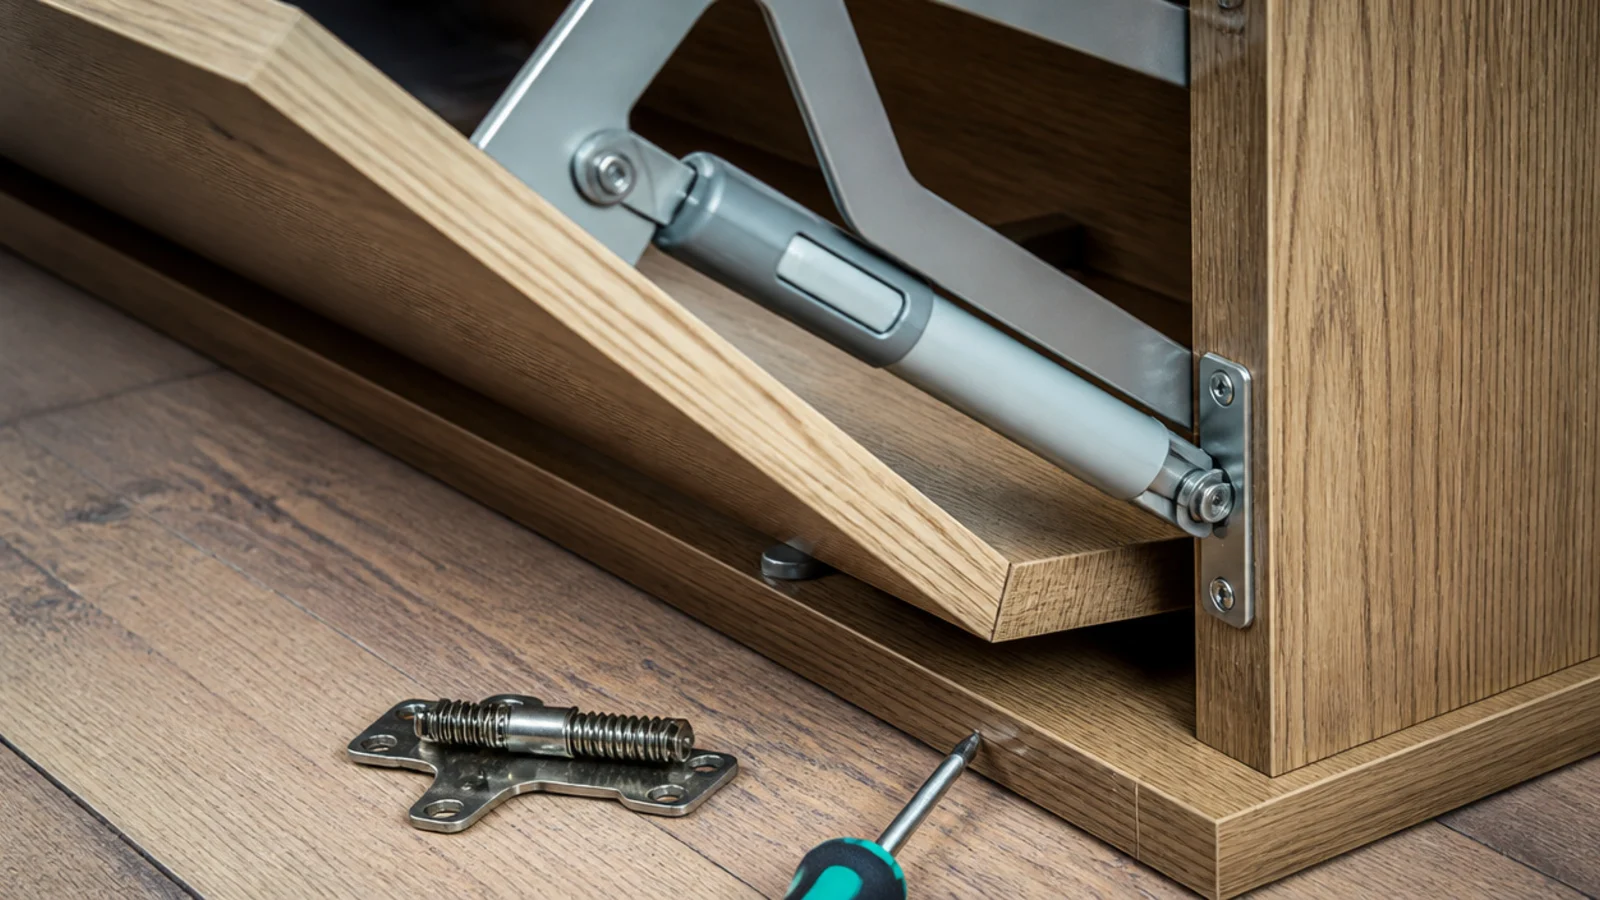
After: retrofit soft-close dampers on all three drawers, and the cracked front glued and clamped.
Nobody closes one of these with their hands. Standard spring hinges slam, and the repeated impact loosens fixings until something gives. Four screws per drawer. Cost $52.
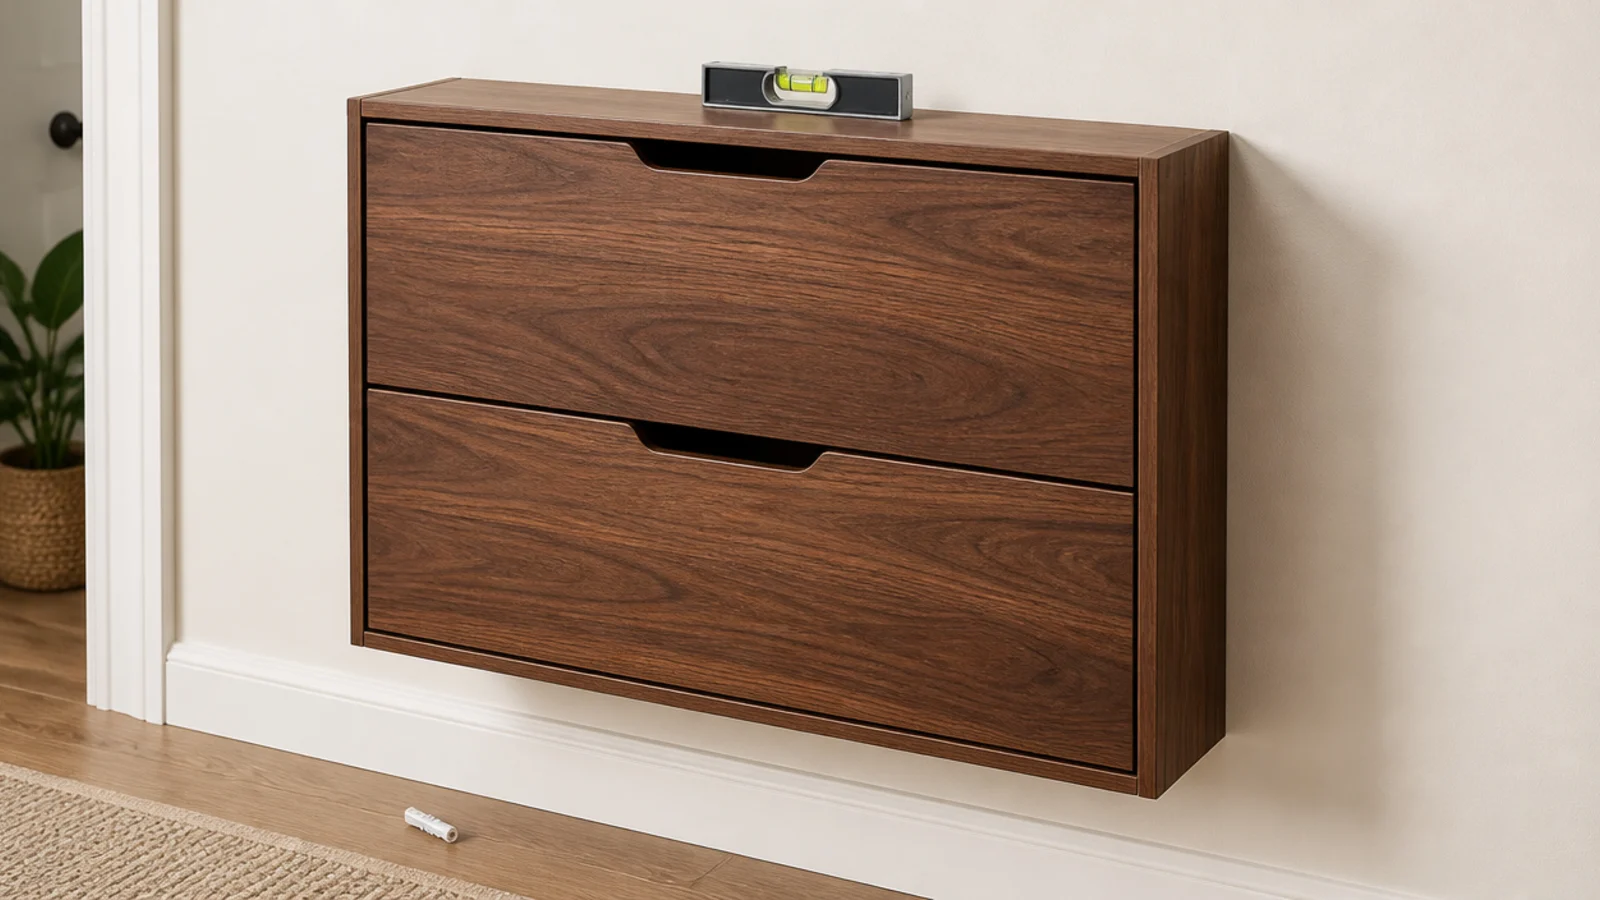
Makeover 8: The wall-hung cabinet that crept out of level
Before: a wall-mounted cabinet on the plastic plugs from the box, visibly leaning, with a hairline crack in the paint above one fixing.
After: toggle bolts through half-inch drywall, and the unit remounted level.
The plugs are rated around 10 pounds each and the cabinet held close to 40. They had not failed suddenly; they had crushed the drywall and crept out over months. Cost $6 and twenty minutes.
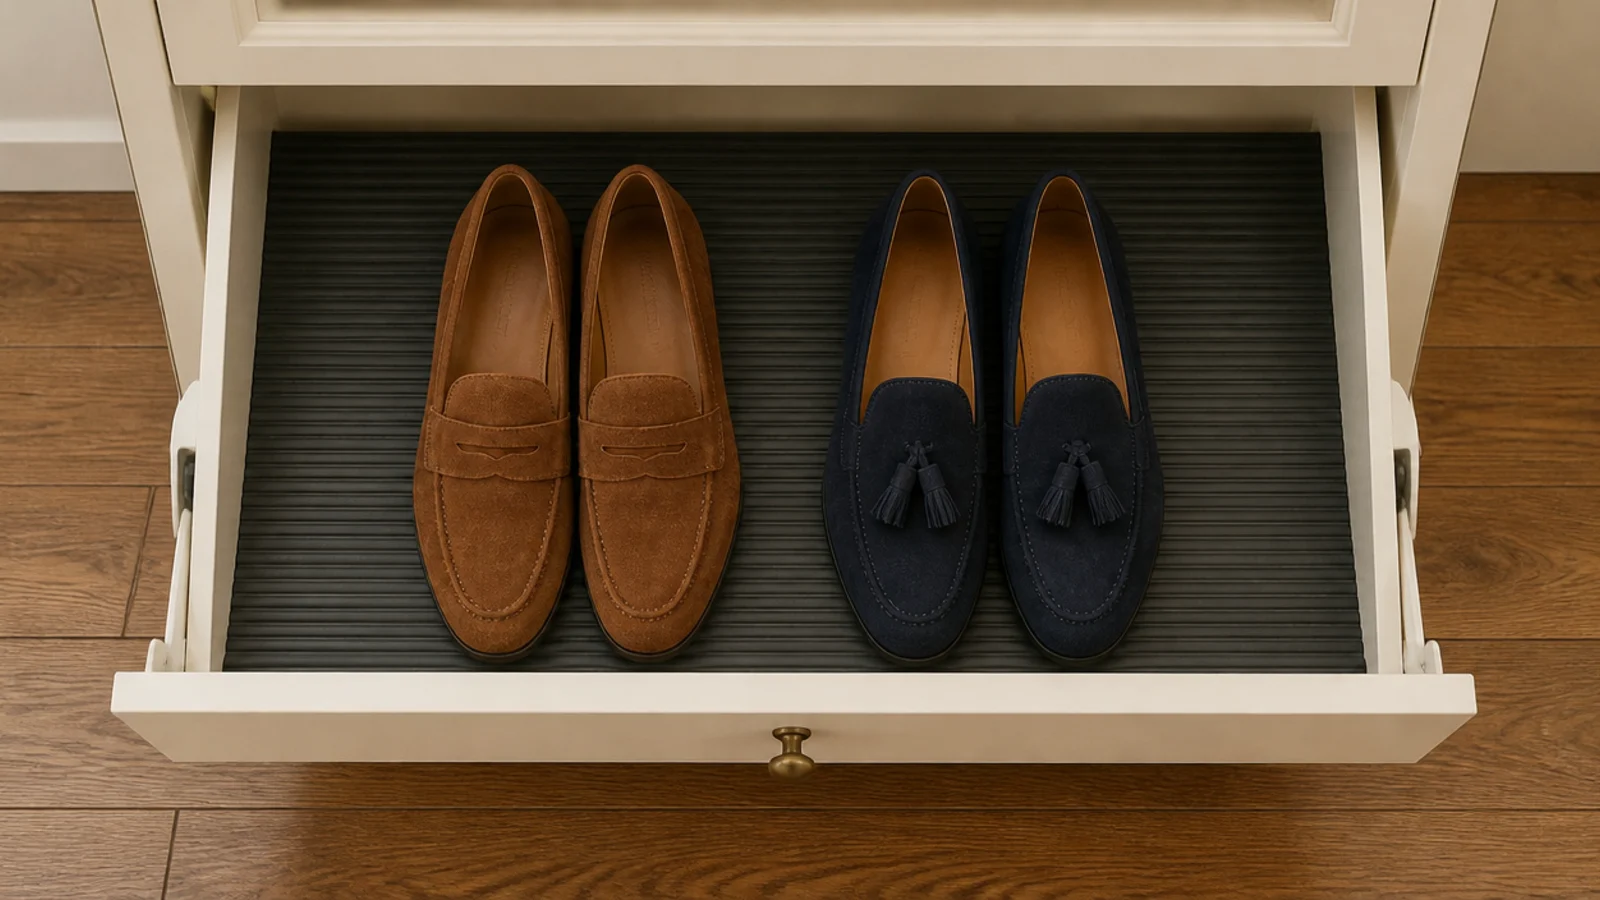
Makeover 9: The stained drawer bases
Before: two winters of road salt, grit and damp soles, and a permanent dark stain across the melamine that would not scrub out.
After: ribbed rubber liners cut a quarter inch under the internal dimensions of each drawer.
They drop in, lift out and rinse in the shower. They also stop shoes sliding into a heap every time a drawer swings shut, which was an unexpected bonus. Cost $16 for the roll.
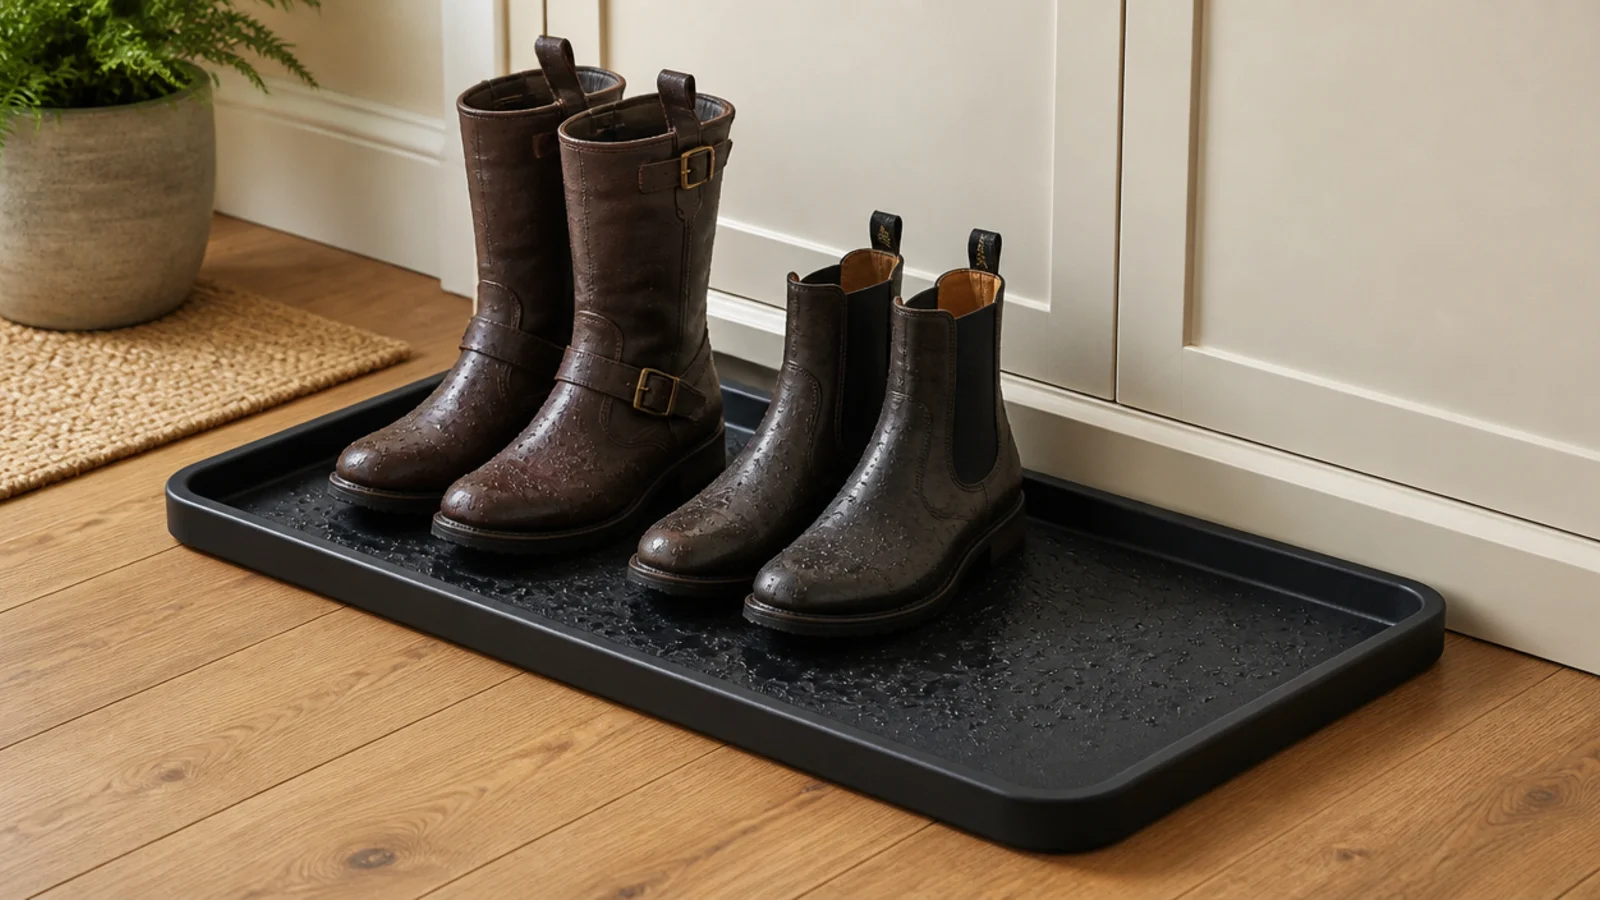
Makeover 10: The hallway with nowhere for wet pairs
Before: rain-soaked shoes going straight into a closed drawer, and everything in that compartment smelling within two days.
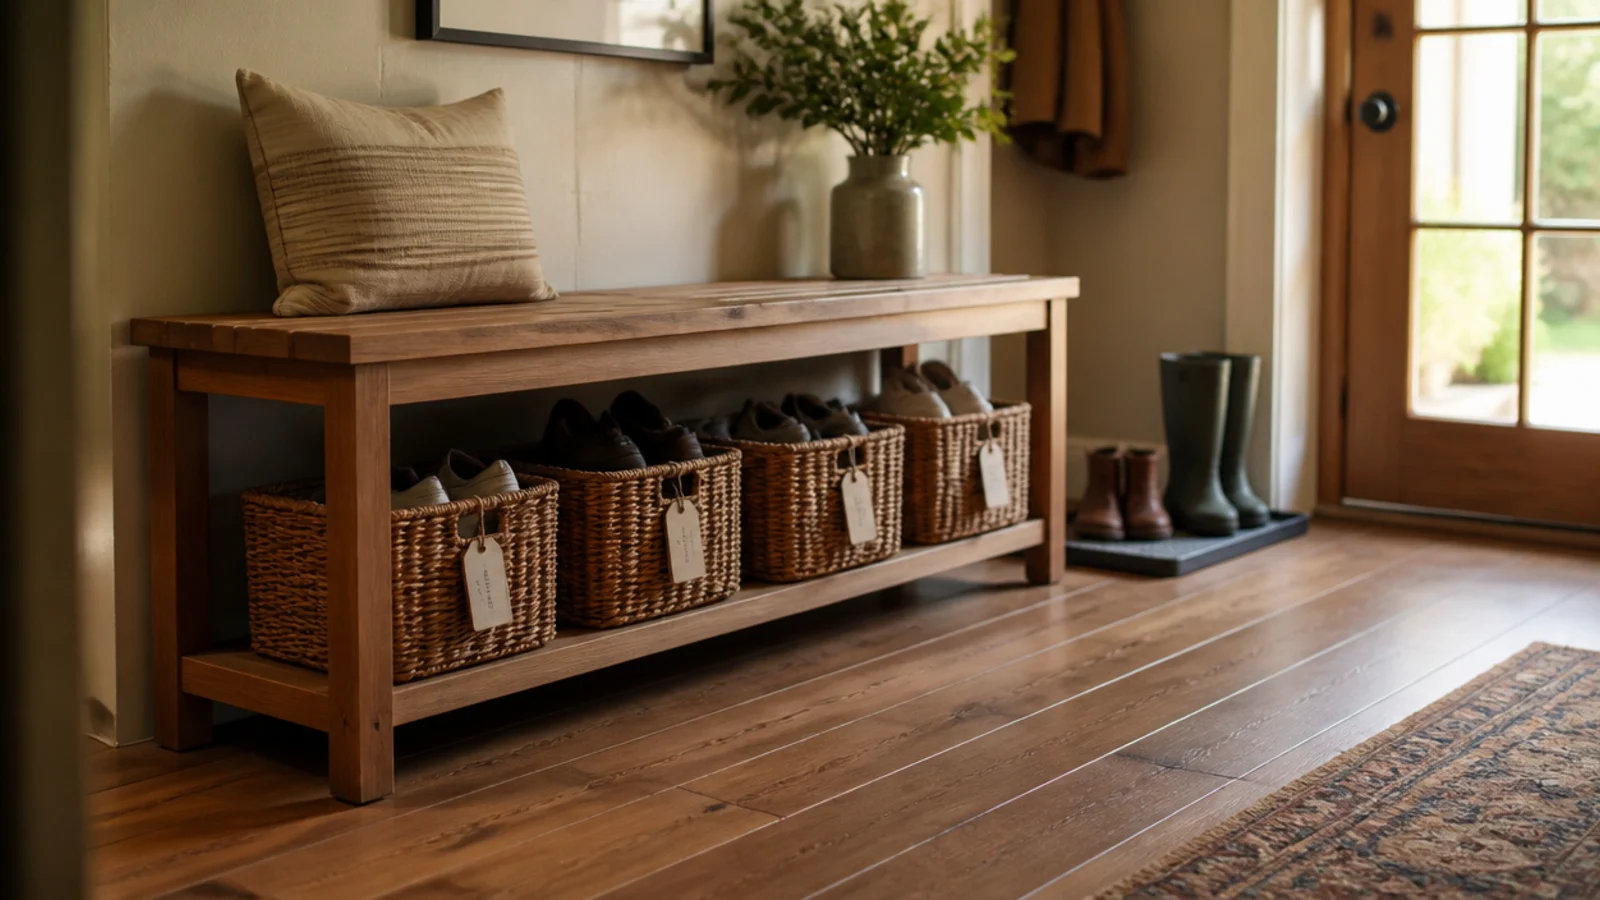
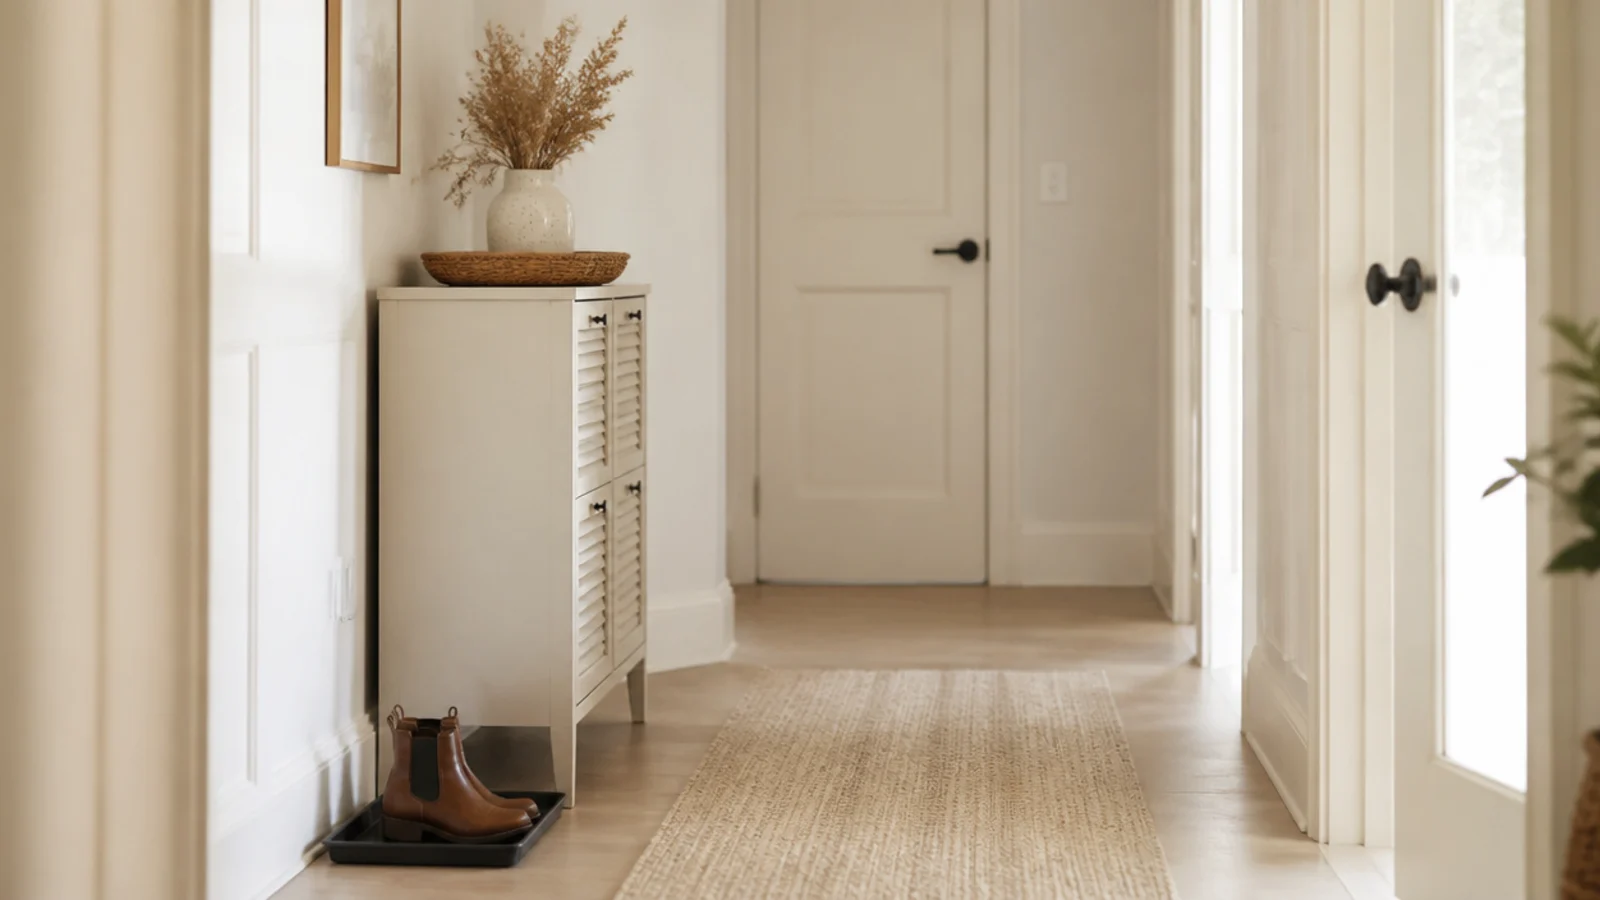
After: a raised-lip boot tray, 16 inches deep, on the floor beside the cabinet.
Wet pairs live there until dry, then go in. This single item prevented every damp problem the household had been blaming on the furniture. Metal or heavy rubber, not thin plastic that cracks in the cold. Cost $24.
Makeover 11: The drawer that would not close
Before: eleven pairs forced into a drawer sized for seven, with the front standing permanently a half inch proud.
After: six pairs per drawer and a rule that nothing gets stacked two deep.
Cabinets packed to the edge stop being used, because putting anything back takes two hands and a shove. Capping the count is free, takes ten minutes, and is the most common fix on this list.
Makeover 12: The bare wall above the cabinet
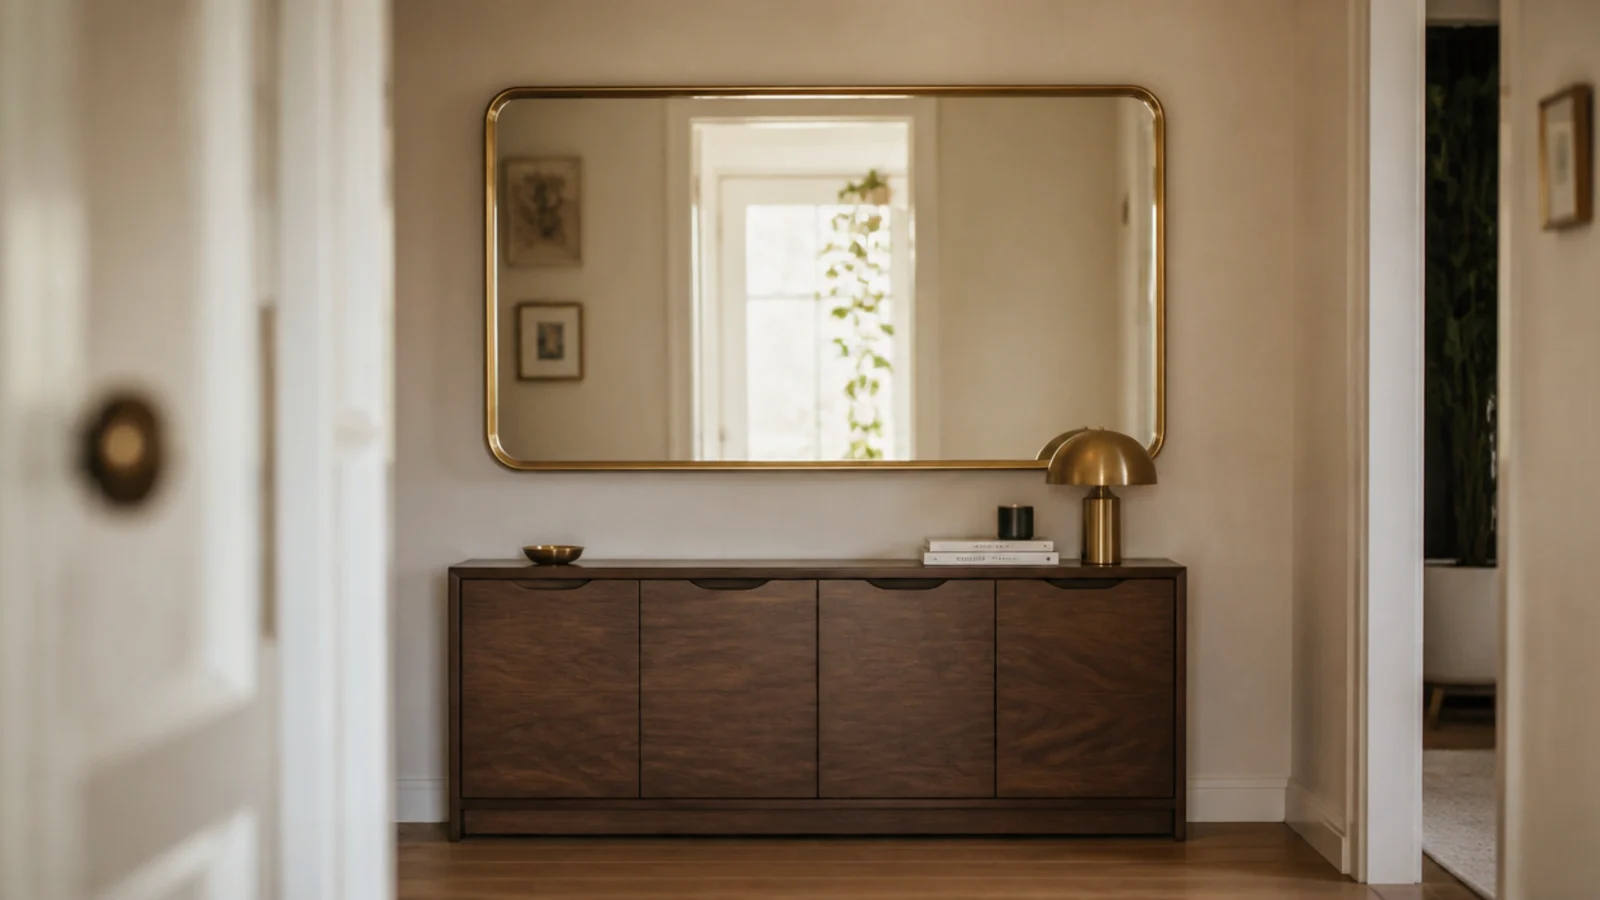
Before: a good cabinet under four feet of blank wall in a hallway with no window at all.
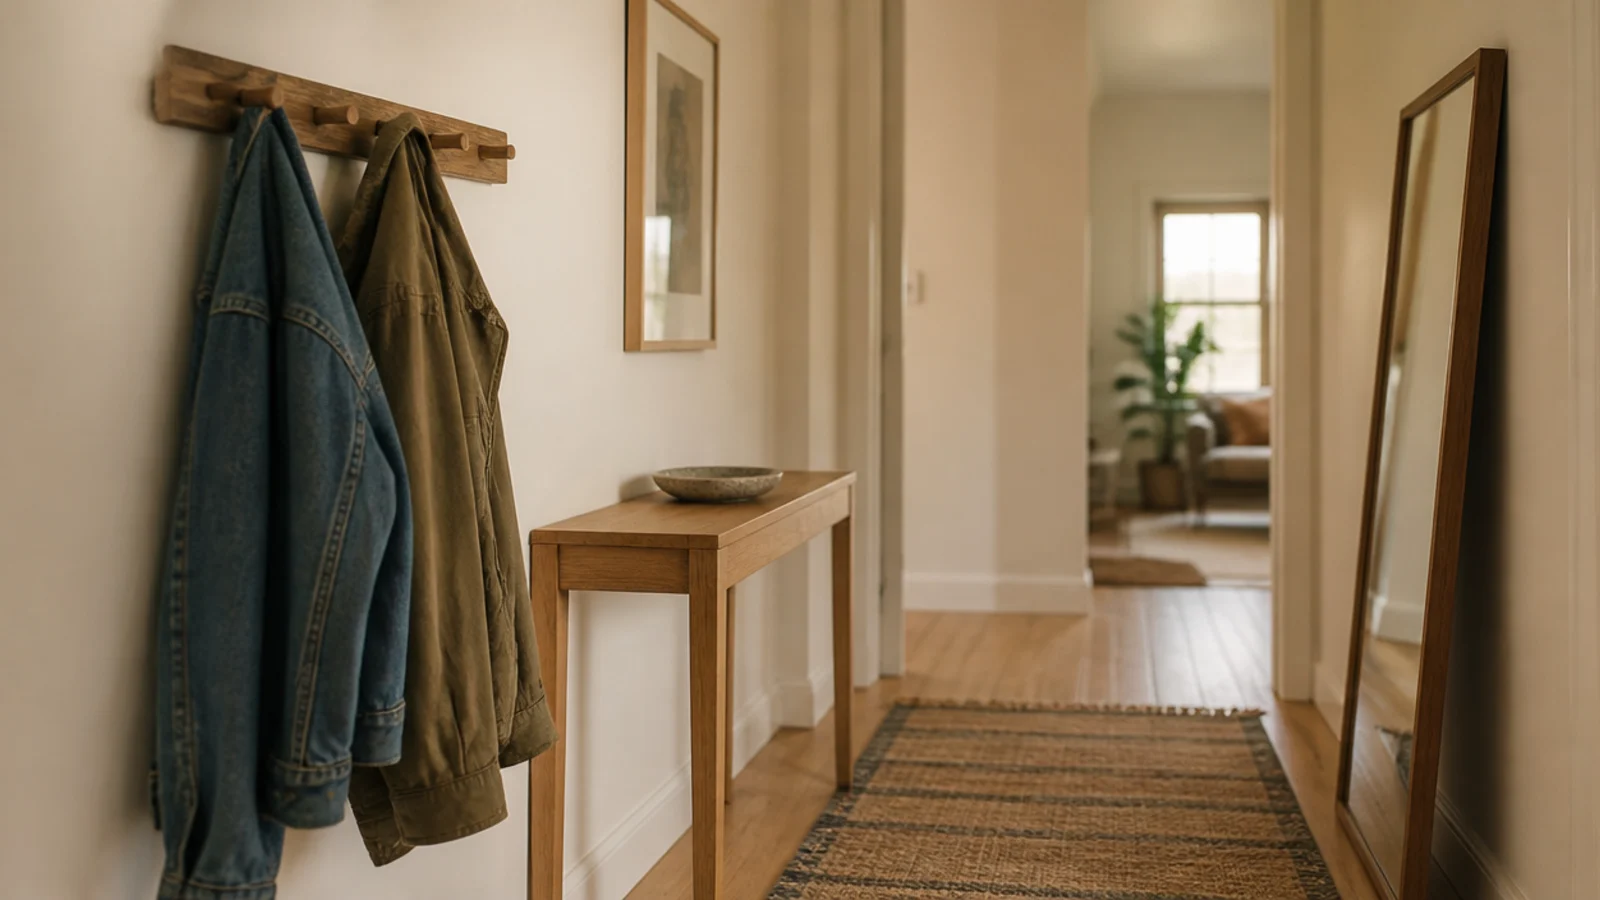
After: a brass-framed mirror hung 12 inches above the cabinet top.
A mirror in a dark hall returns the daylight the passage does not have and gives you the last-look moment before leaving. Hang it low enough to reflect faces rather than ceiling. Cost $85.
Makeover 13: The entry that read grey all winter
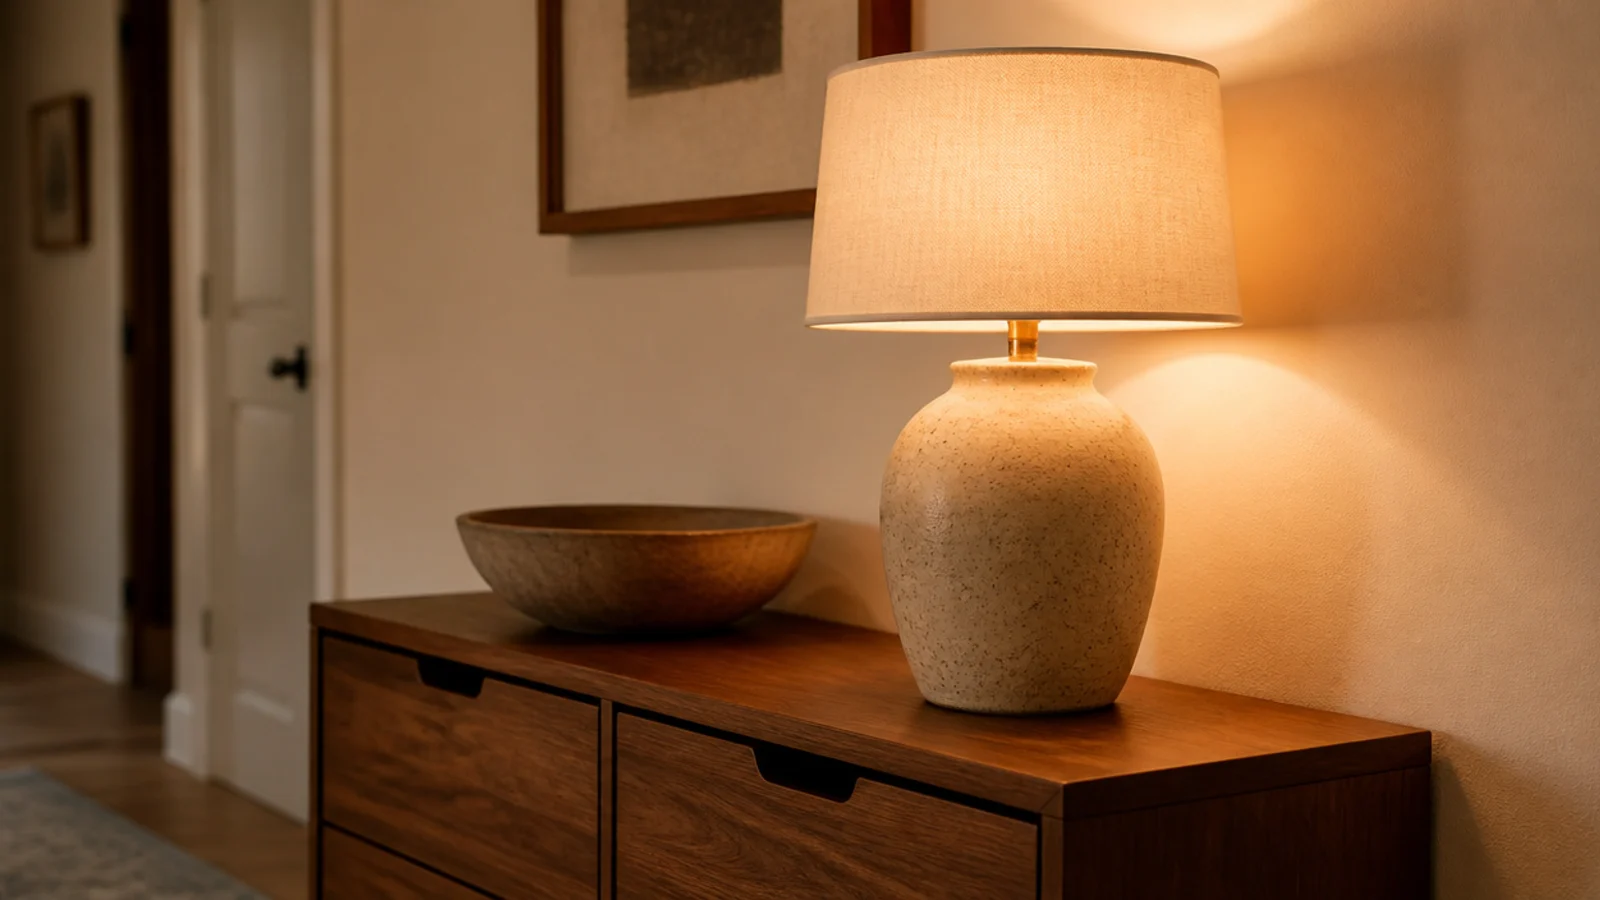
Before: warm oak and terracotta lit by a single 4000K ceiling fitting, reading cold and flat from October onward.
After: one small lamp on the cabinet top with a 2700K bulb.
The owner had been planning to replace the cabinet. The cabinet was fine; the light was wrong. Warm light brings clay and timber back, and it costs less than any other change here. Cost $34 with the lamp.
Makeover 14: The handles that caught every sleeve
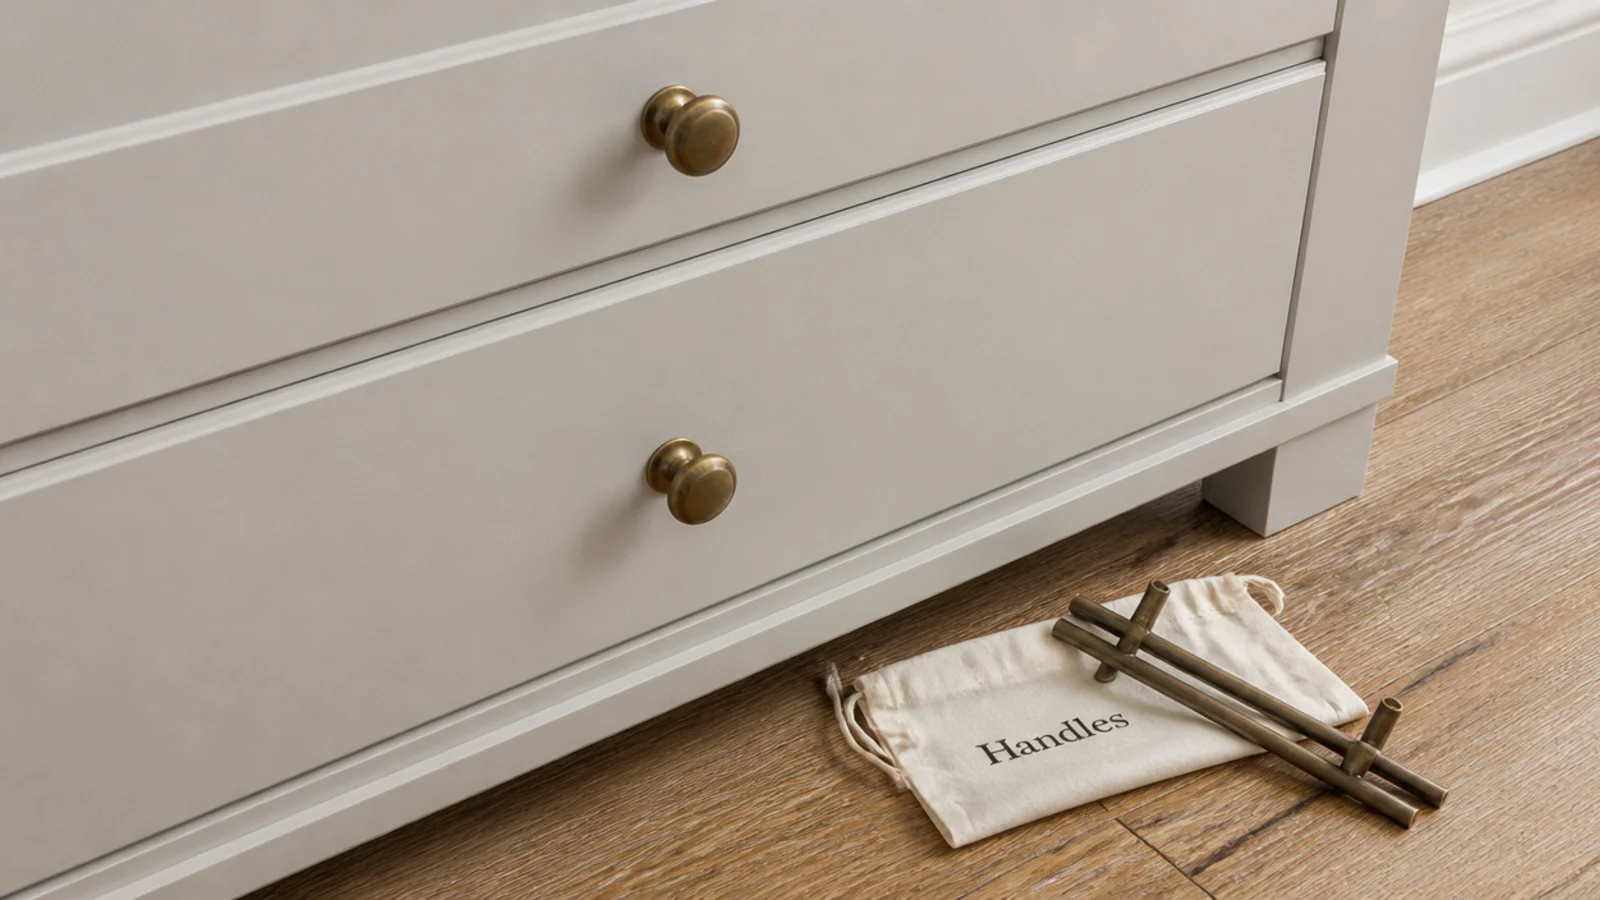
Before: long bar handles projecting 2 inches into a 36-inch hallway, catching coat sleeves and tote straps daily.
After: compact brass knobs projecting under an inch, with the originals bagged and taped inside the carcass.
In a narrow passage, anything sticking out will be found by something. Ten minutes with a screwdriver, and check the hole spacing before you buy. Cost $28 for a set.
Makeover 15: The tapering gap along the wall
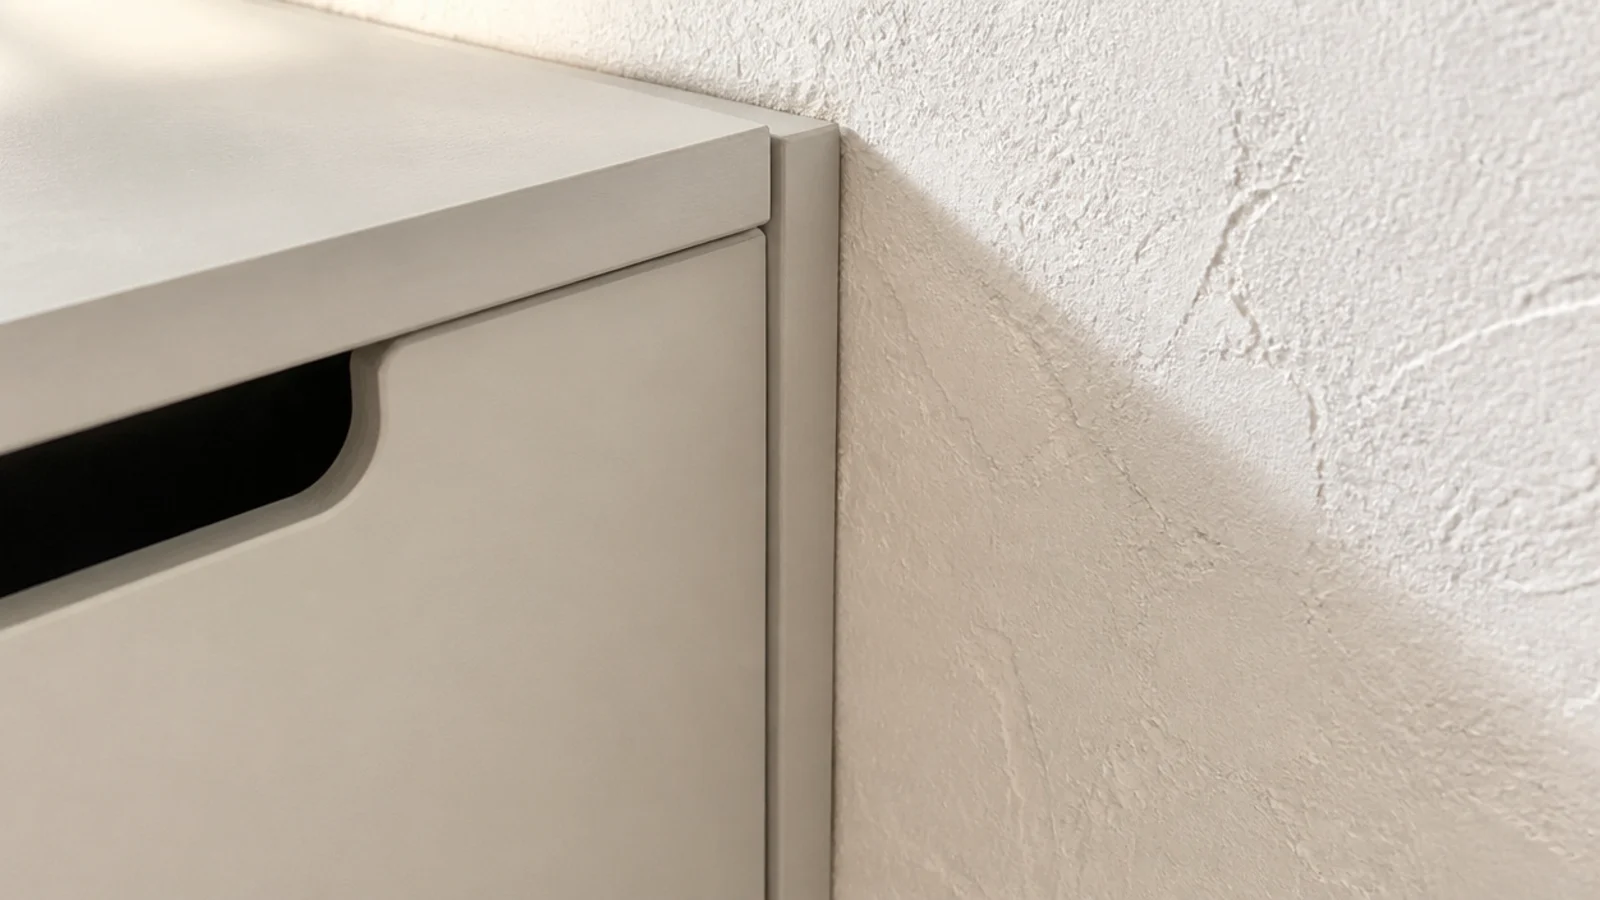
Before: a wedge-shaped gap between a square cabinet and a wall that was anything but, widening to nearly an inch at one end.
After: a thin painted strip scribed to the wall, pinned to the cabinet, caulked and painted.
That gap is what your eye reads as flat-pack. Closing it is the cheapest way to make a bought cabinet look fitted. Cost $9 and half an hour.
Makeover 16: The cabinet nobody opened because of doors
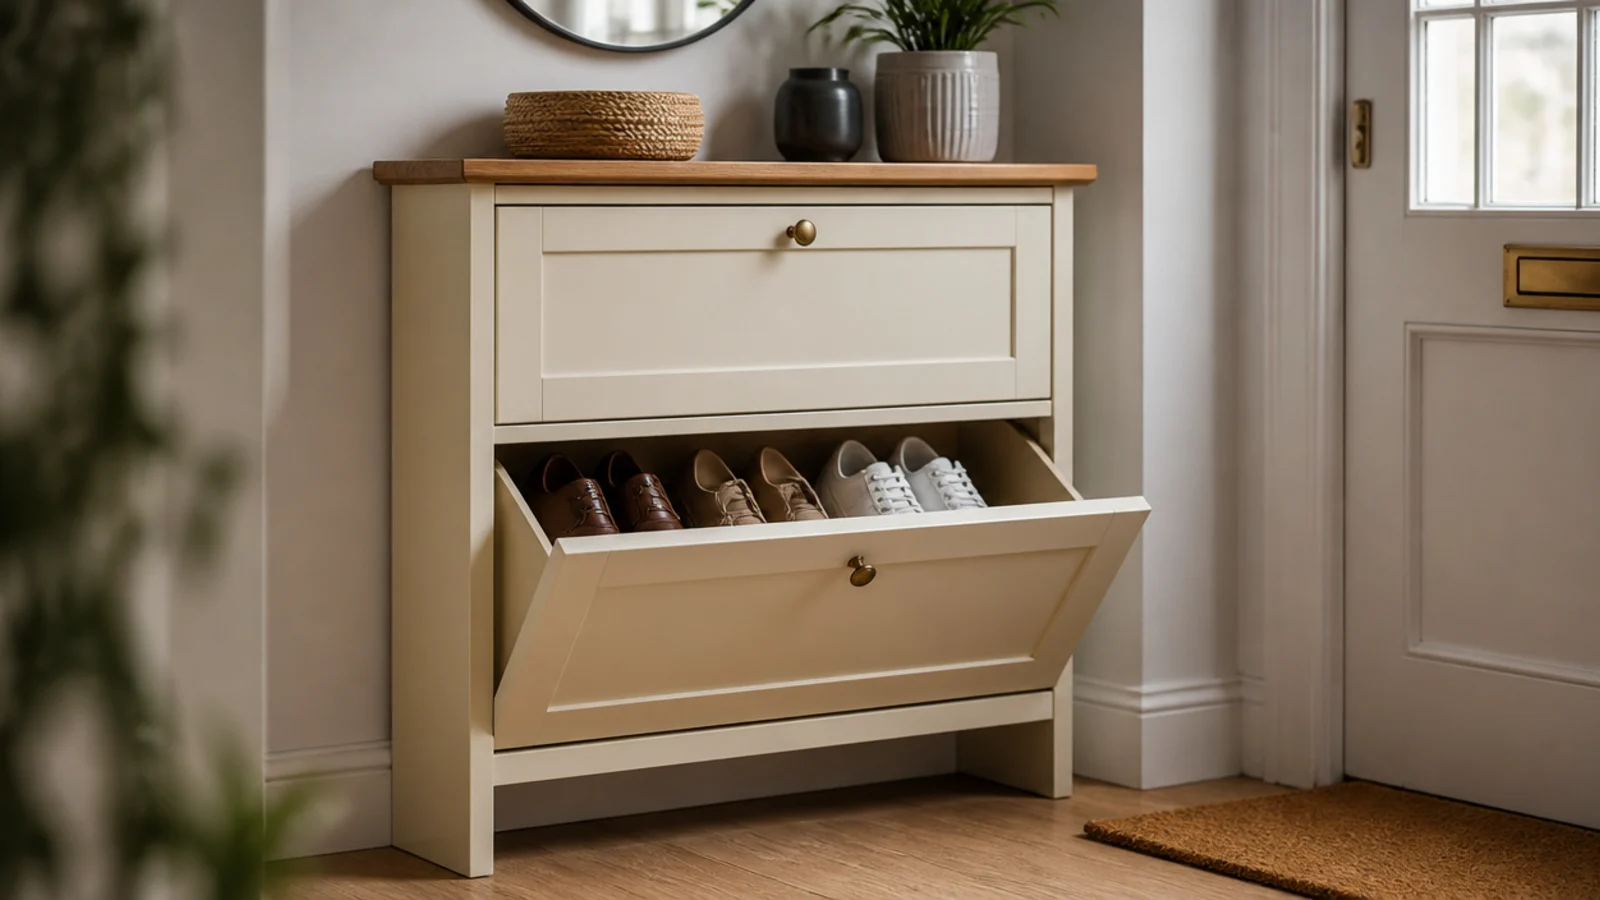
Before: a handsome two-door cabinet with flat internal shelves, and a floor pile beside it, because a door needs a free hand and hands are full at the door.
After: the doors replaced with two tilt-out fronts.
Every closed door is a step people skip. Tilt-outs open with a knee and a fingertip, and they gave back 4 inches of depth as well. Cost $180.
Makeover 17: The unit too tall for a small landing
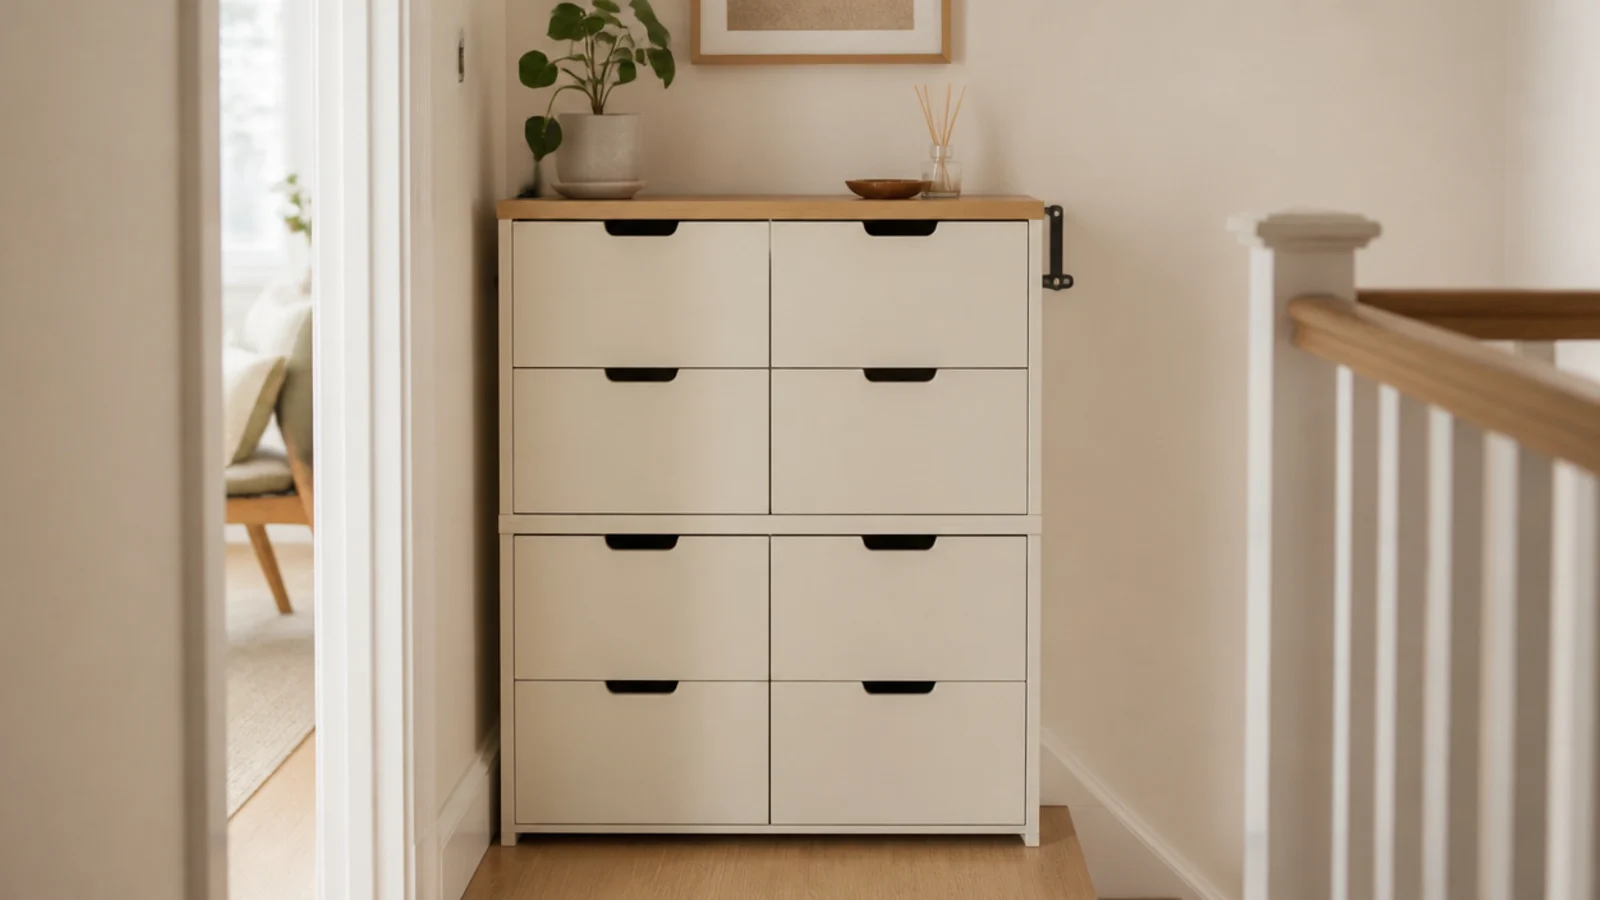
Before: a 60-inch cabinet on a small upstairs landing, looming over the stair head and unstrapped.
After: two shallow cabinets stacked to 44 inches, capped with one board and strapped to the wall.
Same capacity, a lower and calmer profile, and a stair head you can see across. Anything over 40 inches gets a strap regardless of how solid it feels. Cost $130.
Makeover 18: The dead space under the stairs
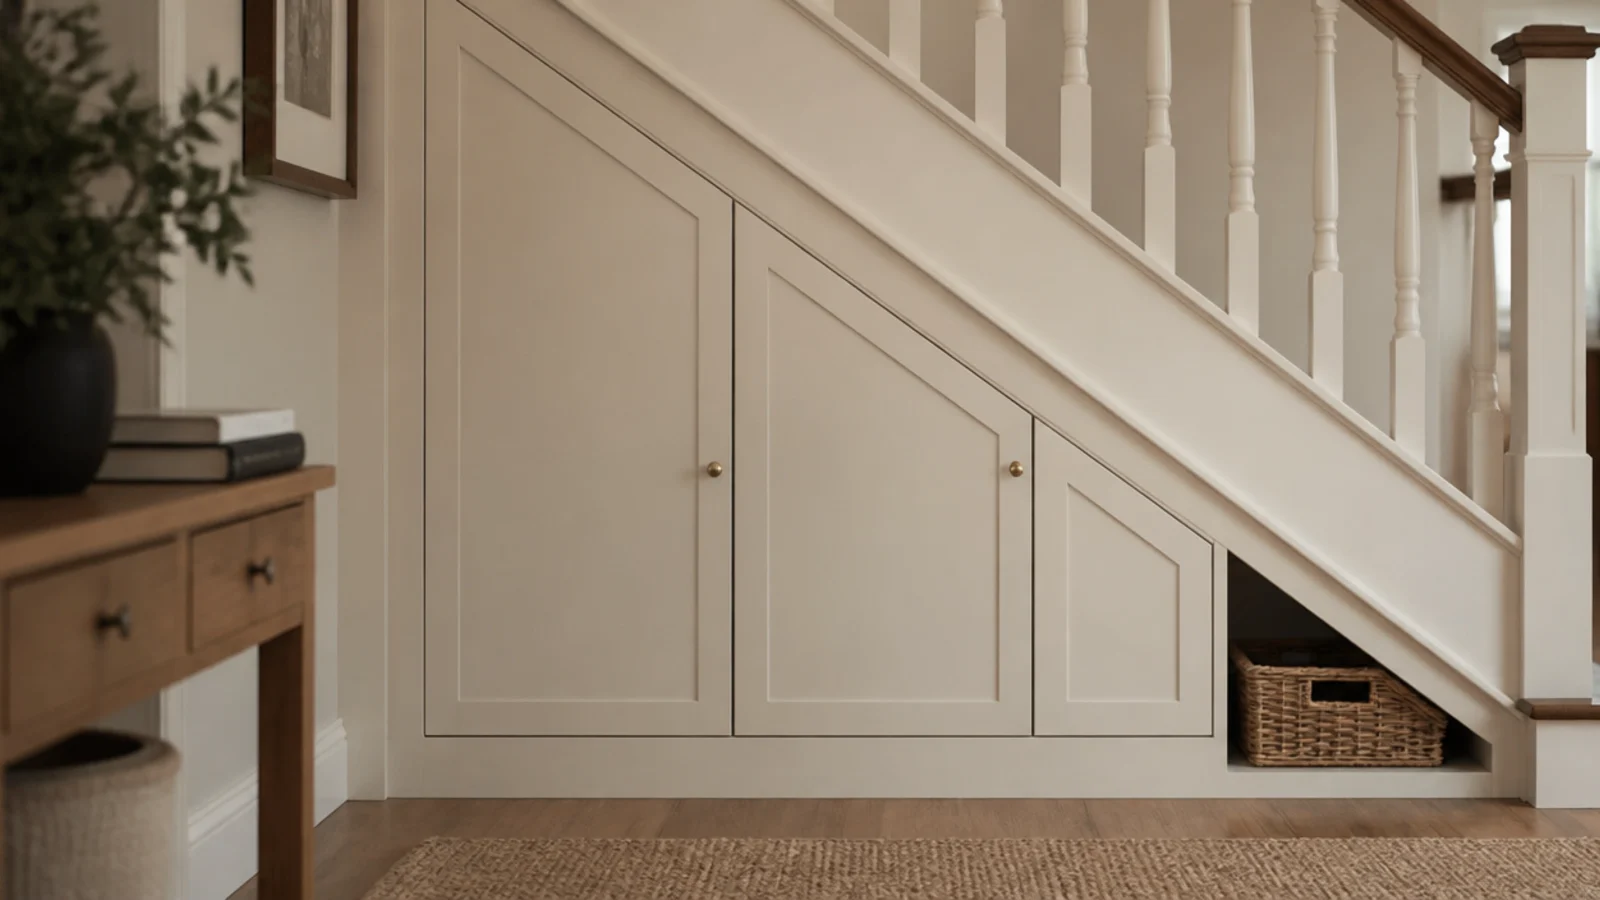
Before: an empty triangular void behind a plasterboard panel, holding a vacuum and some paint tins.
After: three shallow shoe cabinet fronts cut at an angle to follow the stringer.
Cutting the fronts on the rake rather than squaring off at the tallest usable point gained about a third more capacity. Twenty pairs in a footprint nobody was using. The most expensive job here at $240 in materials.
Makeover 19: The cabinet that tipped when a drawer opened
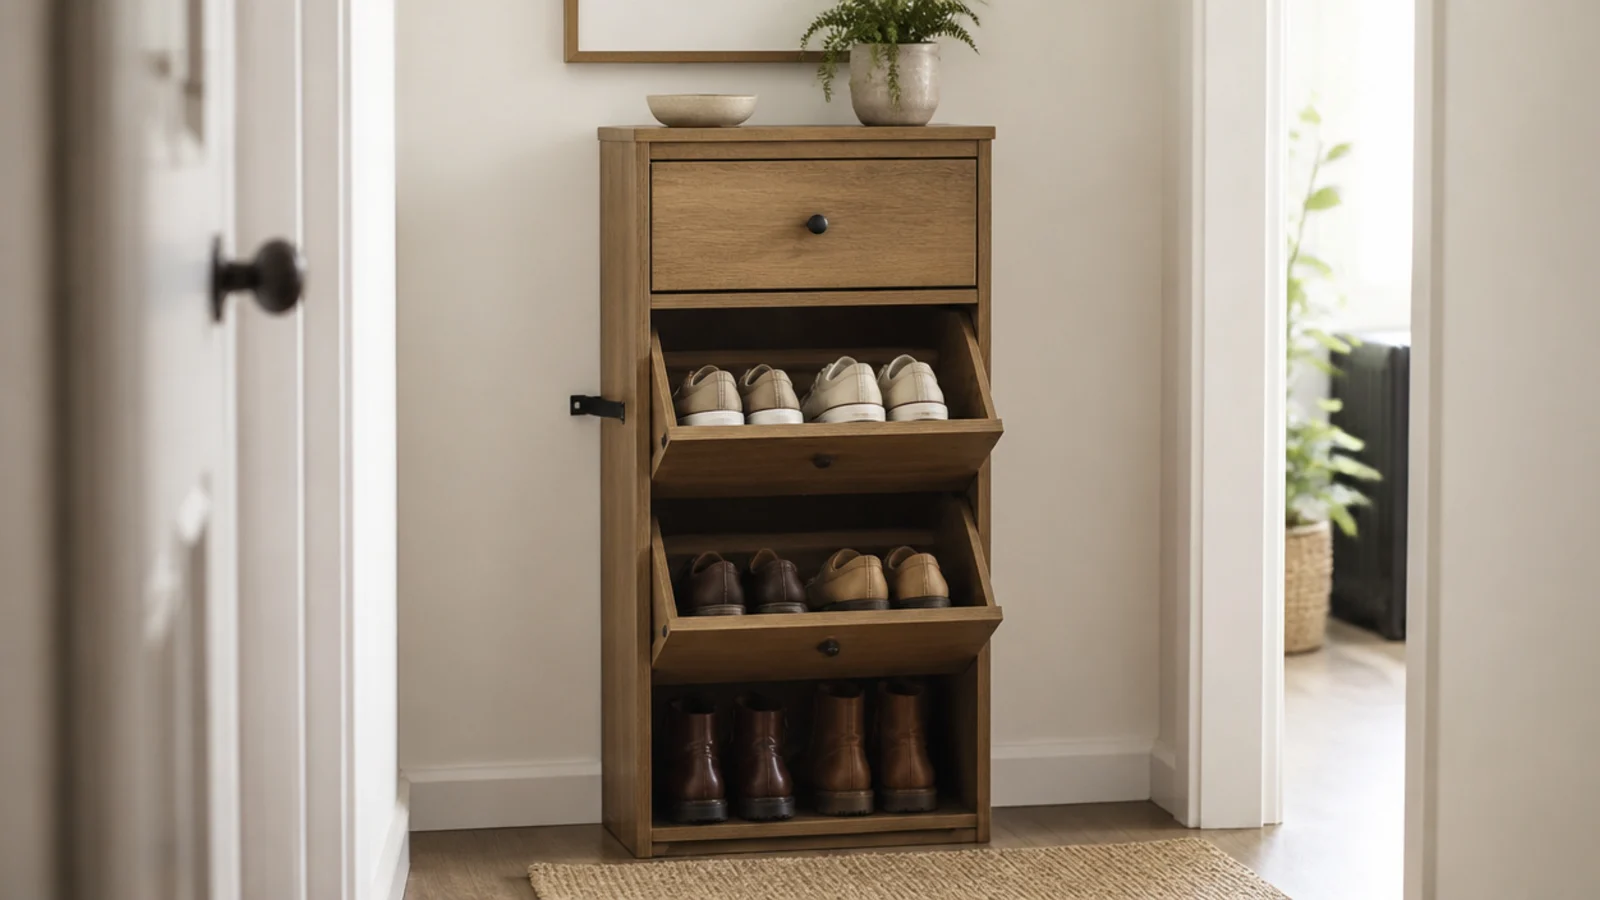
Before: heavy walking boots in the top drawer of a 48-inch cabinet, which wobbled every time the drawer swung out, in a house with a toddler.
After: heavy pairs moved to the bottom bay, and one anti-tip strap into a stud.
Loading a cabinet moves its centre of gravity forward every time a drawer opens. One screw, one small hole, and I stopped thinking about it. Cost $4.
Makeover 20: The one that only needed emptying
Before: forty pairs crammed into a cabinet sized for eighteen, with the overflow on the floor beside it.
After: twelve pairs kept at the door and the rest boxed for a closet.
Entryway storage is for daily shoes: two to three pairs per person plus one seasonal set. Nothing was bought, nothing was built, and the hallway changed completely in twenty minutes. The full sizing method is in shoe cabinet decor for renters.
Shoe Cabinet Before and After: What I'd Do Differently Now
Looking at twenty of these in a row, the pattern is uncomfortable. Almost everything that worked was subtraction: fewer shoes, fewer objects on top, fewer inches of depth.
Seven cost nothing at all. The ones that cost money were physical faults — depth, anchors, ventilation, hinge type — where styling could never have helped. Everything else was removing things, painting something out, or changing a bulb.
If I could go back, I would change the order. I used to style the top first and deal with structure later, which meant doing everything twice. Now I check four things before a single shoe goes in: the walkway with a drawer open, the vent holes in the back, the anchor if it is over 40 inches, and where wet pairs will live. Those four decide whether a cabinet works. The tray, the lamp and the plant are a Sunday afternoon.
Frequently asked questions
What is the cheapest shoe cabinet makeover that actually works?
Drilling four vent holes in the back panel and putting a boot tray on the floor beside the cabinet. Together they cost about $20 and they fix the smell, which is the complaint I hear most. After that, taking a third of the shoes out is free and changes how the whole hallway functions.
Is it worth restyling a shoe cabinet or should I replace it?
Restyle first. Roughly half the cabinets I have been asked to fix needed nothing bought at all. Replace only when the depth is wrong for the walkway, the internal shelves are flat and under 13 inches, or the carcass is sagging. Those three are physical faults that no amount of styling can solve.
How long does a shoe cabinet makeover take?
A styling and capacity reset takes about half an hour, including the step where you empty it completely. Drilling vents, fitting liners or swapping knobs is an hour. Painting is an afternoon plus a week of curing before you load it again. Replacing a cabinet outright is a morning.
What is the most common thing wrong with a shoe cabinet?
It is too full. Cabinets packed to the edges stop being used because nothing goes back in easily, and the floor pile restarts within days. The second most common problem is no airflow: a sealed carcass with a solid front holds humidity, and that is what people smell rather than the shoes.
Can you paint a laminate shoe cabinet?
Yes, with the right prep. Scuff the surface with 180-grit paper, wipe with degreaser, then use a bonding primer made for slick faces before two thin satin coats. Let it cure a full week before loading, because latex feels dry in hours and stays soft for days, and shoe soles print into it permanently.
Try the free version first on whichever hallway annoys you most: empty the cabinet completely, put back only the shoes worn this week, and check the back panel for vent holes. If it still does not work, the fault is physical and worth spending on. Shoe cabinet mistakes covers what I got wrong first, entryway shoe cabinet layouts has the sizing, and shoe storage before and after shows the open-storage equivalents. Save the pin before you buy anything new.
Want more like this? Browse all 15 shoe cabinet ideas guides — they all use the same measurements and budget tiers.
Pin it for later
Save this to your Shoe Cabinet Ideas board
Pin it now so it is waiting for you when the tape measure comes out — and so the next person hunting for this idea can find it too.
Save this pinKeep going
More ideas worth saving while you have the tape measure out.