Shoe Cabinet Ideas · UGC
15 Shoe Cabinet Mistakes I Made and Fixed

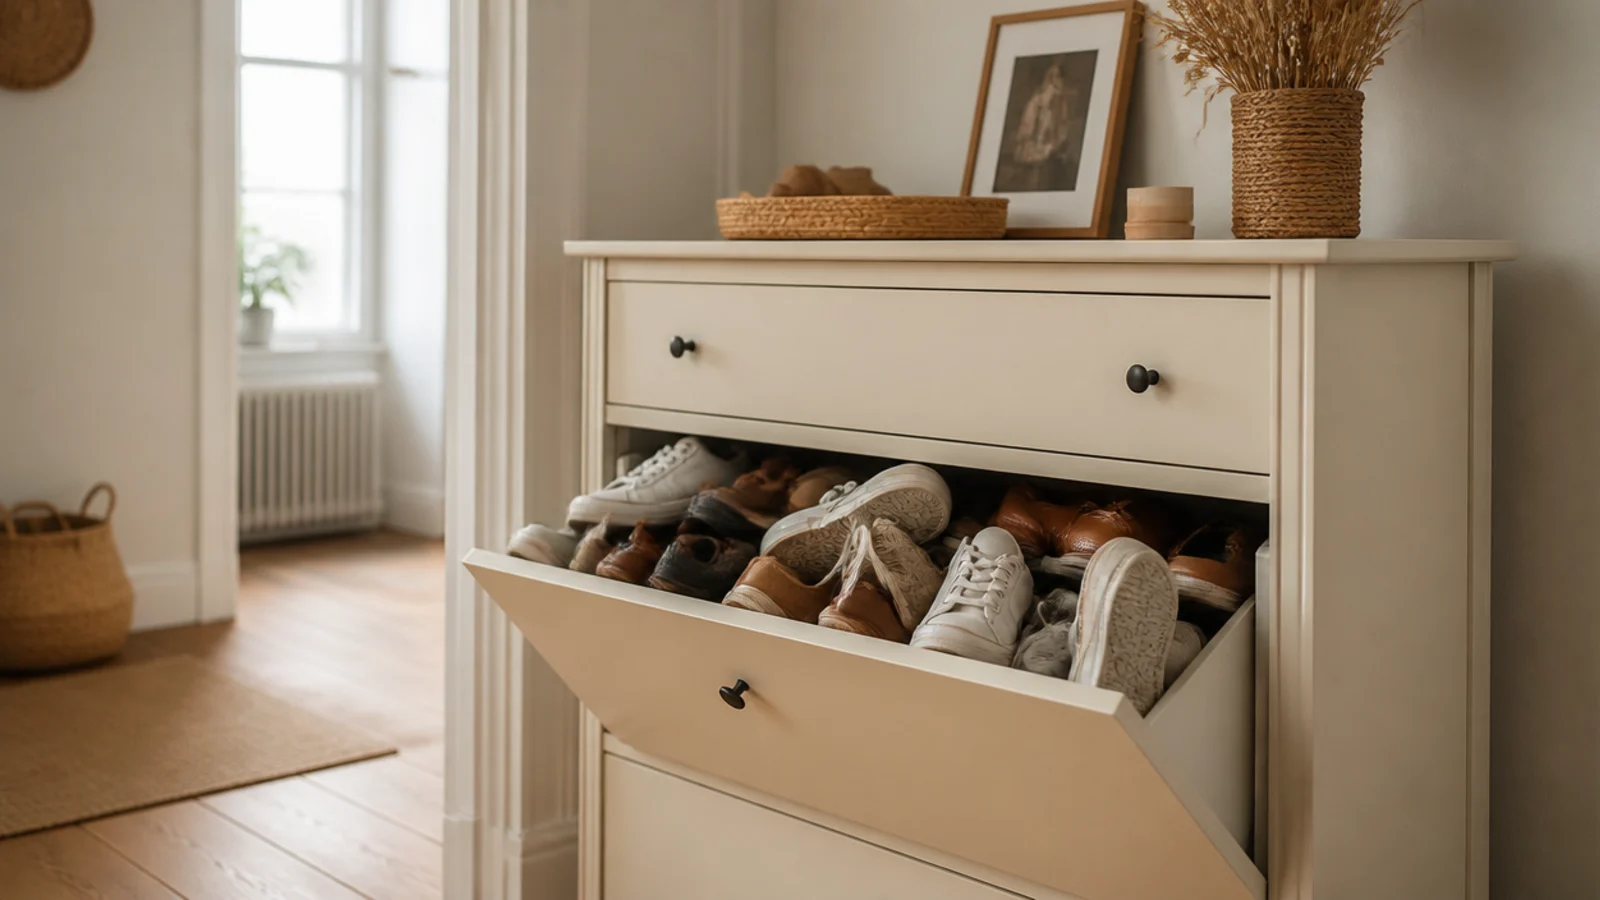
Every one of these shoe cabinet mistakes is mine. Four hallways, three rentals, one house, and a genuinely embarrassing number of returns to the shop.
The first cabinet I ever bought looked beautiful in the photograph and turned my hallway into an obstacle course. Thirteen inches deep in a passage that measured thirty-four inches wide, and I hit it with my shoulder on the way to the bathroom every single day for eleven months before I admitted it was wrong rather than me being clumsy.
Since then I have got most of the other decisions wrong too, usually one at a time, usually in a way that took months to become obvious. What follows is the honest list, in roughly the order I made them, with what I did to fix each one. Two of them cost me a Saturday. One of them cost me a pair of boots.
In this guide16 sections — tap to openHide
- 1.Mistake 1: I bought thirteen inches for a thirty-four inch hall
- 2.Mistake 2: I measured the walkway with the drawers shut
- 3.Mistake 3: I believed the pair count on the box
- 4.Mistake 4: I had no plan at all for boots
- 5.Mistake 5: I put a damp pair away in a closed cabinet
- 6.Mistake 6: I bought a sealed carcass with a solid front
- 7.Mistake 7: I skipped soft-close hinges to save thirty dollars
- 8.Mistake 8: I left a fifty-two inch cabinet unstrapped
- 9.Mistake 9: I let the top become a mail pile
- 10.Mistake 10: I chose a dark cabinet for a narrow hall
- 11.Mistake 11: I loaded the heaviest boots in the top drawer
- 12.Mistake 12: I hung a wall cabinet on drywall plugs
- 13.Mistake 13: I never lined the drawers
- 14.Mistake 14: I sized it for every pair we owned
- 15.Mistake 15: I fitted handles that snagged everything
- 16.Shoe Cabinet Mistakes: What I'd Do Differently Now
Mistake 1: I bought thirteen inches for a thirty-four inch hall
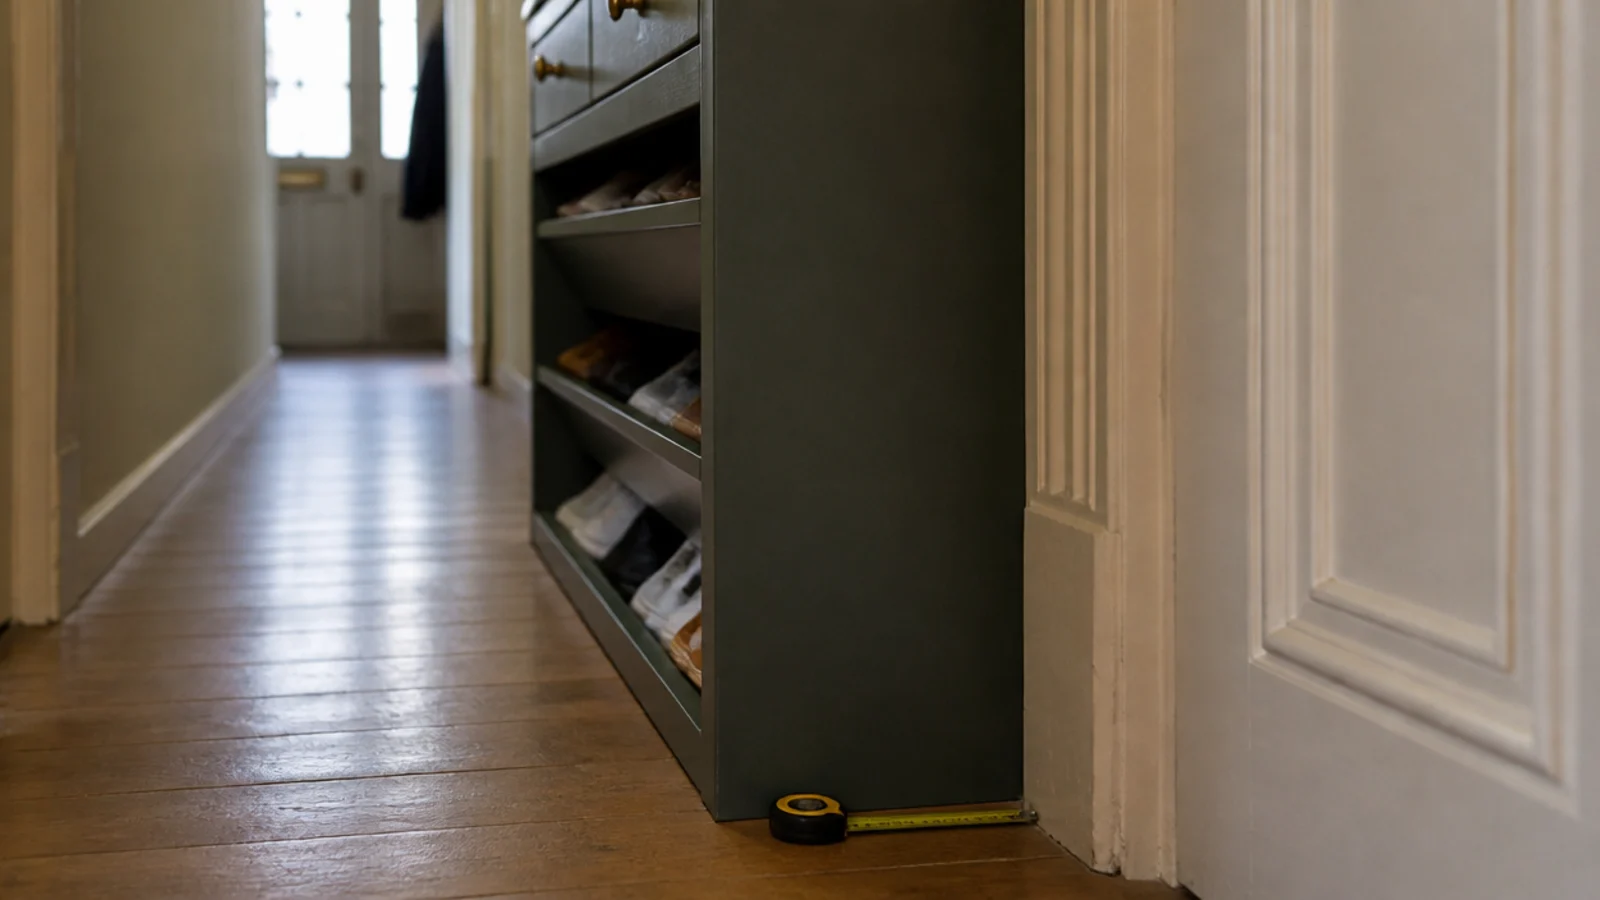
The cabinet had flat internal shelves, which meant it needed 13 inches of depth to take a shoe lying down. My hallway was 34 inches wide. That left about 21 inches of walkway, which sounds survivable and is not.
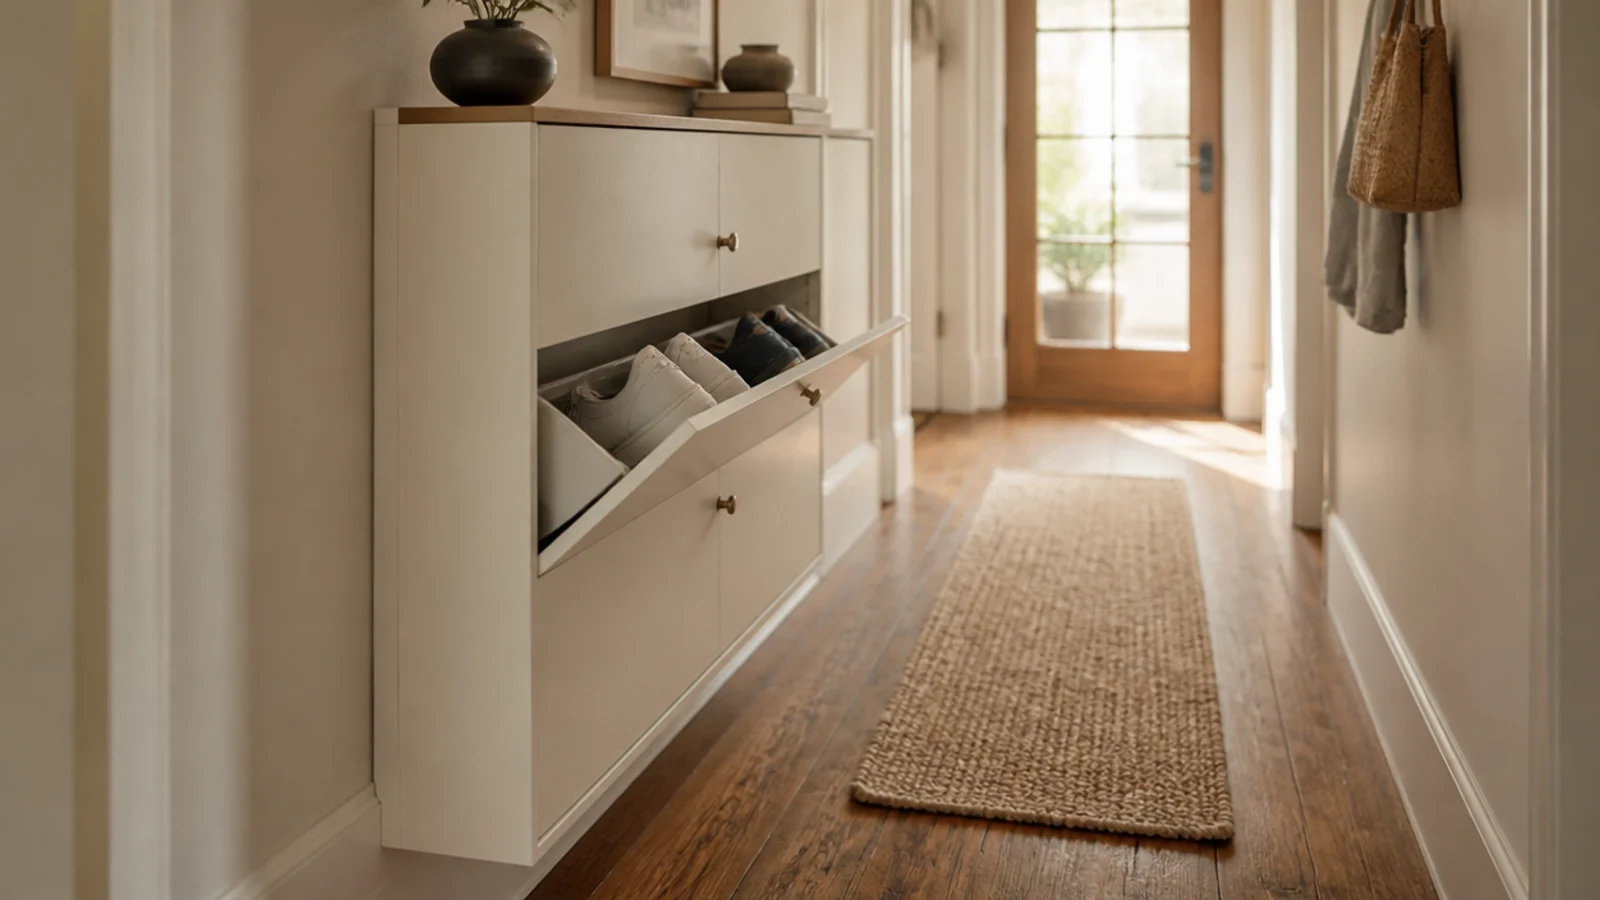
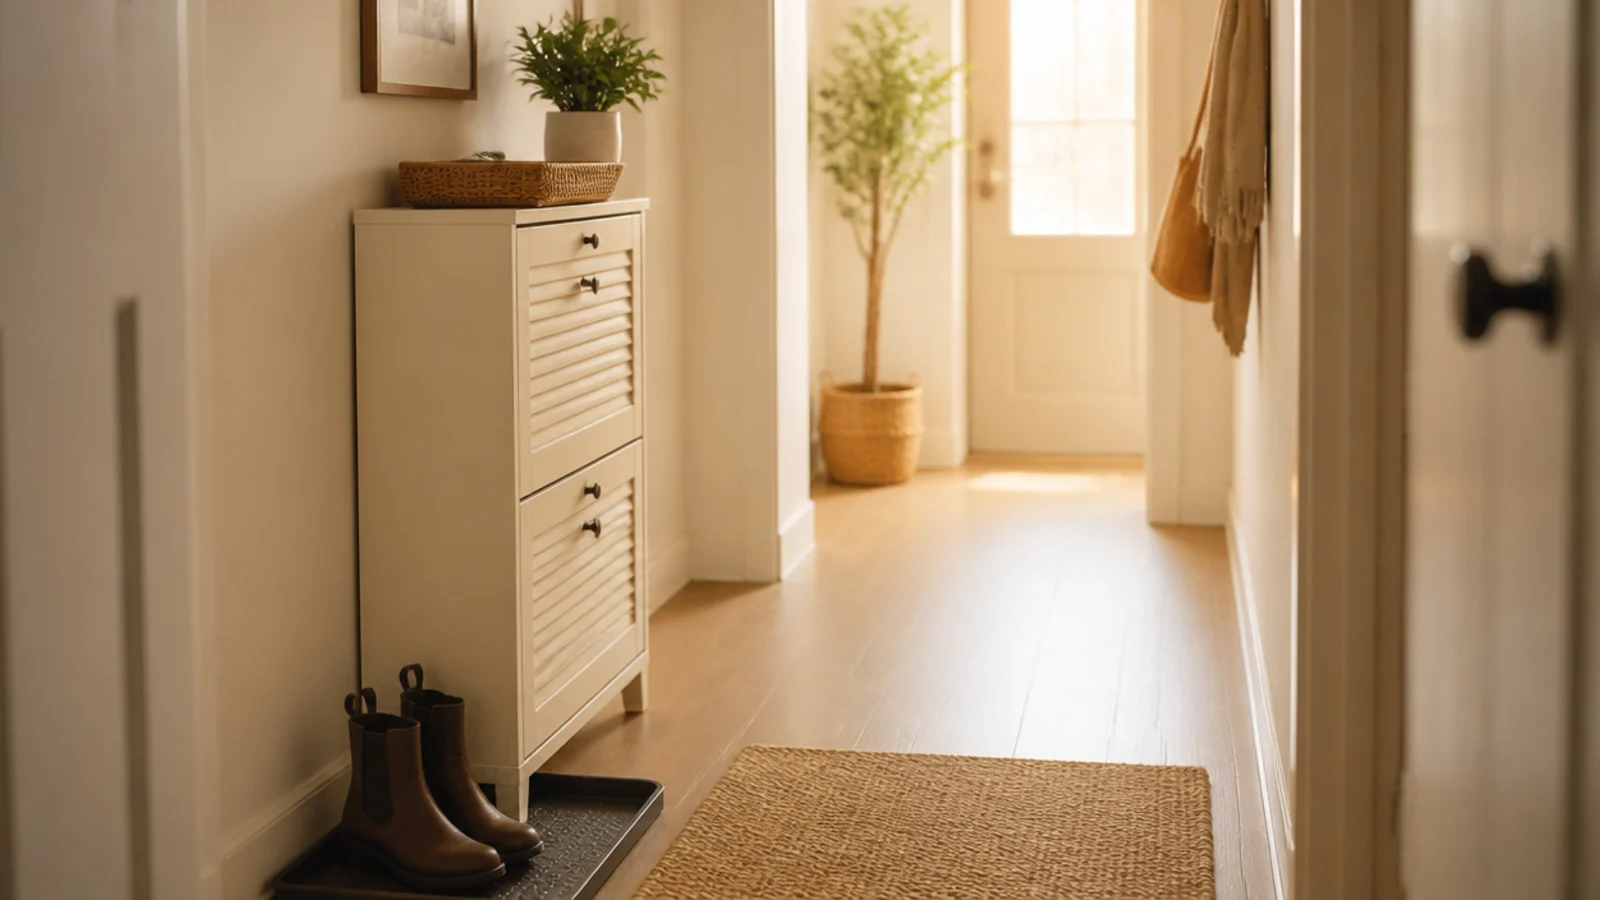
The fix: a tilt-out cabinet at 9 inches deep. Shoes sit at 45 degrees inside the drawer, so a 12.5-inch sneaker fits in a carcass four inches shallower. Same capacity, four inches of hallway back, and I stopped noticing the cabinet existed — which is the entire point of hallway furniture.
Mistake 2: I measured the walkway with the drawers shut
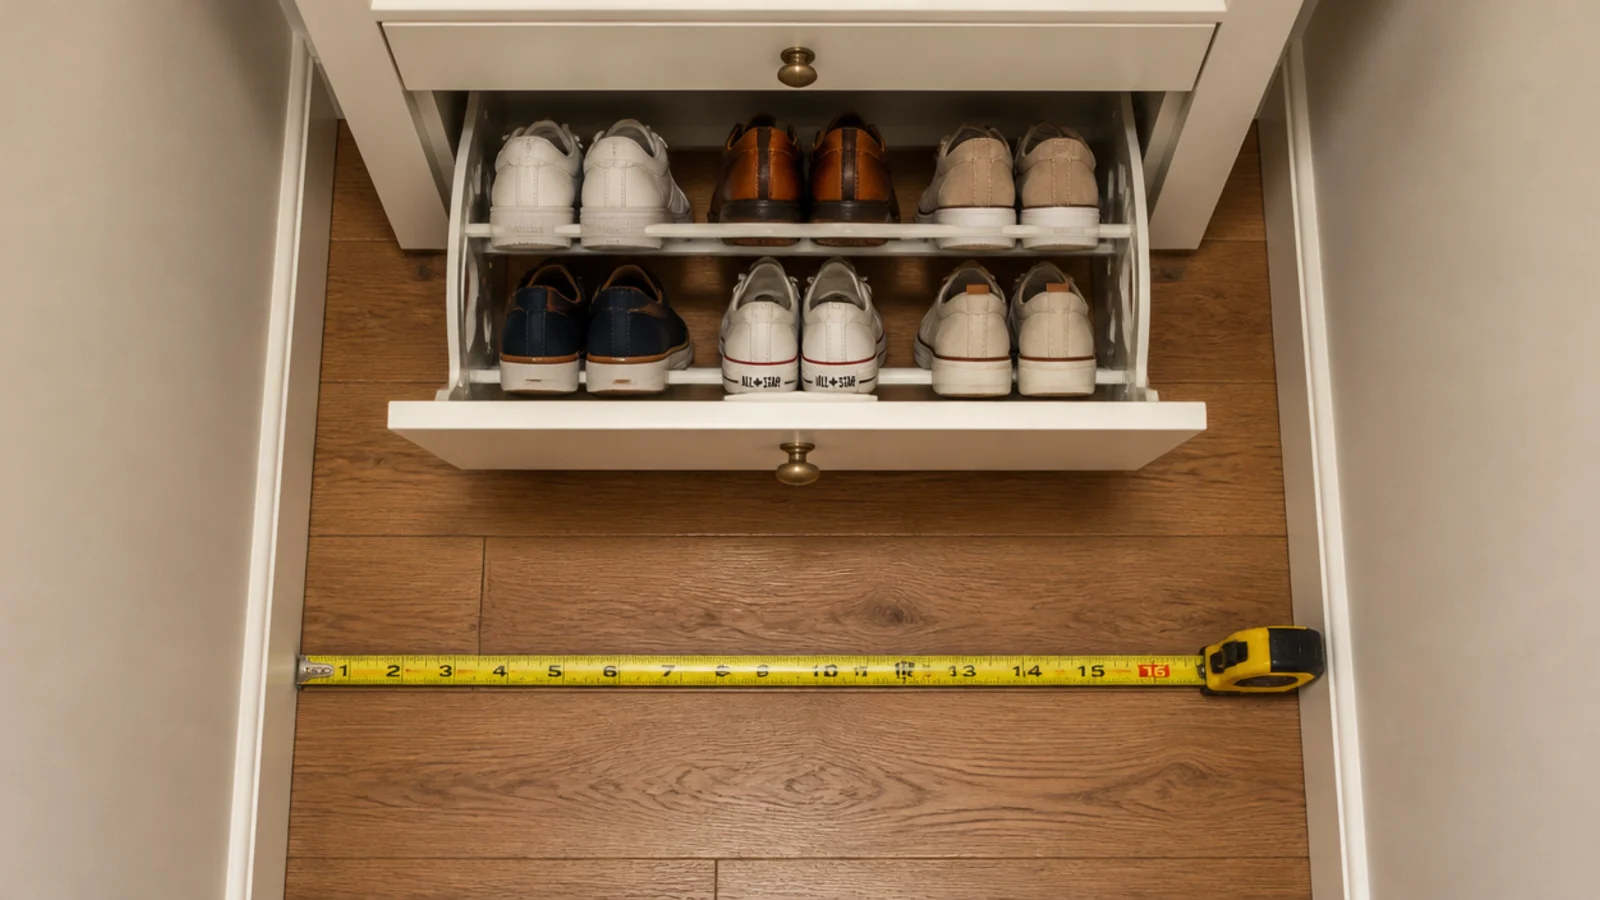
Having learned the depth lesson, I measured the replacement carefully. Closed. A tilt-out drawer swings forward 8 to 10 inches at the top when it opens, and I had not accounted for a single one of them.
The fix: measure with a drawer open, and aim for 36 inches of clear floor from the open front. That is the number that lets one person get shoes on while another passes behind. Anything under 30 and people start stepping around the cabinet rather than using it, which is how the floor pile comes back.
Mistake 3: I believed the pair count on the box
Fifteen pairs, it said. It held nine. Those box figures assume small flat shoes arranged in perfect rows, and nobody loads a cabinet like that at eight in the morning.
The fix: count on six to eight pairs of flats, sneakers or loafers per tilt-out drawer. Three drawers is an eighteen to twenty-four pair cabinet, realistically. I now assume two thirds of any stated capacity and I have never been disappointed since.
Mistake 4: I had no plan at all for boots
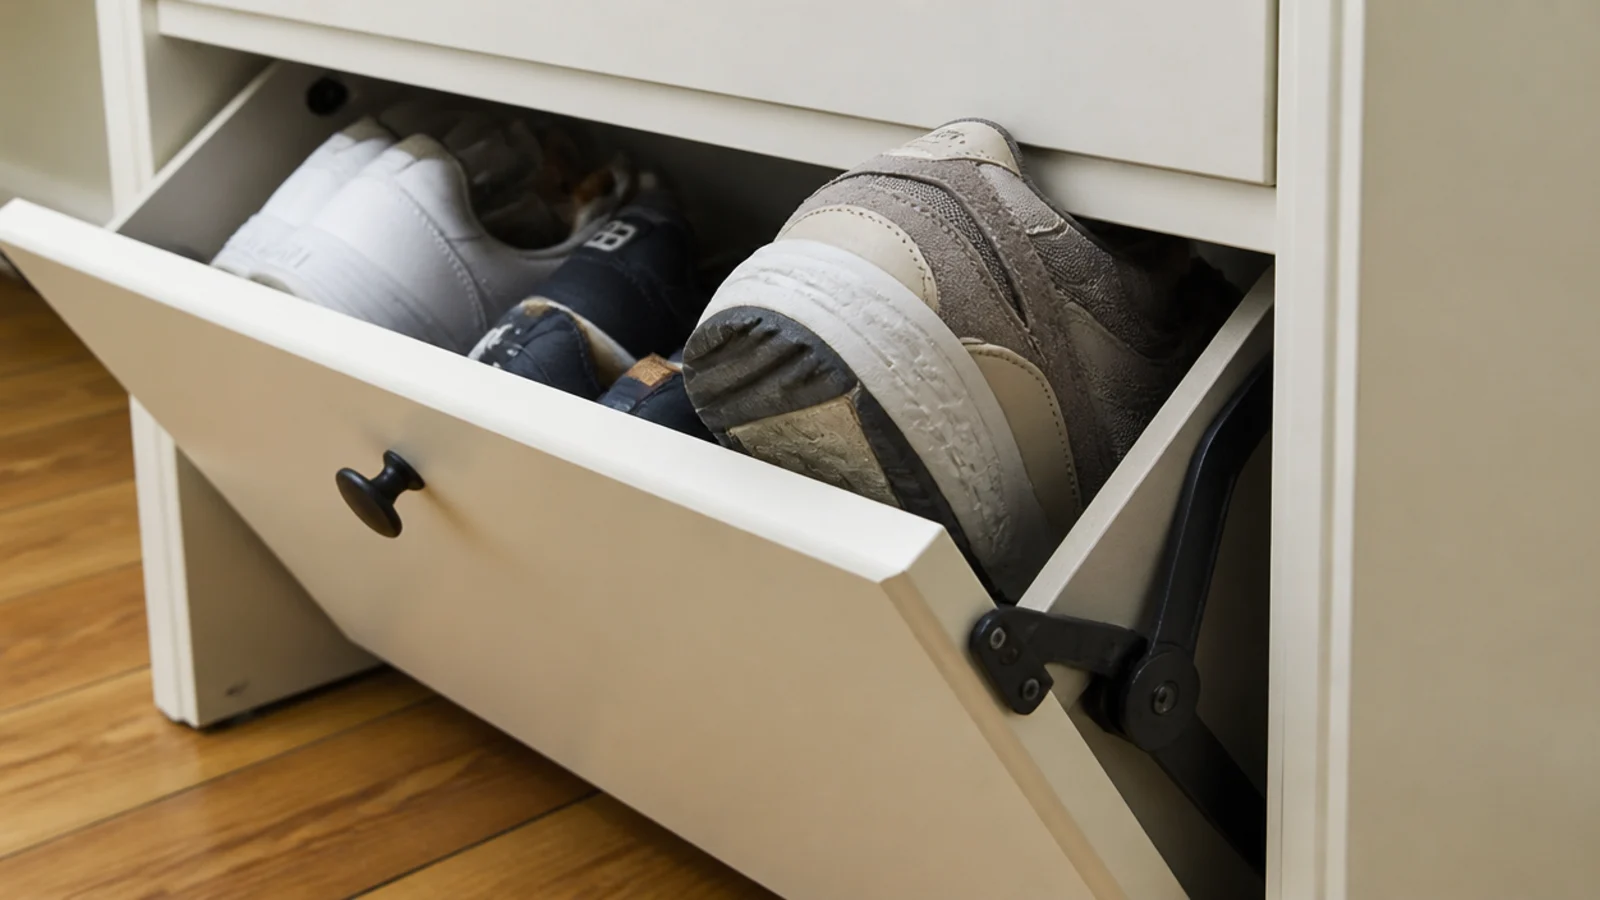
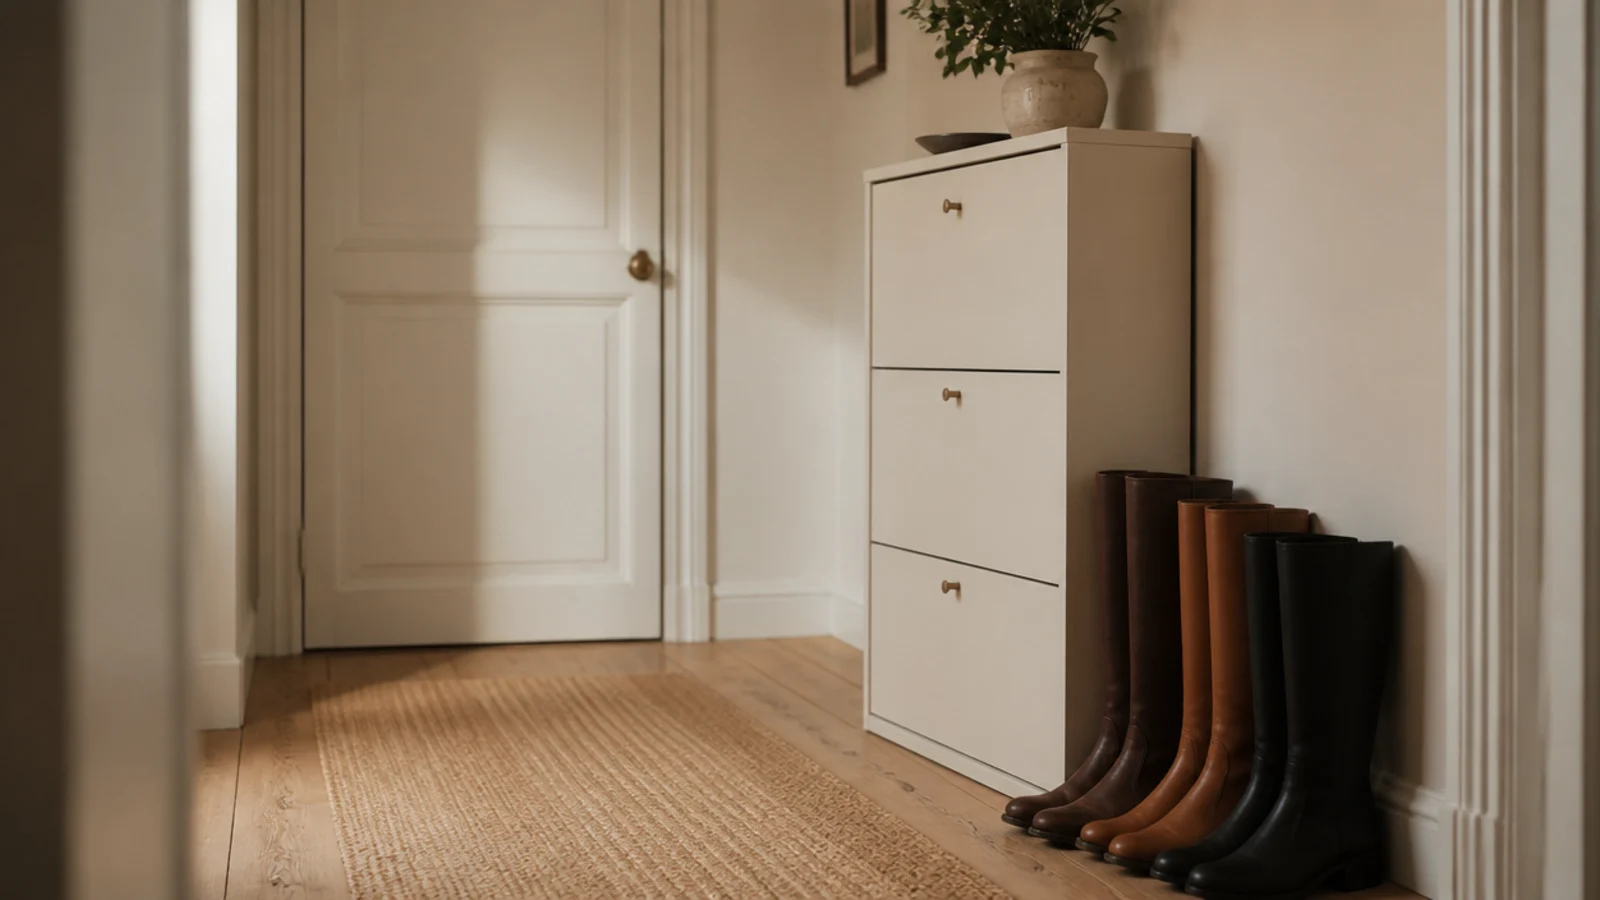
This is the one everybody makes. Tilt-out drawers hold no boots. Not ankle boots, not short ones, none. So the boots stayed on the floor beside a full cabinet, which is precisely the situation I had bought the cabinet to solve.
The fix: give up one compartment. I removed the tilt insert from the bottom drawer entirely, leaving an open bay about 15 inches tall that takes two pairs of ankle boots standing upright. Lost eight pairs of capacity, gained a hallway floor I could see.
Mistake 5: I put a damp pair away in a closed cabinet
Rain, a walk home, and canvas shoes into the drawer because the hallway looked untidy. Within two days everything in that compartment smelled, including the dry pairs beside them.
The fix: a raised-lip boot tray, at least 15 inches deep, on the floor next to the cabinet. Wet pairs live there until they are properly dry, then they go in. It costs about $20 and it prevented every damp problem I had previously blamed on the furniture.
Mistake 6: I bought a sealed carcass with a solid front
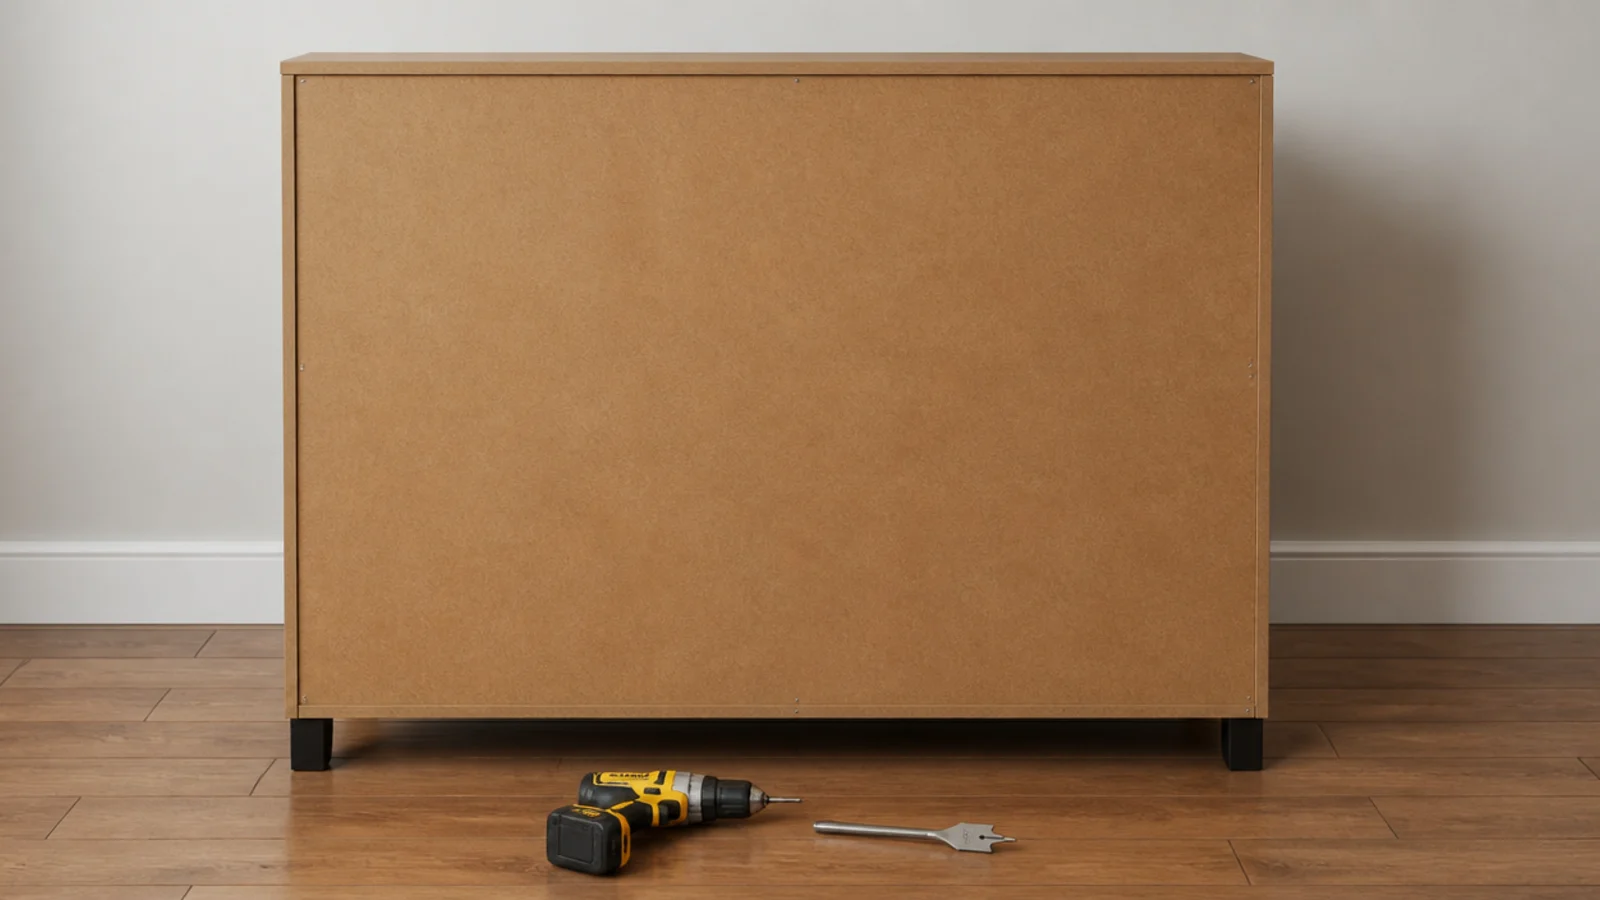
Even with dry shoes, one cabinet always smelled faintly. It had a solid back board, solid sides and a solid front, which makes it an airtight box that shoes exhale into every evening.
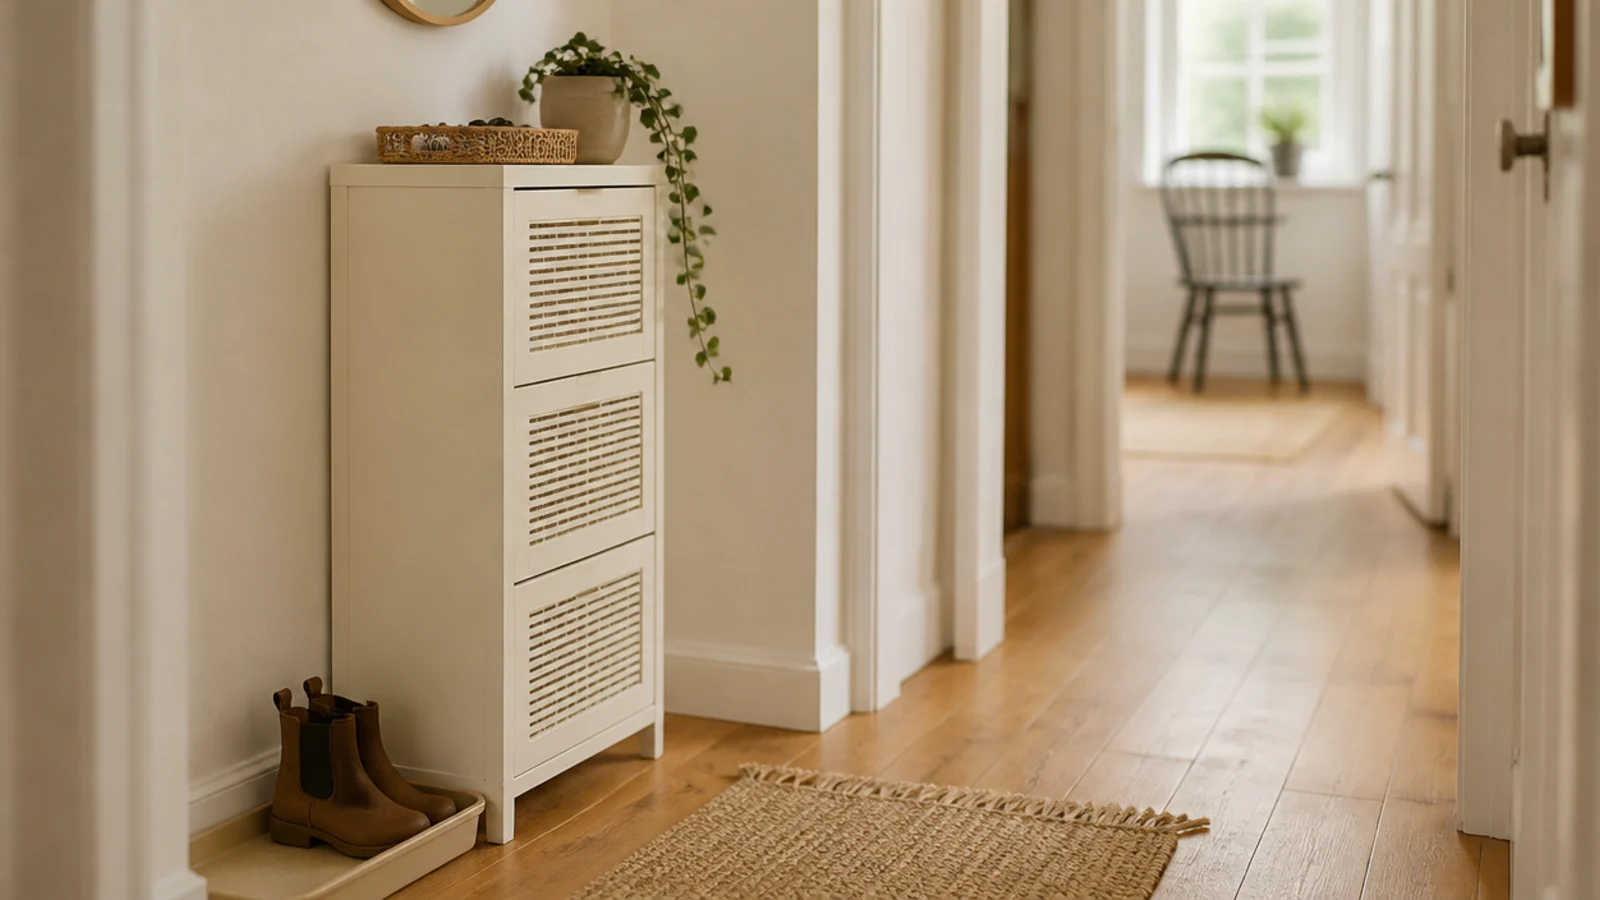
The fix: four one-inch holes drilled through the back panel, roughly level with the middle of each drawer, with scrap wood clamped behind so the board did not tear out. Fifteen minutes. Nobody ever sees the back, and the smell went and stayed gone. A slatted or cane front does the same job visibly.
Mistake 7: I skipped soft-close hinges to save thirty dollars
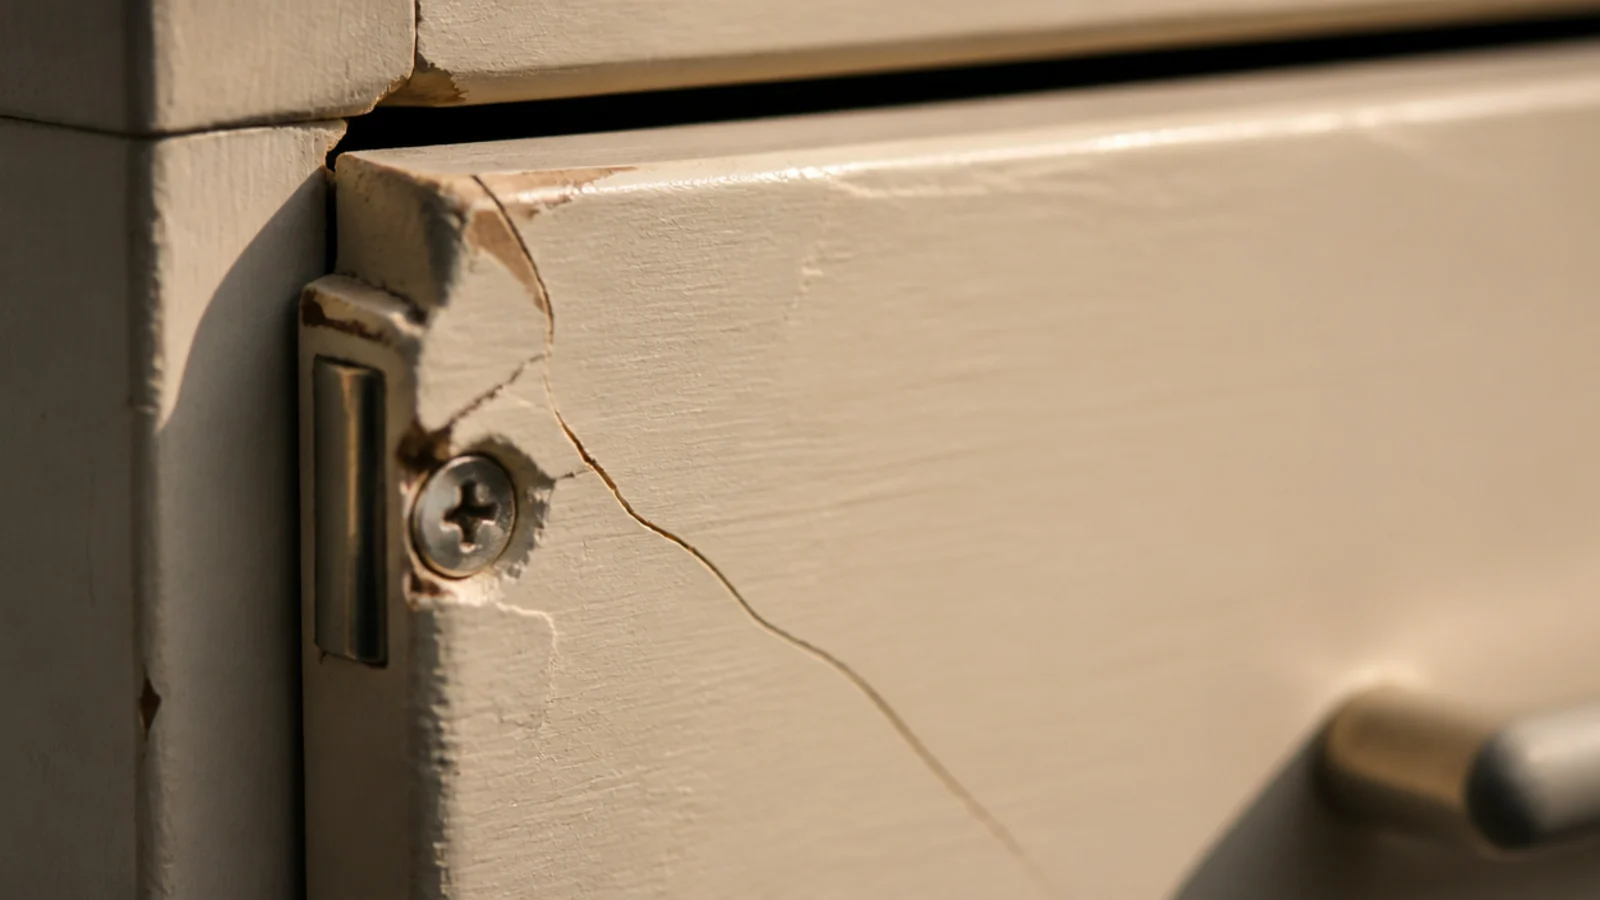
Nobody in my house has ever closed a shoe cabinet with their hands. It is a foot, always, usually while holding coffee. Standard spring hinges slam, and two years of slamming split the front panel from the corner outward.
The fix: retrofit soft-close dampers, $15 to $30 a pair and four screws per drawer. Now I specify them before I look at the finish, because on this one piece of furniture they matter more than the timber does.
Mistake 8: I left a fifty-two inch cabinet unstrapped
It felt immovably solid when empty. Loaded, with a bottom drawer open, the centre of gravity moves several inches forward — and my niece leaned on an open drawer to reach her shoes.
The fix: one anti-tip strap and one small screw. Anything over 40 inches tall gets strapped, without exception, and I say that as someone who spent years avoiding holes in rented walls. A filled hole takes thirty seconds on move-out day. There is no version of this where the hole is the bigger problem.
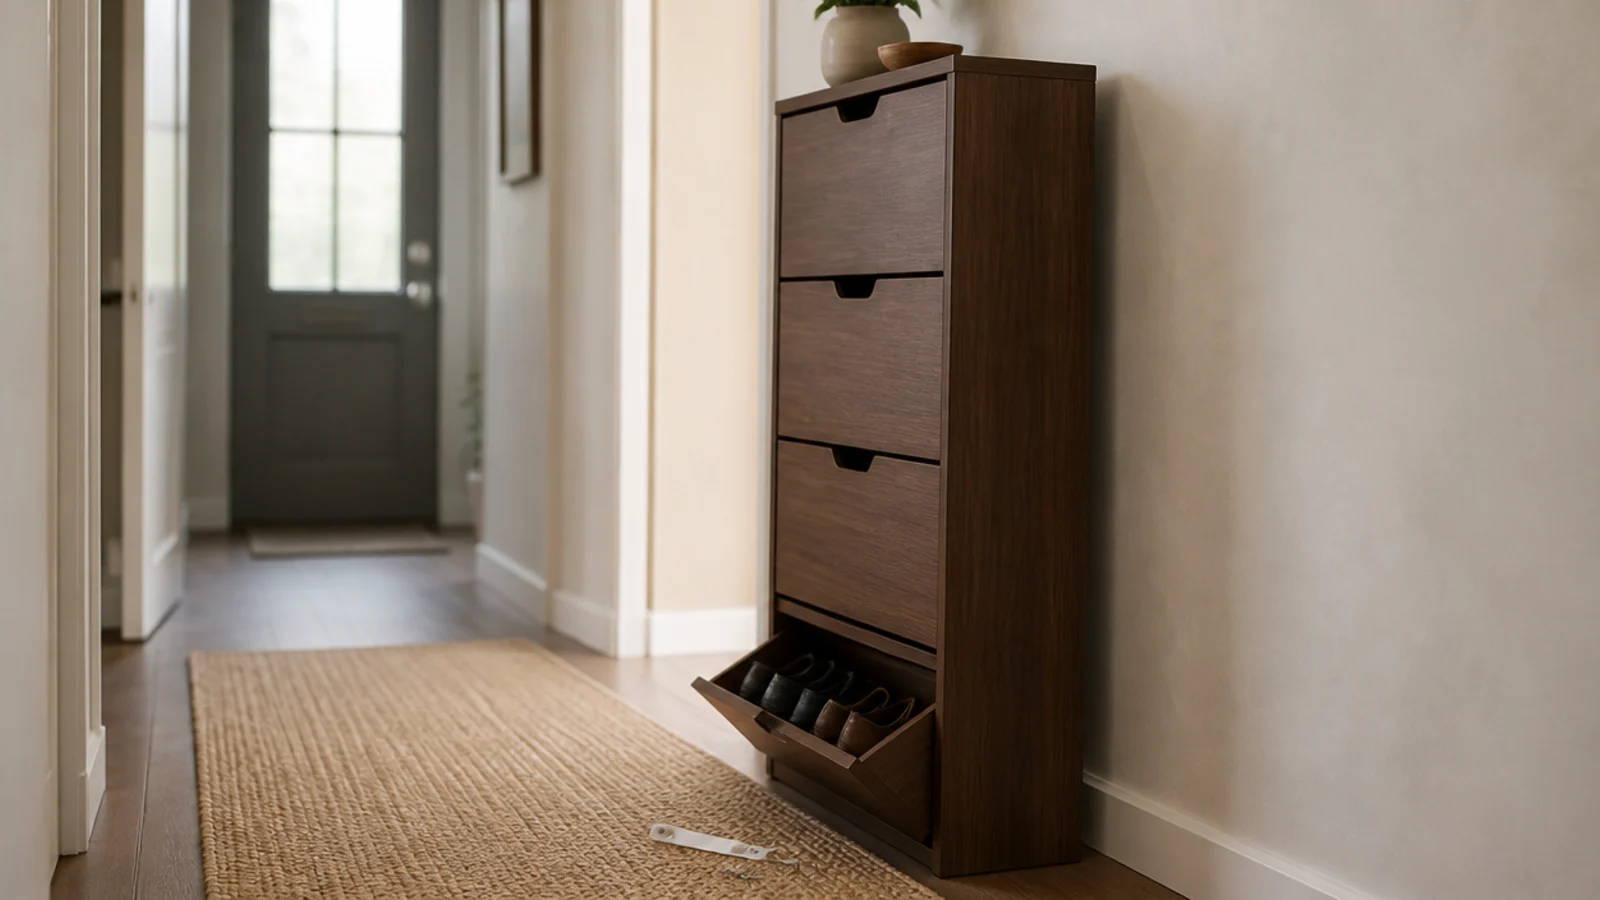
Mistake 9: I let the top become a mail pile
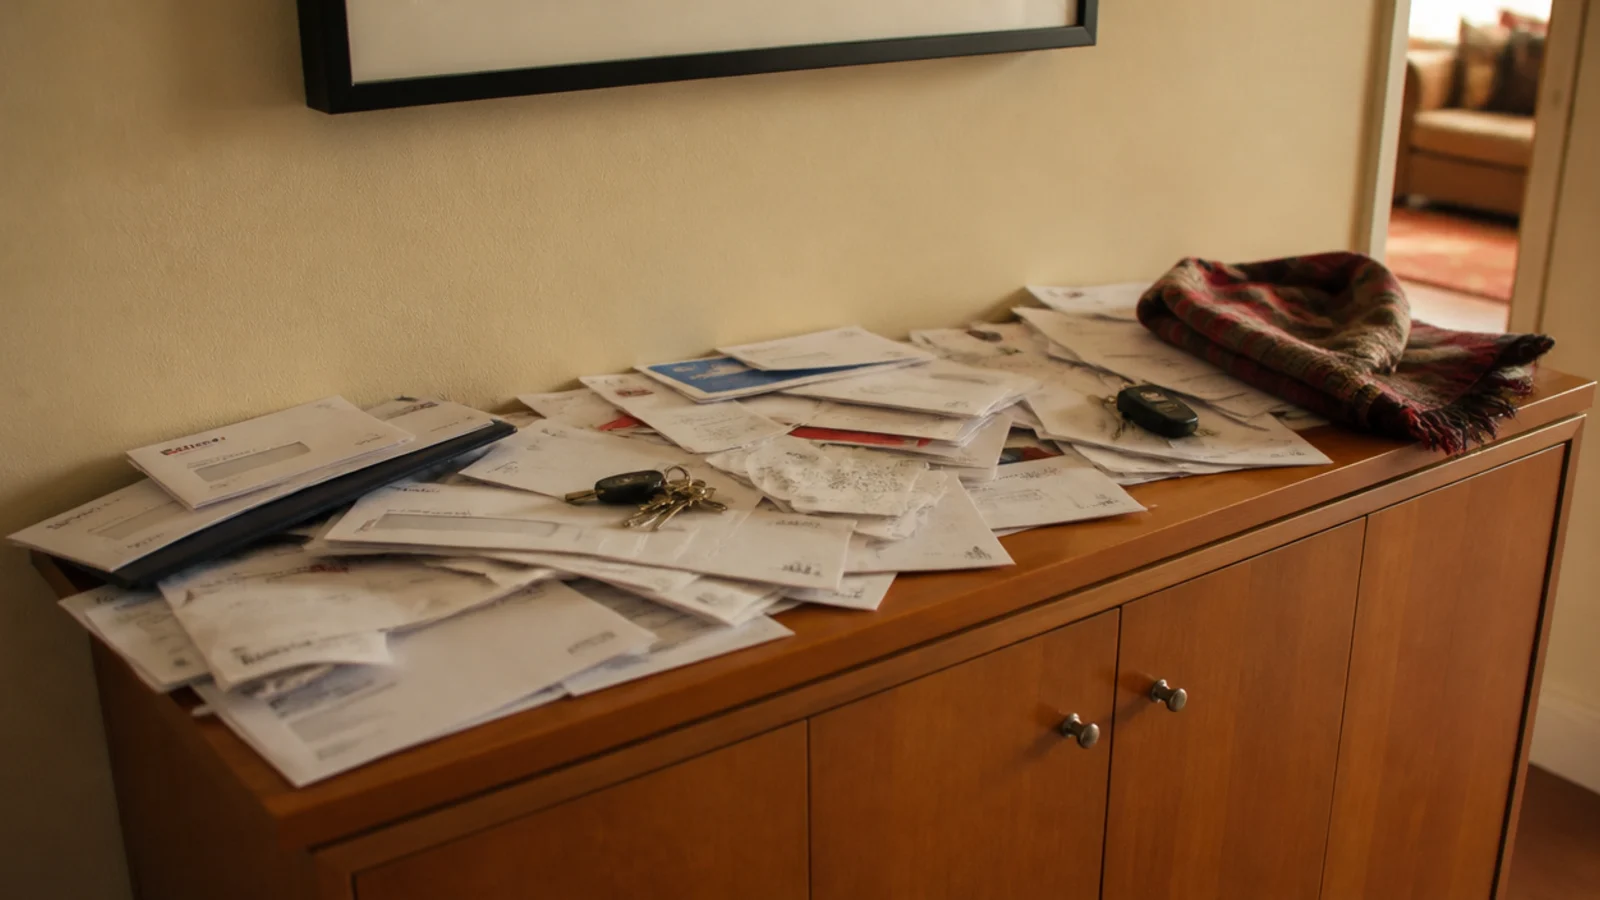
A flat surface at hand height, two feet inside the front door, with nothing on it. It was full of envelopes and receipts within a fortnight and stayed that way for a year.
The fix: one tray with a raised edge, 12 to 16 inches wide. The lip is the whole mechanism — a flat board does nothing, because small things slide off it and onto the floor. Everything loose goes in the tray, and the rest of the top stays clear enough to be worth styling.
Mistake 10: I chose a dark cabinet for a narrow hall
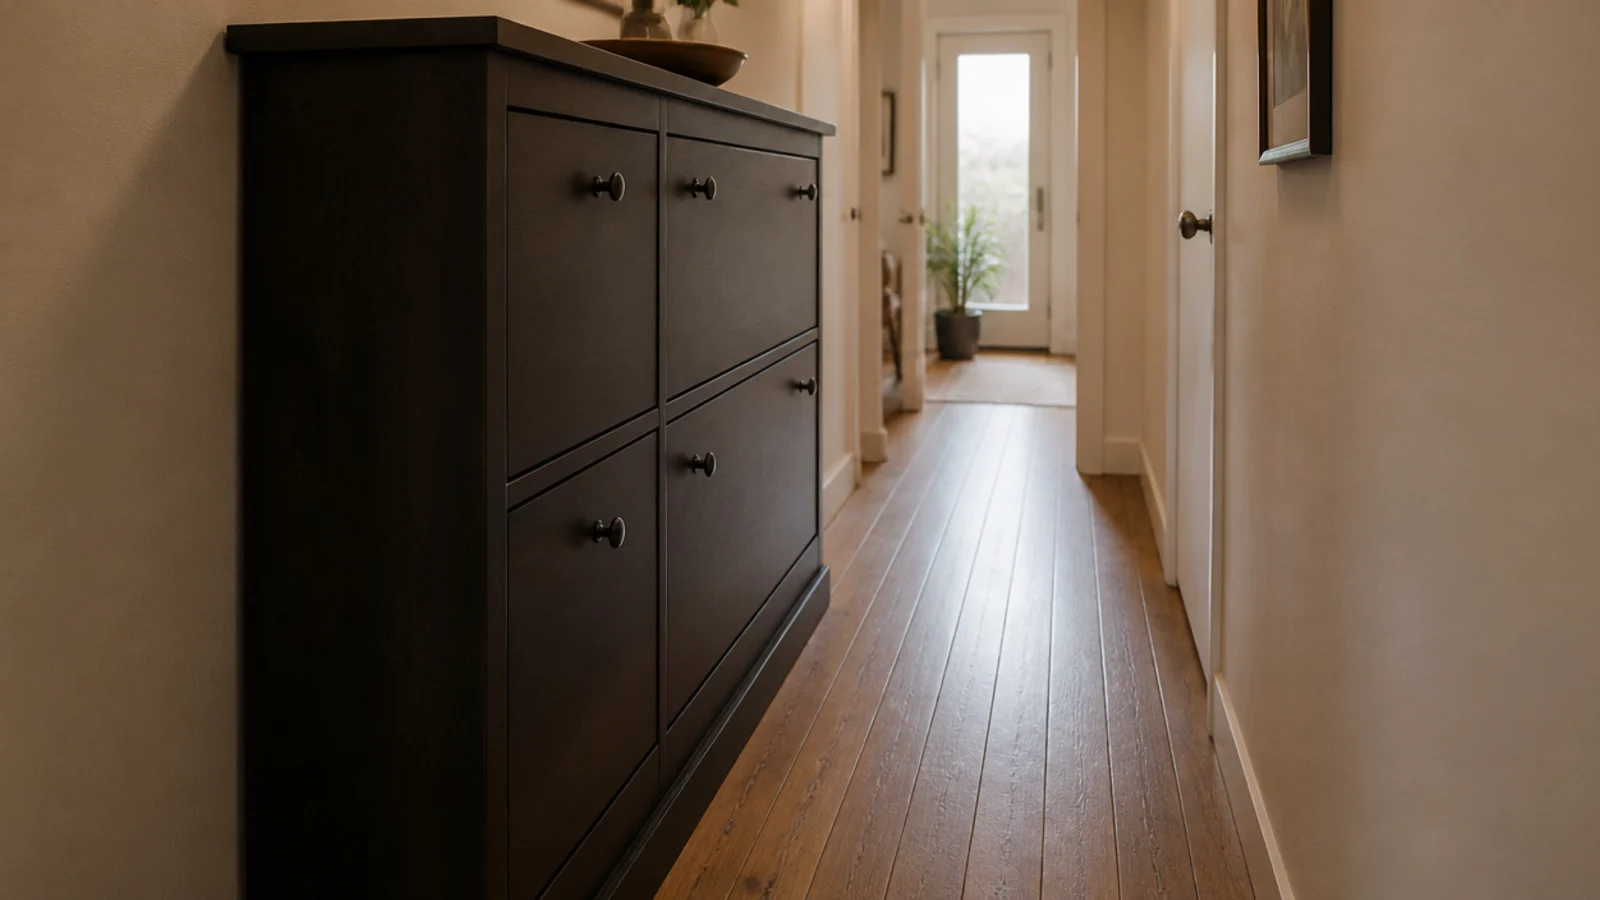
Deep walnut against cream walls. It photographed beautifully and it made a 36-inch passage feel like a corridor, because a dark low block reads as visual weight and your eye stops at it.
The fix: paint or choose the cabinet in the wall color. In the next flat I painted a plain unit the exact cream of the hallway and the passage immediately read wider. Save contrast for a room with space to spare, where the piece can be a decision rather than an obstruction.
Mistake 11: I loaded the heaviest boots in the top drawer
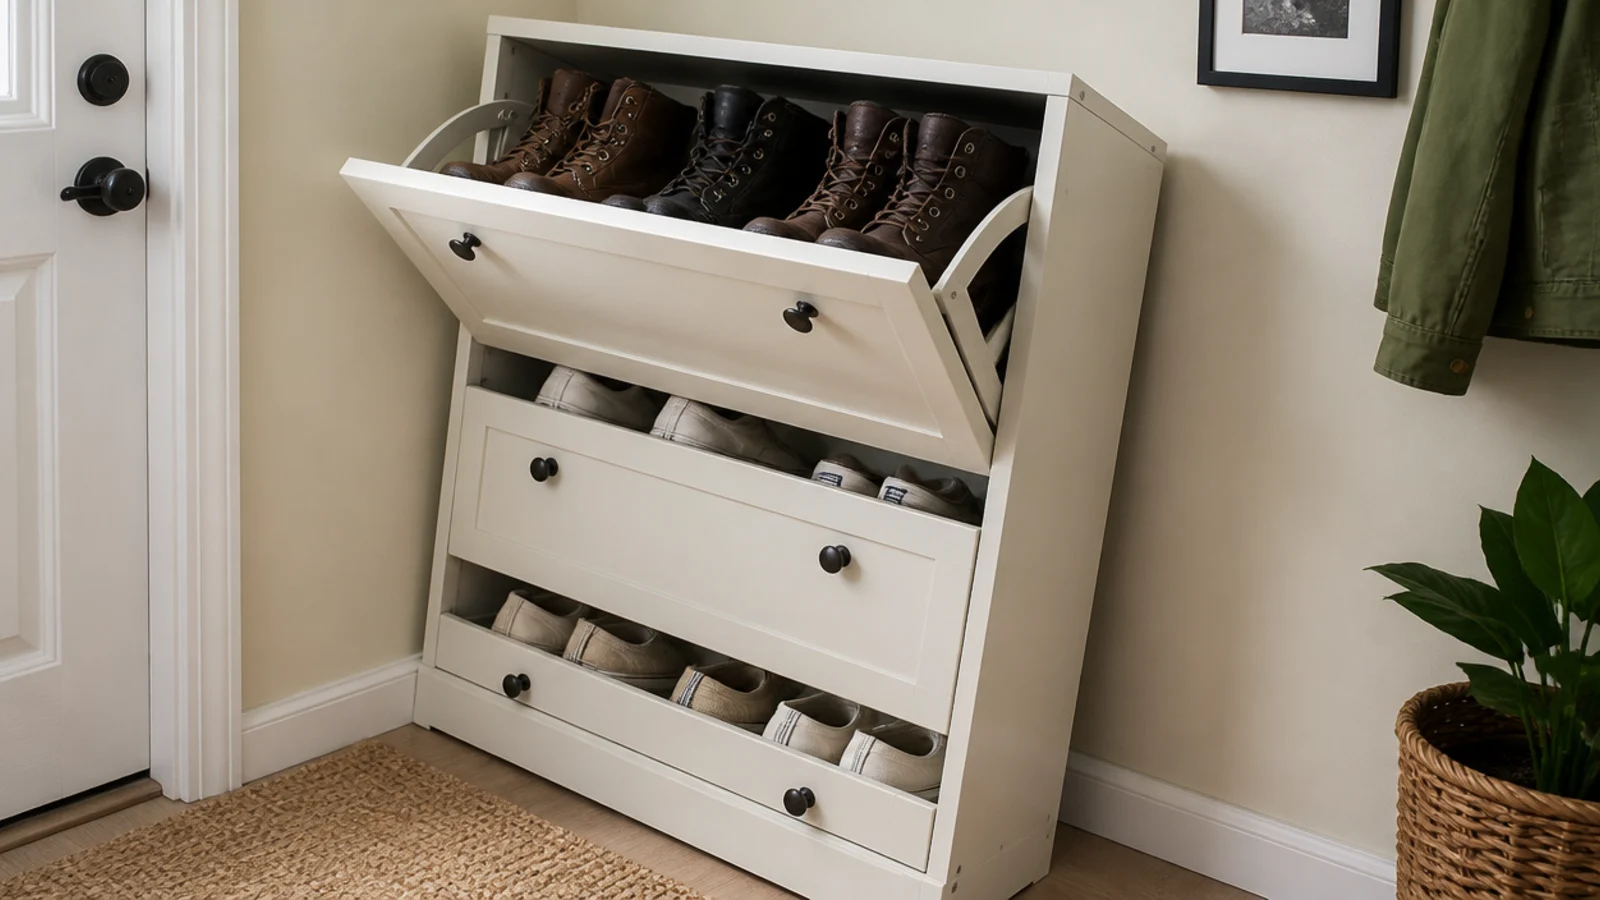
Purely because the top drawer was easiest to reach. Heavy walking boots at the top of a shallow carcass makes the whole thing nose-heavy, and it wobbled every time the drawer swung out.
The fix: heaviest shoes in the bottom drawer, always, regardless of convenience. Weight low keeps the centre of gravity where it belongs, and it costs nothing to reorganise. This is the same rule that applies to any tall furniture, and I ignored it because a shoe cabinet felt too small to matter.
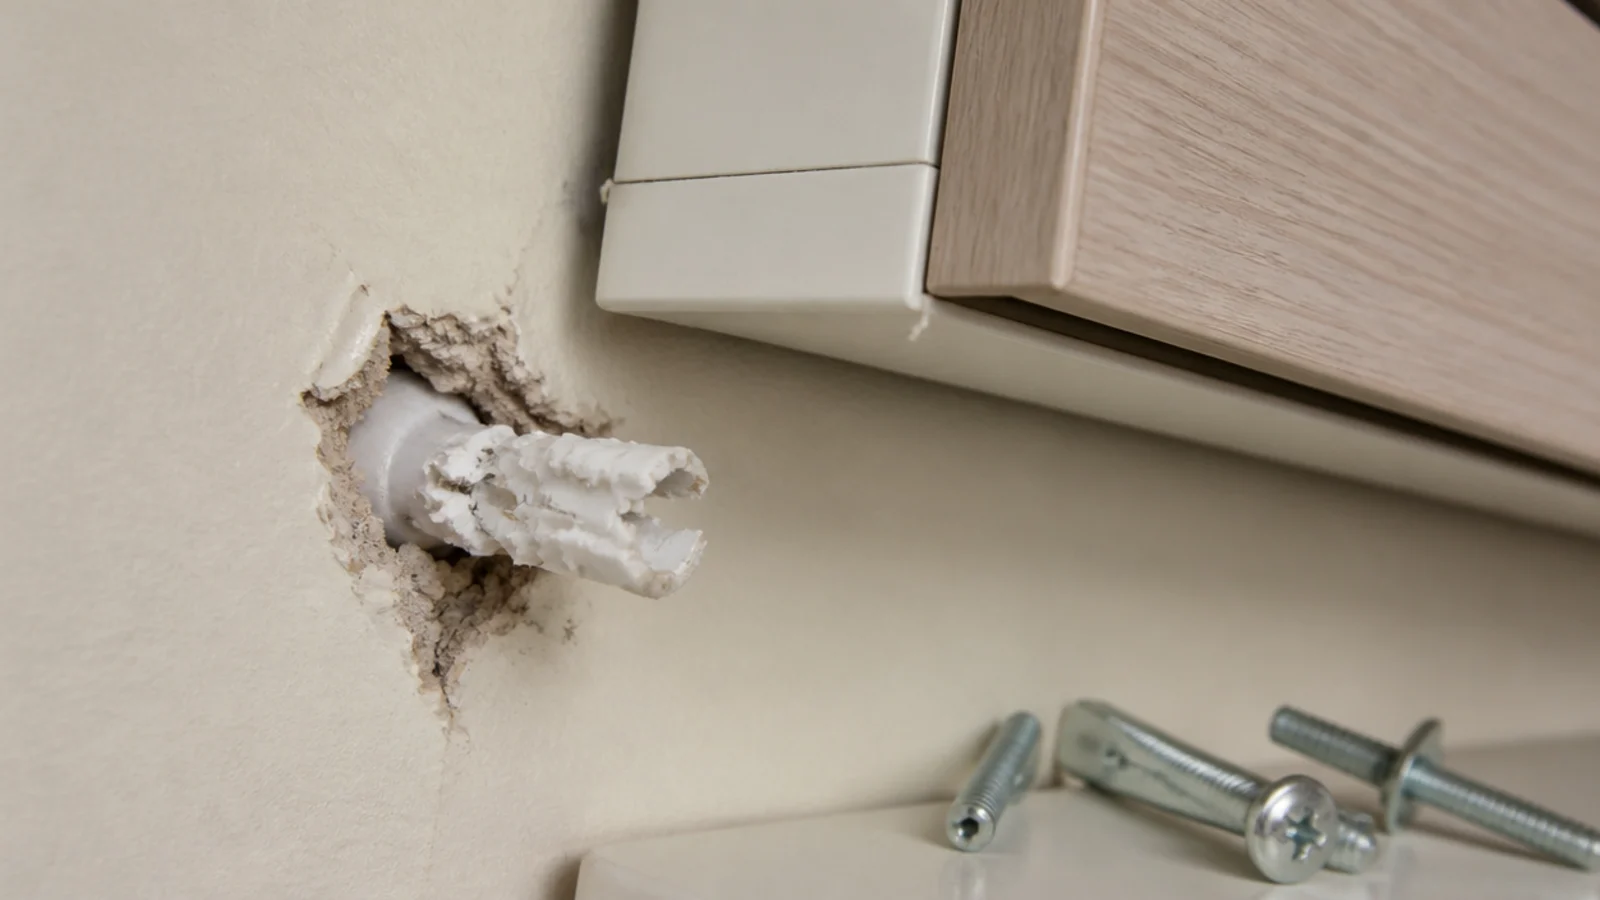
Mistake 12: I hung a wall cabinet on drywall plugs
Wall-hung looked wonderful with the floor clear underneath. I used the plastic plugs in the box, which are rated around ten pounds each, under a cabinet holding close to forty pounds of shoes.
The fix: bolts into studs, or toggle bolts at 25 to 35 pounds each in half-inch drywall. It did not fail suddenly — it crept out over weeks and went visibly out of level first, which is the warning most people miss. I now throw the supplied plugs away before I open anything else in the box.
Mistake 13: I never lined the drawers
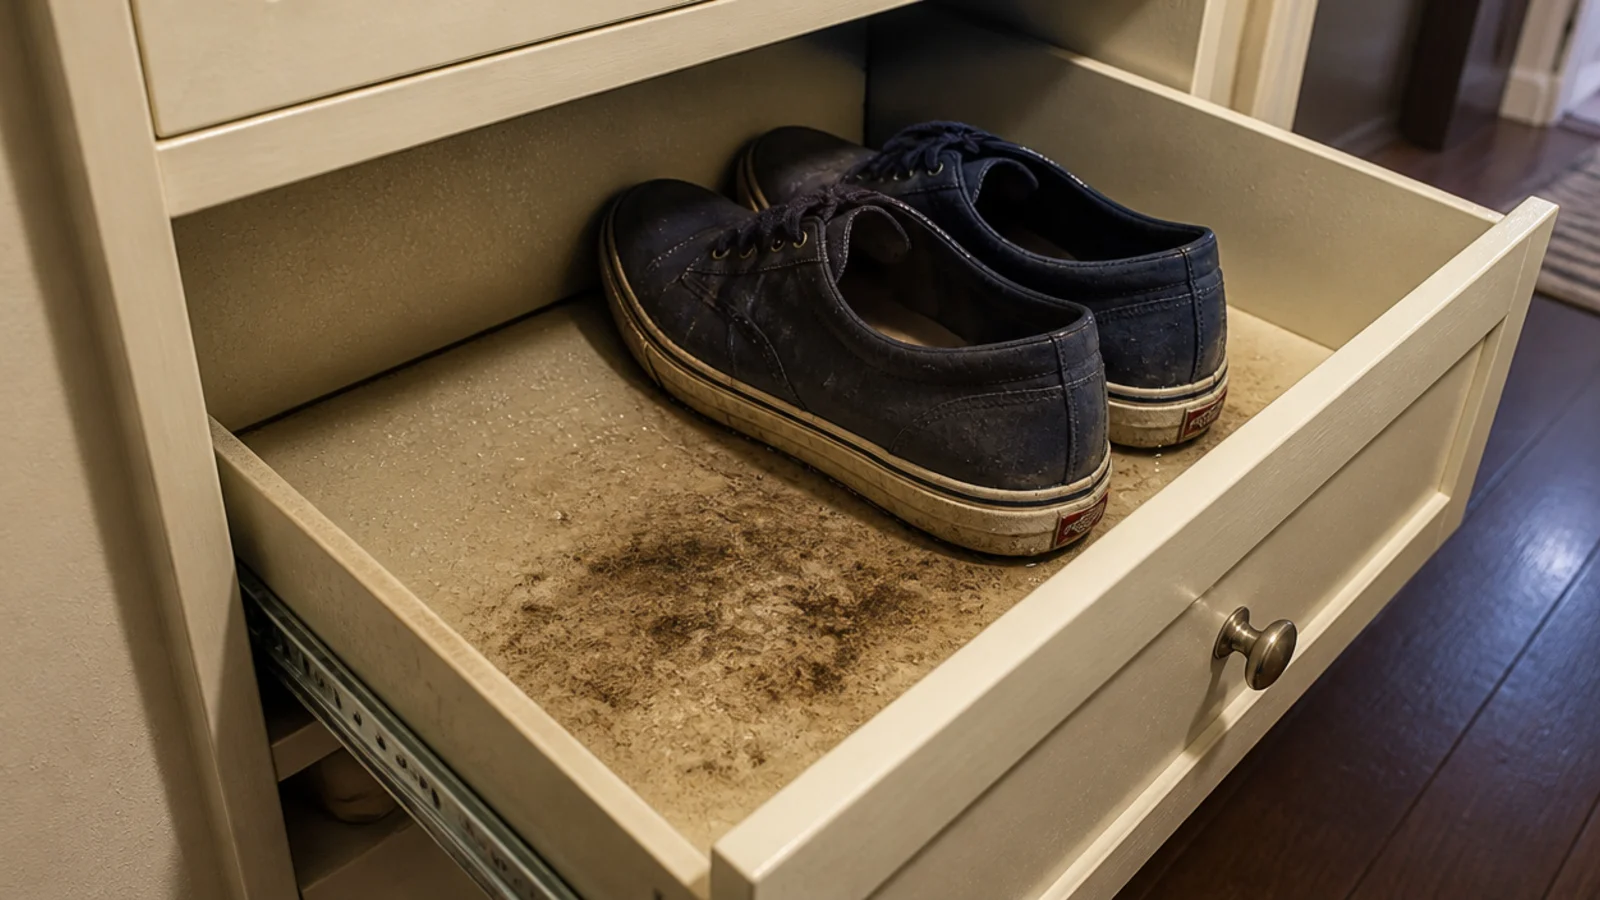
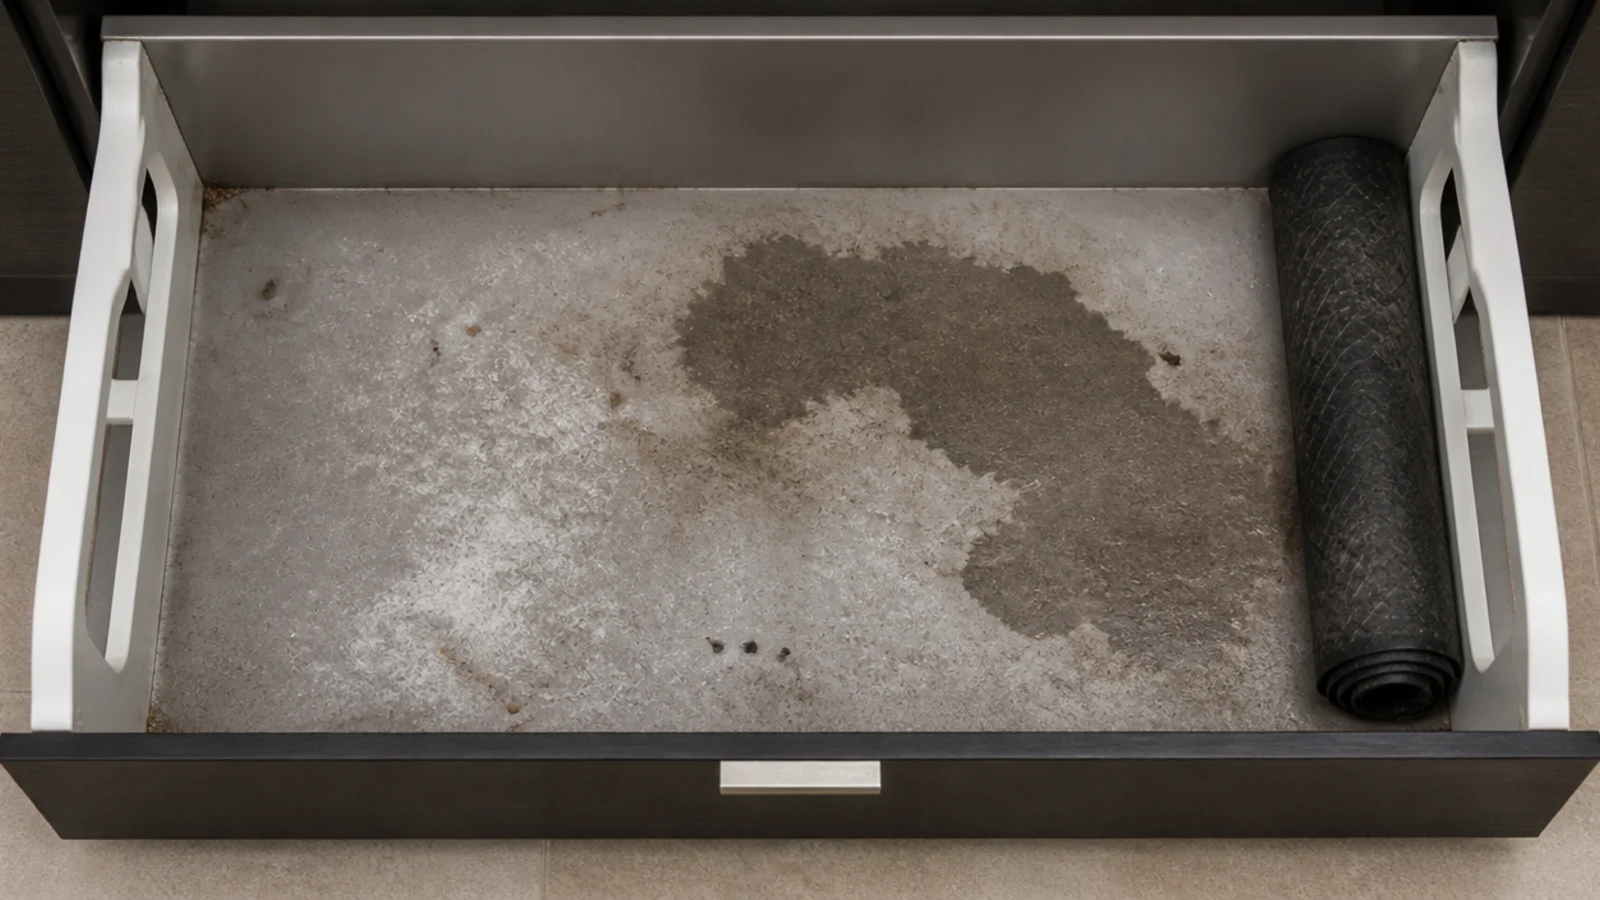
Road salt, grit and the occasional damp sole all end up in the base of the drawer, and they stay there. Two winters later there was a permanent dark stain across the melamine that no amount of scrubbing touched.
The fix: a ribbed rubber or washable mat cut a quarter inch under the internal dimensions so it drops in and lifts out. Twelve to twenty dollars a roll, does three drawers, rinses in the shower. It also stops shoes sliding into a heap every time the drawer shuts.
Mistake 14: I sized it for every pair we owned
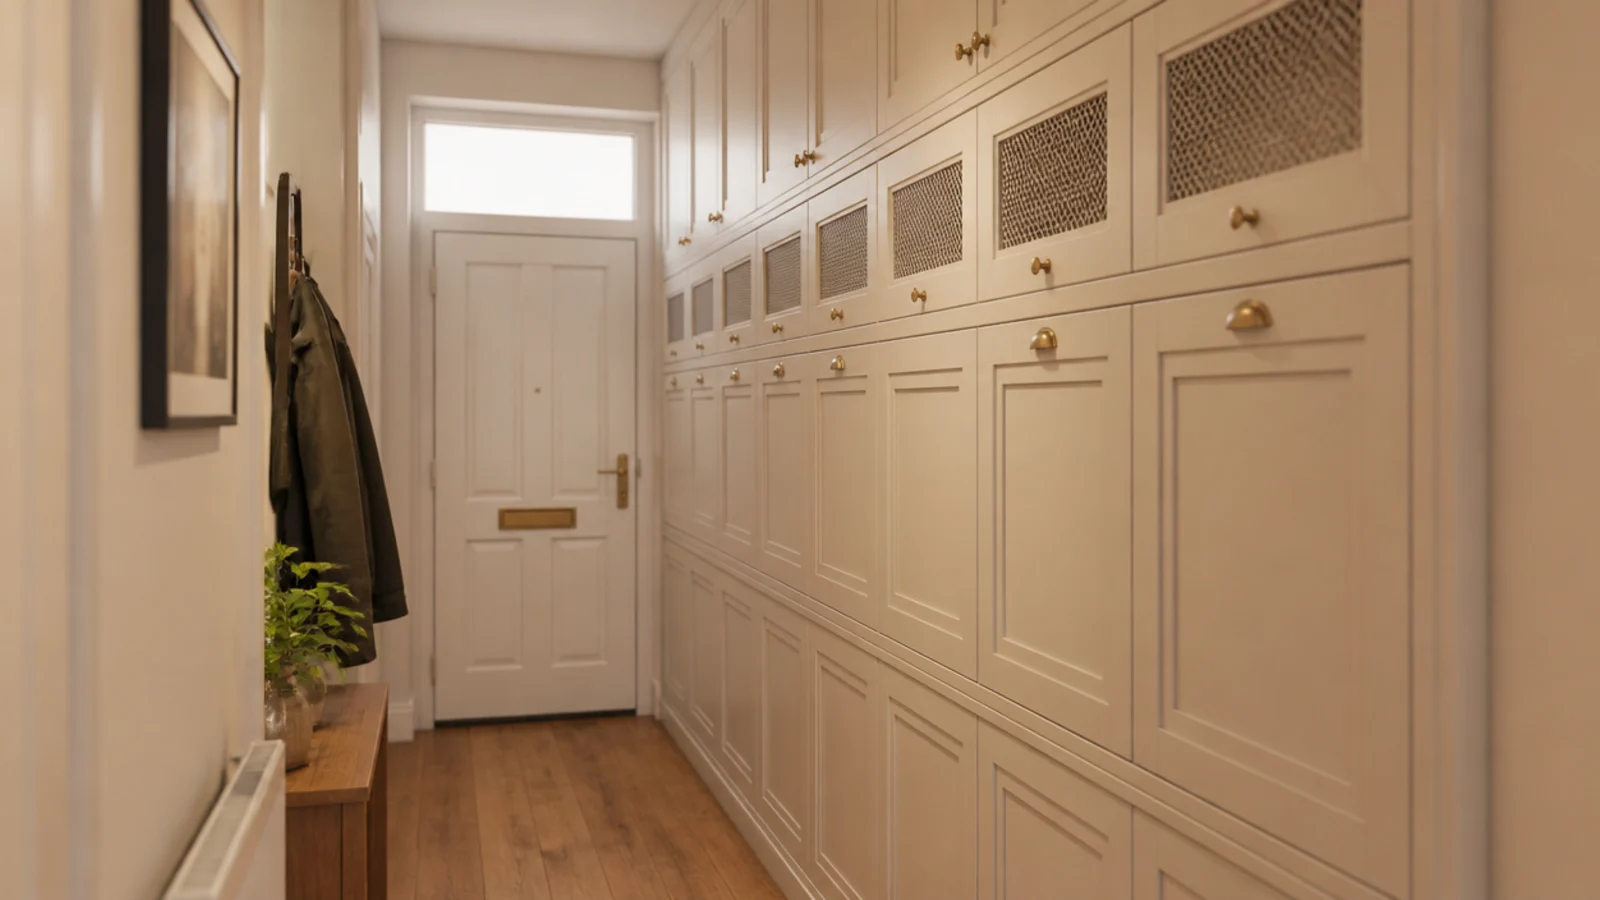
I counted every shoe in the house and bought storage for the total. The result was a wall of cabinet in a small entry, mostly holding shoes nobody had worn since a wedding in 2019.
The fix: entryway storage is for daily shoes. Two to three pairs per person plus one seasonal set, and everything else goes to a closet or under a bed. The cabinet I actually needed was half the size, and the hallway got its proportions back. The sizing method is laid out in entryway shoe cabinet layouts.
Mistake 15: I fitted handles that snagged everything
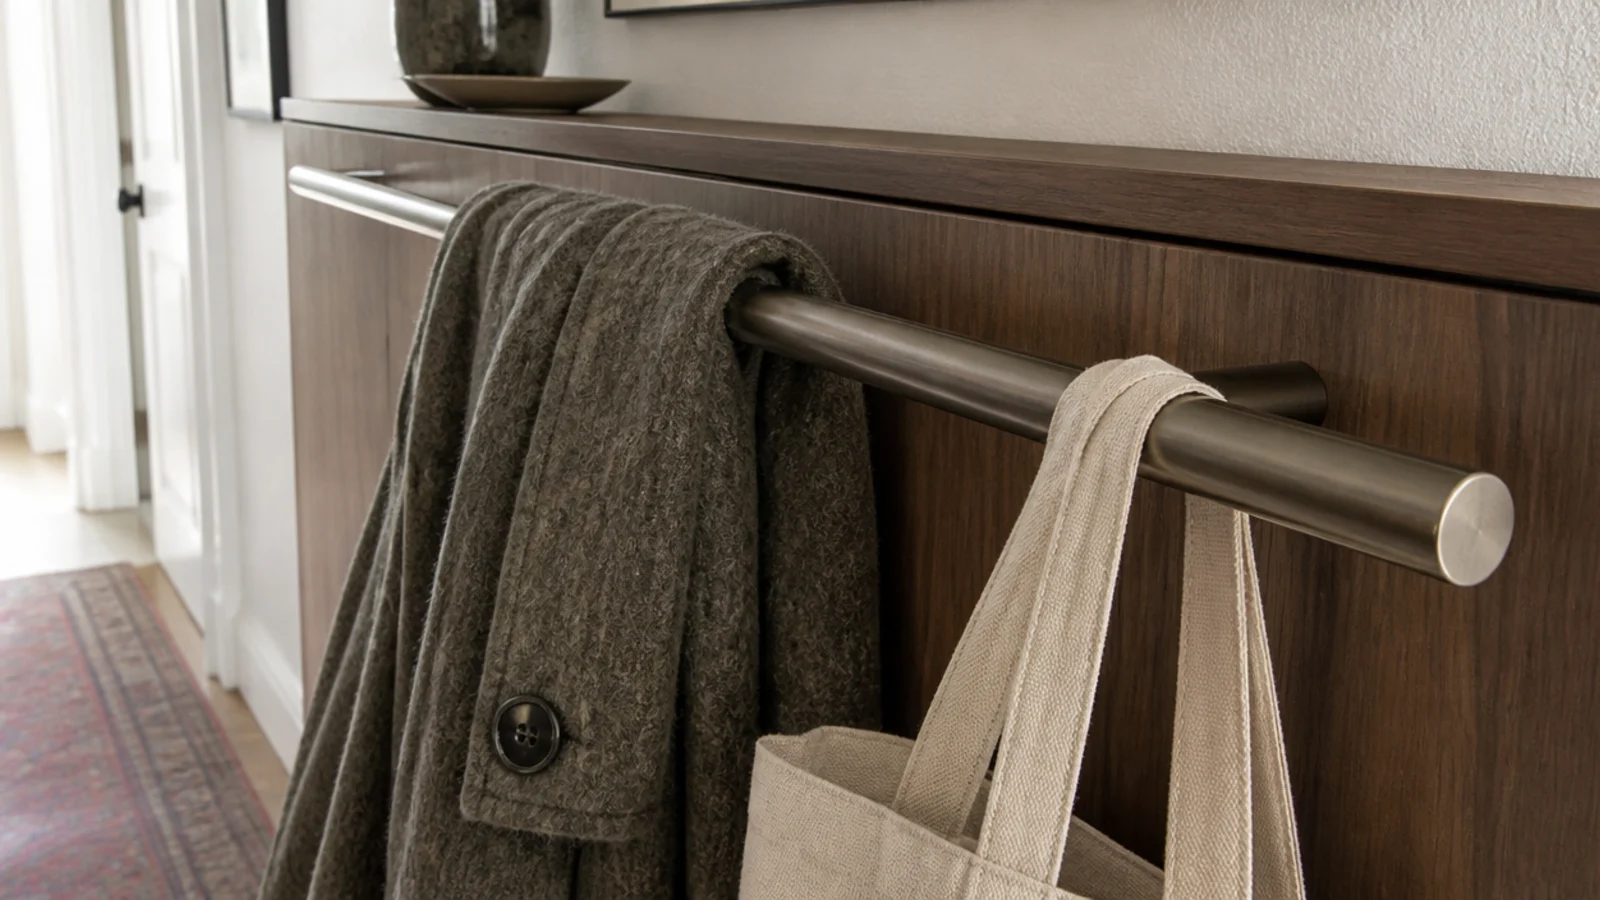
Long bar handles, because they looked architectural. In a 36-inch hallway they caught coat sleeves, tote straps and once, memorably, a bag of shopping that emptied across the floor.
The fix: small knobs that project under an inch, or push-to-open catches with no hardware at all. In a narrow passage, anything sticking out two inches will be found by something. I keep the original handles bagged inside the cabinet, and I have never once wanted them back.
Shoe Cabinet Mistakes: What I'd Do Differently Now
If I could hand my younger self a single index card, it would have four numbers on it. Nine inches of depth for a tilt-out. Thirty-six inches of clear walkway, measured with a drawer open. Forty inches of height as the point where a strap becomes non-negotiable. And two to three pairs per person as the honest capacity to design around.
Then two habits rather than measurements: vent the back panel before the cabinet ever gets loaded, and put a boot tray on the floor beside it on day one rather than after the first wet week.
What I actually regret is the order I did things in. I chose finishes first and structure second, which meant buying twice in two different flats. Depth, clearance, ventilation and anchoring decide whether a shoe cabinet works. Everything else — the color, the knobs, the tray on top — is a Sunday afternoon you can redo whenever you like.
Frequently asked questions
Why does my shoe cabinet smell even when the shoes are clean?
Because it has no airflow. A sealed carcass with a solid front holds humidity for days, and damp air is what smells rather than the shoes themselves. Drill four one-inch holes through the back panel or fit a slatted front, and keep every damp pair on a tray outside the cabinet until it is properly dry.
What depth should a shoe cabinet be in a narrow hallway?
Nine inches if it uses tilt-out drawers, because the shoes sit at 45 degrees inside them. Thirteen inches if the shoes lie flat on shelves, since a men's size 12 sneaker is about 12.5 inches long. Measure the walkway with a drawer open, not shut, and keep 36 inches of clear floor in front.
Do I really need to anchor a shoe cabinet to the wall?
Anything over 40 inches tall, yes. Loaded cabinets shift their centre of gravity every time a drawer swings out, and a child pulling on an open drawer is a tipping load rather than a static one. One anti-tip strap is a single small hole that fills in thirty seconds on move-out day.
Are soft-close hinges on a shoe cabinet worth the money?
Yes, more than on any other cabinet in a house. These get shut with a foot, by everyone, several times a day. Standard spring hinges slam, and the repeated impact loosens the fixings and eventually cracks the front panel. Retrofit dampers cost $15 to $30 a pair and take four screws per drawer.
How many pairs does a slim shoe cabinet actually hold?
Six to eight pairs of flats, sneakers or loafers per tilt-out drawer, so eighteen to twenty-four pairs in a typical three-drawer unit. No boots at all. Box claims usually count small shoes lying flat in perfect rows, which is not how anybody loads one on a Tuesday morning.
If you are about to buy, measure the walkway with an imaginary drawer open and check the back panel for vent holes before you look at a single finish. Those two checks would have saved me most of this list. The slim shoe cabinet guide has the shallow options compared, shoe cabinet ideas covers placement room by room, and shoe storage mistakes covers the open-storage equivalents. Save the pin so the numbers are with you in the shop.
Want more like this? Browse all 15 shoe cabinet ideas guides — they all use the same measurements and budget tiers.
Pin it for later
Save this to your Shoe Cabinet Ideas board
Pin it now so it is waiting for you when the tape measure comes out — and so the next person hunting for this idea can find it too.
Save this pinKeep going
More ideas worth saving while you have the tape measure out.