Shoe Storage Ideas · UGC
15 Shoe Storage Mistakes I Made and Fixed

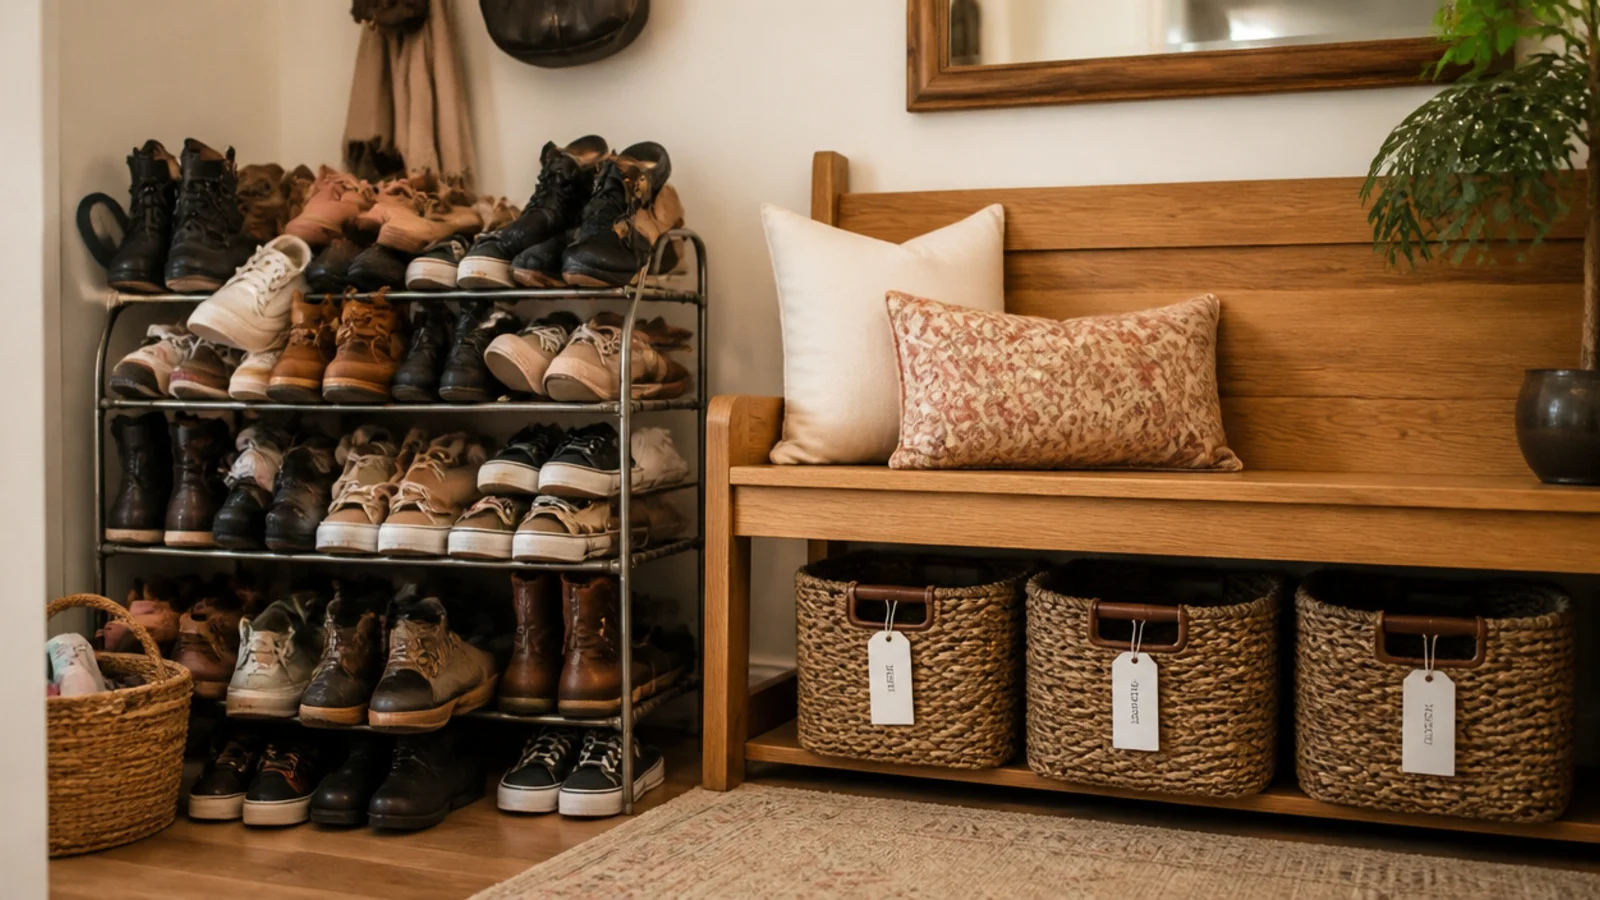
The shoe storage mistakes in this article are all mine, and most of them cost money. I have set up entries in five apartments and two houses, and for the first four I kept solving the wrong problem — buying more storage instead of measuring what I already had.
The moment it clicked was a Tuesday in February. I had spent $90 on a handsome closed cabinet, installed it on a Saturday, and by the following month the hallway smelled faintly of wet trainers and every pair of boots in the house was still sitting on the floor beside it. The cabinet was beautiful. It was also nine inches deep, sealed shut, and spaced for flats.
Here are fifteen shoe storage mistakes I actually made, roughly in the order I made them, with the fix that worked for each. Two of them I made twice.
In this guide16 sections — tap to openHide
- 1.Mistake 1: I bought a rack with evenly spaced six-inch tiers
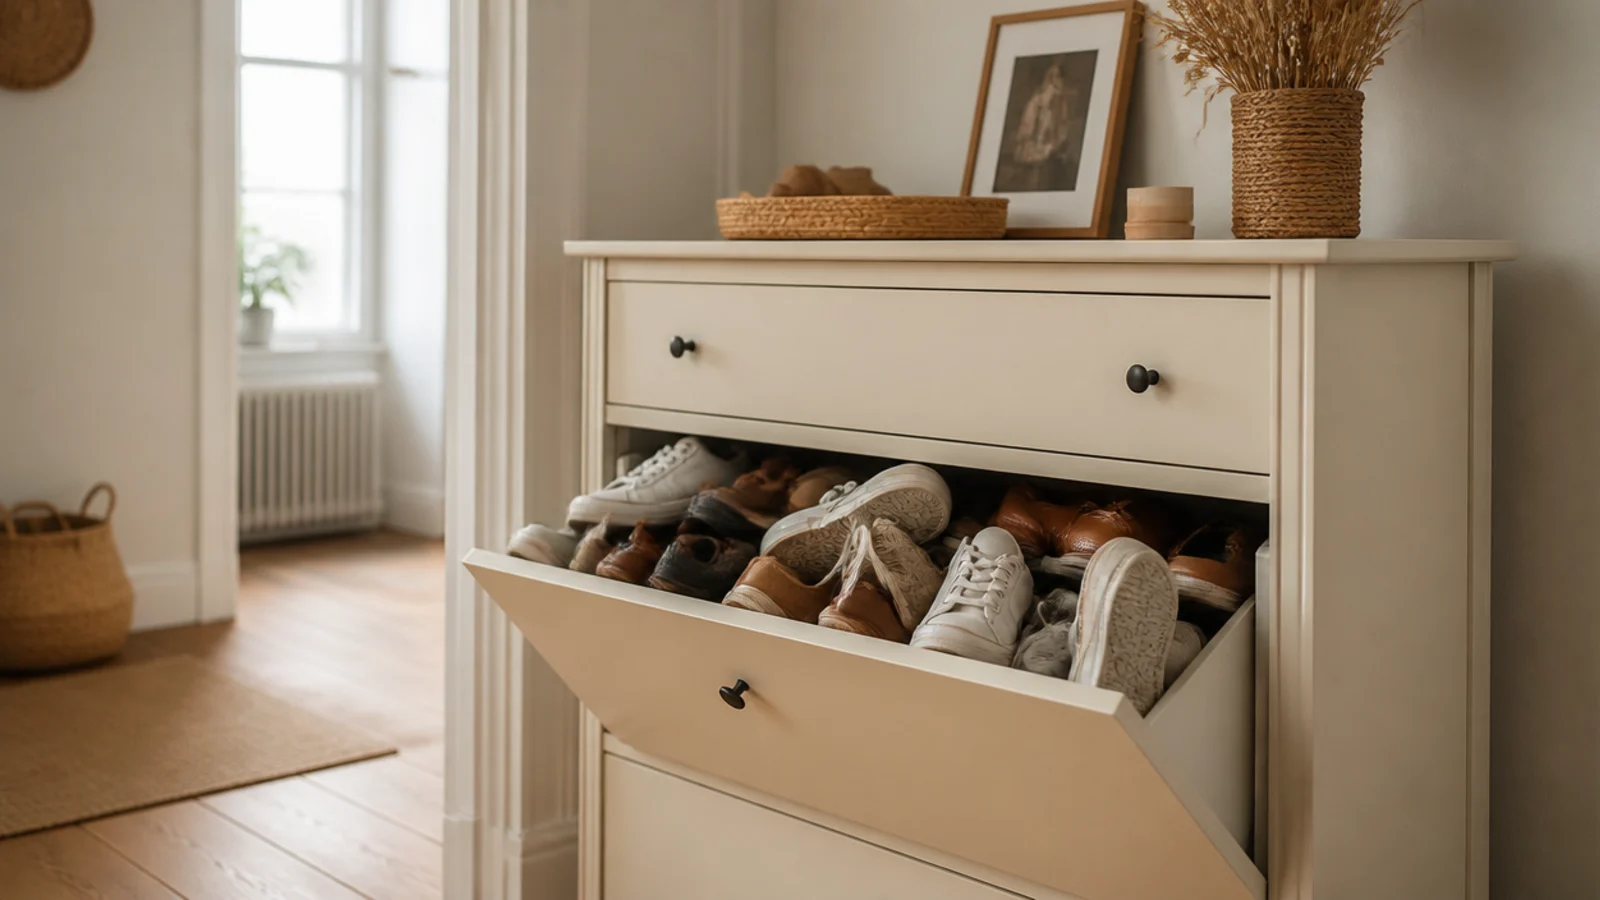
- 2.Mistake 2: I put shoes flat into a nine-inch cabinet
- 3.Mistake 3: I sealed a shoe cabinet with no ventilation
- 4.Mistake 4: I sized the entry for every pair we owned
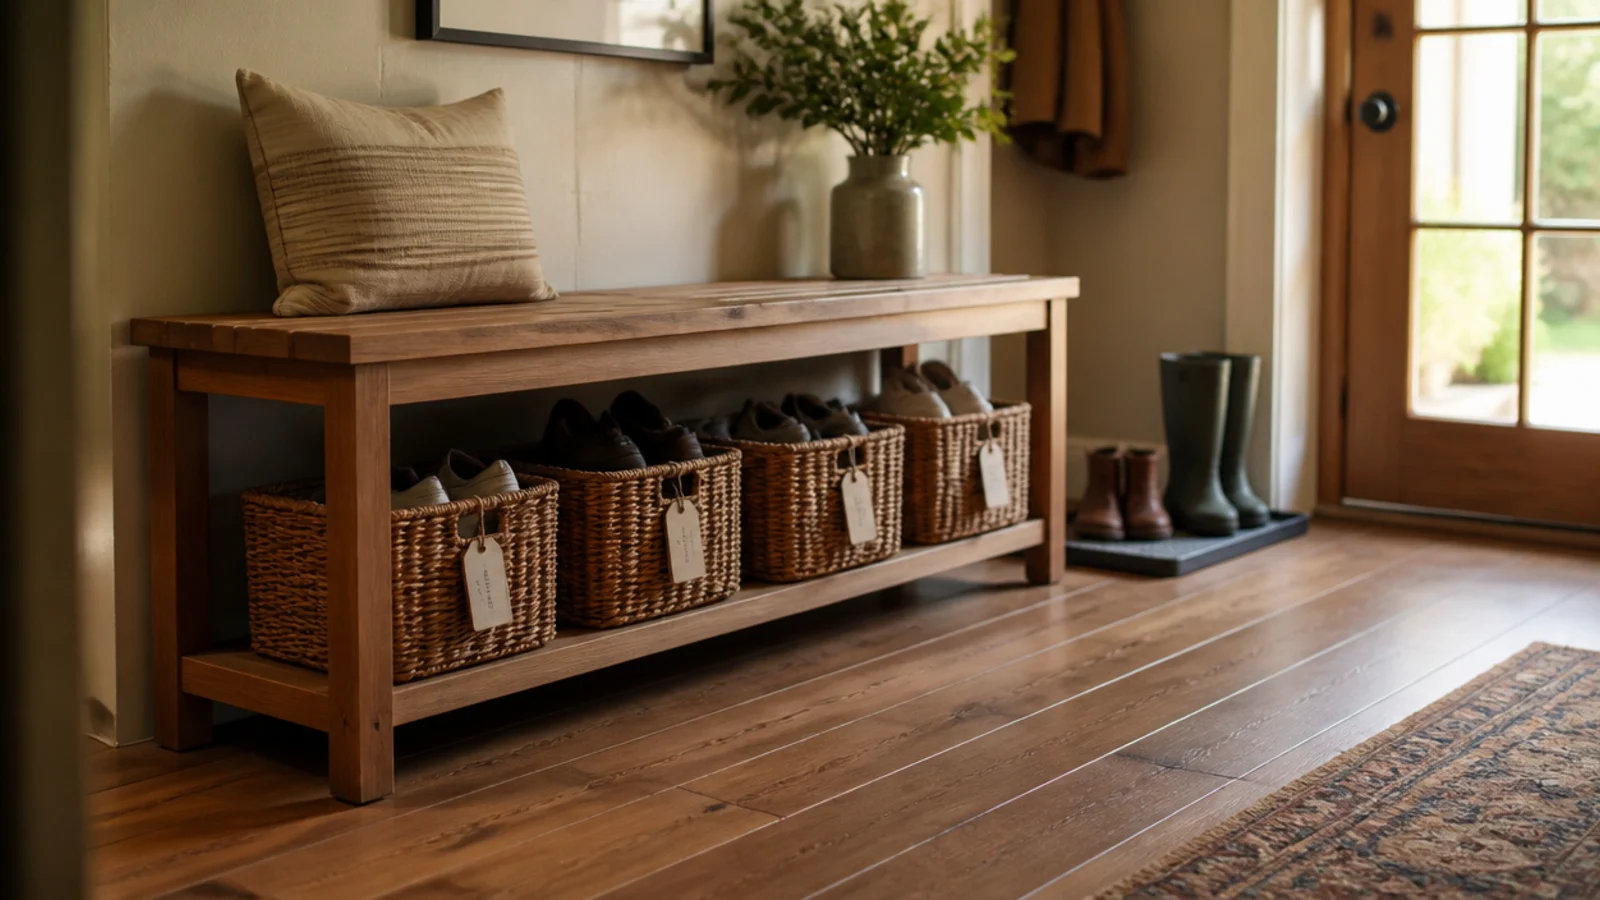
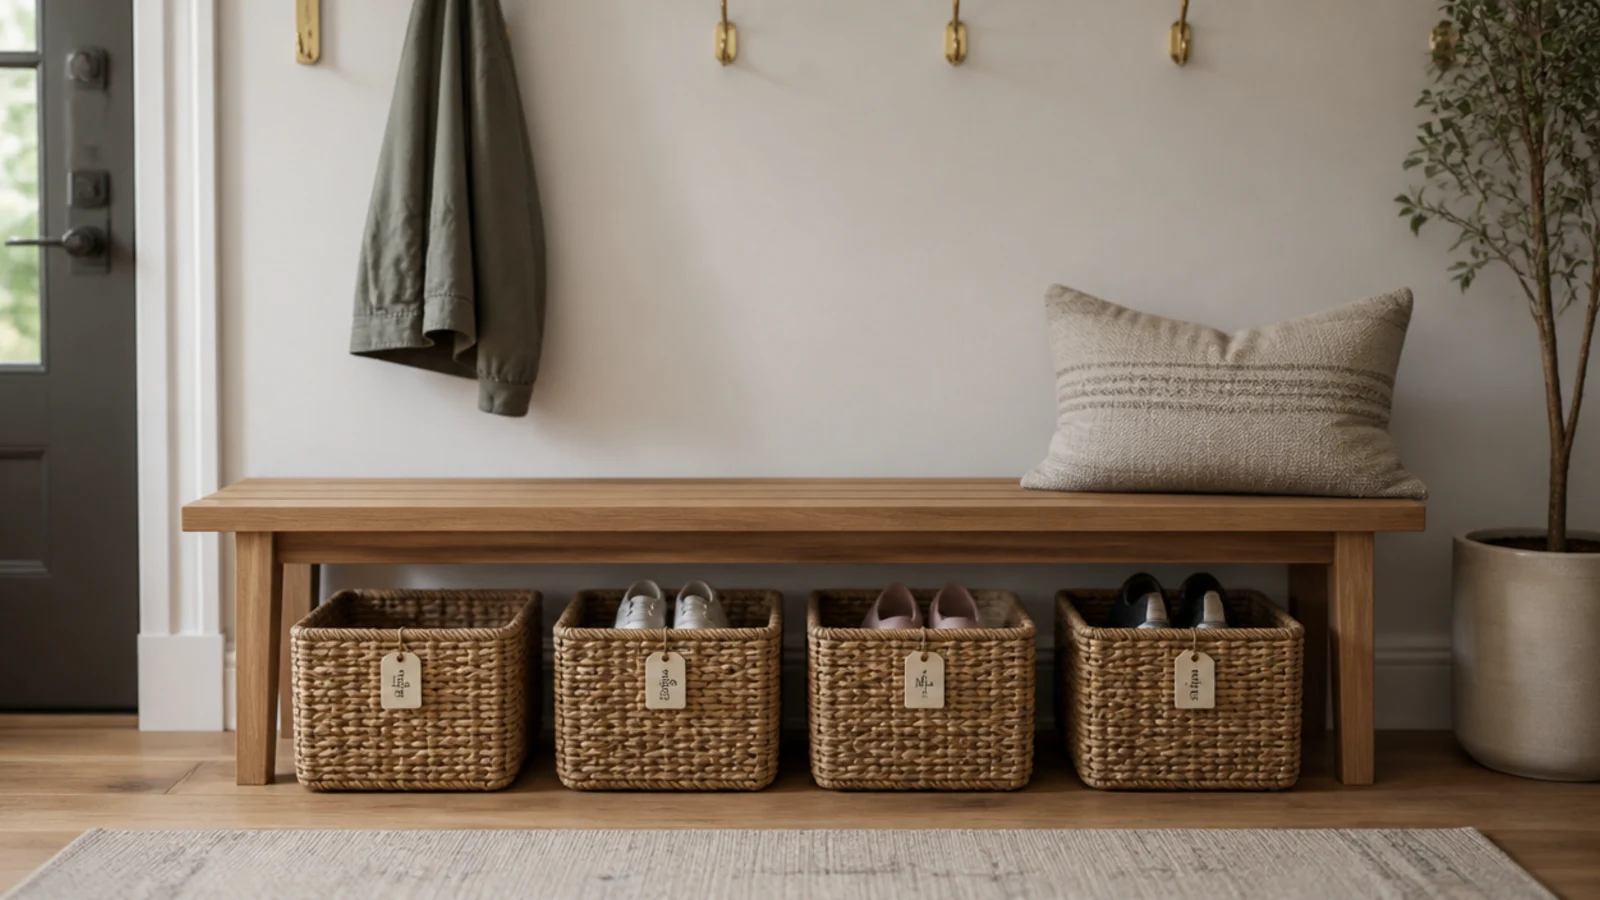
- 5.Mistake 5: I set the bench at fifteen inches
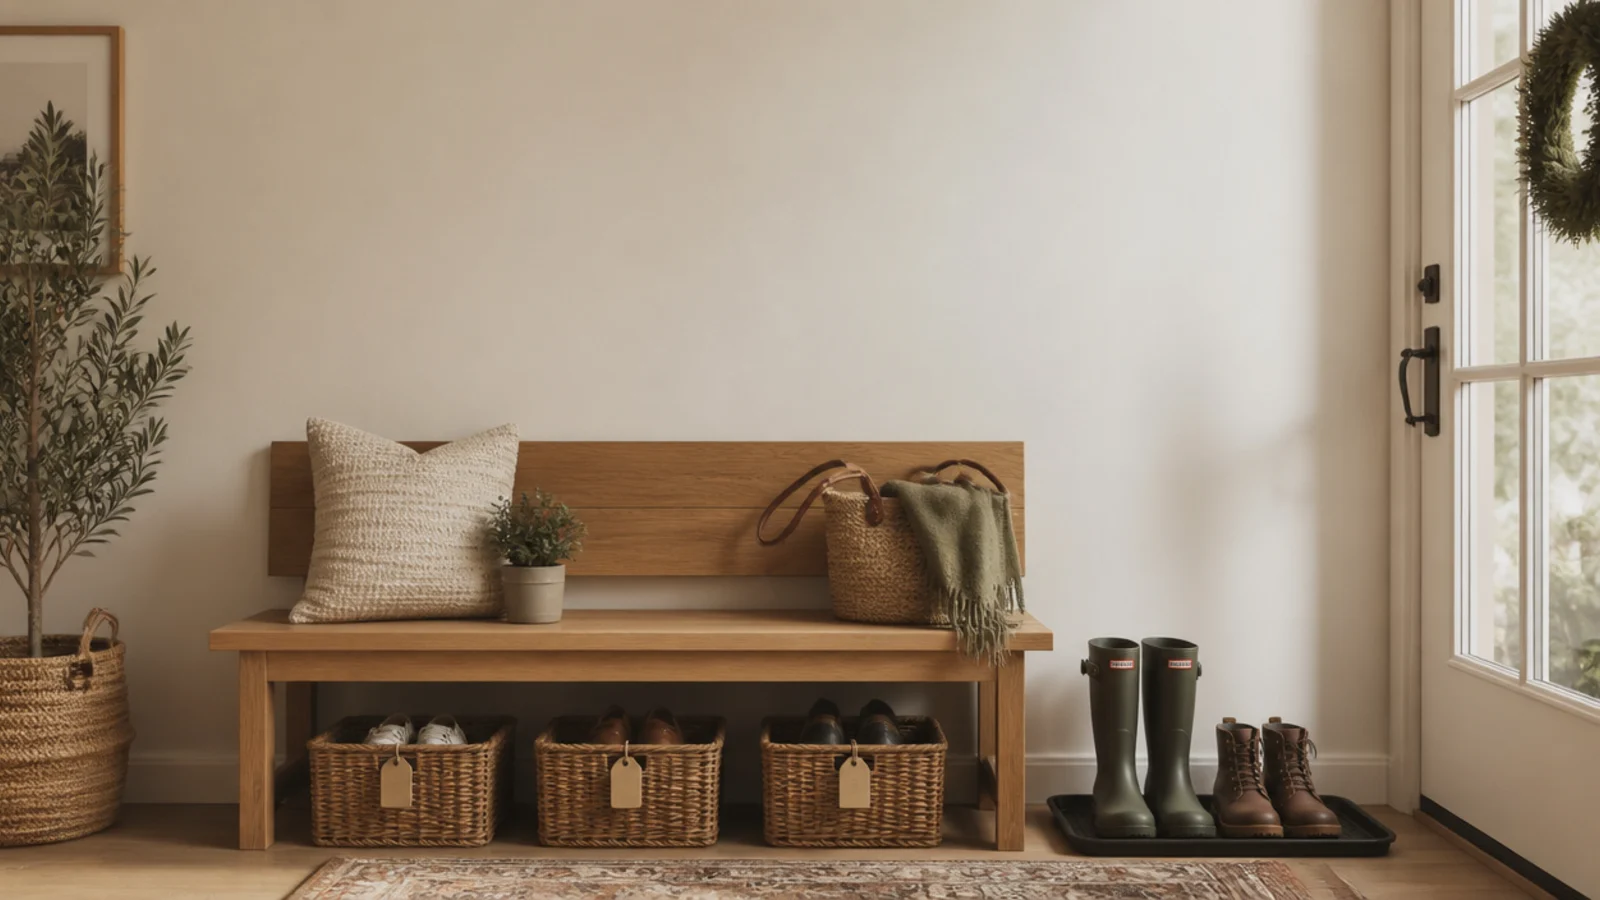
- 6.Mistake 6: I gave the whole family one shared basket
- 7.Mistake 7: I put wet boots straight into a closed cupboard
- 8.Mistake 8: I hung boots on a rail rated for flats
- 9.Mistake 9: I put the rack where the front door swings
- 10.Mistake 10: I chose chrome wire shelving
- 11.Mistake 11: I mounted the shelf flat on the floor
- 12.Mistake 12: I stored good leather in a hot garage
- 13.Mistake 13: I stacked boxes with no labels
- 14.Mistake 14: I chose doors for a household of children
- 15.Mistake 15: I hung a wall unit on the plugs in the box
- 16.Shoe Storage Mistakes: What I'd Do Differently Now
Mistake 1: I bought a rack with evenly spaced six-inch tiers
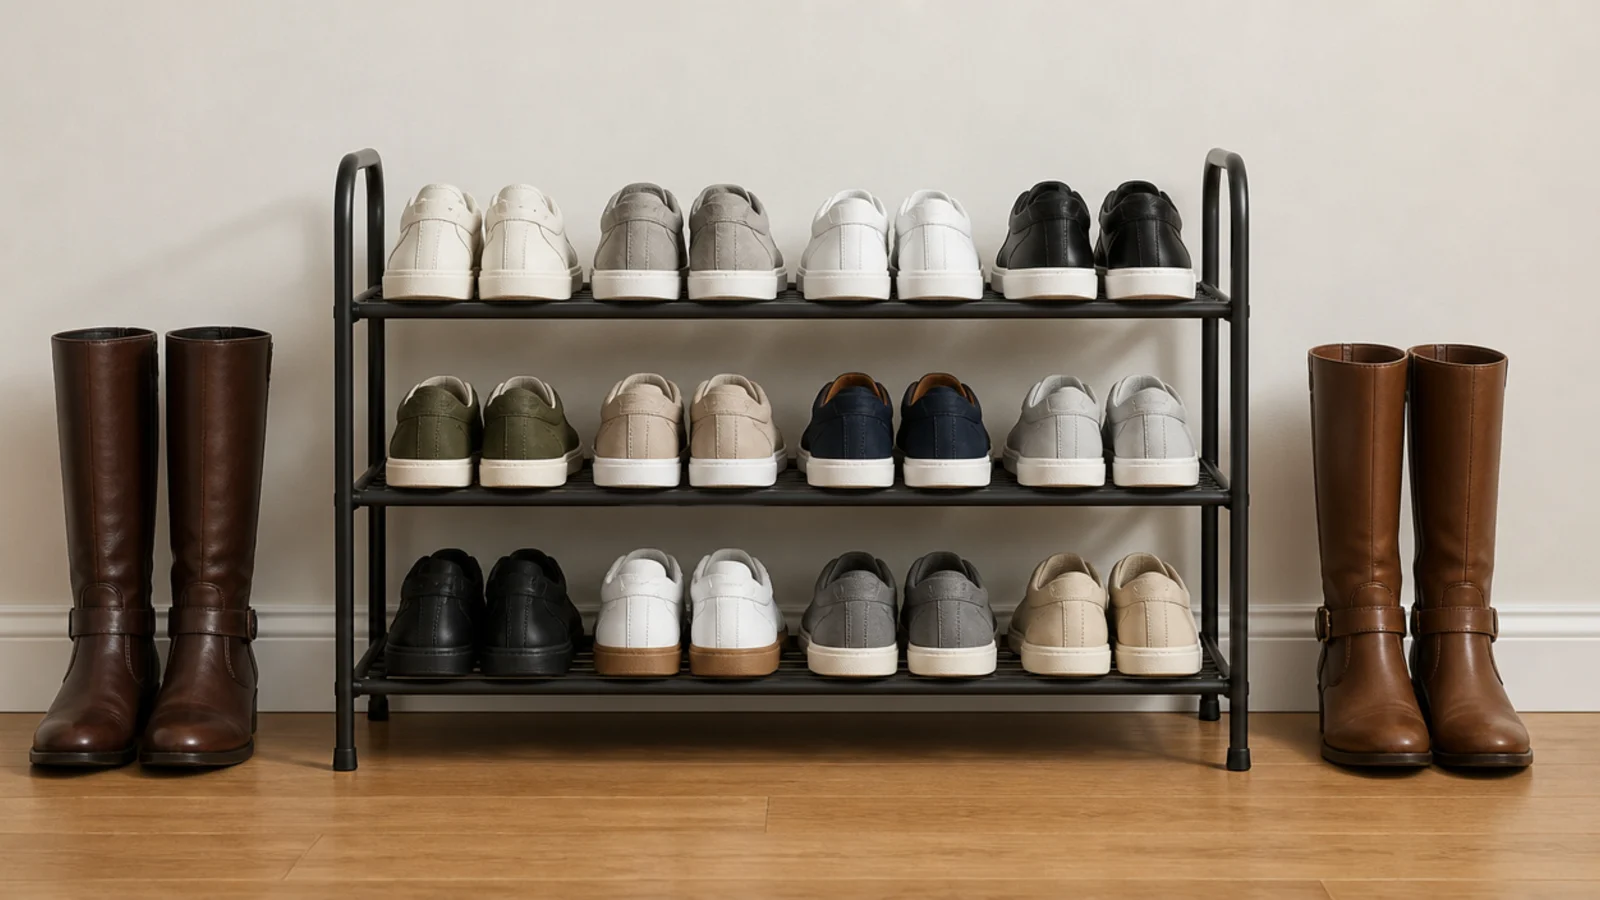
Six inches of clear height takes a sneaker beautifully. It takes no boot at all. My first rack had four identical tiers, so the flats went on and every ankle boot, rain boot and pair of Chelseas in the house stayed exactly where it had always been, which was on the floor.
The fix: one tall bay. Boots need 14 to 16 inches of clear height and knee-highs want 20, so I now set the bottom tier tall and step the rest at six inches above it. A single 16-inch bay took eight boots off my hallway floor permanently, and it is the reason the pile stopped reforming.
Mistake 2: I put shoes flat into a nine-inch cabinet
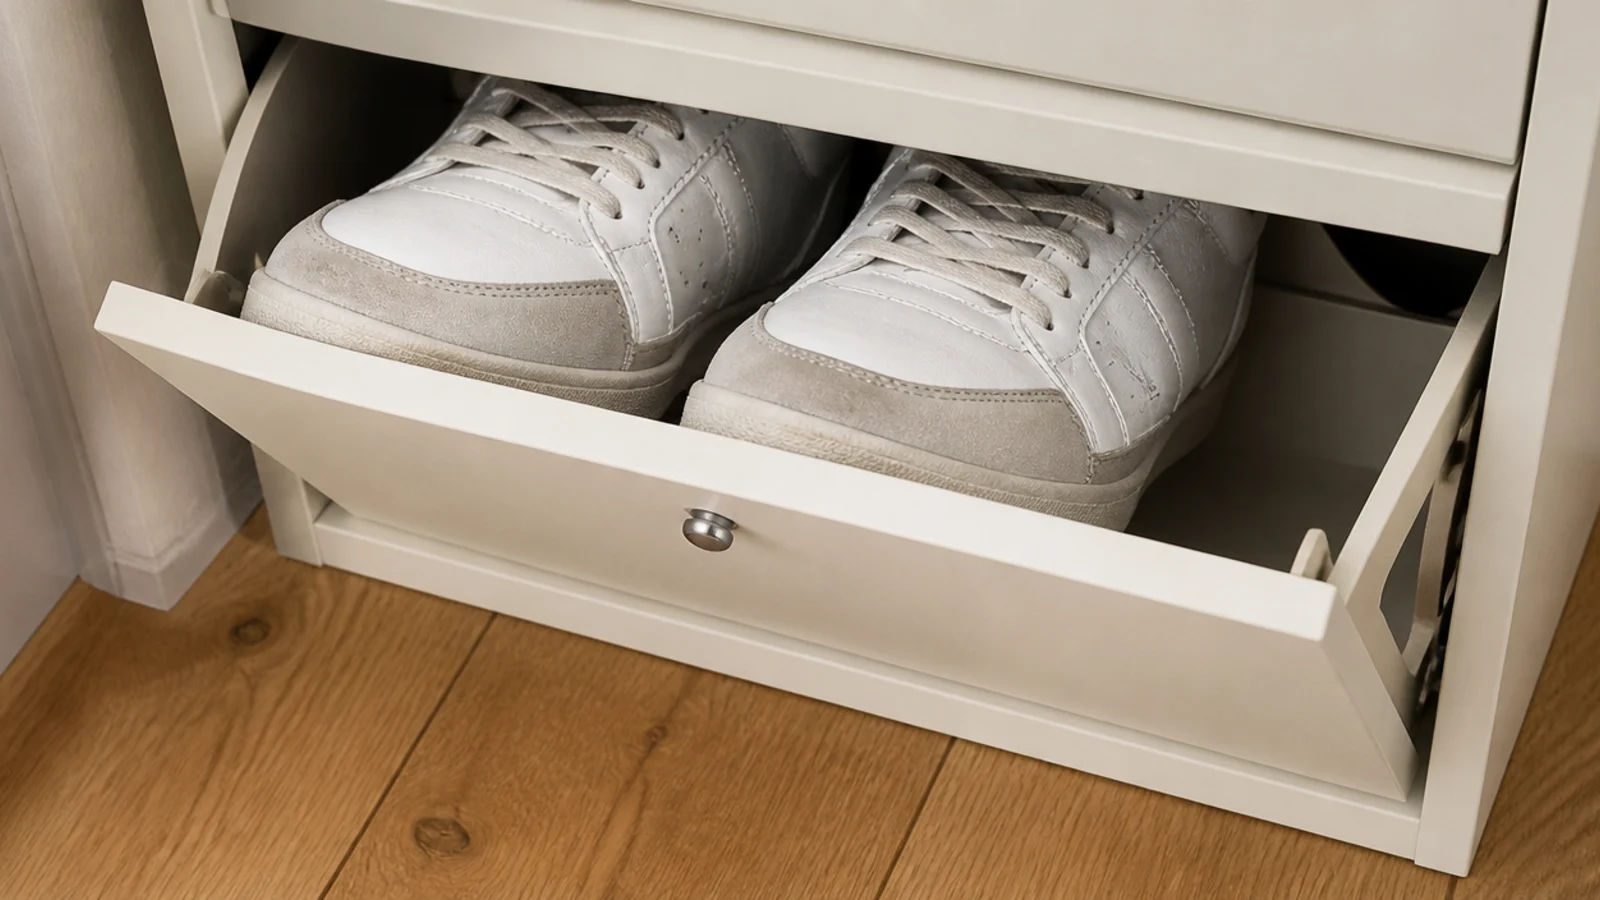
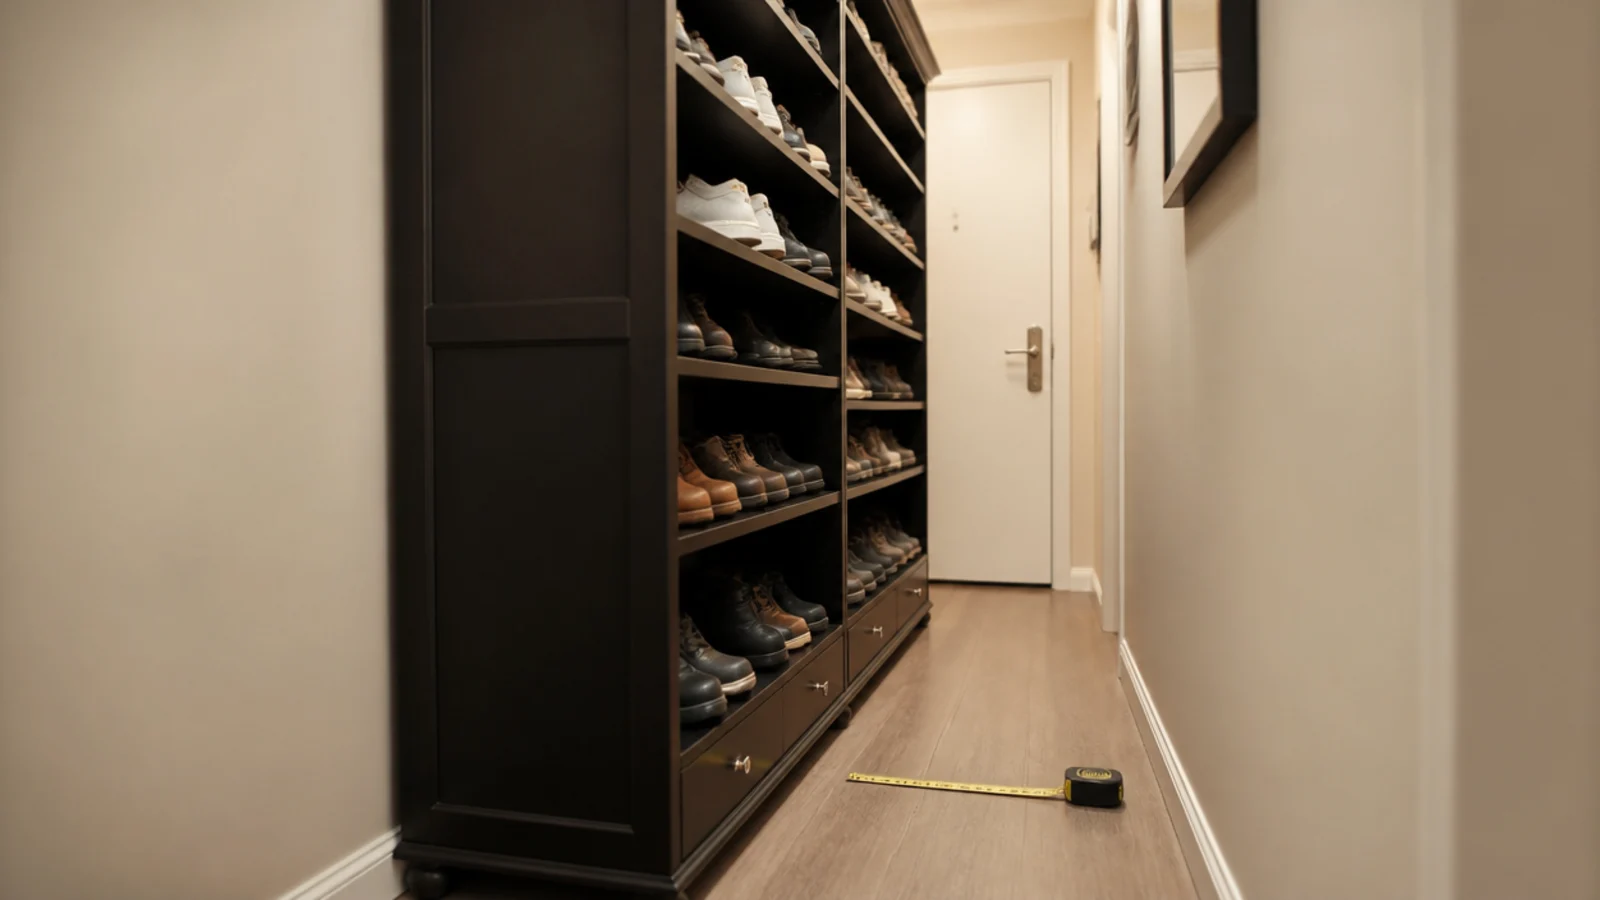
Slim cabinets are nine inches deep because the shoes inside are supposed to lean back at roughly 45 degrees. I loaded mine flat, the way you would load a shelf, and then spent a fortnight pushing doors that would not quite close.
The fix: understand what the depth assumes. A men's size 12 sneaker is about 12.5 inches long, so flat storage needs 13 inches and tilted storage needs nine. If the cabinet is nine inches, every shoe goes in heel-down and toe-up, one pair per slot, no exceptions. Loading it correctly nearly doubled what mine held.
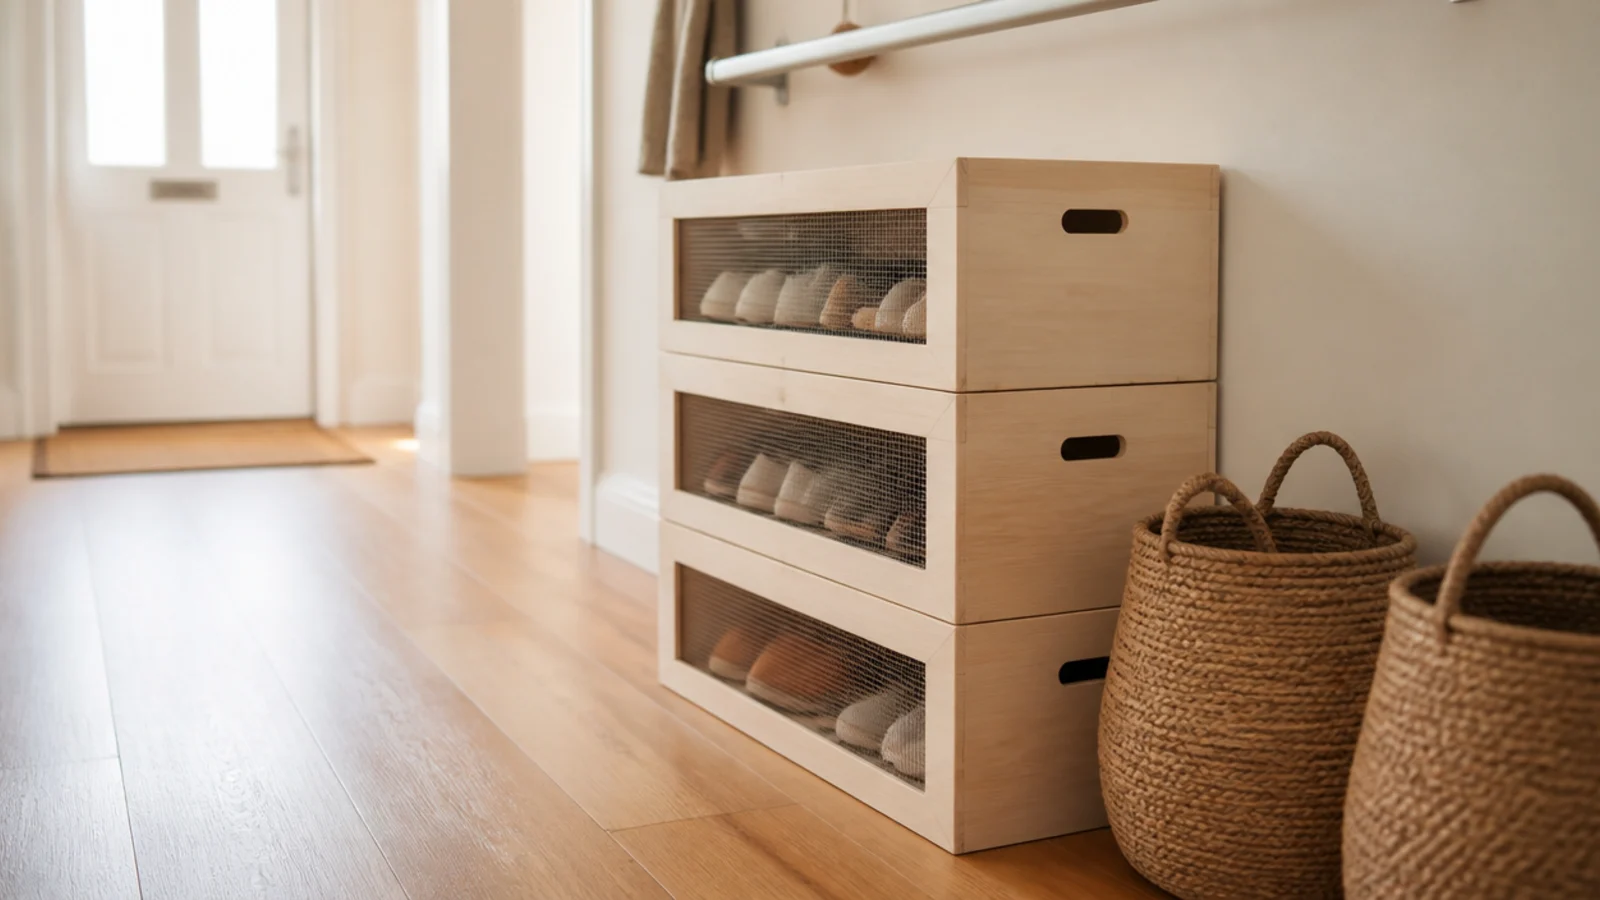
Mistake 3: I sealed a shoe cabinet with no ventilation
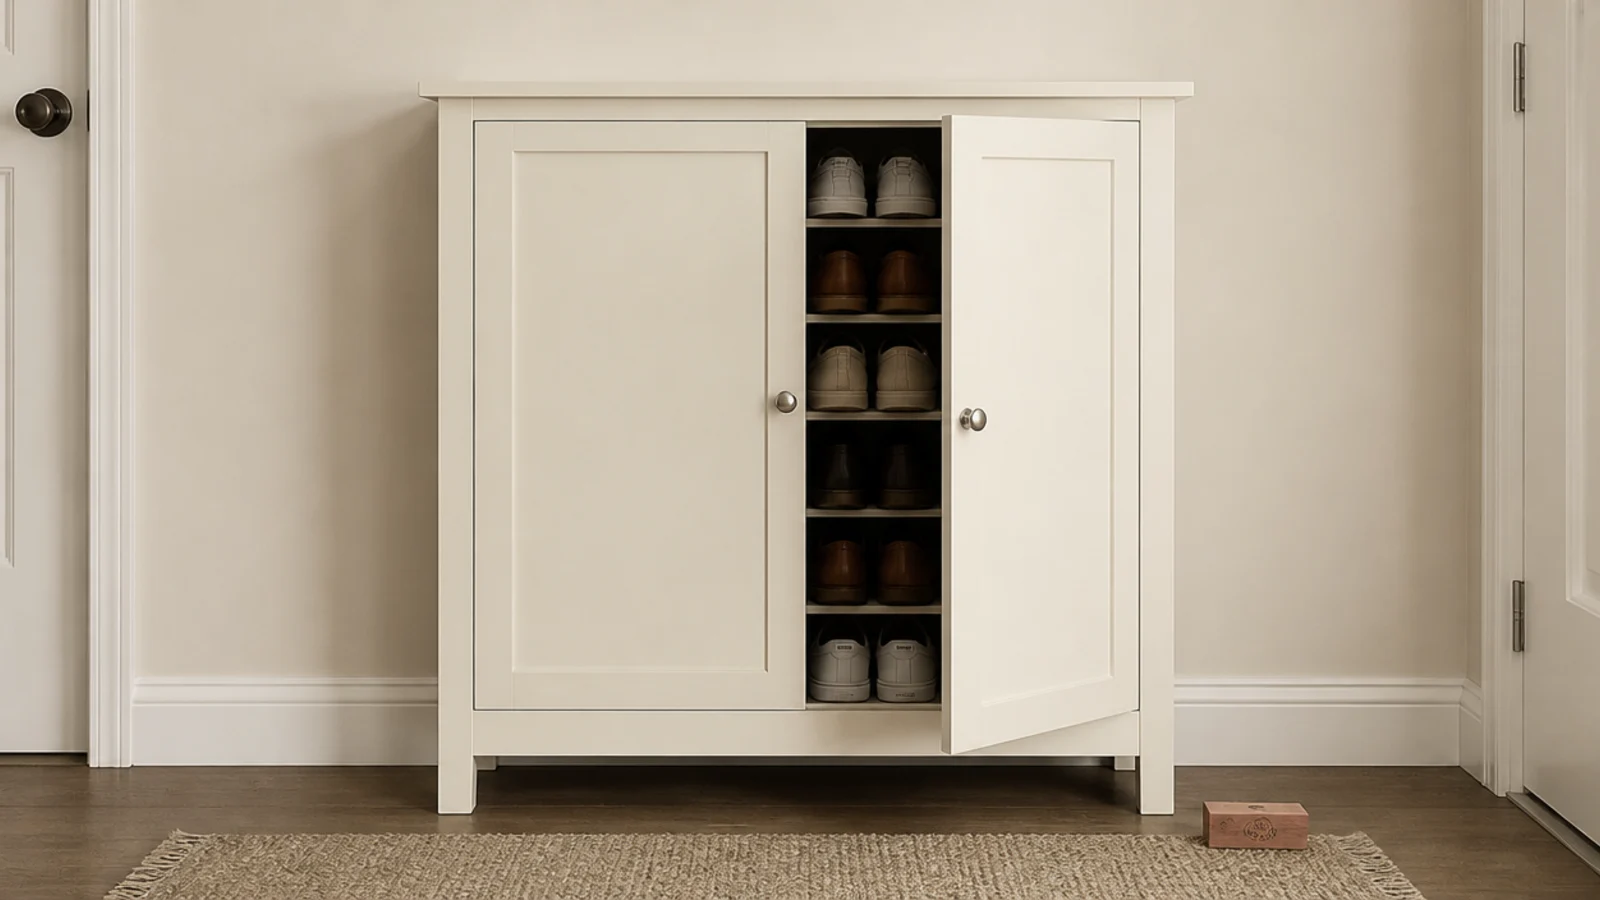
This is the one that embarrassed me most. Closed shoe storage without airflow smells, and it happens fast — shoes carry moisture in from the pavement and a sealed box holds it against leather and foam for hours at a time.
The fix: a row of one-inch holes drilled near the top and bottom of each door, hidden by the shadow line. If I were buying again I would choose cane, fluted or slatted fronts and skip the drilling entirely. Cedar blocks and charcoal bags are not a fix on their own — they only work once air is genuinely moving through the cabinet.
Mistake 4: I sized the entry for every pair we owned
I counted every shoe in the house, found 38 pairs, and went looking for storage that would hold 38 pairs. What I bought filled the hallway and made it feel like a corridor in a gym.
The fix: the entry only has to solve daily shoes. Two to three pairs per person plus one seasonal overflow set is the honest number, which for us is twelve pairs in winter. Everything else lives in a bedroom closet or a duffel under a bed. Once I sized for twelve, the hallway got its proportions back and the system still worked.
Mistake 5: I set the bench at fifteen inches
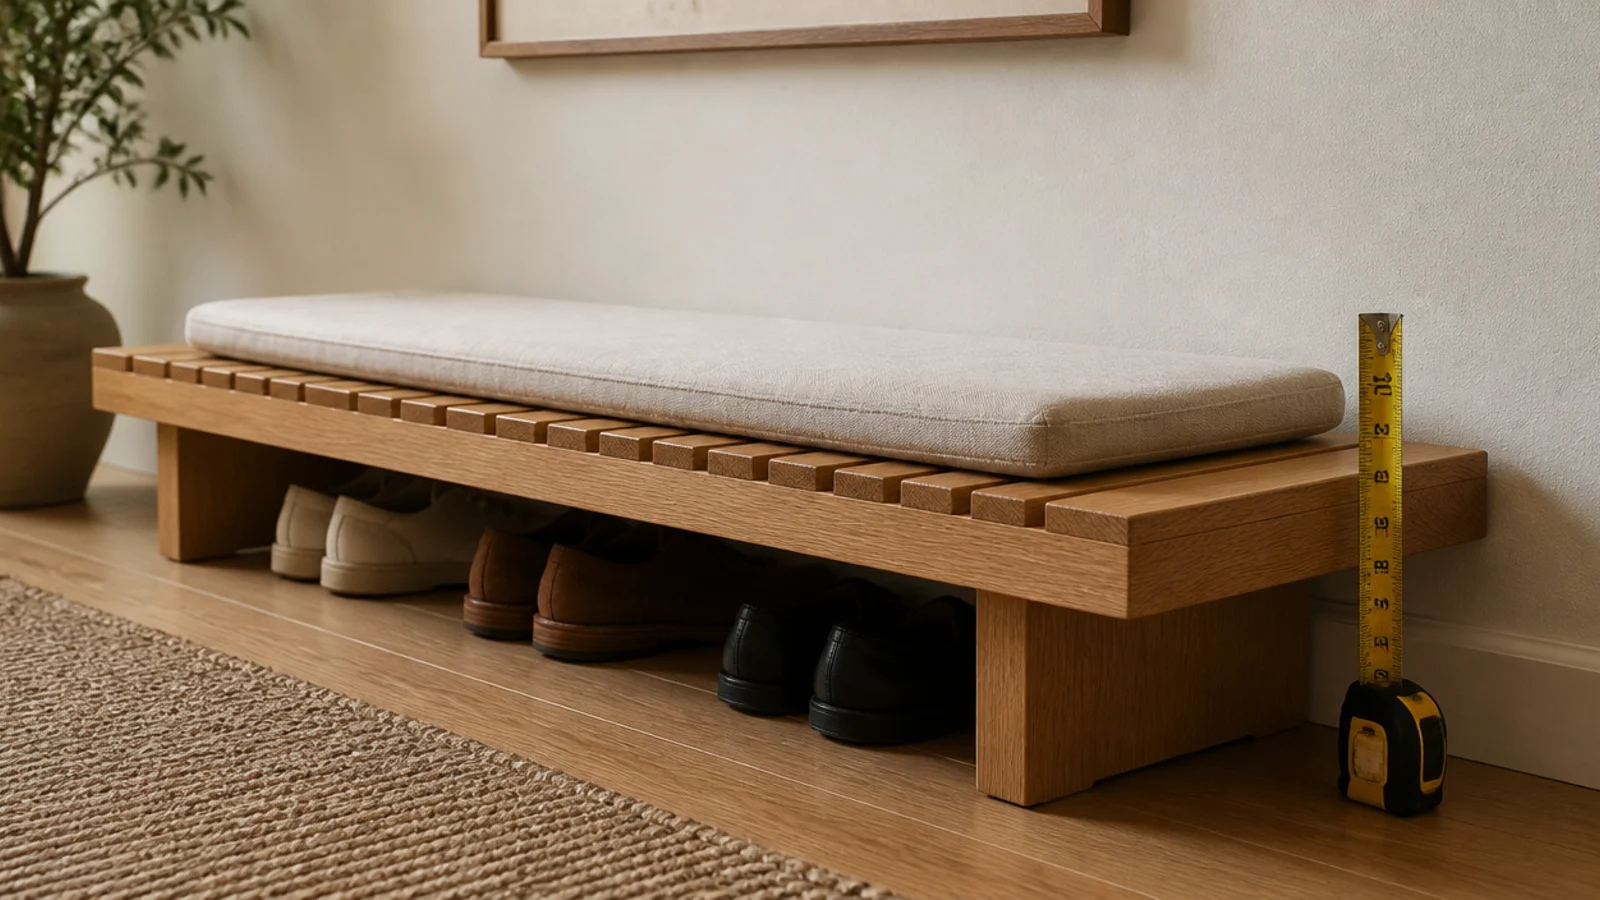
I built a bench to fit under a window ledge rather than to fit a person. Fifteen inches to the cushion top sounds close enough to a chair. It is not — it is a step, and everyone stood up from it with a small effort they were not conscious of.
The fix: 18 inches to the top of the cushion, every time. That is the height at which an adult sits and stands without thinking about it, and it also leaves 13 inches of usable depth underneath for shoes. I rebuilt the base three inches taller and nobody has commented since, which is exactly the point.
Mistake 6: I gave the whole family one shared basket
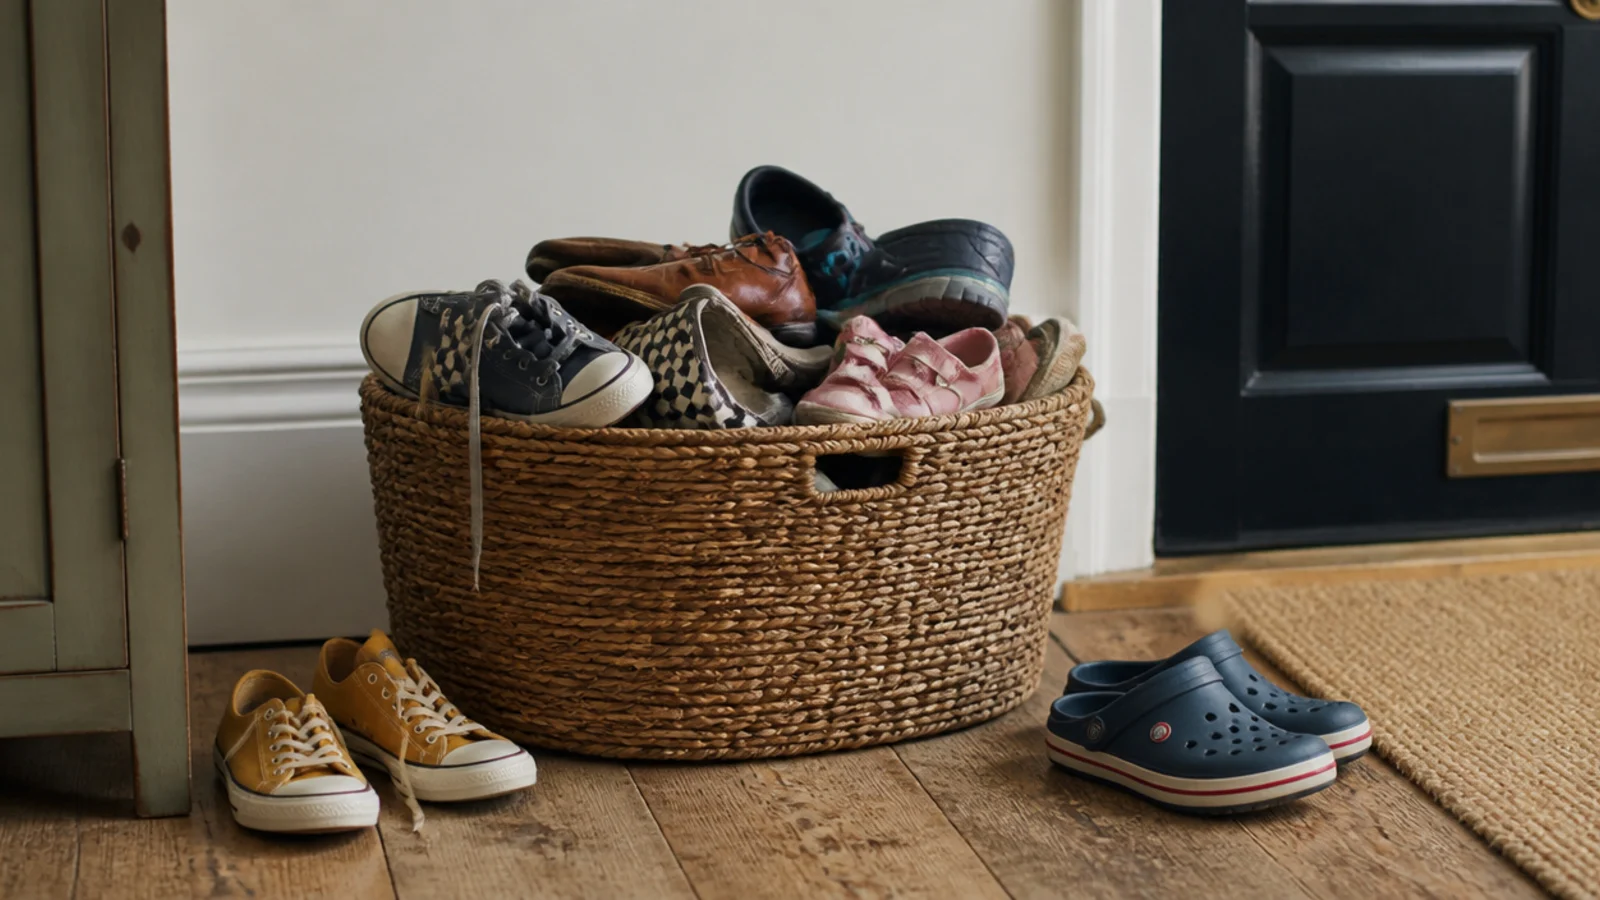
One handsome basket by the door, big enough for everybody. Within two weeks it held eleven mismatched shoes, three of which had no partner in the house, and two pairs sat on the floor beside it permanently.
The fix: one basket each, tagged. Named individual space is the single change that makes shoe storage stick, because shared storage means nobody owns the overflow. When your basket is full, the extra pairs go to your closet. It works better with a four-year-old than any amount of asking, and I wish I had done it four years earlier.
Mistake 7: I put wet boots straight into a closed cupboard
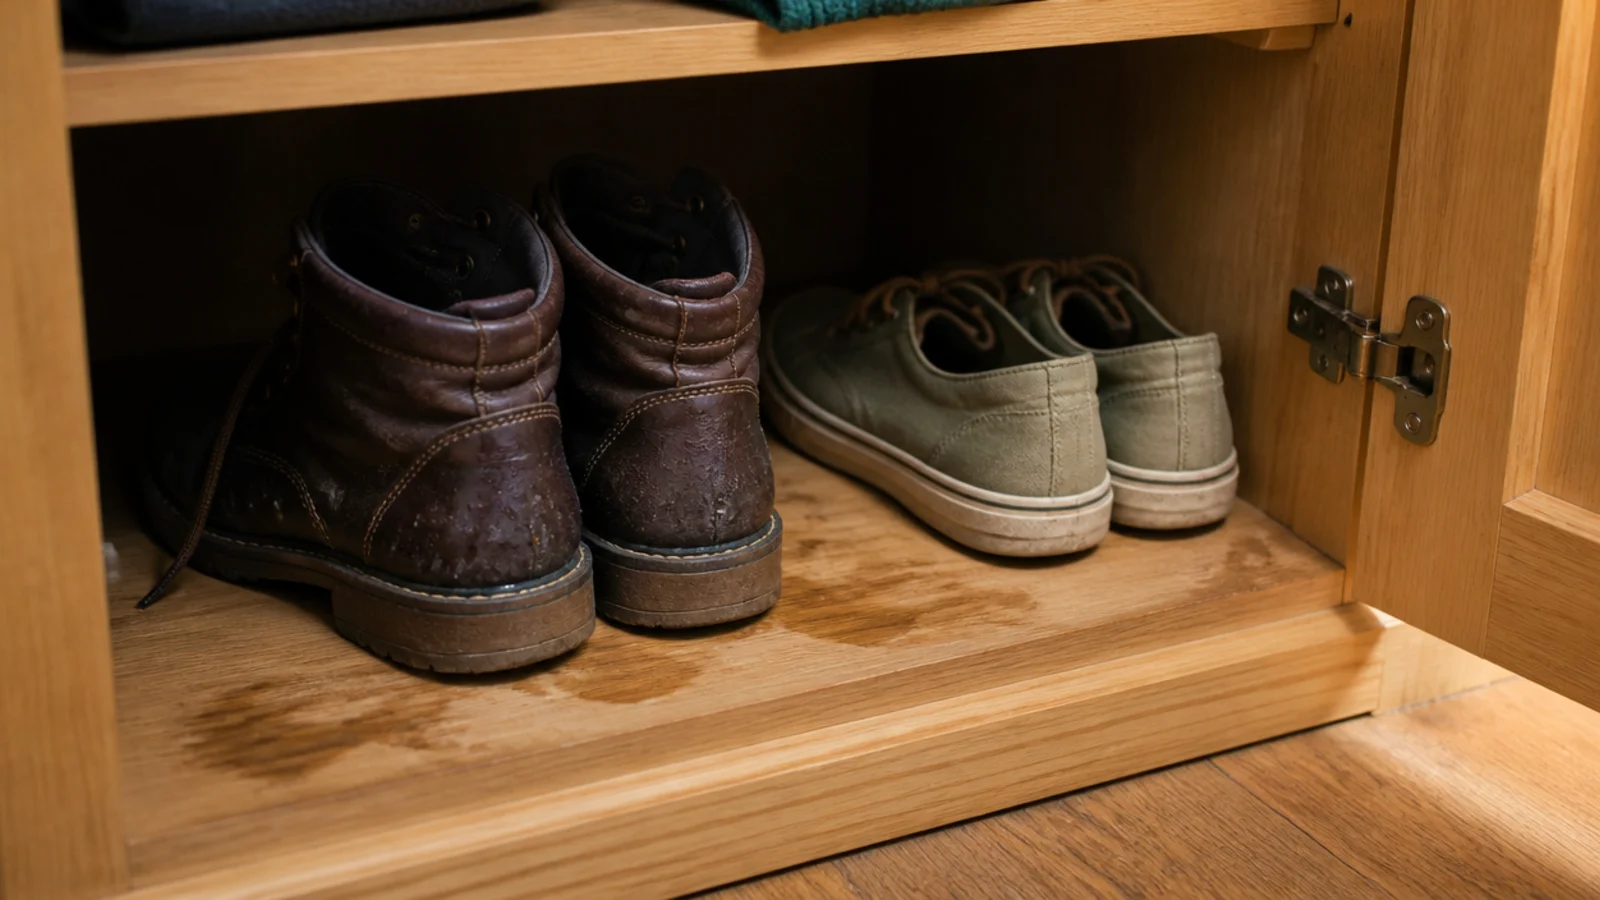
Rain boots go in the cupboard because that is where boots live. Then they sit in still air on a timber base, stay damp for two days, and quietly transfer that damp to everything standing beside them.
The fix: a raised-lip boot tray on the floor, at least 15 inches deep, in metal or heavy rubber rather than thin plastic that cracks in the cold. Wet pairs get a designated drip zone outside the storage, and the rest of the system stays dry. This one $20 item prevented most of the damp-hallway problems I had been blaming on the cupboard.
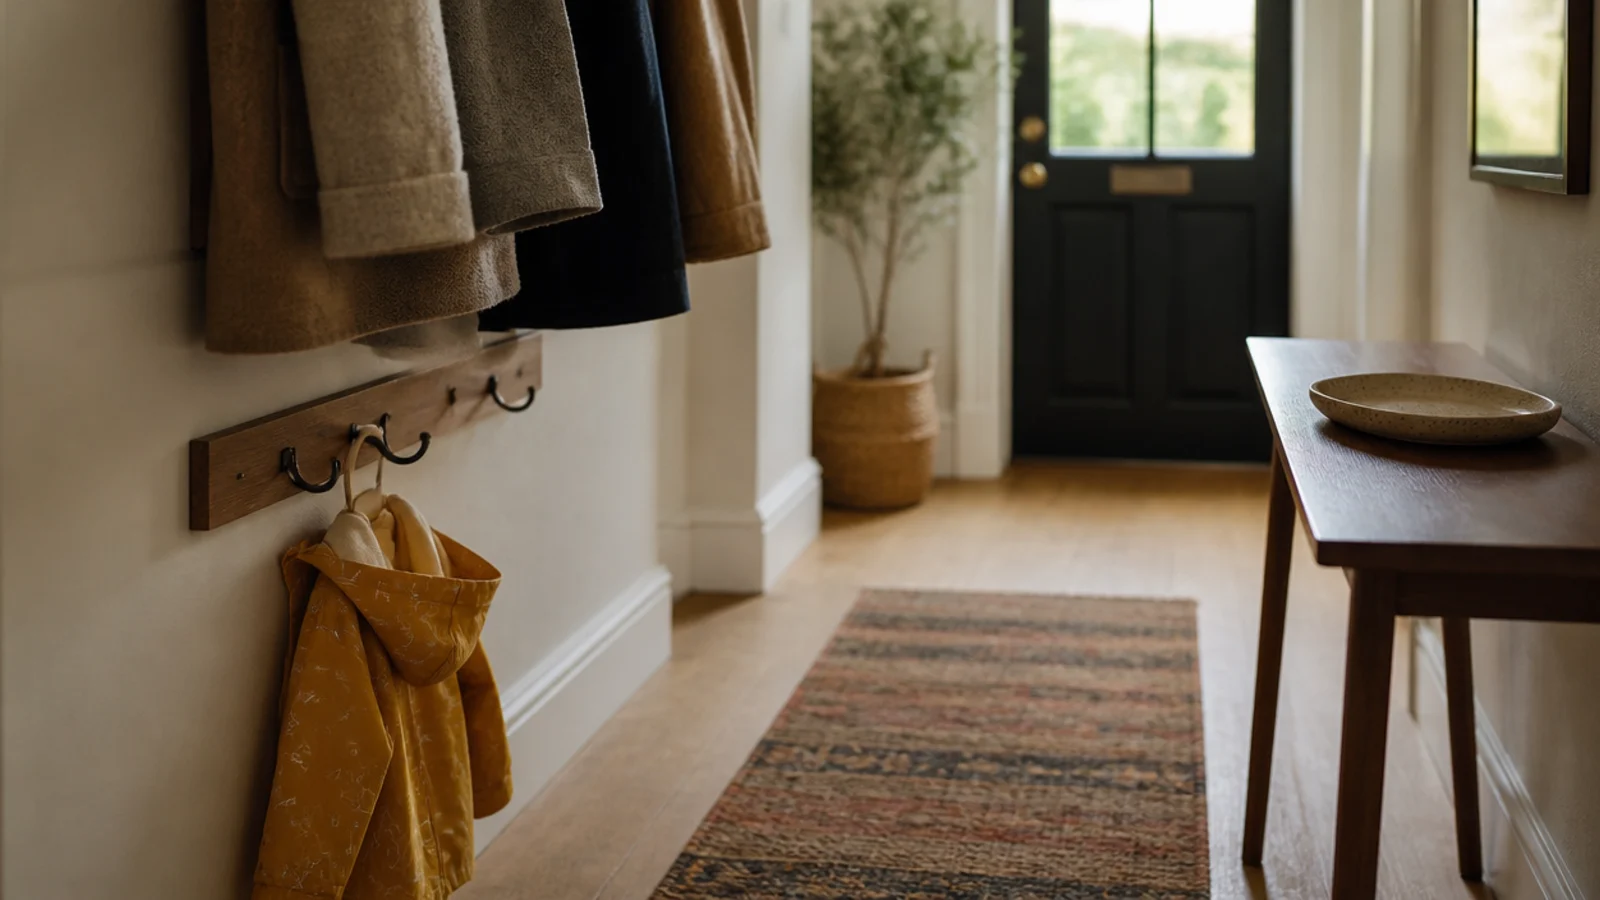
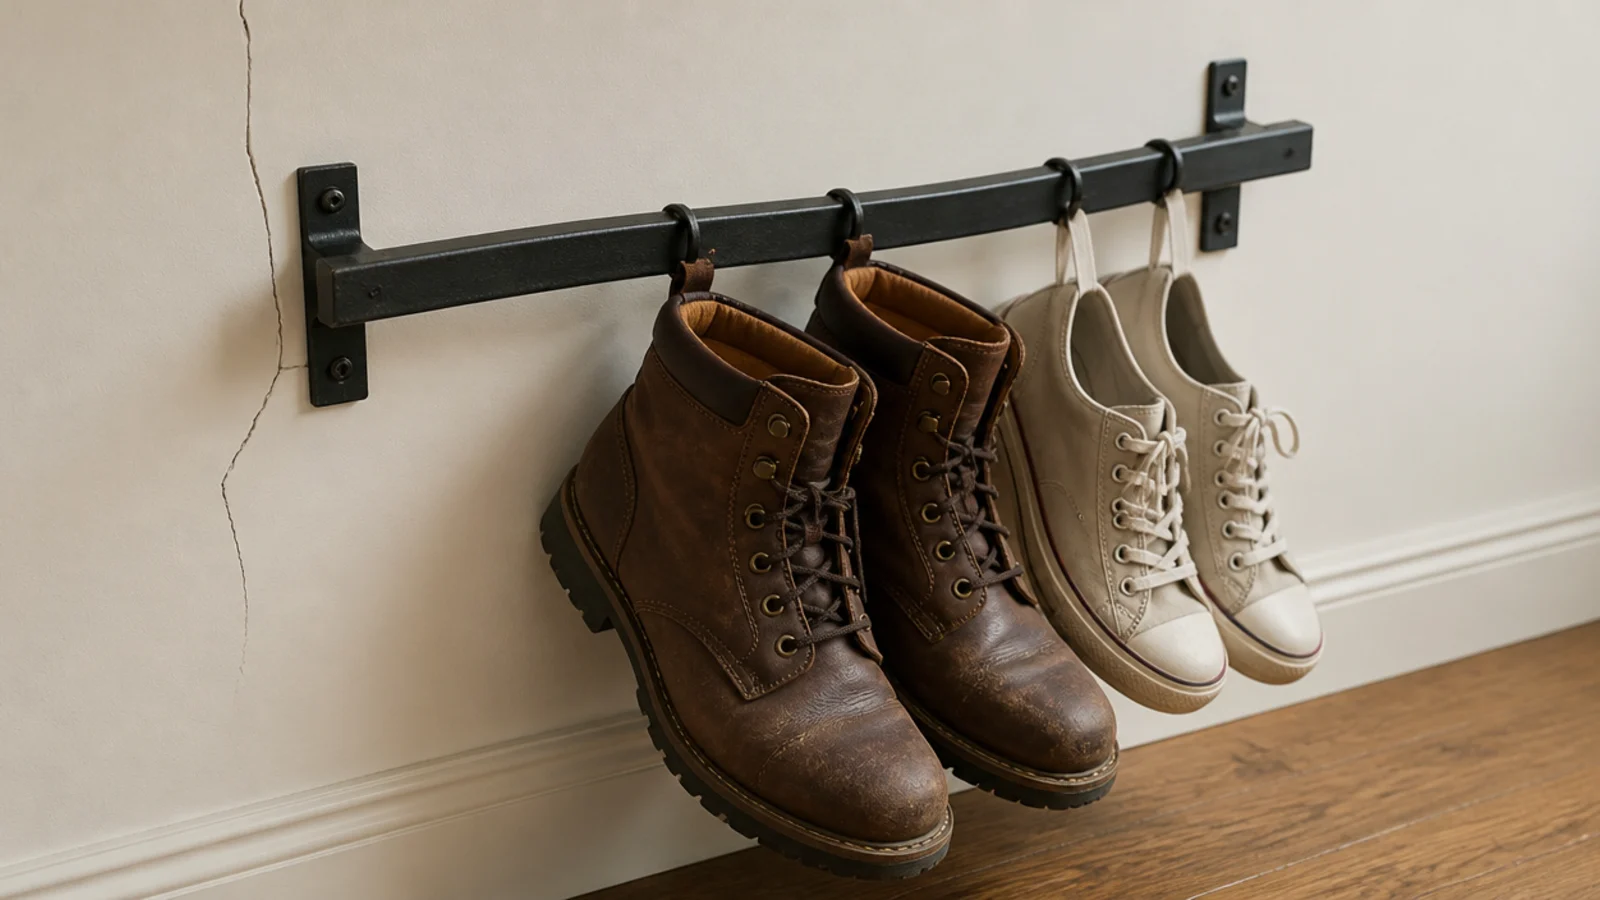
Mistake 8: I hung boots on a rail rated for flats
Heel rails are wonderful and very specific. They grip a shoe by the back of the heel, which works perfectly for loafers, canvas sneakers and flats, and not at all for a pair of leather boots weighing four pounds.
The fix: know the rail's job. Mine bowed within a week and left a hairline crack in the paint beside the bracket, which is drywall telling you it is being levered. Flats go on rails; boots go on a floor-level tier with 16 inches of height. If you rent and rails are your only option, shoe storage for small spaces has the no-drill alternatives.
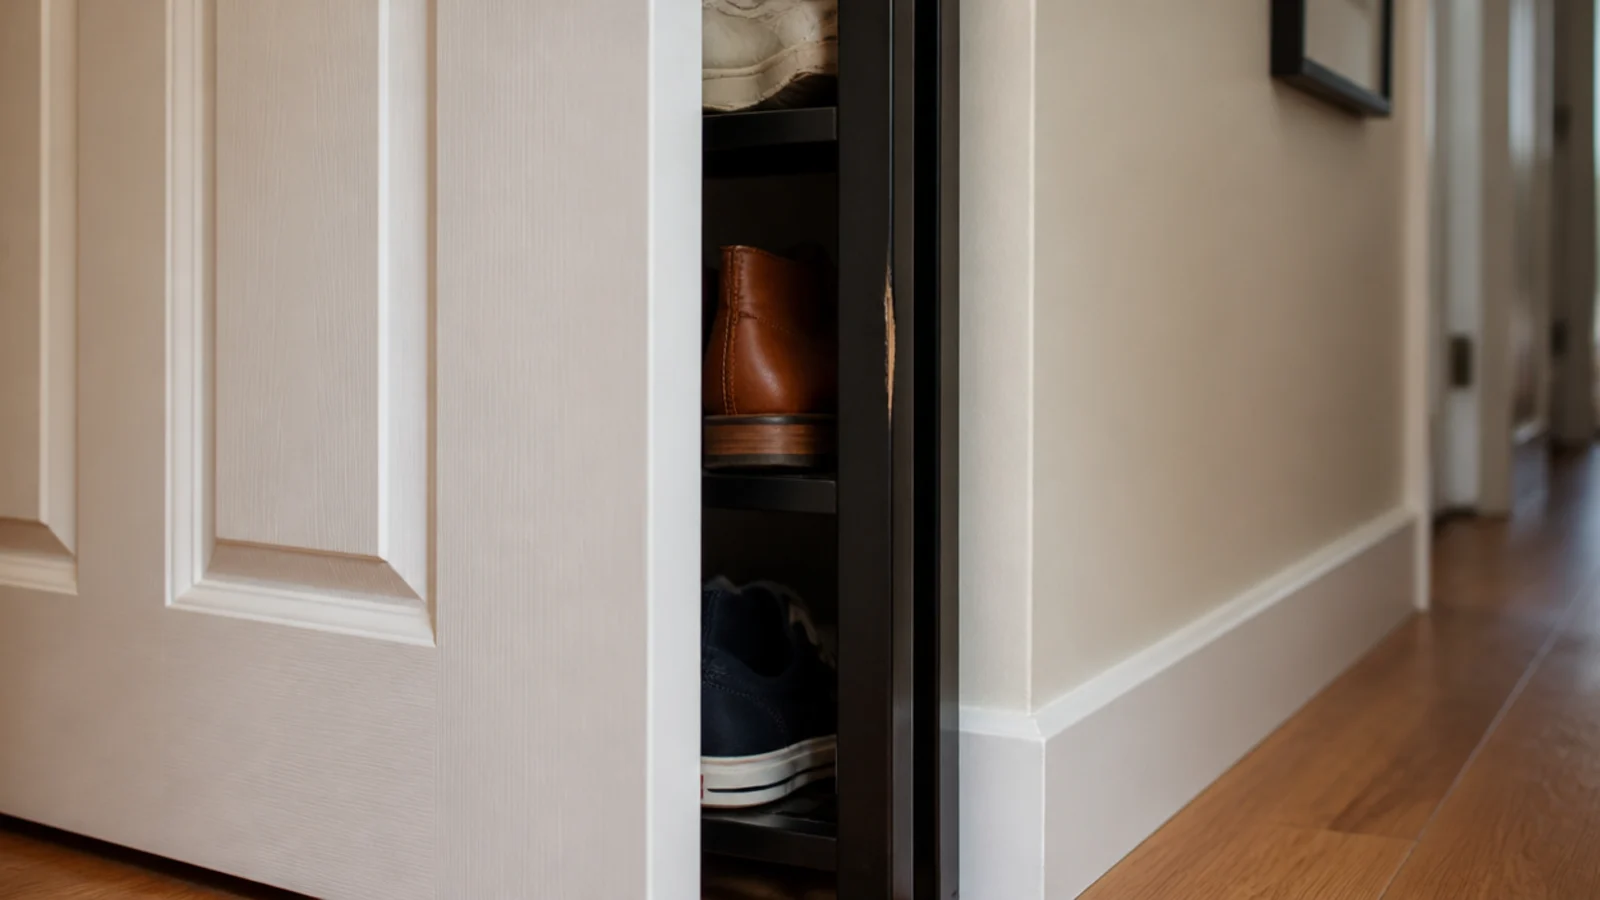
Mistake 9: I put the rack where the front door swings
The wall behind a door is free real estate, which is why I put a rack there. The door opened, met it, and within a week there was a scuff on the rack frame and a matching mark on the door.
The fix: open the door fully, measure from the wall to the door face, then subtract two inches. That is your maximum depth, usually six to eight inches — enough for a tilted rack and not enough for a flat one. Doors get pushed harder than anyone plans for, so the margin is not optional.
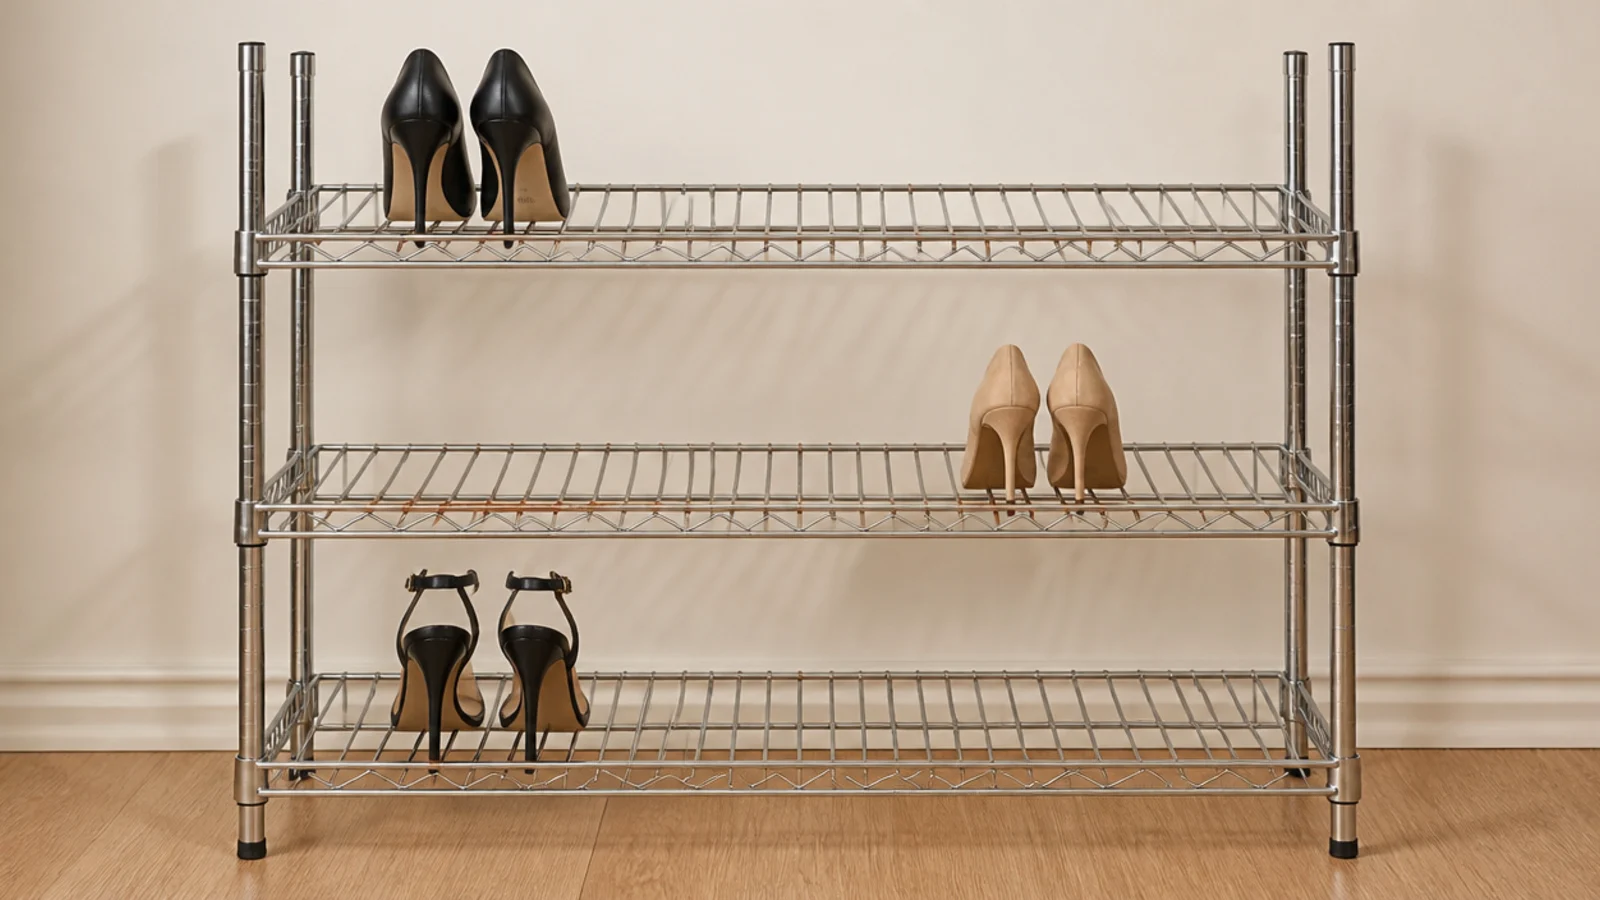
Mistake 10: I chose chrome wire shelving
It was cheap, it looked industrial, and it was wrong in two separate ways. Slim heels dropped straight through the gaps between the bars, and within one winter there were rust blooms wherever wet soles had been sitting.
The fix: powder-coated steel with closely spaced bars, or a solid tilted shelf. If wire is what you have, lay a cut-to-size liner over it — a $6 sheet solves the heel problem immediately. Wire belongs in a dry pantry, not two feet from a front door in February.
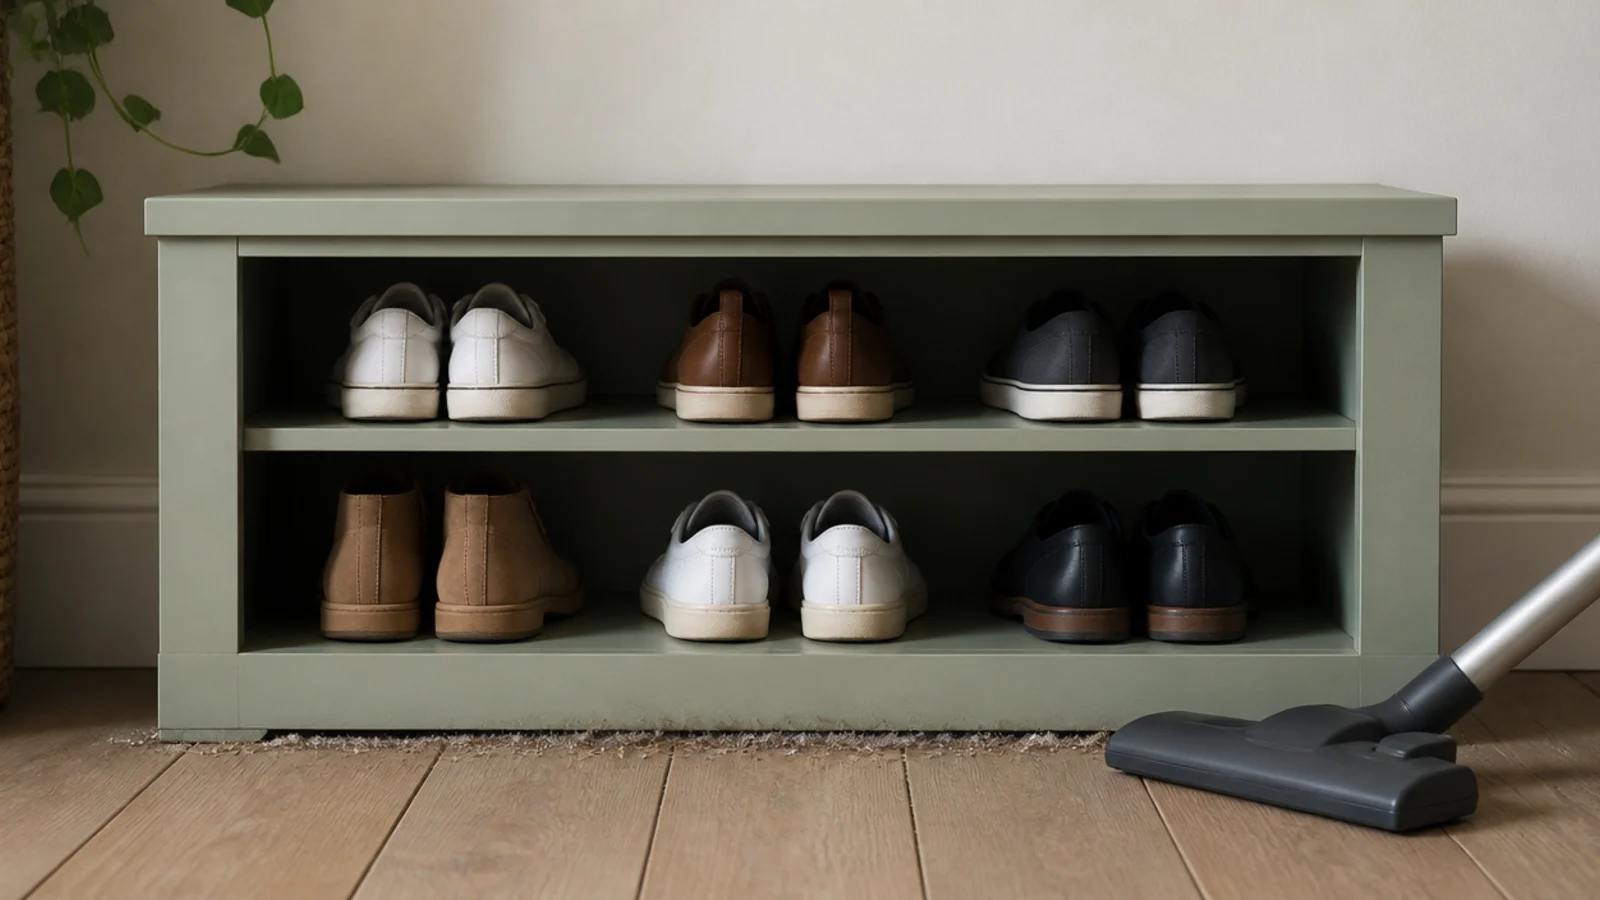
Mistake 11: I mounted the shelf flat on the floor
A low shoe shelf sitting flush to the floorboards looked satisfyingly built-in. It also meant the vacuum could never get underneath, so a line of grit and dust built up along the base and stayed there.
The fix: 10 inches of clearance beneath. High enough for a vacuum head, low enough that shoes go on with a foot rather than a bend. In an entryway, the storage that stays looking good is the storage you can clean around without moving anything, and 10 inches is the whole difference.
Mistake 12: I stored good leather in a hot garage
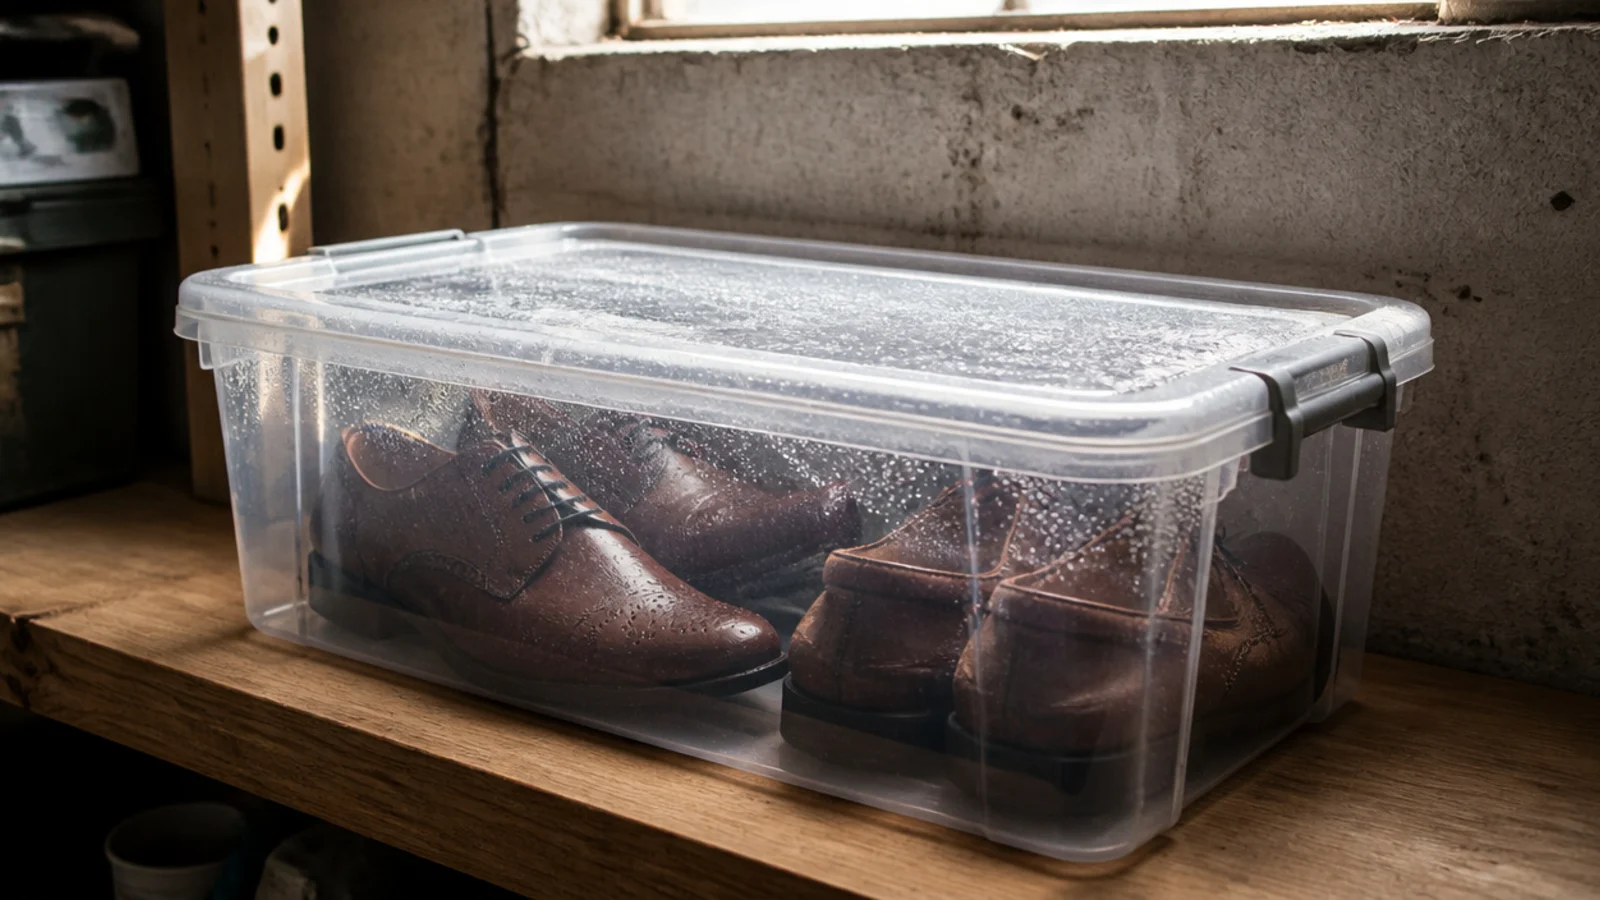
Out-of-season shoes went into sealed plastic bins on a garage shelf, which felt organised. A summer of heat cycles later, the insides had condensation marks and two pairs of leather boots had gone stiff and slightly bloomed.
The fix: breathable storage in a temperature-stable room. Cotton shoe bags or a canvas duffel under a bed, never sealed plastic in an unconditioned space. If the garage is genuinely your only option, use vented bins on a raised shelf and keep leather indoors — the garage shoe storage rules are different for rubber and canvas.
Mistake 13: I stacked boxes with no labels
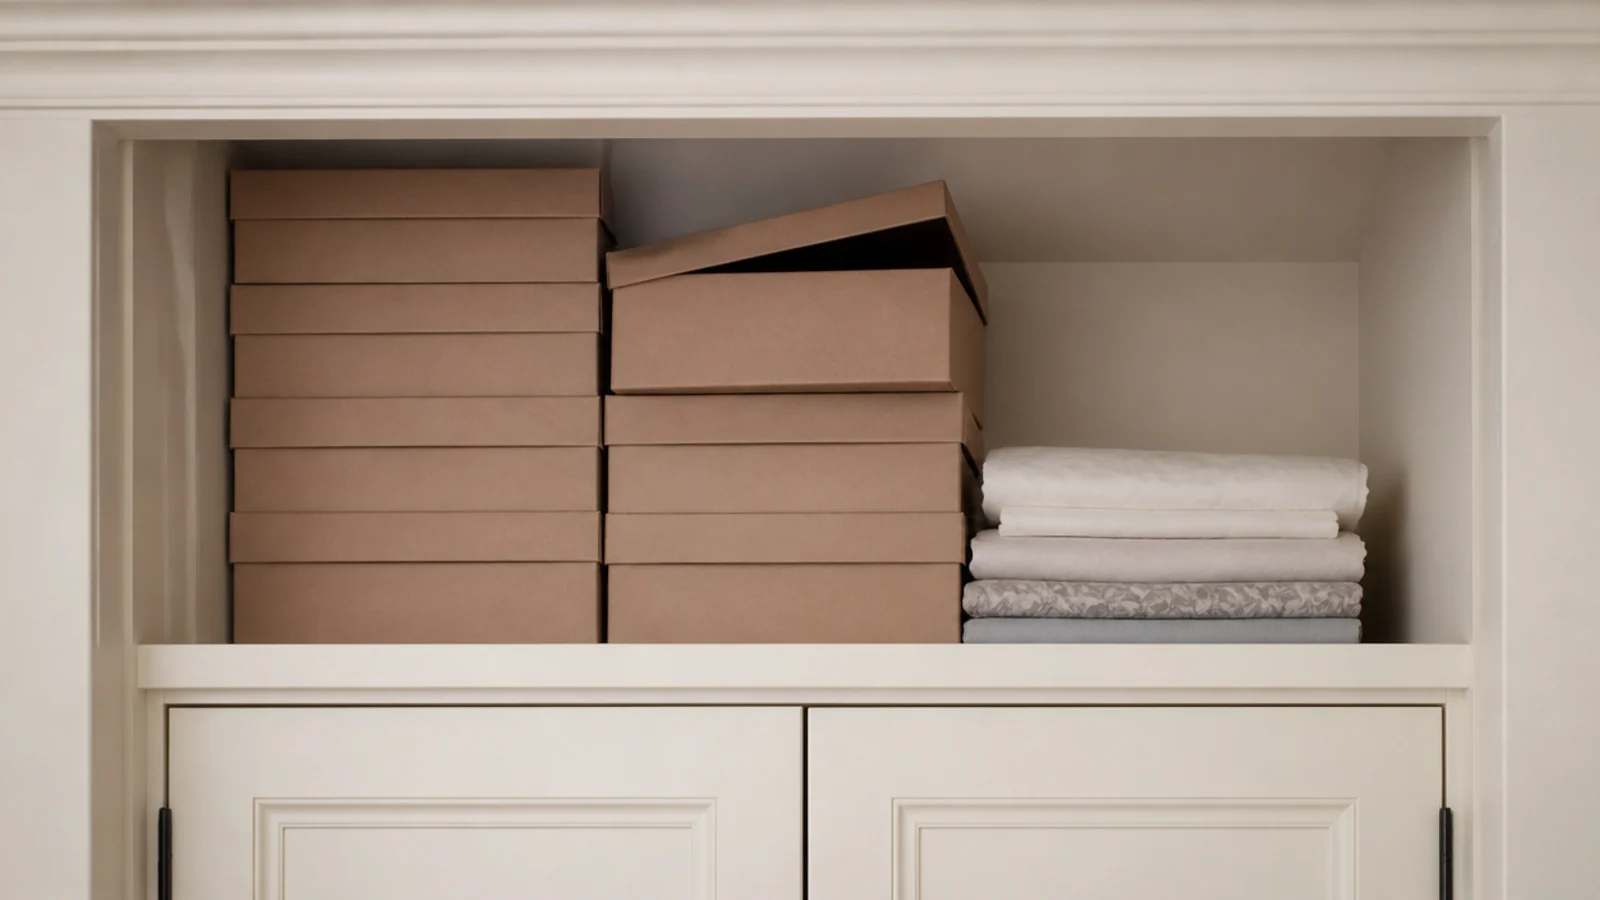
Fourteen identical cardboard boxes on a closet shelf. Finding one pair meant opening five, and restacking them badly, which meant next time it was seven.
The fix: a photo on the front of every box. Not a written label — a small printed image, because you read a picture at a glance from across a room and a word requires standing up. It cost me an evening and some ink, and it turned a stack I avoided into storage I actually use.
Mistake 14: I chose doors for a household of children
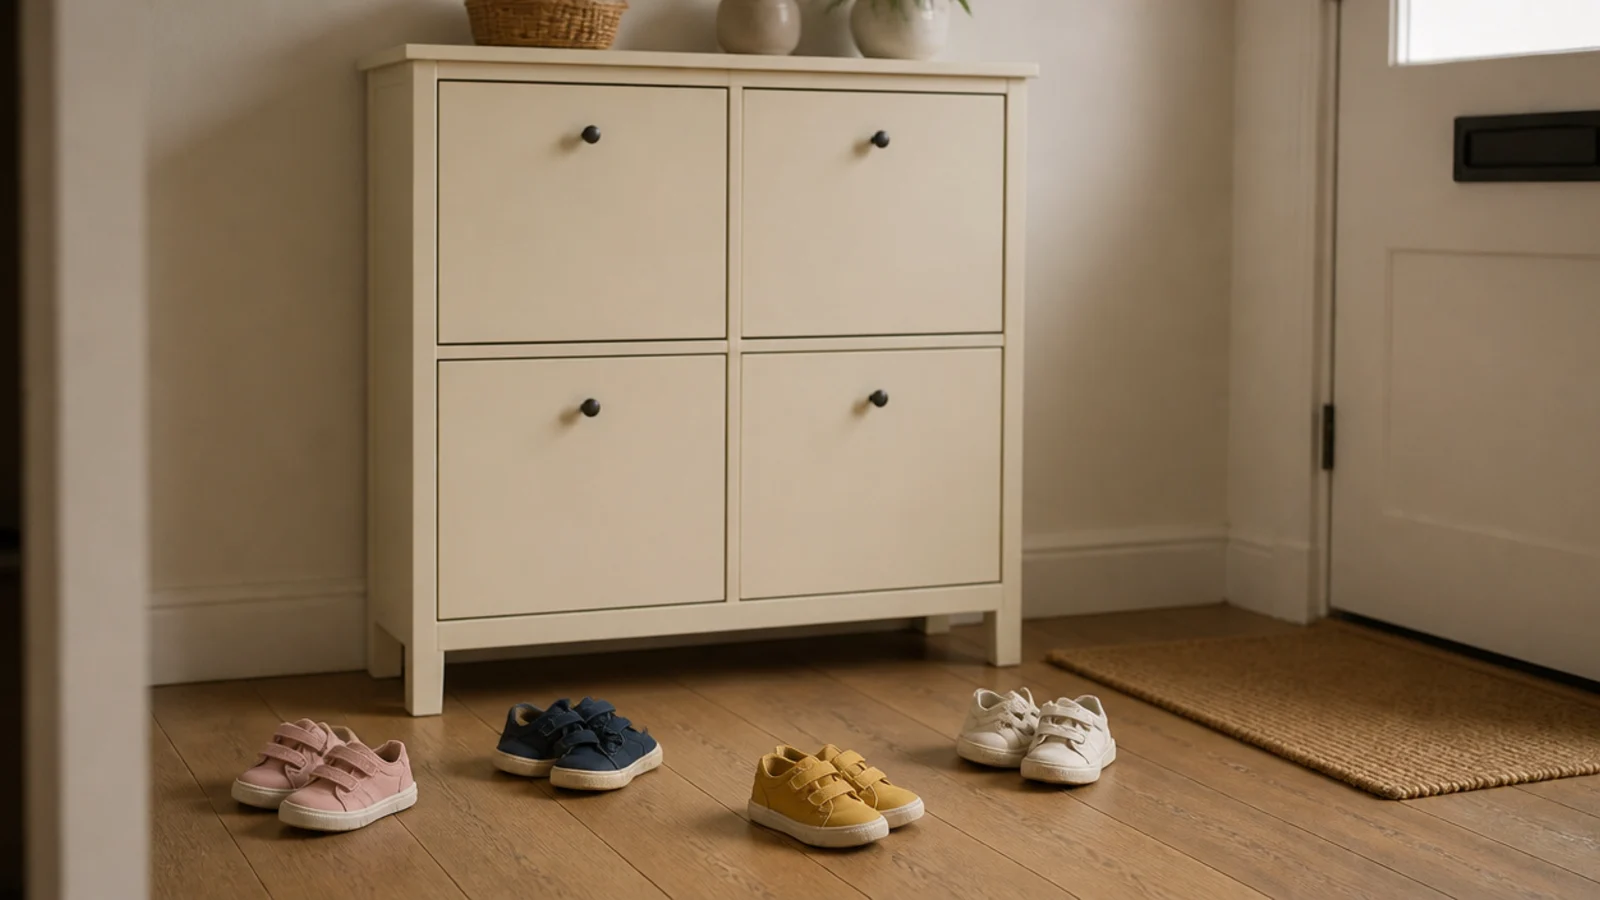
I love a closed cabinet. My children, aged four and seven at the time, treated every door as optional. The cabinet stayed immaculate and empty while their shoes lived in a heap directly in front of it.
The fix: open cubbies at their height, one pair per opening. Every door is a step people skip, and small people skip more steps than anyone. The adult shoes stayed behind doors and the children got open cubbies capped at 36 inches, which fixed the heap in a single afternoon.
Mistake 15: I hung a wall unit on the plugs in the box
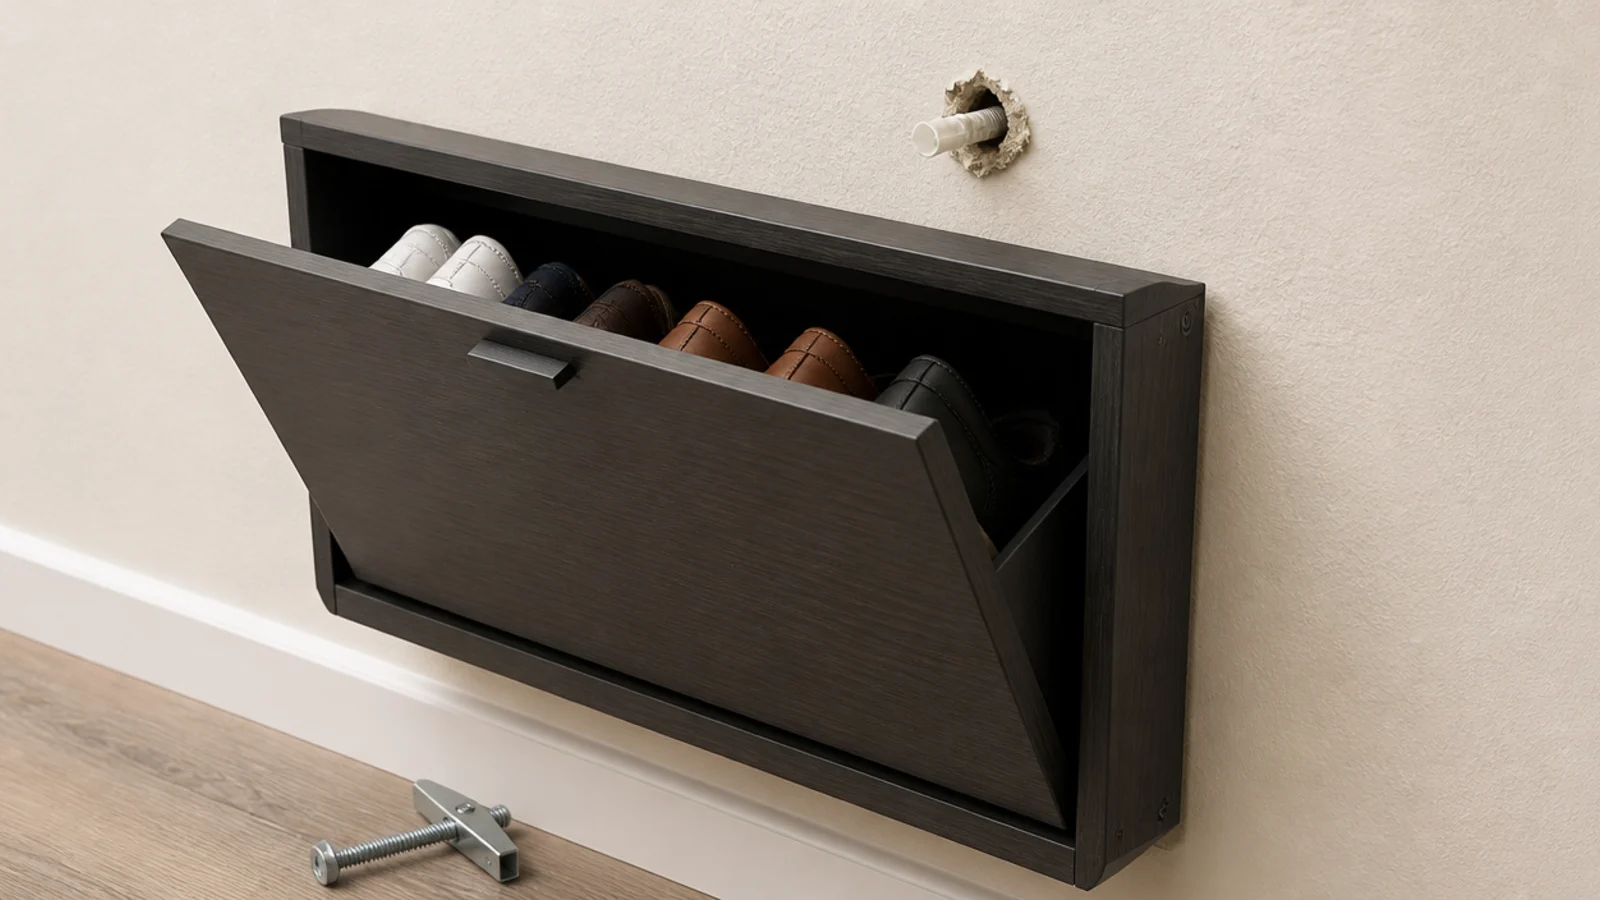
The little white plugs supplied with wall-mounted shoe cabinets are rated at roughly 10 pounds. A loaded shoe unit is 30 to 40. They do not fail suddenly, either — they crush the drywall around themselves and creep out over weeks.
The fix: toggle bolts at about a dollar each, carrying 25 to 35 pounds apiece in half-inch drywall, or reposition so at least one fixing catches a stud. I now throw the supplied plugs away before I open anything else in the box, which has saved me one repaired wall and one very close call.
Shoe Storage Mistakes: What I'd Do Differently Now
If I could hand my younger self a single page, it would be four measurements and one rule.
Measure the longest shoe in the house and decide flat or tilted — 13 inches or nine, and that decision drives everything after it. Measure the tallest boot and give it a dedicated bay at 14 to 16 inches instead of hoping. Measure the door swing with the door fully open and take two inches off. Set any bench at 18 inches to the cushion top.
The rule is that storage must be easier than the floor. Every door, lid and lift is a step somebody will skip on a wet Tuesday, and a system that only works when everyone is in a good mood is not a system.
What I actually regret is not the money. It is the four years I spent believing I needed more storage, when what I needed was less stuff at the door and one tall bay for boots.
Frequently asked questions
Why does my closed shoe cabinet smell?
Because no air is moving through it. Shoes carry moisture in from the pavement and a sealed box holds it against leather and foam for hours. Drill a row of one-inch holes near the top and bottom of each door, or swap to cane, fluted or slatted fronts. Cedar blocks and charcoal only help once airflow exists.
What depth should shoe storage be?
Thirteen inches for shoes lying flat, because a men's size 12 sneaker measures about 12.5 inches. Tilt the shelf to 45 degrees and nine inches does the same job, which is how slim hallway cabinets work. Measuring the largest shoe in the house before buying anything prevents more regret than any other single step.
How tall should the tiers on a shoe rack be?
Six inches of clear height takes flats, loafers and sneakers. Boots need 14 to 16 inches and knee-high boots want 20. The classic mistake is a rack with every tier spaced evenly at six inches, which sends every tall pair back to the floor and keeps the pile alive no matter how much you paid.
How many pairs should be stored at the front door?
Two to three pairs per person plus one seasonal overflow set. For a family of four that is ten to fourteen pairs in winter and six to eight in summer. Everything else belongs in a closet or under a bed. Storage sized for every pair anyone owns will always be too big for the space available.
Should shoe storage be open or closed?
Open, if there are children or anyone regularly leaves in a rush. Every door is a step people skip, and shoes end up on the floor beside a beautiful empty cabinet. Closed storage works in adult households that genuinely put things away, and it always needs ventilation holes to stay fresh.
How do I stop the shoe pile coming back?
Give every person one named basket or cubby and cap it at what fits. Piles restart when storage is shared, because nobody owns the overflow. Named space is the single change that made this stick in my house, and it worked with a four-year-old faster than any amount of asking ever did.
Before you buy anything, count the pairs that genuinely live at your door and measure your largest shoe — that ten-minute exercise prevents most of what went wrong for me. For the setups that follow from it, see shoe storage ideas for the entryway, for a seat that stores underneath see shoe storage benches, and if a closed unit is still what you want, shoe cabinet mistakes covers the ones I have not made yet. Save the pin so it is with you at the store.
Want more like this? Browse all 15 shoe storage ideas guides — they all use the same measurements and budget tiers.
Pin it for later
Save this to your Shoe Storage Ideas board
Pin it now so it is waiting for you when the tape measure comes out — and so the next person hunting for this idea can find it too.
Save this pinKeep going
More ideas worth saving while you have the tape measure out.