Shoe Storage Ideas · UGC
20 Shoe Storage Before and After Makeovers

Shoe storage before and after is the most honest thing I can show you, because the changes that work are rarely the ones people expect to spend money on. I have redone entries in five apartments and two houses, plus a long run of friends' hallways where I arrived with a tape measure and left with a bin bag.
The pattern is consistent enough to be slightly annoying. About half the entries I am asked to fix need nothing bought at all — the problem is the number of pairs at the door, not the quality of the rack. The other half have a physical fault: tiers too short for boots, depth under nine inches, or a sealed cabinet with no airflow. No amount of tidying touches those three.
What follows is 20 real makeovers, what each one looked like before, what changed, and what it cost. Seven were free.
In this guide21 sections — tap to openHide
- 1.Makeover 1: The pile inside the front door
- 2.Makeover 2: The closet floor heap
- 3.Makeover 3: The rack no boot ever fitted
- 4.Makeover 4: The cabinet that smelled
- 5.Makeover 5: The bench nobody sat on
- 6.Makeover 6: The under-stairs void full of bags
- 7.Makeover 7: The garage shoe mountain
- 8.Makeover 8: The shoes the kids could not reach
- 9.Makeover 9: The wet boot puddle
- 10.Makeover 10: The hallway you turned sideways in
- 11.Makeover 11: The wire rack that ate heels
- 12.Makeover 12: The unlabelled box tower
- 13.Makeover 13: The bedroom chair full of shoes
- 14.Makeover 14: The dark closet corner
- 15.Makeover 15: The rack that scuffed the door
- 16.Makeover 16: The rental with no drilling allowed
- 17.Makeover 17: The mudroom with a wet floor
- 18.Makeover 18: The seasonal swap that never happened
- 19.Makeover 19: The console with nothing underneath
- 20.Makeover 20: The entry that looked grey
- 21.Shoe Storage Before and After: What I'd Do Differently Now
Makeover 1: The pile inside the front door
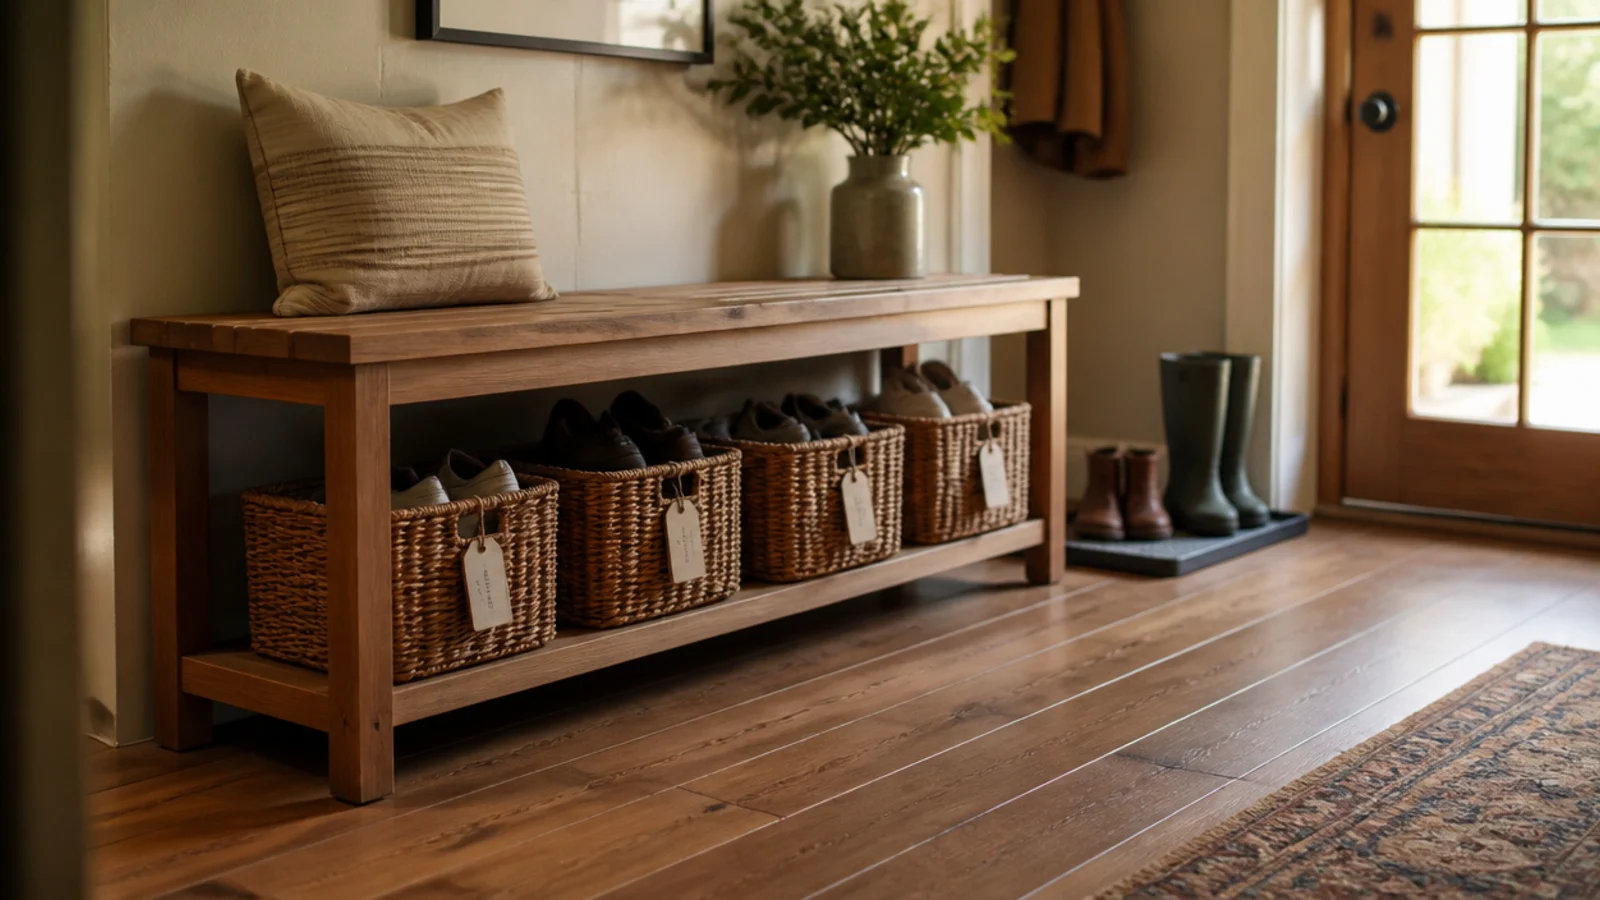
Before: nineteen loose pairs on the floorboards inside the door, including four pairs of sandals in February.
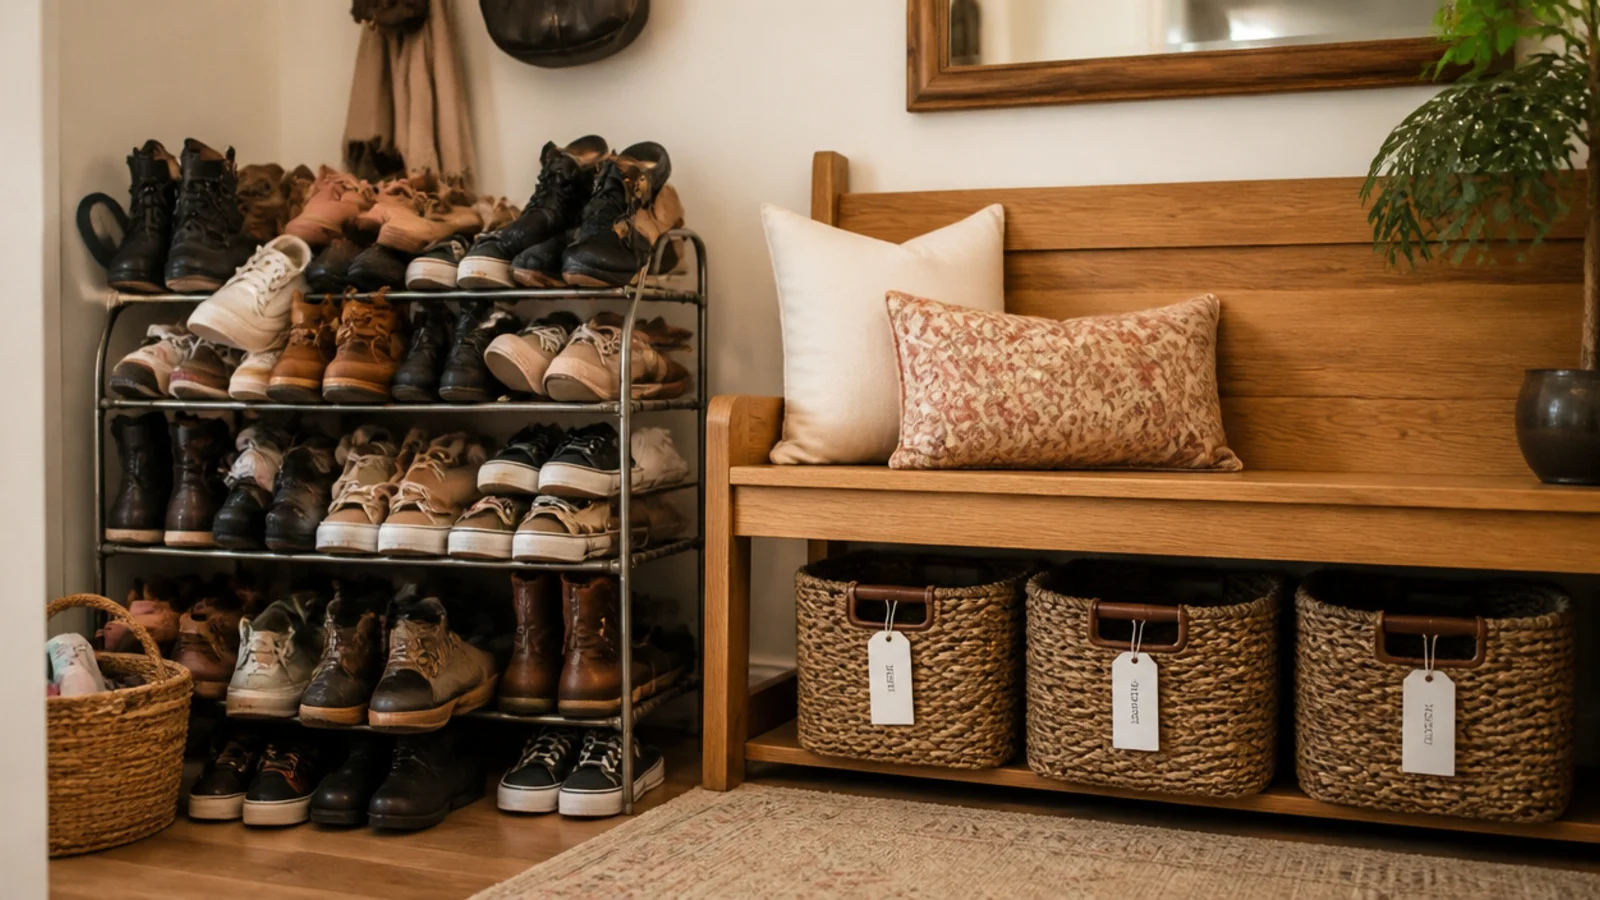
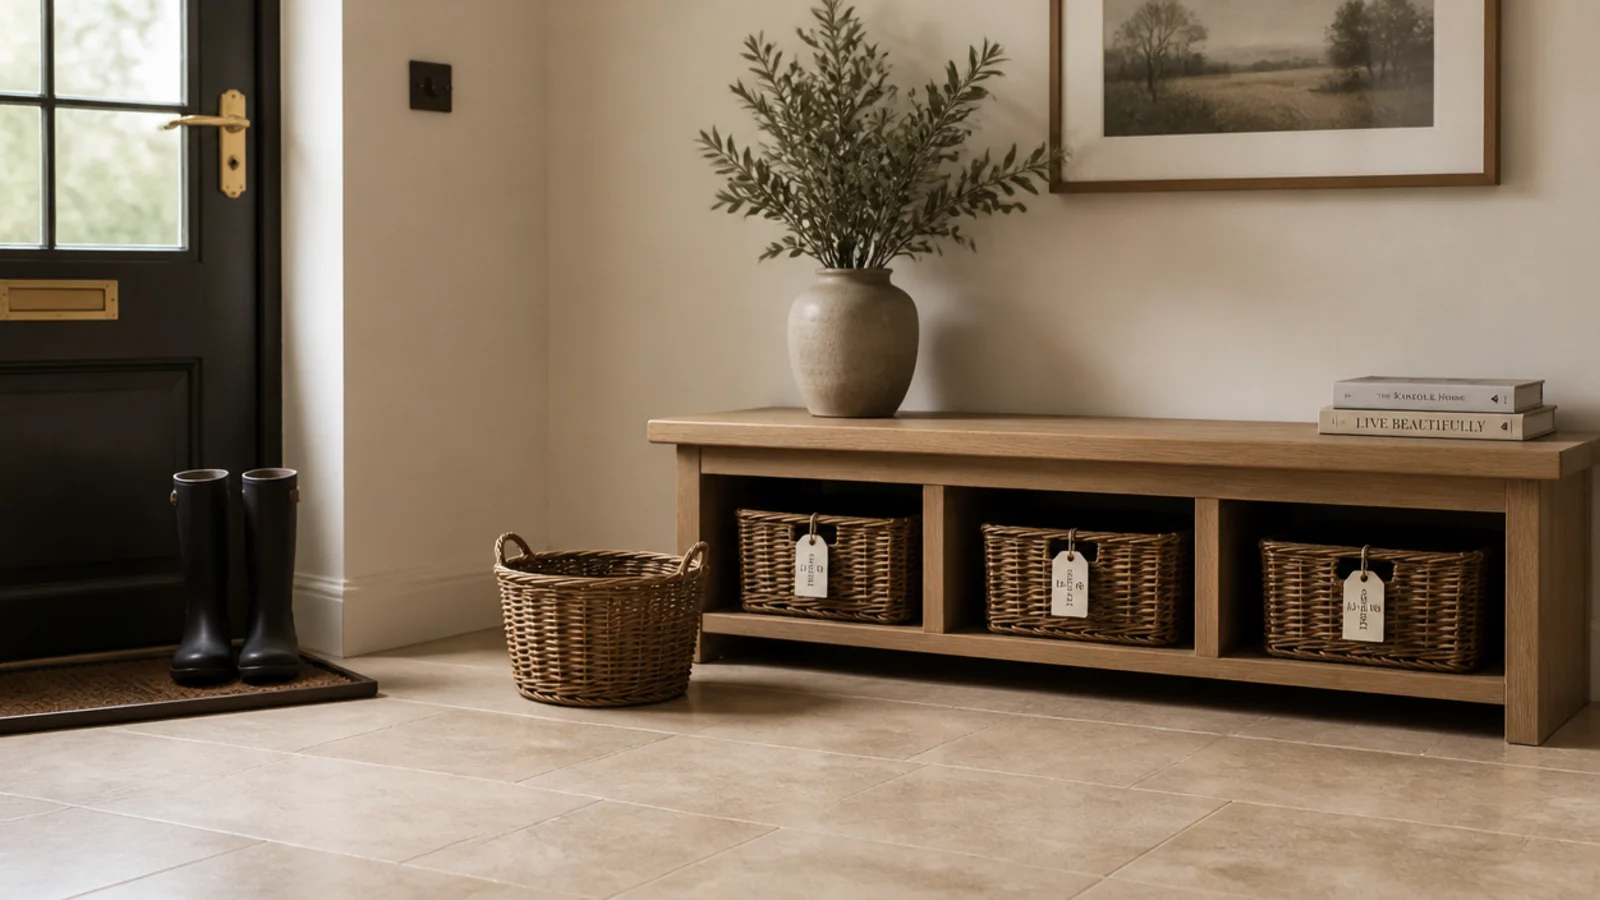
After: twelve pairs in four tagged baskets under a bench, and the rest boxed for the bedroom.
The tags did the work, not the baskets. Shared storage means nobody owns the overflow, so I wrote a name on each one and capped it at what fits. Cost $46 for the baskets, nothing for the sorting.
Makeover 2: The closet floor heap
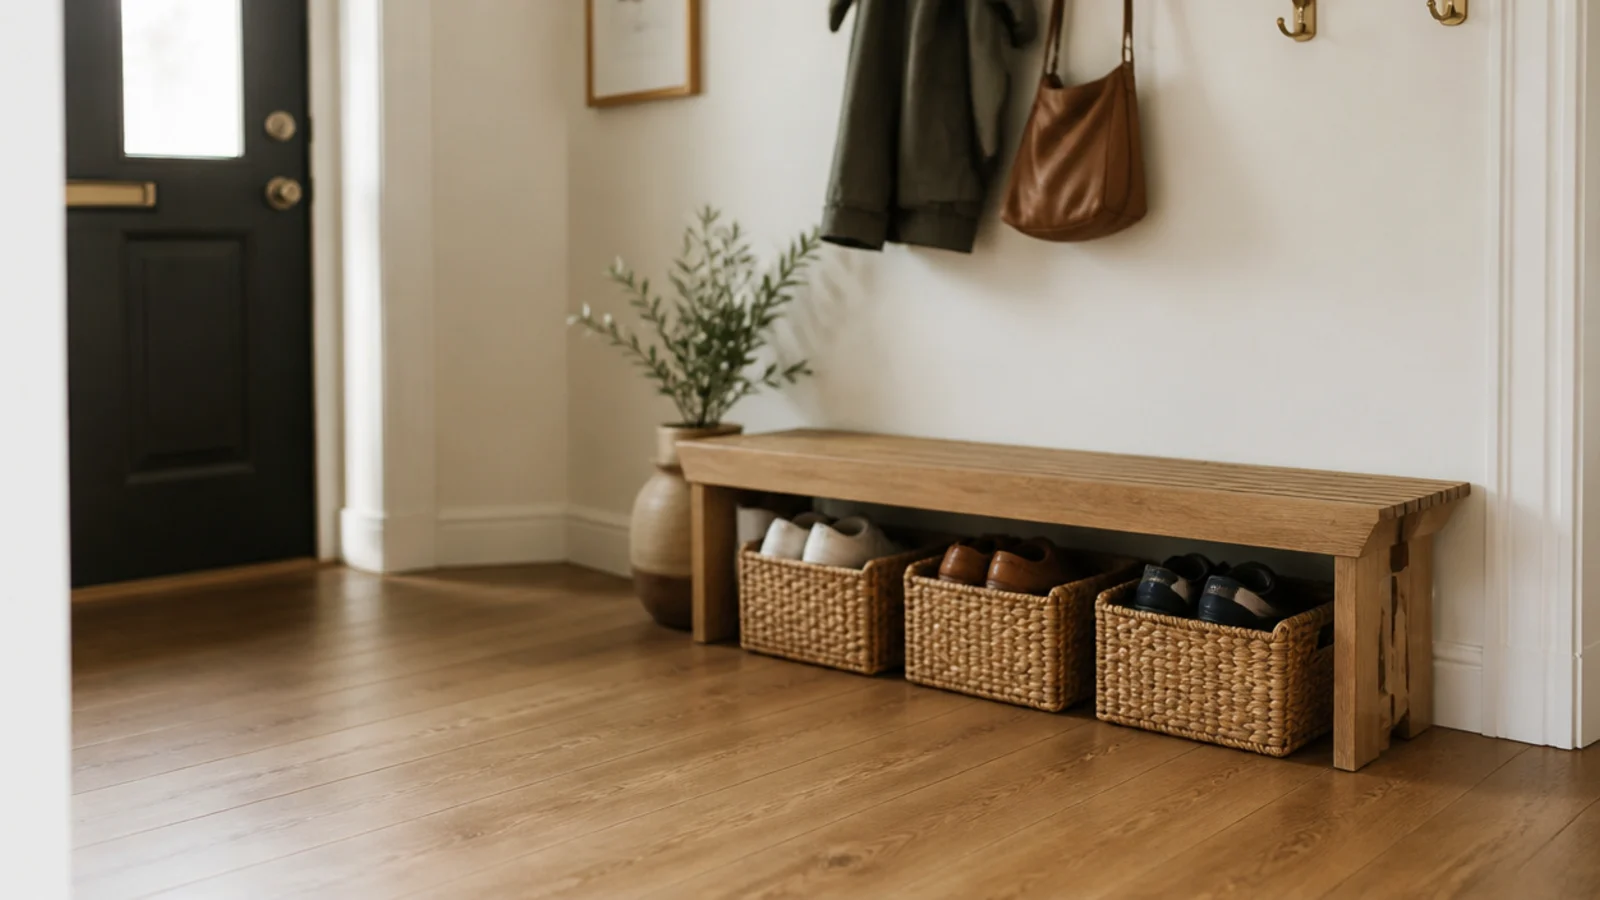
Before: a mound on a closet floor that had to be excavated every morning, with three unmatched shoes at the bottom.
After: four low fabric bins with handles, sorted by type rather than by owner.
Sorting by type is the part people get wrong. Nobody thinks "where are my shoes" — they think "where are my trainers." Bins by category are found first time, every time. Cost $28.
Makeover 3: The rack no boot ever fitted
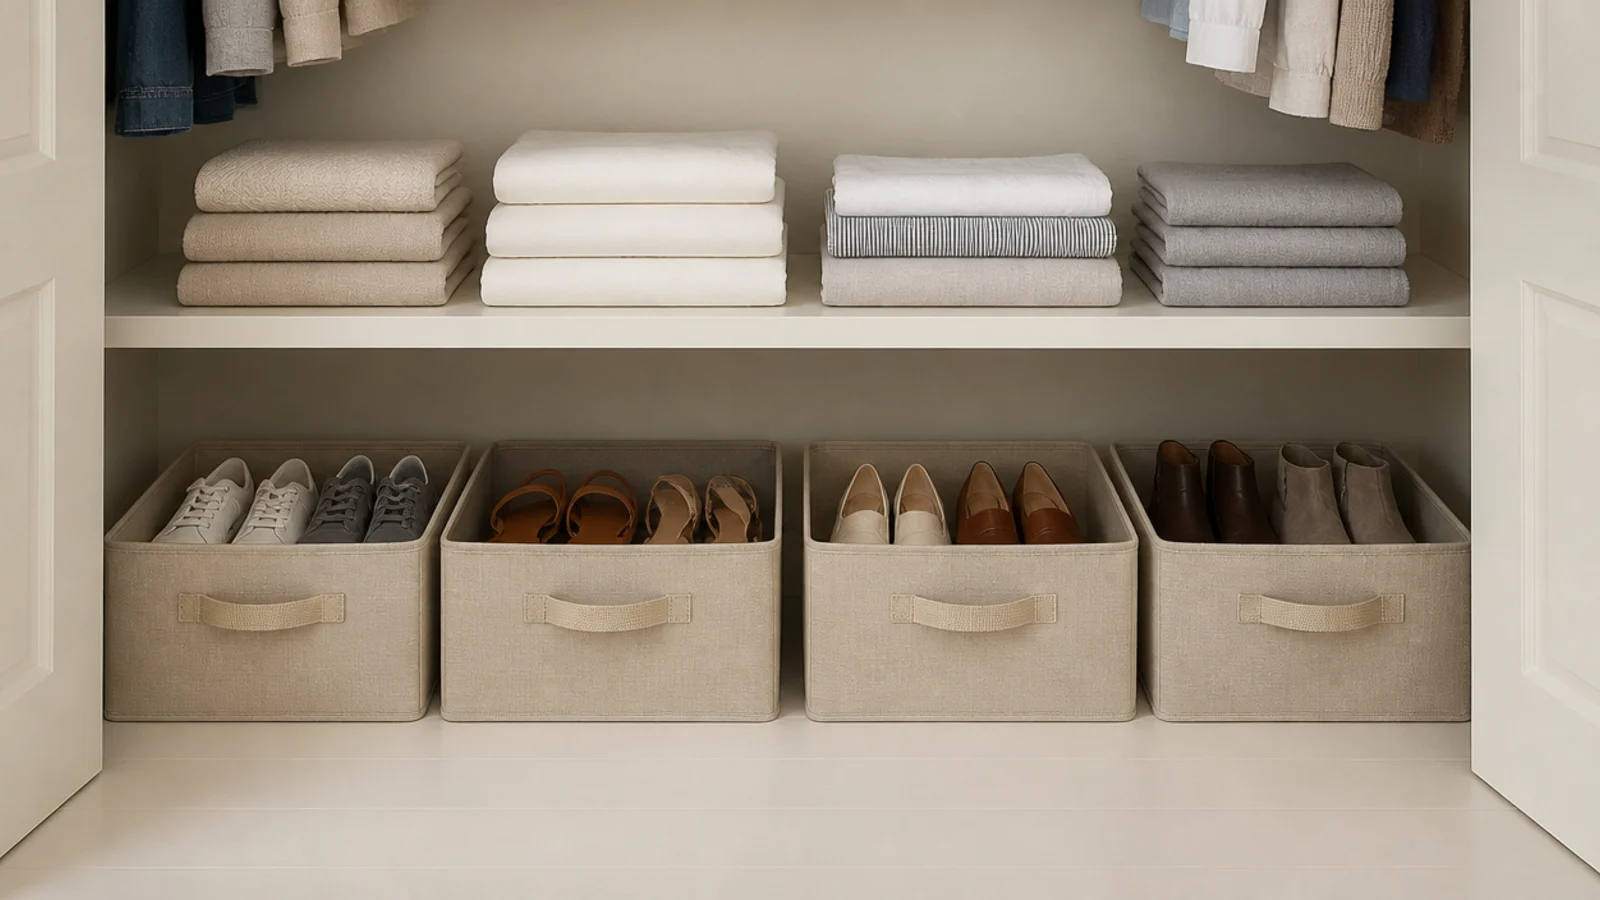
Before: a four-tier rack spaced evenly at six inches, with every pair of boots in the house standing on the floor beside it.
After: the bottom two tiers combined into one 16-inch bay, with sneakers on the shallow tiers above.
Six inches clears flats and sneakers. Boots need 14 to 16 and knee-highs want 20. One taller bay took eight boots off the floor permanently. Cost: one hour and no money.
Makeover 4: The cabinet that smelled
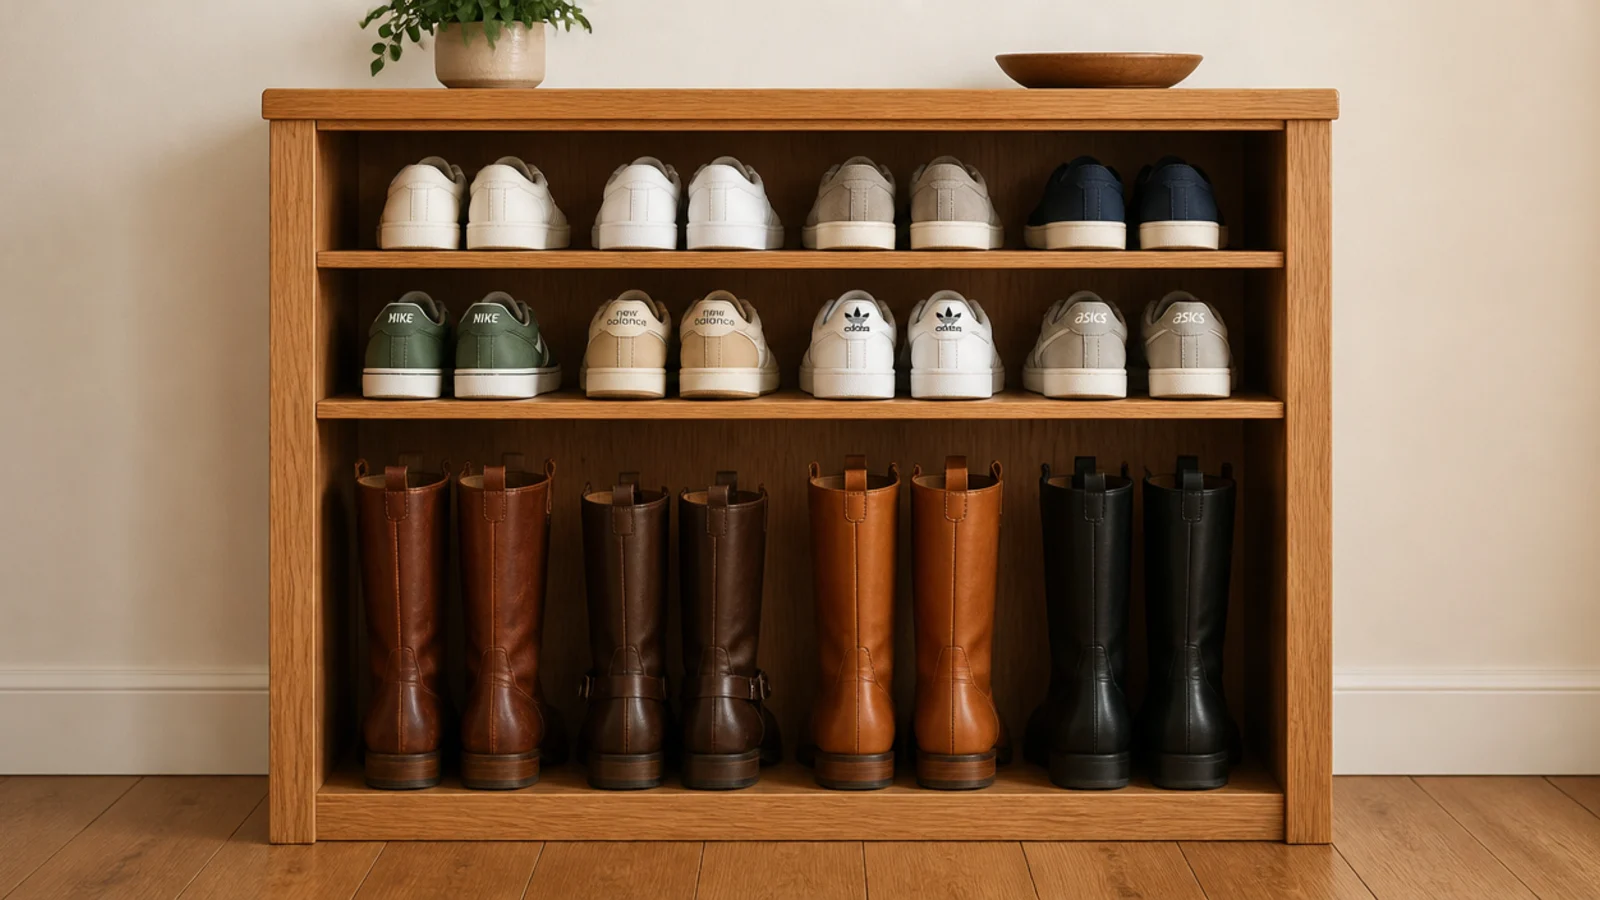
Before: a handsome closed cabinet with solid unvented doors, faintly announcing itself from the hallway.
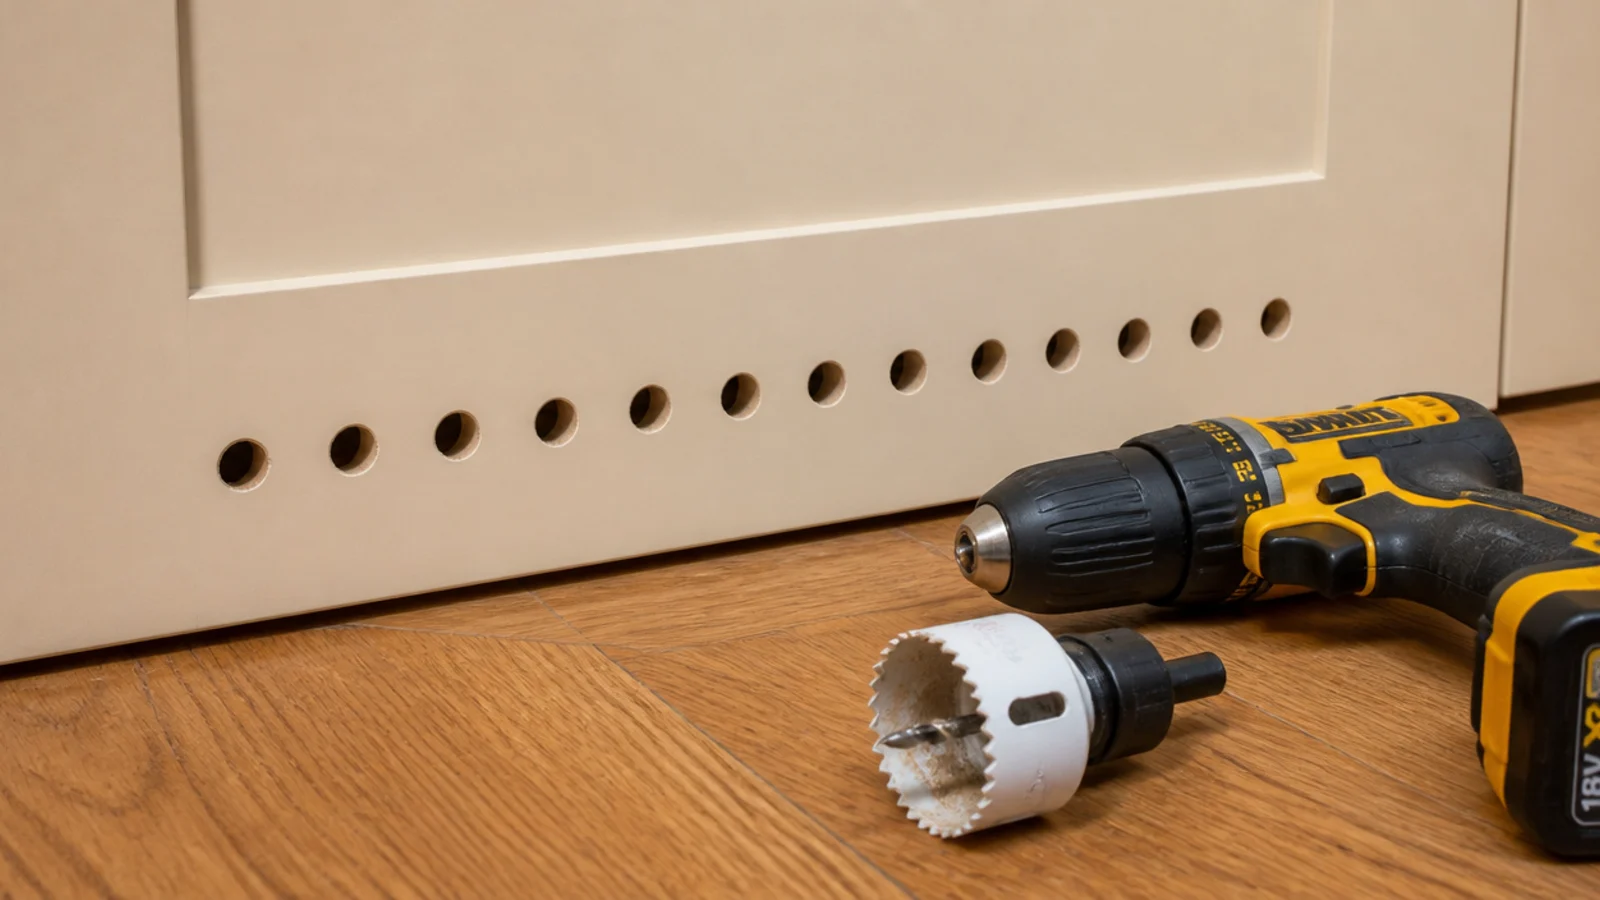
After: two rows of one-inch holes drilled near the top and bottom of each door, hidden in the shadow line.
Closed shoe storage without airflow smells within weeks, and no cedar block fixes air that is not moving. Twenty minutes with a hole saw. Cost $4 for the bit.
Makeover 5: The bench nobody sat on
Before: a bench built to fit under a window ledge at 15 inches, which everybody stood up from with a small effort.
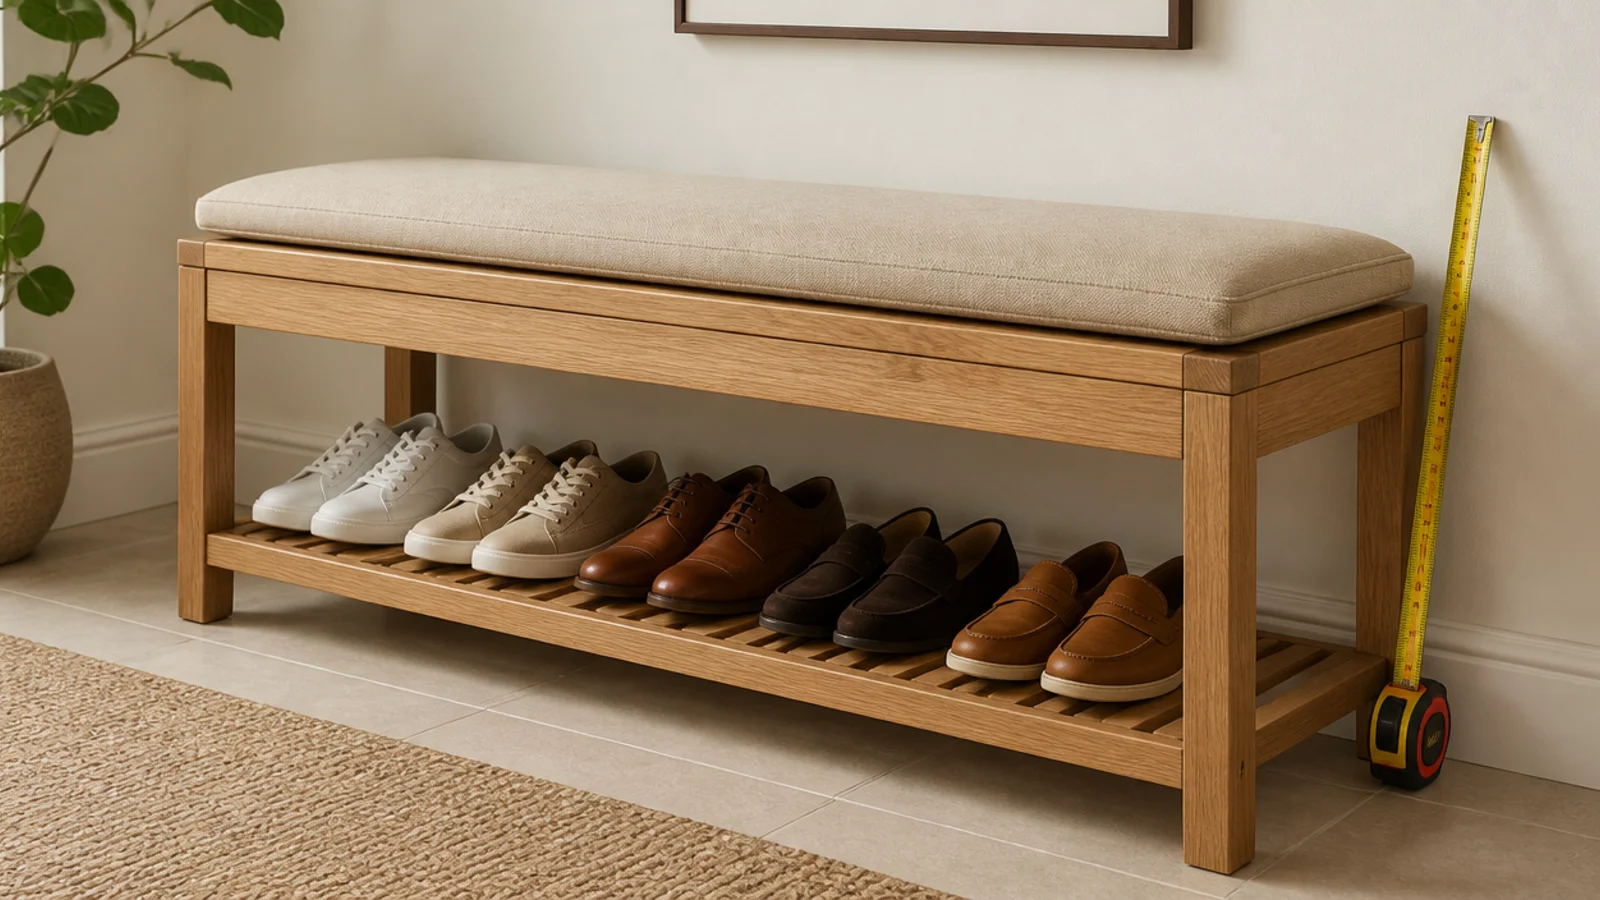
After: the base rebuilt three inches taller, at 18 inches to the top of the cushion.
Eighteen inches is the height an adult sits and stands from without thinking, and it still leaves 13 inches of usable depth underneath. Full sizing detail is in shoe storage benches. Cost $18 in timber.
Makeover 6: The under-stairs void full of bags
Before: a staircase cupboard holding a vacuum, eleven carrier bags and roughly six pairs of shoes at the very front.
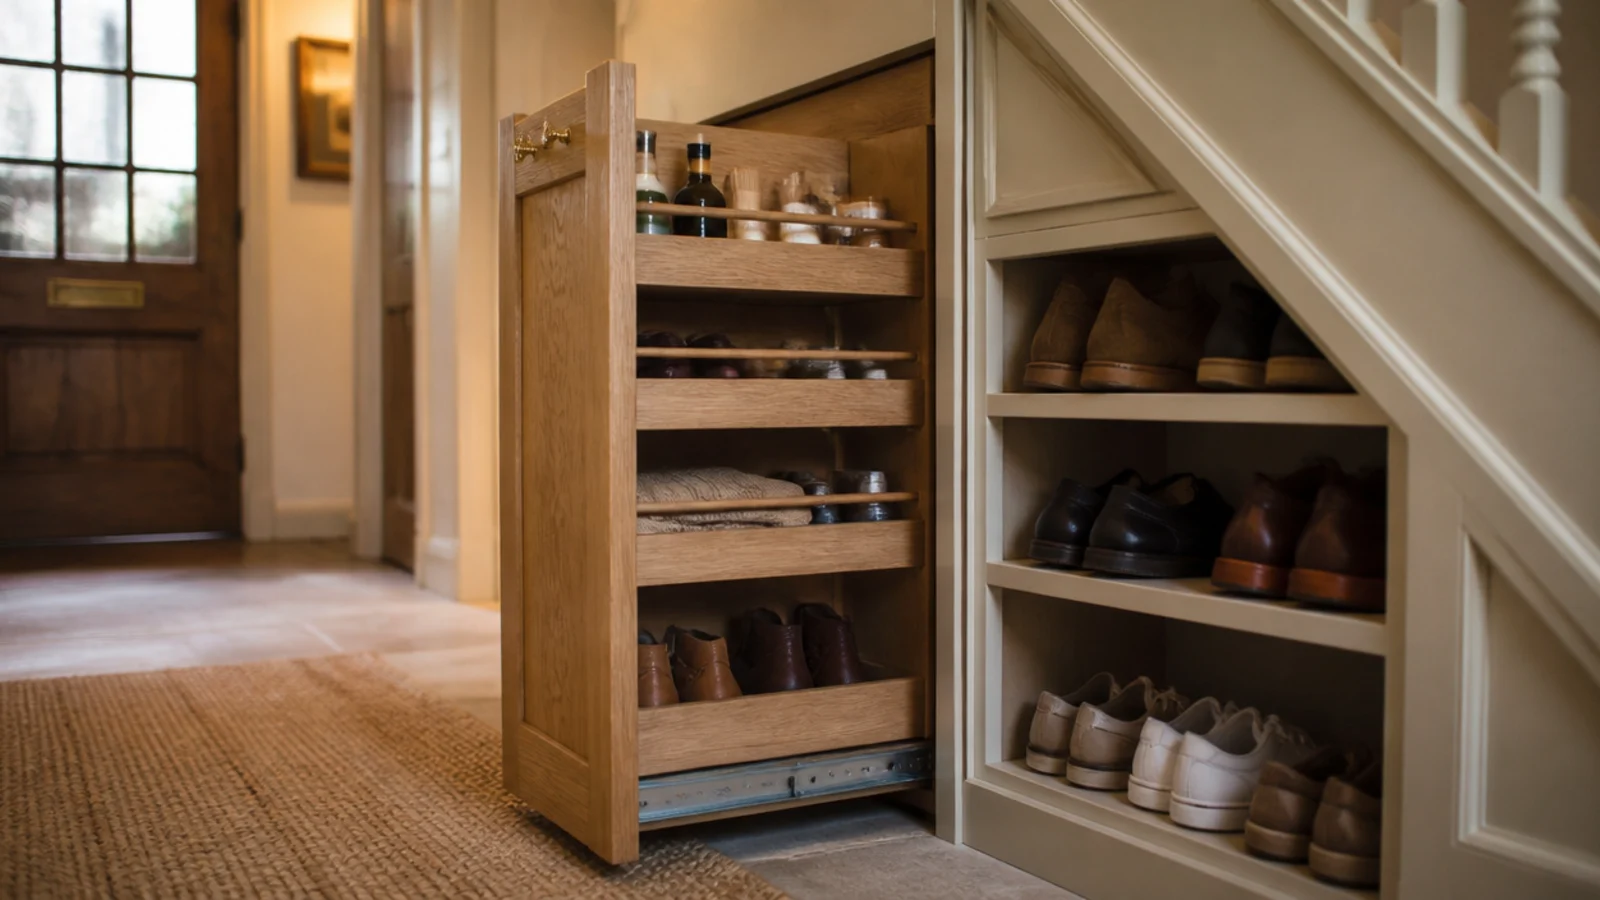
After: a pull-out tower on full-extension runners plus open cubbies stepping down with the rake.
Fixed shelves abandon the deep back corner. Pull-outs bring it forward, which is the difference between eight pairs and thirty. Cost $210, and it is the most useful money in this article.
Makeover 7: The garage shoe mountain
Before: outdoor shoes and boots in a mound on bare concrete, half of them damp, all of them gritty.
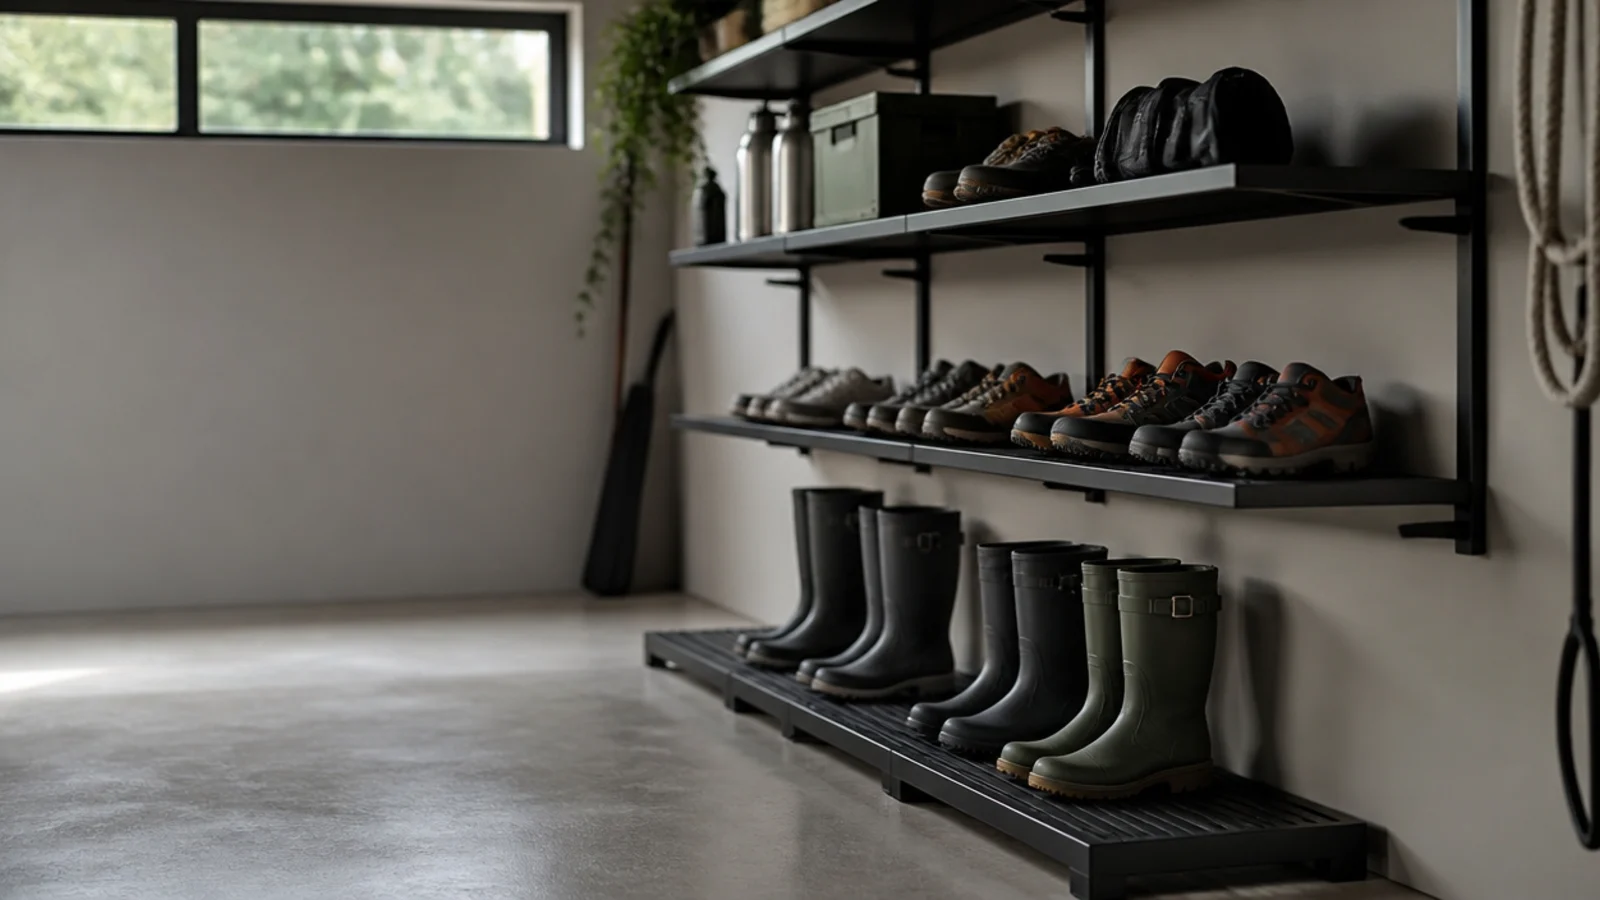
After: powder-coated open shelving on the wall with a raised slatted base underneath for wet pairs.
Getting shoes off concrete is most of the fix — concrete holds cold and damp, and a slatted base lets soles dry from below. Leather stays indoors regardless. Cost $65.
Makeover 8: The shoes the kids could not reach
Before: children's shoes stored on a shelf at adult height, which meant they lived on the floor instead.
After: open cubbies capped at 30 inches, one pair per opening, unit strapped to the wall.
The lowest shelf is the only one that matters at that age, and it has to be reachable without climbing. The heap ended in one afternoon. Cost $52.
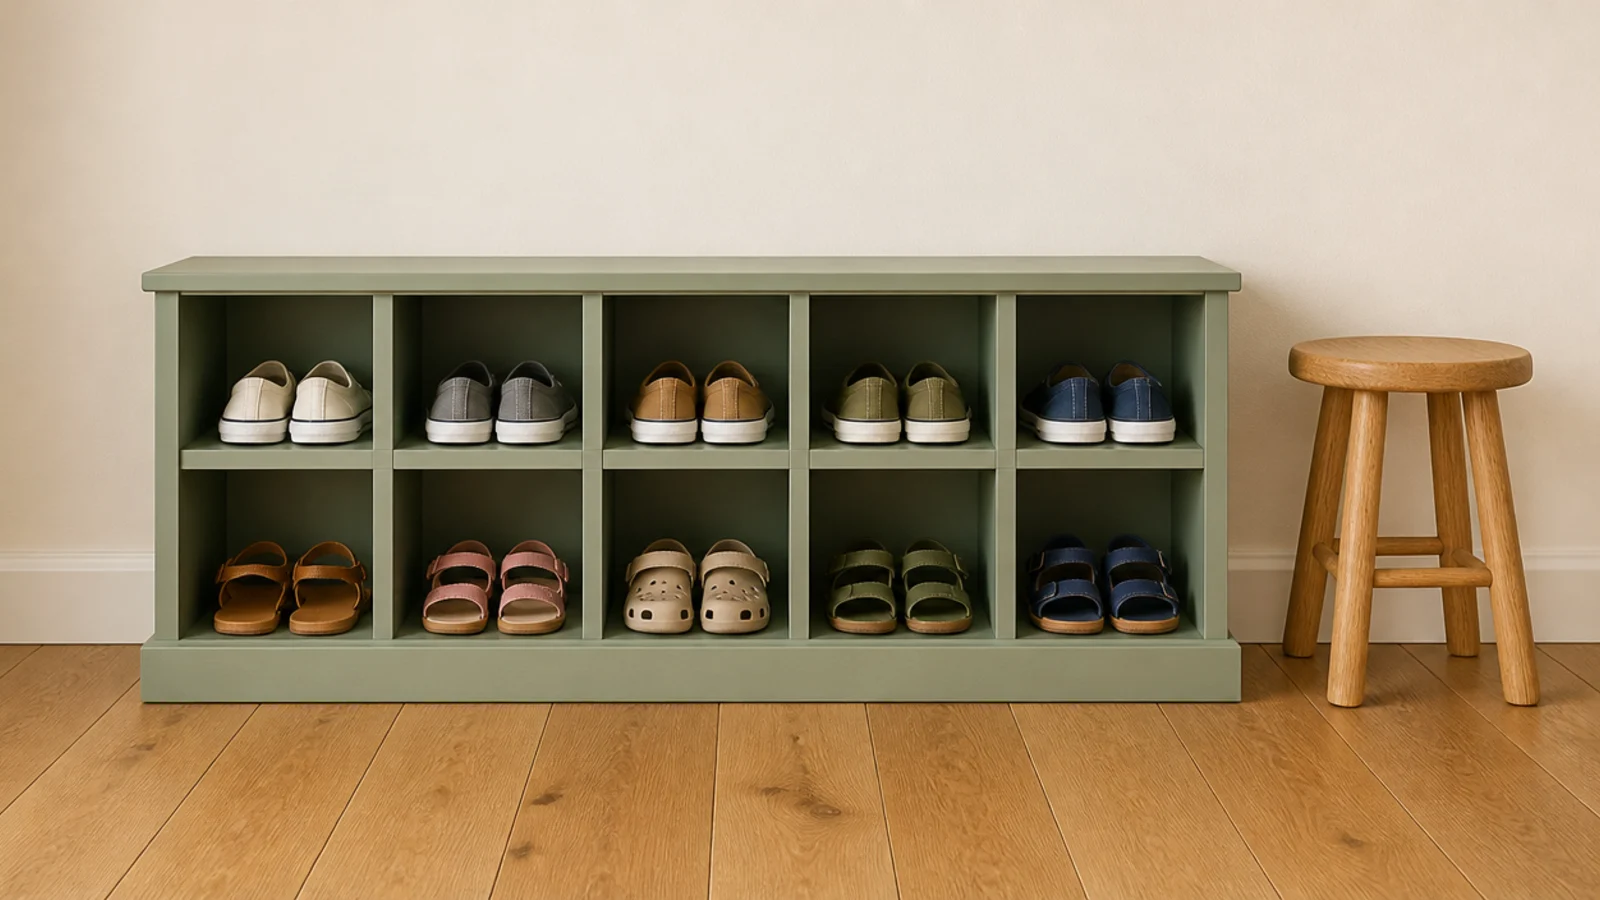
Makeover 9: The wet boot puddle
Before: wet boots kicked off onto a jute mat, which stayed damp and left grey marks on the floorboards beneath.
After: a raised-lip metal tray, 16 inches deep, sitting where the mat had been.
Boots want a drip zone outside the storage, never inside it. Heavy rubber or metal, not thin plastic that cracks in the cold. Cost $22 and it saved the boards.
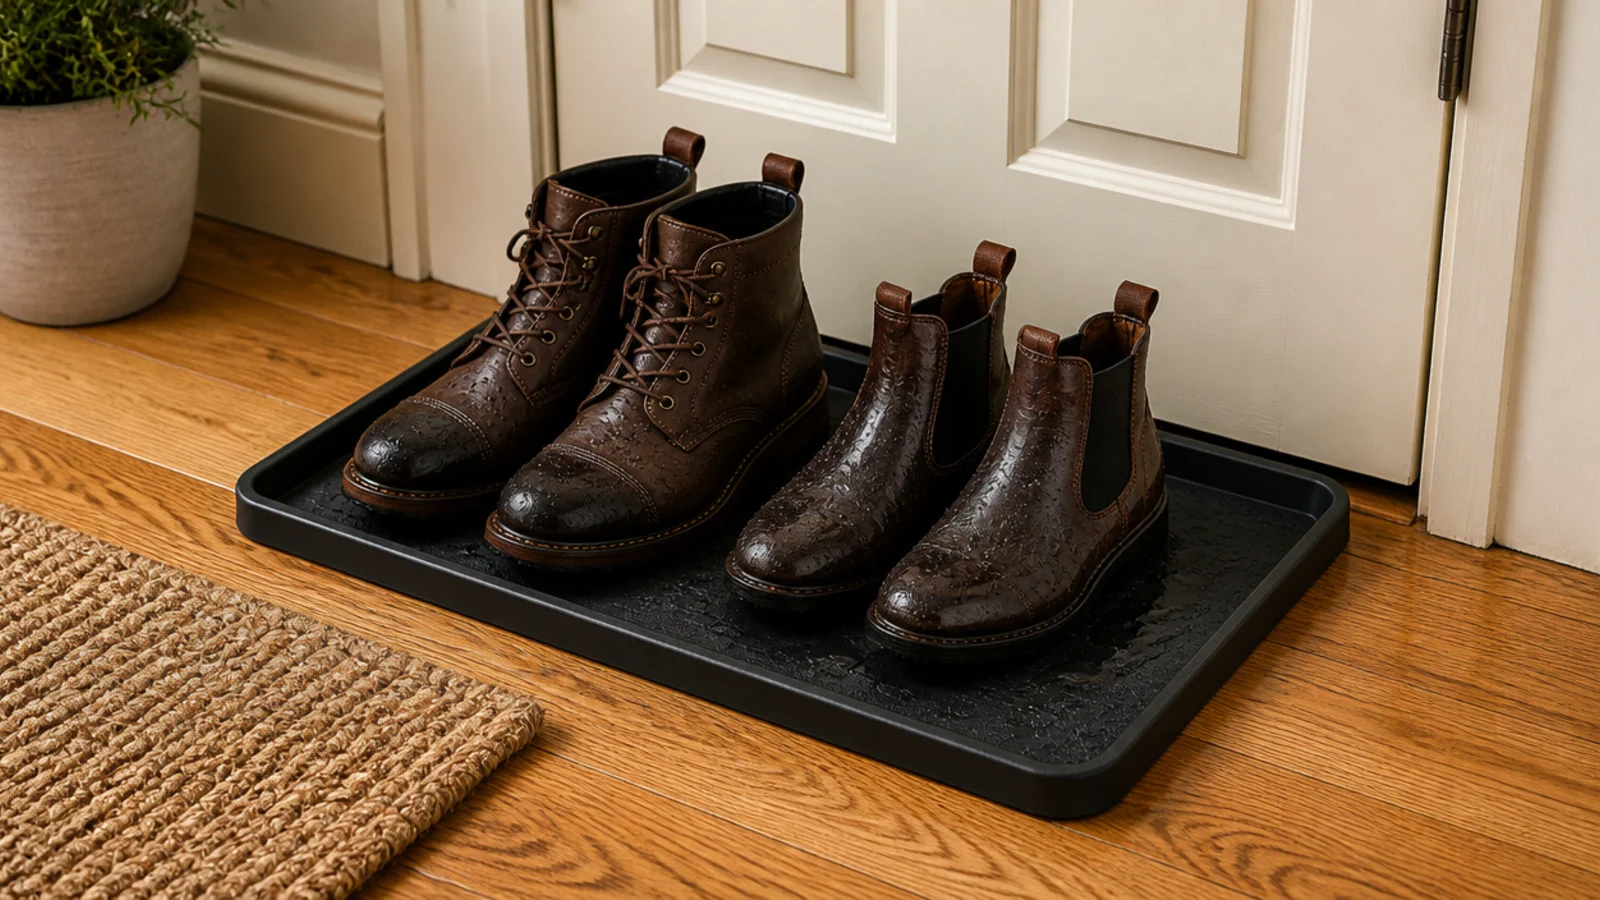
Makeover 10: The hallway you turned sideways in
Before: a 16-inch-deep open rack in a hallway with 38 inches of clearance, caught by a shoulder daily.
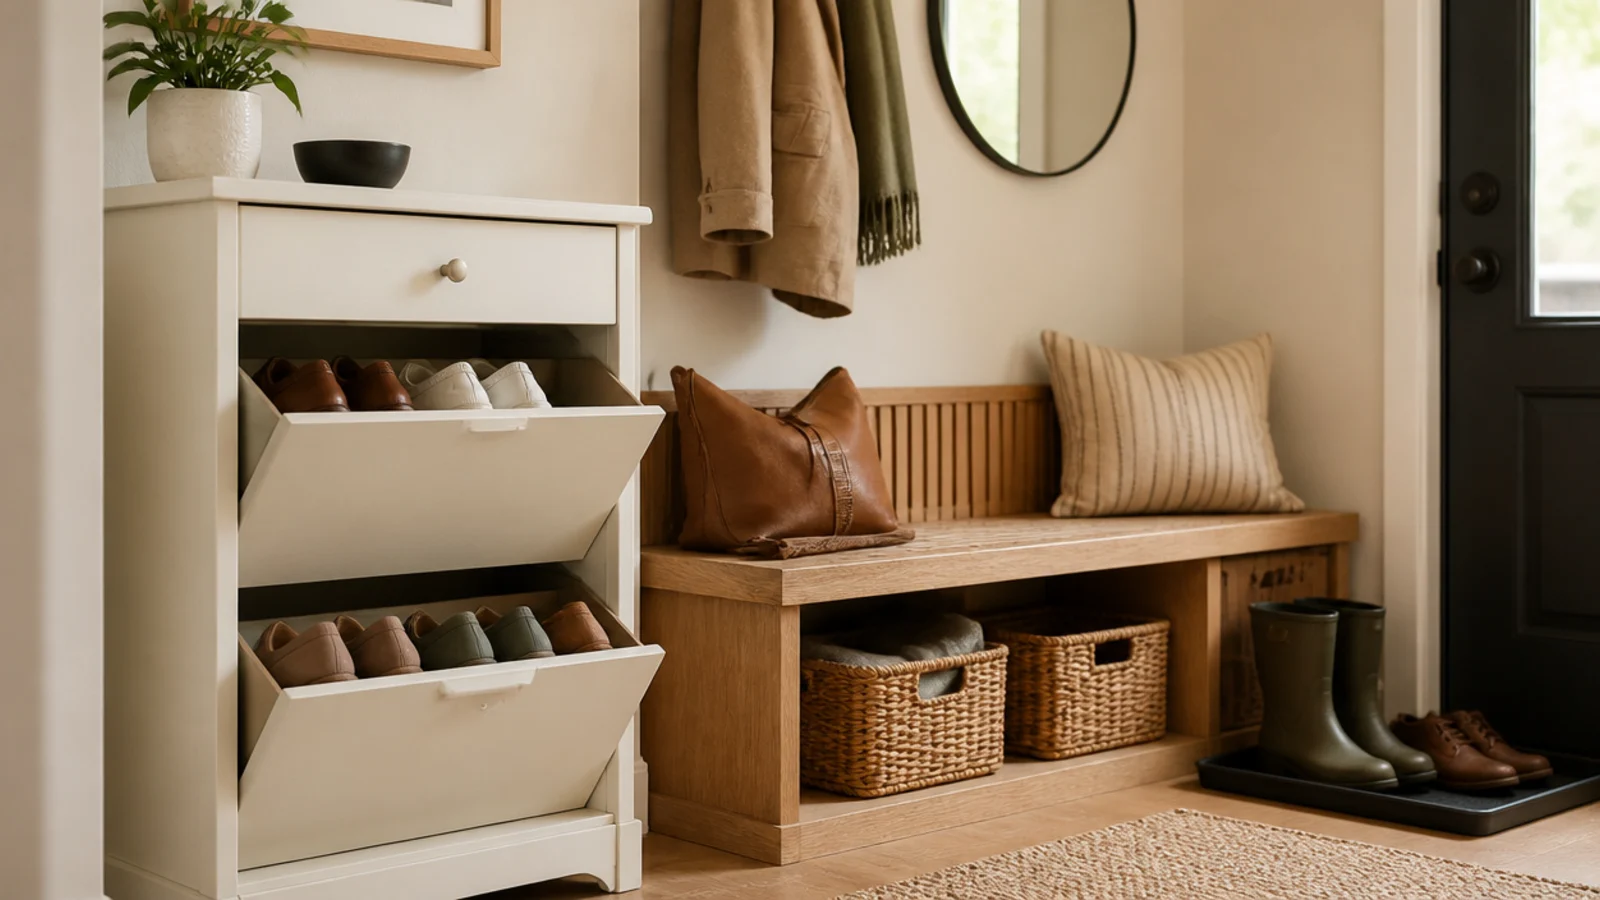
After: a nine-inch tilt-out cabinet in its place, with shoes angled back inside.
A men's size 12 sneaker is about 12.5 inches, so tilted at 45 degrees it fits in nine inches of depth. Seven inches of hallway came back. Cost $78.
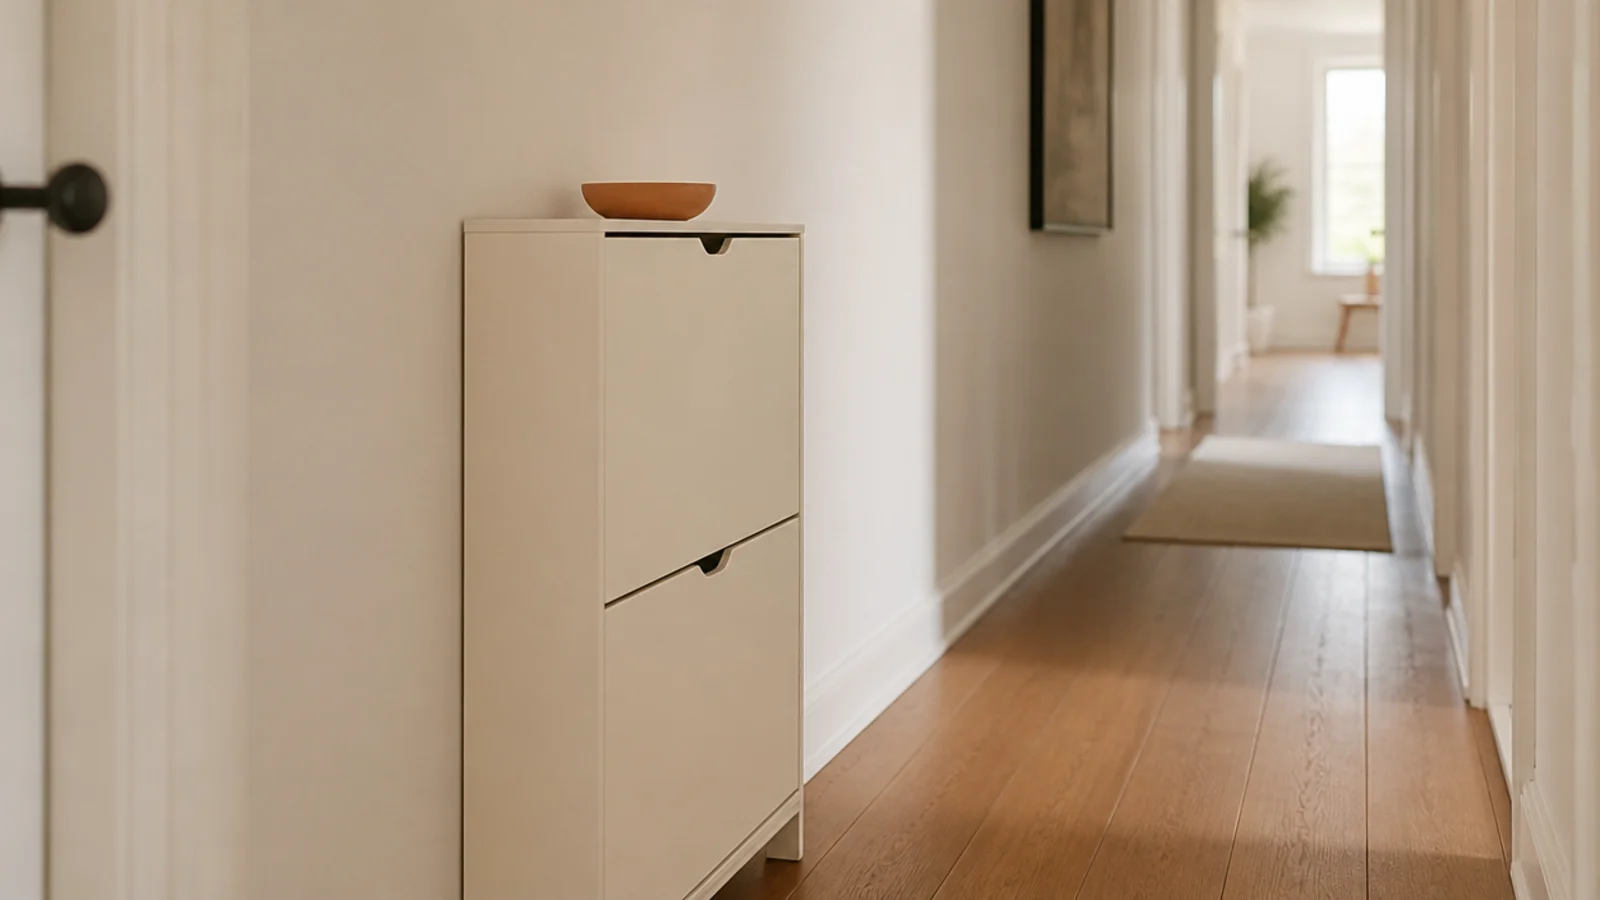
Makeover 11: The wire rack that ate heels
Before: chrome wire shelving where every slim heel dropped between the bars, with rust blooms under the wet pairs.
After: a cut-to-size solid liner laid over each shelf.
Six dollars of liner solved a problem the owner was about to replace the whole unit over. The rust stayed, but the shelf became usable in about four minutes. Cost $6.
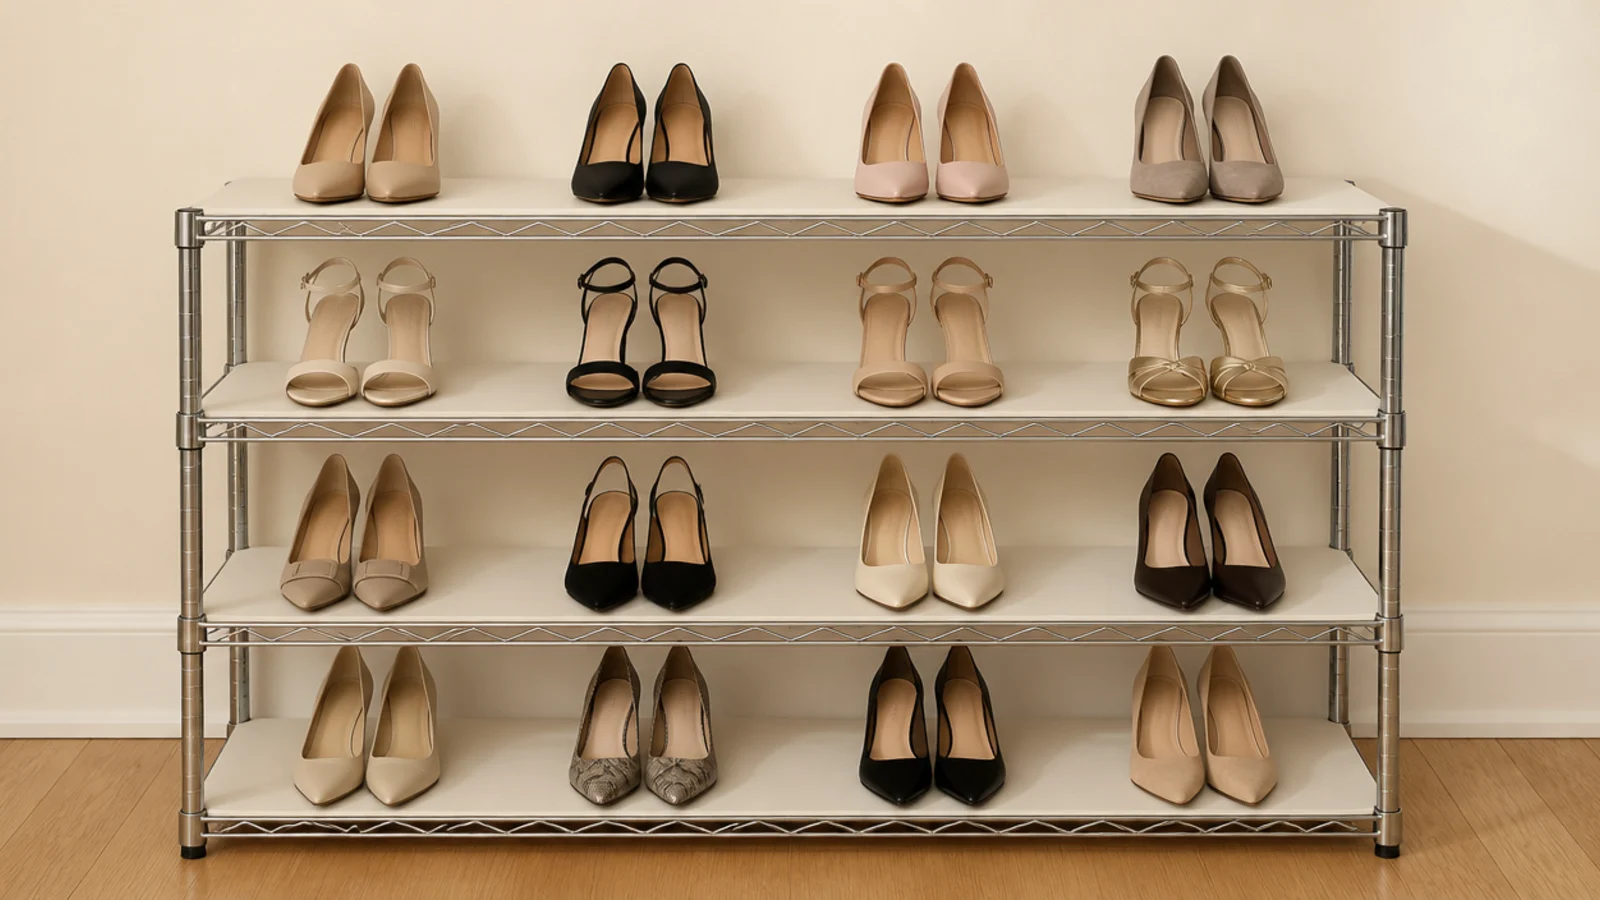
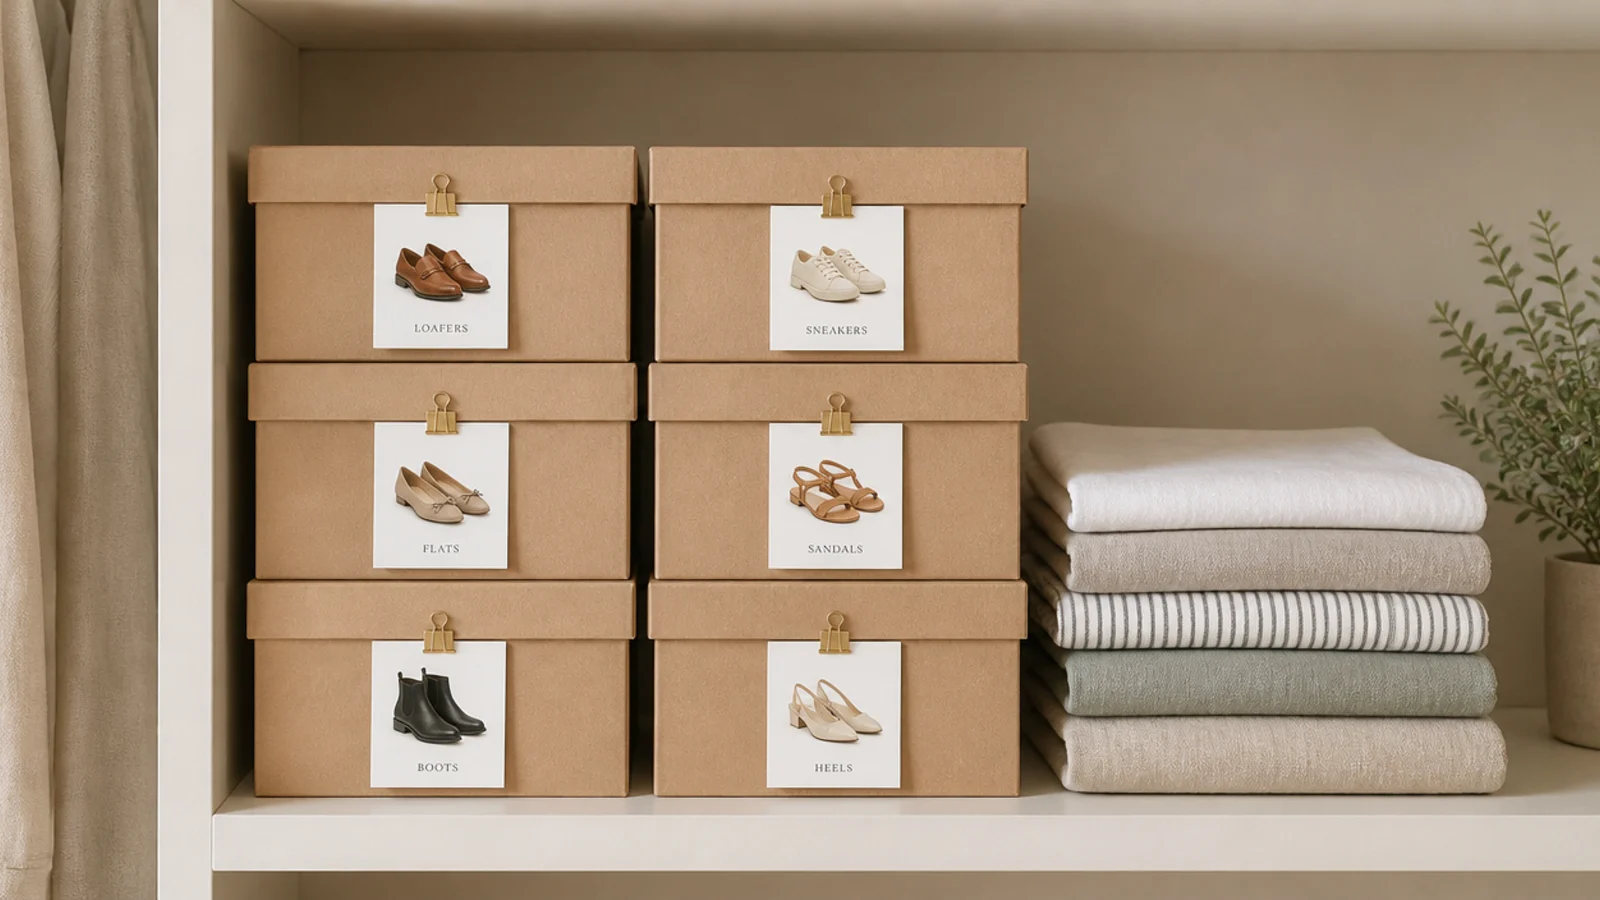
Makeover 12: The unlabelled box tower
Before: fourteen identical cardboard boxes on a closet shelf, where finding one pair meant opening five.
After: a small printed photo clipped to the front of every box.
Photo labels beat written ones because you read a picture from across a room. It cost an evening and some ink, and it turned an avoided stack into actual storage. Cost: printer ink.
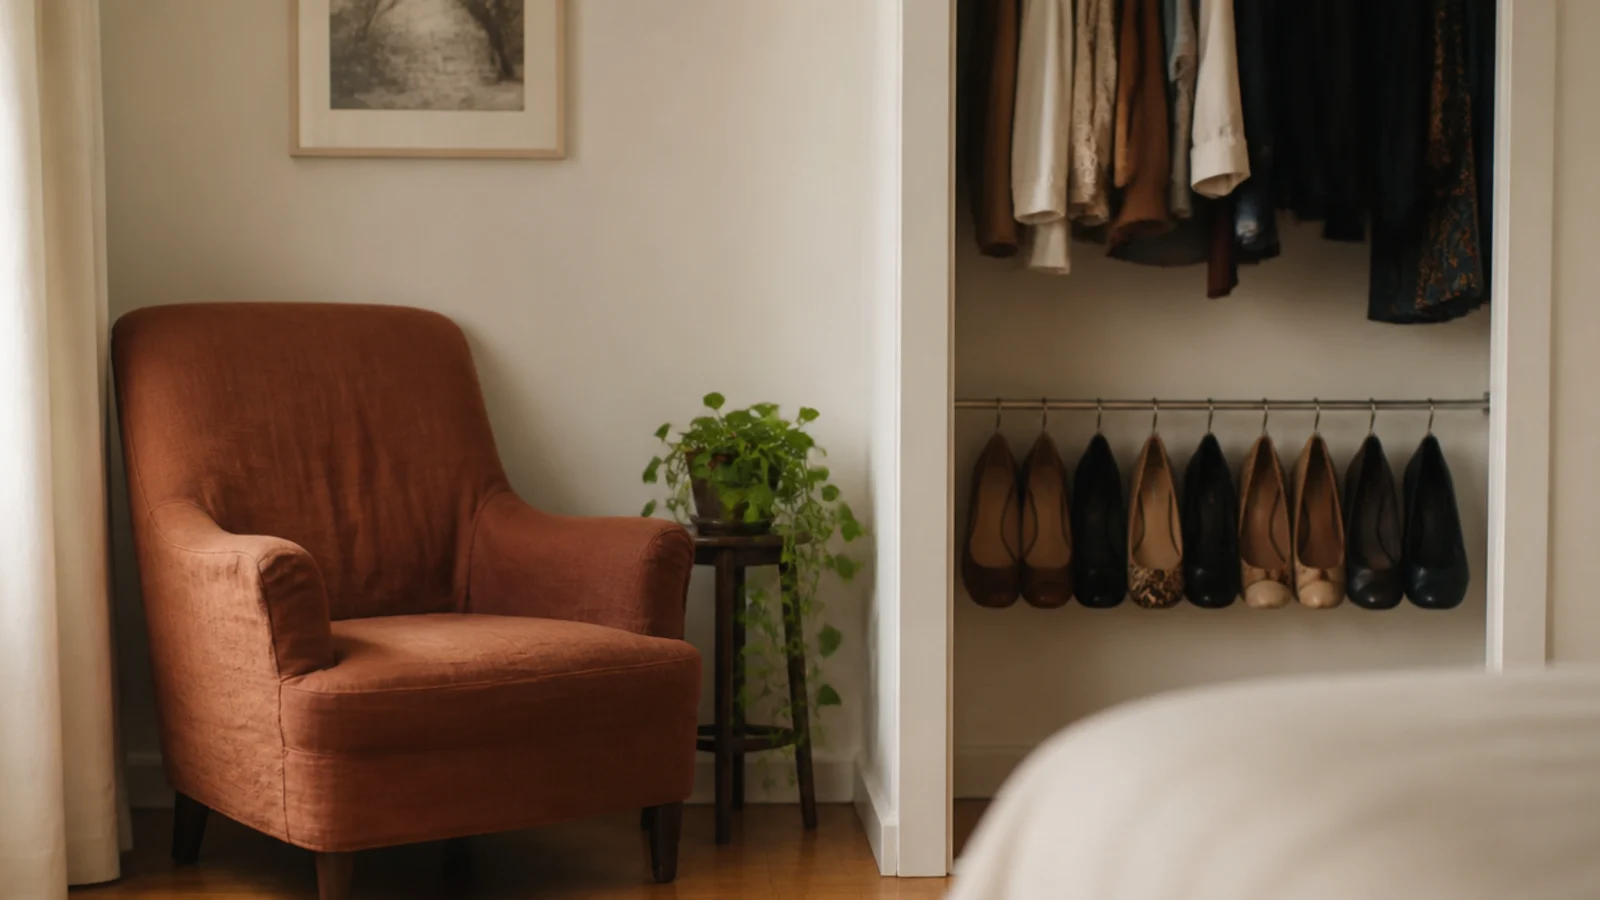
Makeover 13: The bedroom chair full of shoes
Before: an armchair permanently buried under shoes, which is a chair doing a rack's job badly.
After: a slim rail inside the closet holding flats by their heels, and the chair given back its job.
Rails use four inches of depth and no floor at all. Flats and sneakers only — boots pull them straight out of drywall. Cost $16.
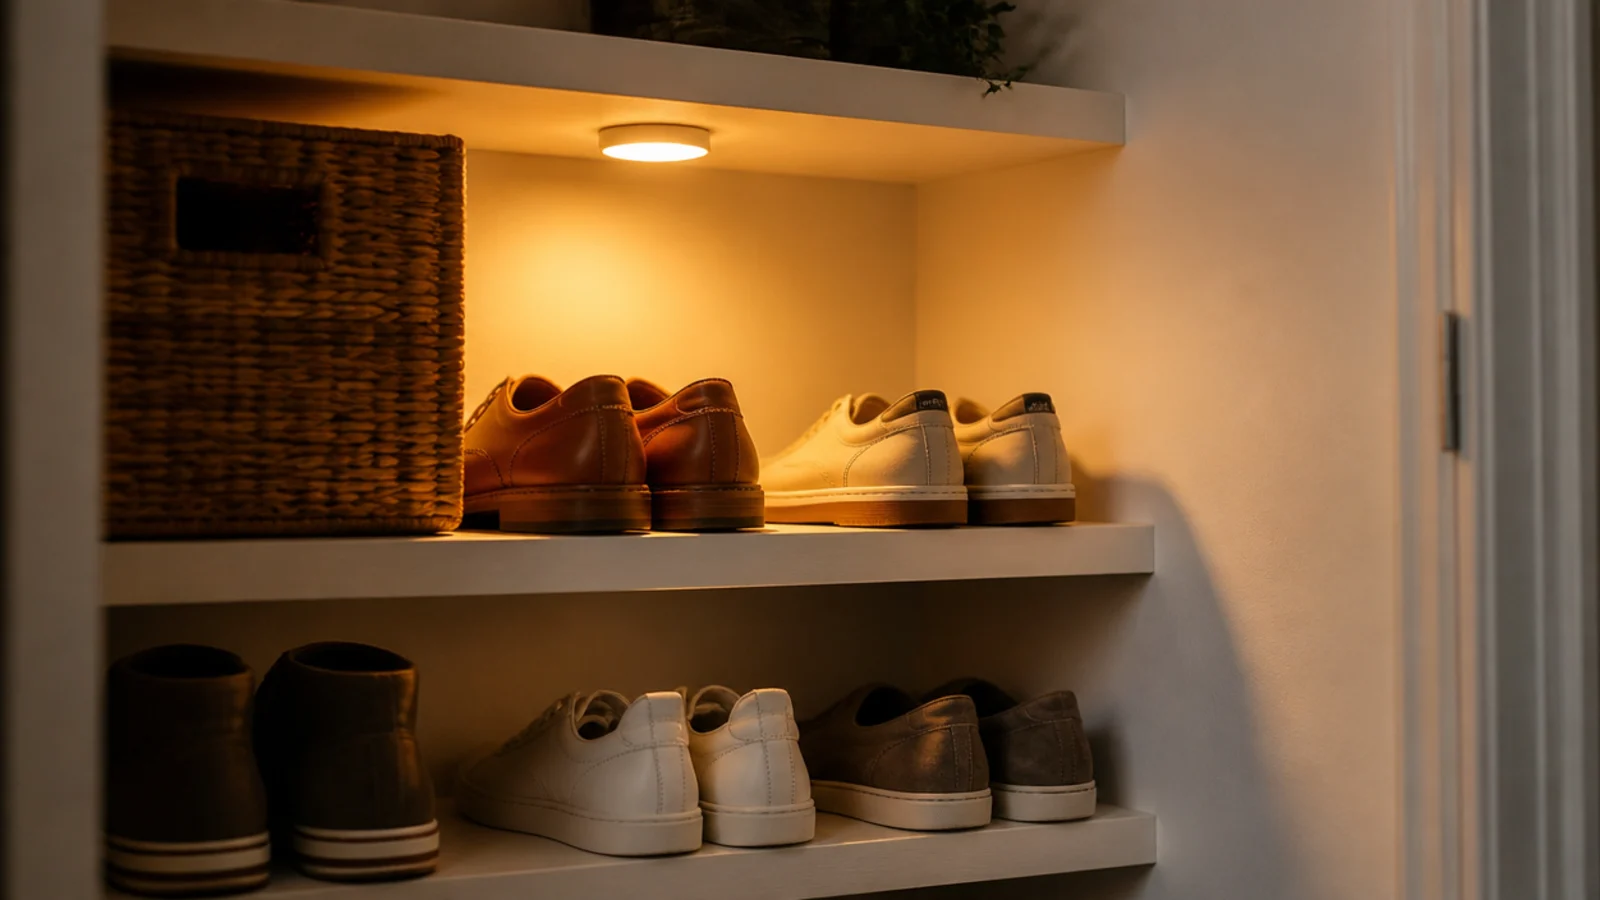
Makeover 14: The dark closet corner
Before: a north-facing closet corner where the shoes stored there were genuinely invisible after 4pm.
After: one stick-on rechargeable puck light at 2700K under the upper shelf.
Ten dollars, no wiring. It is the best value change in this entire article and I now check the light before I look at the shelving in any dark storage.
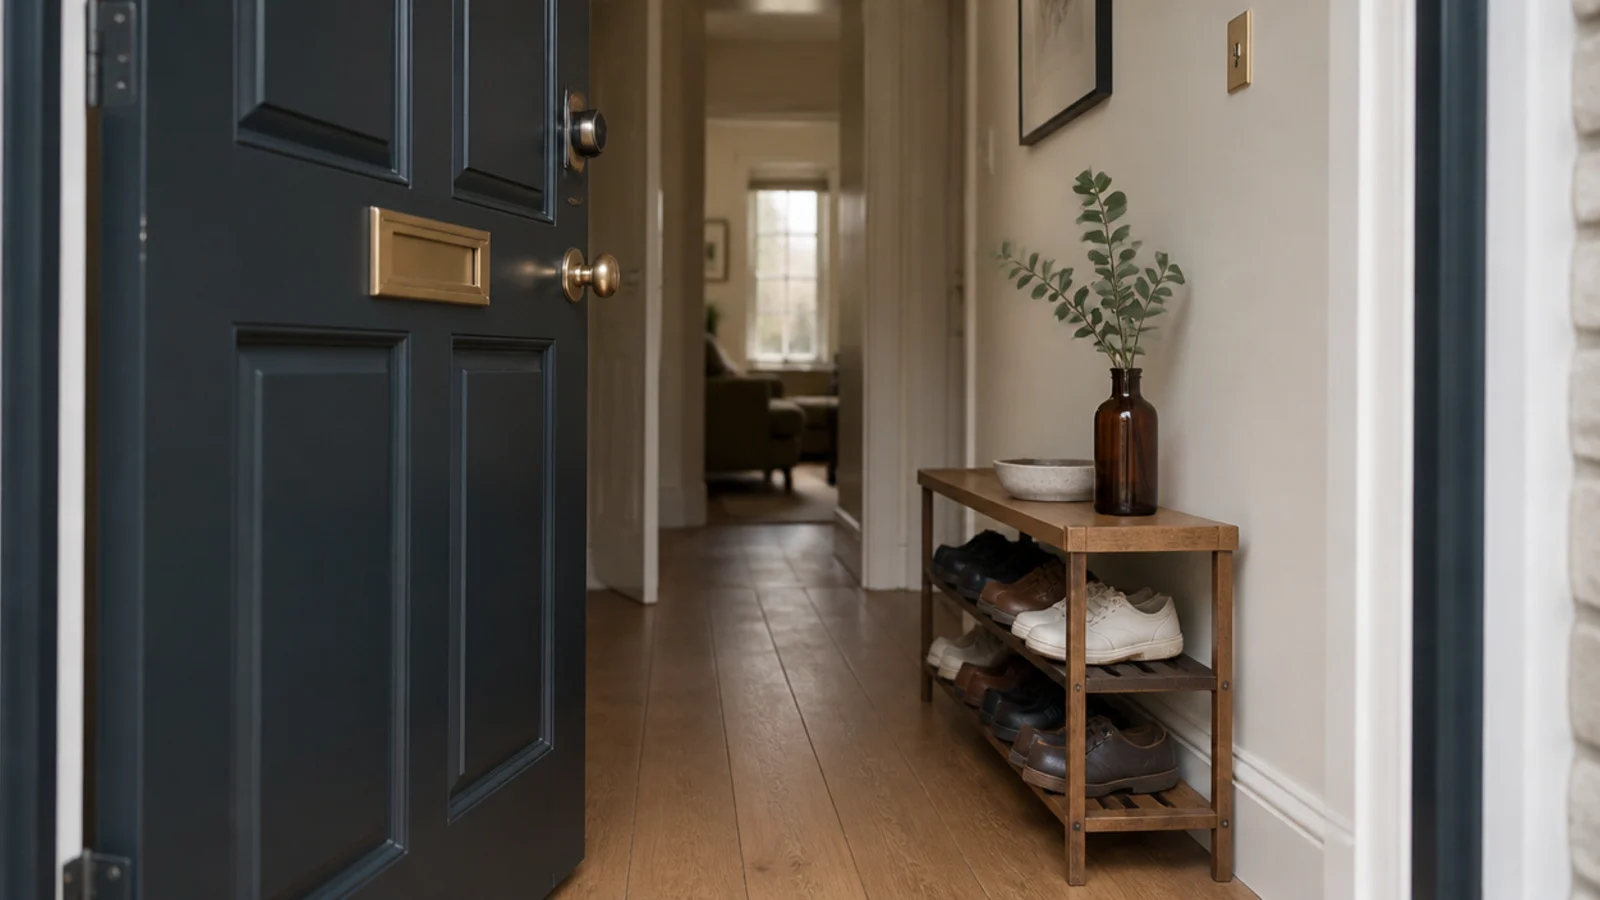
Makeover 15: The rack that scuffed the door
Before: a rack tucked behind the front door, with a scuff on its frame and a matching mark on the door itself.
After: the rack shifted 14 inches along the wall, clear of the swing.
Open the door fully, measure wall to door face, then subtract two inches — that is the maximum depth for that spot. Doors get pushed harder than anyone plans for. Cost: nothing.
Makeover 16: The rental with no drilling allowed
Before: a bare hallway floor with shoes lined along the skirting because the lease forbade any fixings.
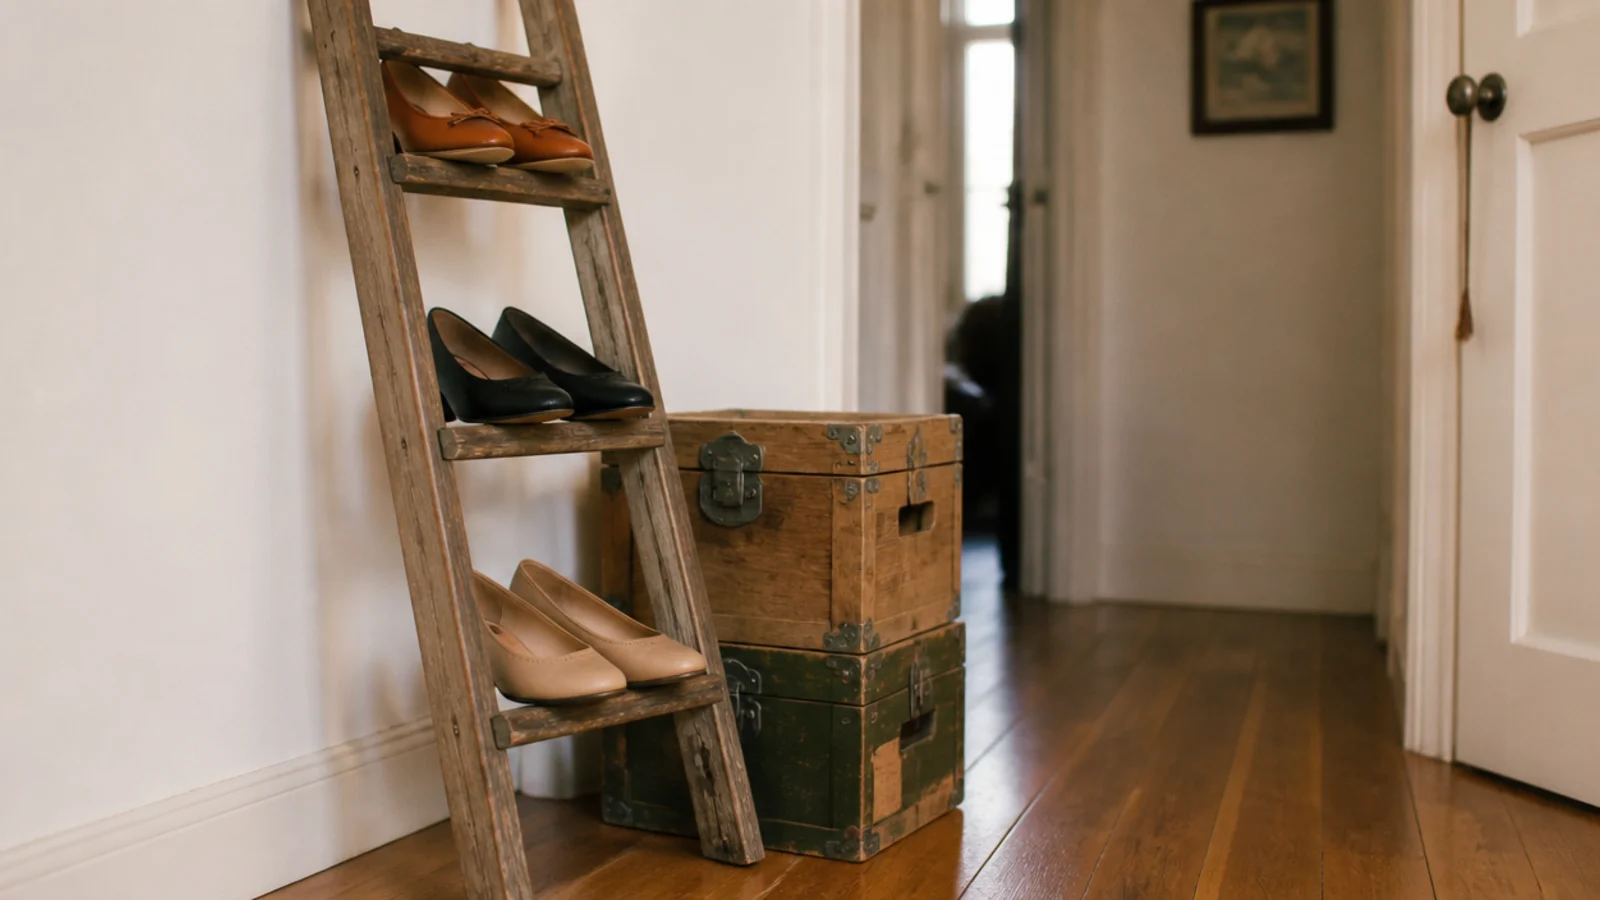
After: a thrifted ladder leaned at 15 degrees plus two sealed crates, holding twelve pairs between them.
Felt pads under the ladder feet stop it walking on wood floors, and heaviest shoes go on the lowest rung. Zero holes, zero landlord conversation. Cost $30.
Makeover 17: The mudroom with a wet floor
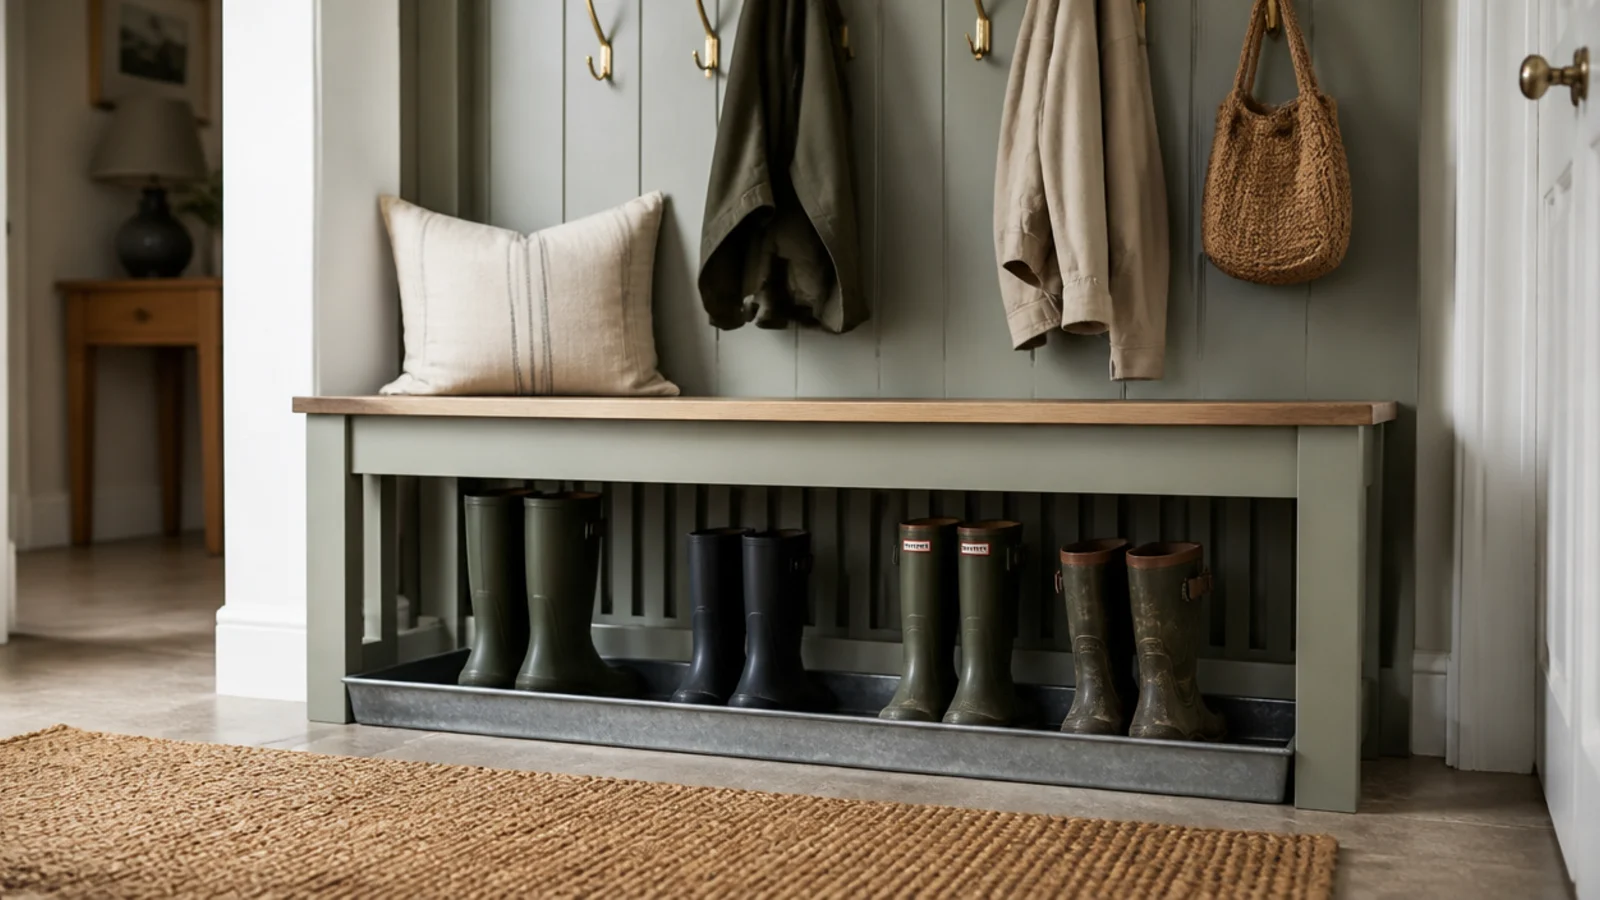
Before: a mudroom bench with a solid base, where wet boots underneath kept the floor permanently damp.
After: the base cut out and replaced with slats above a shallow galvanised drip tray.
Air underneath is what dries a boot. A solid base traps moisture against the sole and the floor both. This is the mudroom shoe storage detail people skip. Cost $34.
Makeover 18: The seasonal swap that never happened
Before: sandals, snow boots and everything in between competing for the same six feet of hallway all year.
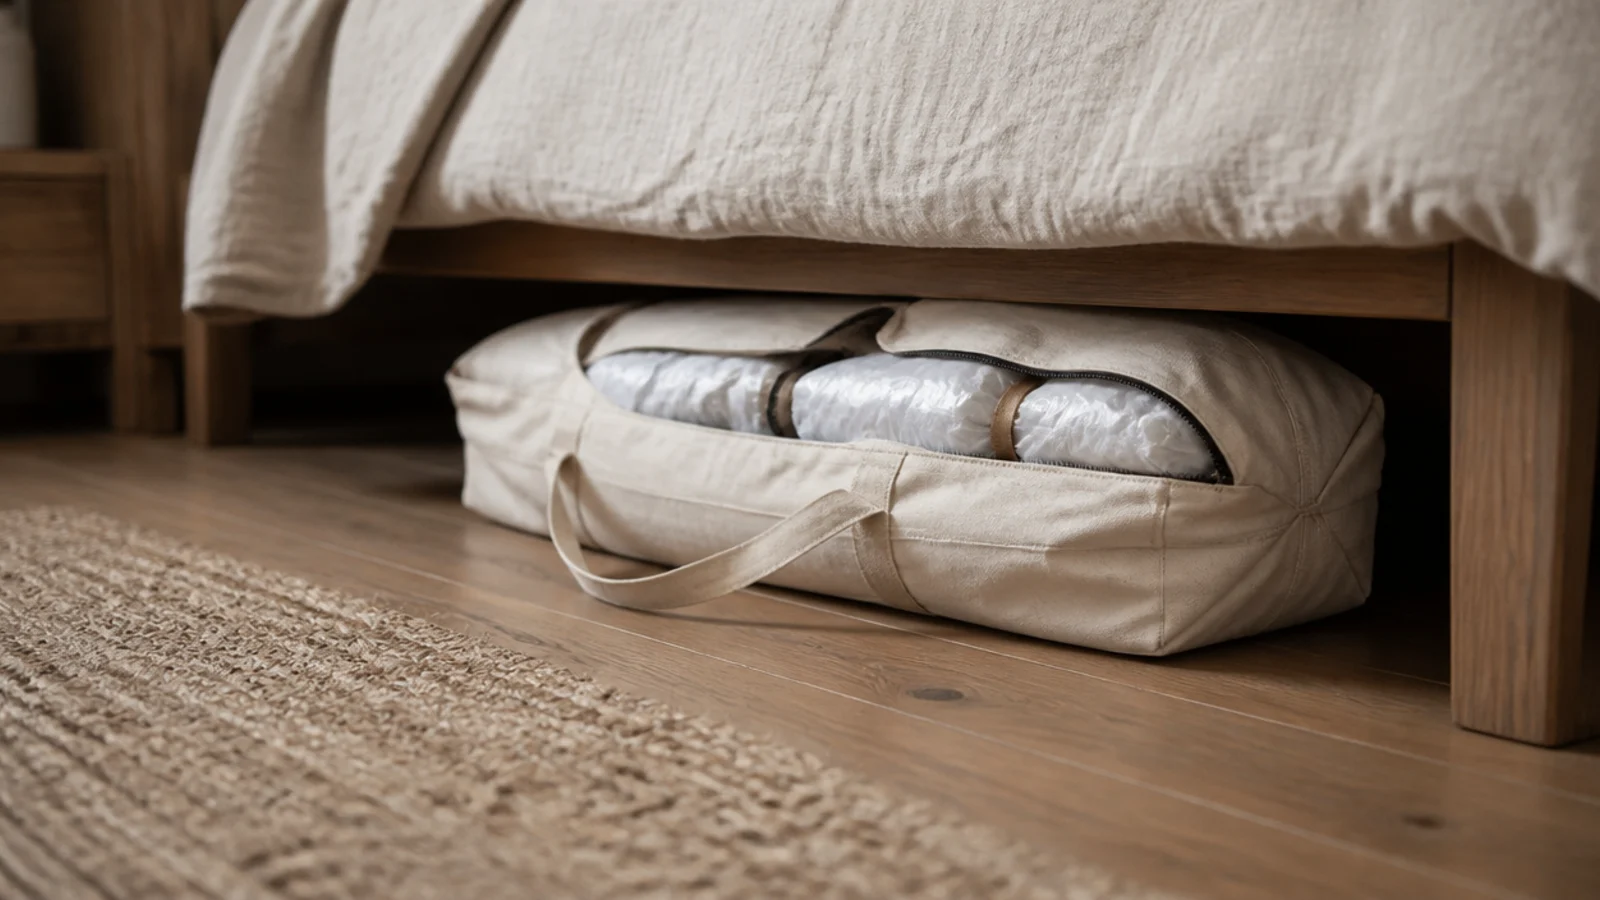
After: out-of-season pairs wrapped in old pillowcases inside a canvas duffel under the bed.
Half the shoes in most hallways are wrong for the current weather. This is free, takes twenty minutes, and it makes every other change on this list work better.
Makeover 19: The console with nothing underneath
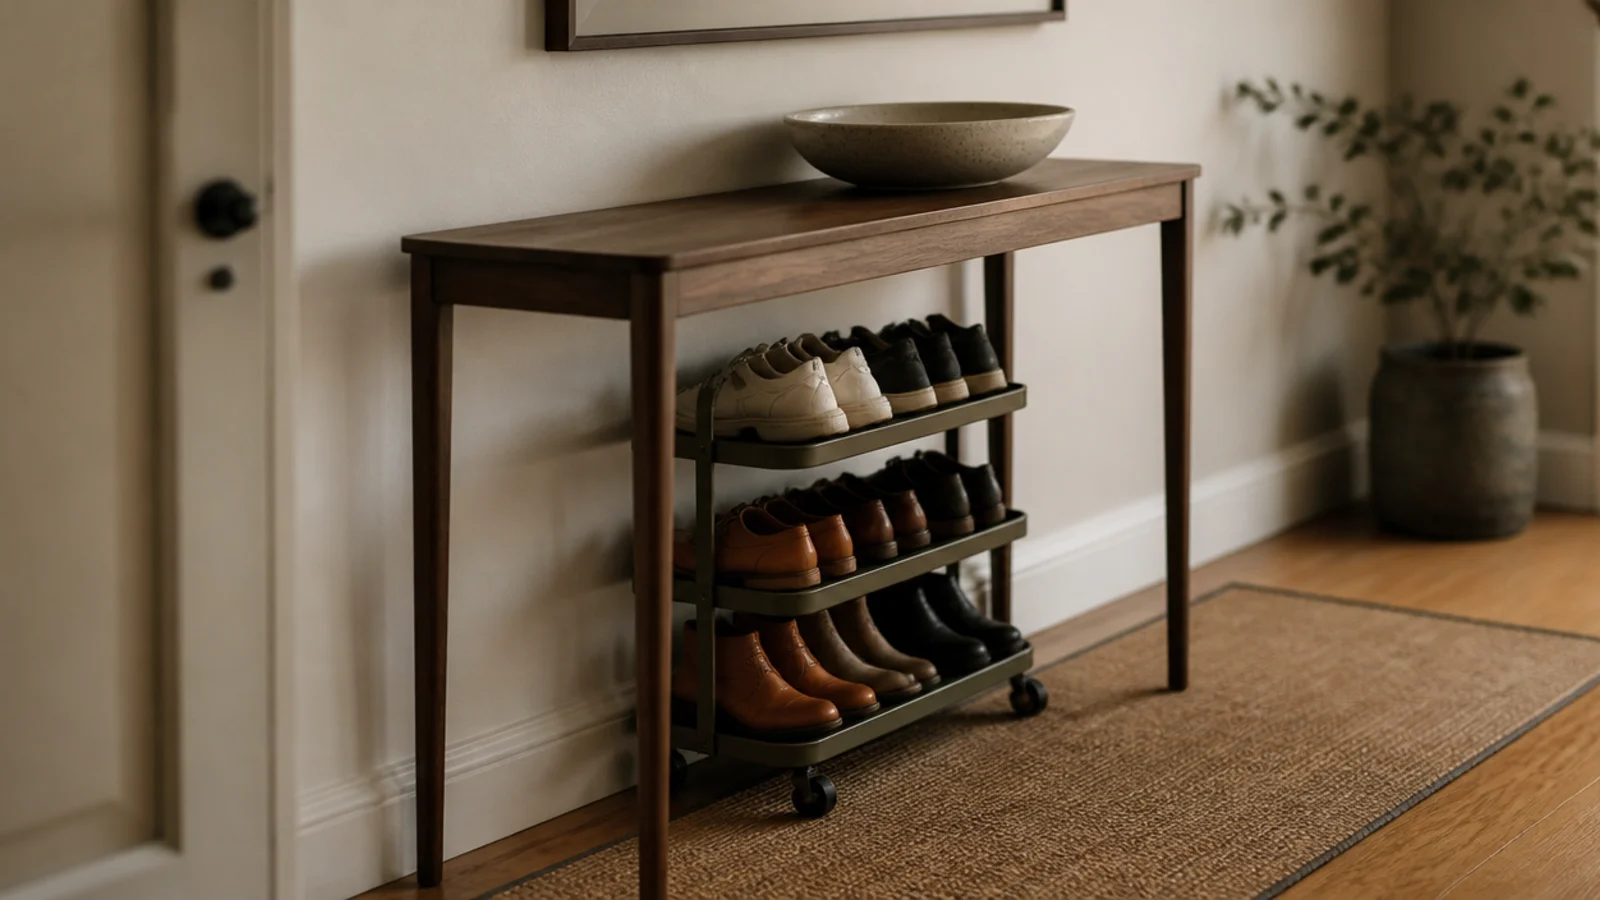
Before: a slim console table with a beautiful bowl on top and 22 inches of unused air beneath it.
After: a three-tier rolling cart holding twelve pairs, tucked under and rolled out for sweeping.
Measure the console clearance before buying — an inch matters. Powder-coated steel rather than chrome wire, which rusts where wet soles sit. Cost $40.
Makeover 20: The entry that looked grey
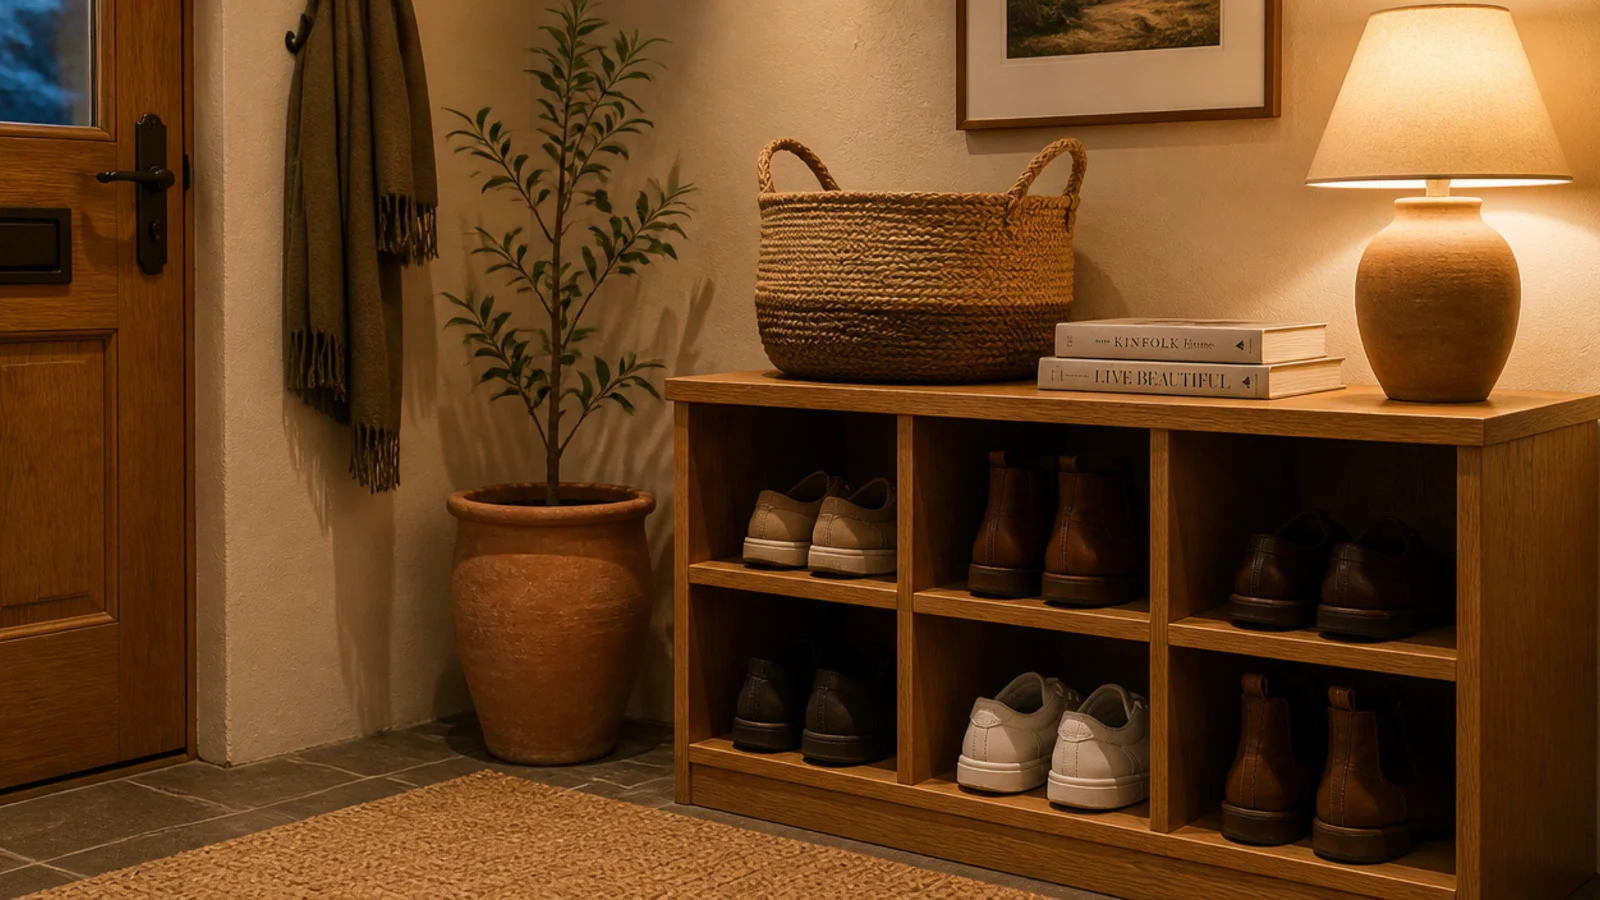
Before: oak cubbies, a jute basket and a terracotta pot, all reading flat and cold under a 4000K bulb.
After: one 2700K bulb in the same fitting.
The owner had been pricing new cabinets. The cabinets were fine; the light was wrong. Four dollars fixed something she was ready to spend several hundred on, which is a lesson I keep relearning.
Shoe Storage Before and After: What I'd Do Differently Now
Twenty makeovers in a row make the pattern uncomfortable to look at: most of what worked was subtraction.
Seven of these cost nothing. The ones that cost real money were physical faults — tier height, depth, ventilation, a void that needed pull-outs — where sorting could never have helped. Everything else was removing pairs, moving something two inches, or changing a bulb.
I would also change the order I work in. For years I bought storage first and counted shoes afterwards, which meant buying twice. Now I count the pairs that genuinely live at the door, measure the longest shoe and the tallest boot, then choose. That order takes ten minutes and it has saved me more money than any single purchase.
The last thing I would tell myself is to leave one basket permanently empty. Every system I built to exactly the right size restarted the pile within a fortnight, because there was nowhere for a guest, a delivery, or a bad Tuesday to go.
Frequently asked questions
What is the cheapest shoe storage makeover that actually works?
Halving what lives at the door. Pack the out-of-season pairs into a duffel under a bed and cap the landing zone at two pairs per person. It costs nothing, takes twenty minutes, and it appears in more of these twenty makeovers than any purchase does. After that, a photo label on every stacked box.
How long does a shoe storage makeover take?
A sort-and-restyle takes 30 to 45 minutes including the step where you take everything out and start from empty. Swapping in a tray, tagging baskets or drilling vent holes is an afternoon. Building a bench or fitting an understairs run is one evening of cutting and one morning of fixing.
Should I replace my shoe rack or reorganise it?
Reorganise first. Roughly half the entries I have fixed needed nothing bought at all. Replace only when the physical numbers are wrong — tiers under 14 inches with boots to store, depth under nine inches, or a closed cabinet with no ventilation. Those three are faults that no amount of sorting will solve.
What is the most common thing wrong with shoe storage?
Too many pairs at the door, and no tall bay for boots. That pairing shows up in almost every hallway I am asked to look at. The third most common is a closed cabinet with no airflow, which is a slow problem people notice by smell weeks after they notice anything else.
Do I have to take everything out to redo shoe storage?
Yes, and it is the step everybody wants to skip. Rearranging what is already there relocates the problem instead of solving it. Twenty minutes rebuilding from an empty rack beats an hour of shuffling, because you stop defending decisions you already made and start counting what is actually there.
Try the free version first on whichever entry bothers you most: take everything out, pack the out-of-season pairs away, and put back two pairs per person. If it still fails after that, the fault is physical and worth spending on. For the setups to spend it on see shoe storage ideas for the entryway, for tight hallways see shoe storage for small spaces, and entryway before and after covers the rest of the room. Save the pin before you buy any more storage.
Want more like this? Browse all 15 shoe storage ideas guides — they all use the same measurements and budget tiers.

Pin it for later
Save this to your Shoe Storage Ideas board
Pin it now so it is waiting for you when the tape measure comes out — and so the next person hunting for this idea can find it too.
Save this pinKeep going
More ideas worth saving while you have the tape measure out.