TV Wall Decor · Listicle
25 Beautiful Wall Molding Design Ideas To Steal

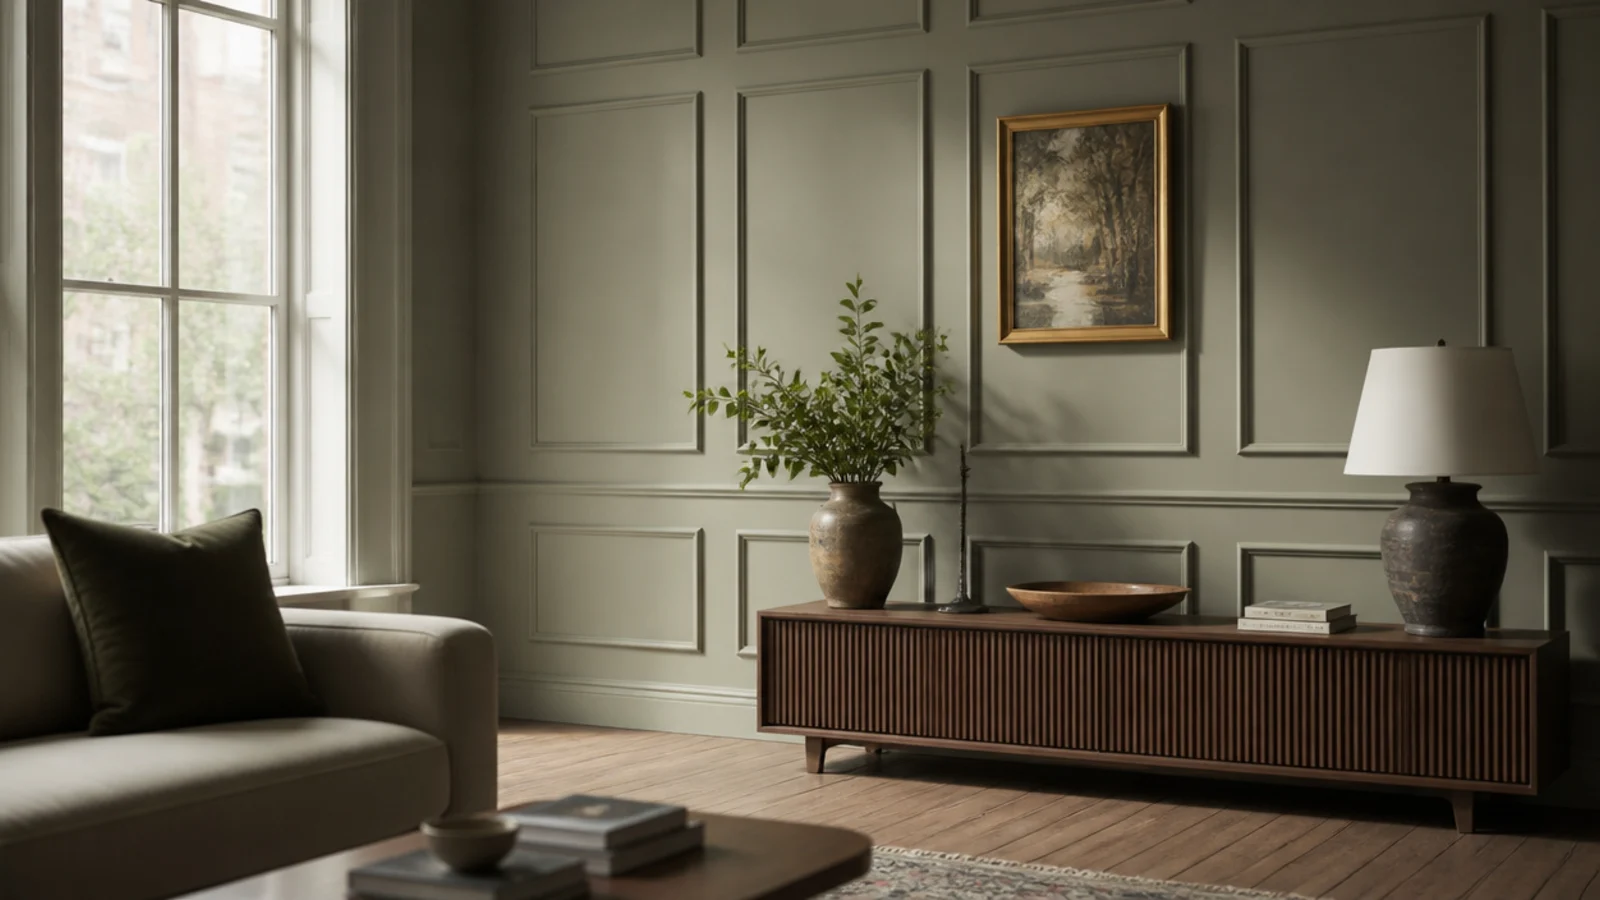
Molding is cheap, and the thing it costs instead is arithmetic. Every wall molding design that looks fitted was set out on paper first, and every one that looks stuck on was set out with a tape measure and optimism. The material is 2 to 4 dollars a metre. The difference between the two outcomes is a handful of margins, a rail height and one bead of caulk. Here are twenty-five layouts with the numbers that make each one sit properly on a real wall.
In this guide27 sections — tap to openHide
- 1.What wall molding design gets wrong on proportion
- 2.Classic boxes below a chair rail at thirty-two inches
- 3.Full-height boxes from skirting to cornice
- 4.Split the wall two-thirds to one-third
- 5.Keep every box the same height, vary the width
- 6.Raise the rail to forty-four inches for a modern room
- 7.Frame the doorway with applied molding
- 8.Add a cornice where the builder left none
- 9.Box the ceiling for a shallow tray effect
- 10.Build a raised-panel wainscot look
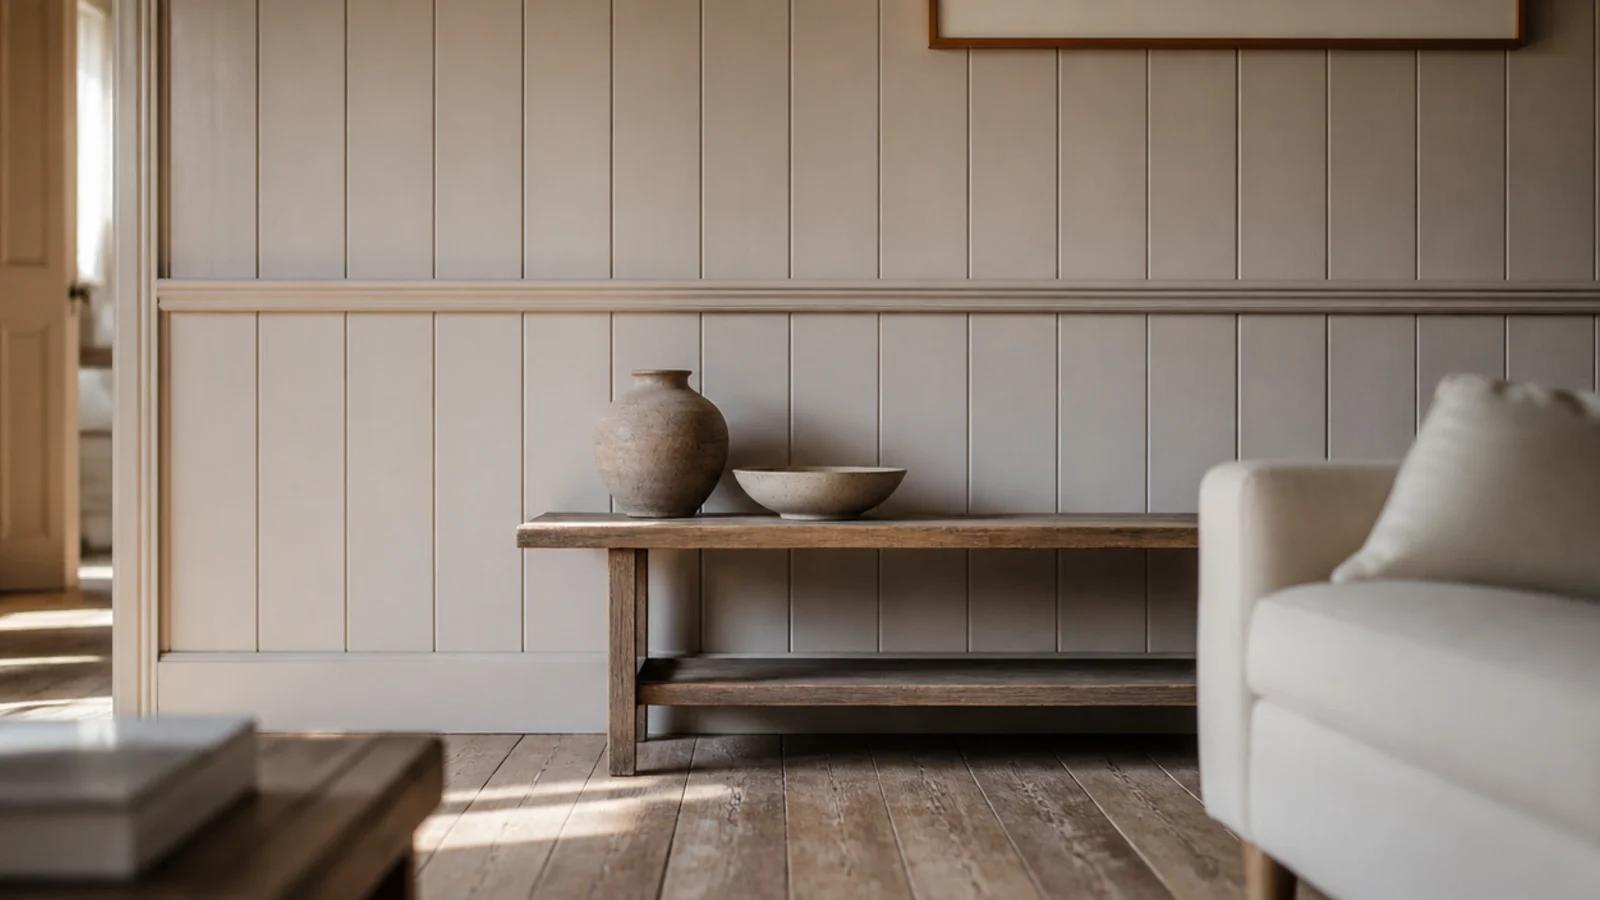
- 11.Use board and batten as the molding
- 12.Match the profile depth to the ceiling height
- 13.Choose square profiles for a quieter wall
- 14.Carry molding into the window reveal
- 15.Let half boxes land at the wall ends
- 16.Frame the television inside a molding bay
- 17.Wrap a bed in a single wide box
- 18.Paint inside the boxes two shades darker
- 19.Widen the cap rail into a picture ledge
- 20.Follow the stair rake with parallel molding
- 21.Upgrade the architrave before the wall
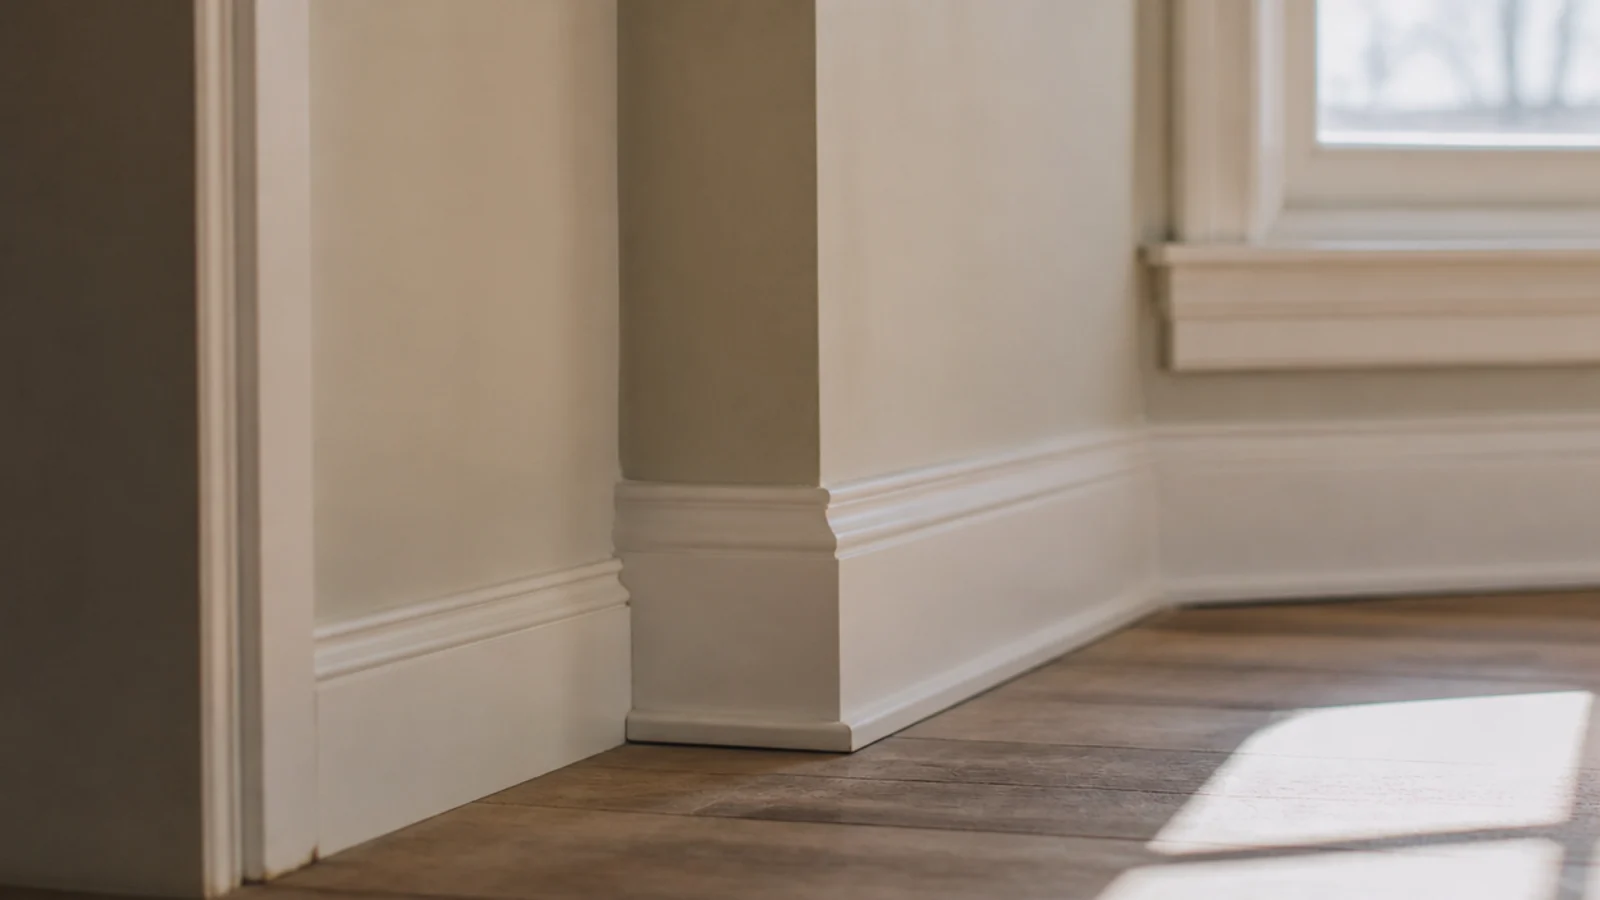
- 22.Match the skirting height to the molding weight
- 23.Add corner rosettes to skip the mitres
- 24.Cut the mitres slightly long and shave back
- 25.Fill the pin holes before you prime
- 26.Caulk every internal joint, then paint
- 27.Mistakes to Skip
What wall molding design gets wrong on proportion
The margins. Three to five inches between boxes, 4 to 6 inches above the skirting, and 3 to 5 inches below a rail or cornice. The end margins matter most: they must be identical at both ends of the wall. Unequal end margins are the single detail that makes a molding wall read as improvised, and no amount of paint hides it.
The rail height. Thirty-two inches from the finished floor for a classic dado, 40 to 44 for the taller modern proportion that suits a media or bed wall. Roughly one third of the wall height is the reliable rule, so an 8 foot ceiling gives 32 inches and a 9 foot ceiling gives 36.
The profile. Slim 9 to 12 millimetre ogee or square stock suits a normal ceiling. Eighteen millimetre suits a room over 2.7 metres tall. Deep ornate profiles in a low room make the ceiling feel closer rather than grander, which is the opposite of the intention.
The consistency. Keep every box the same height and vary the widths, or keep the widths equal and let the end bays run narrow. Boxes that differ in both dimensions at once read as accidental.
The costs. A full grid on a 3 by 2.5 metre wall lands near 90 dollars in molding, adhesive, pins, filler and caulk, plus paint. That is the cheapest genuine architecture available to a room. The renter panelling guide covers the adhesive-only fixing method in detail.
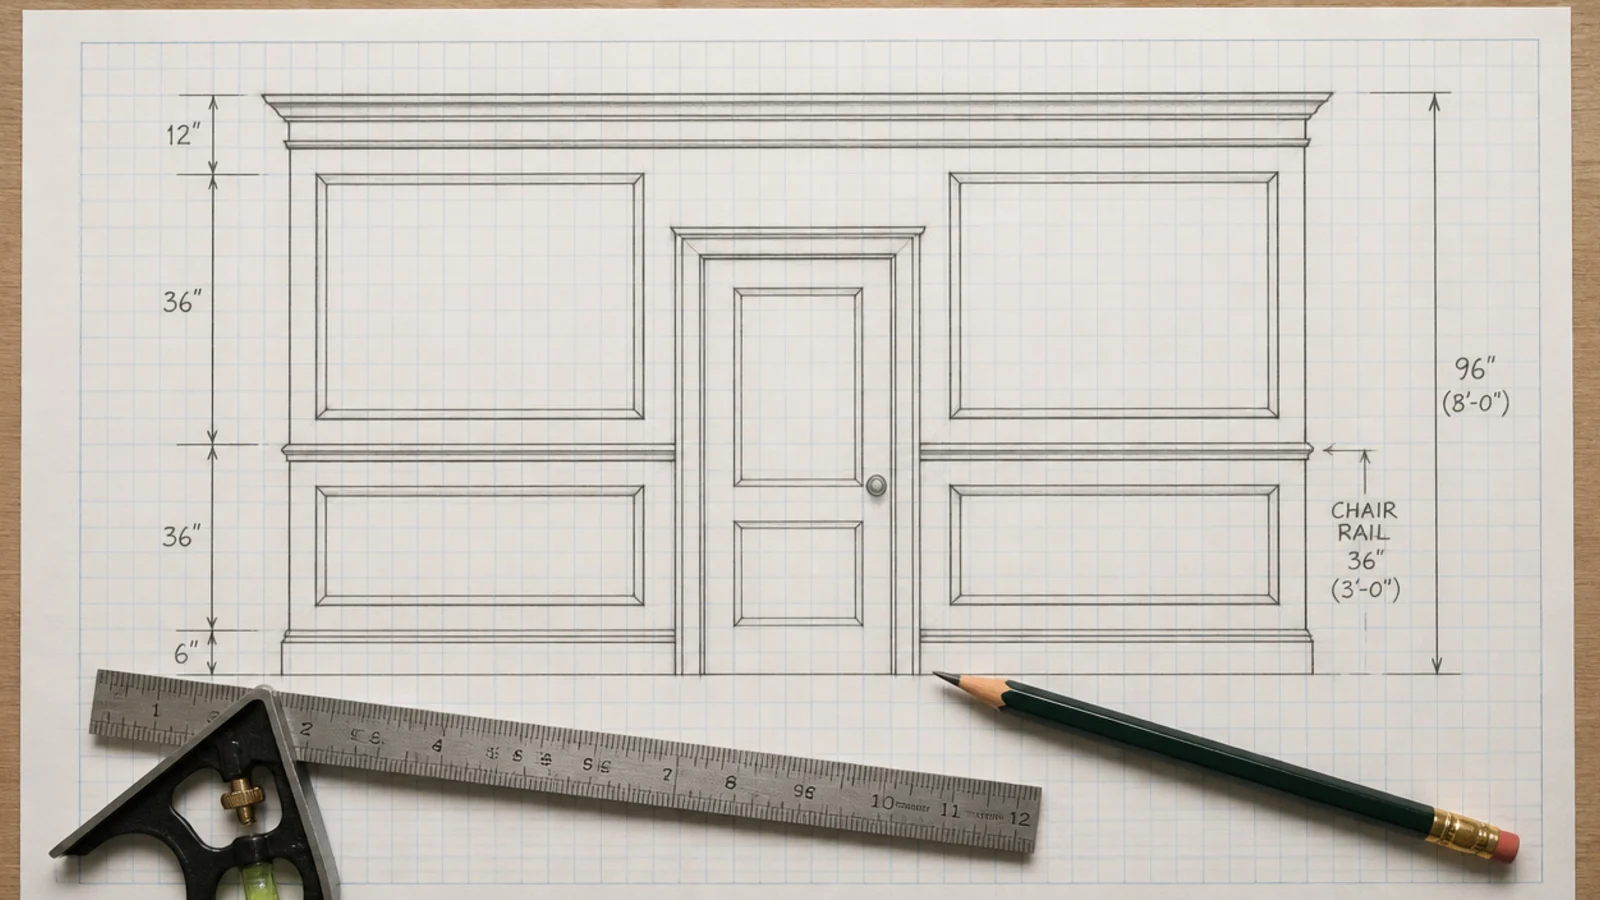
1. Classic boxes below a chair rail at thirty-two inches
The traditional dining room arrangement, and it works because the proportion is settled. Boxes below the rail, plain wall above, skirting and rail in the same colour. Keep the box height at roughly 20 to 22 inches so the margins above and below stay in the 3 to 6 inch band.
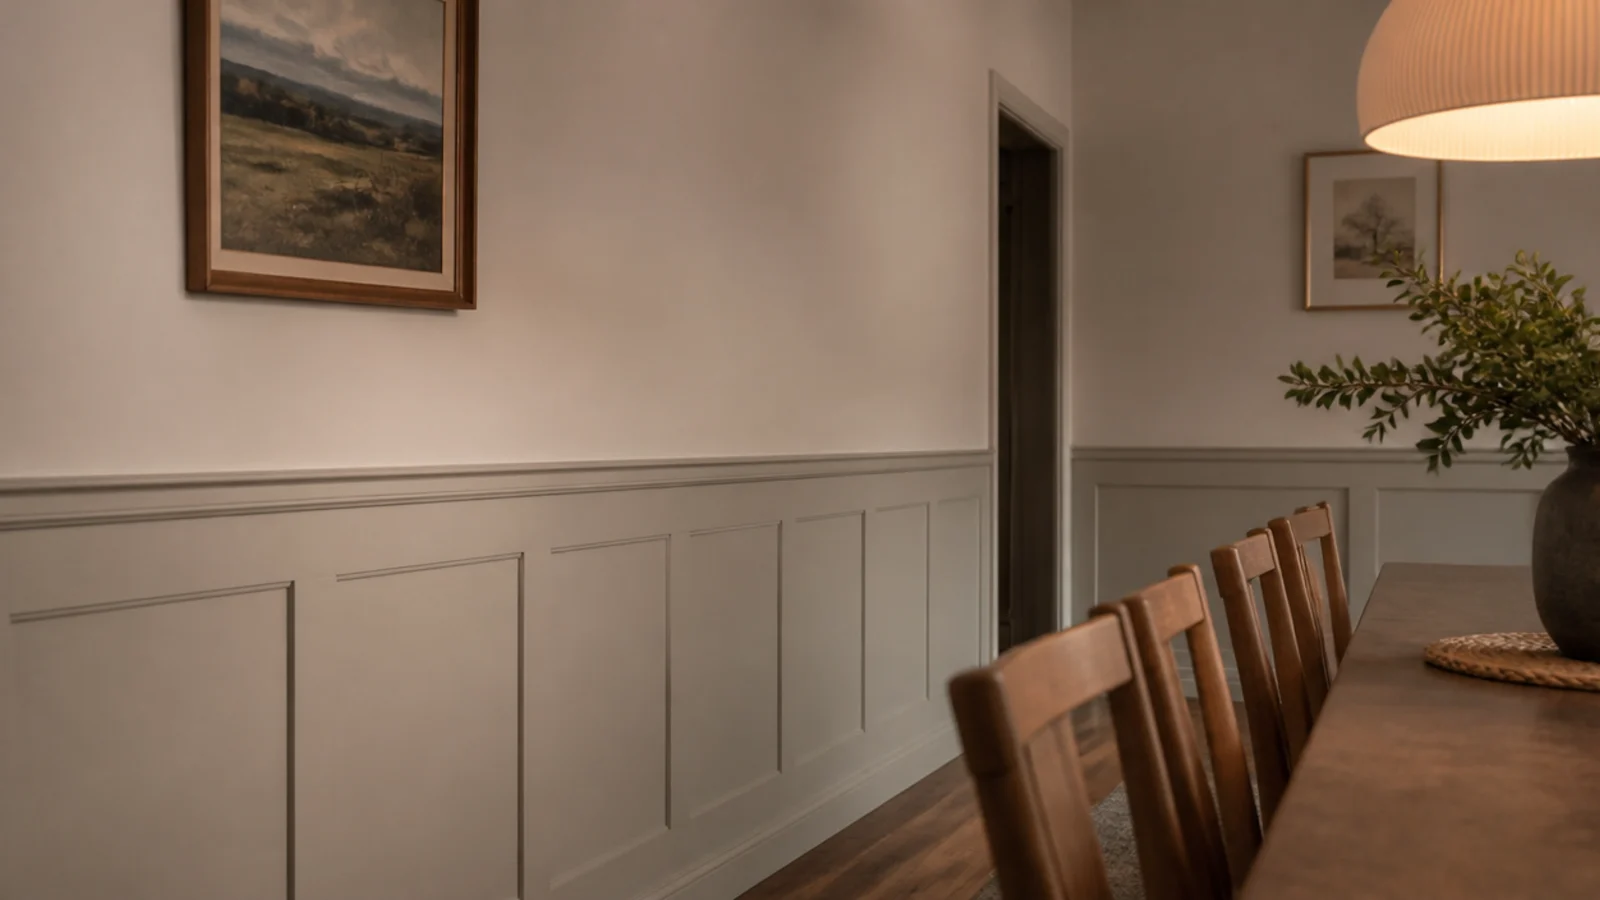
2. Full-height boxes from skirting to cornice
In a room with a 2.7 metre ceiling or higher, running boxes the full height reads as period joinery rather than applied trim. Below about 2.4 metres it starts to feel crowded, and a half-height arrangement will serve the room better.
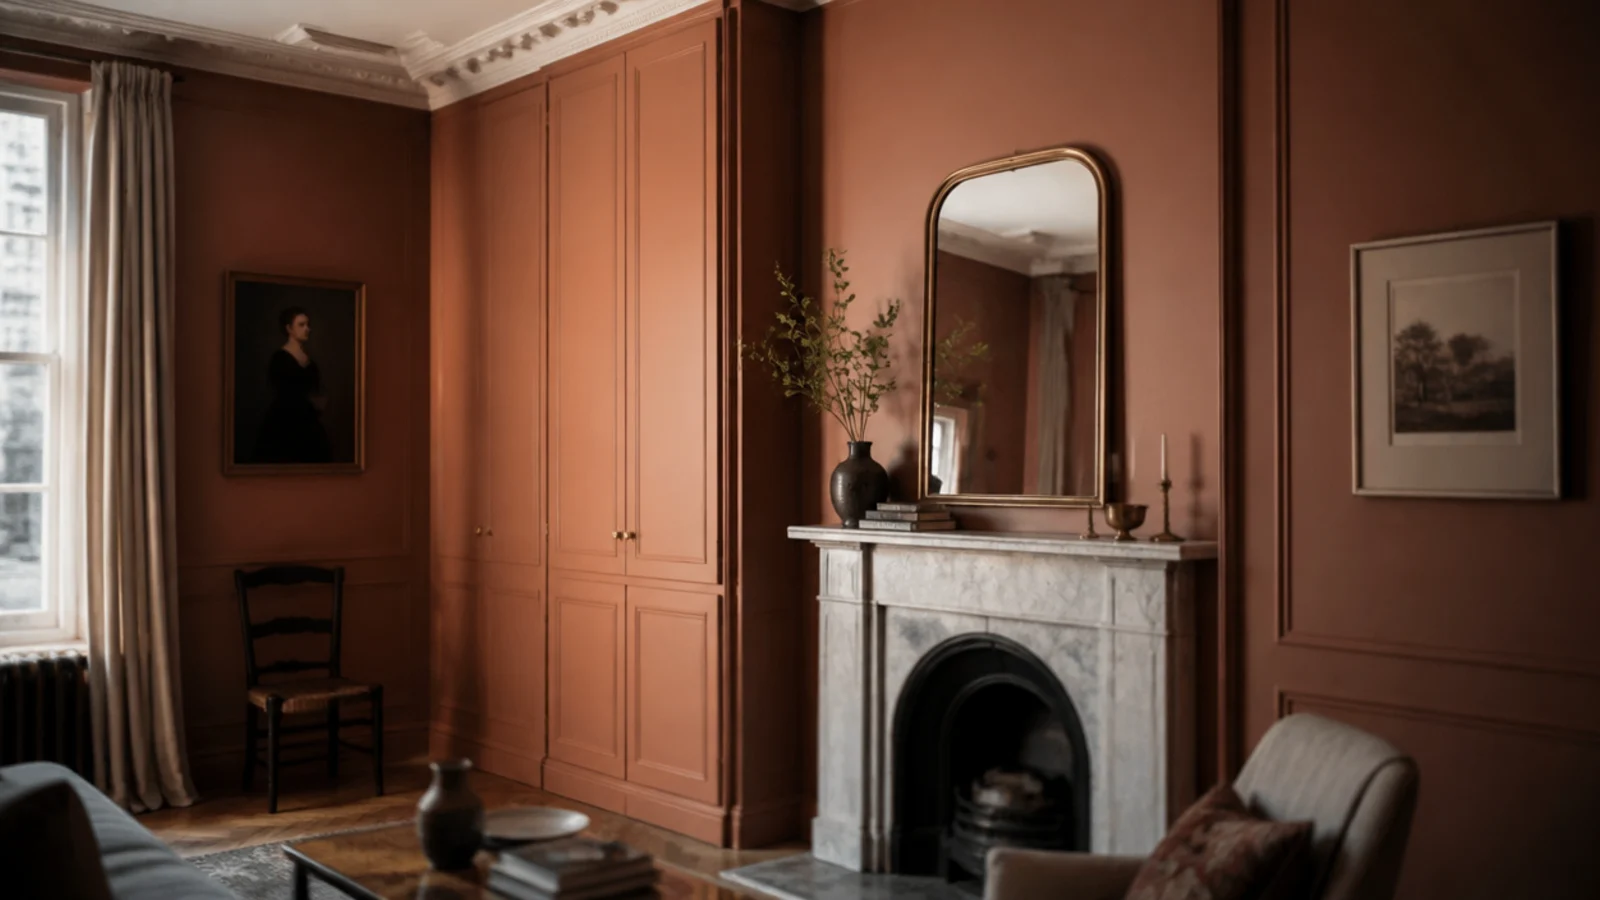
3. Split the wall two-thirds to one-third
A rail placed at a third of the wall height with the taller plain section above makes a room read taller than an even split does. Half and half is the one proportion to avoid — the eye reads it as indecision rather than a choice.
4. Keep every box the same height, vary the width
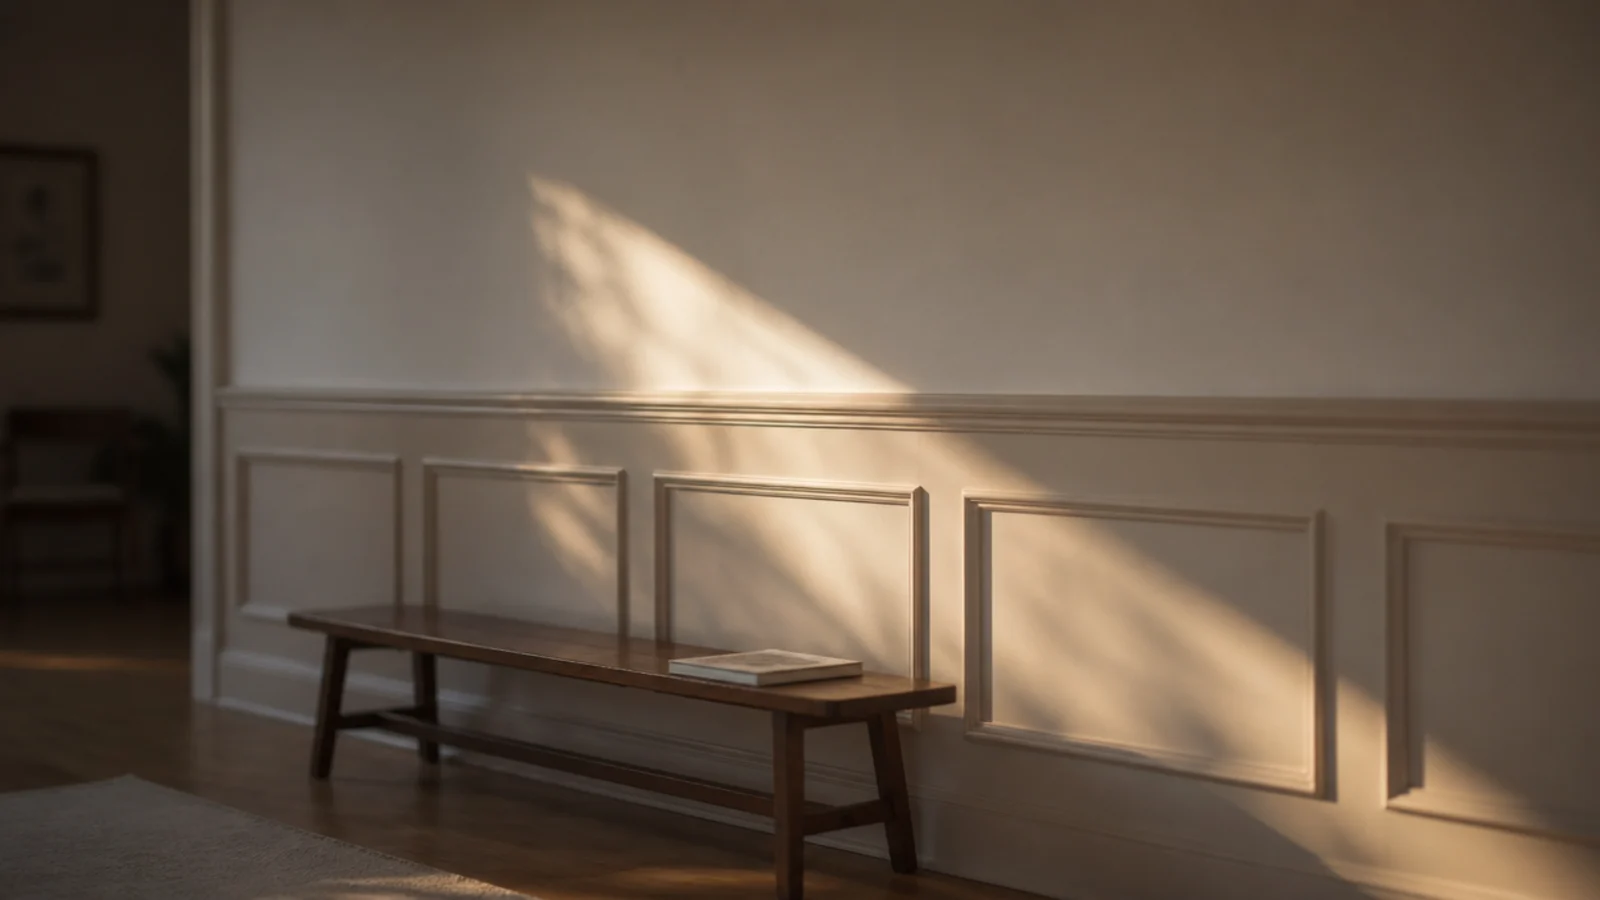
On an awkward wall with a doorway or a chimney breast, fixed height and variable width is what keeps the arrangement calm. The shared top and bottom lines carry the composition, and the differing widths stop reading as errors.
5. Raise the rail to forty-four inches for a modern room
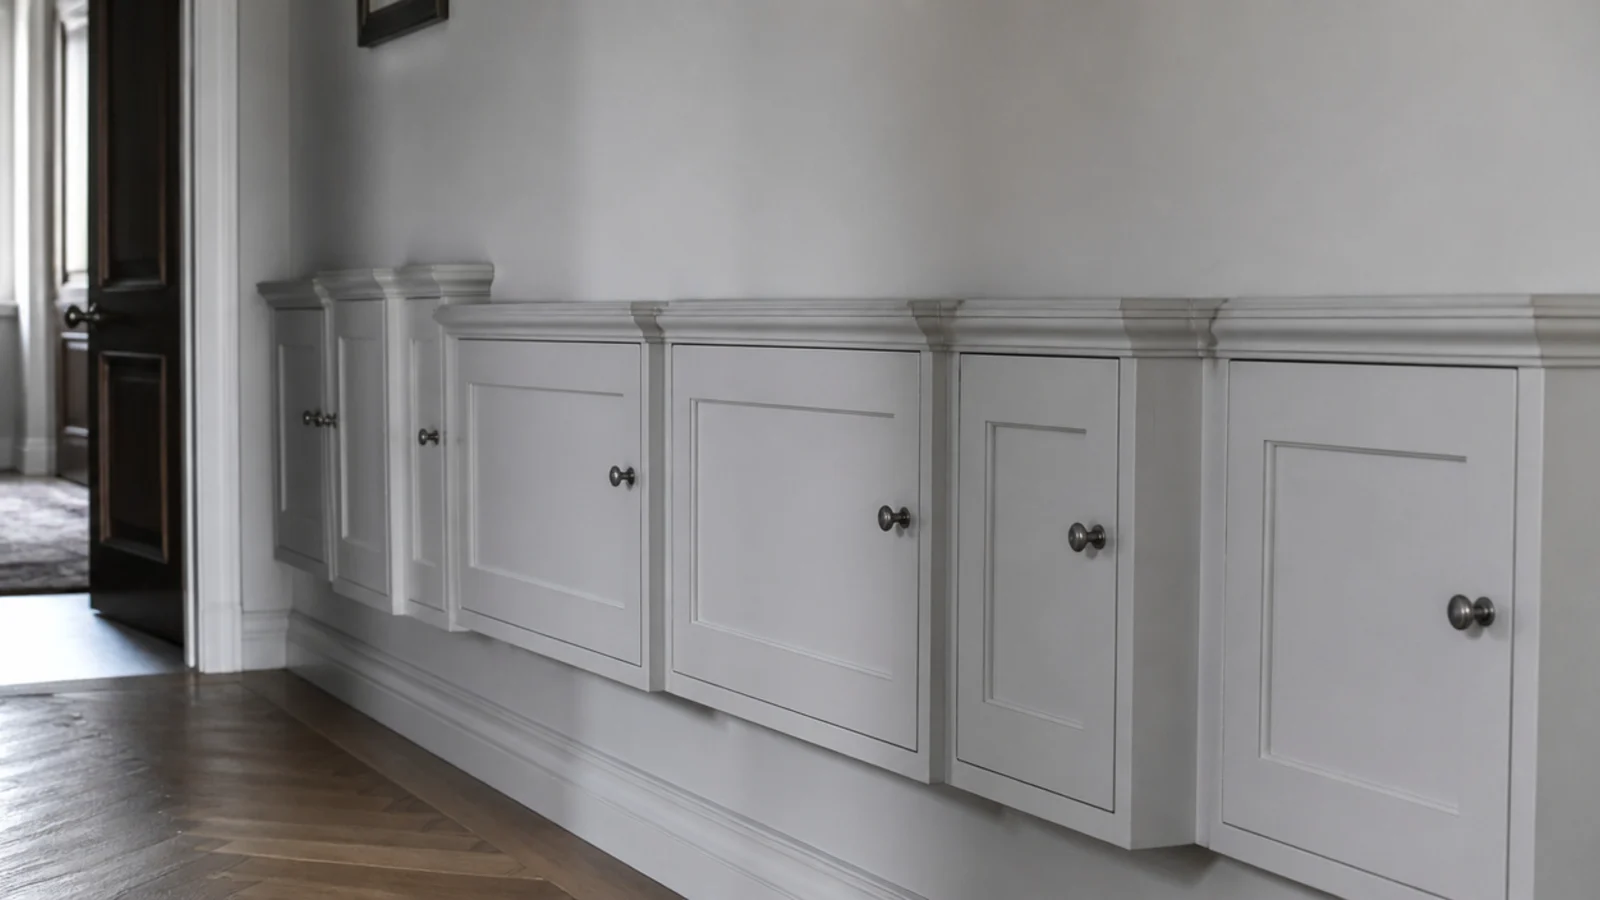
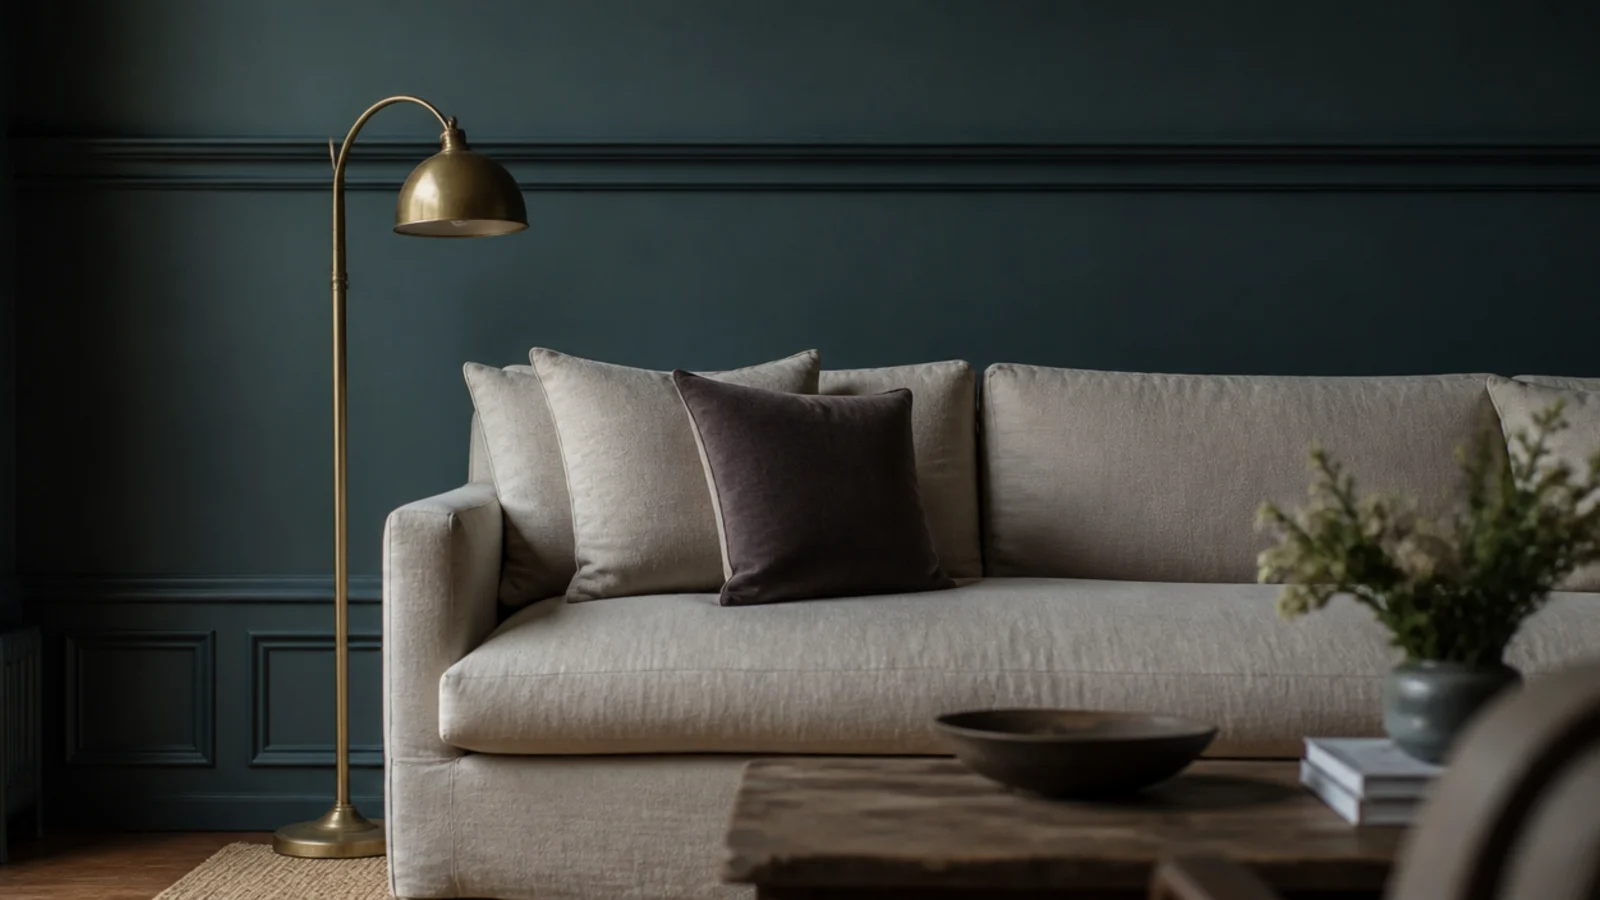
A taller rail at 40 to 44 inches suits a living room where the wall sits behind a low sofa or a media unit. It puts the horizontal above the furniture rather than behind it, which is why classic 32 inch dado often looks wrong in a modern sitting room.
6. Frame the doorway with applied molding
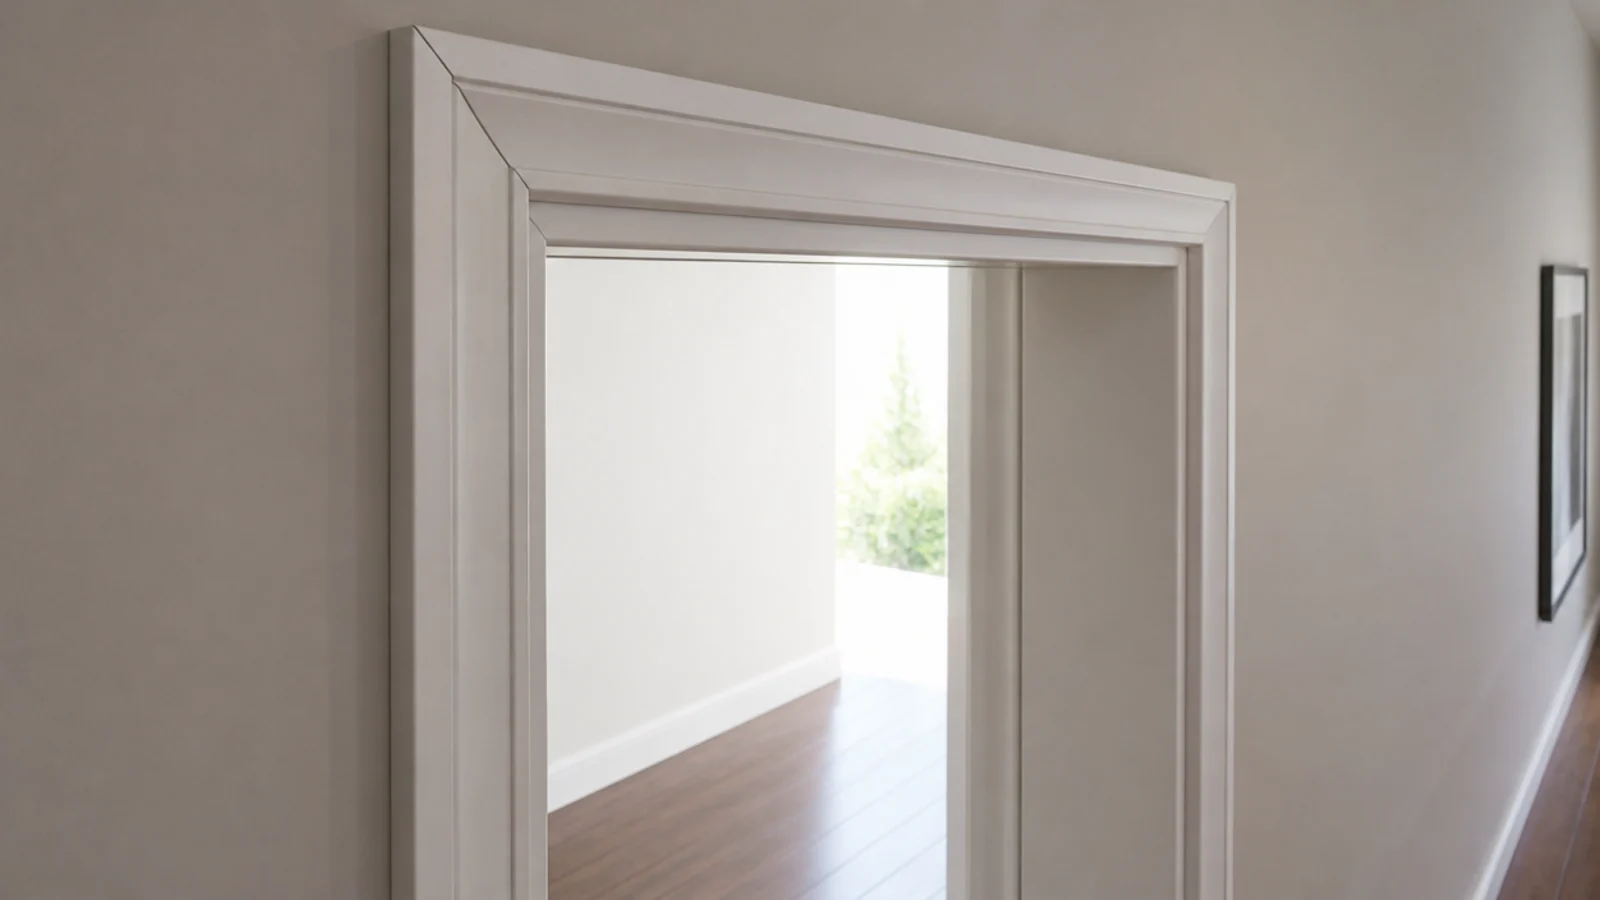
Builder-grade architrave is usually 55 to 70 millimetres wide and looks thin next to any wall treatment. Adding a slim molding around the outside builds up the apparent depth for about 12 dollars a door and immediately makes the trim look original to the house.
7. Add a cornice where the builder left none
A plain 75 to 100 millimetre cornice covers the crack that always opens at a wall-to-ceiling joint and gives molding on the wall something to relate to. Lightweight polyurethane runs 6 to 12 dollars a metre and fixes with adhesive alone.
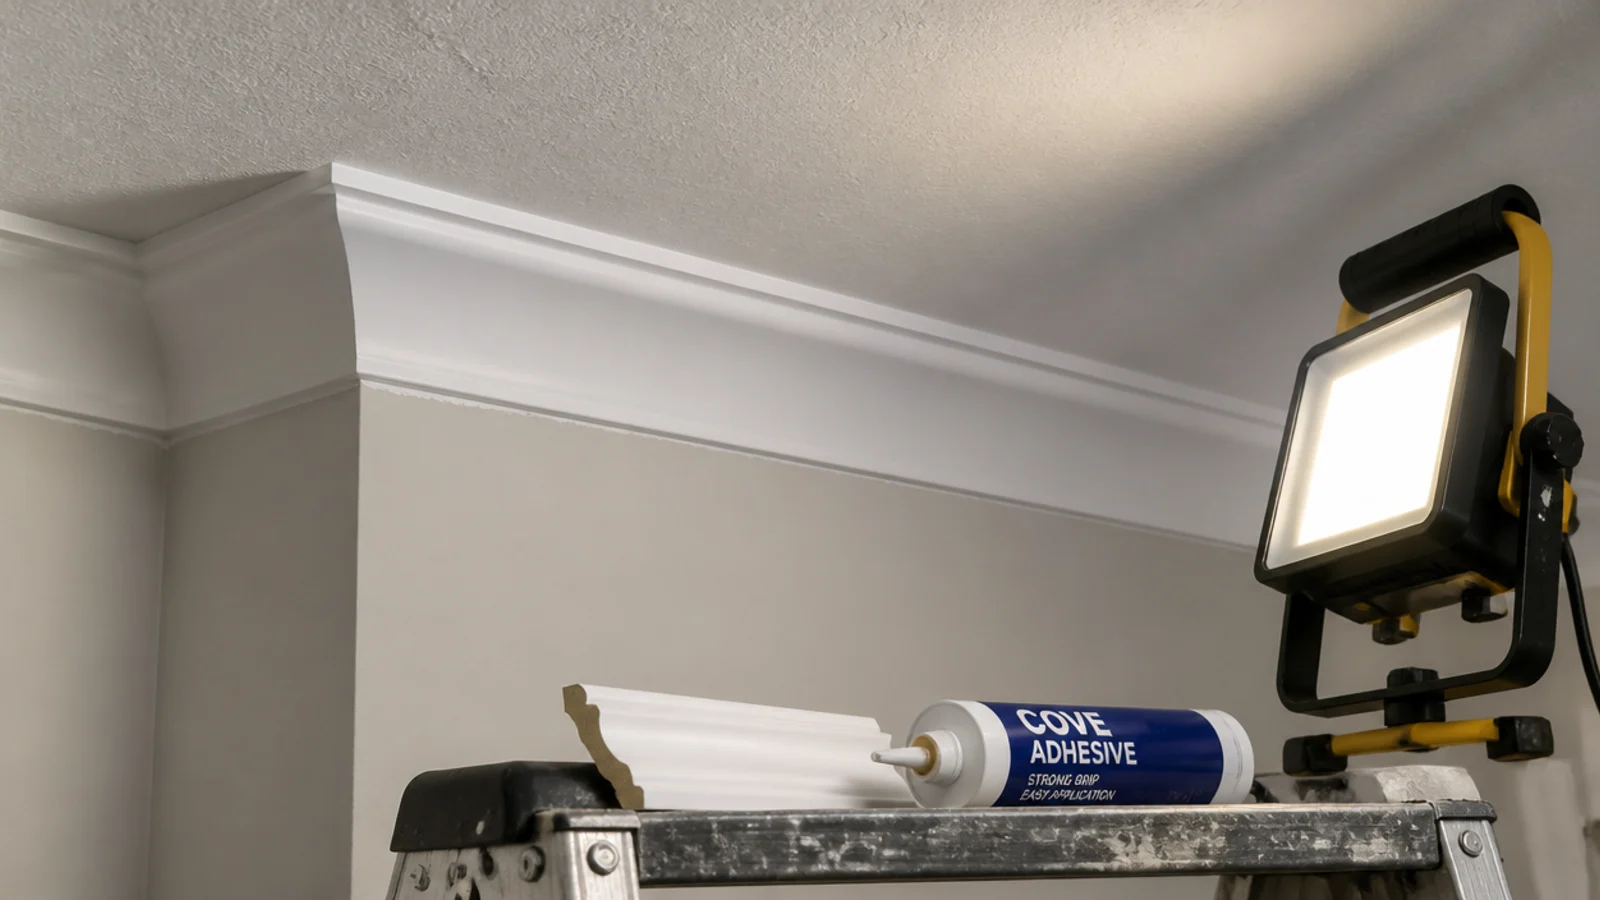
8. Box the ceiling for a shallow tray effect
Molding applied directly to a flat ceiling gives the impression of a tray without losing a millimetre of height. Set the boxes out from the centre of the room rather than a wall, and keep 8 to 12 inches of margin all round so it does not crowd the cornice.
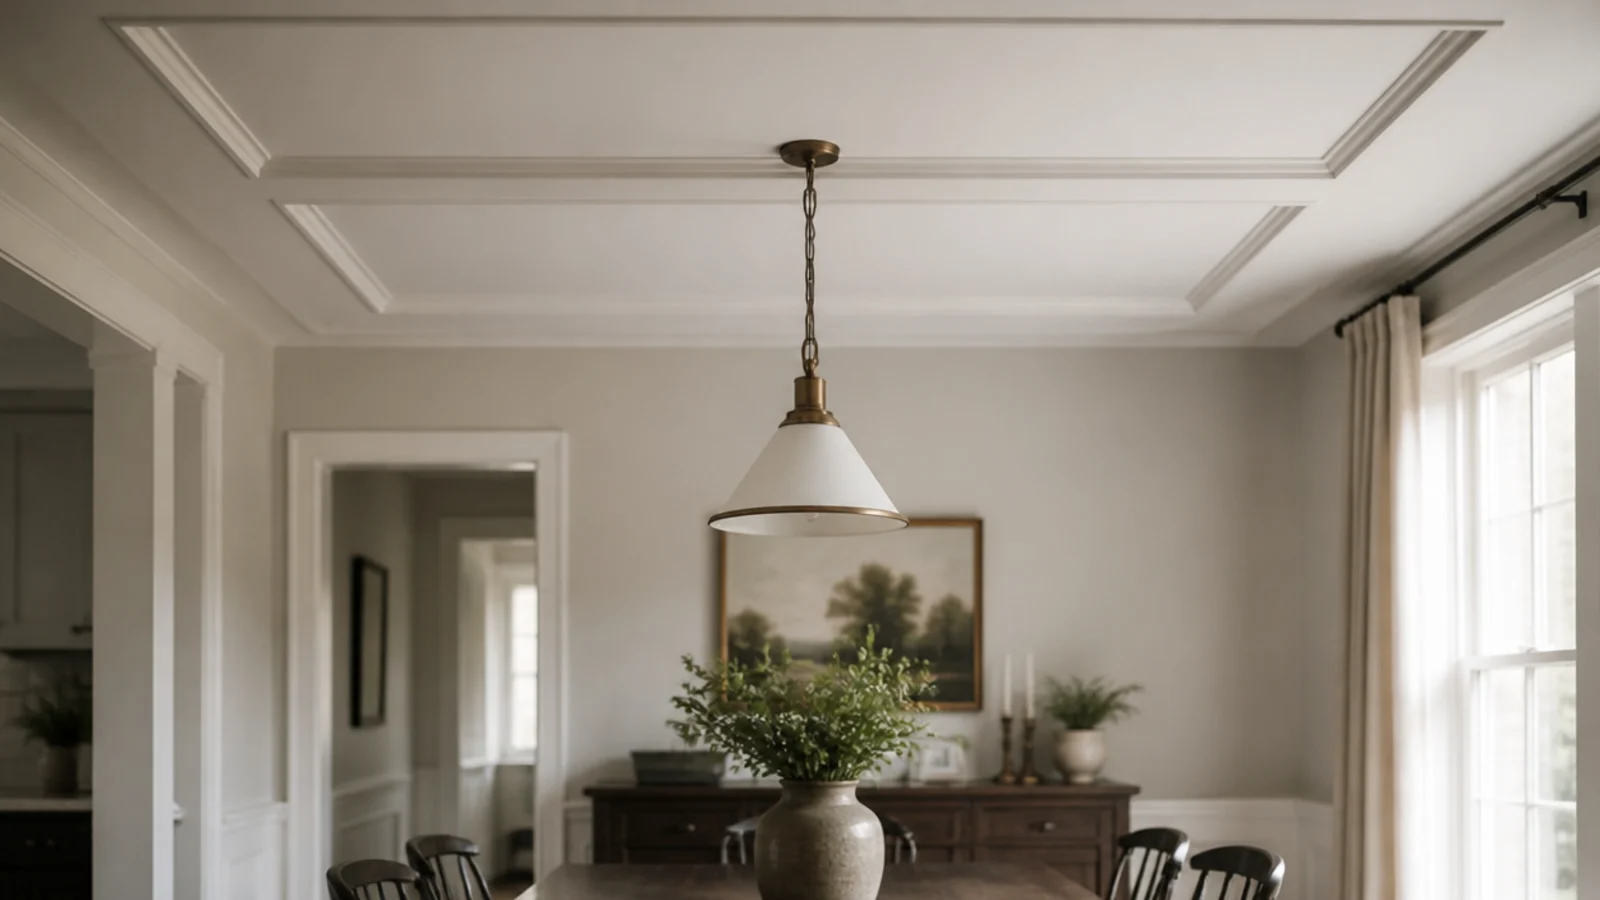
9. Build a raised-panel wainscot look
A centre field cut from 6 millimetre board with a bevelled edge, set inside the molding frame, reads as solid joinery rather than applied trim. It costs about 30 percent more than plain boxes and is the version that convinces up close.
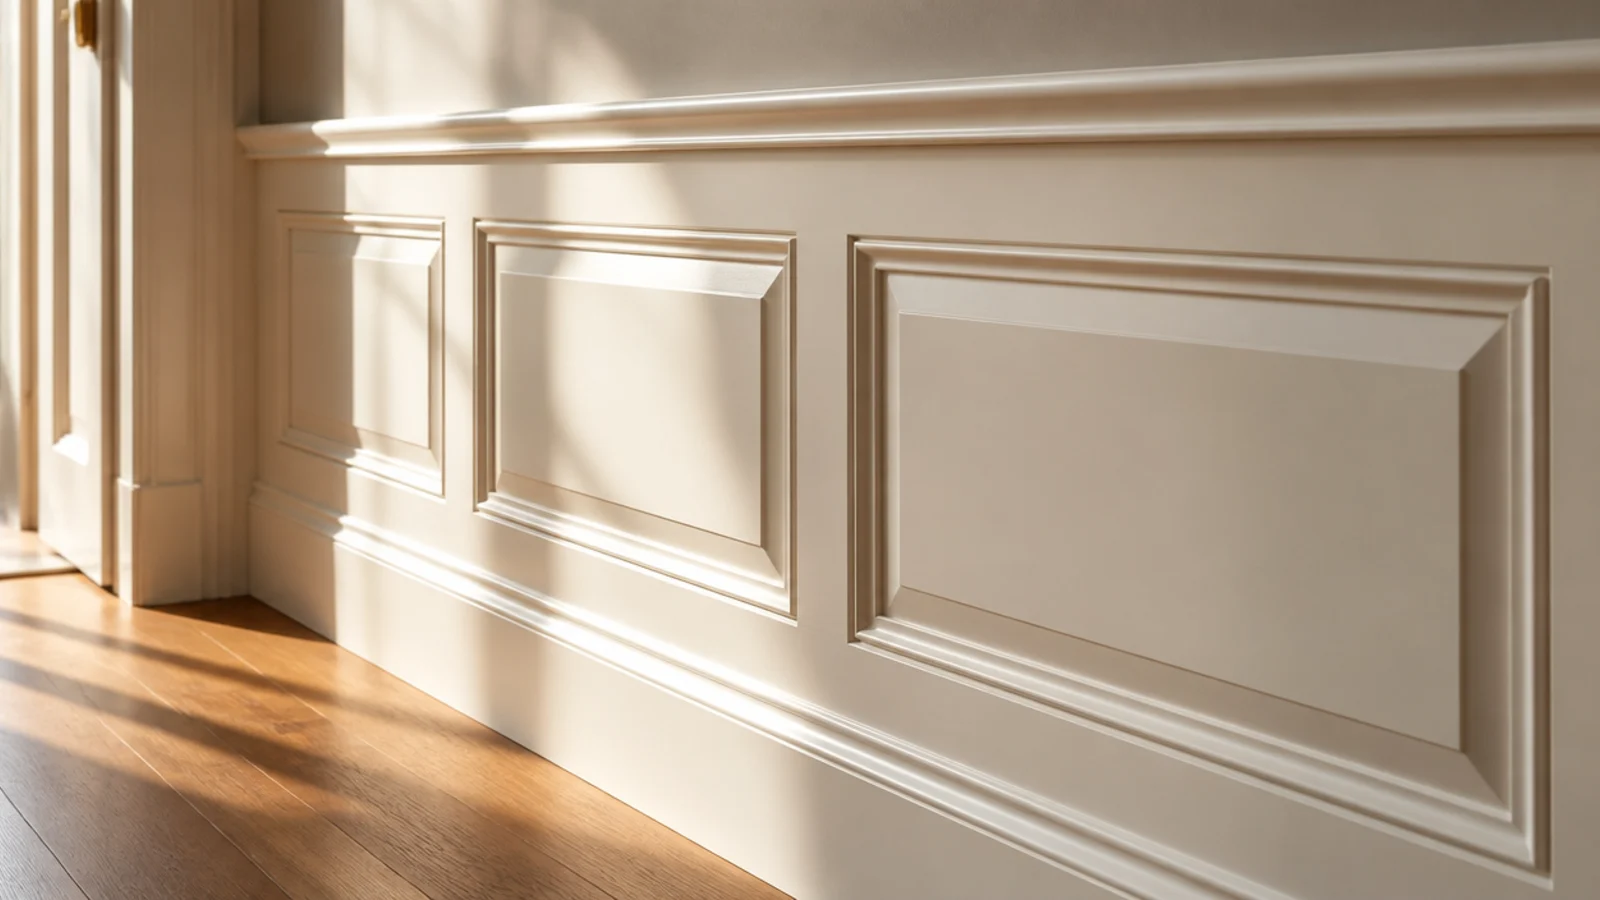
10. Use board and batten as the molding
Flat battens 2.5 to 3.5 inches wide at 12 to 16 inch centres are the simplest molding there is, and the easiest to set out because there are no mitres at all. It suits hallways and cottage rooms where an ogee profile would look overdressed.
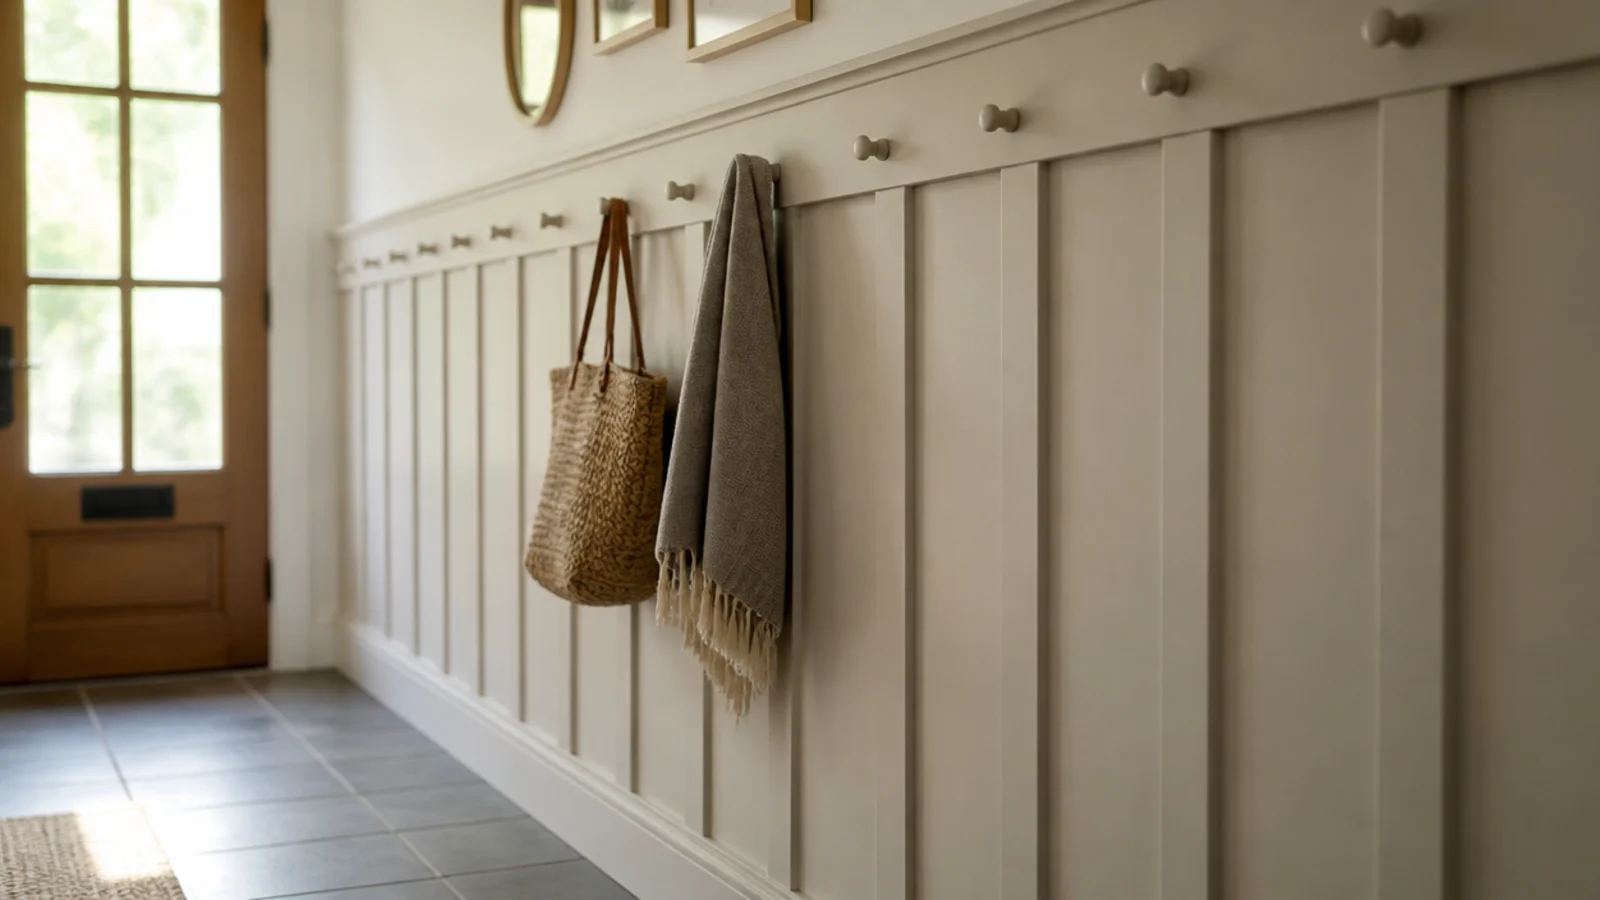
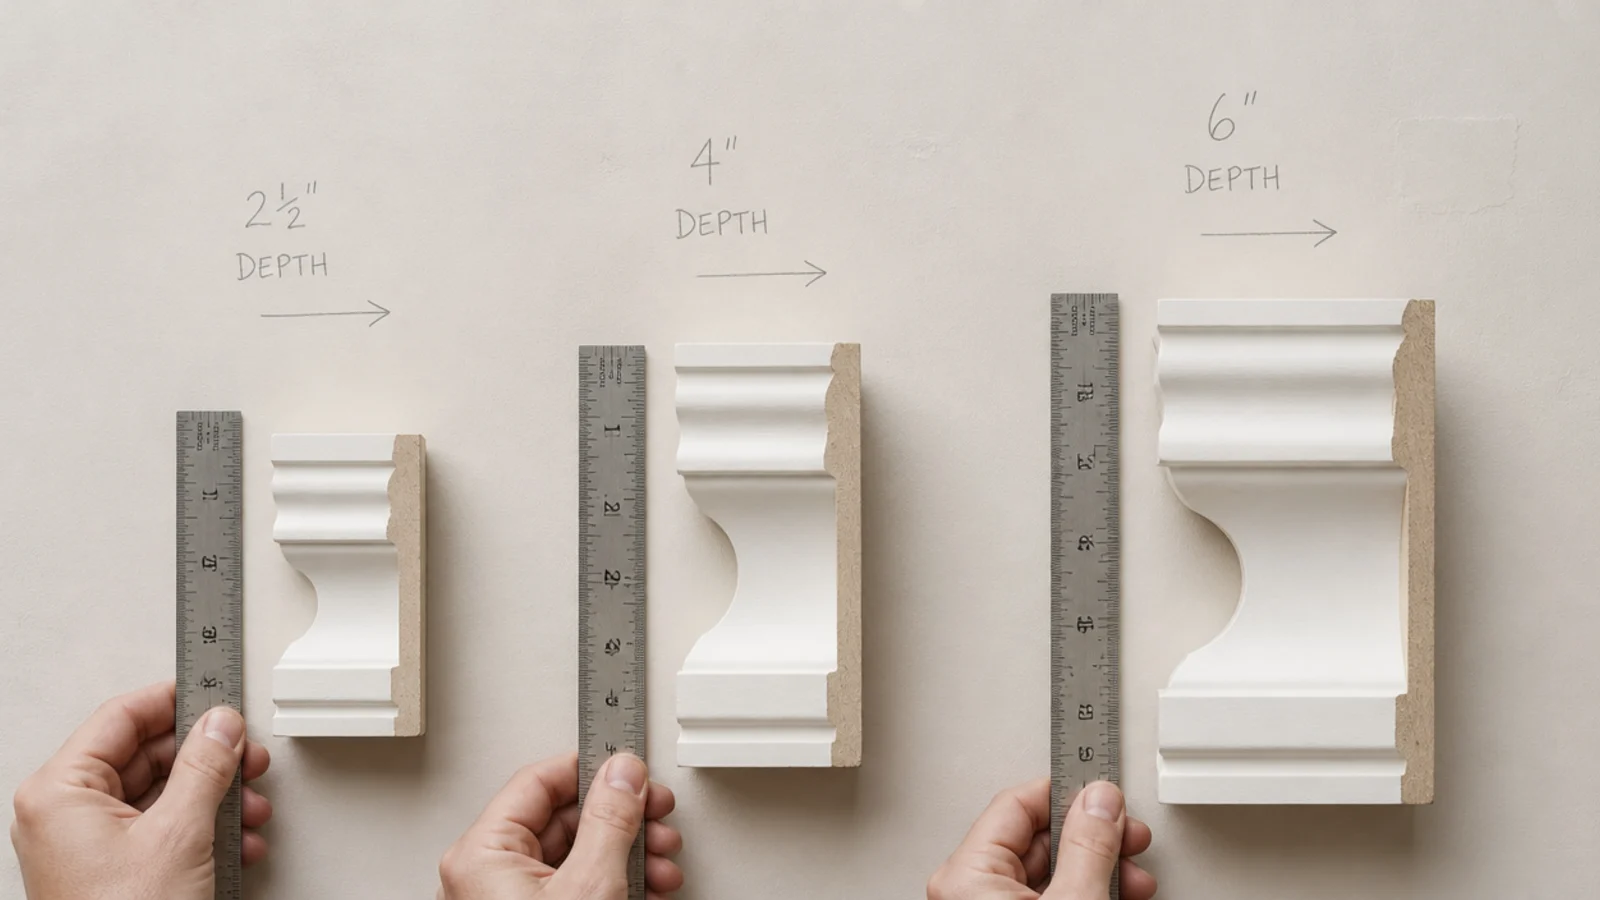
11. Match the profile depth to the ceiling height
Hold three profiles against the wall before ordering. A 30 millimetre deep ornate profile that looks generous in a showroom will drop a 2.3 metre ceiling visibly. Under 2.5 metres, stay at 9 to 12 millimetres and let the layout do the work.
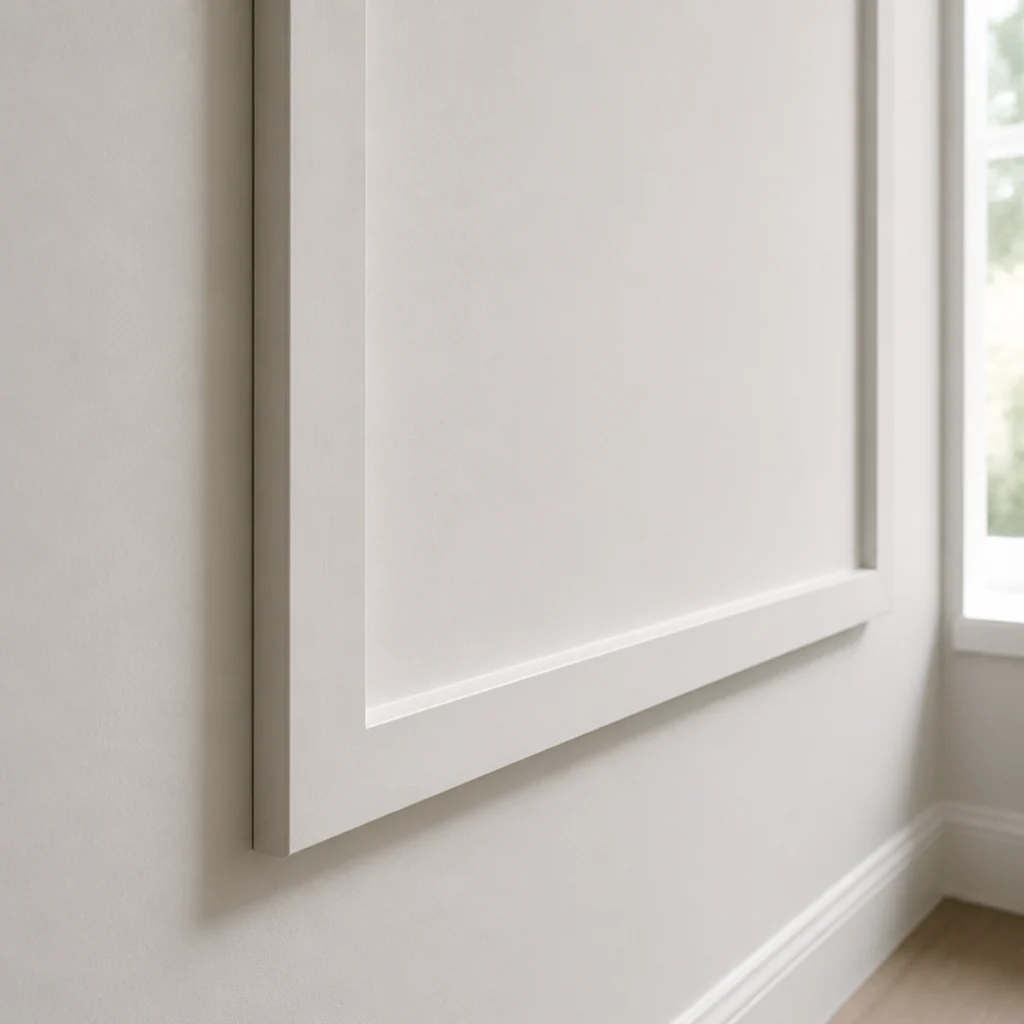
12. Choose square profiles for a quieter wall
Plain square-edged stock gives a single crisp shadow line and nothing else, which suits a room with no other decorative trim. It is also the most forgiving to cut, because a square profile mitre hides a small error that an ogee would exaggerate.
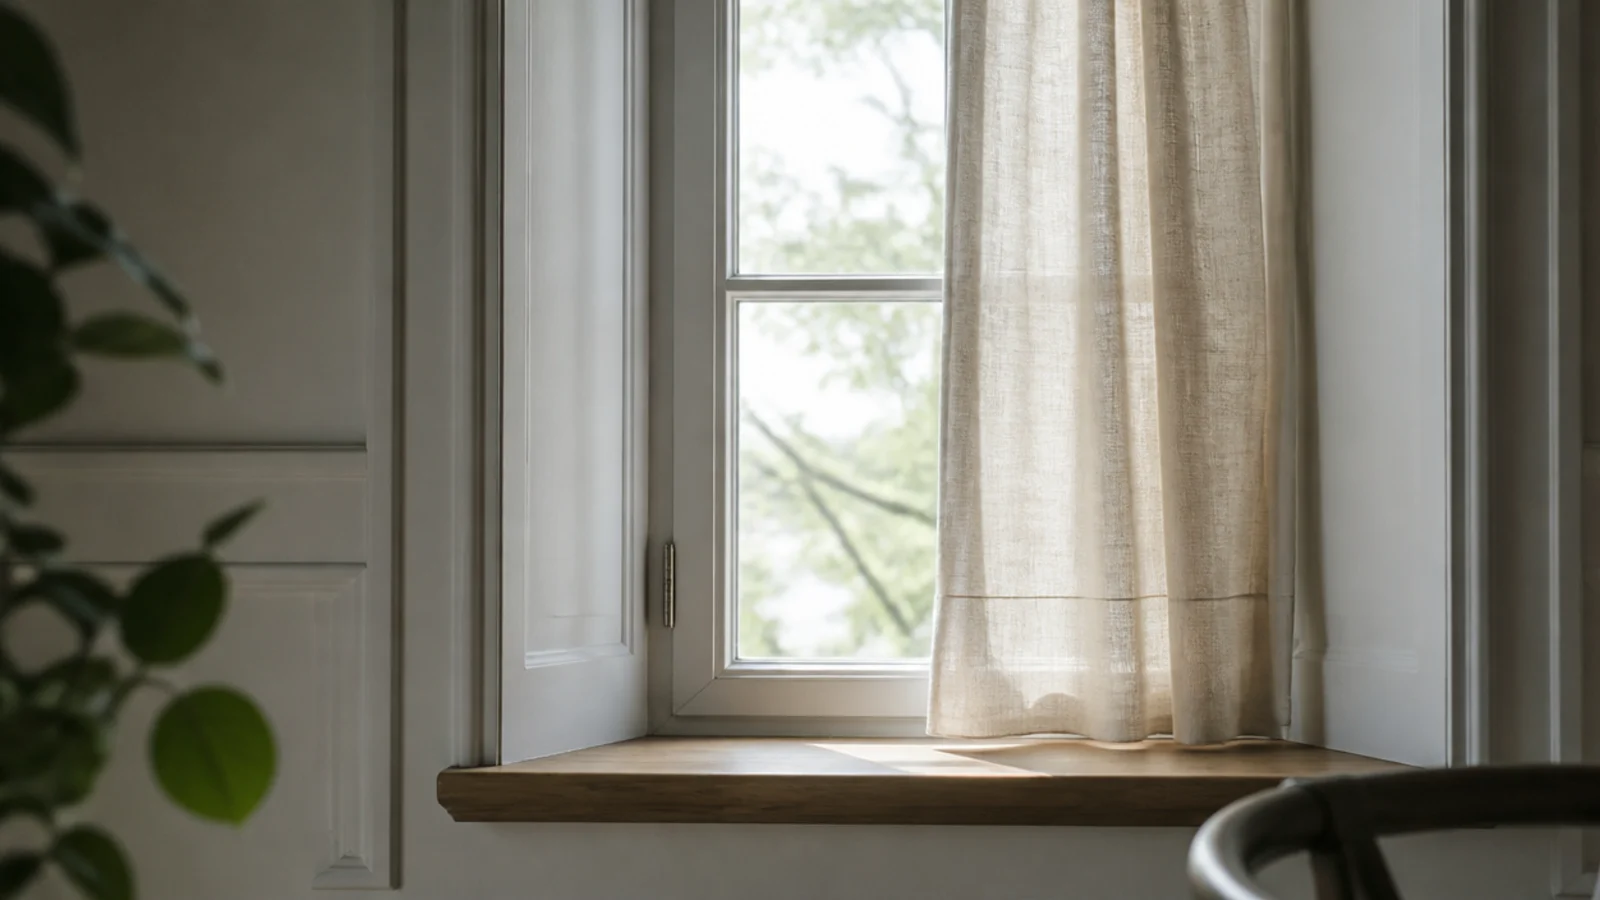
13. Carry molding into the window reveal
Continuing the trim around a deep reveal is what makes added molding look original. It takes four extra short lengths per window and about twenty minutes. Skipping it leaves the wall treatment stopping abruptly at the opening, which always reads as an afterthought.
14. Let half boxes land at the wall ends
If the wall does not divide evenly, put the part-width bays at the ends where the eye reads them as margin. Pushing the error into the middle of the wall is what makes an otherwise good layout look wrong without anyone being able to say why.
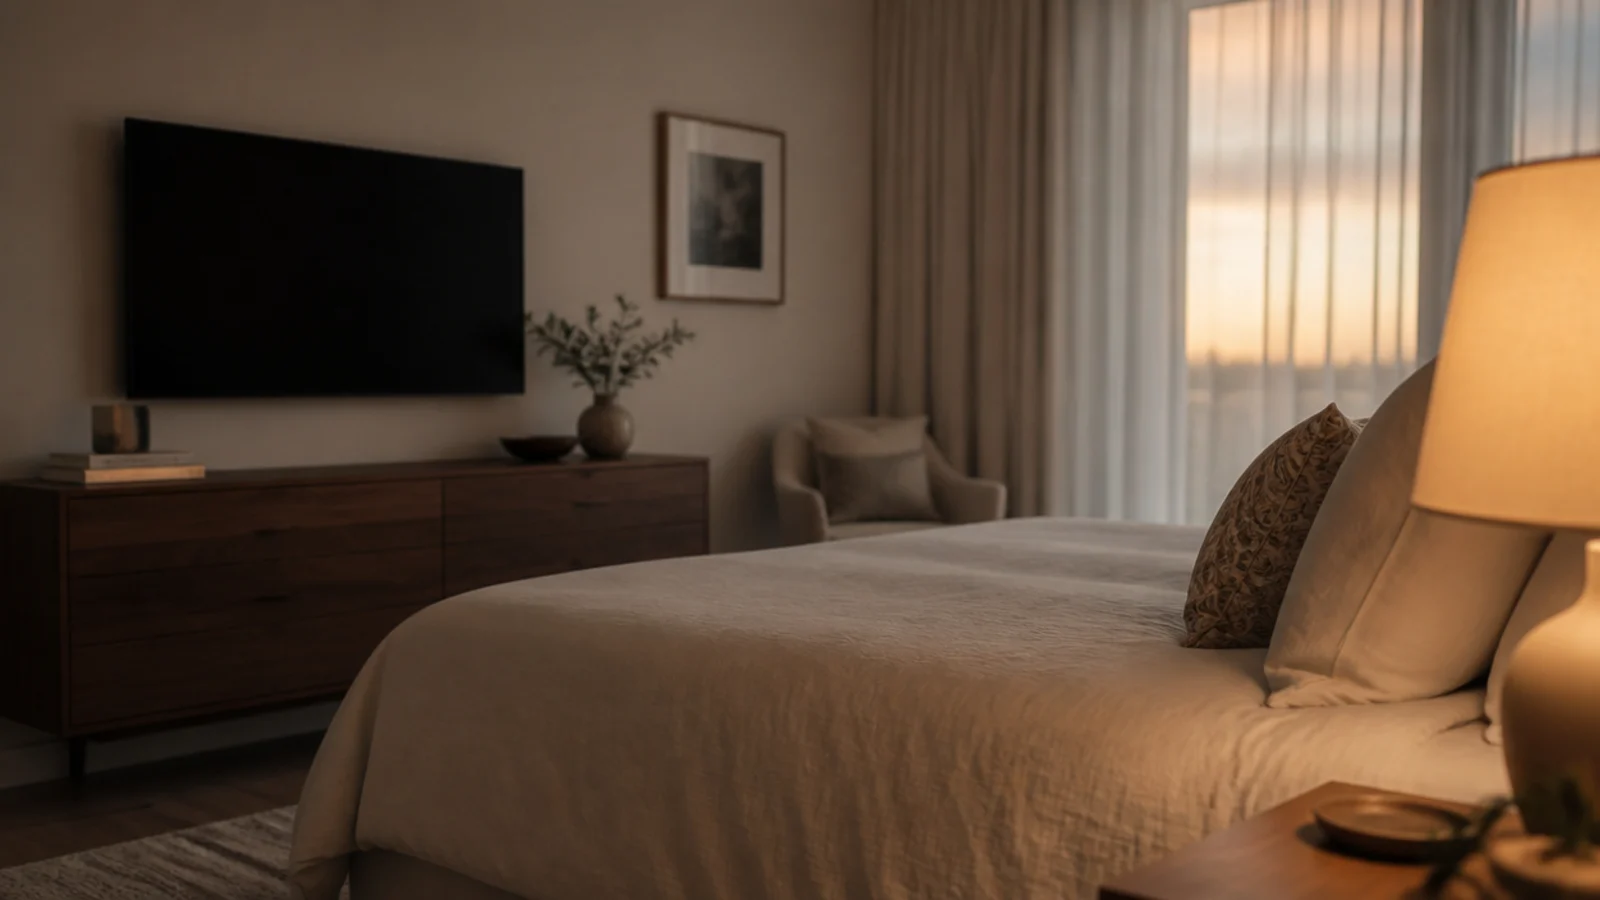
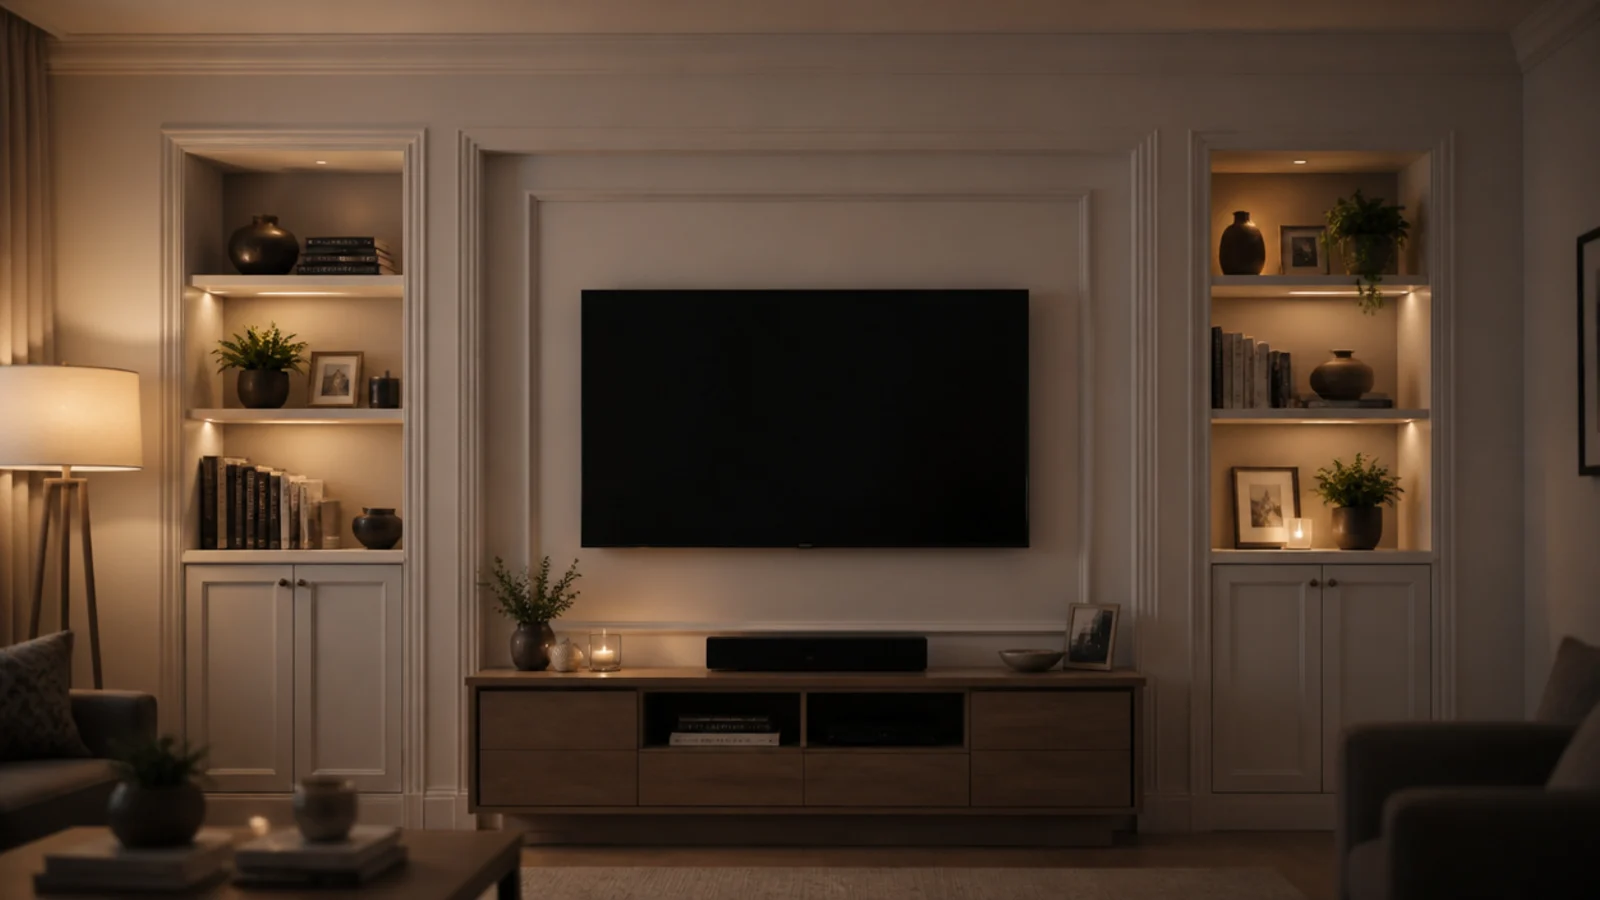
15. Frame the television inside a molding bay
Size the central bay to leave 3 to 4 inches of clear wall around the panel on every side, then match the flanking boxes to it. It turns a mounted screen into part of the composition. TV wall decor that hides cables covers the cable route behind it.
16. Wrap a bed in a single wide box
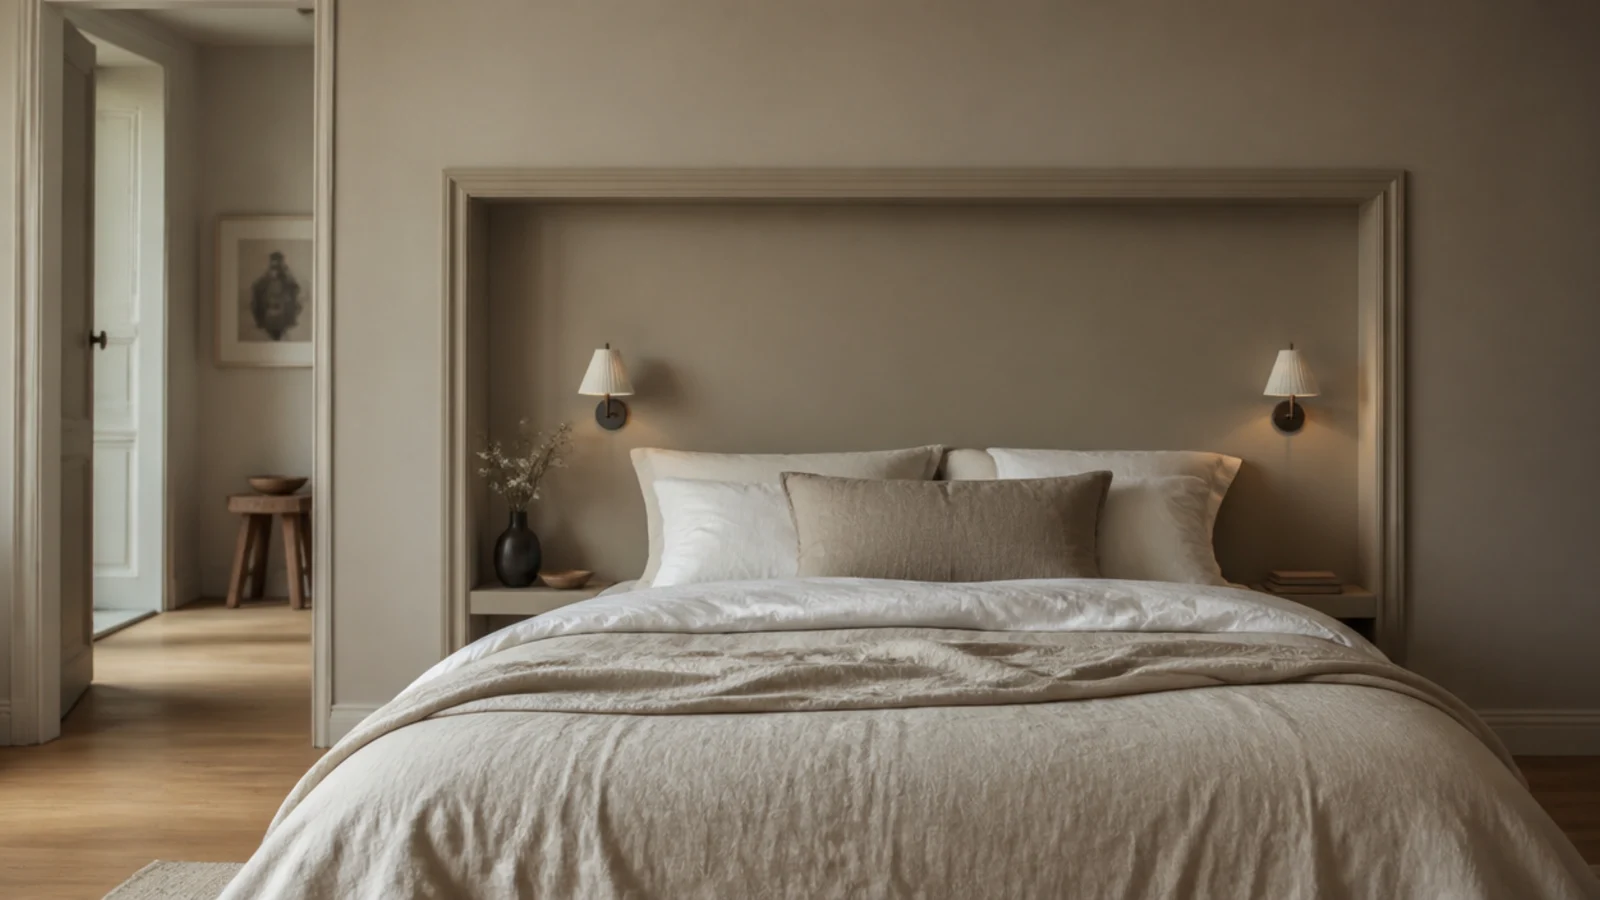
One box the width of the bed plus roughly a foot each side does the job of a headboard for about 25 dollars in molding. Set the top of the box at 48 to 54 inches, which is where a headboard would finish, and fit two small wall lights inside it.
17. Paint inside the boxes two shades darker
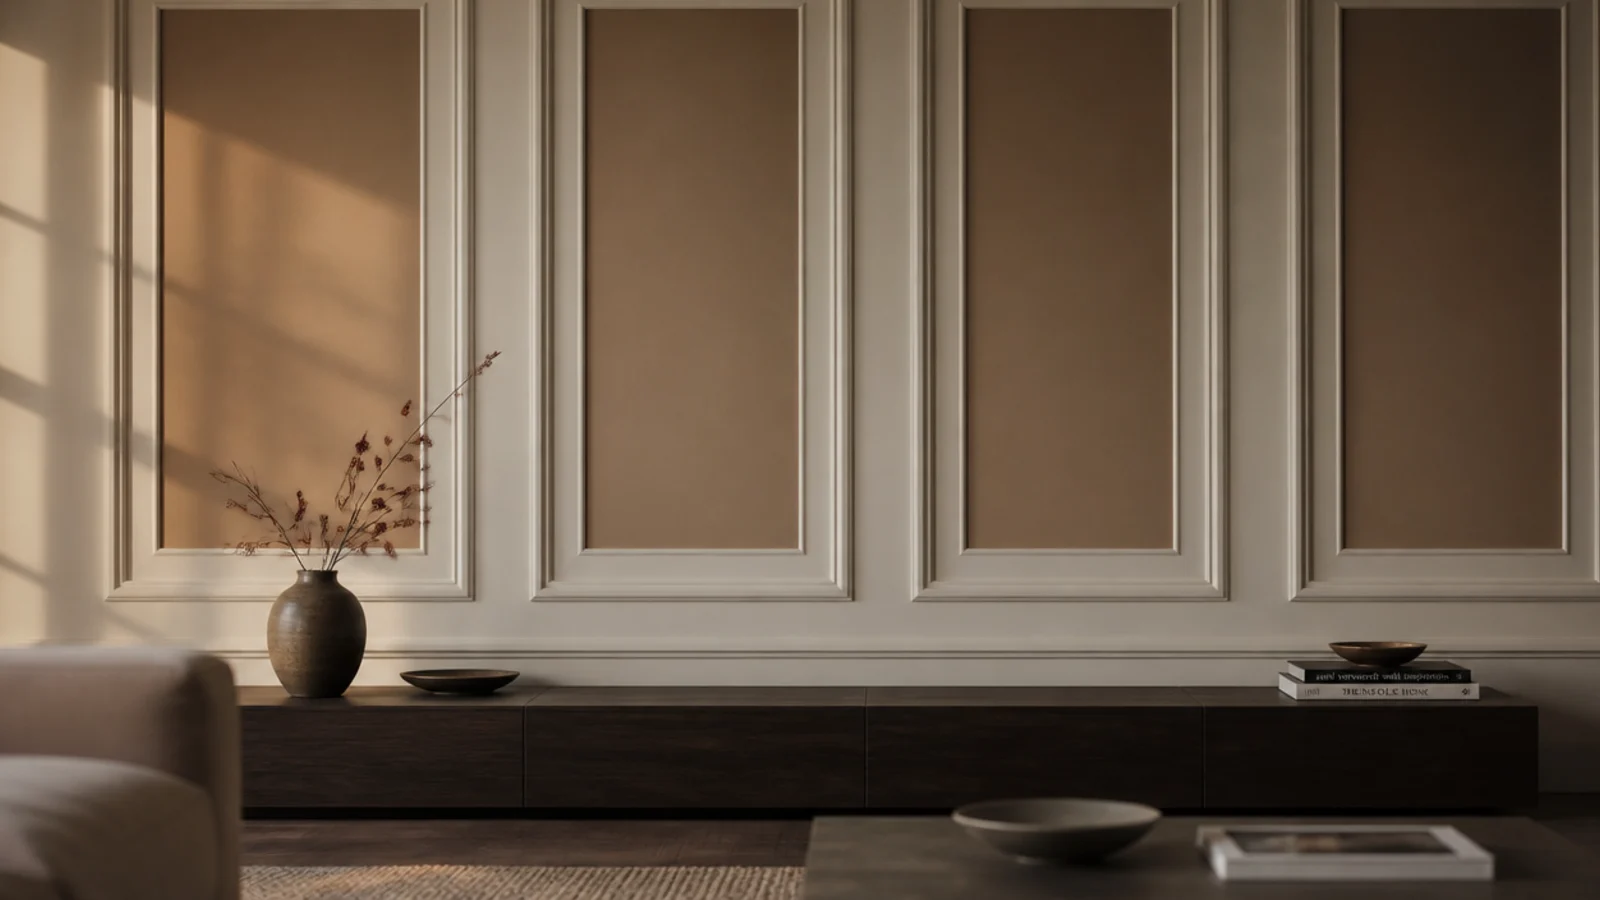
A deeper tone inside each field implies recess where there is none. Keep both tones in the same sheen — mixing matt and eggshell reveals the trick immediately under side light, because the sheen change reads before the colour change does.
18. Widen the cap rail into a picture ledge
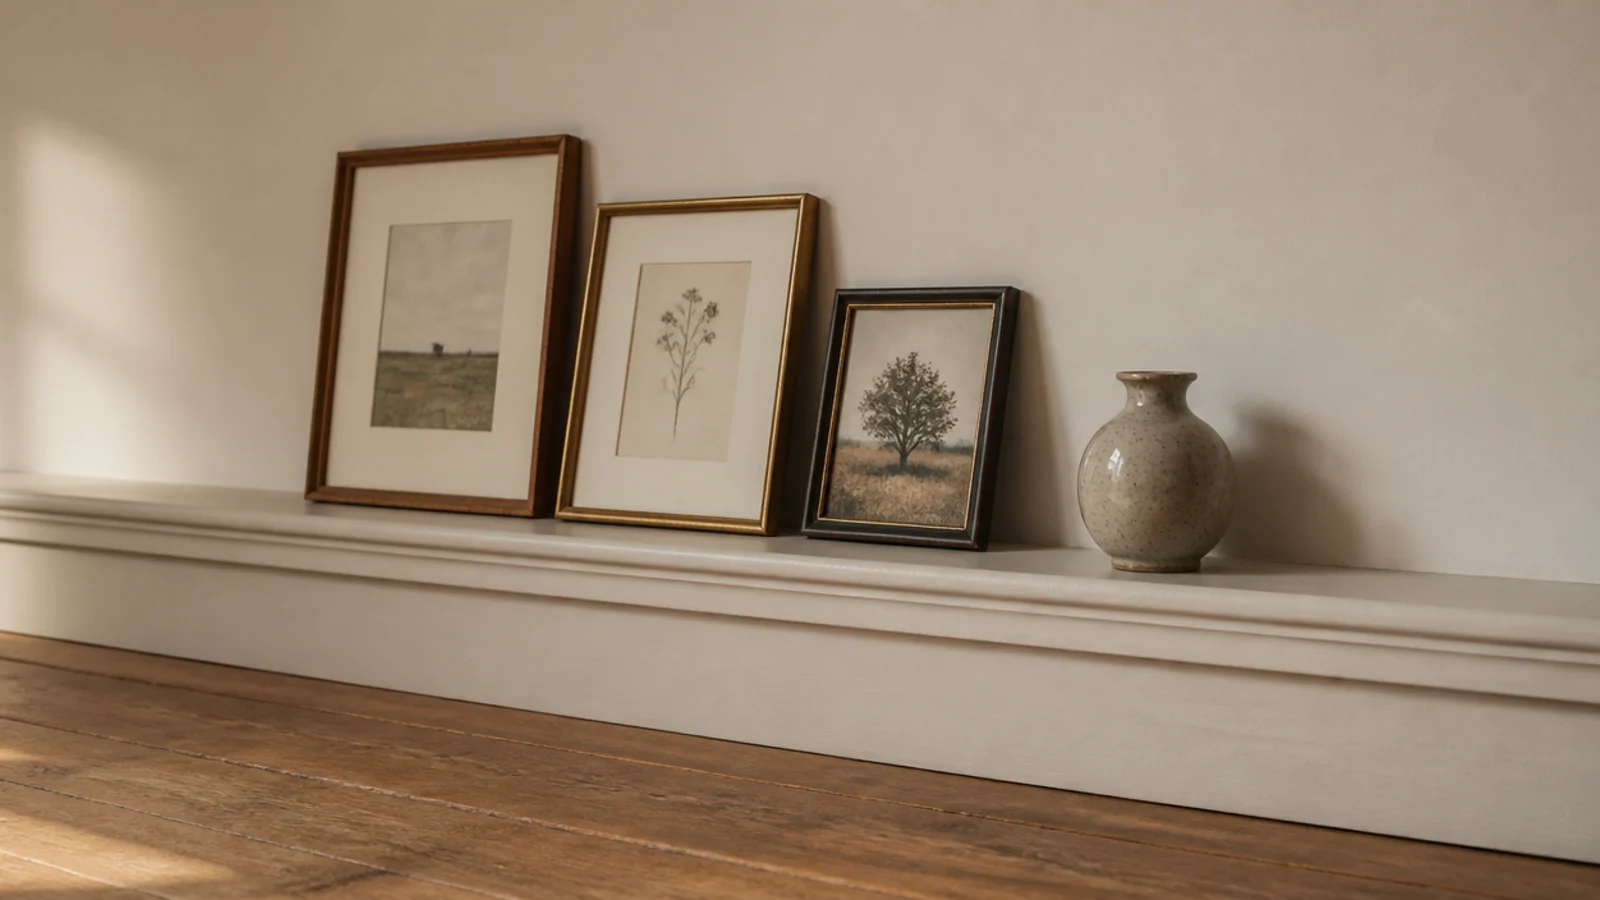
Take the rail to 90 millimetres wide with a 6 millimetre lip along the front and it becomes a display shelf. Frames lean, nothing slides off, and the wall gains a function without a single extra fixing.
19. Follow the stair rake with parallel molding
On a stairwell, the boxes run parallel to the rake, not to the floor. Set out from the nosing line of the treads. It is fiddly, every angle is the same angle, and a stairwell is the one place where molding does the most for a house.
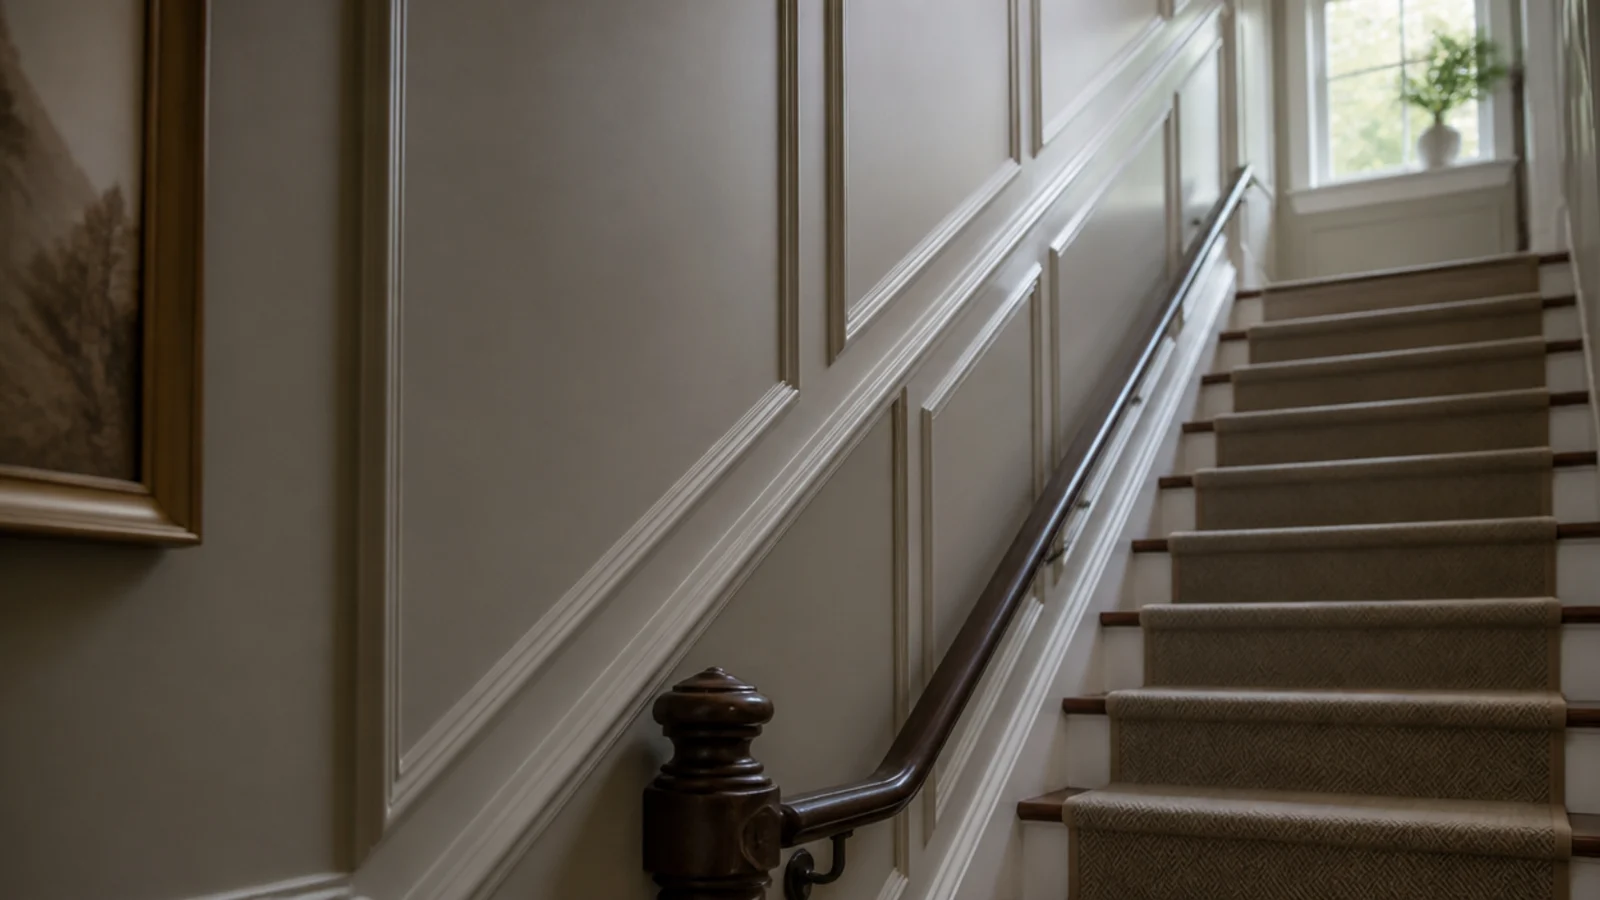
20. Upgrade the architrave before the wall
Thin door trim undermines everything else in a room. Replacing 55 millimetre architrave with 90 or 120 millimetre stock costs 25 to 45 dollars a door and does more for a hallway than a full molding wall. Do this first if the budget is limited.
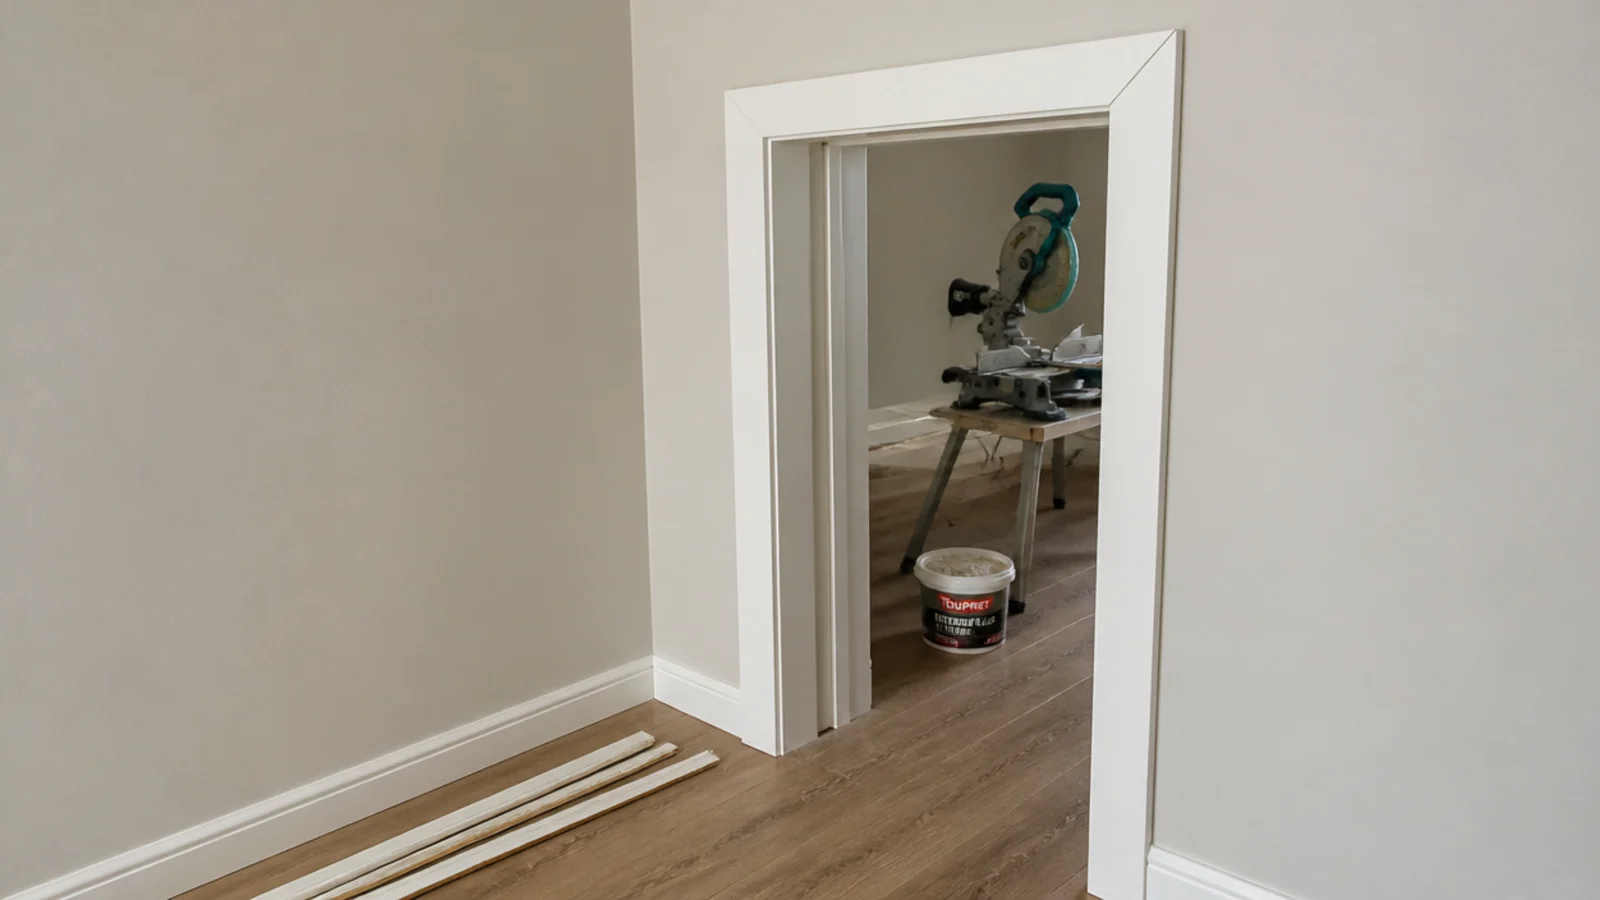
21. Match the skirting height to the molding weight
A 70 millimetre builder skirting under a substantial molding arrangement looks starved. Either build the skirting up with a slim capping molding, or keep the wall trim slim to match. The two profiles need to look like they belong to the same house.
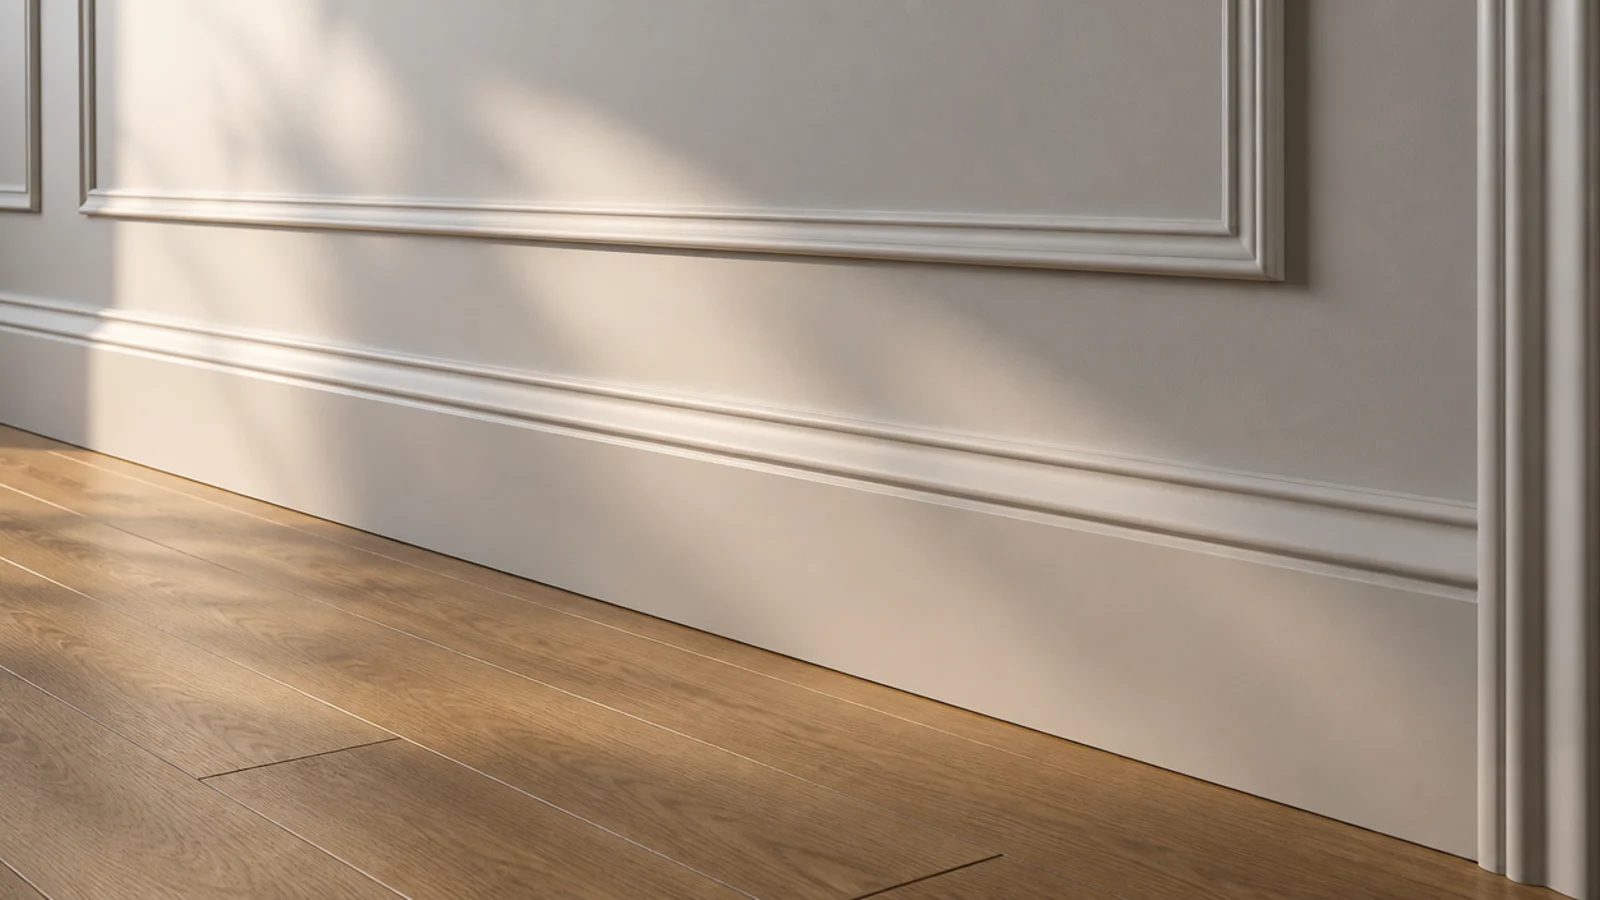
22. Add corner rosettes to skip the mitres
Square rosette blocks at the corners let every length be cut square, which removes the mitre entirely. They cost 3 to 6 dollars each and they suit a period room. In a plain modern room they read as fussy, so use them where the house supports it.
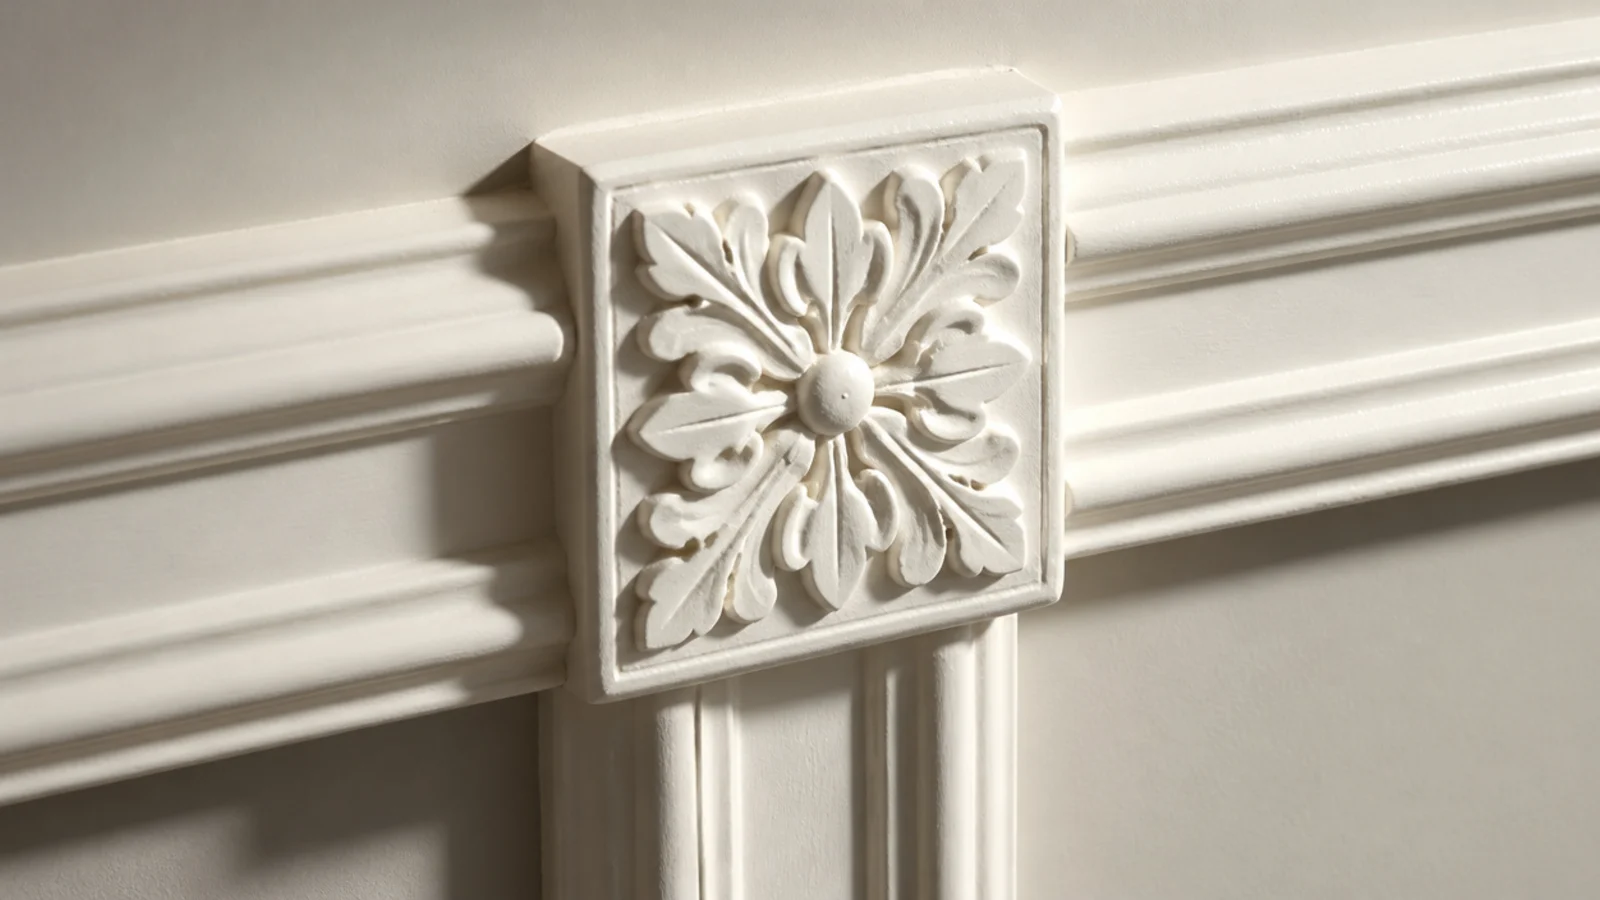
23. Cut the mitres slightly long and shave back
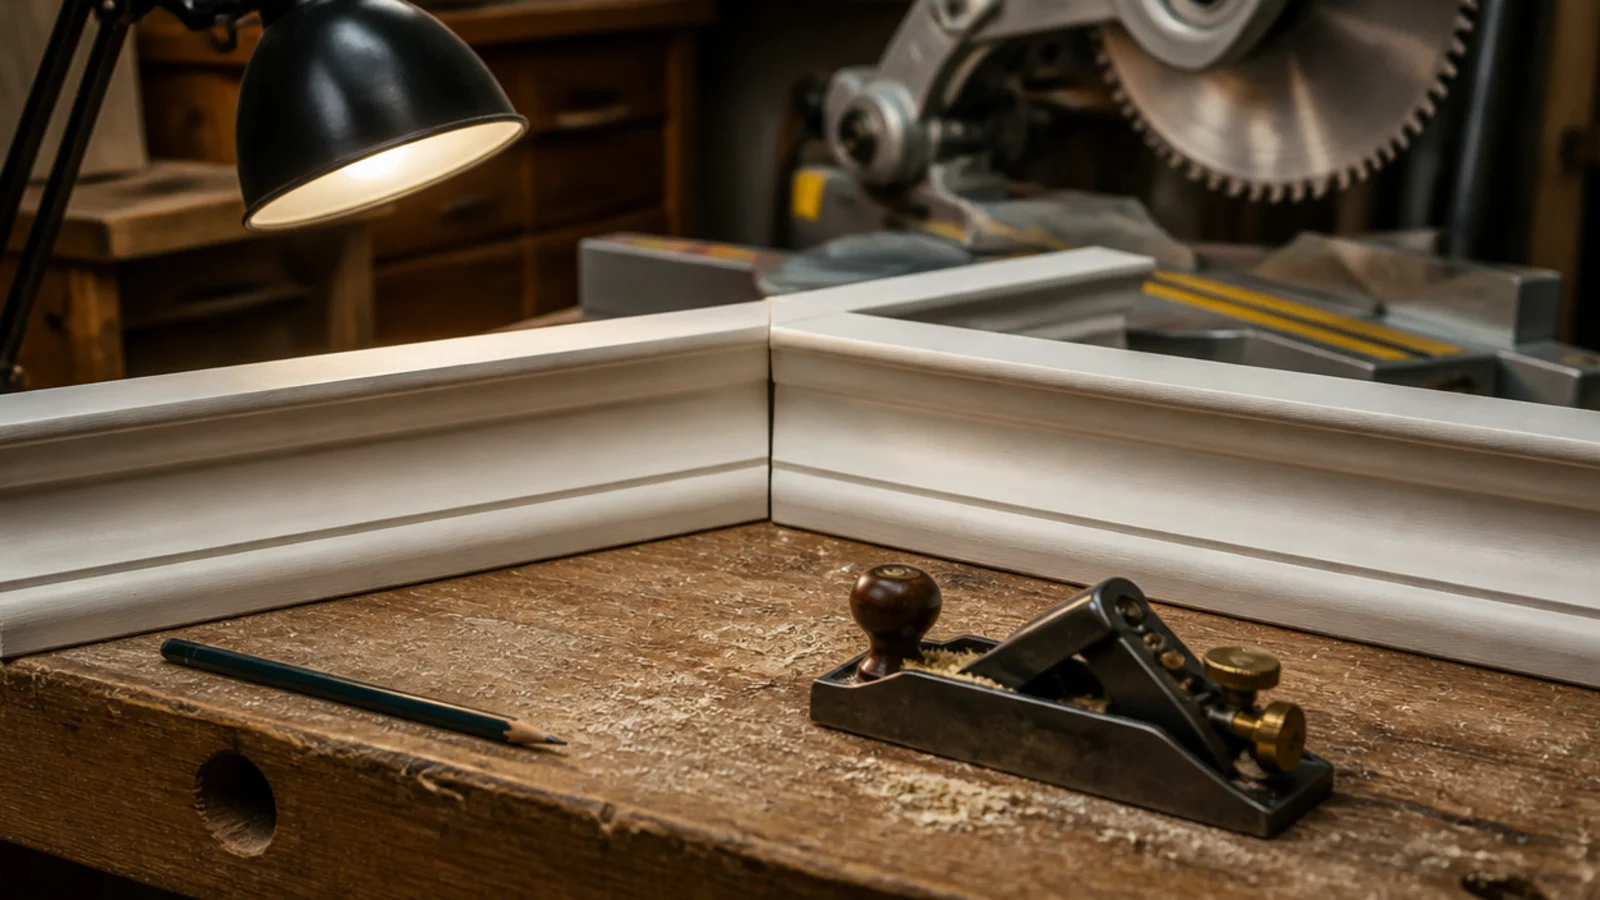
Cut every mitre 1 to 2 millimetres long, test fit, and shave with a block plane until it closes. A joint cut short cannot be recovered and there is no filler that survives a heating season in an open mitre.
24. Fill the pin holes before you prime
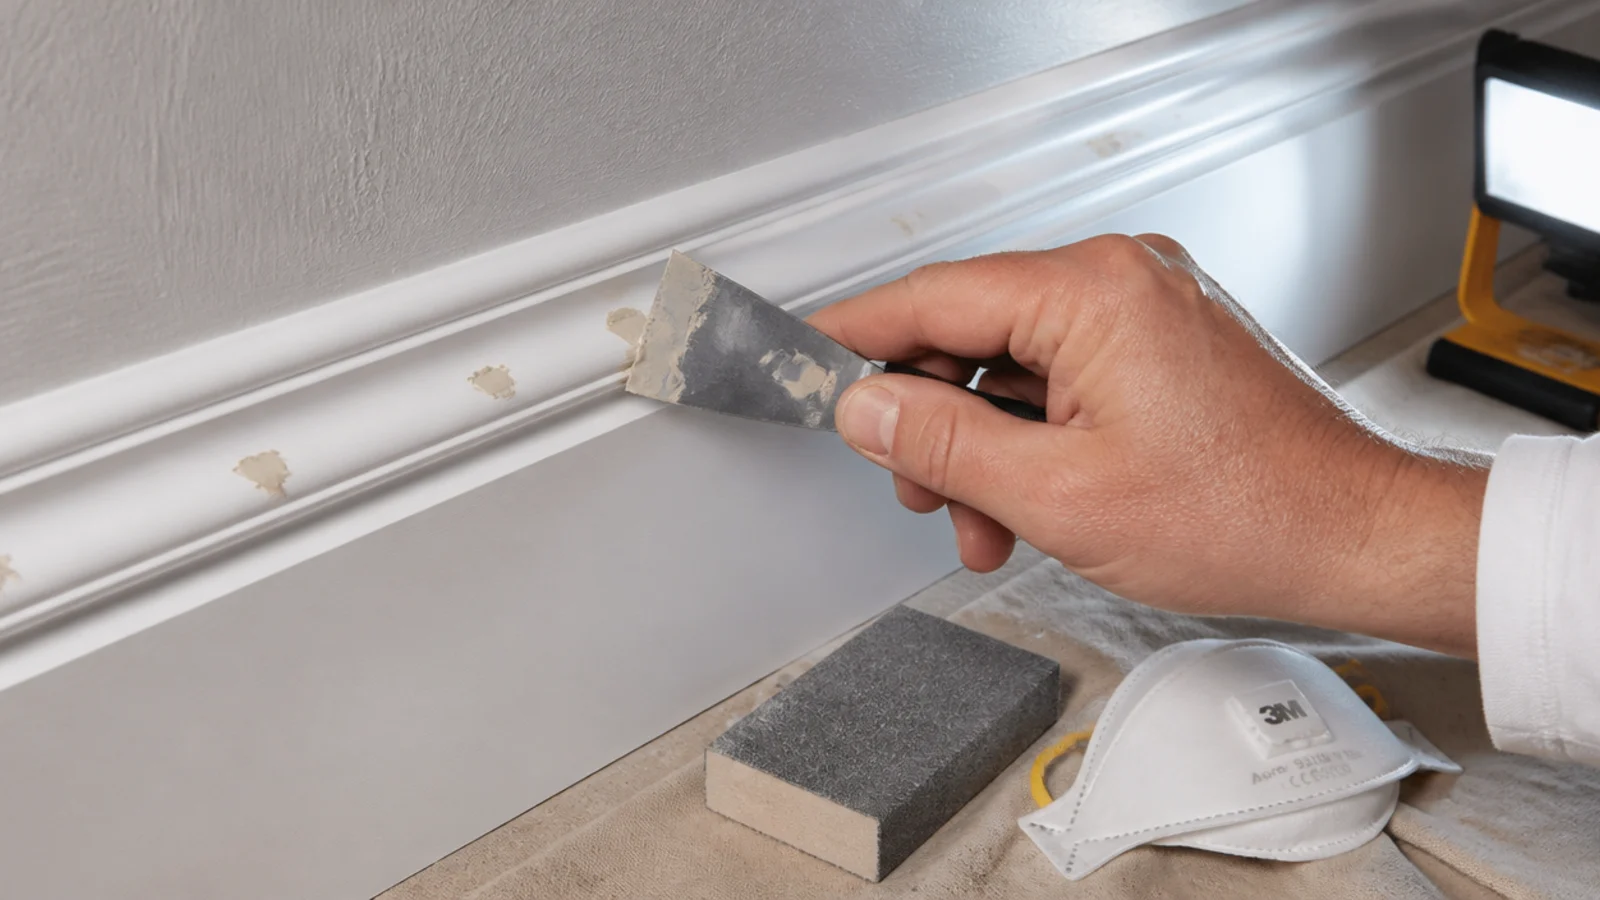
Brad holes disappear under primer and reappear under topcoat every time. Press fine surface filler in with a flexible blade, sand at 180 grit once dry, and check by running a hand across rather than looking. Fingers find holes that eyes miss.
25. Caulk every internal joint, then paint
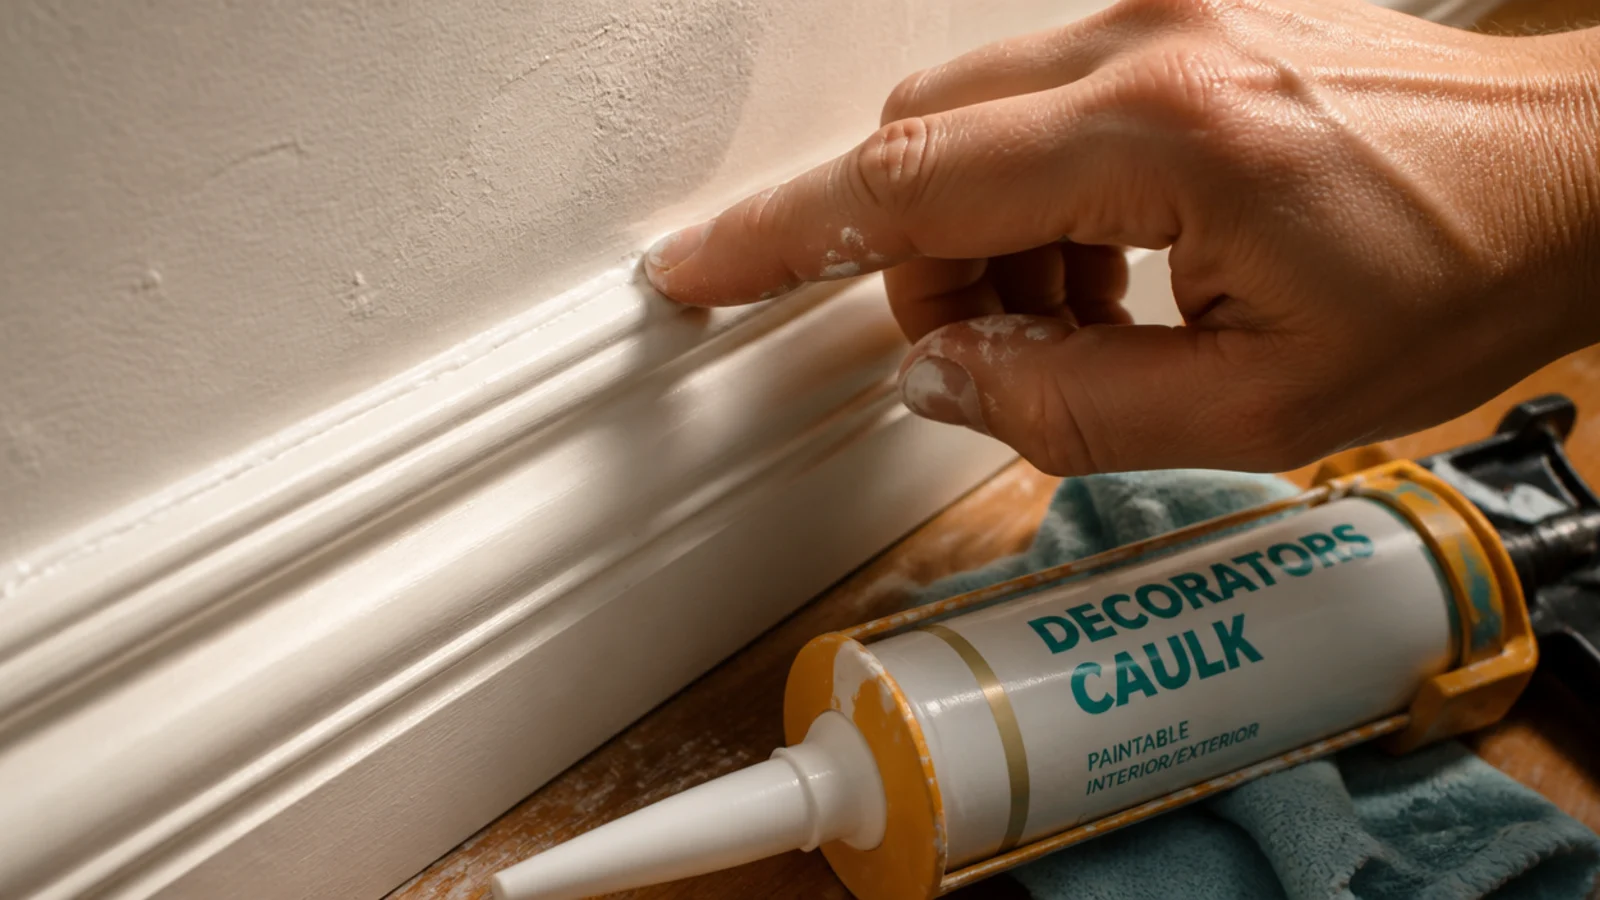
A thin bead of decorators caulk along every internal joint, smoothed with a wet fingertip and wiped, is the step that makes molding look fitted. Two cartridges, about 14 dollars. Skipped, every joint reads as a dark hairline the first evening the sun crosses the wall.
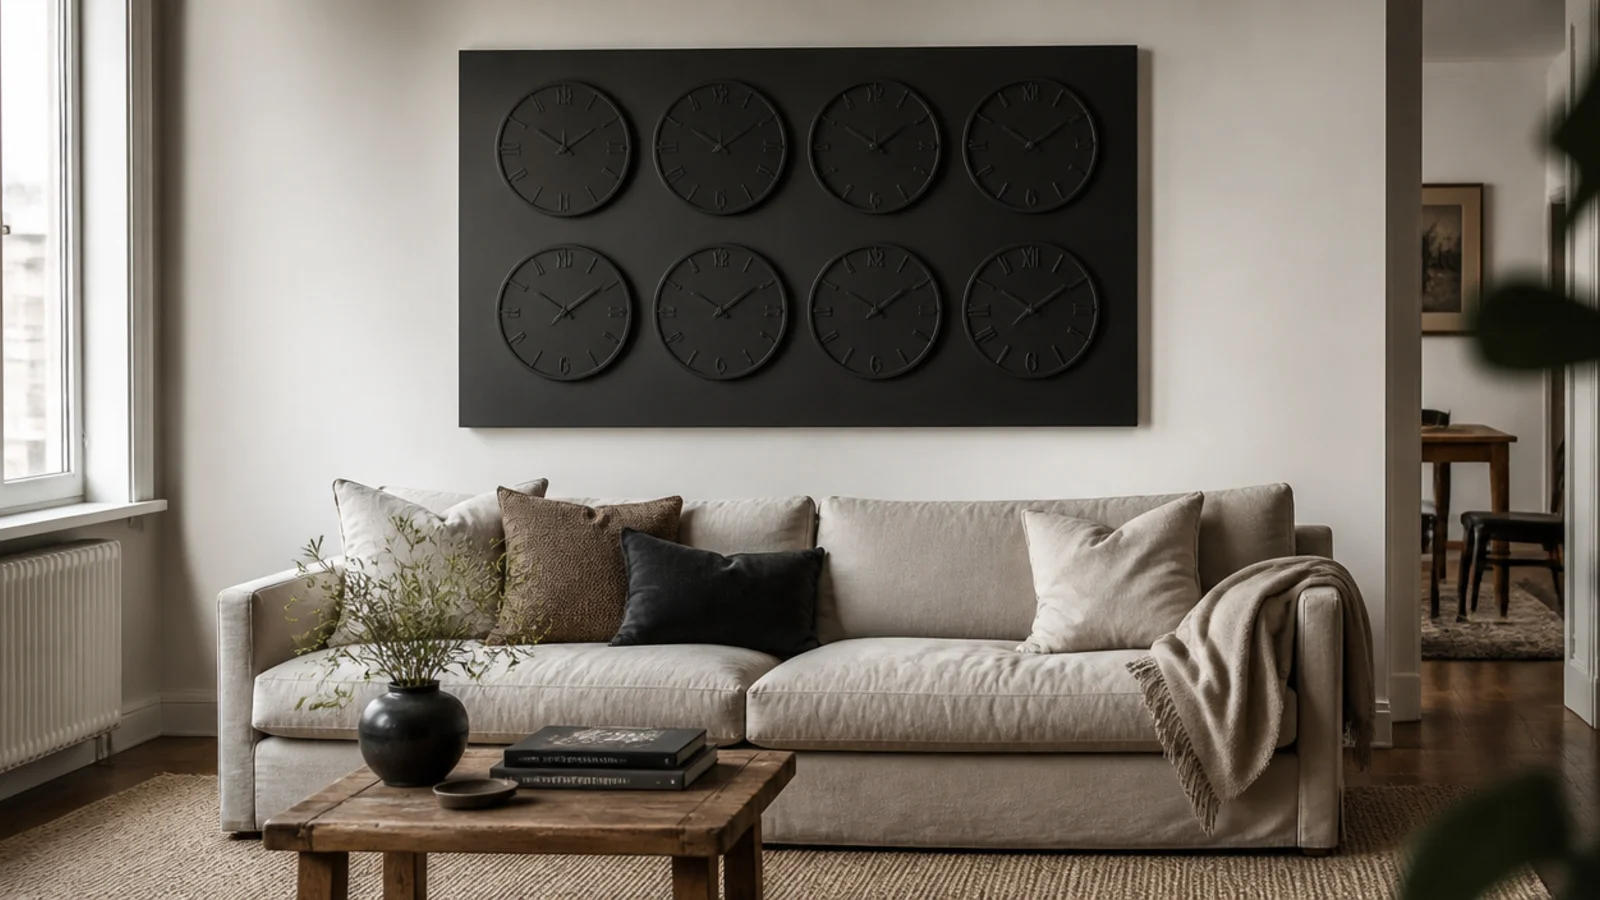
For the versions that fix without drilling, 30 renter-friendly wall panel designs covers the adhesive method, and wall design ideas for a living room works the whole room through step by step. If the molding is going behind a sofa, sofa back wall design ideas has the sizing, and wall clock decor for a living room is worth reading before you hang anything across a fresh panel. For a related look with no timber at all, mirror wall decor ideas uses the same setting-out logic.
Mistakes to Skip
- Leaving unequal margins at the two ends of a wall. It is the fastest way to make a careful molding layout look like it was measured from one corner and abandoned at the other.
- Choosing a deep ornate profile for a low ceiling. Anything over about 20 millimetres deep in a 2.3 metre room pulls the ceiling down rather than adding the grandeur intended.
- Skipping the caulk. It is 14 dollars and an hour, and without it every internal joint shows as a dark line the moment low evening sun crosses the wall.
- Painting the trim white against a coloured wall. It cuts the arrangement into stripes and removes the impression of depth that the molding was installed to create.
Frequently asked questions
What spacing should wall molding boxes have?
Three to five inches between boxes, 4 to 6 inches above the skirting, and 3 to 5 inches below a chair rail or cornice. The margins at each end of the wall matter most and should be identical, because unequal end margins are the single detail that makes a molding wall read as improvised.
How high should a chair rail be?
Thirty-two inches from the finished floor for a classic dado, or 40 to 44 inches for the taller modern proportion that suits a media or bed wall. The reliable rule is roughly one third of the wall height, so an 8 foot ceiling gives you 32 inches and a 9 foot ceiling gives you 36.
What molding profile should I use on a wall?
A slim 9 to 12 millimetre ogee or square profile suits picture-frame boxes in a normal ceiling height. Chunkier 18 millimetre stock suits board and batten or a room over 2.7 metres tall. Deep ornate profiles in a low room make the ceiling feel closer rather than grander.
Should molding boxes be all the same size?
They should share proportion rather than dimension. Keep every box the same height and vary the widths to suit the wall, or keep the widths equal and let one bay be narrower at each end. Boxes that differ in both height and width at once read as accidental.
Do I need to caulk wall molding before painting?
Yes, and it is the step that decides how the finished wall reads. A thin bead of decorators caulk along every internal joint, smoothed with a wet fingertip, closes the hairline gap between molding and plaster. Without it, every joint shows as a dark line under side light.
Want more like this? Browse all 15 tv wall decor guides — they all use the same measurements and budget tiers.
Pin it for later
Save this to your TV Wall Decor board
Pin it now so it is waiting for you when the tape measure comes out — and so the next person hunting for this idea can find it too.
Save this pinKeep going
More ideas worth saving while you have the tape measure out.