Wall Clock · Listicle
25 Creative DIY Clock Wall Ideas For Renters

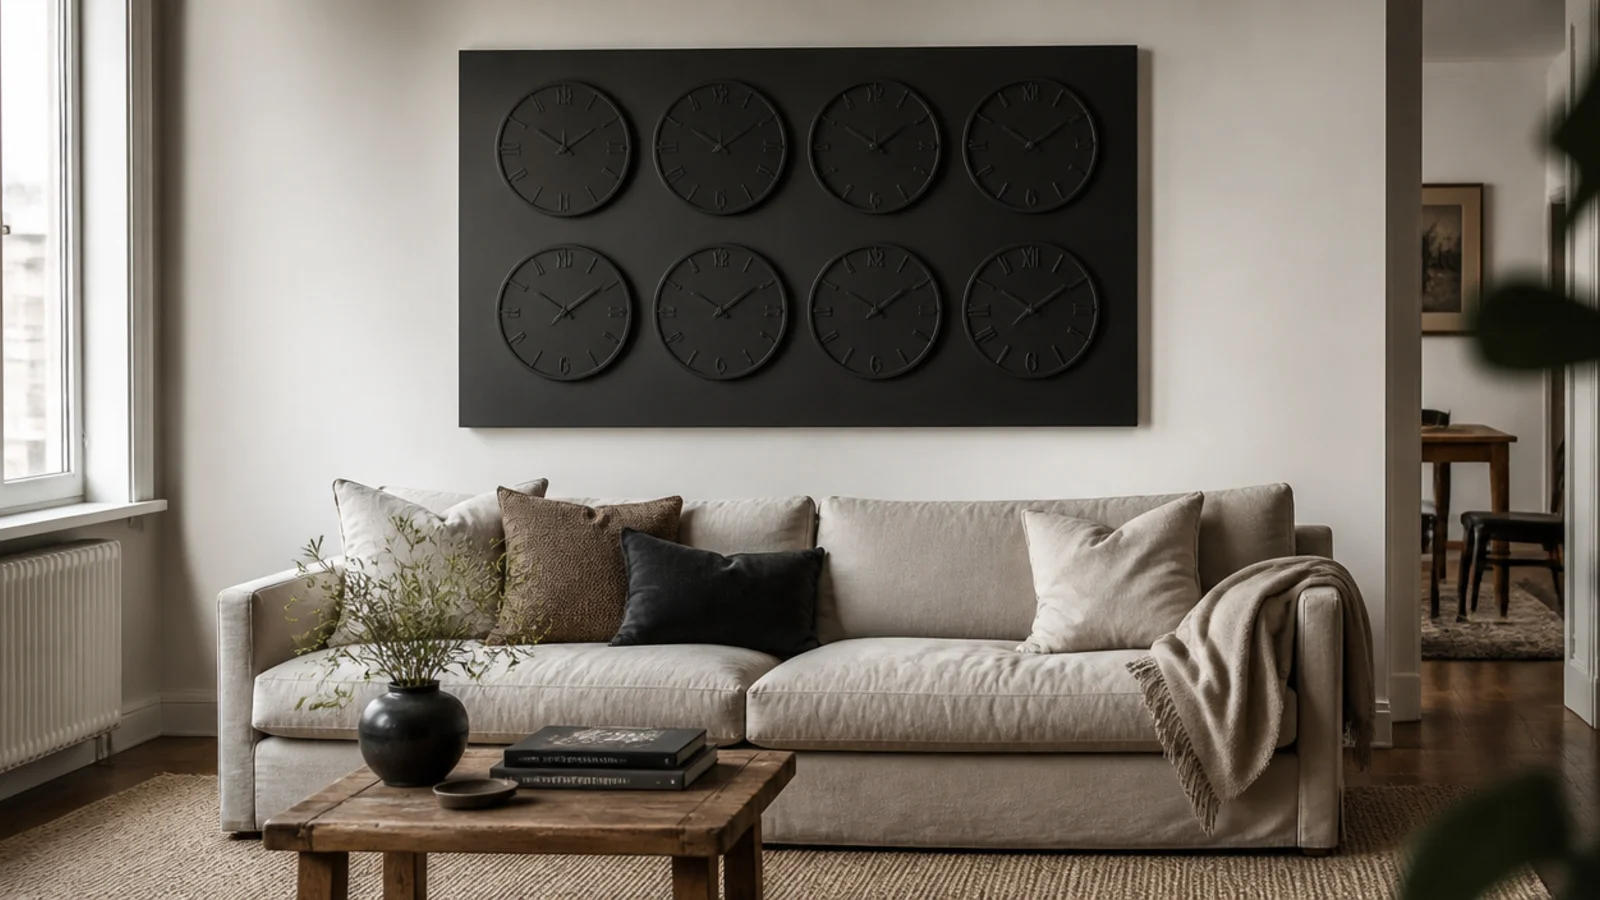
A creative DIY clock wall is the best return on a rented living room I know of, because clocks are cheap secondhand, light enough to hang without drilling, and the arrangement is the thing people notice rather than any single face. The catch is the deposit. Everything below is built around one rule: the fewest holes that will hold, and a repair you have already costed before you start. Here are twenty-five ways to fill a wall you do not own.
In this guide27 sections — tap to openHide
- 1.What a creative diy clock wall costs a renter
- 2.Heavy-duty strips and the sixteen-pound ceiling
- 3.Test one strip on a hidden patch first
- 4.Spread the load across four pairs, not two
- 5.Build the whole group on a plywood backing board
- 6.Hang the backing board on two screws
- 7.A picture ledge: two holes for a whole wall
- 8.Lean, do not hang
- 9.A leaning ladder shelf of clocks
- 10.A pegboard panel and moveable hooks
- 11.A wire grid with S-hooks
- 12.Washi tape numerals straight onto paint
- 13.A removable vinyl decal dial
- 14.Clocks propped along a radiator shelf
- 15.A freestanding folding screen as the wall
- 16.Over-door hooks for a hallway cluster
- 17.A fabric panel on a tension rod
- 18.Cork tiles as a pin-friendly backing
- 19.Brad pins and the smallest hole that holds
- 20.Spray thrifted faces one colour to unify them
- 21.Number the backs and map the layout
- 22.Fit sweep movements before anything goes up
- 23.Keep every face under three pounds
- 24.Photograph the wall before you touch it
- 25.Budget the repair before you start
- 26.Plan the take-down before the deposit inspection
- 27.Mistakes to Skip
What a creative diy clock wall costs a renter
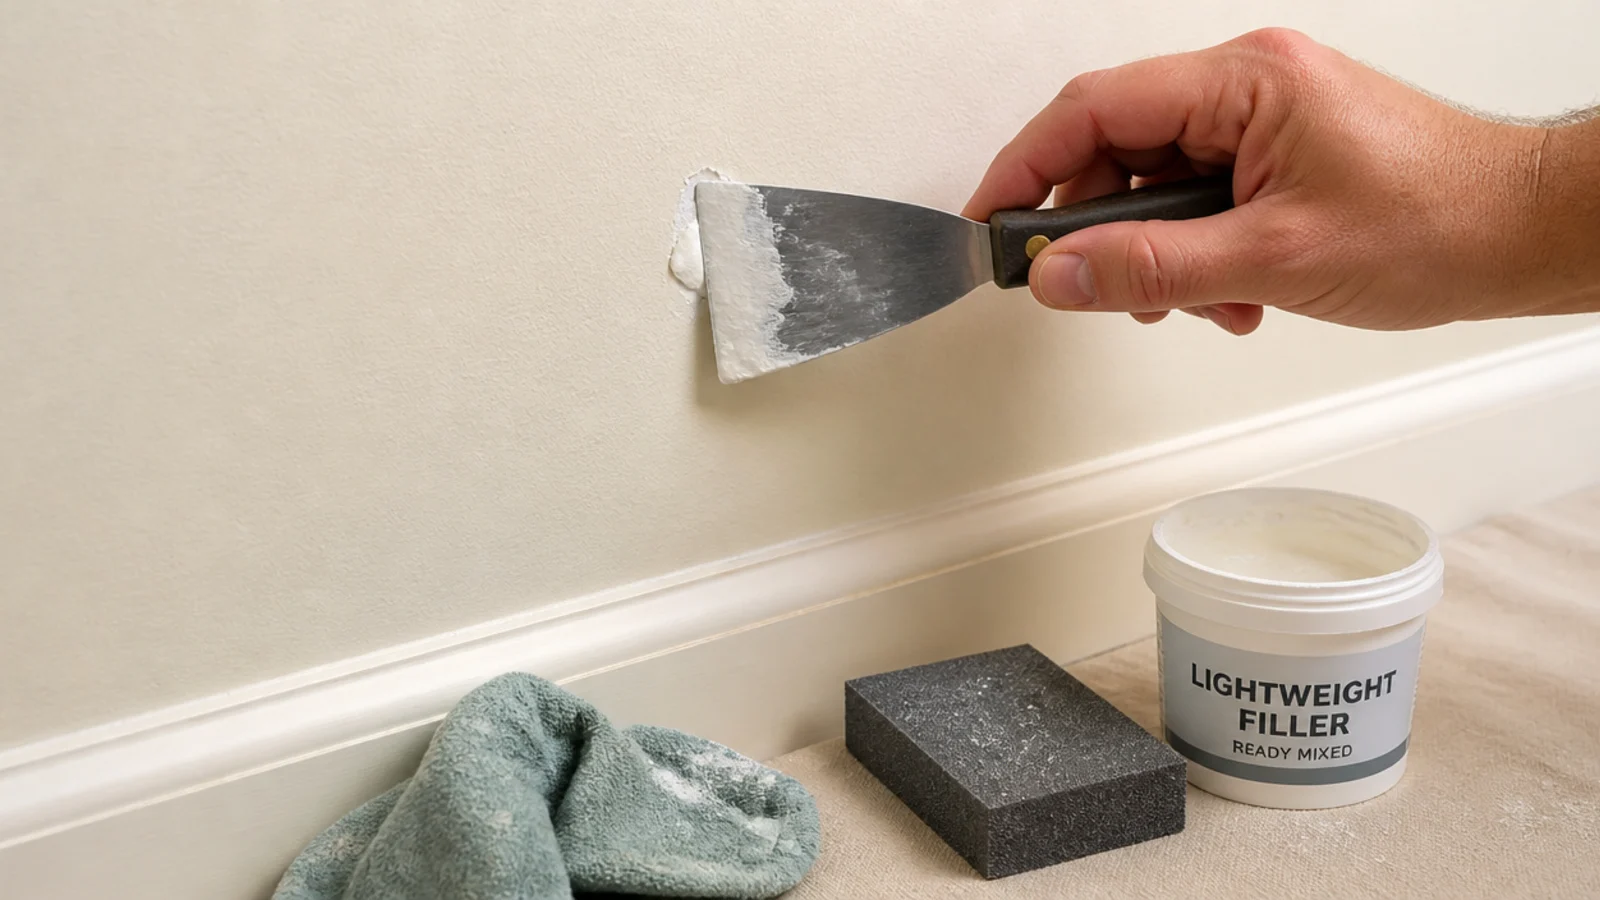
Buy the repair kit first. A tub of lightweight filler, a sanding sponge and a small tester pot in your wall colour come to about $15 and cover a dozen small holes. Photograph the wall before you touch it and write down the paint code if there is one — matching a colour after the fact is what turns a cheap repair into a repaint.
Then decide your fixing class. Heavy-duty adhesive picture strips carry around 16 pounds per set on sound paint, quoted for four pairs rather than one. Treat that as a ceiling, not a target: keep each clock under about half the rated figure. Strips fail on flat builder-grade emulsion because the glue holds and the paint gives way, so test one on a hidden patch and pull it after 24 hours.
Where you can accept two small holes, a picture ledge or a plywood backing board is a far better deal than eight separate fixings. A ledge on two spring toggles carries 15 to 25 pounds and lets you rearrange forever; a backing board turns a nine-clock arrangement into two screw holes.
Last, sort the movements before anything goes up. Several step-tick units drift out of phase and produce a stutter that is worse than a single tick at 25 to 30 decibels. Sweep movements cost $12 to $18 each. And keep every face light — under 3 pounds keeps every option open. The build details for individual faces are in the DIY clock projects guide.
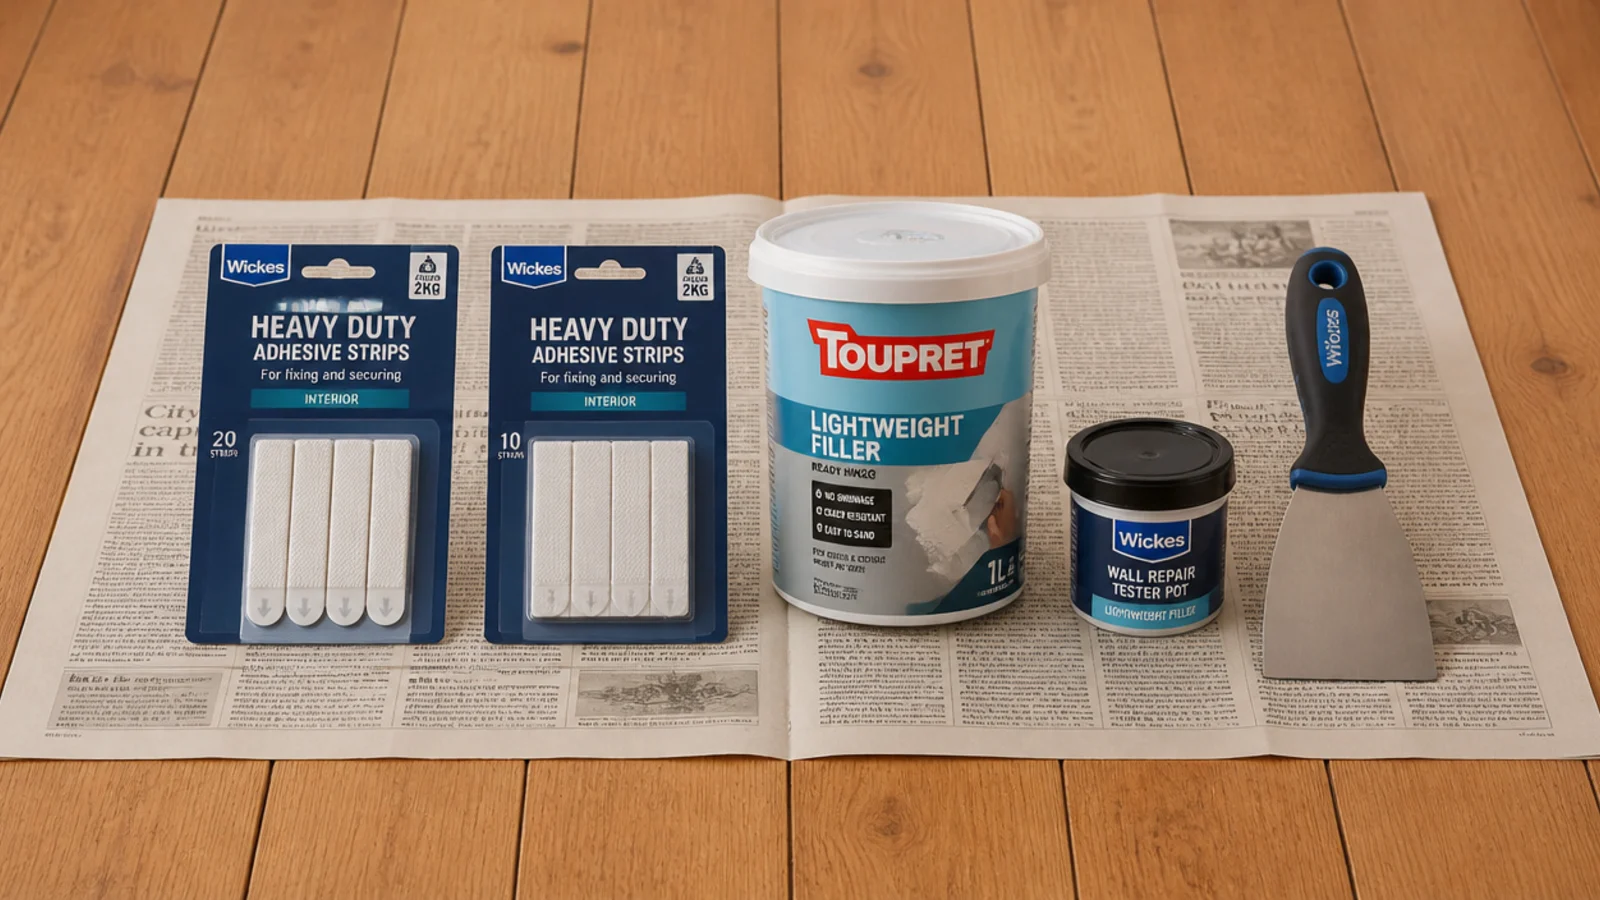
1. Heavy-duty strips and the sixteen-pound ceiling
The number quoted on the packet assumes a clean, fully cured painted surface and four pairs of strips. In a rental with unknown paint history, halve it. A 2-pound rattan clock on four pairs is safe; a 9-pound timber case on the same strips is a repair bill waiting to happen.
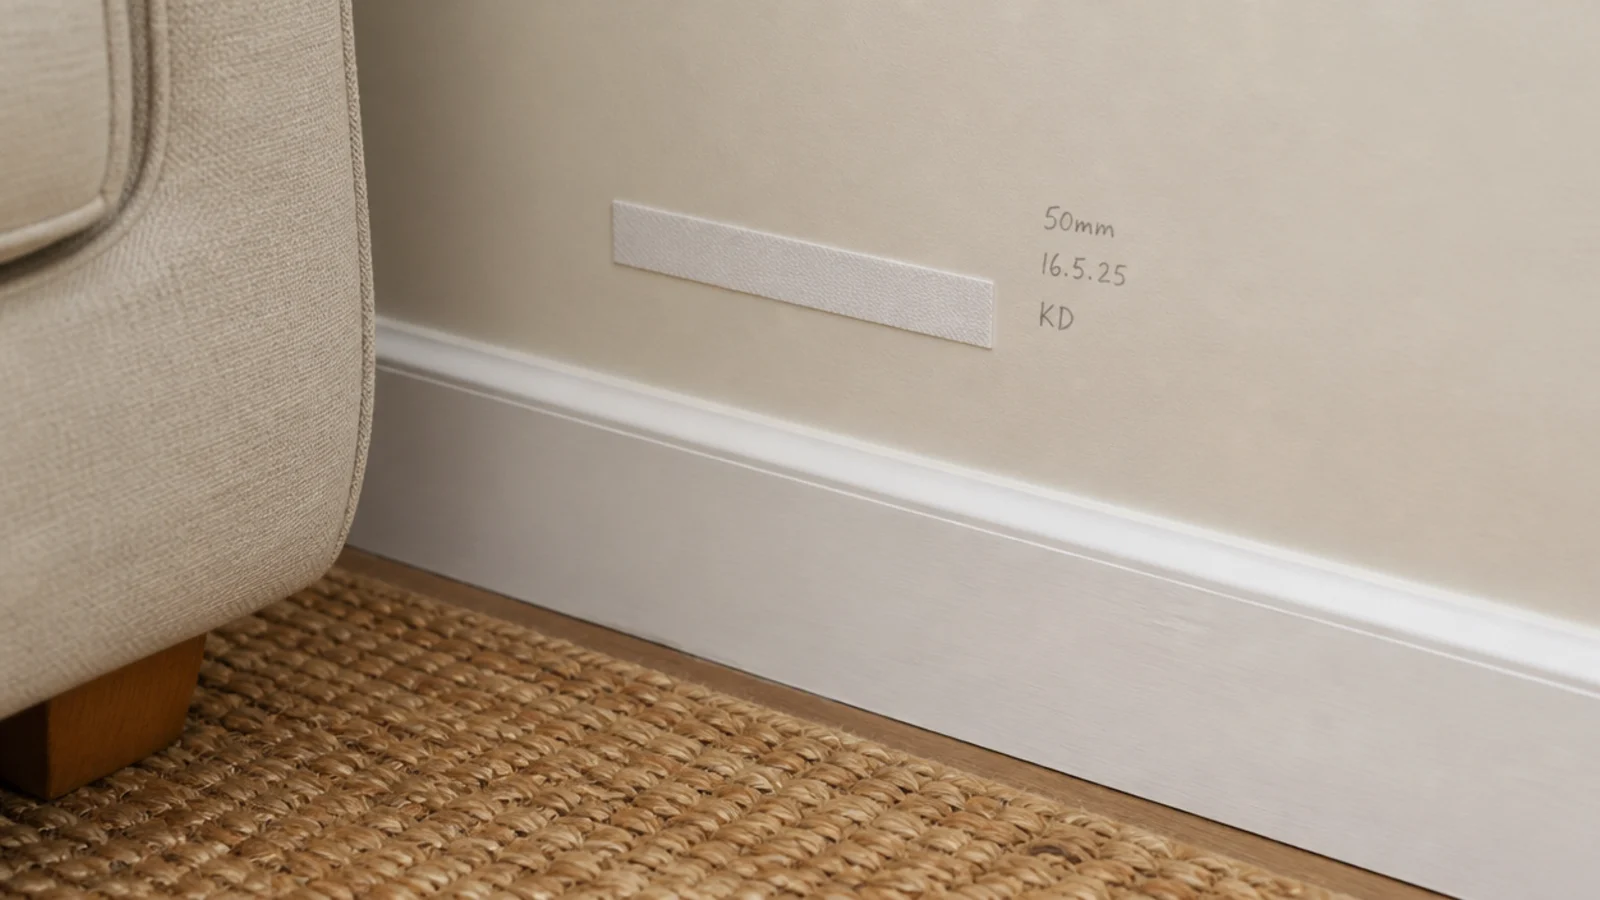
2. Test one strip on a hidden patch first
Stick one low on the wall behind the sofa, leave it a full 24 hours to cure, then pull the tab slowly straight down. If paint comes with it, you have learned that for the price of one strip rather than the price of a wall.
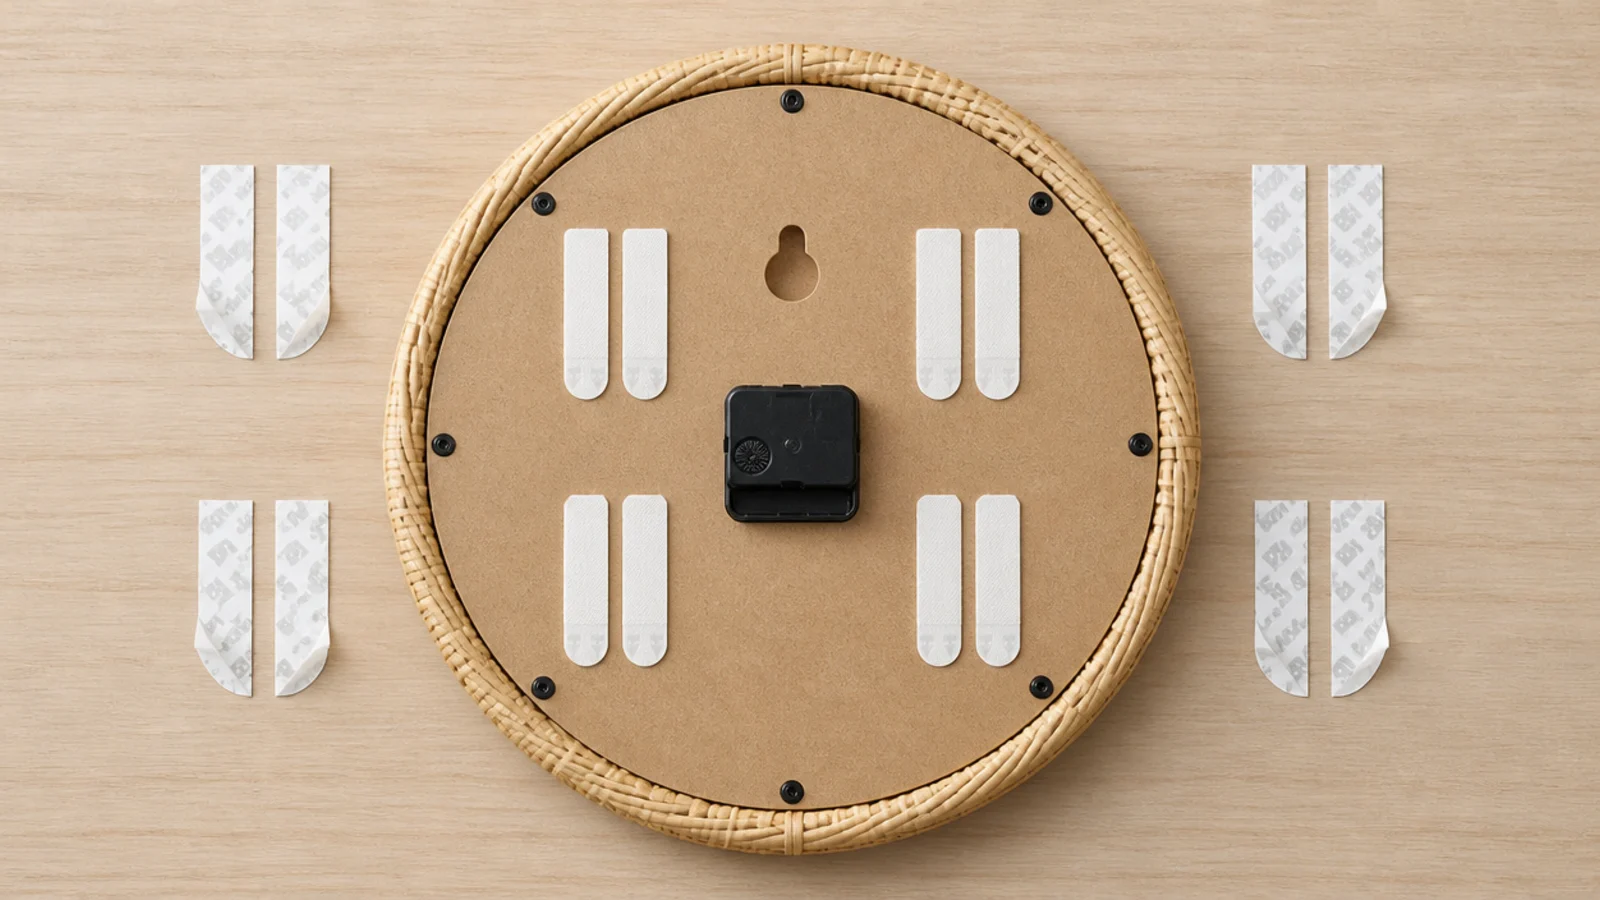
3. Spread the load across four pairs, not two
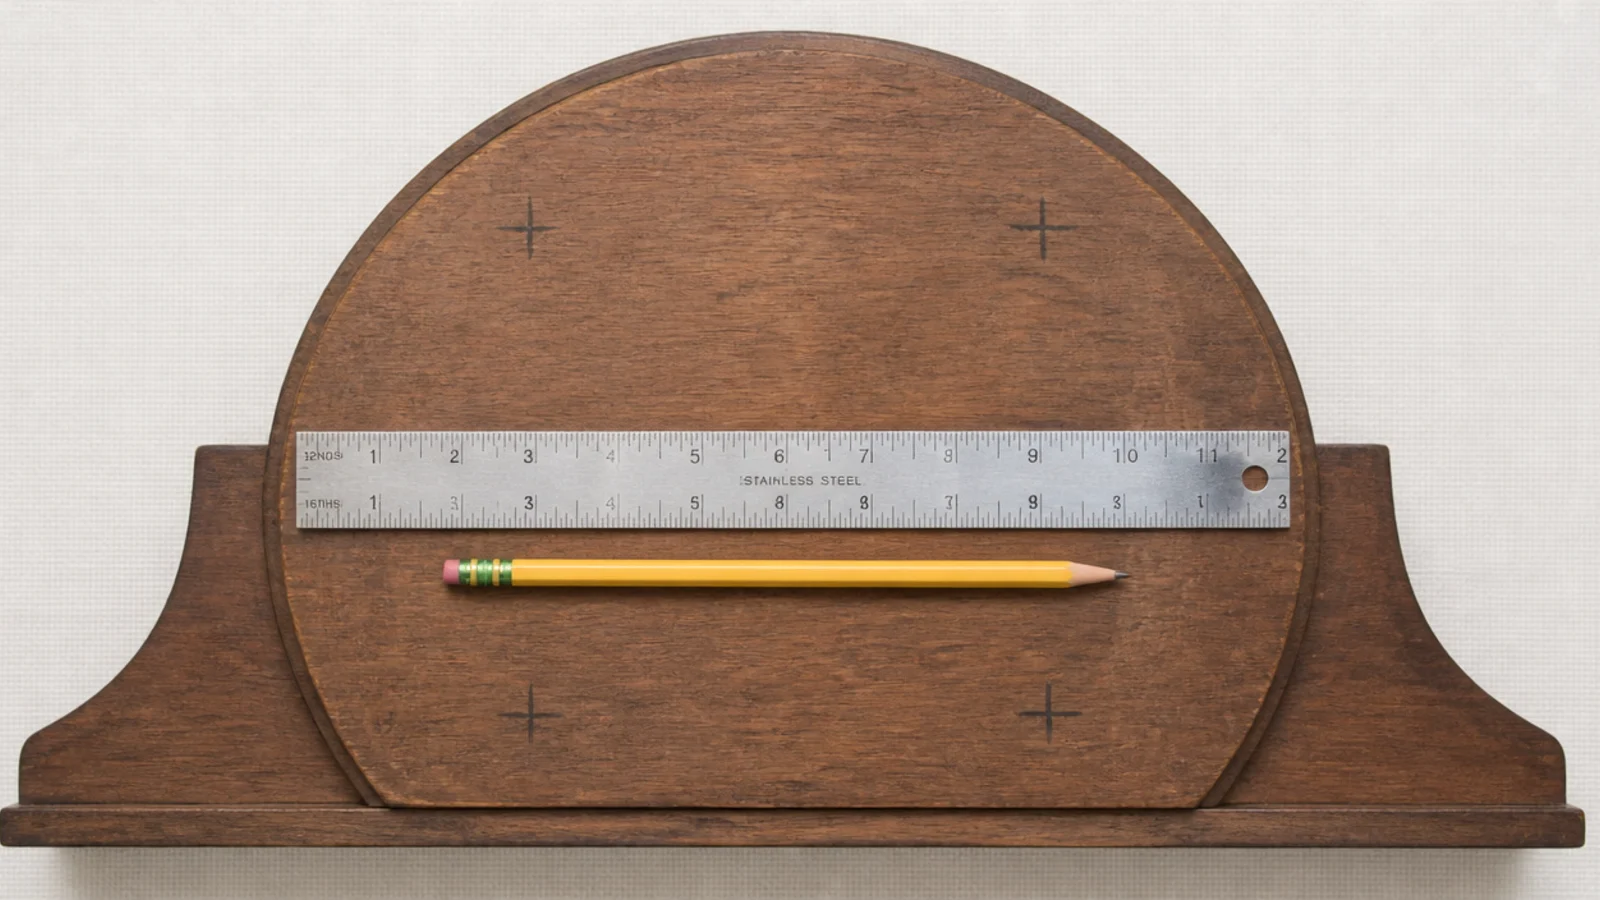
Two pairs at the centre of a clock back concentrate the load and let the case pivot. Four pairs near the outer edges spread it and hold the clock square. Mark the positions in pencil first — strips cannot be repositioned once they touch paint.
4. Build the whole group on a plywood backing board
Lay a sheet of quarter-inch ply on the floor, arrange the clocks on it, and fix them from behind with short screws. You get to rearrange endlessly at zero cost, and the spacing is locked forever once you are happy — no drift, no re-levelling.
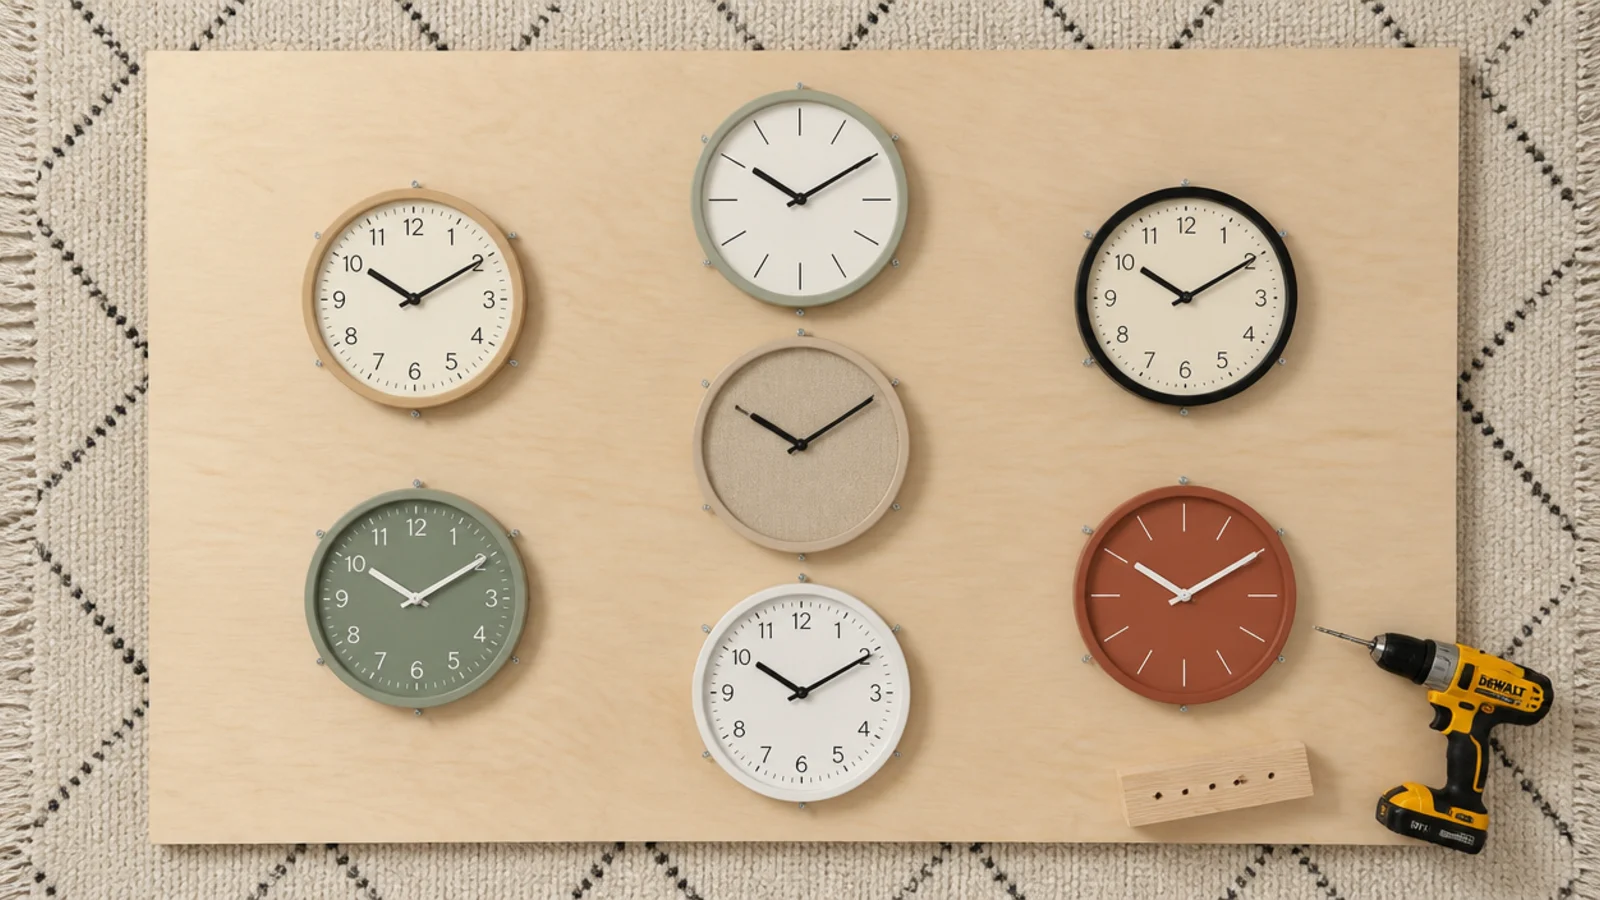
5. Hang the backing board on two screws
Two number eight screws into studs carry a fully loaded 4-foot panel comfortably, and that is two holes for a wall of nine clocks. Use a French cleat if the panel is large, which also lets it lift straight off in one piece on moving day.
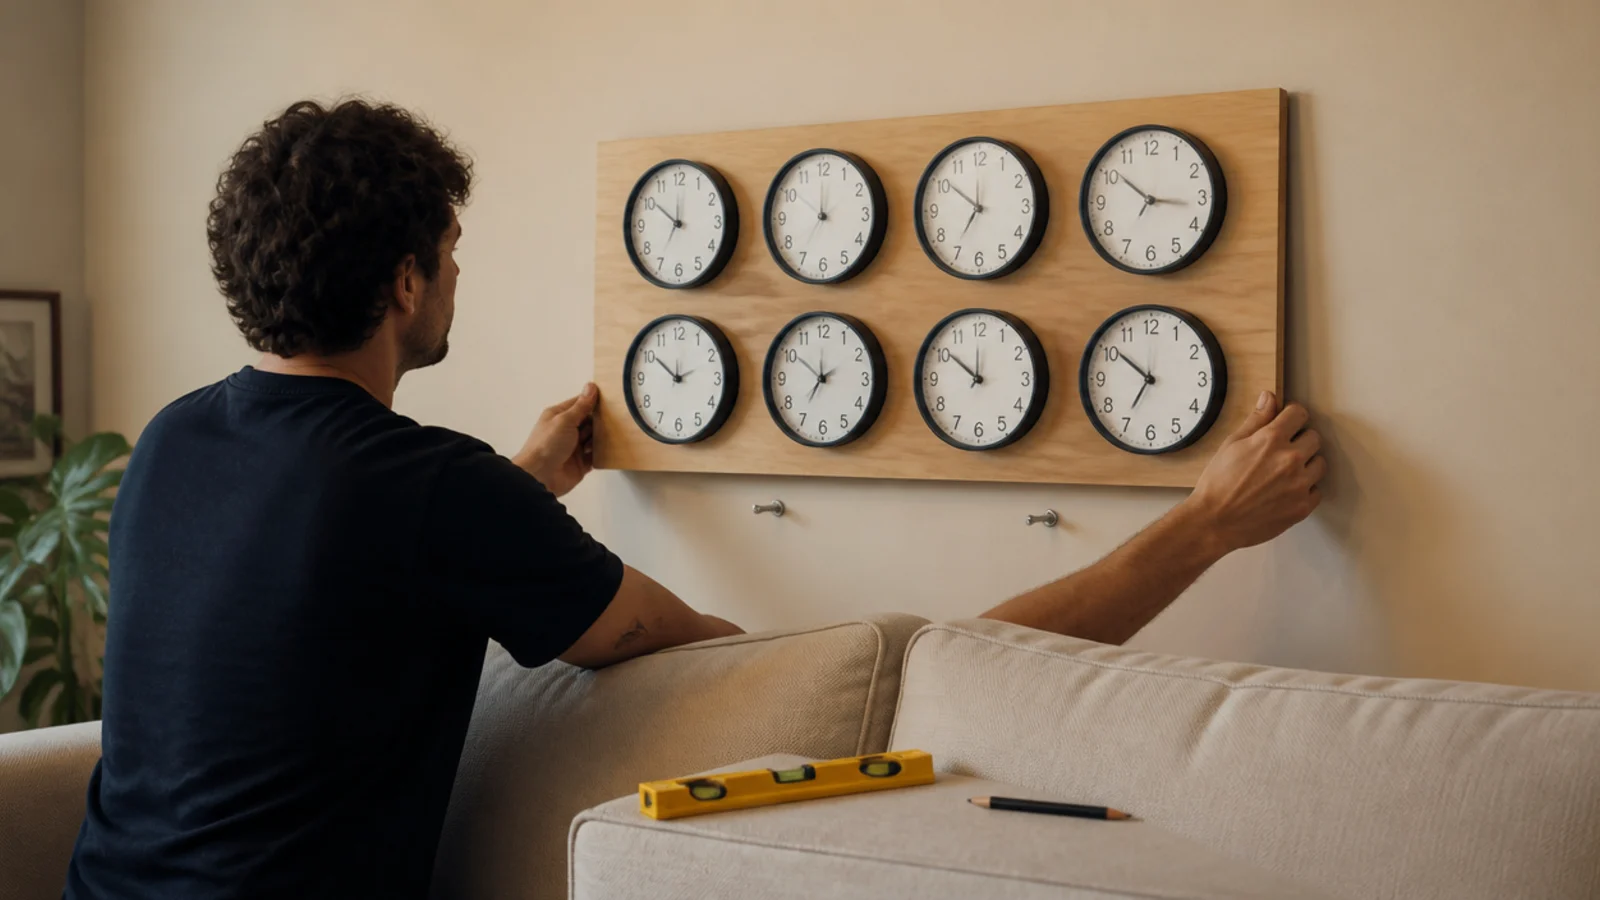
6. A picture ledge: two holes for a whole wall
A 36-inch ledge on two spring toggles carries 15 to 25 pounds and turns the wall into something you can restyle weekly. Keep the ledge at least 4 inches deep so a leaning clock sits back at a stable angle rather than balancing on its rim.
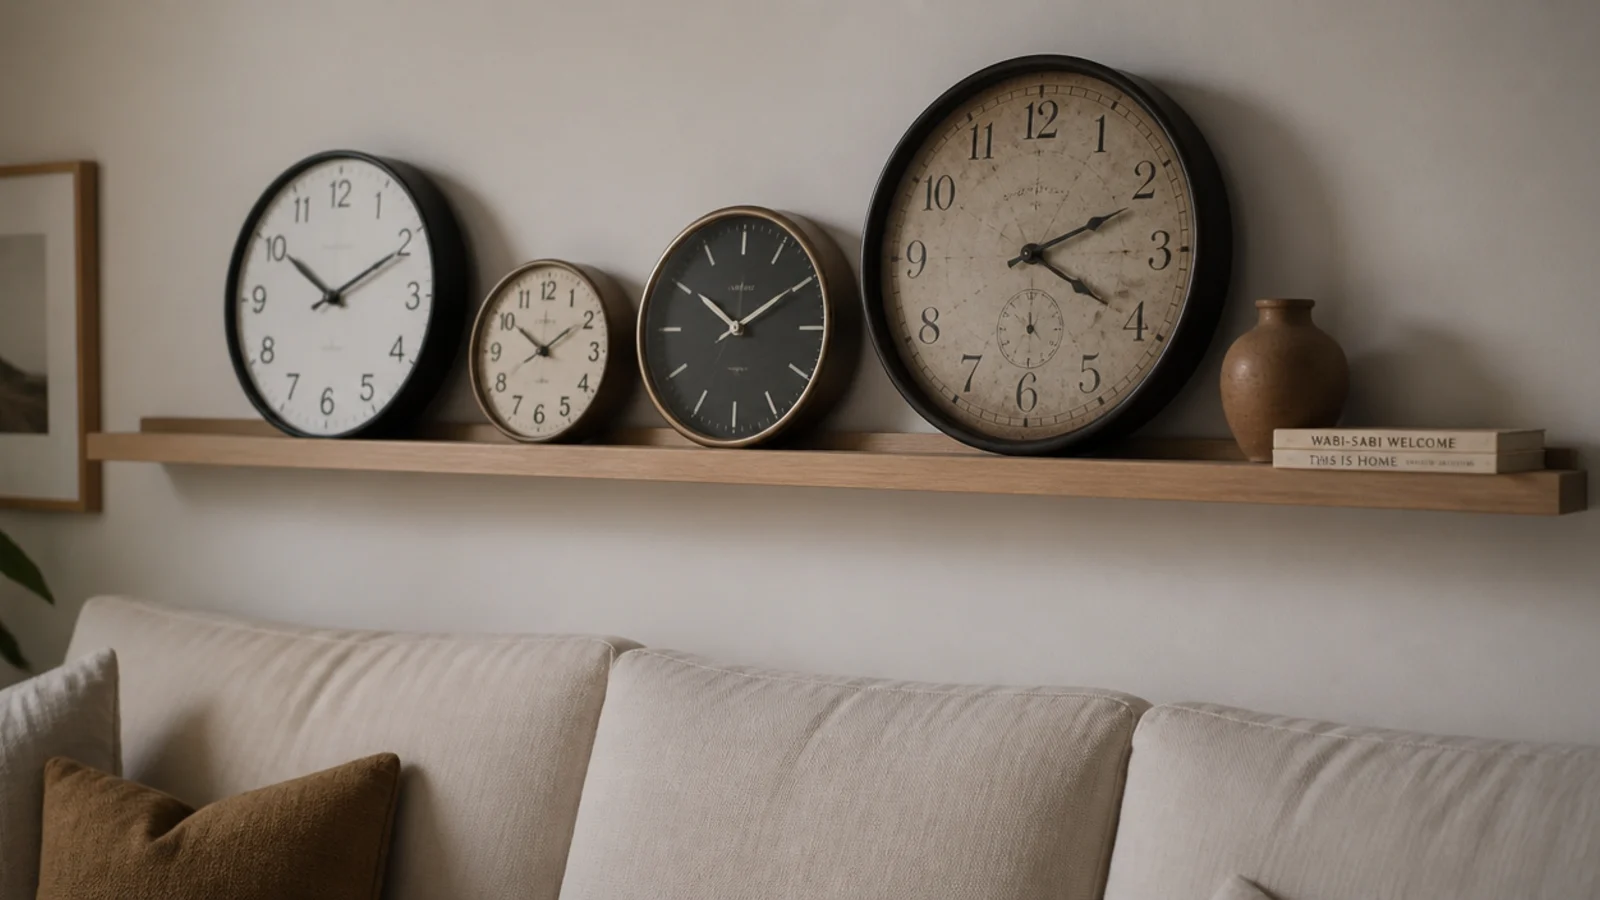
7. Lean, do not hang
Mantels, radiator shelves and existing bookshelves are all clock walls that need no fixing at all. A coin of museum putty under the rim stops a leaning clock creeping forward when a door slams, which is the only failure mode this approach has.
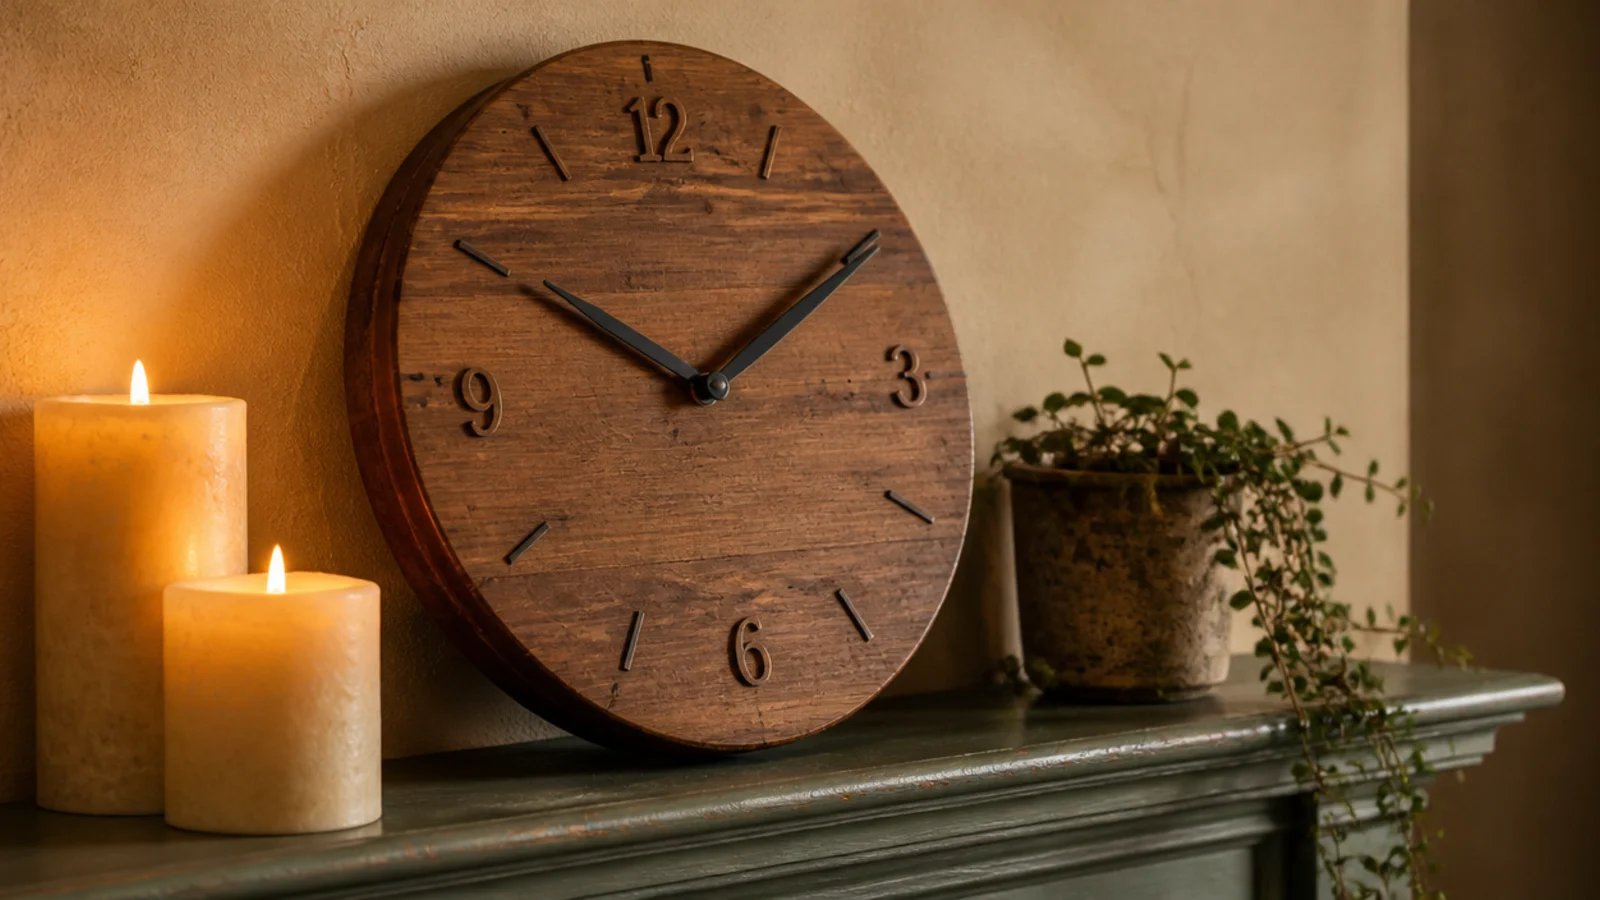
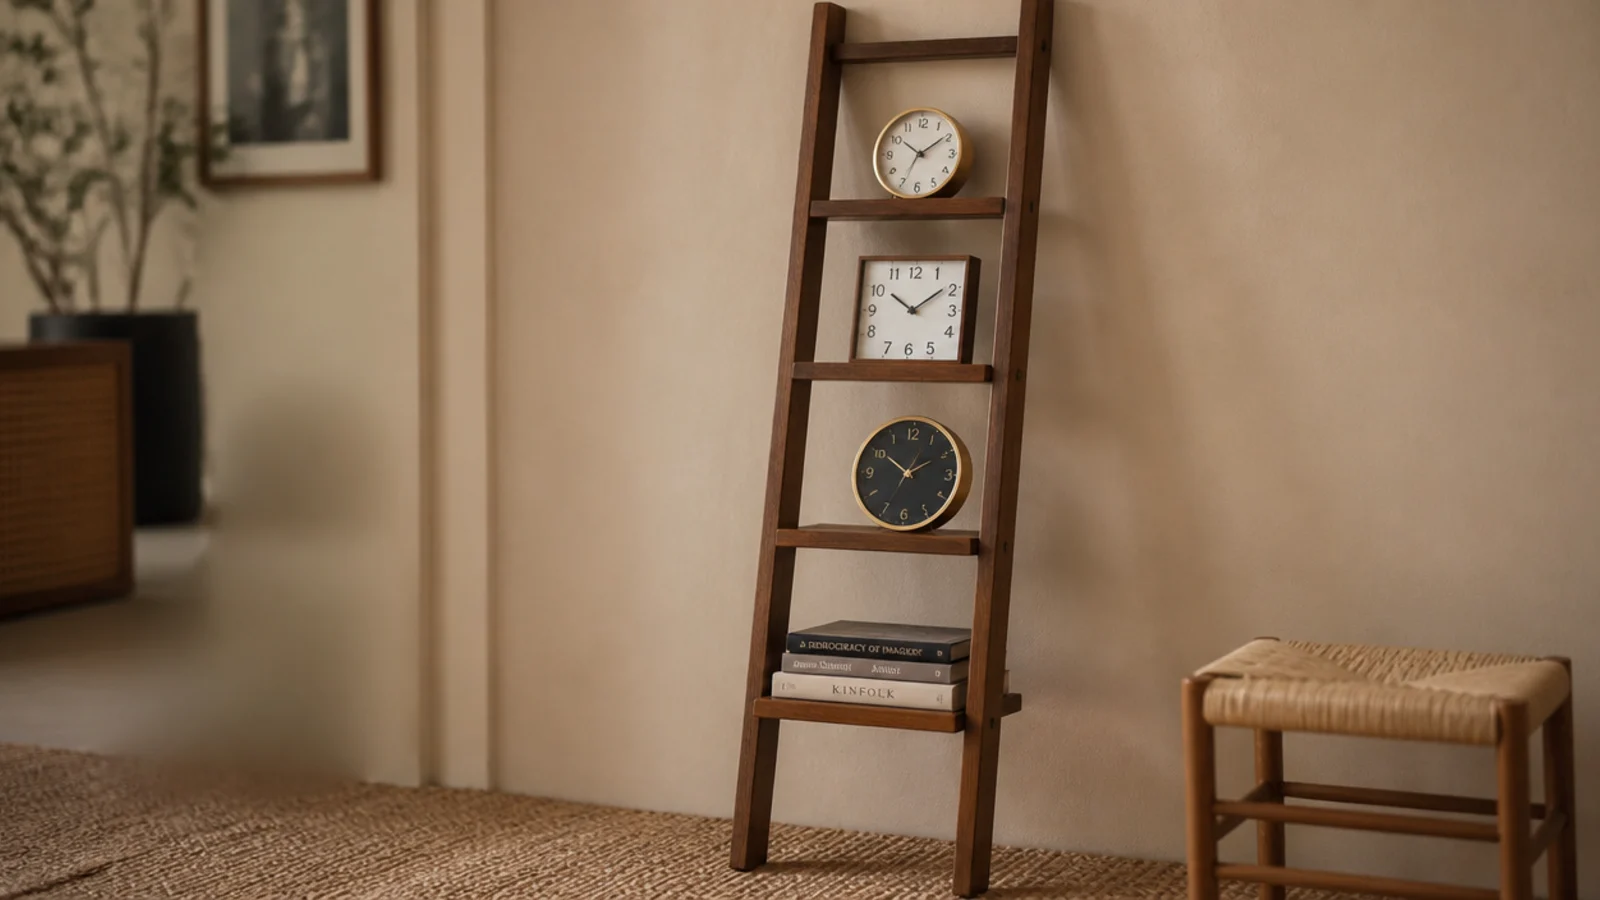
8. A leaning ladder shelf of clocks
A slim leaning ladder shelf transfers the entire load to the floor. Three or four faces across its rungs read as a deliberate arrangement, and the only wall contact is a rubber foot at the top. Secure it to the wall with one small anti-tip fixing if there are children or pets in the flat.
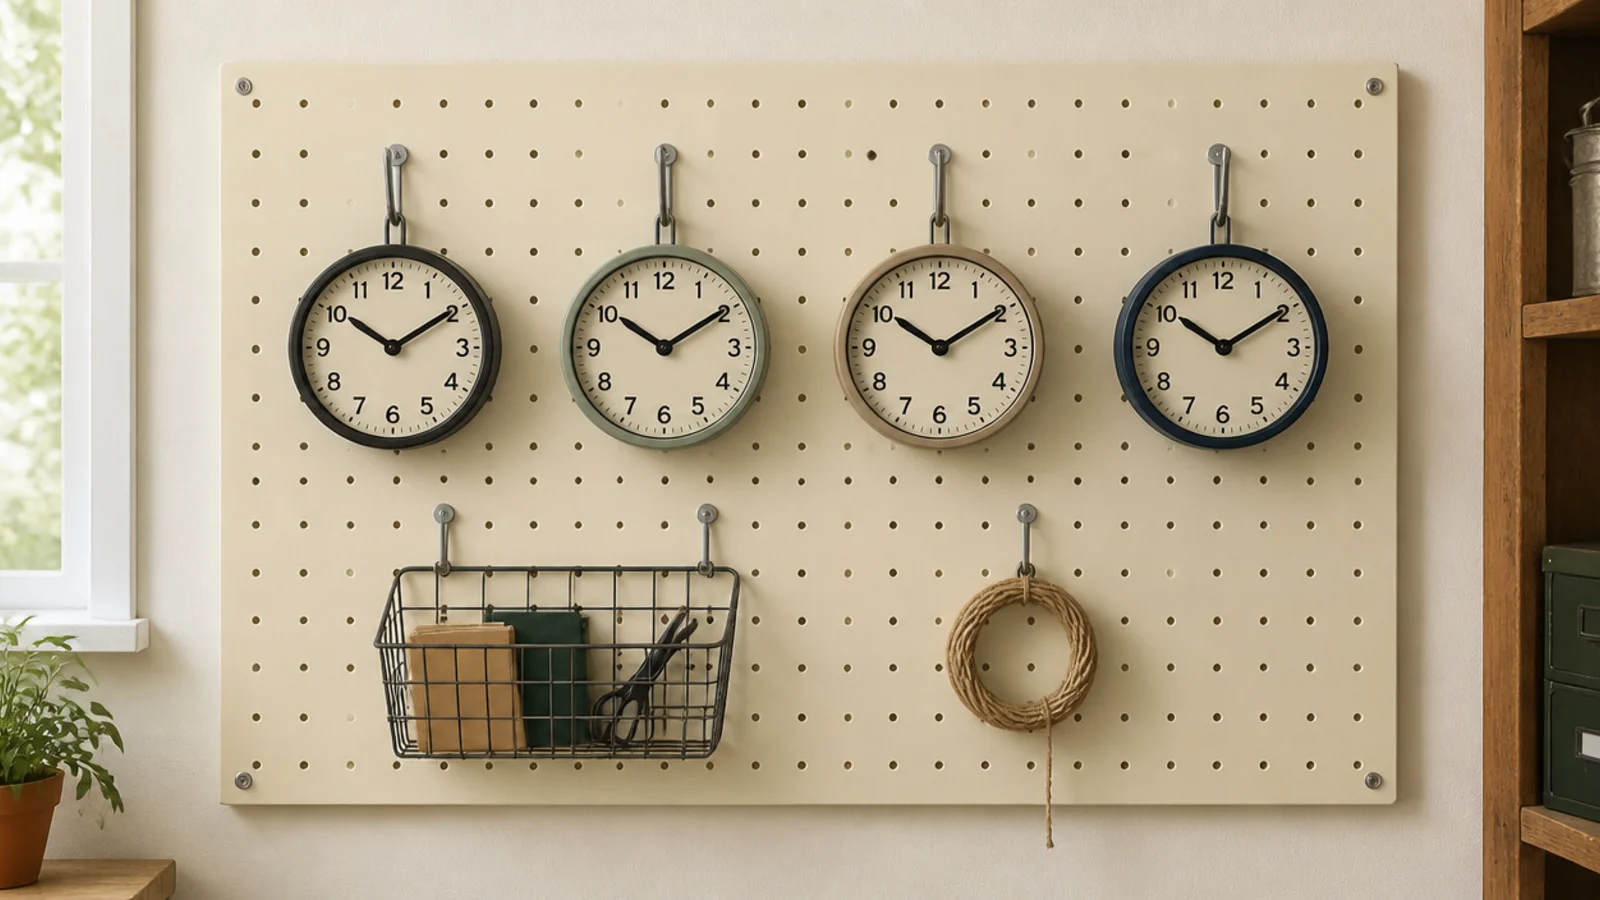
9. A pegboard panel and moveable hooks
A painted pegboard panel goes up on four screws and then never needs another hole. Moving a clock means moving a hook, which makes it the most flexible option here. It also suits a home office wall where the same panel carries tools and plants.
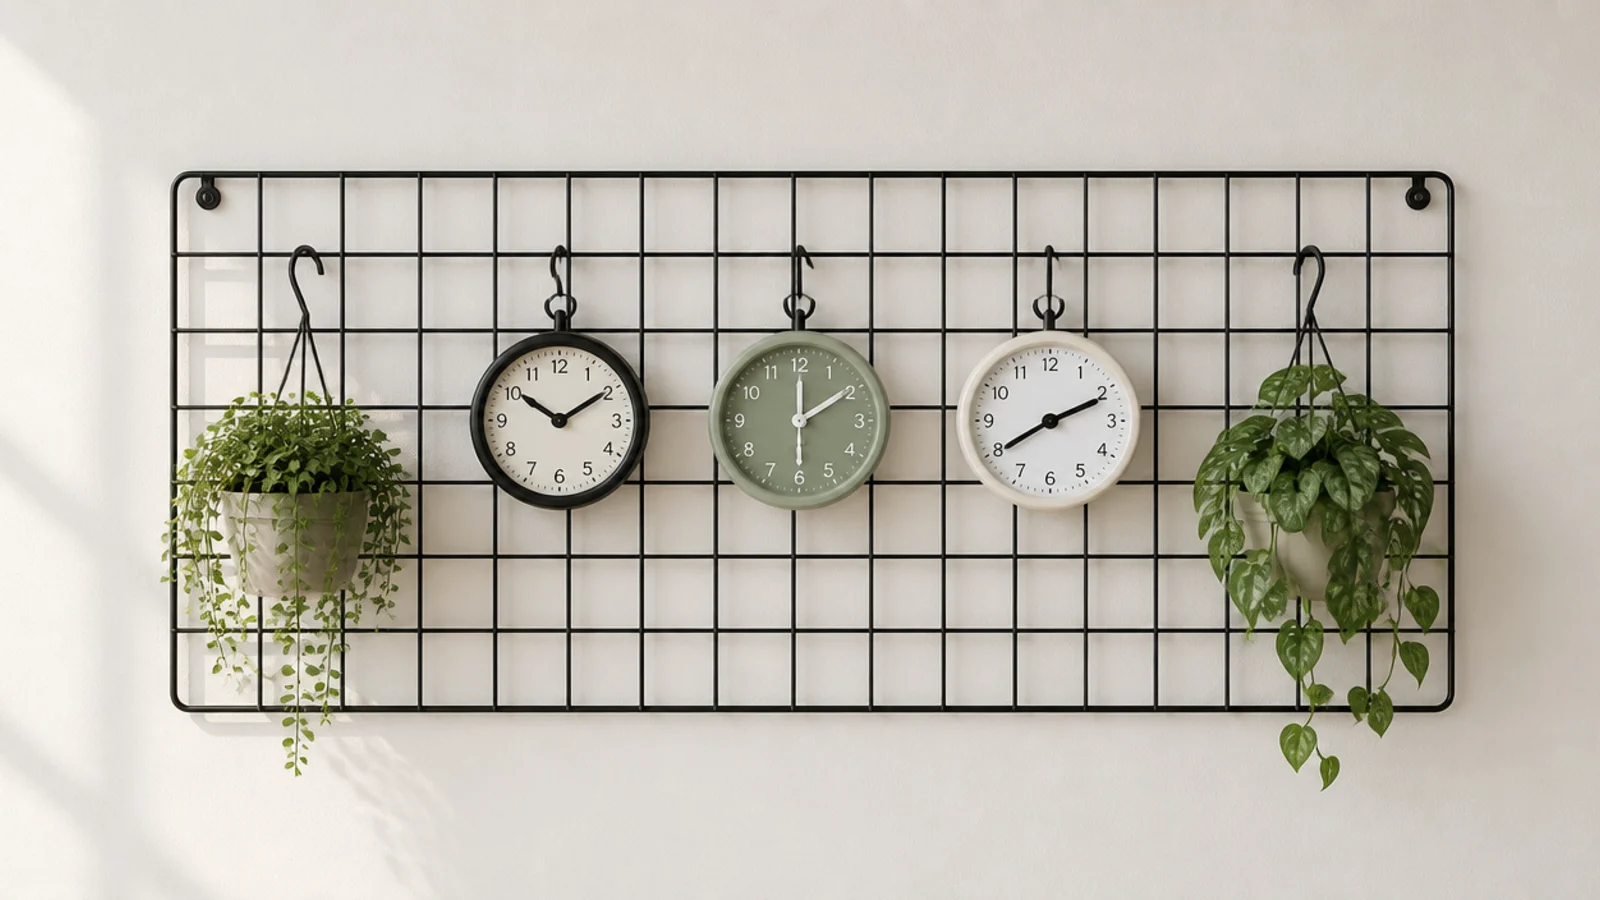
10. A wire grid with S-hooks
Grid squares do your spacing for you, which removes the hardest part of a multi-clock layout. Keep every hung face under about 2 pounds, because S-hooks concentrate the load on a single wire, and hang the heaviest item nearest a grid fixing point.
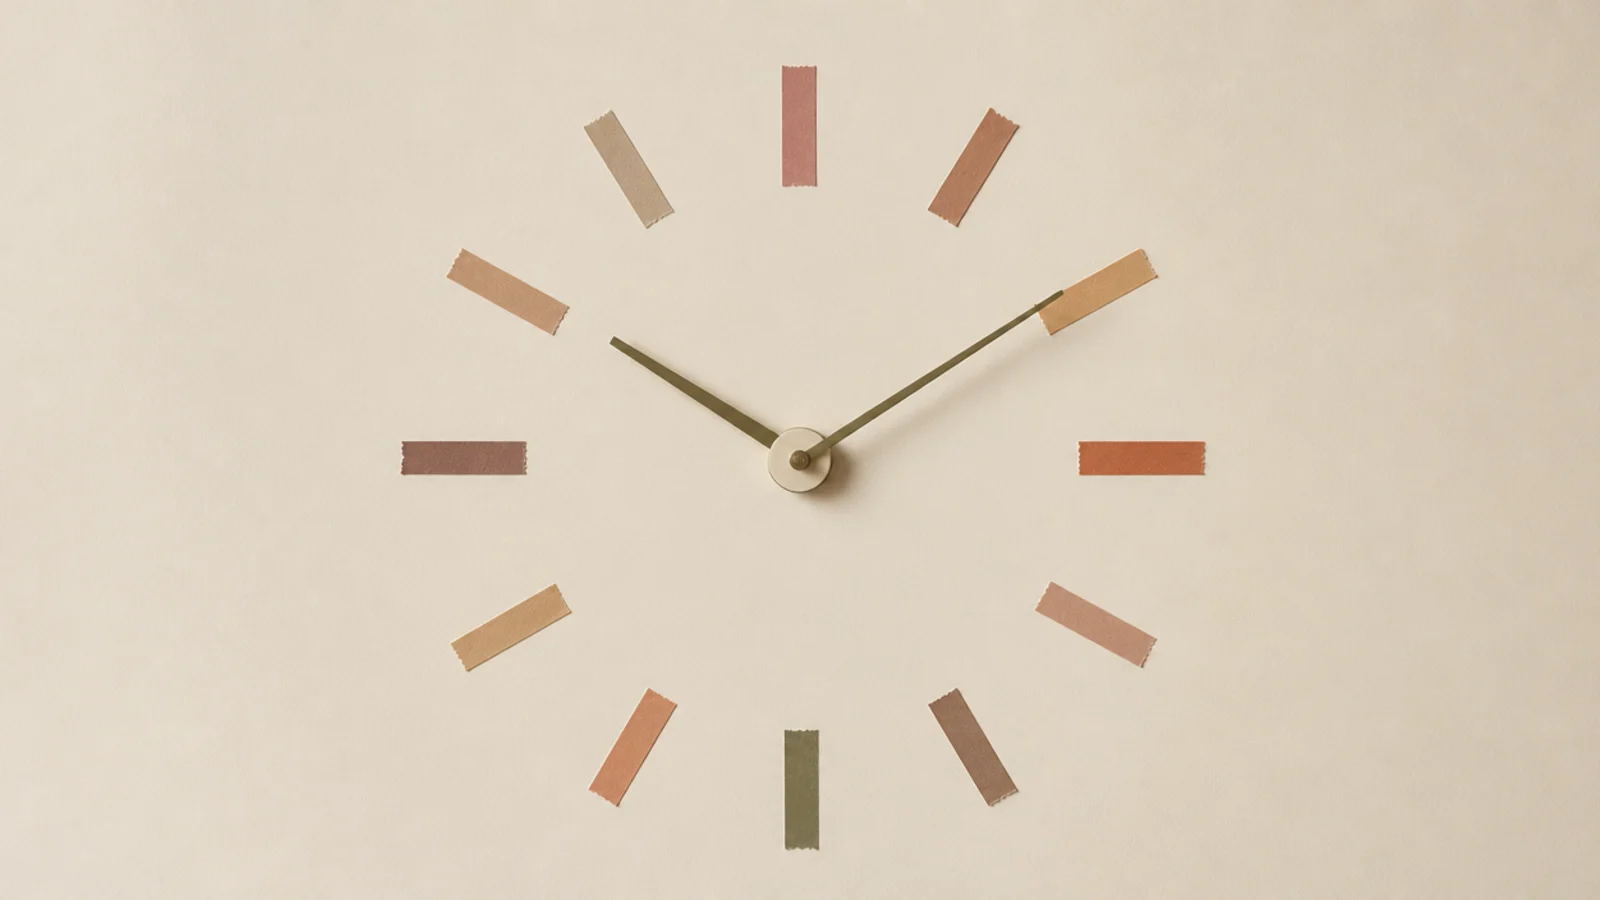
11. Washi tape numerals straight onto paint
Twelve short strips of washi tape in a circle around a small central movement give you a 24 to 30 inch clock with one tiny hole. Good quality tape peels clean off cured emulsion after a couple of years. Test it on fresh paint first, which is far less forgiving.
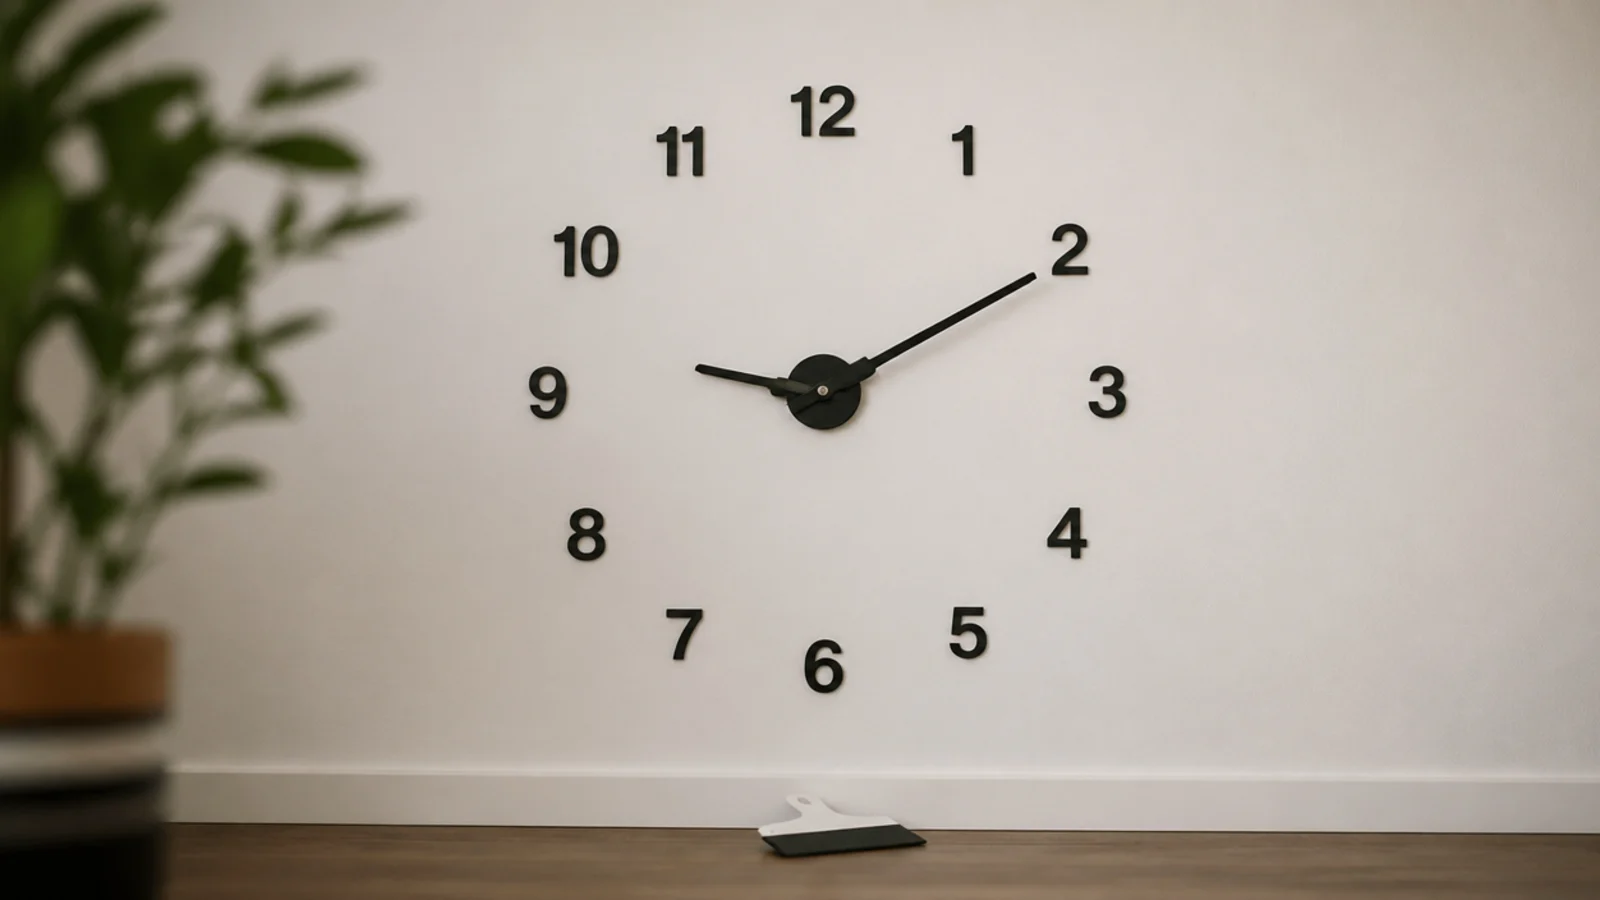
12. A removable vinyl decal dial
Matte wall vinyl gives crisper numerals than tape and comes away in one piece if you warm it gently and pull at a low angle. Buy the removable grade rather than permanent, and avoid it entirely on textured or freshly painted walls where it takes the surface with it.
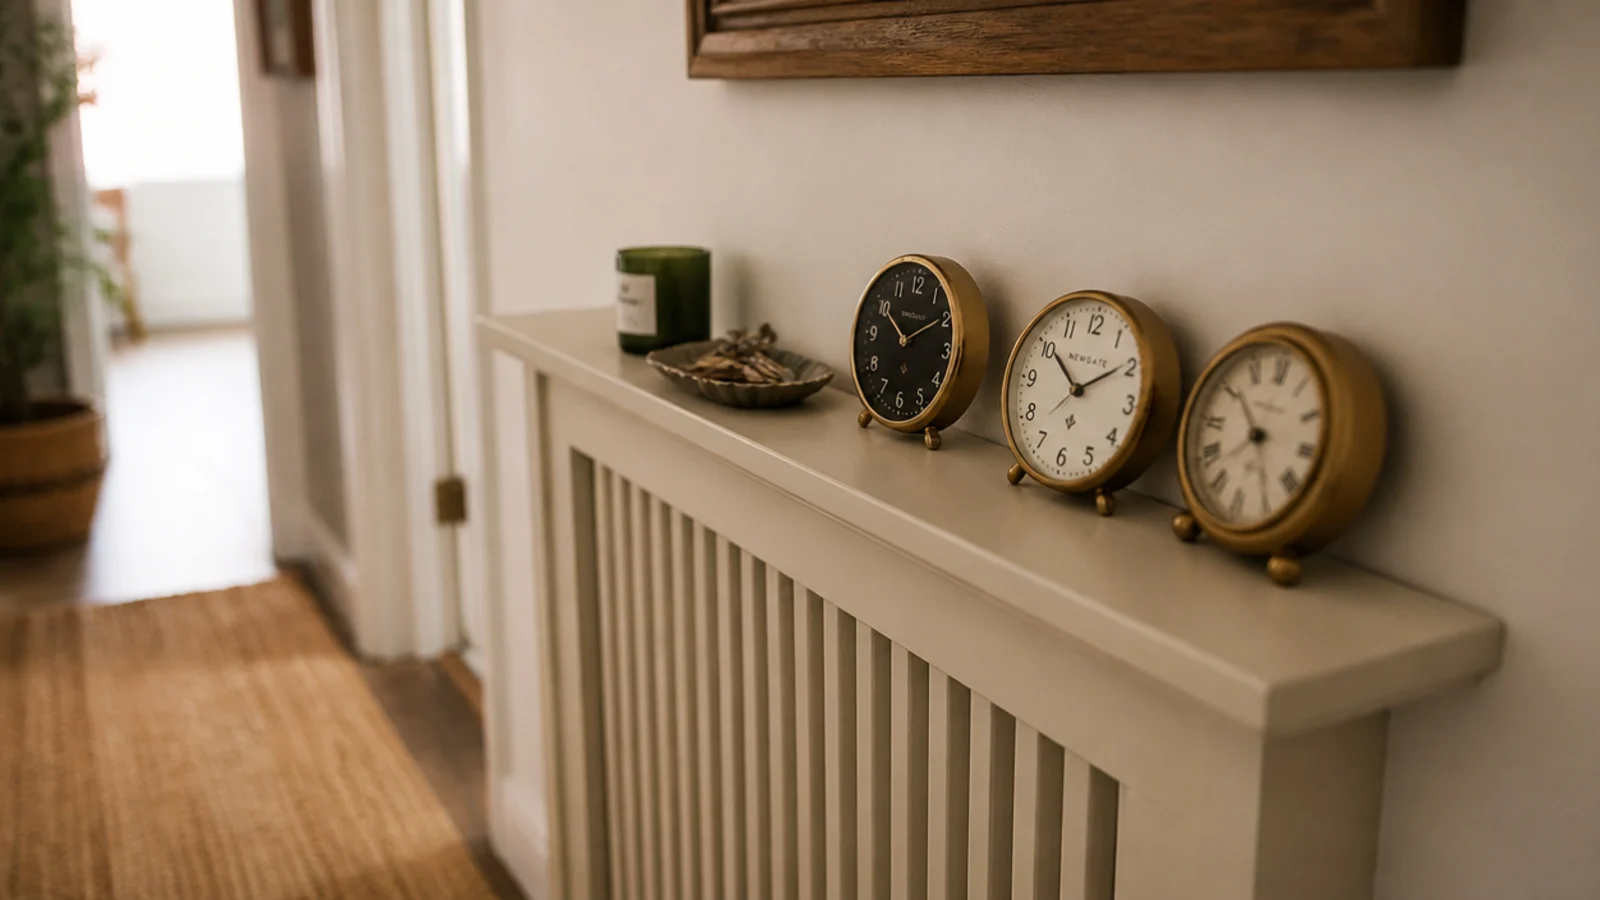
13. Clocks propped along a radiator shelf
Every rental hallway seems to have a slim shelf over a radiator that nobody uses. Three small clocks propped along it read as a collection. Watch the heat — a timber case sitting directly above a hot radiator dries out and can open at the joints over a winter.
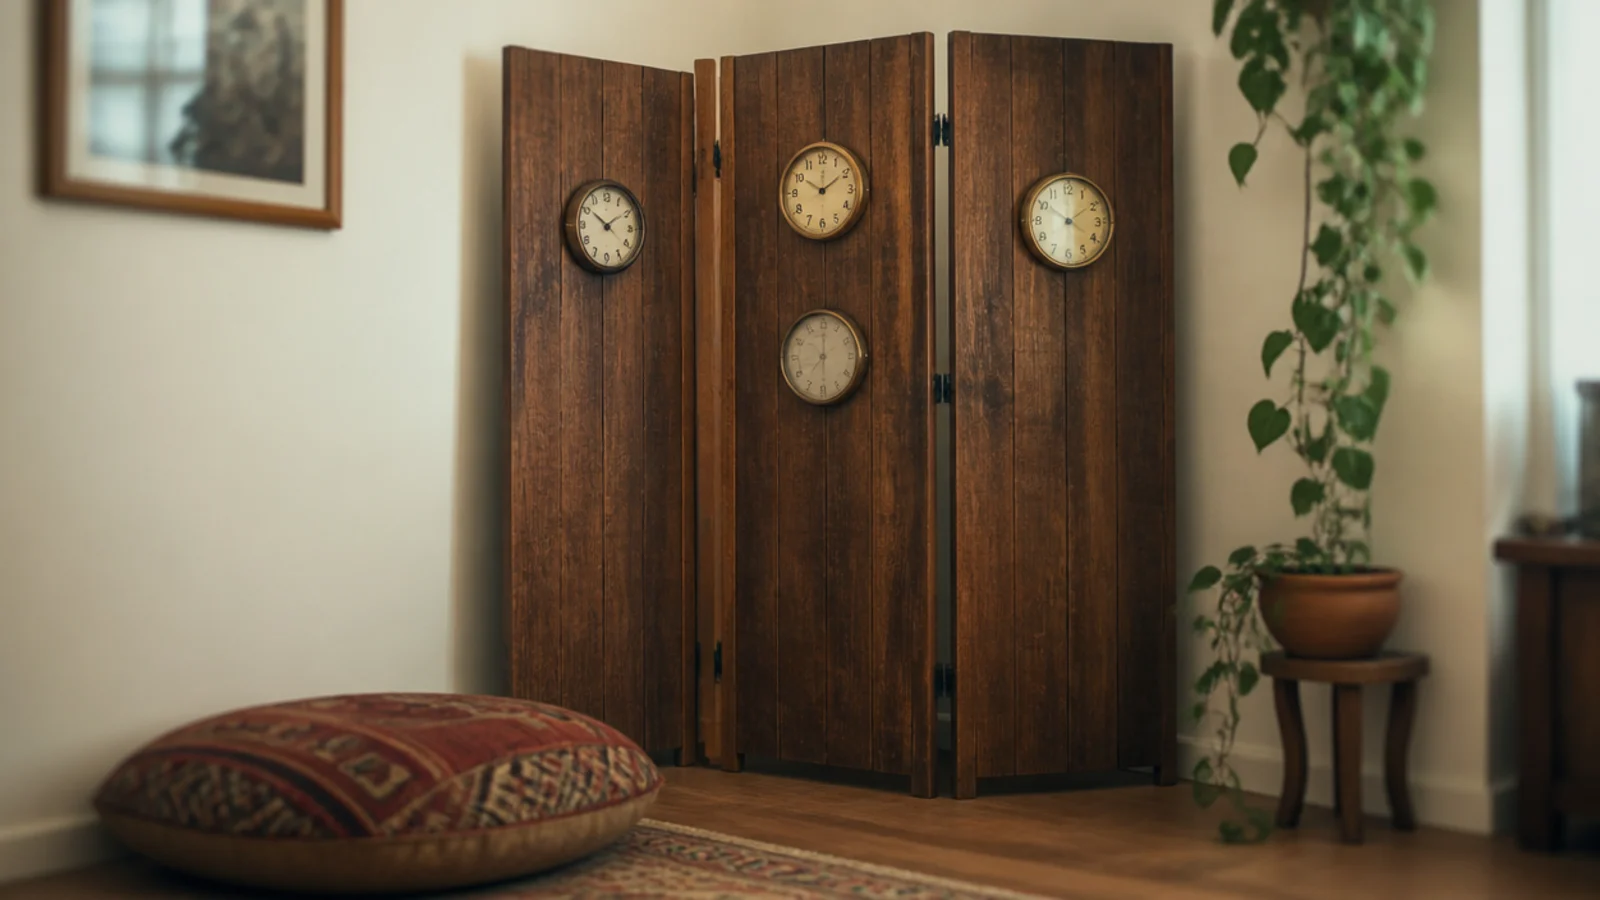
14. A freestanding folding screen as the wall
If the lease bans fixings outright, bring your own wall. A three-panel folding screen takes four or five clocks, stands in a corner and leaves with you. It also solves a room where the only decent wall is glass or fitted joinery.
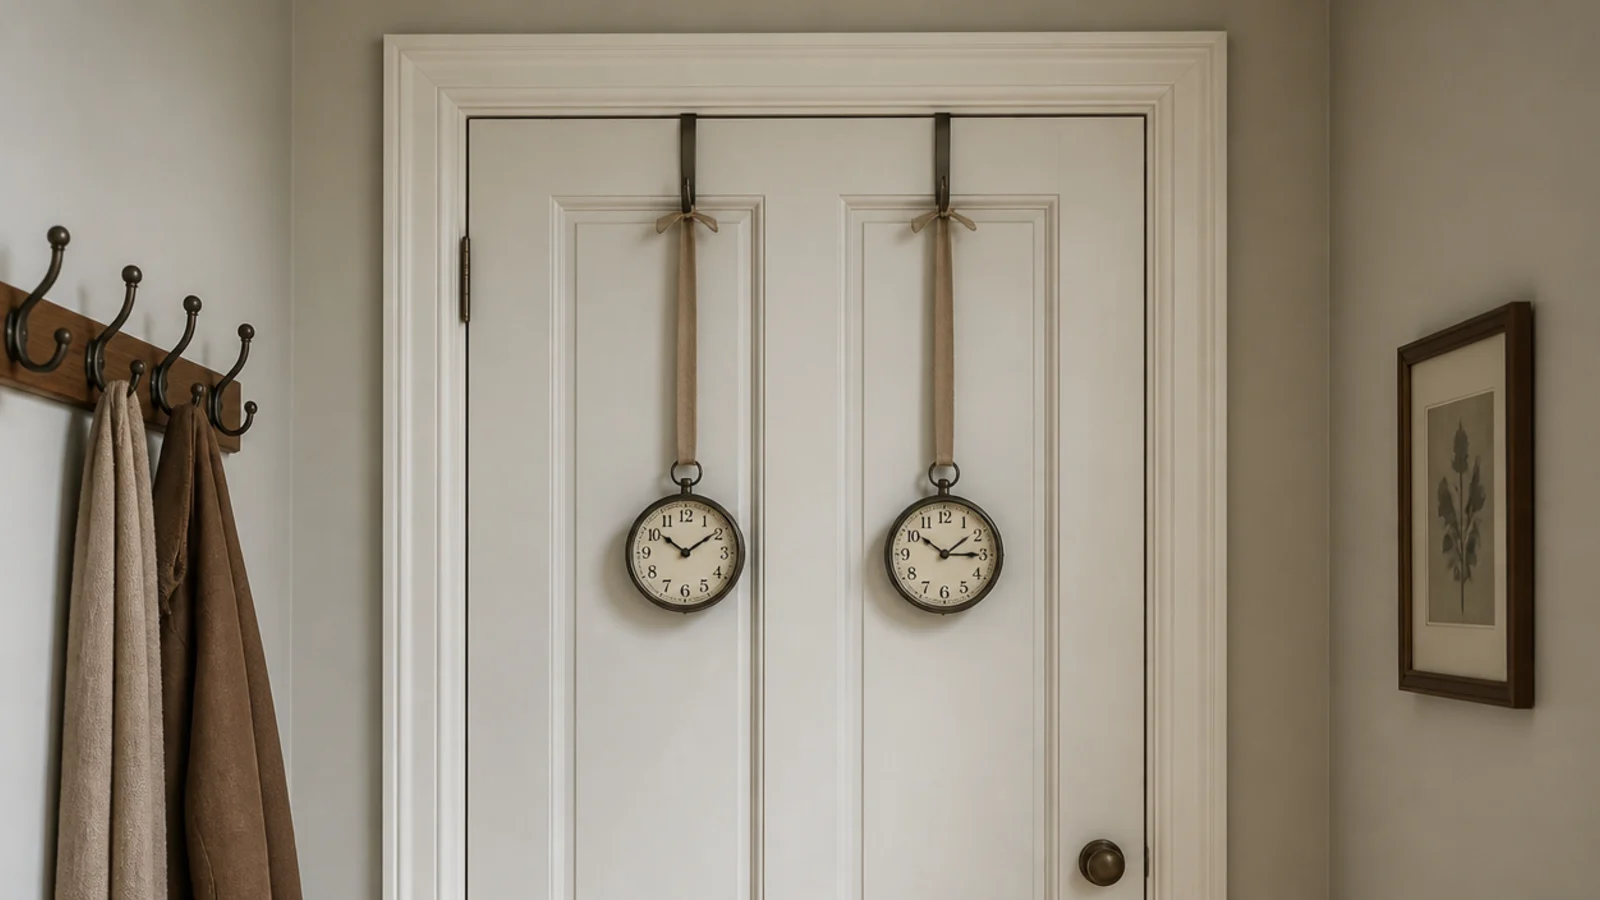
15. Over-door hooks for a hallway cluster
Steel hooks that slip over the top of a door frame carry 5 to 10 pounds each with no fixings at all. Hang two light clocks on linen ribbon at different drops. Keep them clear of the door swing, and skip this on a door people slam.
16. A fabric panel on a tension rod
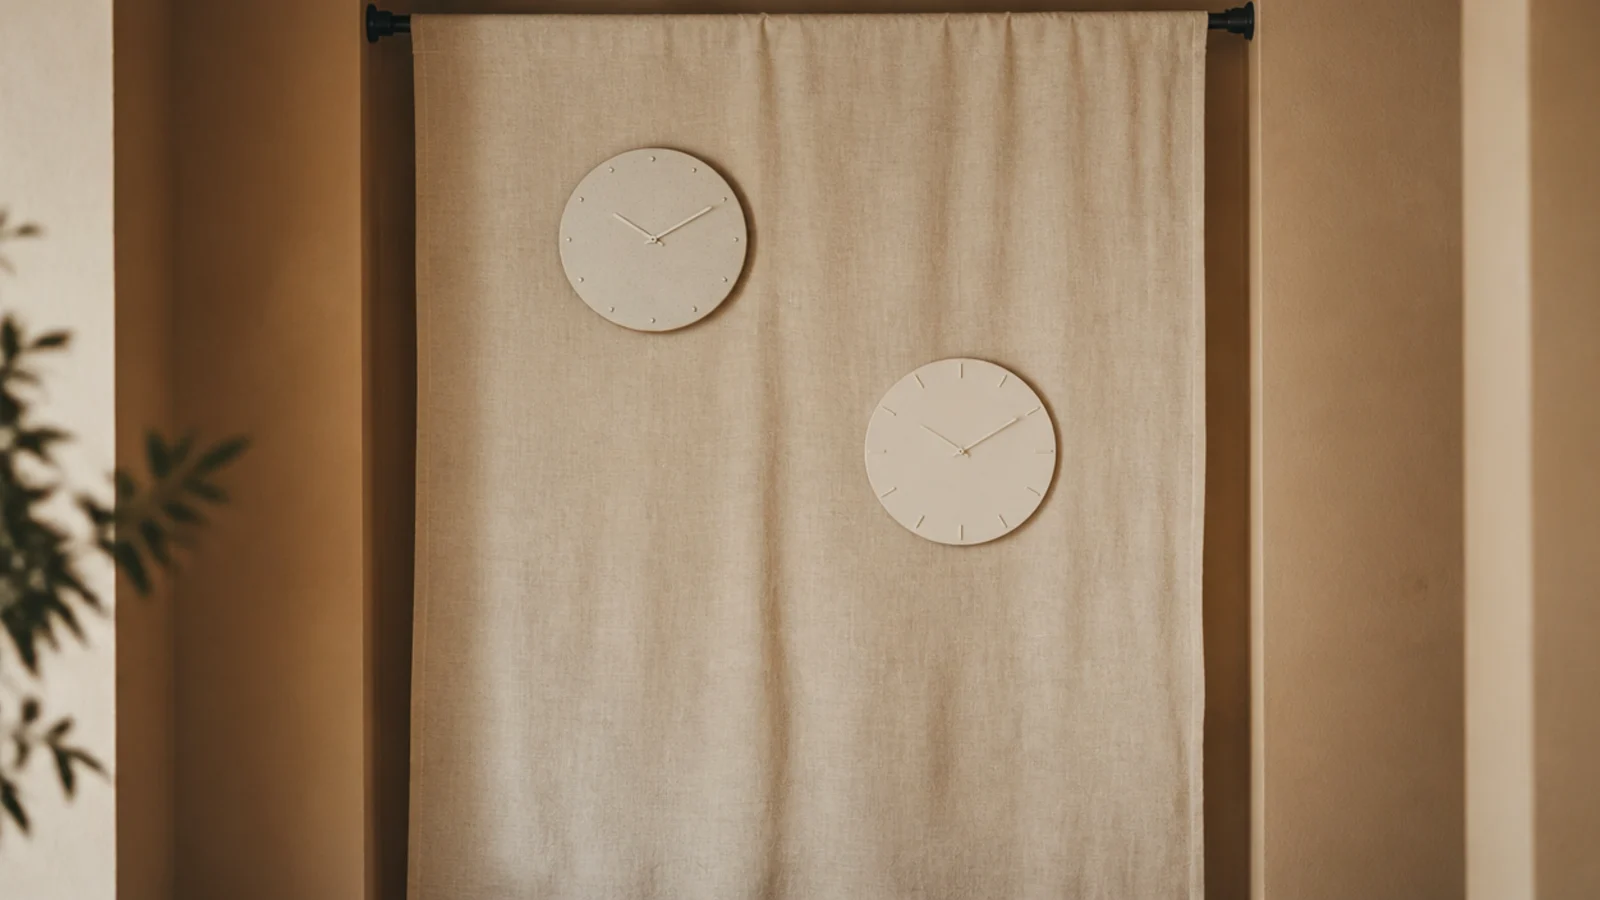
A tension rod wedged across an alcove holds a linen panel, and very light clocks pin straight to the fabric. It is a genuinely zero-fixing solution, and the fabric softens the room acoustically. Keep the total load under about 5 pounds or the rod will creep down the wall.
17. Cork tiles as a pin-friendly backing
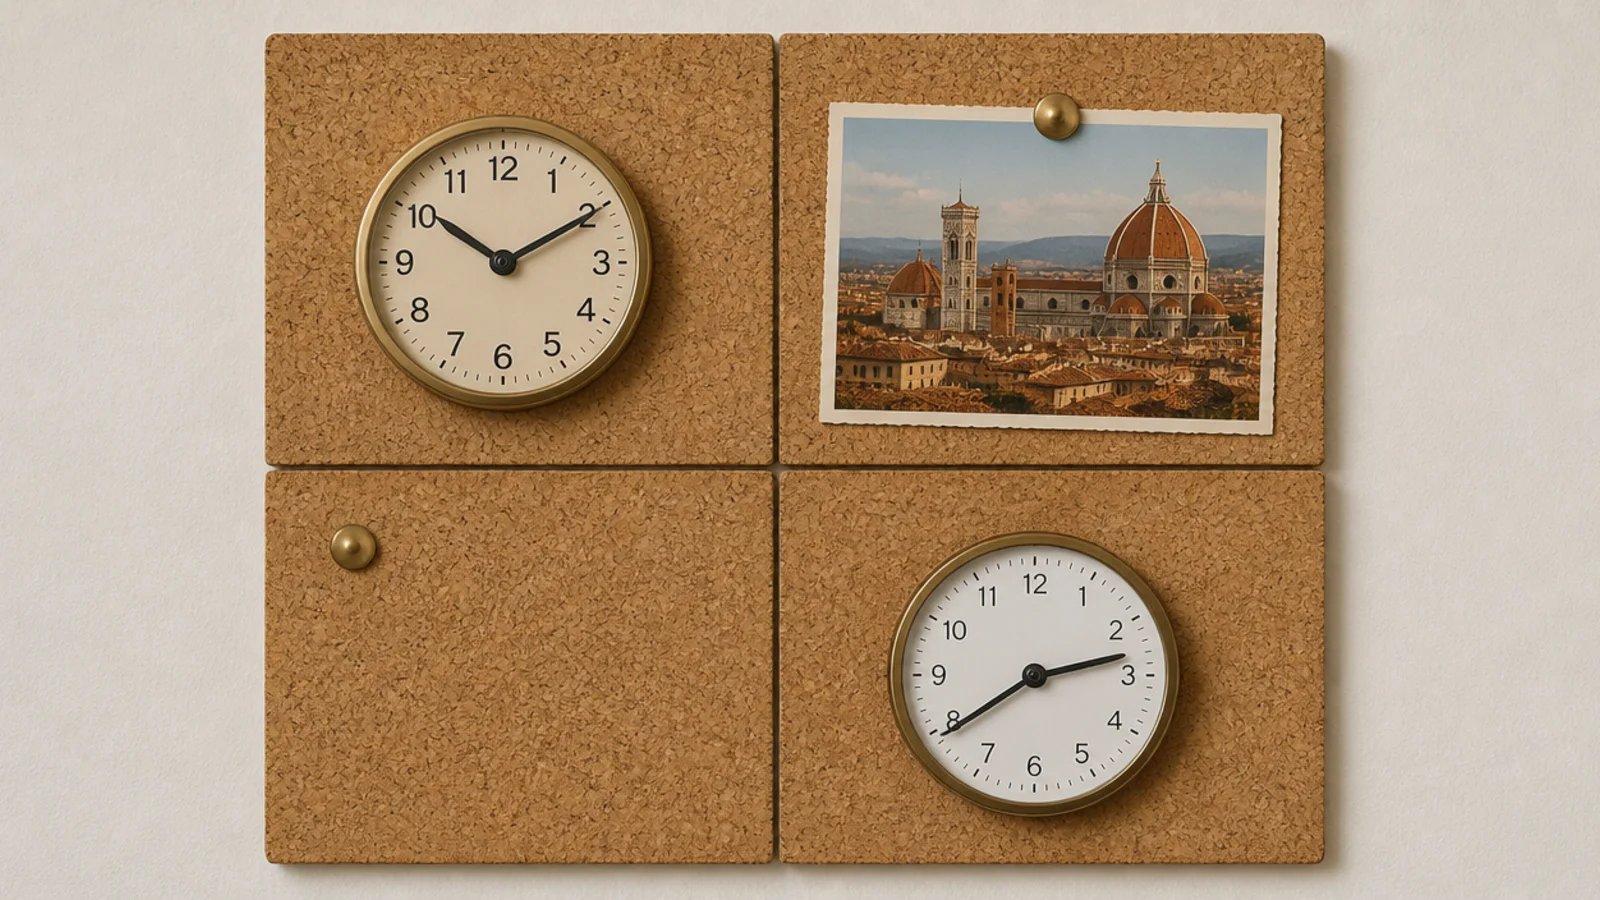
Four self-adhesive cork tiles make a 24-inch panel that takes push pins forever. Every clock hangs on a pin into cork rather than a fixing into plaster, and the tiles themselves come off with a hair dryer and patience. Ideal beside a desk.
18. Brad pins and the smallest hole that holds
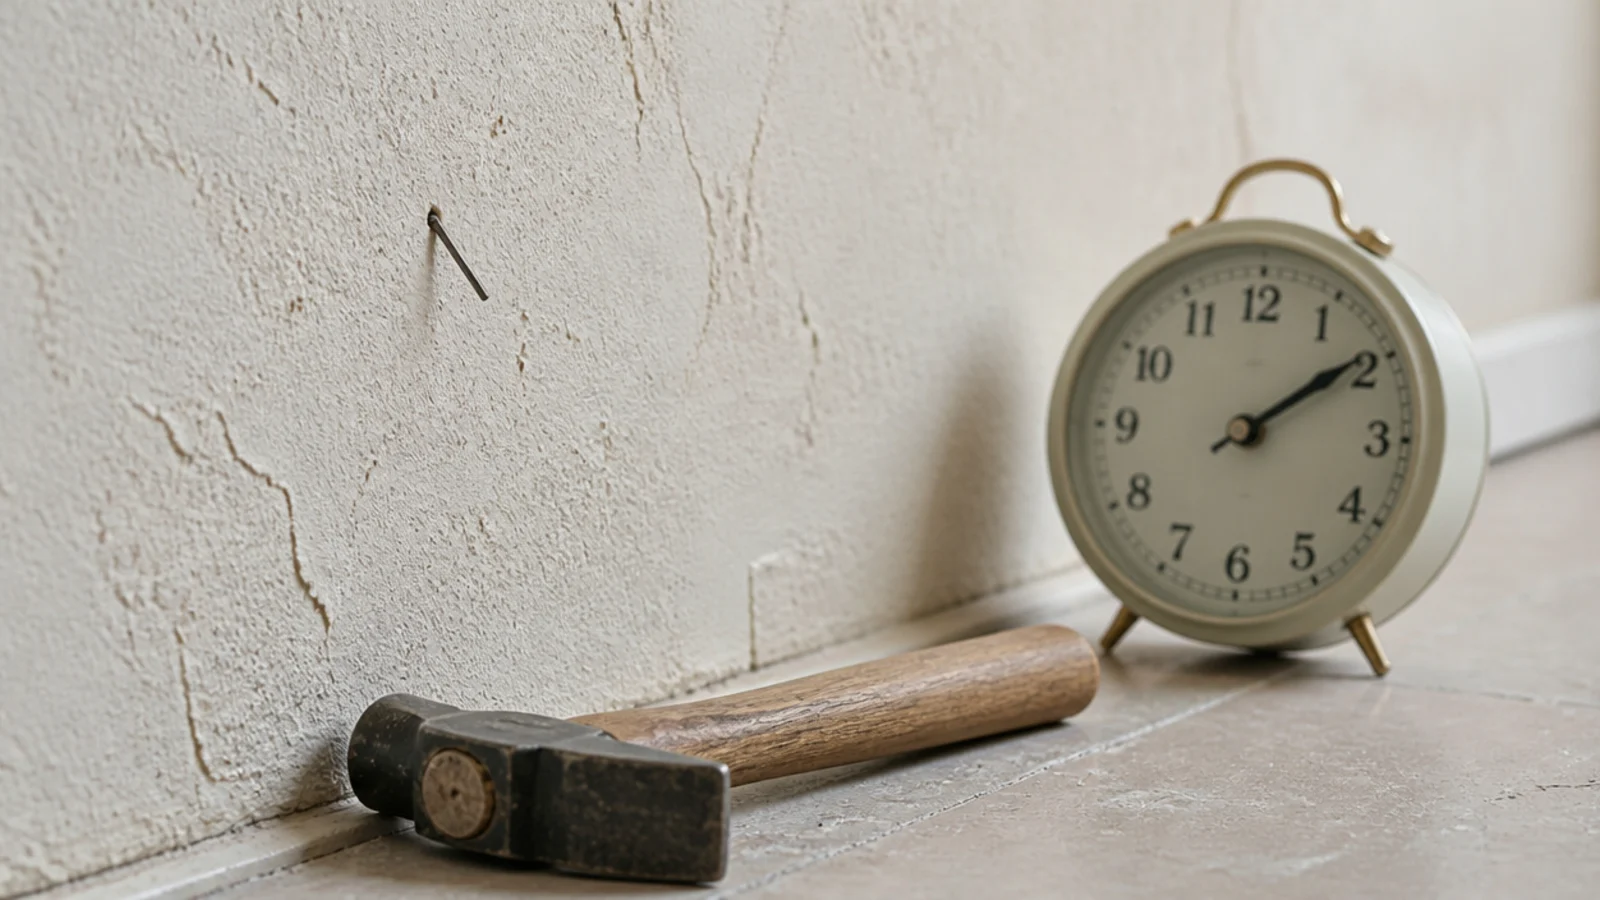
A fine brad pin driven downward at about 45 degrees holds 2 to 4 pounds in plaster and leaves a hole you can fill with a fingertip. For very light faces this beats adhesive because there is no paint risk at all. Two pins per clock stops it pivoting.
19. Spray thrifted faces one colour to unify them
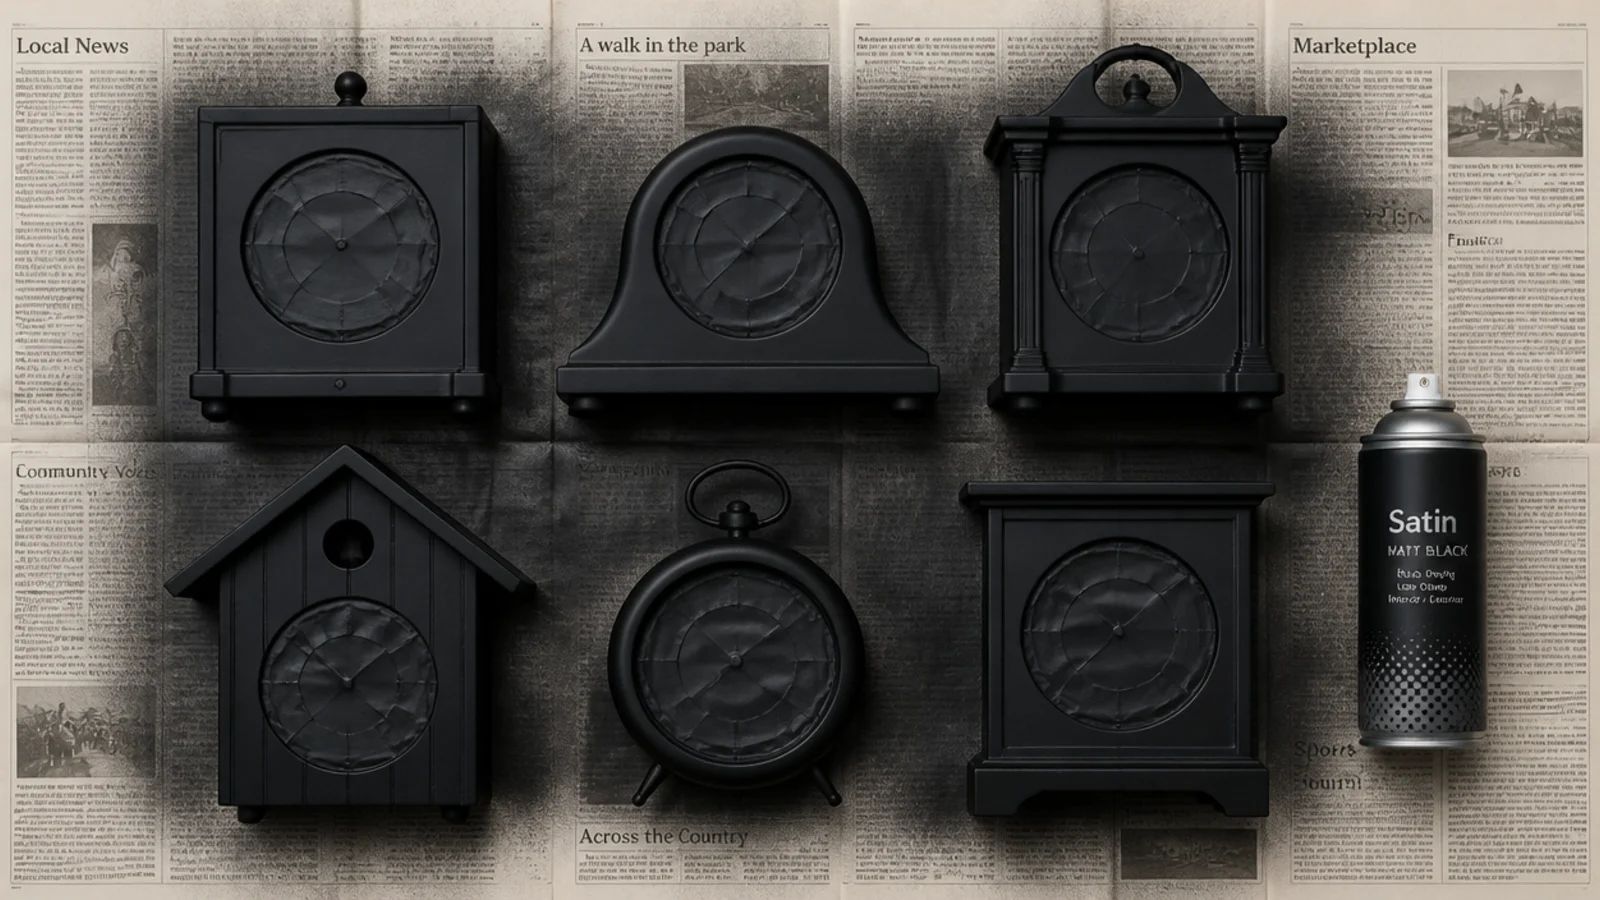
Ten mismatched charity-shop cases become a set the moment they are all the same colour. Mask the dials, spray in thin coats from 10 inches, and allow two hours between coats. One can of matte black at about $8 covers eight small clocks. See the grouping guide for spacing once they are unified.
20. Number the backs and map the layout
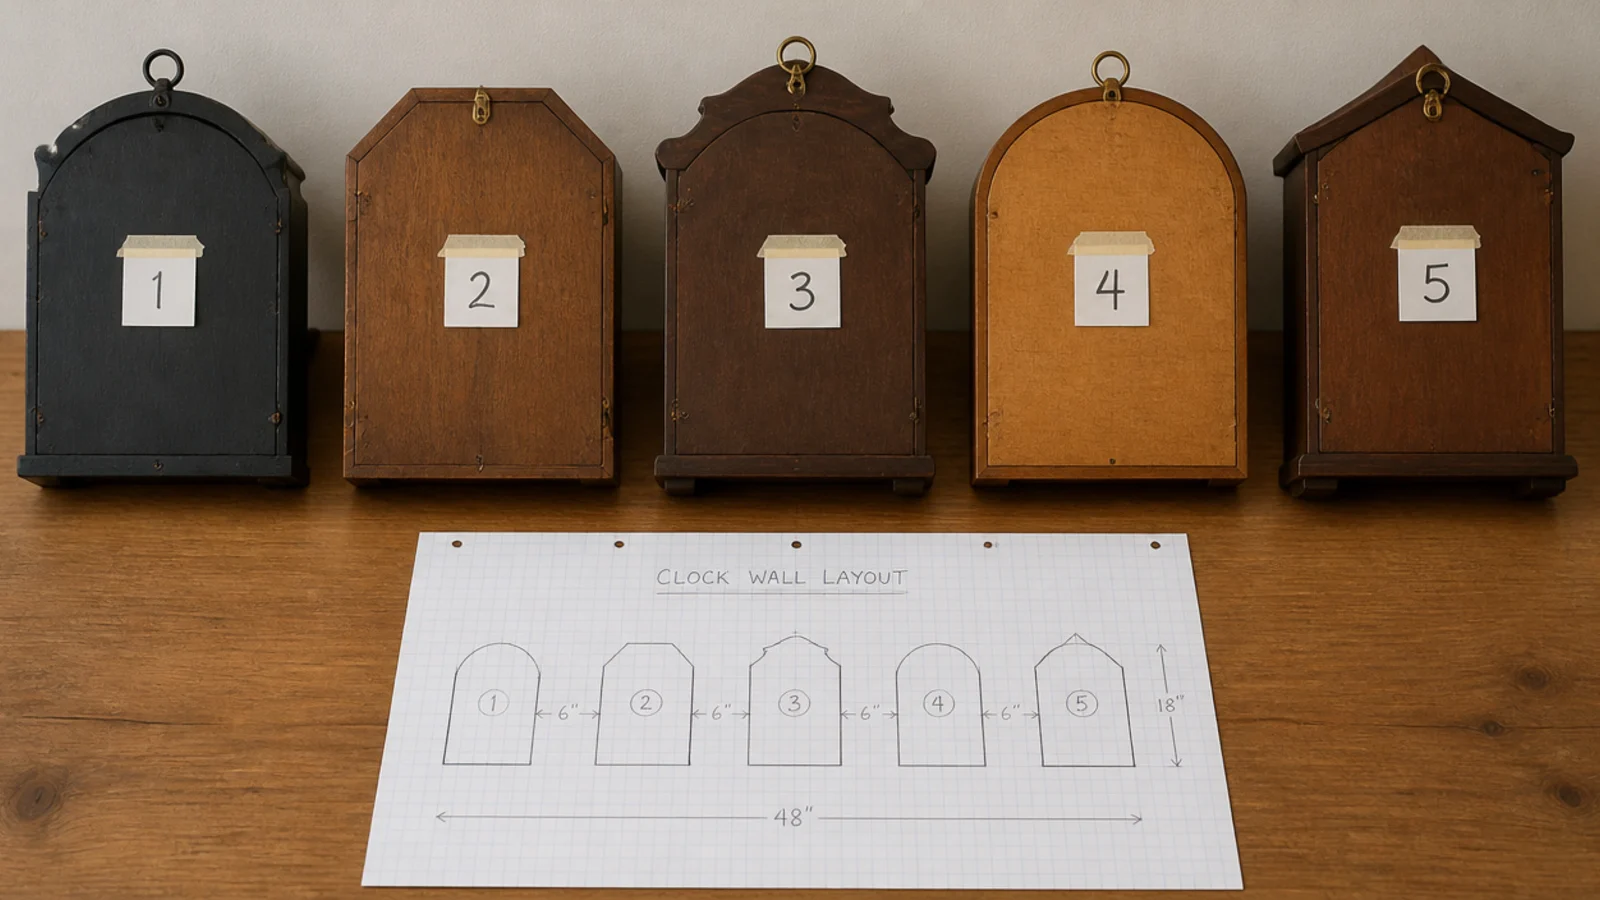
Label each back and sketch the arrangement on graph paper. Every clock needs a fresh cell within 8 to 18 months, and a map turns that into a two-minute job instead of a puzzle. It also means the wall goes back up identically in the next flat.
21. Fit sweep movements before anything goes up
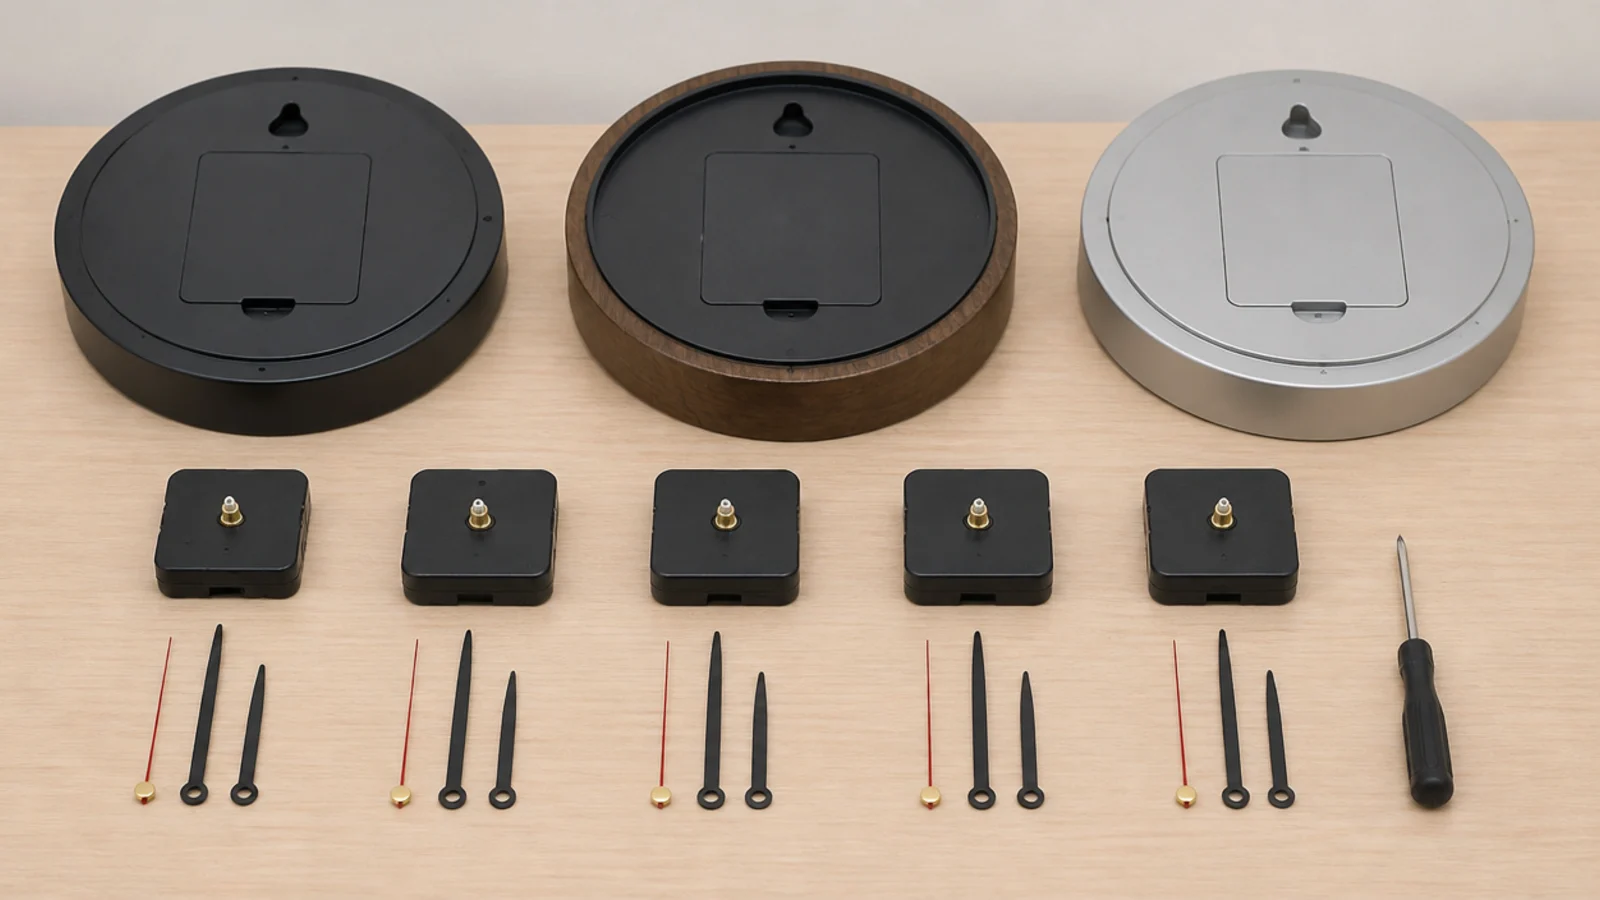
Converting a hung clock means taking it down, and taking down an adhesive fixing means replacing the strips. Do all the movements on a table first. Five silent faces cost about $70 in units and remove the single biggest reason people dismantle clock walls.
22. Keep every face under three pounds
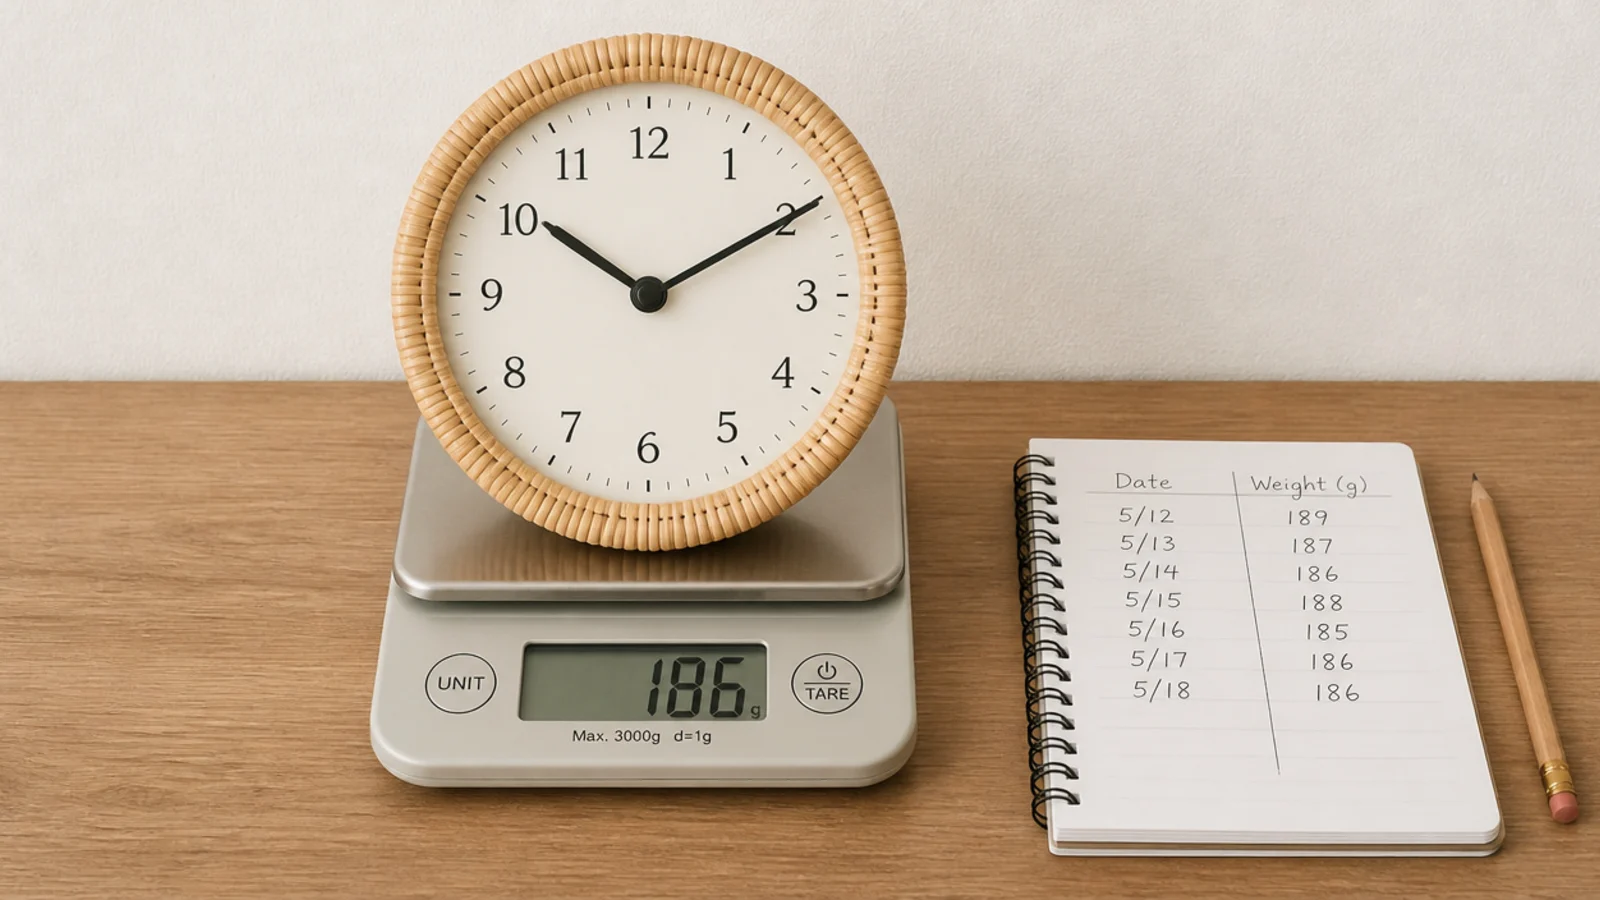
Weigh each one. Under 3 pounds, every fixing on this list is available to you — strips, pins, hooks, cork, fabric. Over that and your options narrow fast. It is also the practical reason to favour rattan, ply, cork and card faces over cast iron and slate in a rental.
23. Photograph the wall before you touch it
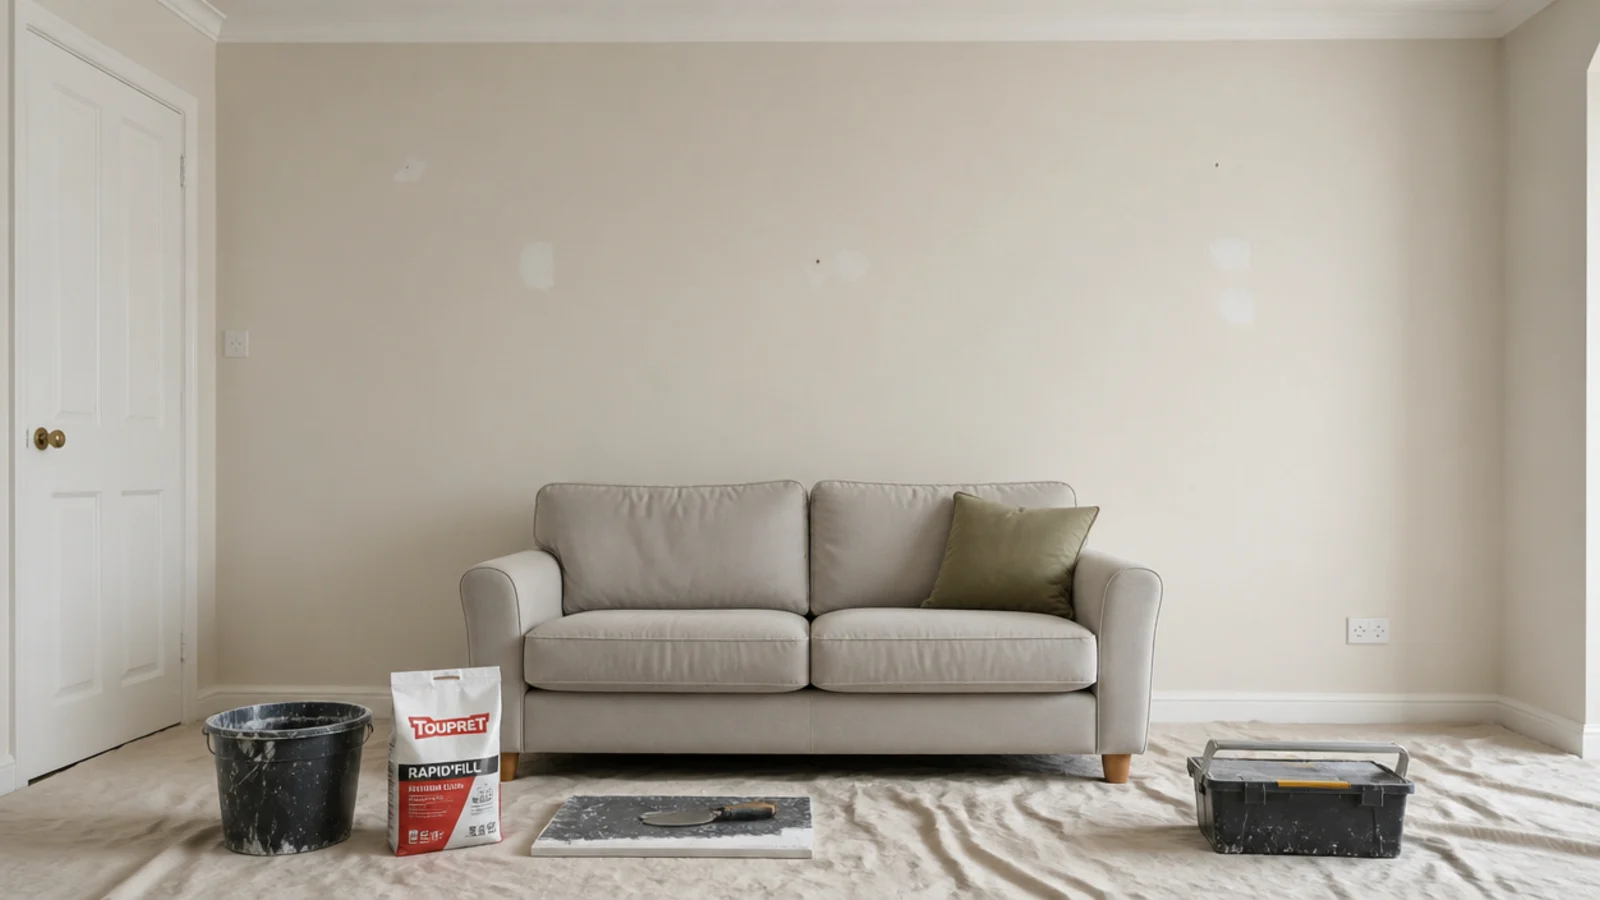
Take a wide shot and two close-ups in daylight. It records existing marks that were there before you moved in, and it gives you a reference for exactly what needs to be back to normal. This costs nothing and has settled more than one deposit argument.
24. Budget the repair before you start
Filler, sanding sponge and a matched tester pot come to roughly $15. Fill proud, let it dry fully, sand flush and spot-paint with a small roller rather than a brush so the sheen matches. A brushed patch on a rolled wall is visible from across the room.
25. Plan the take-down before the deposit inspection
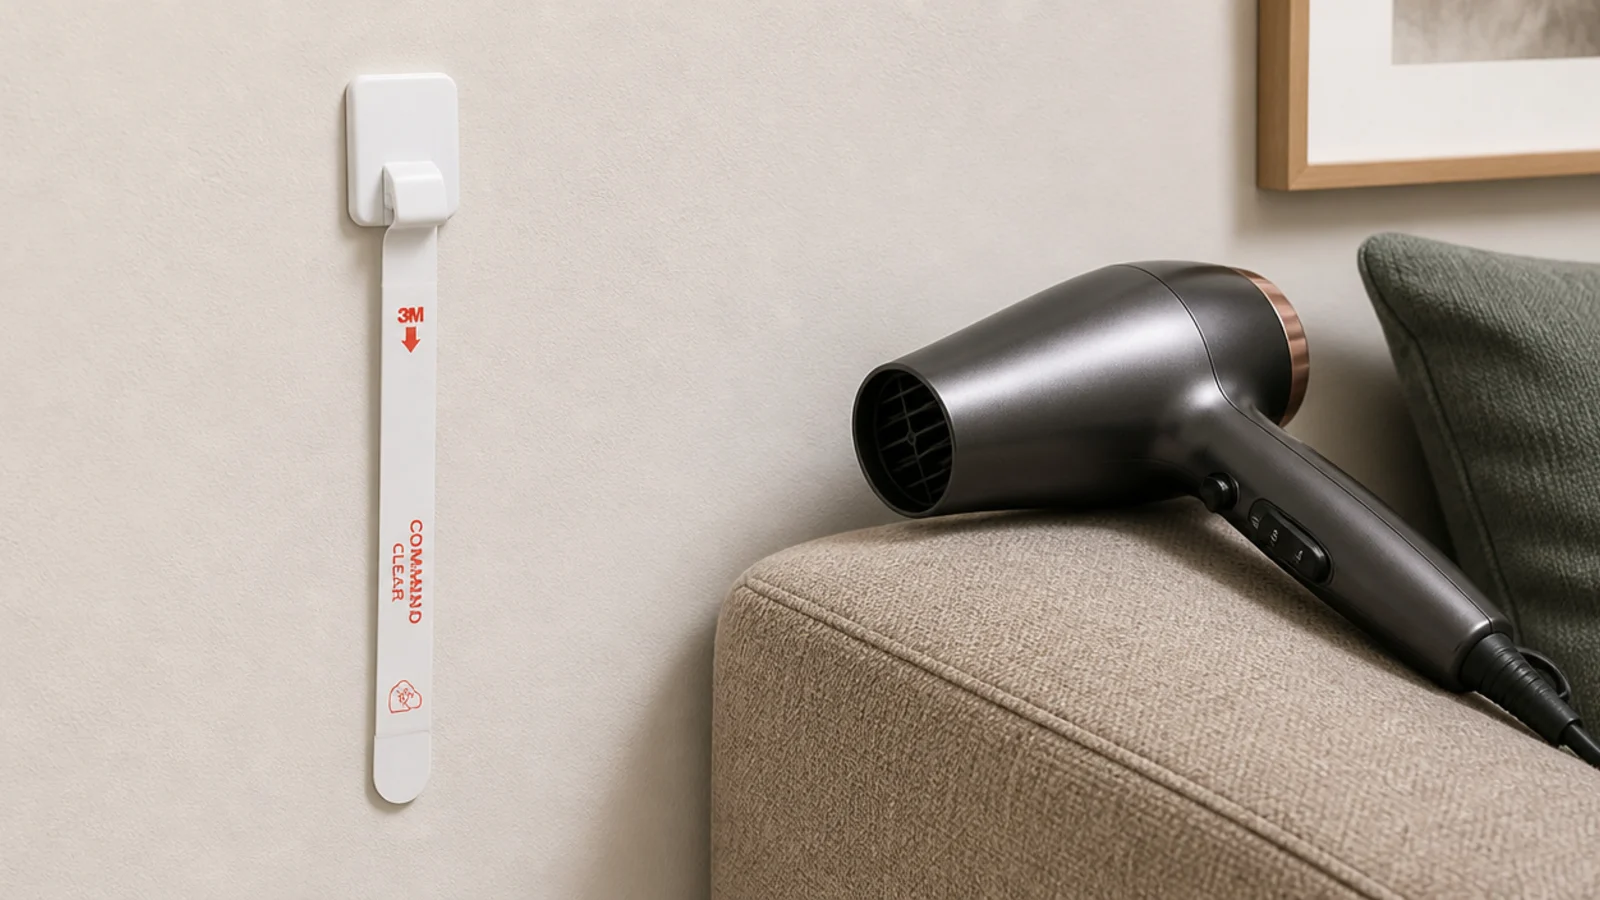
Warm each adhesive strip with a hair dryer on low for twenty seconds, then pull the release tab straight down against the wall at the shallowest angle you can manage. Rushing this is what takes paint off. Allow an afternoon for a full wall — the same care that makes the apartment balcony guide work applies to every rented surface.
If the same wall also carries a screen, the TV wall decor guide covers keeping both readable without adding fixings.
Mistakes to Skip
- Trusting the number on the adhesive packet. Sixteen pounds assumes sound, fully cured paint and four pairs of strips, and rental walls are rarely either of those things.
- Hanging on fresh paint. Emulsion takes up to four weeks to cure fully, and strips applied before then lift the surface almost every time.
- Building the layout directly on the wall. Every reposition is a new hole or a new set of strips, where the same reshuffle on a plywood board or on the floor costs nothing.
- Leaving movement conversion until the wall is up. Taking down an adhesive-mounted clock means new strips, so a silent movement fitted afterwards costs several times what it should have.
Frequently asked questions
How much weight do adhesive picture strips hold?
A set of heavy-duty picture hanging strips carries around 16 pounds on sound paint, and manufacturers quote that for four pairs rather than one. Treat it as a ceiling rather than a target, and keep an individual clock under about half the rated figure so the group has a real margin.
Will adhesive strips pull paint off the wall?
Sometimes, and it is almost never the adhesive failing. On flat builder-grade emulsion the glue holds and the paint layer lets go instead. Test one strip on a hidden patch, leave it 24 hours, then pull it slowly downward at a low angle to see what your wall actually does.
Can I build a clock wall with only two holes?
Yes. Assemble the whole arrangement on a plywood backing board on the floor, then hang that single board on two screws. You get eight or ten clocks for two small fixings, the layout can never drift, and the board comes off the wall in one piece on moving day.
Will several clocks in one room be noisy?
Very. Separate step-tick movements drift out of phase and produce an uneven stutter that is far more intrusive than one steady tick at 25 to 30 decibels. Fit continuous-sweep movements throughout at 12 to 18 dollars each before anything goes on the wall.
What does repairing the wall actually cost?
A tub of lightweight filler and a small tester pot of matched paint come to about 15 dollars and cover a dozen small holes. Photograph the wall before you start and keep the paint code, because matching a colour after the fact is what turns a cheap repair into a repaint.
Want more like this? Browse all 15 wall clock guides — they all use the same measurements and budget tiers.

Pin it for later
Save this to your Wall Clock board
Pin it now so it is waiting for you when the tape measure comes out — and so the next person hunting for this idea can find it too.
Save this pinKeep going
More ideas worth saving while you have the tape measure out.