Wall Clock · Listicle
30 Easy DIY Wall Clock Projects Under 25 Dollars

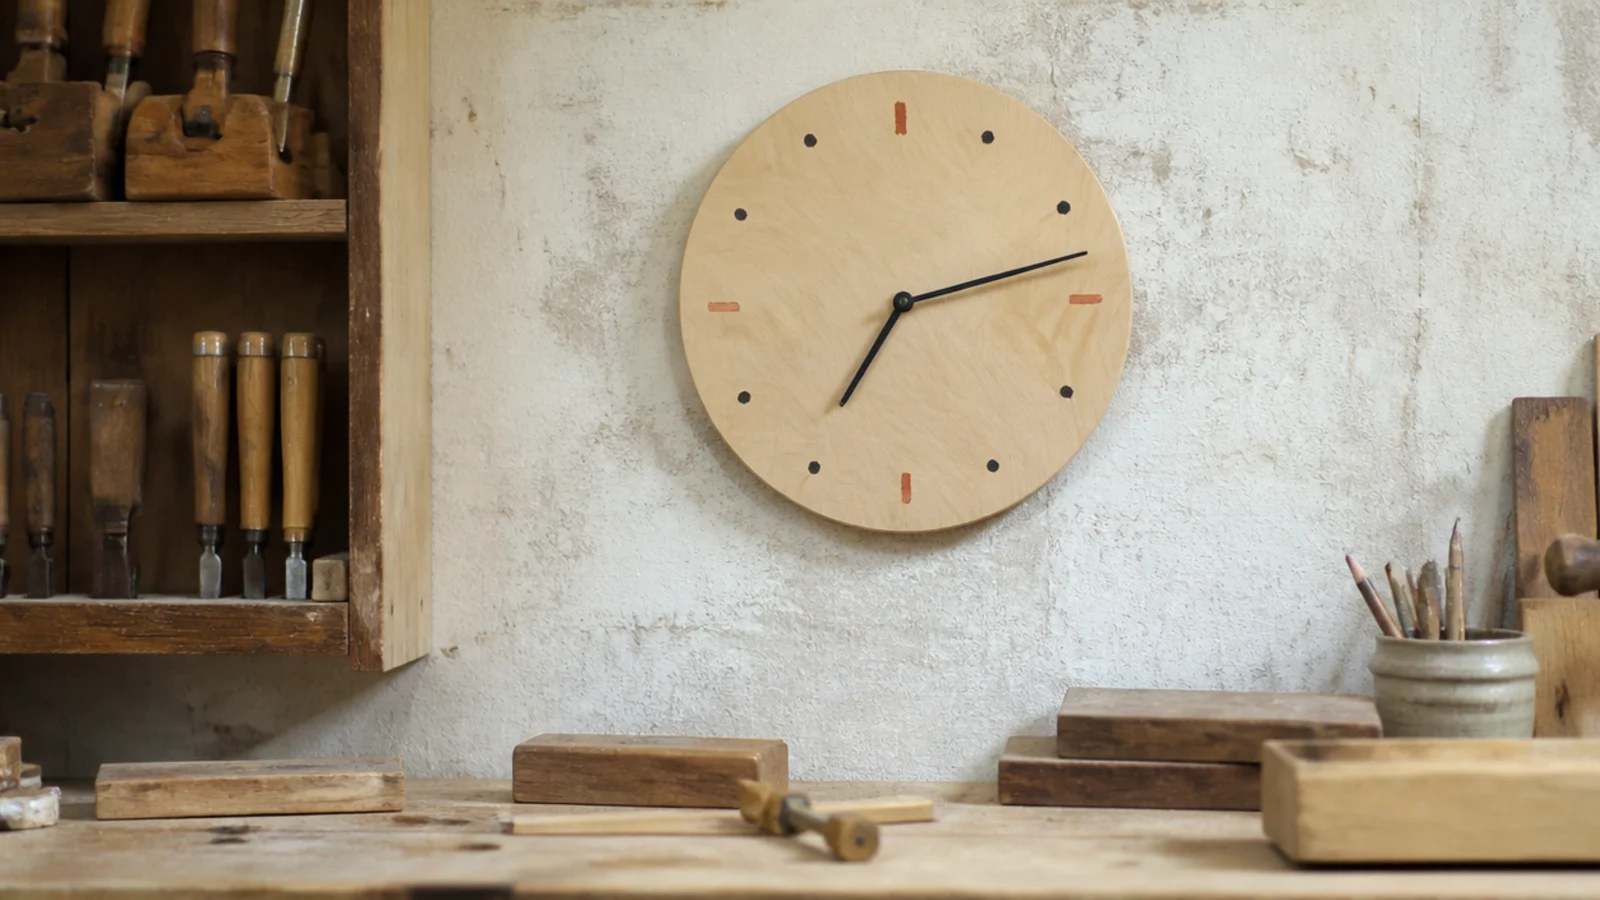
The case is the cheap part. Almost every build below costs more in movement and hands than in material, which is why a thoughtful diy wall clock lands at twelve dollars and a careless one lands at forty. The kit is the fixed cost: $8 to $12 for a standard quartz movement, $15 to $20 if you need high torque, $6 to $12 for a decent hand set. Everything else is an offcut, a placemat or something already in a cupboard. Here are thirty projects that genuinely come in under twenty-five dollars, with the numbers each one depends on.
In this guide32 sections — tap to openHide
- 1.What a diy wall clock actually costs to build
- 2.A plywood round cut with a string compass
- 3.A vinyl record clock
- 4.An embroidery hoop and linen face
- 5.A painted MDF disc with stick-on numerals
- 6.A cork round from a cheap trivet
- 7.A cross-cut log slice
- 8.A copper pipe ring rim
- 9.A rope-wrapped rim
- 10.A deep cake tin as a case
- 11.An enamel plate or old baking tray
- 12.A round mirror tile
- 13.Pressed flowers under clear acrylic
- 14.Concrete cast in a cake tin
- 15.An air-dry clay slab face
- 16.A bamboo placemat clock
- 17.Dowel rays for a sunburst
- 18.Hardware-store house numbers as numerals
- 19.A paint-stirrer starburst
- 20.A chopping board clock
- 21.A marbled paper dial
- 22.A single tile offcut
- 23.A rattan charger plate
- 24.Parquet offcuts laid into a disc
- 25.A painted canvas panel
- 26.A slate placemat
- 27.A cut acrylic disc with etched markers
- 28.A reclaimed plank clock
- 29.Bead or button markers glued in a circle
- 30.Numerals straight onto the plaster
- 31.Rebuild a thrifted case from scratch
- 32.Mistakes to Skip
What a diy wall clock actually costs to build
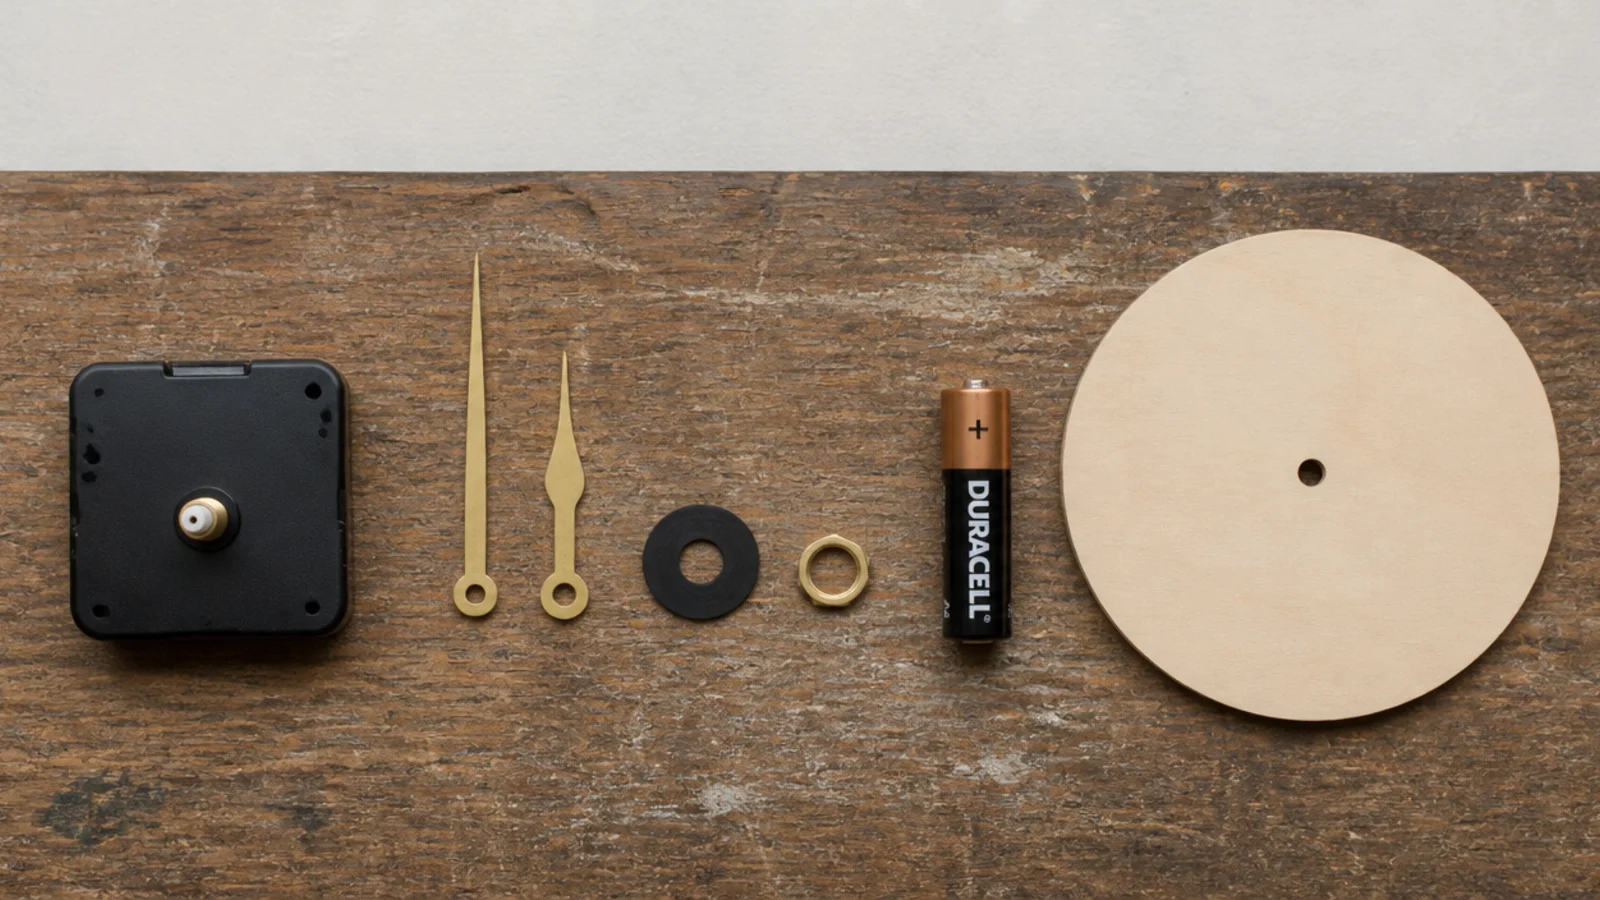
Order the movement before you cut anything. Two measurements decide which one you need. The first is shaft length: measure the thickness of your dial at the centre and add about an eighth of an inch for the washer and nut. Common shafts run from five sixteenths of an inch to just over an inch, and one that is too short will not take the nut at all — there is no workaround.
The second is torque. A standard quartz motor drives hands up to roughly 6 inches from the centre. Past that it stalls on the climb from the half hour and the clock loses time in a way that looks exactly like a fault. Anything over about 24 inches across needs the high-torque version at $15 to $20.
The centre hole wants to be between five sixteenths and three eighths of an inch. Drill it undersized with a brad point or spade bit and open it out with a round file until the shaft passes without forcing. A torn hole never sits square, and a movement that sits crooked shows on the hands forever.
Then buy the sweep. A step-tick unit ticks at roughly 25 to 30 decibels at a metre — fine in a workshop, wearing in a bedroom — and a continuous-sweep movement is silent for a few dollars more. Finally, weigh the finished piece. Plywood and fabric builds are 2 to 4 pounds and take a good drywall anchor. Concrete, tile and log slices run 8 to 20 pounds, and those need a number eight screw into a stud, especially above a sofa or a bed. For the low-damage rental versions, see the renter-friendly clock wall guide.
1. A plywood round cut with a string compass
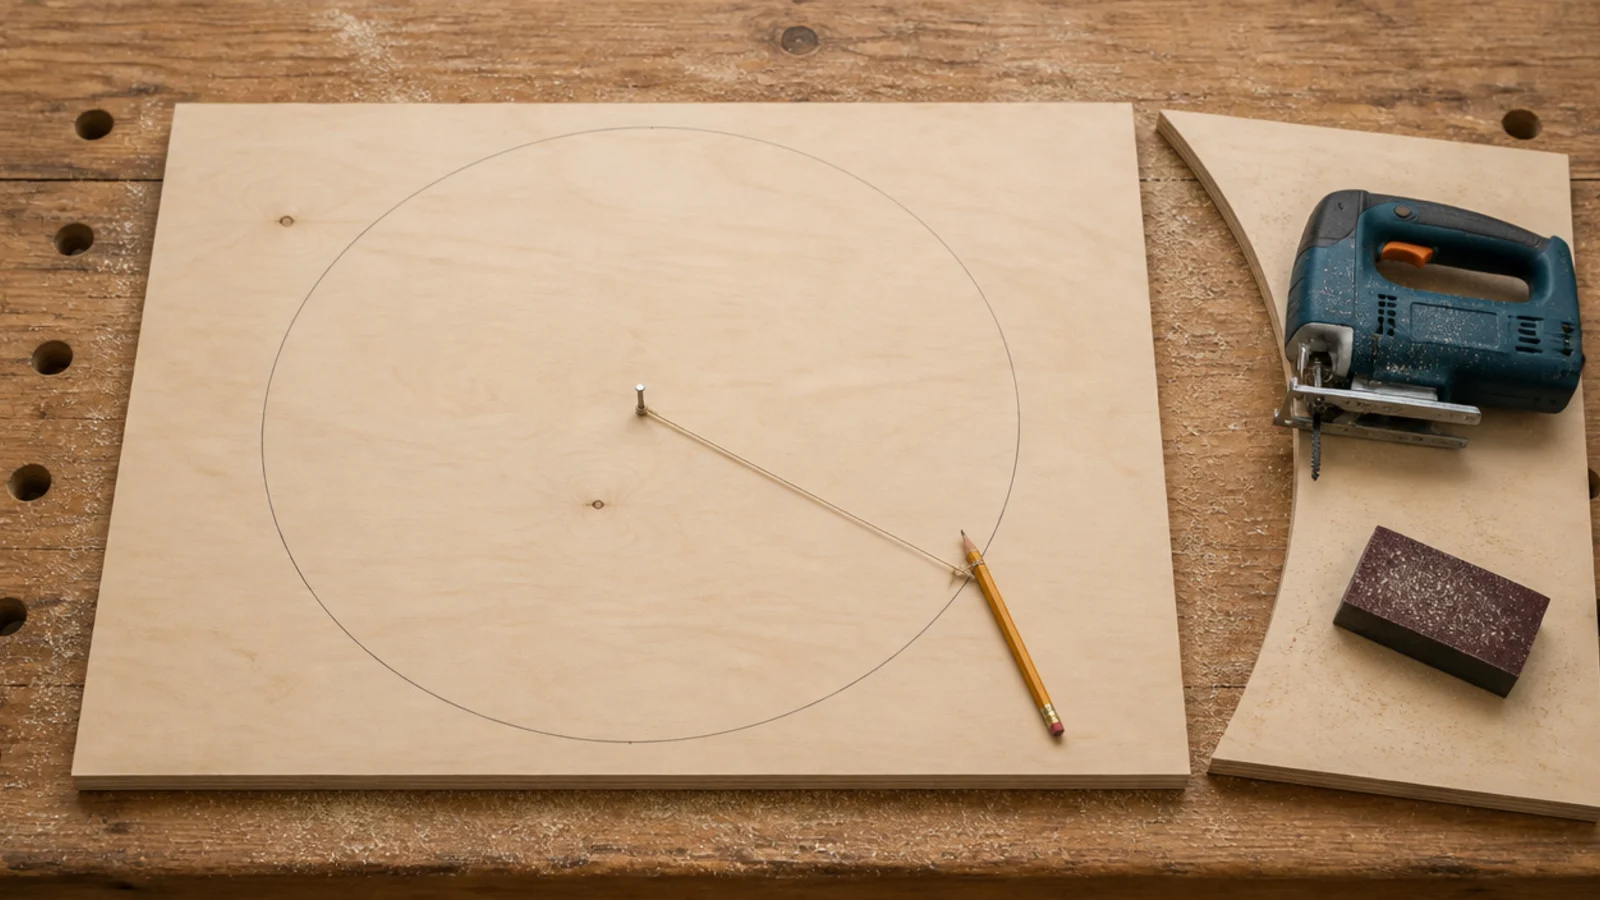
A pin, a length of string and a pencil beat any circle jig. Mark the radius, cut just outside the line with a jigsaw, then sand back to it. Half-inch birch ply at 18 inches costs about $12 and weighs under 3 pounds. Seal the edge or it will fluff.
2. A vinyl record clock
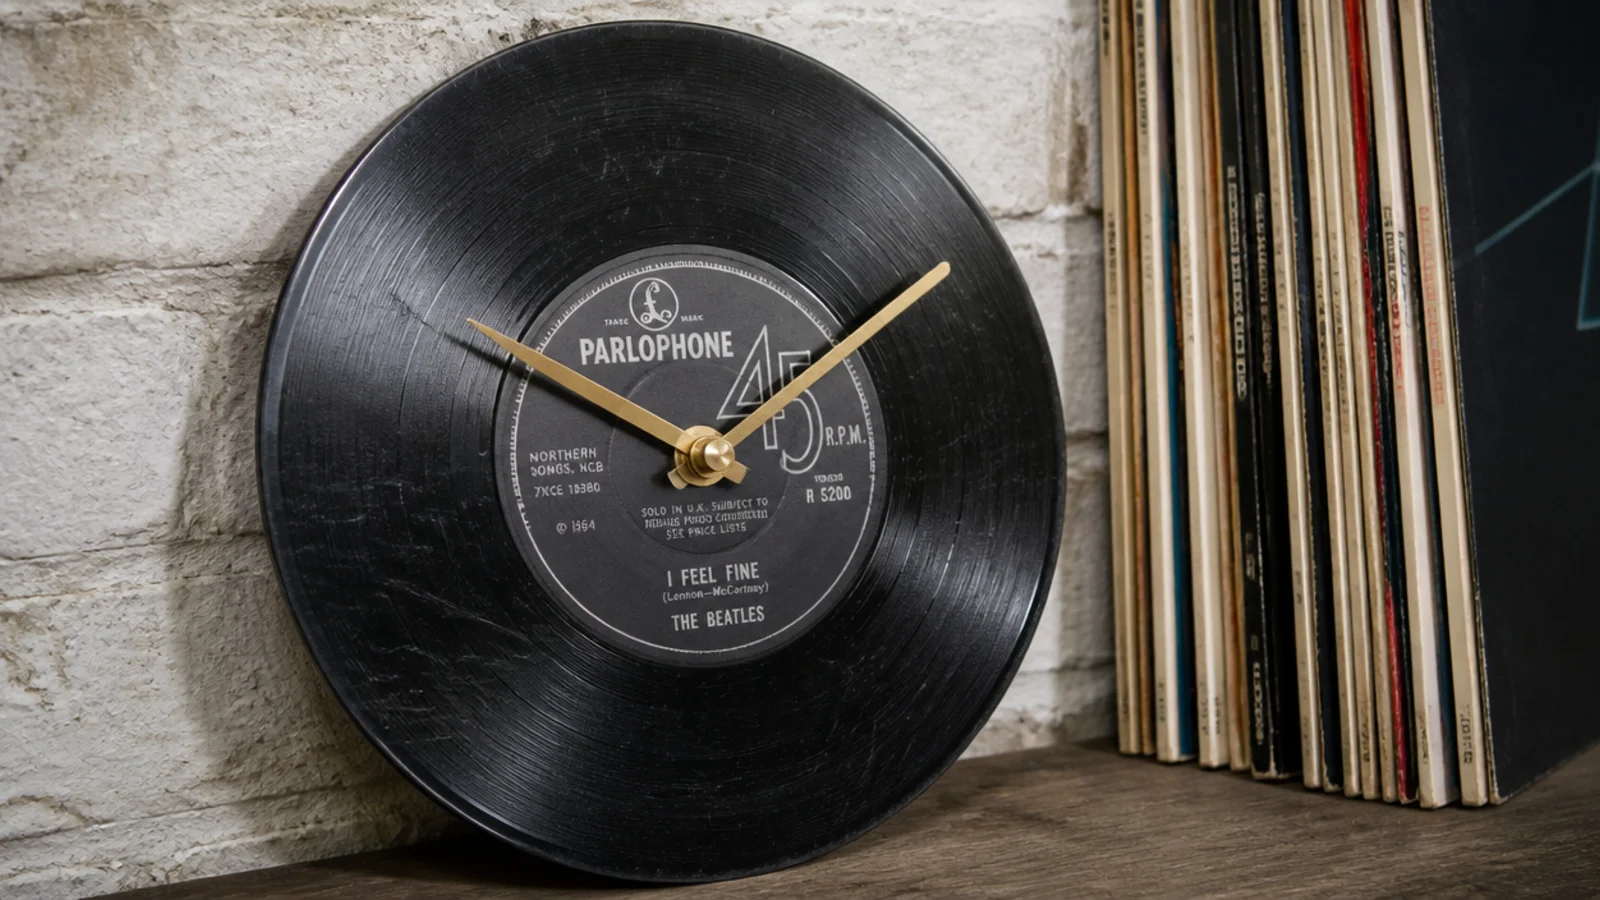
The spindle hole is already close to the right size, which removes the fiddliest step. A damaged record costs a dollar or two at any stall, and the finished clock is 12 inches — exactly the size that reads well in a kitchen. Warm the vinyl gently if you need to open the hole; never force a bit through it cold.
3. An embroidery hoop and linen face
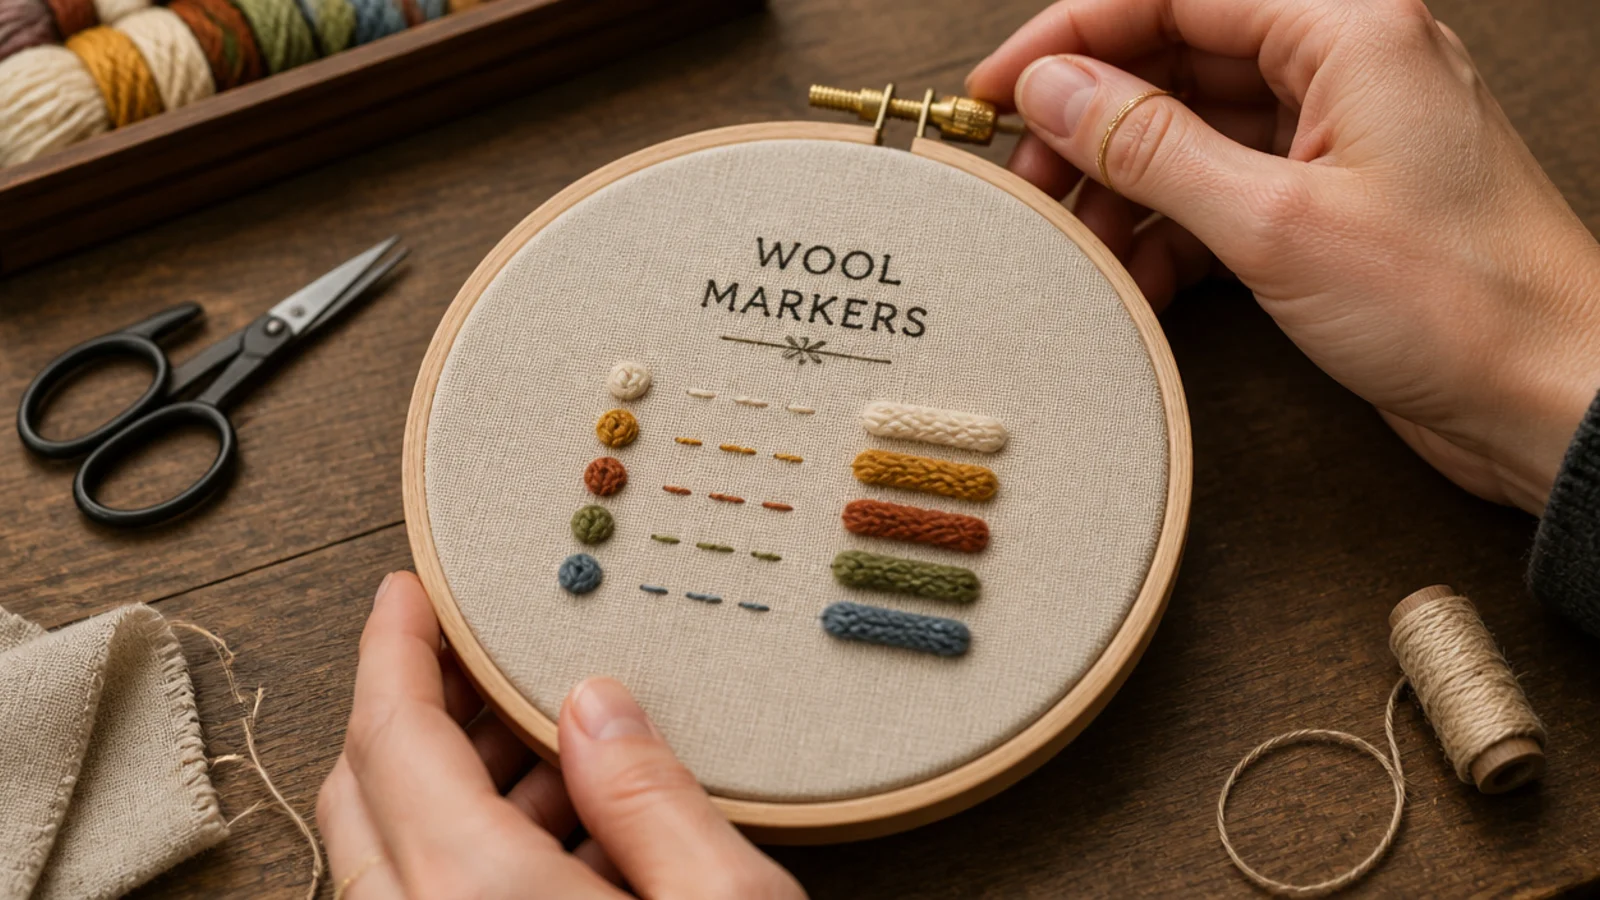
A 12-inch beech hoop is around $6 and a scrap of linen costs nothing. Stretch it drum-tight, stitch or paint the markers, and reinforce the centre with a small square of iron-on interfacing before you make the hole. Fabric absorbs a little of the tick rather than reflecting it, which is a genuine bonus.
4. A painted MDF disc with stick-on numerals
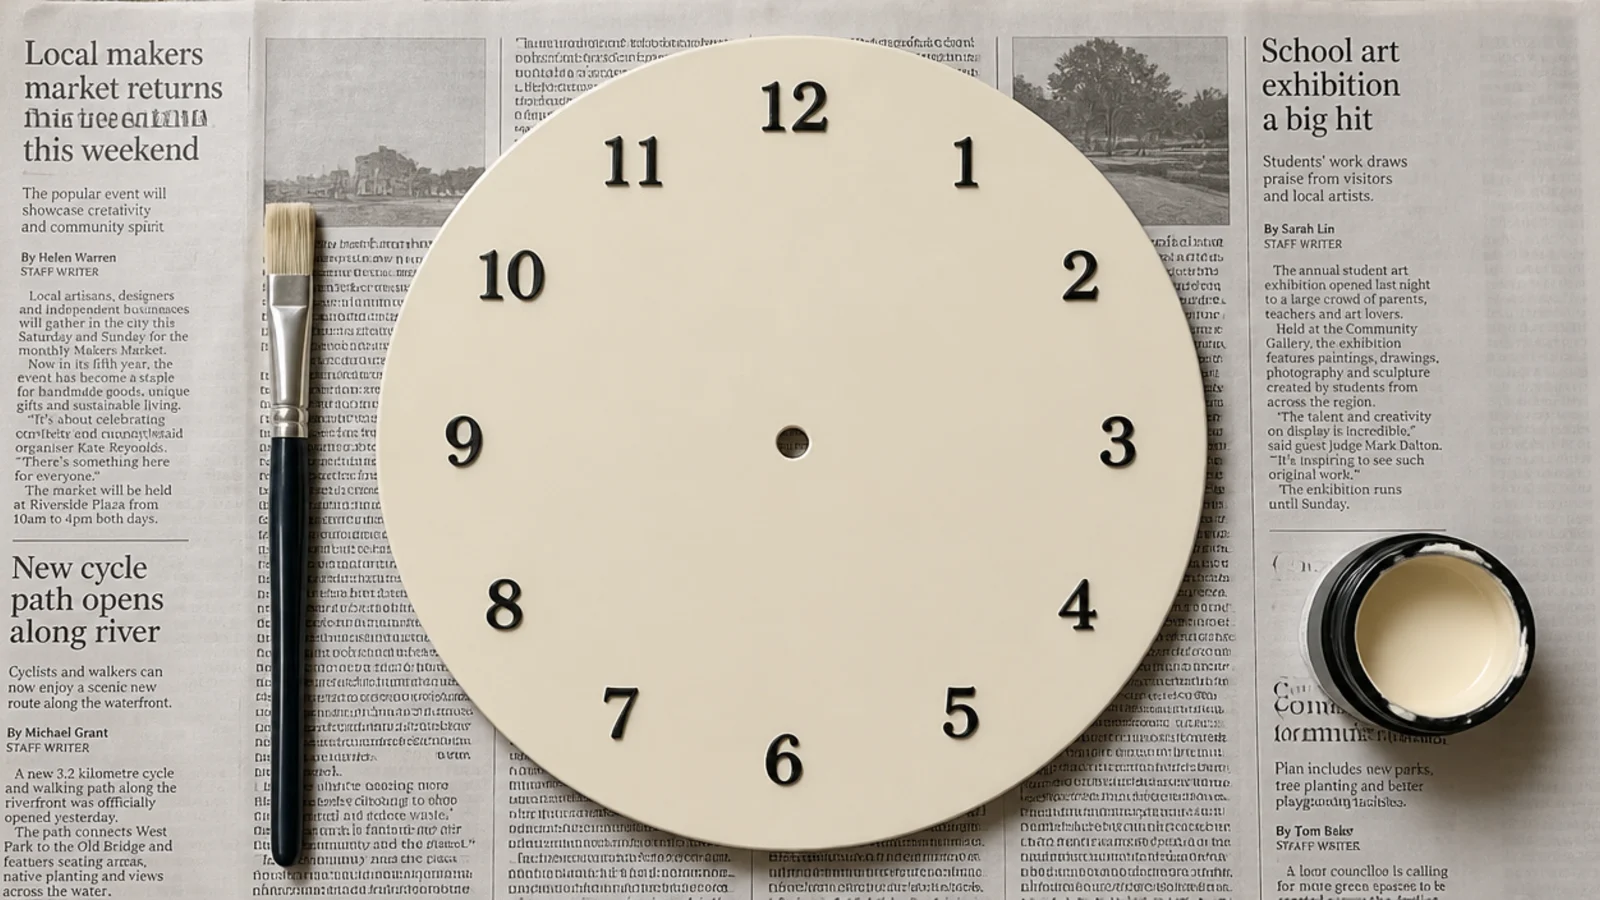
The most forgiving starting project. A pre-cut 16-inch MDF disc is $5 to $8, two coats of tester pot cover it, and small adhesive numerals cost about $4 a set. Allow four hours between coats and seal the cut edge first, because raw MDF drinks paint unevenly and shows every brush mark.
5. A cork round from a cheap trivet
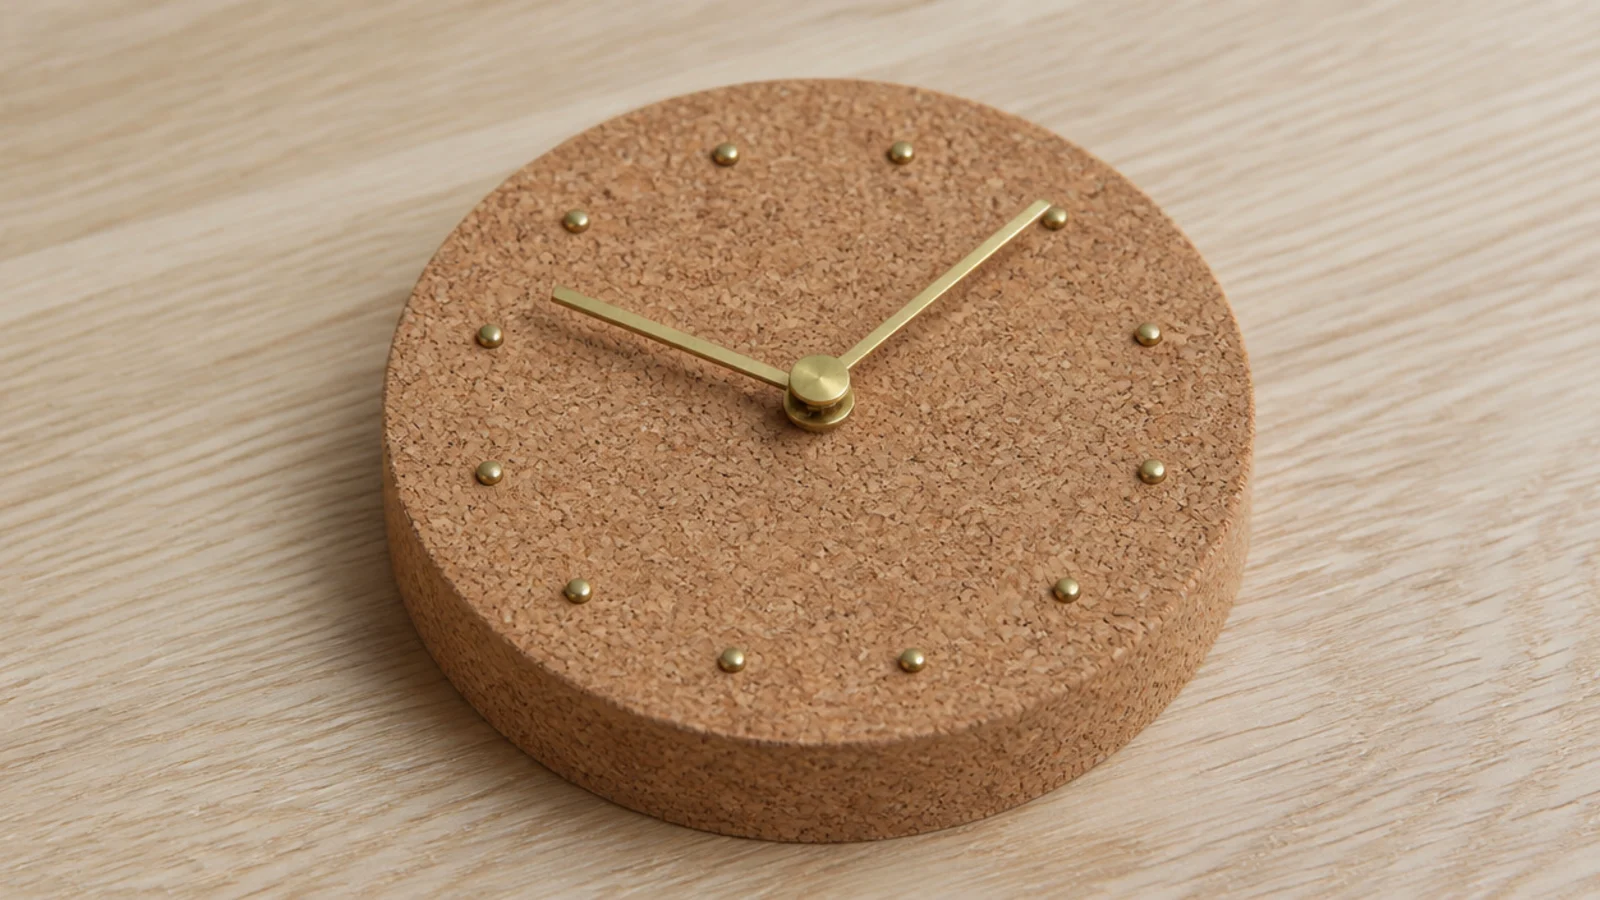
Thick cork drills cleanly, takes a pin marker without glue and weighs almost nothing — a 14-inch face comes in under 2 pounds. Push brass upholstery pins in at the twelve marker positions. Cork also dulls sound, so it suits a room where a hard-faced clock would ring.
6. A cross-cut log slice
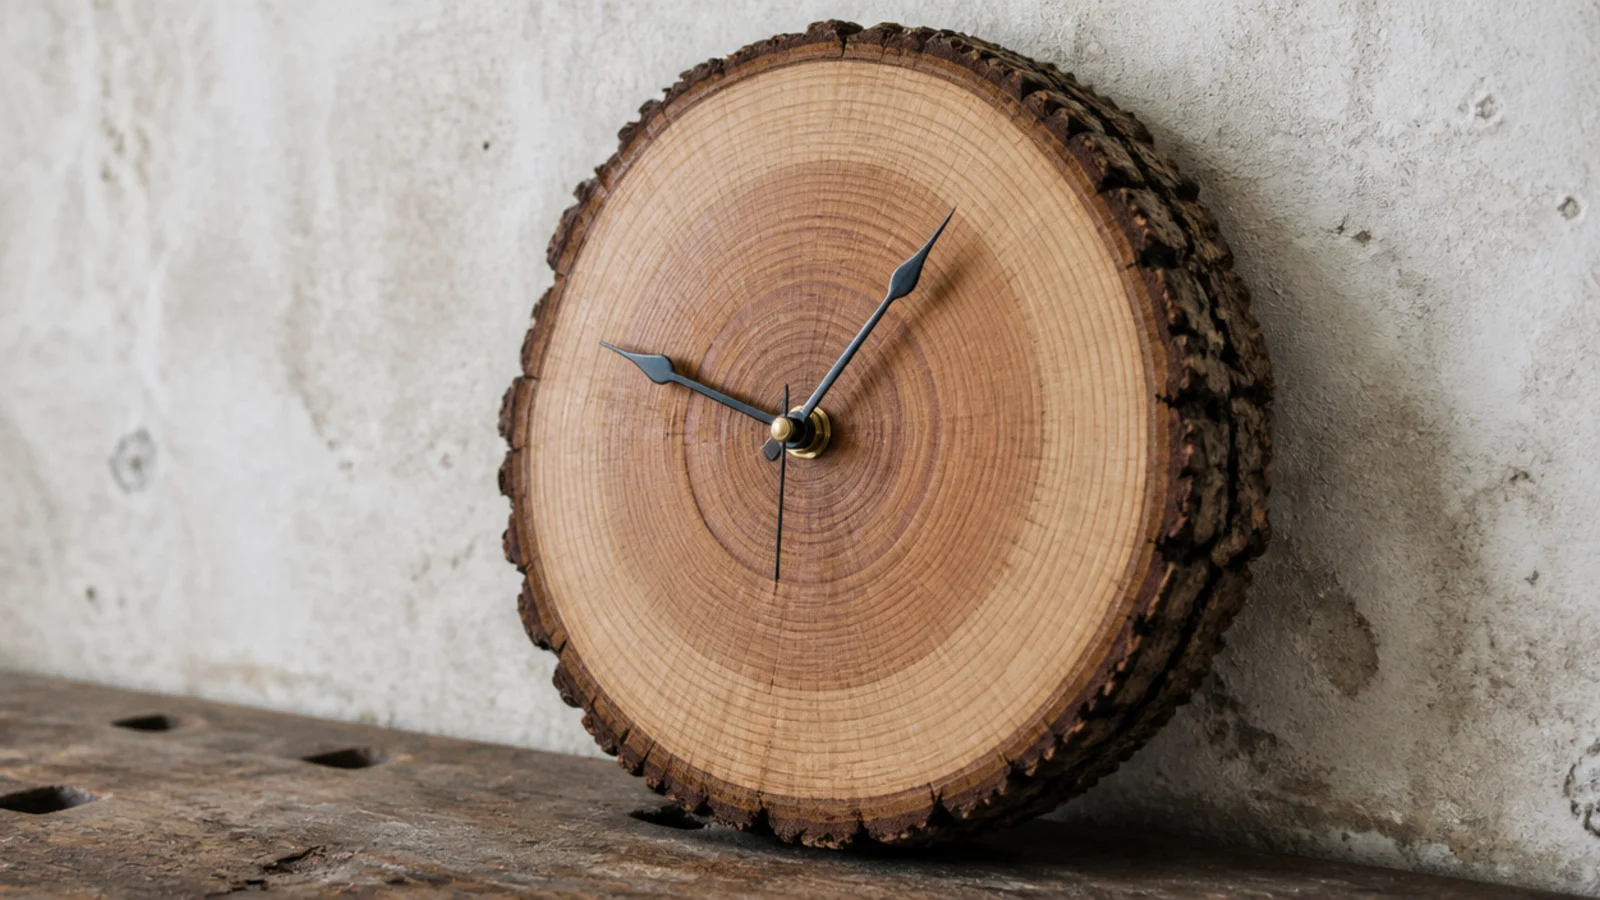
The catch is drying. A slice cut green will split radially within months no matter what you seal it with, so buy one already kiln dried or set yours aside for six months first. A 12-inch slice at 1.5 inches thick weighs 5 to 8 pounds, and you will need a longer shaft than usual.
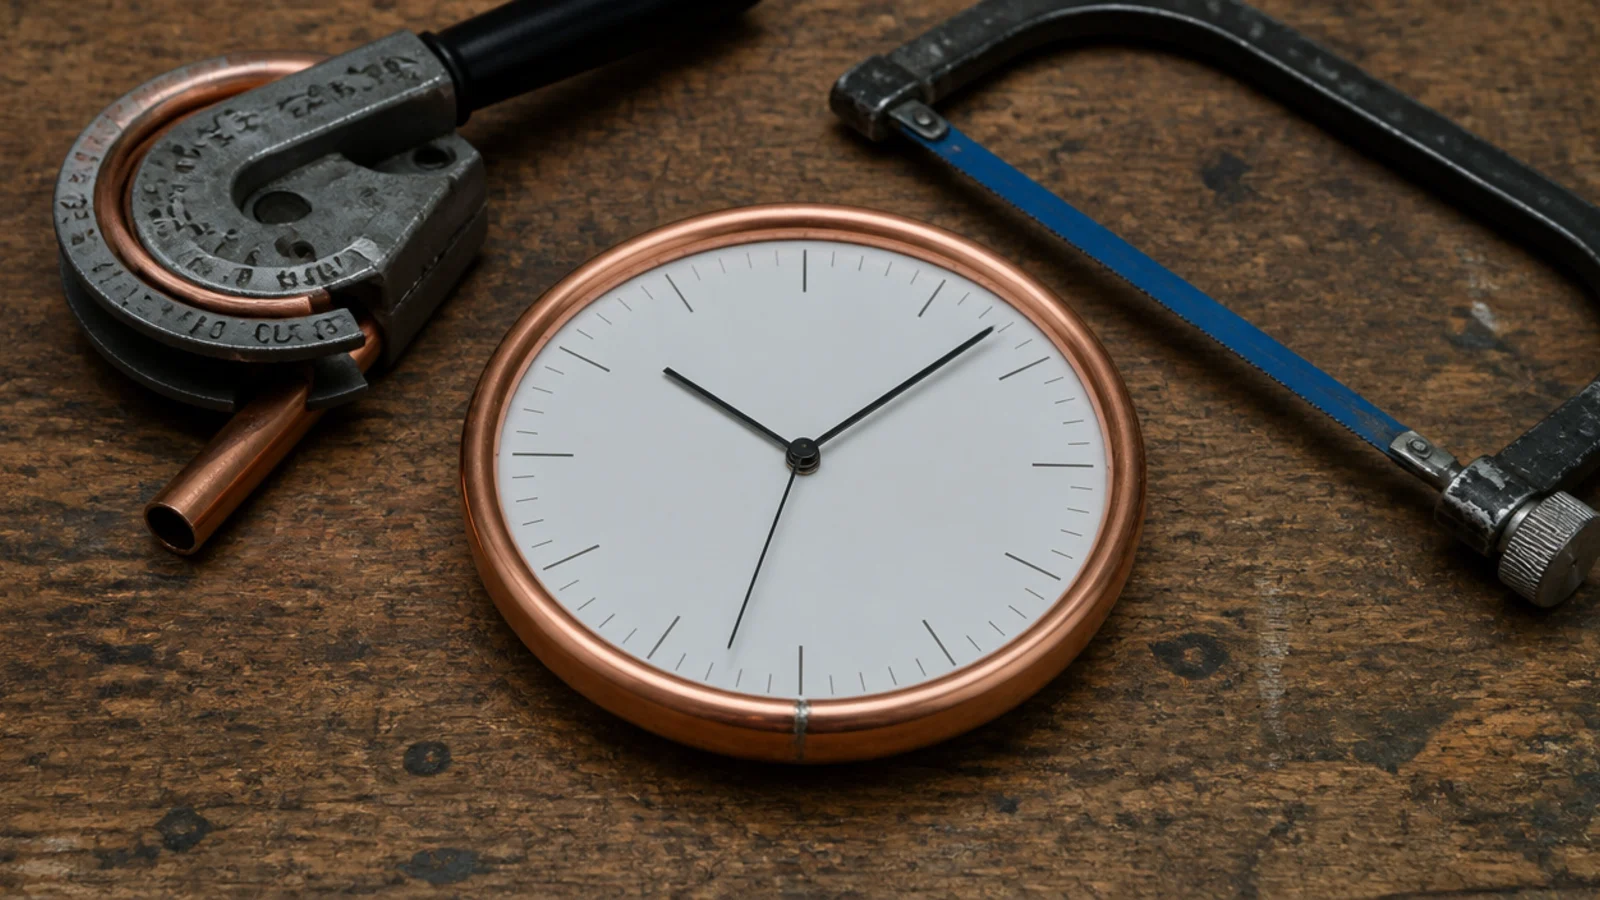
7. A copper pipe ring rim
Fifteen millimetre copper pipe bends cold around a paint tin to make a ring rim for about $8 a metre. Join the ends with a compression coupler or simply overlap and bind them. It ages to a warm brown within a year unless you lacquer it, and both versions look deliberate.
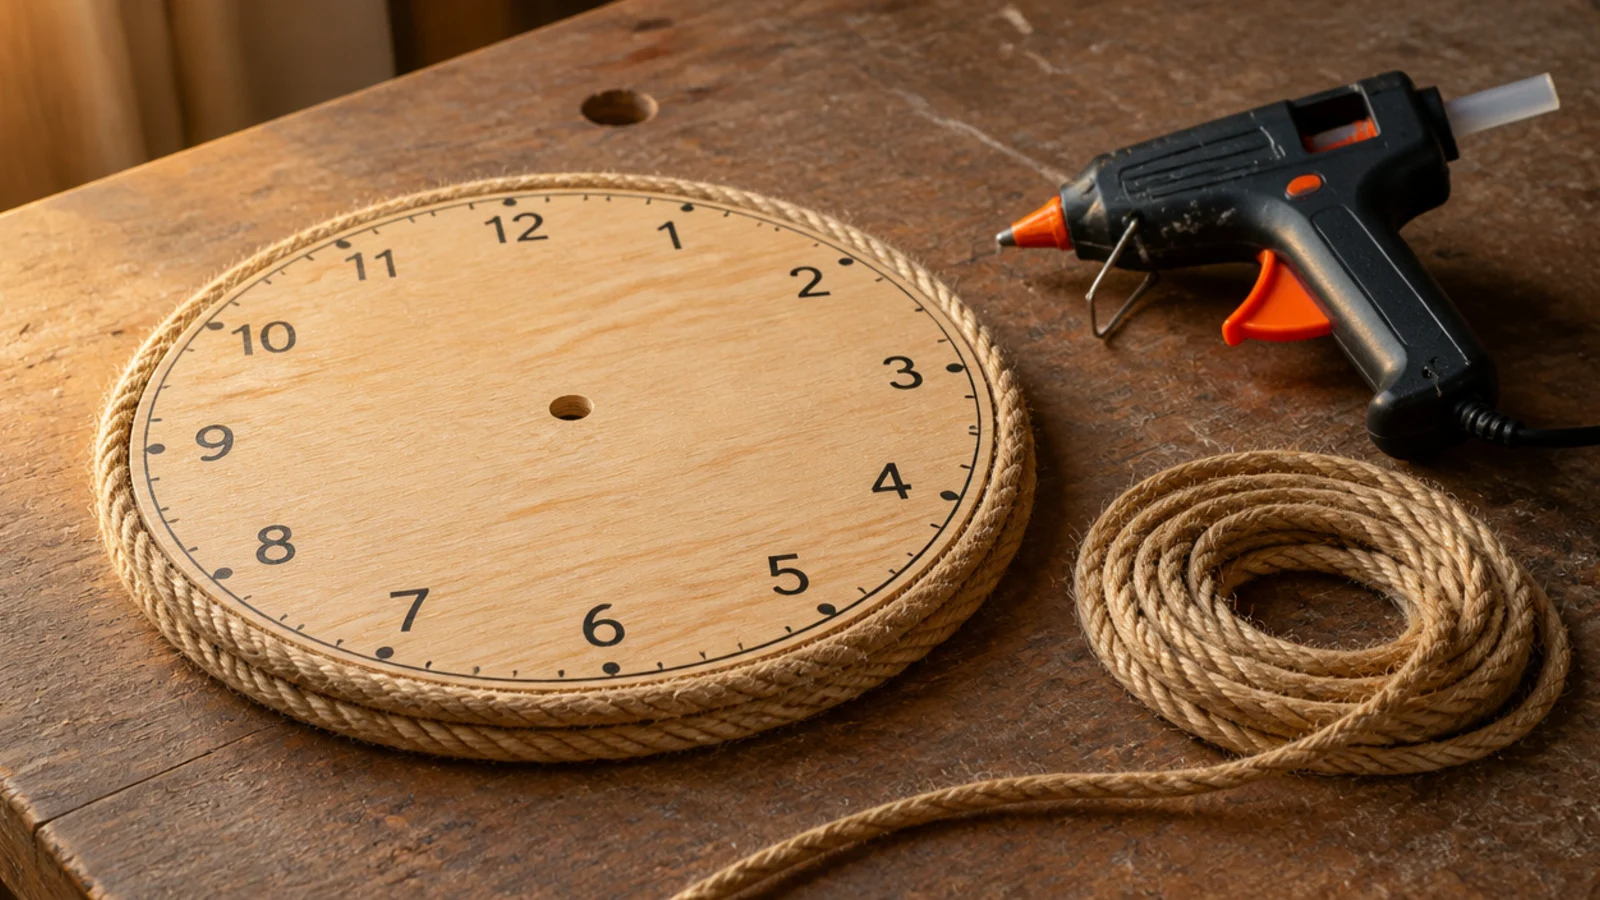
8. A rope-wrapped rim
Six dollars of sisal or cotton rope glued around the edge of a plain disc adds an inch of diameter and a lot of texture. Work in short sections with a glue gun and keep the coils tight. Stop the wrap dead square at the back so the clock still sits flat against the wall.
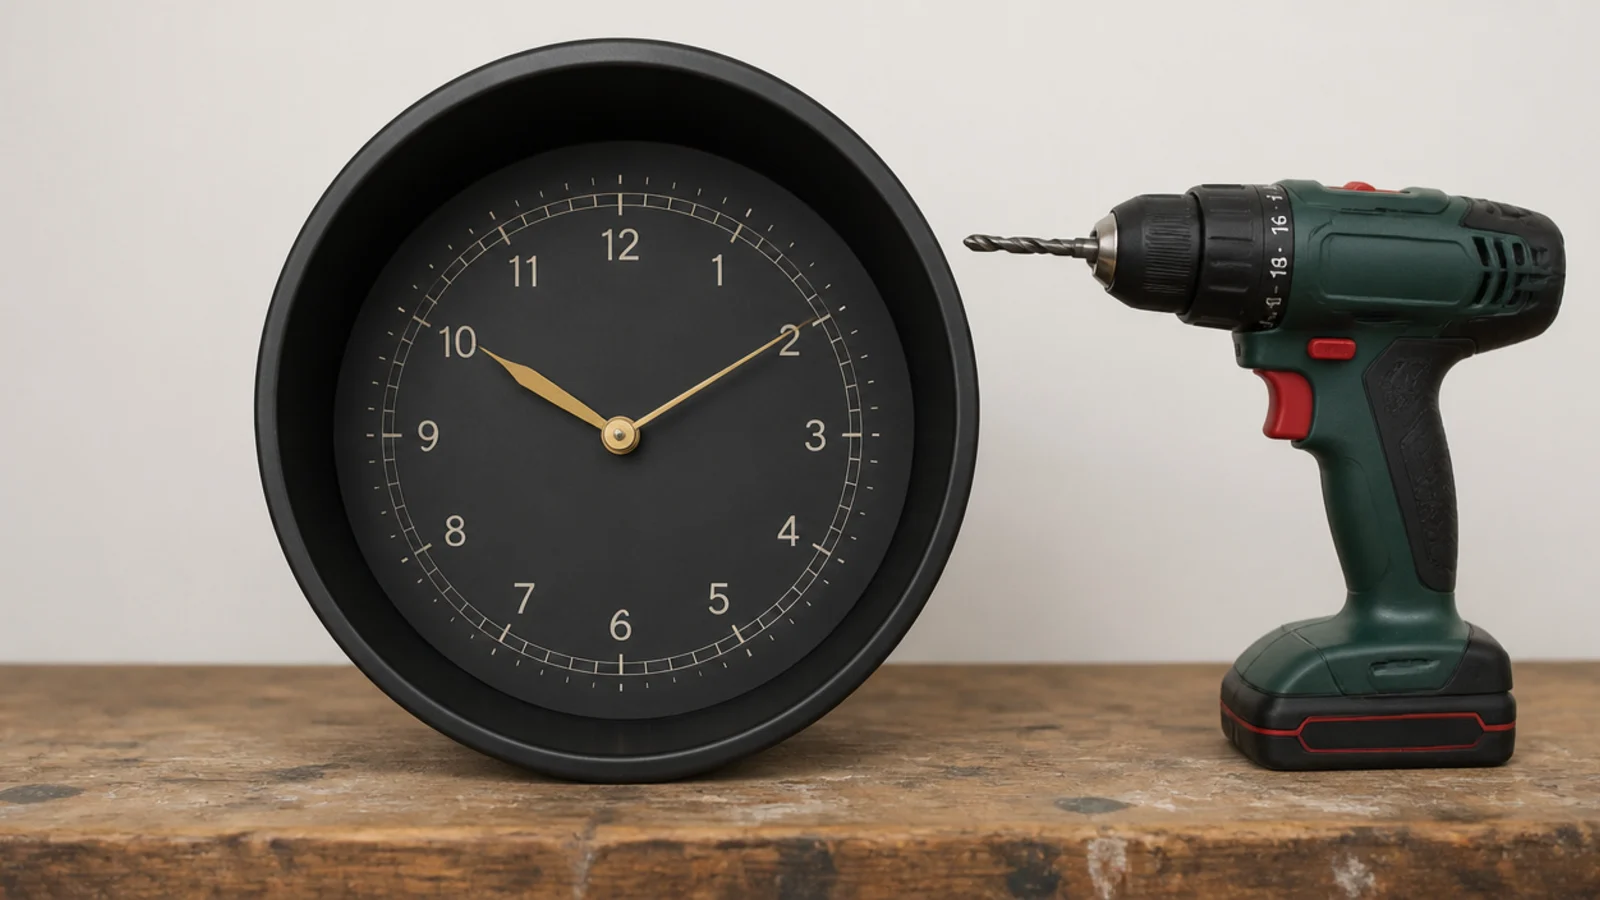
9. A deep cake tin as a case
A shallow tin gives you the one thing flat DIY clocks lack: depth. A case standing 2 inches proud throws a real shadow under the rim and stops it reading as a printed disc. Drill the centre with a step bit, deburr the hole, and spray the outside matte rather than gloss.
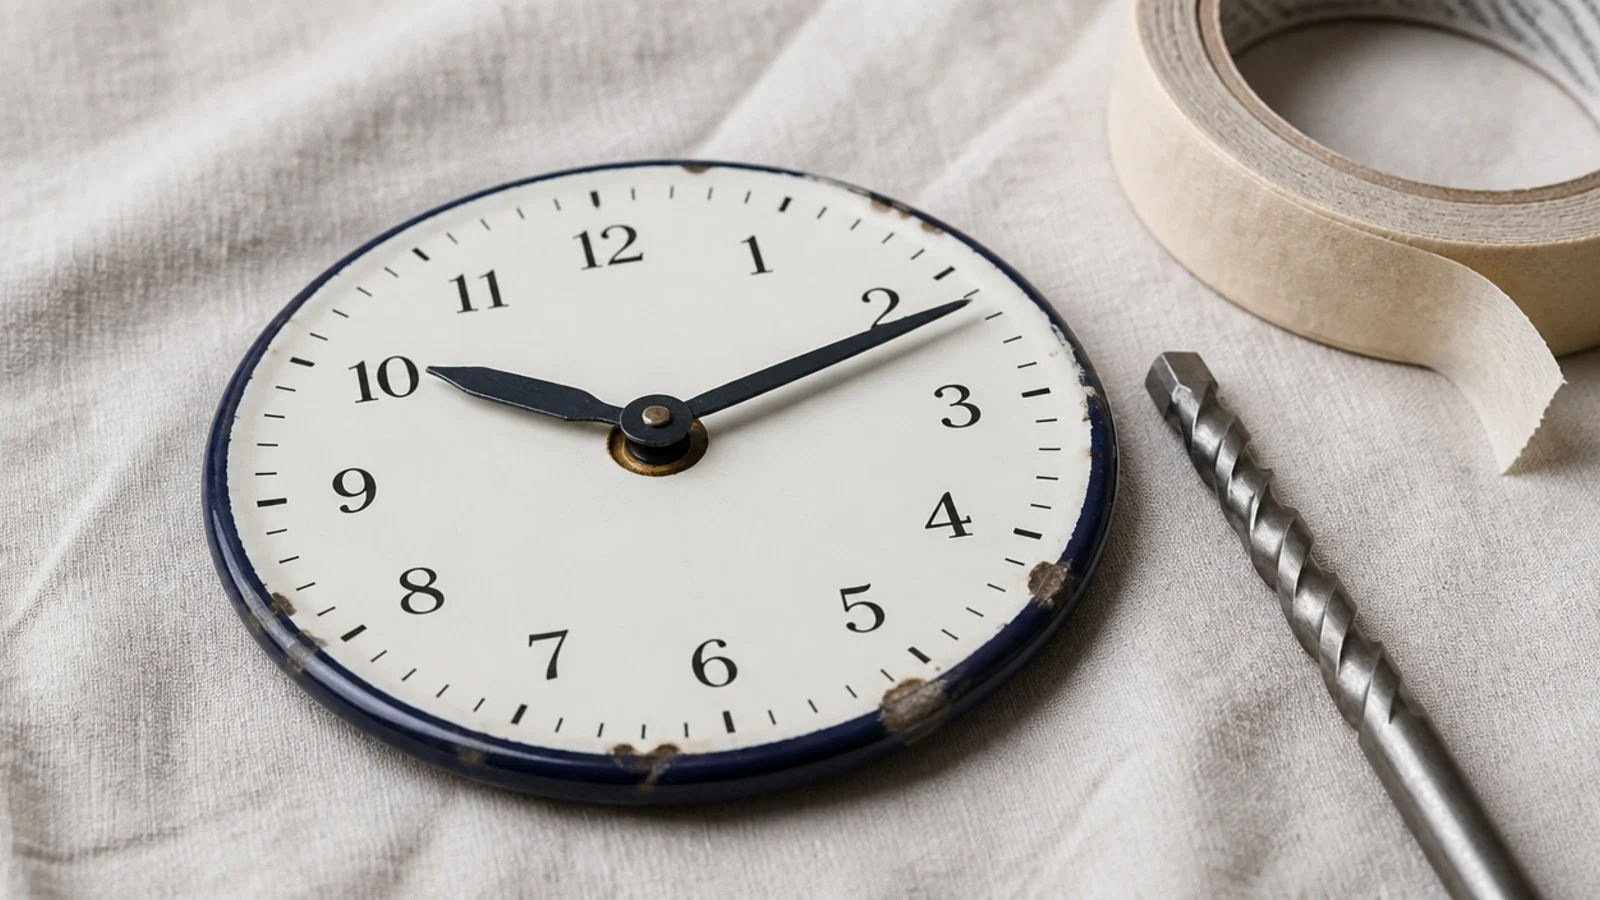
10. An enamel plate or old baking tray
Enamel is glass fused to steel, so it must be drilled slowly with a masonry bit and firm pressure, over masking tape, or it chips outward in a star. A charity-shop plate is $2 to $5. Genuine chips at the edge read as age; chips you made yesterday read as damage.
11. A round mirror tile
Tape a cross of masking tape over the centre, run a glass bit at low speed with a drop of water, and let the bit do the work. A 10-inch mirror tile is around $6 and bounces light in a dark hallway. Wear eye protection, because glass swarf is unforgiving.
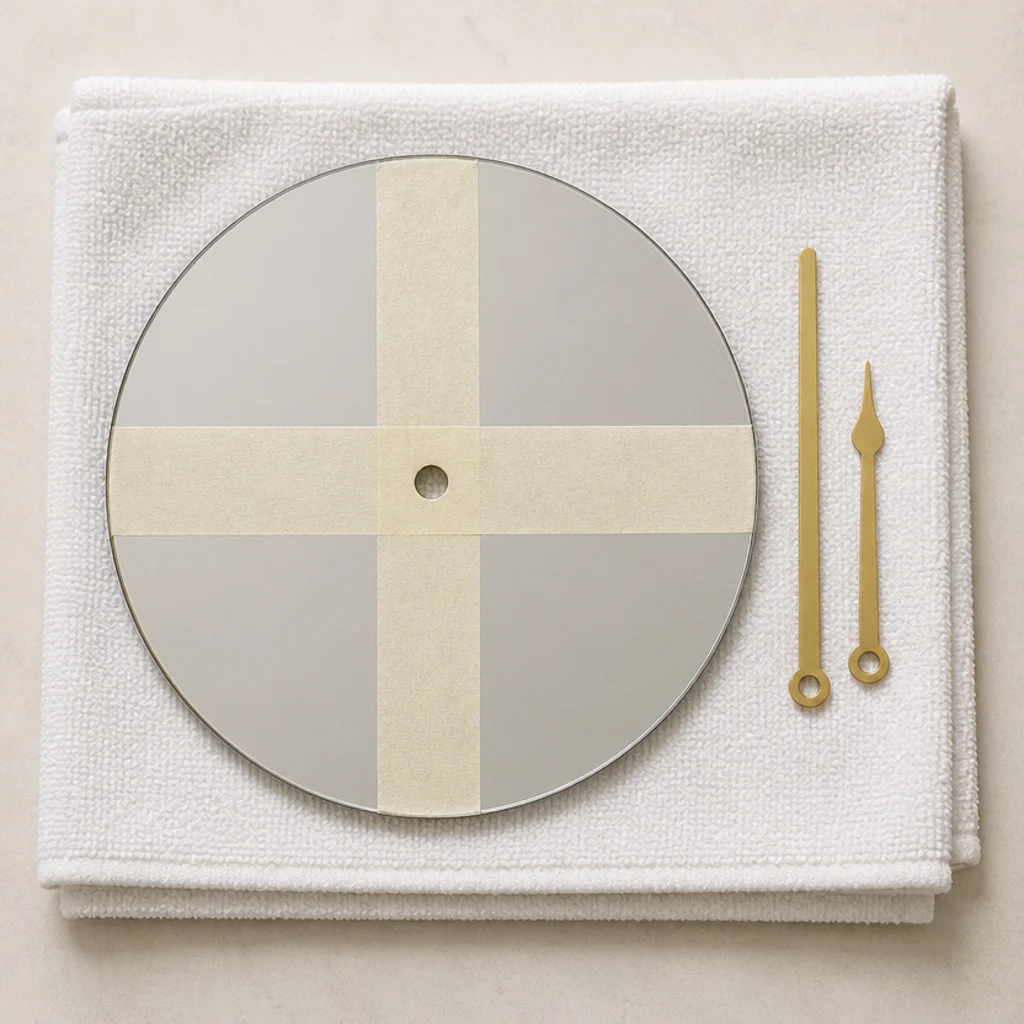
12. Pressed flowers under clear acrylic
Press stems flat for three weeks before you assemble, not three days — anything still holding moisture browns behind the acrylic within a month. Two 10-inch acrylic discs and standoffs run about $14. Keep the arrangement sparse, because a dense one blocks the hands.

13. Concrete cast in a cake tin
A 12-inch concrete disc costs about $6 in mix and looks like a hundred dollars of design. It also weighs 10 to 15 pounds. Grease the tin, cast an inch thick, set a plastic tube at the centre for the shaft, and cure for 48 hours before demoulding. Stud fixing only, and never above a bed.
14. An air-dry clay slab face
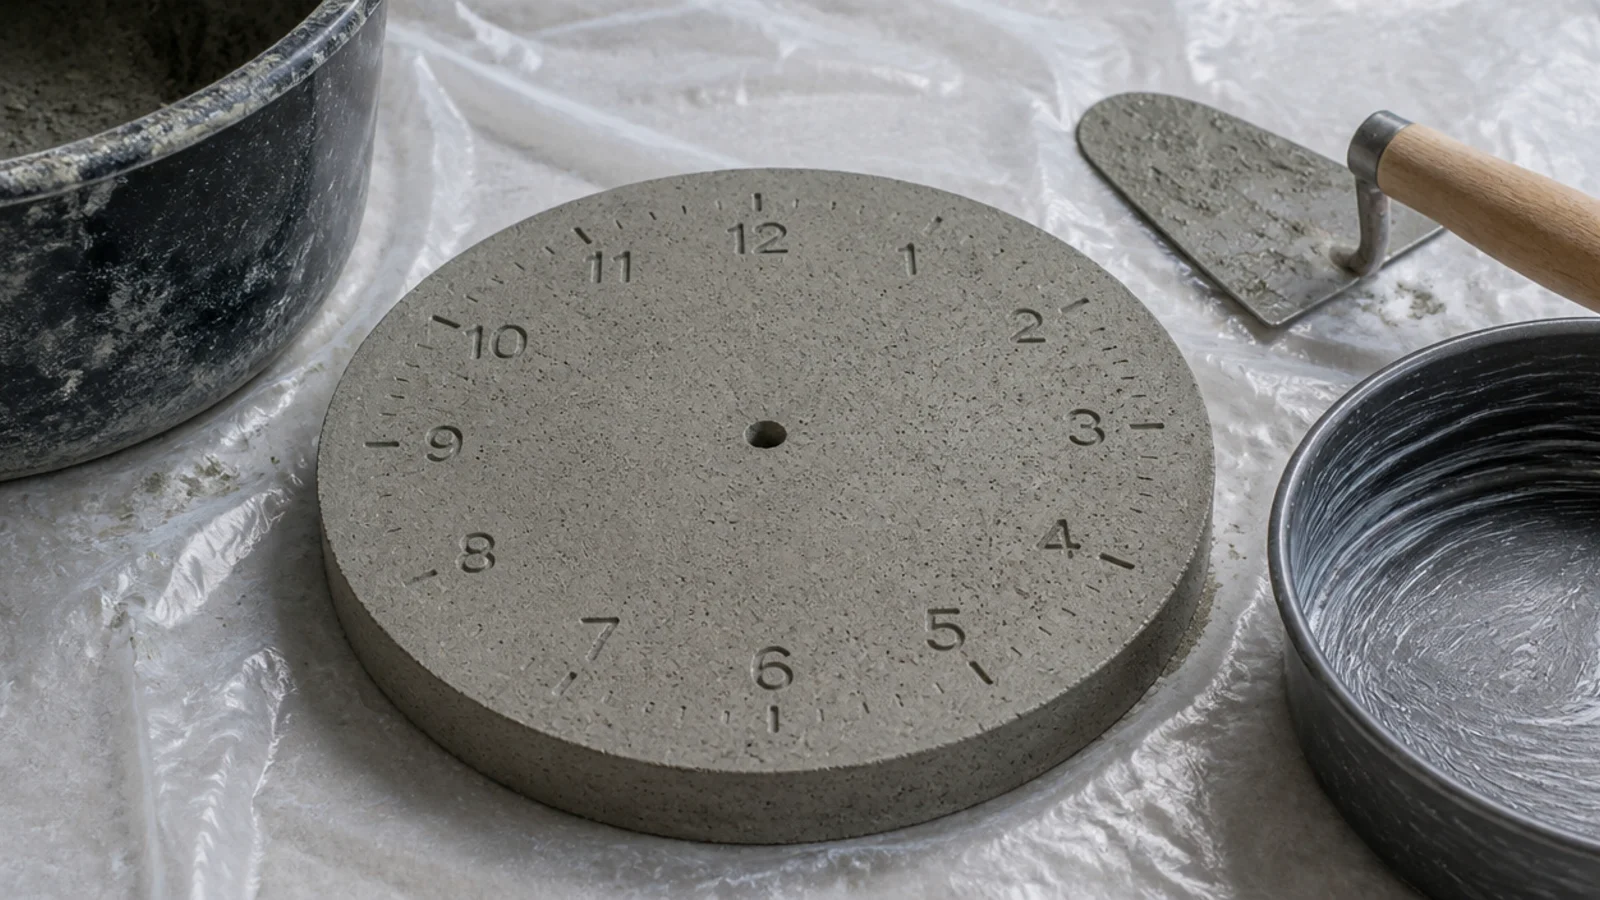
Roll to a consistent 8 millimetres, cut with a plate as a template, press your markers in while soft and dry it flat under a board. Uneven drying is what curls these, and a curled face never sits flush. A 10-inch slab costs about $5 of clay and takes three days.
15. A bamboo placemat clock
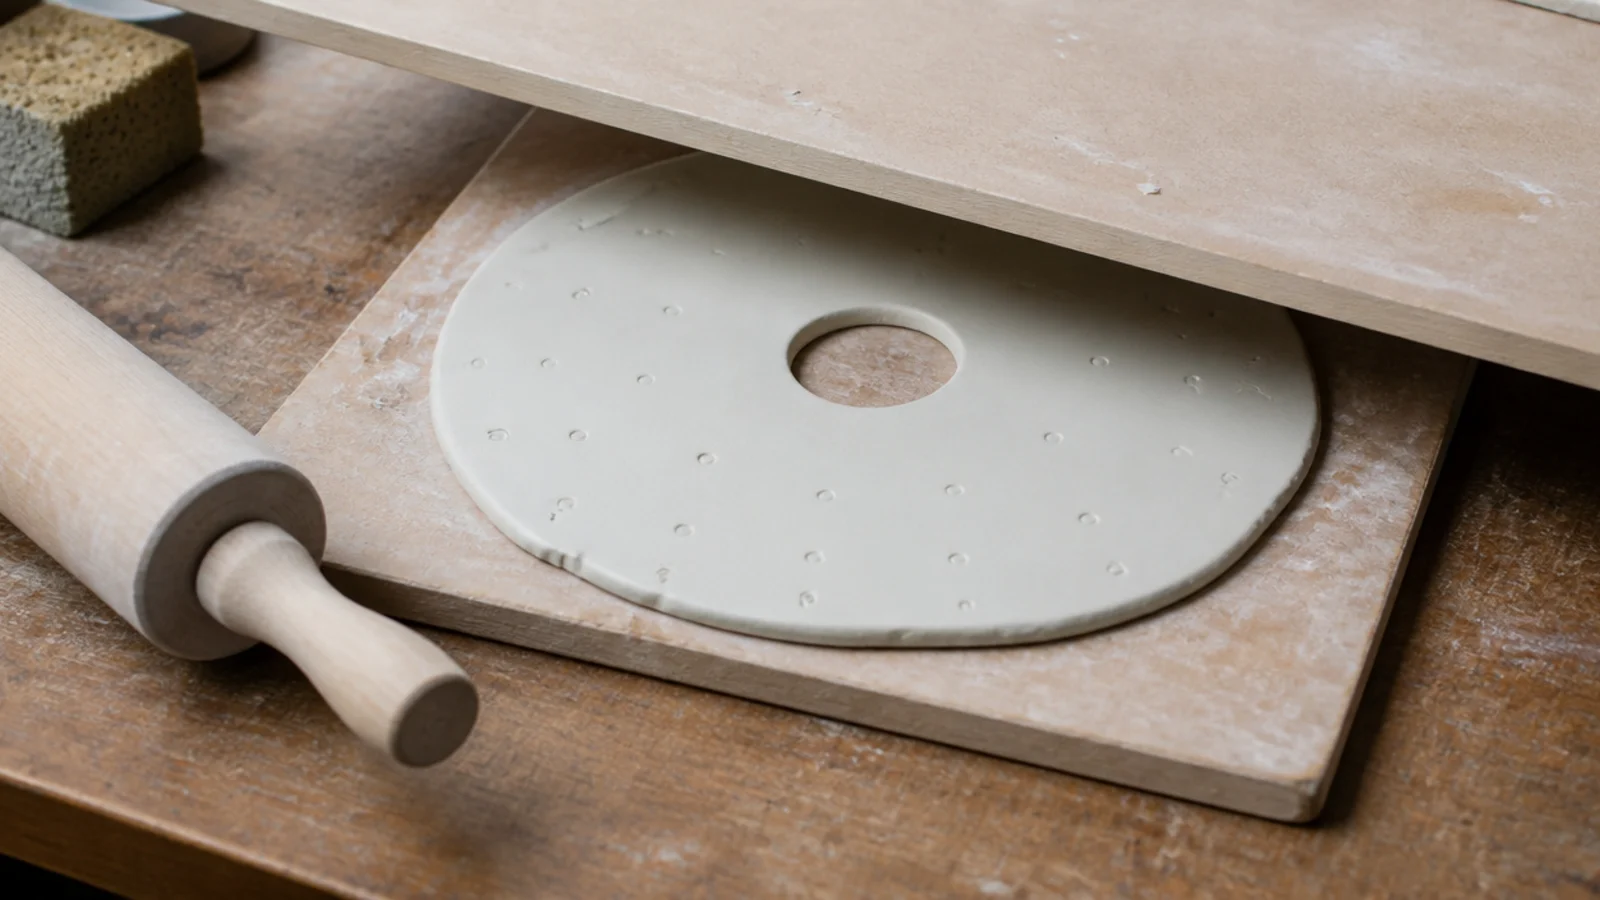
A round woven placemat at 14 to 16 inches is $4 to $8 and weighs under 2 pounds, which puts it comfortably inside adhesive-strip territory for a rental. Glue a small plywood disc behind the centre before drilling, or the weave will unravel around the hole.
16. Dowel rays for a sunburst
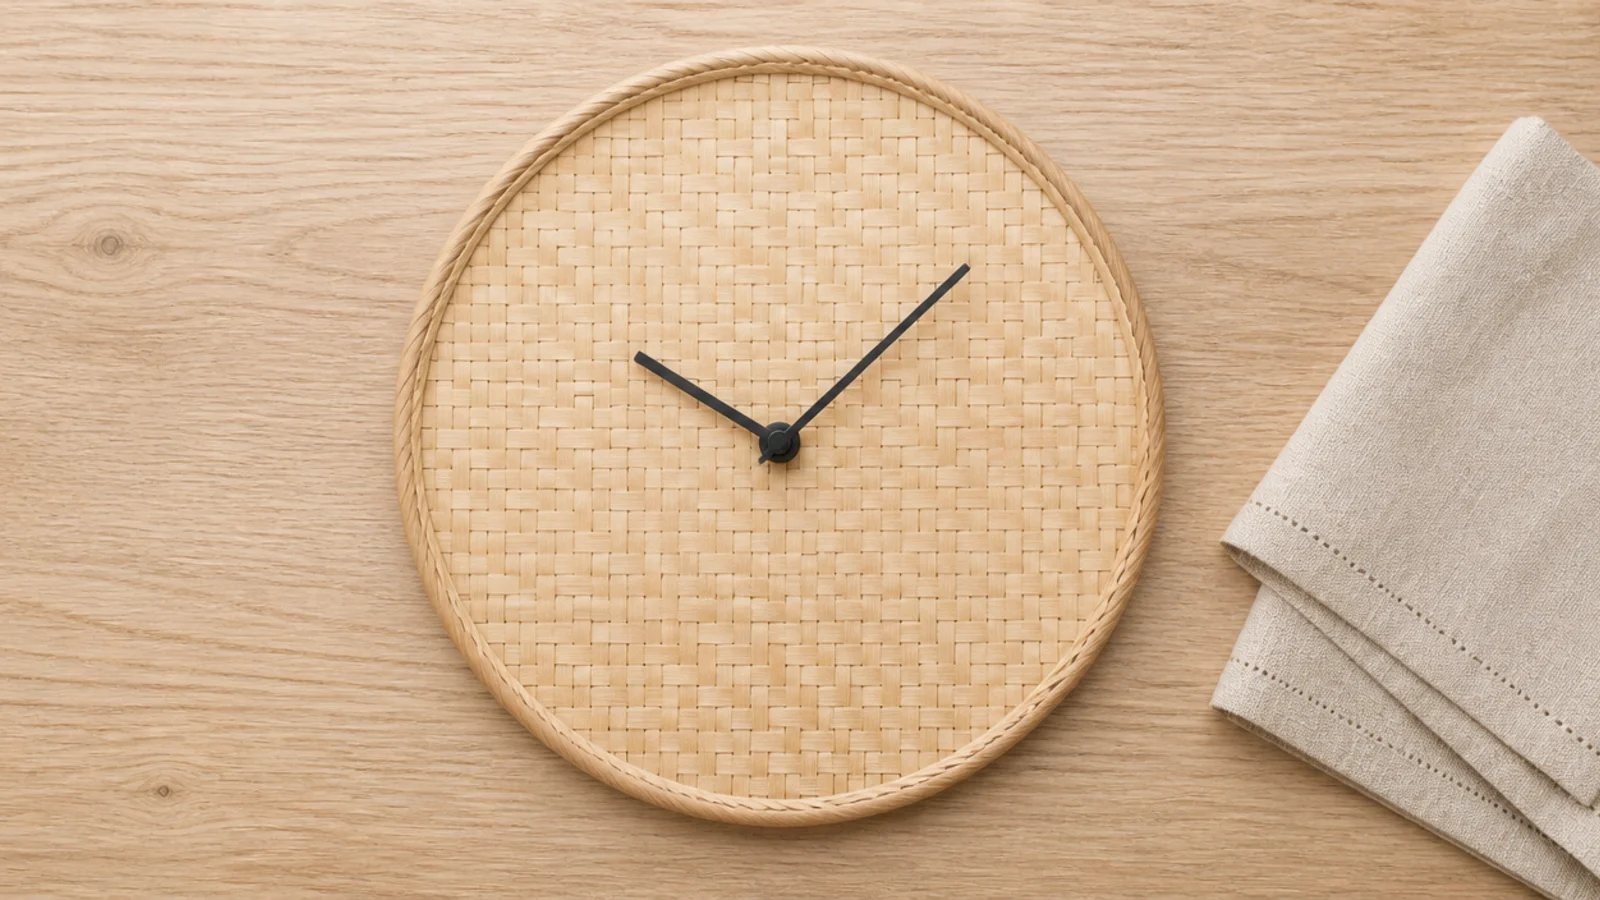
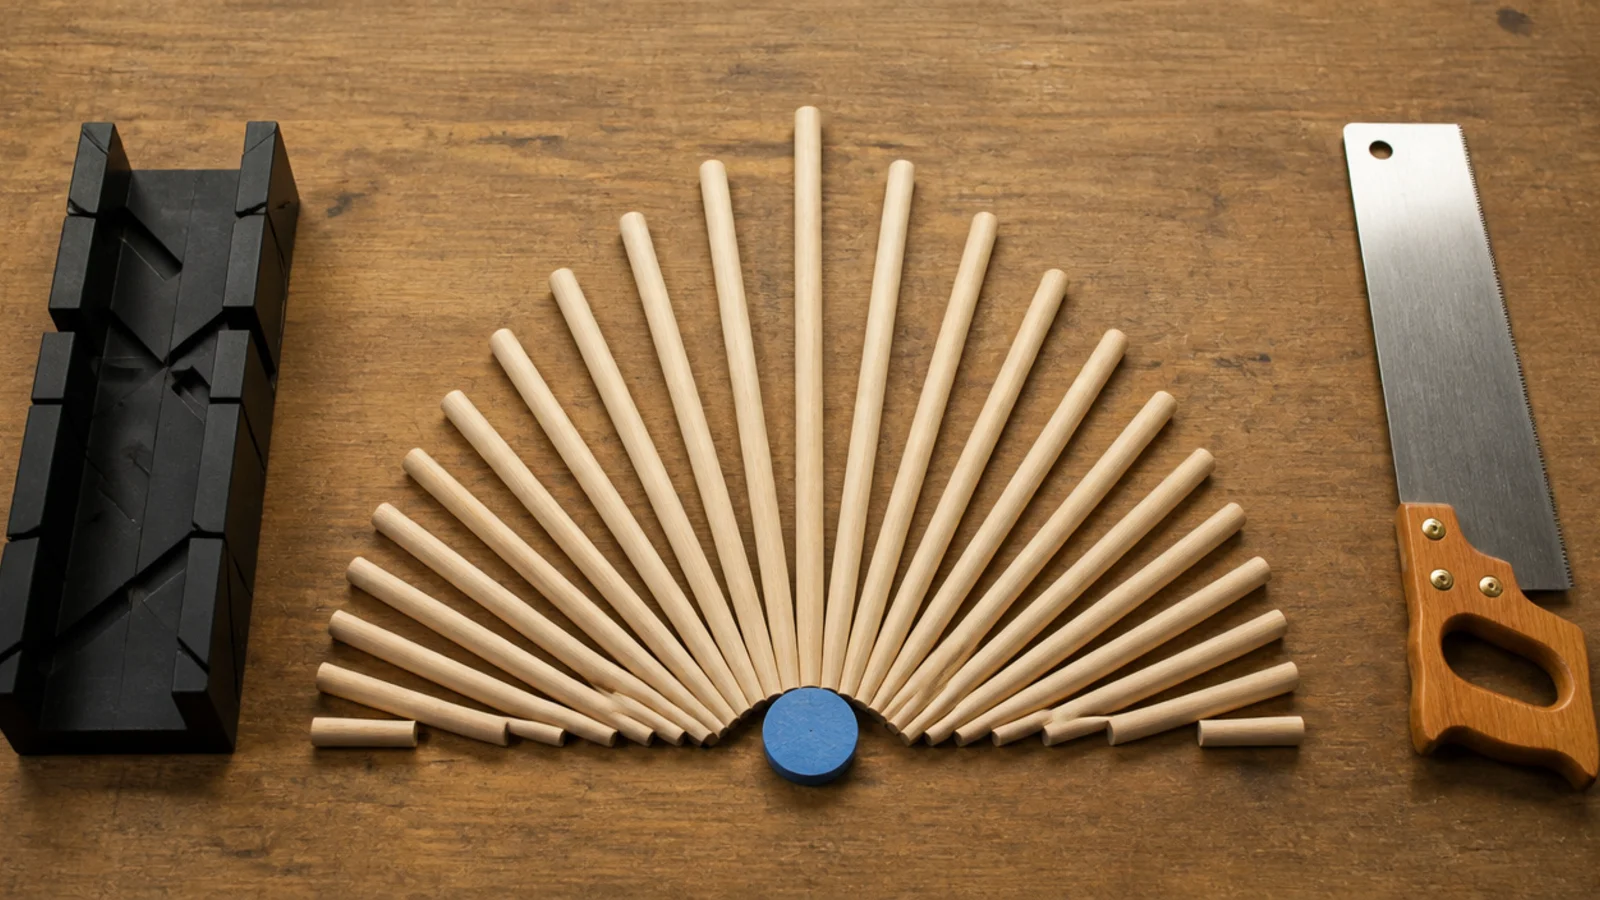
Twenty dowels cut to graduating lengths and fanned around a small painted disc turns a 10-inch dial into a 30-inch wall presence — the best coverage per dollar in this list, at around $10 of dowel. Cut them in a mitre box, glue to a plywood backing plate, and stain before assembly.
17. Hardware-store house numbers as numerals
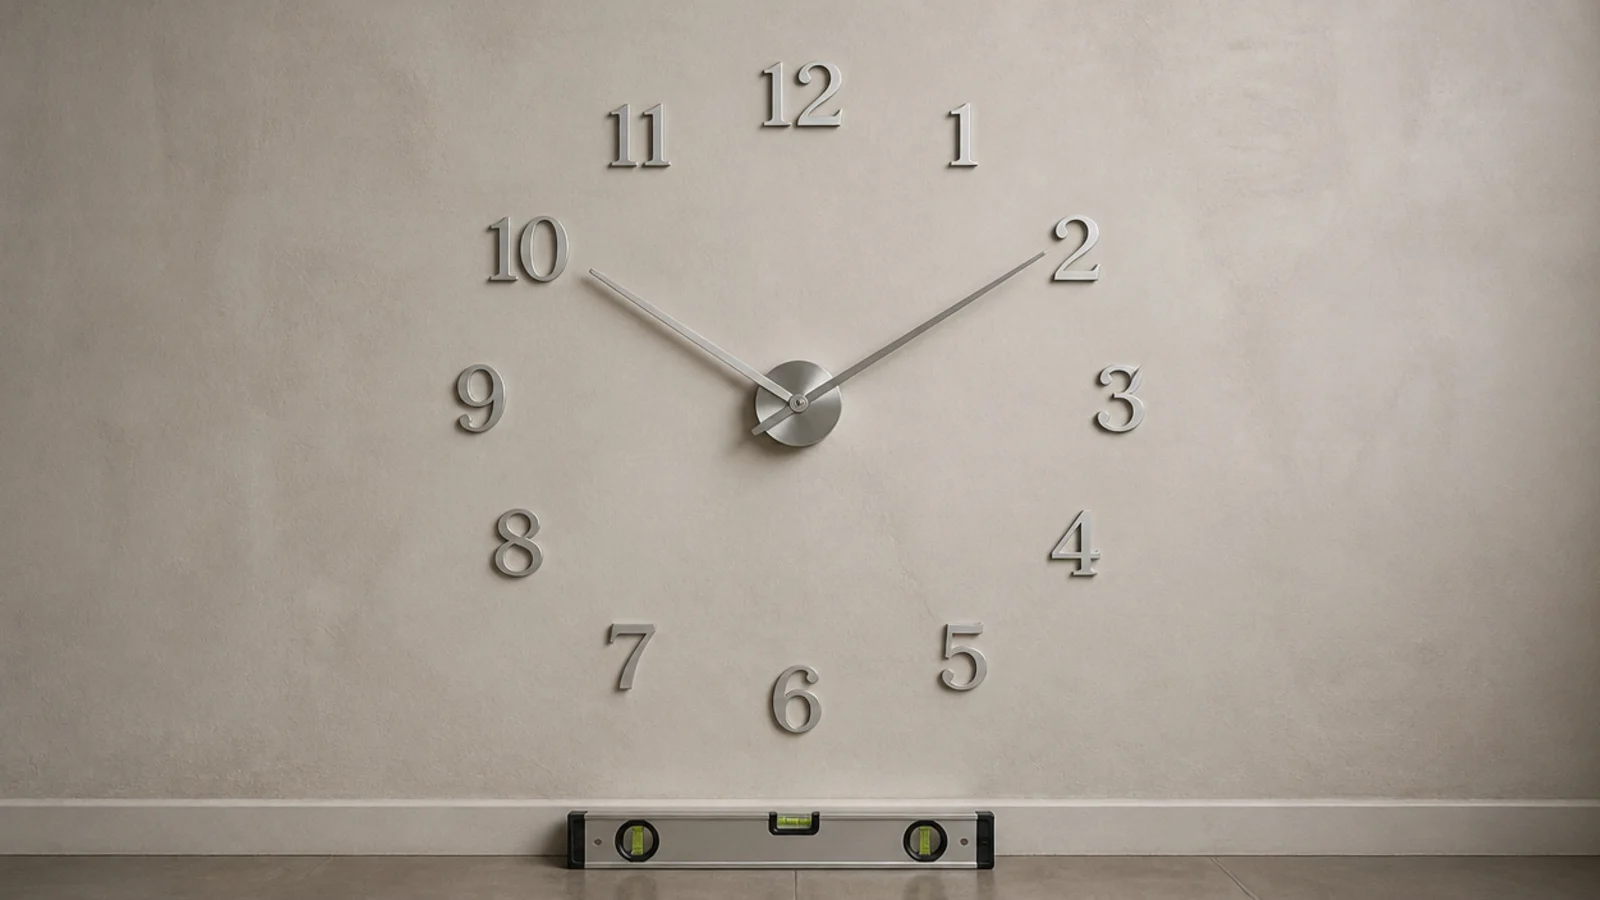
Brushed metal house numbers cost $2 to $4 each, so twelve is over budget but four is not. Use only the twelve, three, six and nine positions on a 24 to 30 inch circle drawn straight onto the wall. Template on the floor first — individually placed numerals go wrong fast.
18. A paint-stirrer starburst
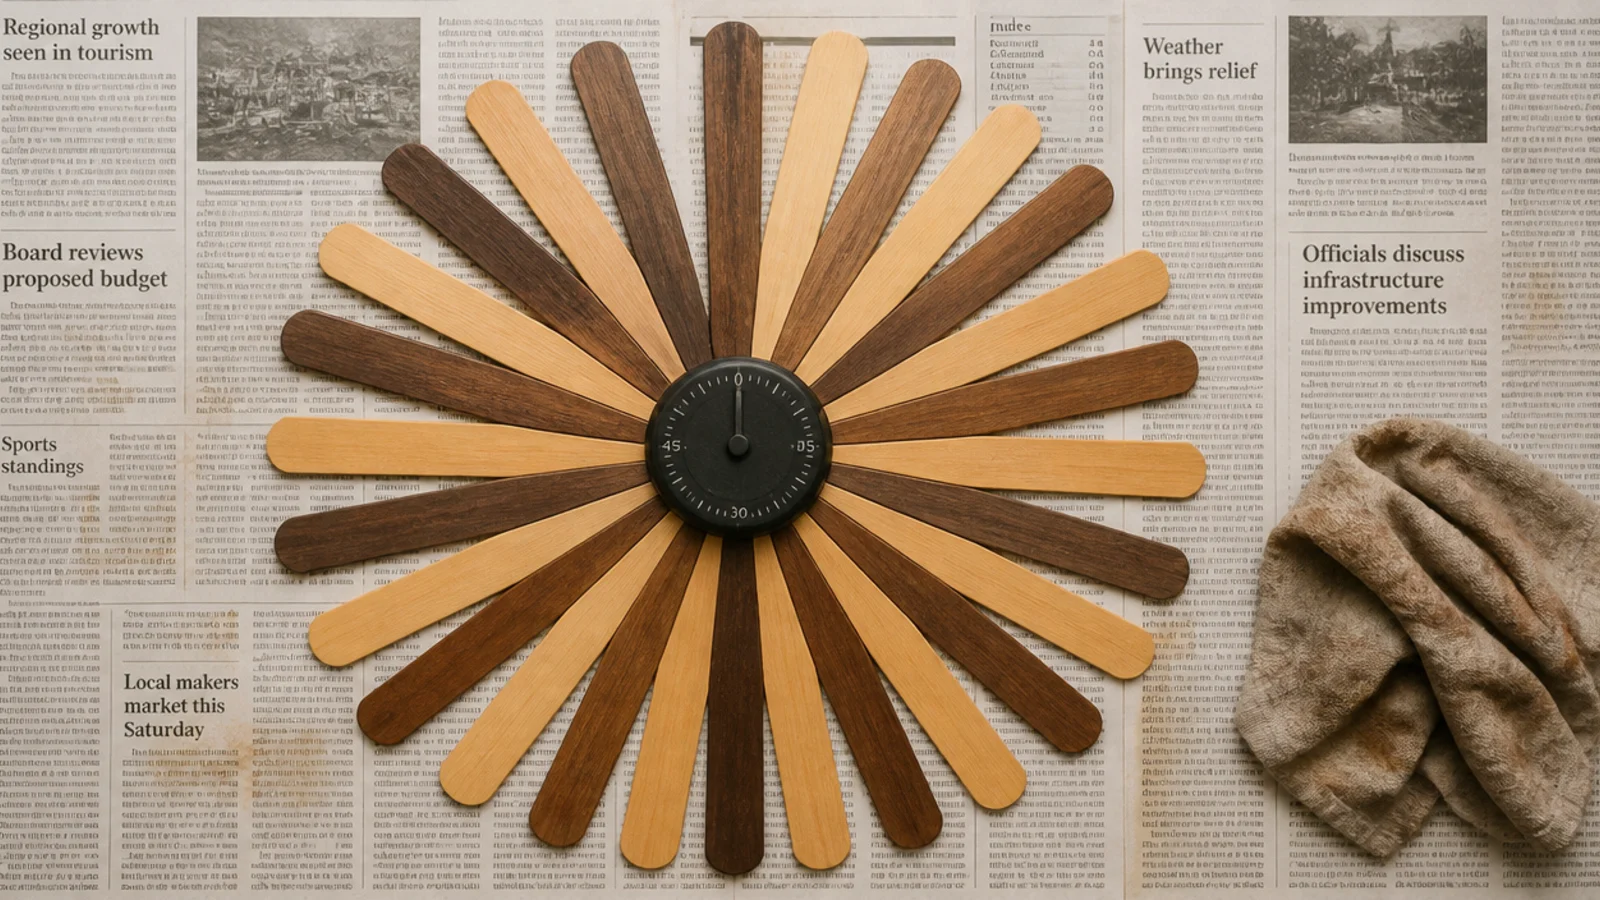
Paint stirrers are usually free at the counter. Stained in two alternating tones and fanned into a starburst, they cost about $4 of stain total. Sand the ends properly, because a rough end grain absorbs stain darker and every ray ends up mismatched.
19. A chopping board clock
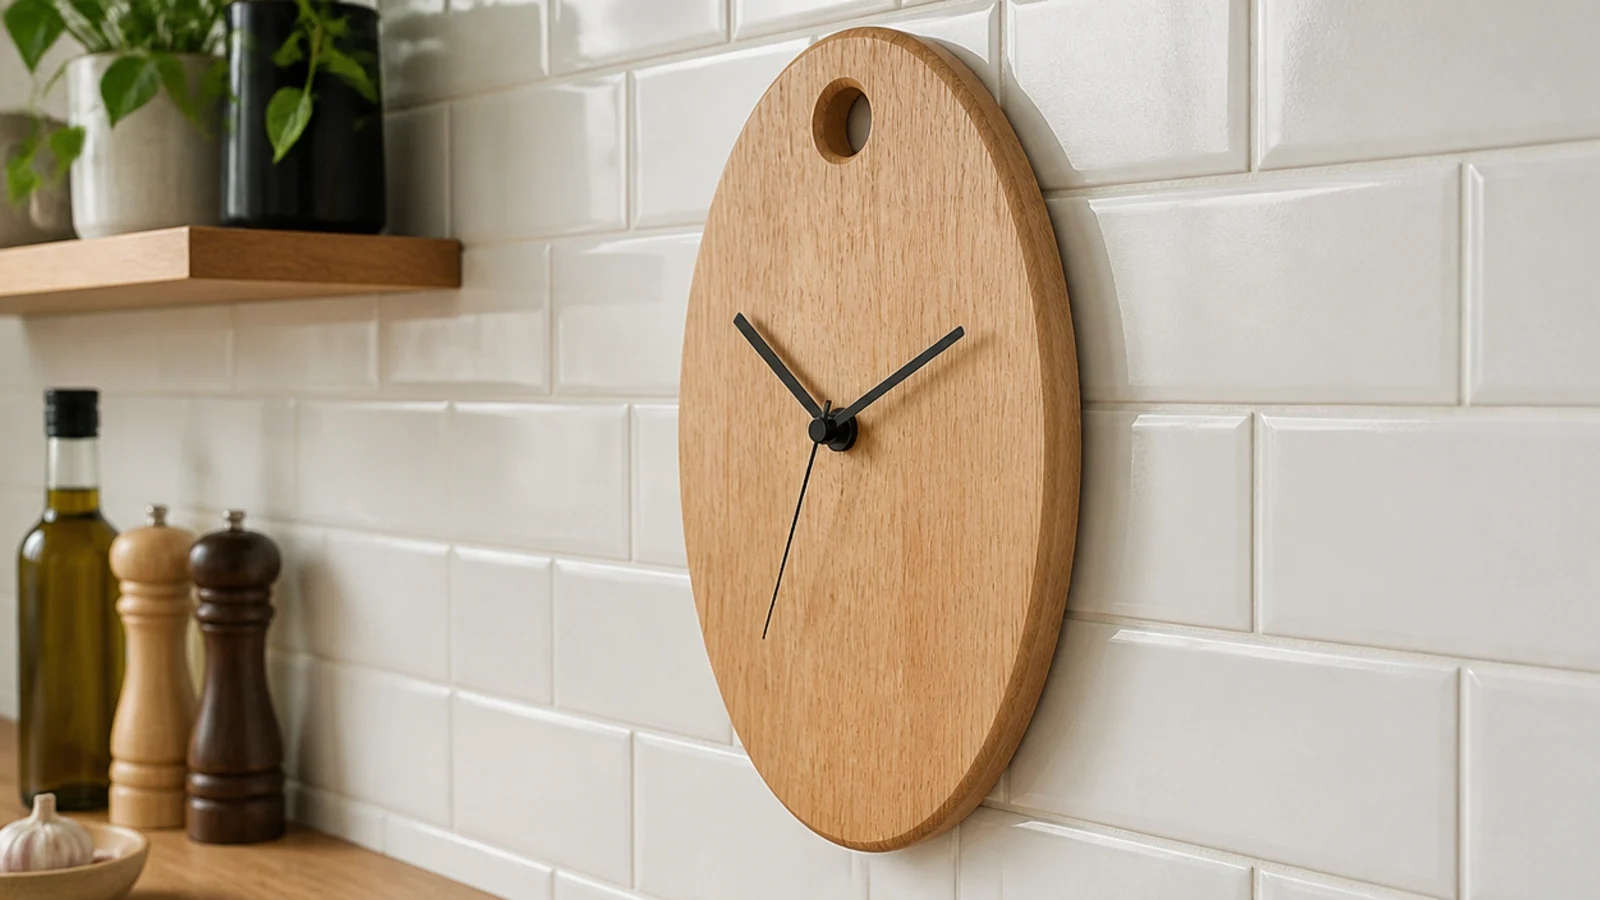
An oval or paddle board already has a hanging hole drilled, a sealed surface and a shape that suits a kitchen. Beech boards run $8 to $15. Keep it away from the hob and re-oil once a year — this is one build that genuinely improves with a little wear. It sits well alongside open storage, as in the kitchen shelf ideas.
20. A marbled paper dial
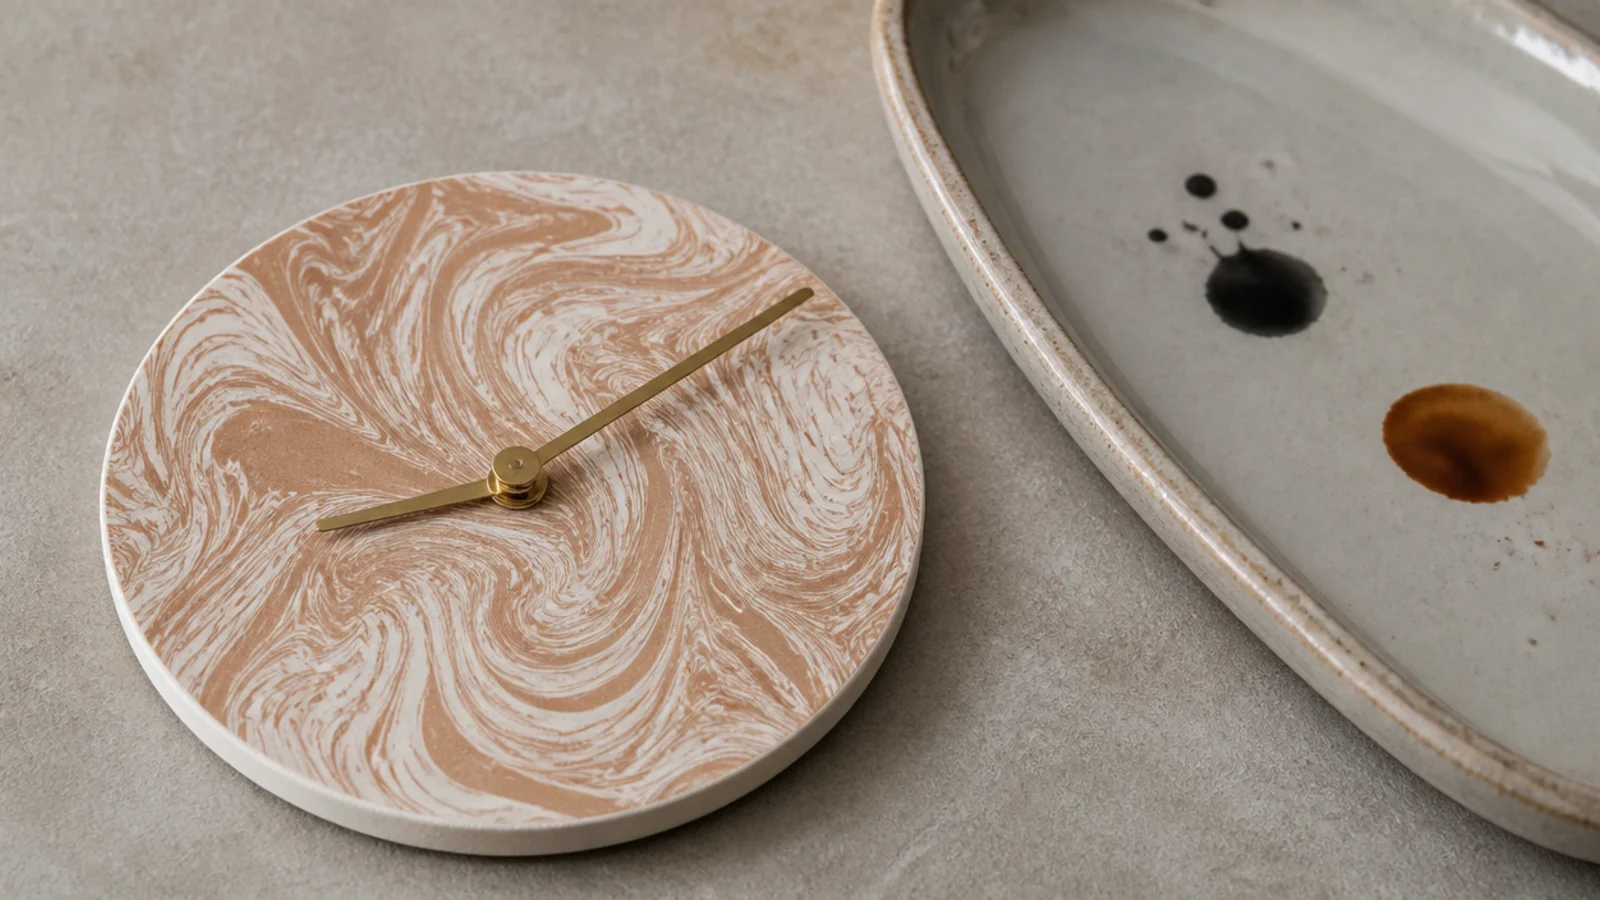
One sheet of marbled paper is $3 to $6 and makes three 10-inch dials with spares, which matters because the first attempt at cutting a clean circle is rarely the good one. Mount on stiff card with spray adhesive, working from the centre outward to avoid trapped bubbles.
21. A single tile offcut
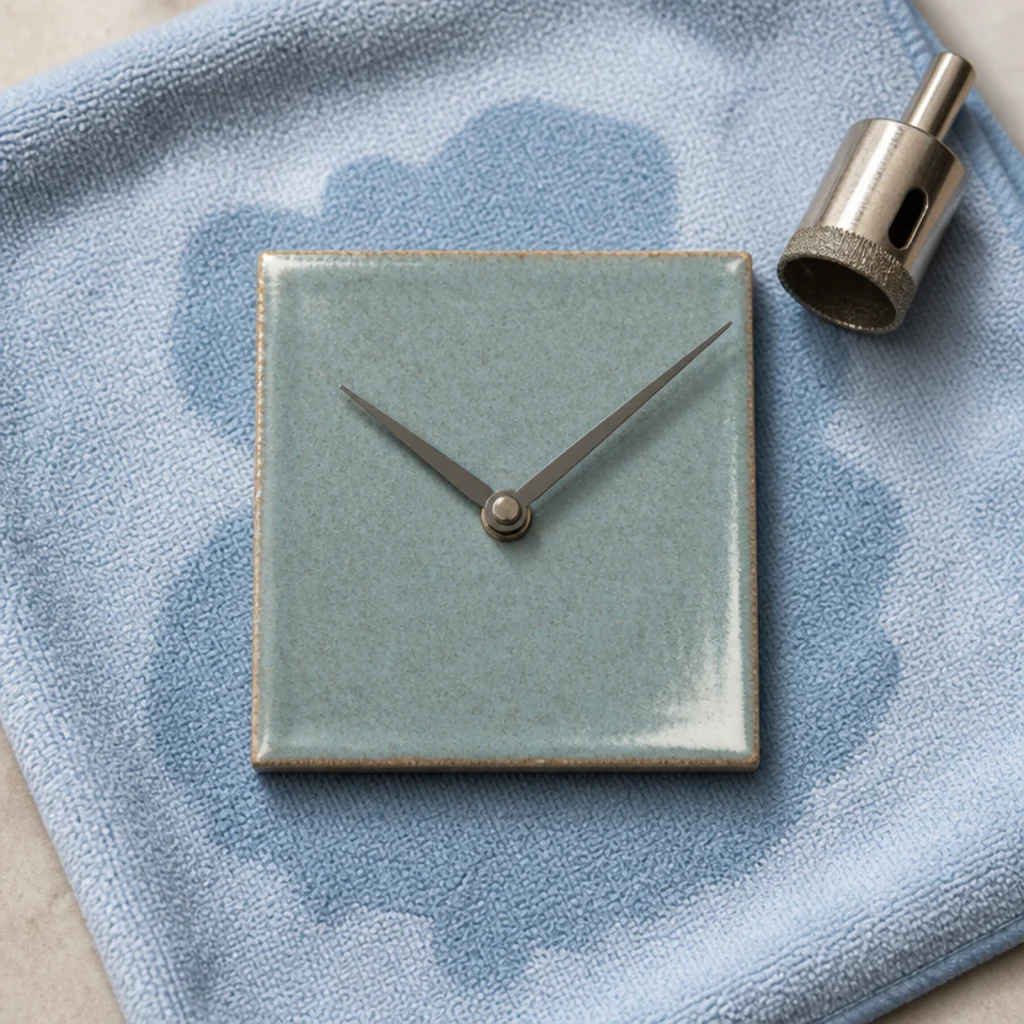
Tile shops give offcuts away. Drill with a diamond hole bit at low speed with water running on the surface, and support the tile fully on a flat board underneath. A 12-inch porcelain tile weighs 4 to 6 pounds, so use two good anchors rather than one.
22. A rattan charger plate
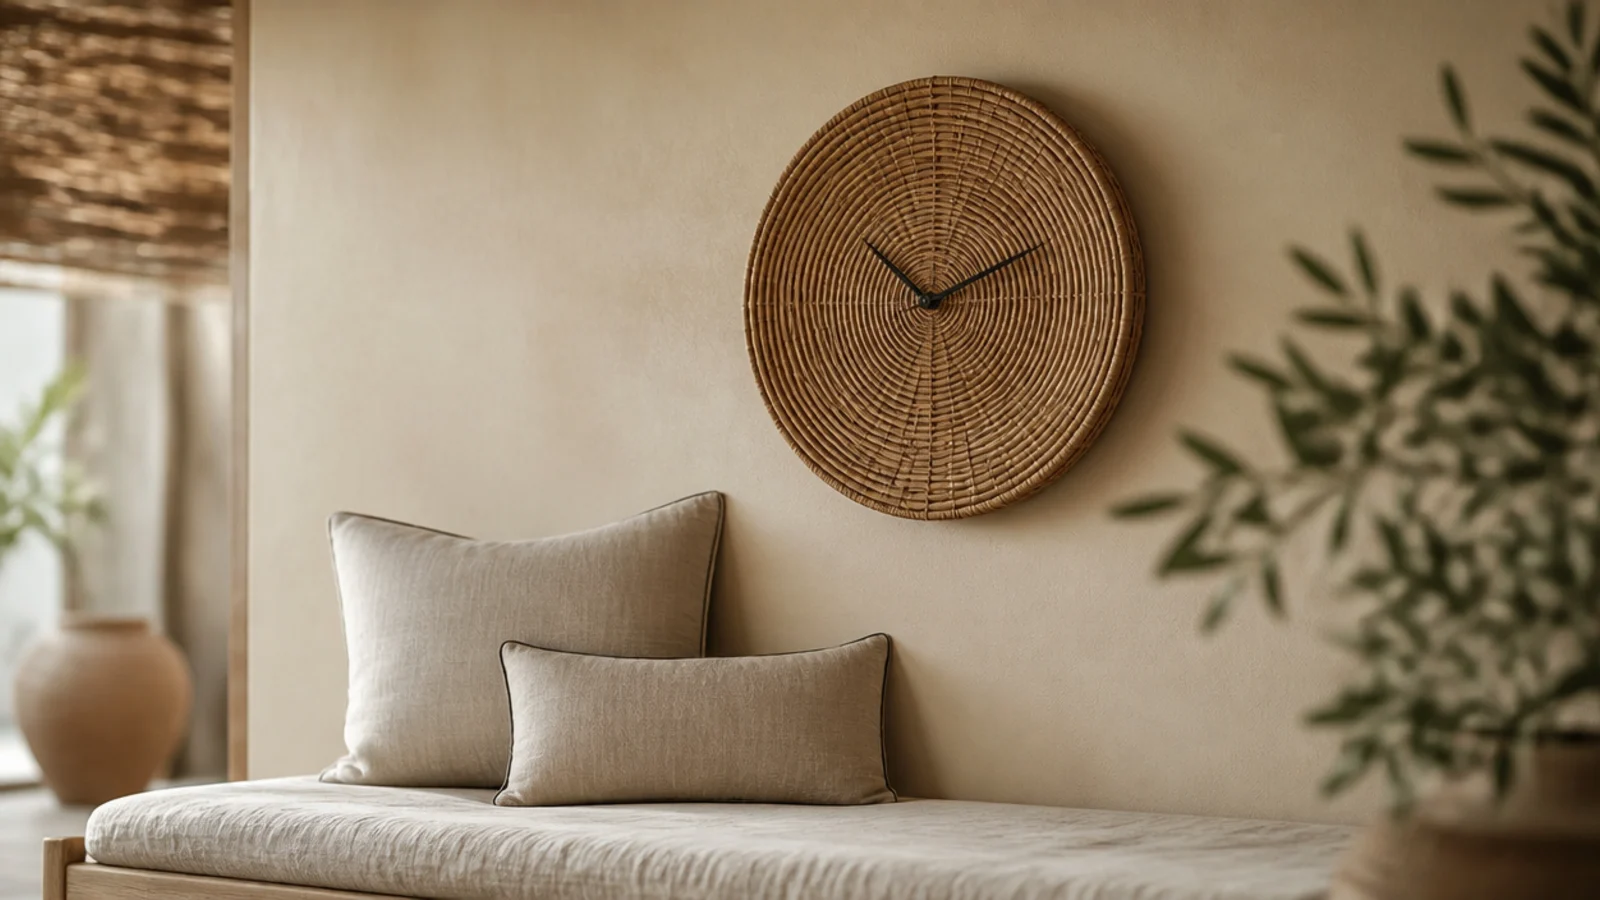
Fifteen inches across, under 3 pounds and usually $5 to $10. Woven rattan gives you texture without colour, which is exactly what a neutral room wants. Check the weave is glued to a solid backing ring, because unsupported cane pulls oval within a year in a warm room.
23. Parquet offcuts laid into a disc
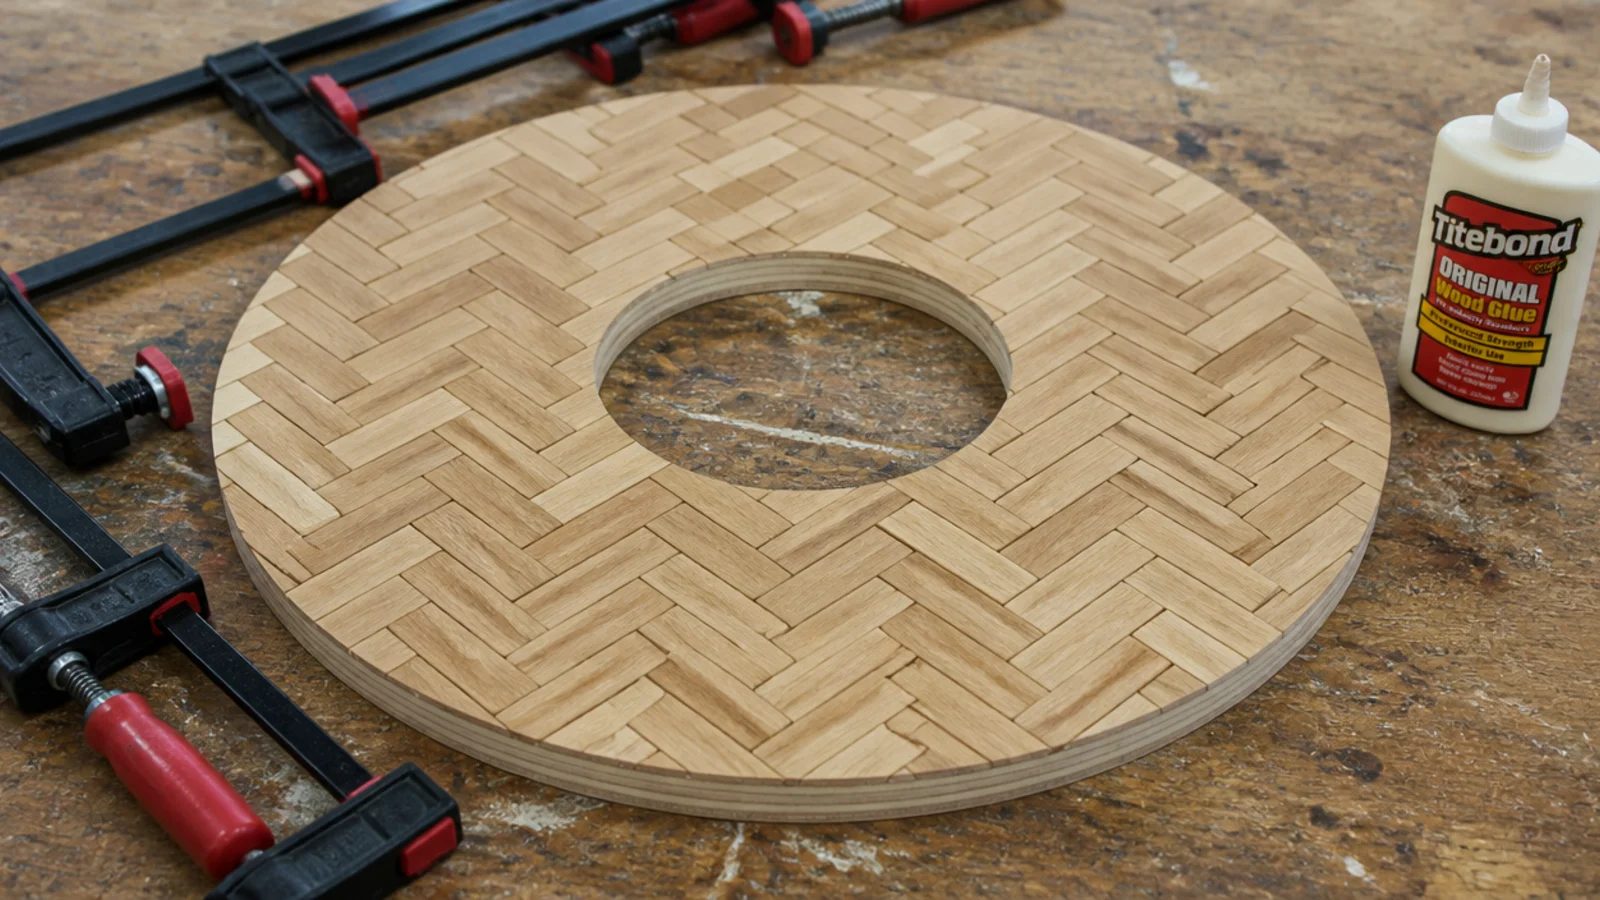
Flooring fitters throw away enough parquet blocks to make a dozen of these. Glue them in a herringbone across a plywood base, then cut the circle after the glue has cured — cutting first and fitting blocks to a curve is far harder. Sand flat and oil. Around $8 with donated blocks.
24. A painted canvas panel
A small stretched canvas is $4 to $7, but the centre has no support at all. Glue a 2-inch plywood block behind the middle and let it cure fully before drilling, or the shaft will tear the weave the first time you set the hands.
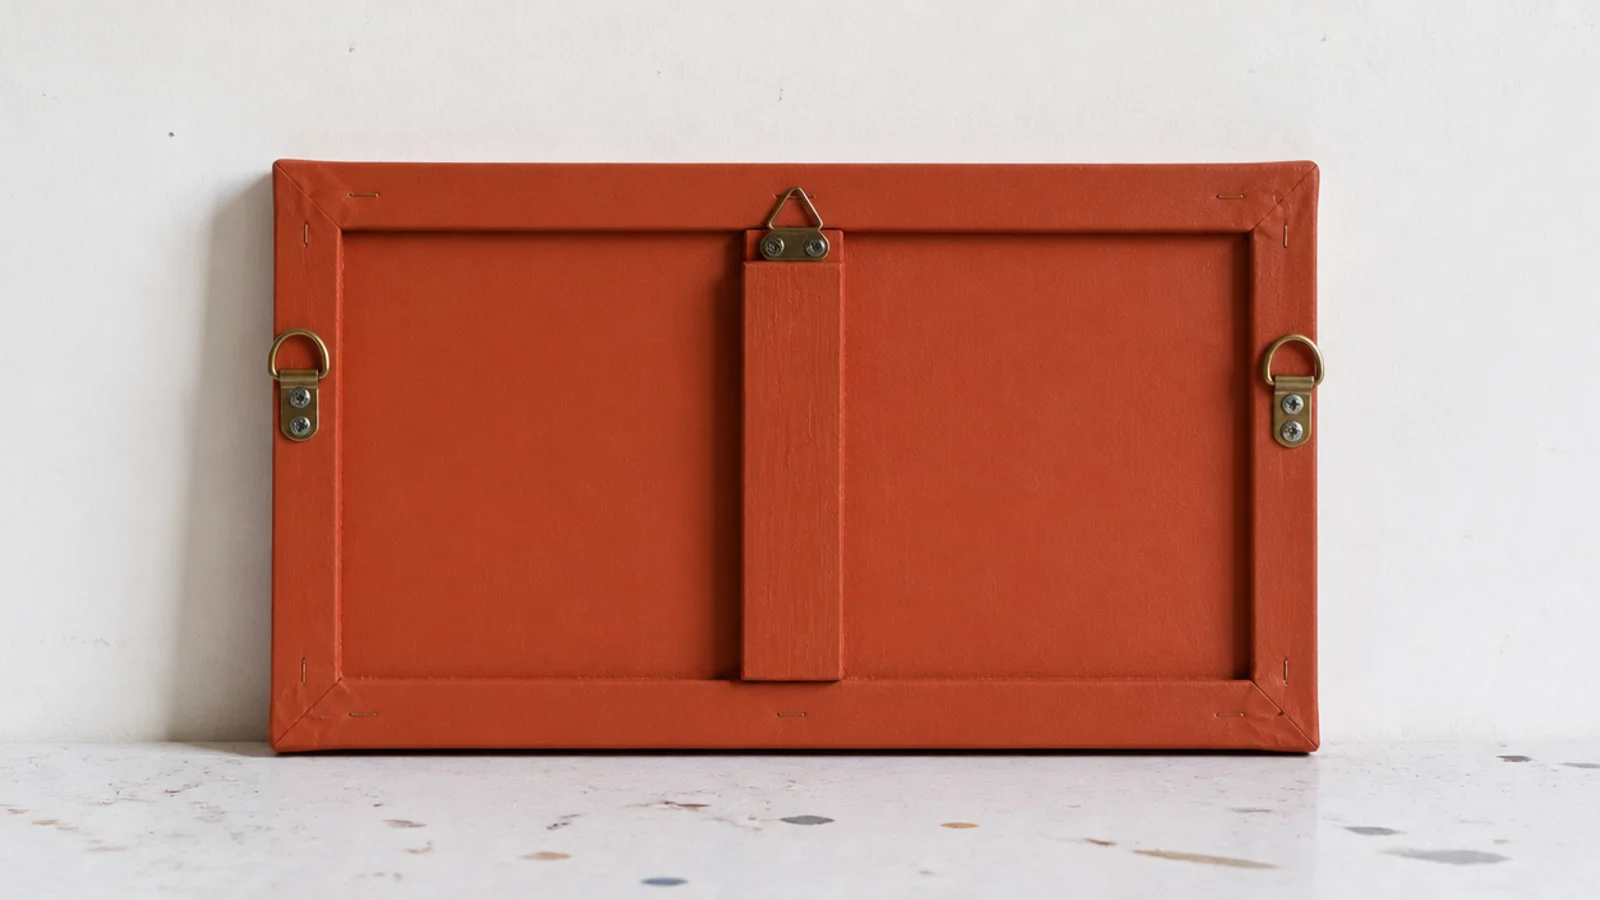
25. A slate placemat
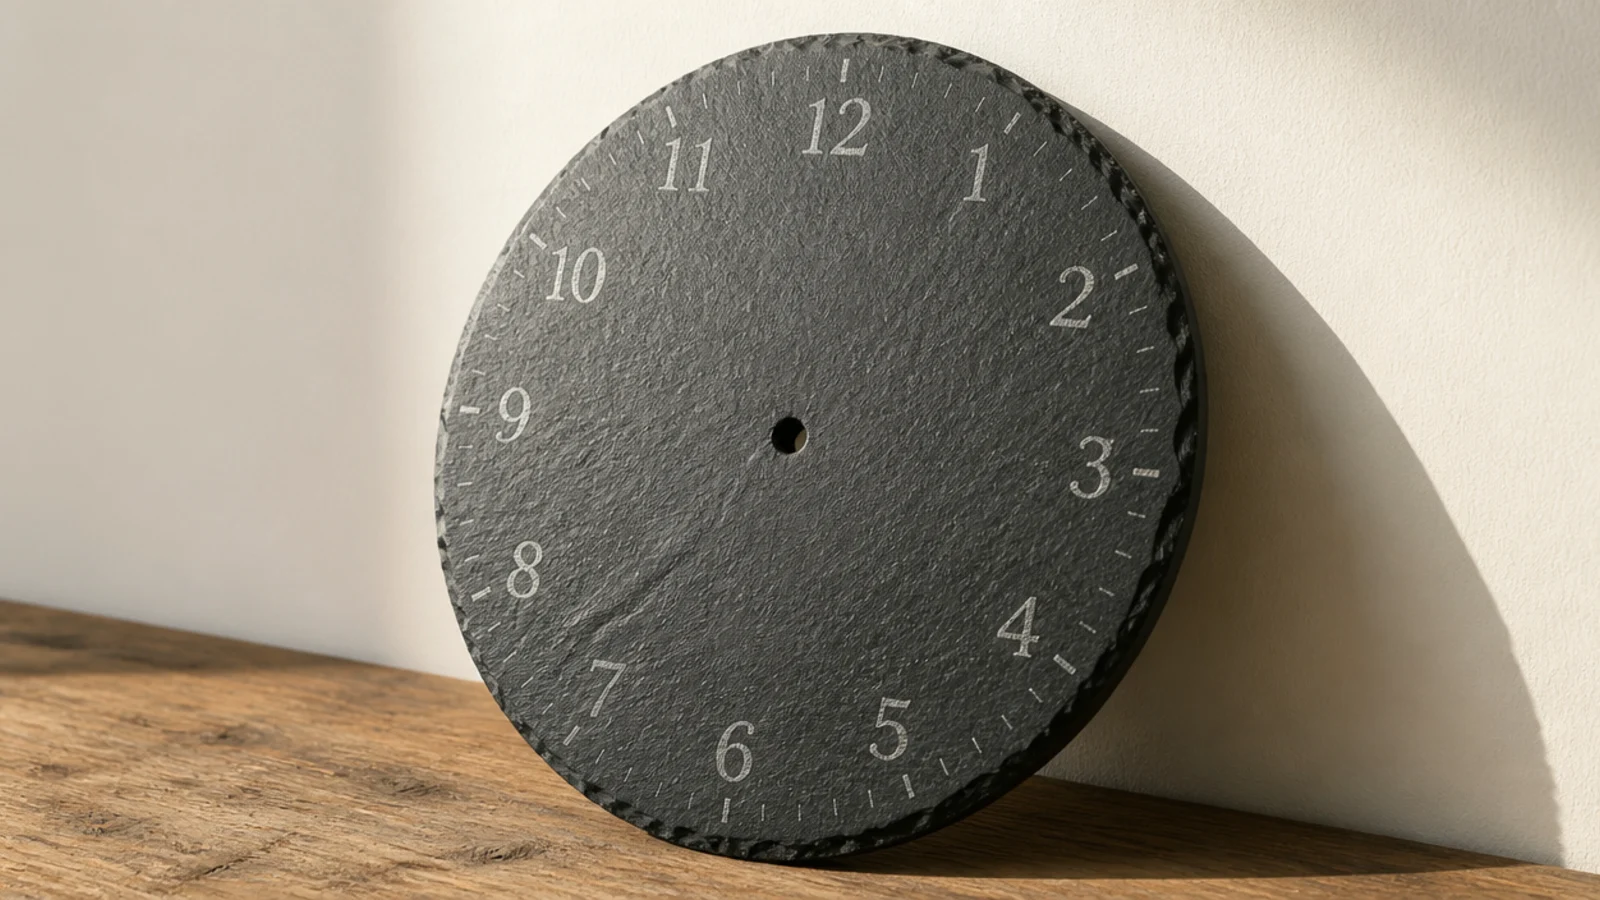
Riven slate catches light differently through the day in a way no printed dial copies. A slate placemat runs $5 to $10 and weighs 3 to 5 pounds at 12 inches. Drill with a masonry bit on a low speed and mark the numerals in chalk pen, which wipes off if you change your mind.
26. A cut acrylic disc with etched markers
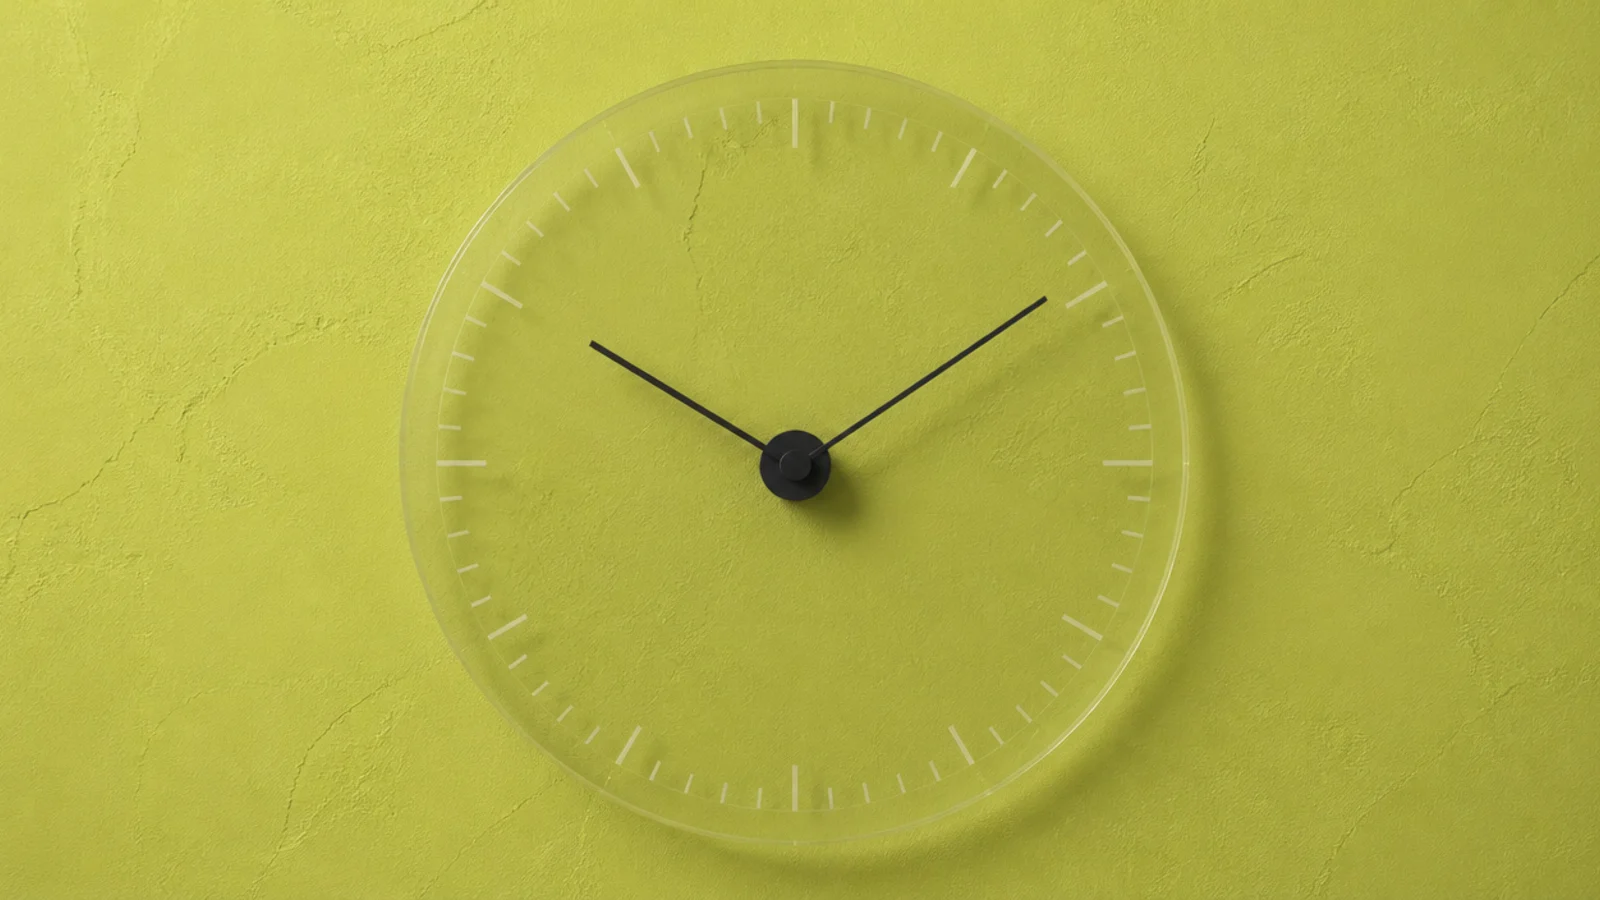
Clear acrylic lets the wall become the dial, which is the only large-format build that works over textured plaster or wallpaper. Score the marker lines with a craft knife and rub in a little white pigment. A 3mm disc at 14 inches costs about $10 cut to size.
27. A reclaimed plank clock
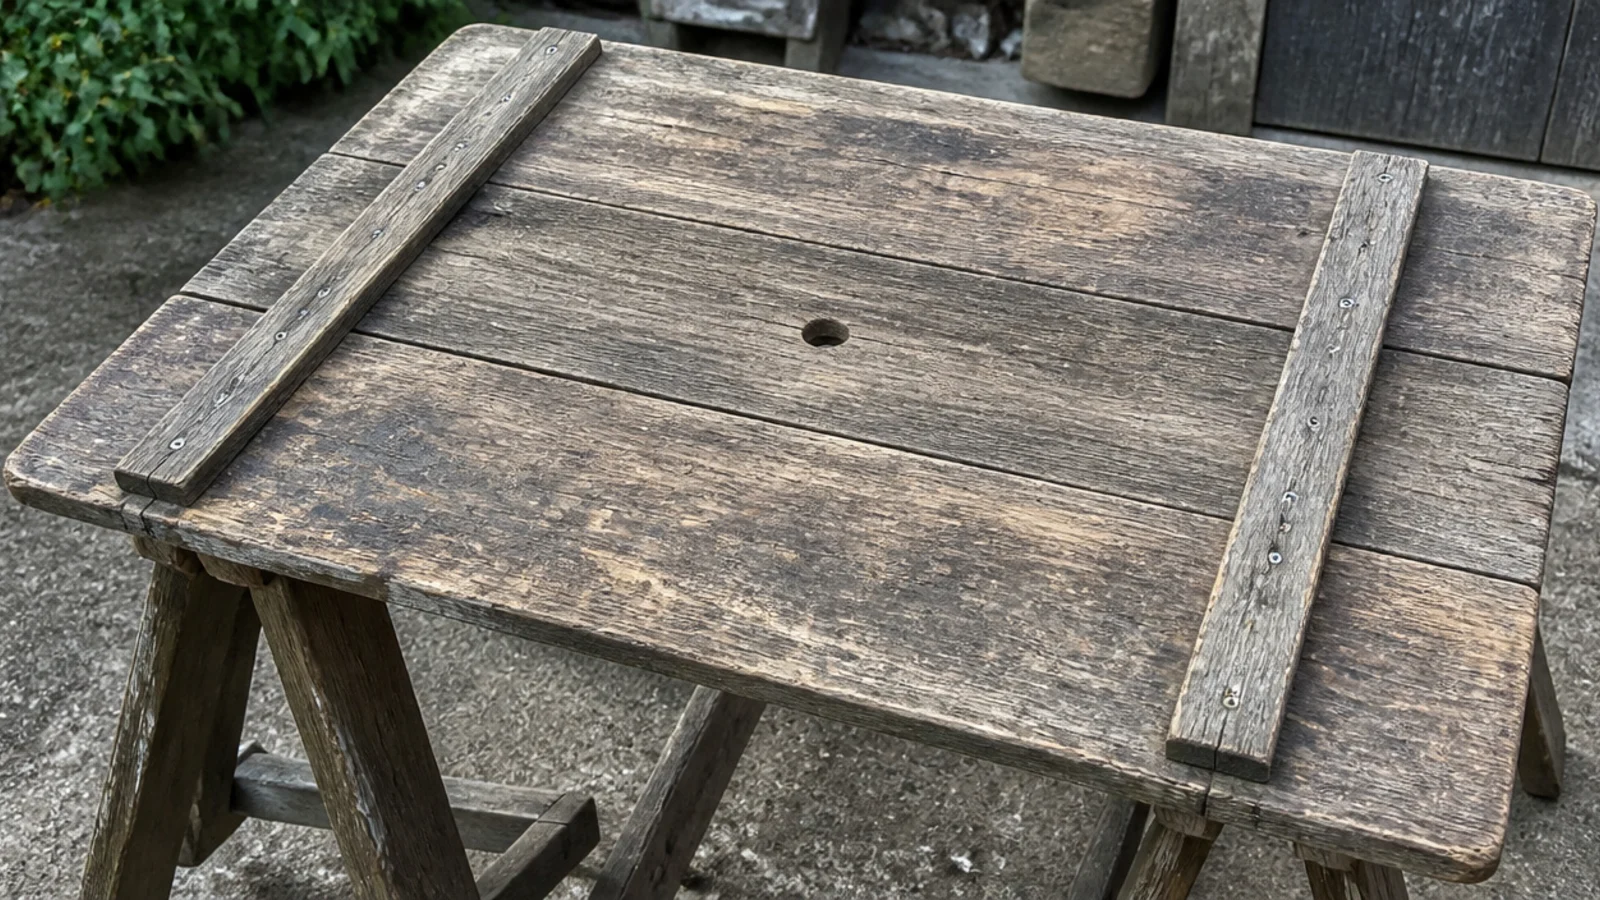
Three boards joined edge to edge with two battens screwed across the back gives you a square face 20 inches across for the price of the screws. The battens are not optional — without them reclaimed boards cup within a season and the face stops sitting flat.
28. Bead or button markers glued in a circle
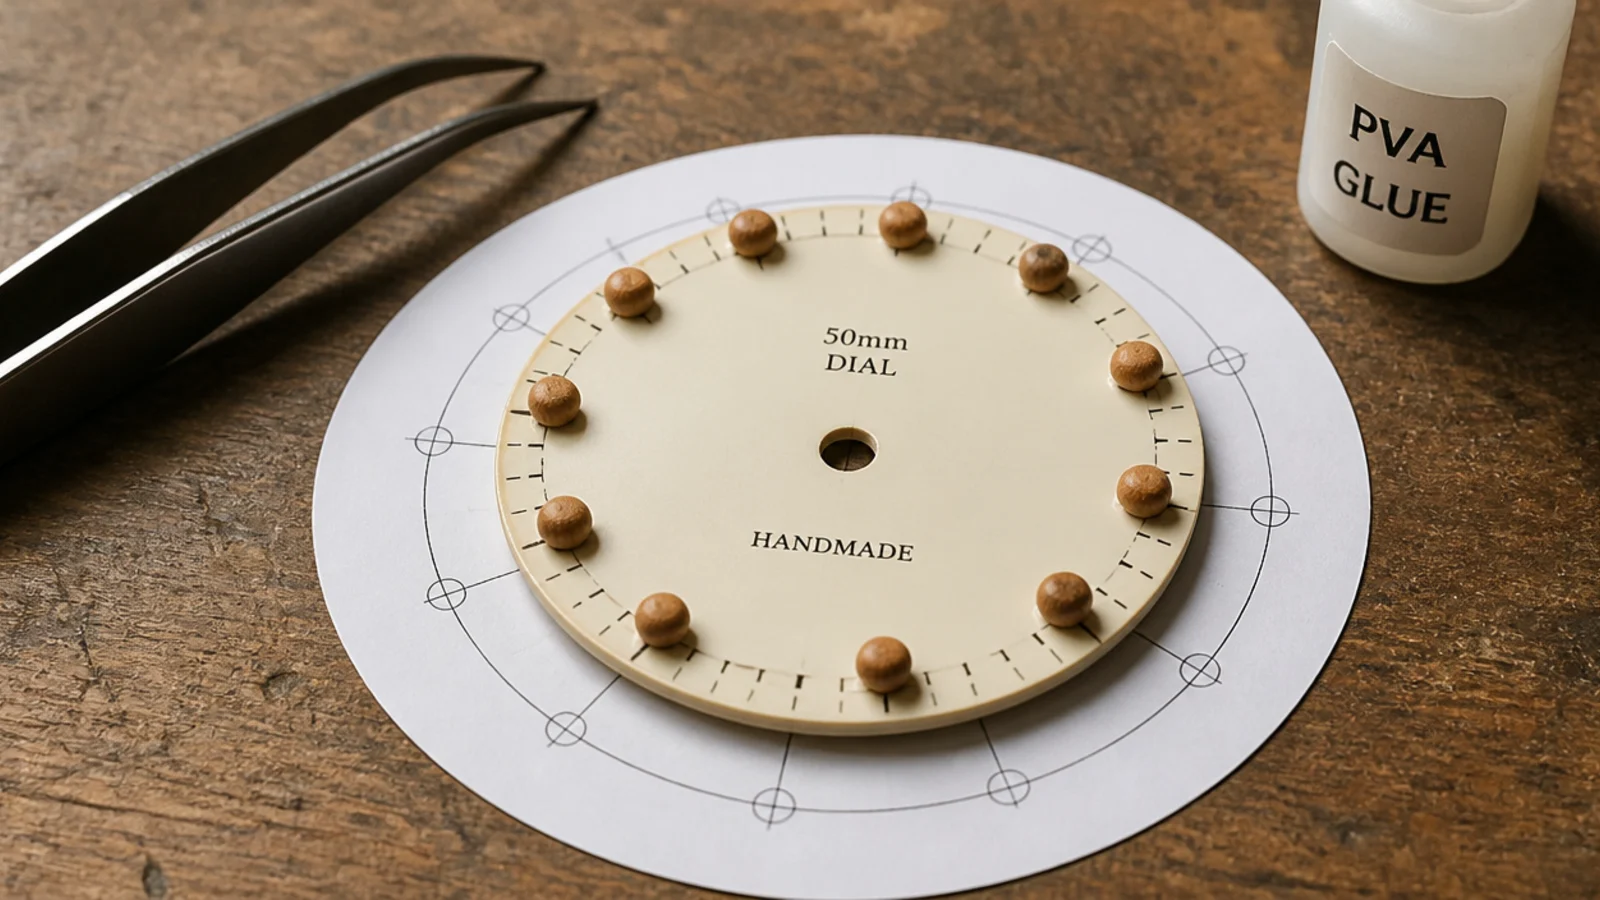
Print a twelve-point template, lay it under a painted dial and glue a wooden bead at each mark. It is a two-dollar upgrade that reads as considered, and the template is what makes it work — twelve beads placed by eye are visibly uneven from across a room.
29. Numerals straight onto the plaster
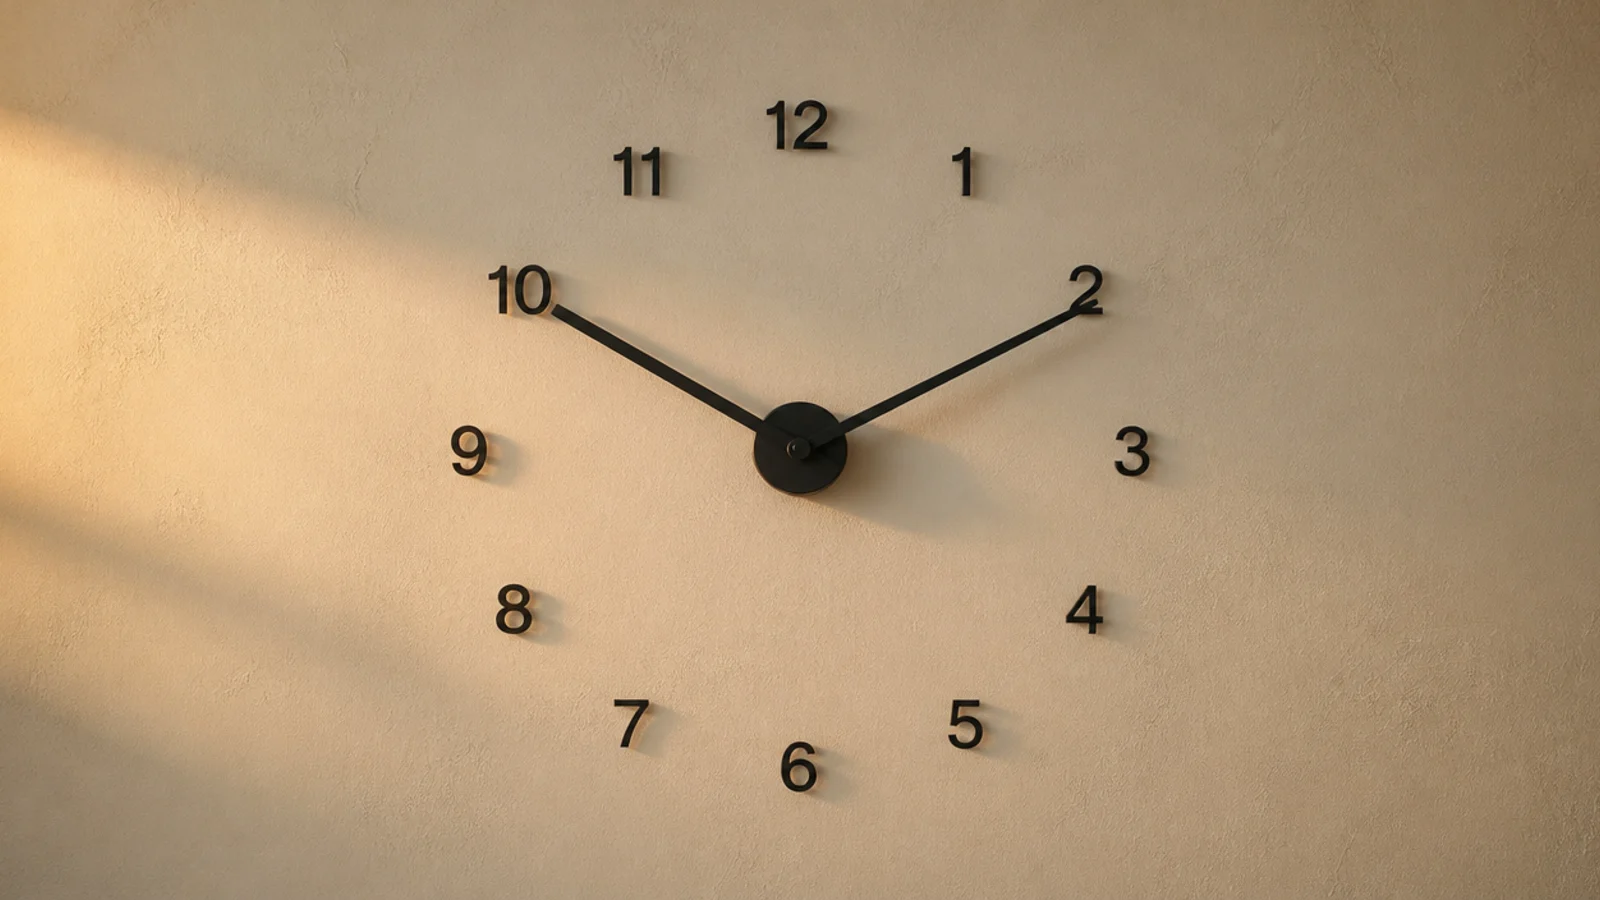
No dial, no case, no material cost beyond the numerals and the movement. Mark a circle 24 to 30 inches across with a pin and string, fix the numerals, then mount a high-torque movement at the centre with long hands. Works only on a pale wall — hands vanish on dark paint past 6 feet.
30. Rebuild a thrifted case from scratch
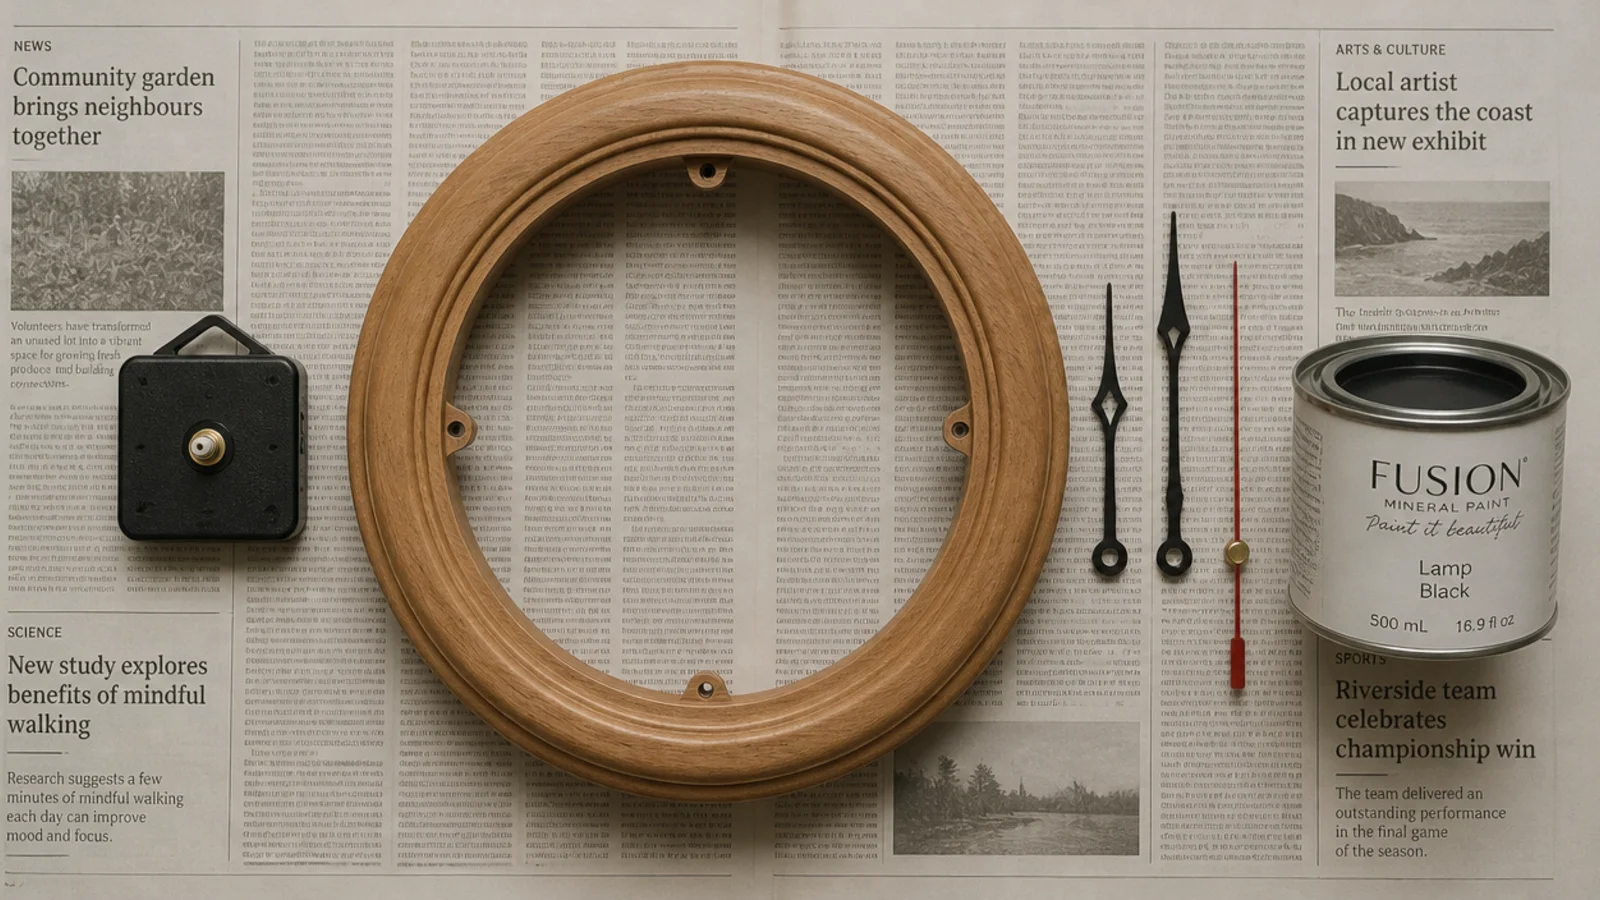
A five dollar case with no dial, no hands and no movement is the best value entry point in this whole list. A painted card dial, a $10 quartz unit and a $7 hand set gets you to about $22 for something that looks like the most expensive clock in the room. Light it well — the ceiling light guide covers what a feature wall needs.
For the timber-specific builds and how each species behaves over time, the wood clock guide goes into more detail on finishes and movement.
Mistakes to Skip
- Ordering a standard movement for a large face. Anything with hands reaching past about six inches from the centre needs high torque, and the failure looks like poor timekeeping rather than an obvious stall.
- Drilling the centre hole oversized to save filing. A shaft that rattles in the hole will never sit square, and every hour of the day the hands will point slightly wrong in a way you cannot unsee.
- Building a concrete or tile face and hanging it on the anchor that came with the kit. Ten to fifteen pounds above a sofa is a stud fixing, full stop.
- Using a green log slice. It will split within a few months regardless of the finish, and there is no repair that does not look like a repair.
Frequently asked questions
What movement do I need for a homemade clock?
A standard quartz movement costs 8 to 12 dollars and drives hands up to about 6 inches from the centre. Beyond that, order a high-torque unit at 15 to 20 dollars, because a standard motor stalls on the climb from the half hour and the clock silently loses time.
What shaft length should I order?
Measure the thickness of your dial at the centre and add roughly an eighth of an inch for the washer and nut. Common shafts run from five sixteenths of an inch up to just over an inch, and a shaft that is too short will not take the nut at all.
How big should the centre hole be?
Most quartz shafts need a hole between five sixteenths and three eighths of an inch. Drill it undersized with a brad point or spade bit and open it up with a round file until the shaft passes without forcing, because a torn hole never sits square afterwards.
Are homemade clocks noisy?
That depends entirely on the movement, not the face. A step-tick unit ticks at roughly 25 to 30 decibels at a metre, which is fine in a hallway and wearing in a bedroom. A continuous-sweep movement is silent and costs only a few dollars more, so buy it up front.
Do lightweight DIY clocks still need a proper fixing?
Most plywood and fabric builds come in under 4 pounds, which a good self-drilling drywall anchor holds comfortably. Concrete, tile and log-slice builds run 8 to 20 pounds, and those belong on a number eight screw into a stud, especially anywhere above a sofa or a bed.
Want more like this? Browse all 15 wall clock guides — they all use the same measurements and budget tiers.
Pin it for later
Save this to your Wall Clock board
Pin it now so it is waiting for you when the tape measure comes out — and so the next person hunting for this idea can find it too.
Save this pinKeep going
More ideas worth saving while you have the tape measure out.