Wall Clock · How-To
15 Steps To Hang A Wall Clock Modern Style

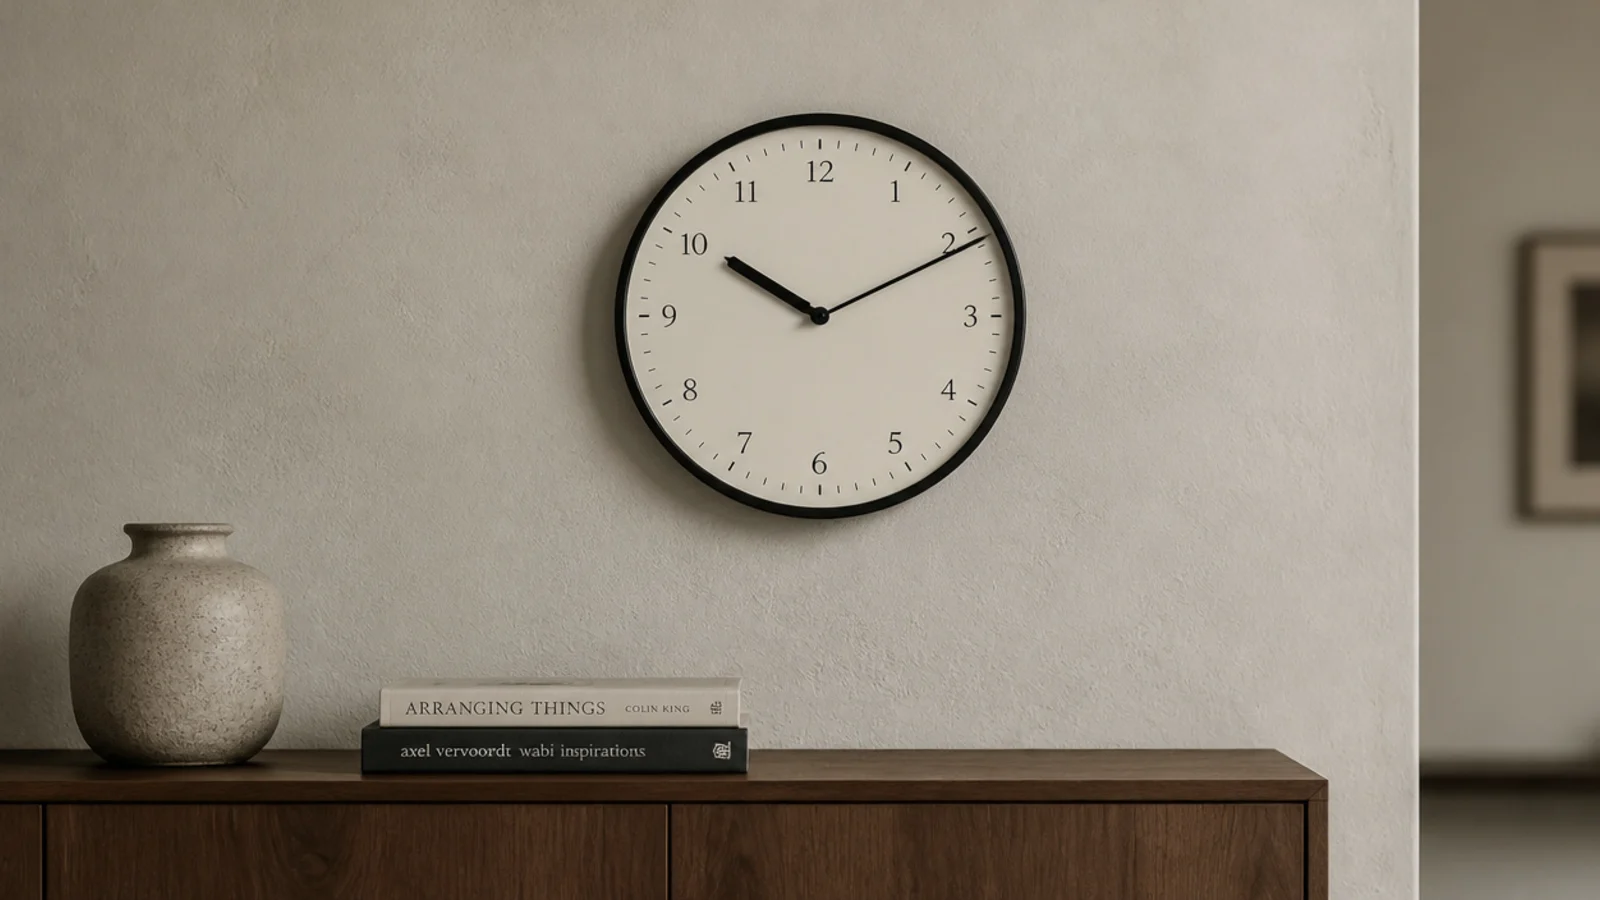
Hanging a clock takes twenty minutes and most people spend fifteen of them filling the first set of holes. A wall clock modern enough to suit flat-fronted joinery and plain plaster gives you nothing to hide behind — no ornate case to distract from a crooked hang, no busy dial to disguise a bad height. The measurements have to be right because there is nothing else going on. What follows is the order I work in, from choosing the silhouette to listening to the movement in a dark room before I commit to it.
In this guide19 sections — tap to openHide
- 1.What wall clock modern styling actually depends on
- 2.What You'll Need
- 3.Step 1: Pick the silhouette before the size
- 4.Step 2: Measure the furniture and set the diameter
- 5.Step 3: Weigh it and choose the fixing class
- 6.Step 4: Choose the movement before you hang
- 7.Step 5: Find the studs and mark both edges
- 8.Step 6: Set the centre line at fifty-seven inches
- 9.Step 7: Check the clear gap above the sofa back
- 10.Step 8: Cut a paper template and tape it up
- 11.Step 9: Measure from the rim to the hanging slot
- 12.Step 10: Drill the pilot hole for your actual wall
- 13.Step 11: Drive the screw and leave the right gap
- 14.Step 12: Hang on two points and level it
- 15.Step 13: Fit the battery and set the time
- 16.Step 14: Listen to it in a silent room
- 17.Step 15: Strip the wall back around it
- 18.Pro Styling Rules
- 19.Mistakes to Skip
What wall clock modern styling actually depends on
Three numbers, then two decisions. The numbers are diameter, height and weight. Diameter comes from the furniture below: about a third of its width, so 24 to 30 inches over an 84-inch sofa, 18 to 22 over a 60-inch console, and 30 to 36 on a bare wall with nothing under it at all.
Height is 57 to 60 inches from the finished floor to the centre of the dial. That is standing eye level and the line galleries hang art on. Above a sofa you raise it only enough to keep 8 to 12 inches of clear plaster above the back cushions. Past a 65-inch centre, everyone tilts their head.
Weight decides the fixing. Under 5 pounds, a good self-drilling drywall anchor is fine. Five to 8 pounds, use two. Over 8 pounds — and anything at all hanging above a sofa or a bed, regardless of weight — takes a number eight screw two inches long into a stud, not the plastic plug in the box, which is rated near 10 pounds when new and weakens every year.
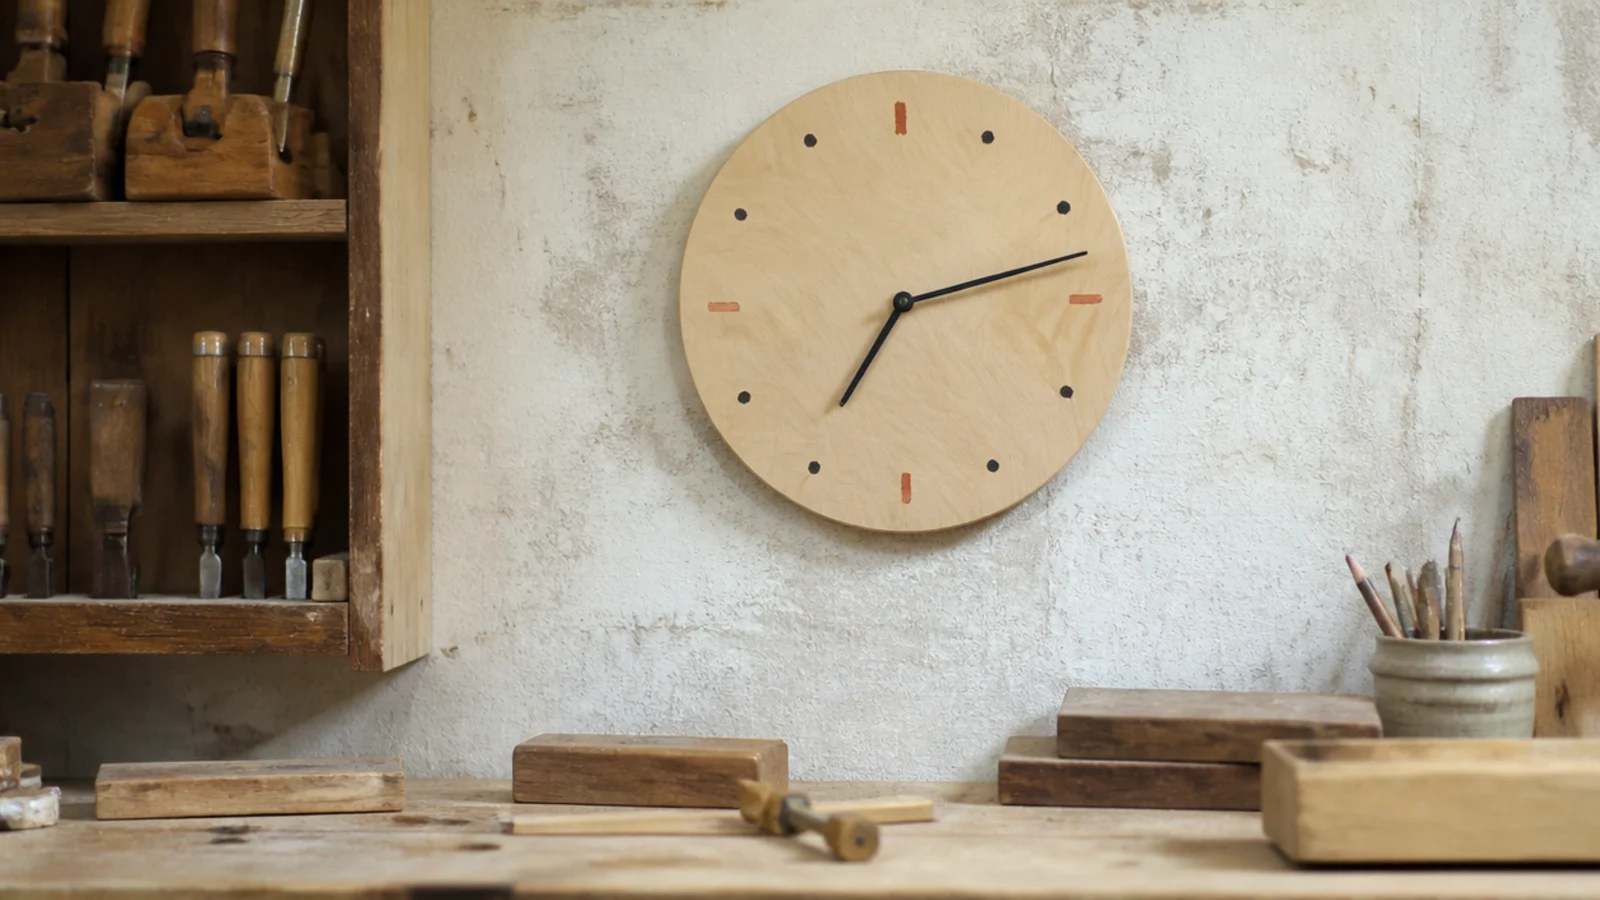
The two decisions are the silhouette and the movement, and both are easier to make before anything is on the wall. Modern reads as slim: a rim under an inch wide, a matte lens rather than domed glass, markers rather than numerals. And a sweep movement costs $12 to $18 against $8 to $12 for a step unit, which is the cheapest upgrade in this entire job. There is a wider style breakdown in the design guide.
What You'll Need
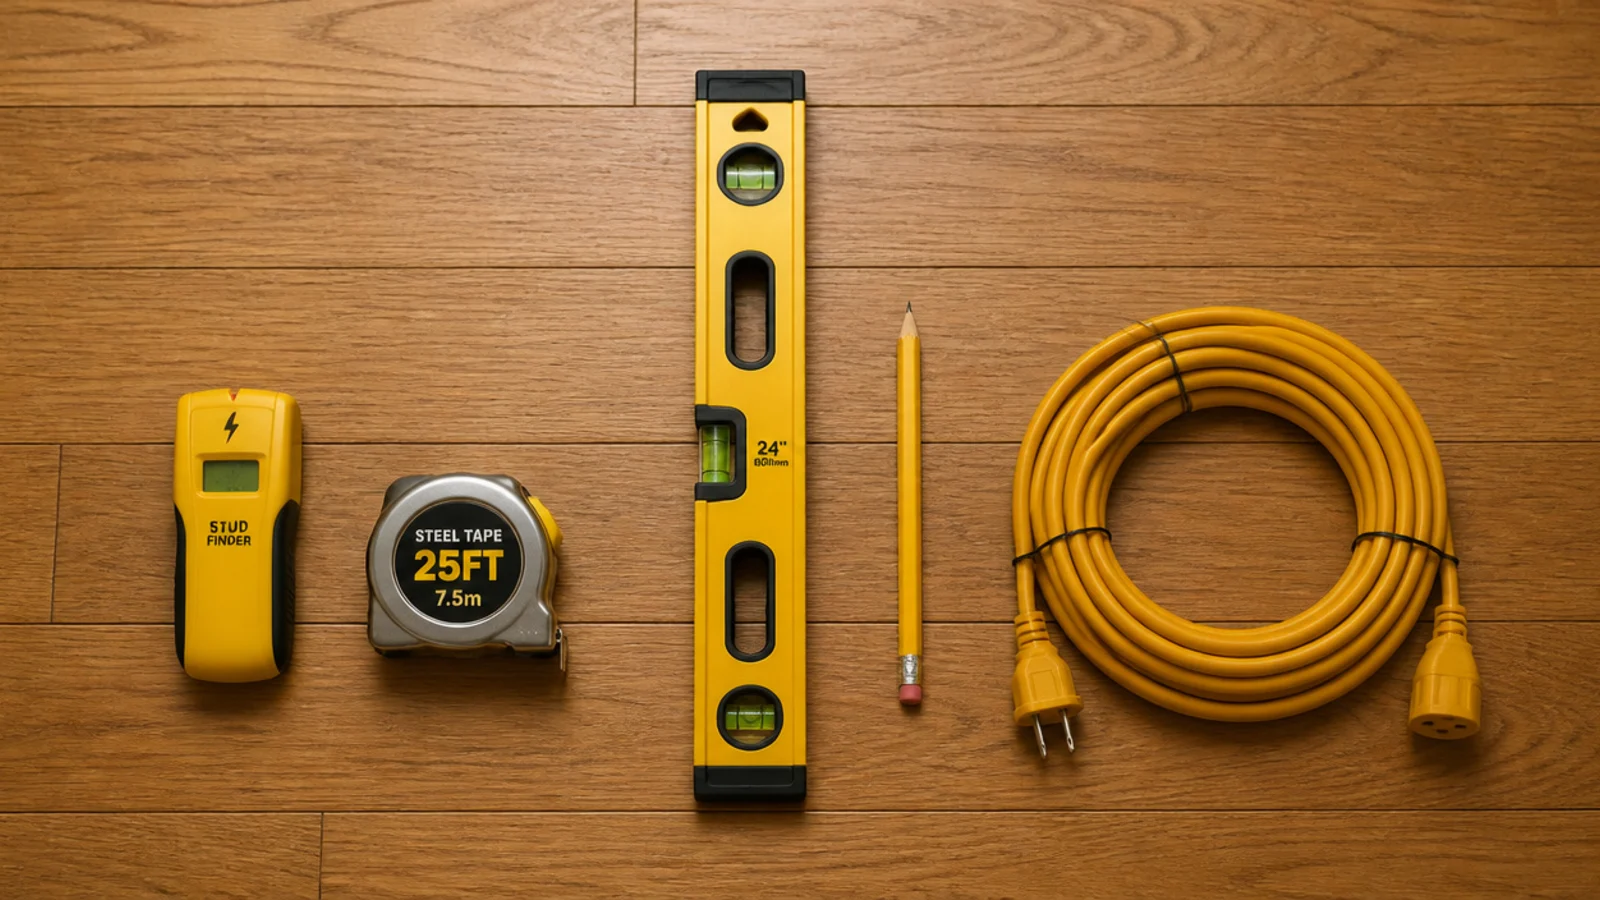
- Stud finder. An electronic one, and check it twice from both directions. Marking framing is the single step that changes whether this fixing is permanent.
- Steel tape measure and a 24-inch spirit level. A short torpedo level is not long enough to bridge two hanging points reliably.
- Cordless drill with wood, masonry and twist bits. Match the bit to the wall you actually have, not the wall you assume you have.
- Number eight screws, 2 inches long, for framing. A box costs a few dollars and carries anything a clock will ever weigh.
- Spring toggles or self-drilling anchors for the positions where no stud lands. Toggles hold 25 to 50 pounds in half-inch drywall; the plug in the box holds about 10.
- Newspaper, scissors and painter tape for templating. This is the part people skip and the part that saves the second set of holes.
- Museum putty to stop a single-point hang pivoting, and a small luggage scale to weigh the clock before you choose anything.
- A fresh alkaline AA cell. Never reuse the one that came taped to the box, which has usually been sitting on a shelf for a year.
Step 1: Pick the silhouette before the size
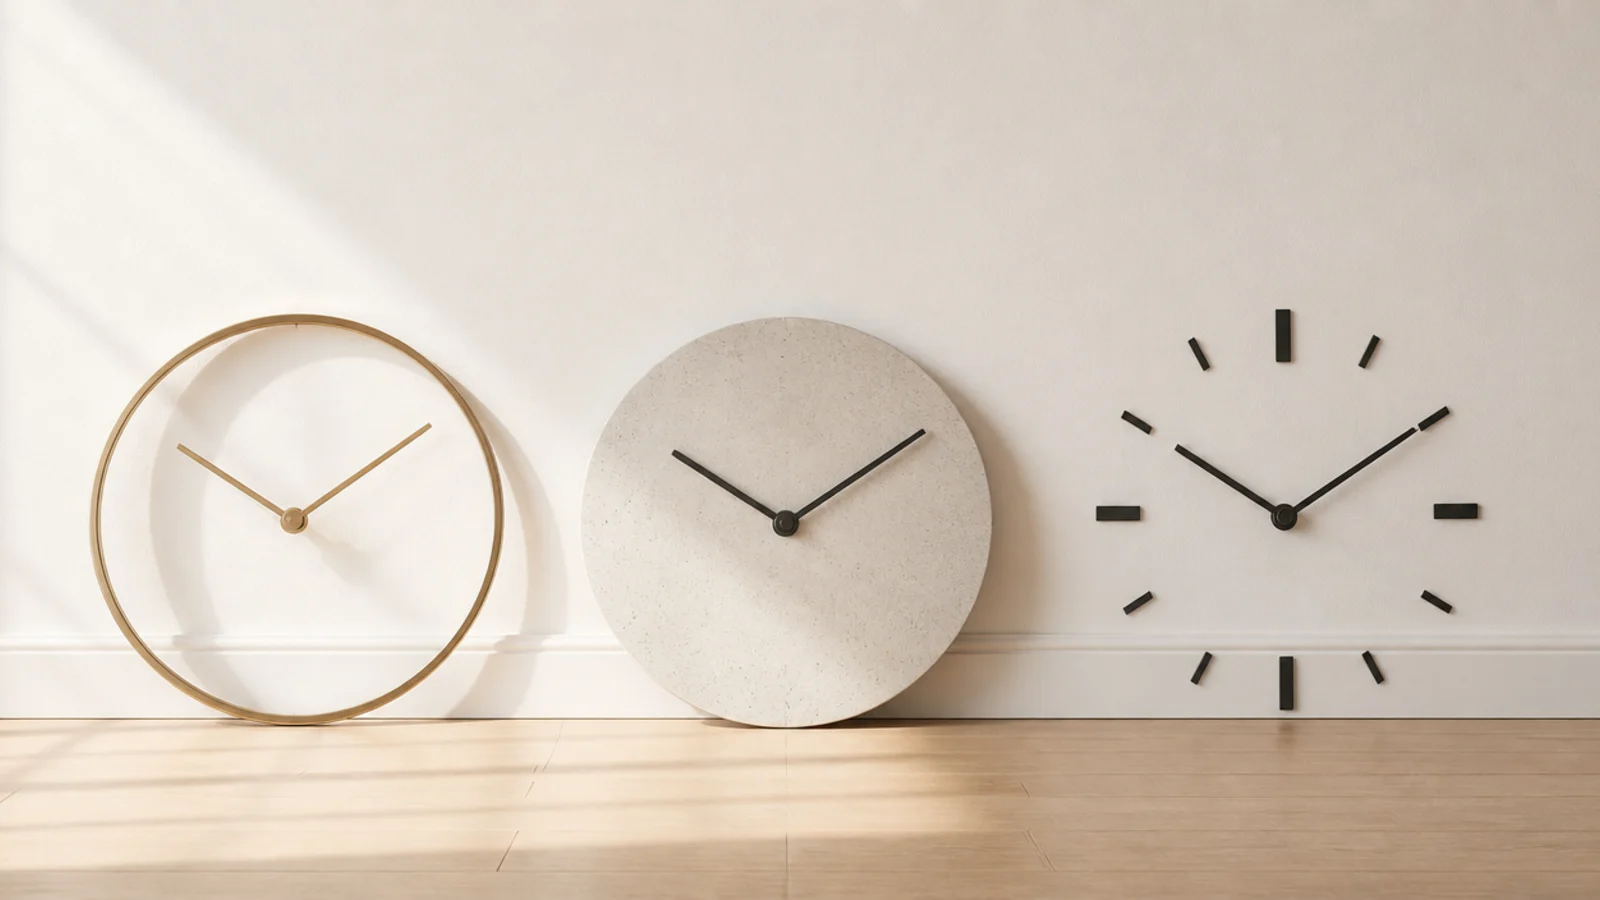
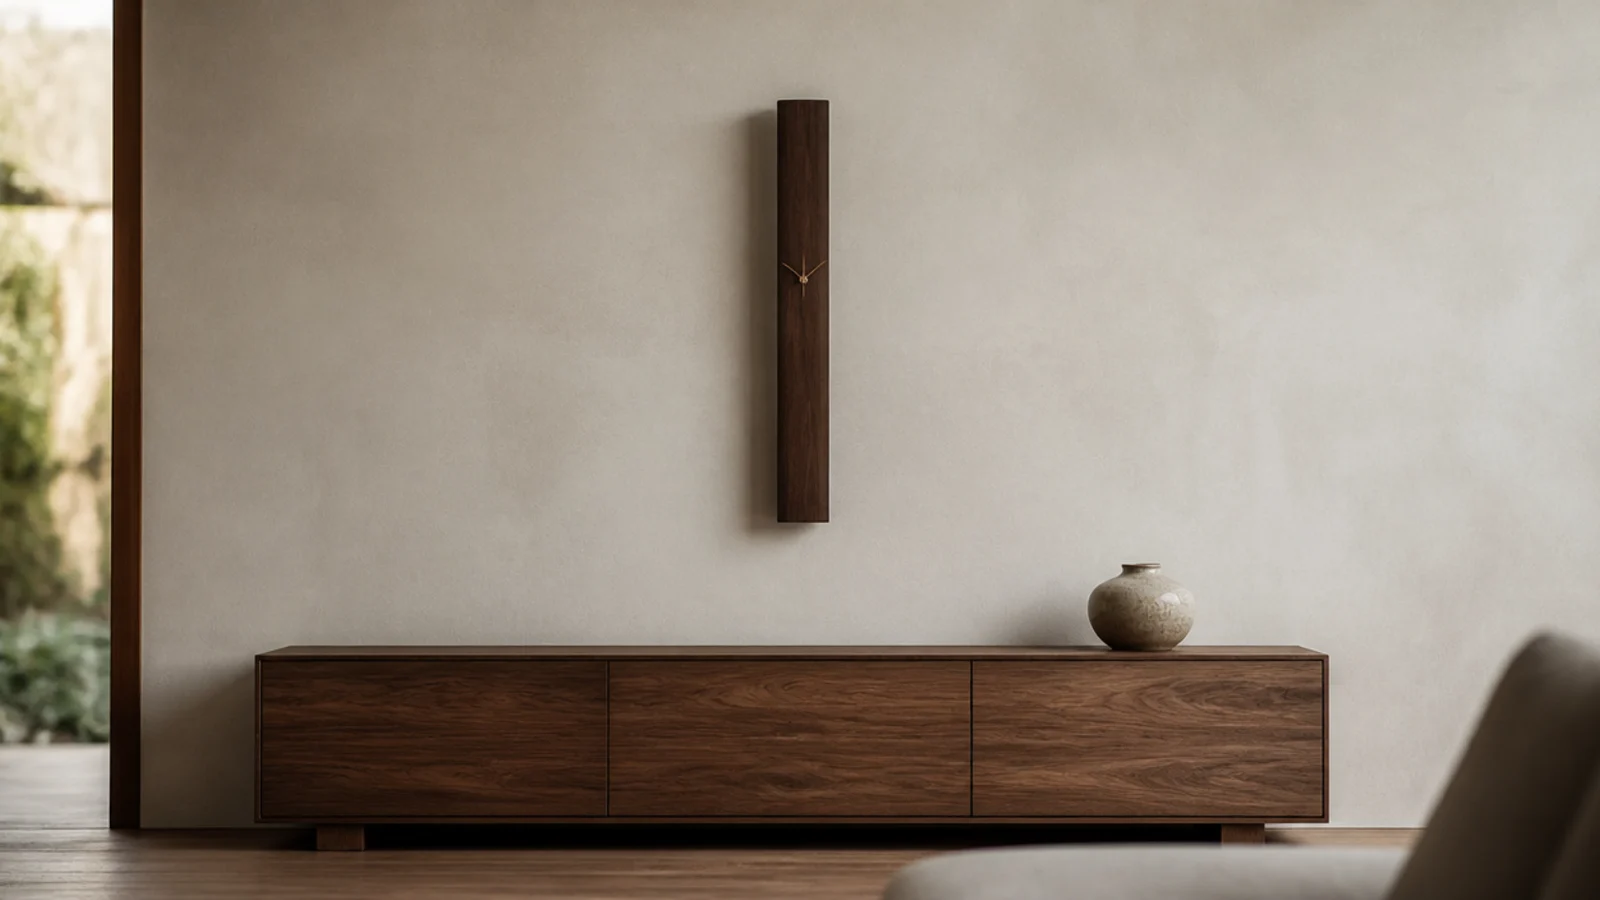
Modern is a set of specific choices, not a vibe: a rim under an inch wide, a matte face, markers instead of numerals, and hands in a single flat finish. Decide between a slim ring, a flat disc and a marker-only face first, because each one reads at a different size. A ring can go 4 inches larger than a solid disc before it starts to dominate.
Step 2: Measure the furniture and set the diameter
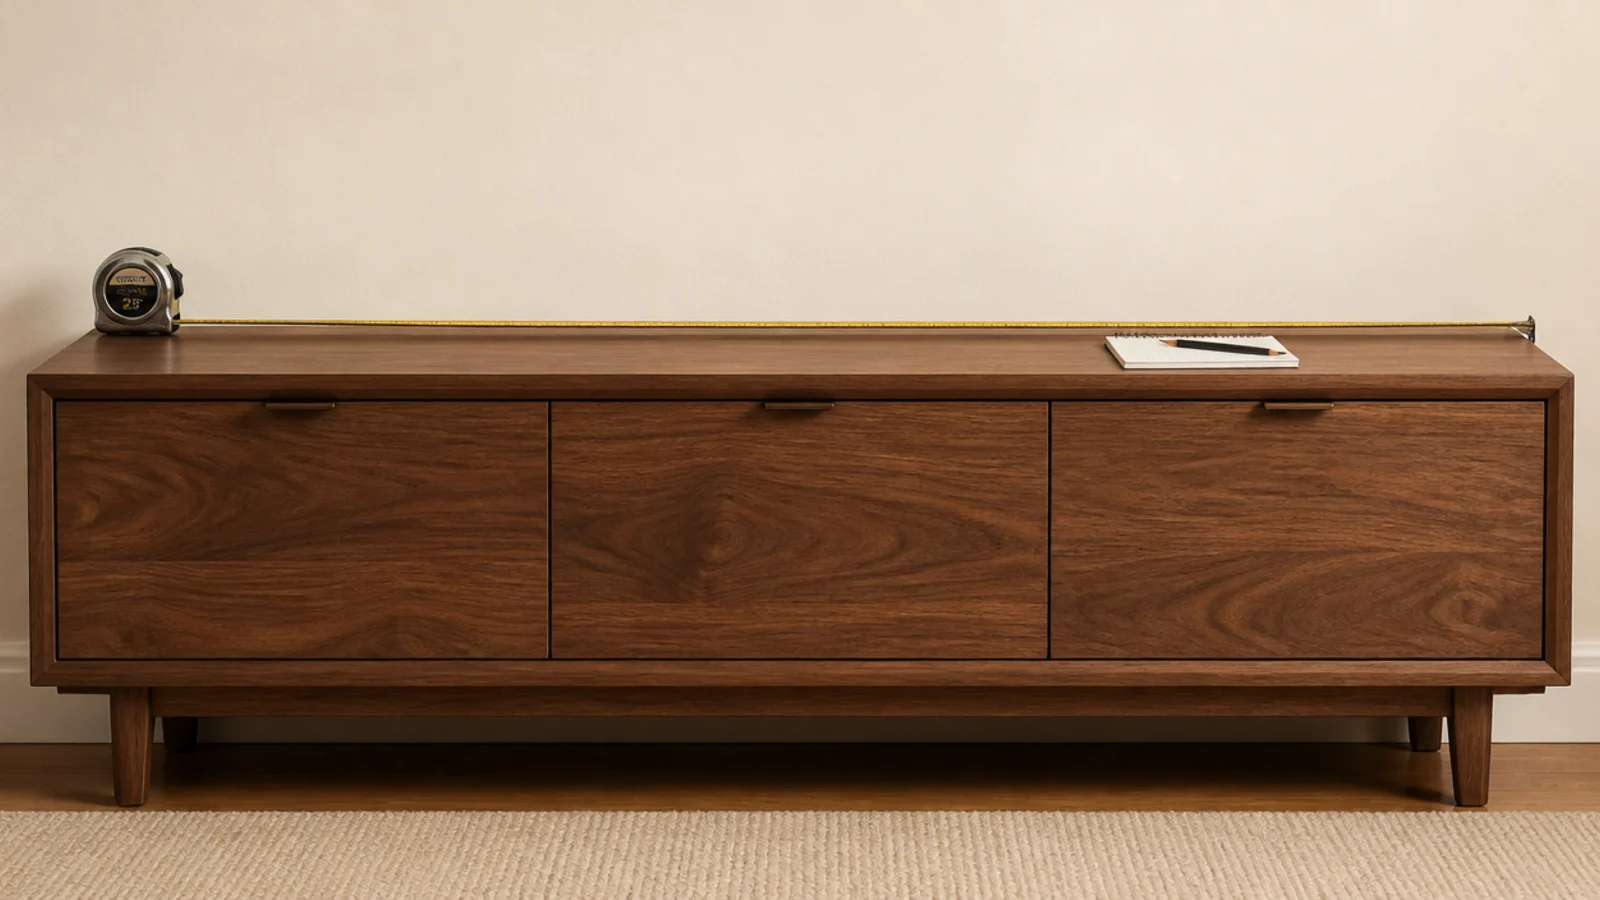
Measure the width of the sofa, sideboard or console below and take about a third. Write the number down and shop to it, because almost every clock is photographed on an empty wall with no scale reference and a 16-inch face online looks the same size as a 30-inch one. This is the decision you cannot correct later by styling around it.
Step 3: Weigh it and choose the fixing class
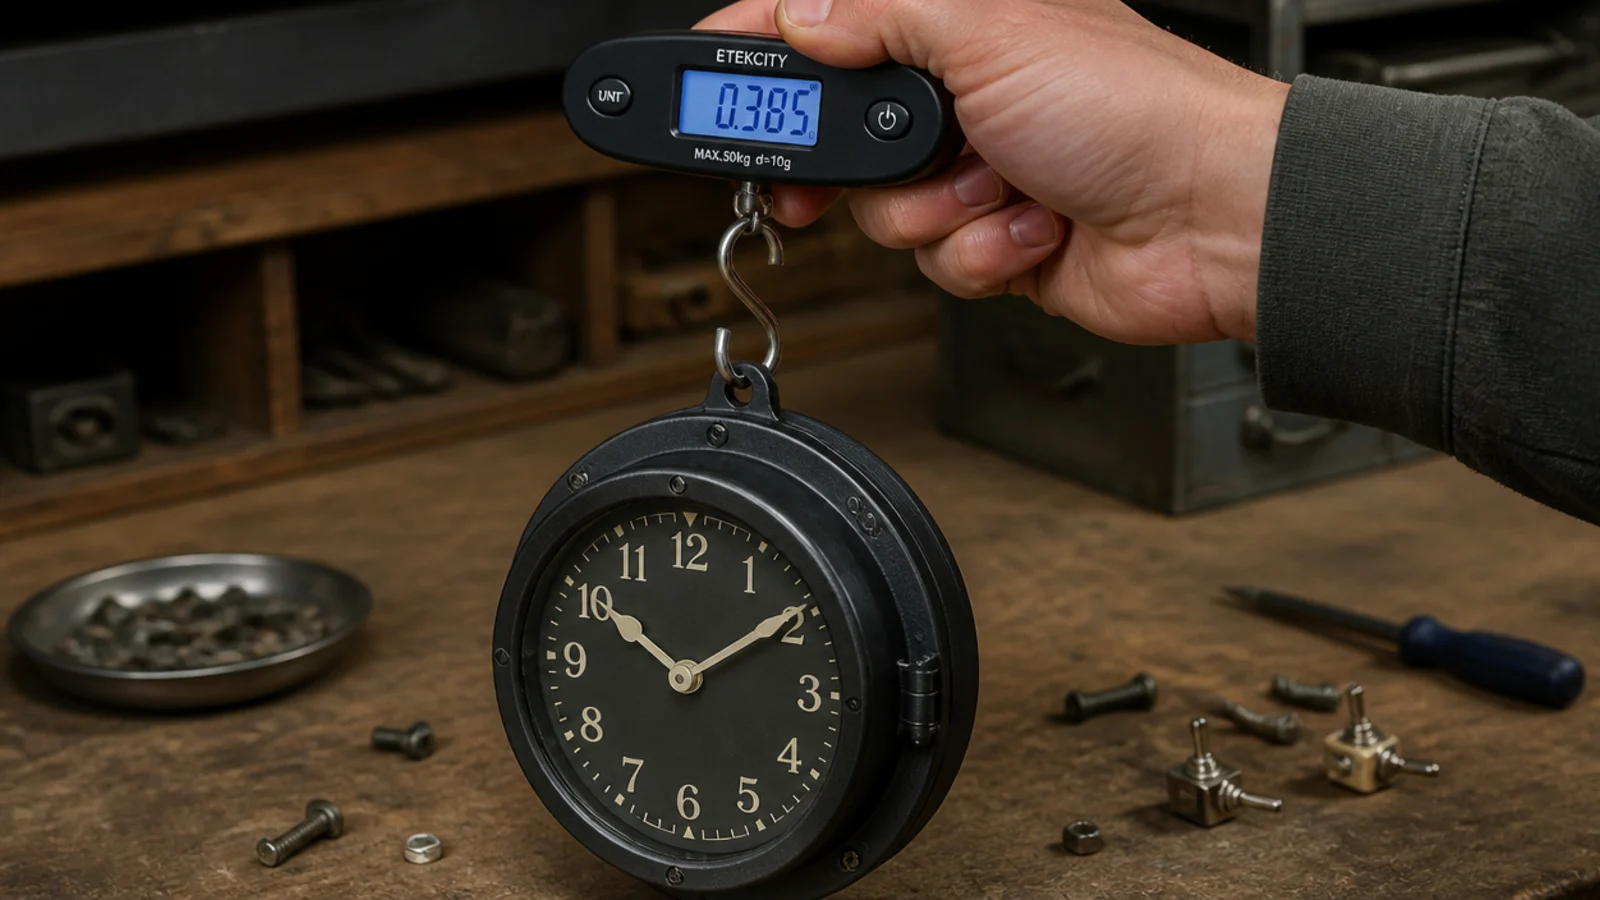
Hook a luggage scale into the hanging slot before you go anywhere near a drill. Under 5 pounds is a single good anchor, 5 to 8 pounds is two, and over 8 pounds is framing. Above a sofa or a bed, treat every clock as if it were over 8 pounds — a fixing above where someone sits or sleeps is a safety decision rather than a convenience one.
Step 4: Choose the movement before you hang
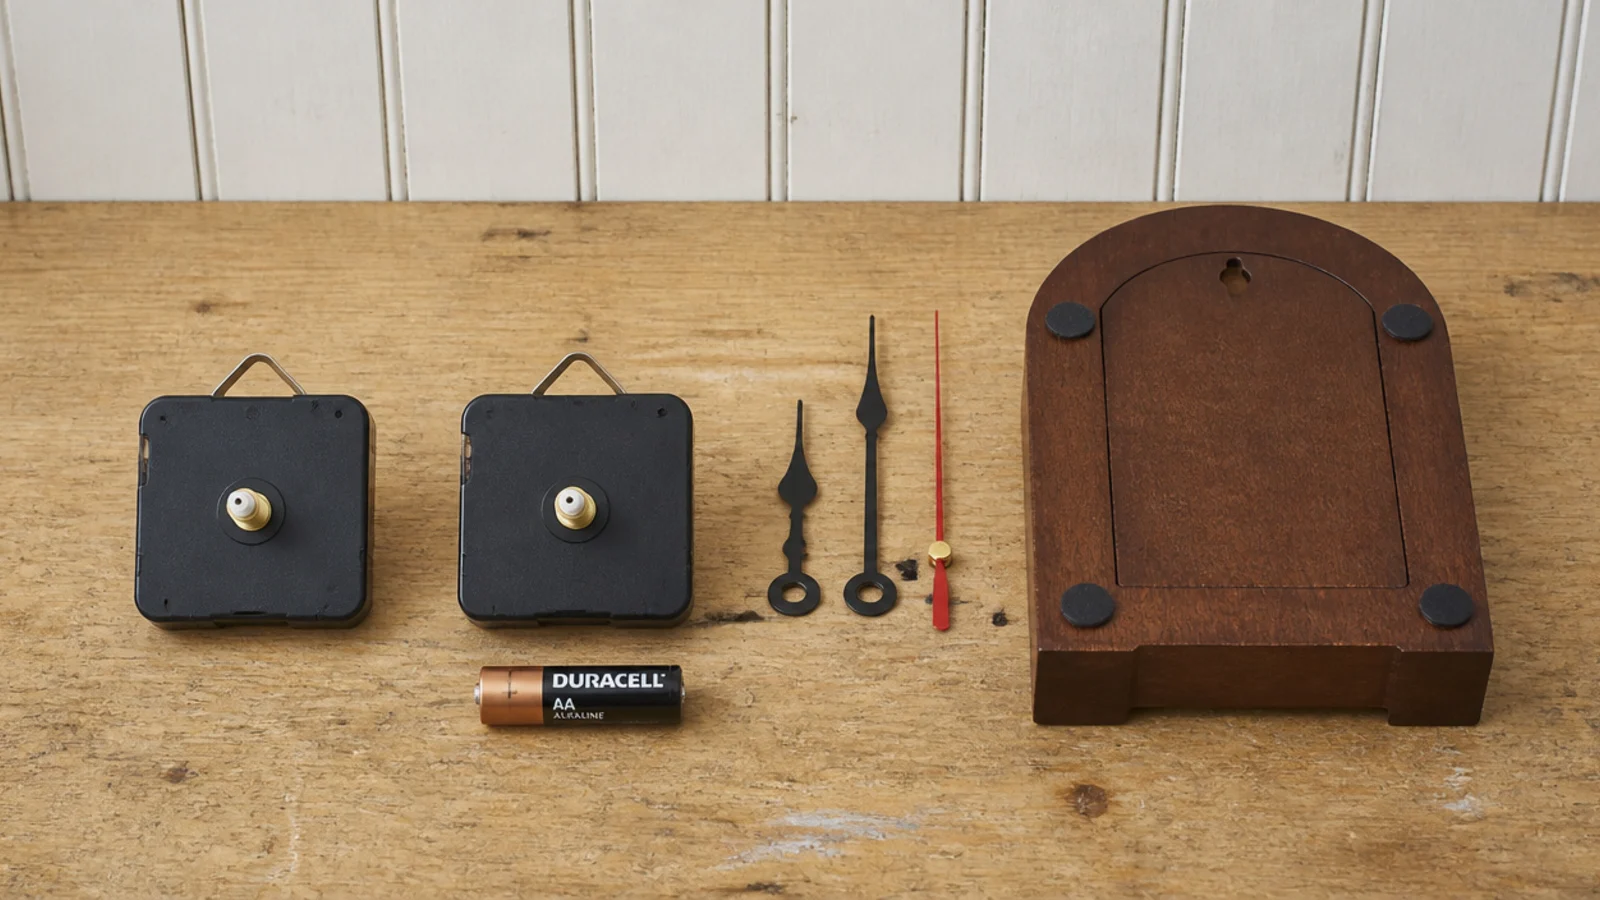
Swap the movement on the bench, not on the wall. A step-tick unit runs $8 to $12 and ticks at roughly 25 to 30 decibels at a metre. A sweep unit is silent for $12 to $18. If the hands reach more than about 6 inches from the centre, order the high-torque version or the minute hand will stall climbing from the half hour and the clock will quietly lose time.
Step 5: Find the studs and mark both edges
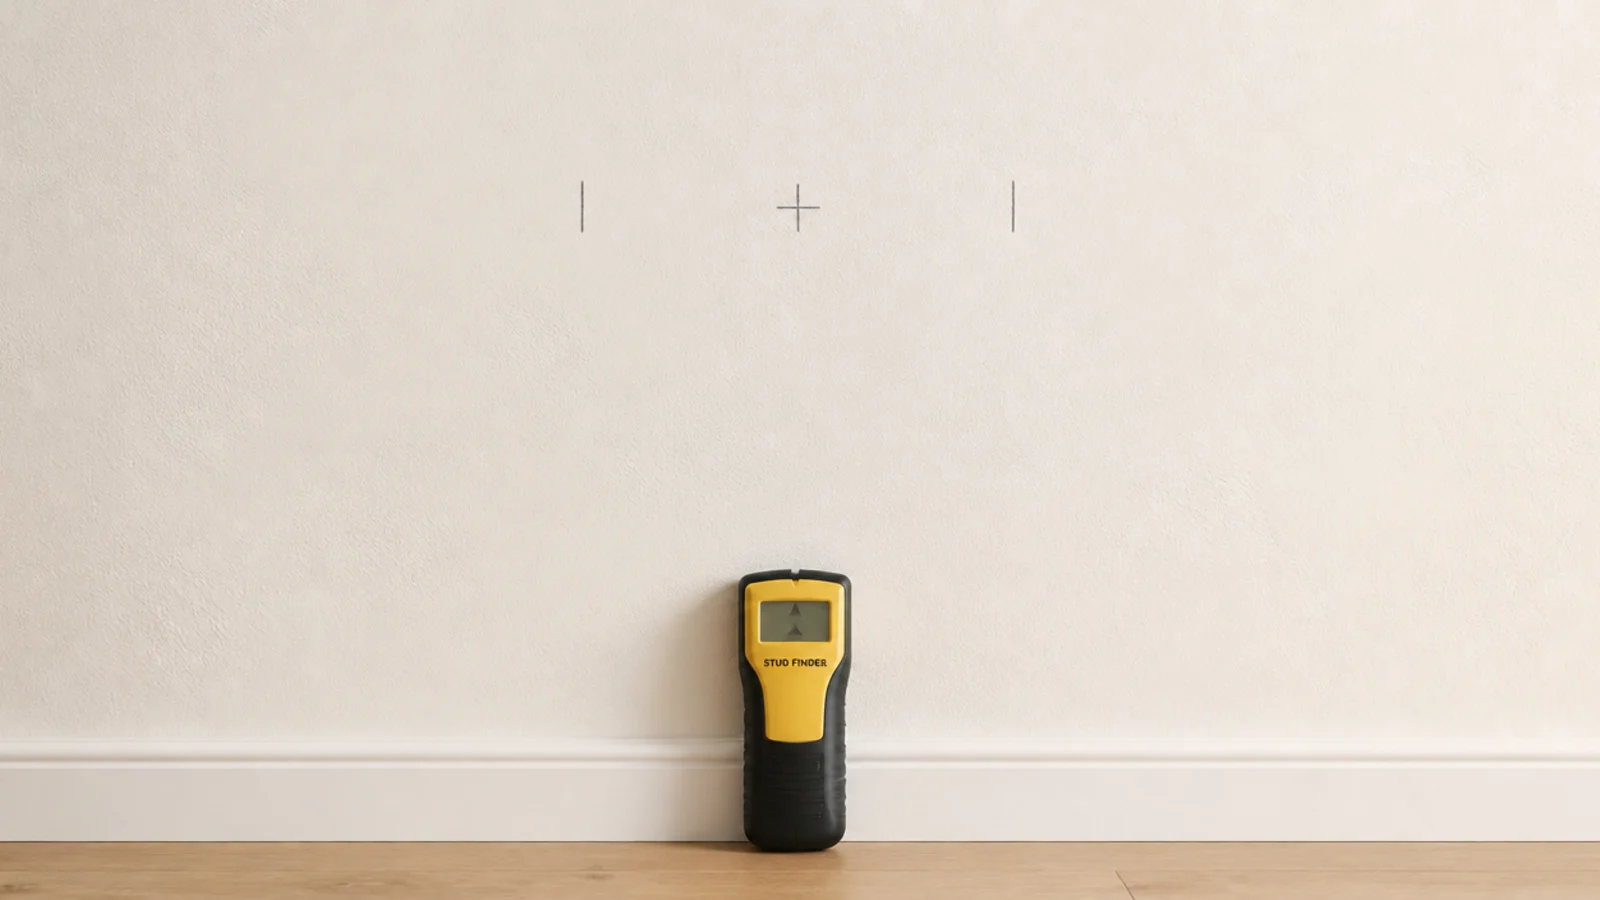
Run the detector across the wall twice, from left and from right, and mark both edges of the stud rather than one hit. The centre between those marks is your target. Studs sit 16 inches apart in most framing, so if the ideal position misses one, moving the clock 3 inches sideways usually catches it and nobody will ever notice.
Step 6: Set the centre line at fifty-seven inches
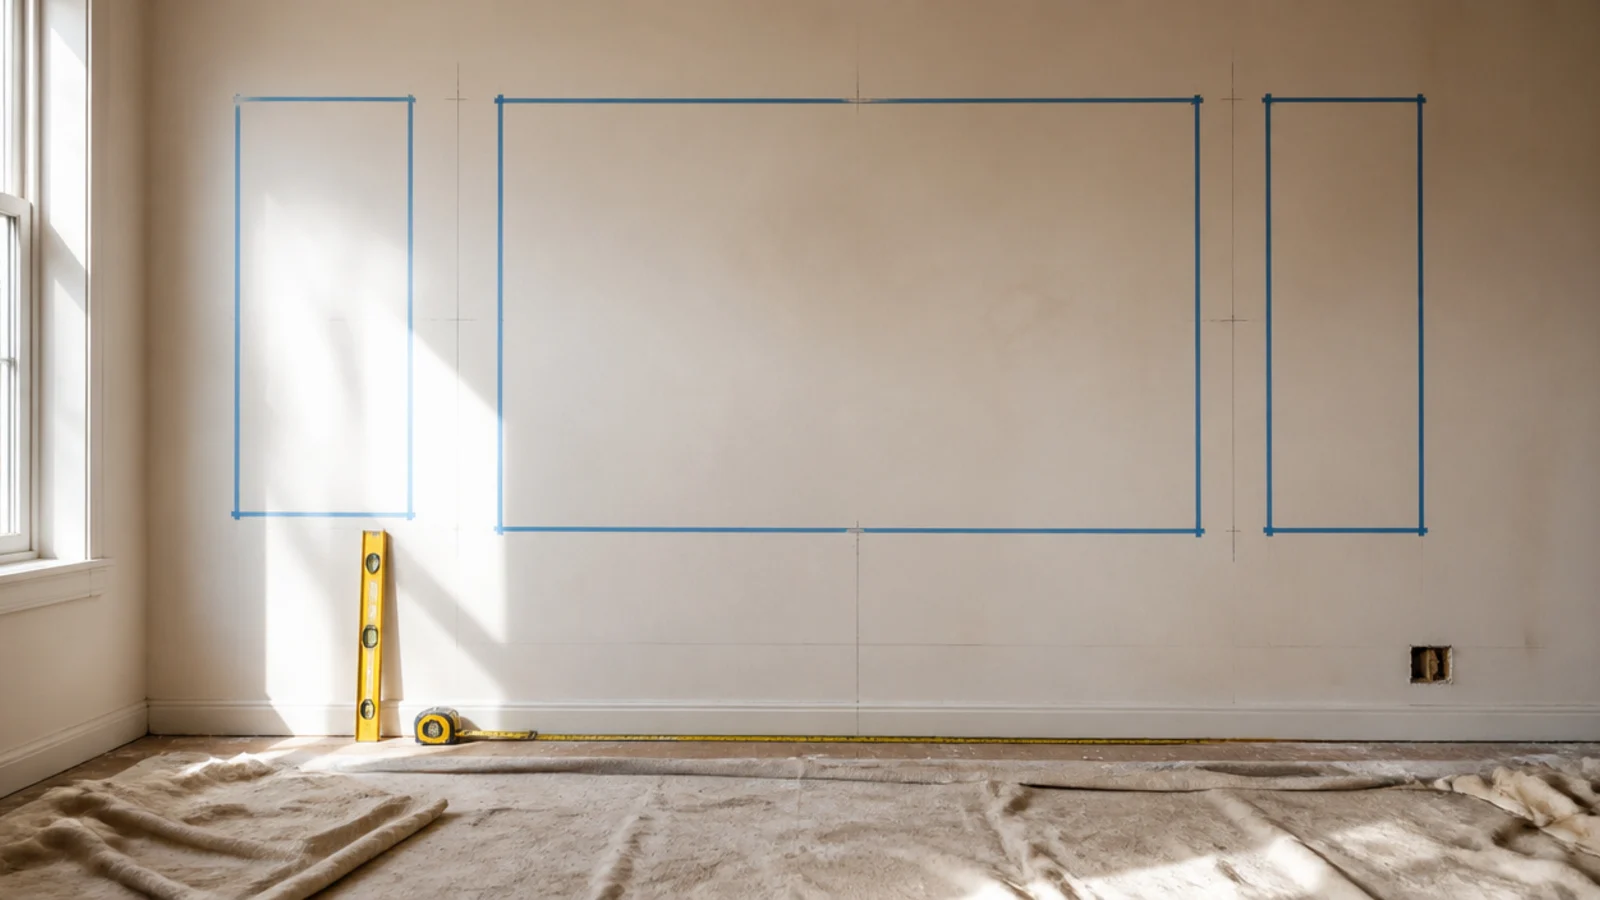
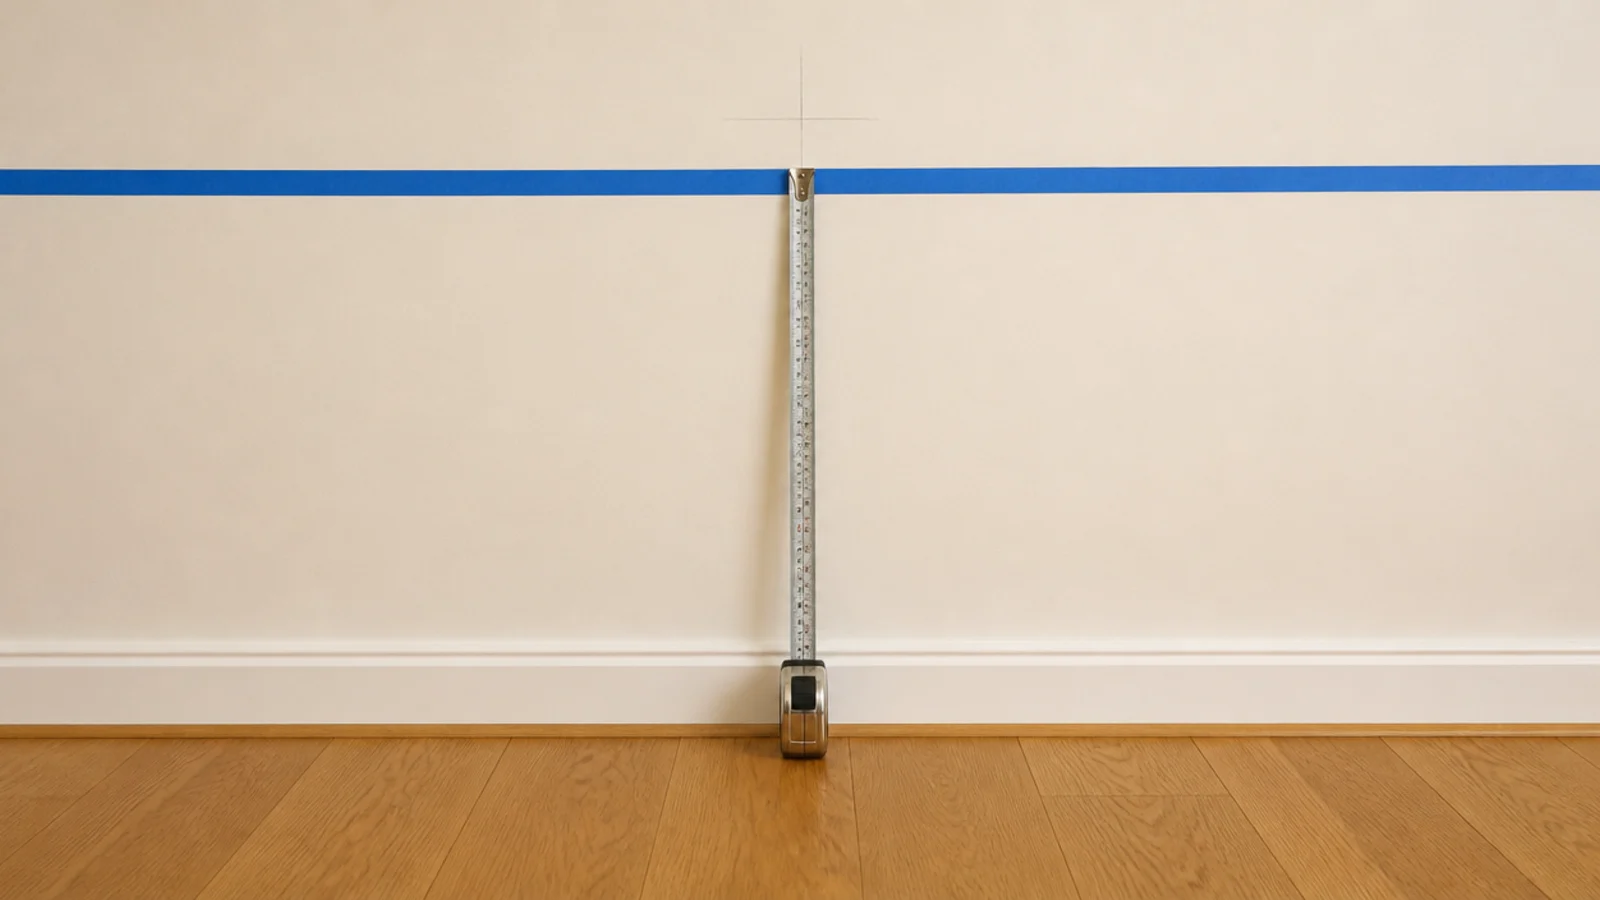
Measure up from the finished floor — the floor you have, including the rug if the clock sits above a rug-heavy zone — and mark 57 inches. Run a strip of painter tape across at that height. Working to a taped line rather than a pencil dot means you can step back and judge it from across the room before anything is permanent.
Step 7: Check the clear gap above the sofa back
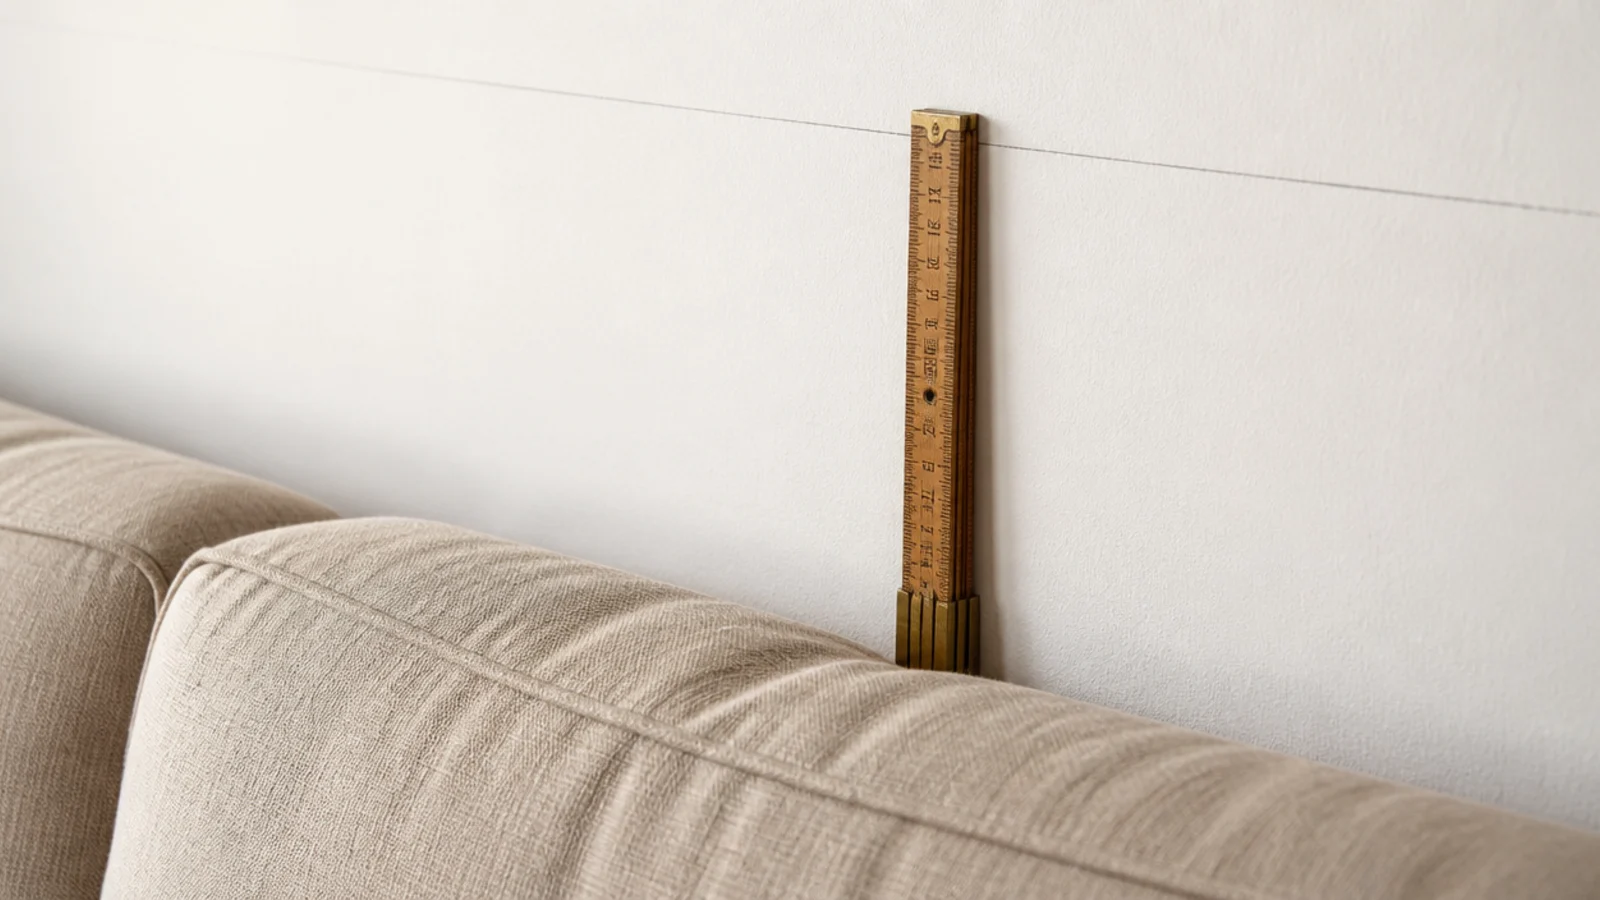
Hold a rule vertically between the top of the back cushions and your taped line, minus half the clock diameter. You want 8 to 12 inches of clear plaster showing. If the maths gives you less than 8, either the clock is too large or the line needs to rise — and raising it is usually the better answer up to a 65-inch centre.
Step 8: Cut a paper template and tape it up
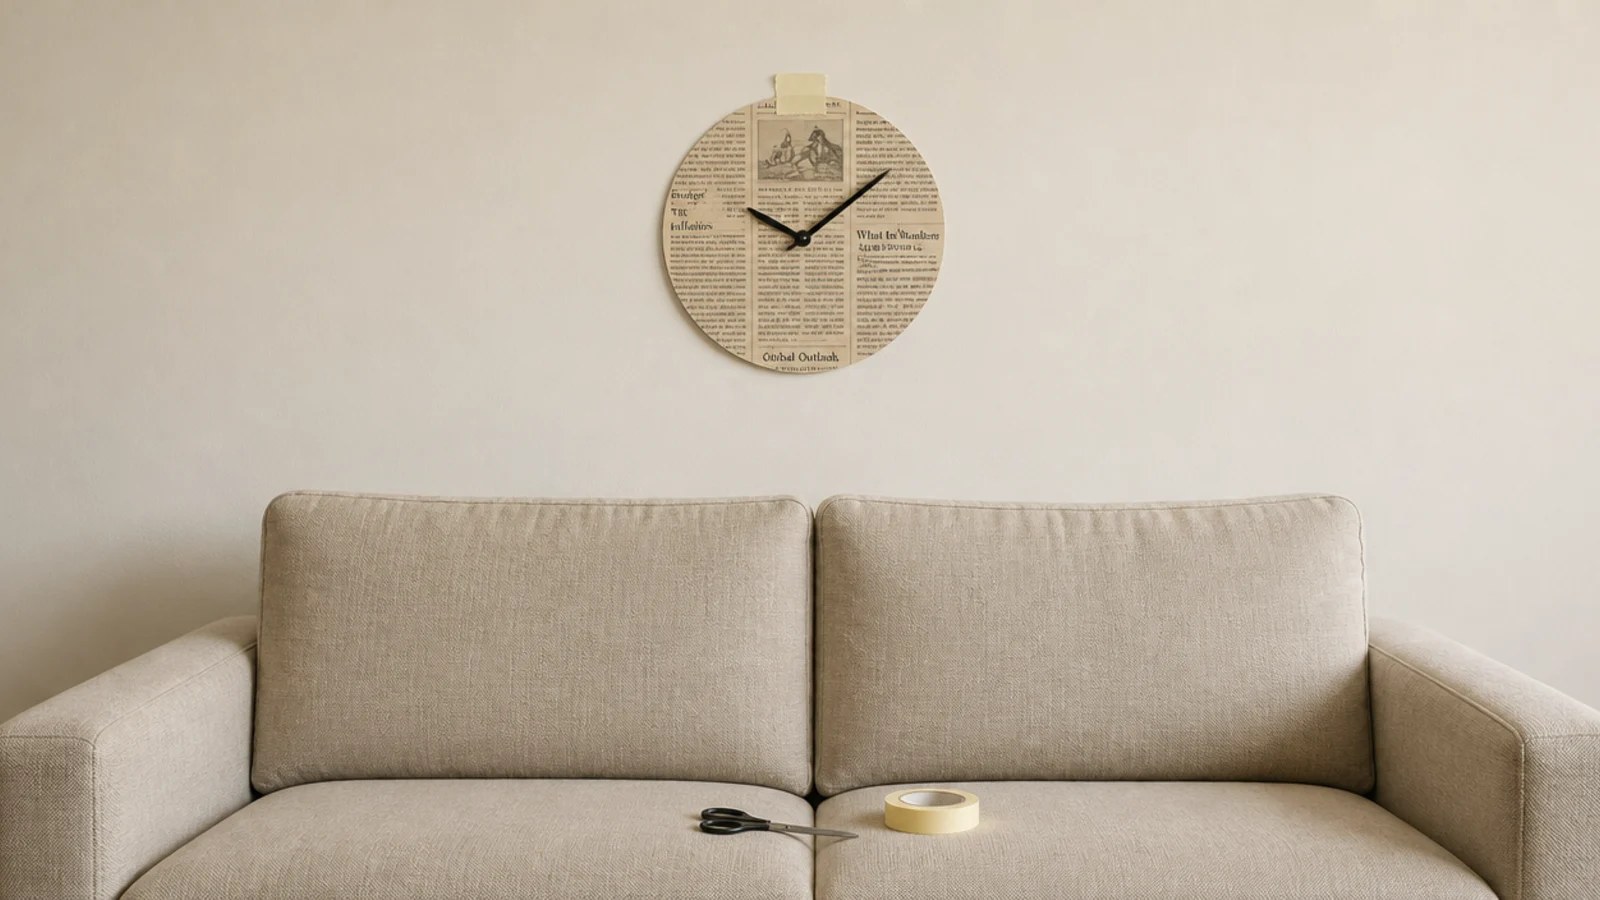
Cut a newspaper circle at the exact diameter and tape it in position. Leave it for a day if you can. This is where you find out that the clock is centred on the wall rather than the sofa, or that it clashes with a floor lamp shade from the seat you actually sit in. Paper moves in seconds; plaster does not.
Step 9: Measure from the rim to the hanging slot
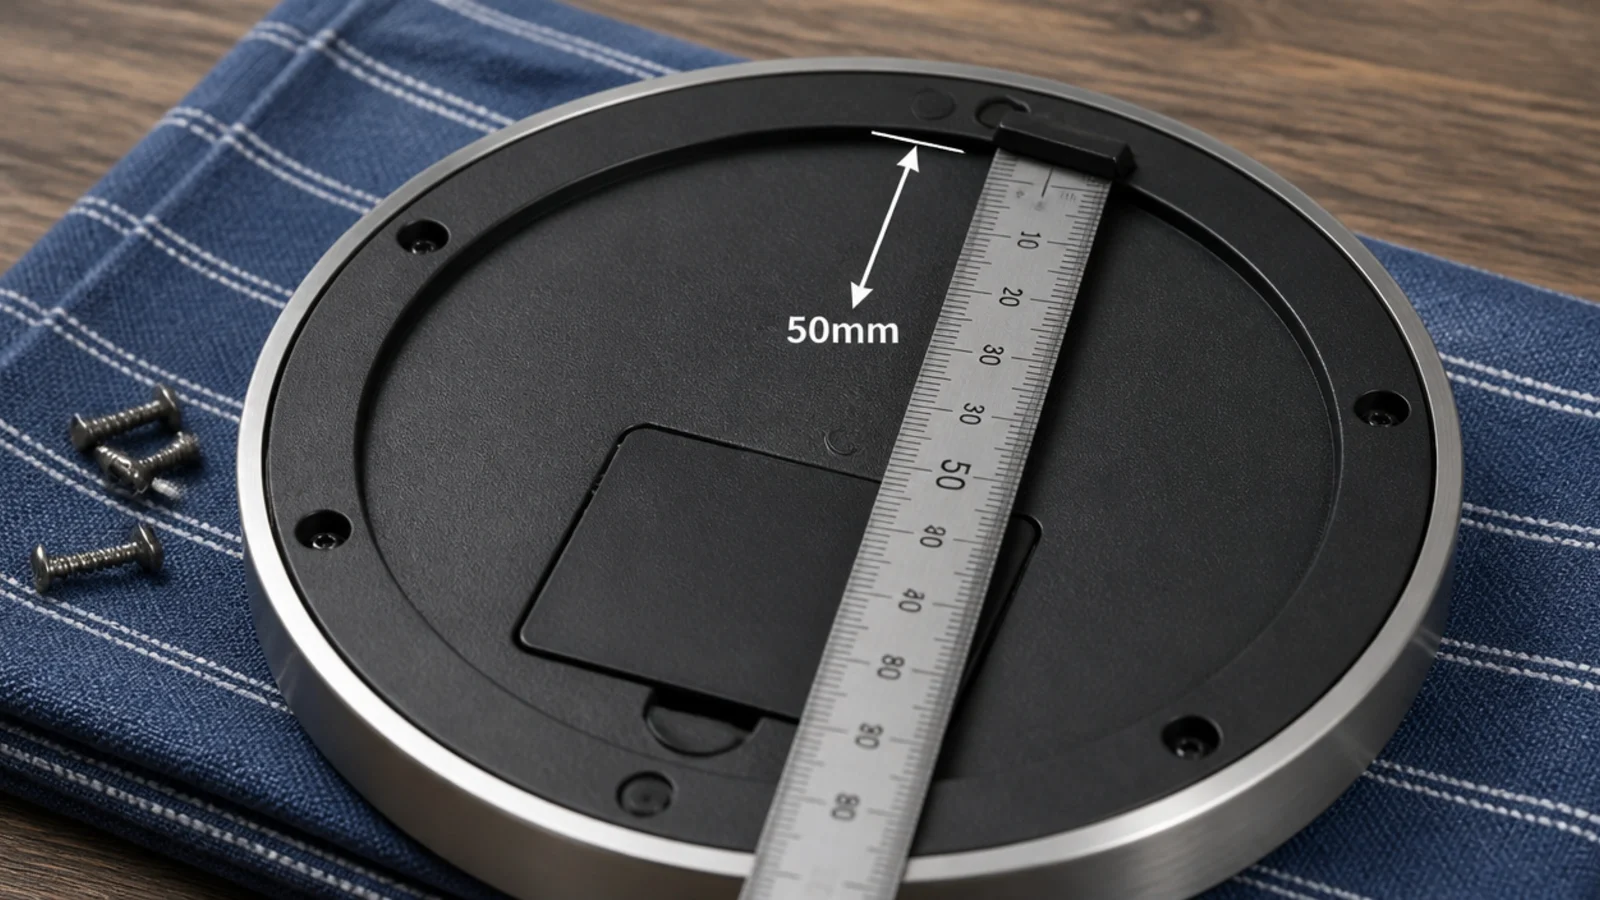
The hanging slot is never at the very top of the case. Lay the clock face down, measure from the top rim to the middle of the slot, and subtract that from your centre-plus-radius figure. Getting this wrong by an inch is the single most common reason a carefully measured clock ends up an inch too high.
Step 10: Drill the pilot hole for your actual wall
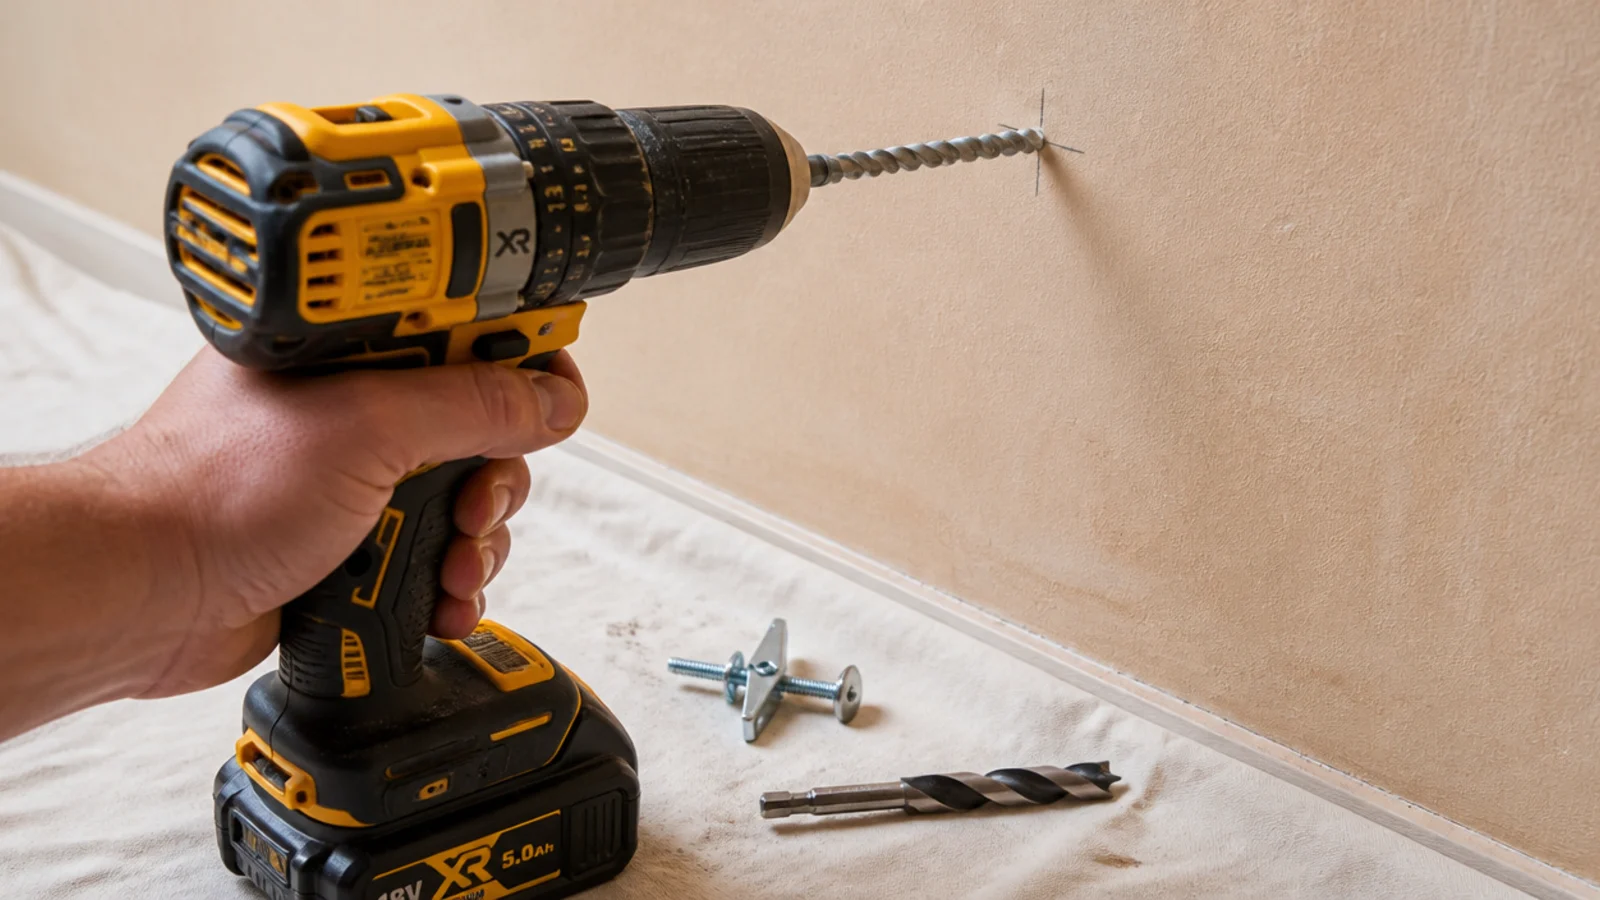
Half-inch drywall over timber framing takes a twist bit and a wood screw. Plaster on lath takes a slow start with a masonry bit to avoid blowing the surface. Solid brick takes a masonry bit at low speed into the brick face rather than the mortar joint. Guessing the wall type is how people end up with a fist-sized crater.
Step 11: Drive the screw and leave the right gap
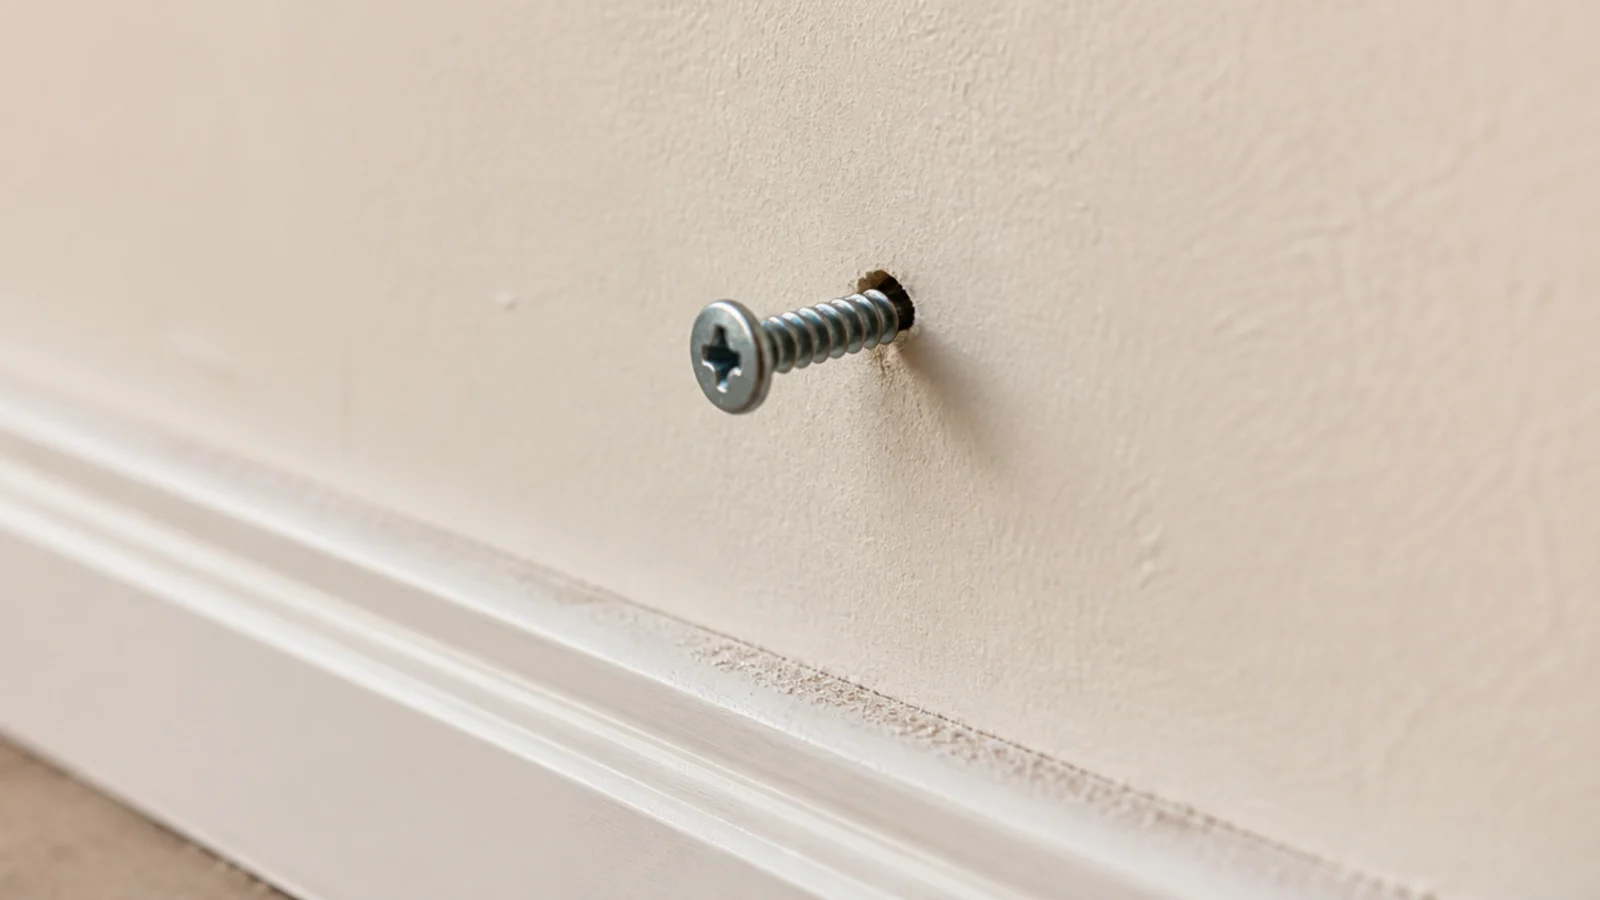
For a keyhole slot, leave the screw head standing about an eighth of an inch proud of the wall — enough for the case to drop over and lock, not enough for it to hang loose and rattle. Test with the clock before you walk away, because adjusting a screw is thirty seconds and re-drilling is not.
Step 12: Hang on two points and level it
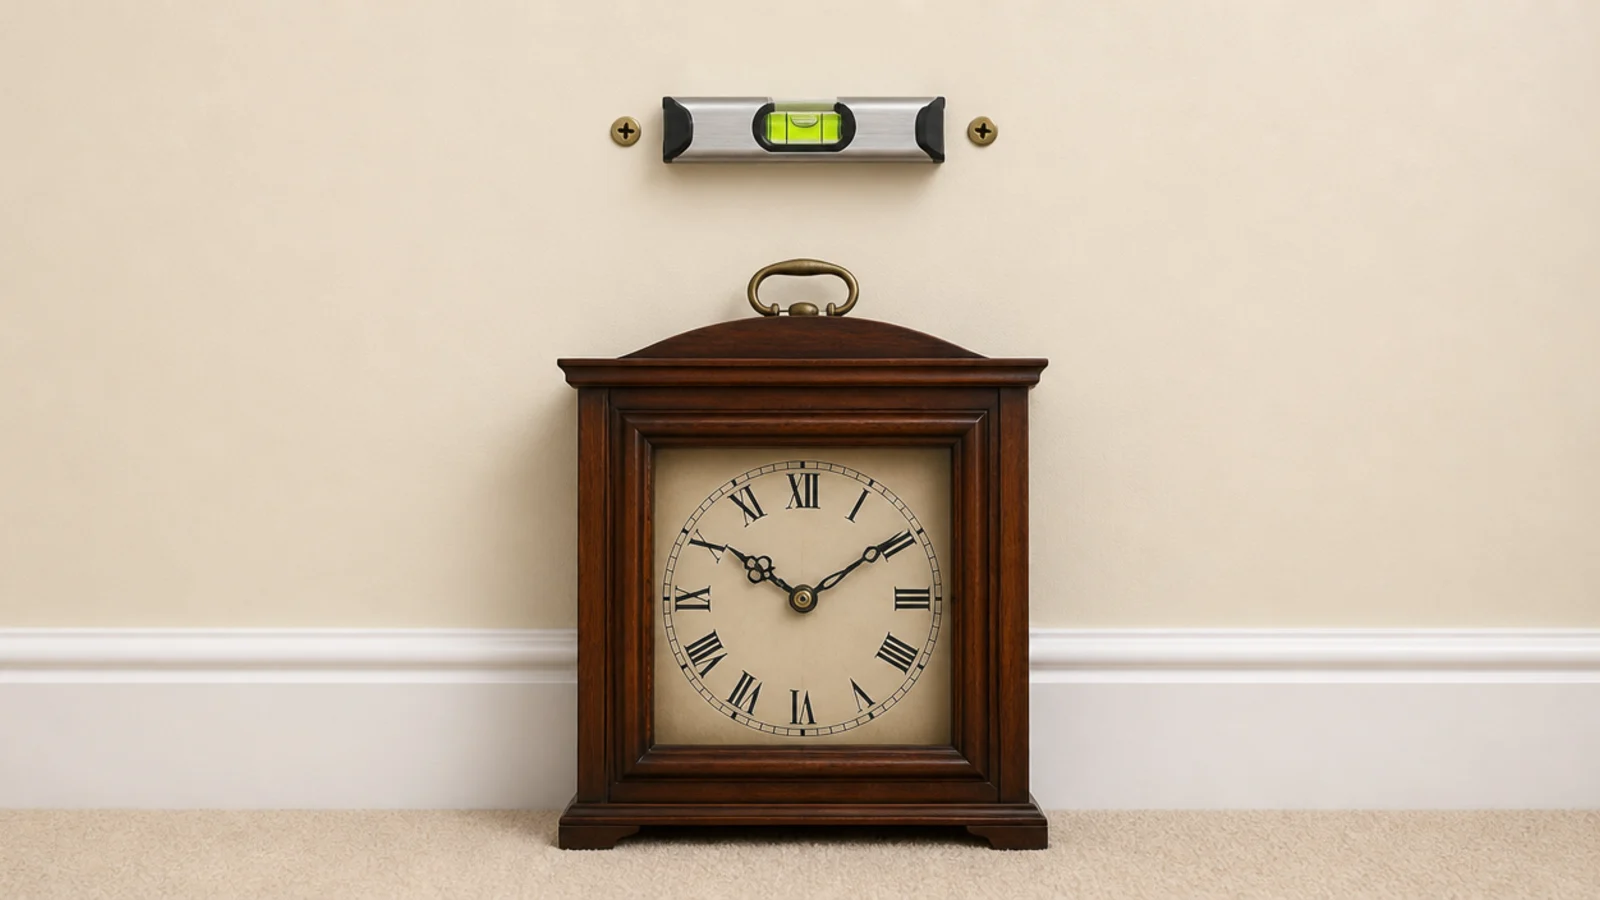
Two screws 3 to 4 inches apart, levelled with a spirit level bridging them before the clock goes on, stop the case pivoting every time a door shuts. If the back offers only one slot, hang it and press a coin-sized piece of museum putty behind the bottom rim instead. That single detail is why some clocks stay straight for years.
Step 13: Fit the battery and set the time
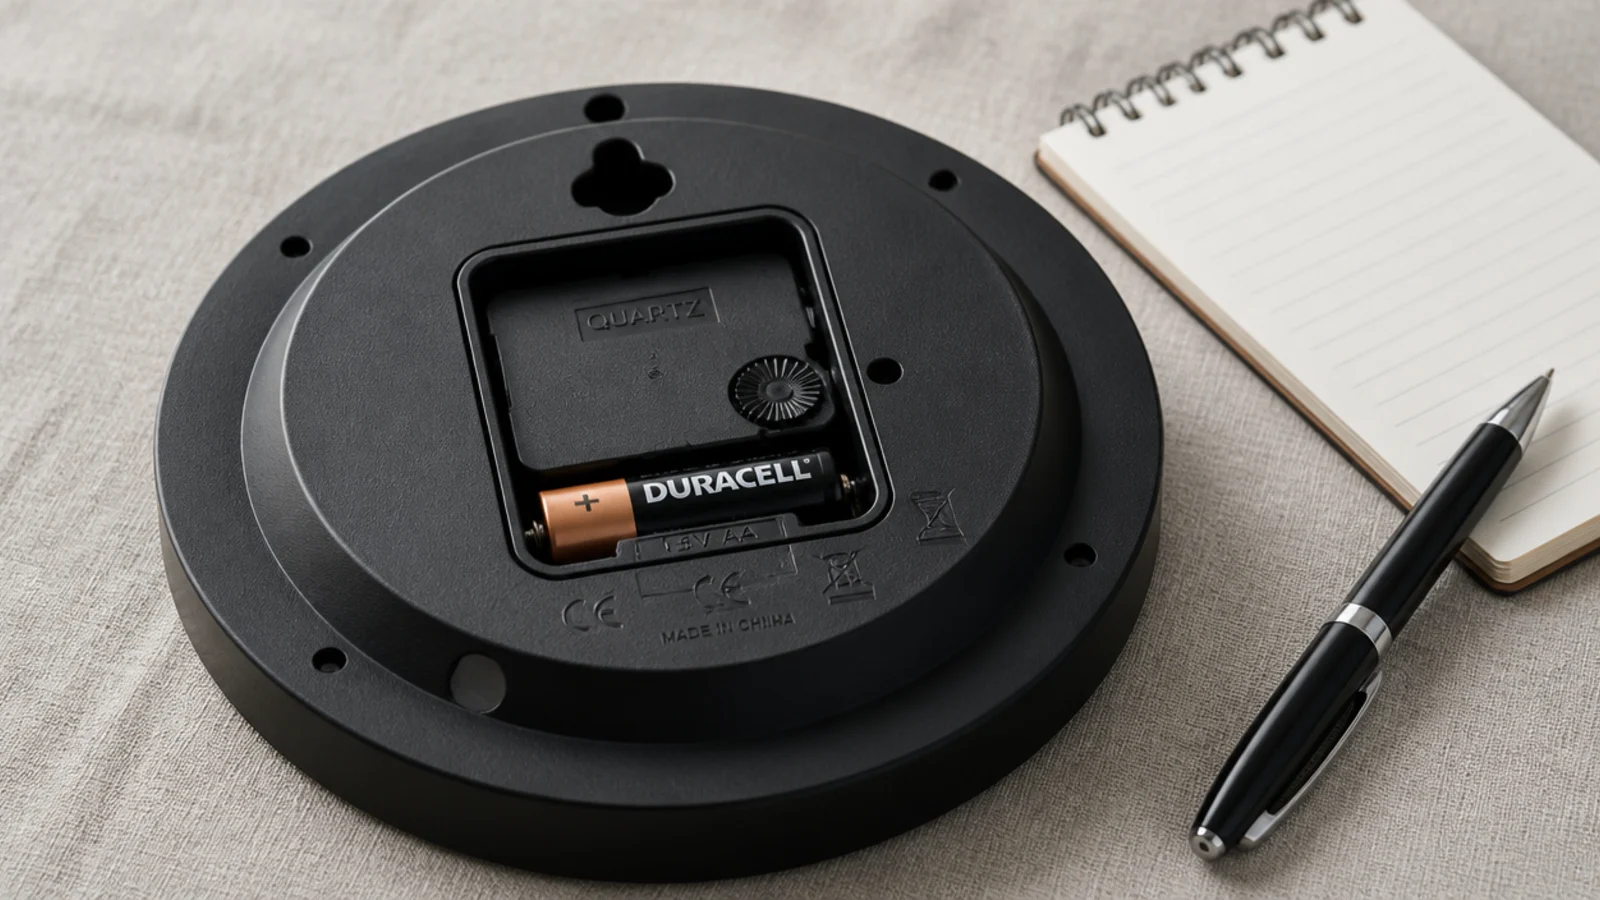
Use a fresh alkaline cell and write the date on it in pen. Set the time by turning the wheel forwards only — winding a quartz movement backwards past the hour can throw the hands out of sync on some units. Put a note in next year's diary, because a leaking cell corrodes a movement long before you notice it has stopped.
Step 14: Listen to it in a silent room
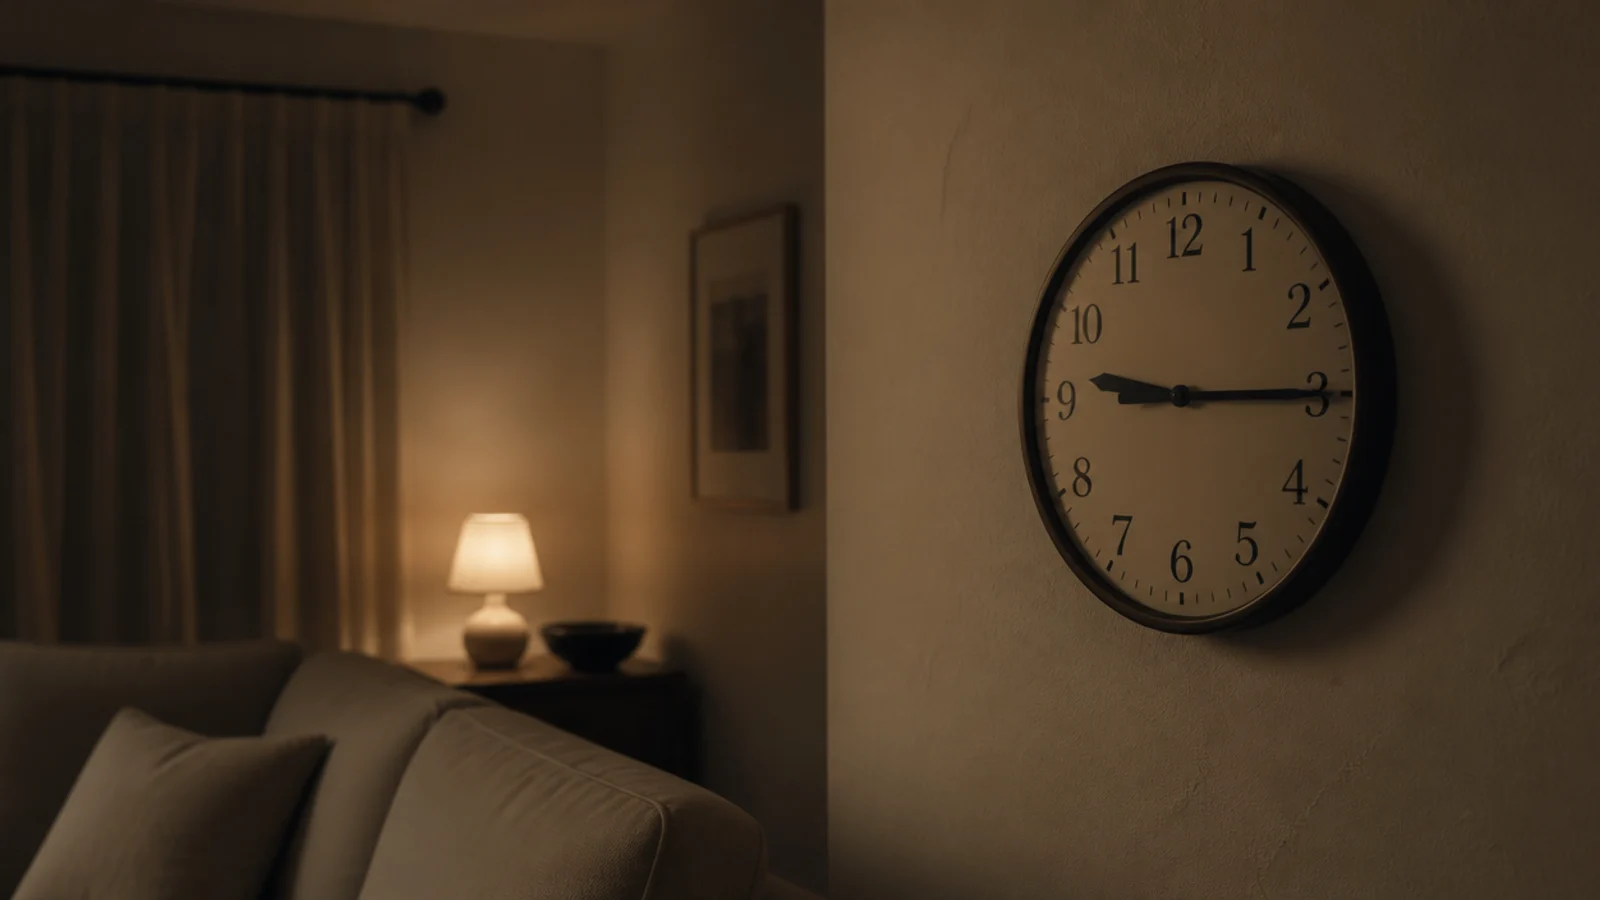
Before you commit, hold the running clock flat against the wall in the evening with everything else switched off. A movement that seemed silent in a shop is a different proposition at midnight, and a plasterboard wall amplifies a tick more than a solid one does. Thirty seconds now saves swapping the movement later.
Step 15: Strip the wall back around it
Modern styling is a subtraction. Once the clock is up, take two things off that wall and live with it for a week. A slim clock on generous empty plaster reads as deliberate; the same clock crowded by three frames and a shelf reads as one more object. If a screen shares the wall, the TV wall design guide covers balancing both.
Pro Styling Rules
For planning a whole sofa wall rather than a single fixing, the step-by-step sofa wall guide works through the layout, and the headboard ideas guide covers the equivalent above a bed.
Mistakes to Skip
- Measuring to the centre of the dial and drilling there. The hanging slot sits below the top rim, and the difference between those two numbers is why so many clocks end up an inch high.
- Using the supplied plastic plug above a sofa. Rated near ten pounds when new, less every year after, and directly above where people sit — three reasons to spend two dollars on a proper screw into framing.
- Fitting long hands to a standard movement. Past about six inches from the centre the minute hand stalls climbing from the half hour, and the clock loses time in a way that looks like a fault.
- Judging the tick in a bright, busy room. Movement noise only matters at night, and that is the only condition worth testing it in before the screws go in.
Frequently asked questions
How high should a modern wall clock hang?
Put the centre of the dial 57 to 60 inches from the finished floor, which is standing eye level and the same line galleries hang artwork on. Above a sofa, raise it only far enough to keep 8 to 12 inches of clear wall between the top of the back cushions and the bottom of the rim.
Do I really need to find a stud?
For anything over about 8 pounds, and for anything hanging above a sofa or a bed, yes. A number eight screw two inches long into framing carries far more than any clock weighs. Where no stud lands in the right place, a spring toggle holds 25 to 50 pounds in half-inch drywall.
How do I stop the clock hanging crooked?
Hang it on two points instead of one. Two screws set 3 to 4 inches apart, levelled before the clock goes on, hold the case square permanently. If the back offers only one slot, add a coin-sized piece of museum putty at the bottom of the rim to stop it pivoting.
What is the difference between a step and a sweep movement?
A step movement advances the second hand once a second with an audible tick of roughly 25 to 30 decibels at a metre. A sweep movement moves continuously and is effectively silent, costs a few dollars more, and runs 8 to 12 months on a cell rather than 12 to 18.
What is high-torque and do I need it?
High-torque movements drive longer, heavier hands. A standard quartz unit handles hands up to about 6 inches from the centre, and beyond that the minute hand can stall on the climb from the half hour. Anything over roughly 24 inches across usually needs the high-torque version.
Want more like this? Browse all 15 wall clock guides — they all use the same measurements and budget tiers.
Pin it for later
Save this to your Wall Clock board
Pin it now so it is waiting for you when the tape measure comes out — and so the next person hunting for this idea can find it too.
Save this pinKeep going
More ideas worth saving while you have the tape measure out.