Hanging Lights · How-To
15 Steps To Hang Lights Over Kitchen Island Right

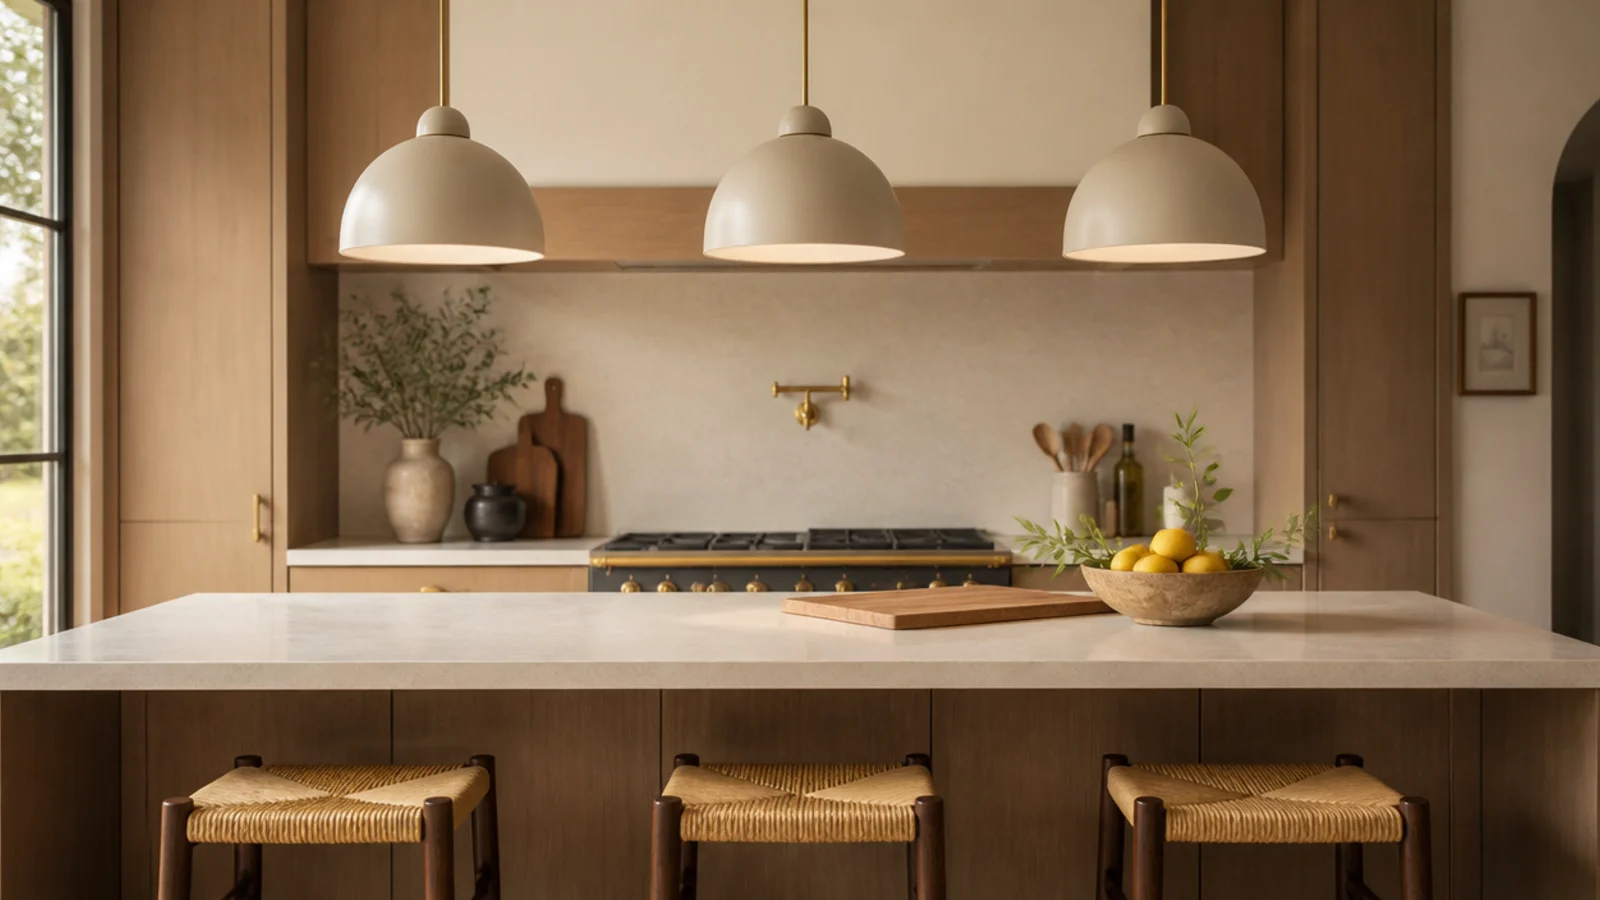
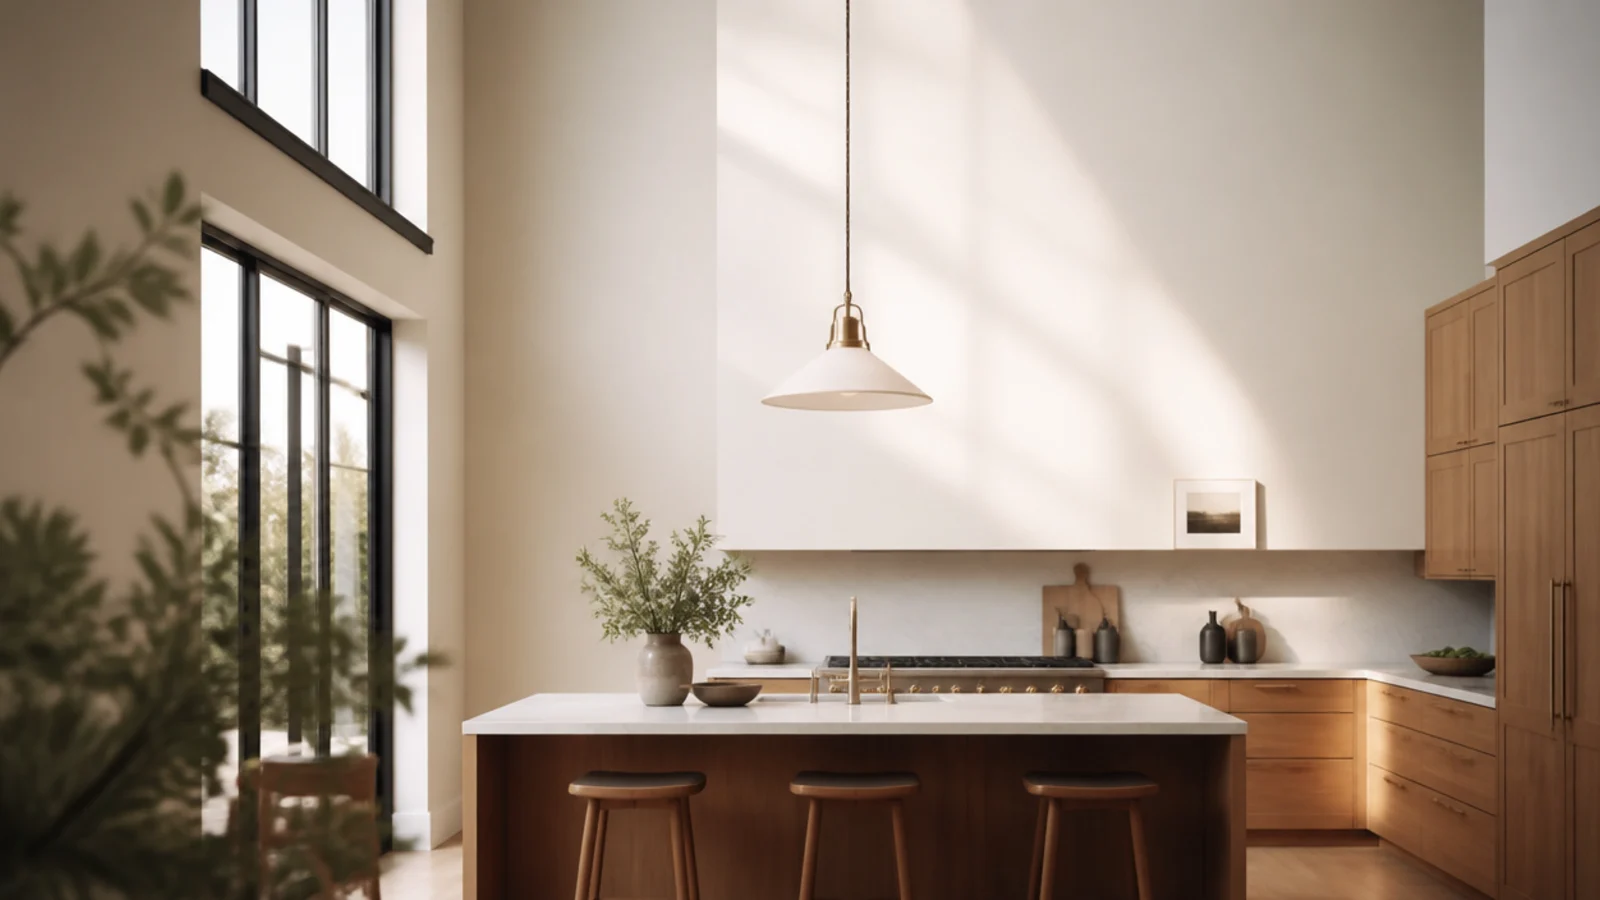
An island is the one surface in a house that needs task light, ambient light and something worth looking at, all from the same fixture. Get the height wrong and you either bang your head on it or squint past it from a stool. Hanging lights over kitchen island counters is mostly a measuring job, and the measuring happens in an order that matters — counter first, ceiling second, shopping last. This is the sequence I use, including the parts I hand to an electrician. Follow it and you will not make the two expensive mistakes: the wrong number of pendants, and a box that cannot carry them.
In this guide18 sections — tap to openHide
- 1.What You'll Need For Hanging Lights Over A Kitchen Island
- 2.Measure the island and choose two or three pendants
- 3.Set the drop from the counter, not the ceiling
- 4.Add three inches of drop per extra foot of ceiling
- 5.Mark the pendant centres on the counter first
- 6.Transfer the marks to the ceiling with a plumb line
- 7.Find the joists and see what is actually up there
- 8.Read the ceiling box rating before you buy anything
- 9.Weigh the fixture and compare the two numbers
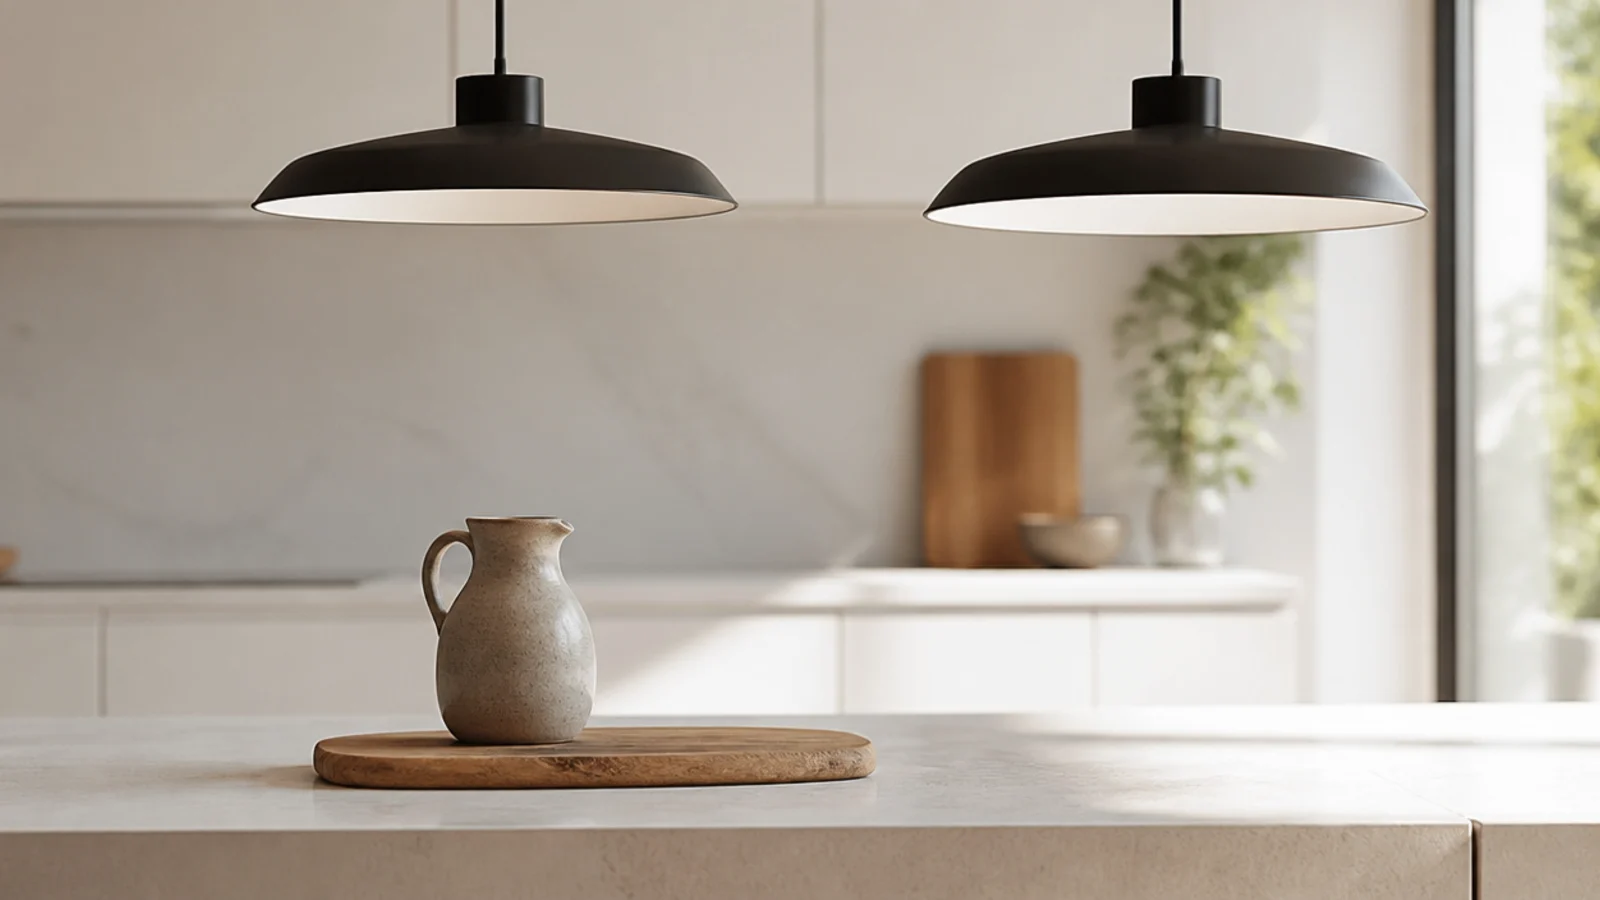
- 10.Size the shade against the island width
- 11.Choose the lumens and the colour temperature
- 12.Pick a shade that shields the bulb from the stools
- 13.Book the electrician for the boxes and the dimmer
- 14.Set the cord or rod length before lifting anything
- 15.Hang, level and align the whole run
- 16.Sit at the stools and check for glare
- 17.Pro Styling Rules
- 18.Mistakes to Skip
What You'll Need For Hanging Lights Over A Kitchen Island
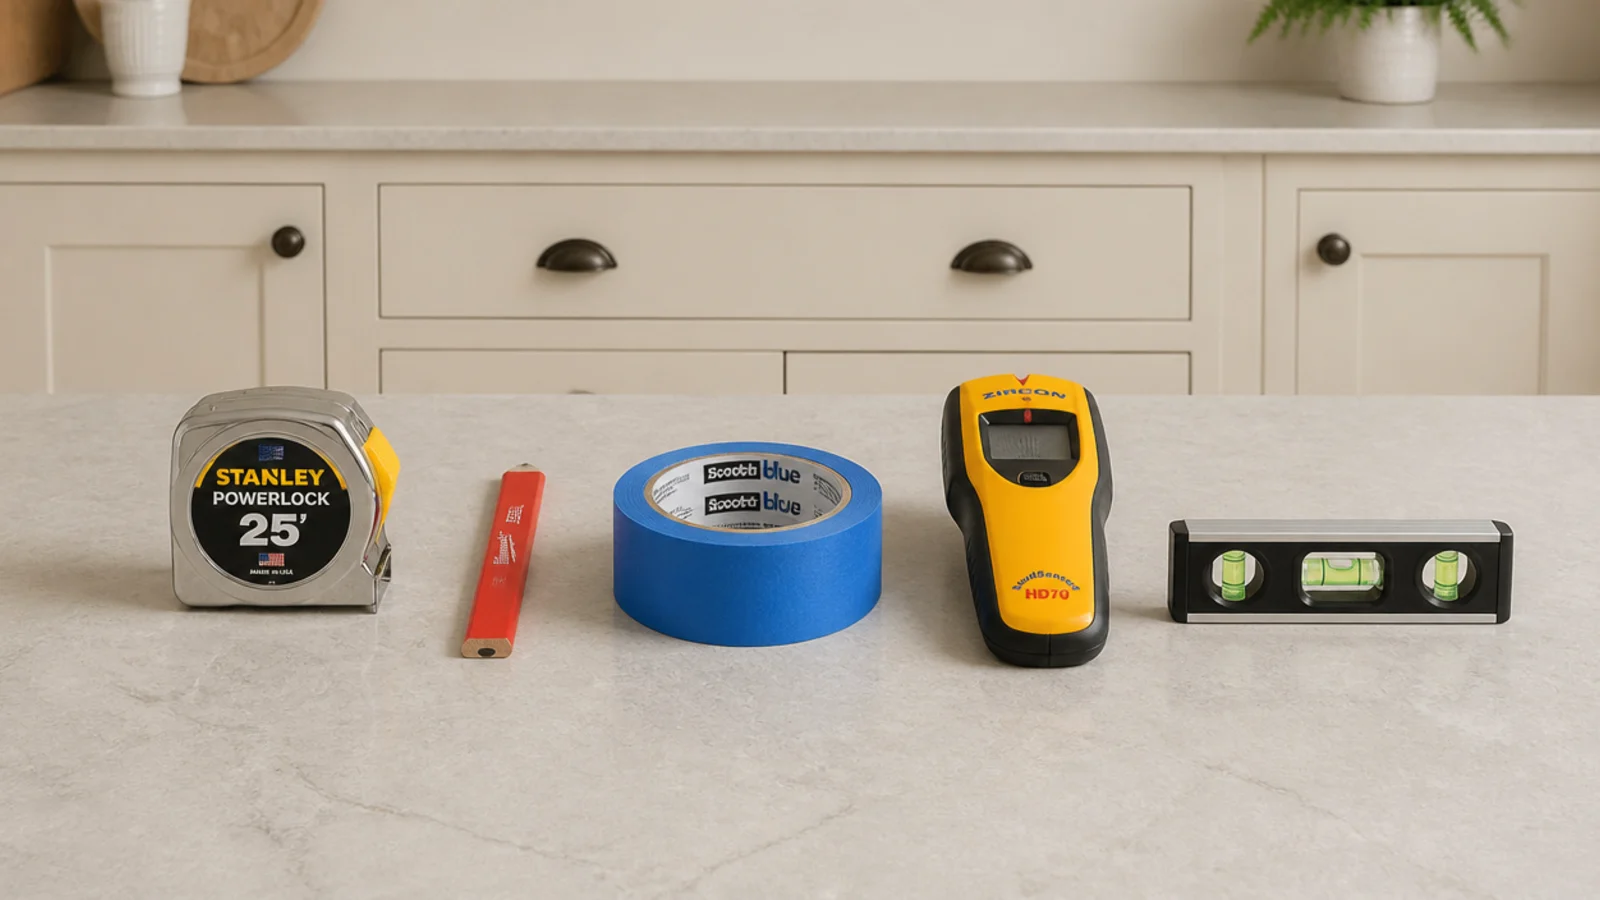
Almost none of this is specialist. Two pendants and a dimmer for a standard island run $150 to $400 in parts, plus $100 to $300 per point for the electrical work.
| Item | Spec that matters | Rough cost |
|---|---|---|
| Pendants | Shade diameter 8–14 in, weight under the box rating | $60–$300 each |
| Bulbs | 700–800 lumens, 3000K, CRI 90+, dimmable | $8–$18 each |
| Dimmer | Trailing-edge, LED rated, low minimum load | $20–$35 |
| Ceiling boxes | Listed for the fixture weight, fixed to joist or brace | $6–$30 each |
| Brace bar | Adjustable, for a box between joists | $15–$30 |
| Marking kit | Painters tape, pencil, plumb bob or laser | $10 |
| Measuring | Tape measure, folding rule, spirit level | borrowed |
| Access | Step ladder tall enough to stand square to the ceiling | borrowed |
1. Measure the island and choose two or three pendants
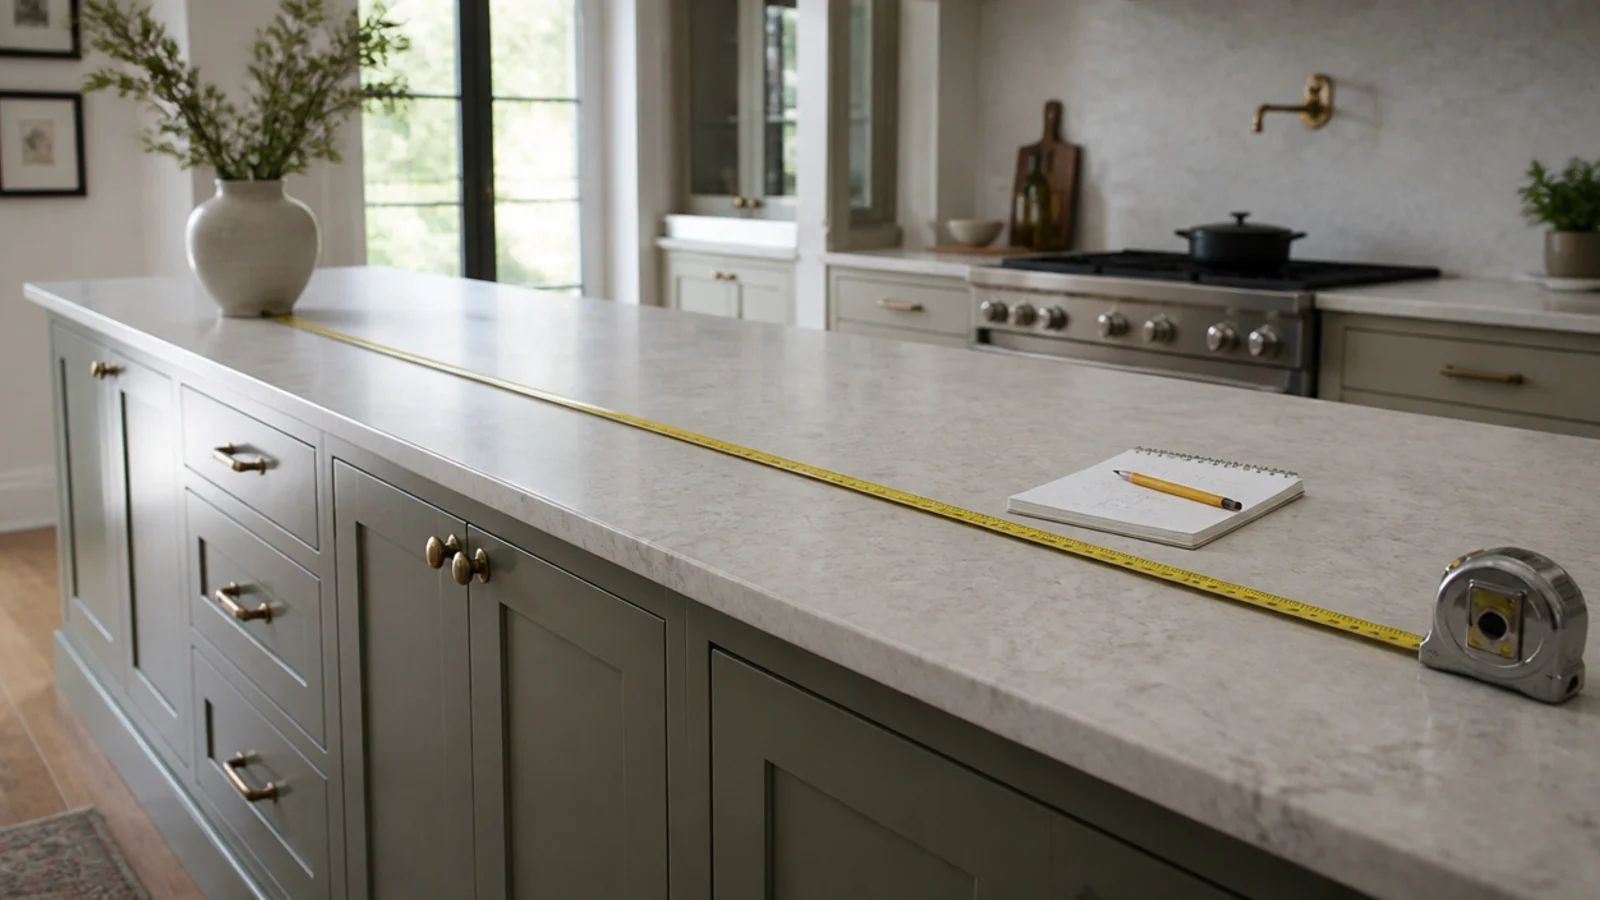
Length decides the count. Under 4 feet takes one pendant, 4 to 7 feet takes two, and over 7 feet takes three. Keep the combined width of all the shades under two thirds of the island length — three 14 inch shades on a 7 foot island is 42 inches of shade on 84 inches of counter, which is exactly the point at which the run starts to read as a fence. On a very long island three medium shades almost always beat two oversized ones, because the light lands evenly along the counter instead of pooling at each end.
2. Set the drop from the counter, not the ceiling
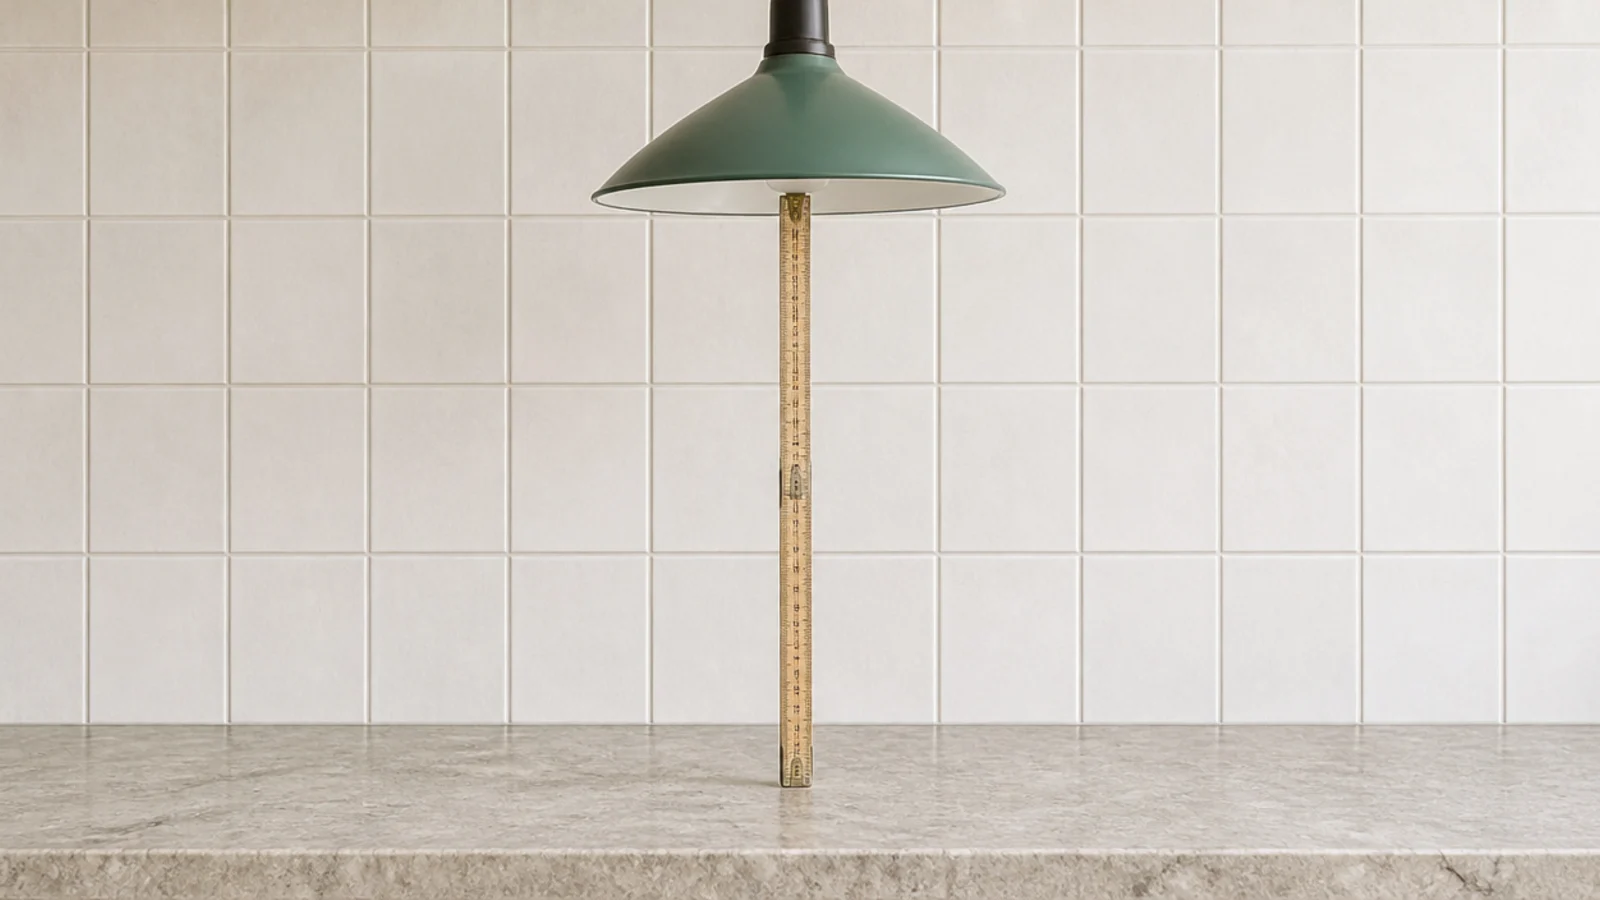
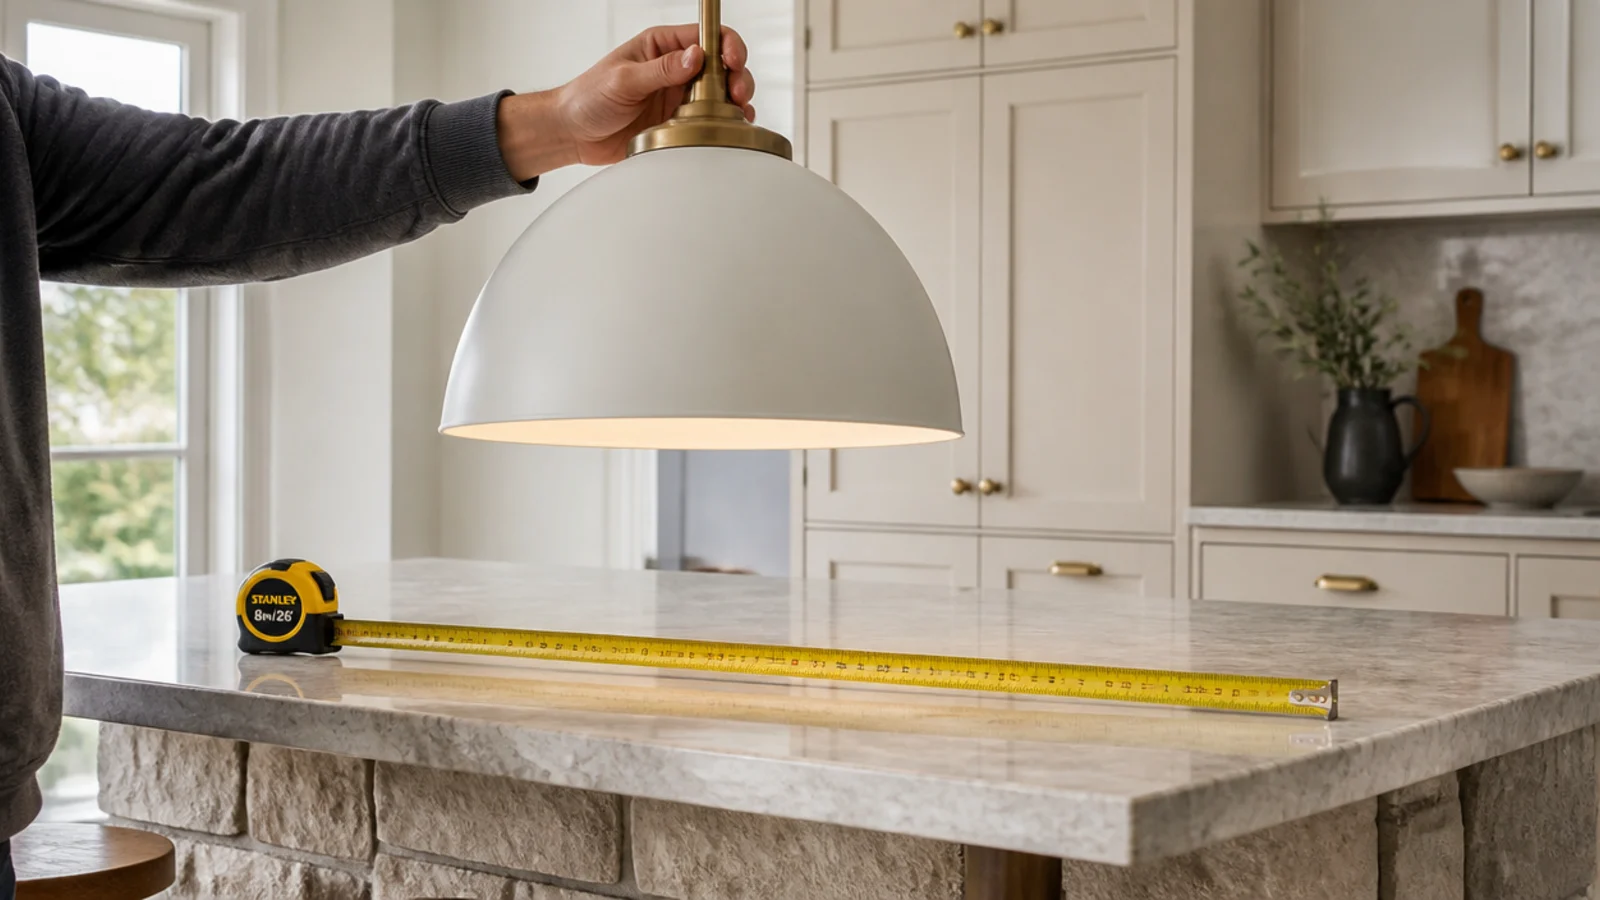
Measure up from the worktop. The bottom of the shade wants to sit 30 to 36 inches above it, and 32 is where most kitchens land. That clears a stand mixer, keeps the bulb out of eye line from a stool, and still puts light close enough to be useful on a chopping board.
3. Add three inches of drop per extra foot of ceiling
The 30 to 36 inch rule assumes an 8 foot ceiling. On a 10 foot ceiling, add roughly 6 inches of drop so the fixture still relates to the counter rather than floating near the plaster. Check the supplied cord or rod length covers it before ordering — most cord kits ship at 72 inches.
4. Mark the pendant centres on the counter first
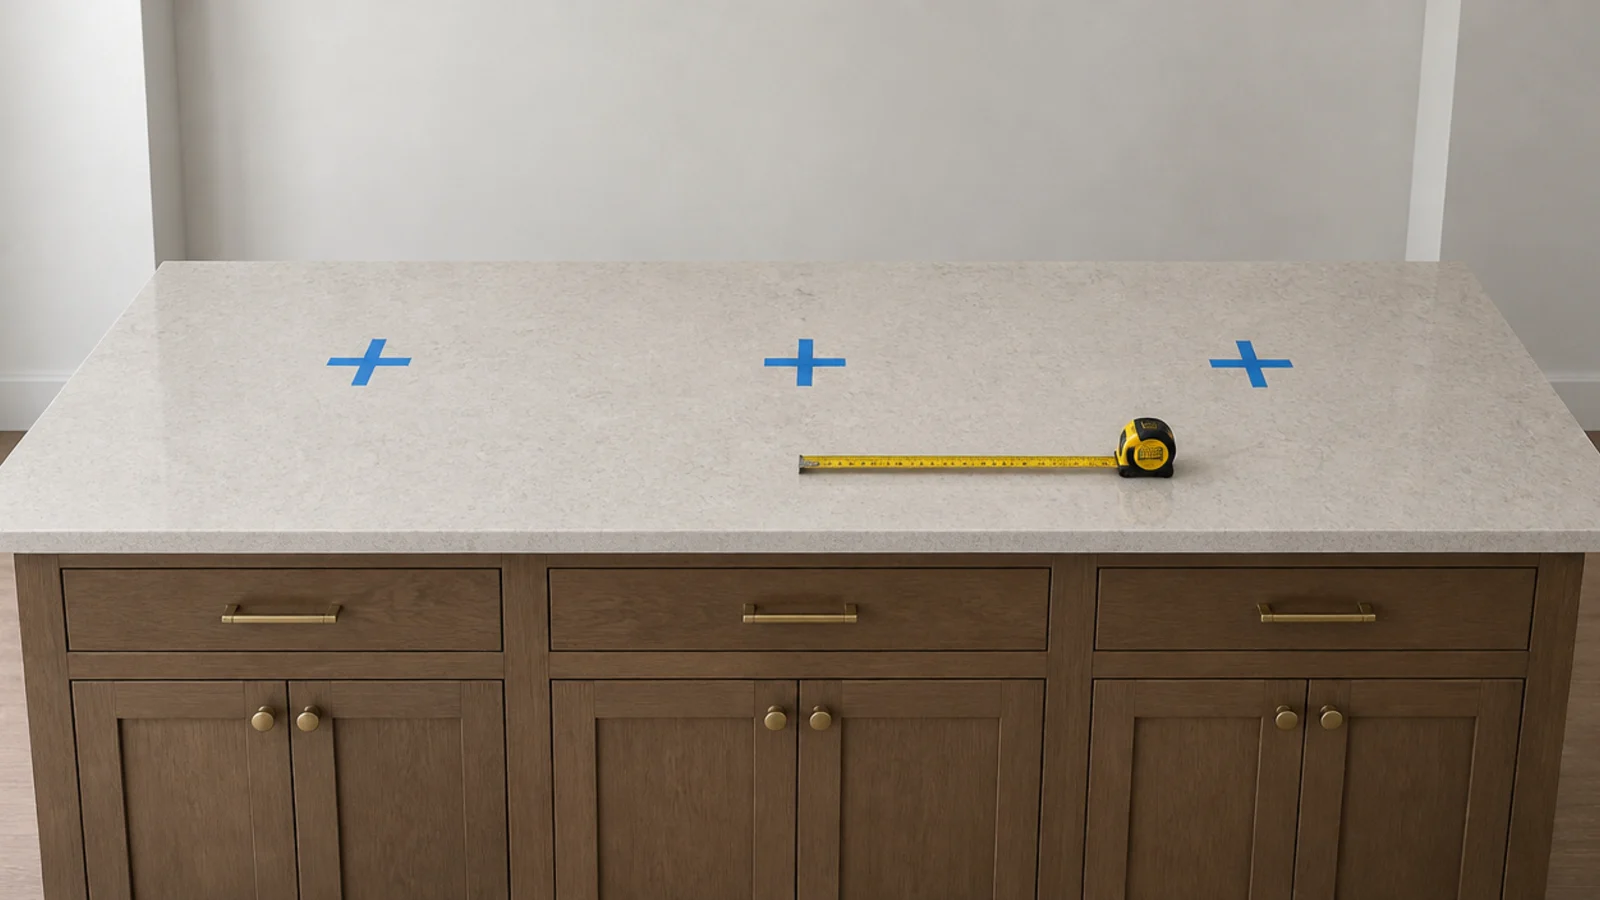
Tape crosses on the worktop where you want each shade to land, then stand back and look at them from the doorway and from a stool. Judging positions on the counter is far easier than judging them on a blank ceiling, and moving tape costs nothing.
5. Transfer the marks to the ceiling with a plumb line
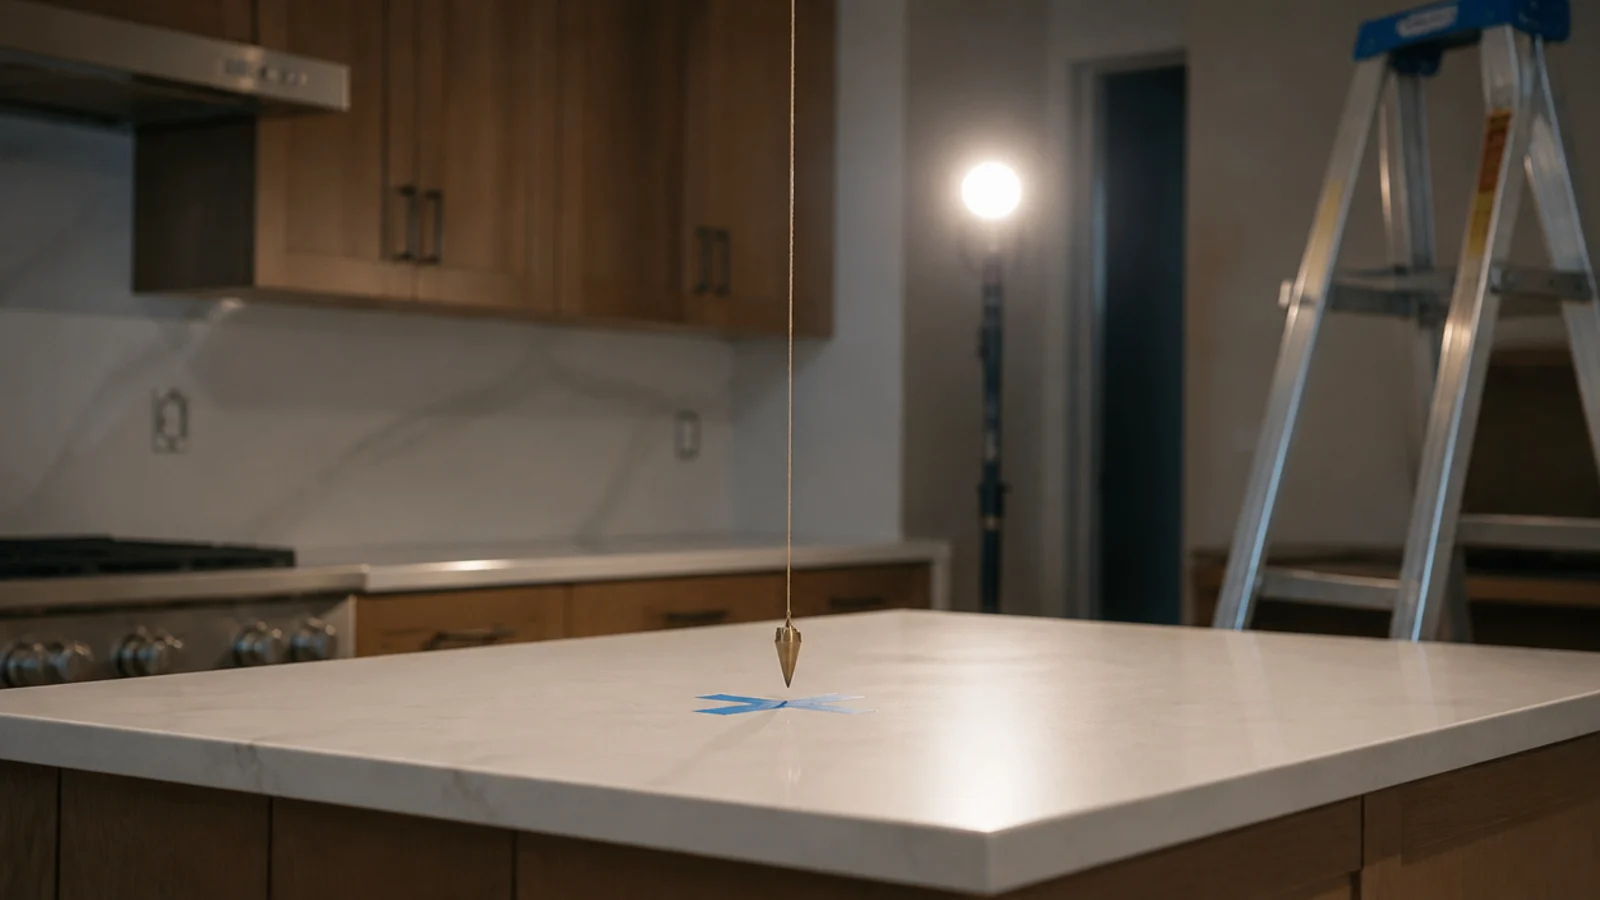
A plumb bob on a string, or a laser, moves each counter mark straight up. Do not eyeball it — a ceiling point 2 inches off centre is obvious once the shade is hanging, and it is the error I see most often in otherwise good kitchens. Leave the tape up overnight and look again in daylight before anybody drills.
6. Find the joists and see what is actually up there
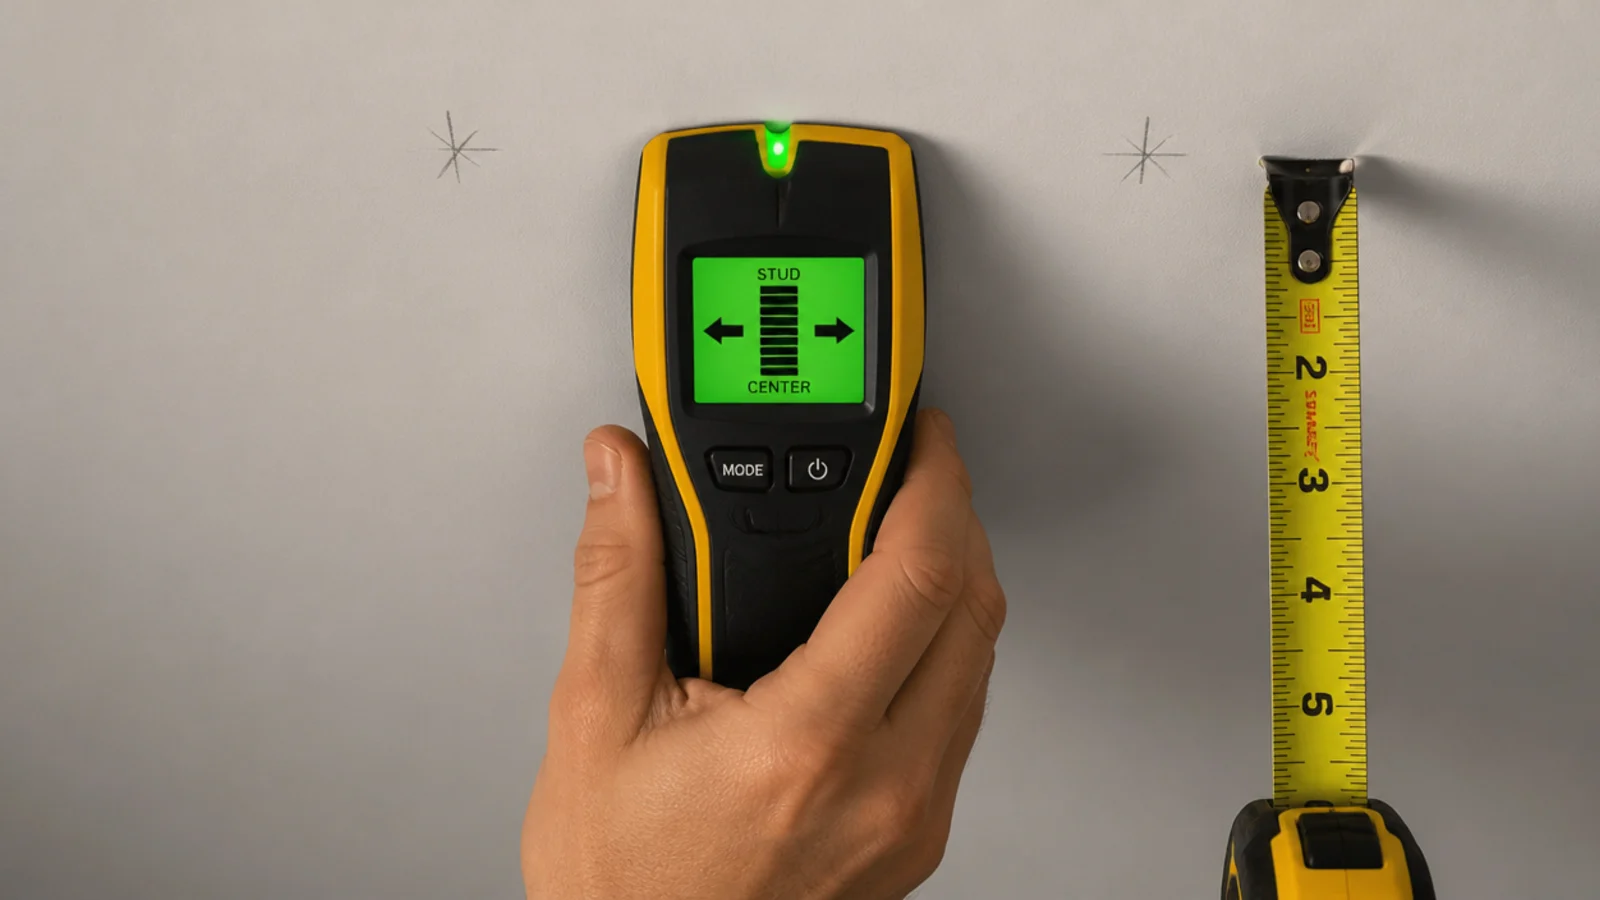
Sweep a stud finder across the ceiling and mark every hit. Joists sit 16 inches on centre in most homes and almost never land where you want a pendant. Where a mark falls between joists, the answer is an adjustable brace bar rather than moving the pendant to suit the timber.
7. Read the ceiling box rating before you buy anything
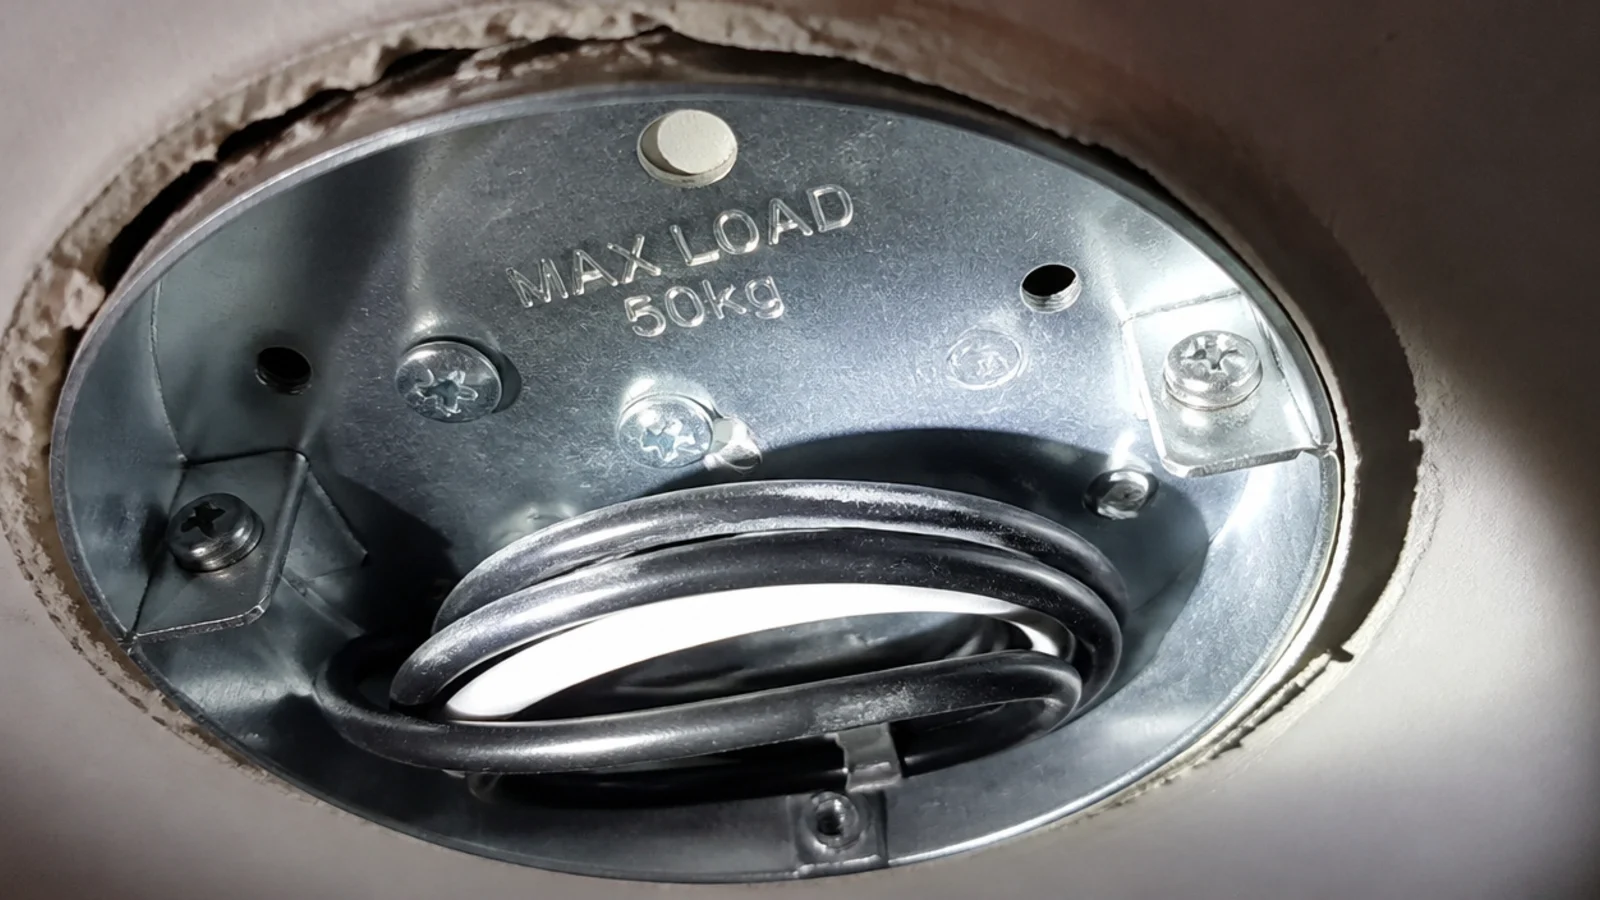
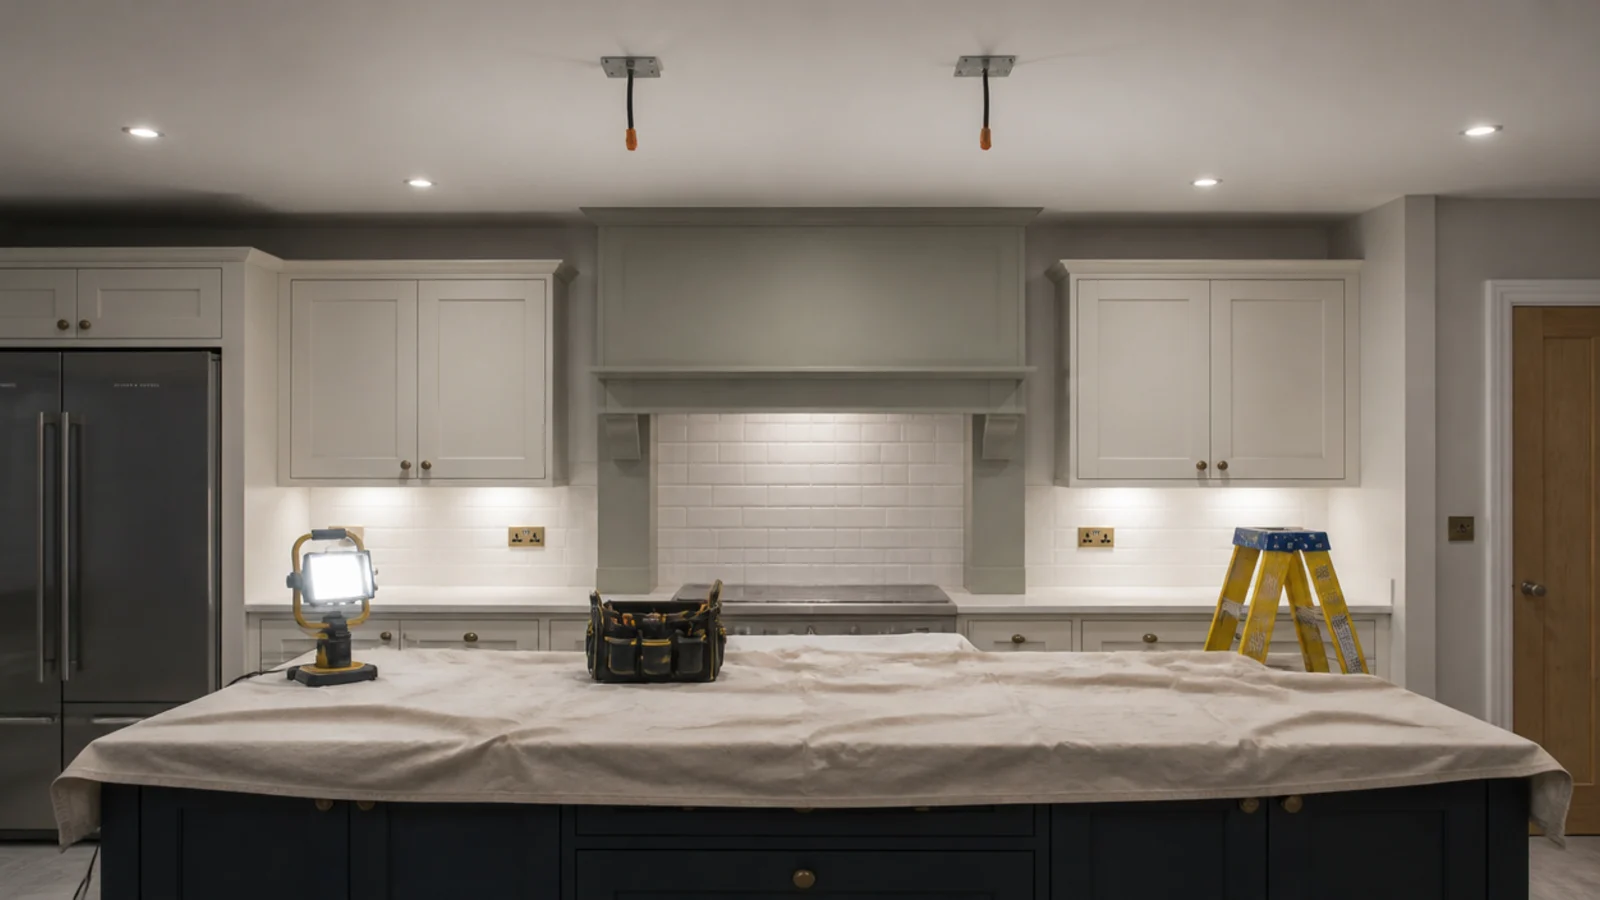
Take down any existing fitting and look inside the box for a stamped weight rating. A rated ceiling box carries the fixture weight, not the plasterboard around it, and standard lighting boxes are listed for 50 pounds. No stamp means no rating, and that box needs replacing before anything hangs from it.
8. Weigh the fixture and compare the two numbers
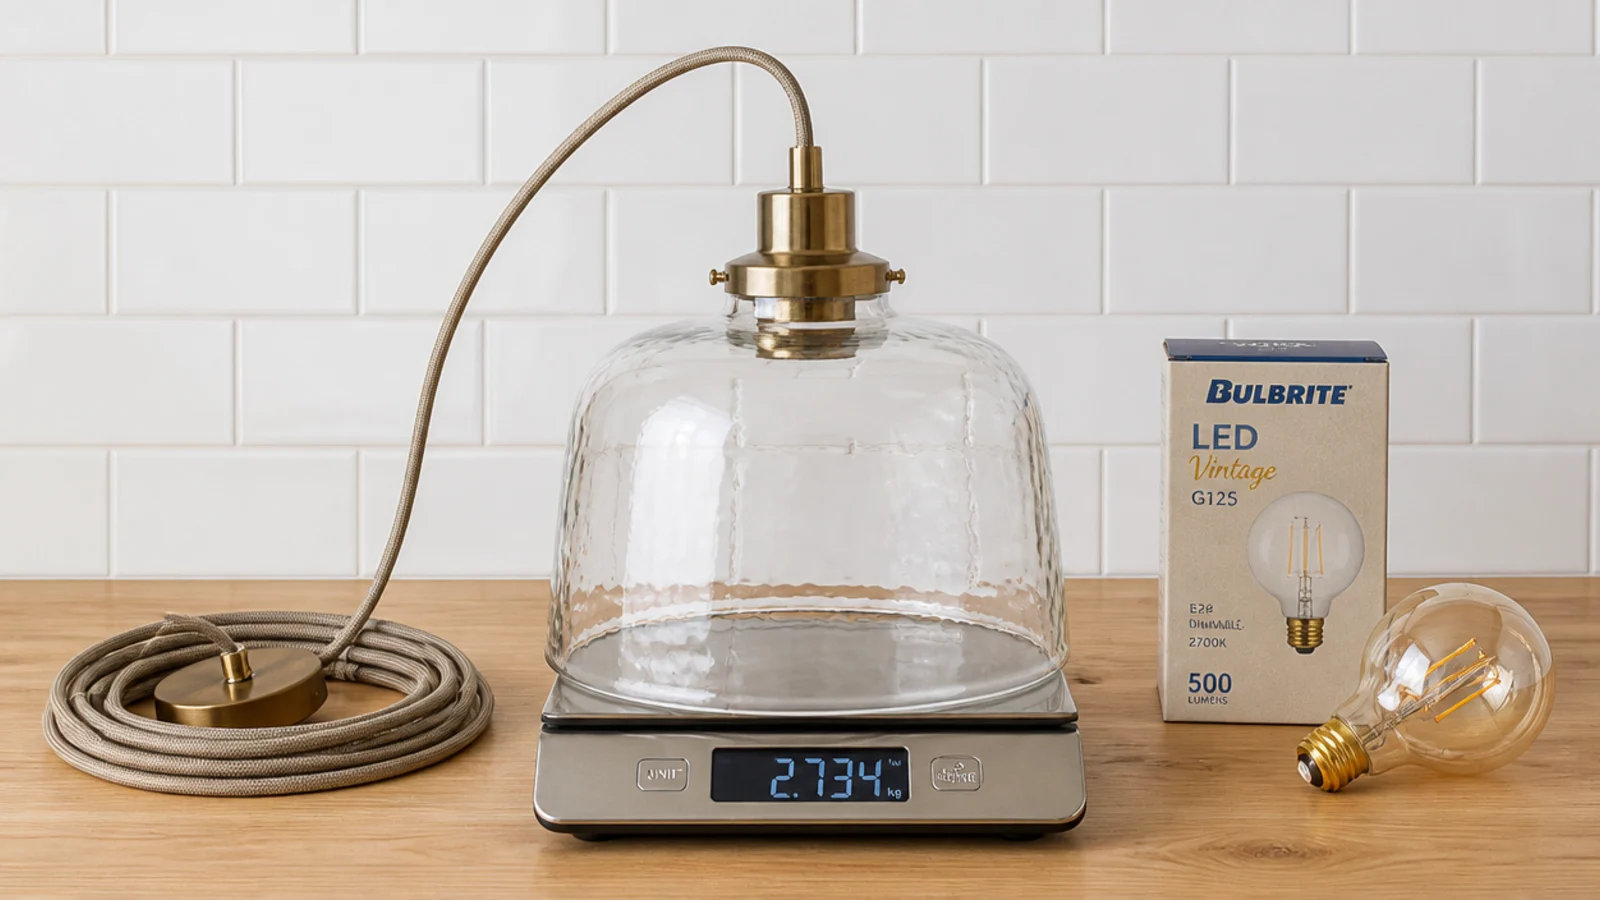
Put the shade on a kitchen scale. Glass, concrete and ceramic pendants reach 8 to 15 pounds surprisingly easily, and a pair on one box is a different question from a single fixture. Anything above the box rating needs a listed heavy fixture box or a brace fixed between joists.
9. Size the shade against the island width
Each shade should sit comfortably inside the counter edges with several inches of margin, so nobody reaching across catches one. On a standard 40 inch deep island, 8 to 14 inch shades work; anything over 16 inches starts to overhang the working edge. The small room guide covers narrow islands in more detail. On a galley island under 30 inches deep, drop to shades of 8 inches or less so nothing overhangs the working edge.
10. Choose the lumens and the colour temperature
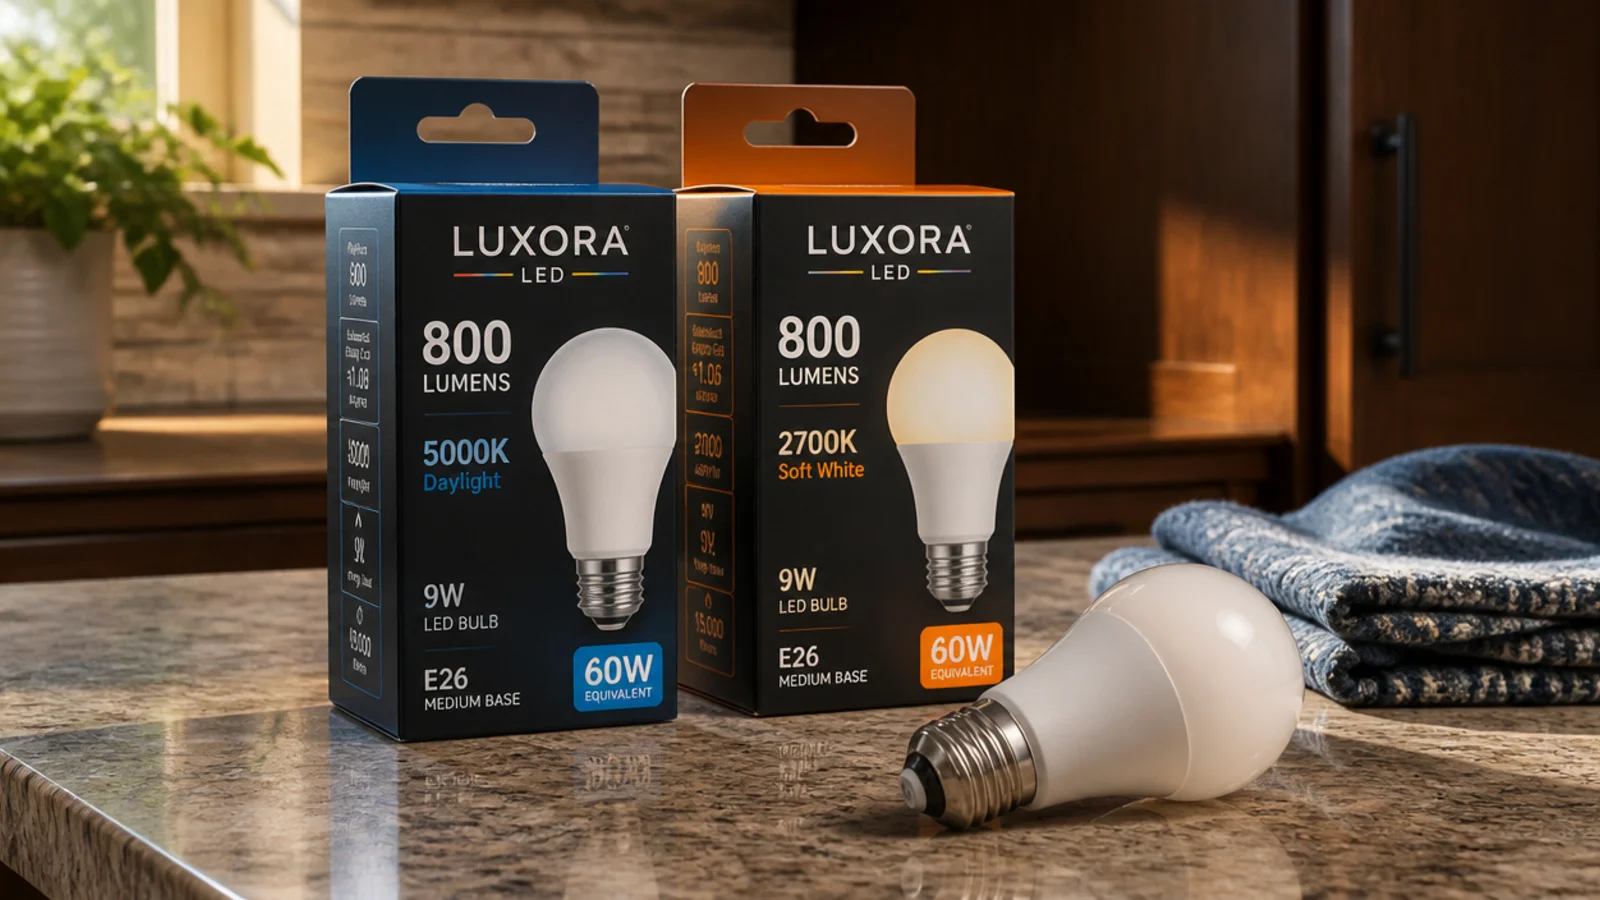
Aim for 700 to 800 lumens per pendant at 3000K with a CRI of 90 or above. Two pendants at 750 lumens over a 6 foot island gives roughly 75 lumens per square foot of counter, which is right for prep work. Buy dimmable bulbs and buy them all from the same box.
11. Pick a shade that shields the bulb from the stools
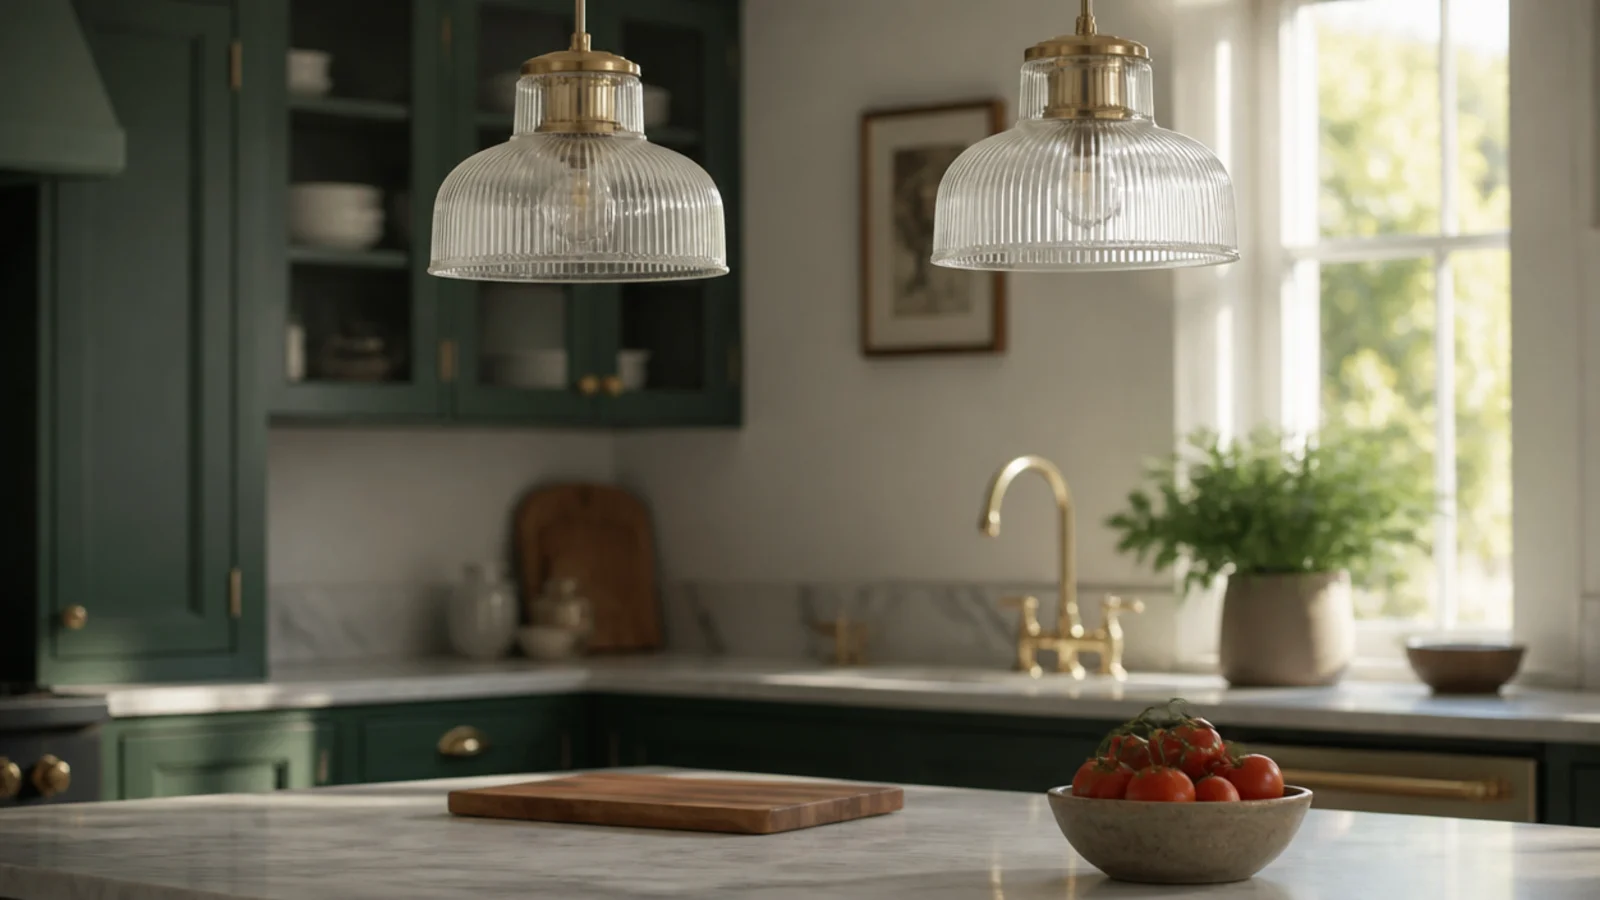
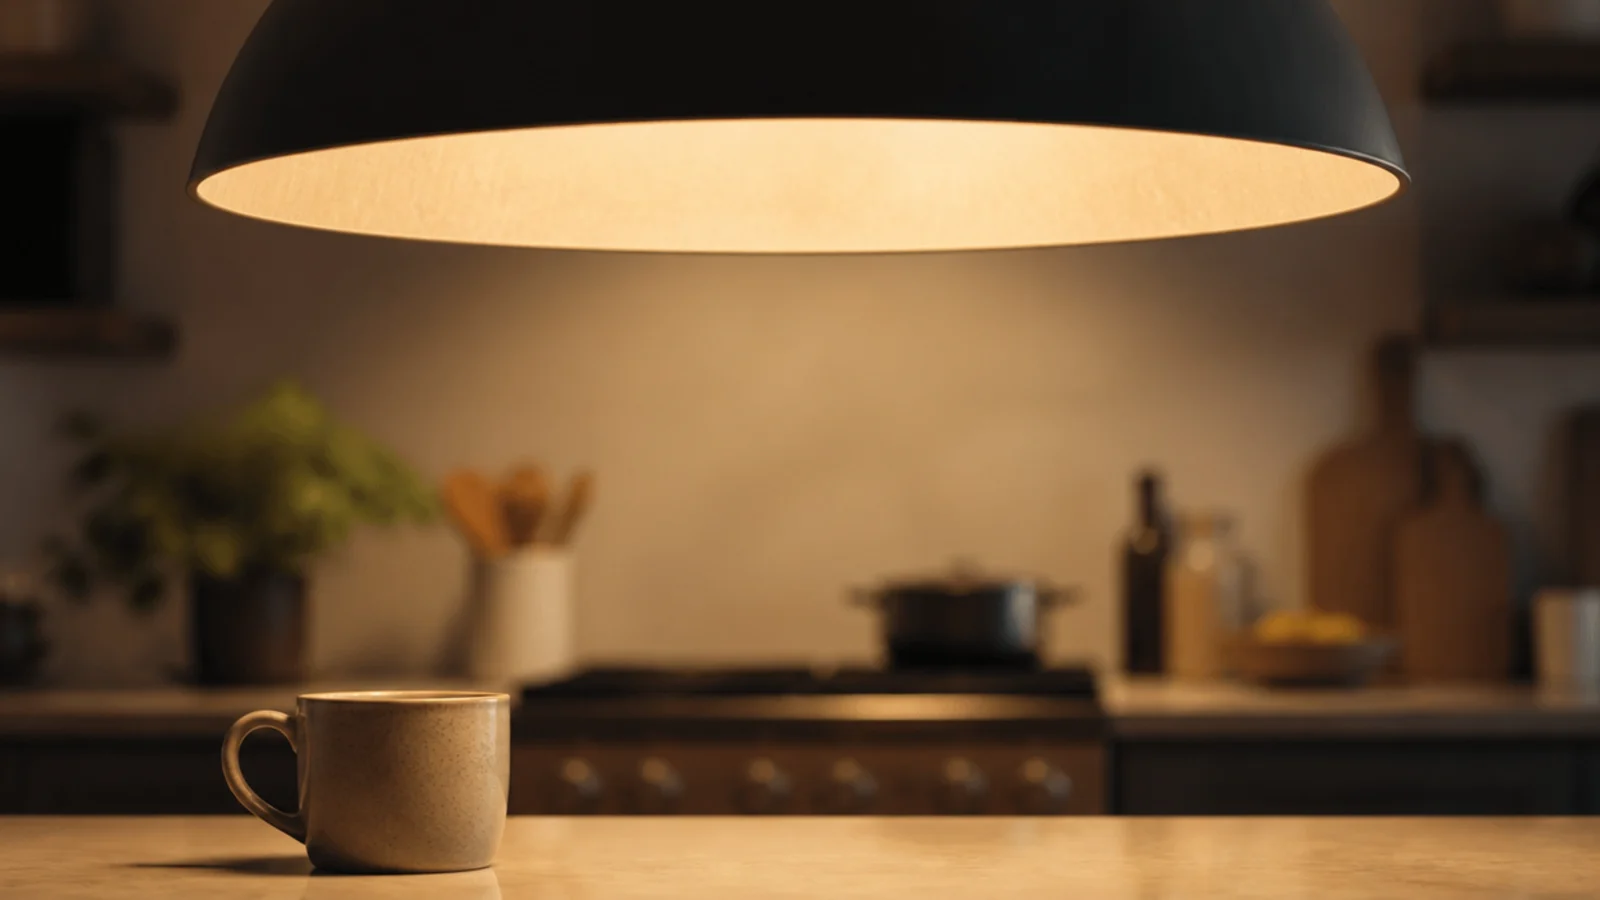
Sit on a stool and look up before you commit. A shallow shade that looks elegant standing puts a bare filament in the eye of anyone seated opposite. Deep domes, cones and opal glass all pass; clear glass with an exposed filament rarely does at island height.
12. Book the electrician for the boxes and the dimmer
New ceiling points, brace bars and the dimmer are licensed work in most jurisdictions, so this is where the job leaves your hands. Ask them to confirm each box rating against your weighed fixture and to fit a trailing-edge dimmer with a minimum load your bulbs will actually reach. Two 7 watt LED pendants draw 14 watts together, which clears the 10 watt floor most dimmers need, where a single pendant would not.
13. Set the cord or rod length before lifting anything
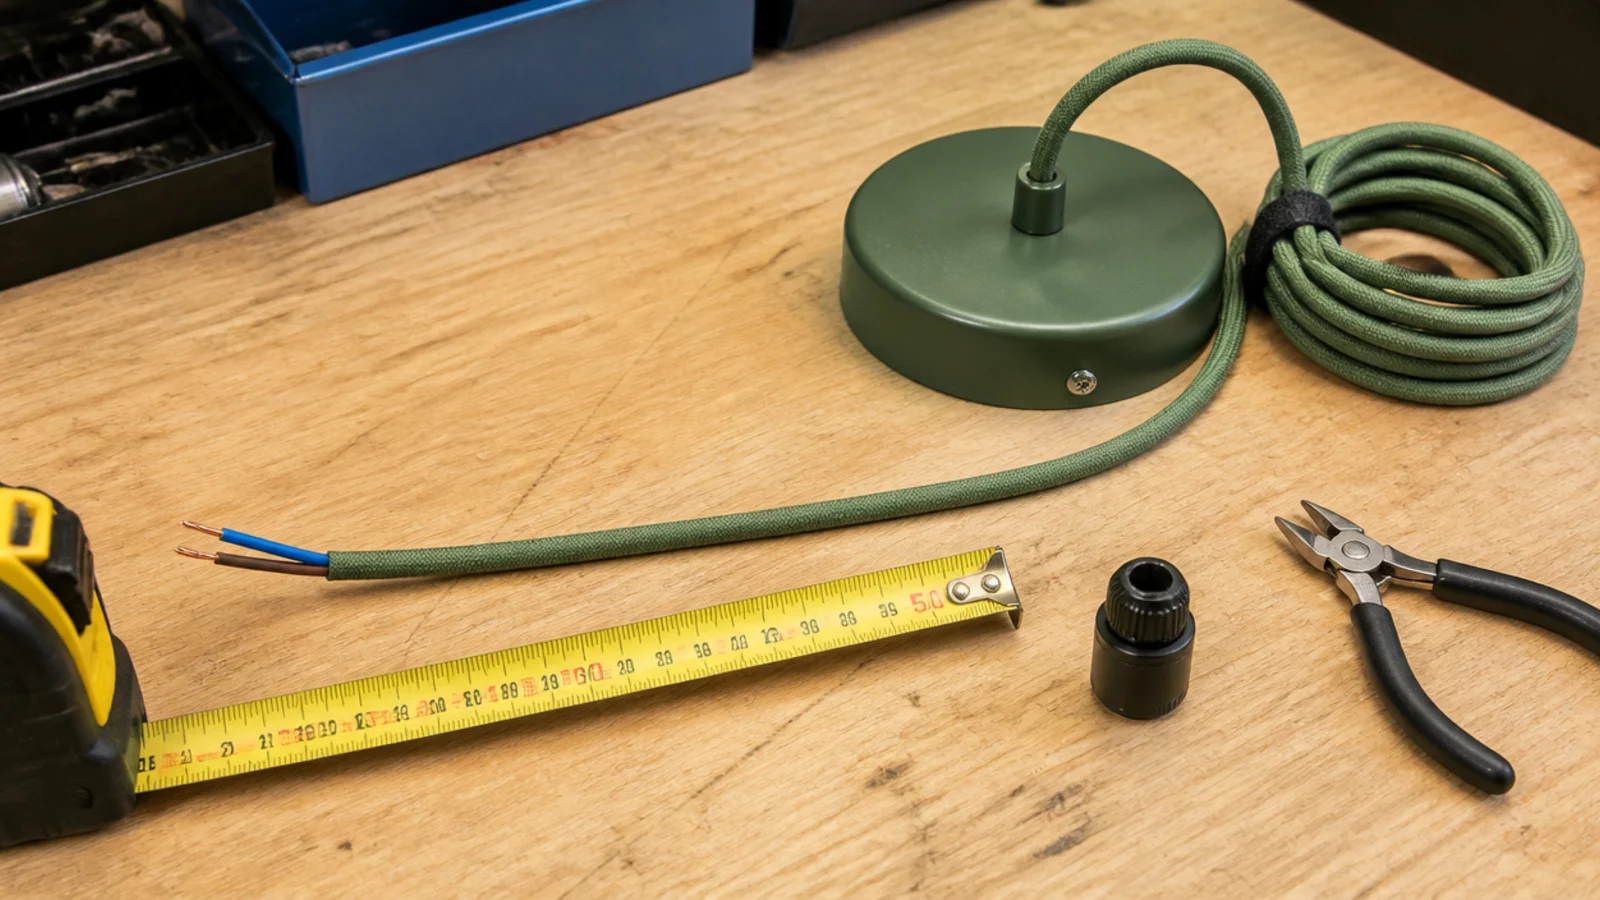
Work out the exact drop on the bench, with the canopy in your hand and a tape measure, rather than on a ladder with a shade in one arm. Loop and clamp surplus fabric cord instead of cutting it, so the fixture survives the next house. Measure twice against the marked ceiling height, because a cord cut two inches short cannot be undone and a replacement flex kit costs more than the shade did.
14. Hang, level and align the whole run
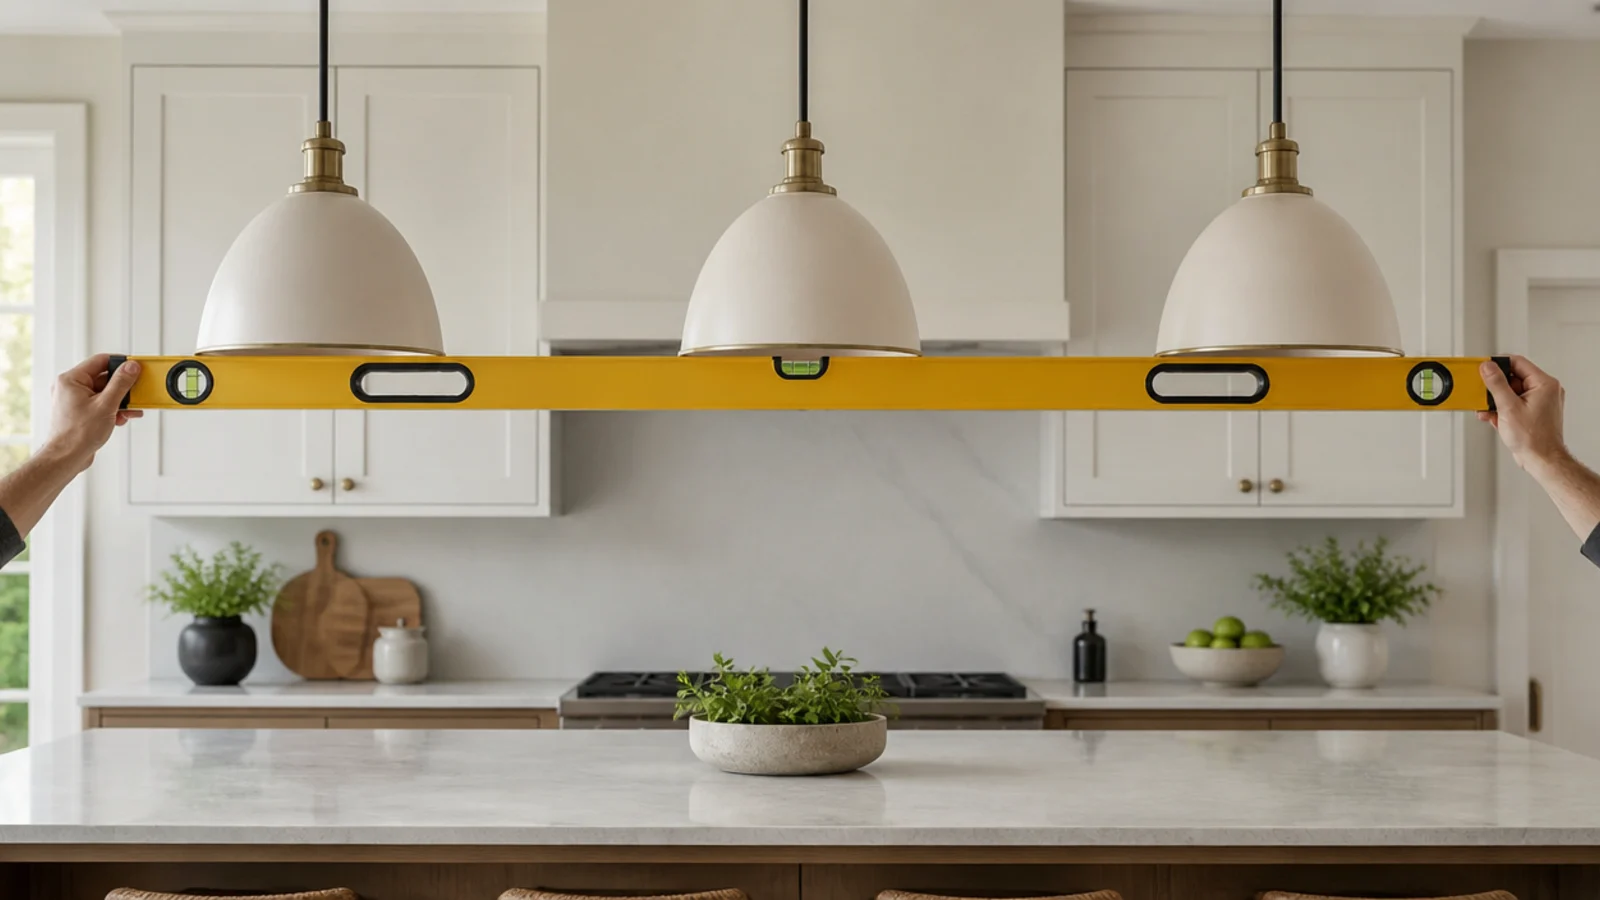
Align the bottom rims of the shades, not the canopies. Ceilings are rarely flat, so a run levelled at the top can be visibly stepped at the bottom, which is the part people see. Lay a long spirit level across the rims and adjust each cord until they match.
15. Sit at the stools and check for glare
The last check happens after dark, sitting down, with the dimmer at full and again at half. Look for filament in your eye line, a hotspot on a glossy counter and any shadow falling on the board where you chop. Ten minutes here saves a return. If a shade fails the seated test, a deeper shade or a lower drop usually fixes it without changing the fixture.
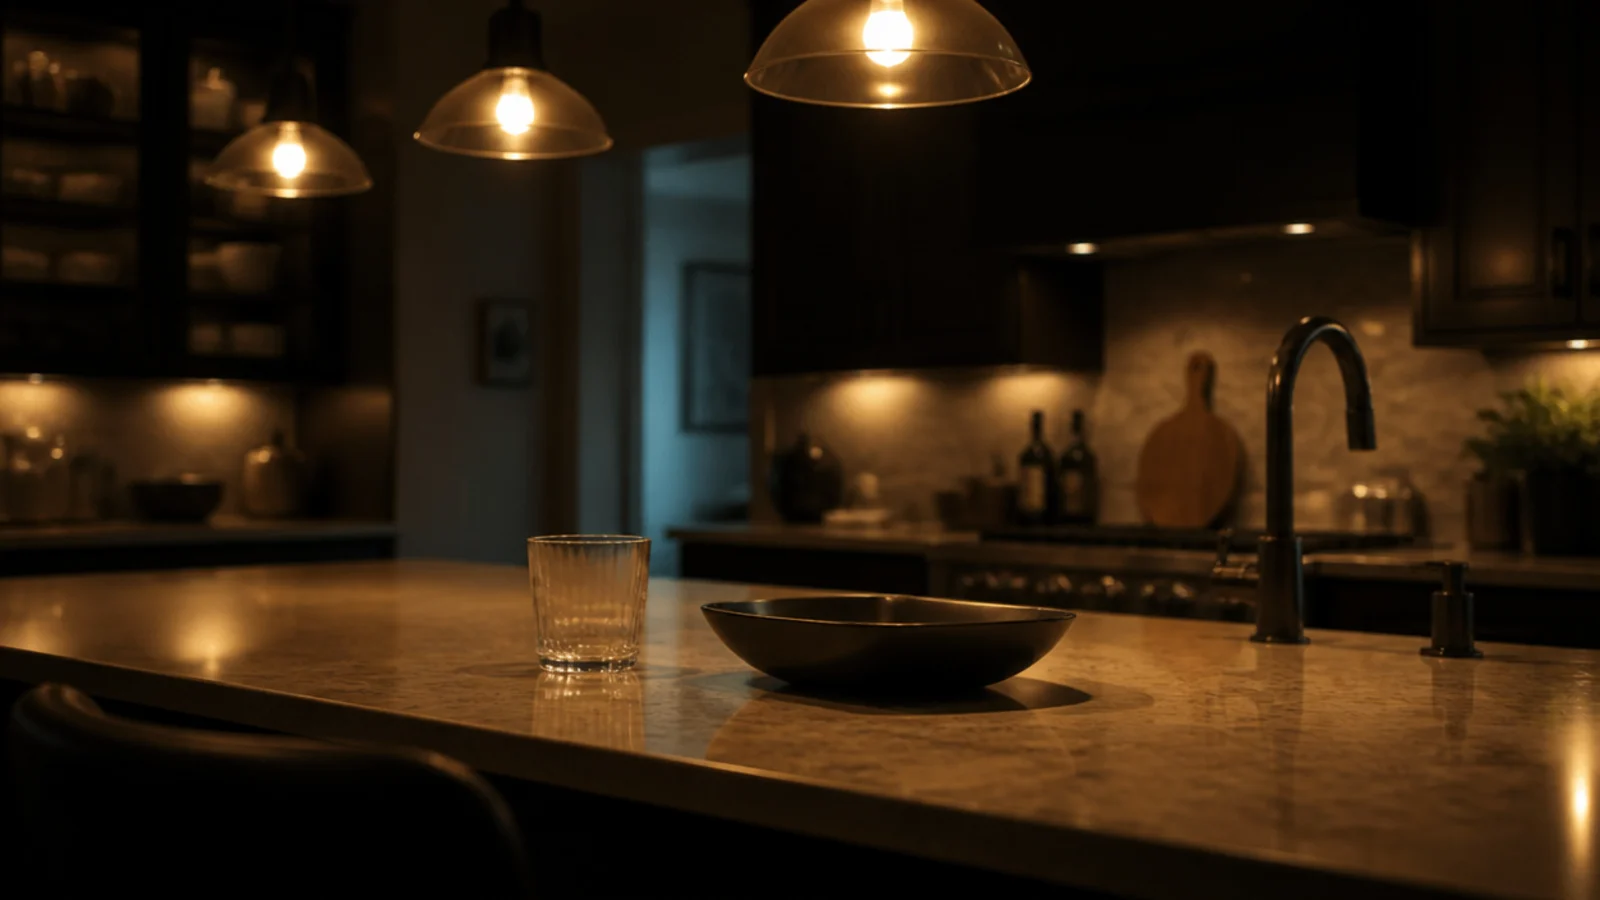
Pro Styling Rules
For the rest of the kitchen, kitchen hanging lights covers sinks, breakfast bars and dining ends, and kitchen shelf ideas shows how open shelving changes where the light needs to fall.
Mistakes to Skip
- Buying the pendants before measuring the island. The length decides the count and the count decides the diameter, and doing it the other way round is how three shades end up on a five foot island.
- Hanging from the ceiling down. The 30 to 36 inch figure is measured from the counter, and a ceiling that is an inch out of level will throw the whole run if you work from it.
- Assuming the existing box will take two fixtures. Take it down, read the stamp, weigh the shade, and let those two numbers decide rather than optimism.
- Skipping the seated glare check. The island is the one place in a house where people sit under the lights for an hour at a time, looking straight ahead at them.
Frequently asked questions
How high should pendants hang above a kitchen island?
Leave 30 to 36 inches between the counter surface and the bottom of the shade, with 32 inches the figure most kitchens land on. That clears a stand mixer, keeps the bulb out of eye line from a stool, and still puts the light close enough to the worktop to be useful for chopping.
How many pendants does my island need?
Two for an island between 4 and 7 feet long, three for anything above 7 feet, and one for a compact island under 4 feet. Keep the combined width of all the shades to no more than two thirds of the island length, or the row starts to read as a barrier.
How far apart should island pendants be?
Set the centres 24 to 30 inches apart, and keep at least 6 inches between the outer edge of each end shade and the end of the island. On a 7 foot island, three pendants at 24 inch centres or two at 30 inch centres both work; anything tighter than 24 inches looks crowded.
How bright should island pendants be?
Around 700 to 800 lumens per pendant in a 3000K bulb with a CRI of 90 or above. That gives a working counter roughly 70 to 80 lumens per square foot, which is right for chopping and reading recipes. Put the run on a dimmer so it can drop to a comfortable level in the evening.
Can I wire island pendants myself?
Assembling and hanging the fixture is straightforward, but connecting new ceiling points to house wiring is licensed work in most jurisdictions and belongs to an electrician. Have them confirm each box is rated for the fixture weight at the same visit, and expect 100 to 300 dollars per point.
Want more like this? Browse all 15 hanging lights guides — they all use the same measurements and budget tiers.
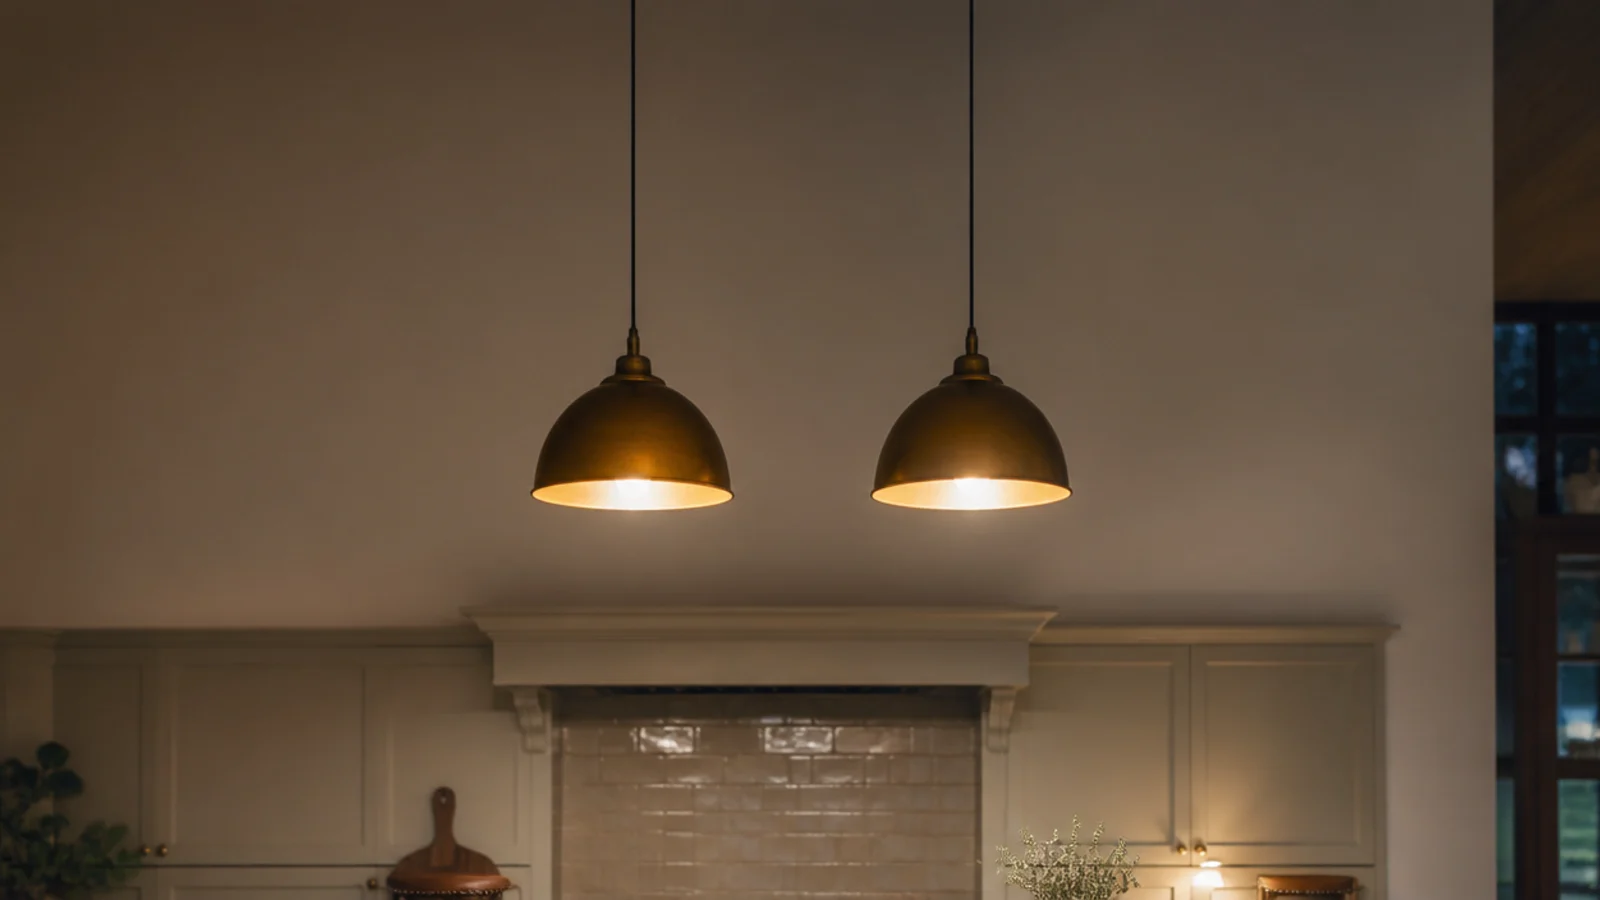
Pin it for later
Save this to your Hanging Lights board
Pin it now so it is waiting for you when the tape measure comes out — and so the next person hunting for this idea can find it too.
Save this pinKeep going
More ideas worth saving while you have the tape measure out.