TV Wall Decor · How-To
15 Steps To Plan TV Wall Ideas Before You Drill

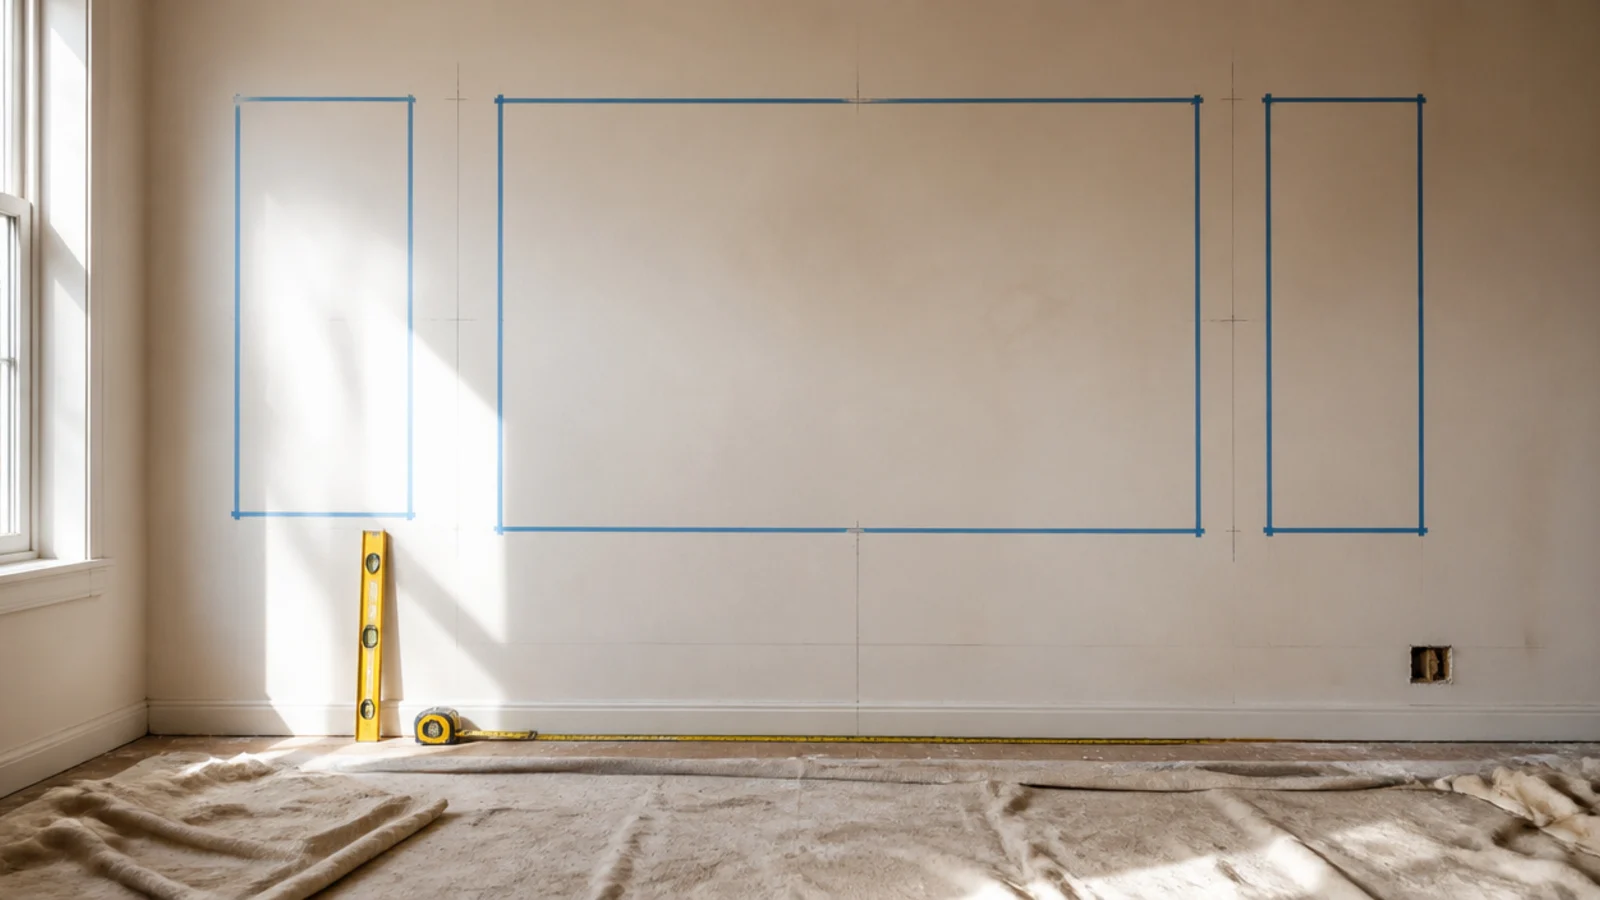
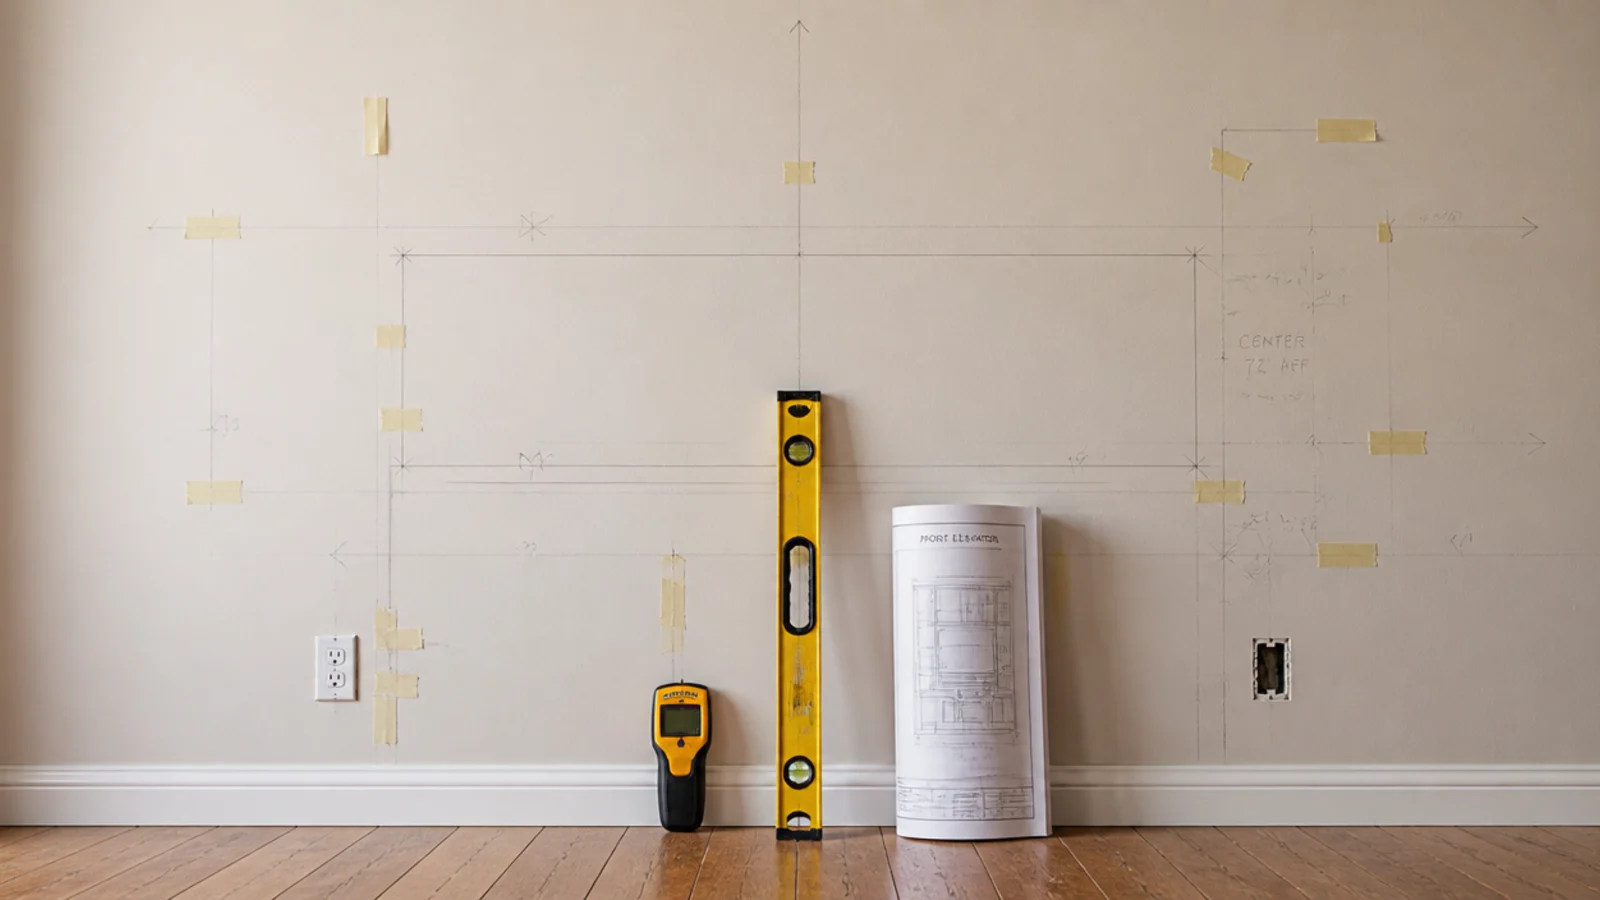
The order matters more than the ideas. Almost every media wall that goes wrong went wrong at step one, when somebody bought a screen and then tried to build a room around it. Good tv wall ideas start with a tape measure pointed at the sofa, not at the wall. The fifteen steps below are the sequence I follow, and roughly two hours of measuring, taping and drawing at the front end is what removes the four wrong holes at the back end. Nothing here needs a trade, but two of the steps decide whether the rest is safe.
In this guide18 sections — tap to openHide
- 1.What You'll Need To Plan TV Wall Ideas Properly
- 2.Step 1: Measure the seating distance first
- 3.Step 2: Convert that distance into a screen size
- 4.Step 3: Map the studs across the whole wall
- 5.Step 4: Locate every socket, switch and aerial point
- 6.Step 5: Tape out the screen and sit with it overnight
- 7.Step 6: Choose the mount and its depth
- 8.Step 7: Decide the cable route before the finish
- 9.Step 8: Pick the wall finish and add its thickness
- 10.Step 9: Draw the elevation to scale
- 11.Step 10: Set out from the screen centre line
- 12.Step 11: Check the walkways and door swings
- 13.Step 12: Write the cut list and add ten percent
- 14.Step 13: Fix the mount into framing
- 15.Step 14: Fit the finish and cut around the services
- 16.Step 15: Style it, then dim everything down
- 17.Pro Styling Rules
- 18.Mistakes to Skip
What You'll Need To Plan TV Wall Ideas Properly
Six tools, and only one of them makes a hole. Total outlay is around 90 dollars if you own none of it, and a stud finder and a voltage detector are worth buying rather than borrowing.
| Item | Spec that matters | Rough cost |
|---|---|---|
| Stud finder | Electronic, with deep scan and live wire warning | $25–$55 |
| Voltage detector | Non-contact pen, tested on a known live socket | $12–$25 |
| Laser or spirit level | 600mm minimum, or a self-levelling cross line | $20–$70 |
| Steel tape and folding rule | 5m tape plus a rigid rule for depths | $15 |
| Painters tape and chalk line | Low-tack tape that lifts cleanly from paint | $10 |
| Graph paper and pencils | 1:20 scale, plus a red pencil for services | $5 |
| Mount, rated cable, raceway | Bought after the plan, not before | $70–$200 |

Step 1: Measure the seating distance first
From the front edge of the sofa cushion to the face of the wall. Write it down in inches. This single number sets the screen size, and everything downstream — the mount, the unit width, the panel setting-out — is derived from it. Measure to where the sofa actually sits, not where you might move it. If the room has two seating positions, take both numbers and work from the nearer one, because a screen sized for the far chair always feels overbearing from the near one.
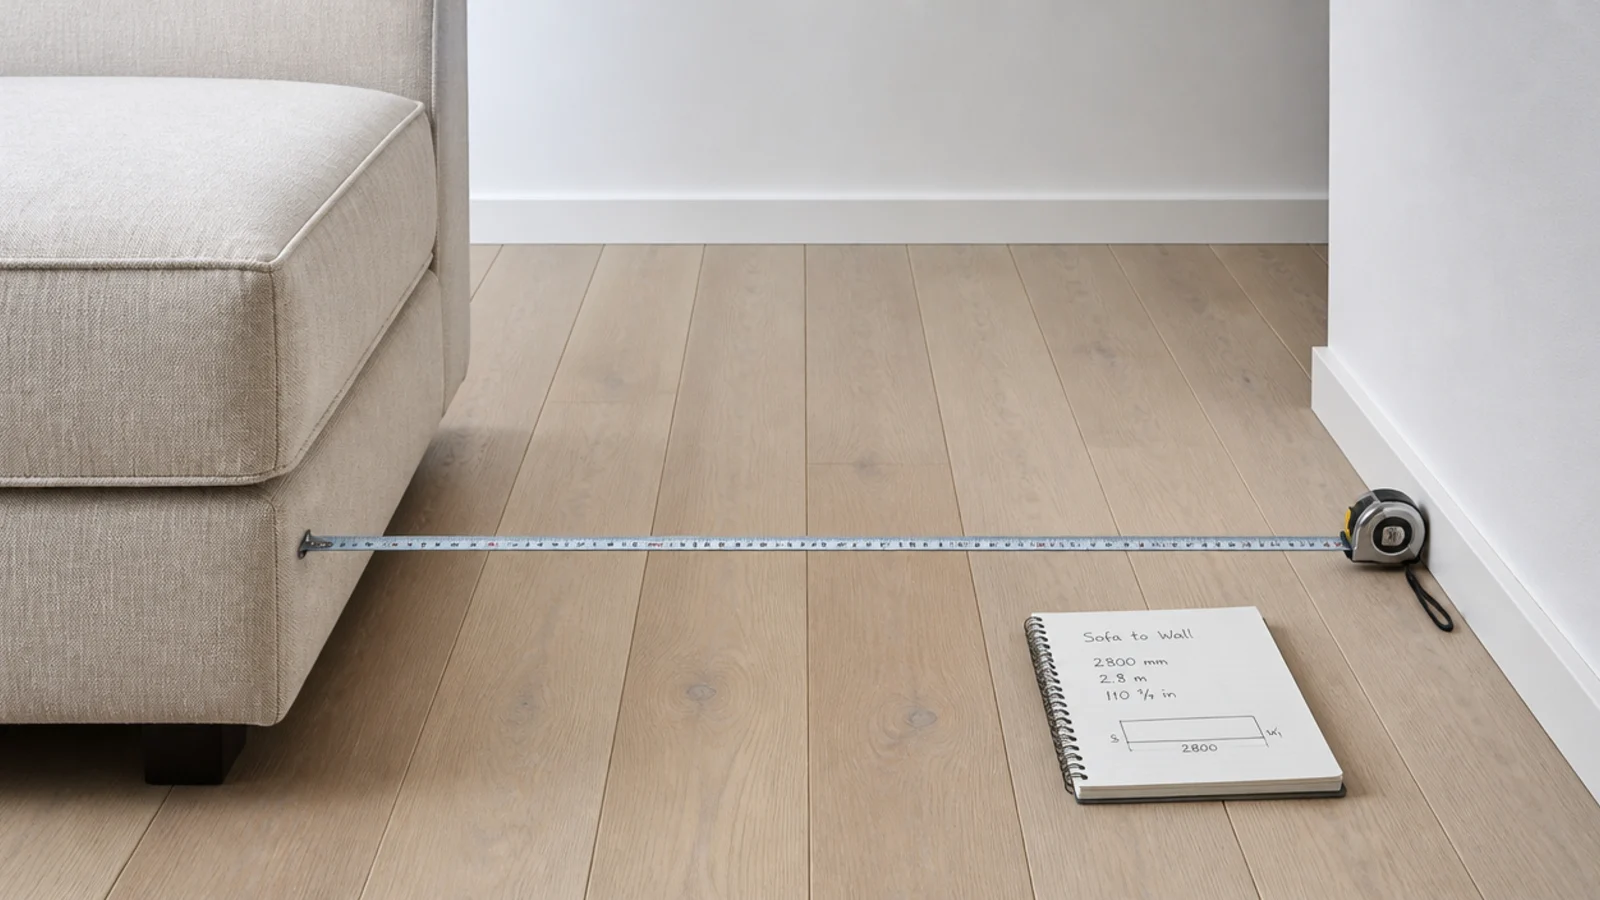
Step 2: Convert that distance into a screen size
Divide the distance by 1.6 for a comfortable 30 degree viewing angle, or by 1.2 for a cinema-style 40 degrees. Seven feet gives 55 inches, nine feet gives 65. Cut a cardboard rectangle at that size and hold it on the wall. A 65 inch panel is 57 inches wide, which surprises most people.
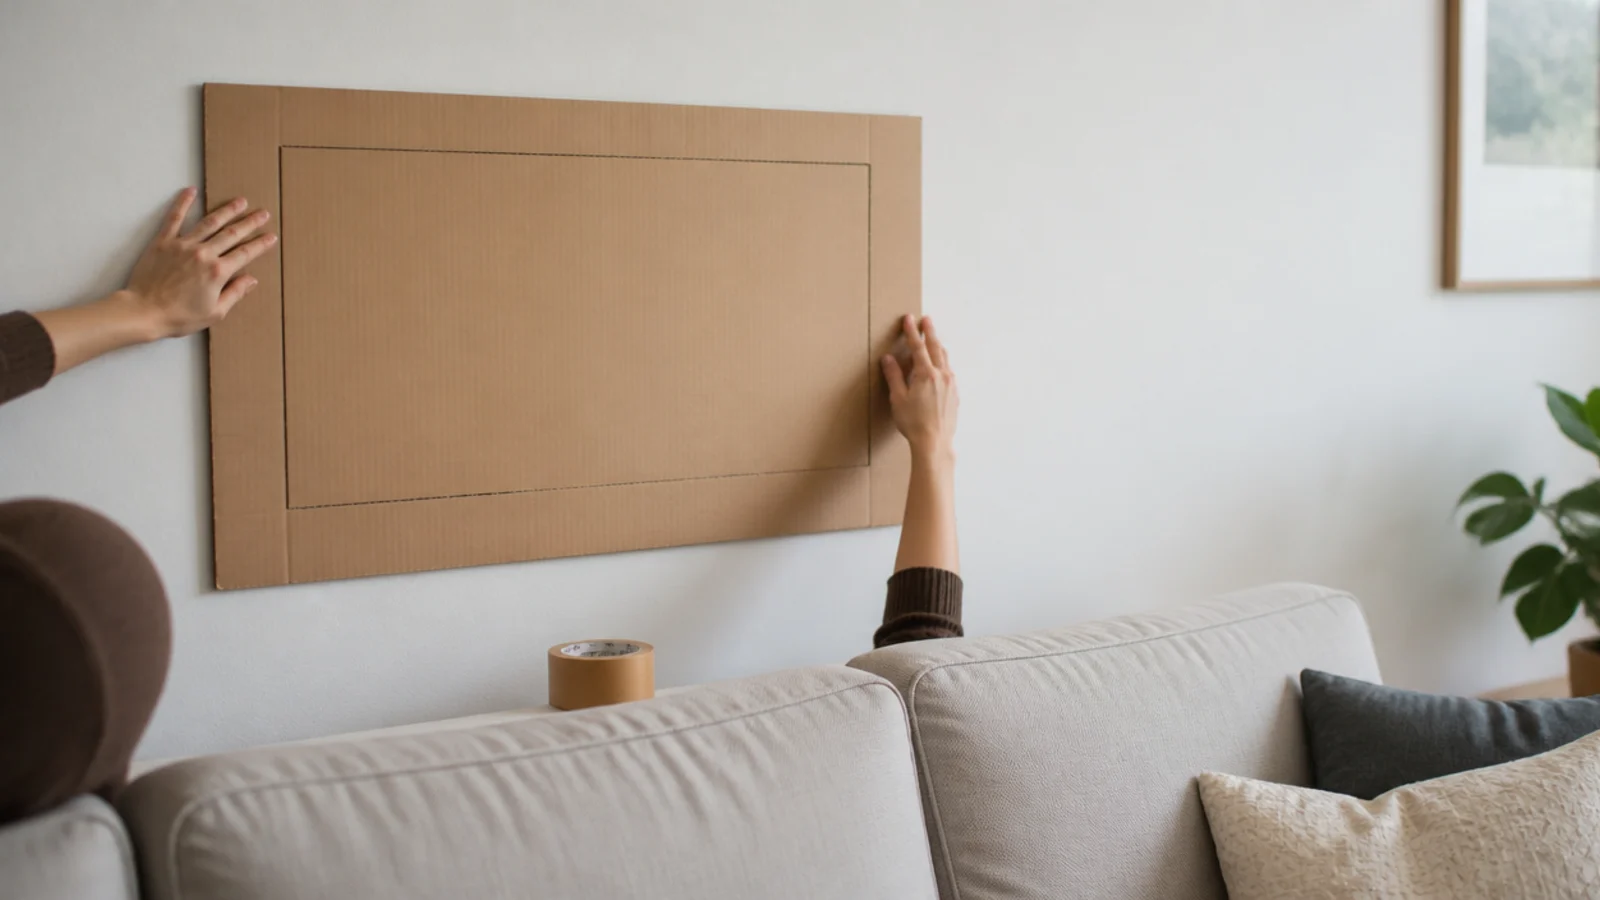
Step 3: Map the studs across the whole wall
Sweep the stud finder horizontally across the entire run rather than just where you want the mount, and mark every hit with tape. Then check the spacing: even 16 inch or 400 millimetre gaps mean framing. Irregular hits usually mean pipework, a nail plate or a service duct. On a solid masonry wall the finder will read continuously instead, in which case tap along the plaster and listen for the hollow note of a dot-and-dab void behind it.
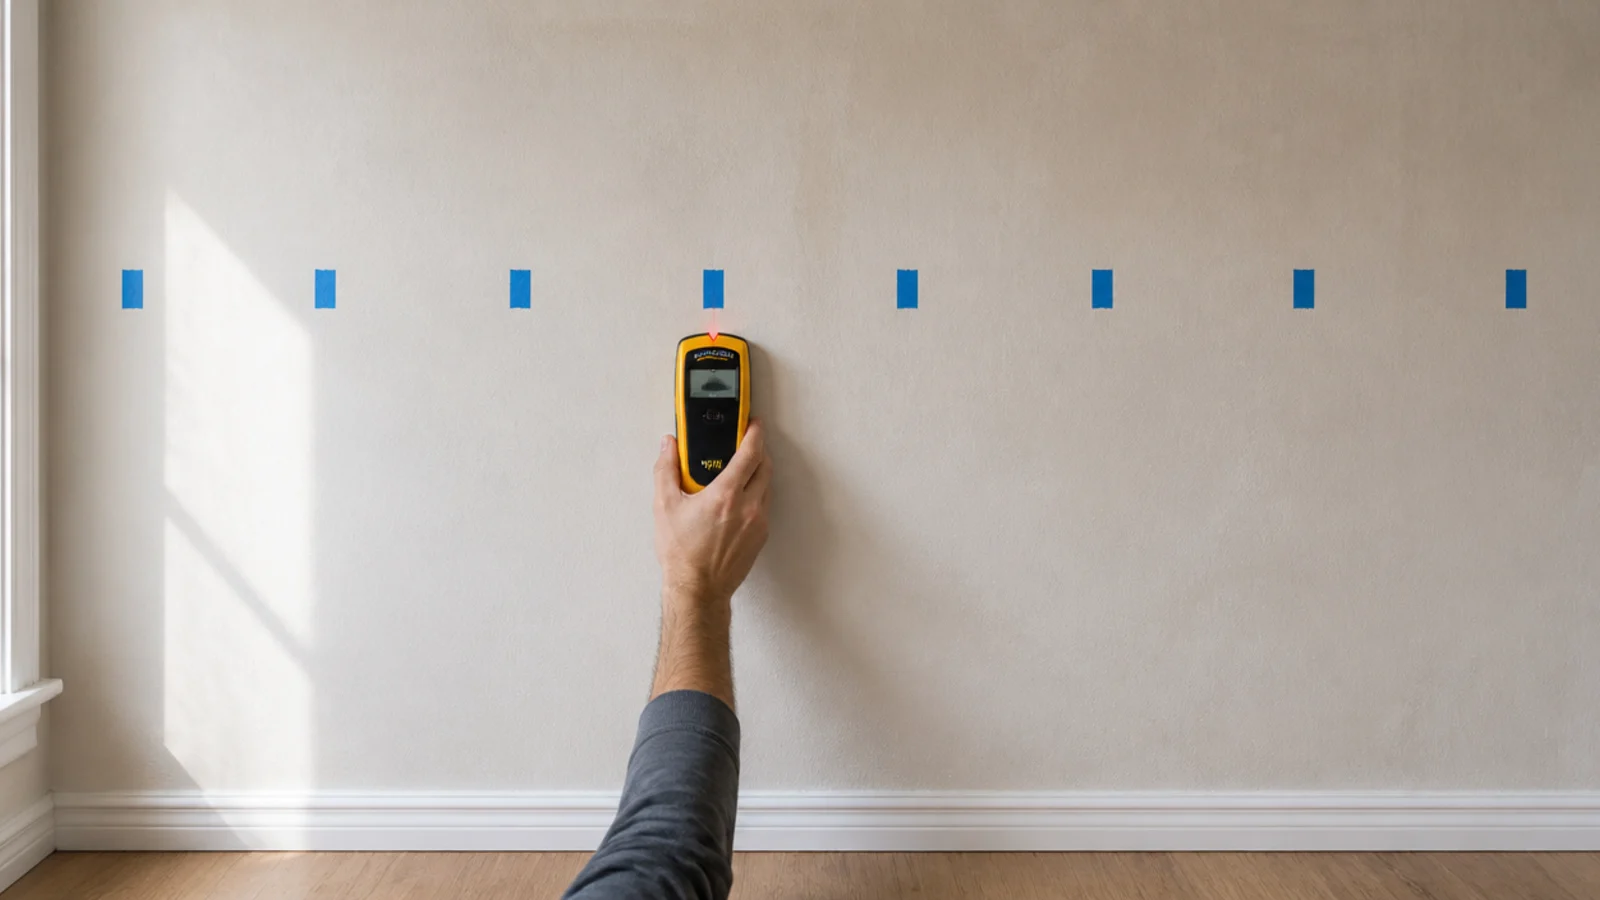
Step 4: Locate every socket, switch and aerial point
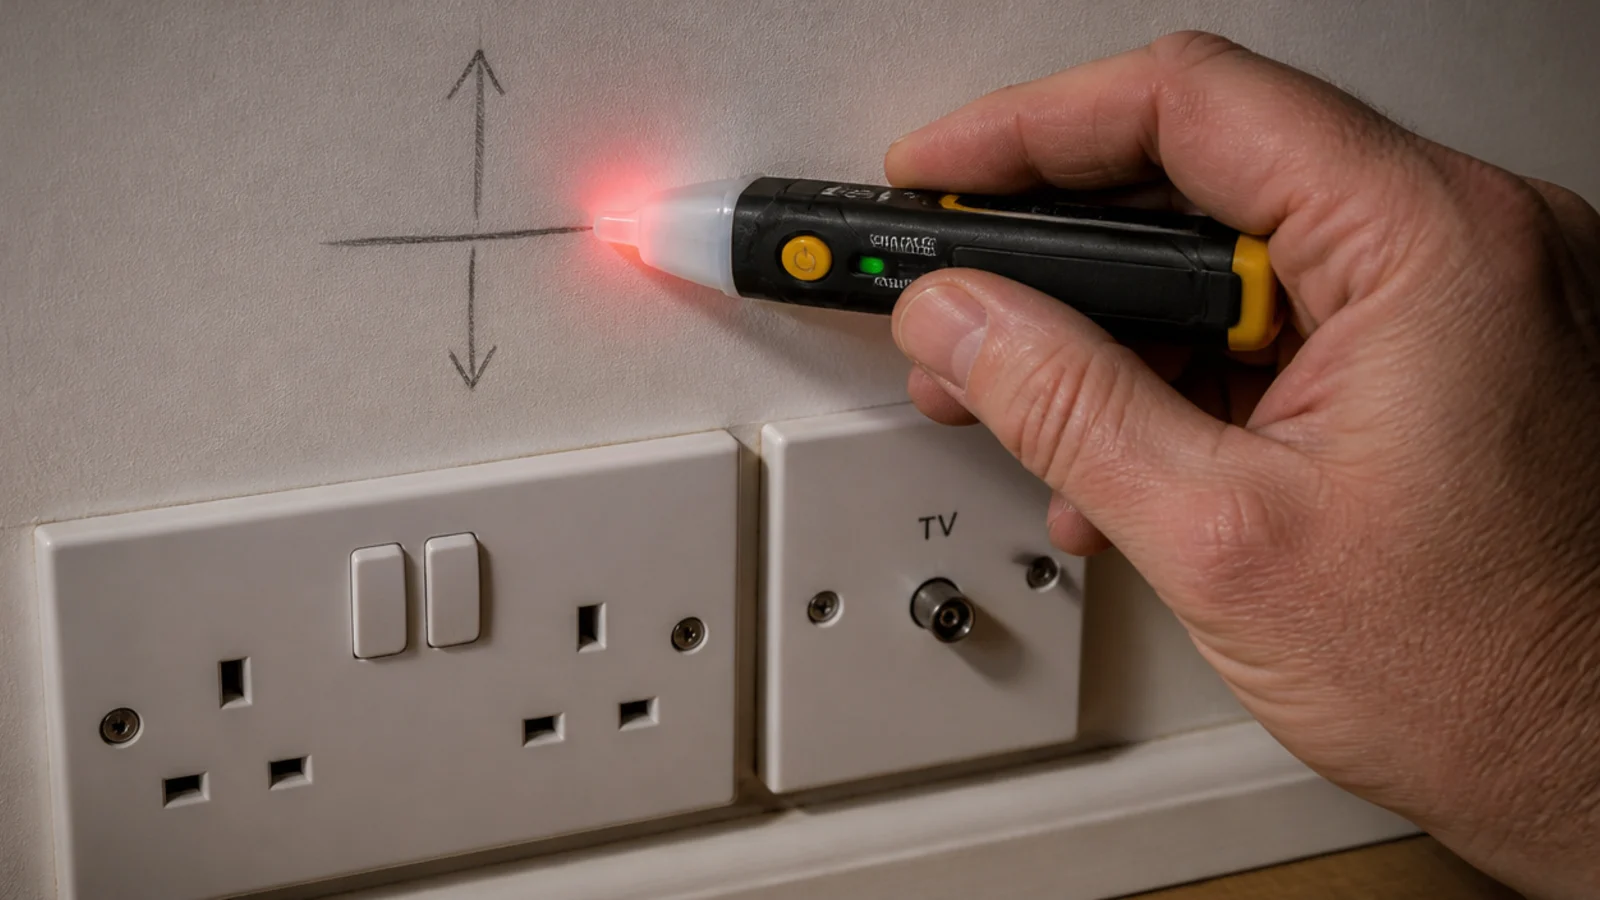
Mark them on the wall and on your drawing in red. Run a non-contact voltage detector across any area you intend to cut, testing the pen on a known live socket first so you know it works. Cables commonly run vertically above and below outlets and horizontally at switch height.
Step 5: Tape out the screen and sit with it overnight
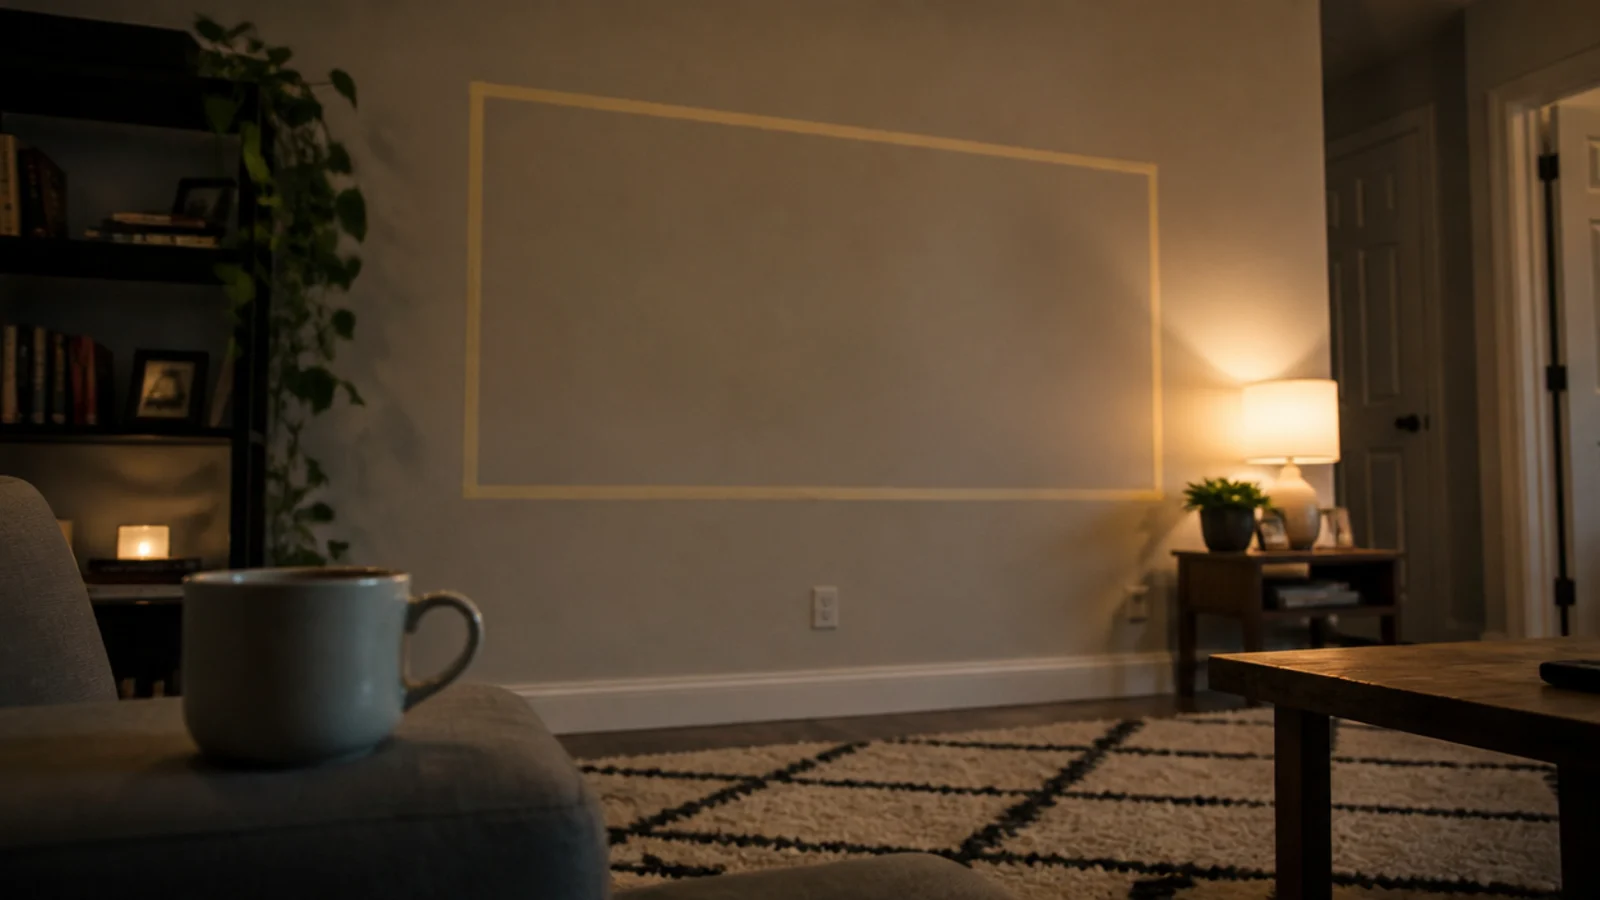
Mask out the exact rectangle at your intended height and leave it for two days. Look at it from the sofa in the evening, which is when it will be used. The position that looks right standing at the wall is almost always three to four inches too high once you sit down. Move the tape rather than argue with it — a rectangle of masking tape costs nothing and a repositioned mount costs an afternoon of filling and sanding.
Step 6: Choose the mount and its depth
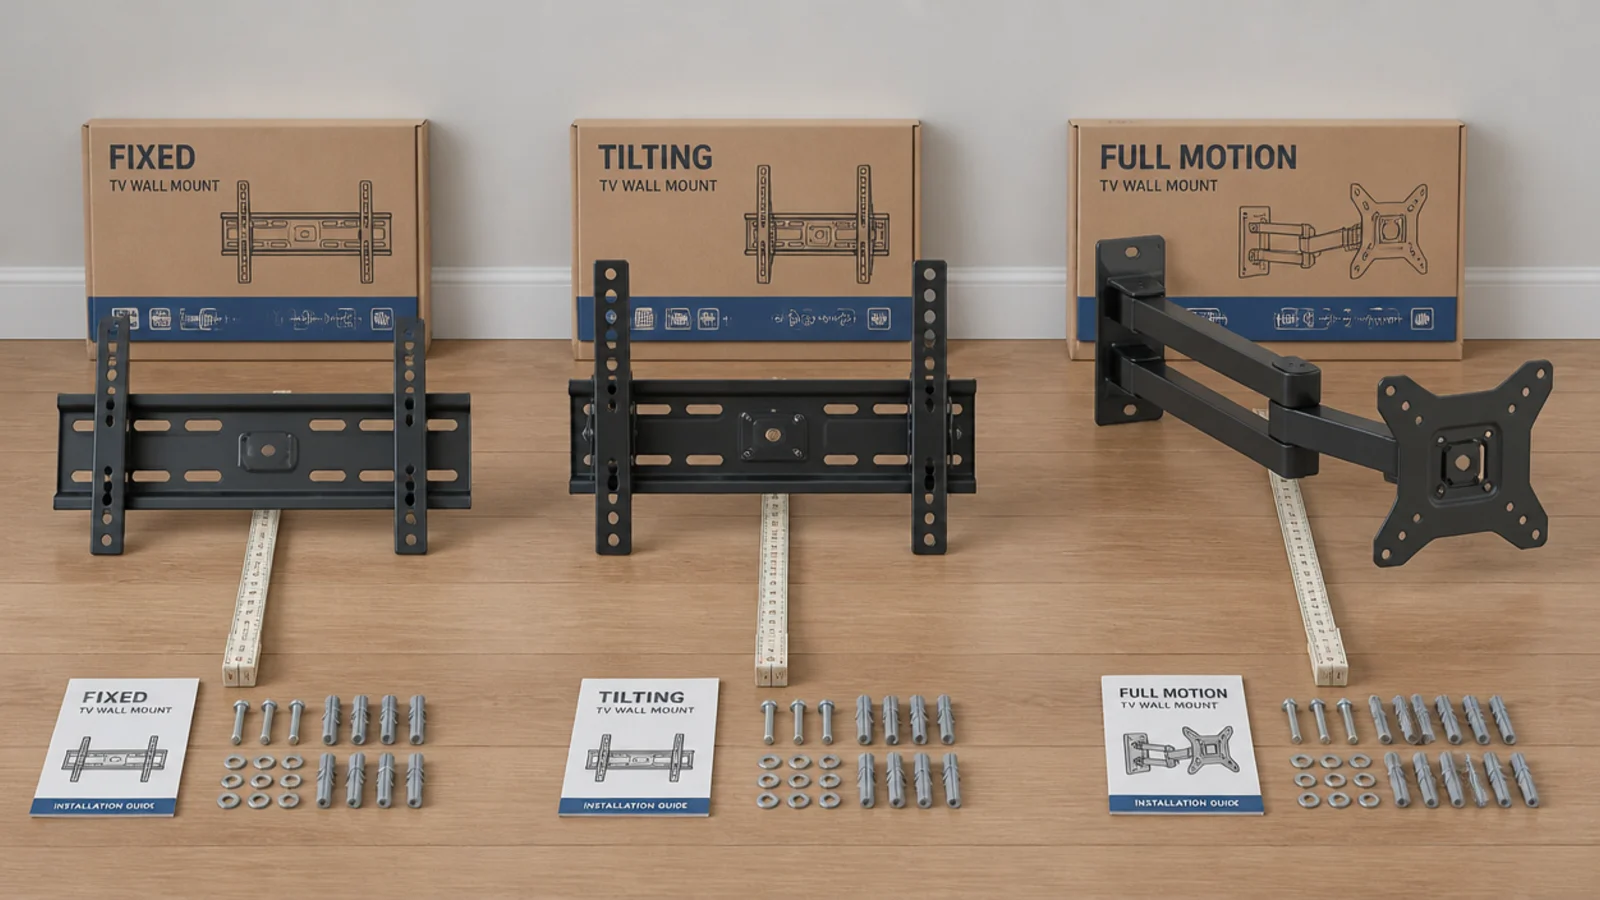
A slim fixed bracket holds a panel 0.6 to 1.2 inches off the wall, a tilting mount 1.5 to 2.5, and a full-motion arm 2.5 to 4 even folded. Check the VESA pattern against your screen — 200 by 200 up to 600 by 400 covers most panels — and buy fresh 5/16 inch lag bolts.
Step 7: Decide the cable route before the finish
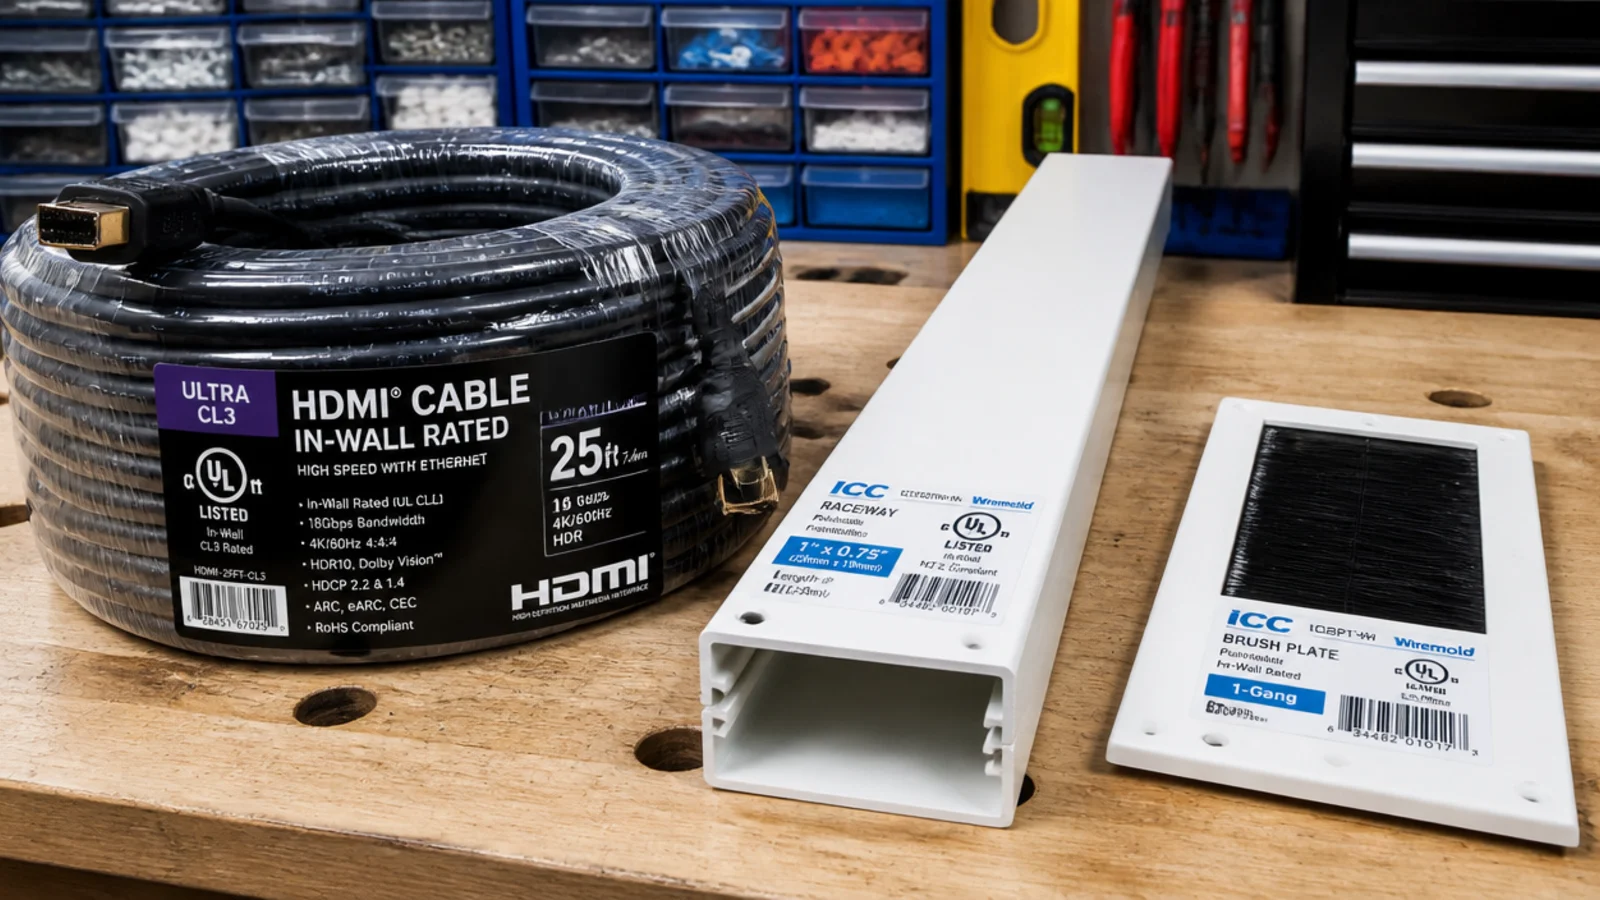
Two legal routes. Inside the wall, using cable marked CL2 or CL3 for in-wall use, between two brush plates cut in the same stud bay. Or outside the wall in a paintable raceway at 1 to 1.5 inches wide. A moulded power cord never goes inside a cavity — use an in-wall power kit at 60 to 110 dollars.
Step 8: Pick the wall finish and add its thickness
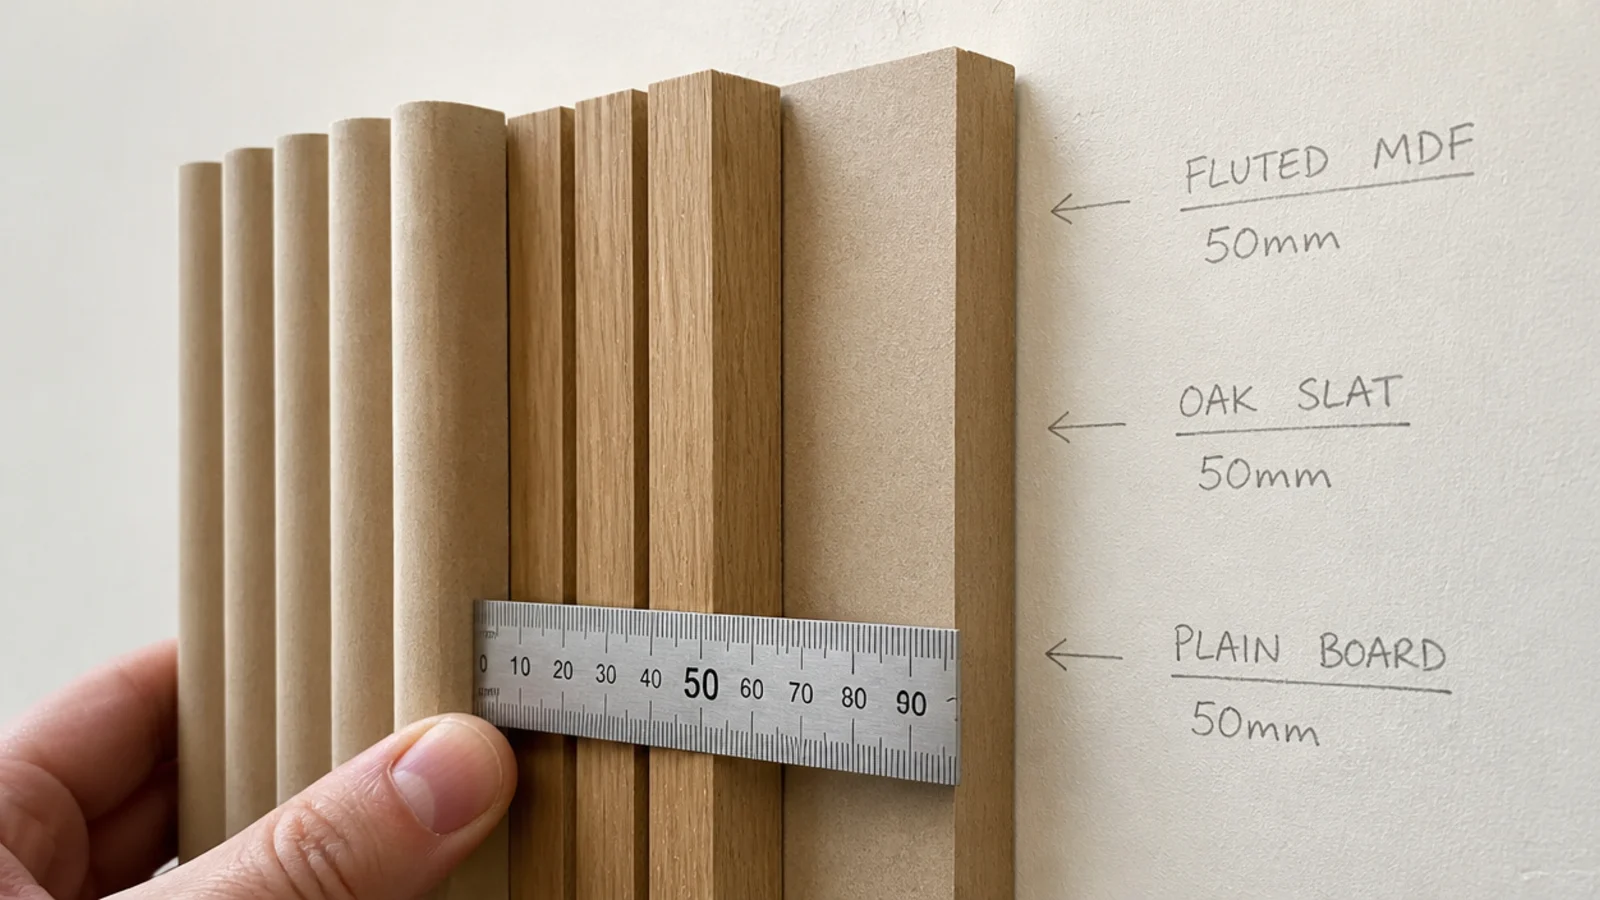
Panelling is not free depth. Nine millimetre moulding adds nine millimetres, an 18 millimetre batten build adds 18, and a felt-backed slat panel adds 25 or more. Add that to your mount depth and check the total against the walkway and any door swing before ordering anything.
Step 9: Draw the elevation to scale
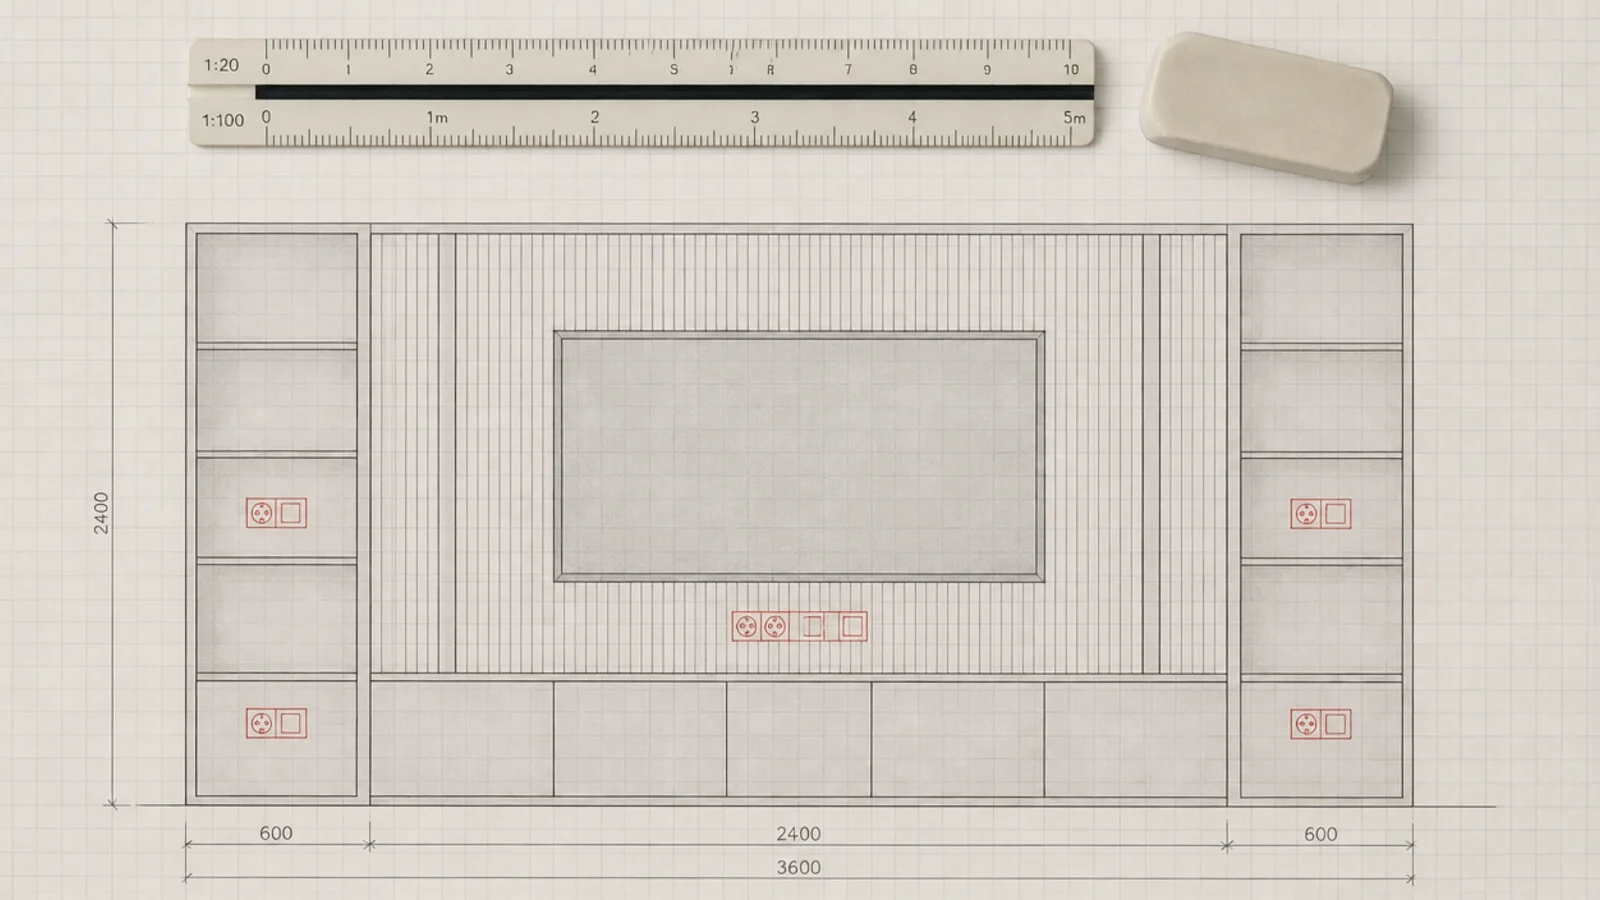
Graph paper at 1:20, the true wall width and height, every socket and switch in red, then the panel divisions in grey. Ten minutes. This is where you discover that your beautiful five-panel arrangement puts a stile straight through the only outlet on the wall. Draw the furniture on the plan too, because a console 1500 millimetres wide under a 1800 millimetre panel arrangement never quite looks resolved.
Step 10: Set out from the screen centre line
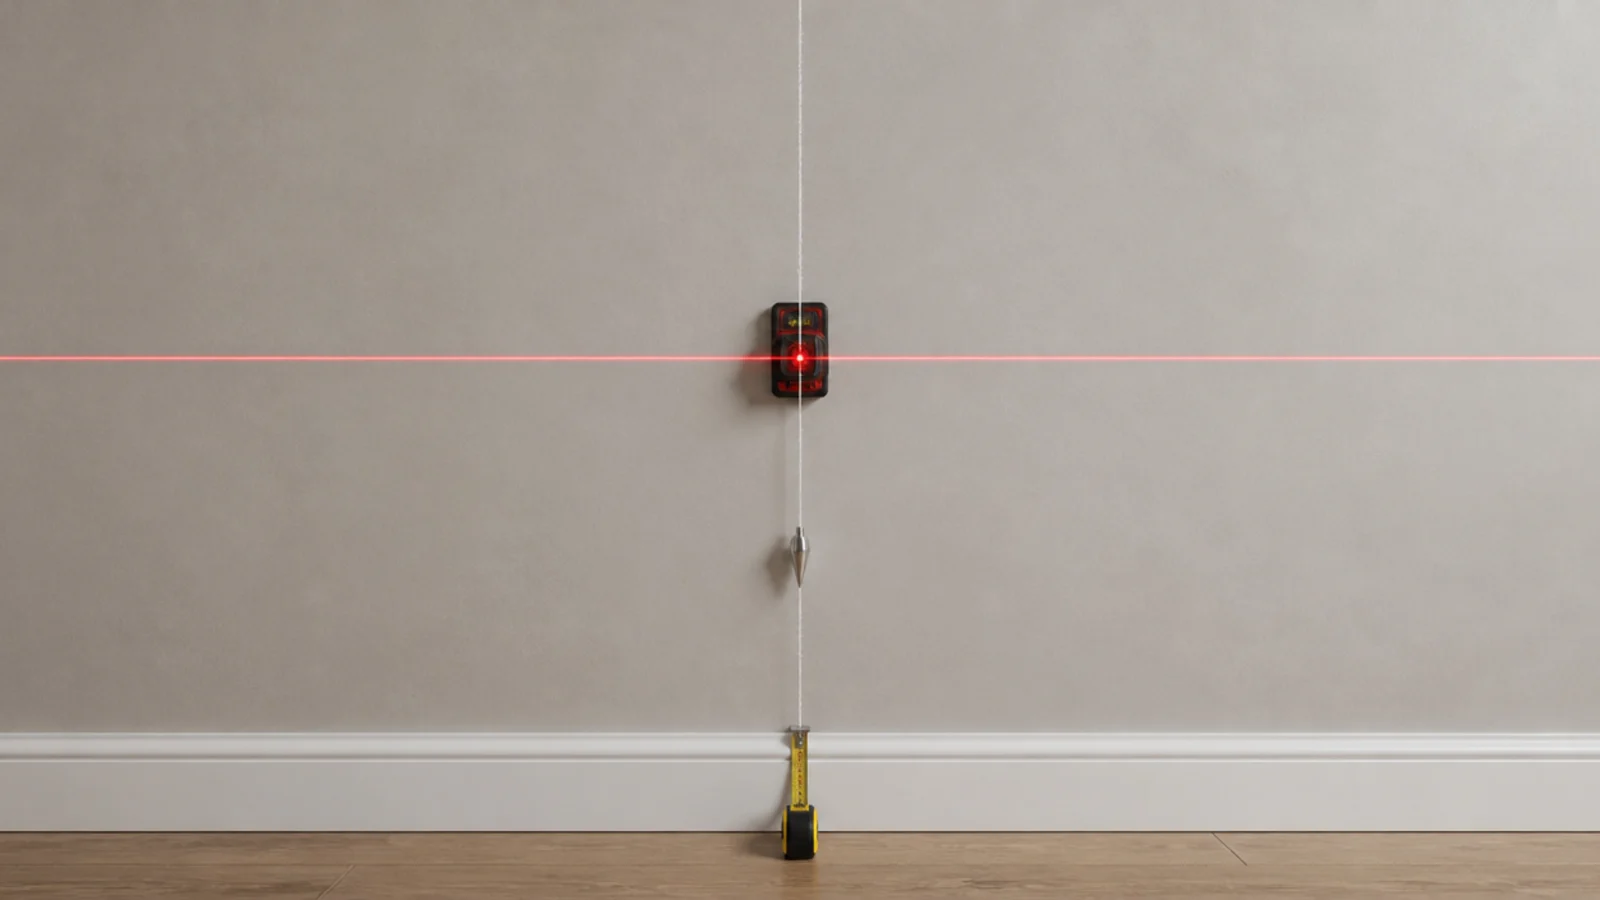
Snap a plumb chalk line down the centre of the screen position and work outward in both directions. Rooms are not square, and a half-width panel at each end is far less noticeable than a screen sitting 40 millimetres off centre inside its own frame.
Step 11: Check the walkways and door swings
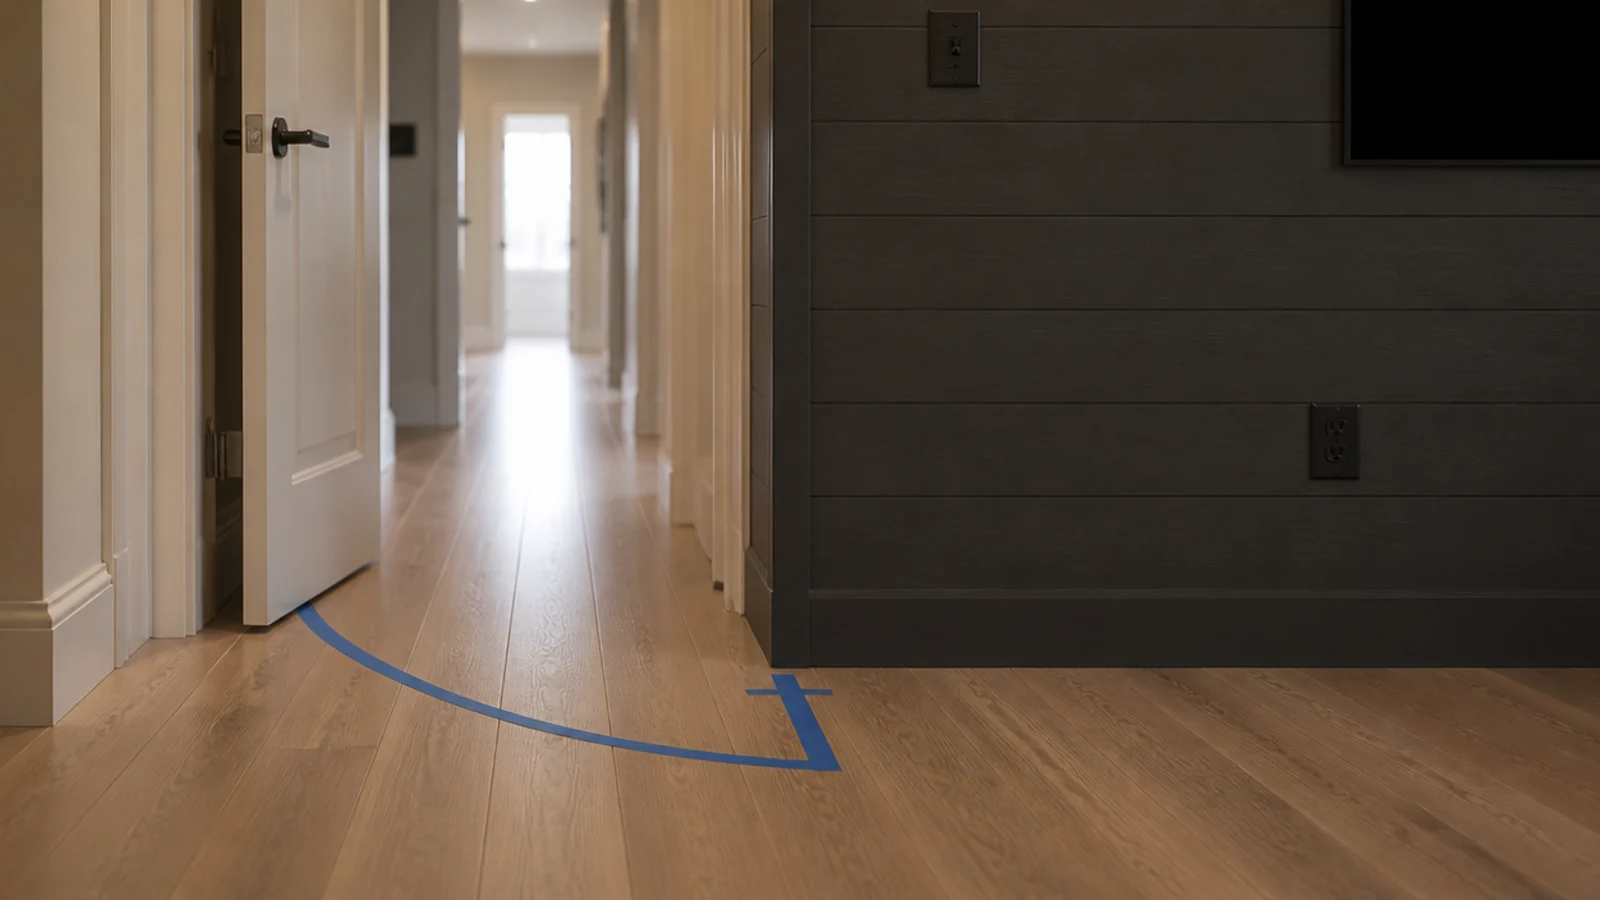
Tape the door arc onto the floor and walk the room. You need 24 inches of clear passage and 30 where a door swings in. This is the step that catches a 450 millimetre deep unit before it is built rather than after it is screwed to the wall. Walk the route with a full mug of tea, which is a better test of a tight walkway than any tape measure.
Step 12: Write the cut list and add ten percent
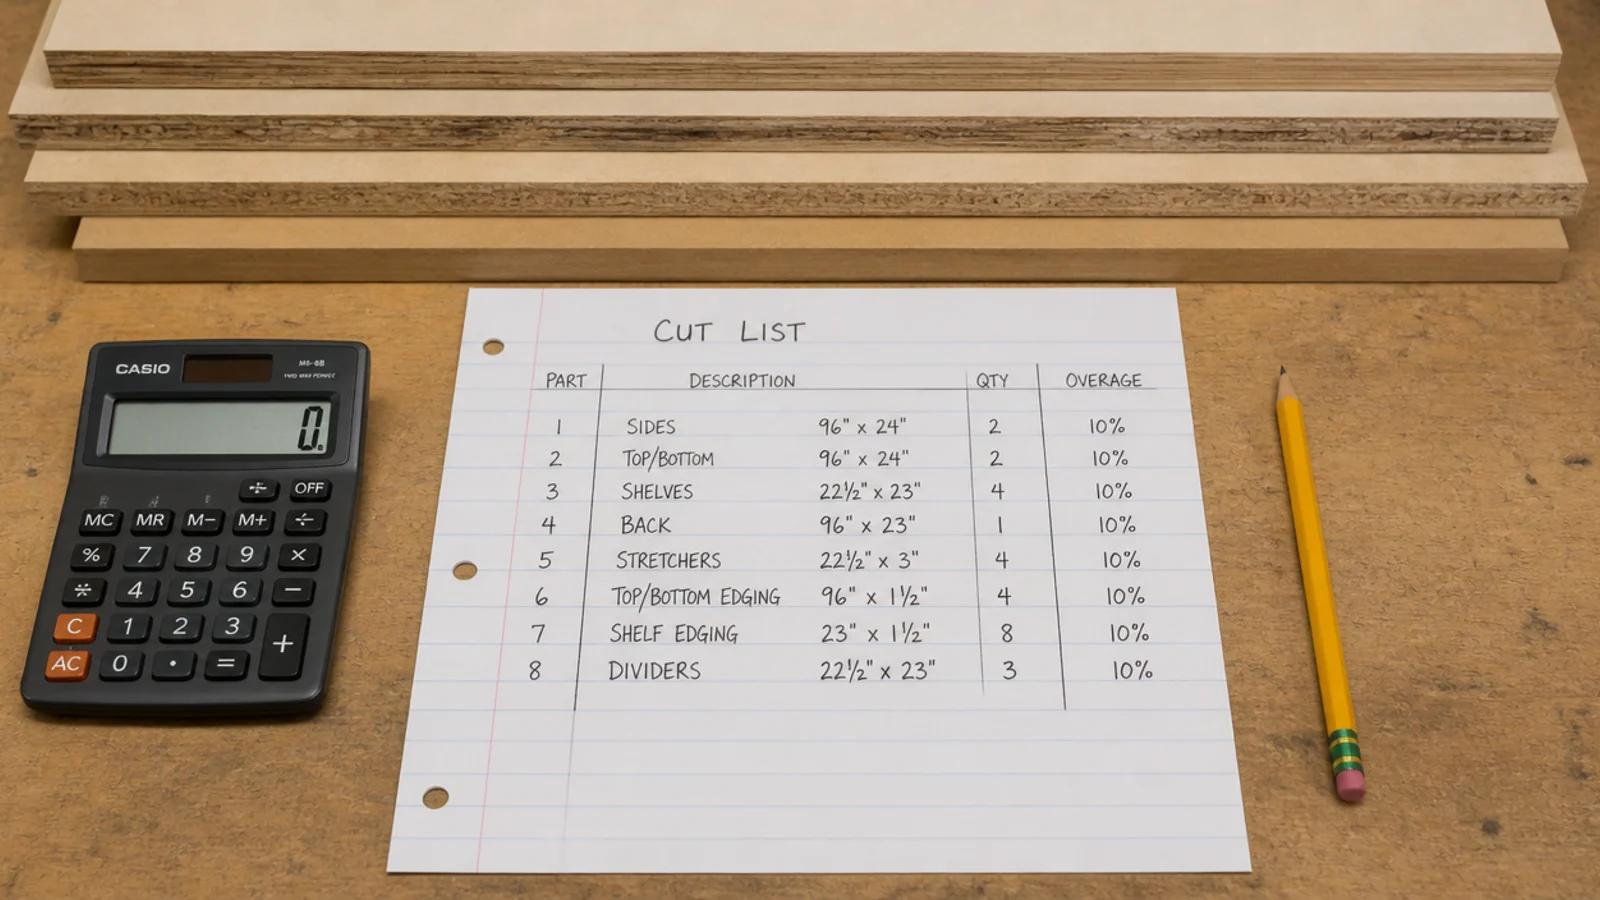
Every finished dimension written next to the drawing, then 10 percent extra on sheet material and trim. Timber batches vary in colour and MDF varies slightly in thickness, so a second order rarely matches the first. Most merchants will break a sheet down for free or a few dollars a cut.
Step 13: Fix the mount into framing
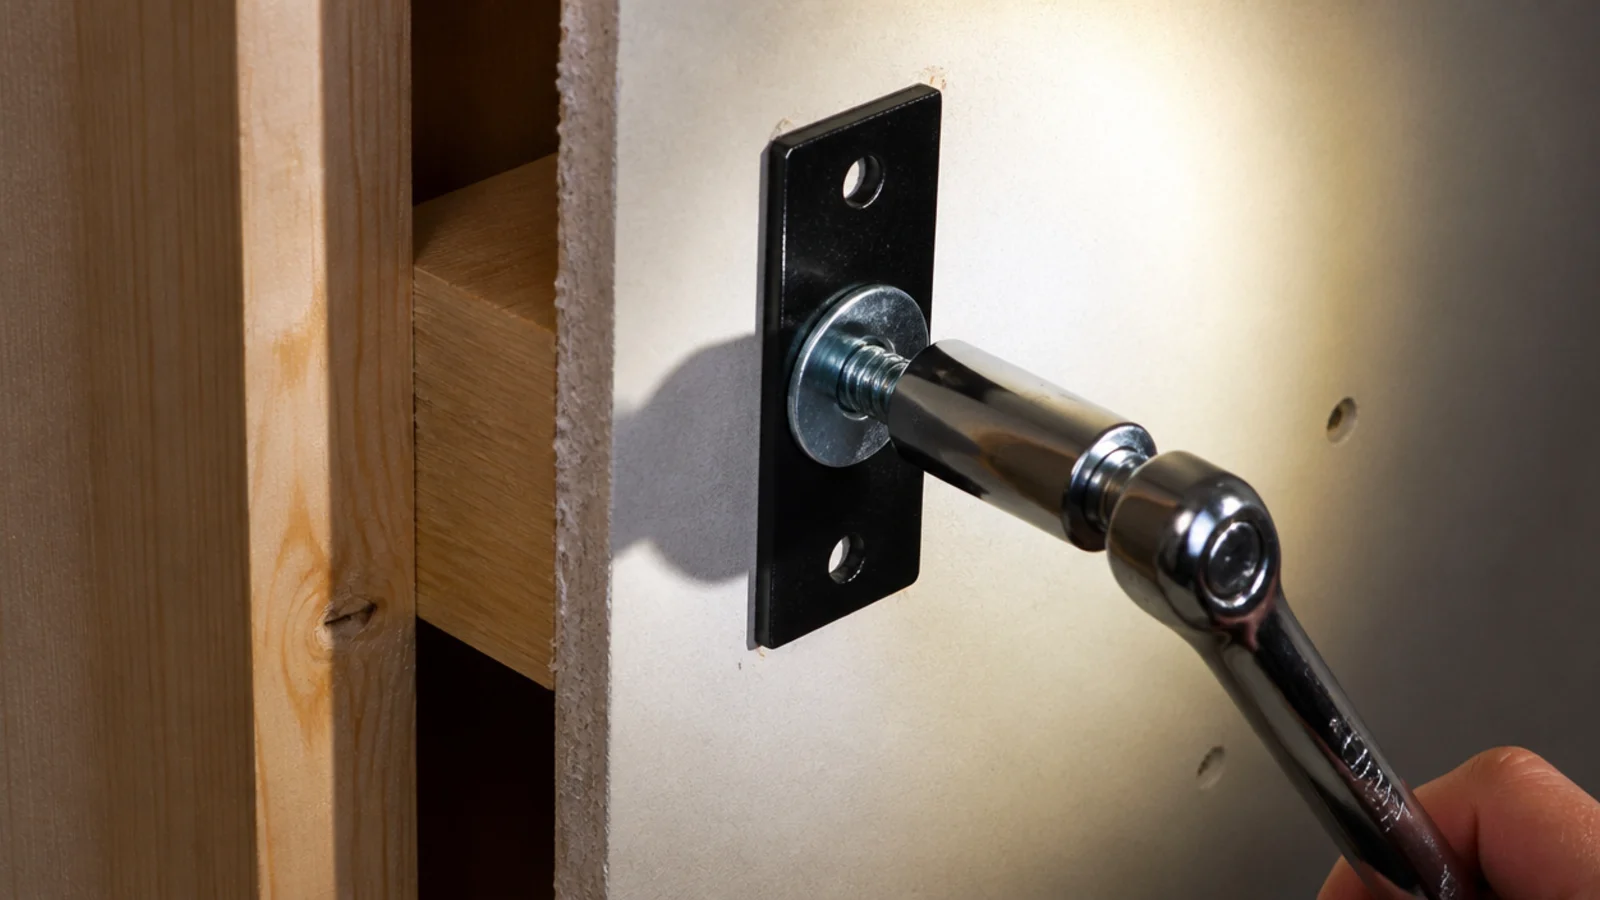
Two studs minimum, 5/16 inch lag bolts biting at least 2.5 inches into solid timber, washers seated flat. On masonry, use sleeve anchors into the brick face rather than the mortar joints. Hang the bracket, then load the arms with your body weight before the screen goes anywhere near it. Two people lift the panel onto a mount, always — a 65 inch screen is awkward rather than heavy, and the damage happens to the corner of the bezel rather than to the wall.
Step 14: Fit the finish and cut around the services
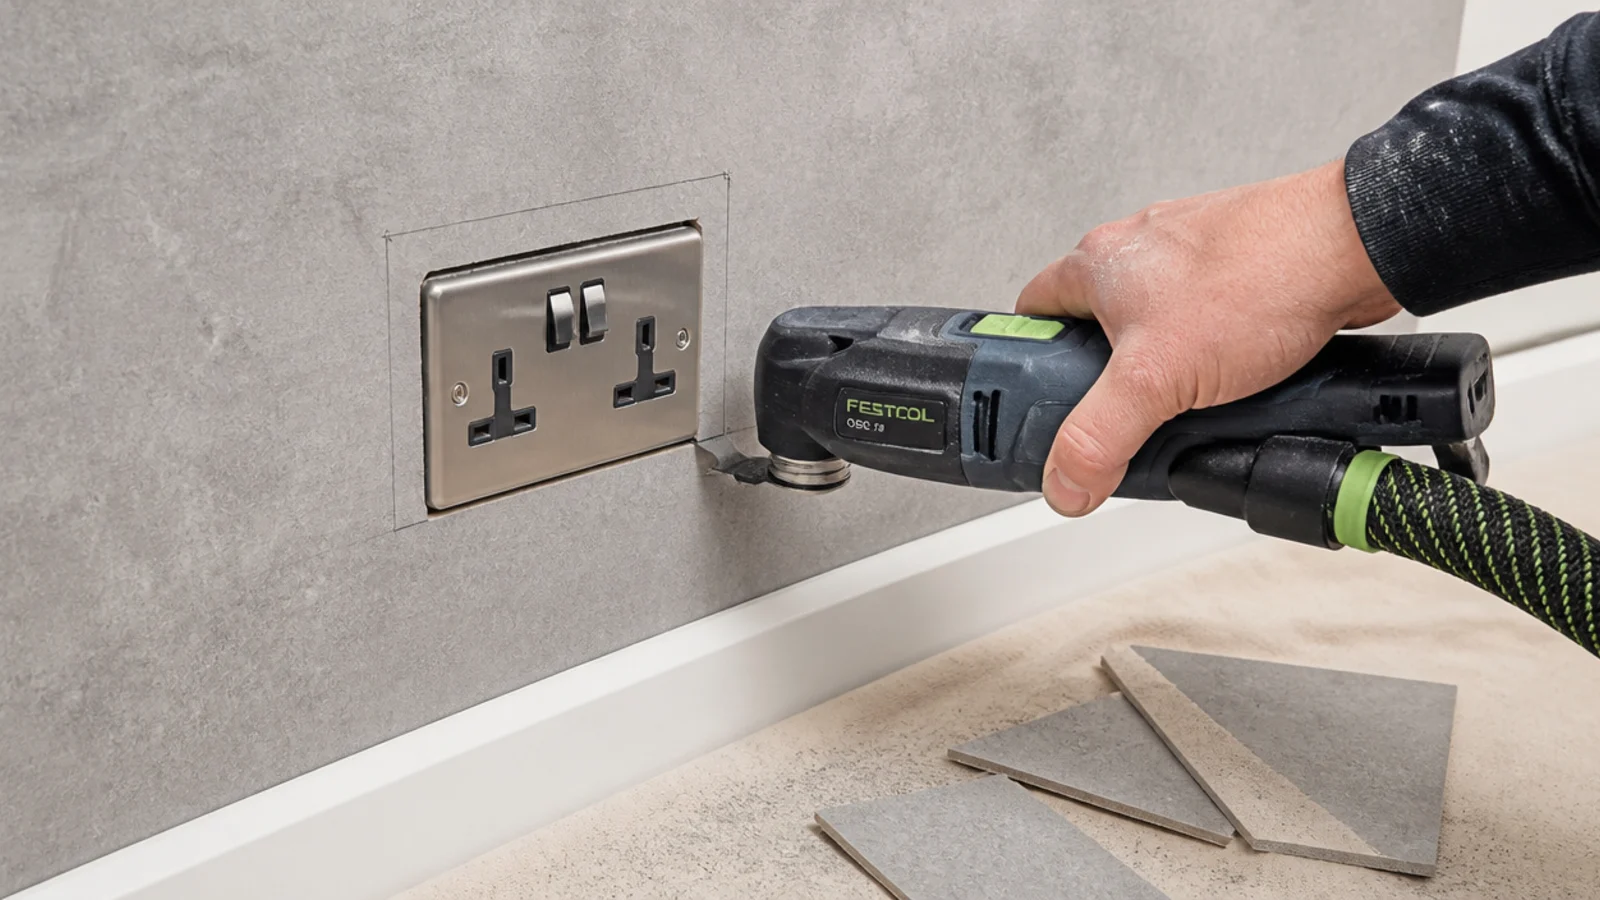
Cut the panel to fit the socket, never move the socket to suit the panel. Trace the outline, cut with a multi-tool, and fit a proper surface pattress or box extension so the faceplate sits flush on the new surface rather than floating above it.
Step 15: Style it, then dim everything down
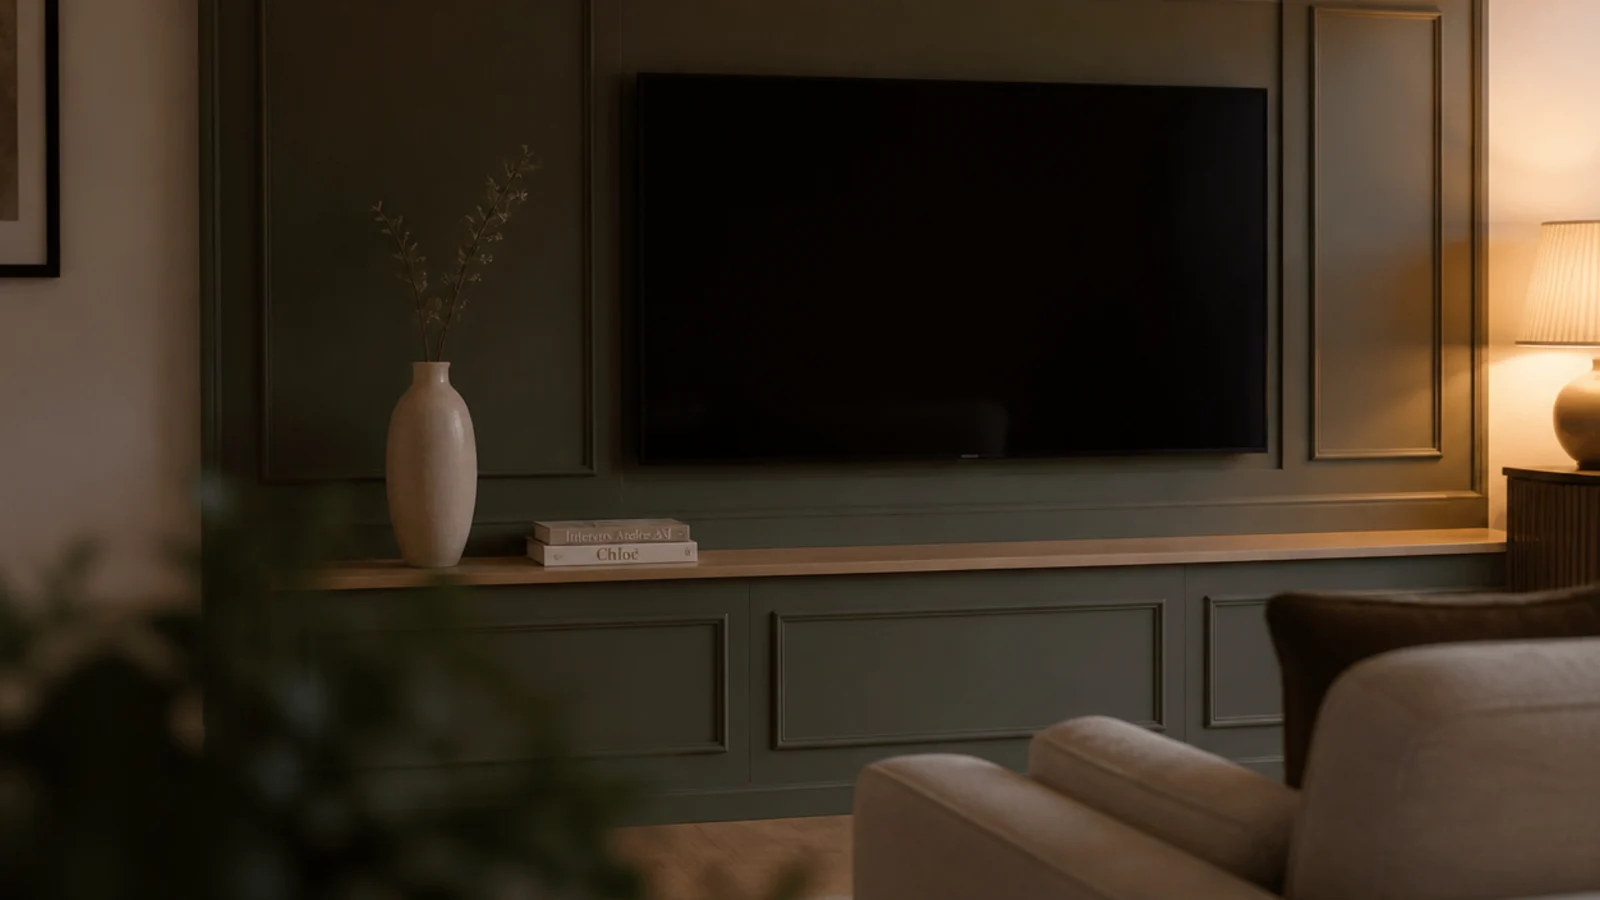
Two objects on the ledge, nothing on top of the unit, and every light in the room on a dimmer set to roughly 30 percent for viewing. Live with it for a week before adding anything. Almost every wall I style is better seven days later with two fewer things on it.
Pro Styling Rules
Once the plan is settled, 25 TV wall decor ideas that hide cables covers the styling detail, 30 TV wall design looks works through the material options, and wall panel design ideas for renters has the adhesive-only builds. For the cabinet below, TV unit decor for TV walls is the companion guide, and entryway ideas is worth a look if the room you are planning also has the front door in it.
Mistakes to Skip
- Buying the screen before measuring the seating distance. Every later compromise on the wall traces back to a panel that is one size too big for the room it landed in.
- Drilling on the first stud finder reading. Sweep the whole wall and check the spacing is even, because a single hit is as likely to be a pipe or a nail plate as framing.
- Cutting into plaster without a voltage check. Cables run vertically above and below sockets and horizontally at switch height, which is exactly where a brush plate wants to go.
- Setting out a panel arrangement from the corner. Rooms drift out of square by 10 to 20 millimetres, and starting from a corner pushes all of that error into the middle of the wall.
Frequently asked questions
What should I do first when planning a TV wall?
Measure from the front of the sofa cushion to the wall, then divide by 1.6 to get a comfortable screen diagonal. Every other decision follows from that number, including the mount, the cable route and the width of the unit below. Choosing the screen first is what forces every later compromise.
How do I find studs behind a wall before drilling?
Sweep an electronic stud finder horizontally across the whole run and mark each hit with painters tape, then check the spacing. Even 16 inch or 400 millimetre gaps mean you have found framing rather than a pipe or a nail plate. Confirm one hit with a fine finish nail where the mount will cover it.
What height should the centre of the screen be?
Forty to 44 inches from the finished floor for a standard sofa, with 42 inches suiting most rooms. Seat height is 17 to 18 inches and seated eye level lands close to 42, so the middle of the picture ends up straight ahead rather than above your natural sightline.
Which cables can go inside the wall?
Only cable rated for in-wall use, marked CL2 or CL3 in the US and equivalent elsewhere. HDMI, optical and speaker cable are available in those ratings. A moulded appliance power cord is never permitted inside a stud cavity — use an in-wall power relocation kit at 60 to 110 dollars instead.
How long does planning a TV wall actually take?
About two hours of measuring, marking and drawing, spread over a couple of evenings so you can sit with the taped-out screen position overnight. That is far less time than patching four wrong holes, and it is the only part of the job you cannot redo once the drill goes in.
Want more like this? Browse all 15 tv wall decor guides — they all use the same measurements and budget tiers.
Pin it for later
Save this to your TV Wall Decor board
Pin it now so it is waiting for you when the tape measure comes out — and so the next person hunting for this idea can find it too.
Save this pinKeep going
More ideas worth saving while you have the tape measure out.