TV Wall Decor · Listicle
30 Stylish Wall Panel Design Ideas For Renters

Panelling is the one piece of architecture you can add to a rented flat and take away again, provided you decide how it comes off before you put it on. Good wall panel design in a rental is mostly a fixing question: what holds securely for three years and still lifts with a heat gun and a filling knife. I have built these in four flats and removed three of them, and the removal took an afternoon each time. Below are thirty layouts, with the widths, spacings and thicknesses that make them look fitted rather than stuck on.
In this guide32 sections — tap to openHide
- 1.What wall panel design asks of a rented wall
- 2.Picture-frame boxes in nine-millimetre moulding
- 3.Board and batten at sixteen-inch centres
- 4.Peel-and-stick slat panels at eight millimetres
- 5.A freestanding slat screen on a tension frame
- 6.Removable paper inside a moulding frame
- 7.Vertical shiplap with a five-millimetre gap
- 8.Horizontal shiplap to widen a narrow room
- 9.A shaker square grid across the whole wall
- 10.Half-height panelling capped with a ledge
- 11.Fluted MDF fixed with adhesive alone
- 12.Diagonal battens at forty-five degrees
- 13.A herringbone panel above the skirting
- 14.An arch drawn in flexible moulding
- 15.Fabric stretched over a timber stretcher
- 16.Cork tiles for a pinnable panel
- 17.Acoustic felt in a slim frame
- 18.Cane webbing inside a moulding box
- 19.A dowel screen over a radiator
- 20.Painted trompe panels with no timber at all
- 21.Panel one alcove and leave the rest
- 22.Beadboard sheets scribed to the skirting
- 23.A peg rail above simple panelling
- 24.Two tones inside and outside the boxes
- 25.A single panel behind the bed only
- 26.Slats over an ugly radiator wall
- 27.A curved-top panel behind a sofa
- 28.Panelling that stops at the door architrave
- 29.A tall narrow panel to lift a low ceiling
- 30.Caulk every joint before you paint
- 31.Plan the removal before the first panel
- 32.Mistakes to Skip
What wall panel design asks of a rented wall
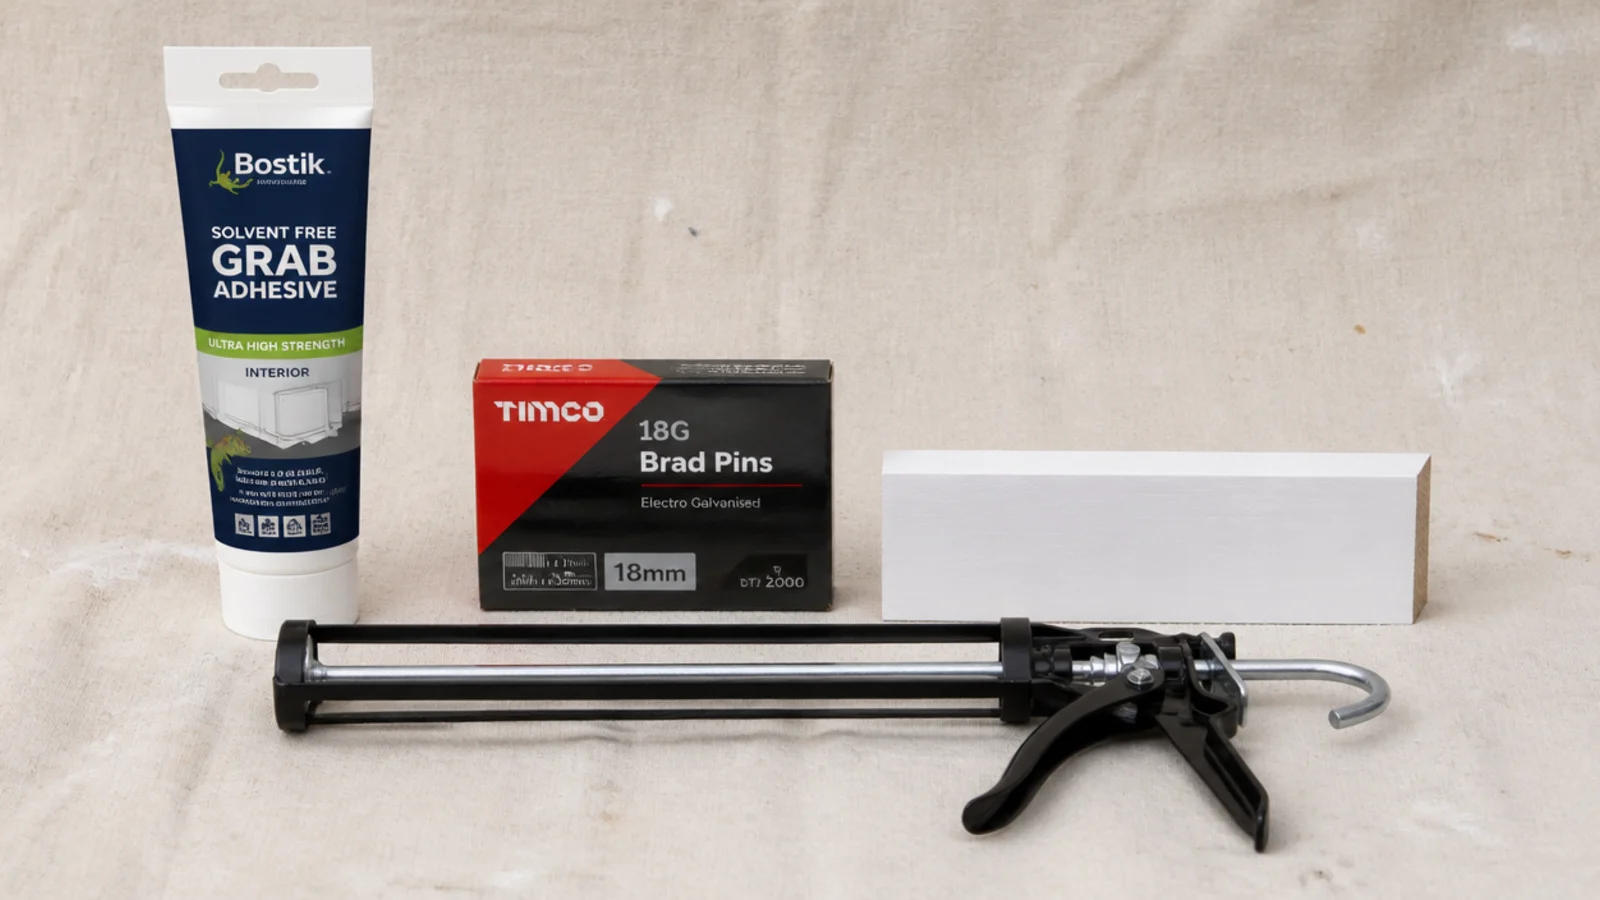
The surface. Solvent-free grab adhesive plus 18 gauge brad pins at 300 millimetre centres holds 9 to 18 millimetre panelling on sound painted plaster more than four weeks old. It will not hold on wallpaper — the paper releases before the glue does — nor on flaking distemper, nor on fresh emulsion. Wipe the wall with sugar soap and let it dry before anything goes up.
The thickness. Nine to twelve millimetre MDF suits picture-frame moulding and shaker grids. Eighteen millimetre suits board and batten where you want a genuine shadow line. Below 9 millimetres strips bow between fixings and telegraph every ripple in the plaster.
The spacing. Board and batten wants battens 2.5 to 3.5 inches wide at 12 to 16 inch centres. Slim slat walls want 20 to 30 millimetre gaps. Half-height panelling finishes at 32 to 48 inches, and roughly a third of the wall height is the reliable proportion.
The costs. One 2440 by 1220 millimetre sheet of 18 millimetre MDF at 45 to 70 dollars rips into sixteen 75 millimetre battens. Nine millimetre moulding is 2 to 4 dollars a metre. Adhesive is about 12 a tube and covers 6 metres of batten. A full feature wall lands between 80 and 160 dollars in materials.
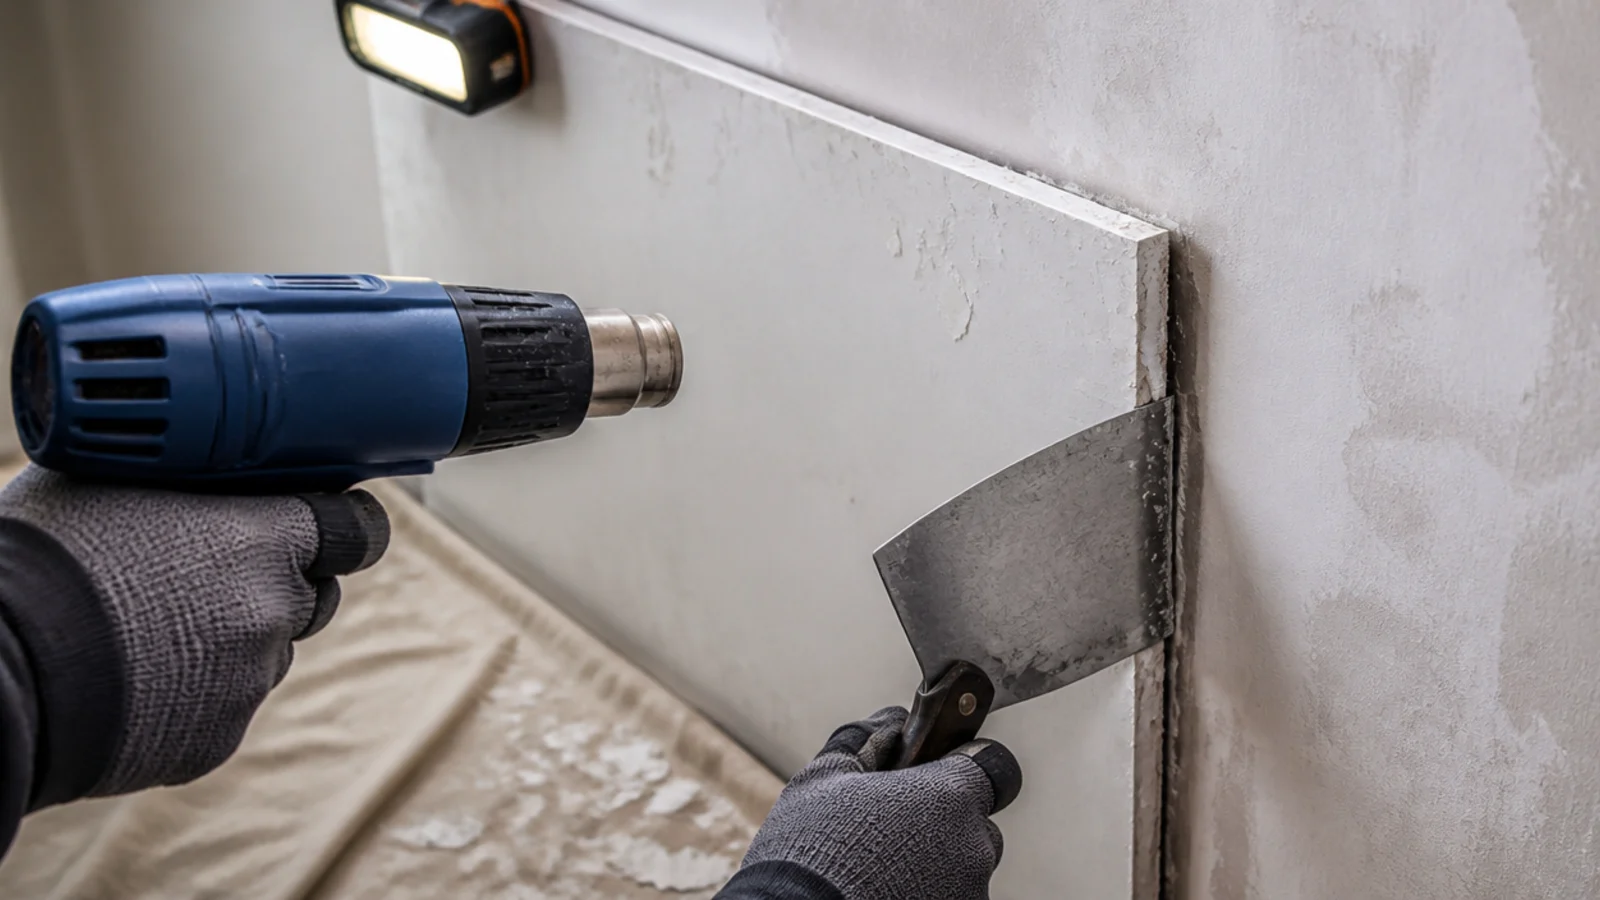
The exit. Heat gun on low, wide filling knife behind the panel, lever gently. Expect to lift some paint and occasionally a skim. Two thin coats of filler, a sand and a repaint takes a wall back in about three hours. Wall molding design ideas covers the proportions in more depth.
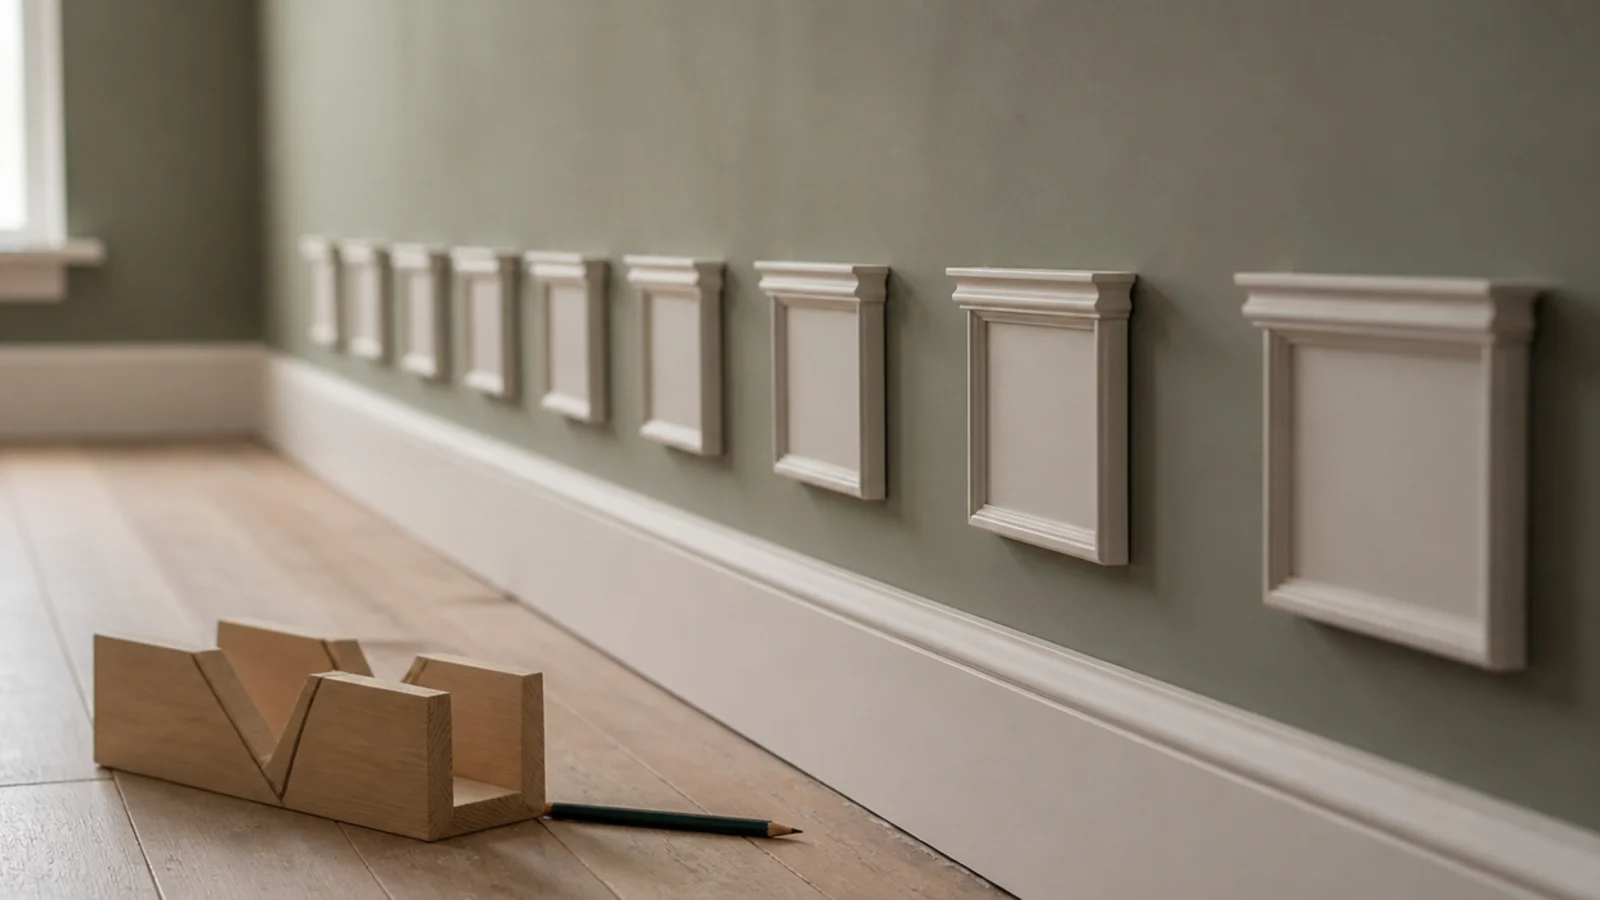
1. Picture-frame boxes in nine-millimetre moulding
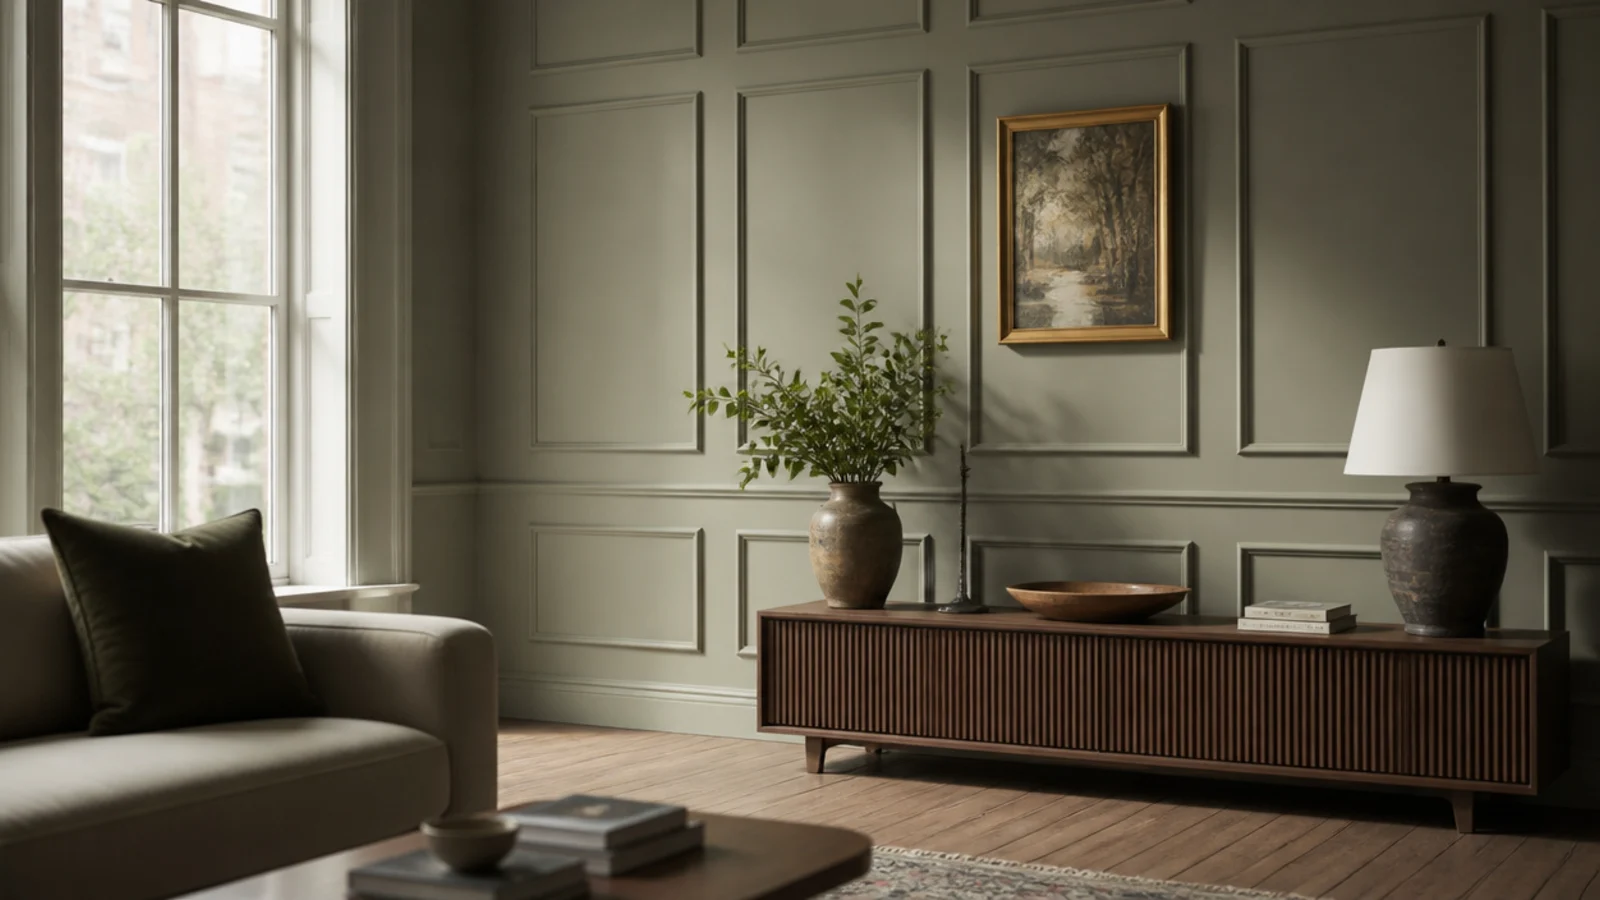
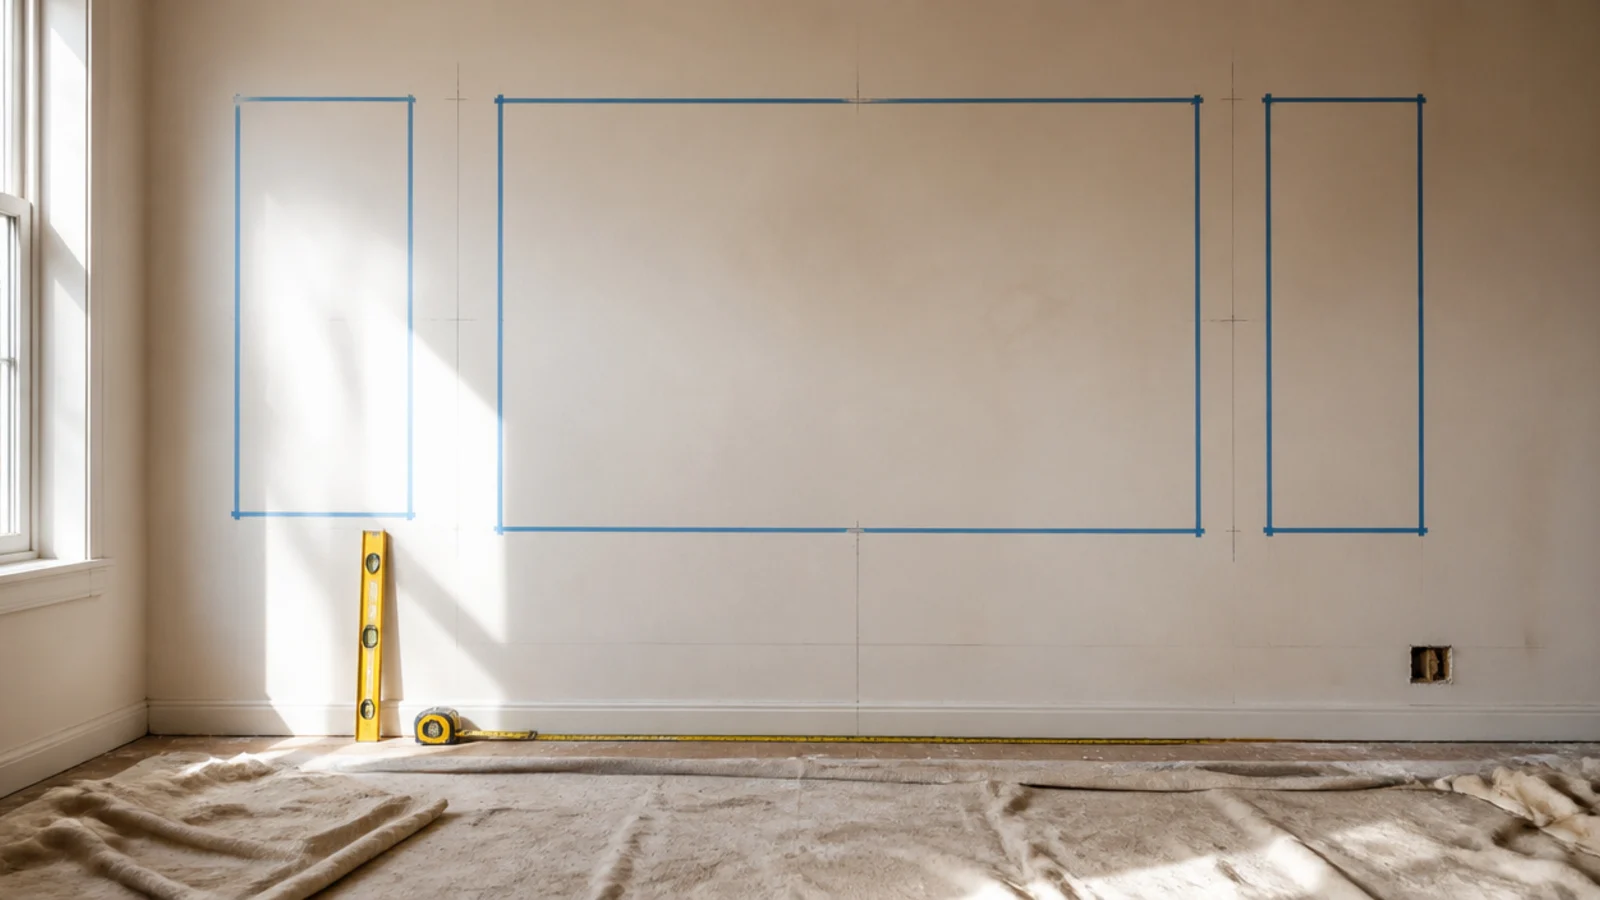
Keep 3 to 5 inches between boxes, 4 to 6 inches above the skirting, and identical margins at both ends of the wall. The margins are what separate a convincing moulding wall from an obviously improvised one. Mitre the corners rather than butting them, and fill the joints before priming.
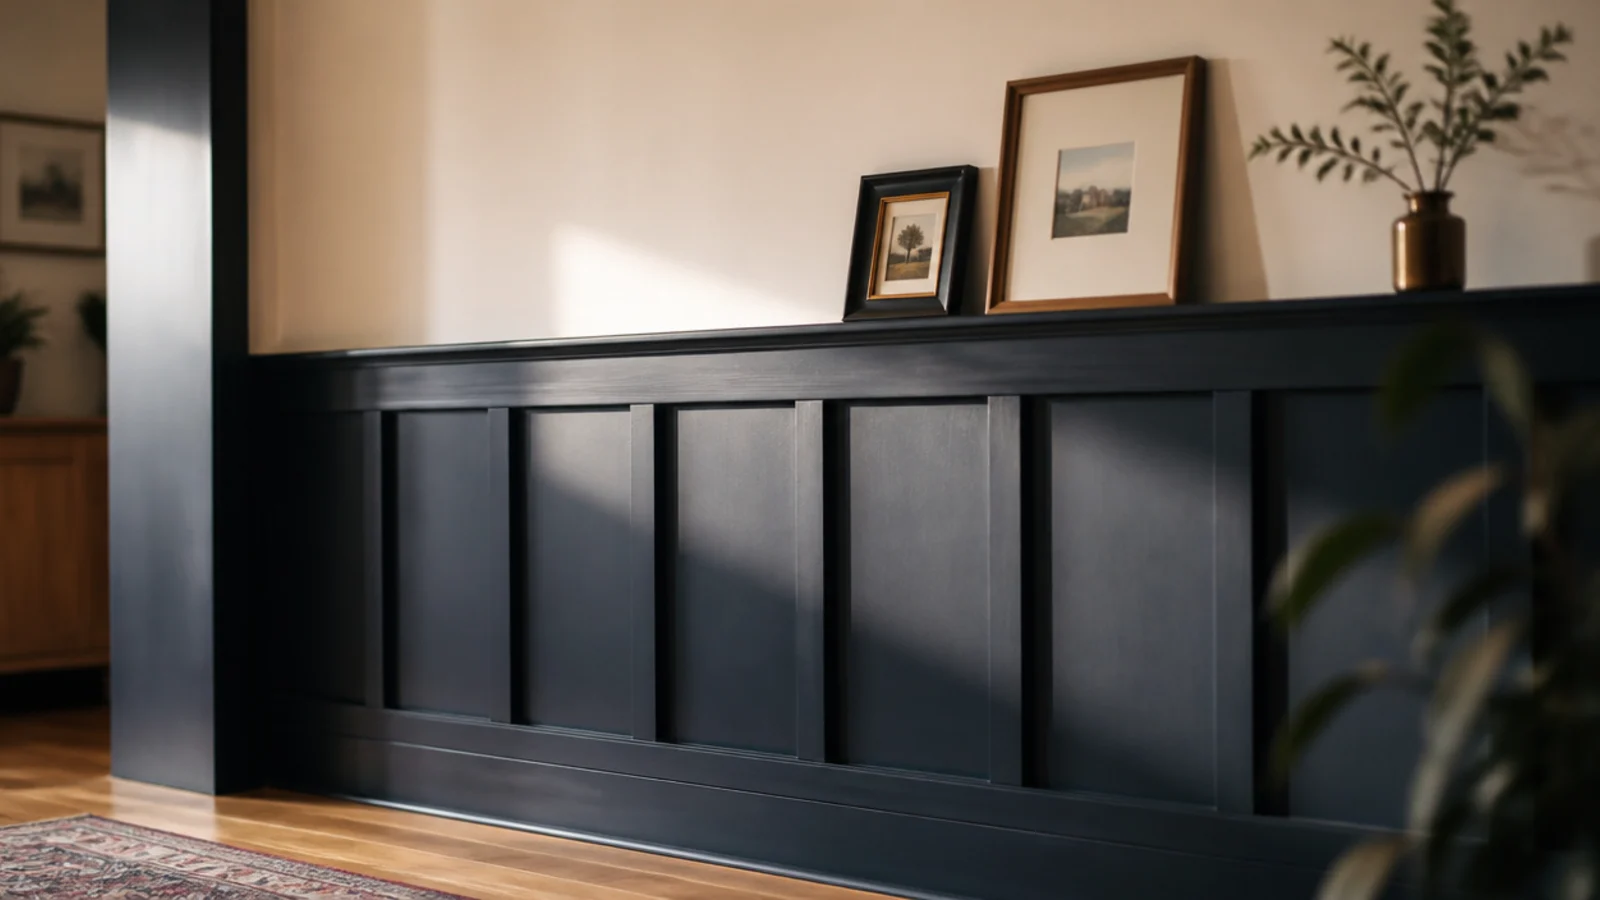
2. Board and batten at sixteen-inch centres
Battens 2.5 to 3.5 inches wide at 16 inch centres echo the framing behind the plaster, which is why the rhythm looks right. Add a horizontal cap rail at 40 to 44 inches. Paint the wall and battens the same colour so the whole thing reads as one plane.
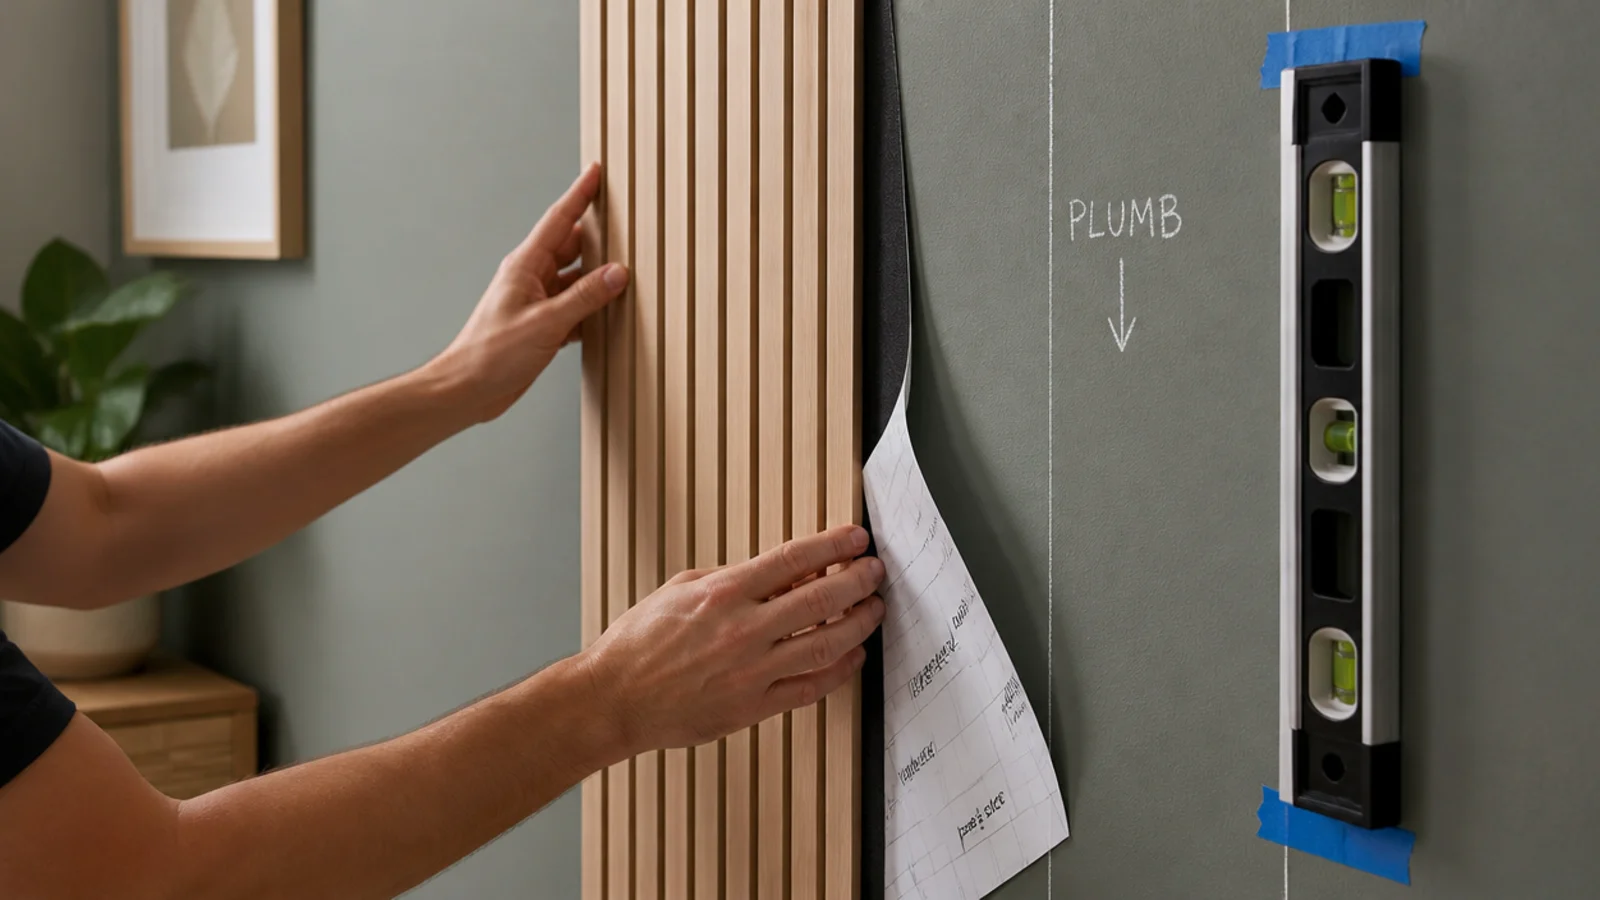
3. Peel-and-stick slat panels at eight millimetres
Look for panels at least 8 millimetres deep. Below that there is no shadow between ribs and the wall reads as printed film. Expect 25 to 45 dollars a square metre. Start from a snapped plumb line rather than a corner, because almost no rental wall is square.
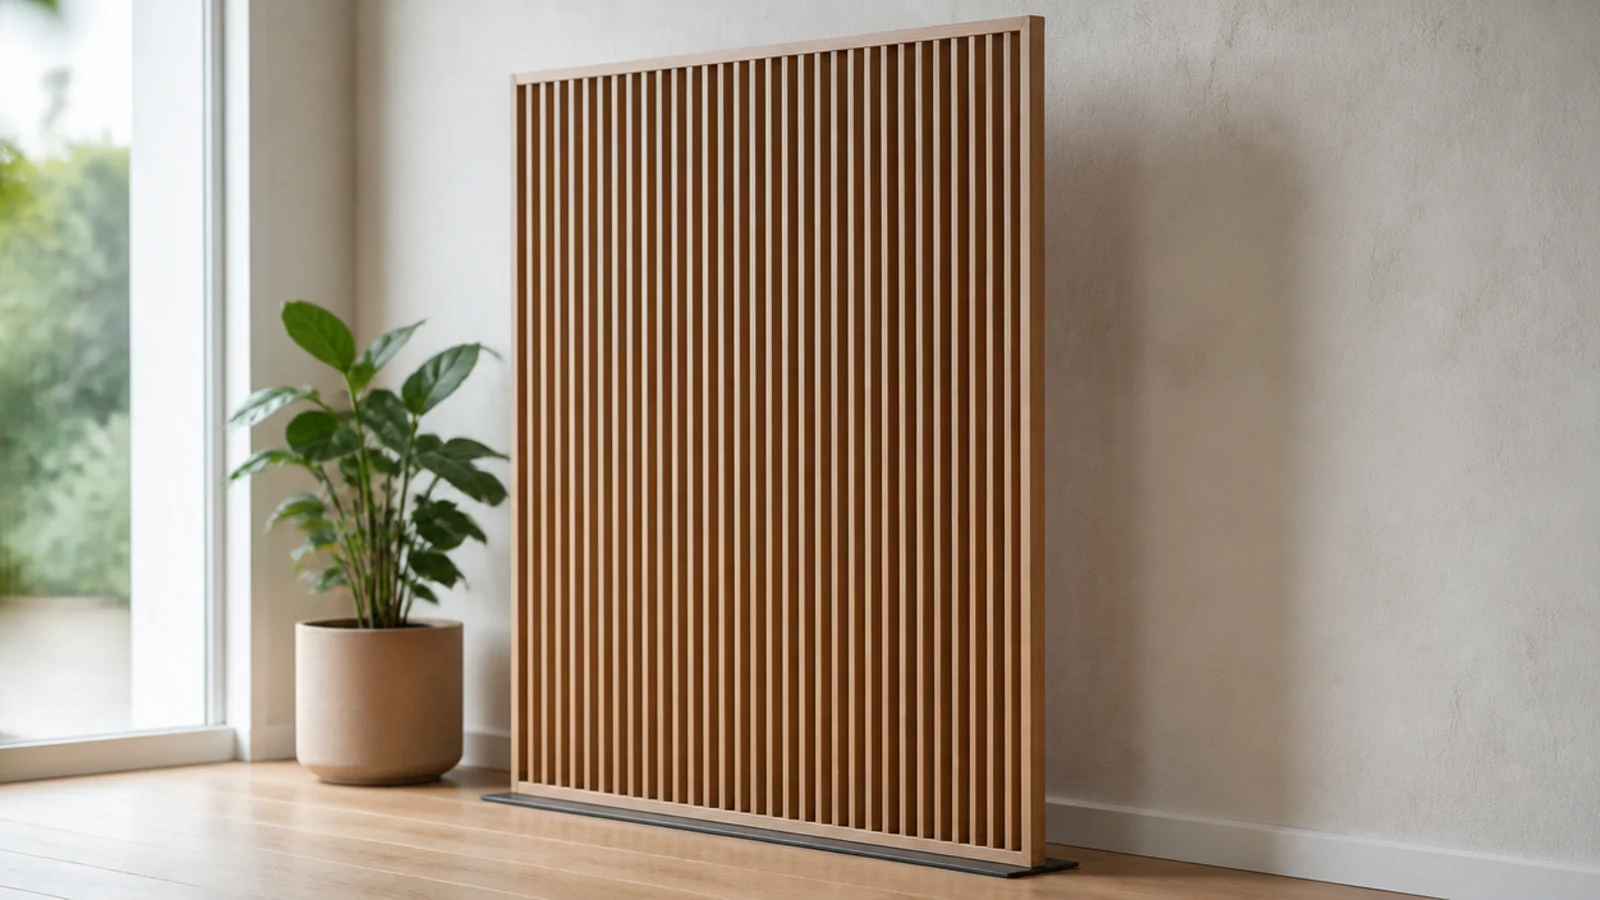
4. A freestanding slat screen on a tension frame
The only truly zero-contact option. A slim base frame holds a slat panel 30 millimetres clear of the wall, so nothing is fixed at all. It works beautifully behind a sofa or a bed and moves house with you. Weight it or brace it at ceiling height if it exceeds 1.5 metres tall.
5. Removable paper inside a moulding frame
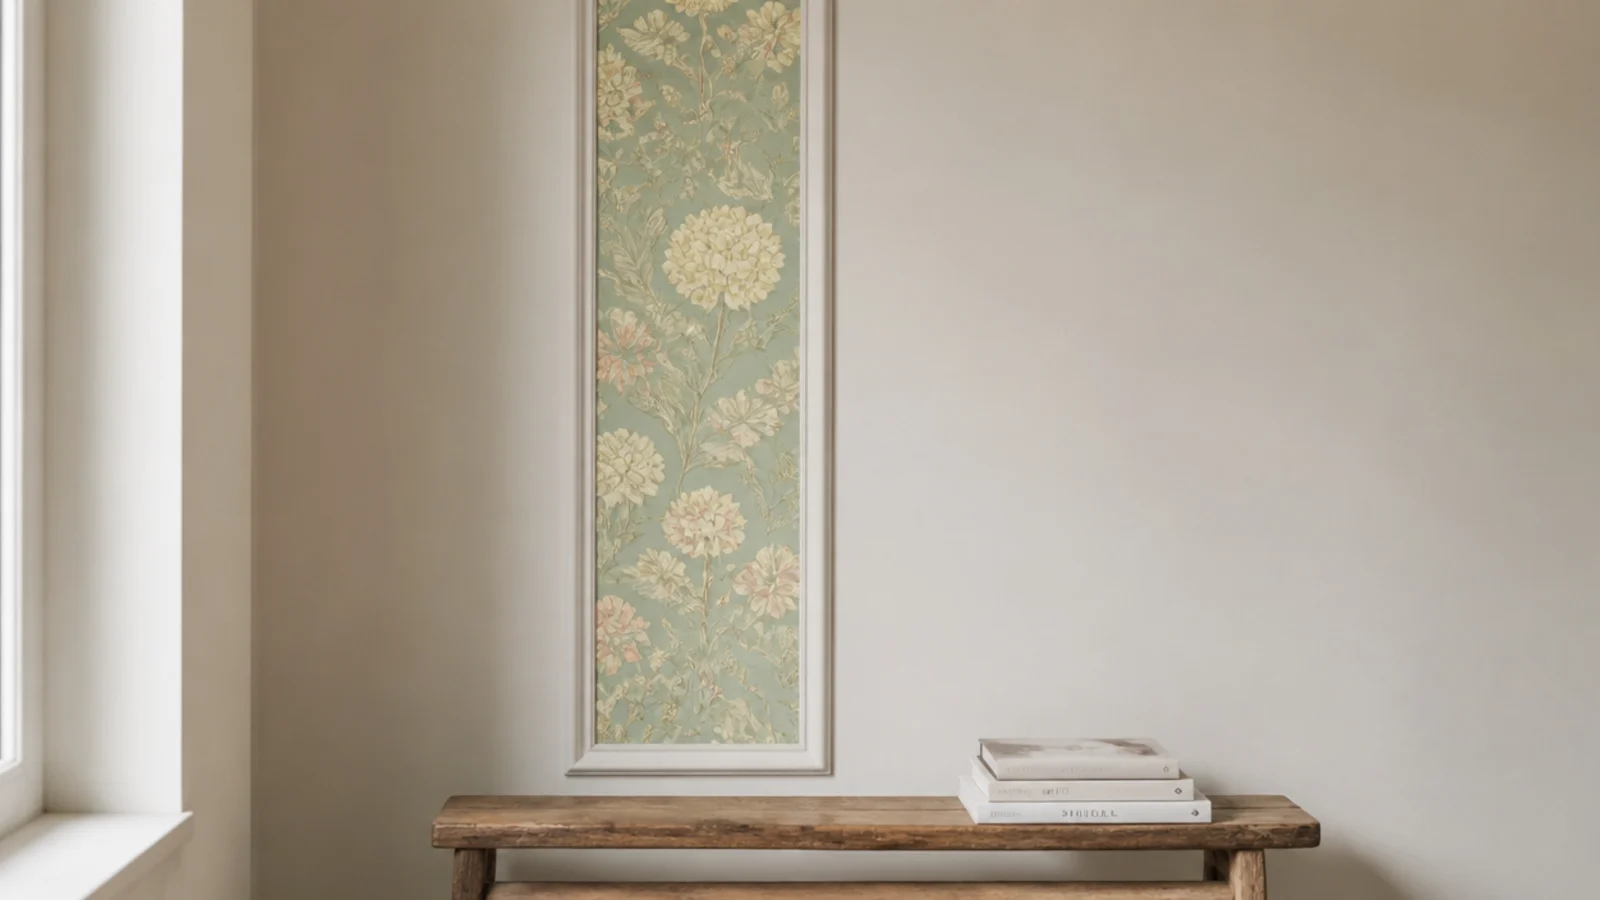
A full wall of removable paper runs 90 to 200 dollars. One panel framed in slim moulding is under 40 and looks deliberate. Size the box at least 12 inches larger than whatever it frames, and hang the paper before the moulding so the edges are covered.
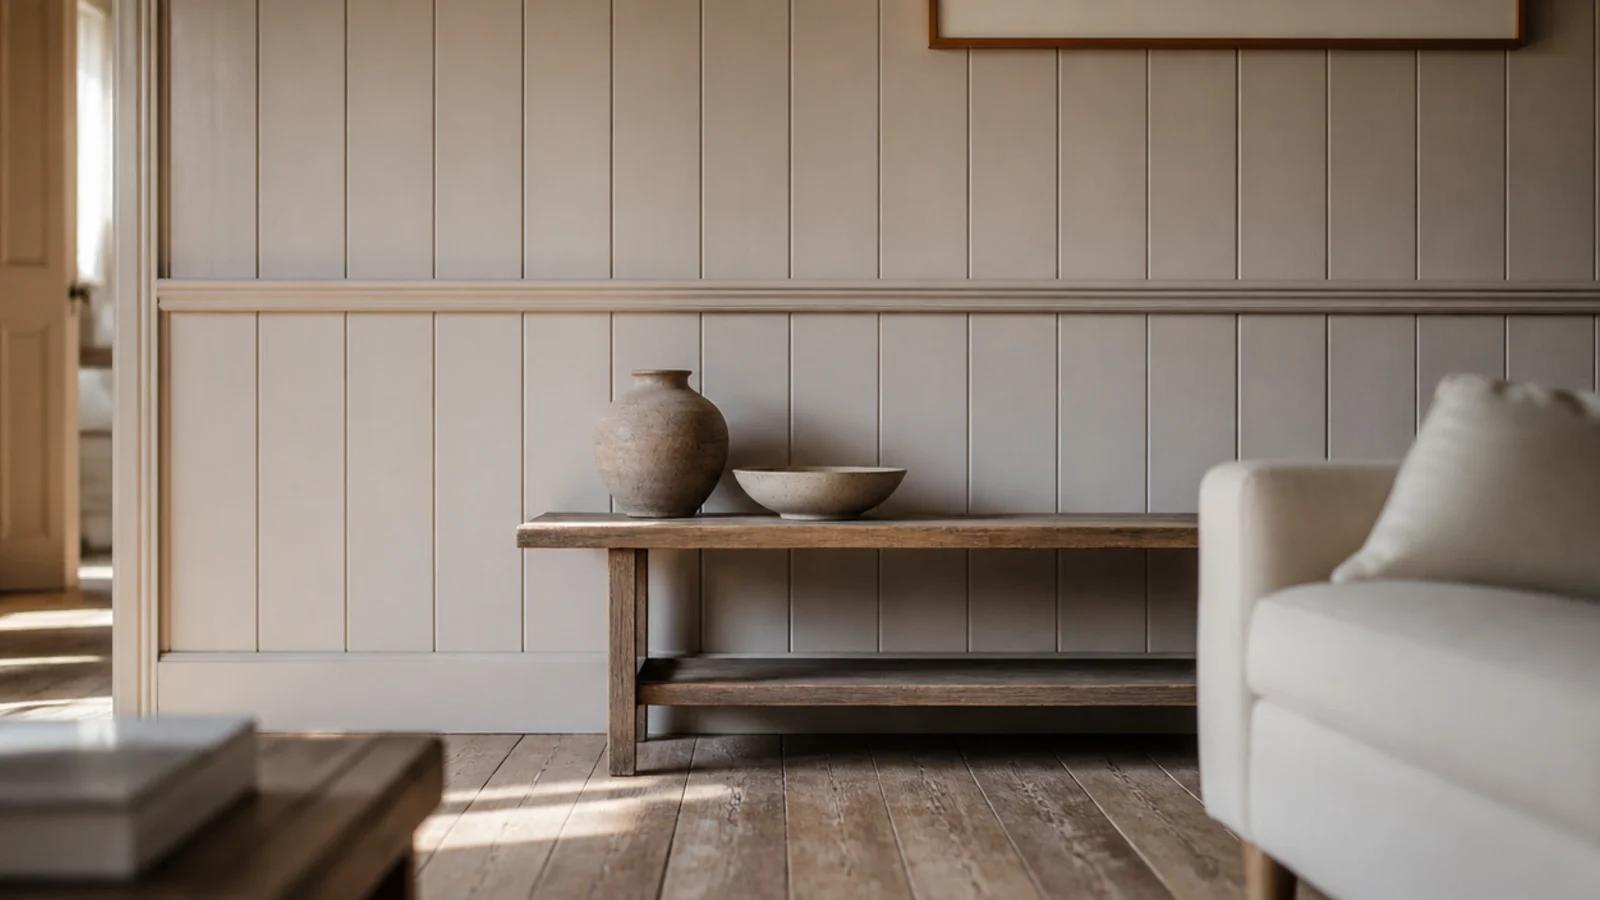
6. Vertical shiplap with a five-millimetre gap
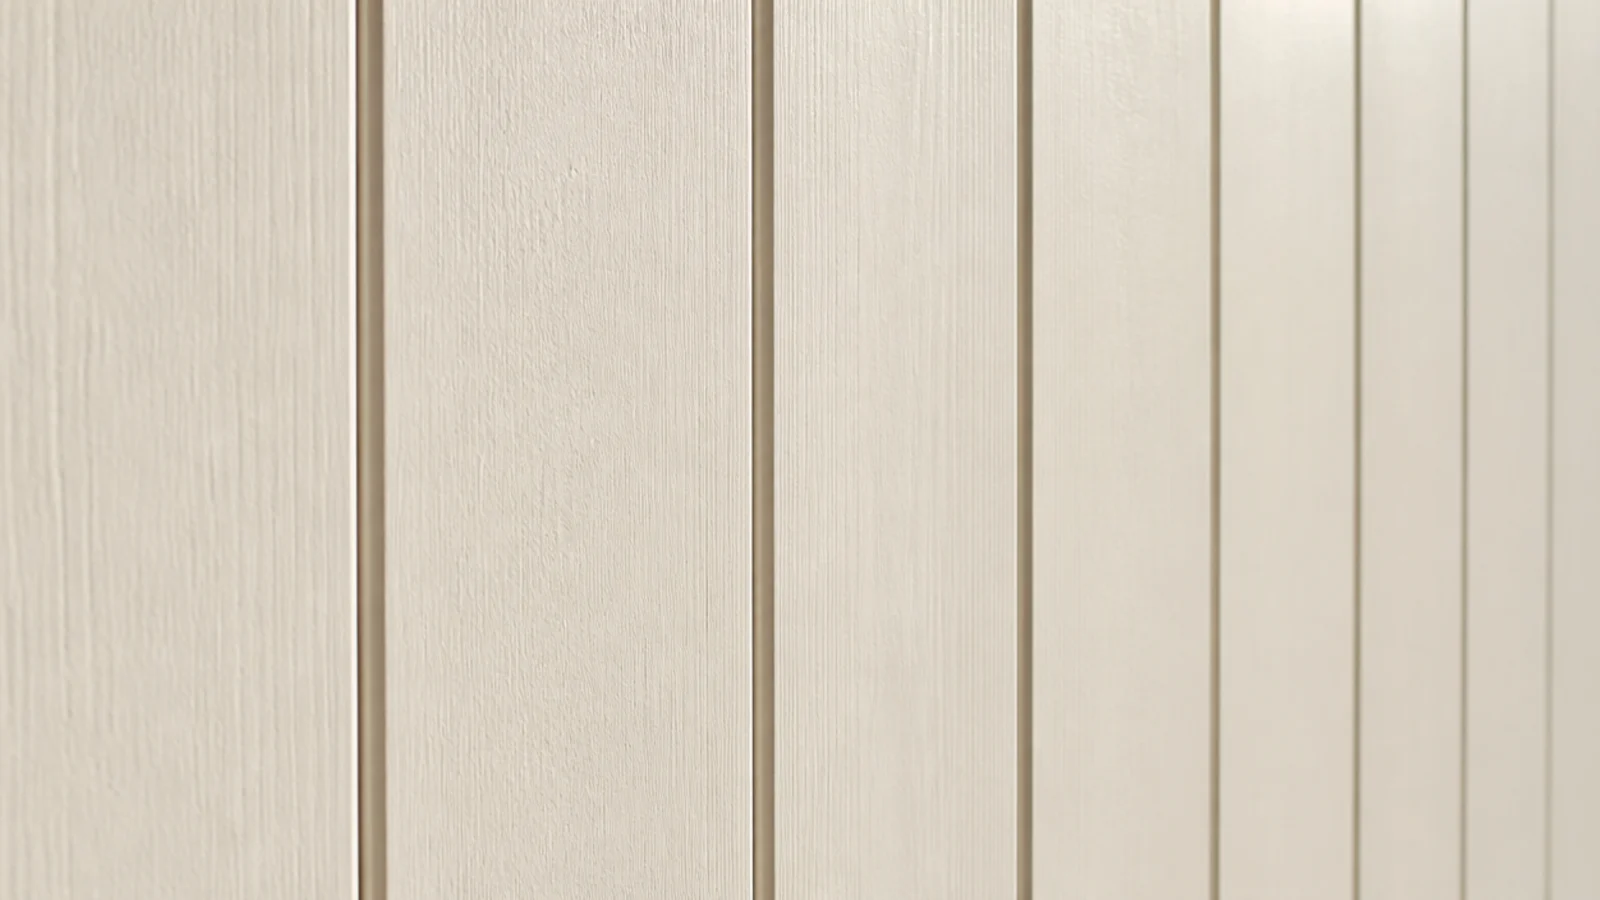
The gap is the detail. Five millimetres between boards gives a crisp shadow line; butt them tight and it reads as flat sheeting. Use a spacer offcut and slide it along as you work rather than measuring each board, which is where a run drifts out of parallel.
7. Horizontal shiplap to widen a narrow room
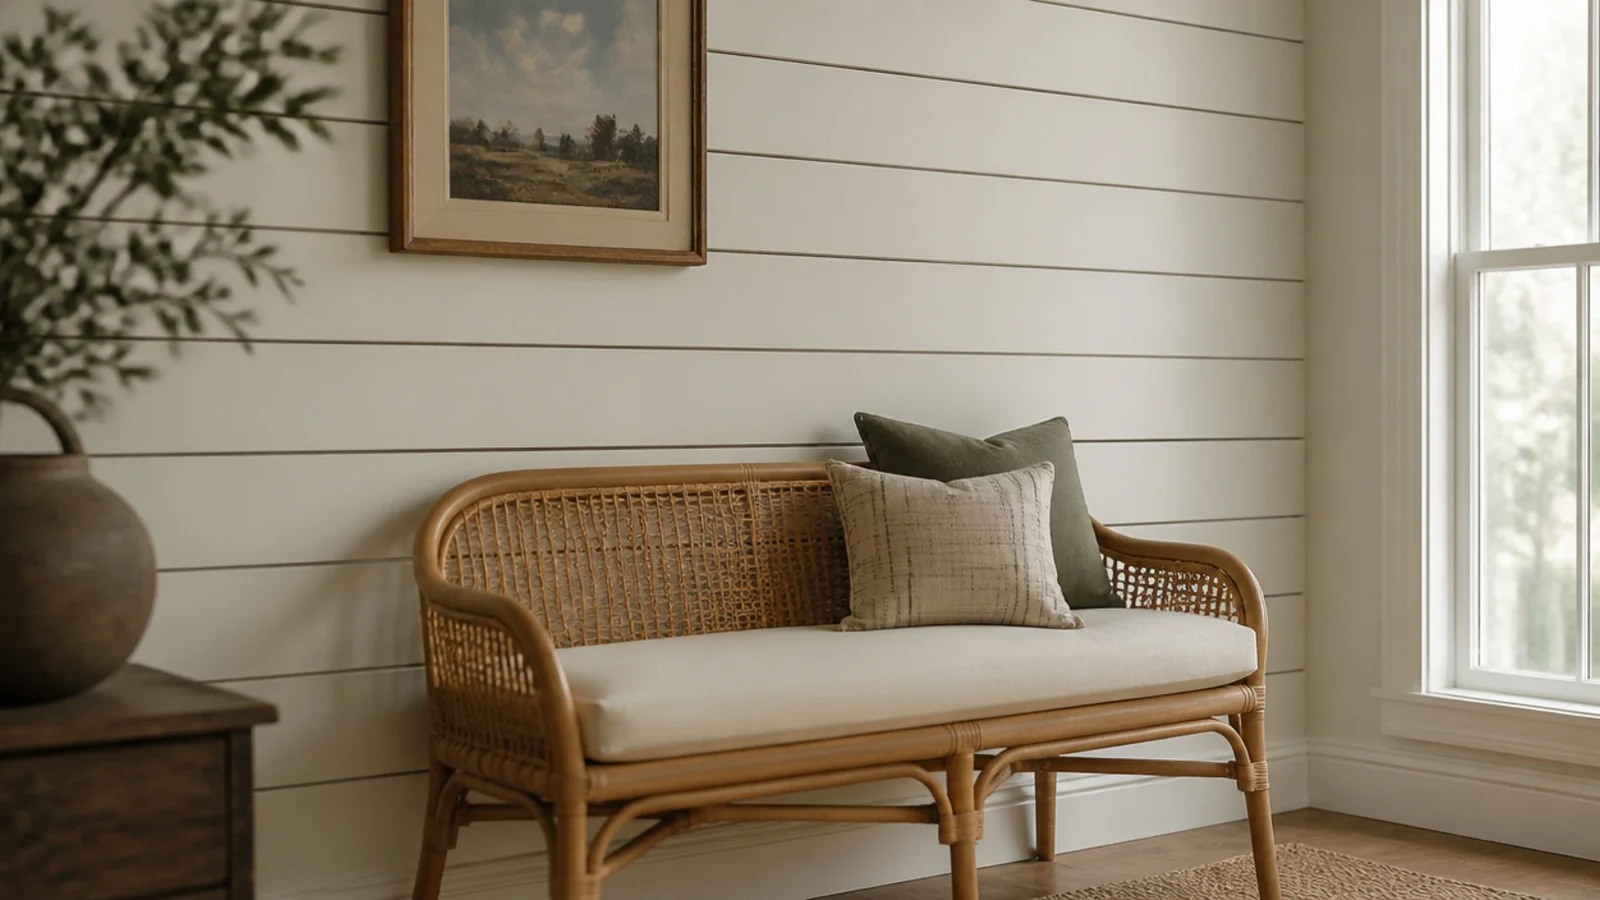
Horizontal boards stretch a wall sideways, which suits a long thin living room. Use 120 to 145 millimetre boards and start from the top, so any cut board lands at the skirting where nobody looks. Level the first board carefully — everything above inherits its error.
8. A shaker square grid across the whole wall
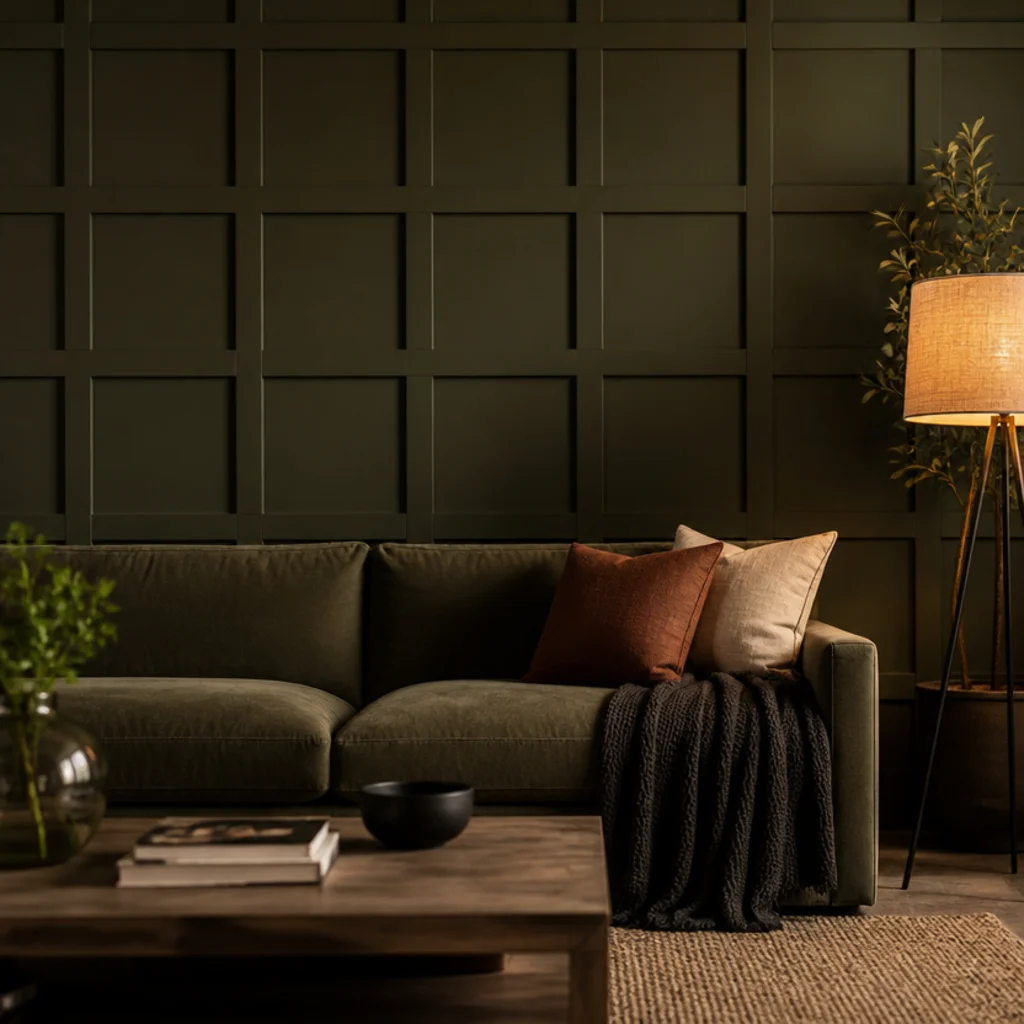
Squares are unforgiving. Divide the wall width and height, adjust until the bays are within 20 millimetres of square, then set out from the centre. A grid that is visibly rectangular in one direction looks like a mistake rather than a proportion.
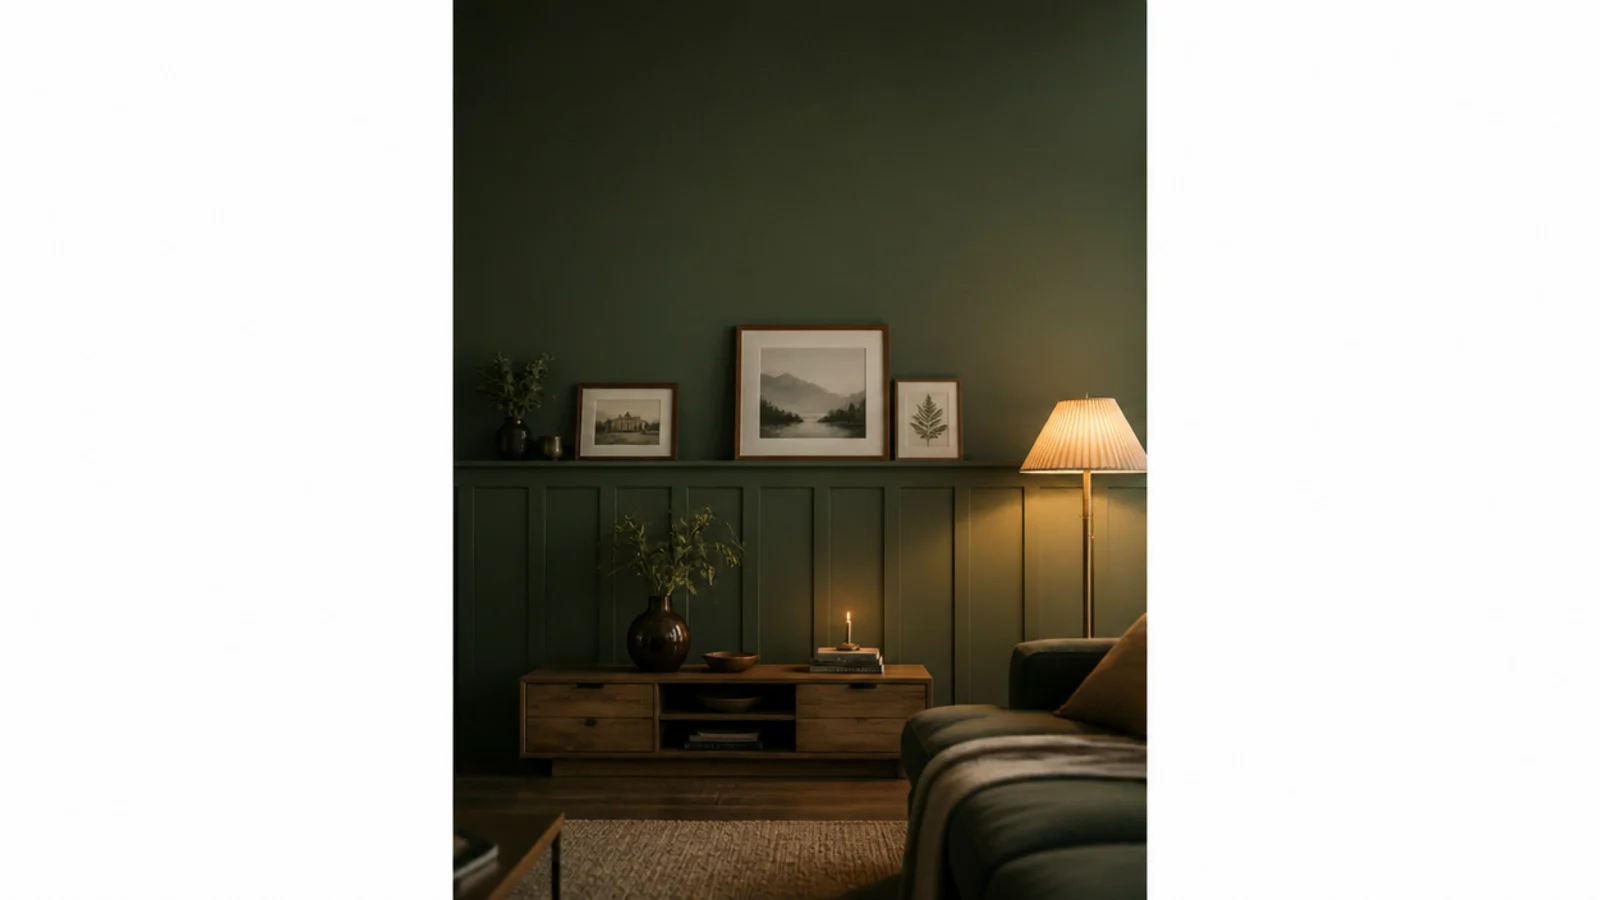
9. Half-height panelling capped with a ledge
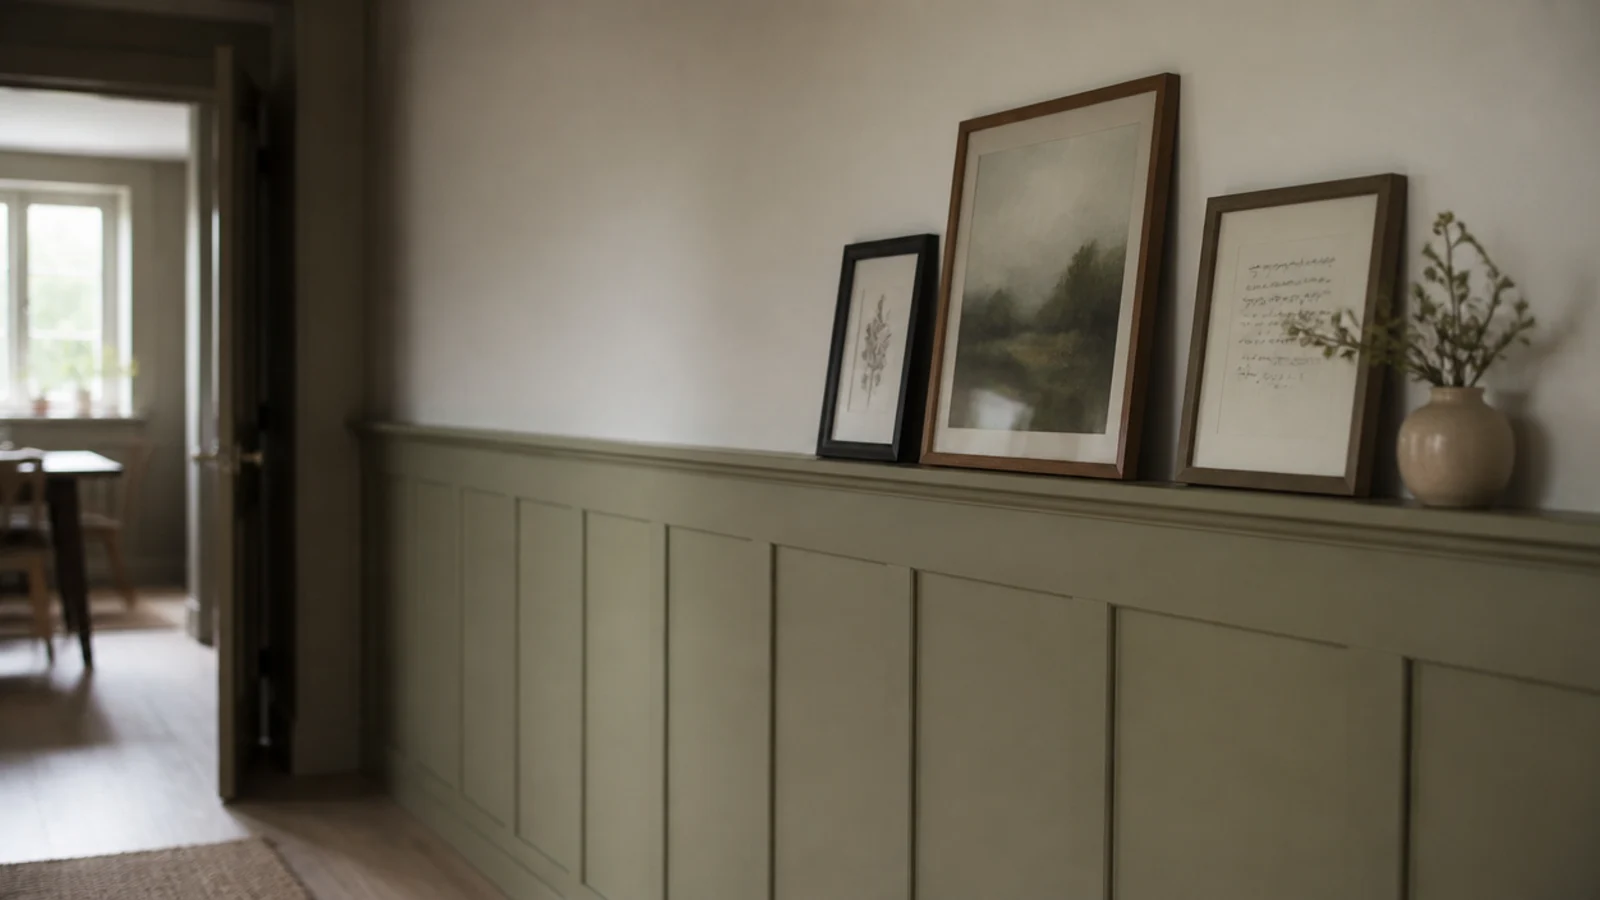
Widen the cap rail to 90 millimetres and it becomes a picture ledge. Add a 6 millimetre lip along the front so frames do not slide. It gives you a display surface without a single extra fixing, and it makes the panelling do real work.
10. Fluted MDF fixed with adhesive alone
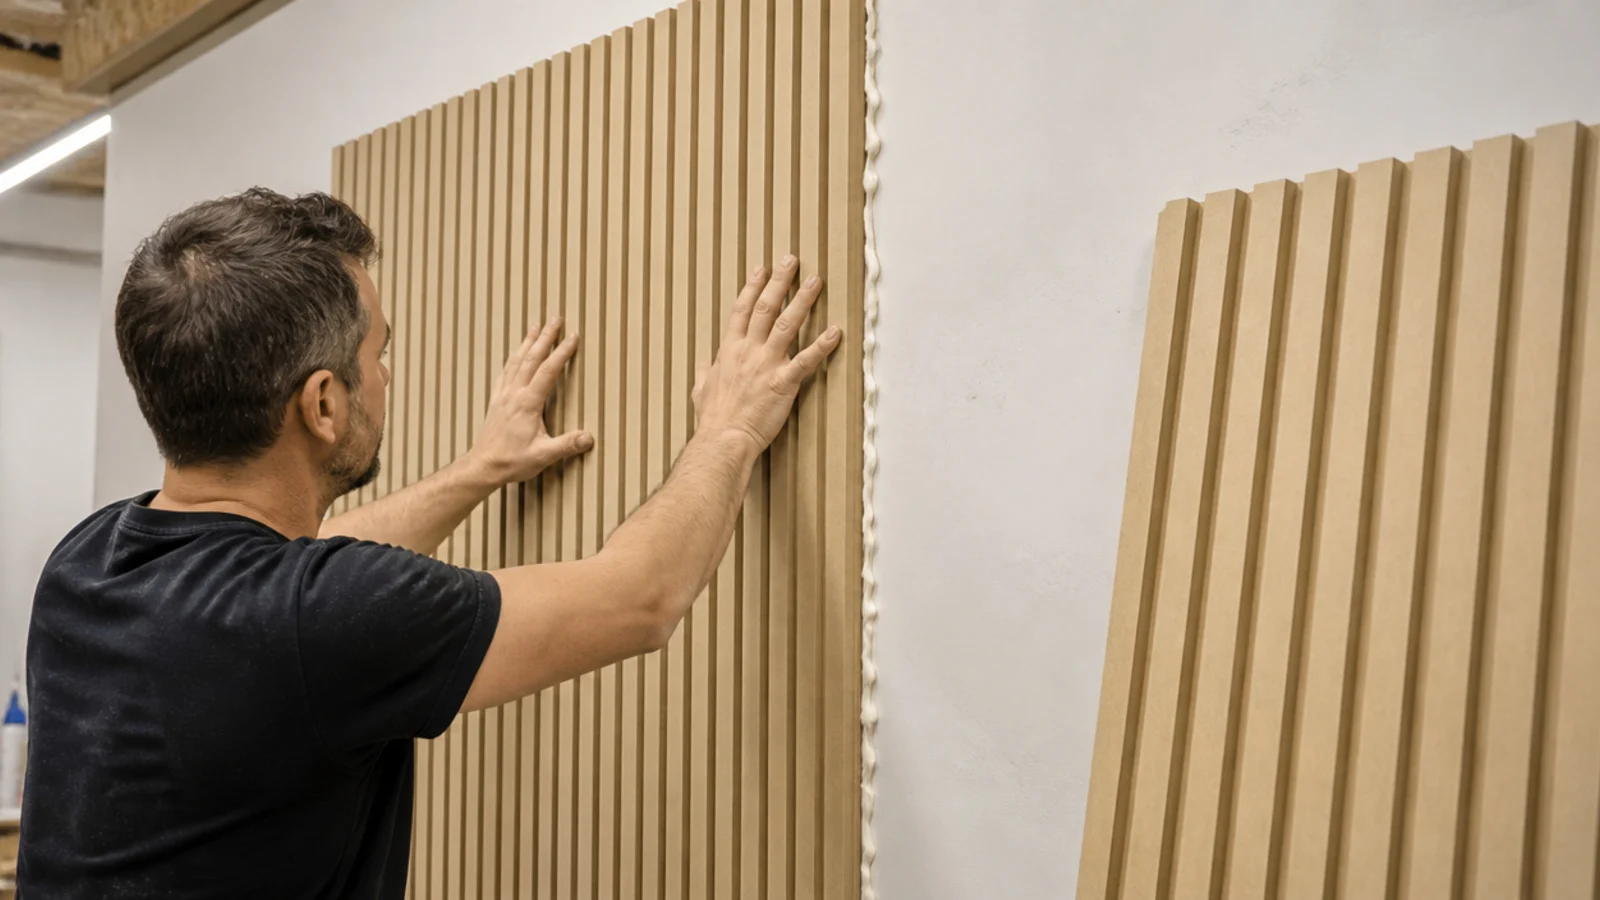
Fluted panels come in 2.4 metre lengths at 30 to 60 dollars a square metre. Run beads of adhesive every 300 millimetres, press and hold, then support with a couple of pins at top and bottom. Paint with a mini foam roller so the grooves do not fill.
11. Diagonal battens at forty-five degrees
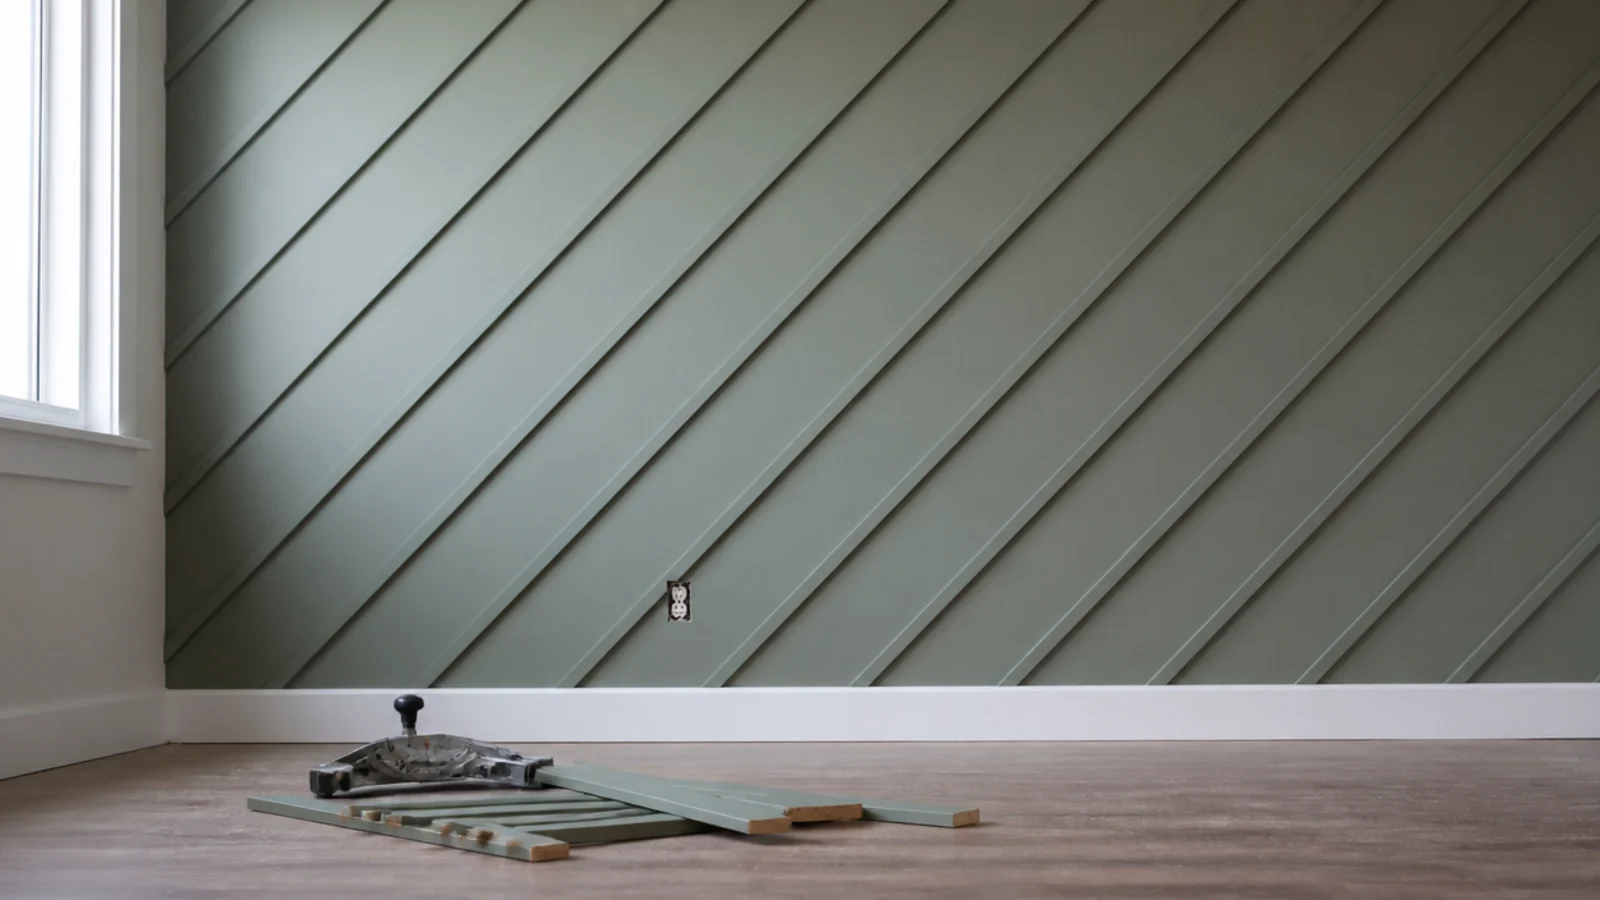
Diagonals look effortless and drift badly without a jig. Cut one accurate spacer, use it between every batten, and check against a long level every fourth strip. The cut angles at the top and bottom take practice, so buy 15 percent extra material.
12. A herringbone panel above the skirting
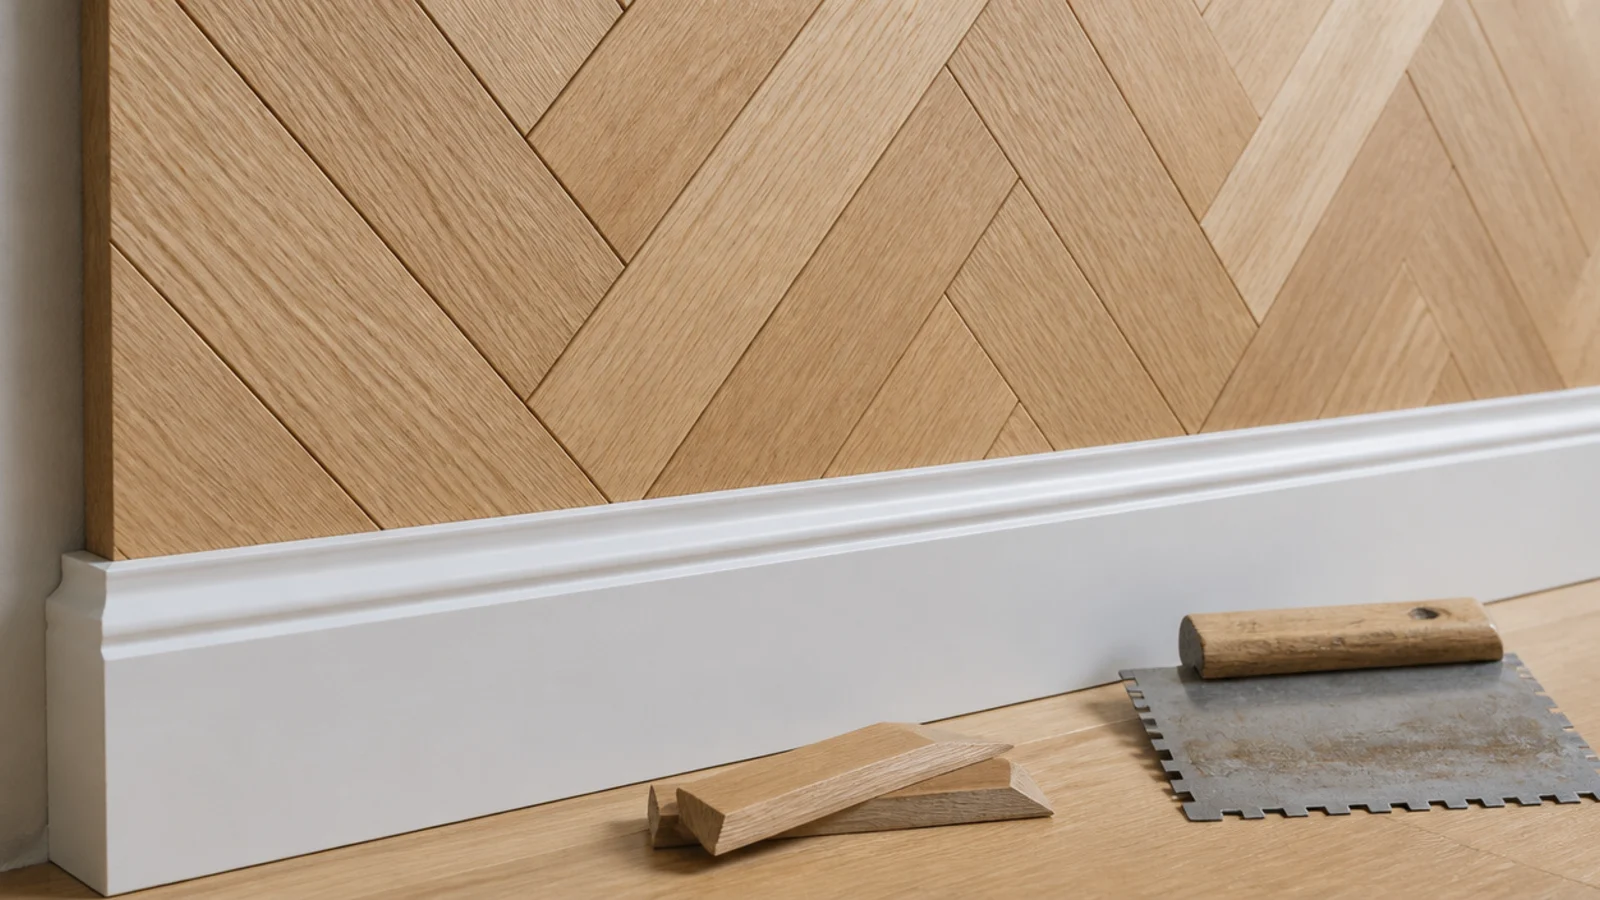
Engineered oak herringbone blocks at 45 to 90 dollars a square metre go on a wall exactly as they go on a floor, over a thin plywood substrate. Set out from the centre line so the pattern resolves symmetrically. Keep it to one wall — herringbone everywhere reads as a showroom.
13. An arch drawn in flexible moulding
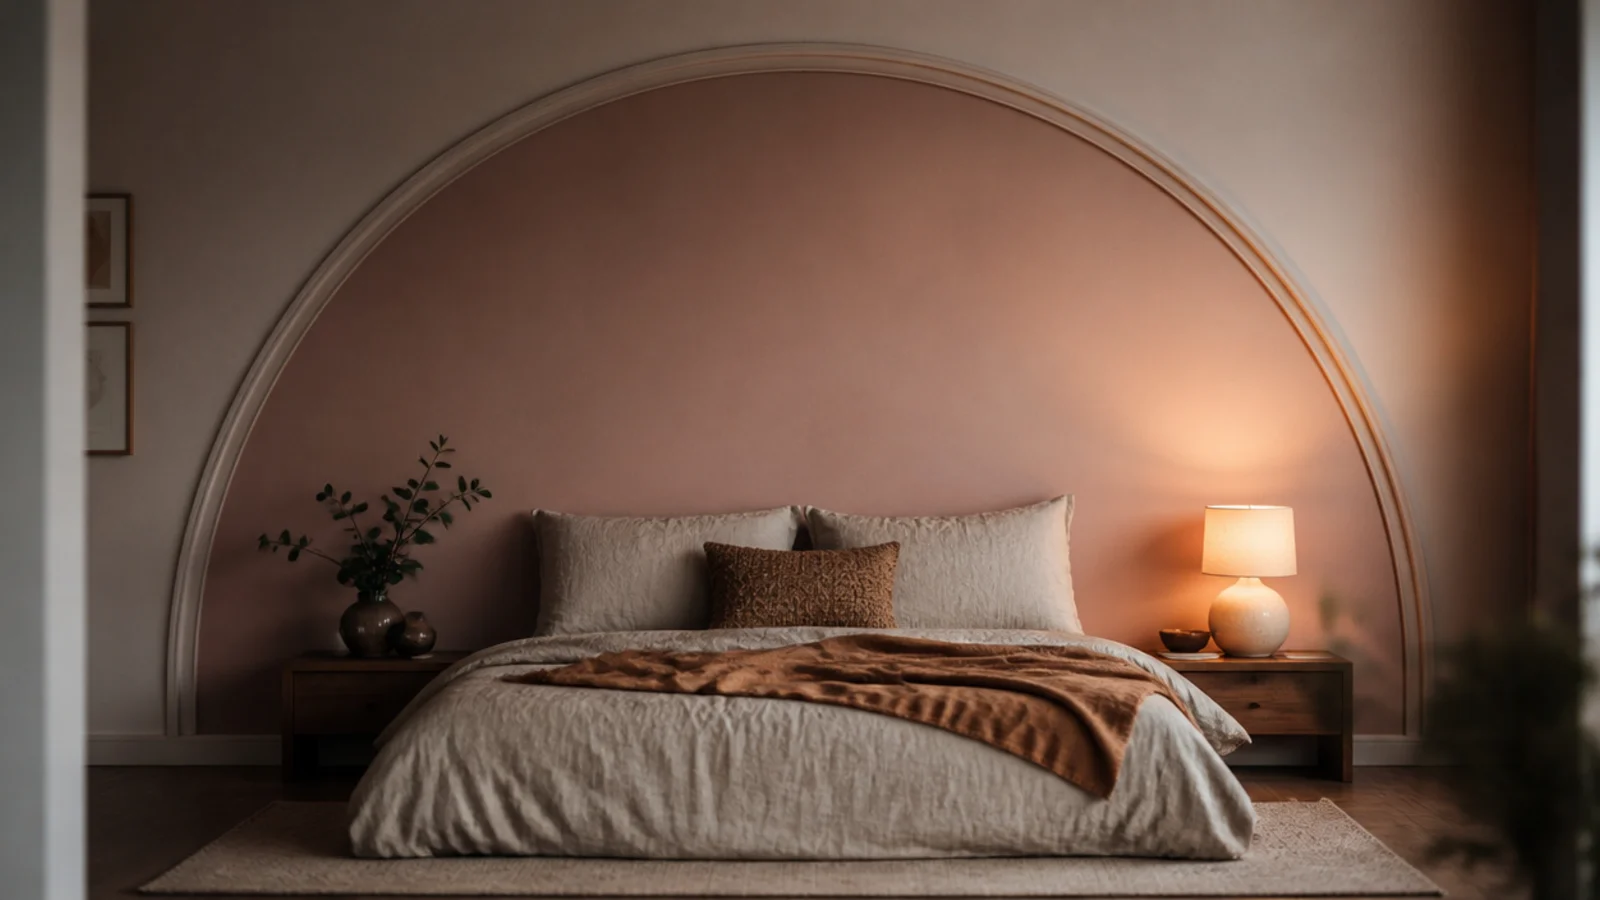
Flexible PVC or polyurethane moulding bends to a 600 millimetre radius and pins in place. An arch behind a bed or a sofa, painted the wall colour, softens a very square room for about 40 dollars. Keep the spring point above head height so the curve is not cropped by furniture.
14. Fabric stretched over a timber stretcher
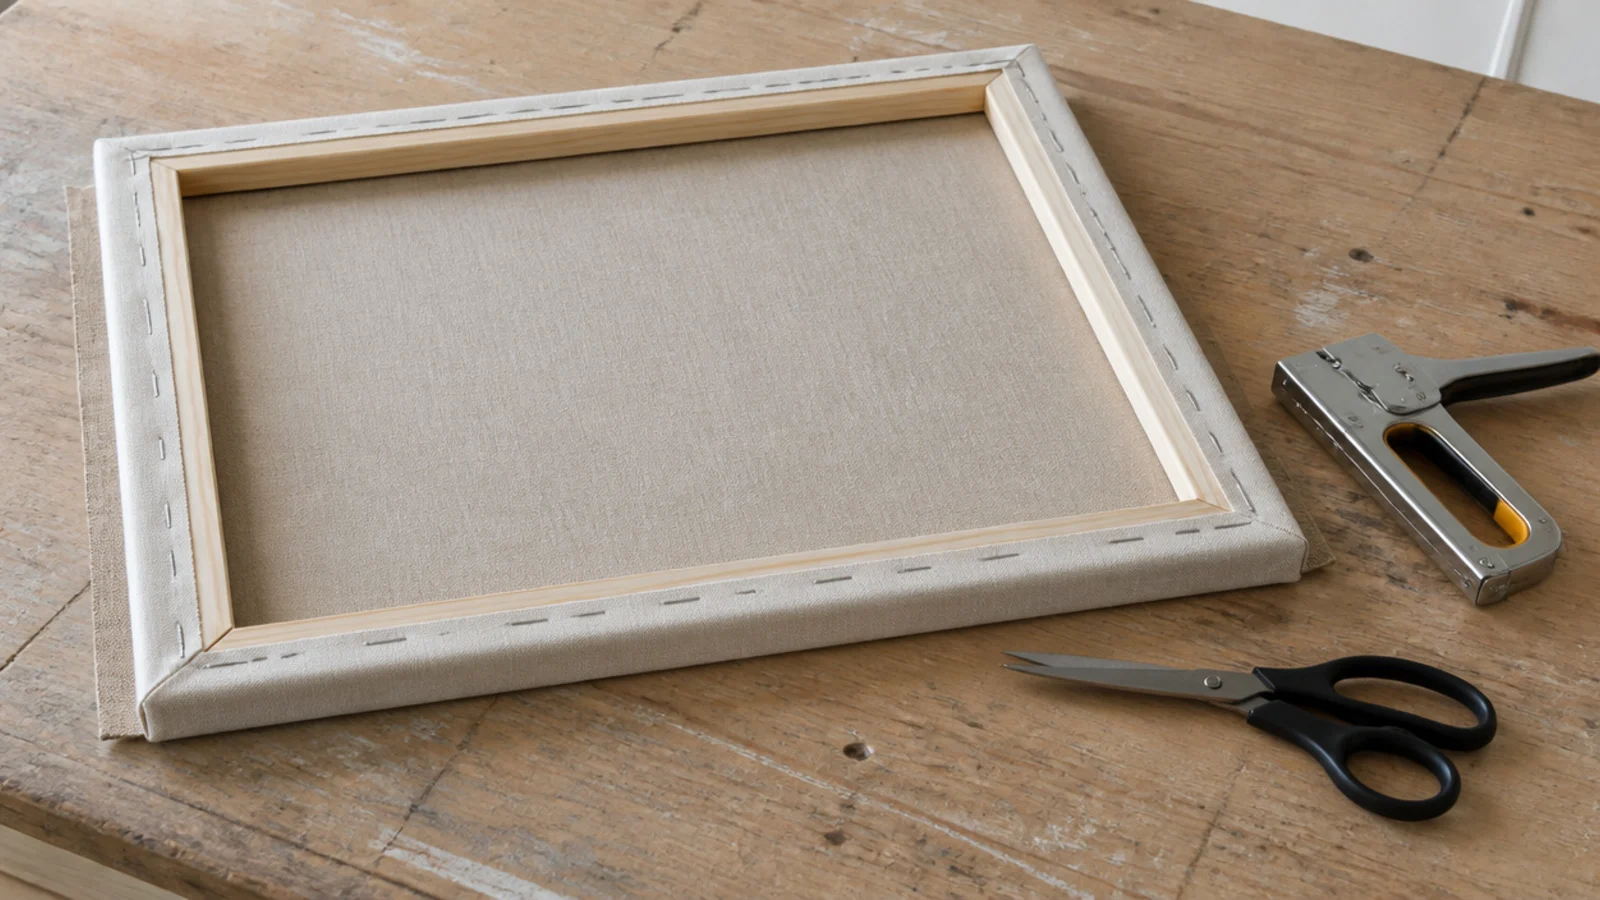
Linen or wool stapled to a slim stretcher frame gives a soft panel that hides damaged plaster and takes the edge off room echo. It hangs on two hooks, so the wall damage is two small holes. Fabric at 15 to 30 dollars a metre makes this one of the cheapest options here.
15. Cork tiles for a pinnable panel
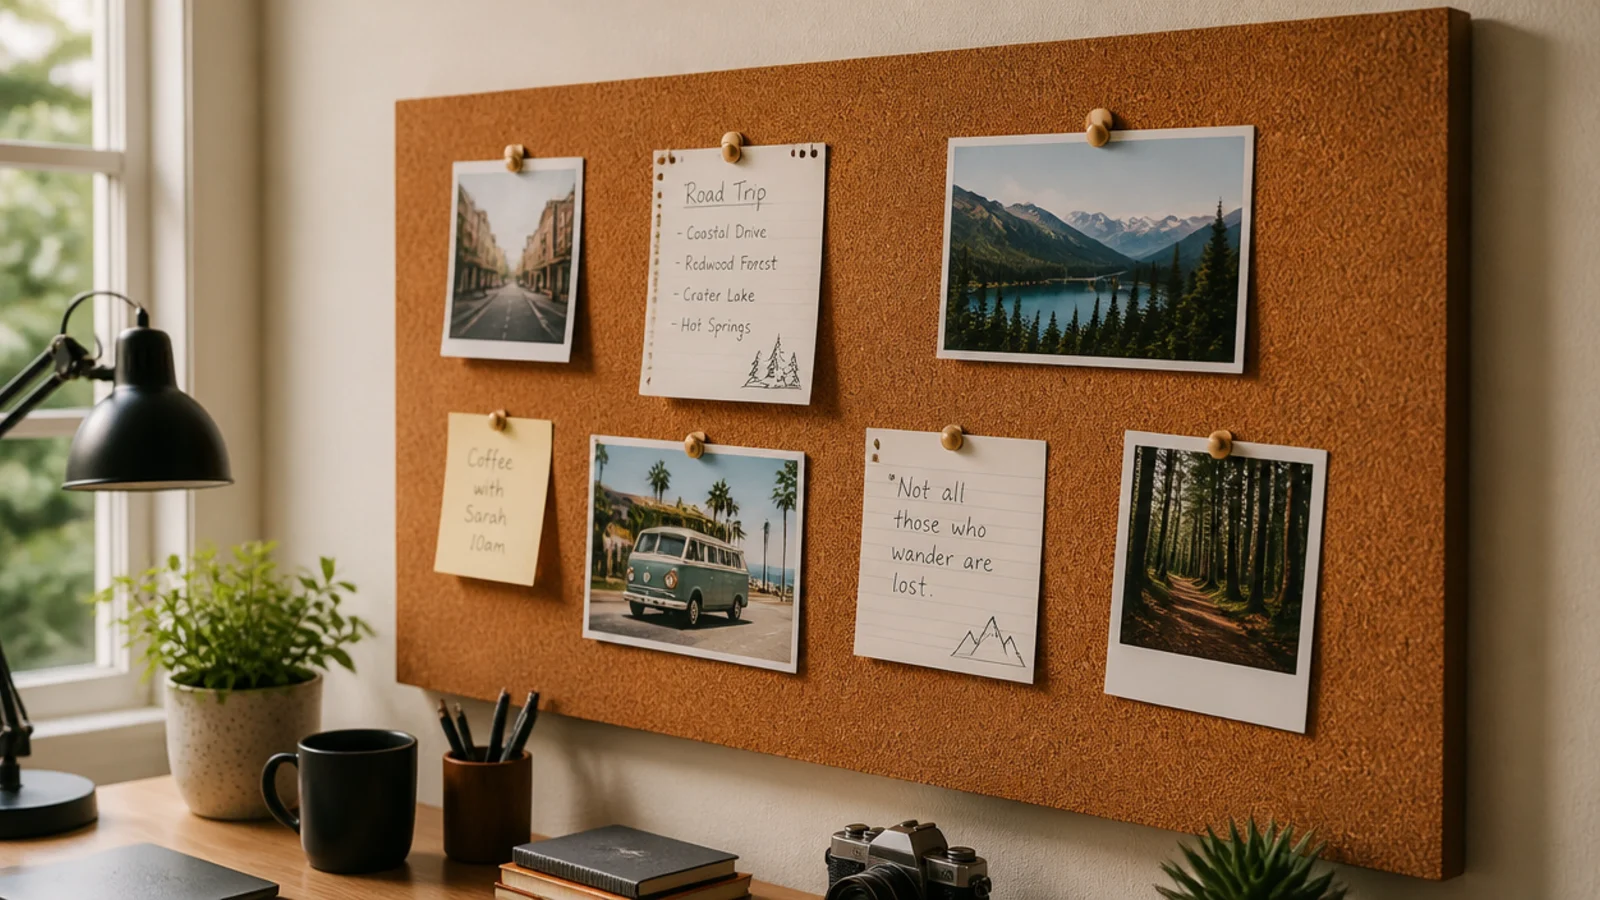
Cork at 3 to 6 millimetres thick and 25 to 50 dollars a square metre goes up on contact adhesive, takes a pin without leaving a mark, and deadens sound. Seal it with a matt water-based finish if it sits near a radiator or in direct sun.
16. Acoustic felt in a slim frame
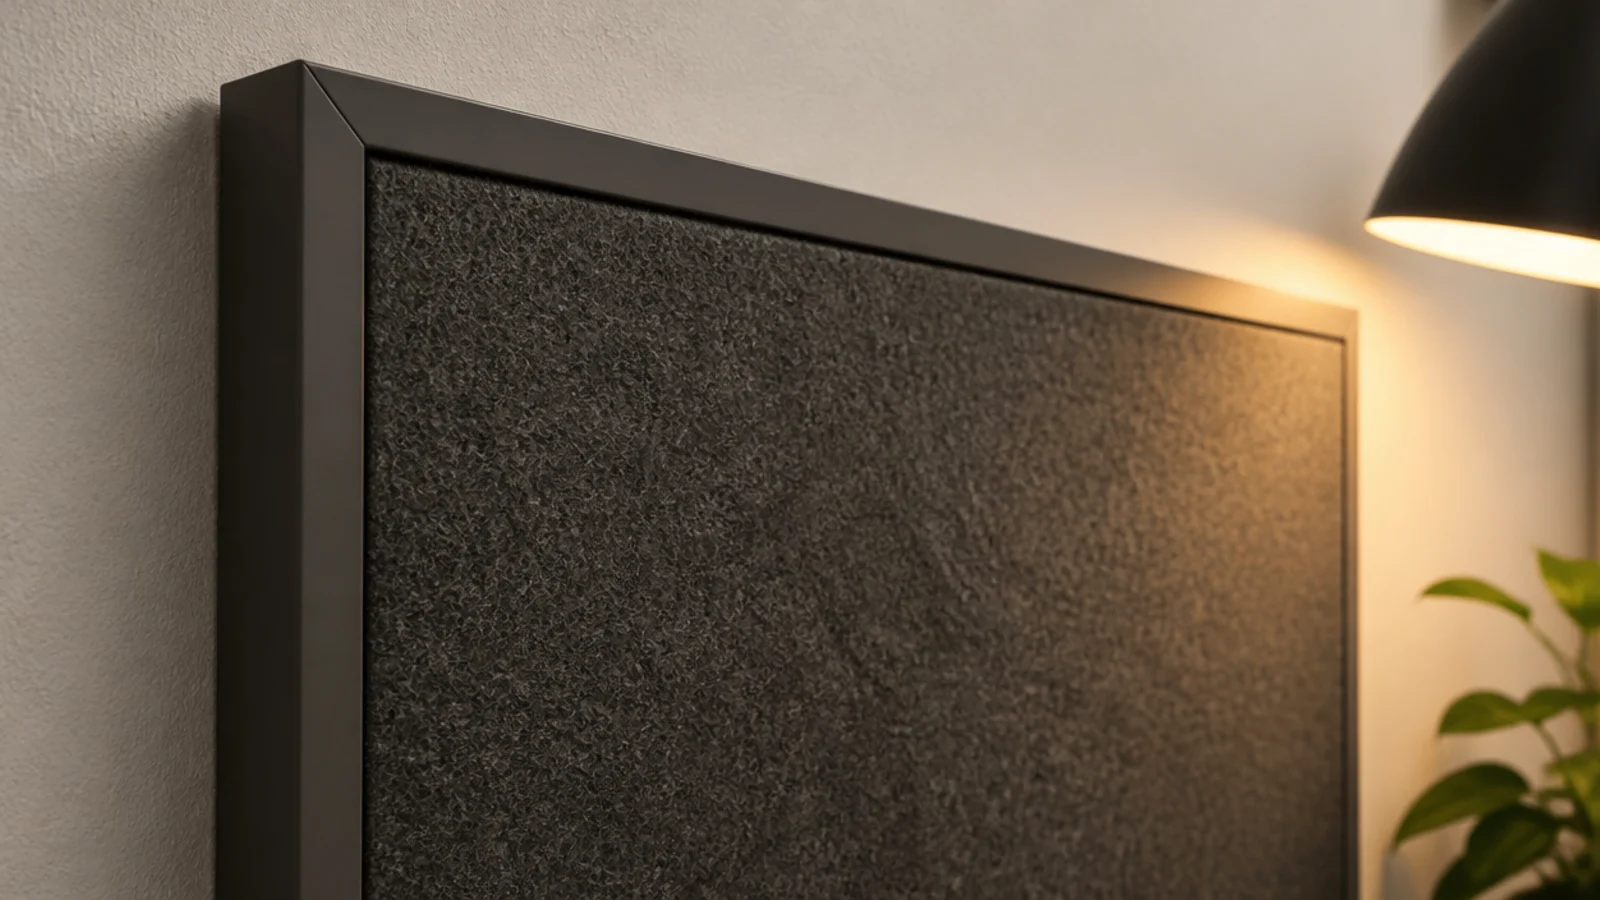
A 9 to 12 millimetre felt panel inside a mitred timber frame cuts the slap echo a bare plaster wall throws back. Expect 40 to 90 dollars a square metre. It is the single most effective thing on this list in a room with hard floors and little furniture.
17. Cane webbing inside a moulding box
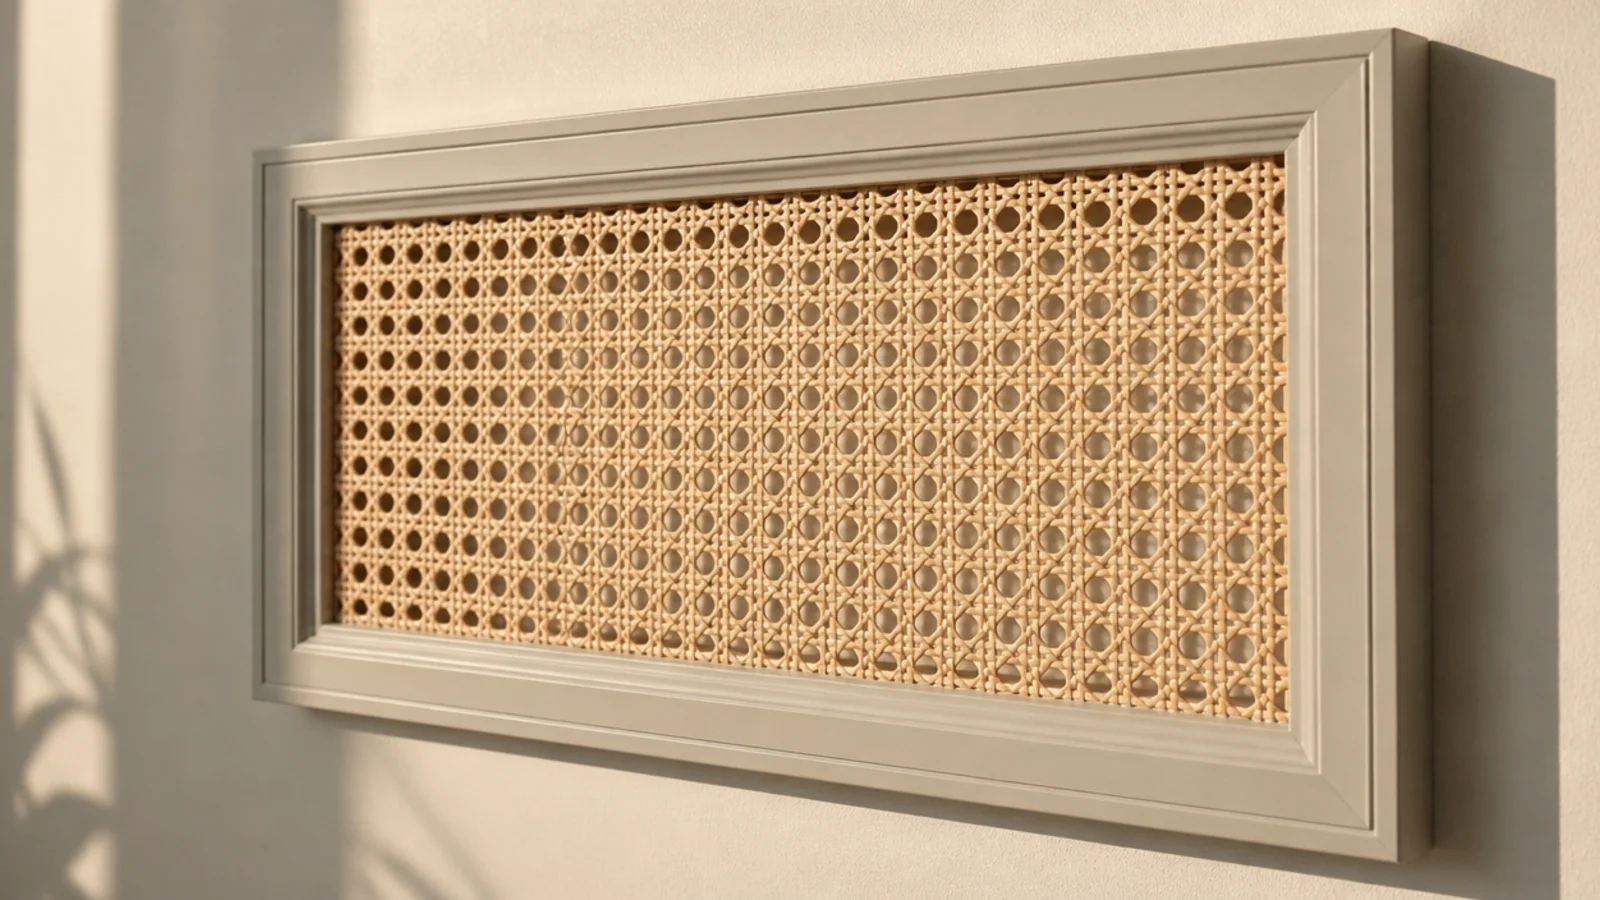
Cane webbing at 20 to 40 dollars a metre staples into a frame in an afternoon and brings texture without introducing a pattern you will tire of. Soak it briefly and let it dry taut in the frame — it shrinks as it dries and pulls itself flat.
18. A dowel screen over a radiator
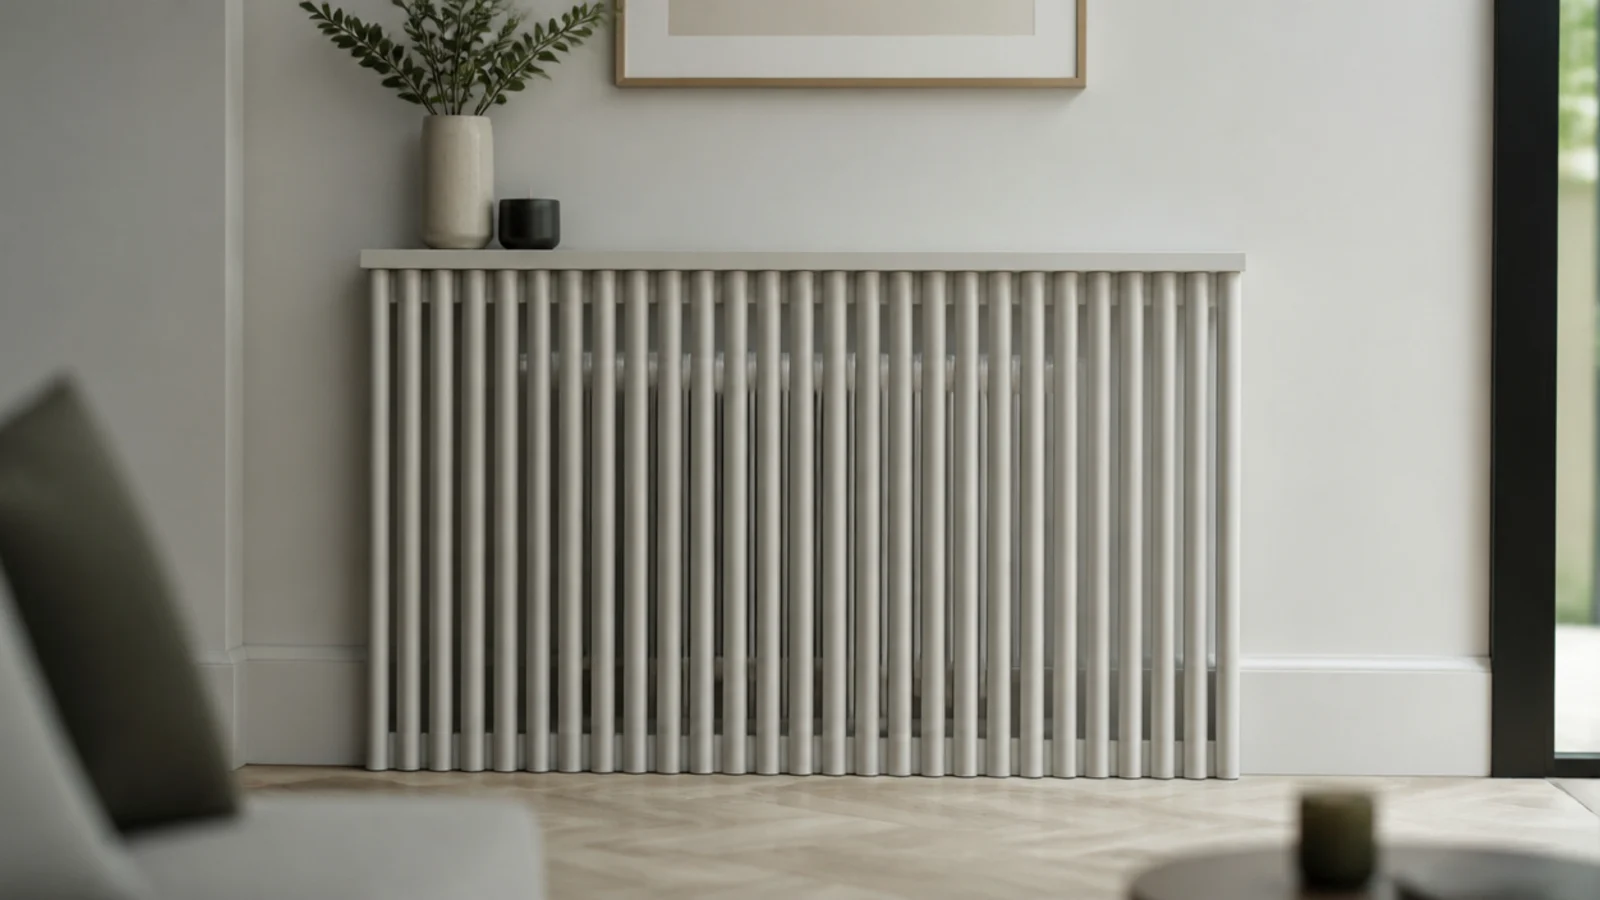
Ten millimetre dowels at 25 millimetre gaps let convected heat rise where a solid panel would trap it. Leave a 40 millimetre gap at the top and a clear path at the bottom. Expect to lose 10 to 15 percent of the radiator output even so.
19. Painted trompe panels with no timber at all
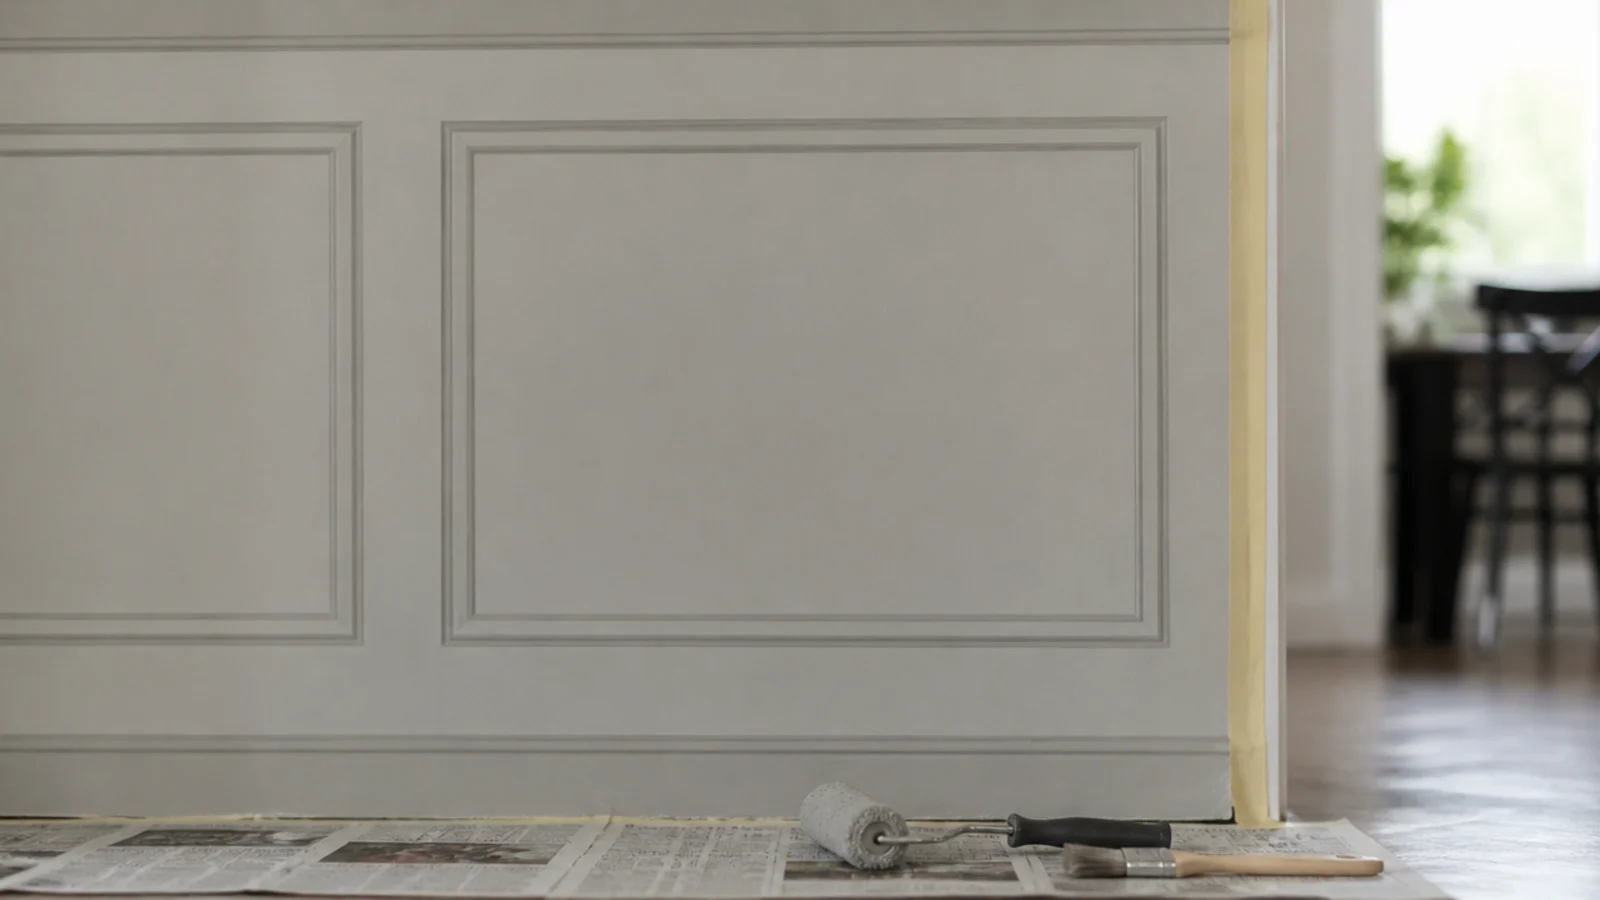
Two close tones and a fine shadow line, laid out with low-tack tape, imitate raised moulding convincingly at normal viewing distance. Zero fixings, zero removal, and about 30 dollars. It is the only panelling here that survives an inspection with no filler at all.
20. Panel one alcove and leave the rest
An alcove is a self-contained rectangle with real edges, which makes it forgiving to set out. One alcove is a weekend rather than a project, and it gives you the finish without committing the whole room. Paint the recess a deeper tone than the surrounding wall.
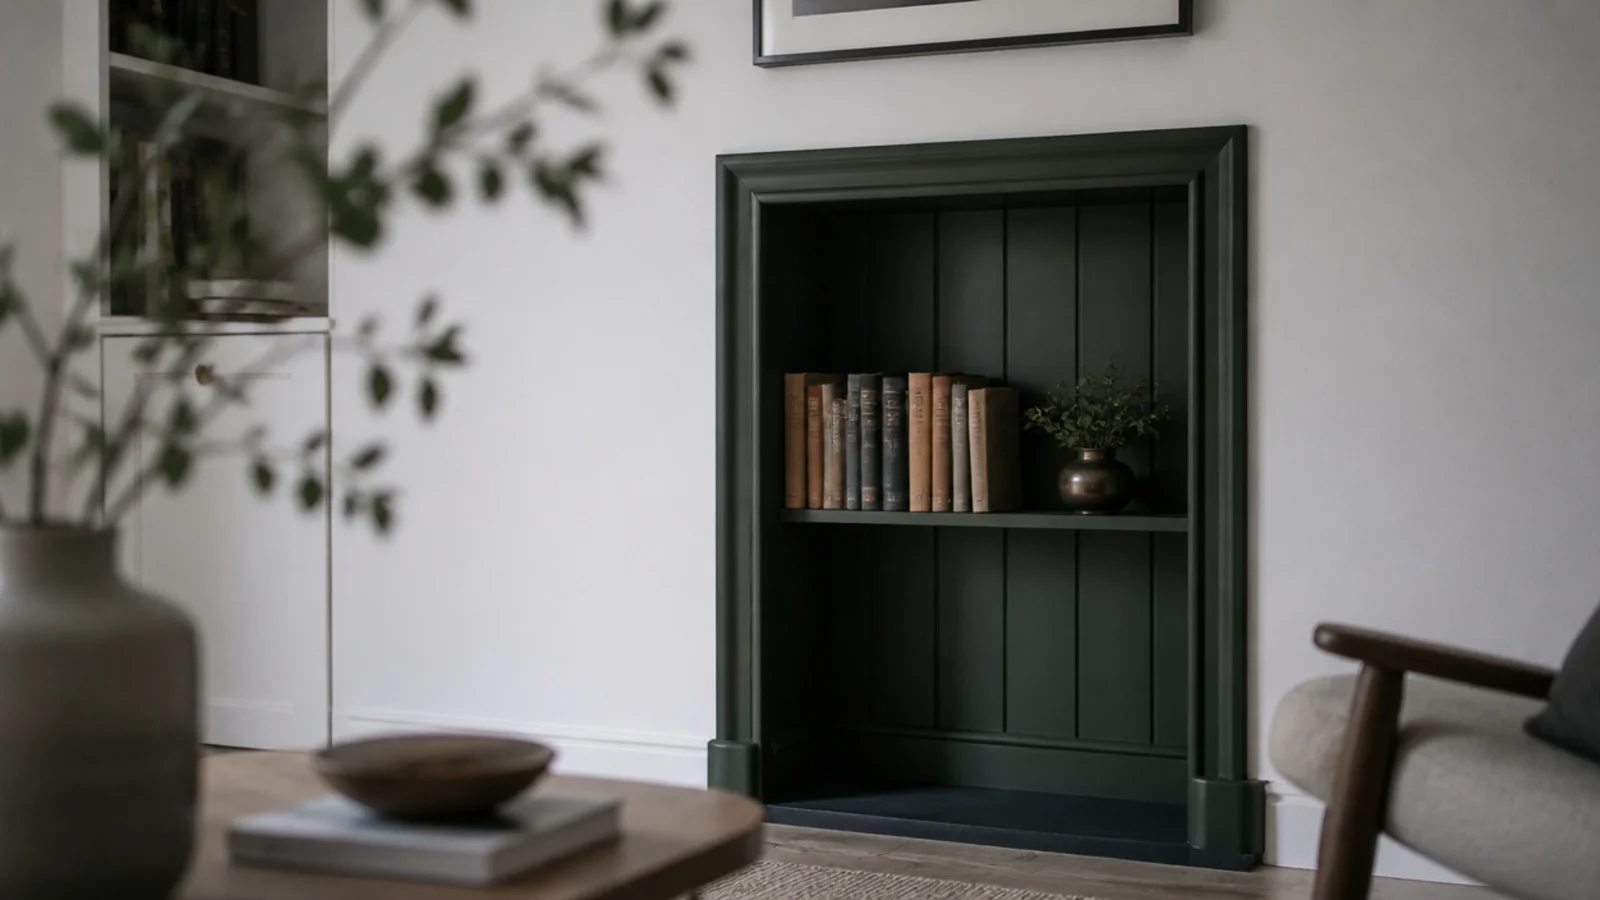
21. Beadboard sheets scribed to the skirting
Sheet beadboard is fast, but the bottom edge betrays it. Scribe the sheet to sit tight above an uneven skirting with a compass and a block plane rather than filling the gap. Twenty minutes of scribing is the difference between fitted and stuck on.
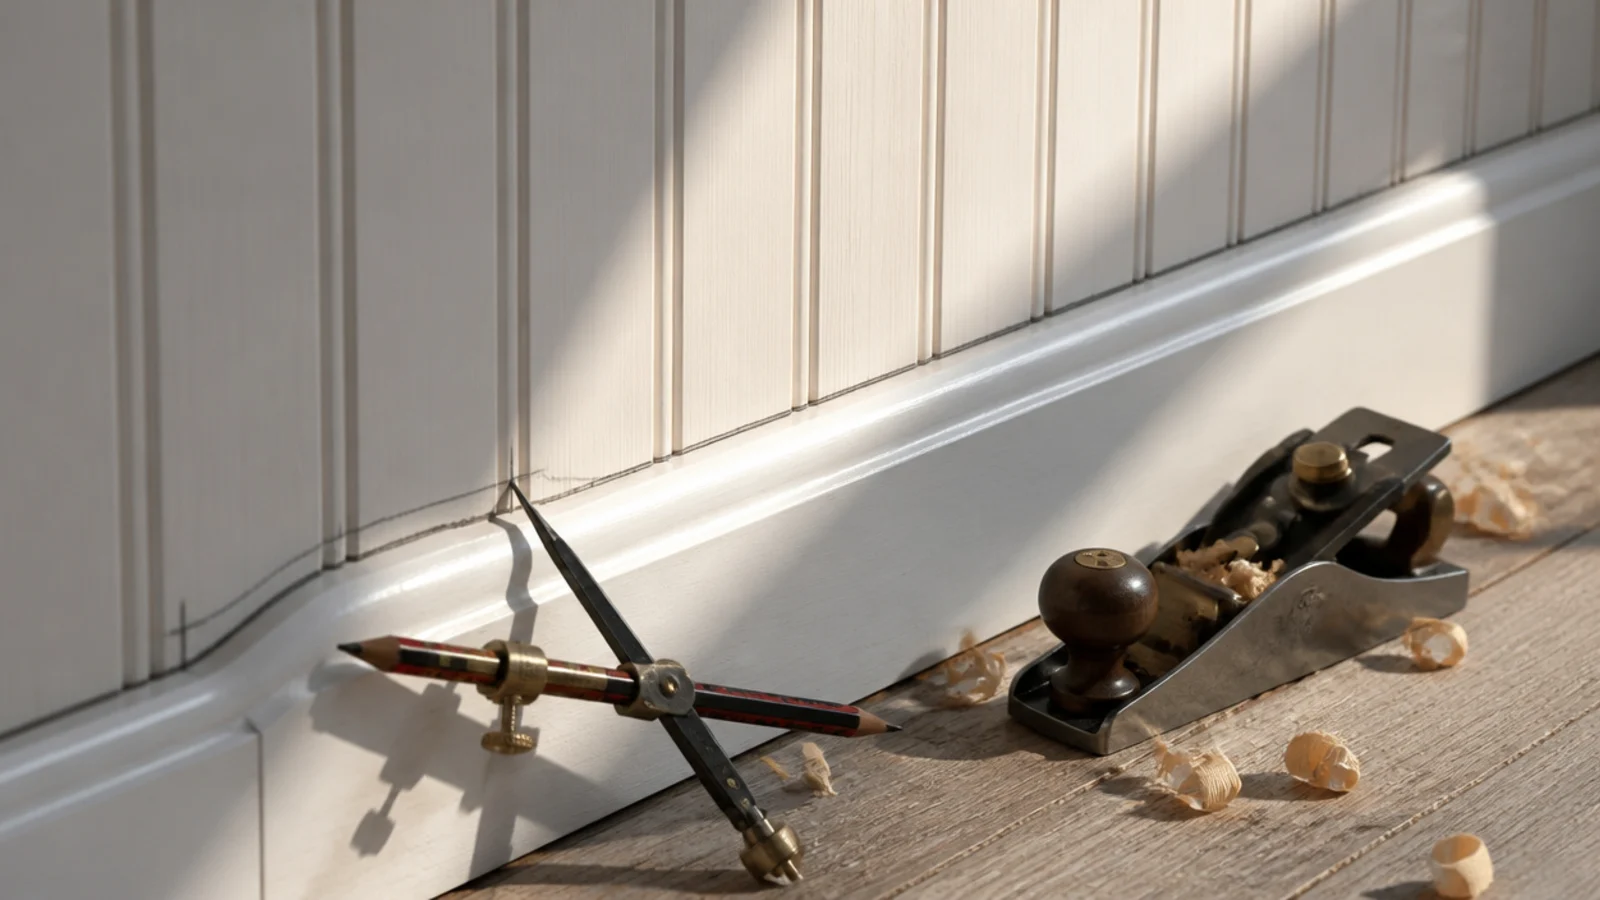
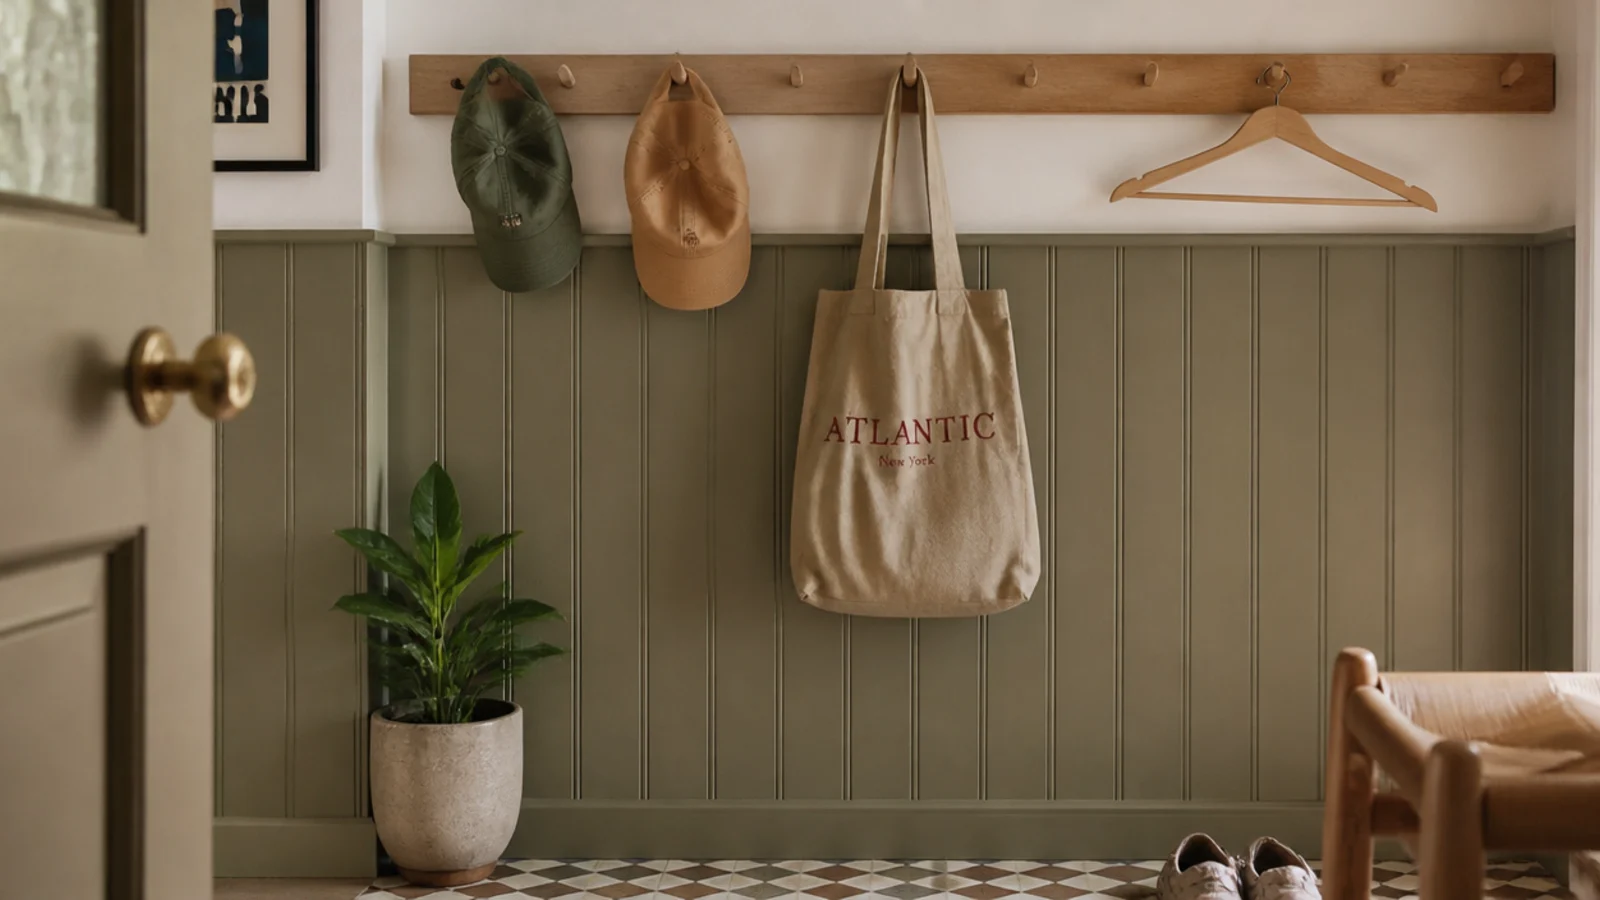
22. A peg rail above simple panelling
Tongue and groove to 44 inches with a peg rail on top turns a hallway wall into storage. Fix the rail itself into framing rather than adhesive, because a loaded coat rail carries real weight and a bag of shopping is a shock load.
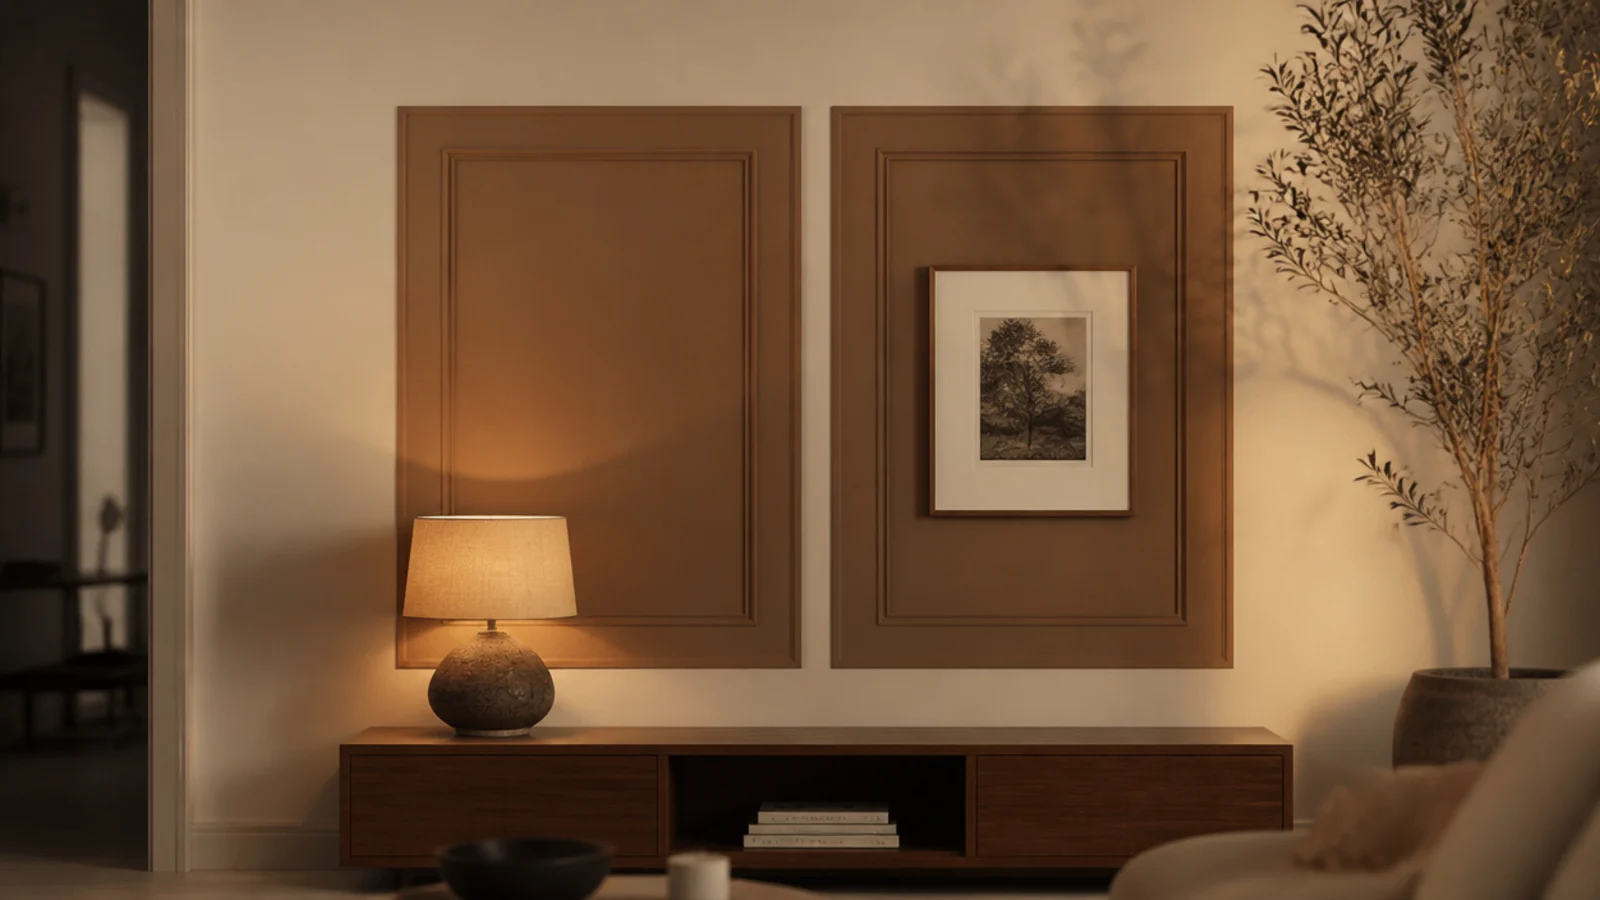
23. Two tones inside and outside the boxes
Painting inside the moulding boxes two steps darker than the surrounding wall creates the impression of recess where there is none. Keep both in the same sheen. Mixing matt and eggshell gives the trick away instantly under side light.
24. A single panel behind the bed only
Panel the bed width plus roughly a foot each side and stop. It reads as an intentional headboard wall rather than an abandoned panelling job, and it uses about a third of the material. Bed back wall design ideas covers the proportions for this properly.
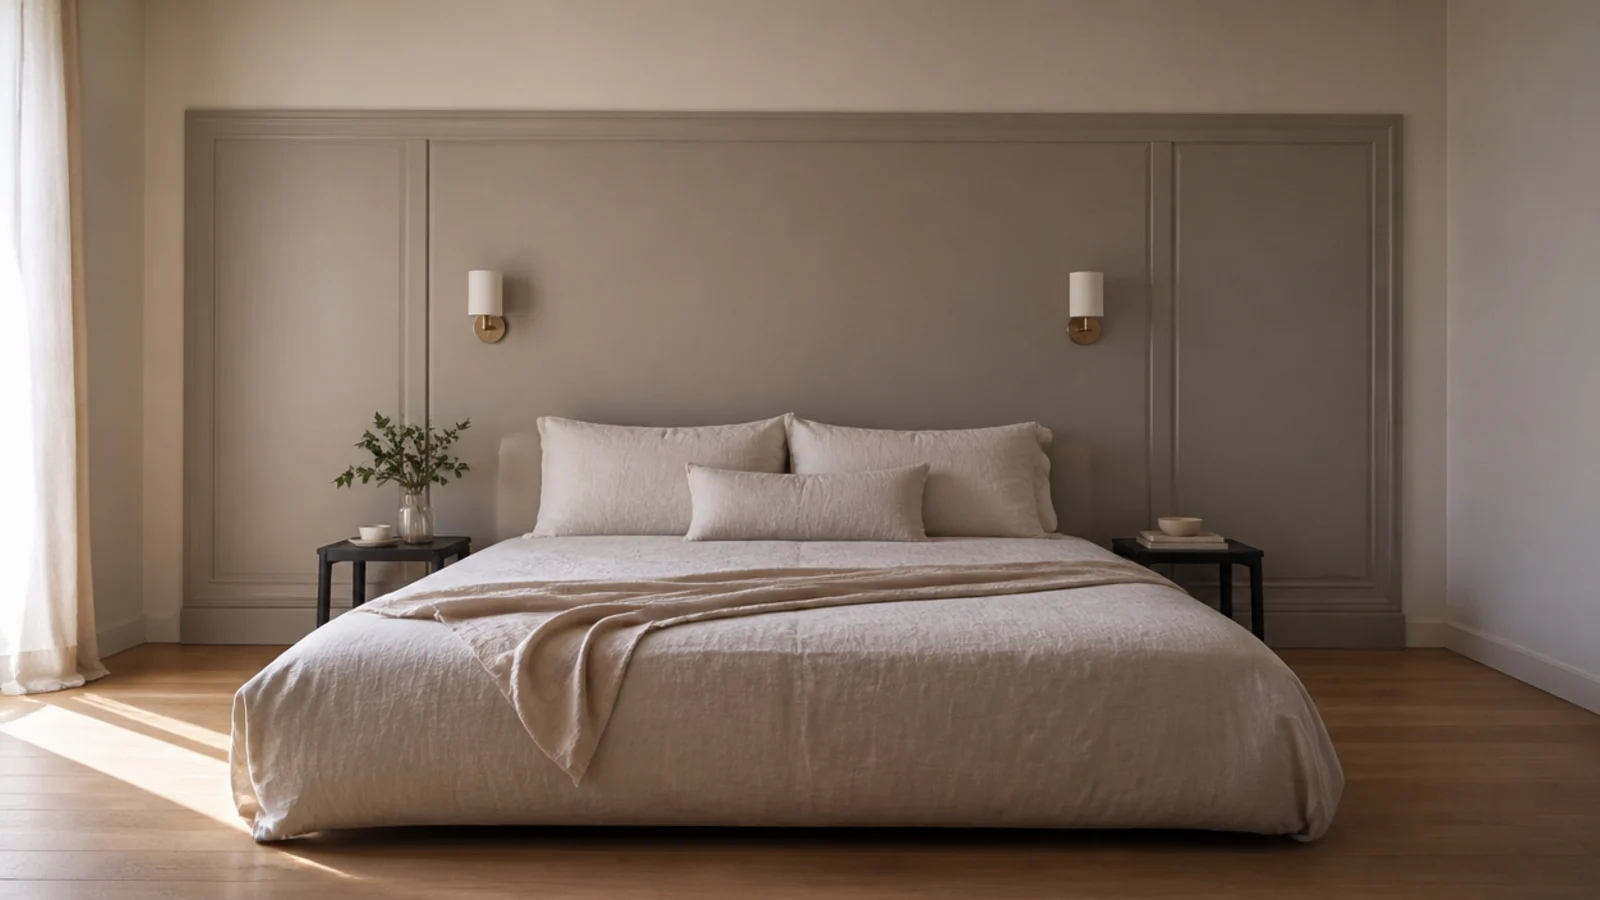
25. Slats over an ugly radiator wall
A continuous slat rhythm carried across a wall absorbs a boxed radiator, a pipe run or a badly patched repair into the pattern. The eye reads the repeat rather than the lump. Keep the slat spacing constant across the obstruction or the trick fails.
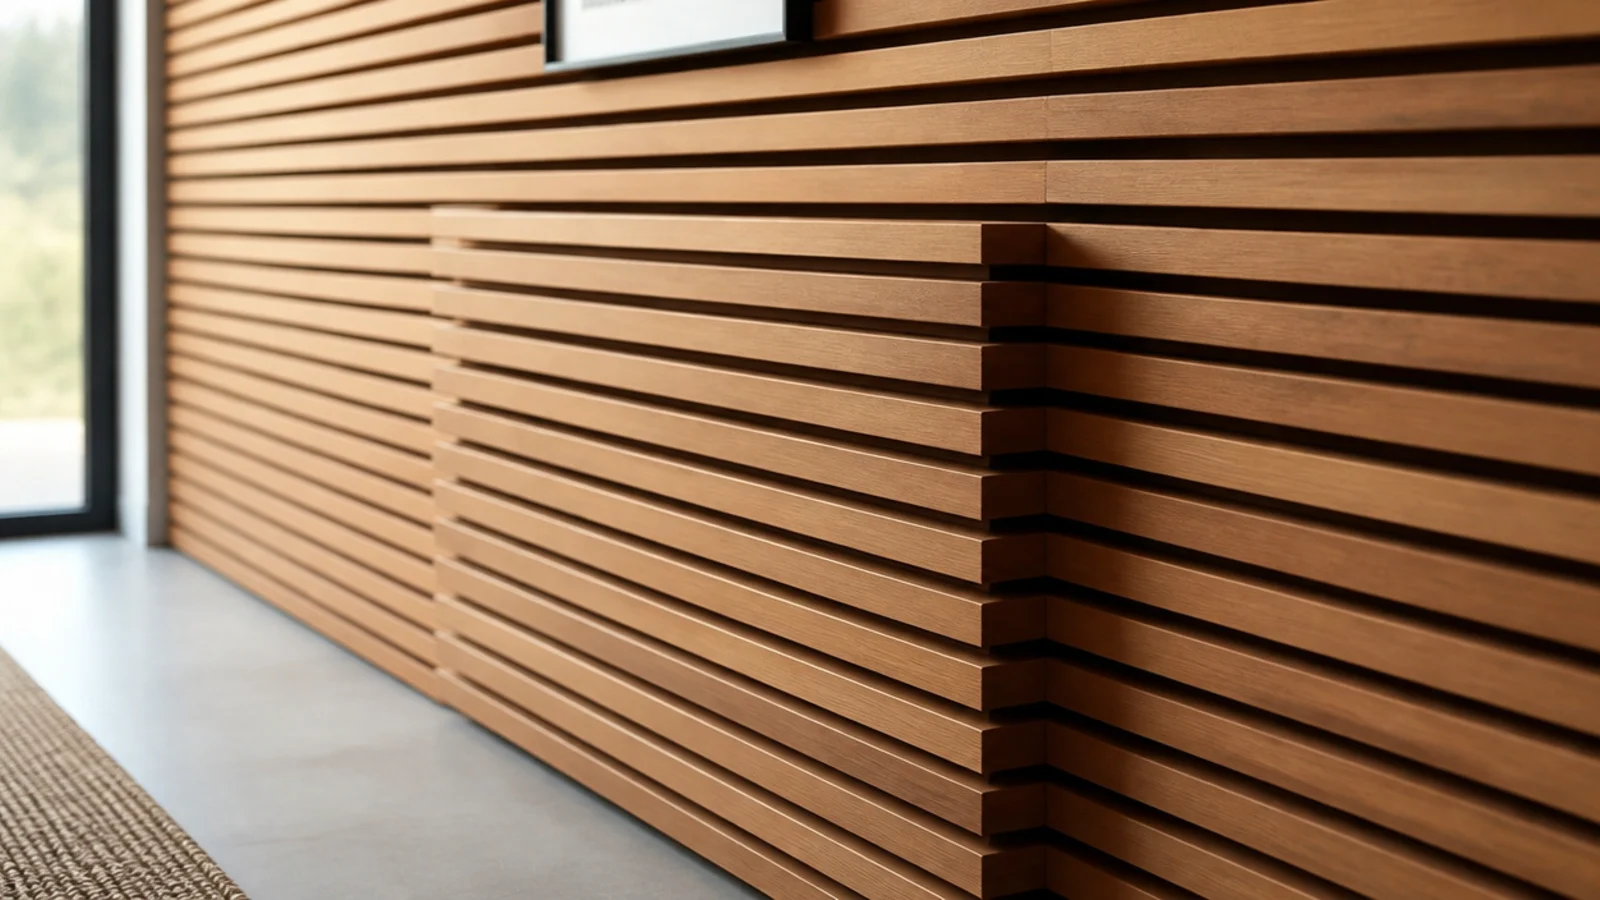
26. A curved-top panel behind a sofa
A gently curved upper edge, cut with a jigsaw from a paper template, softens a square room and costs the same as a straight one. Keep the curve shallow — a rise of 100 to 150 millimetres across a 2 metre panel is plenty.
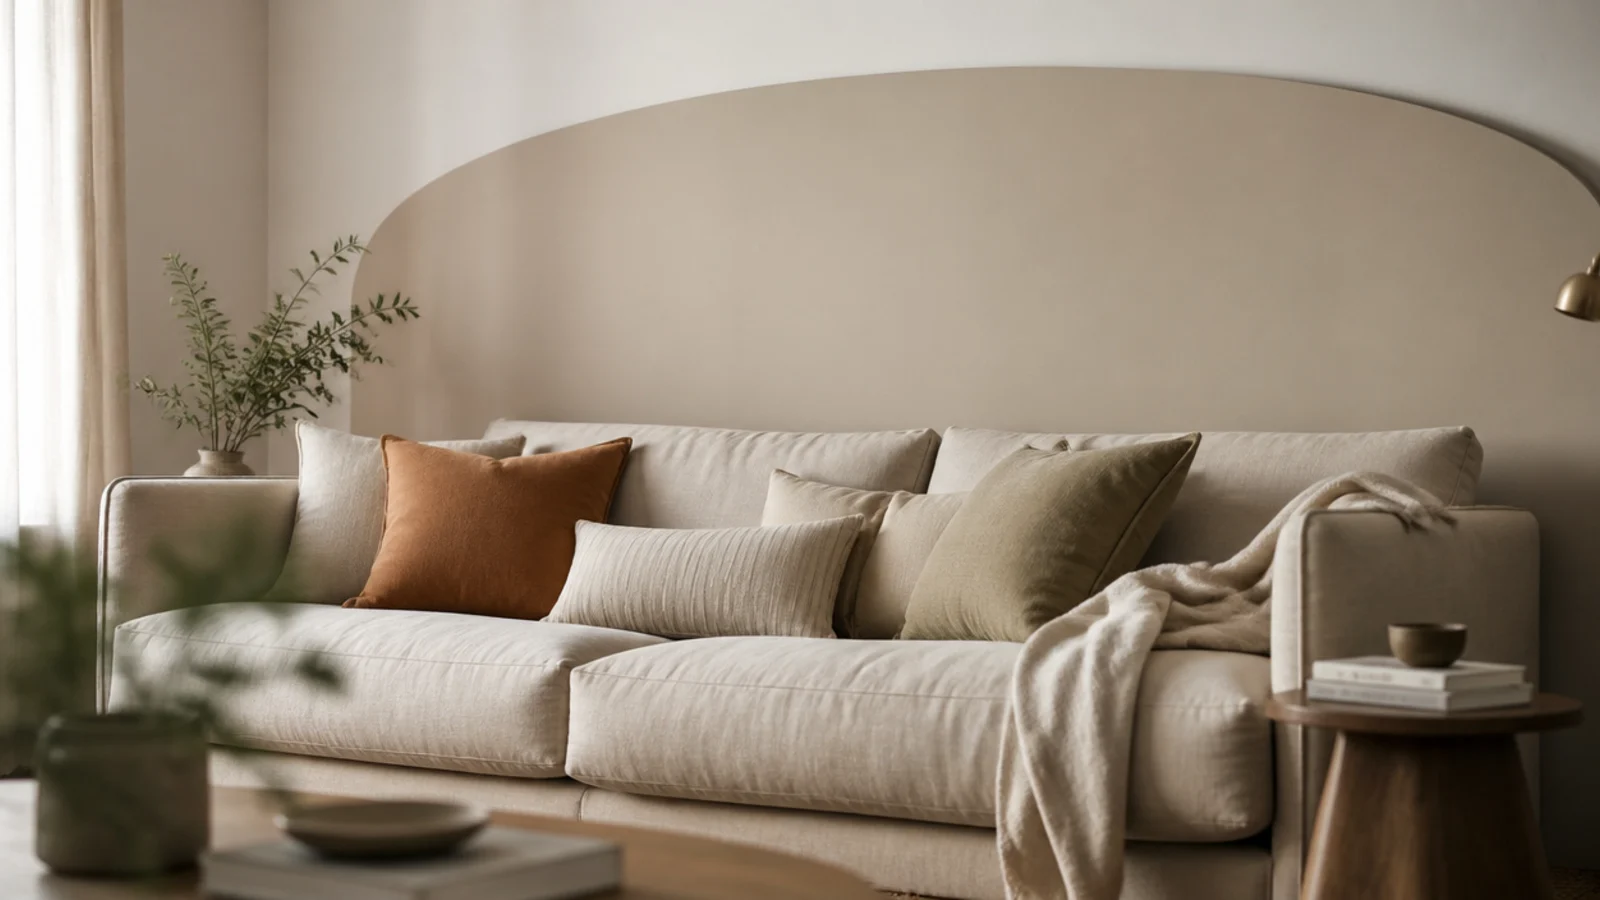
27. Panelling that stops at the door architrave
Panelling needs to end at something real: an architrave, a corner, a chimney breast. Stopping mid-wall with a bare edge always reads as unfinished, no matter how neatly the edge is capped. Plan the ending before the starting point.
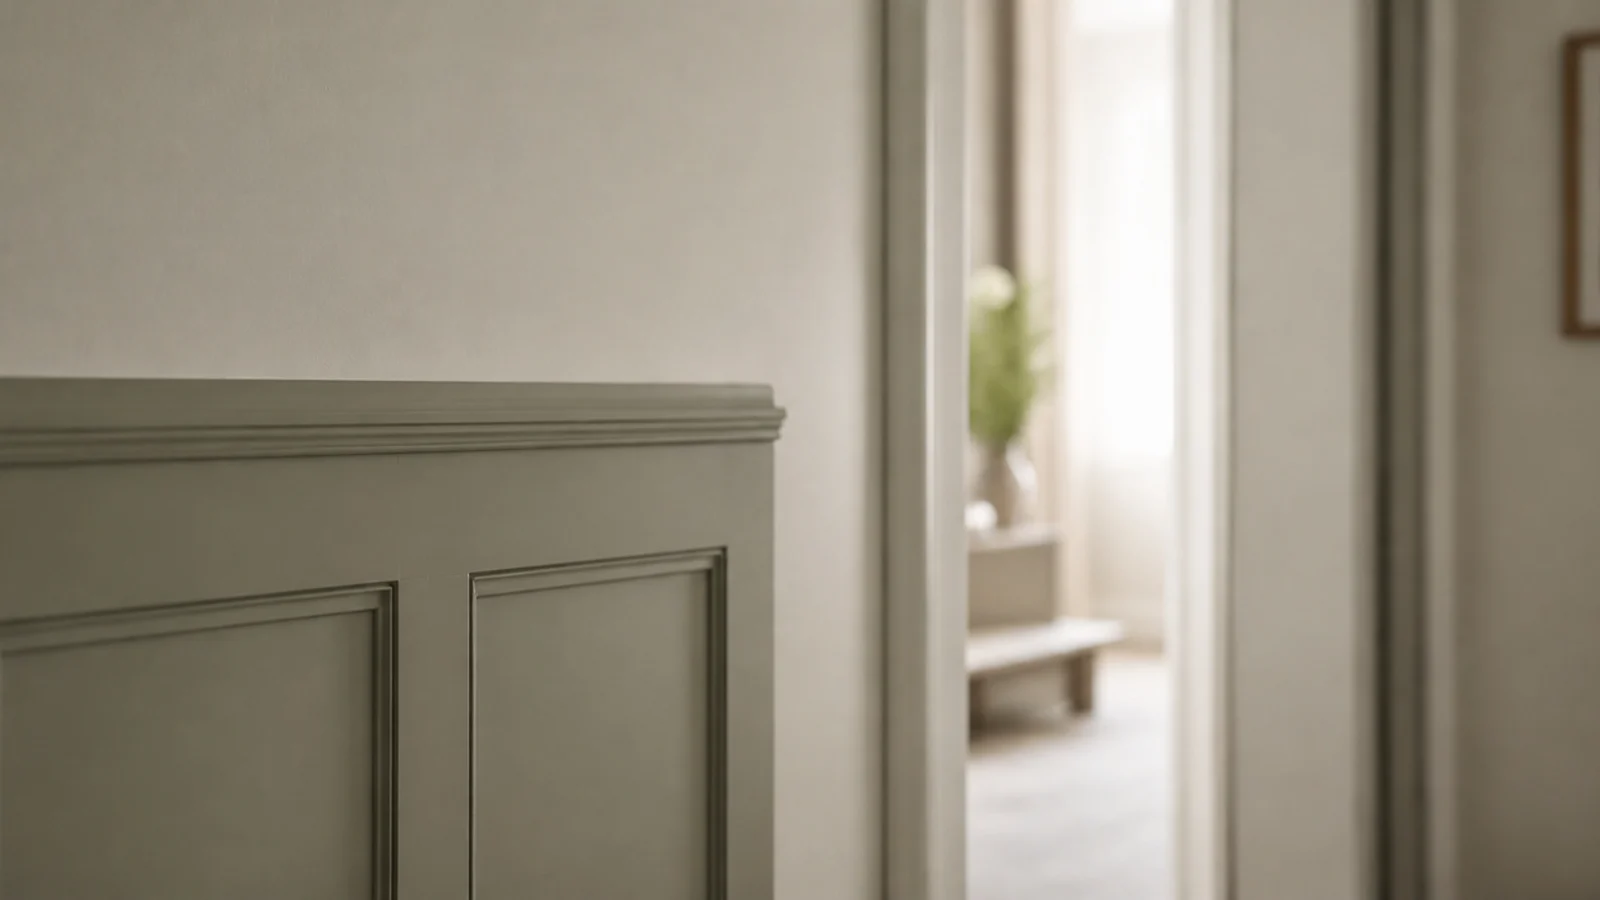
28. A tall narrow panel to lift a low ceiling
Narrow full-height panels at 200 to 300 millimetres wide draw the eye upward in a room with a 2.3 metre ceiling. Wide panels do the opposite. The rule is that the vertical proportion of each bay should be at least three times its width.
29. Caulk every joint before you paint
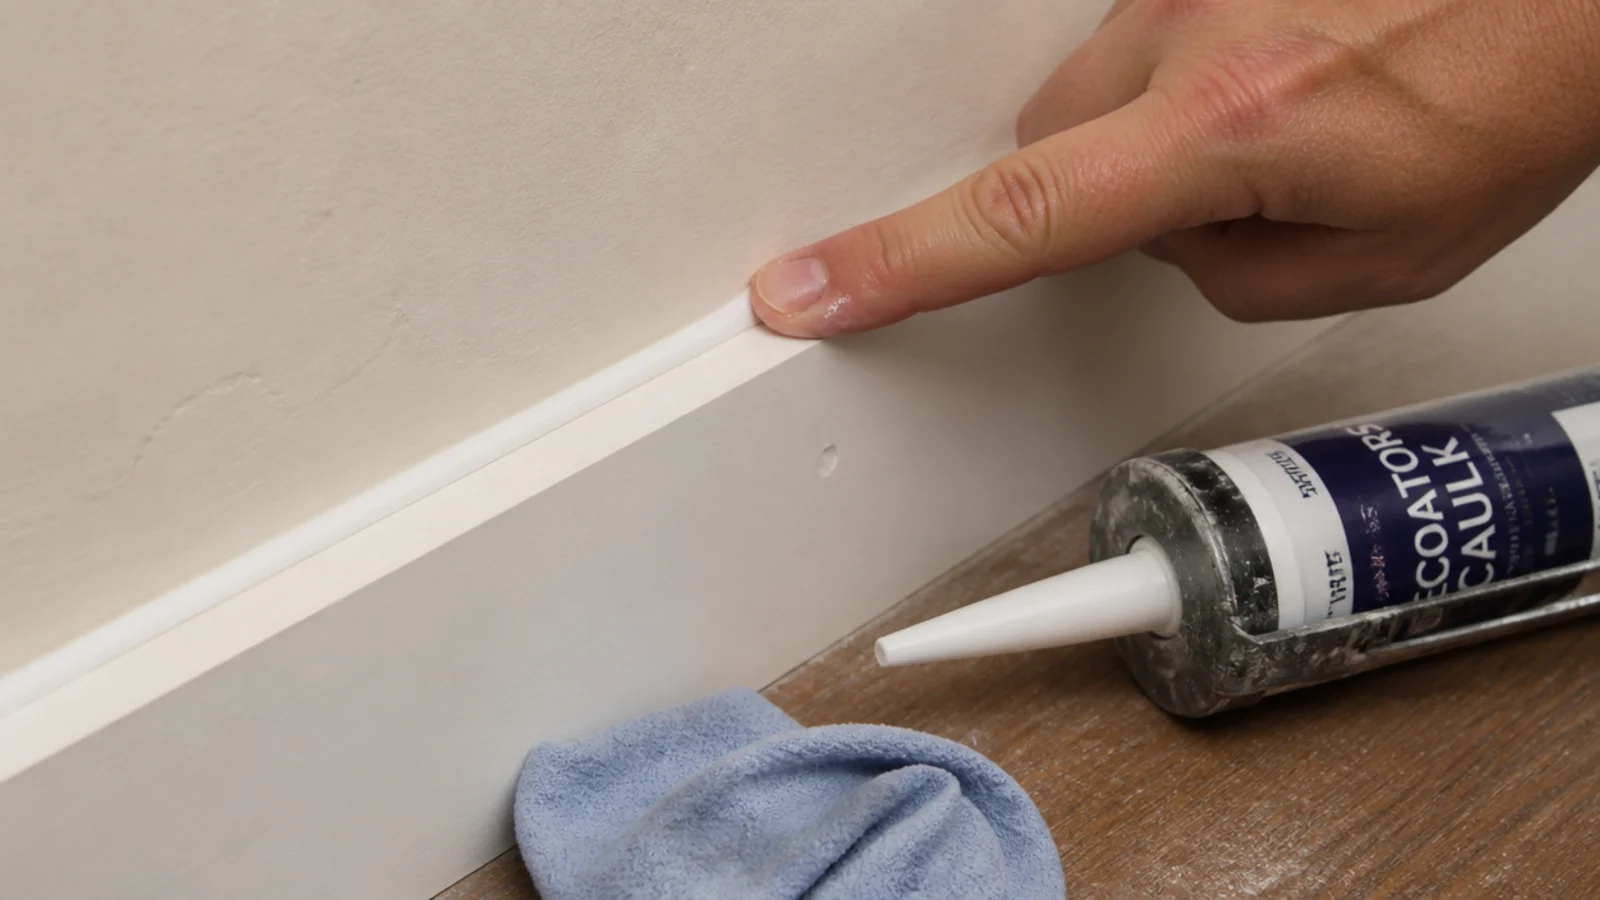
A thin bead of decorators caulk along every internal joint, smoothed with a wet fingertip and wiped, is what makes panelling look built in. Two cartridges cost about 14 dollars. Skip it and every joint shows as a dark line the moment evening sun crosses the wall.
30. Plan the removal before the first panel
Photograph the wall before you start, keep a note of the paint colour code, and use adhesive sparingly in beads rather than spreading it over the full back. Beads lift cleanly; a fully glued panel takes plaster with it. That one decision halves the repair.
For the wall this all usually goes behind, 30 TV wall design looks covers the material choices, and budget living room TV wall ideas has the versions built from a single ripped sheet. On the finish side, wall clock design ideas is worth reading before you hang anything on new panelling, and DIY headboard ideas covers the bedroom version of a panelled feature wall.
Mistakes to Skip
- Gluing panels over wallpaper. The adhesive holds perfectly and the paper does not, so the whole panel comes away with a sheet of paper on its back and takes the skim with it.
- Spreading adhesive across the full back of a panel. Beads every 300 millimetres hold just as well and lift cleanly, which is the entire difference at the end of a tenancy.
- Setting out from a corner. Rental walls drift 10 to 20 millimetres out of square, and starting at a corner pushes every millimetre of that into the middle of the wall.
- Using panelling thinner than 9 millimetres to save money. It bows between fixings, shows every ripple in the plaster, and no amount of filler or paint hides it afterwards.
Frequently asked questions
Can you panel a wall without drilling?
Yes, on sound painted plaster more than four weeks old. Solvent-free grab adhesive plus a few 18 gauge brad pins at 300 millimetre centres holds 9 to 18 millimetre panelling securely. It will not hold on wallpaper, flaking distemper or fresh emulsion, where the surface releases before the adhesive does.
How thick should wall panelling be?
Nine to twelve millimetre MDF suits picture-frame moulding and shaker grids, and 18 millimetre suits board and batten where you want a real shadow line. Below 9 millimetres the strips bow between fixings and telegraph every ripple in the plaster once the paint goes on.
How far apart should battens be spaced?
Two and a half to 3.5 inches wide at 12 to 16 inch centres for board and batten, and 20 to 30 millimetre gaps for slim slat walls. Set the spacing out from the centre of the wall so any part-width bay lands at the ends, where the eye reads it as margin rather than error.
How do you remove adhesive panelling at the end of a tenancy?
Warm the panel with a heat gun on a low setting, then work a wide filling knife behind it and lever gently. Expect to lift some paint and occasionally a skim of plaster. Two thin coats of filler, a sand and a repaint takes a normal feature wall back in about three hours.
What height should half-height panelling finish at?
Between 32 and 48 inches, and roughly a third of the wall height is the reliable rule. On a standard 8 foot ceiling that lands near 32 inches for a classic dado and 40 to 44 inches for the taller modern proportion that suits a media wall.
Want more like this? Browse all 15 tv wall decor guides — they all use the same measurements and budget tiers.
Pin it for later
Save this to your TV Wall Decor board
Pin it now so it is waiting for you when the tape measure comes out — and so the next person hunting for this idea can find it too.
Save this pinKeep going
More ideas worth saving while you have the tape measure out.