TV Wall Decor · Listicle
25 Dreamy Bed Back Wall Design Ideas To Copy

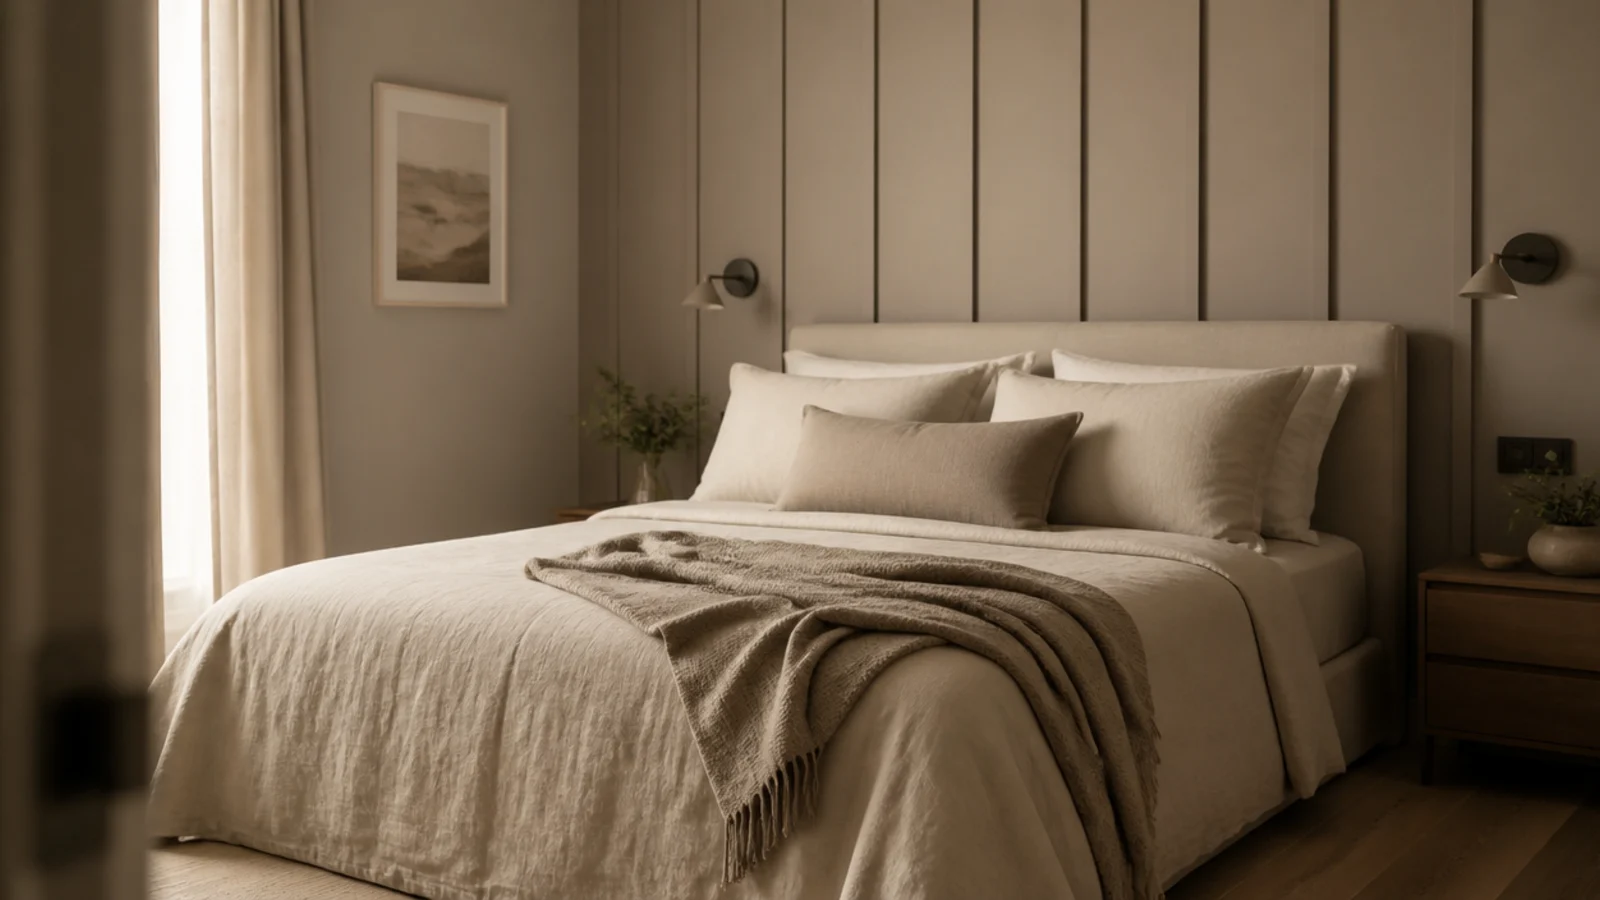
The wall behind a bed is the only surface in a bedroom you never look at while you are in the room, and the first thing anyone else sees from the door. Good bed back wall design is mostly about two heights and one width: where the headboard line falls, where the reading light sits, and how far the treatment runs past the mattress. Get those three right and almost any material works. Here are twenty-five arrangements, with the measurements that make each one sit properly and the fixings that make anything hung above a sleeping head safe.
In this guide27 sections — tap to openHide
- 1.What bed back wall design has to get right
- 2.Panel the mattress width plus a foot each side
- 3.Upholster a panel to fifty-four inches
- 4.Run vertical slats behind the bed only
- 5.Draw an arch in flexible moulding
- 6.Half-height panelling with a shallow ledge
- 7.Swap bedside lamps for wall lights
- 8.Limewash the wall above the headboard
- 9.Stretch fabric across the whole wall
- 10.Colour-drench the wall and the ceiling
- 11.Board and batten to forty-four inches
- 12.Fit a picture ledge above the bed
- 13.Split the wall in two tones at headboard height
- 14.Frame wallpaper inside a moulding box
- 15.Set cane webbing into a headboard panel
- 16.Build bedside shelves into the panelling
- 17.Hang a curtain on a ceiling track behind the bed
- 18.Back the bed with an acoustic felt panel
- 19.Bridge wardrobes over the bed head
- 20.Cut a niche for a phone and a glass
- 21.Paint an arch with no timber at all
- 22.Wrap the bed in one wide moulding box
- 23.Use a timber ledge as the headboard
- 24.Flank the bed with tall narrow mirrors
- 25.Fix anything above a bed into framing
- 26.Put every bedroom light on a dimmer
- 27.Mistakes to Skip
What bed back wall design has to get right
Width. The mattress width plus roughly 12 inches each side. A double is 54 inches, a king 76, so panels land near 78 and 100 inches respectively. Corner to corner is also fine. What reads badly is a panel that stops just short of the bedside tables, which makes the tables look excluded from the arrangement.
Headboard height. Forty-eight to 54 inches from the floor, which is where a bought headboard finishes. Above 60 inches a panel starts to feel institutional under an 8 foot ceiling, unless it runs full height and reads as panelling instead.
Light height. Wall lights at 48 to 54 inches, roughly 24 to 30 inches above the mattress top, set 4 to 6 inches outside the mattress edge. Between 300 and 450 lumens in a warm 2700K bulb is enough to read by without waking the person beside you.
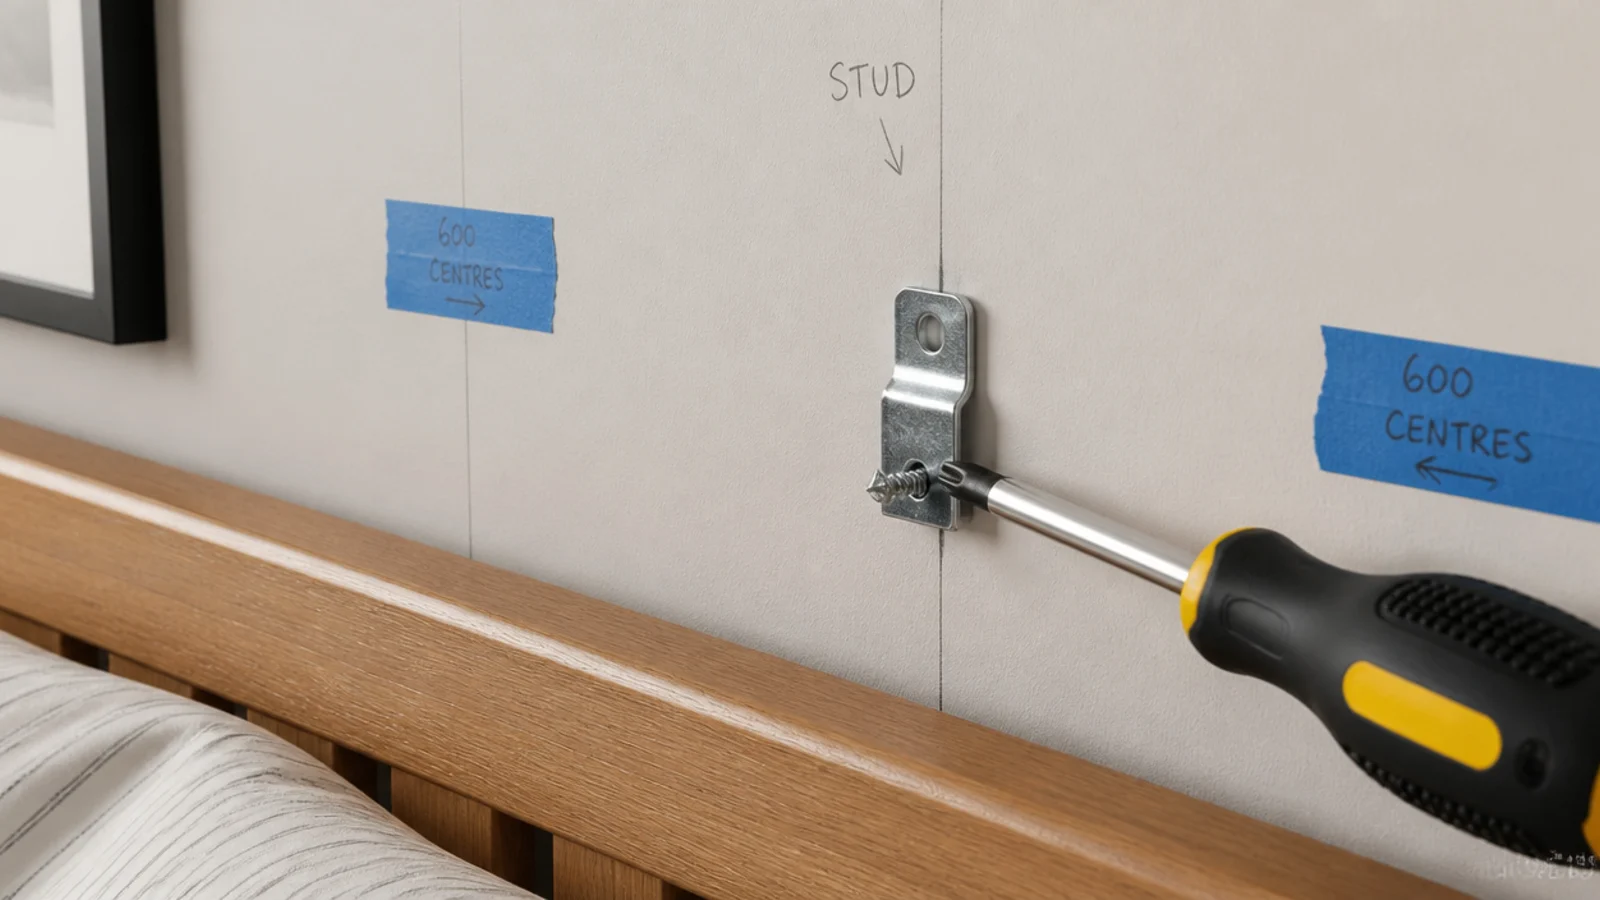
Fixings. Anything above a bed goes into framing at 16 inch or 400 millimetre centres, never into plasterboard plugs, and stays as light as the design allows. Use LED candles rather than open flame on a ledge near bedding.
Reversibility. Paint, limewash and clay all reverse with a repaint. Panelling goes on grab adhesive over sound painted plaster more than four weeks old. Renter-friendly wall panel designs covers that fixing method in full.
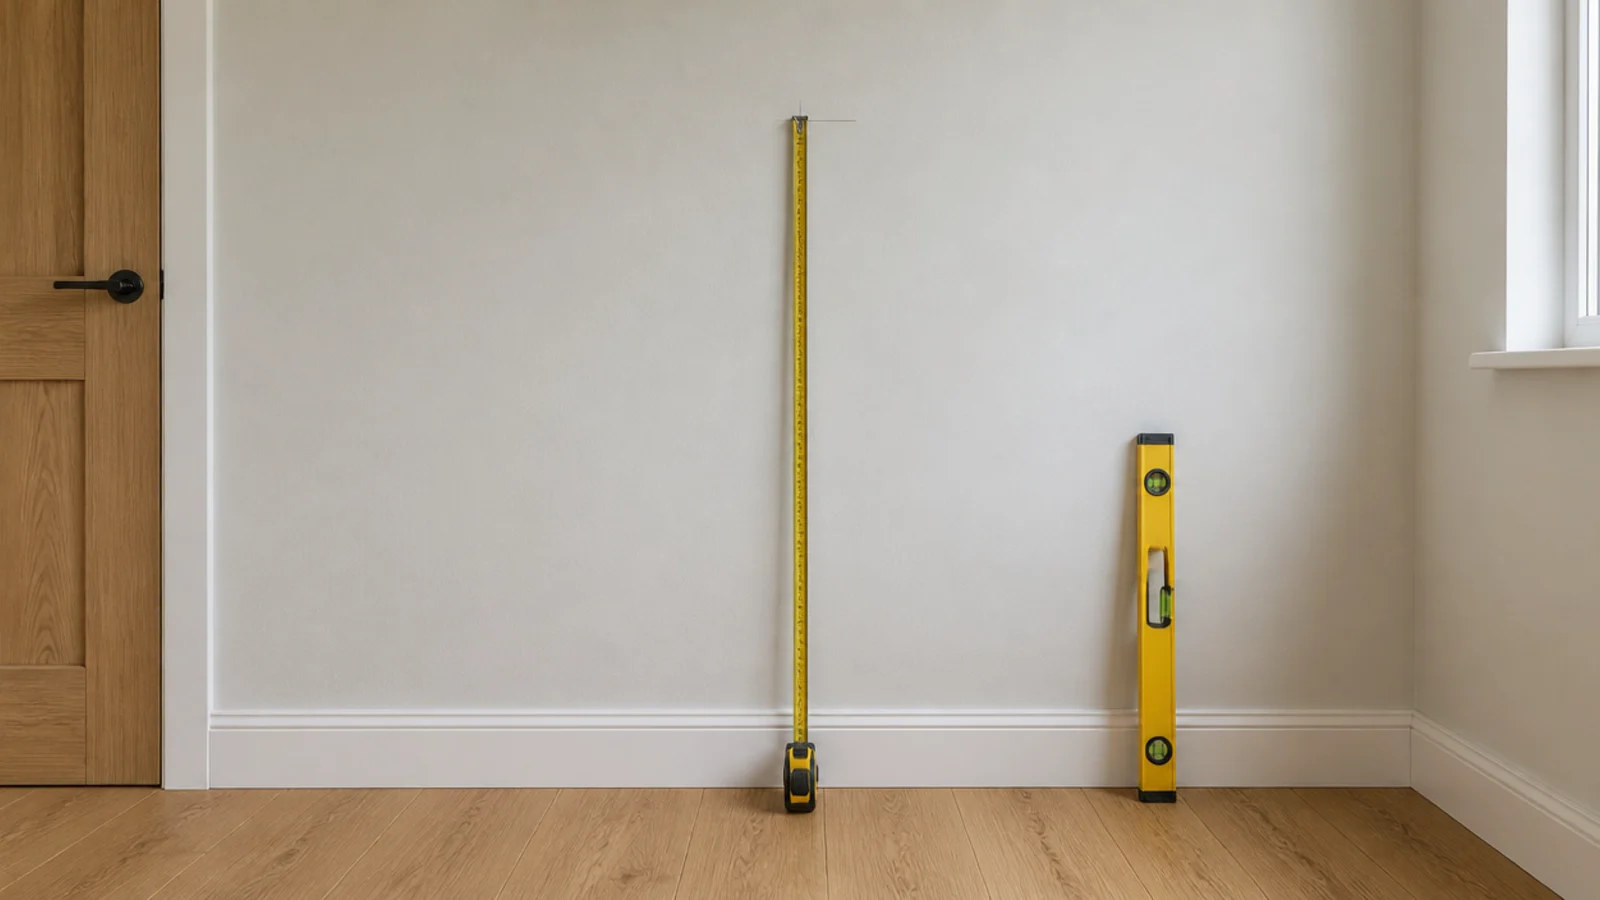
1. Panel the mattress width plus a foot each side
The single decision that makes a panelled bed wall look intentional. The panel should be wide enough that both bedside tables sit inside it, which visually gathers the whole arrangement into one composition rather than three separate objects on a wall.
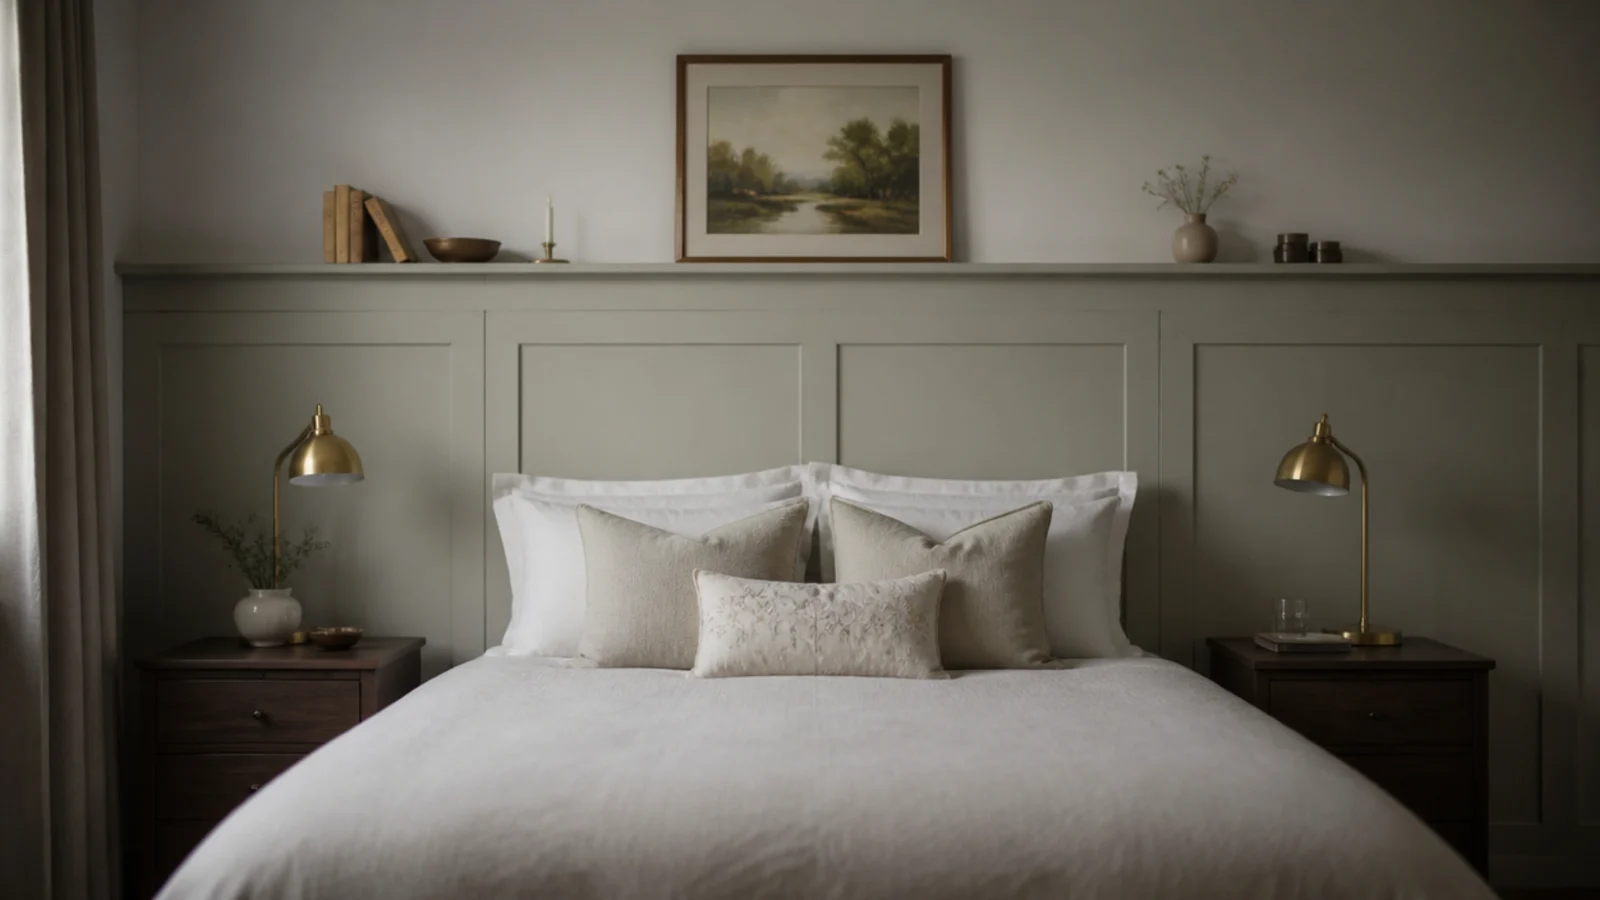
2. Upholster a panel to fifty-four inches
A stretcher frame covered in linen or wool, hung on a French cleat, gives a headboard that spans wider than any bought one. Allow 10 percent extra fabric for the wrap. Expect 120 to 300 dollars in materials for a king width, against 500 upwards for a bought upholstered headboard.
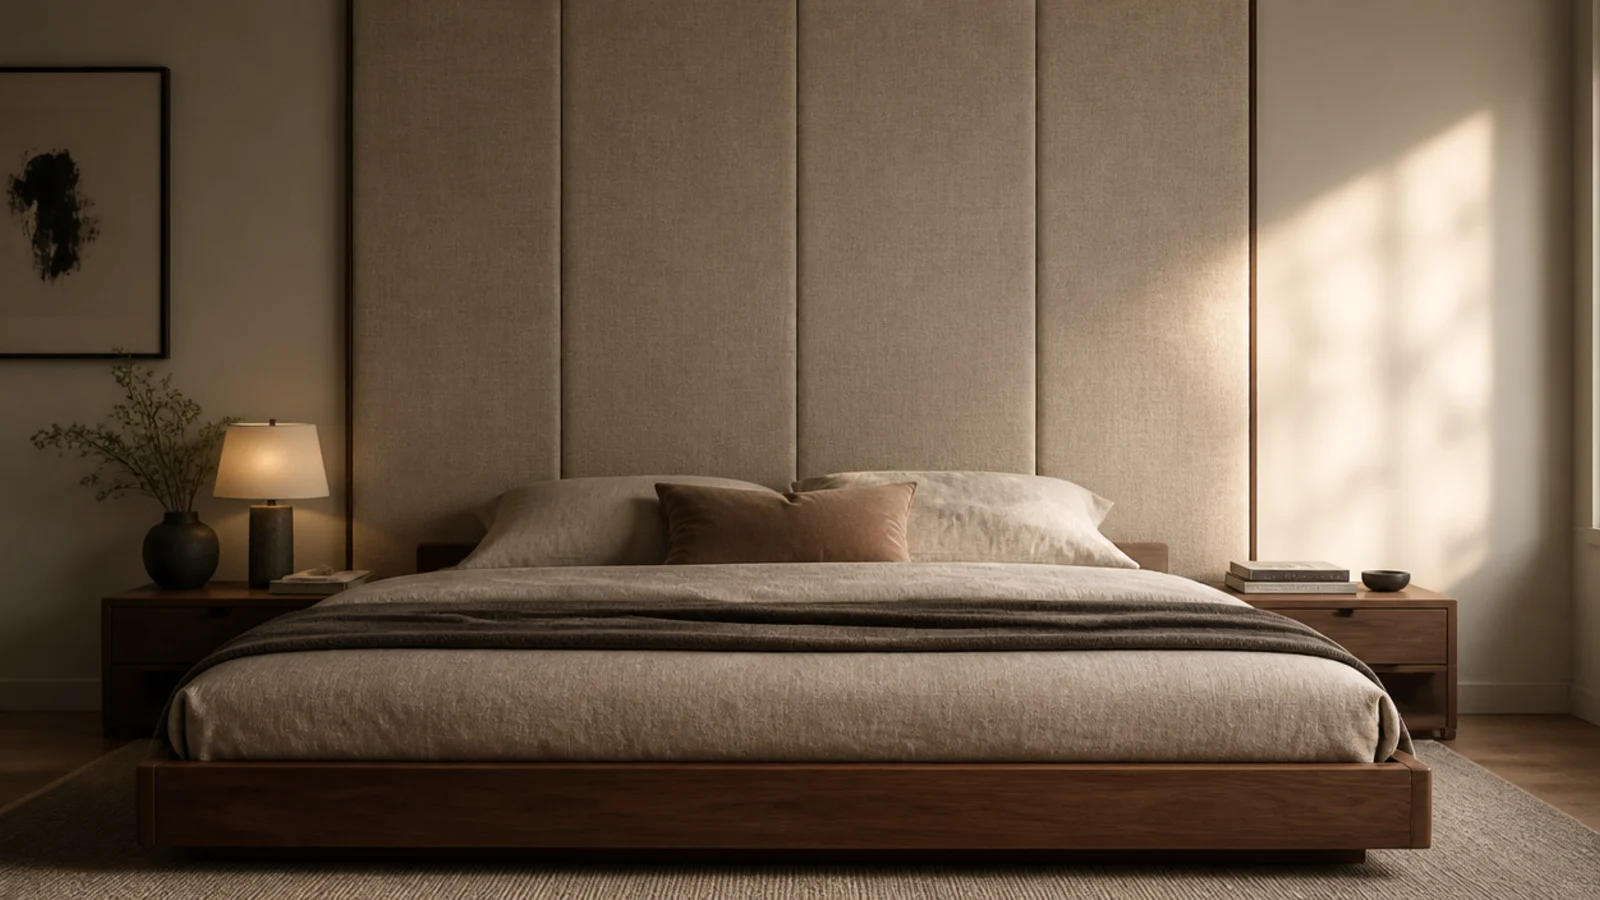
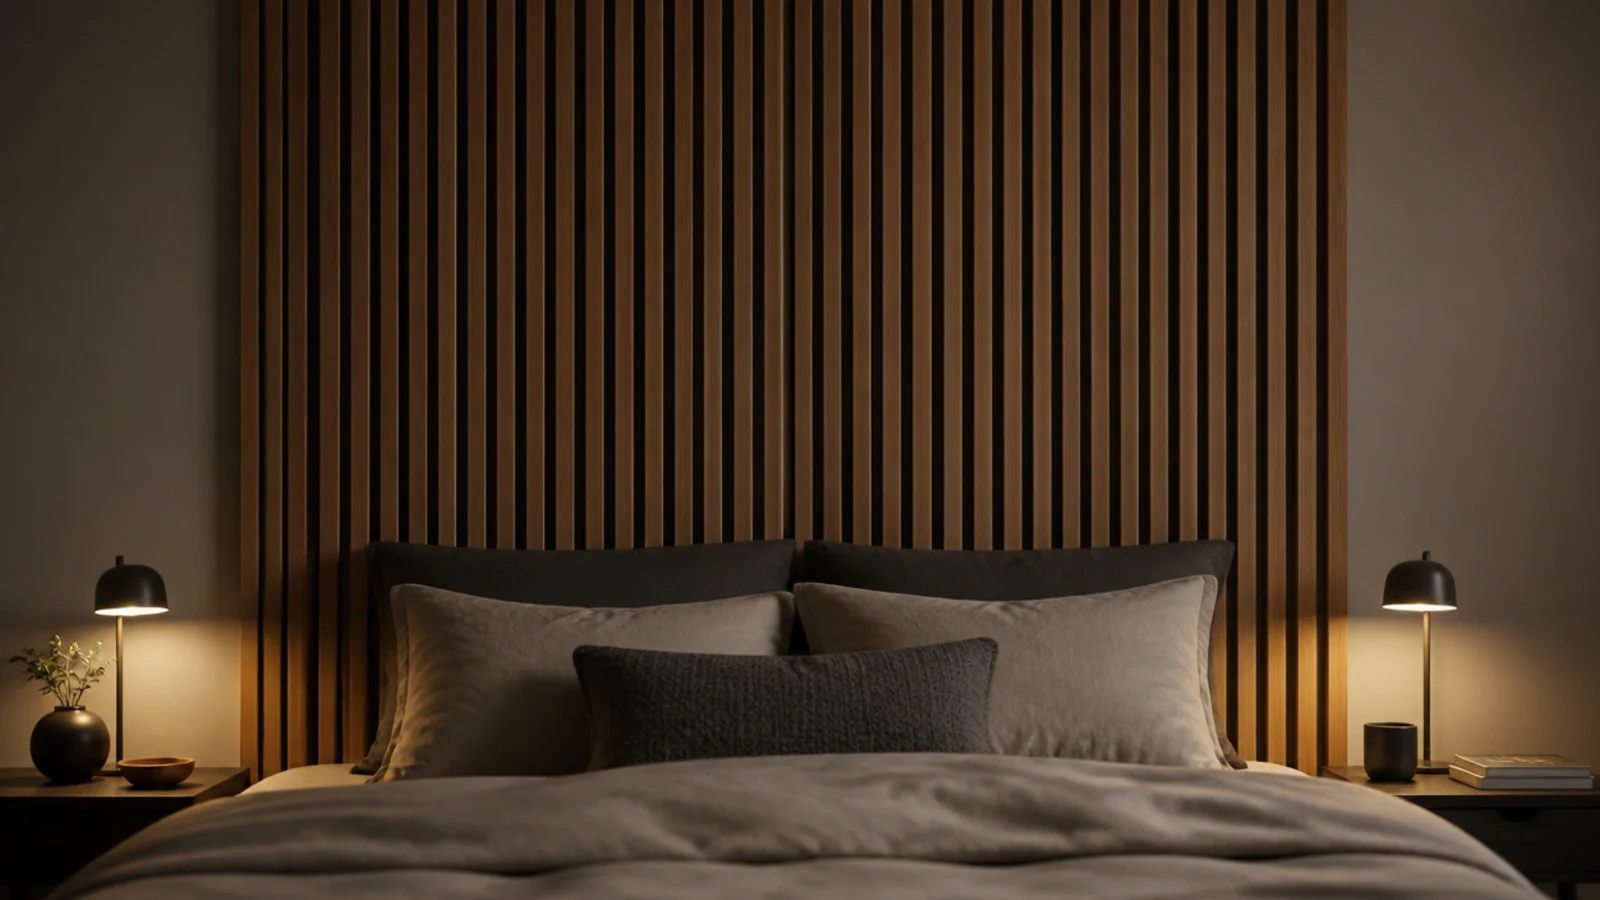
3. Run vertical slats behind the bed only
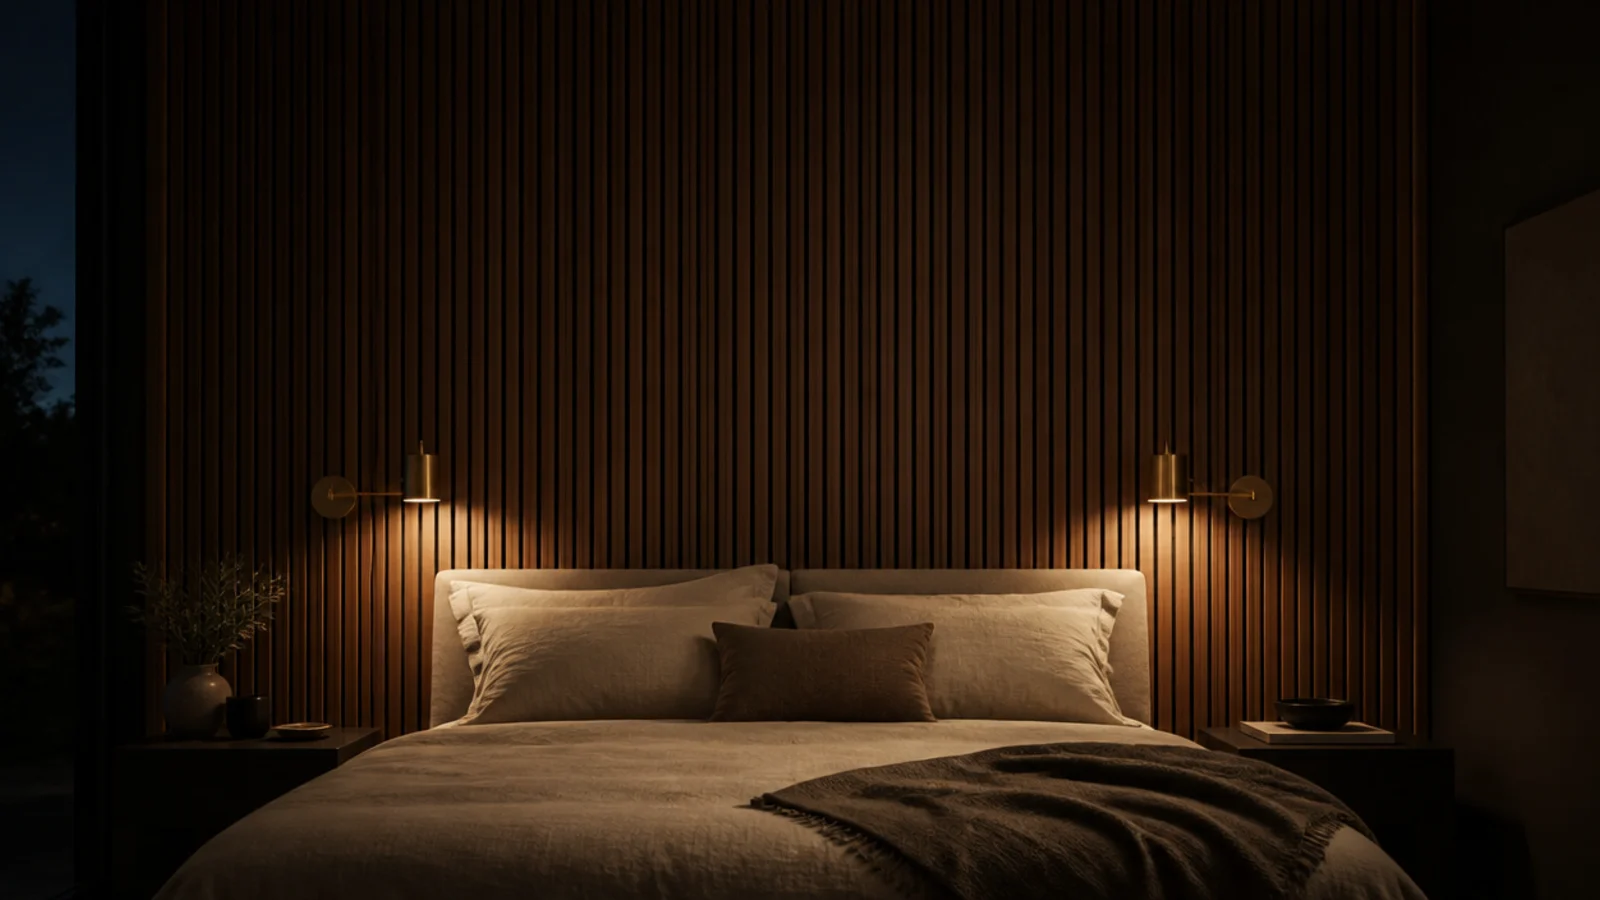
Slats at 20 to 30 millimetre gaps over a dark felt backing, stopping at the panel edges rather than running to the corners. The vertical rhythm adds height in a room with a low ceiling, and the felt behind takes the edge off room echo.
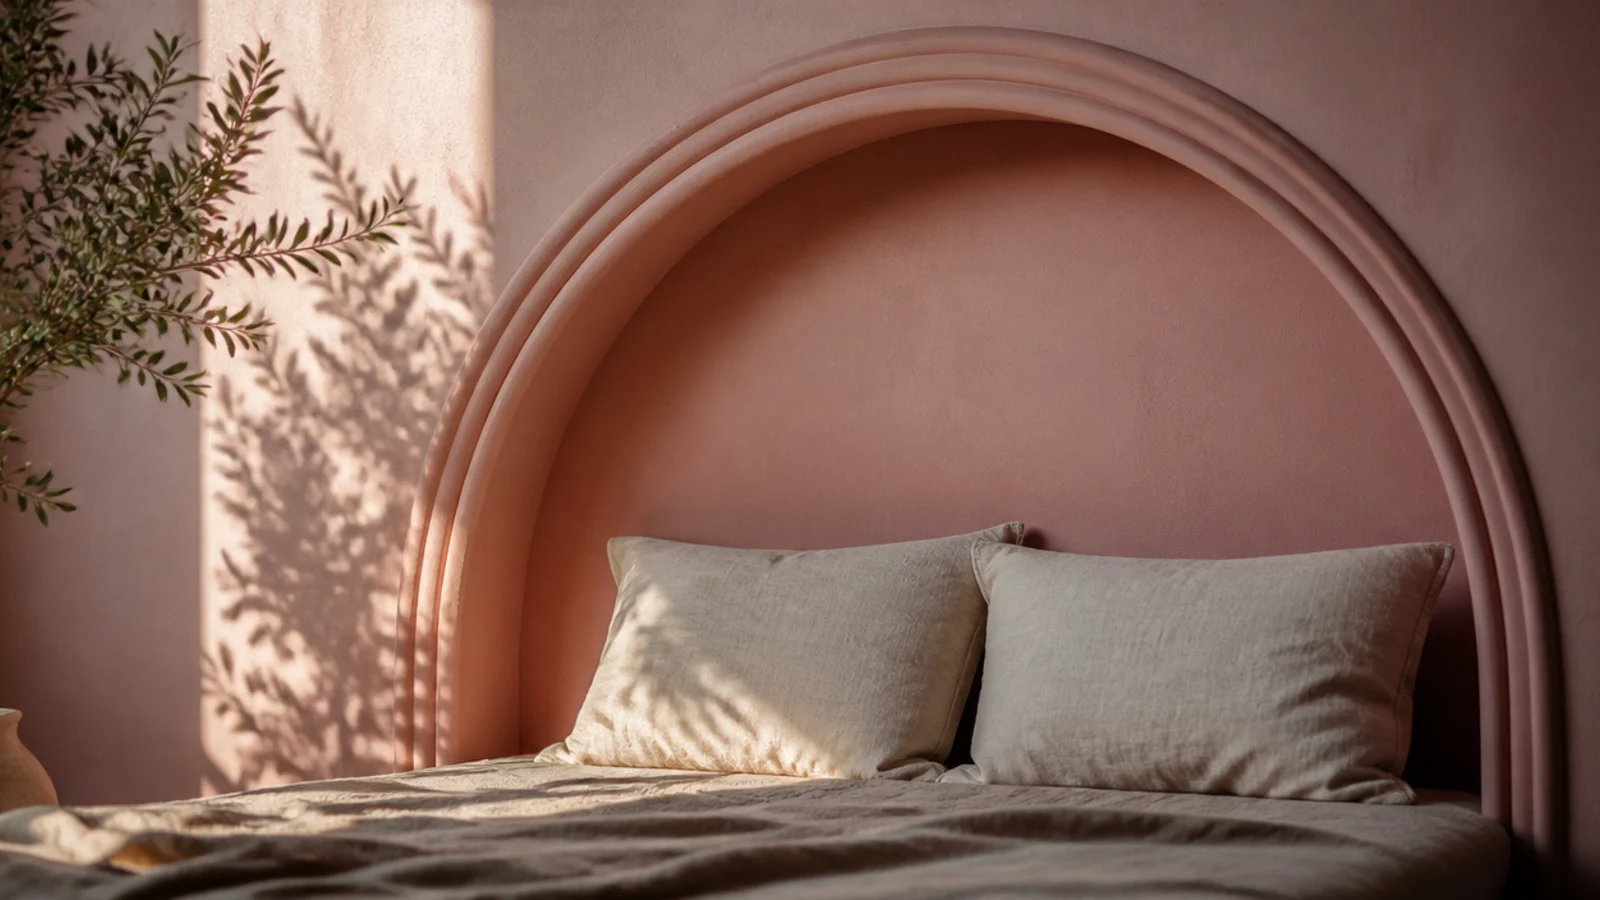
4. Draw an arch in flexible moulding
Flexible moulding bends to a 600 millimetre radius and pins in place for about 40 dollars. Spring the curve above pillow height so it is not cropped by cushions, and paint inside the arch two steps deeper than the surrounding wall for the impression of a recess.
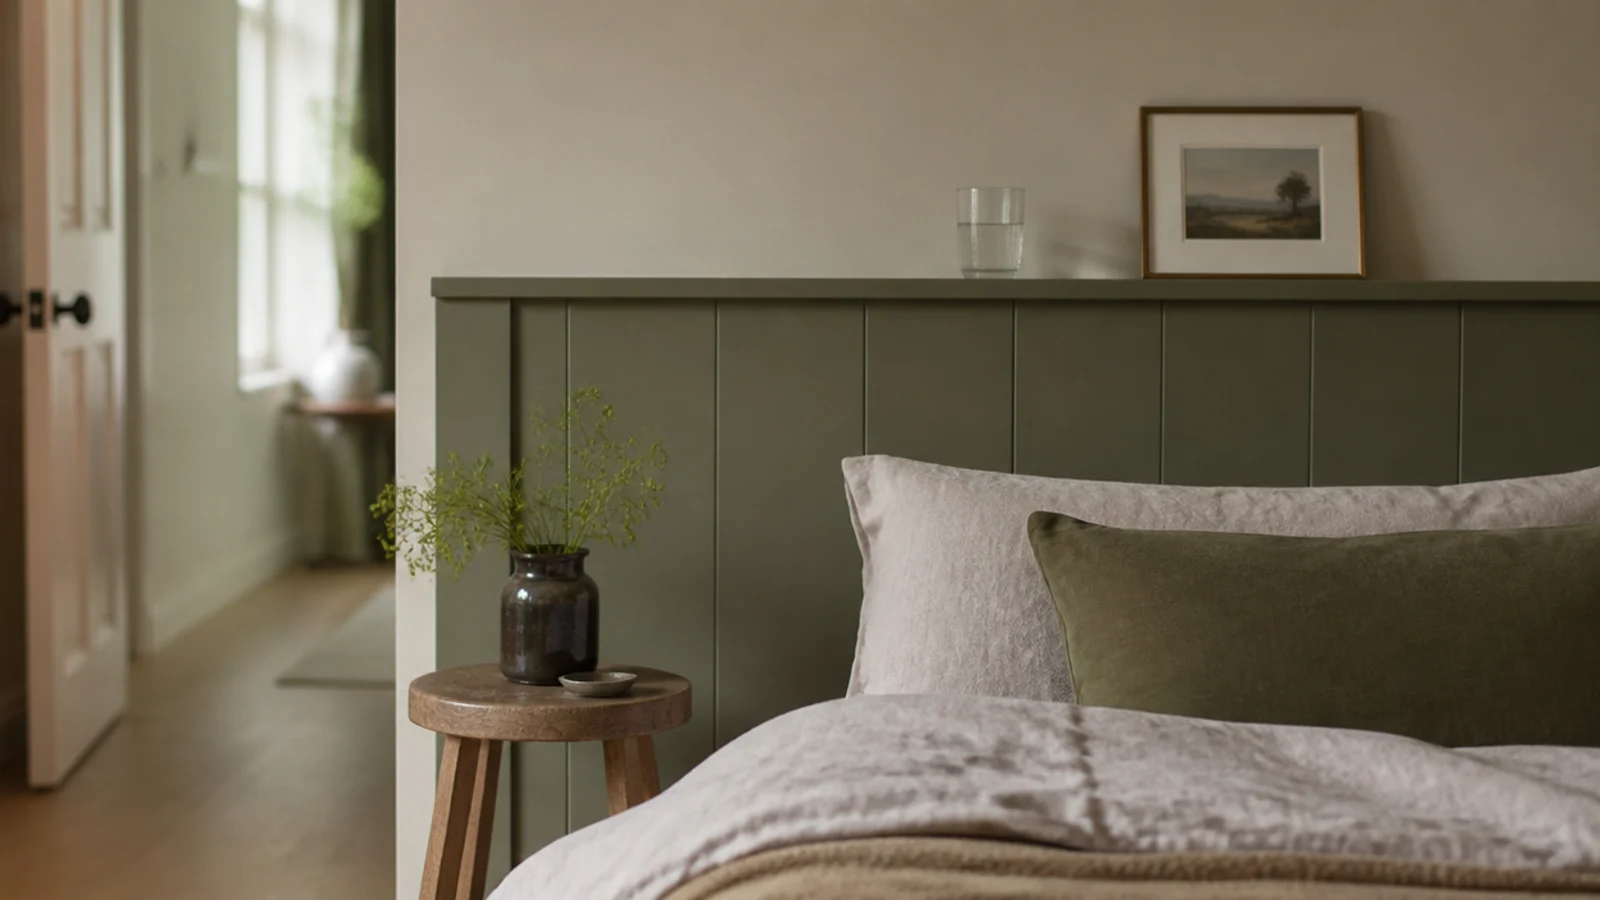
5. Half-height panelling with a shallow ledge
Cap the panelling at 44 inches with a 90 millimetre ledge and a 6 millimetre front lip. It gives you somewhere for a glass and a book without a bedside table, which is genuinely useful in a room too narrow for one on both sides.
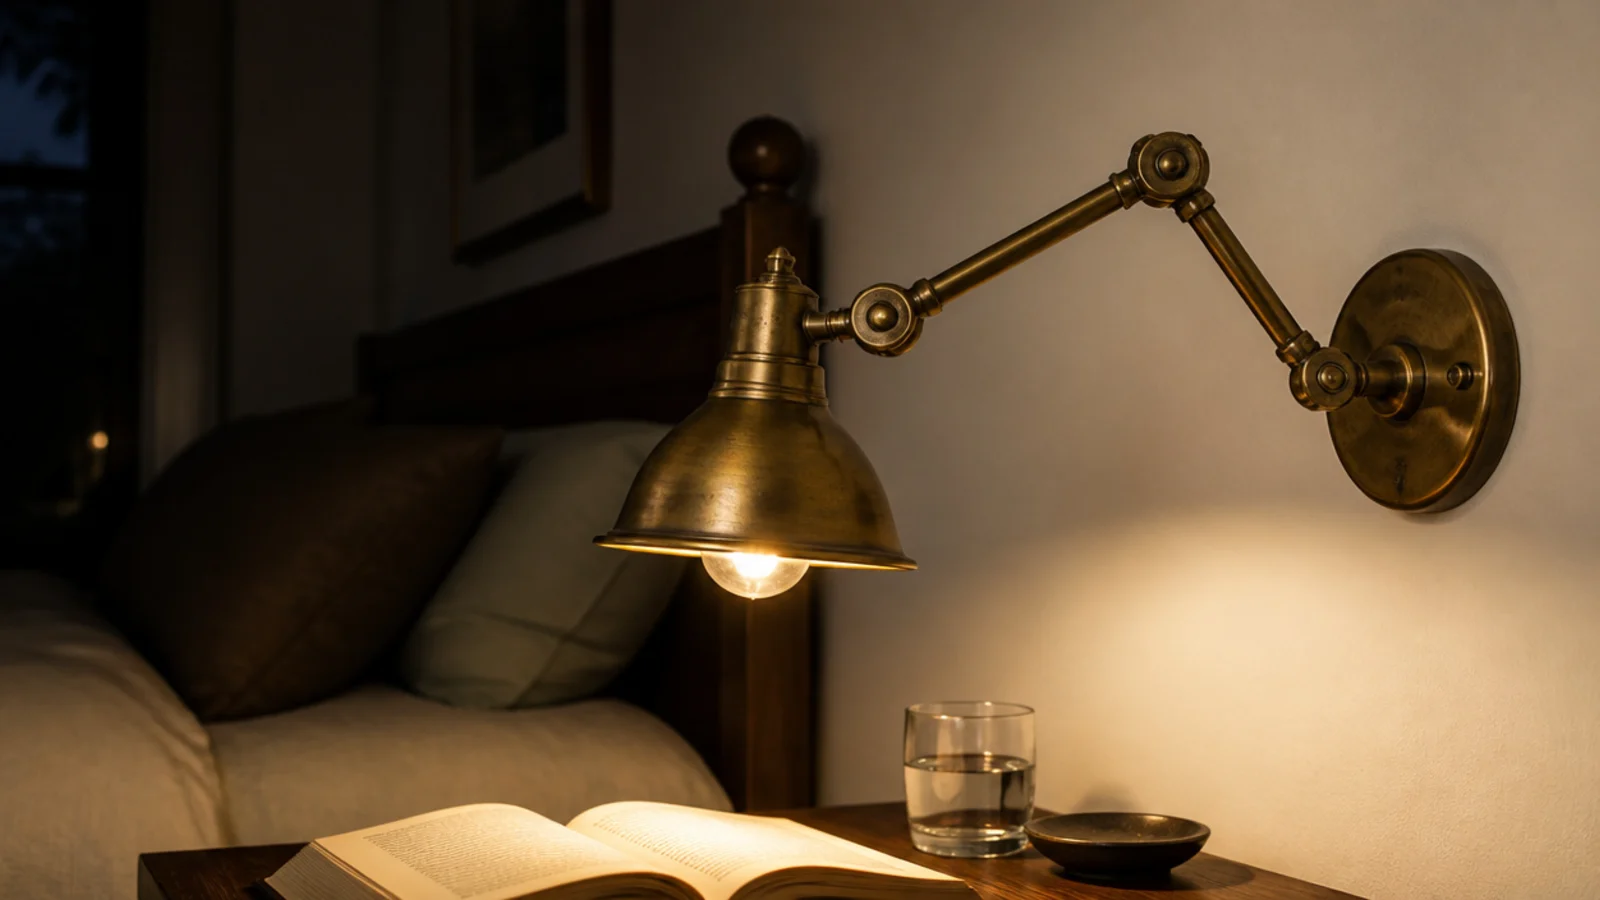
6. Swap bedside lamps for wall lights
A swing-arm sconce at 48 to 54 inches puts light on the page and gives back the entire table top. Plug-in versions exist for renters at 40 to 90 dollars. Choose 300 to 450 lumens at 2700K — anything brighter lights the room rather than the book.
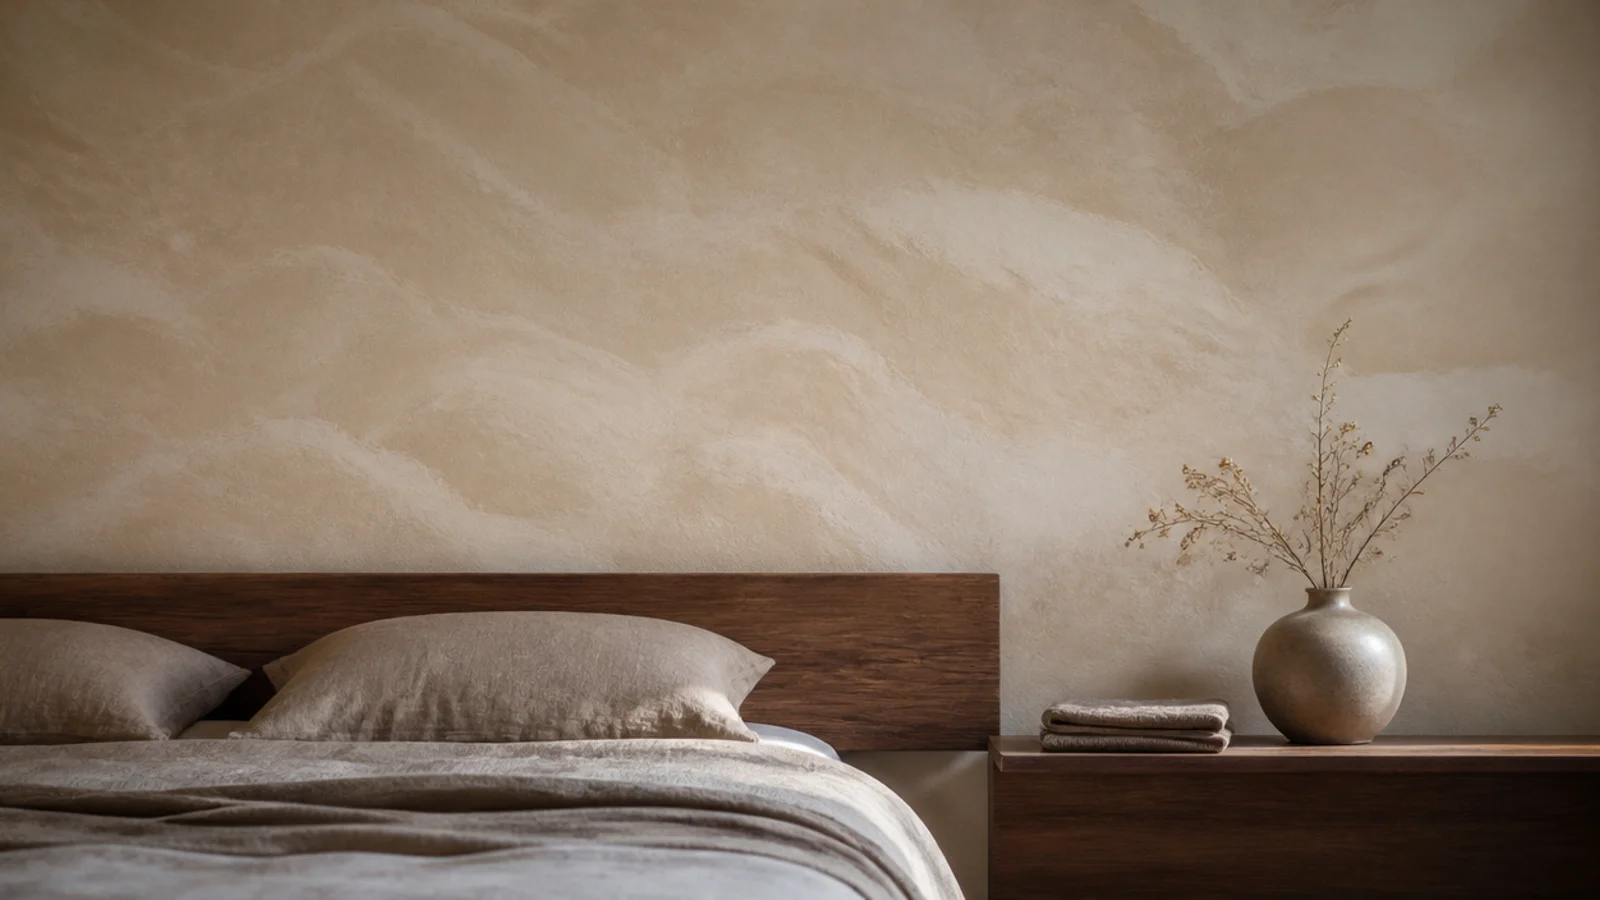
7. Limewash the wall above the headboard
Two coats over a mineral primer, about 10 square metres per litre per coat. Limewash can chalk slightly for the first weeks, so keep it above pillow height or seal it with a breathable matt finish before white bedding goes anywhere near it.
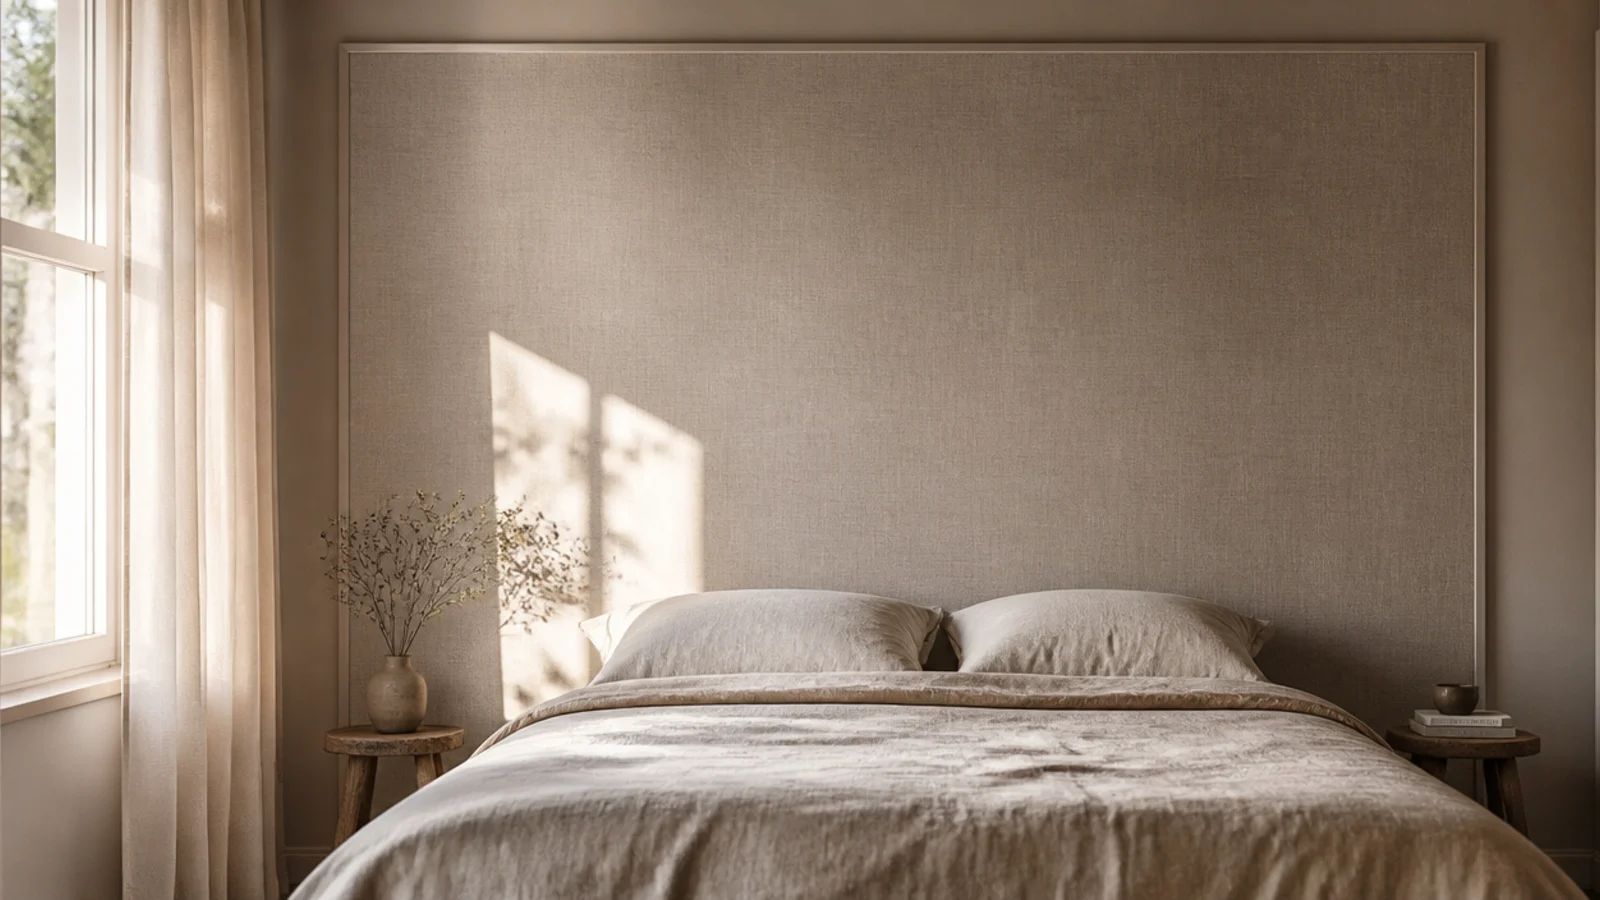
8. Stretch fabric across the whole wall
Linen over a slim batten frame hides a wall past economical repair and softens the acoustics of a hard bedroom. It comes down leaving a handful of pin holes, which makes it one of the safest rental options here. Choose a visible weave, not a flat cotton.
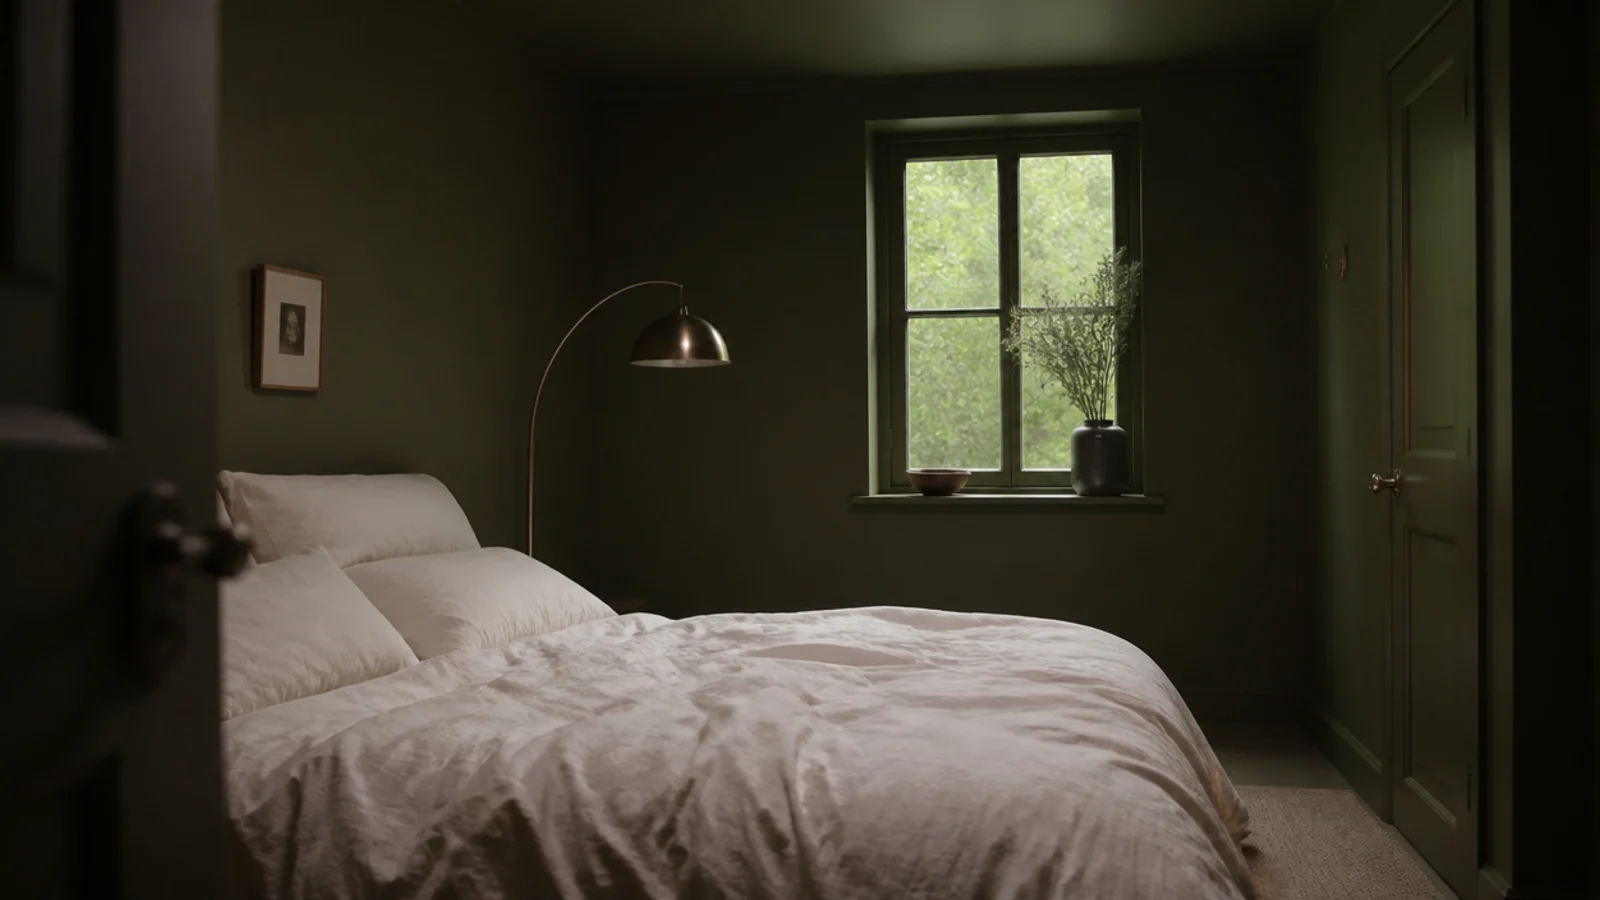
9. Colour-drench the wall and the ceiling
Painting walls, ceiling and skirting in one muted shade removes every edge the eye uses to measure a small bedroom. Matt on walls and ceiling, eggshell on the woodwork. Three tins and a weekend, and white bedding against it does most of the styling for you.
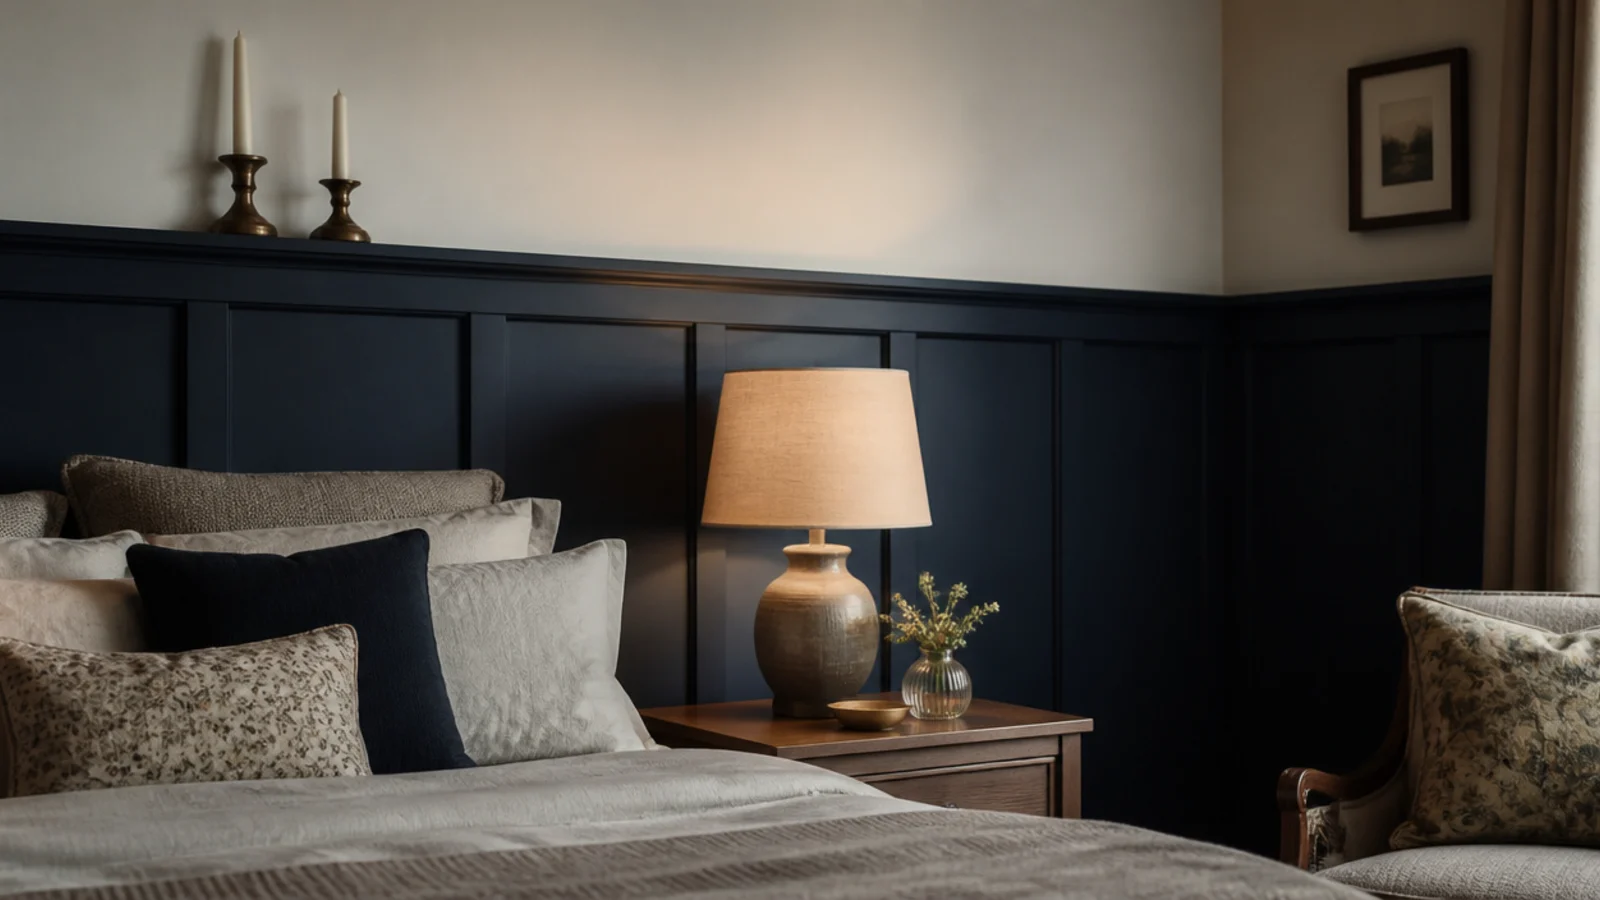
10. Board and batten to forty-four inches
Battens 2.5 to 3.5 inches wide at 12 to 16 inch centres with a capping rail at 44 inches. It sits just above the mattress line, so the bed reads as sitting inside the panelling rather than in front of it. Paint wall and battens the same colour.
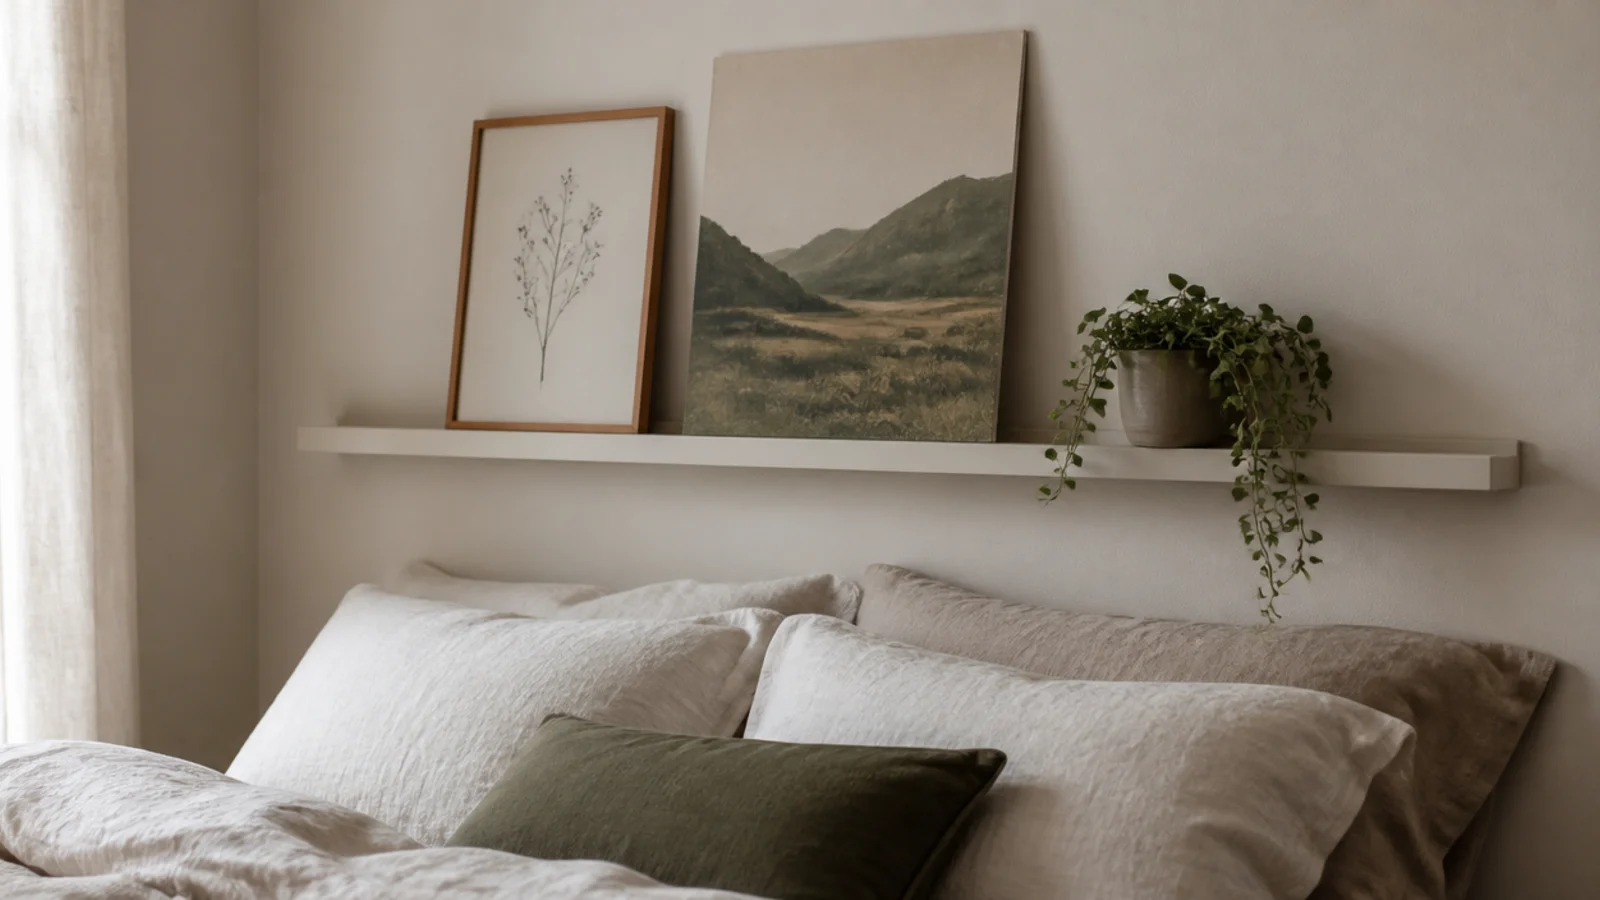
11. Fit a picture ledge above the bed
A ledge above a bed must go into studs and carry only light things — unframed prints, a small plant, nothing glass or heavy. Set it at least 12 inches above the headboard top so nobody catches their head on it when they sit up.
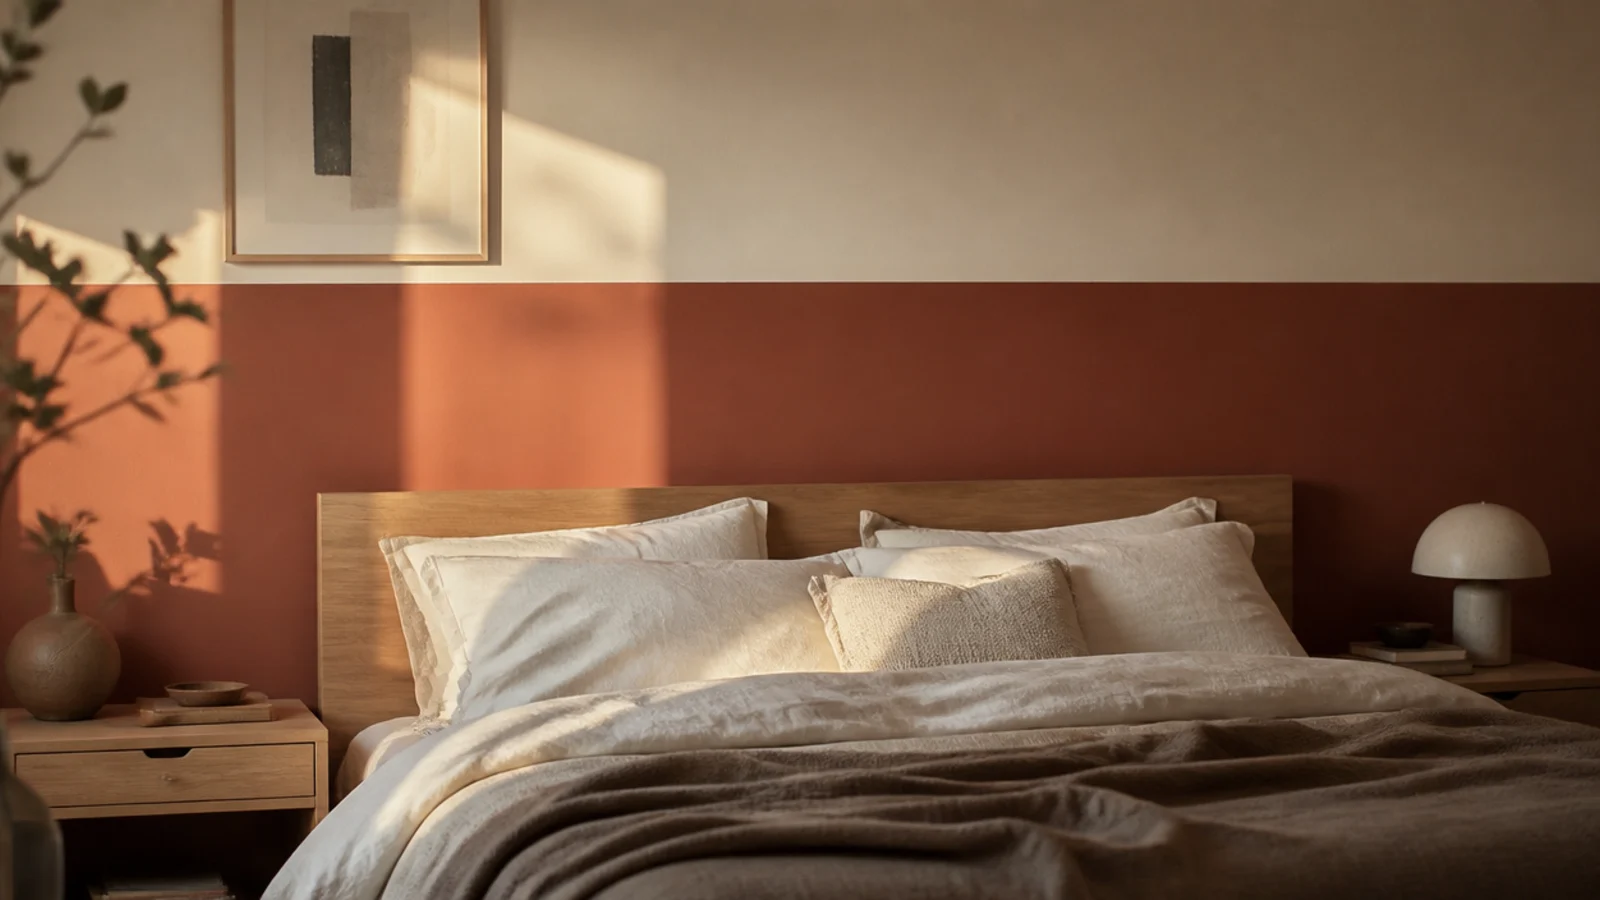
12. Split the wall in two tones at headboard height
The cheapest bed wall on the list. A break line at 48 to 54 inches, darker below and lighter above, both in matt. It reads as a headboard from the doorway and costs one extra tester pot and a roll of low-tack tape.
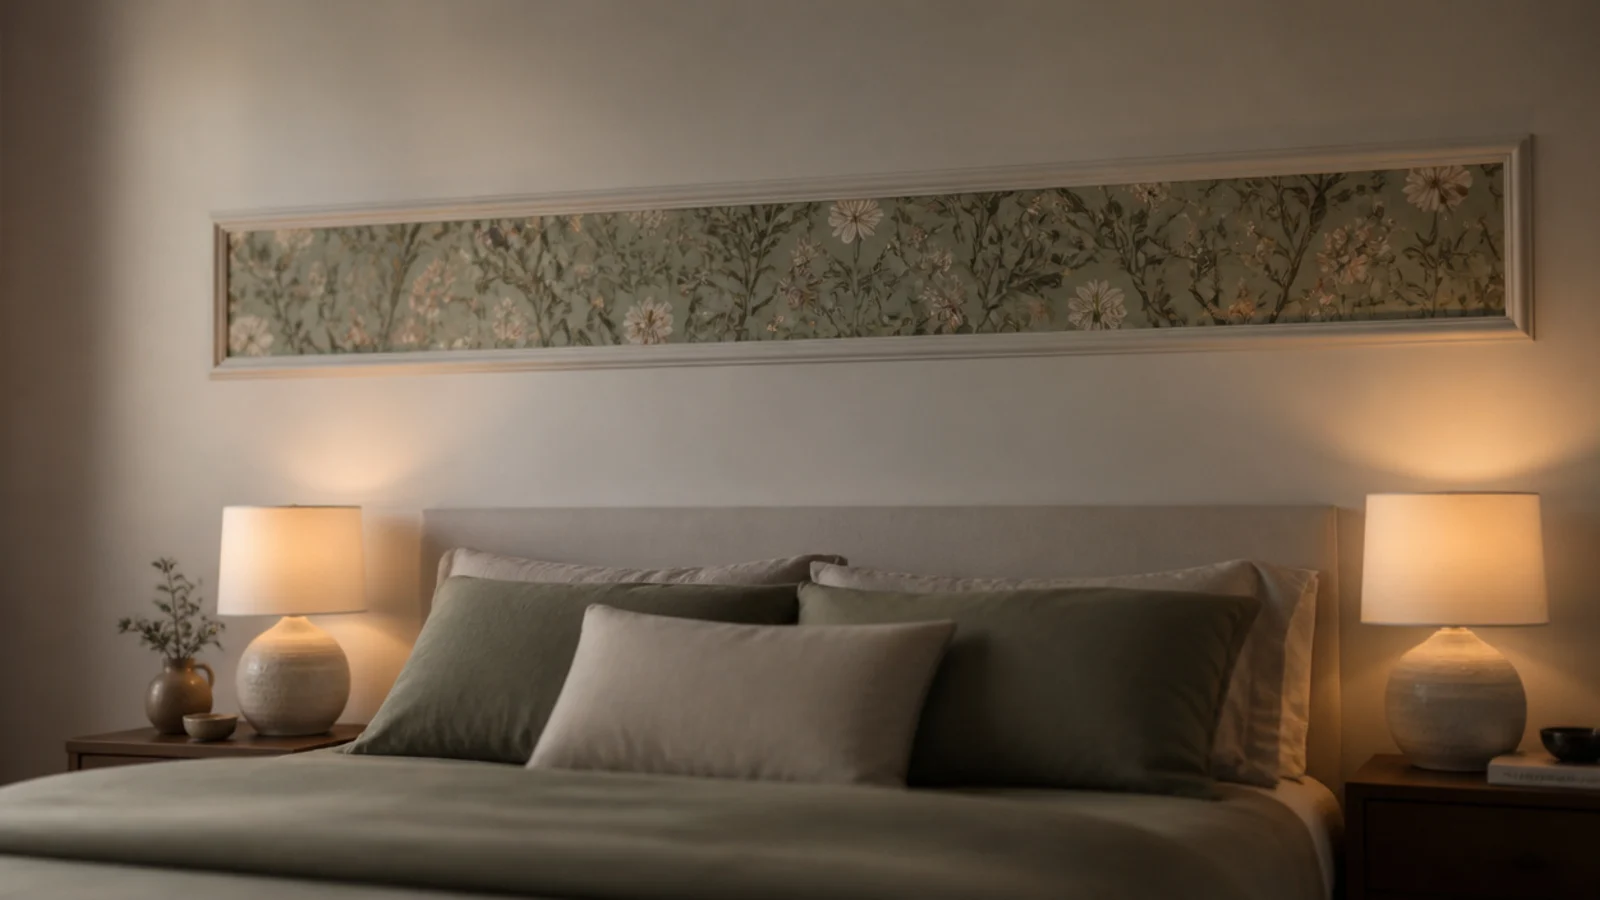
13. Frame wallpaper inside a moulding box
A full wall of paper runs 90 to 200 dollars. One box framed in slim moulding above the bed is under 40 and looks deliberate. Size the box to the bed width plus a foot each side so it relates to the furniture rather than floating.
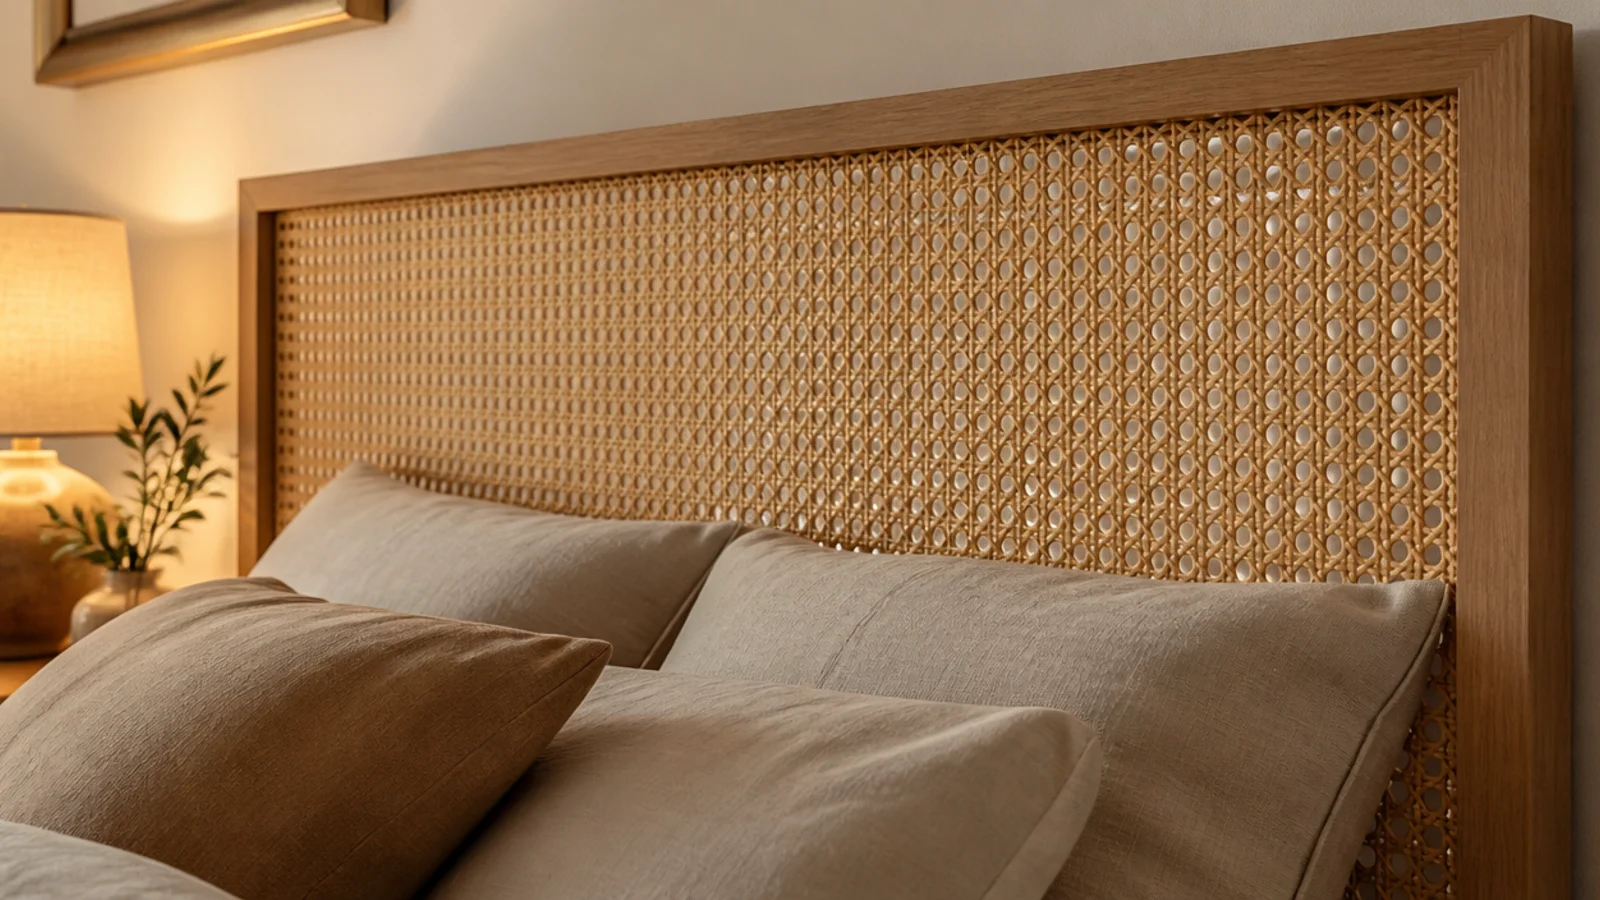
14. Set cane webbing into a headboard panel
Cane at 20 to 40 dollars a metre stapled into a slim frame gives texture without pattern and lets air move, which matters directly behind pillows. Soak it briefly and let it dry in the frame — it shrinks taut and pulls itself flat.
15. Build bedside shelves into the panelling
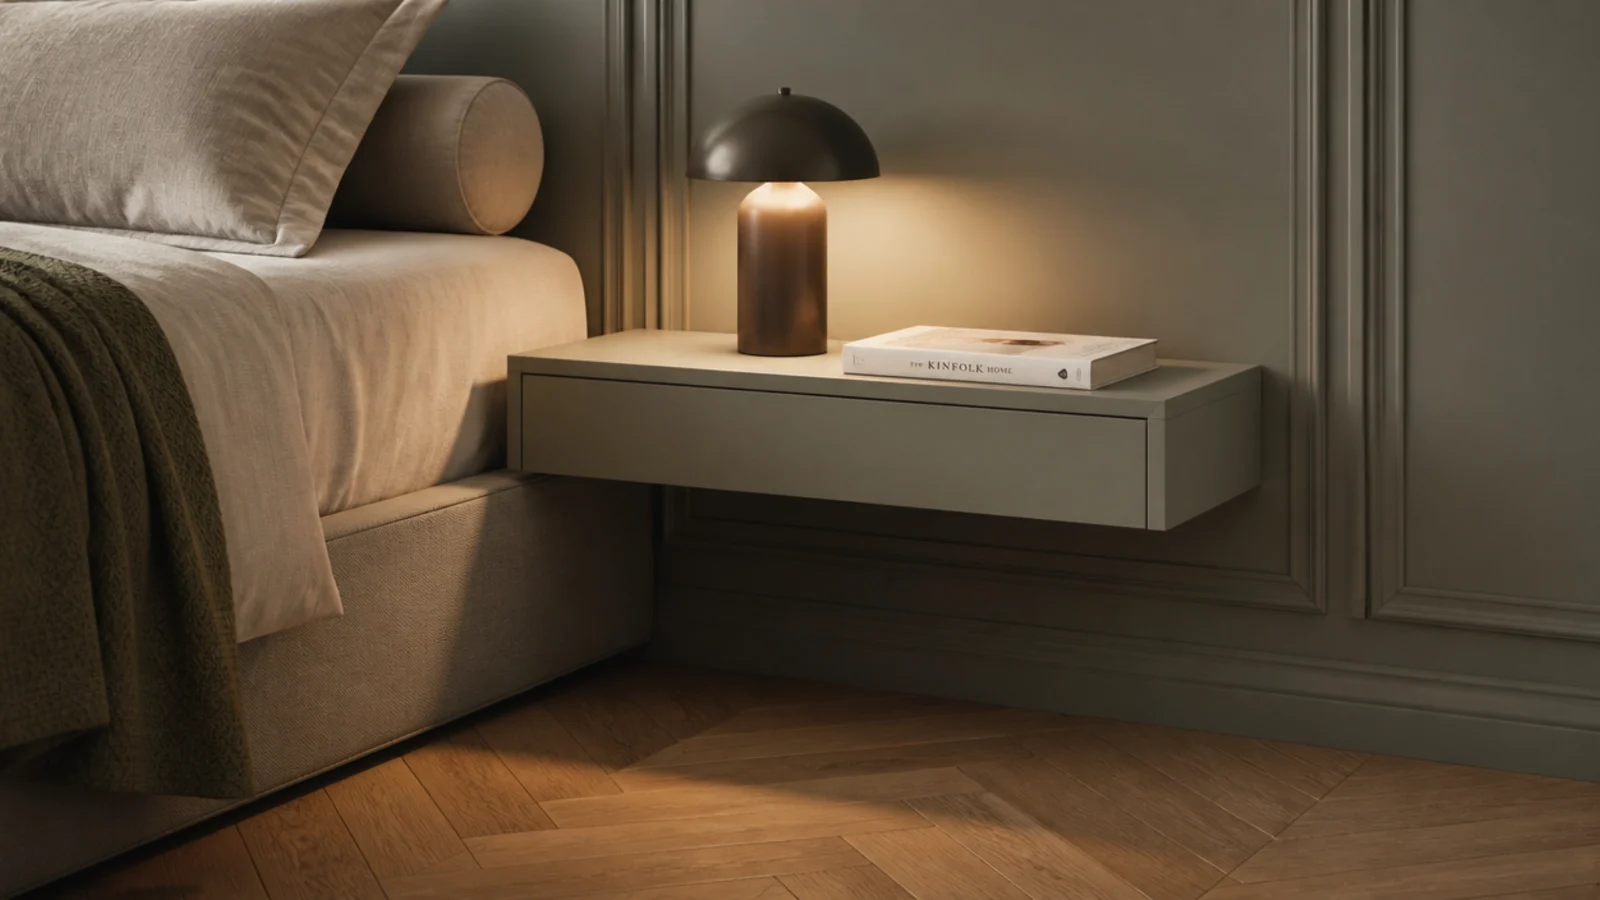
A shelf at 26 inches, within two inches of the mattress top, does the job of a bedside table and takes no floor at all. In a narrow room that is often the difference between a walkway you can use and one you sidle through.
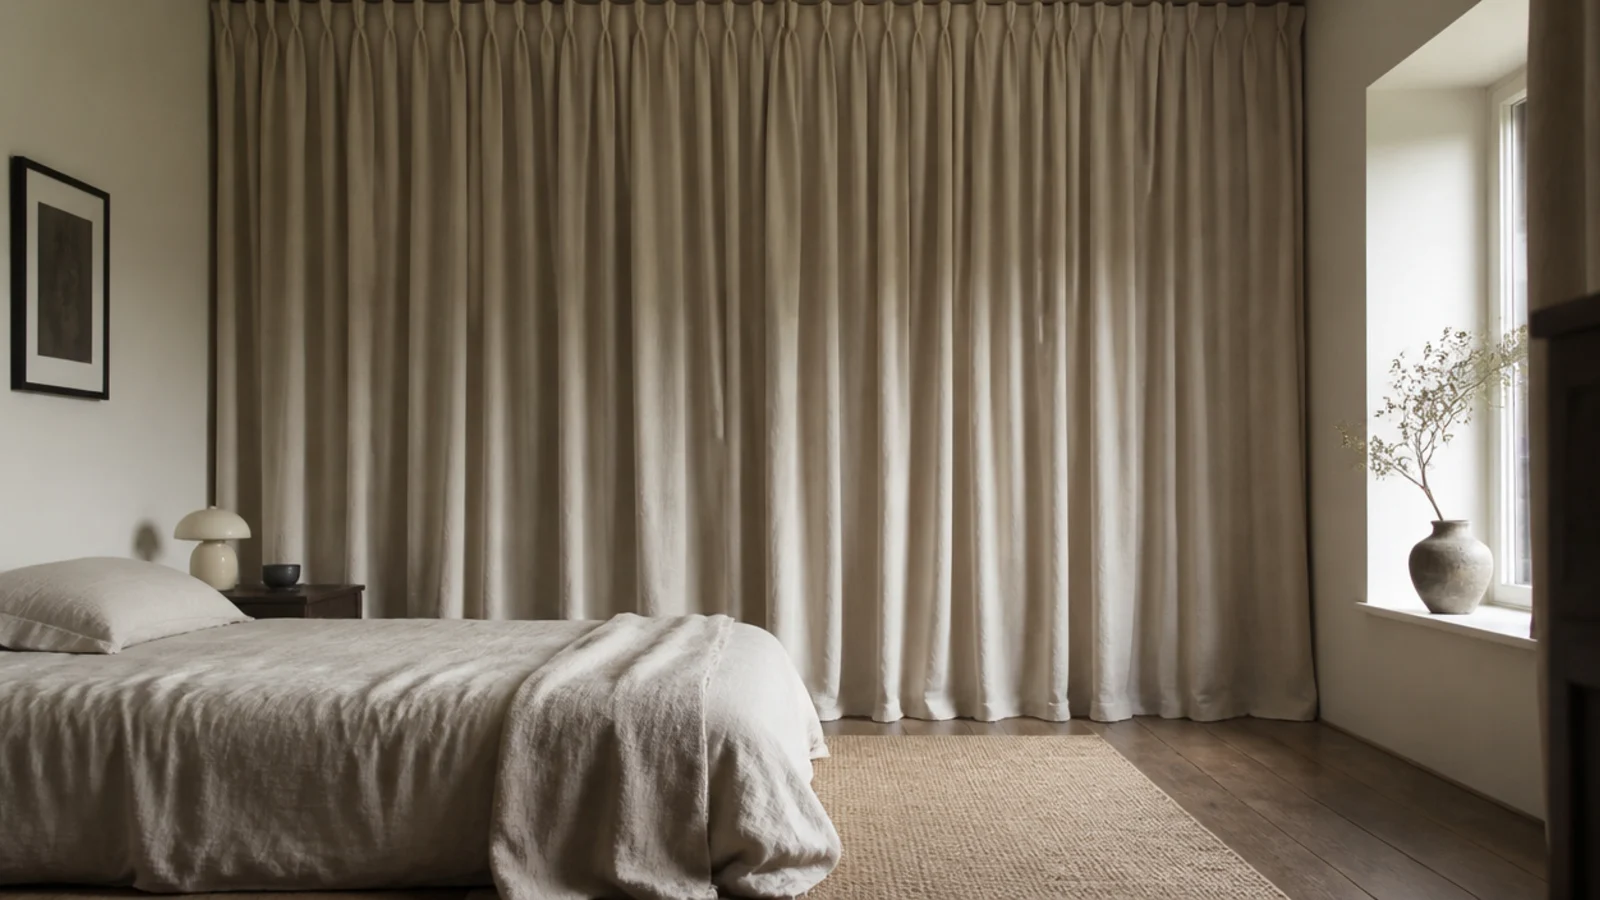
16. Hang a curtain on a ceiling track behind the bed
A full-width linen curtain gives a soft backdrop, better acoustics and a way to hide a wall you cannot alter. Allow 2 to 2.5 times the wall width in fabric and hang the hem 5 millimetres clear of the floor so it does not drag.
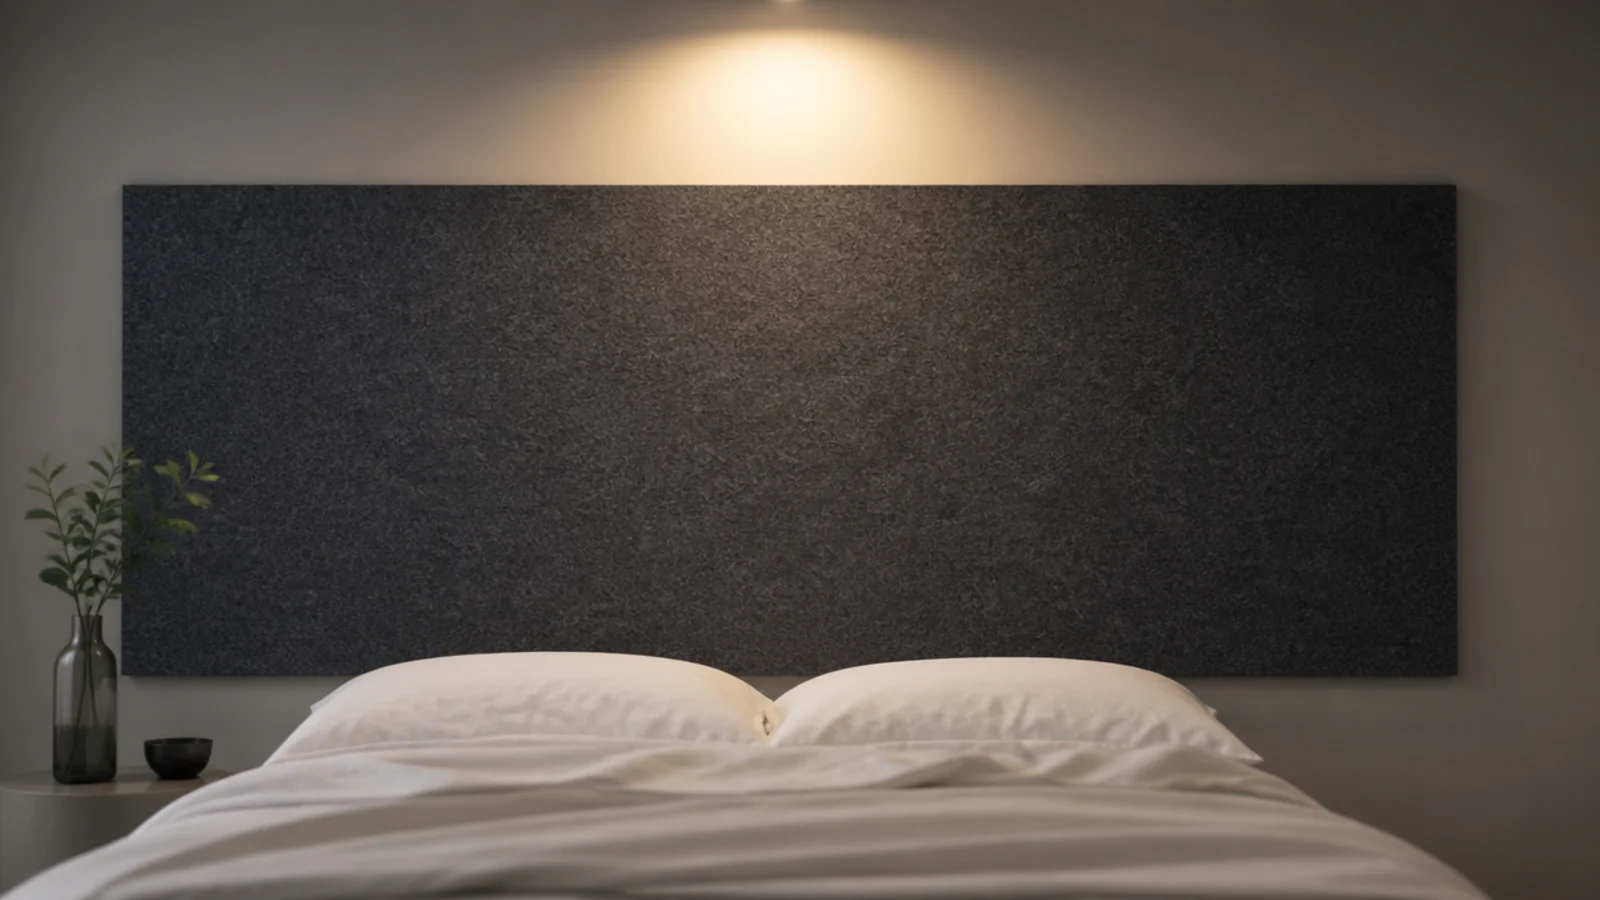
17. Back the bed with an acoustic felt panel
Nine to twelve millimetre felt at 40 to 90 dollars a square metre is the only finish here that measurably quietens a room. In a bedroom with bare boards and little upholstery, it makes a noticeable difference to how restful the space feels.
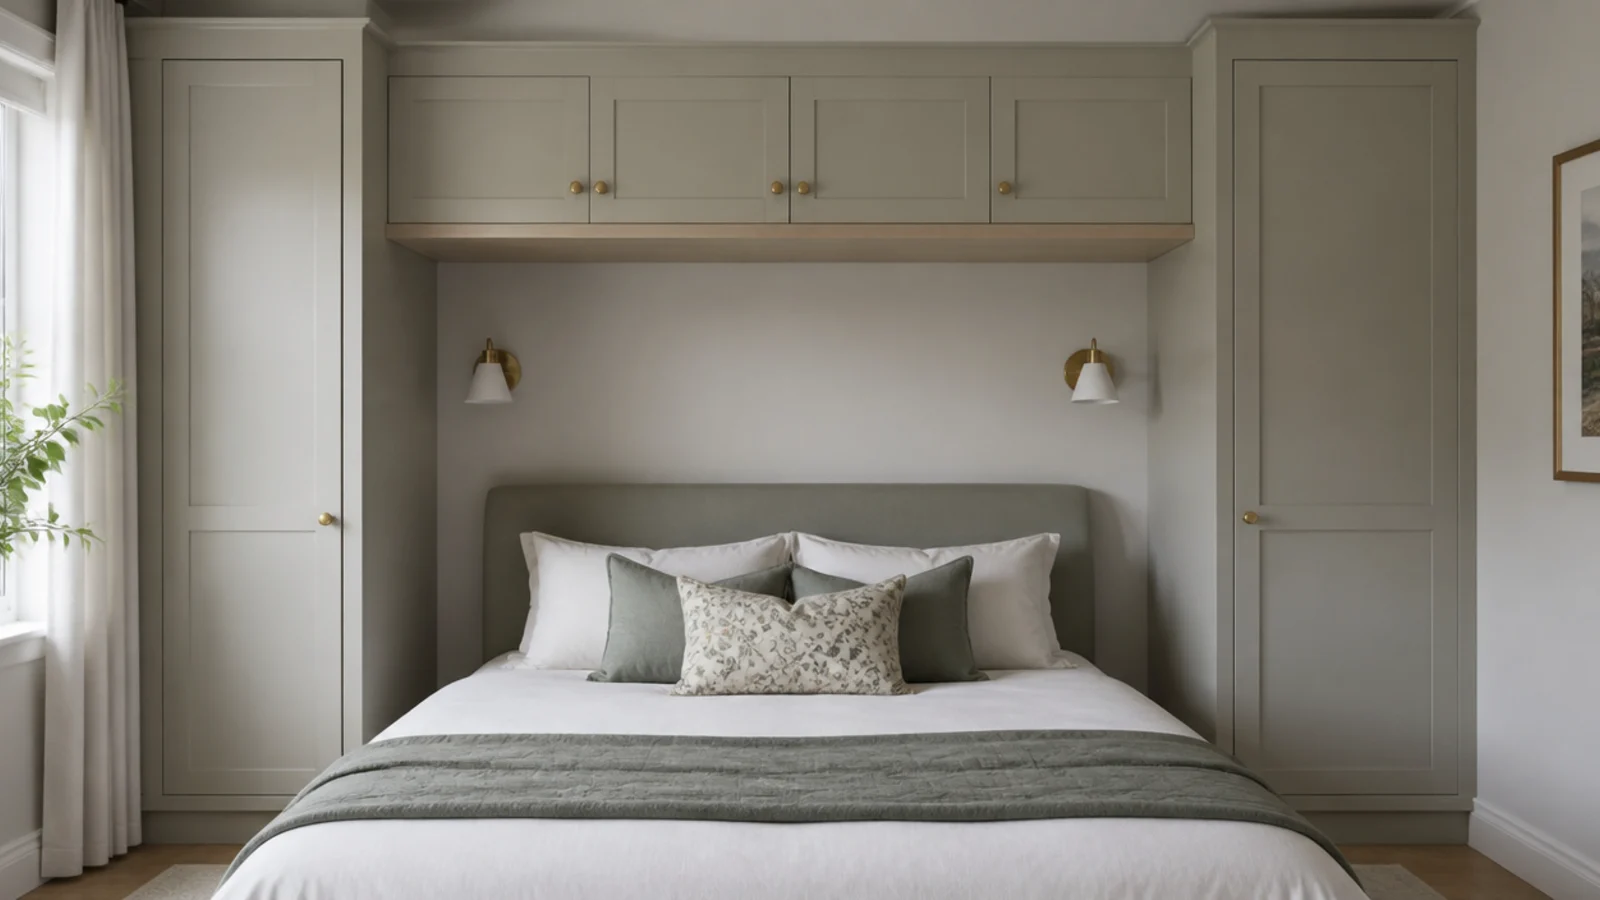
18. Bridge wardrobes over the bed head
Two tall wardrobes with a shallow bridge between them turns the bed wall into full storage. Keep the bridge underside at least 60 inches above the floor so nobody hits their head sitting up, and land the load on studs at each side.
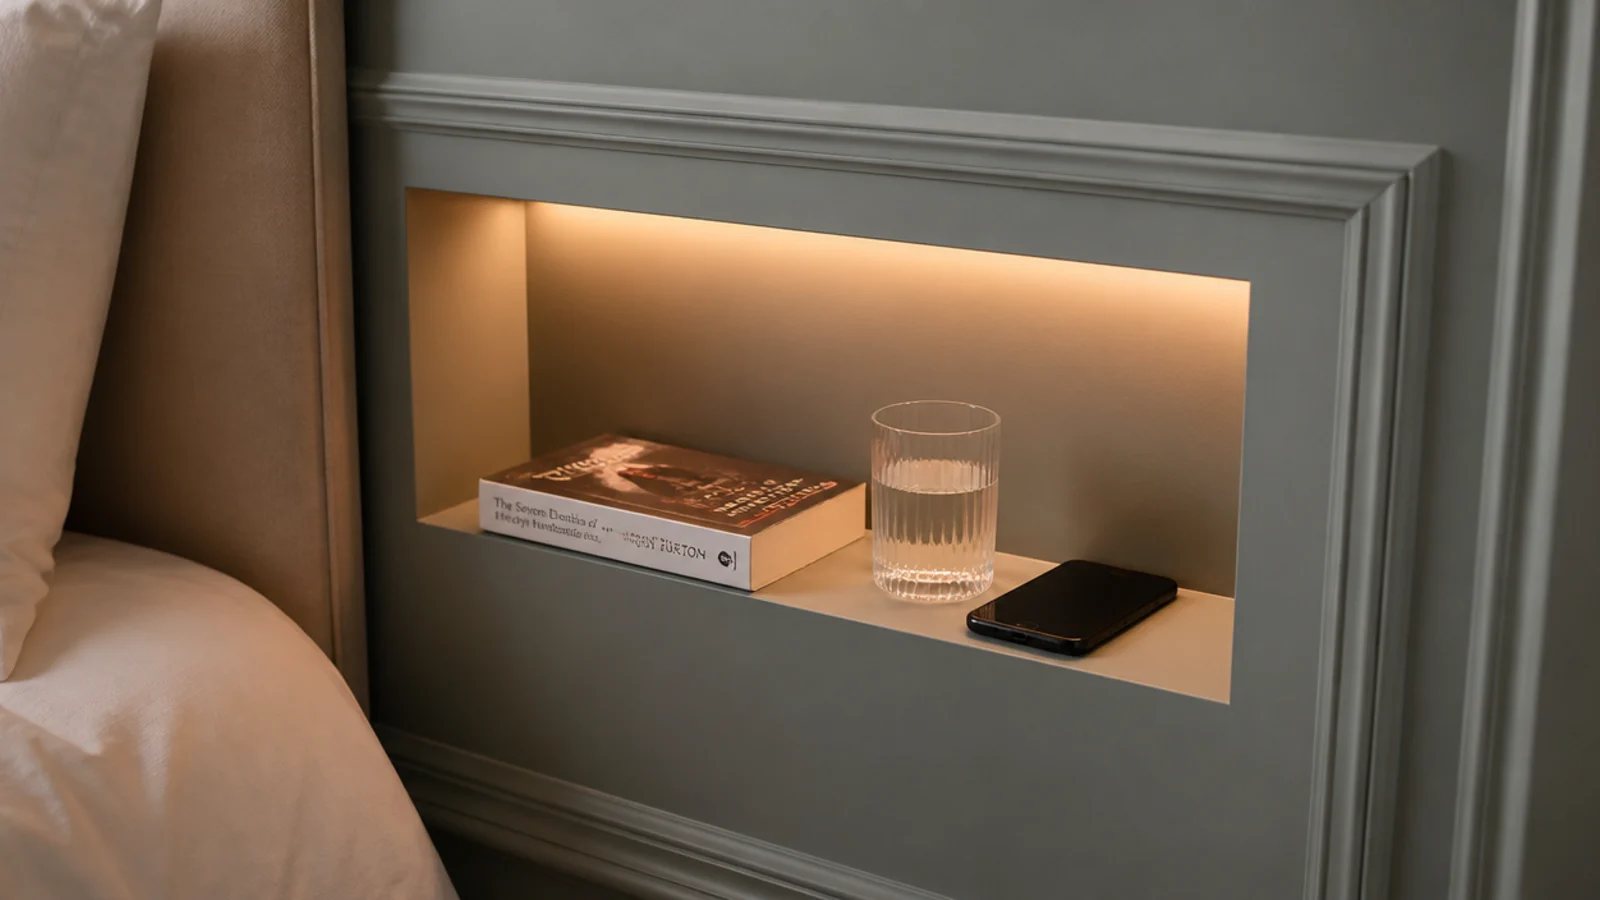
19. Cut a niche for a phone and a glass
A 4 inch deep niche in panelling, with a concealed warm strip at its top edge, replaces a bedside table entirely in a tight room. Line the reveal in timber or metal, because painted MDF at that height chips within a year.
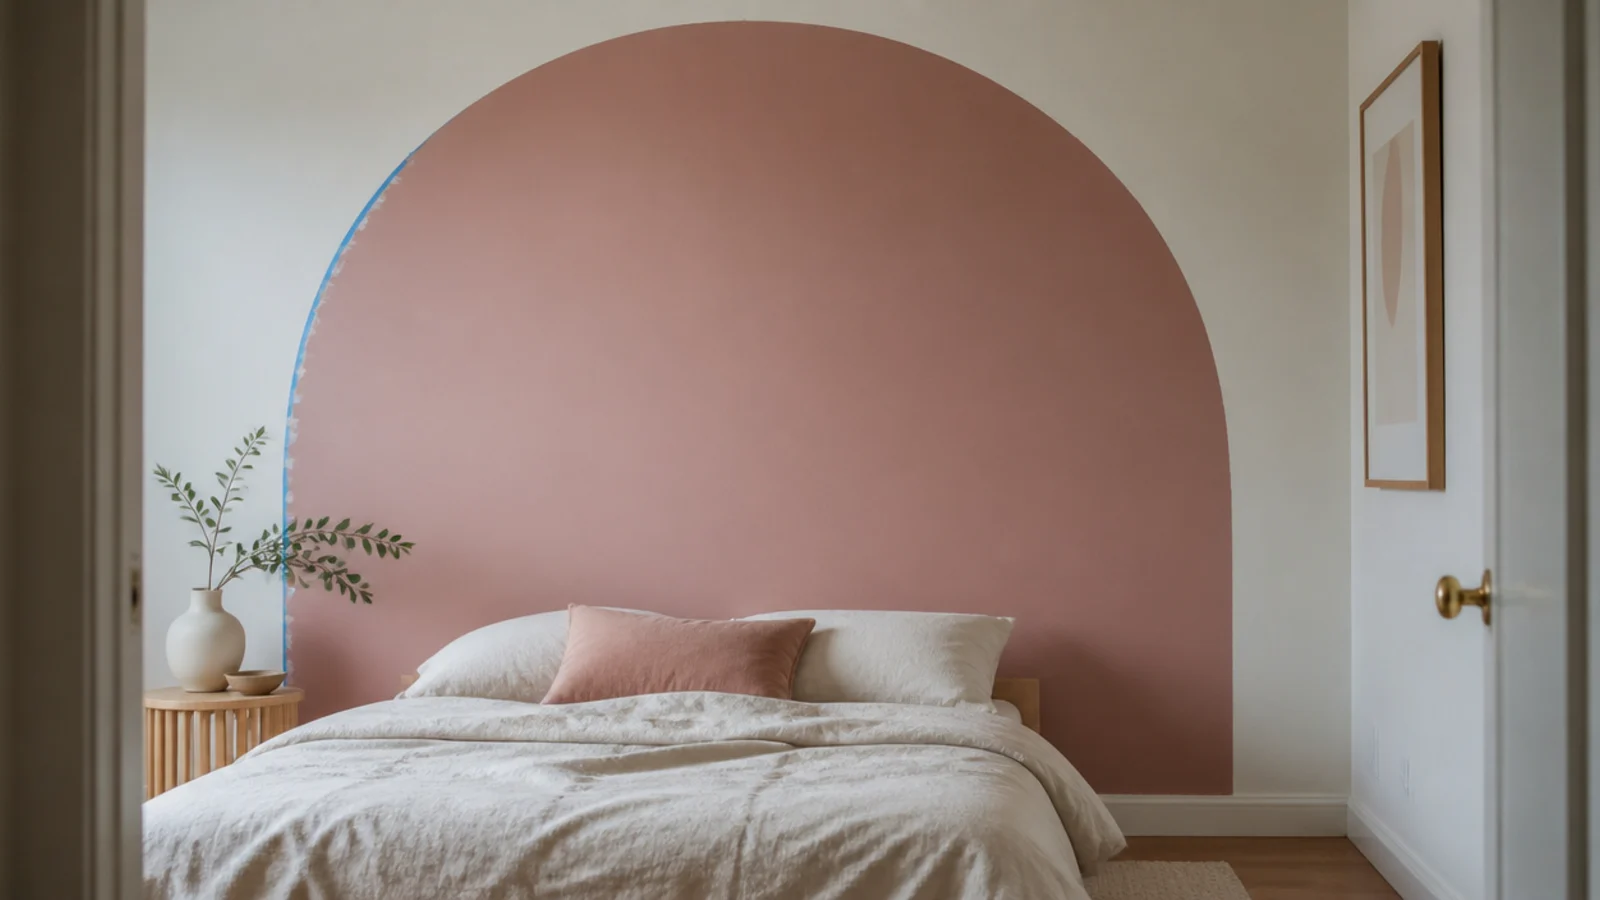
20. Paint an arch with no timber at all
A string, a pencil and low-tack tape gives you an arch for the price of a tester pot. Set the radius so the curve clears the pillows and keep the paint matt on both sides — a sheen difference gives the flat surface away instantly.
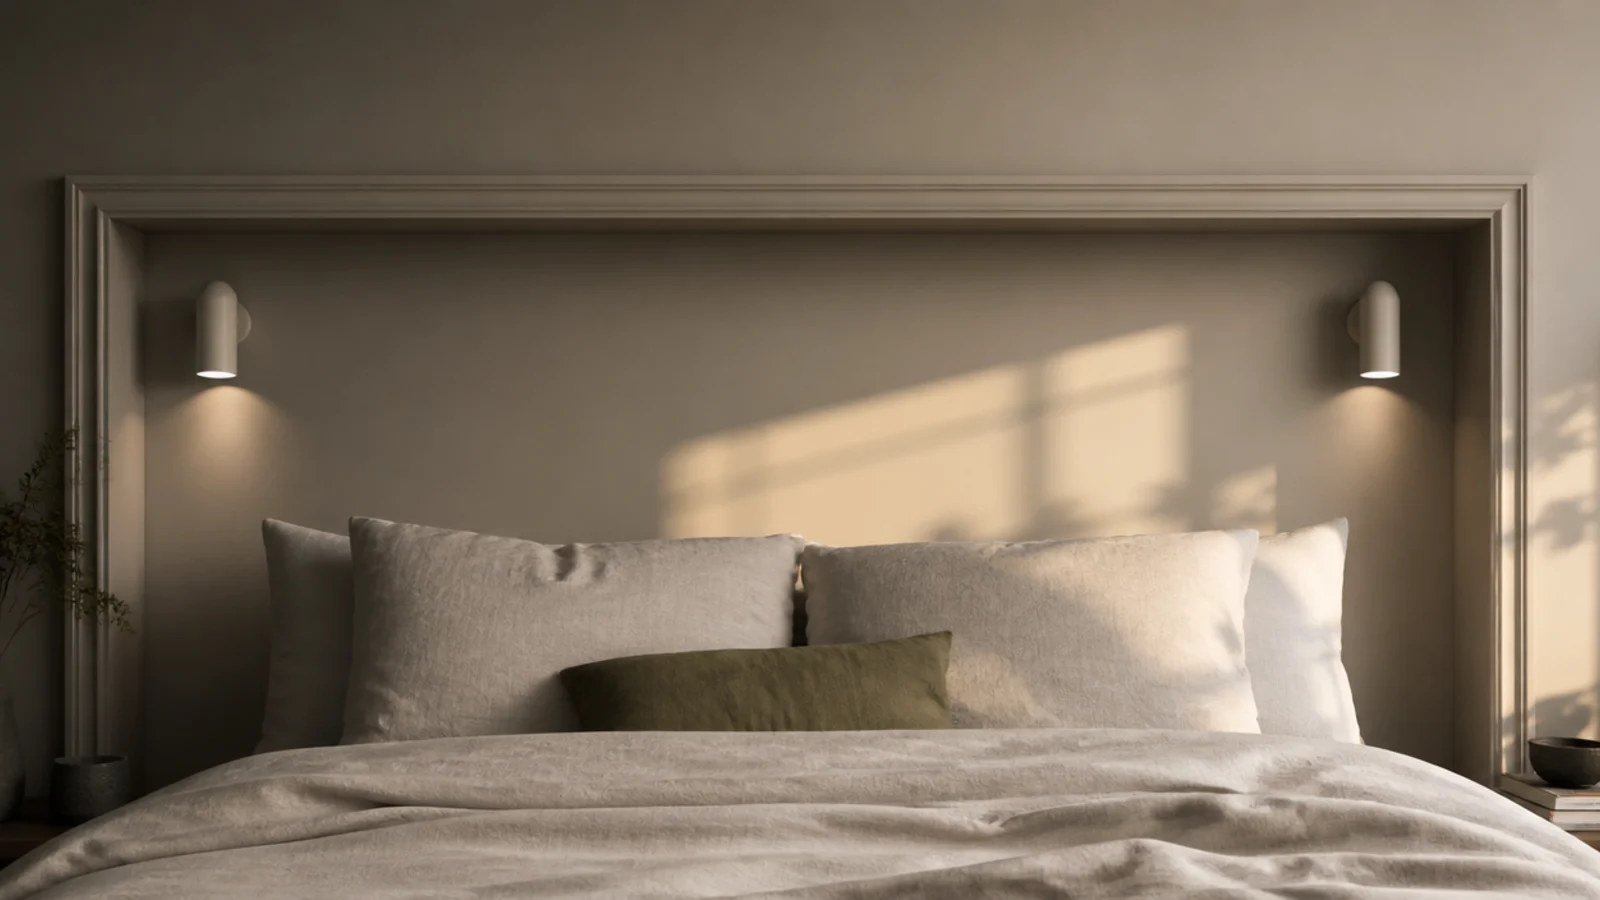
21. Wrap the bed in one wide moulding box
One box the width of the bed plus a foot each side, top edge at 48 to 54 inches, for about 25 dollars in moulding. Fit two small wall lights inside it and the whole arrangement reads as a fitted headboard wall.
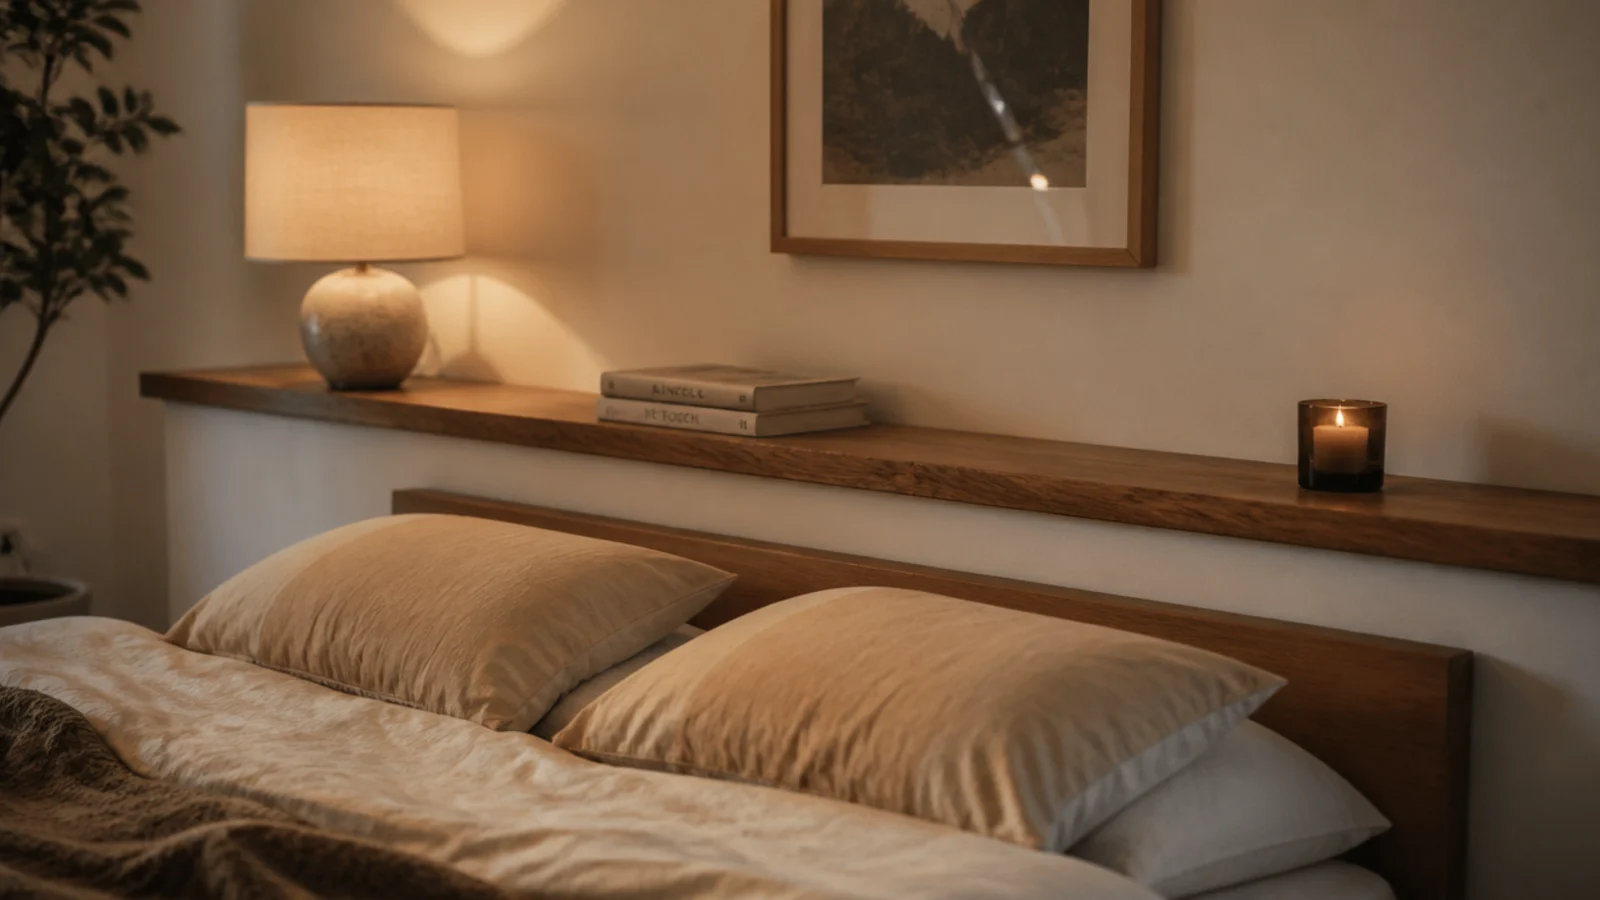
22. Use a timber ledge as the headboard
A solid ledge fixed across the wall at 26 inches serves as a low headboard and a shelf at once. It suits a platform bed and costs 40 to 90 dollars in oak. Fix into framing, because it takes the weight of people sitting up against it.
23. Flank the bed with tall narrow mirrors
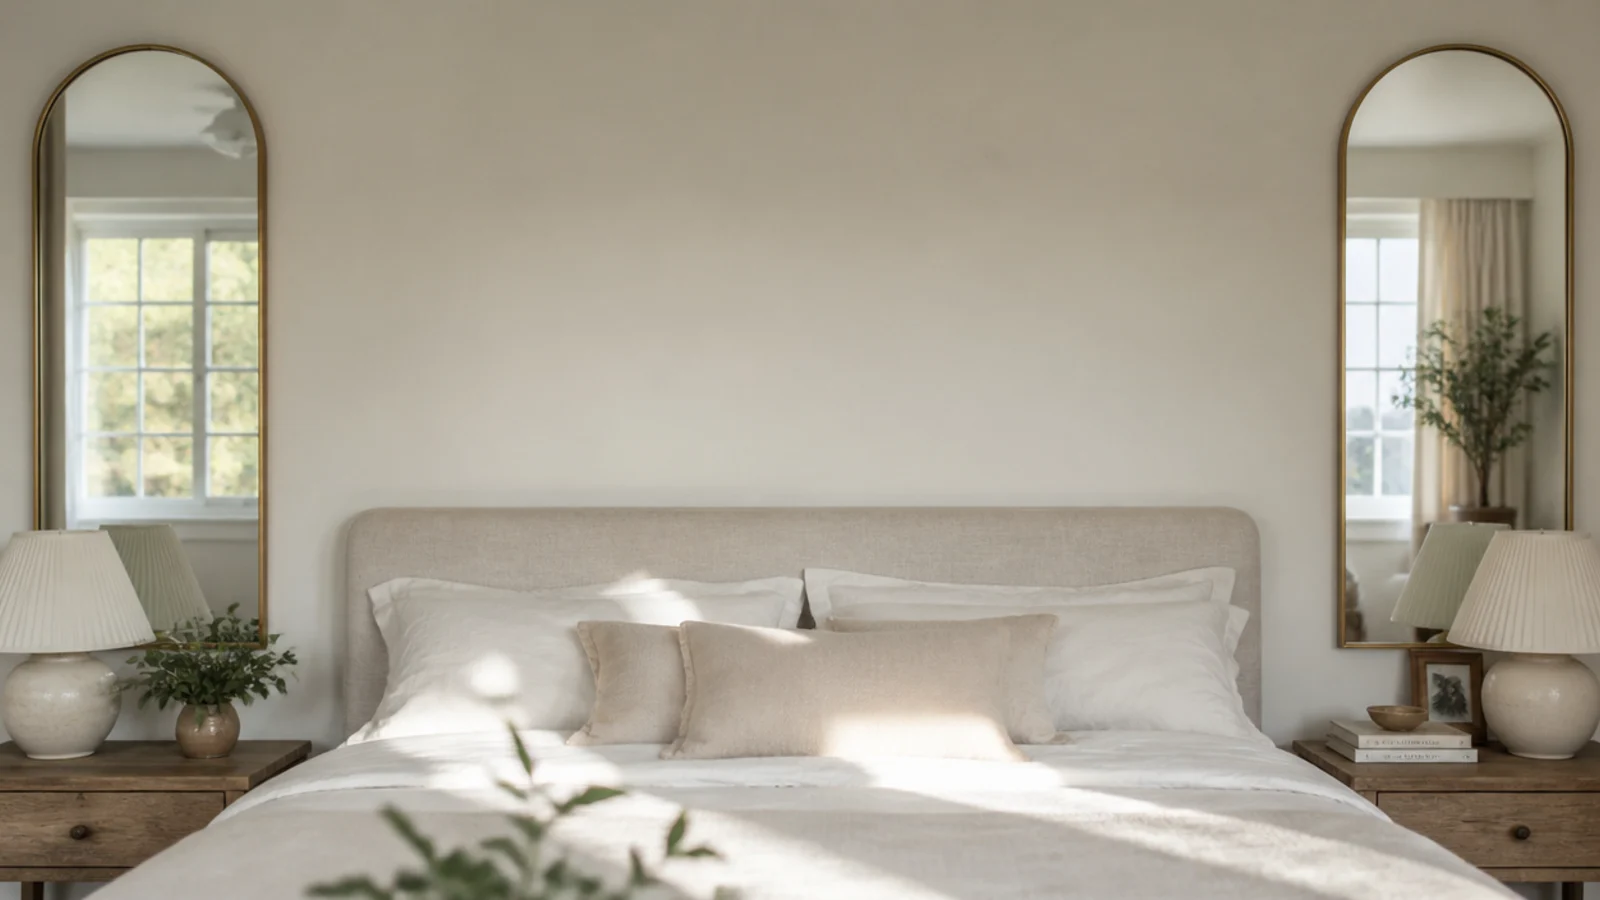
Two narrow mirrors either side of the bed, positioned to catch a window, lift the light level in a dim room considerably. Use mirror plates or a proper cleat into framing rather than adhesive pads, given what is directly underneath them.
24. Fix anything above a bed into framing
Map the studs, mark them with tape, and fix into timber every time. Keep hung objects under about 10 pounds, avoid glass directly above the pillows, and use LED candles rather than open flame on any ledge near bedding.
25. Put every bedroom light on a dimmer
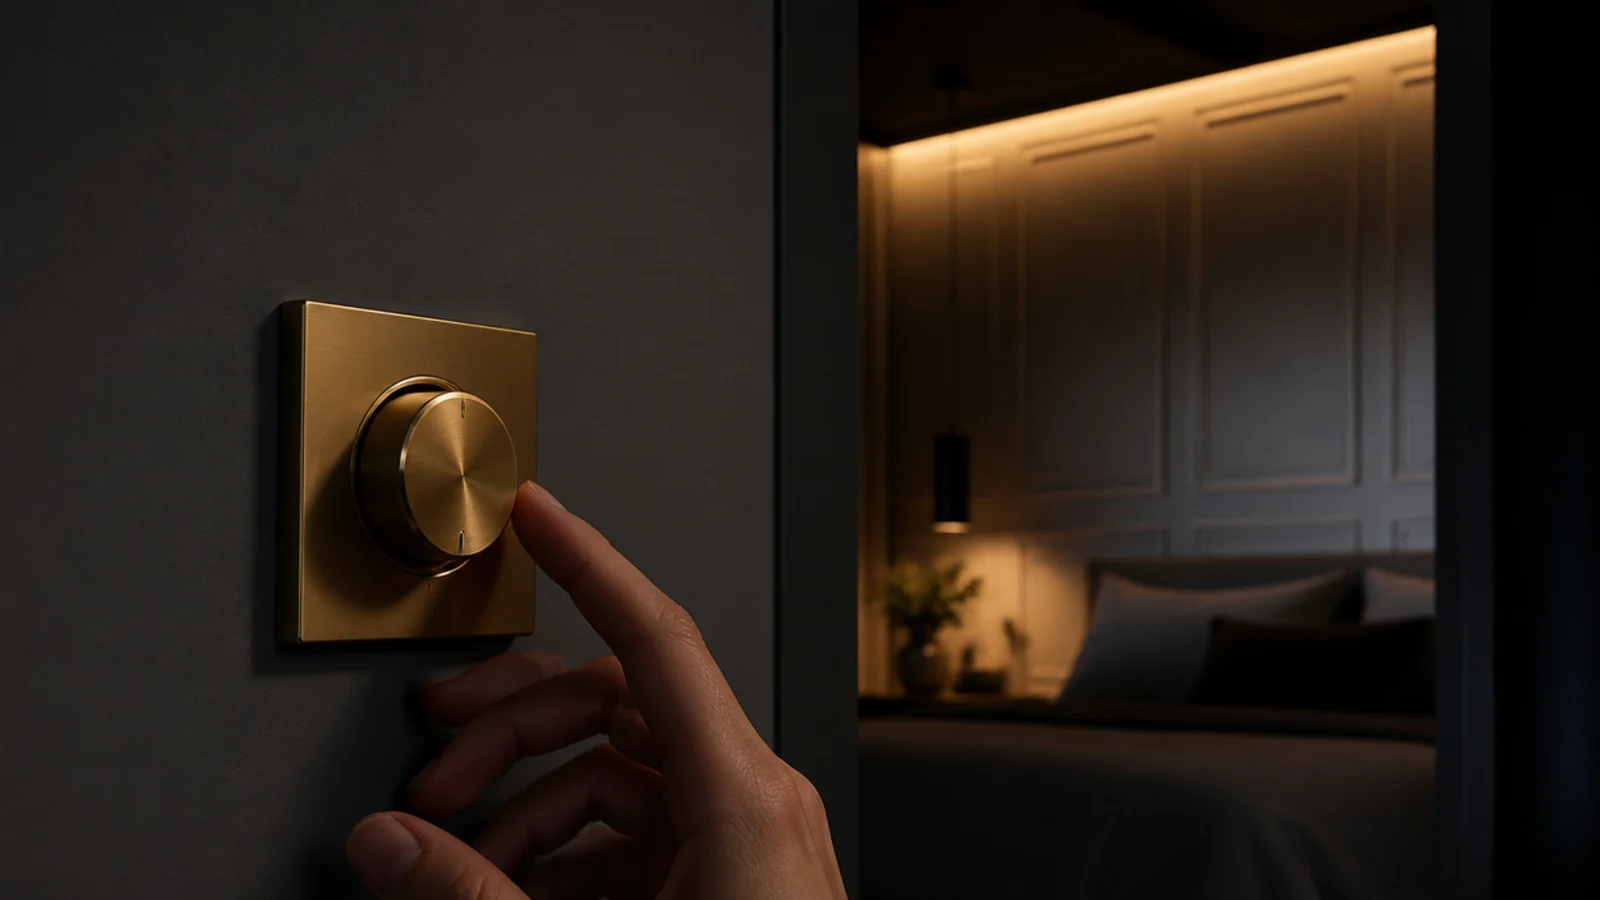
A bedroom is judged at 11pm, not at noon. Rotary dimmers at 20 to 30 dollars each let the whole room drop to 20 or 30 percent, which is what makes a considered bed wall look considered. DIY headboard ideas covers the headboard itself in depth.
For the techniques behind most of these, wall molding design ideas covers the setting-out and proportions, and wall texture design ideas works through limewash, clay and felt in detail. If the same treatment needs to run behind a sofa instead, sofa back wall design ideas has the sizing, and wall clock decor ideas is worth reading before hanging anything on a fresh panel.
Mistakes to Skip
- Making the panel the same width as the bed. It looks like a miscalculation from the doorway, and the bedside tables end up stranded outside the arrangement.
- Hanging heavy framed glass above the pillows. Anything above a sleeping head goes into framing, stays light, and should be something you would be content to have fall.
- Putting bedside lights too high. Above about 56 inches the shade sits in your eyeline when you sit up, and the light lands on your partner rather than your book.
- Using an unsealed chalky finish directly behind pillows. Limewash and untreated clay transfer onto bedding for the first few weeks, and white linen shows every contact.
Frequently asked questions
How wide should a panelled bed back wall be?
The mattress width plus roughly 12 inches each side, so a king at 76 inches wants a panel around 100 inches wide. Narrower than the bed looks like a mistake, and running the panel corner to corner is fine too — what reads badly is a panel that stops just short of the bedside tables.
How high should the top of a headboard wall panel be?
Forty-eight to 54 inches from the floor for a standard bed, which is where a bought headboard finishes. Taller than 60 inches starts to feel institutional in a room with an 8 foot ceiling, unless the panel runs all the way to the ceiling and reads as full-height panelling instead.
What height should bedside wall lights be?
Between 48 and 54 inches from the floor, or roughly 24 to 30 inches above the mattress top, with the shade edge just above shoulder height when you sit up. Set them 4 to 6 inches outside the mattress edge so the light lands on the page rather than across your partner.
Is it safe to hang things above a bed?
Only into framing, and only things you would be content to have land on you. Fix into studs at 16 inch or 400 millimetre centres with proper screws, keep the weight under 10 pounds where you can, and choose LED candles rather than open flame anywhere near bedding.
Can I do a bed back wall in a rental?
Yes. Limewash, clay paint and two-tone paint all reverse with a repaint. Panelling goes up on solvent-free grab adhesive over sound painted plaster more than four weeks old and lifts with a heat gun. A fabric or slat panel hung on two hooks leaves two small holes.
Want more like this? Browse all 15 tv wall decor guides — they all use the same measurements and budget tiers.
Pin it for later
Save this to your TV Wall Decor board
Pin it now so it is waiting for you when the tape measure comes out — and so the next person hunting for this idea can find it too.
Save this pinKeep going
More ideas worth saving while you have the tape measure out.