Wall Clock · Listicle
25 Creative Clock Wall Decor Layouts That Wow

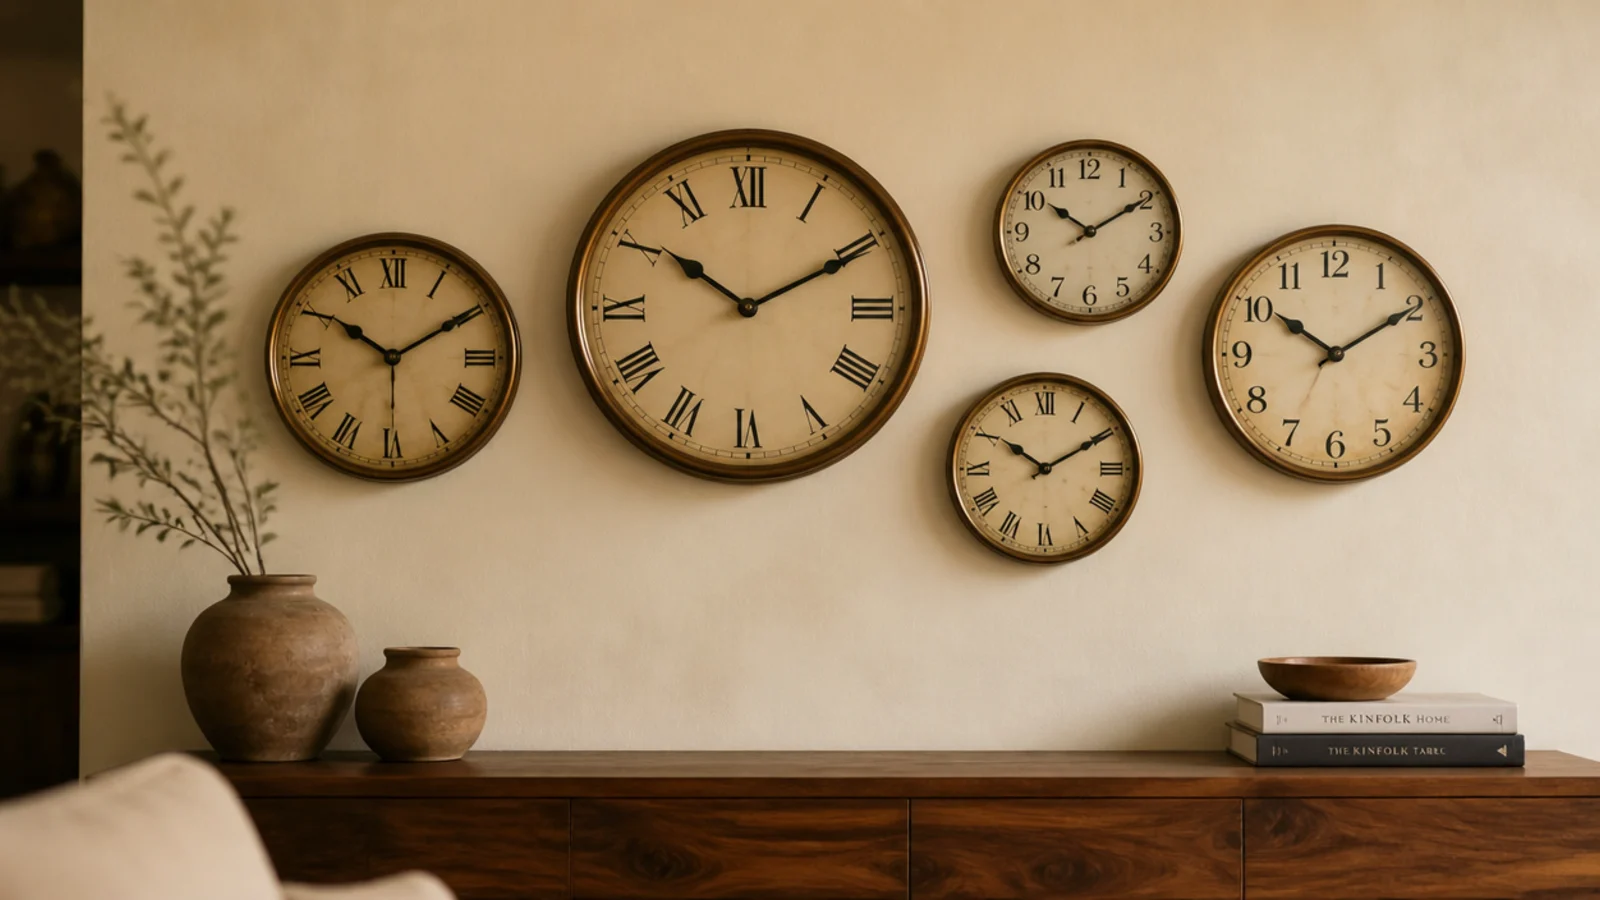
A single clock is a decision about diameter. A group is a decision about spacing, and that is where most of these come apart. Good clock wall decor holds one thing constant across every face — the gap, the finish or the centre line — and lets everything else vary. Break all three at once and you have a collection of objects rather than an arrangement. I have laid these out on floors, taped them on walls and taken plenty back down. Below are twenty-five layouts that hold together, with the measurements each depends on.
In this guide27 sections — tap to openHide
- 1.What clock wall decor needs before the first hole
- 2.Three or five faces, never four
- 3.Two-inch gaps for a dense small-face cluster
- 4.A three-by-three grid of identical faces
- 5.A time-zone row at equal spacing
- 6.One large clock with two small satellites
- 7.A clock anchoring a mixed gallery wall
- 8.A vertical column up a stairwell
- 9.Salon style with frames and faces mixed
- 10.Two clocks stacked above a console
- 11.A diagonal run following the stair stringer
- 12.A horizontal band on one shared centre line
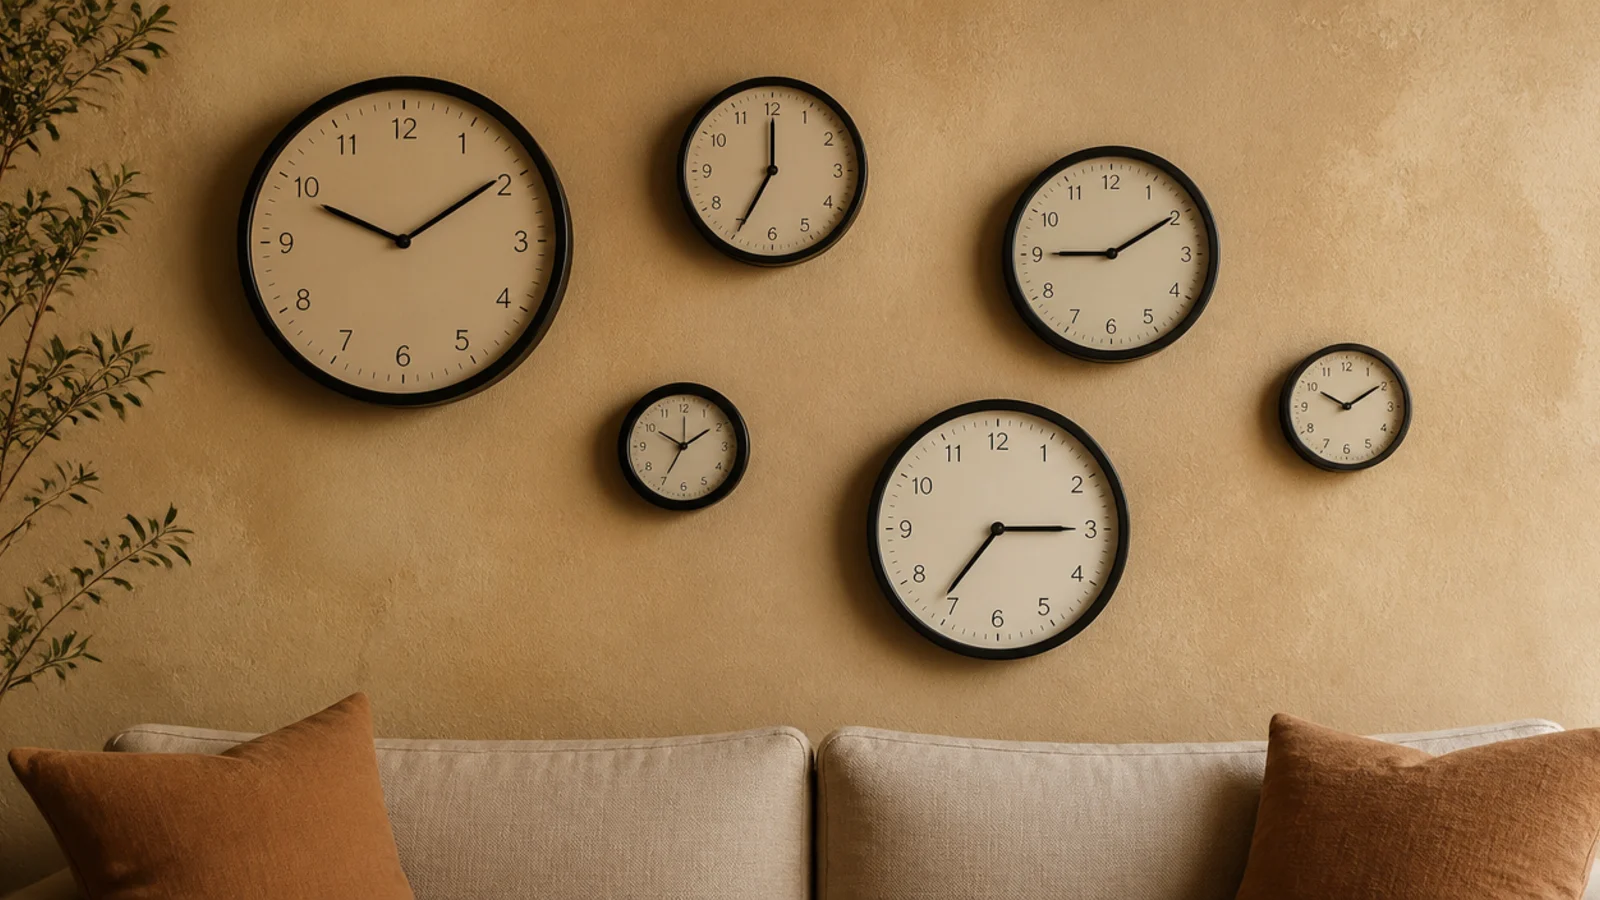
- 13.Mixed diameters, one shared finish
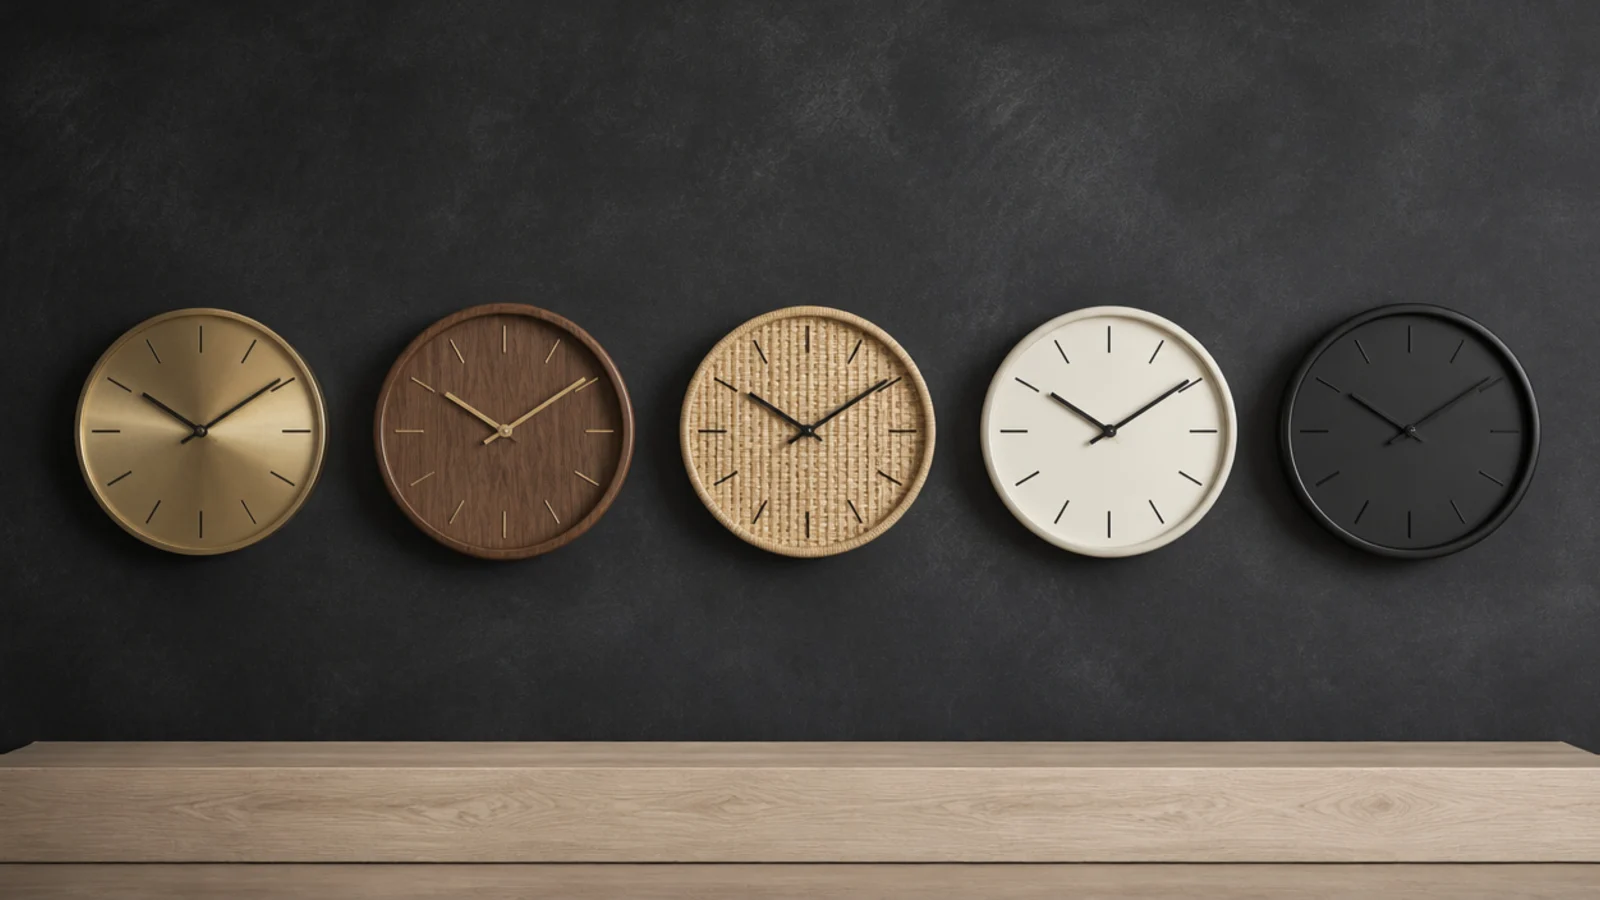
- 14.Mixed finishes, one shared diameter
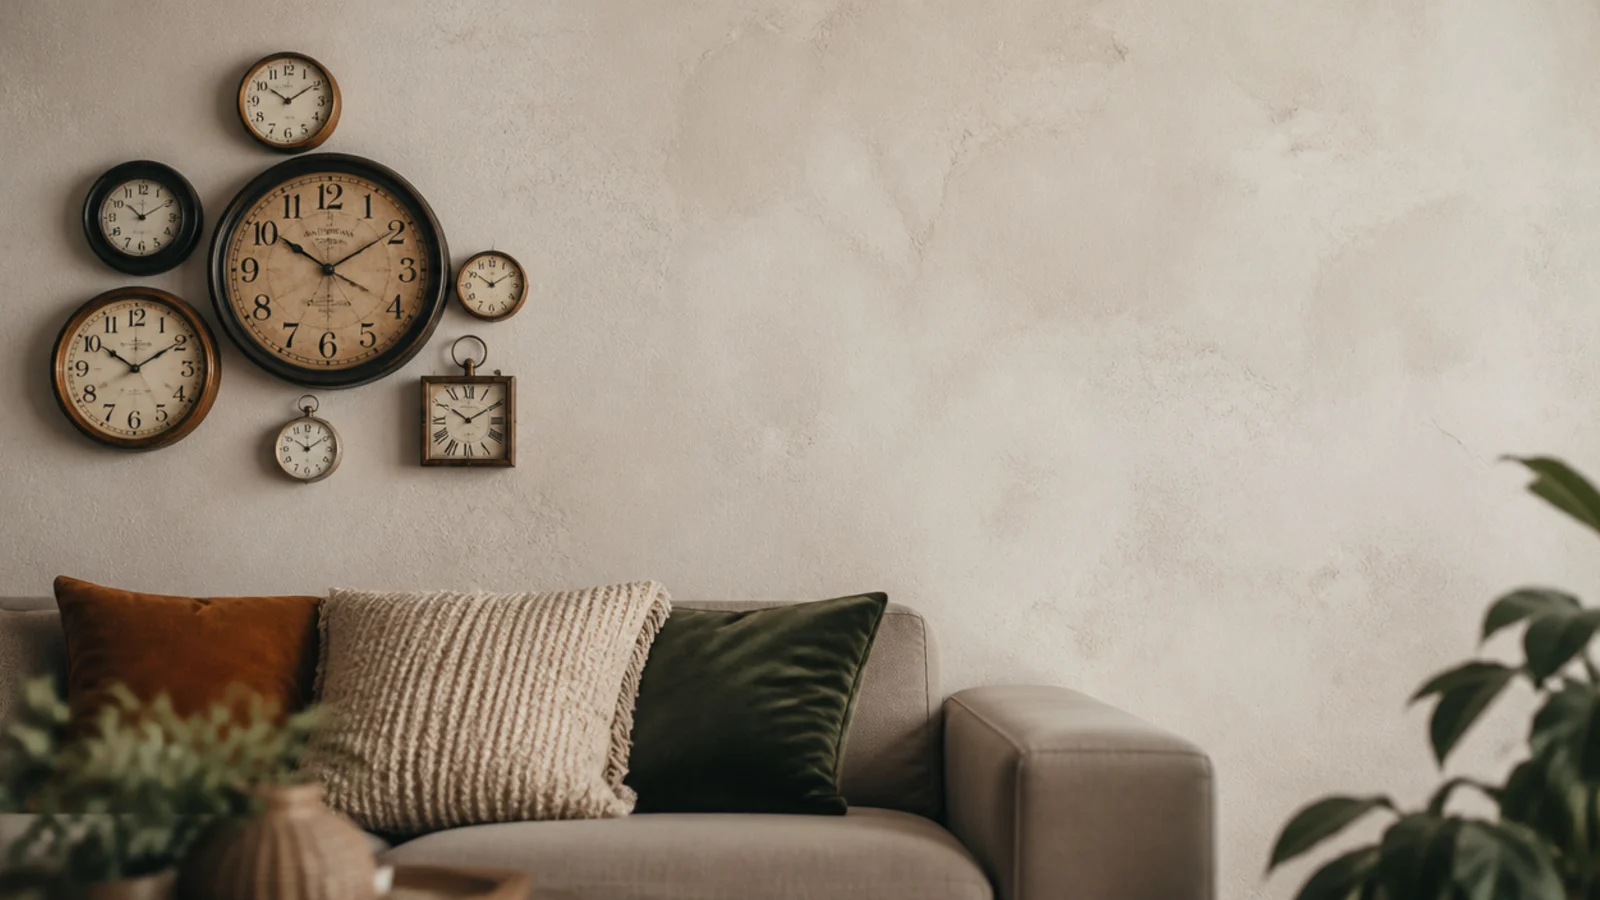
- 15.An asymmetric cluster weighted to one side
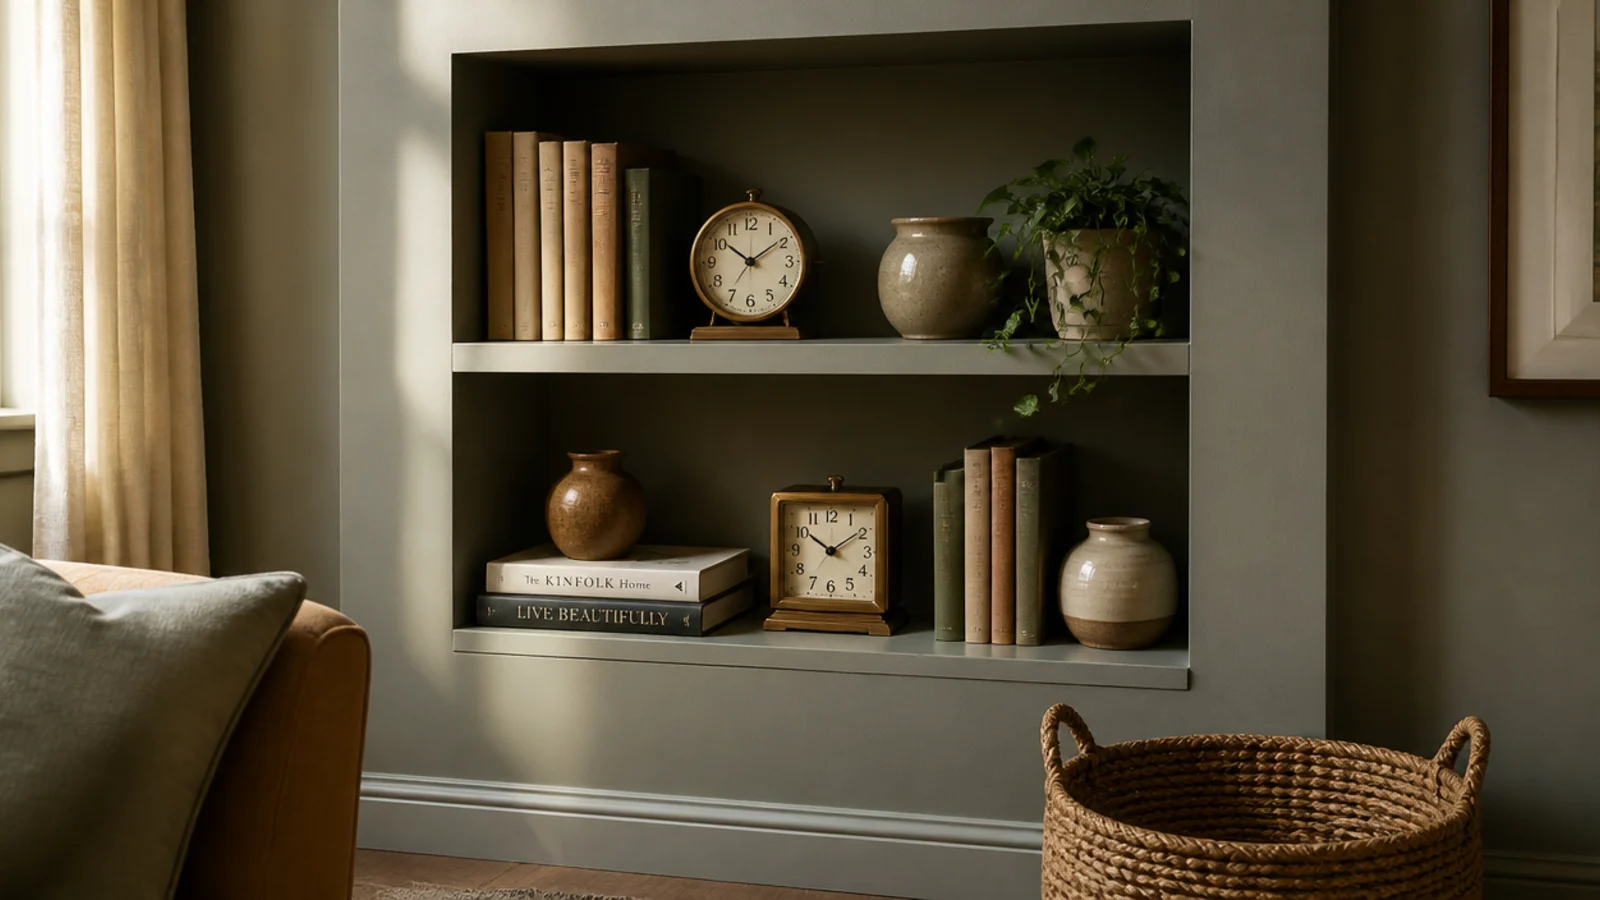
- 16.A clock wall built inside a shelf niche
- 17.Arched around a doorway
- 18.Turning a corner across two walls
- 19.Above a bed, and the fixing it demands
- 20.Behind a dining table at seated eye level
- 21.Template the whole group on the floor first
- 22.Tape the outer boundary before you commit
- 23.Hang from the centre outward
- 24.Keep the group inside the furniture width
- 25.Leave two inches of clearance for battery changes
- 26.Fit sweep movements before you hang five clocks
- 27.Mistakes to Skip
What clock wall decor needs before the first hole
Treat the whole group as one rectangle. Lay every face on the floor, shuffle until it looks right, then measure the overall width and height of the arrangement. That rectangle is your object, and its centre goes at 57 to 60 inches from the floor — not the centre of the biggest clock. Individual faces will end up well above and well below eye level, which is correct.
Spacing is the rule that carries the group. Two to three inches between faces under 18 inches across; three to five inches once anything is bigger. Whatever you pick, hold it constant. An uneven gap is visible from across a room long before a size mismatch is.
Keep the outer edge of the group inside the furniture below. Above an 84-inch sofa, the arrangement should finish around 6 inches short of each arm — roughly 70 inches wide overall. Wider than the sofa and it stops belonging to it.
Then the practical two. Weigh each face before you choose fixings: under 5 pounds takes a good self-drilling drywall anchor, 5 to 8 pounds takes two, and anything over 8 pounds — or anything at all above a sofa or a bed — needs a number eight screw into a stud, never the plastic plug from the box. And plan the movements. Five step-tick clocks in one room drift out of phase and produce a stutter rather than a tick; sweep movements cost $12 to $18 each and solve it permanently. There is more on single-clock placement in the living room layout guide.
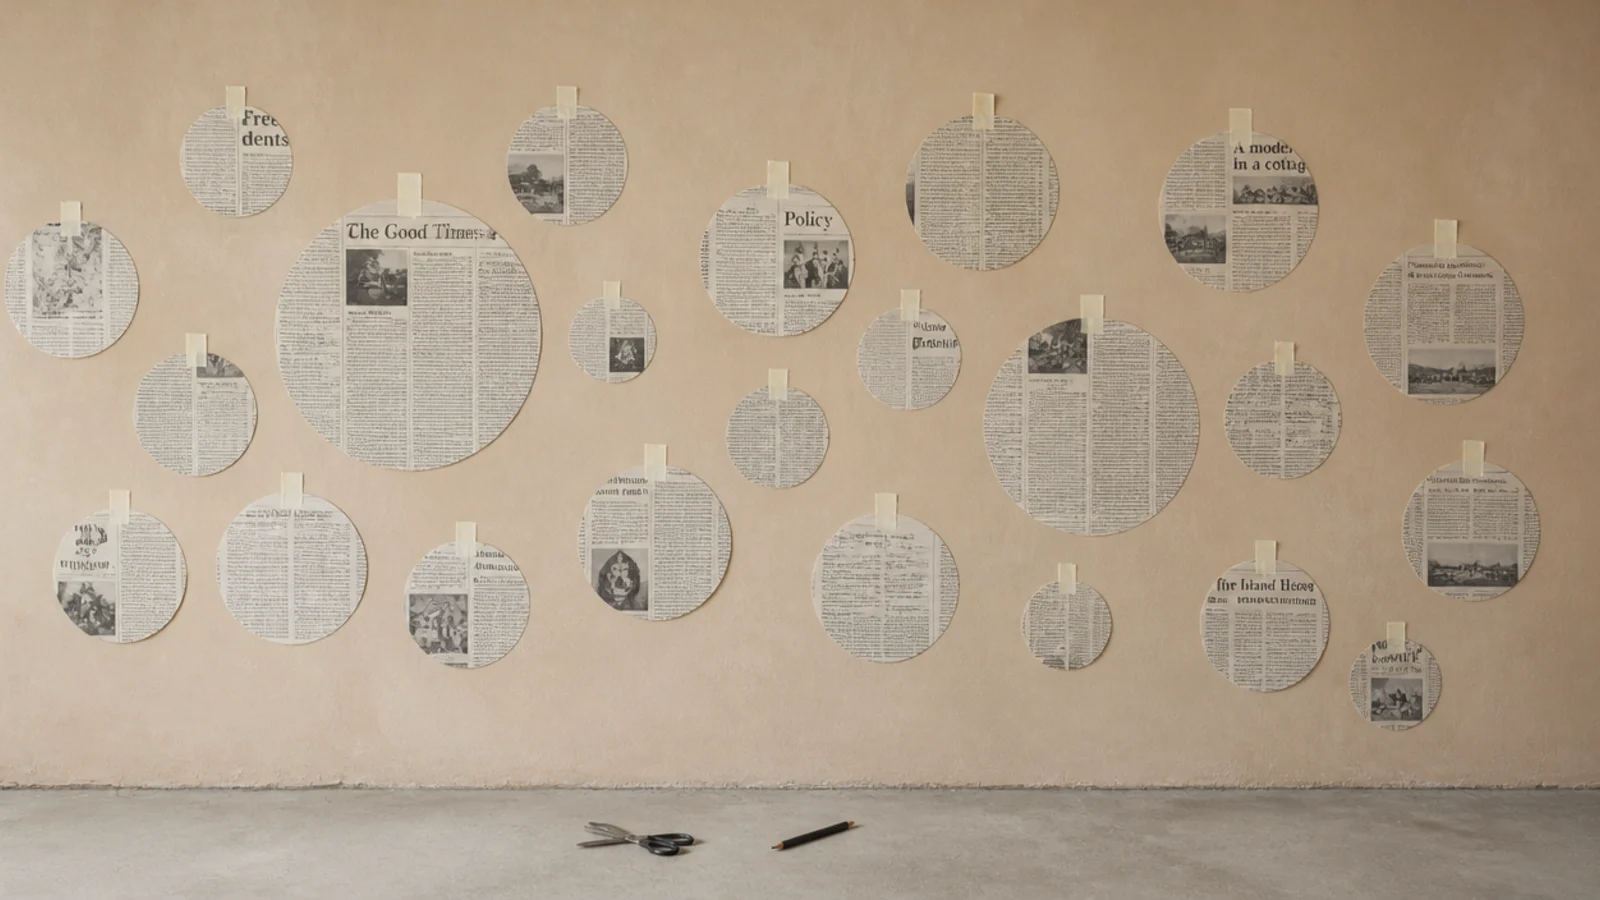
1. Three or five faces, never four
Odd numbers settle. Three clocks in graduating diameters — say 20, 14 and 10 inches — read as one composition, while four of anything invites the eye to split them into two pairs. The exception is a deliberate grid, where the repetition itself is the idea and even numbers stop mattering.
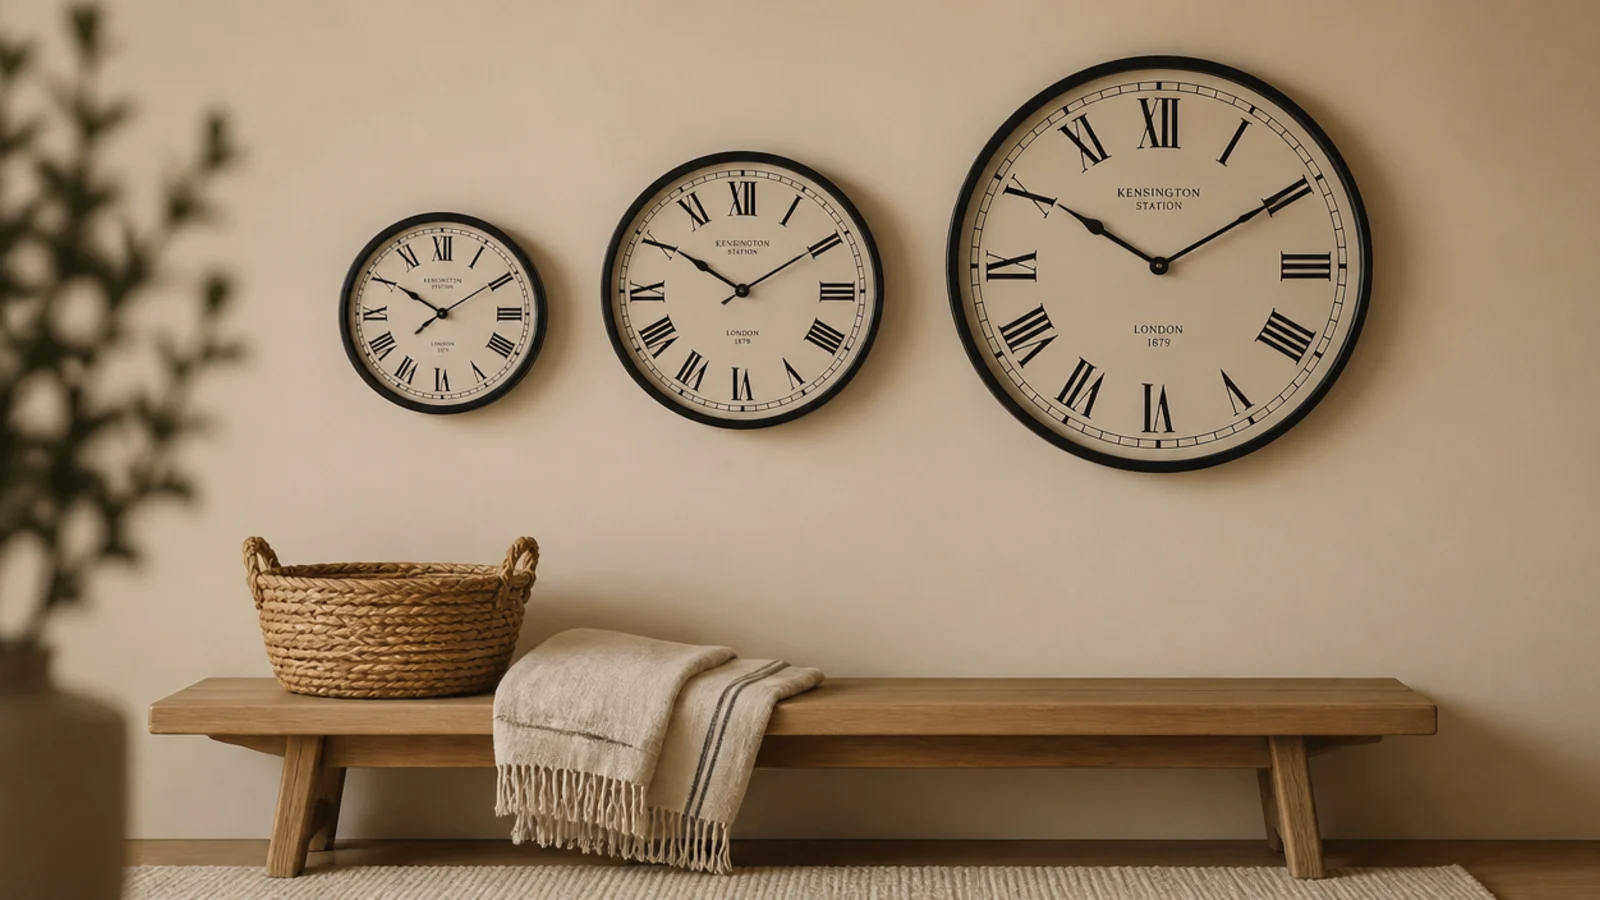
2. Two-inch gaps for a dense small-face cluster
Eight or ten small clocks hung at 2-inch gaps stop reading as individual objects and start reading as one textured shape. It is the most forgiving layout here, because a tight cluster hides small alignment errors that a spread-out group would advertise. Keep every face under 12 inches for this to work.
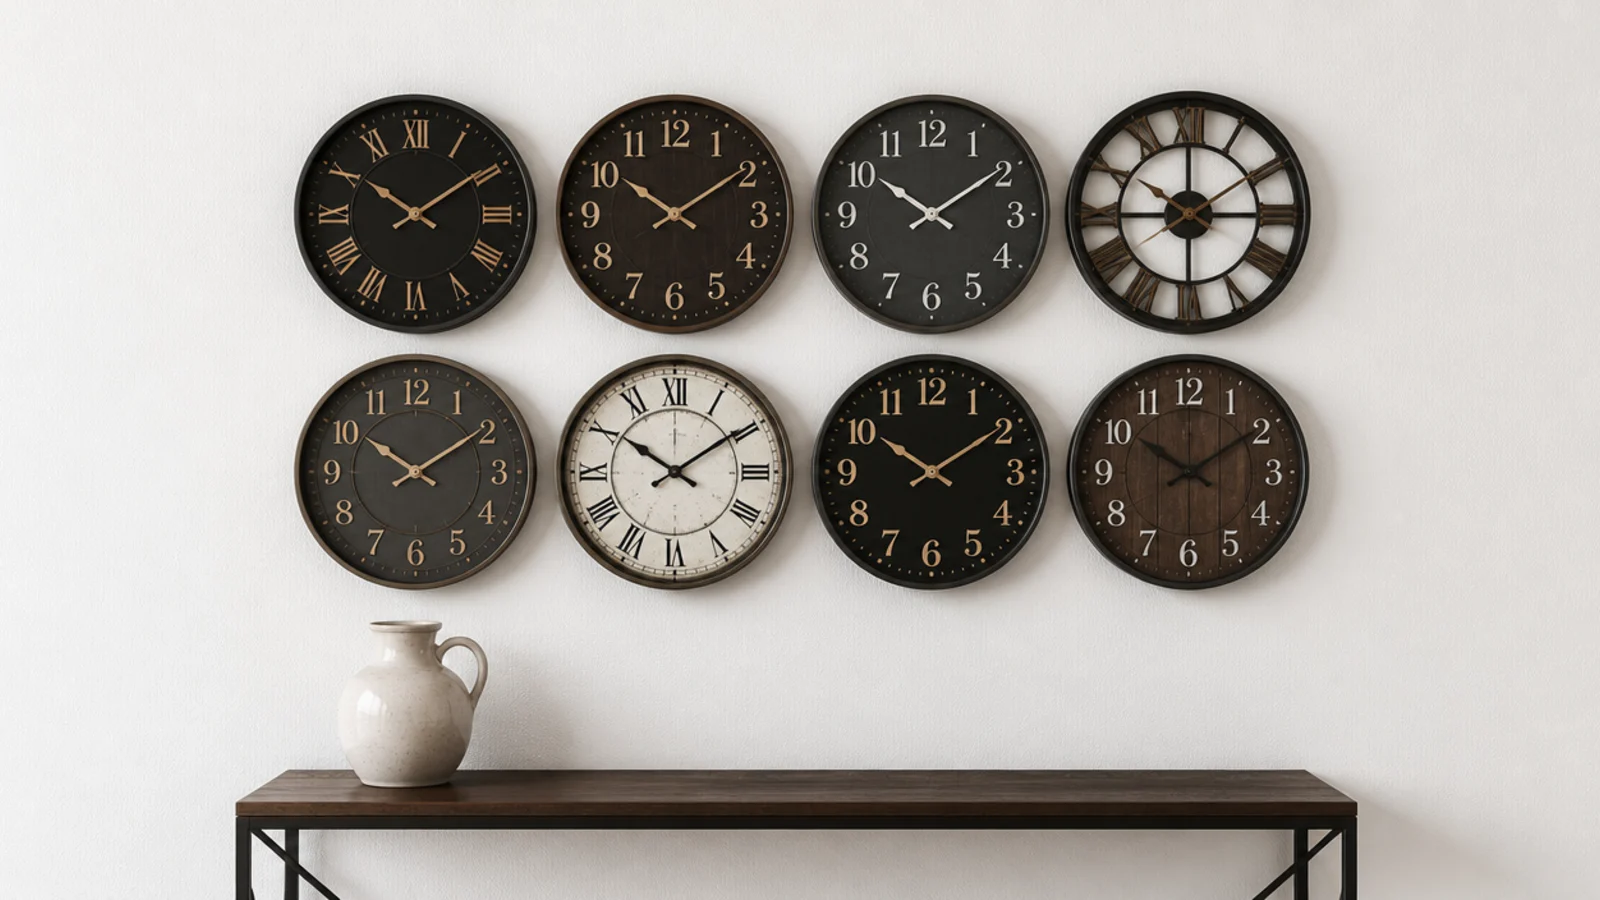
3. A three-by-three grid of identical faces
Nine matching 8-inch clocks at consistent 3-inch gaps make a 33-inch square block. Grids are unforgiving — every gap must match to within about an eighth of an inch or the whole thing looks wobbly — so measure and mark all nine centres before a single screw goes in.
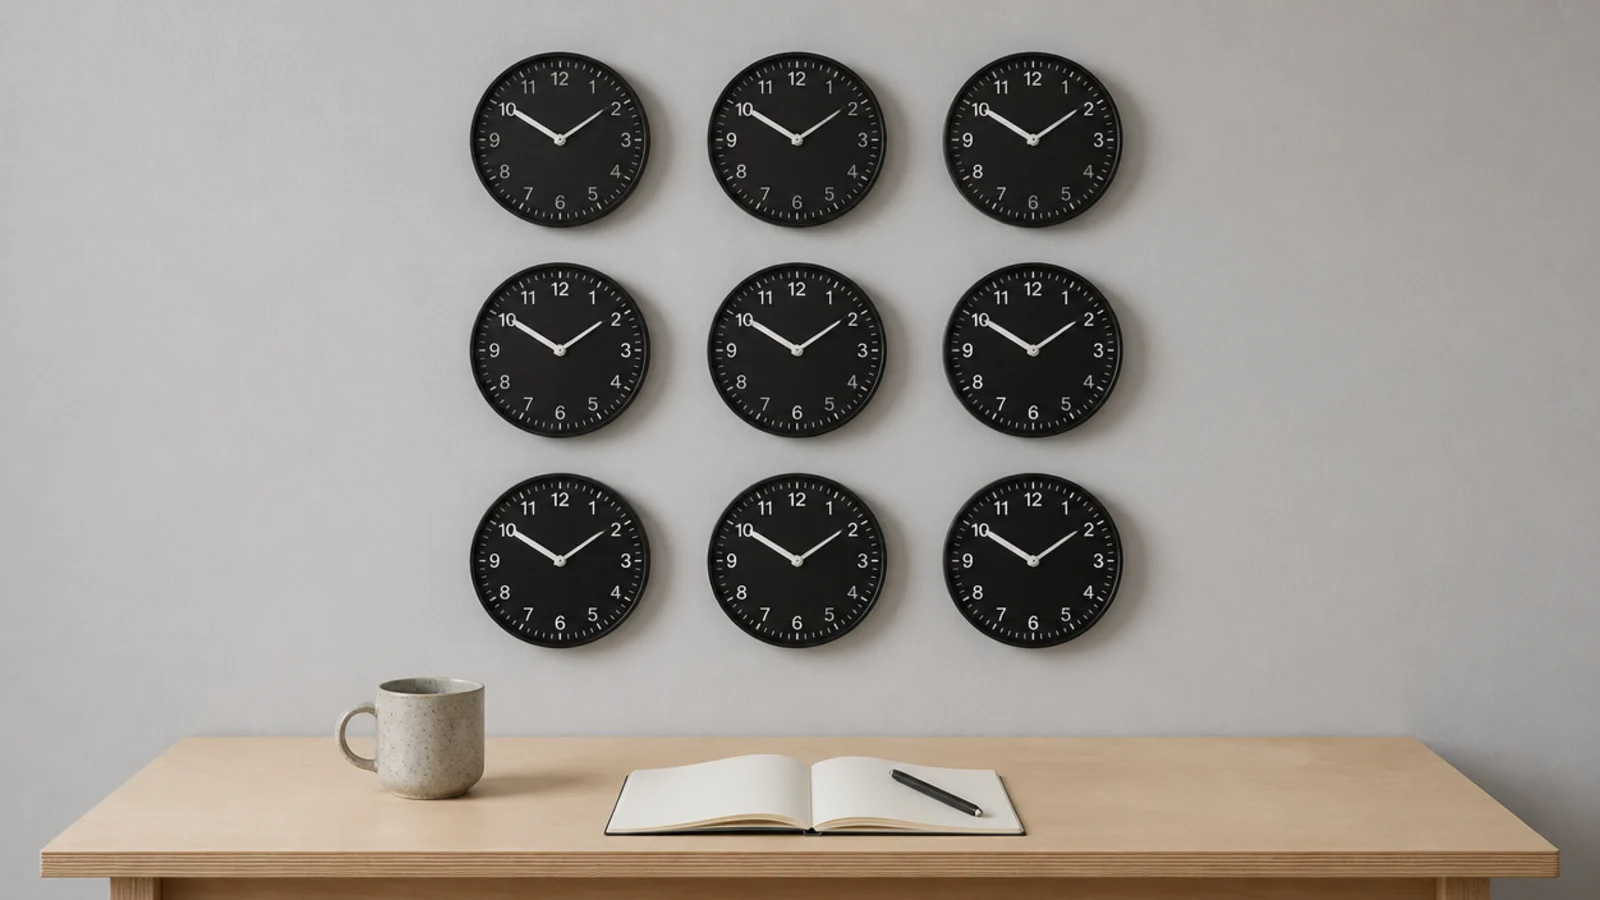
4. A time-zone row at equal spacing
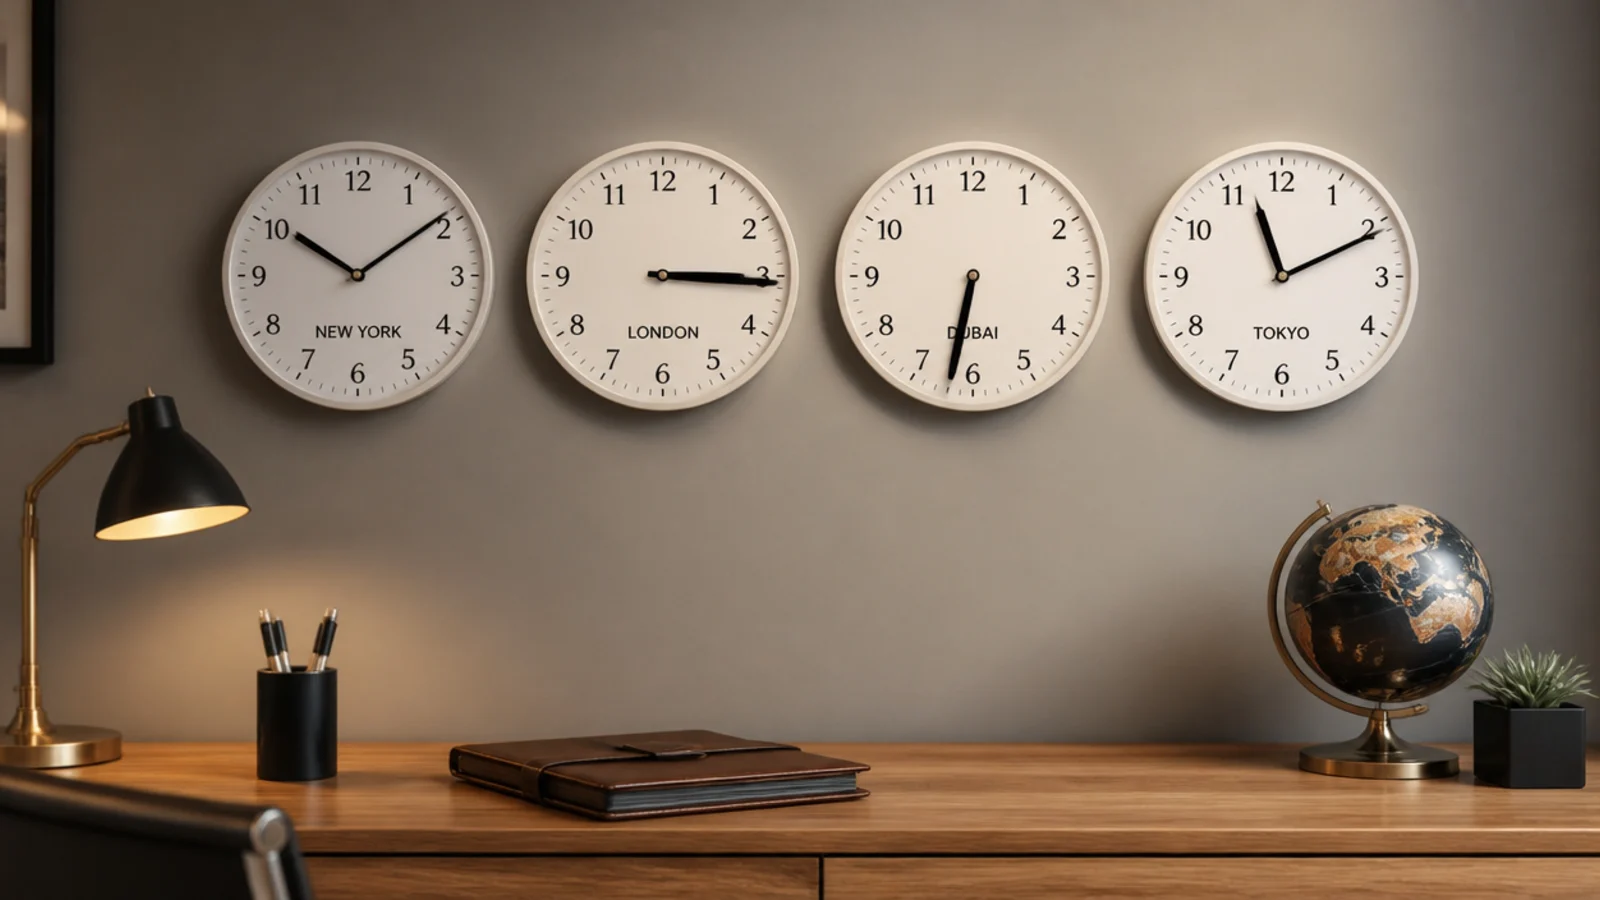
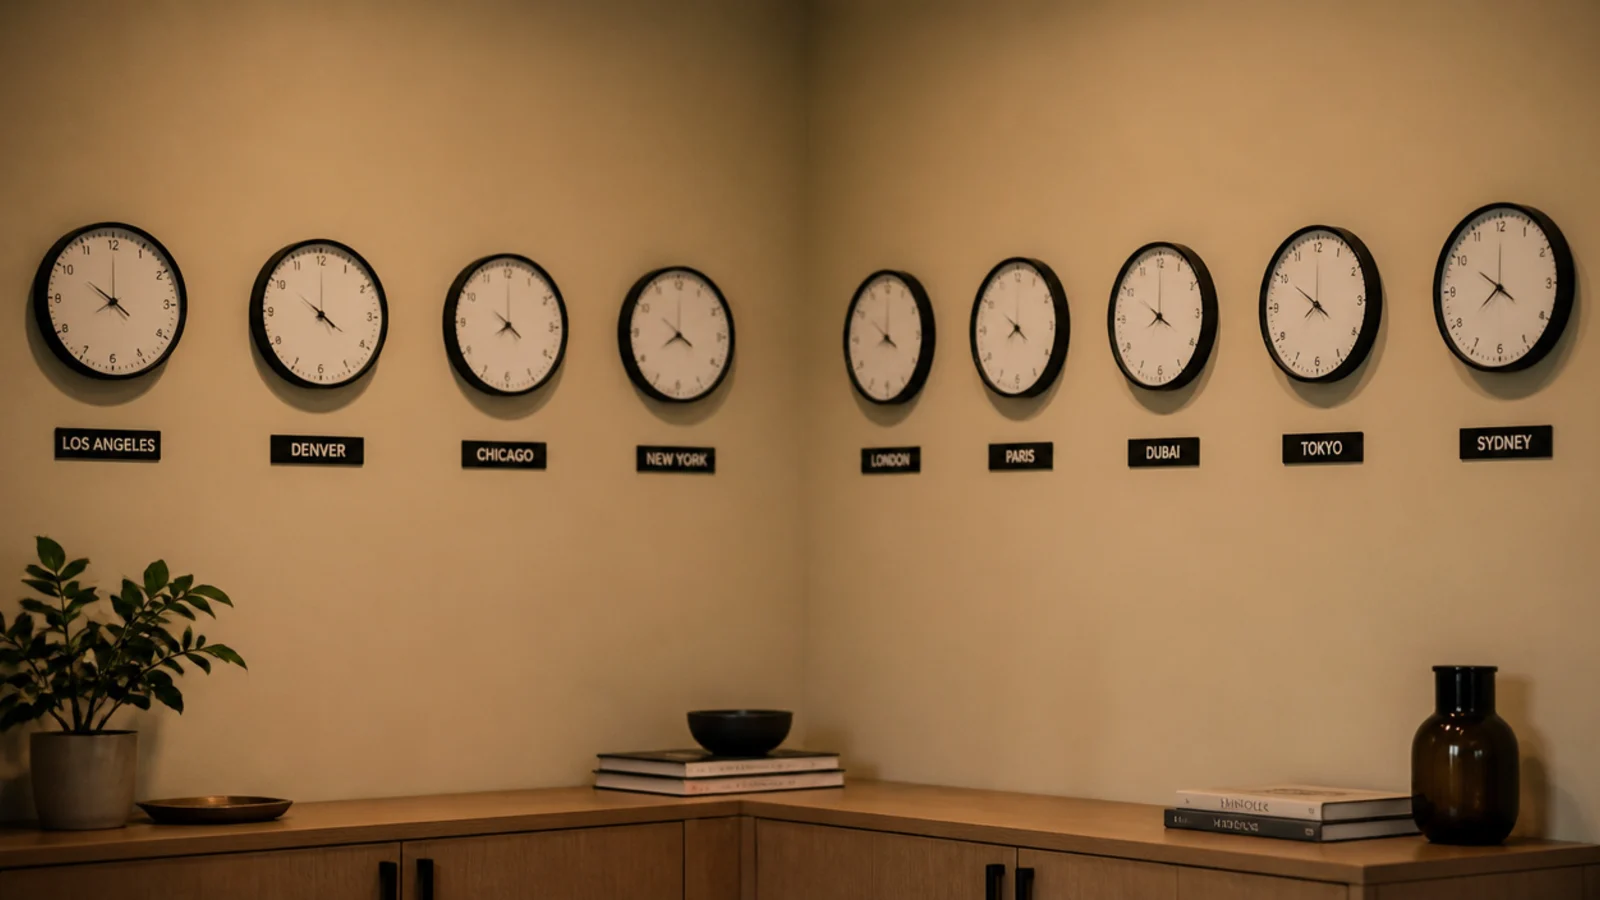
Four matching faces in a level line, 4 to 6 inches apart, at one shared centre height. It is the layout that most needs a laser or a long spirit level, because a horizontal row shows a quarter-inch drop instantly. Label them below rather than on the dial if you want the cities readable.
5. One large clock with two small satellites
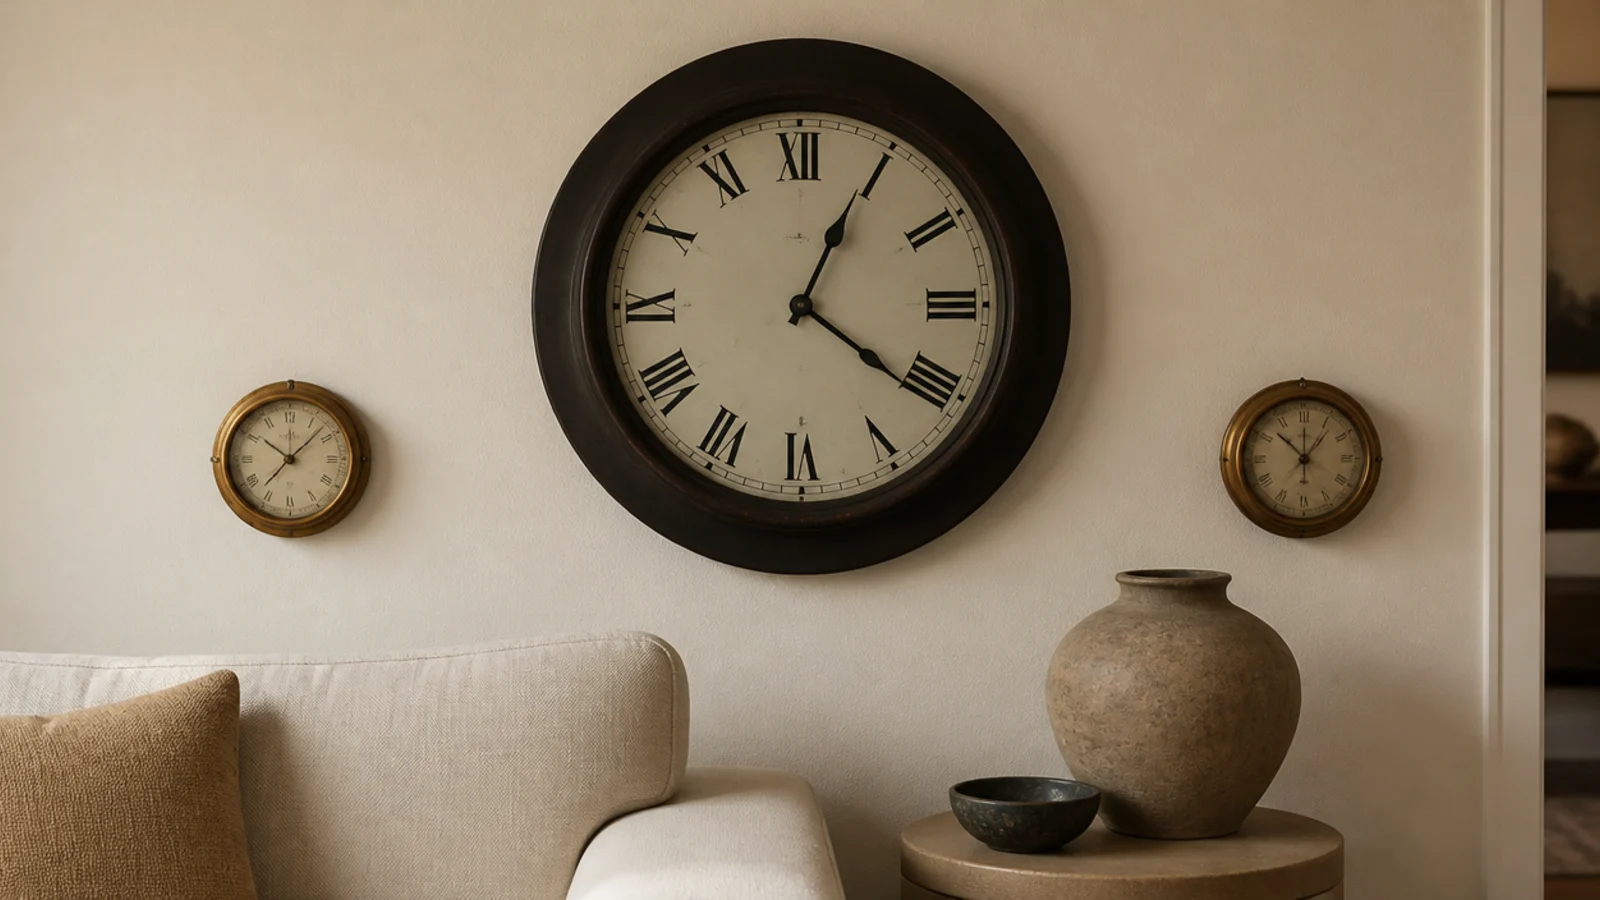
A 24-inch face with two 8-inch companions set slightly lower either side. The size difference has to be obvious — at least double — or the small ones look like mistakes rather than deliberate. Drop the satellites about 6 inches below the main centre line so the group has a shape.
6. A clock anchoring a mixed gallery wall
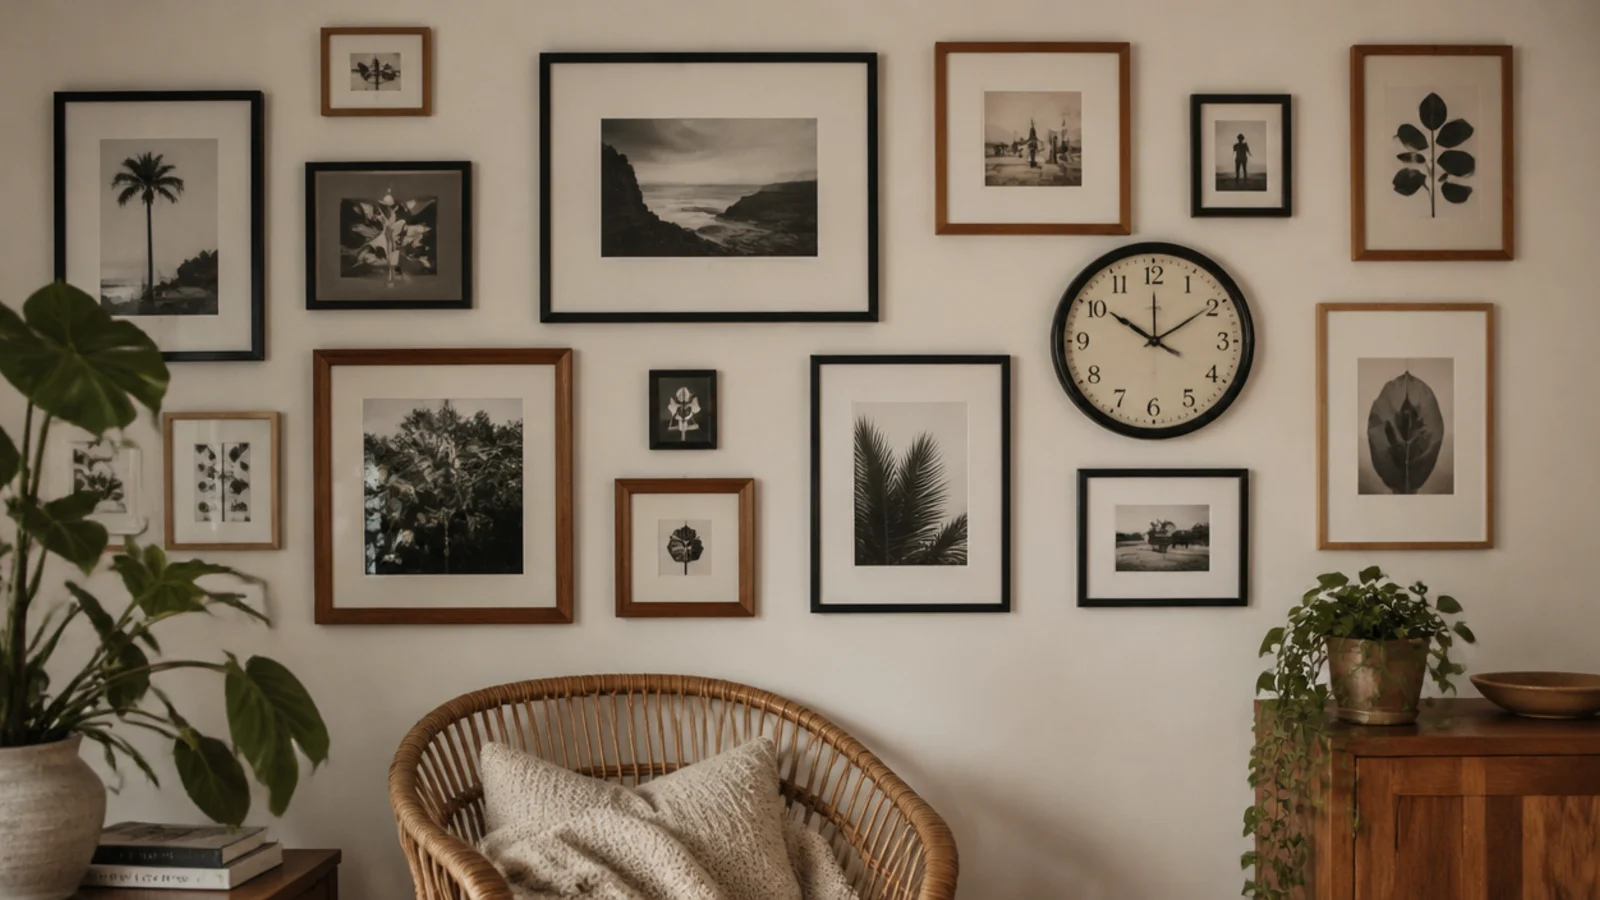
In a wall of rectangles, one circle gives the eye somewhere to rest. Hang it off centre rather than in the middle, keep it to the same spacing as the frames, and make it no larger than the biggest frame or it stops being part of the group and starts being the point of it.
7. A vertical column up a stairwell
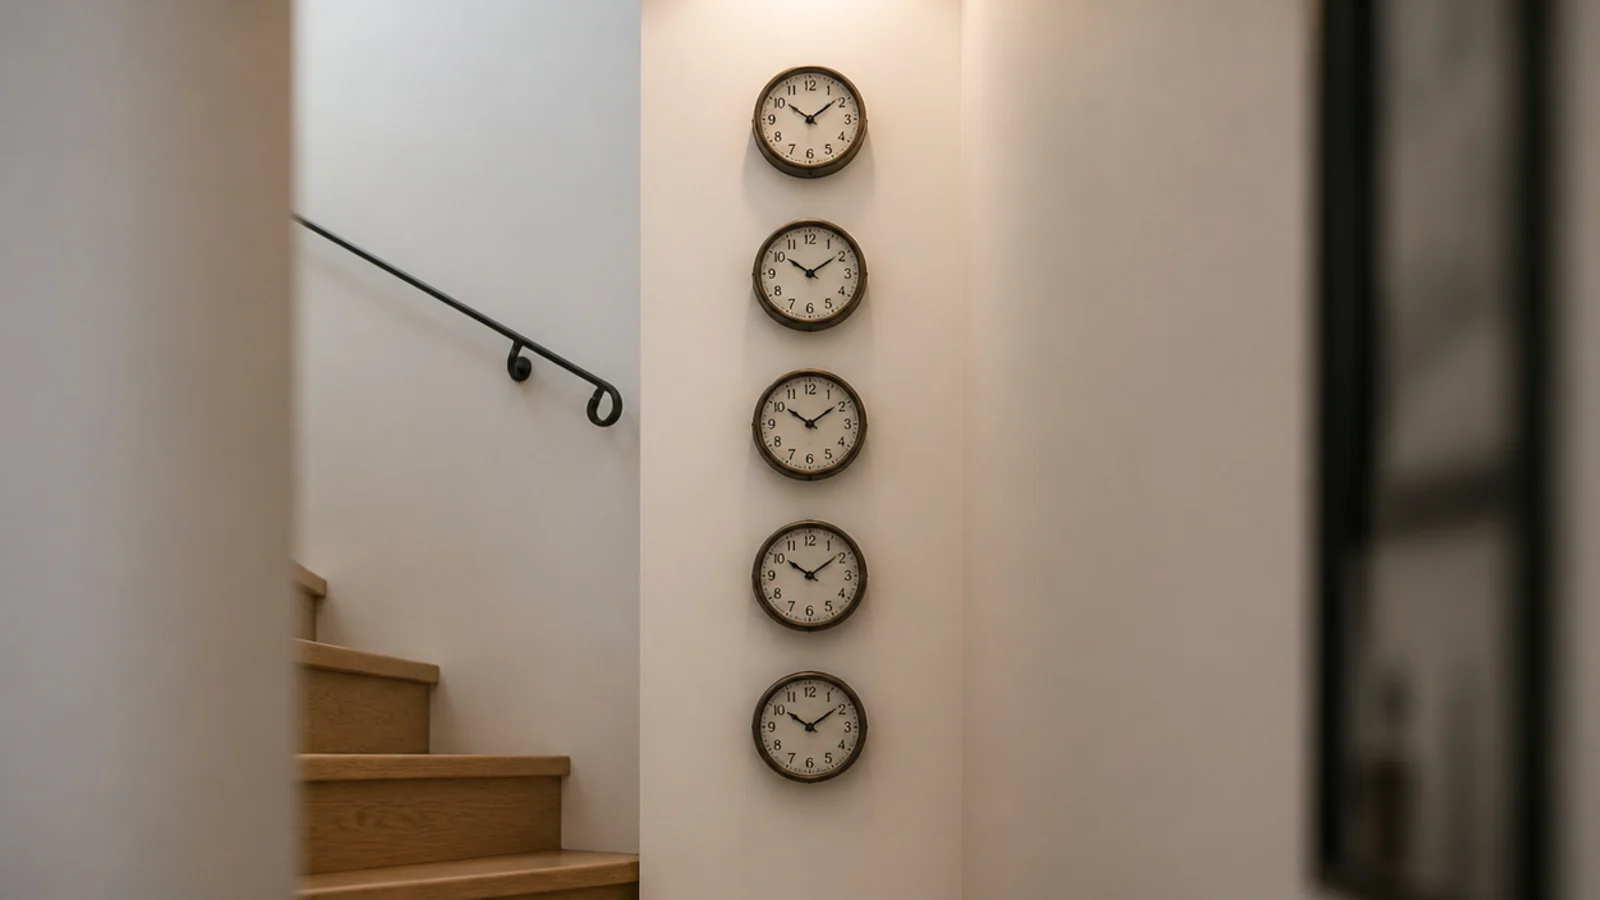
Stairwells have height and no furniture, which suits a single vertical line of small faces. Keep them all on one plumb line and step the vertical gaps to match the rise — roughly 7 inches per tread — so the column climbs at the same rate as the stairs.
8. Salon style with frames and faces mixed
Mixing art, mirrors and clocks works when one tone runs through everything: all brass, all black, or all warm timber. Vary shape and size as much as you like. Keep 2 to 3 inches between every element regardless of what it is, and build outward from the largest piece.
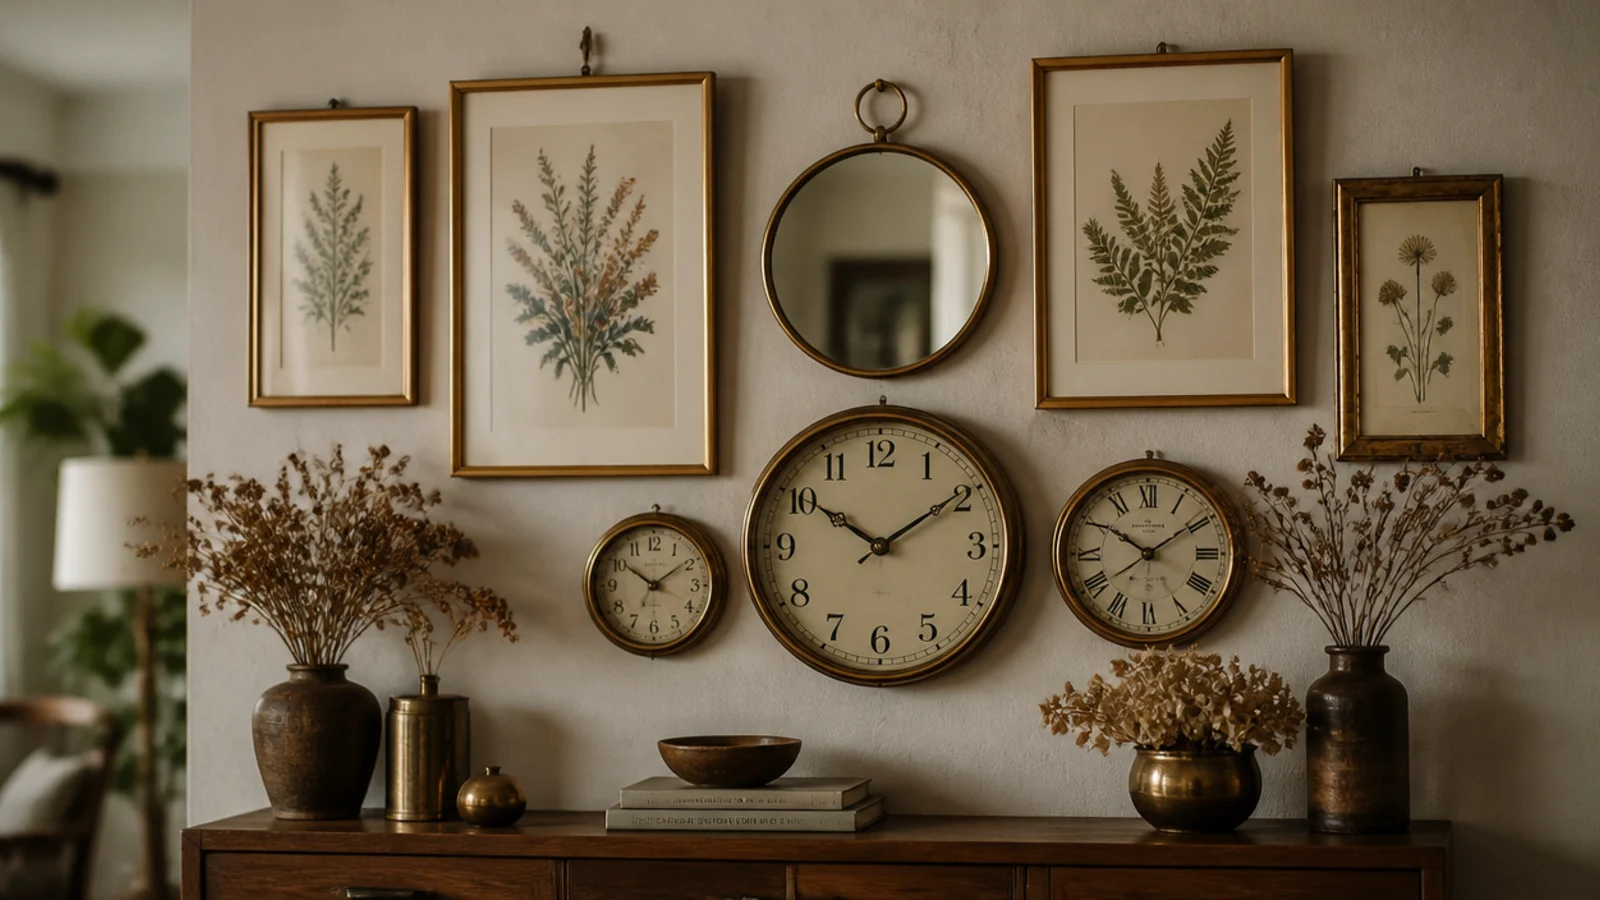
9. Two clocks stacked above a console
On a narrow wall — a hallway pier, the space beside a chimney breast — stacking beats a row. Two faces with a 3-inch vertical gap read as a column and suit a wall under about 30 inches wide. Put the larger one on top so the arrangement does not look bottom heavy.
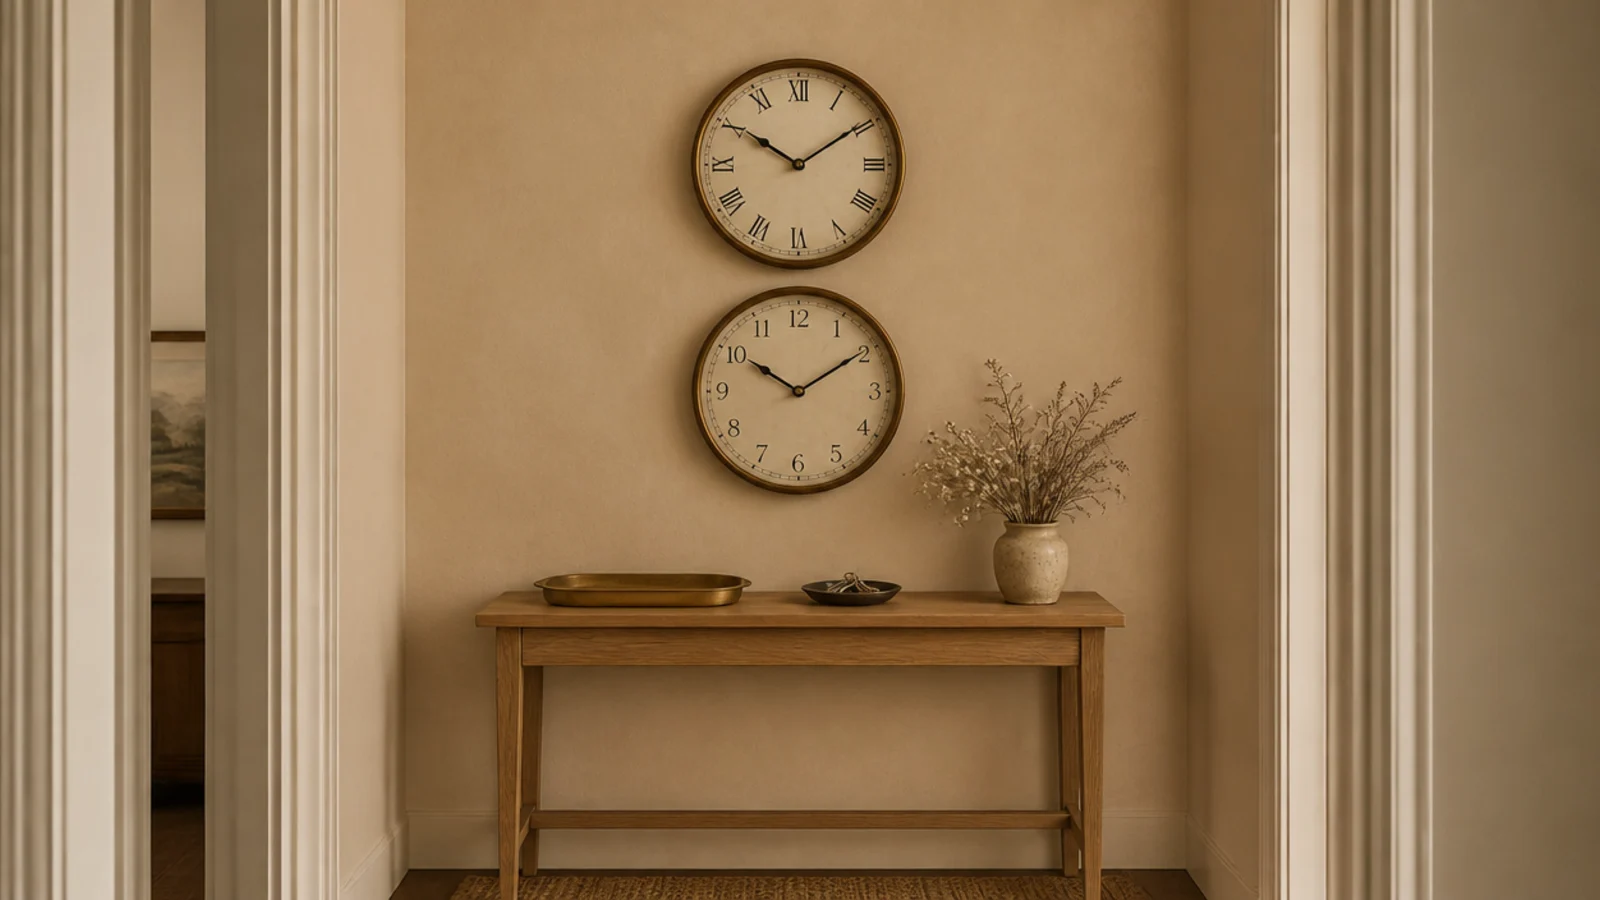
10. A diagonal run following the stair stringer
Clocks stepping up a staircase should follow the stringer line, not the floor. Measure the same perpendicular distance from the stringer to each centre — usually 30 to 36 inches — and the run will look parallel to the stairs rather than randomly scattered.
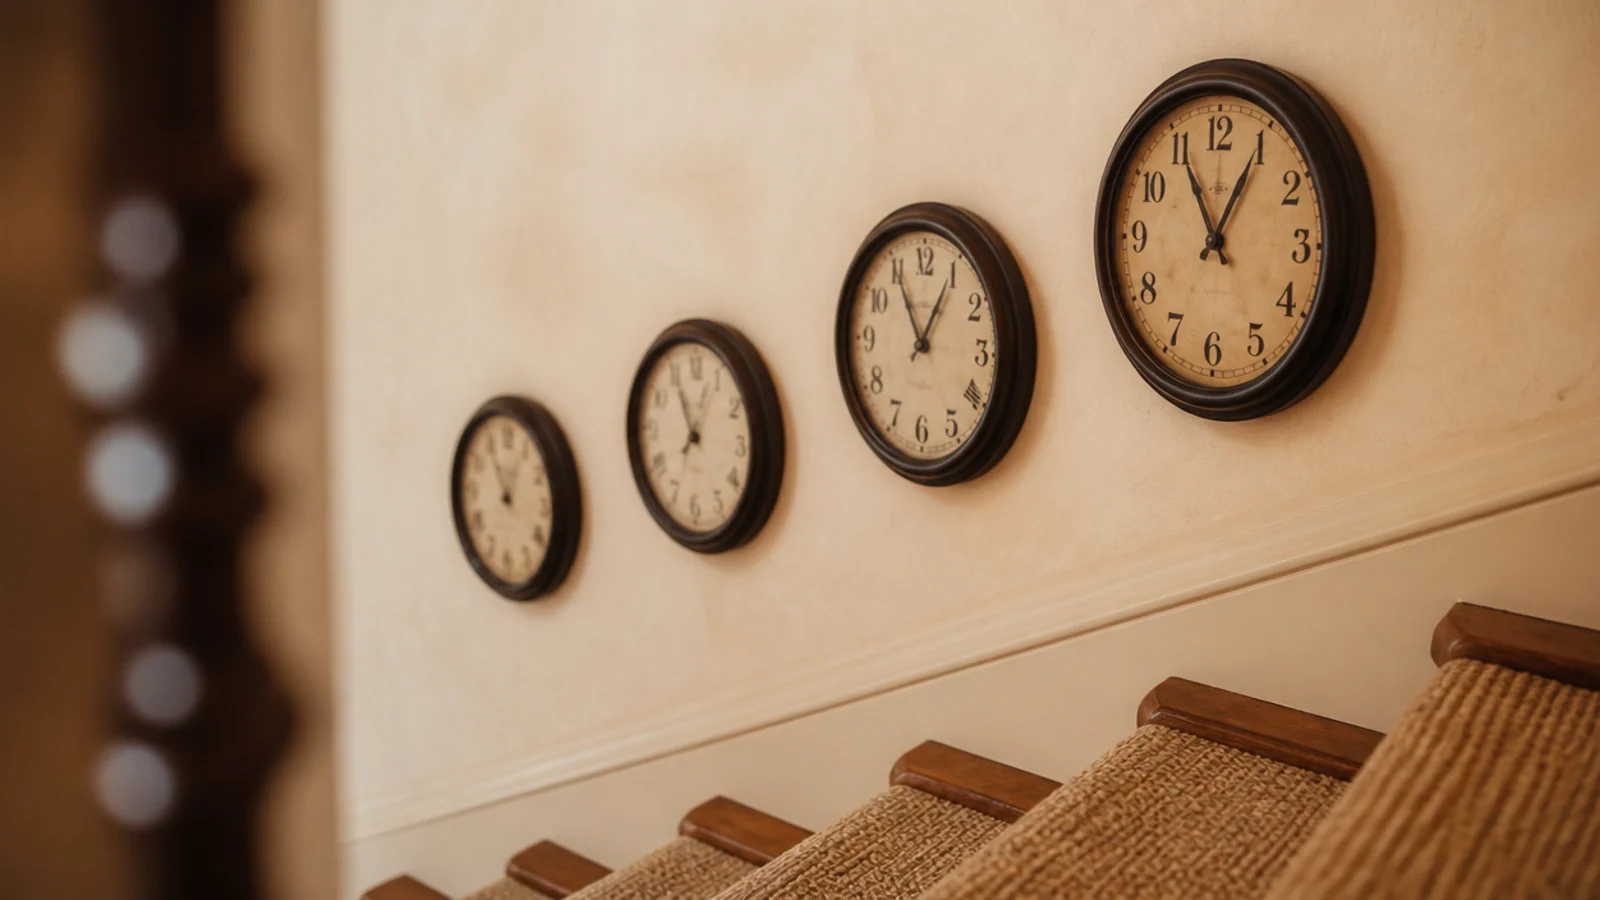
11. A horizontal band on one shared centre line
Six clocks of wildly different diameters all aligned on one invisible horizontal line through their centres. It is the easiest mixed-size layout to execute because there is only one measurement to get right, and it suits a long wall above a low bench or radiator.
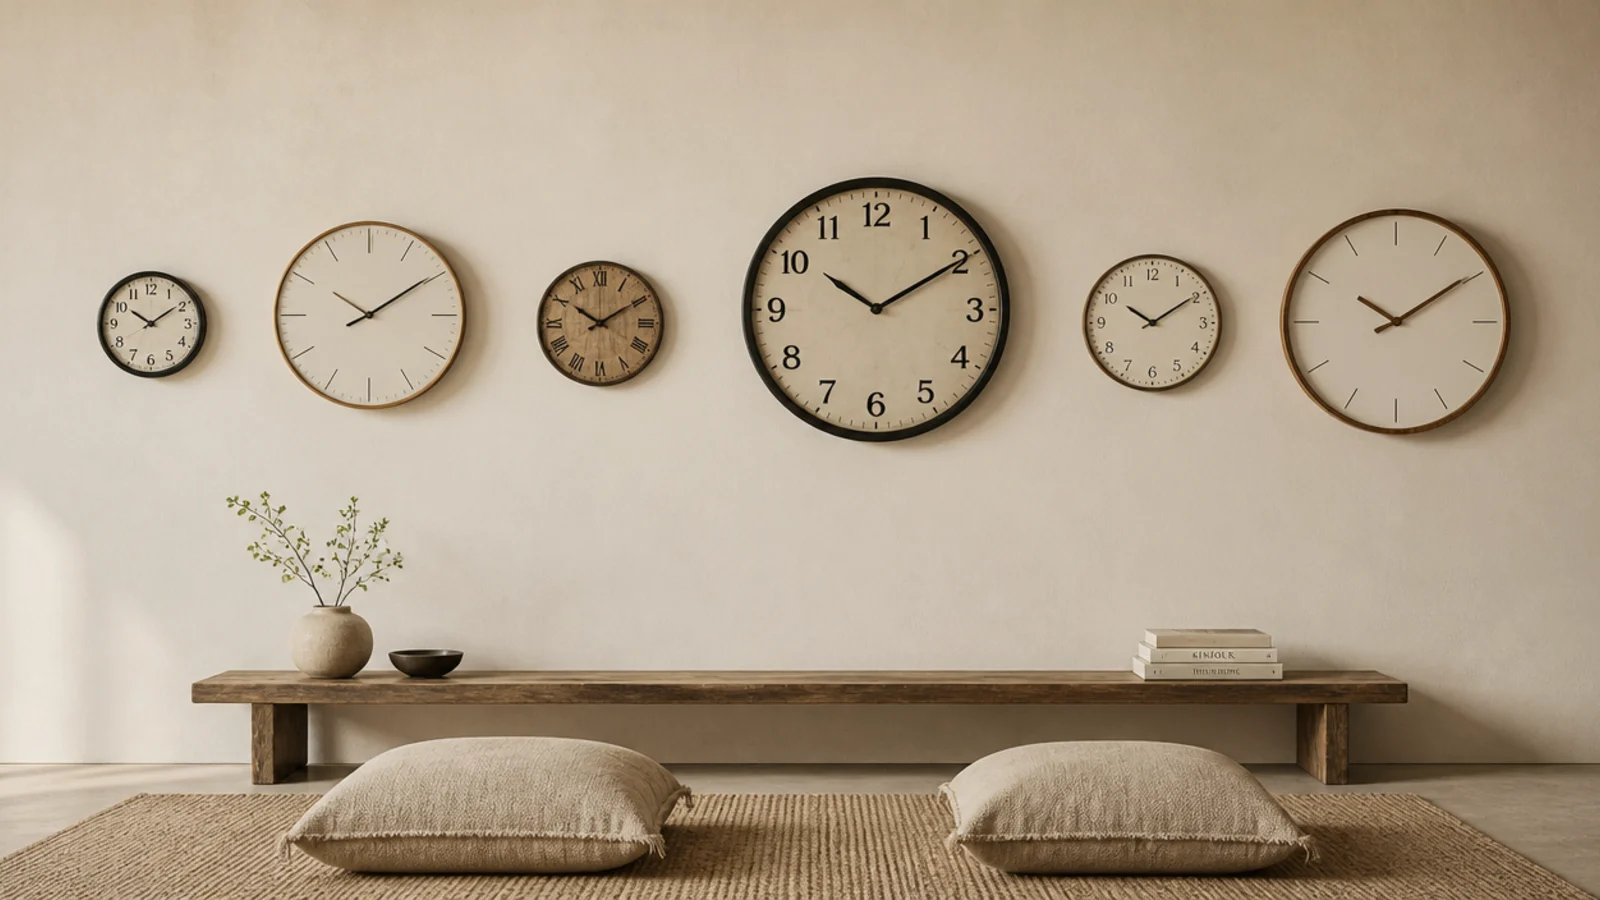
12. Mixed diameters, one shared finish
Hold the rim finish constant — all matte black, all aged brass — and diameters can vary as much as you like. This is the most forgiving way to build a group from clocks bought at different times, and it is why a brass-only cluster works when a mixed-metal one does not.
13. Mixed finishes, one shared diameter
The inverse, and it works just as well. Five 12-inch faces in brass, walnut, rattan, painted cream and black steel read as a considered set because the repetition of size does the unifying. It also makes spacing trivial, since every gap is between two equal circles.
14. An asymmetric cluster weighted to one side
Push the whole group toward the furniture it belongs to and leave the rest of the wall empty. Above an L-shaped sofa, that means weighting the cluster over the long run. Deliberate imbalance reads as confident; accidental imbalance reads as unfinished, and the difference is whether the empty side is generous.
15. A clock wall built inside a shelf niche
Three or four small faces propped and hung inside a painted niche use the niche edges as a frame, which removes the alignment problem altogether. It also lets you restyle without new holes — see the floating shelf ideas for the shelf side of the same trick.
16. Arched around a doorway
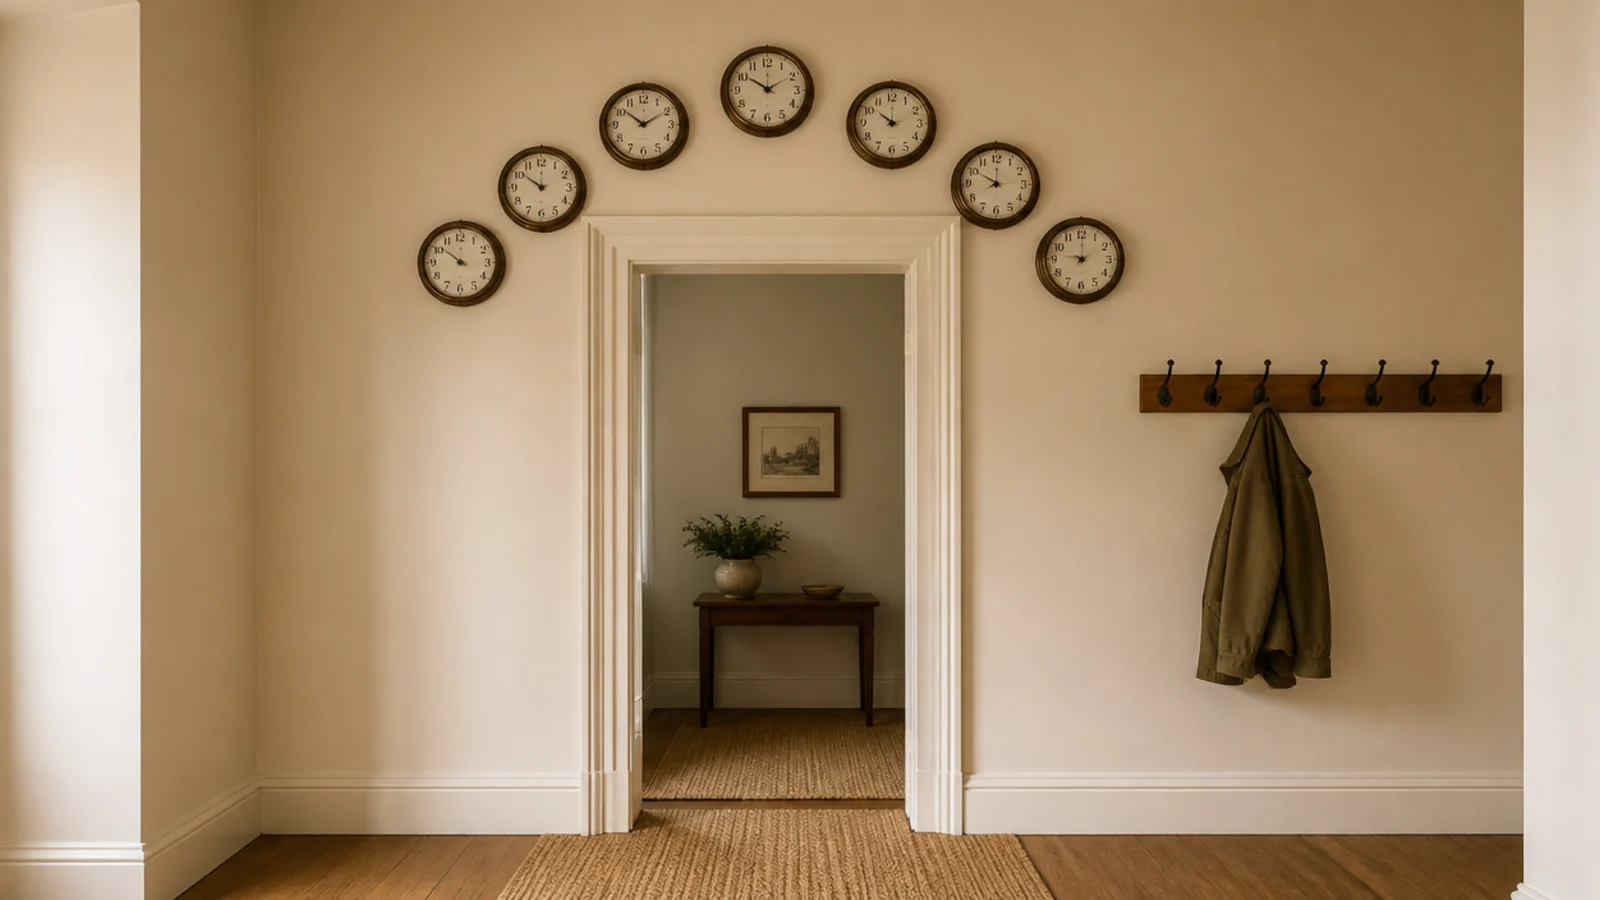
Seven small clocks curved over a plain internal door frame turn a builder's opening into something architectural. Cut a string compass from the door centre to keep the arc true, and leave at least 3 inches between the top of the architrave and the lowest face.
17. Turning a corner across two walls
A run that continues around an internal corner works only if the gap stays constant right through the turn. Measure the last face on wall one to the corner, then the corner to the first face on wall two, and make them equal. Skip this on an external corner, where the faces are never both visible.
18. Above a bed, and the fixing it demands
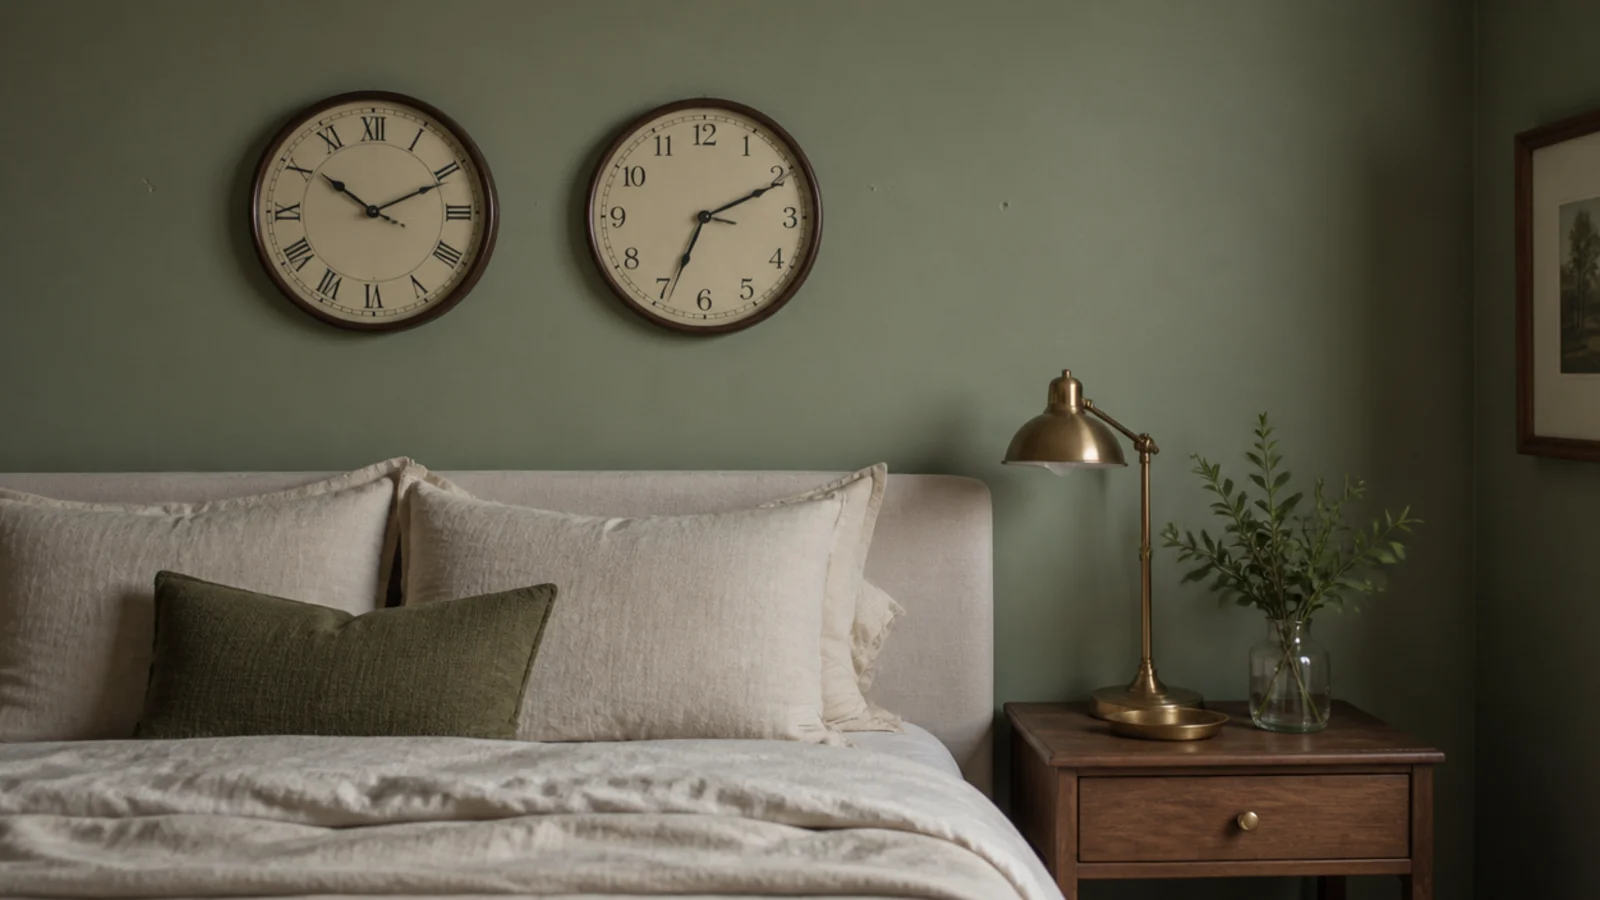
A pair of clocks above a headboard has to be treated as a safety decision first and a styling one second. Find the studs, use number eight screws two inches long into framing, and keep the total weight modest. A plastic plug above a pillow is not a fixing, it is a countdown.
19. Behind a dining table at seated eye level
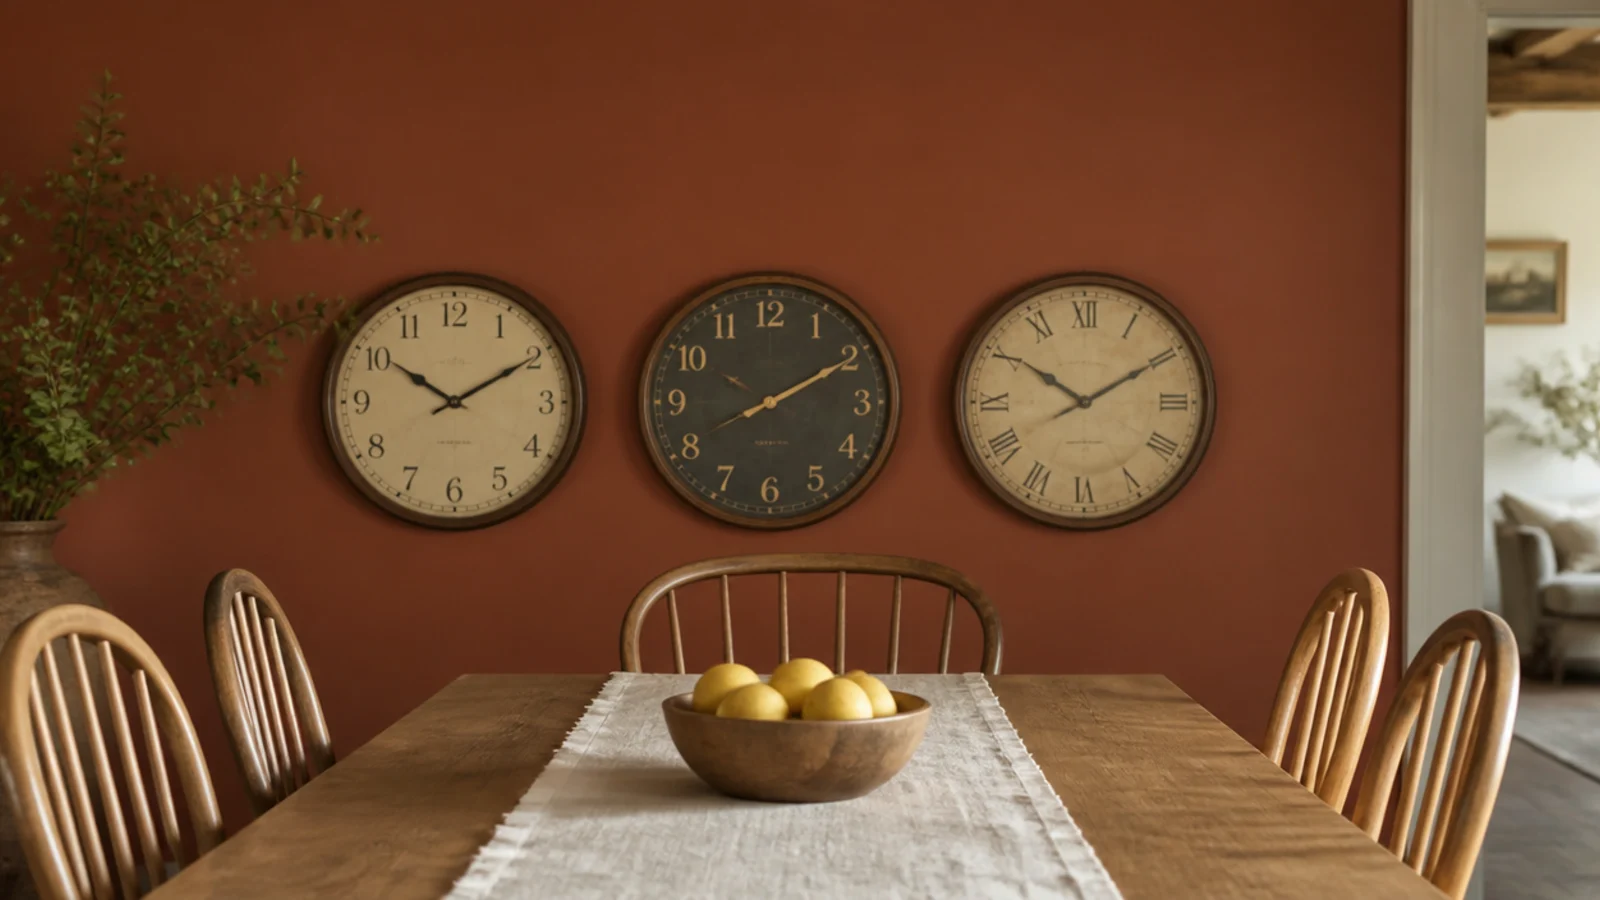
A dining room is used sitting down, so drop the group centre to 52 to 55 inches rather than 57. It looks slightly low when you walk in and exactly right once you sit, which is the only view that matters for four hours of a dinner.
20. Template the whole group on the floor first
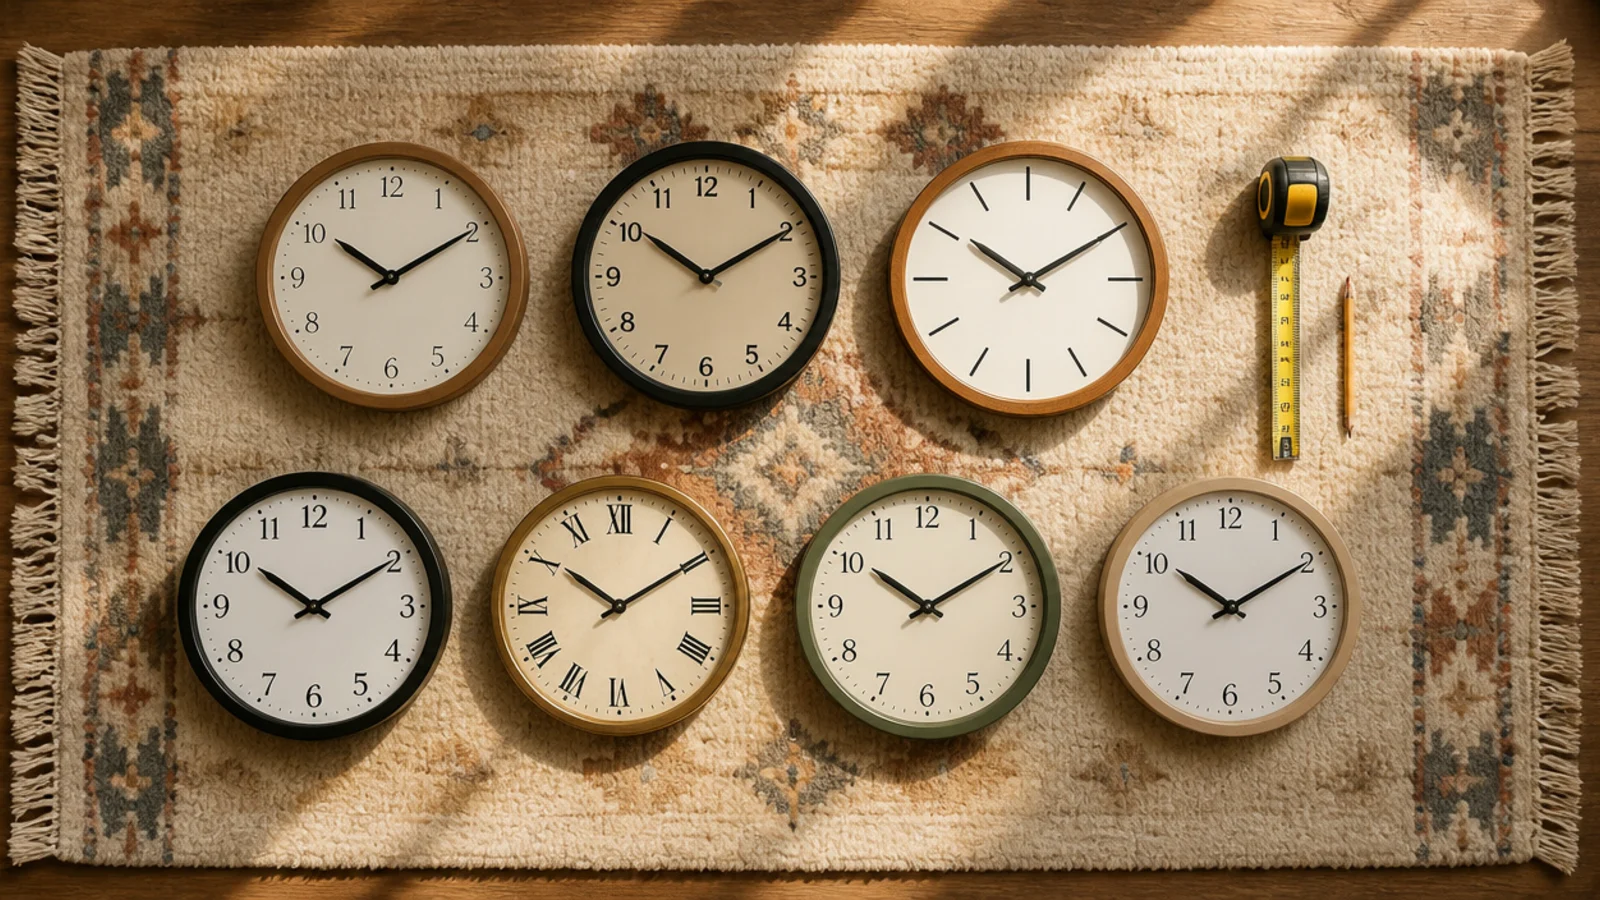
Lay every clock on the rug in the arrangement you are considering and photograph it from directly above. Rearranging on the floor costs nothing; rearranging on the wall costs filler, paint and an afternoon. I have never once kept my first floor layout.
21. Tape the outer boundary before you commit
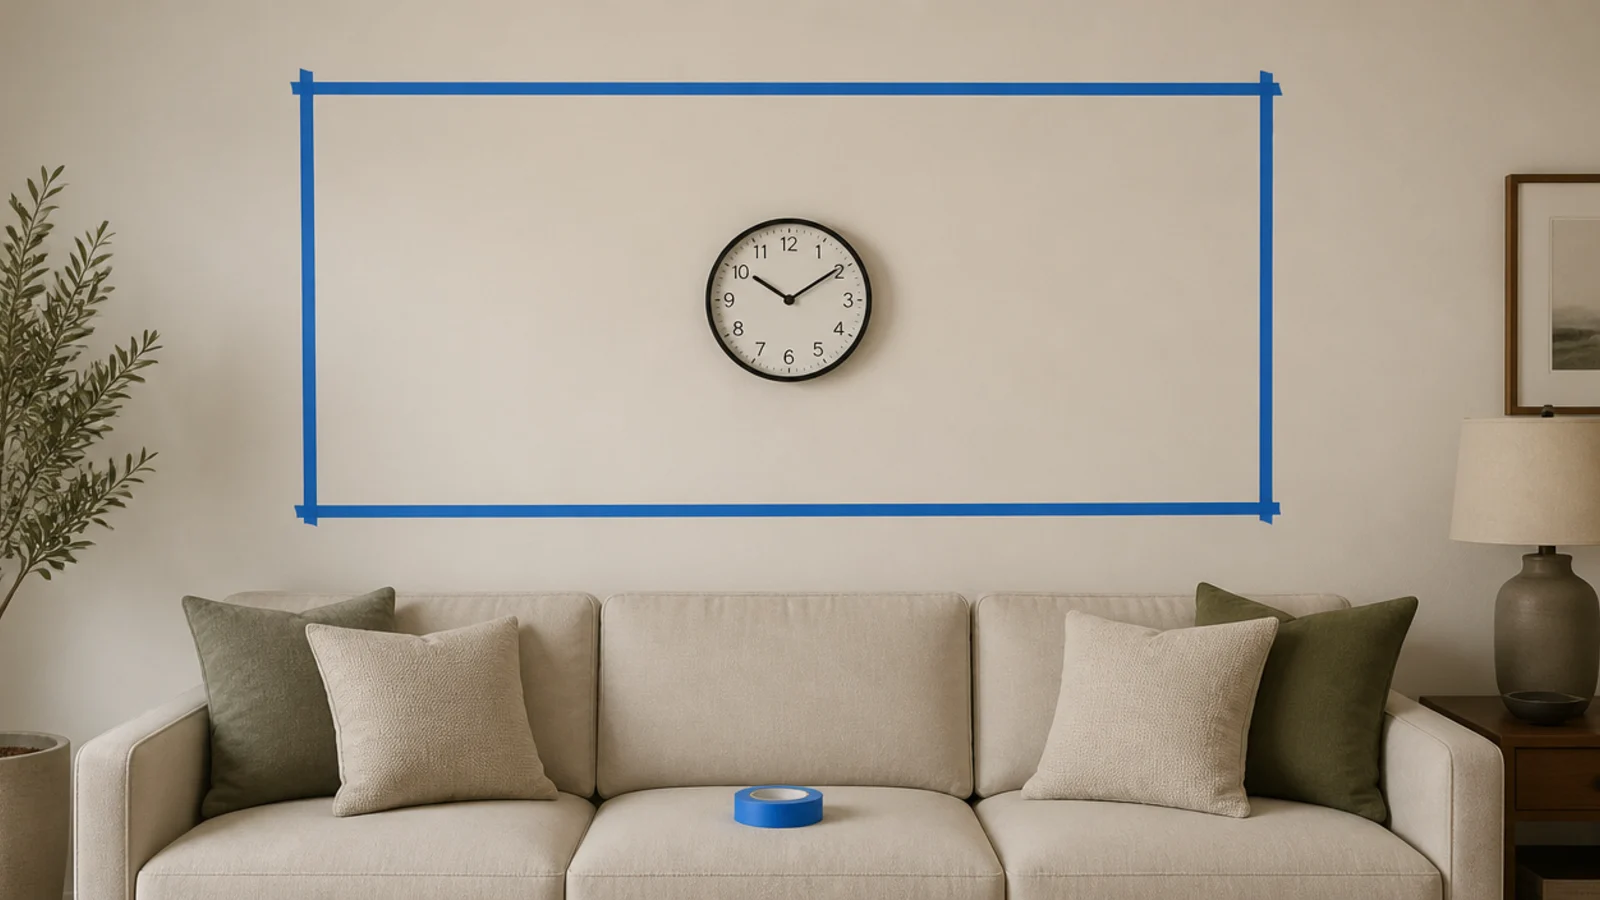
Mark the outer rectangle of the group on the wall in painter tape and live with it for a day. Nine times out of ten it is too big or sitting too high, and both are obvious in tape and invisible on paper. Adjust the tape, not the plaster.
22. Hang from the centre outward
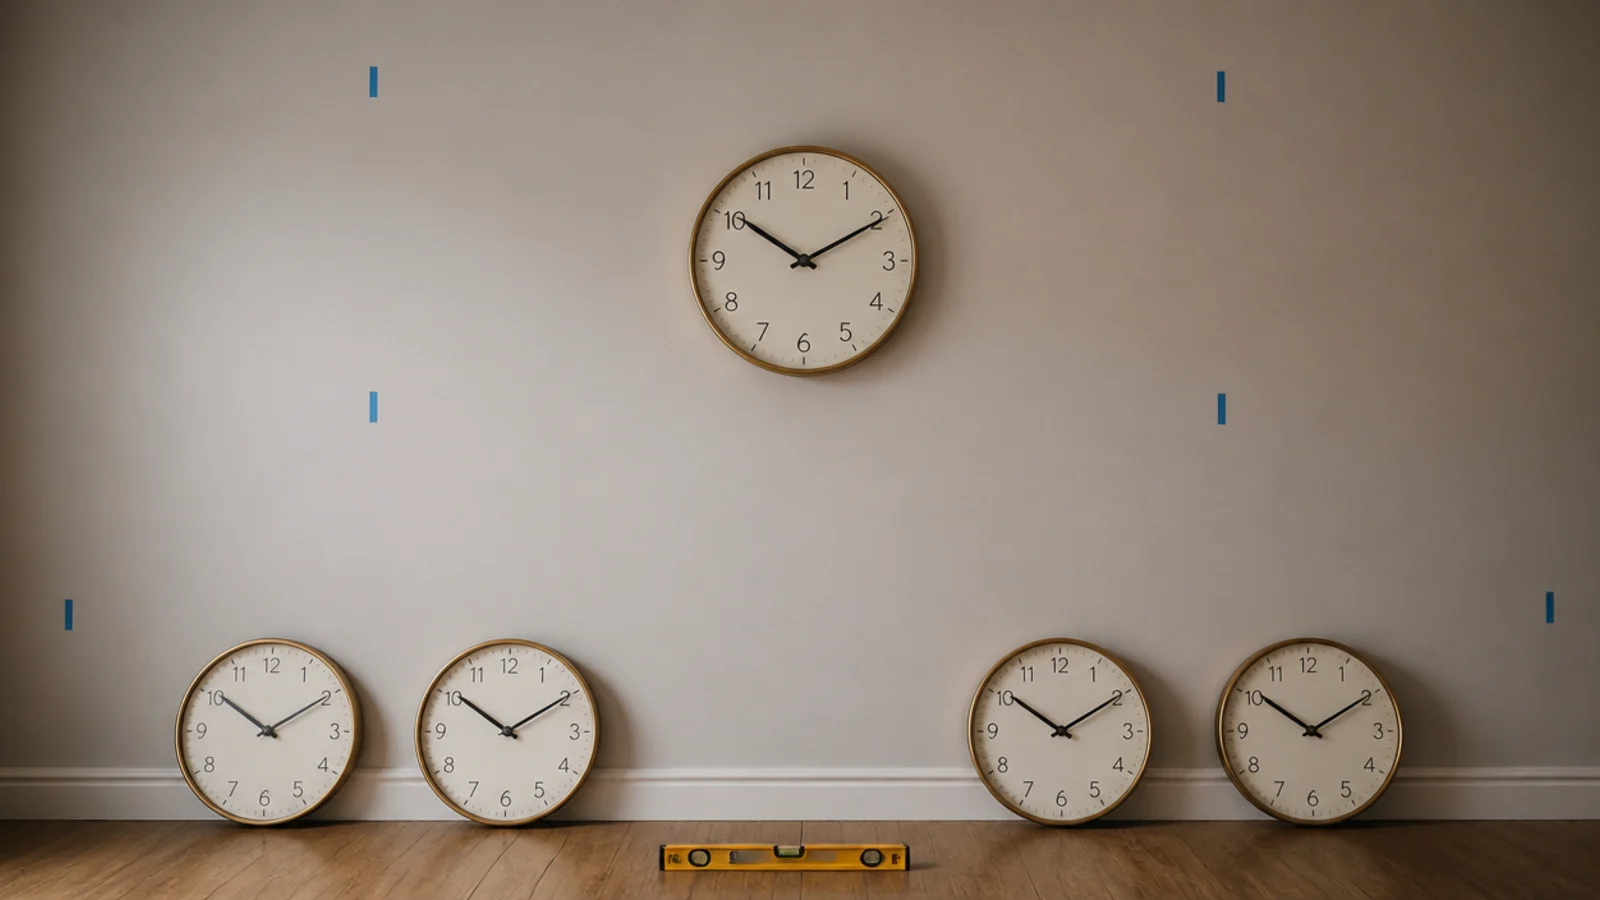
Fix the middle clock first, then work out in both directions. Errors accumulate as you go, and starting at the centre pushes any drift to the outer edges where nobody notices it. Starting at one end pushes the whole error onto the far side of the wall.
23. Keep the group inside the furniture width
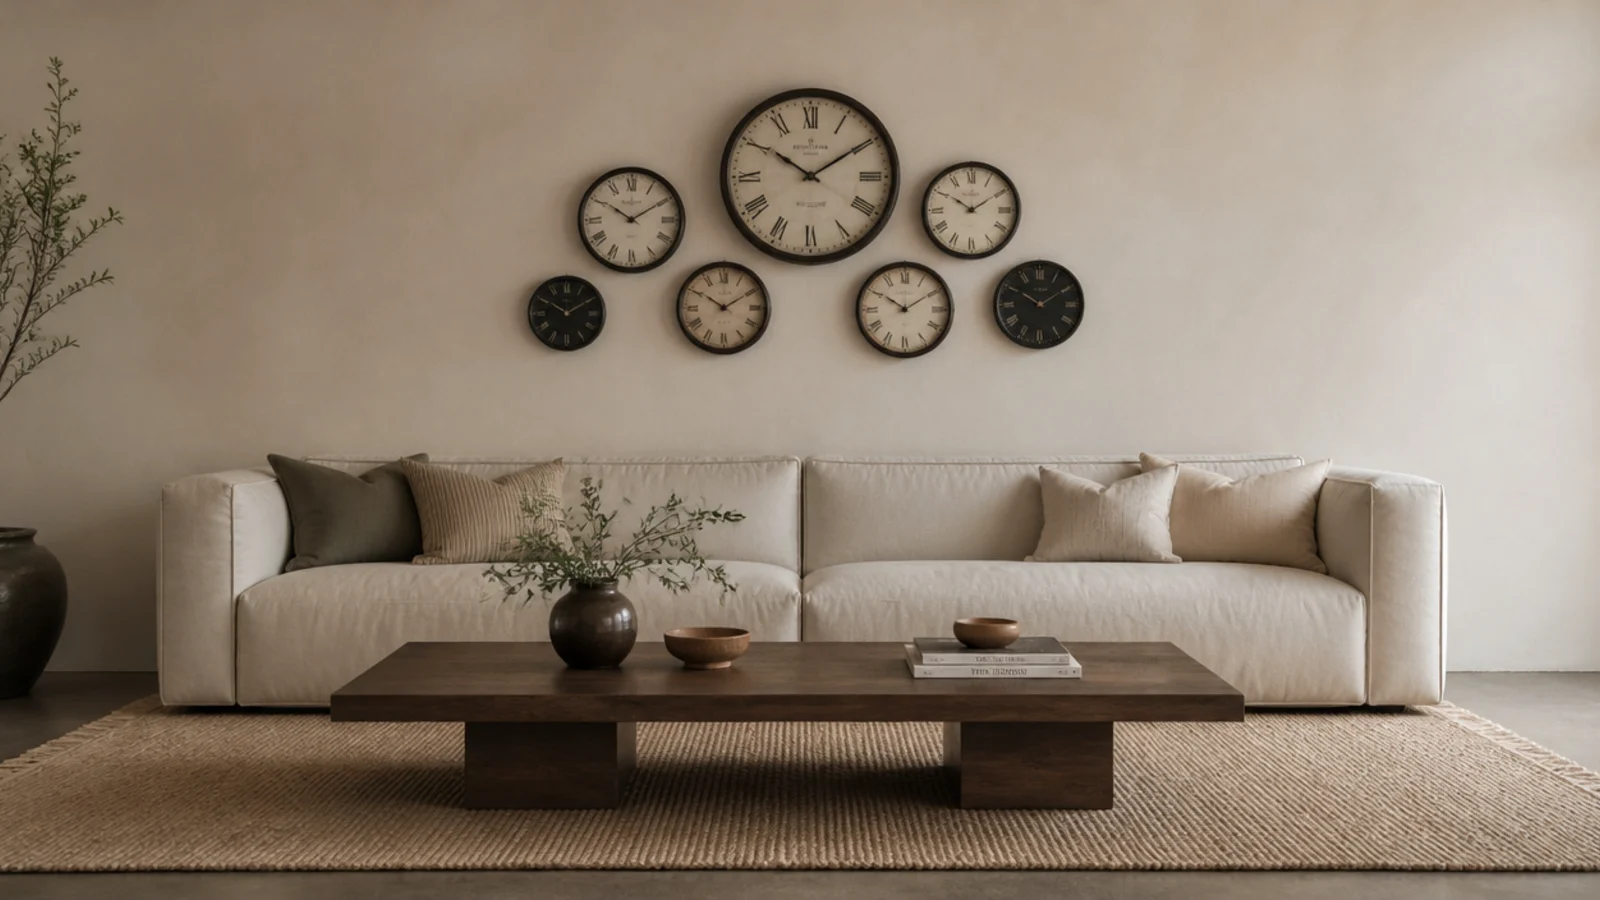
The arrangement should finish about 6 inches short of each sofa arm. Wider than the furniture and the group stops belonging to it and starts competing with it, which is the single most common fault in a clock wall that was otherwise well spaced.
24. Leave two inches of clearance for battery changes
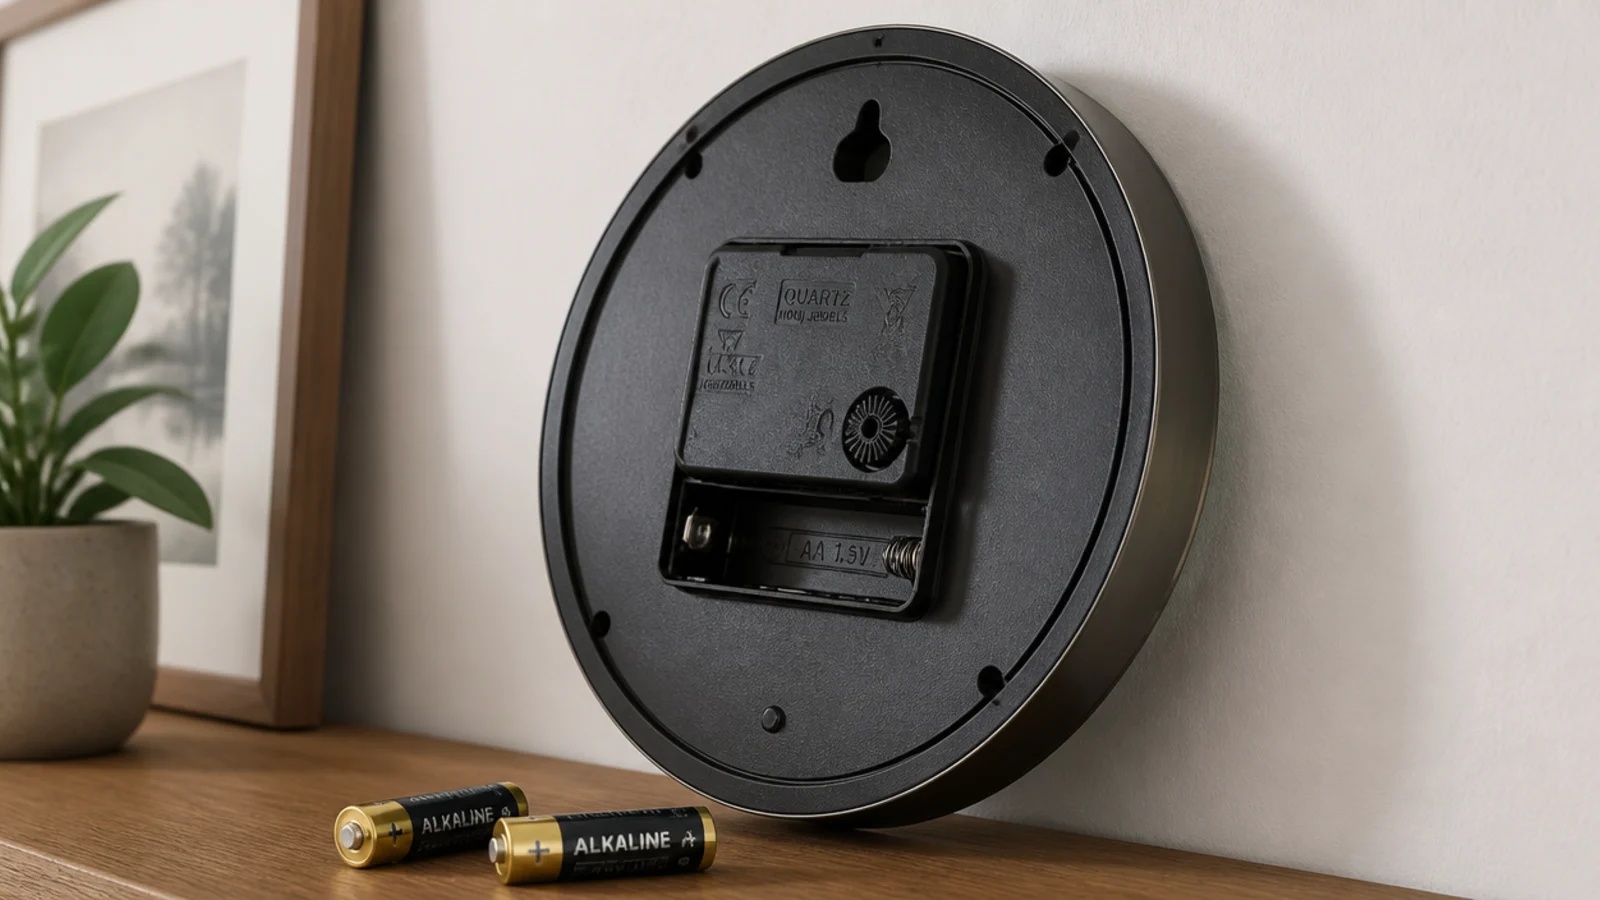
Every one of these faces needs a fresh AA in 8 to 18 months. Check you can get a hand behind each rim, and avoid layouts where a clock sits so tight to a frame that it has to come off the wall to be opened. Photograph the layout once it is up, so a clock removed for a battery goes back in the right place.
25. Fit sweep movements before you hang five clocks
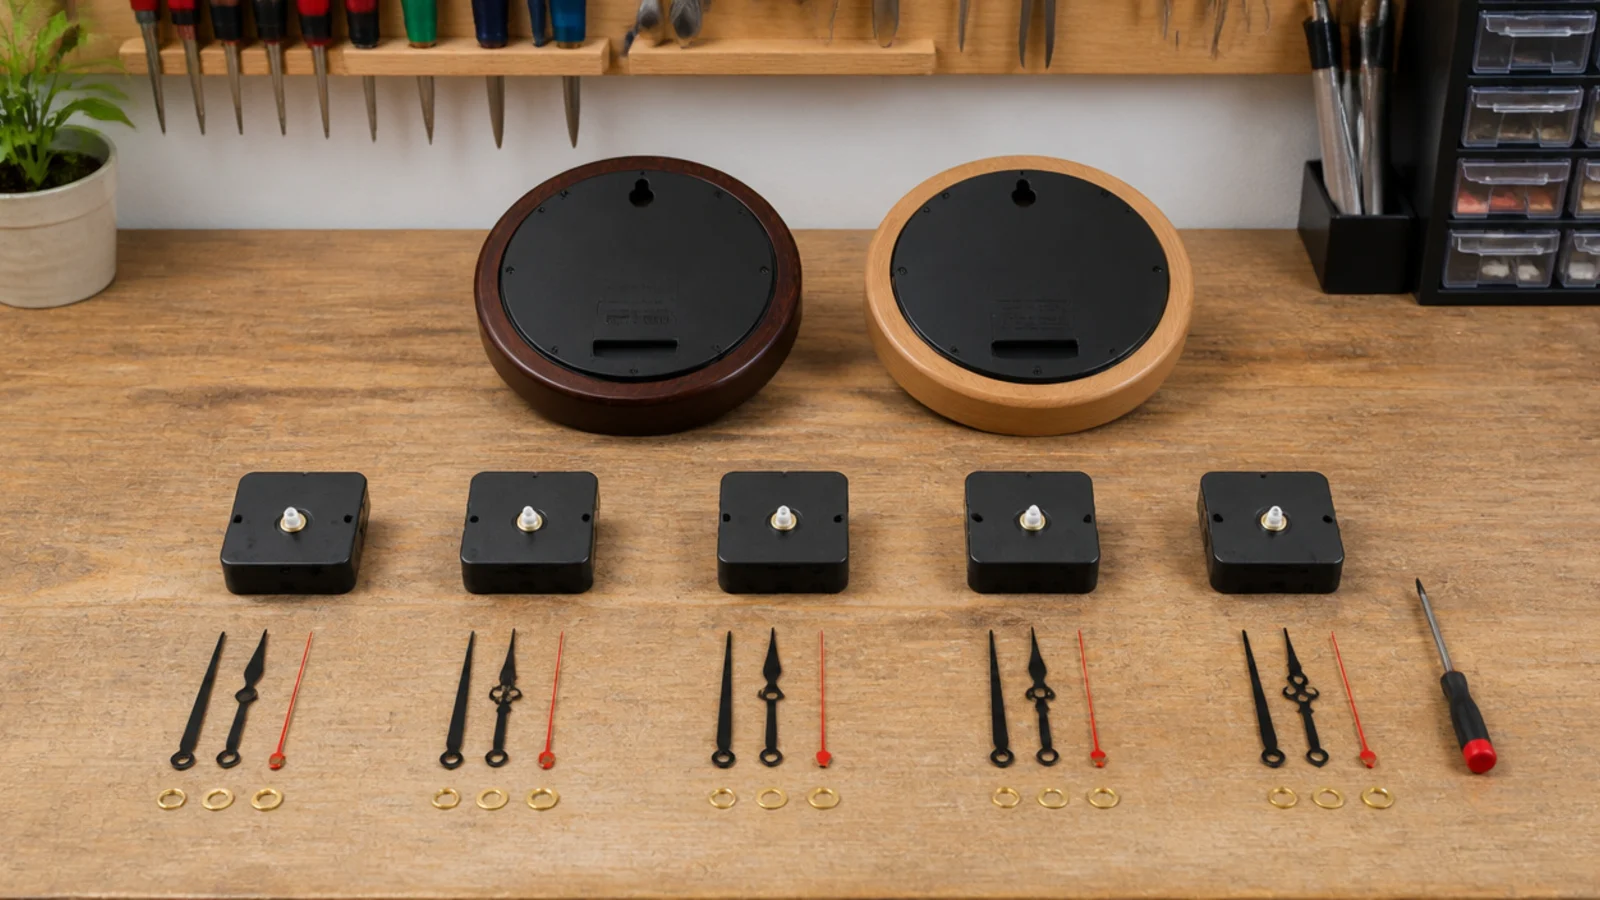
Multiple step-tick movements never stay in phase, and the resulting uneven stutter is far more noticeable than a single tick at 25 to 30 decibels. Convert every face to a silent sweep movement for $12 to $18 each before they go up. Doing it afterwards means taking the whole wall down.
For arrangements built from thrifted and handmade faces rather than bought sets, the renter-friendly clock wall guide covers the low-damage versions, and if the same wall carries a screen, the TV wall layout notes show how to keep both readable.
Mistakes to Skip
- Centring the biggest clock at 57 inches and hanging everything else around it. The centre of the whole group is what belongs at eye level, which usually puts the largest face several inches higher than you expected.
- Letting the gaps drift as you work outward. Cut a spacer block to your chosen gap and use it between every pair rather than measuring each one, which is how quarter-inch errors creep in.
- Mixing sizes and finishes and dial colours all at once. Vary two of the three at most, or the wall reads as things you happened to own rather than a decision you made.
- Hanging a group above a bed on drywall anchors because each clock is light. Weight adds up, the fixings are above a sleeping head, and studs cost nothing but ten minutes with a detector.
Frequently asked questions
How much space should be between clocks on a wall?
Two to three inches for a dense cluster of small faces, and three to five inches once anything passes 18 inches across. The spacing needs to stay consistent across the whole group, because an uneven gap is the thing the eye notices long before it notices a diameter mismatch.
How many clocks should be in a grouping?
Odd numbers settle faster than even ones, so three or five is the usual answer for a mixed cluster. Even numbers work when the layout is a deliberate grid or a symmetrical pair, where the repetition itself is the point rather than the arrangement.
Where is the centre of a clock grouping?
Treat the whole group as one rectangle and put the centre of that rectangle at 57 to 60 inches from the floor. Individual clocks then sit wherever the layout puts them, which means some will be well above eye level and some well below, and that is correct.
Can I mix clock sizes on one wall?
Yes, and it usually looks better than matching every face. Mix diameters freely but hold one thing constant across the group, either the finish or the dial colour. Change both and the wall reads as a collection of unrelated objects rather than a single arrangement.
Will several ticking clocks be too noisy?
Almost certainly, because separate movements drift out of phase and produce an uneven stutter rather than a steady tick. In any room you sit quietly in, fit sweep movements throughout, or keep one ticking clock and convert the rest for about twelve dollars each.
Want more like this? Browse all 15 wall clock guides — they all use the same measurements and budget tiers.

Pin it for later
Save this to your Wall Clock board
Pin it now so it is waiting for you when the tape measure comes out — and so the next person hunting for this idea can find it too.
Save this pinKeep going
More ideas worth saving while you have the tape measure out.