TV Unit Decor · UGC
20 TV Unit Decor Styling Mistakes I Made First

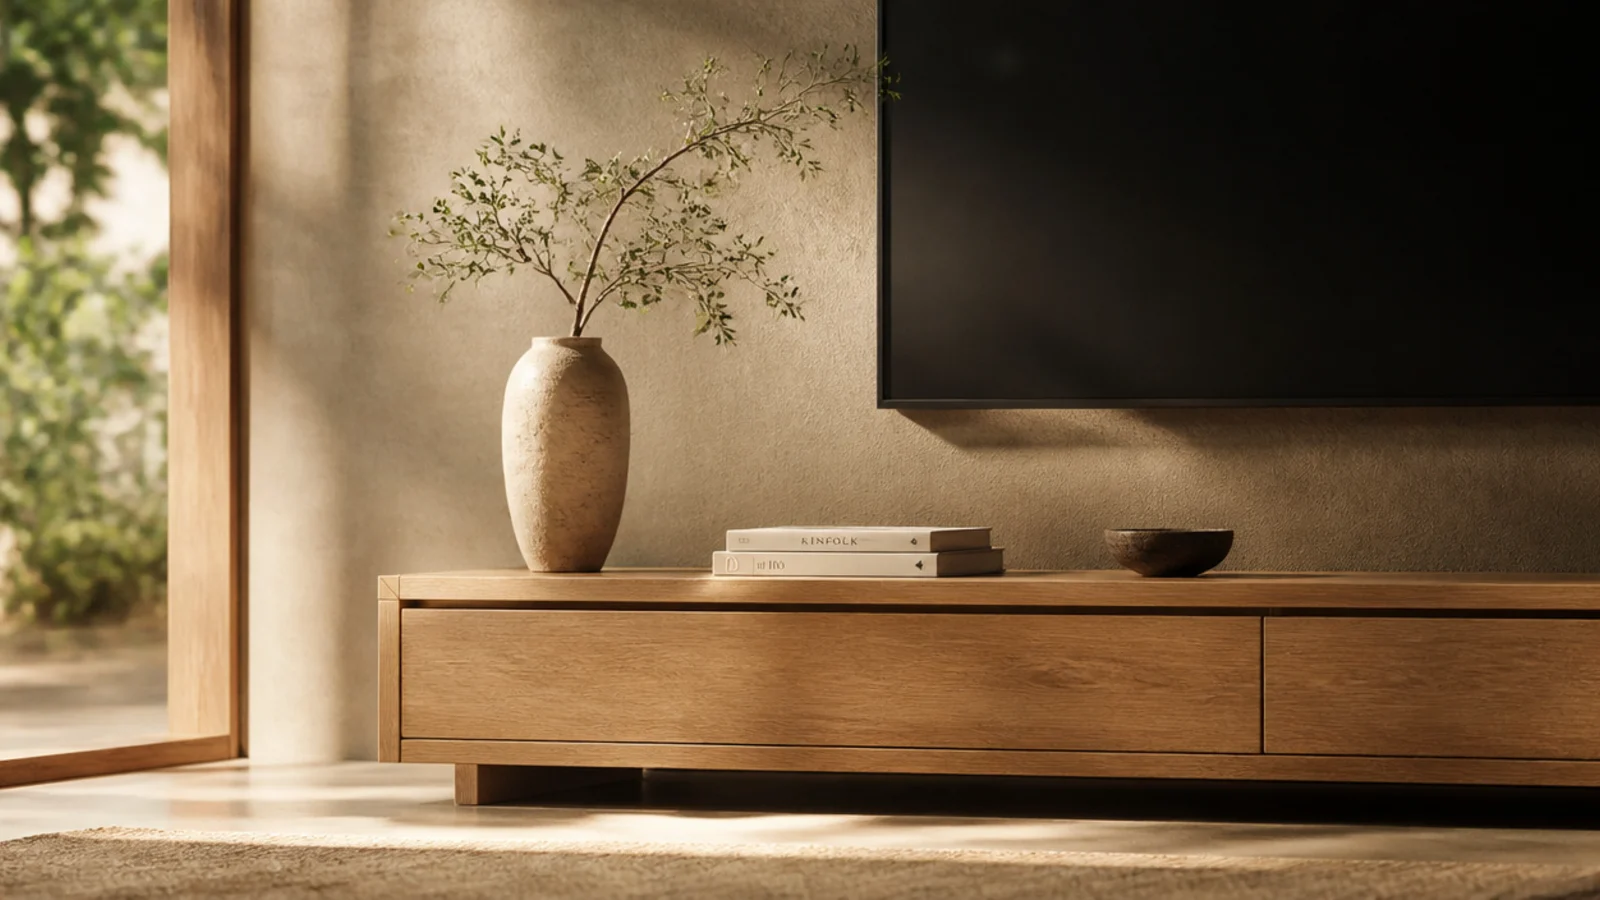
Every mistake below is mine, and I have made several of them twice. Four homes, three rentals, and a long period of believing that a media wall was a styling problem rather than a heat, cable and height problem wearing a styling costume. TV unit decor styling is the last ten per cent of the job, and for years I kept starting there.
The first unit I ever bought was 15 inches deep. My receiver was 17. I discovered this on a Saturday afternoon with the cabinet already assembled, and I solved it by leaving the back panel off and pushing the whole thing an inch further out from the wall, where it stayed for two years.
Here are twenty corrections, roughly in the order I earned them, with what each one actually cost to put right.
In this guide22 sections — tap to openHide
- 1.How I judge TV unit decor styling now
- 2.I hung the screen wherever the bracket landed
- 3.I bought the cabinet before measuring the receiver
- 4.I pushed the unit flat against the skirting
- 5.I put the router inside a metal-mesh cabinet
- 6.I filled every bay on the first afternoon
- 7.I bought baskets before measuring the cubbies
- 8.I sealed a receiver behind glass doors
- 9.I styled everything at one height
- 10.I left every cable unlabelled
- 11.I put a lamp directly opposite the screen
- 12.I chose a unit narrower than the television
- 13.I buried the soundbar in a niche
- 14.I bought a rug that touched nothing
- 15.I painted laminate without a bonding primer
- 16.I hung art far too small above the unit
- 17.I forgot where the socket actually was
- 18.I skipped the anti-tip strap
- 19.I used cool white bulbs everywhere
- 20.I kept a disc tower I never opened
- 21.I styled it for a photograph, not a Tuesday
- 22.TV Unit Decor Styling: What I'd Do Differently Now
How I judge TV unit decor styling now
Three questions before anything decorative. Can the gear breathe, are the cables solved, and is the screen at the right height? If the answer to any of those is no, the objects on top are decoration on a problem.
The numbers I use now are fixed. Screen centre at 40 to 42 inches from the floor, which is seated eye level on a 17 to 19 inch sofa seat. Cabinet at least 12 inches wider than the panel in total. Twenty inches of internal depth for anything with a fan, 15 to 18 for streaming boxes. Roughly 40 square inches of vent area per closed bay.
Everything else — the vase, the books, the basket — takes twenty minutes and can change whenever I want. That order took me four homes to learn. The step-by-step wall unit method is the version I follow now.
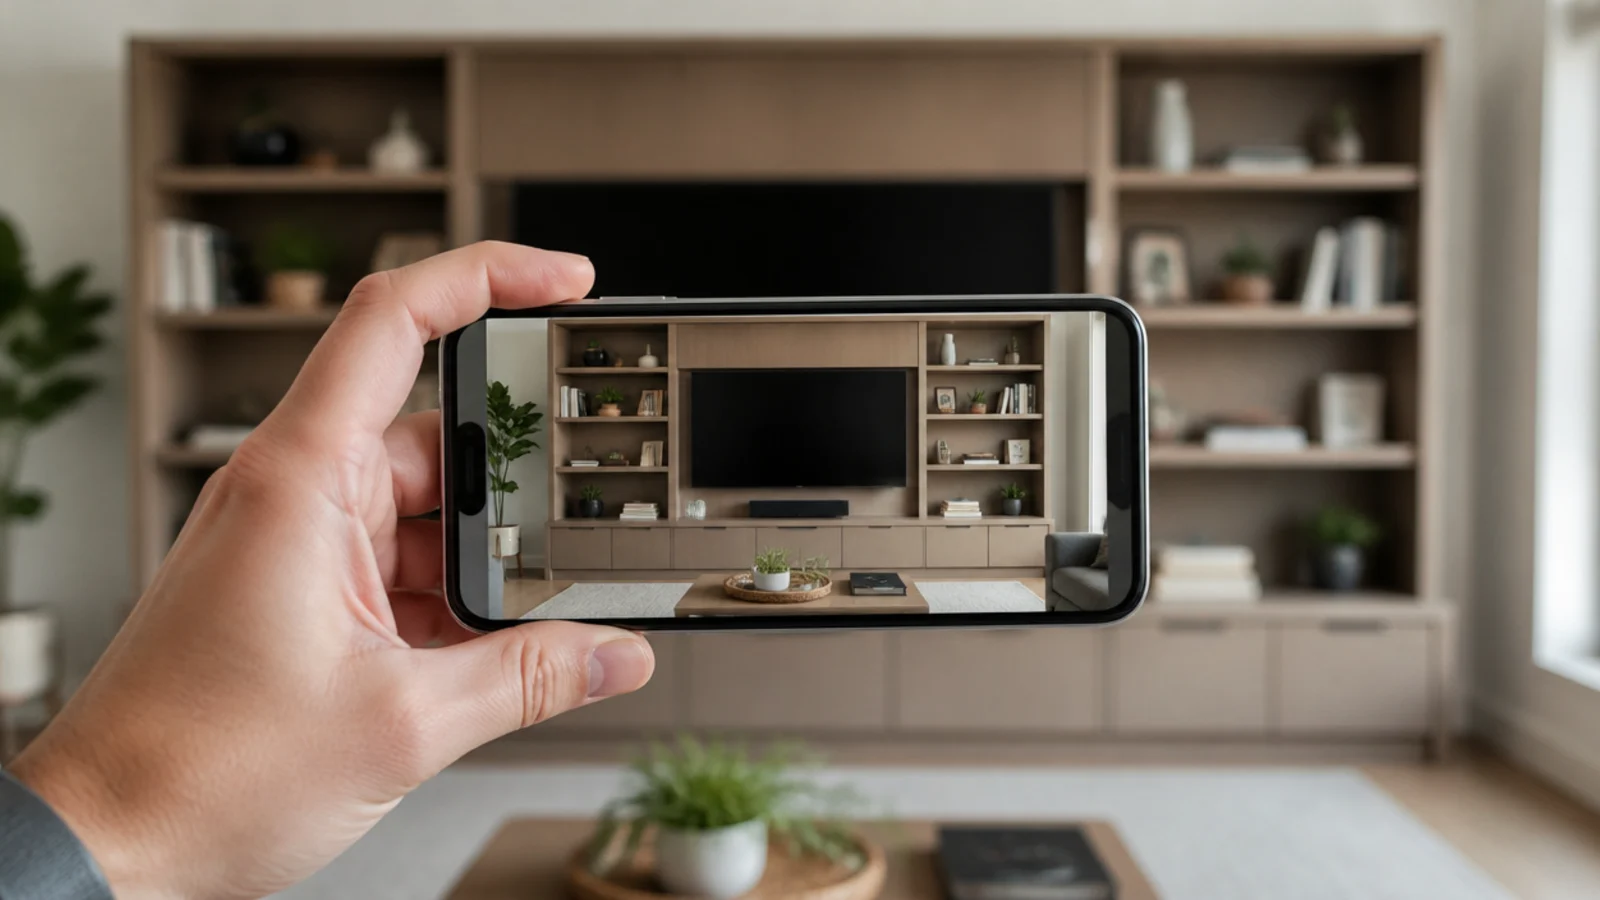
1. I hung the screen wherever the bracket landed
I marked the bracket at a height that felt right standing up, then spent two years watching from the sofa with my chin lifted. Standing eye level and seated eye level differ by well over a foot.
The fix: sit where you watch, have someone mark the wall at your eye height, and centre the glass there. It is almost always 40 to 42 inches. Re-drilling cost me two filled holes and twenty minutes.
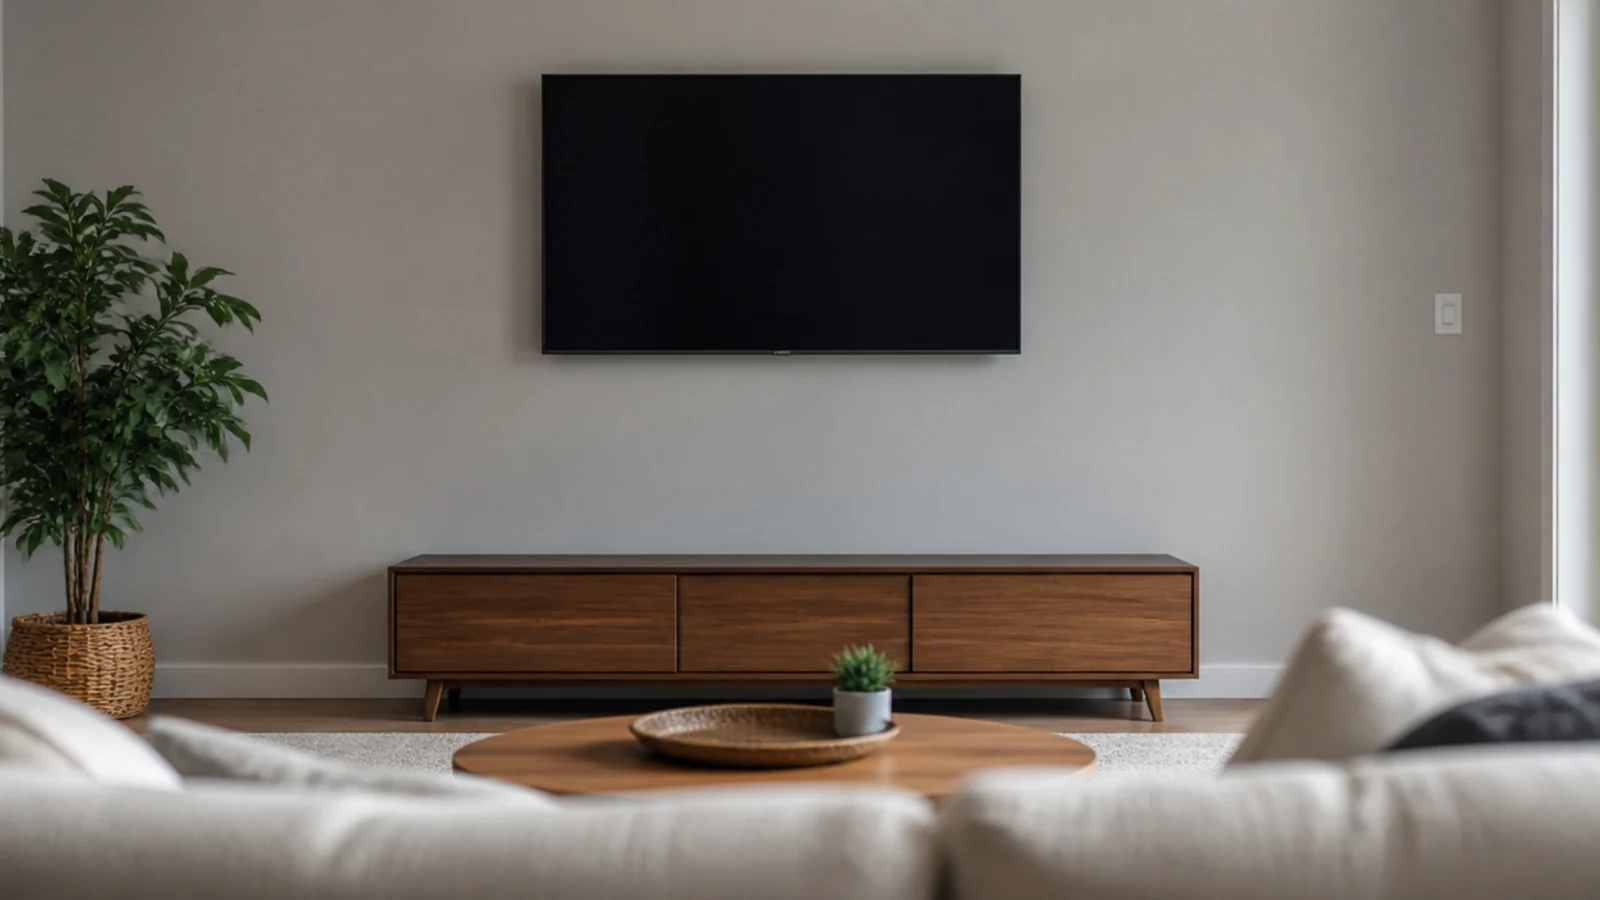
2. I bought the cabinet before measuring the receiver
Fifteen inches of internal depth, a 17 inch chassis, and stiff HDMI needing another 3 to 4 inches behind it to turn. The maths was never going to work.
The fix: measure the deepest device you own and add 4 inches before you shop. Twenty inches of internal depth covers a full-size receiver; 15 to 18 is fine for streaming boxes and a slim console.
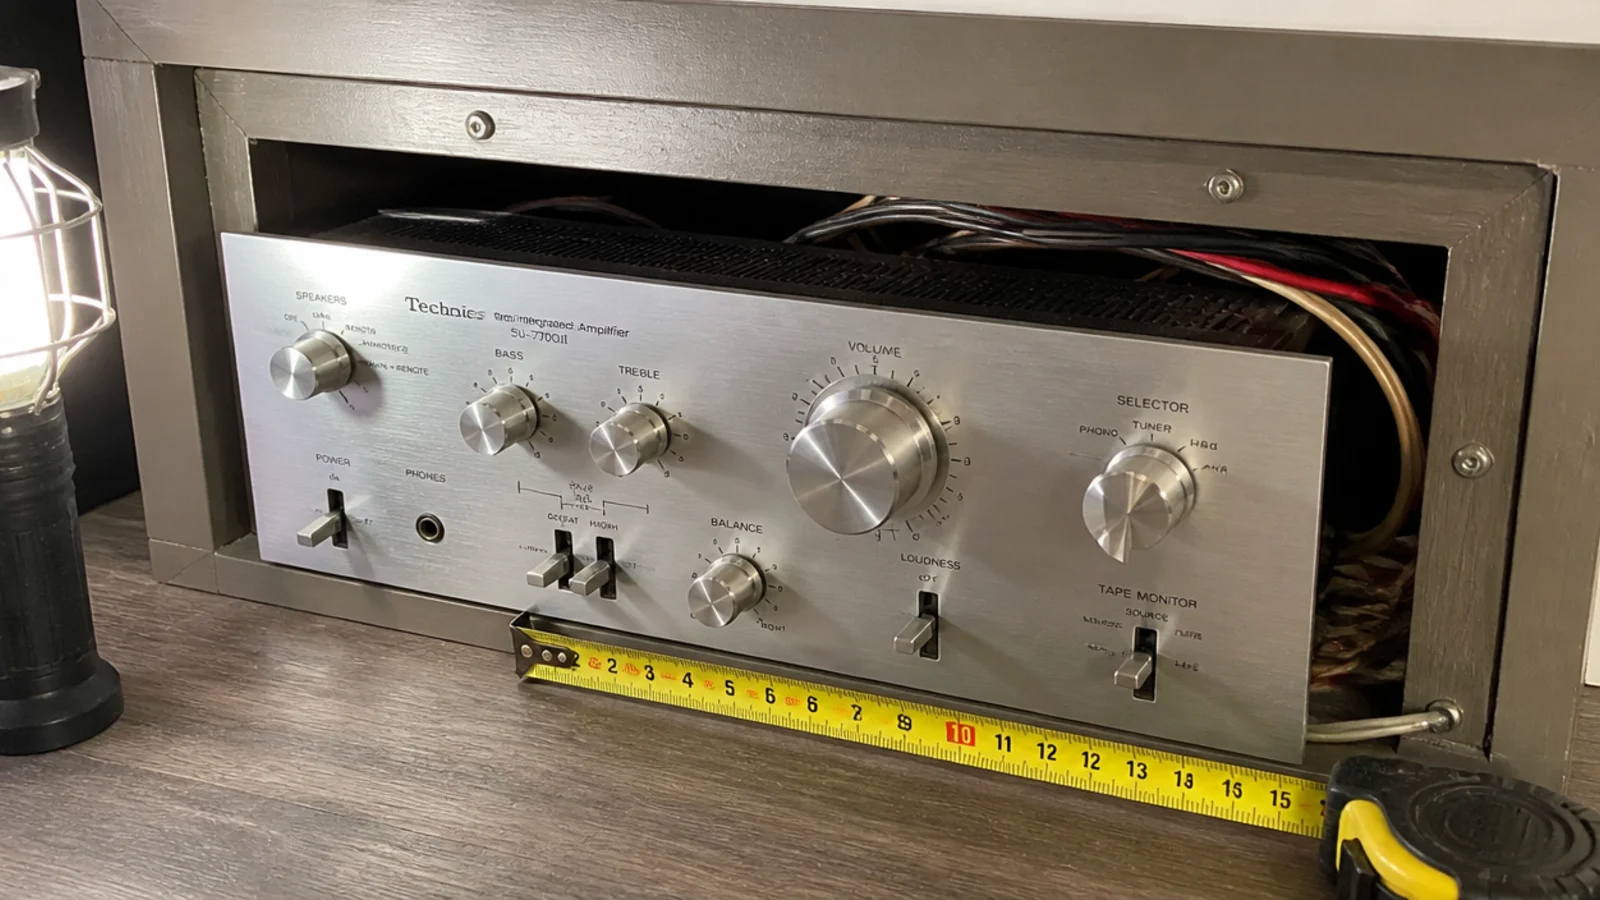
3. I pushed the unit flat against the skirting
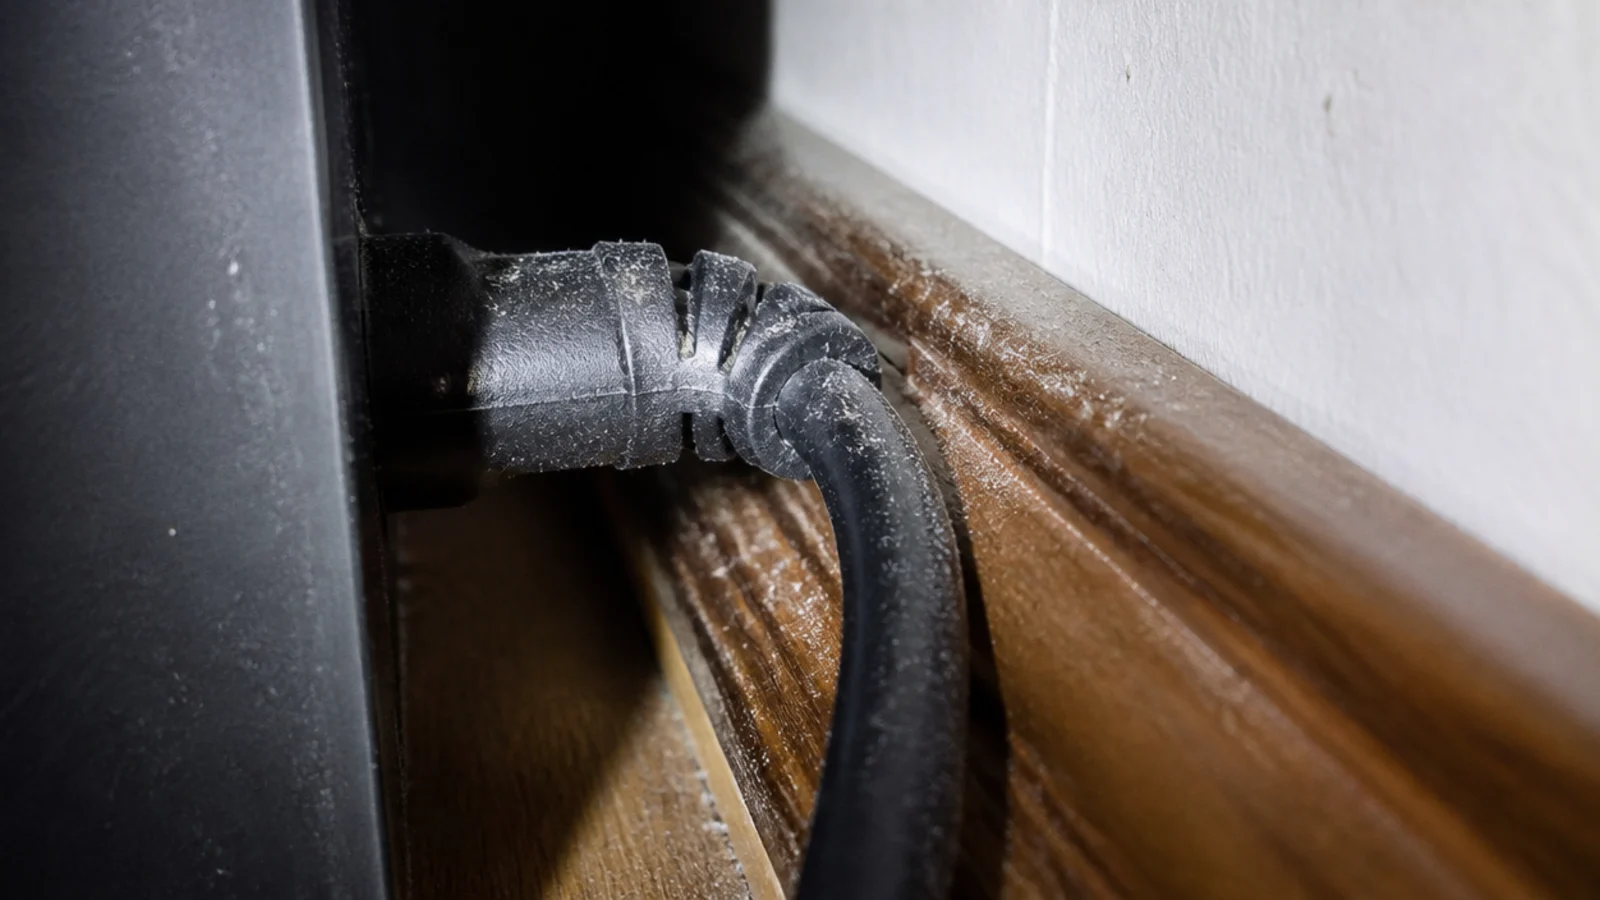
It looked neater and it strained every connector at the back. One HDMI lead failed within a year, and I blamed the cable.
The fix: leave 4 inches between the back panel and the wall. Cables turn without stress, warm air escapes, and the back panel stops drumming whenever the bass hits.
4. I put the router inside a metal-mesh cabinet
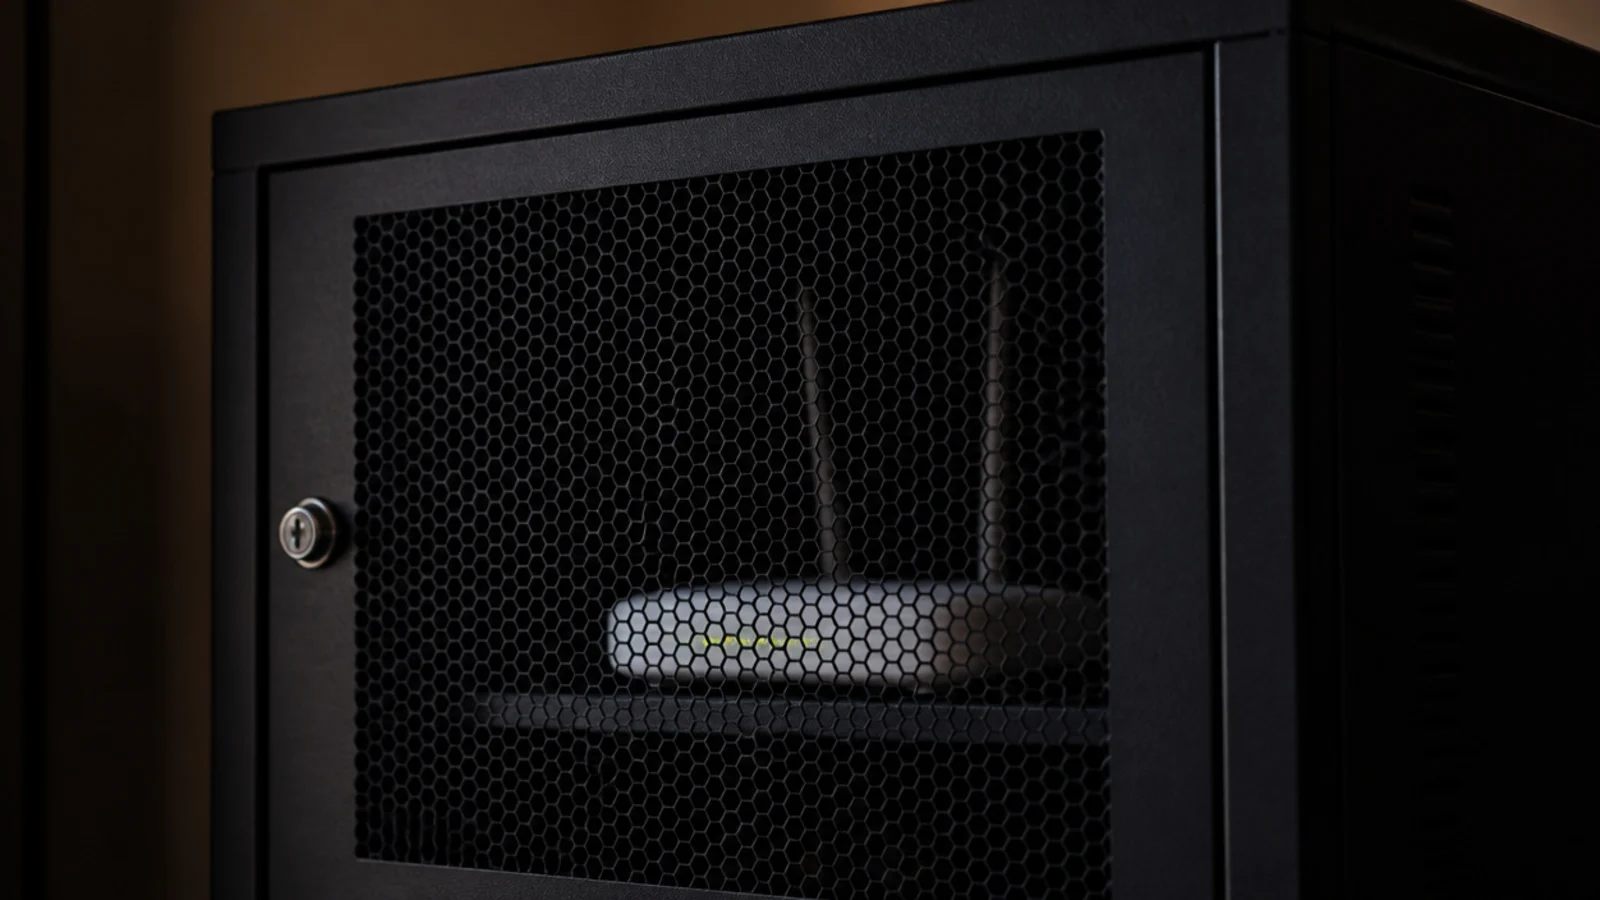
The mesh door looked industrial and cost me most of the signal in the back bedroom. Timber costs a couple of decibels; metal mesh does far worse than that.
The fix: stand the router upright on an open shelf with 4 inches of clearance around it. If it has to be hidden, hide it behind fabric or cane, never behind metal.
5. I filled every bay on the first afternoon
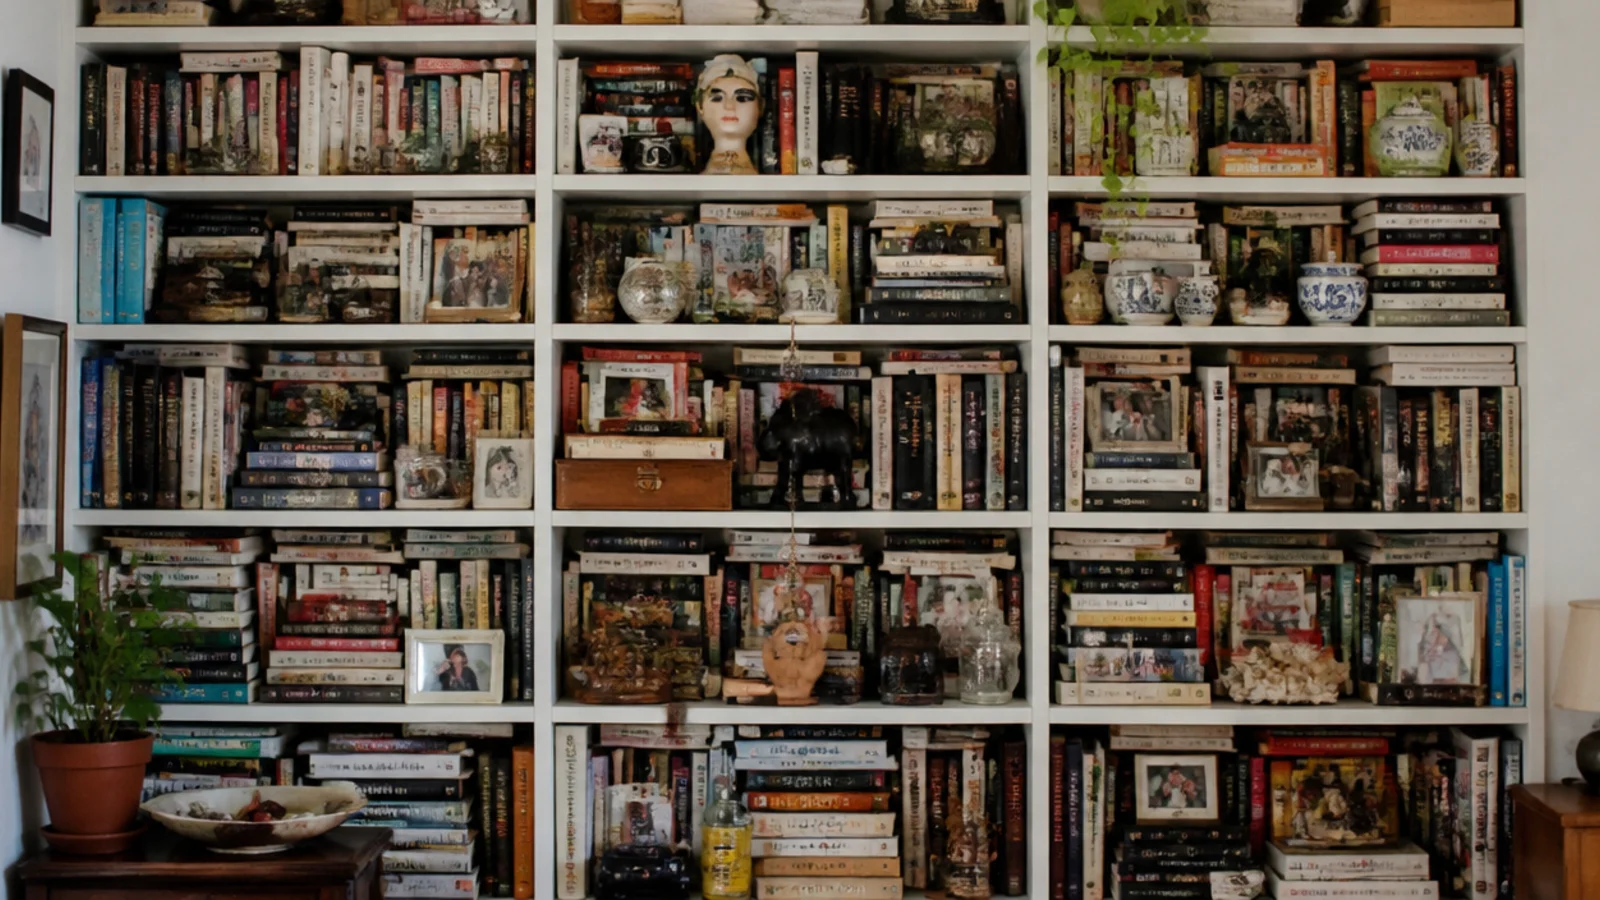
Every shelf loaded, every cubby packed, and nowhere for the next thing to go. Within a month everything new was living on top of the unit.
The fix: leave roughly a third of every shelf and a third of the closed storage empty, deliberately and visibly. That space absorbs a year of arrivals without any effort.
6. I bought baskets before measuring the cubbies
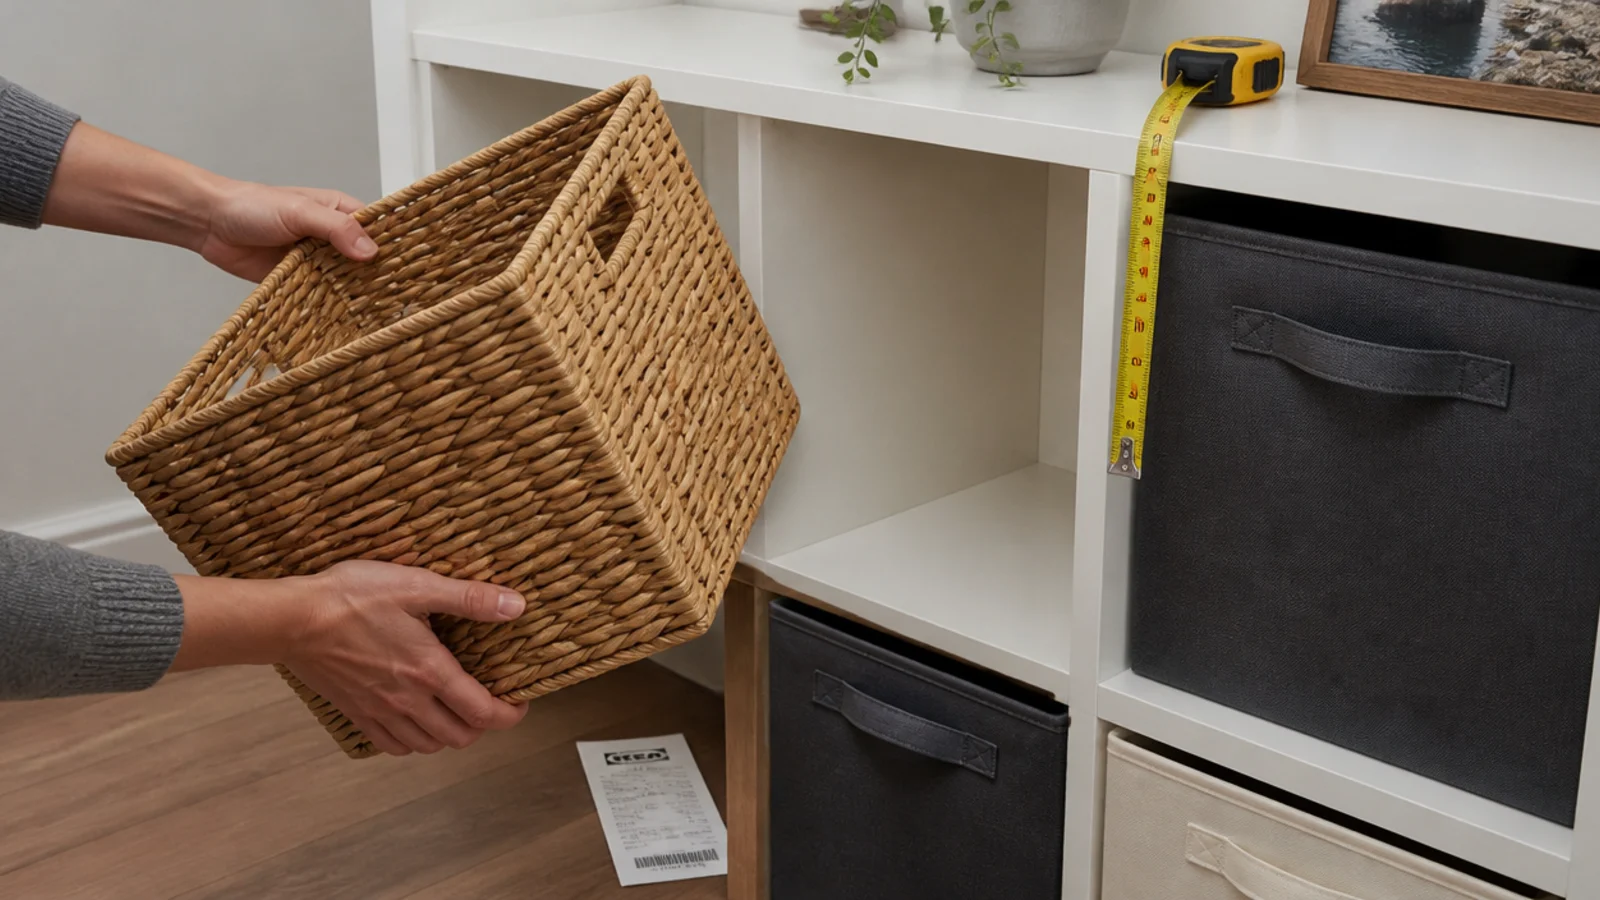
Two of the four were an inch too tall. They sat proud, the doors would not shut, and I kept them anyway for six months out of stubbornness.
The fix: measure internal width, height and depth, then buy an inch smaller in each direction. Soft weaves forgive a tight fit; stiff rattan does not.
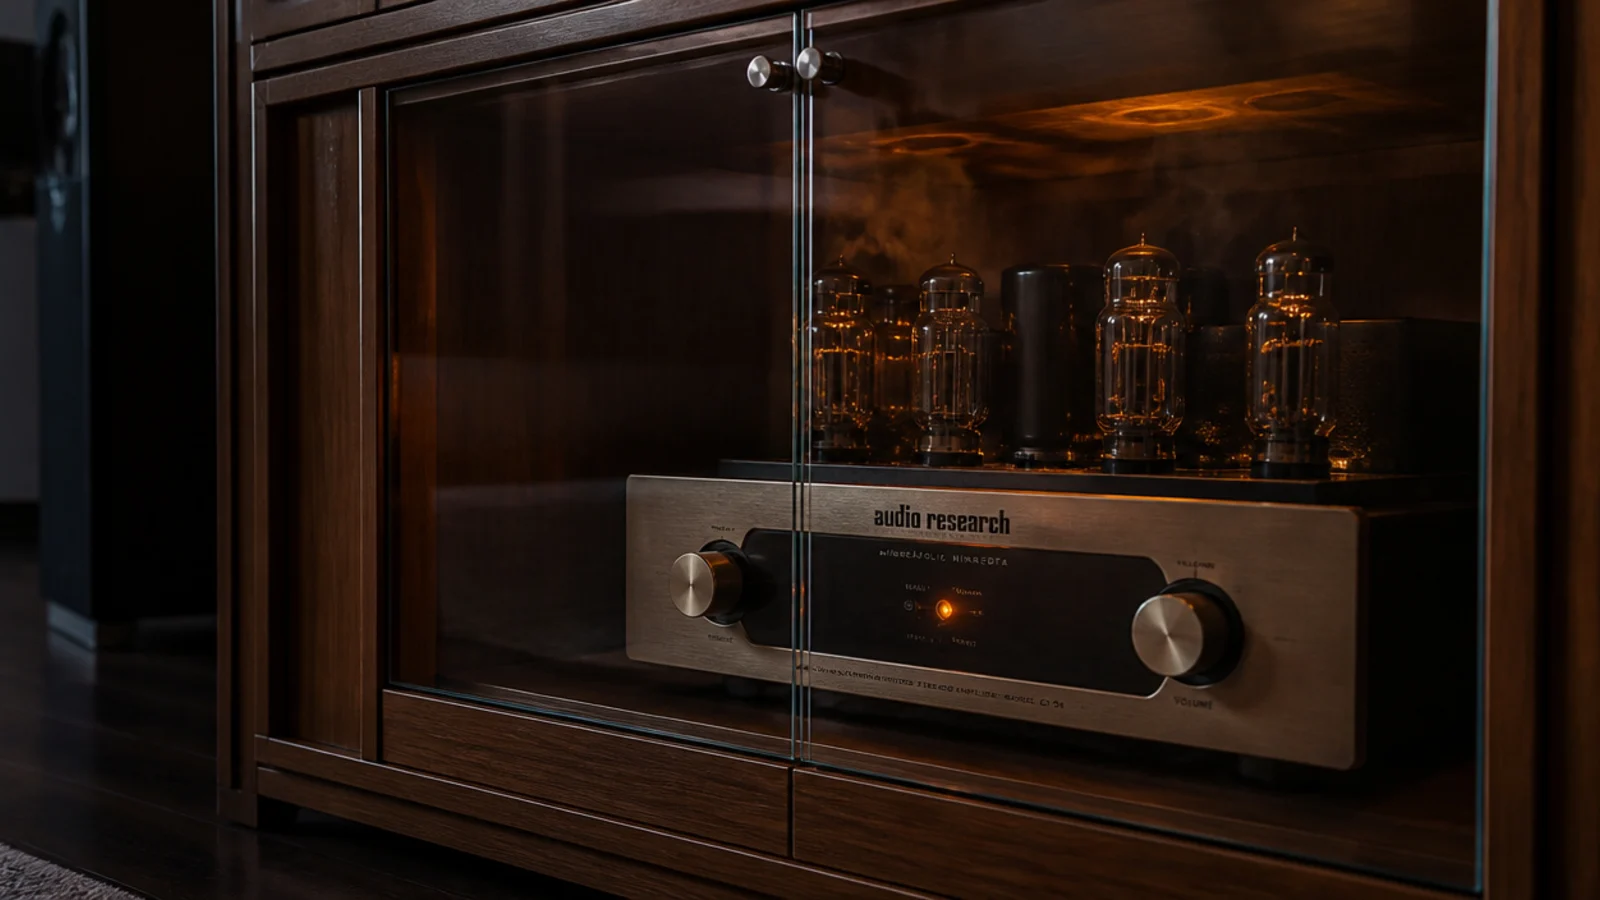
7. I sealed a receiver behind glass doors
The bay had no vents and the doors sealed beautifully. The receiver dropped into protection mode twice in one week, both times about eighty minutes into a film.
The fix: cut roughly 40 square inches of free vent area per closed bay, split low and high so air crosses. Or use cane, slats, or glass with a gap along the top edge.
8. I styled everything at one height
Five objects, all roughly 8 inches tall, spaced evenly. It read as a shop display rather than a room.
The fix: three objects at three clearly different heights in a loose triangle — something tall, something flat, something low and wide. It works on a 12 inch shelf and on a 72 inch top.

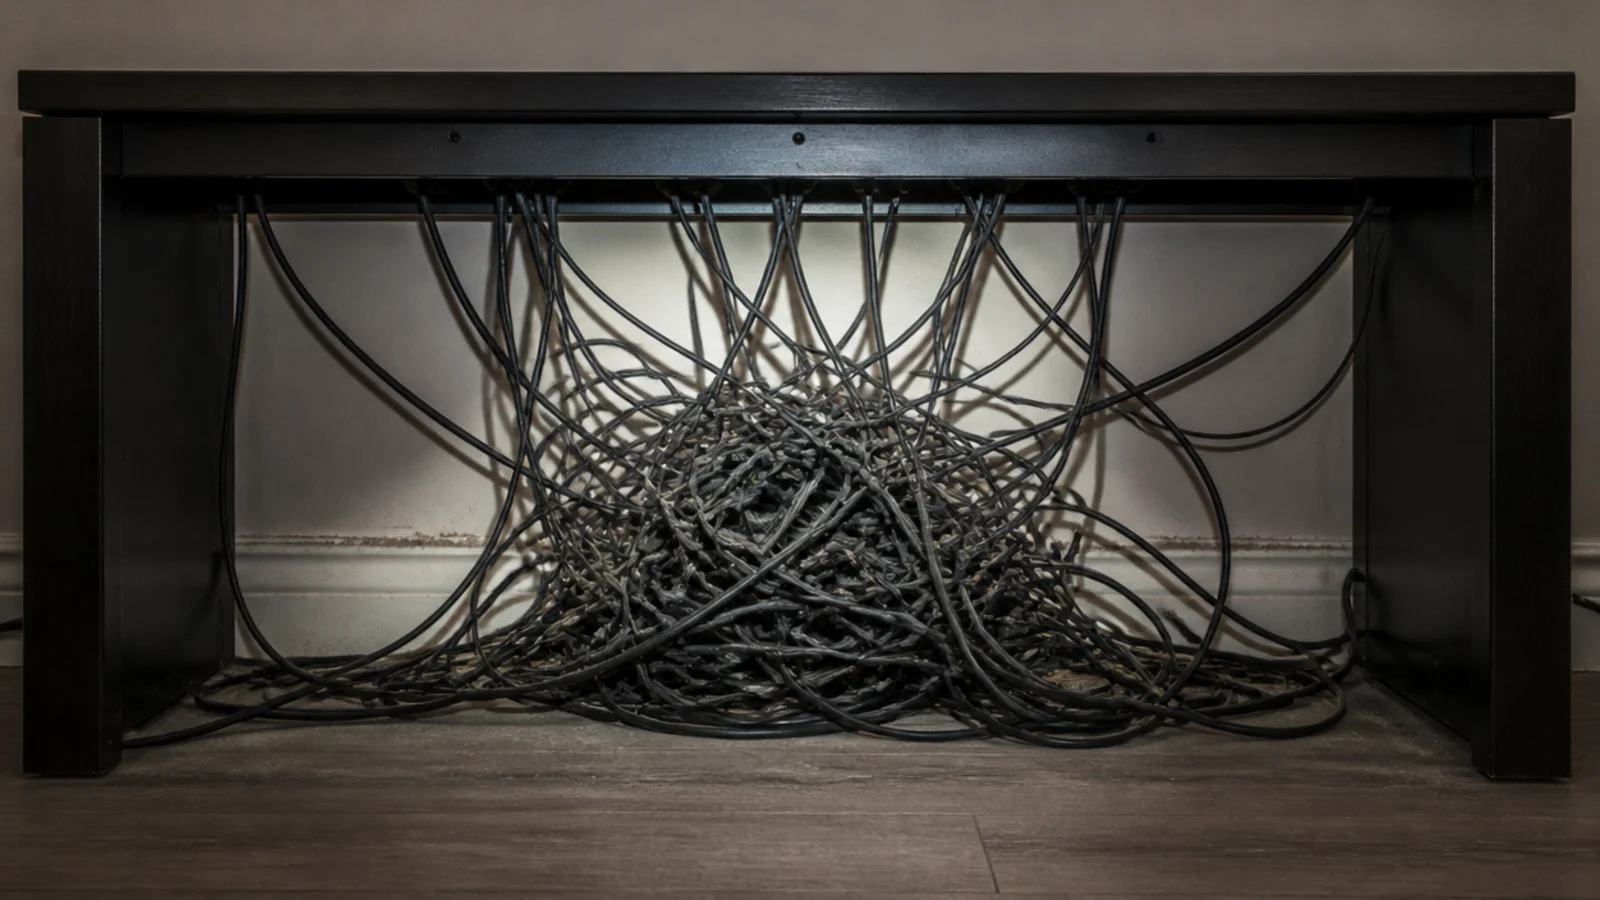
9. I left every cable unlabelled
Six identical black leads behind a heavy unit. Every device change meant pulling the whole cabinet out and tracing by hand on the floor.
The fix: a strip of masking tape folded into a flag at both ends of every cable. Ten seconds each, and it is the only tip here that gets more valuable every year.
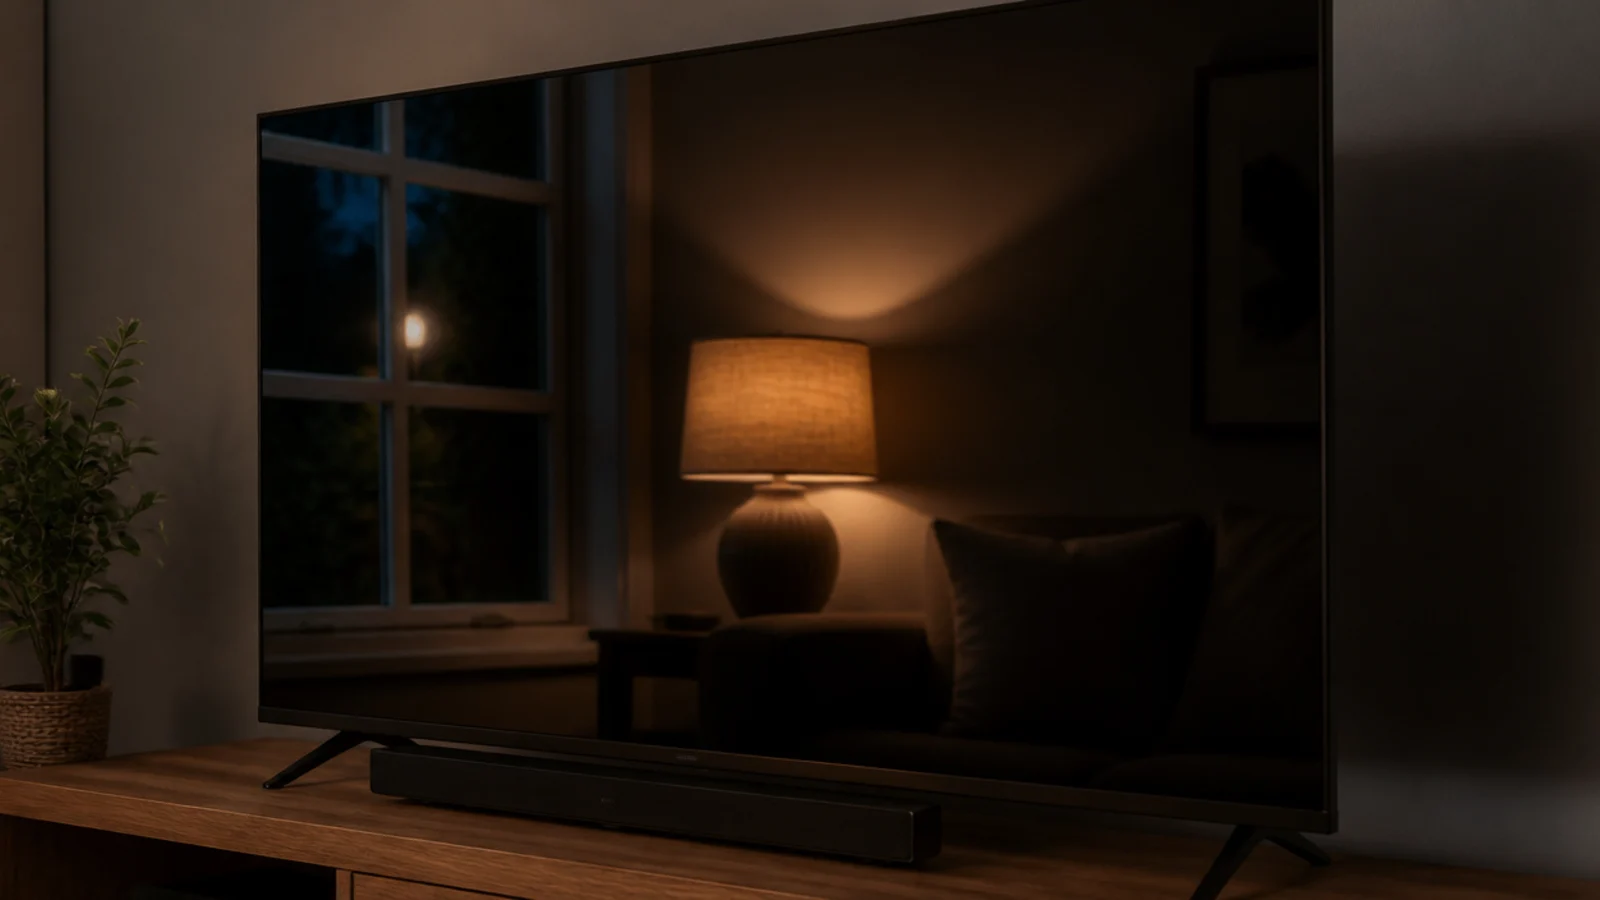
10. I put a lamp directly opposite the screen
From standing height the room looked balanced. From the sofa there was a lamp reflected in the middle of the picture every evening.
The fix: sit in every seat and look at the dark panel before fixing any lamp position. Corner placement at 2700K gives warmth without ever landing in the glass.
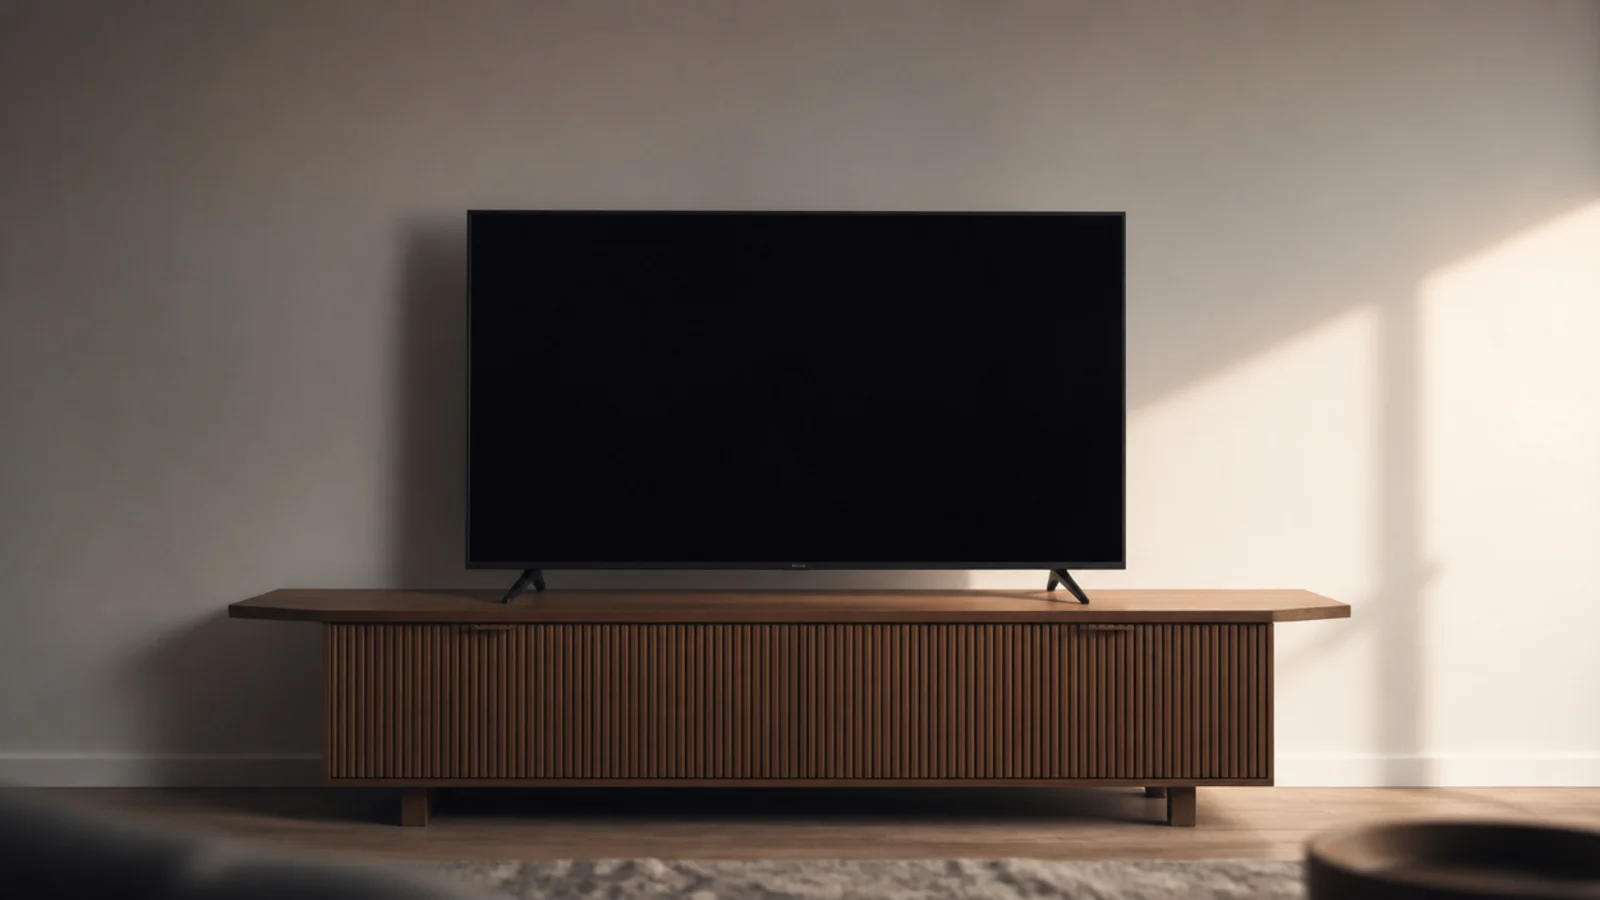
11. I chose a unit narrower than the television
A 48 inch cabinet under a 55 inch screen, which measures about 48 inches wide itself. The panel overhung at both ends and looked permanently unstable.
The fix: the cabinet should beat the screen by at least 12 inches in total, so 60 to 72 inches for a 55 inch panel. If nothing that wide fits, mount the screen on the wall instead.
12. I buried the soundbar in a niche
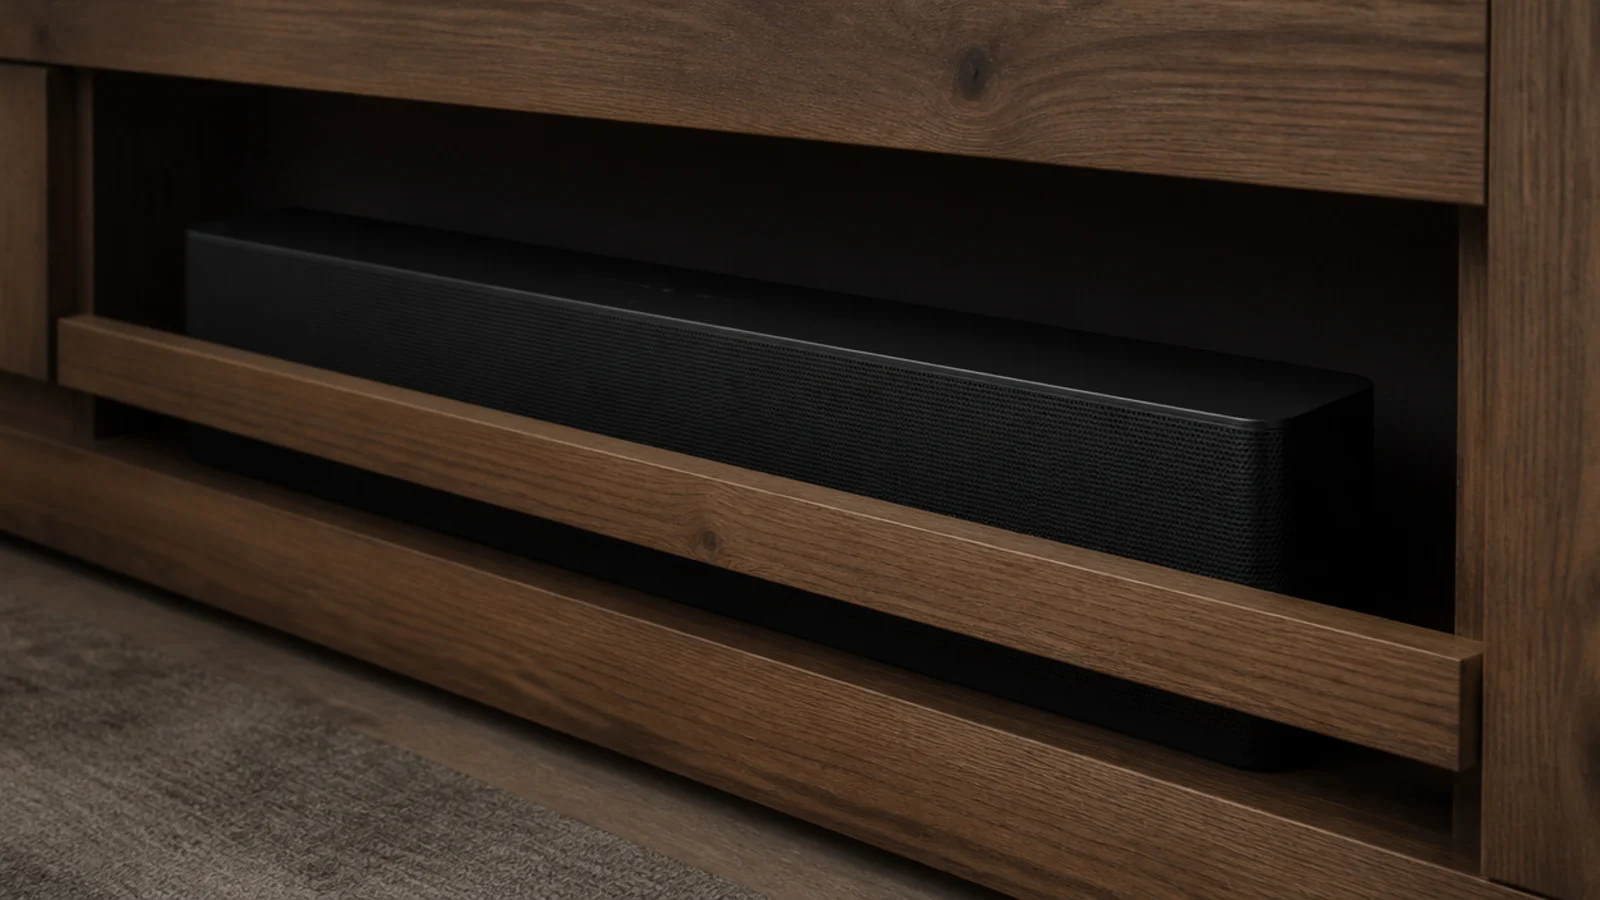
I cut a slot for it, then set it 3 inches back behind a front rail because it looked tidier. Dialogue went muddy and I spent a month adjusting settings.
The fix: keep the bar within 2 inches of the front face, centred, with the back of the slot open. Recessing it further is what takes the top end out.
13. I bought a rug that touched nothing
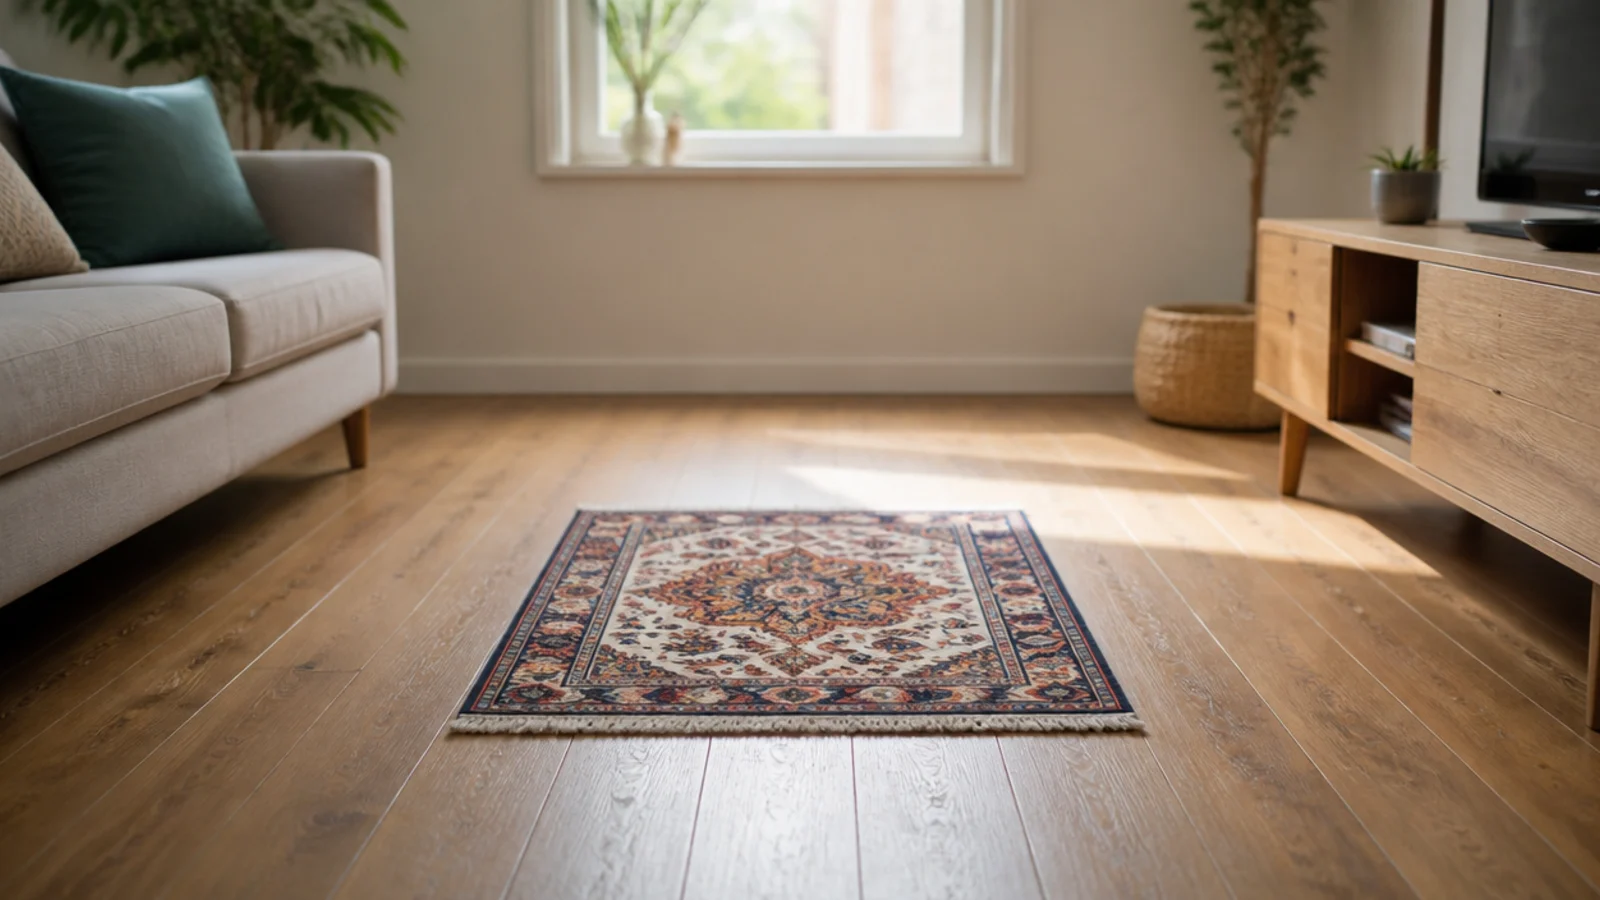
A 4 by 6 rug in a room that needed 8 by 10. It floated in the middle of the floor and cut the space into fragments instead of joining the sofa to the media wall.
The fix: the rug should run under the front legs of the seating and stop 6 to 12 inches short of the unit. Buying the correct size once is cheaper than buying two.
14. I painted laminate without a bonding primer
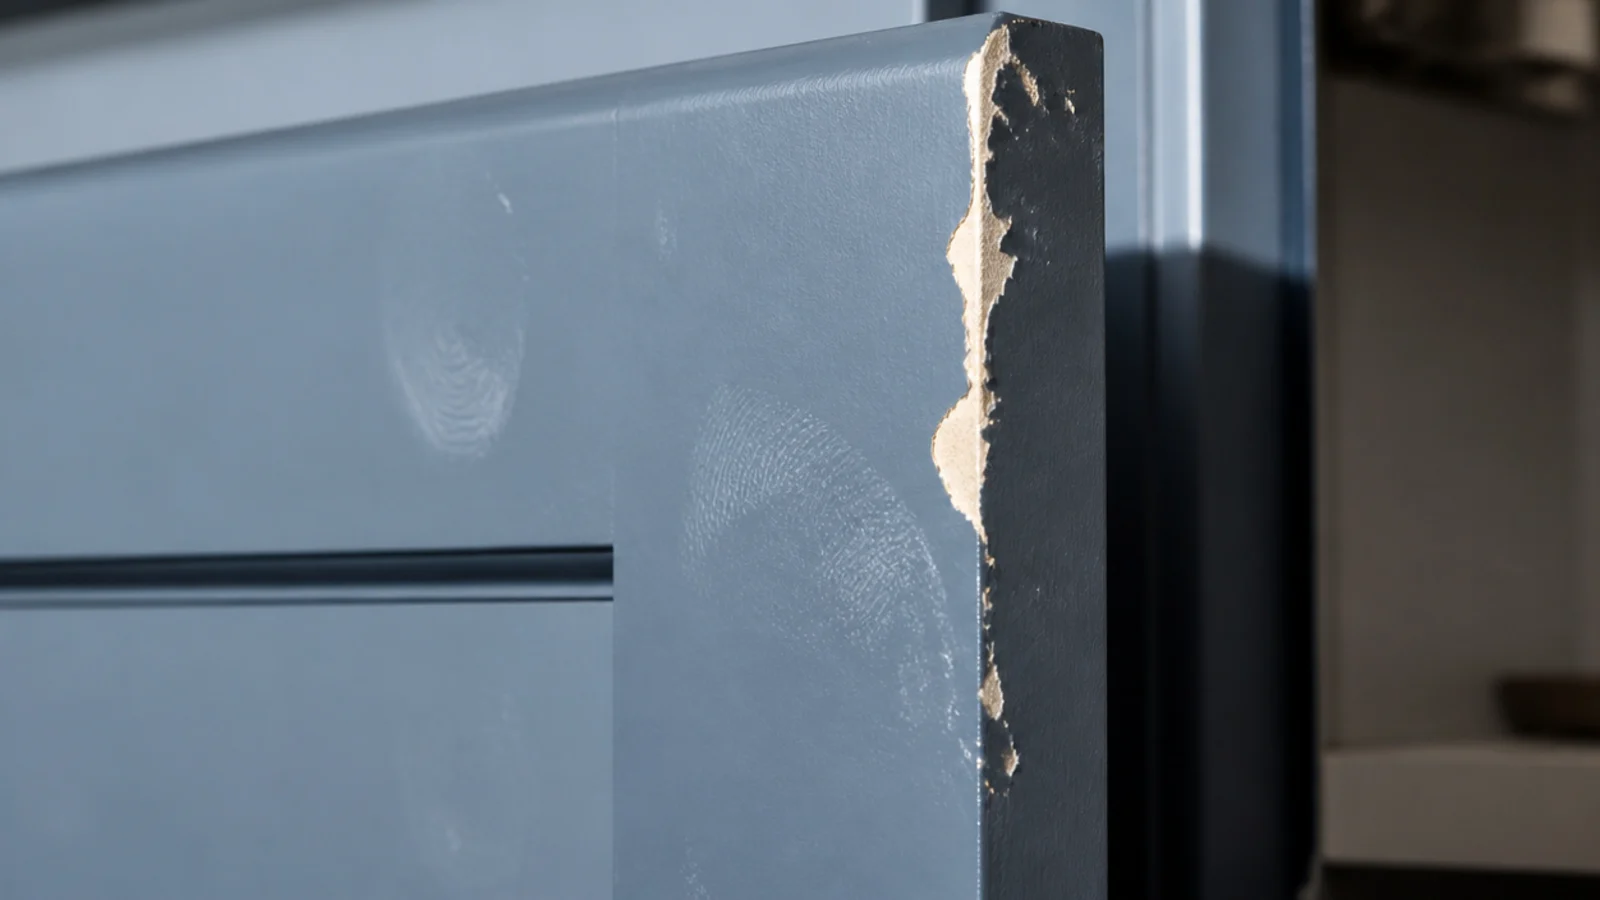
Two coats of eggshell straight onto a slick surface. It looked excellent for three weeks and then chipped along every edge a hand touched.
The fix: scuff with 180 grit, degrease, then a bonding primer made for slick surfaces before two thin topcoats. The primer is the whole job. More on this in the budget ideas guide.
15. I hung art far too small above the unit
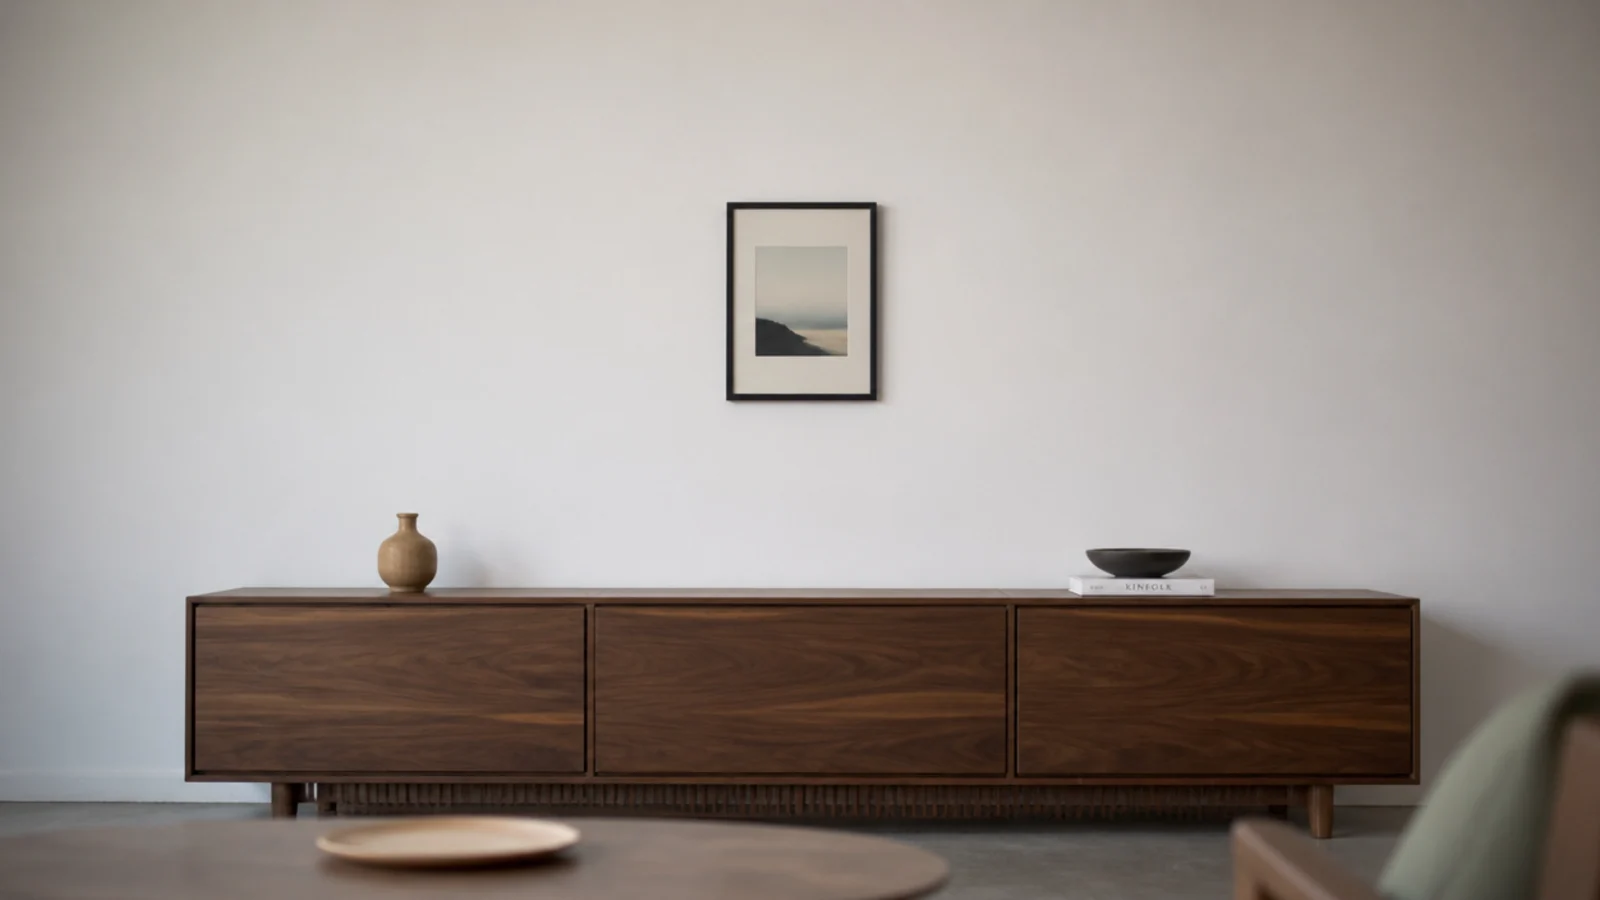
A 16 inch frame above a 72 inch cabinet. It looked stranded, and I kept adding small objects around it, which made it worse.
The fix: art at roughly two thirds the width of the unit, as one piece or a tight group, with the bottom edge 8 to 12 inches above the cabinet top.
16. I forgot where the socket actually was
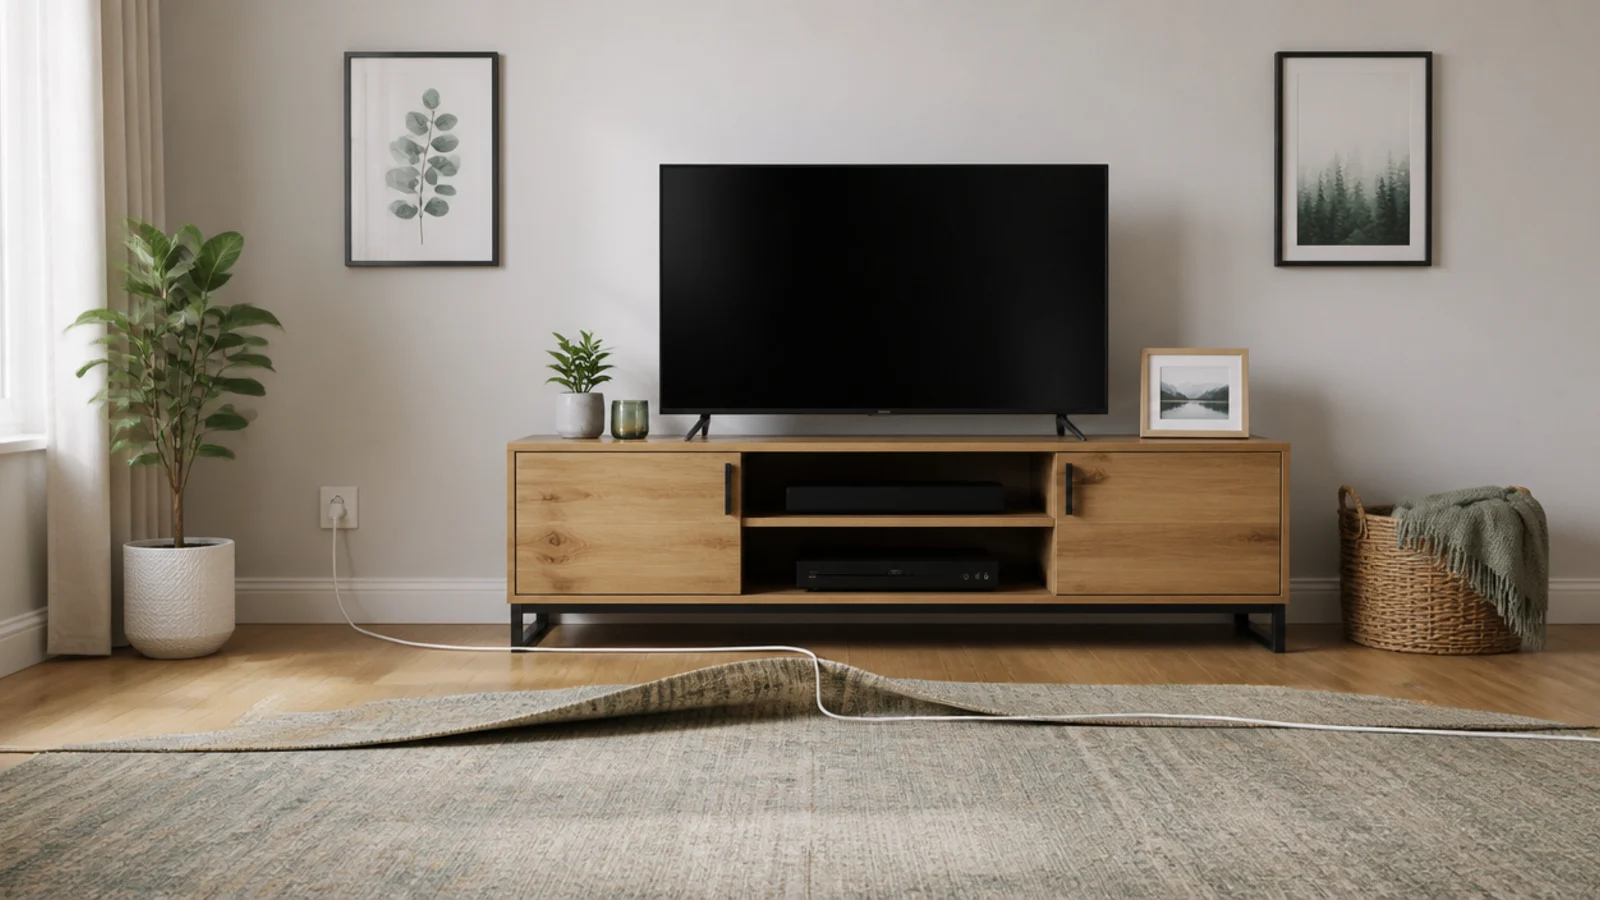
The unit went on the wall with no power within 8 feet. I ran an extension lead across the floor and put a rug over it, which is both ugly and a trip hazard.
The fix: find the socket before choosing the wall. Where there is no option, a recessed outlet kit costs about $30, and only in-wall rated cable ever belongs inside a cavity.
17. I skipped the anti-tip strap
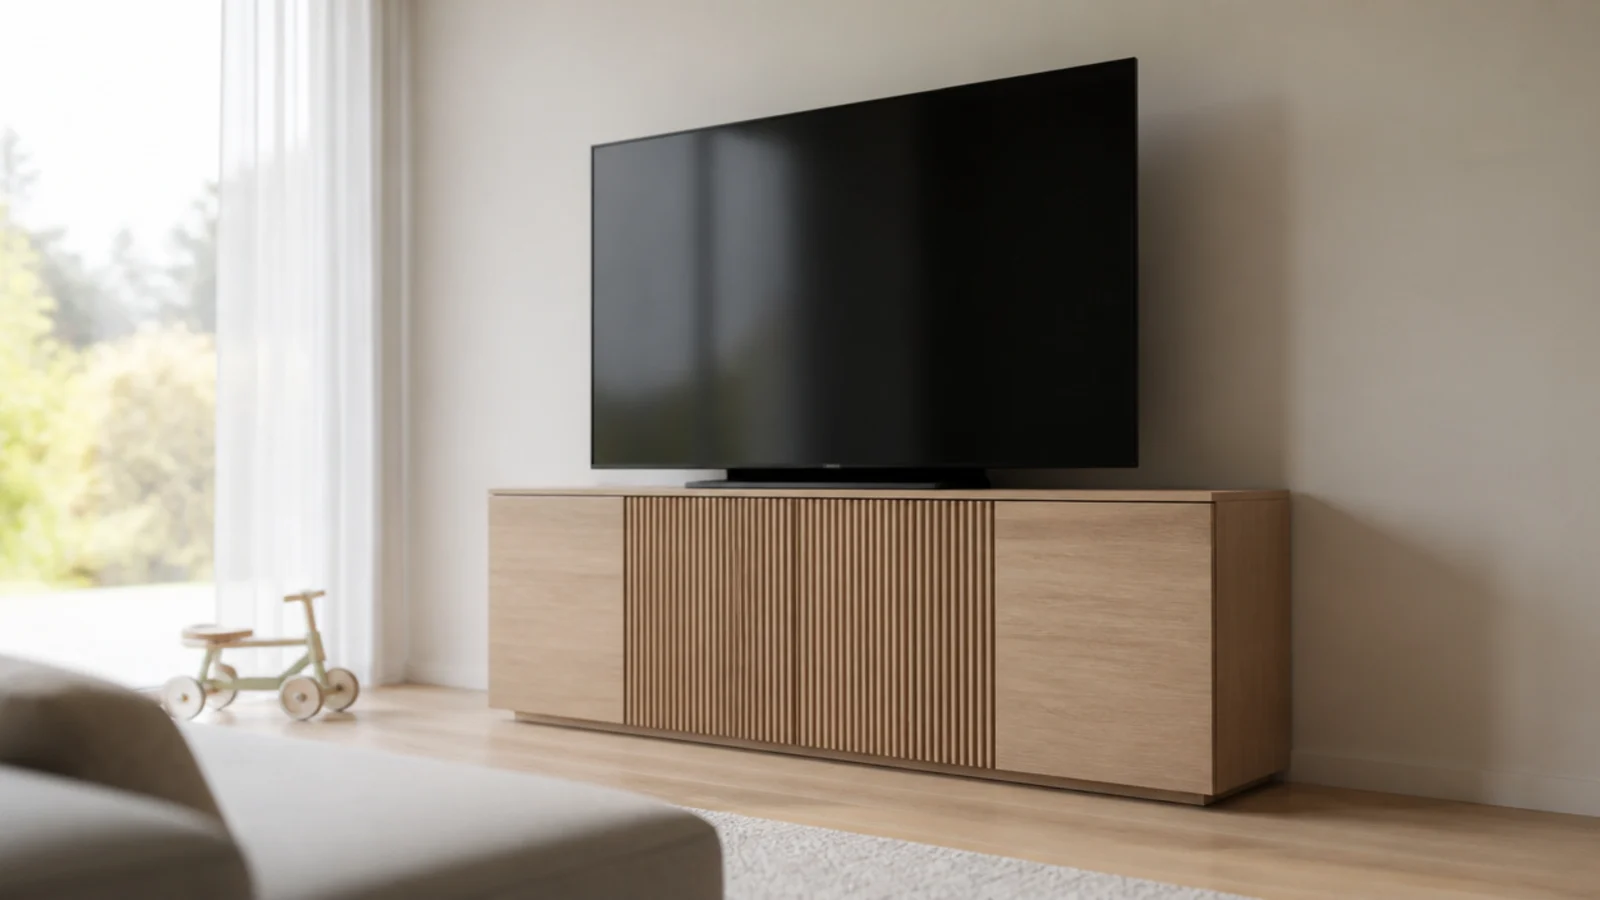
A 65 inch screen weighing over 50 pounds standing high and forward on a cabinet designed for a much smaller television, in a flat with a large and enthusiastic dog.
The fix: two straps into studs, under $15, five minutes. It matters most with children or animals in the house, and there is no version of this worth postponing.
18. I used cool white bulbs everywhere
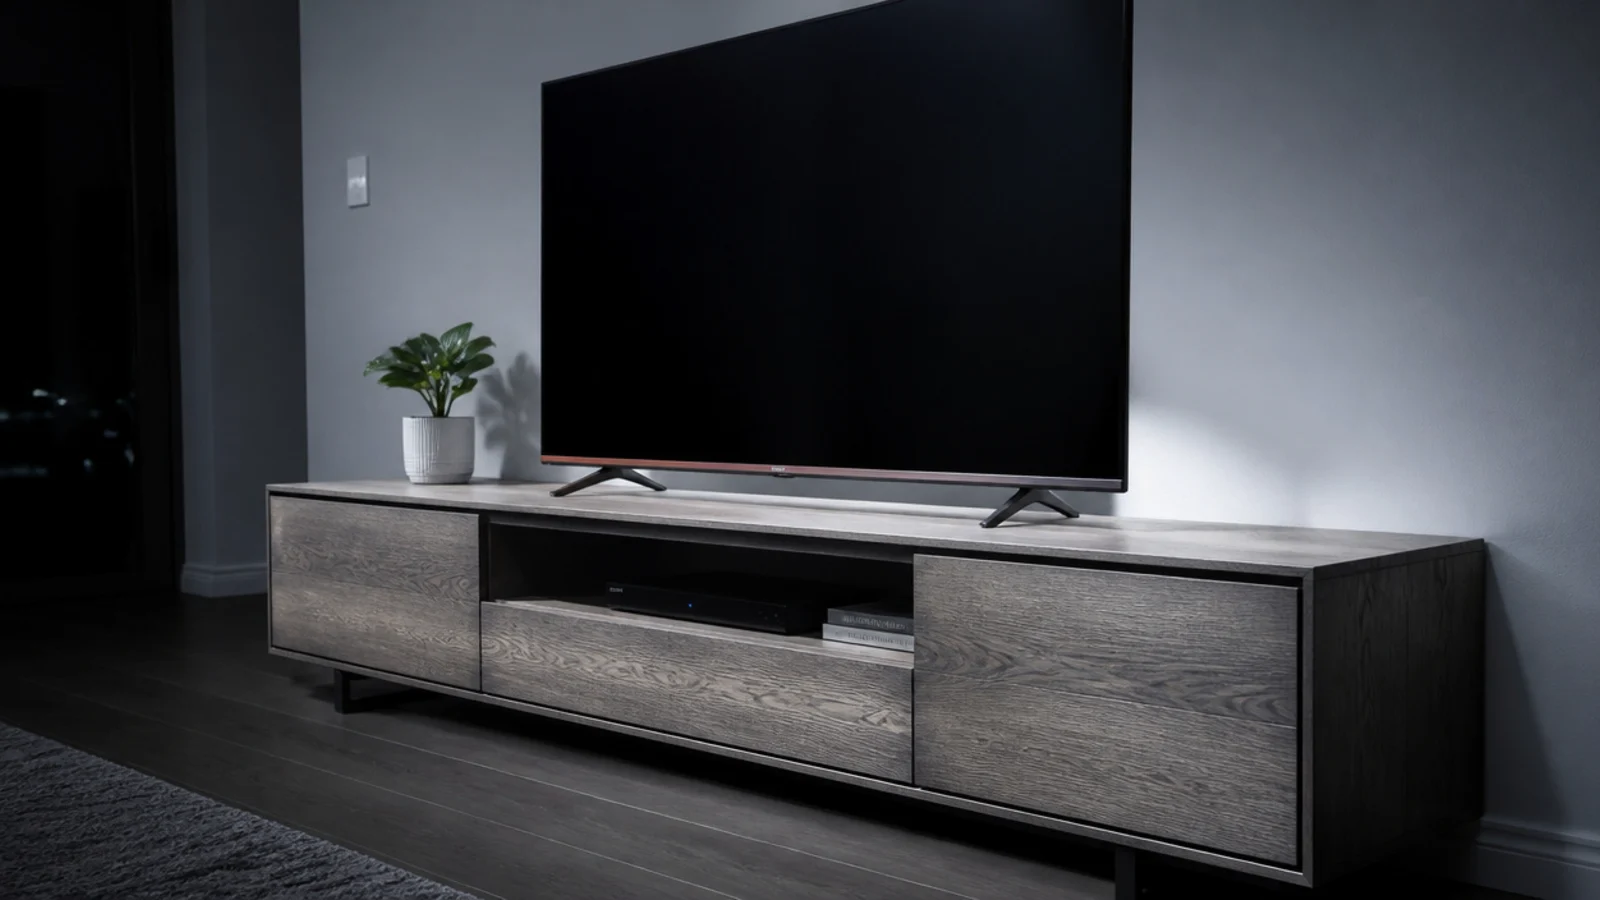
Four 4000K bulbs because the pack was cheaper. The timber unit looked grey, the room looked like a waiting area, and I blamed the wood.
The fix: 2700K throughout, on dimmers, at 400 to 600 lumens per lamp. Twenty dollars of bulbs changed that room more than any piece of furniture in it.
19. I kept a disc tower I never opened
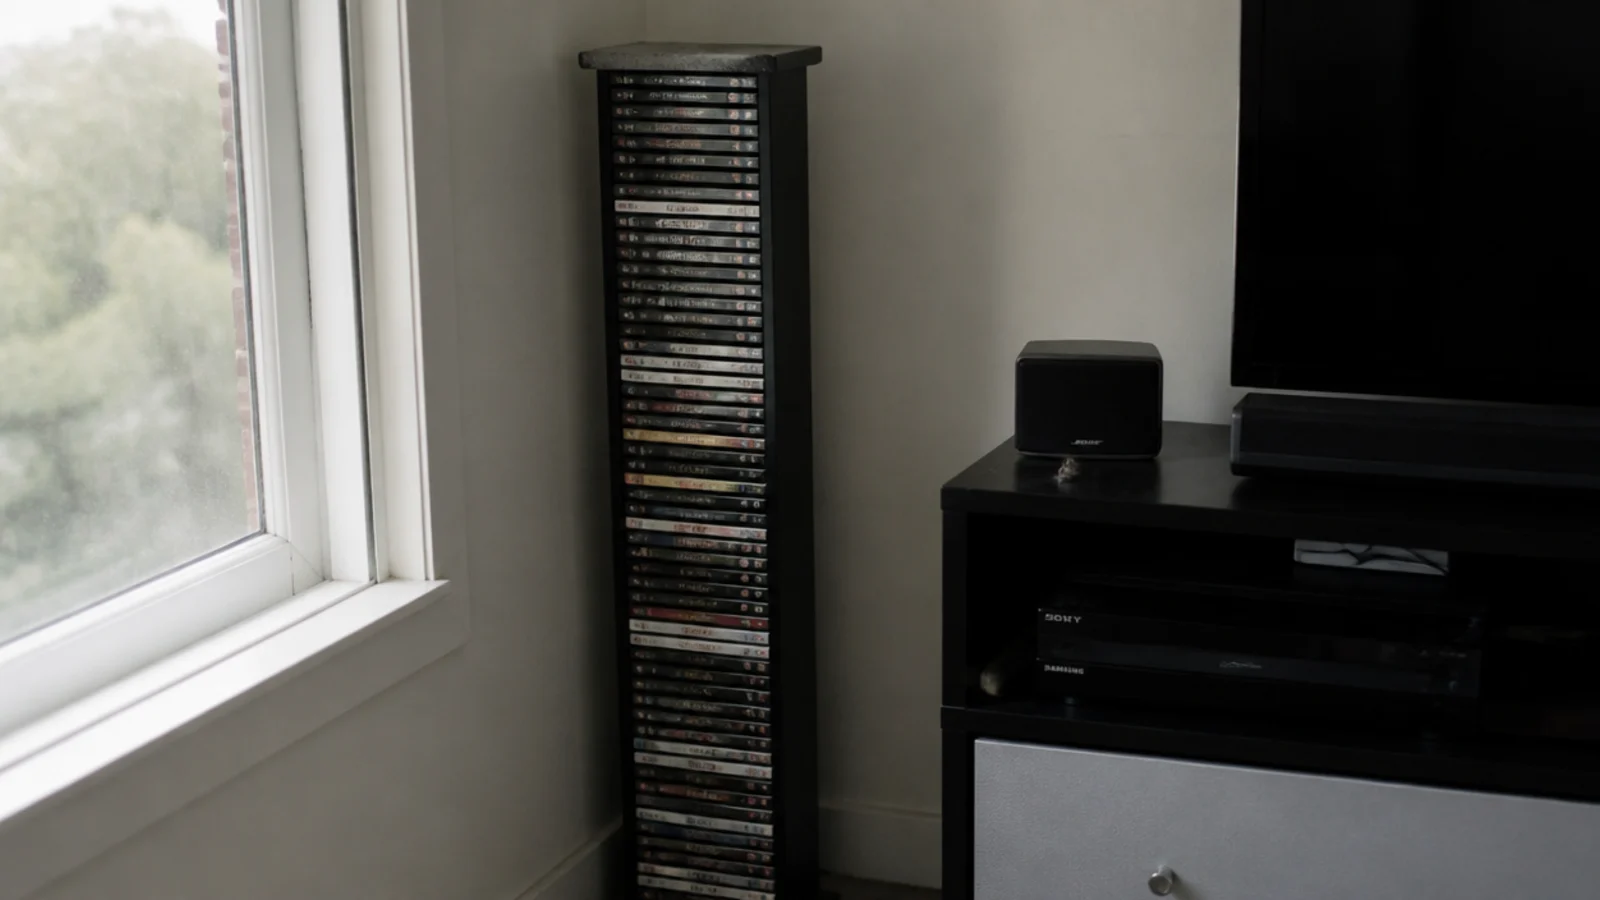
Sixty cases in a footprint that could have held a chair, in a room that was already tight. I moved it between three homes.
The fix: keep the ones you genuinely rewatch in a single basket or a drawer and let the rest go. Removing furniture does more for a small room than adding storage.
20. I styled it for a photograph, not a Tuesday
Three objects, beautifully spaced, no landing spot for a remote or a mug. Within an hour of real life the arrangement had a charging cable across it.
The fix: leave a clear patch the size of your hand near the seating side of the top. That is where the remote and the glass go every evening, and without it they go on the arrangement.
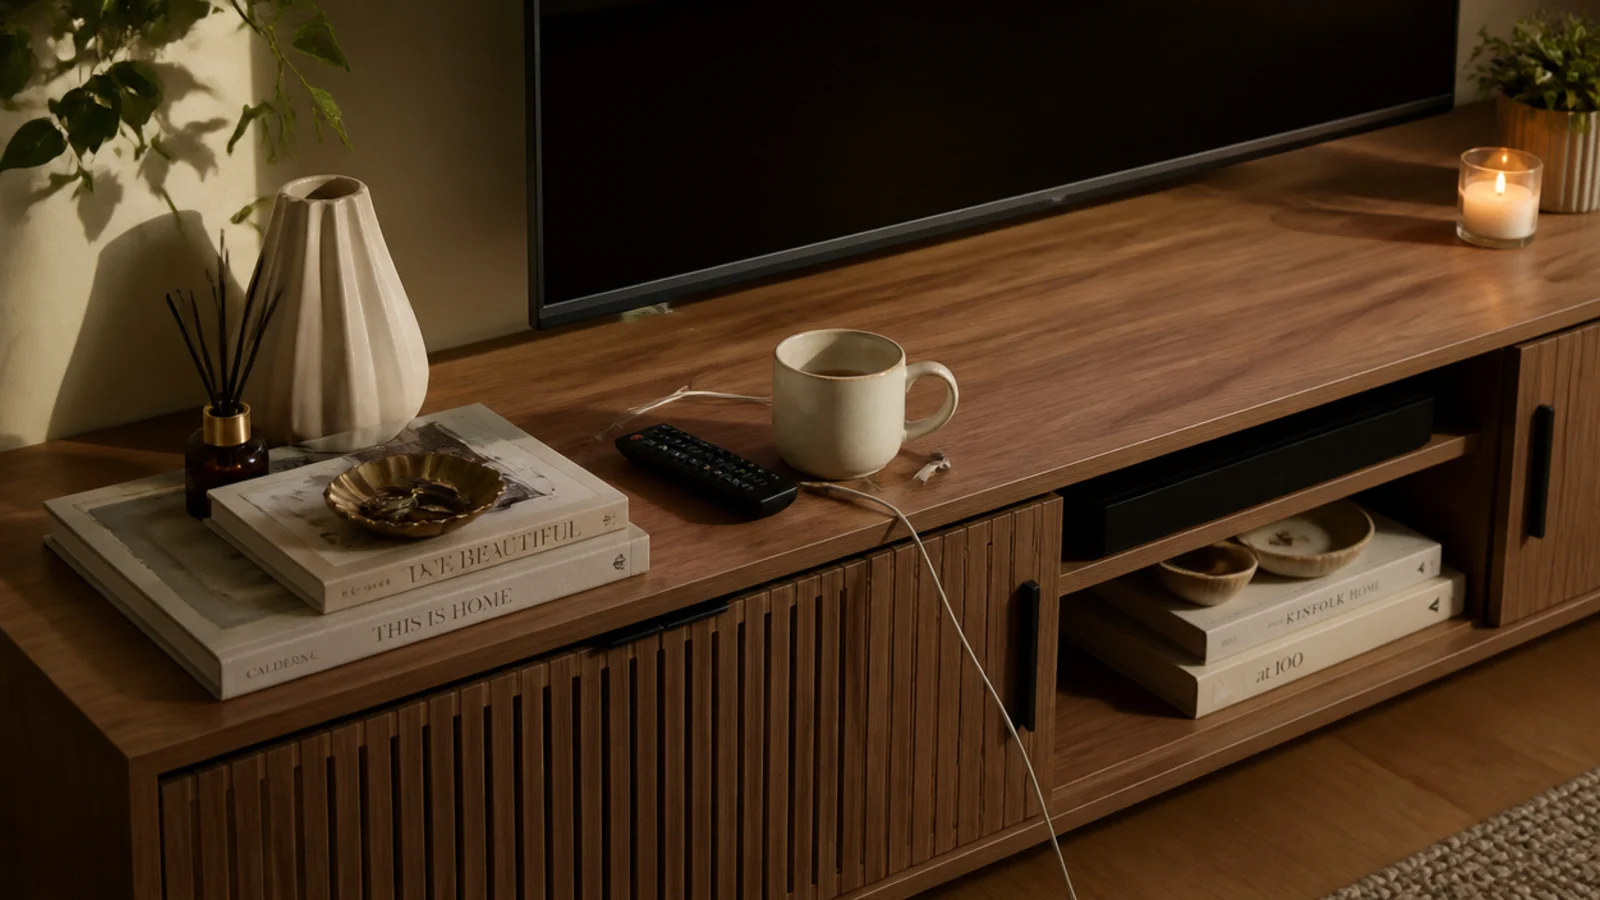
TV Unit Decor Styling: What I'd Do Differently Now
The pattern across all twenty is that I treated the cabinet as the product and the room as the setting. It is the other way round. The unit is the easiest part to change and the last thing that should be decided.
So the order I use now never varies. Find the socket and the studs. Set the screen height from a seated position. Choose depth from the deepest device plus 4 inches, and width from the screen plus 12. Solve heat and cables before a single object goes back. Only then style, and style less than feels right.
The other change is patience. I used to finish a media wall in an afternoon and then spend six months quietly disliking it. Now I load the closed storage, put three things on top, and live with it for a week. The gaps that still bother me after seven days are real ones; the ones that bothered me on day one almost never were.
And I photograph everything before I drill — the studs, the socket, the cable run behind the unit. That habit has saved me more hours than every clever accessory I have ever bought.
Frequently asked questions
What is the most common TV unit styling mistake?
Hanging the screen wherever the bracket happens to land instead of at seated eye level. The centre of the glass wants to sit 40 to 42 inches from the floor for a normal sofa, and a screen 10 inches higher than that is the single thing people never stop noticing.
How many objects should go on top of a TV unit?
Three on a 60 inch top and two on anything shorter, at clearly different heights. Past that the surface stops reading as styled and starts reading as storage, which is also the point at which the remote and the charging cable stop having anywhere to live.
Why does my media cabinet keep getting cluttered?
Because the closed storage was full on day one. If every drawer and cupboard is packed from the start, the next arrival has nowhere to go except the top. Leaving a third of the closed space empty absorbs a year of new things without any effort at all.
Should TV unit doors be glass?
Not over anything that gets warm. Glass traps heat, and gear starts throttling above roughly 40 degrees Celsius inside a cabinet. Cane, slats or reeded glass with a vent gap along the top all hide the equipment while letting the bay breathe and letting infrared through.
How do I know if my styling is working?
Photograph it and look at the picture rather than the wall. A camera flattens the composition and shows the crowding your eye has already learned to forgive. Then remove two things. In four homes I have never once regretted that step.
If you are setting one up from scratch, the clutter-hiding guide has the grommet, vent and raceway numbers in one place, and the cozy living room setups cover the lighting and softening around it. For the shelving that usually flanks a media wall, bookshelf styling ideas uses the same three-height rule that took me so long to learn.
Want more like this? Browse all 15 tv unit decor guides — they all use the same measurements and budget tiers.

Pin it for later
Save this to your TV Unit Decor board
Pin it now so it is waiting for you when the tape measure comes out — and so the next person hunting for this idea can find it too.
Save this pinKeep going
More ideas worth saving while you have the tape measure out.