TV Wall Decor · Listicle
20 Modern TV Wall Units That Look Custom

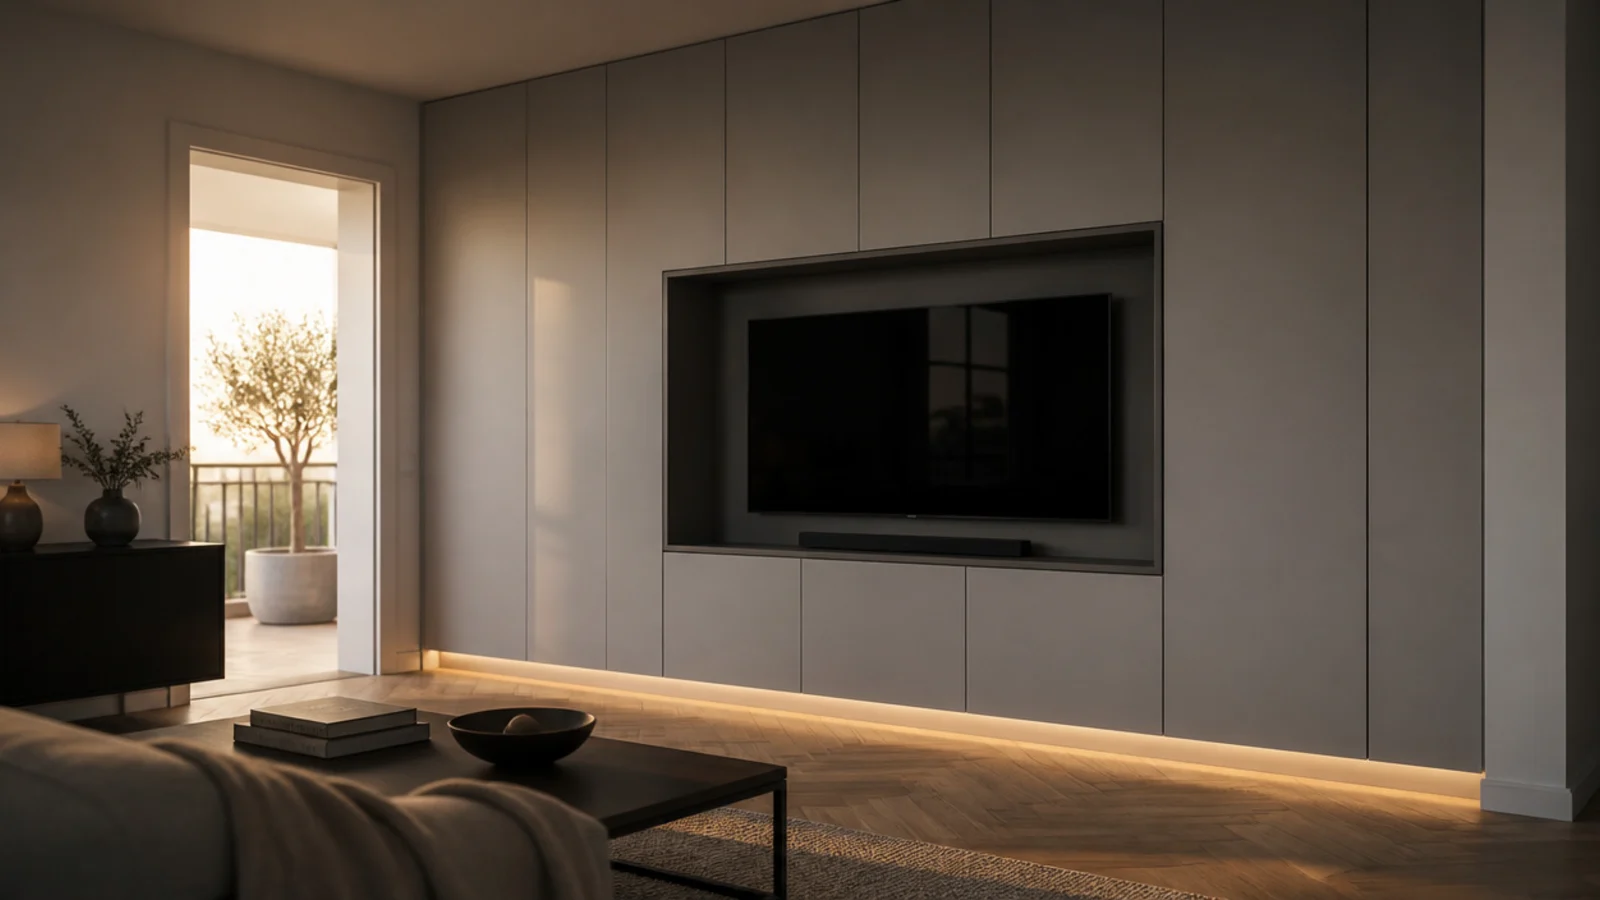
Fitted joinery and flat-pack furniture are built from almost the same materials, and what separates them is a handful of millimetres. Modern tv wall units read as custom when they meet the ceiling deliberately, sit tight against a wall that is not straight, and share a colour with the surface behind them. I have specified a dozen of these runs and unpicked several more, and the details below are the ones that decide it. None of them is about spending more; most are about drawing the wall properly before anything is cut.
In this guide22 sections — tap to openHide
- 1.What modern tv wall units get right about depth
- 2.Take the run to the ceiling with a shadow gap
- 3.Lose the handles with push-to-open fronts
- 4.Float the base on a lit toe recess
- 5.Break the symmetry with uneven bay widths
- 6.Spray the fronts rather than roller them
- 7.Mix one painted material with one timber
- 8.Recess the screen with four inches of air
- 9.Use reeded glass on the flanking doors
- 10.Give one bay over to books
- 11.Run a service spine behind the carcasses
- 12.Match the grain across every door
- 13.Flute the door fronts instead of the wall
- 14.Leave one open cubby for the soundbar
- 15.Scribe the end panel to the wall
- 16.Trim the reveal in brass or anodised aluminium
- 17.Fit a lift-up flap over the media gear
- 18.Thicken one shelf to forty millimetres
- 19.Wire the lighting to a dimmable driver
- 20.Level the run on adjustable feet
- 21.Drench the unit and wall in one colour
- 22.Mistakes to Skip
What modern tv wall units get right about depth
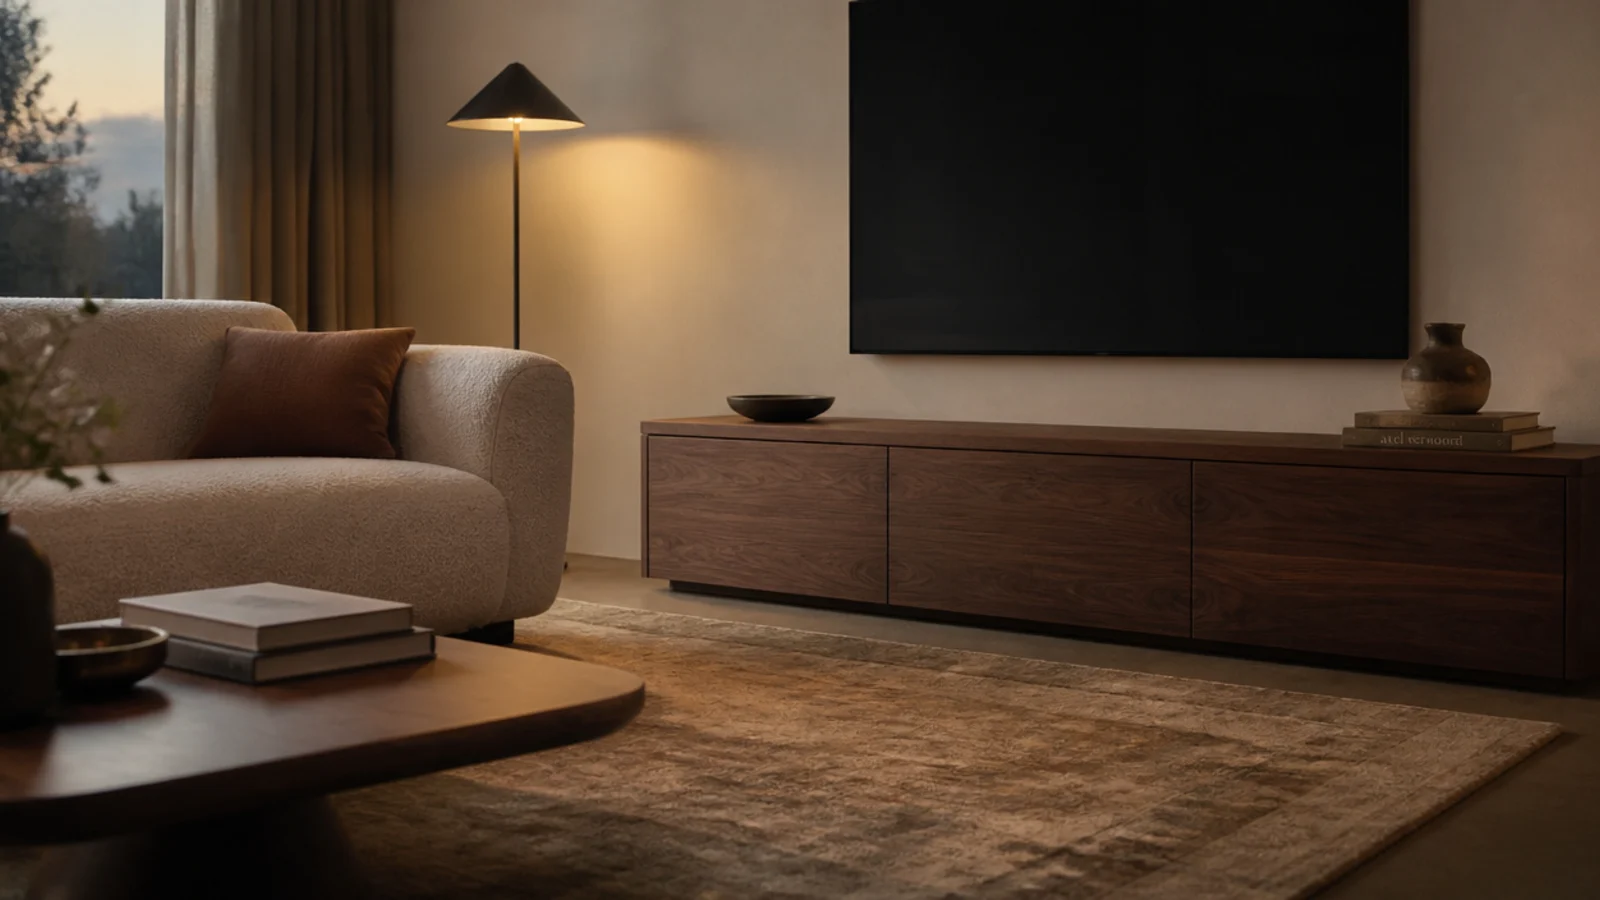
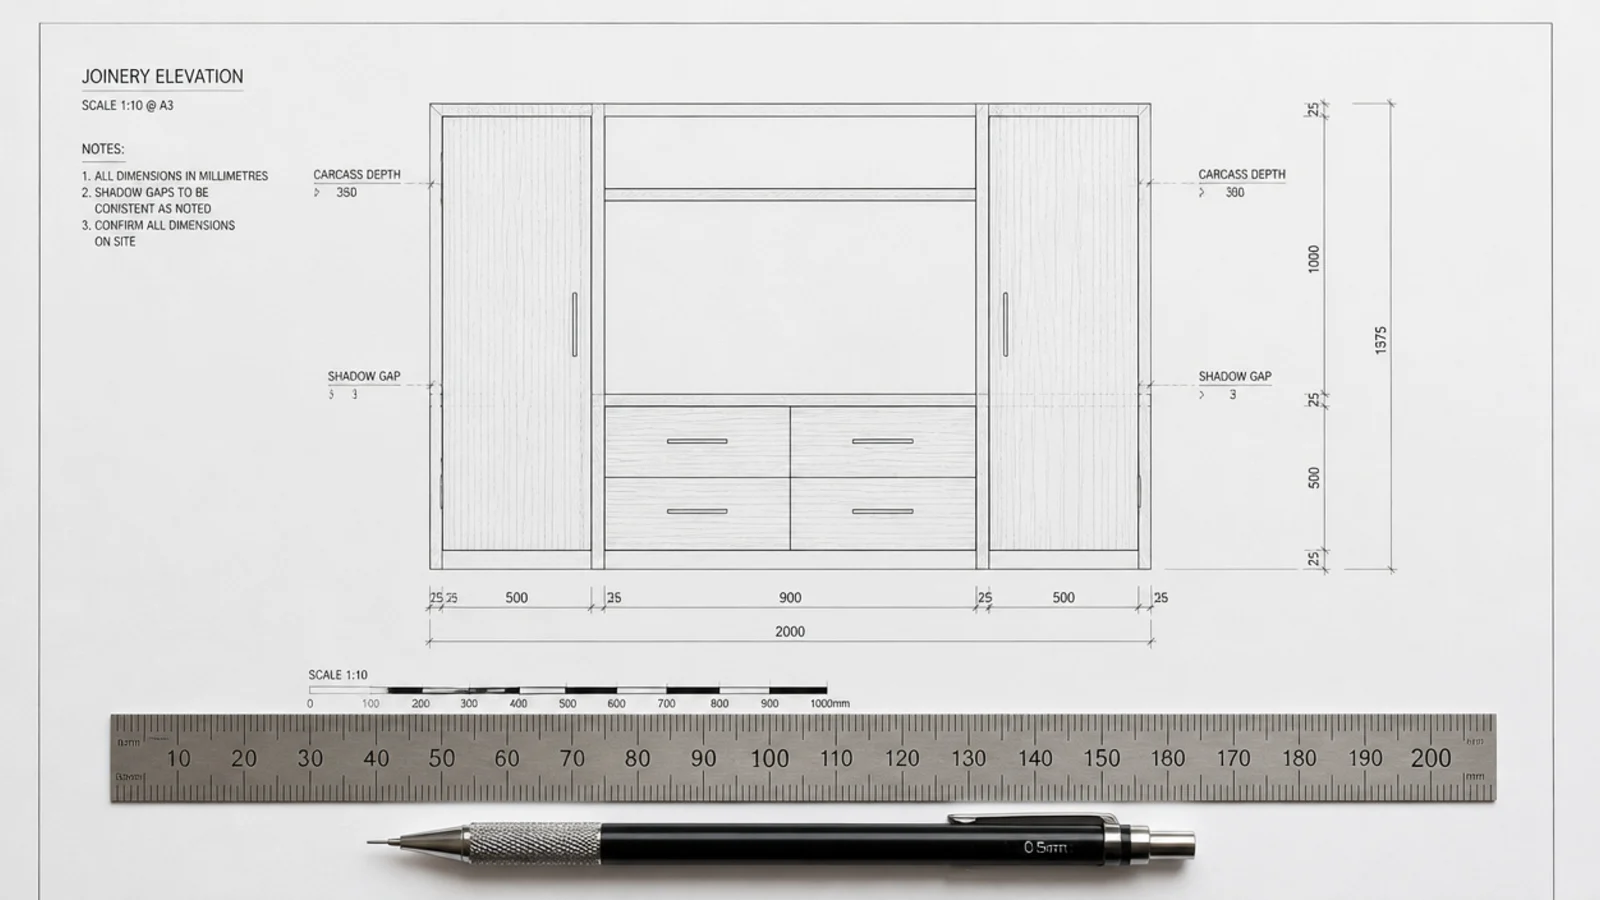
Depth first, because it settles the rest. A closed carcass at 300 millimetres takes a soundbar, a streaming box, a games console and their connectors. Four hundred and fifty is generous. Past that you are borrowing from a walkway that needs 24 inches to pass comfortably, and a deep unit casts a heavier shadow, which makes the whole wall look bulkier than the tape says.
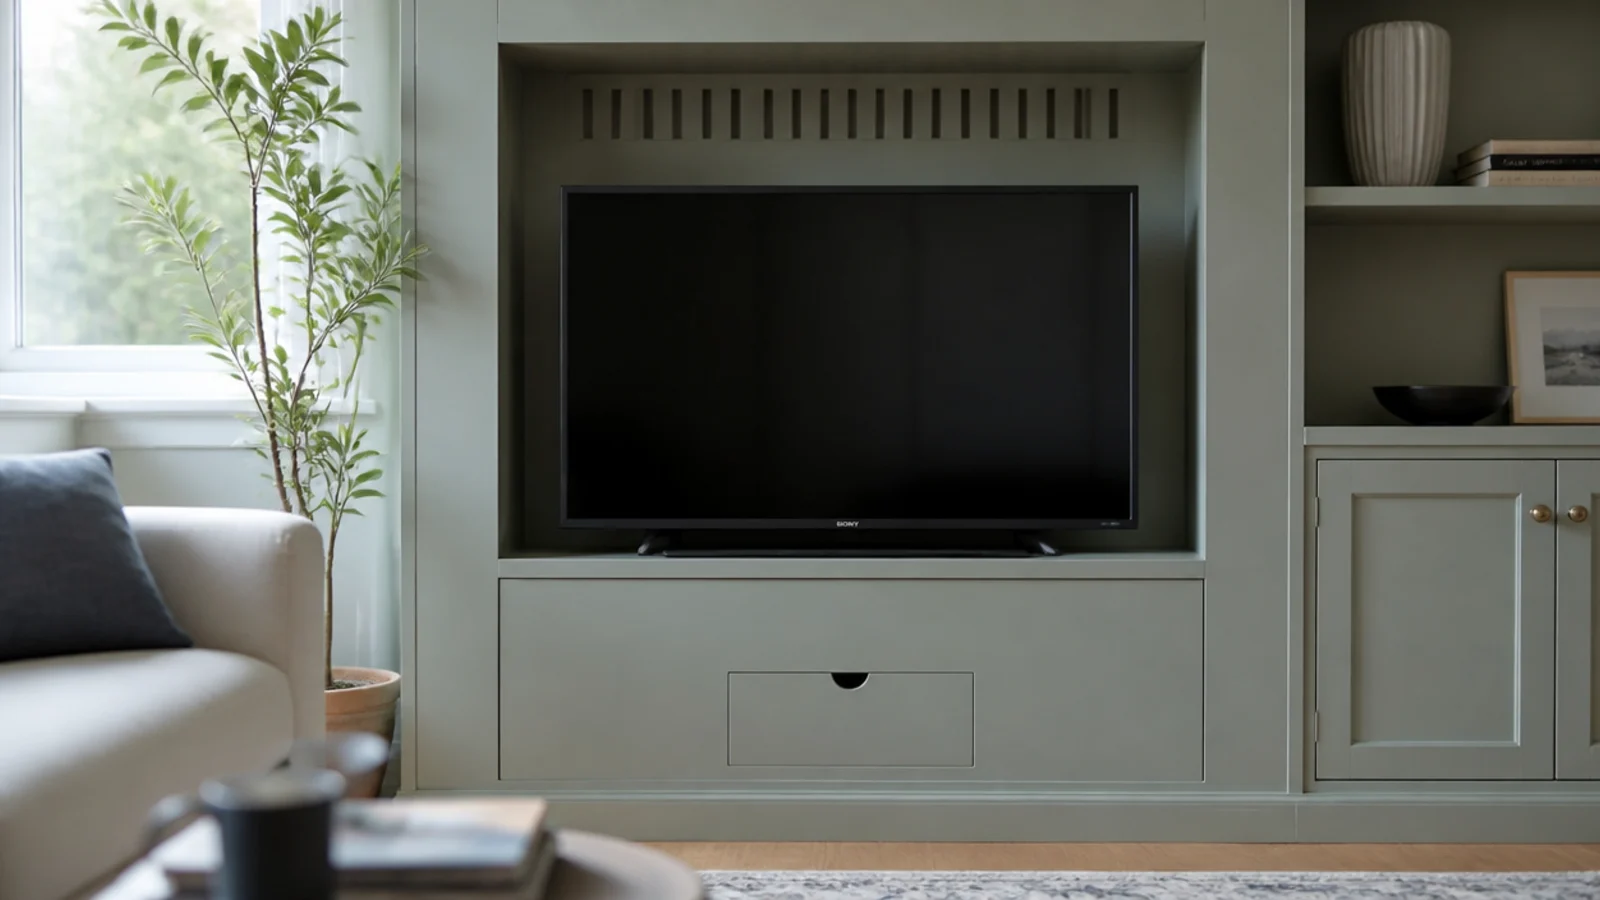
Screen clearance. A slim fixed mount holds a panel 0.6 to 1.2 inches off the surface. If the screen sits in a niche, that niche needs 2 inches of clear air at the top and both sides and 3 to 4 inches behind the mount, with the top open or vented. Screens exhaust heat upward and a sealed recess runs the backlight hot.
Doors. Standard concealed hinges need 35 millimetres of bore and about 100 millimetres of swing clearance beside a return wall. Push-to-open catches add 2 to 3 millimetres of gap, which is why handleless runs have a slightly wider reveal than handled ones.
Fixing. The top rail of any wall-hung carcass goes into framing at 16 inch or 400 millimetre centres. A floor-standing run gets one anti-tip bracket per carcass, which matters in any home with children.
Cost. A 3 metre run built and sprayed by a joiner starts near 2,000 dollars. Building the carcasses yourself from 18 millimetre birch ply and paying only for spraying usually lands between 900 and 1,400. Space-saving wall TV unit designs covers the shallow-depth versions in more detail.
1. Take the run to the ceiling with a shadow gap
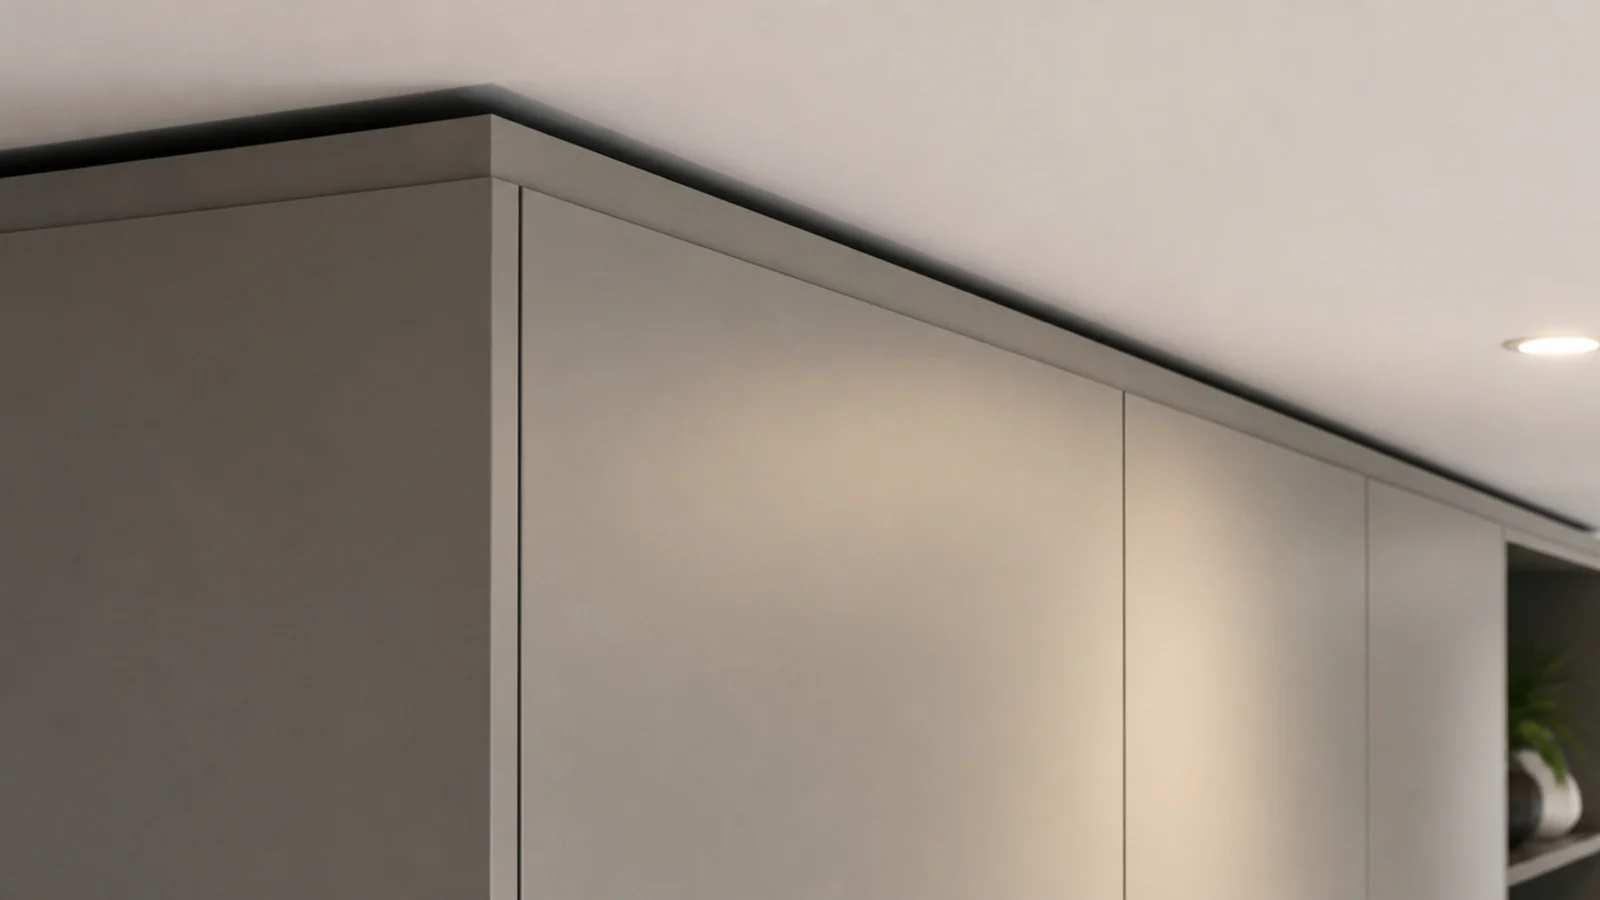
A unit that stops 8 inches short of the ceiling collects dust and reads as an accident. Either scribe a fillet tight to the ceiling, or stop at a deliberate 20 to 40 millimetre shadow gap. Both look resolved; the in-between does not. The gap version is far more forgiving of a ceiling that is not level.
2. Lose the handles with push-to-open fronts
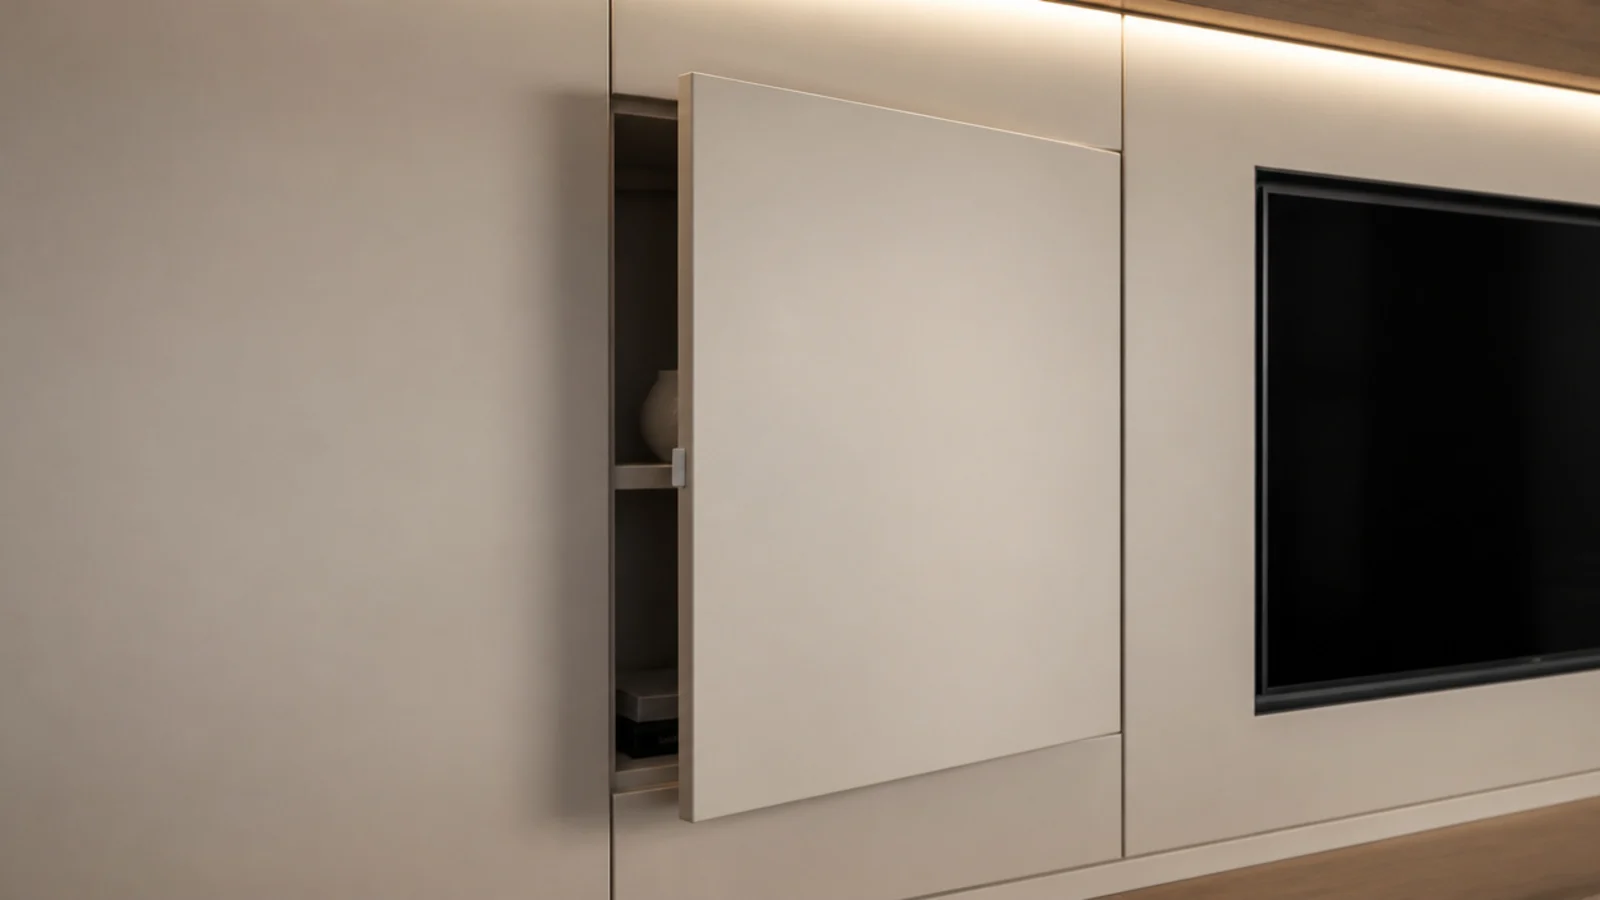
Handles draw a horizontal line across a run and immediately date it. Press catches cost 3 to 6 dollars each and remove that line entirely. The trade is a slightly wider reveal between doors, around 3 millimetres, and fingerprints on a matt finish if you have not specified a soft-touch lacquer.
3. Float the base on a lit toe recess
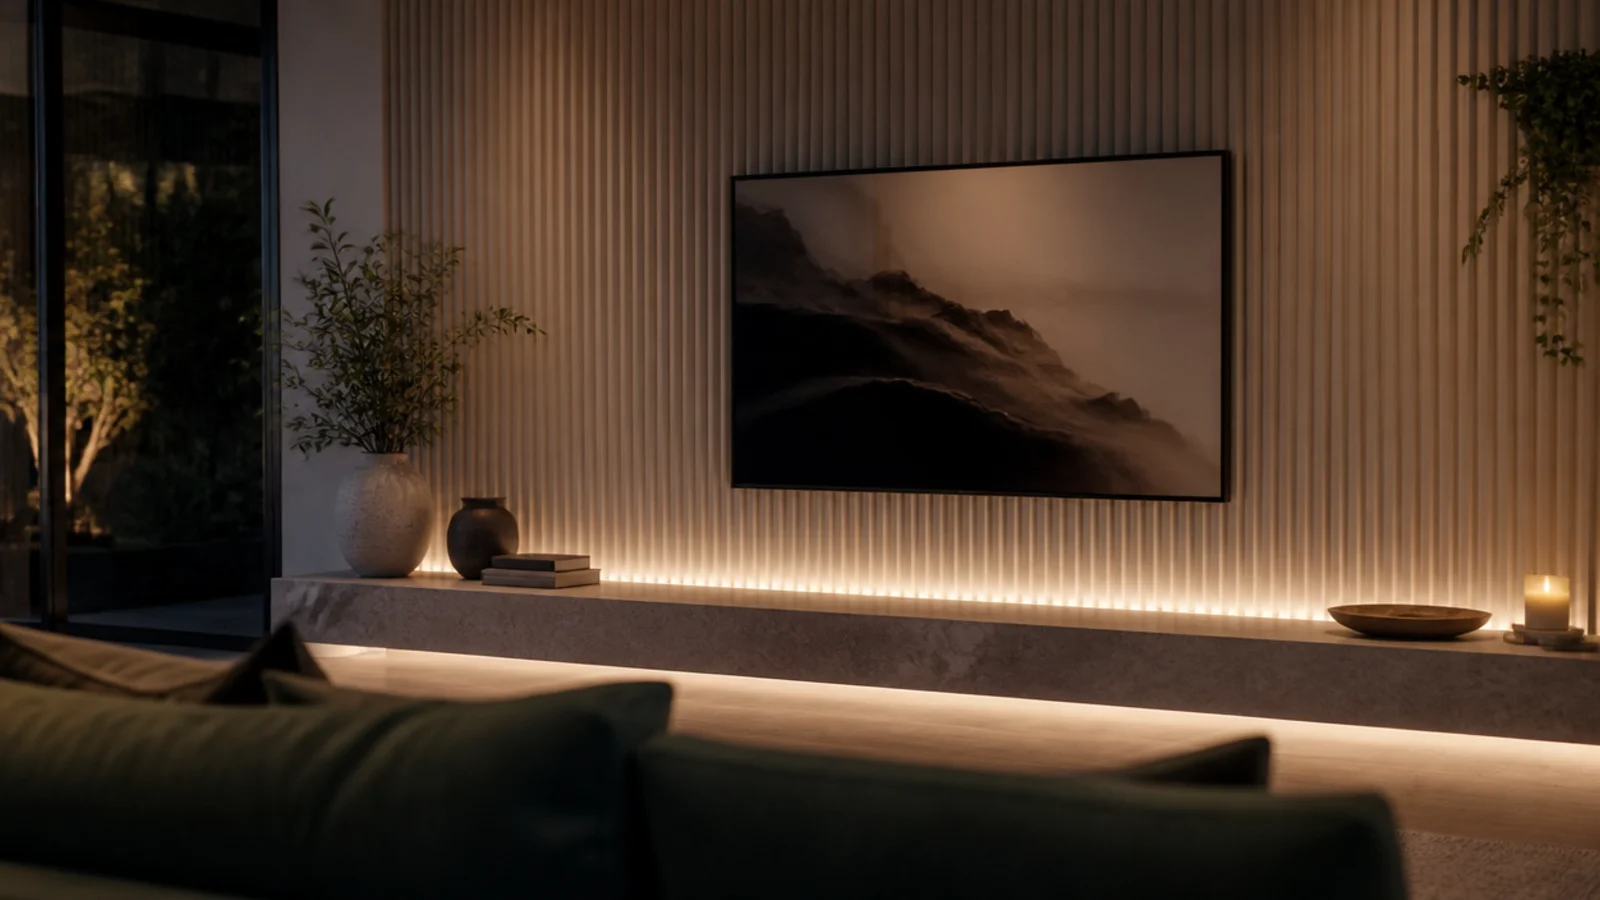
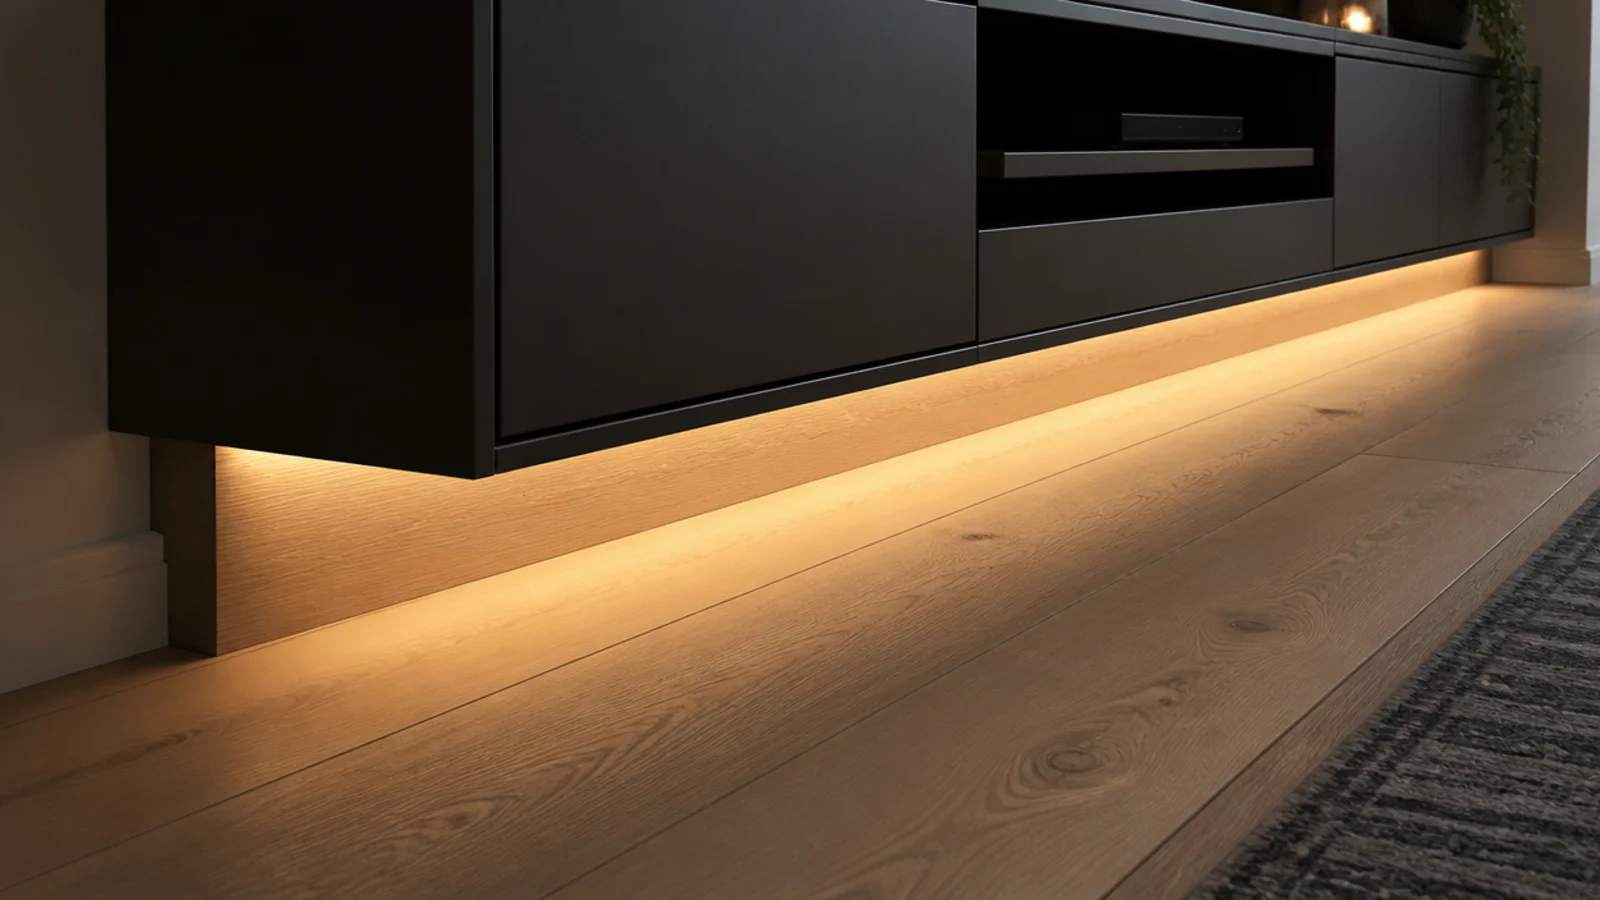
Set the carcass base 100 to 150 millimetres above the floor, recess the plinth 50 millimetres behind the door face, and run a warm strip inside it. The floor reads as continuous and the unit appears to hover. Use a dimmable driver at 300 to 500 lumens per metre, or it becomes a runway.
4. Break the symmetry with uneven bay widths
Perfectly repeated bays read as a shop fitting. One wide open bay against two narrow closed ones, in something close to a 3:2 ratio, looks composed instead. Keep the shelf heights aligned across the run even when the widths differ — that is what holds the arrangement together.
5. Spray the fronts rather than roller them
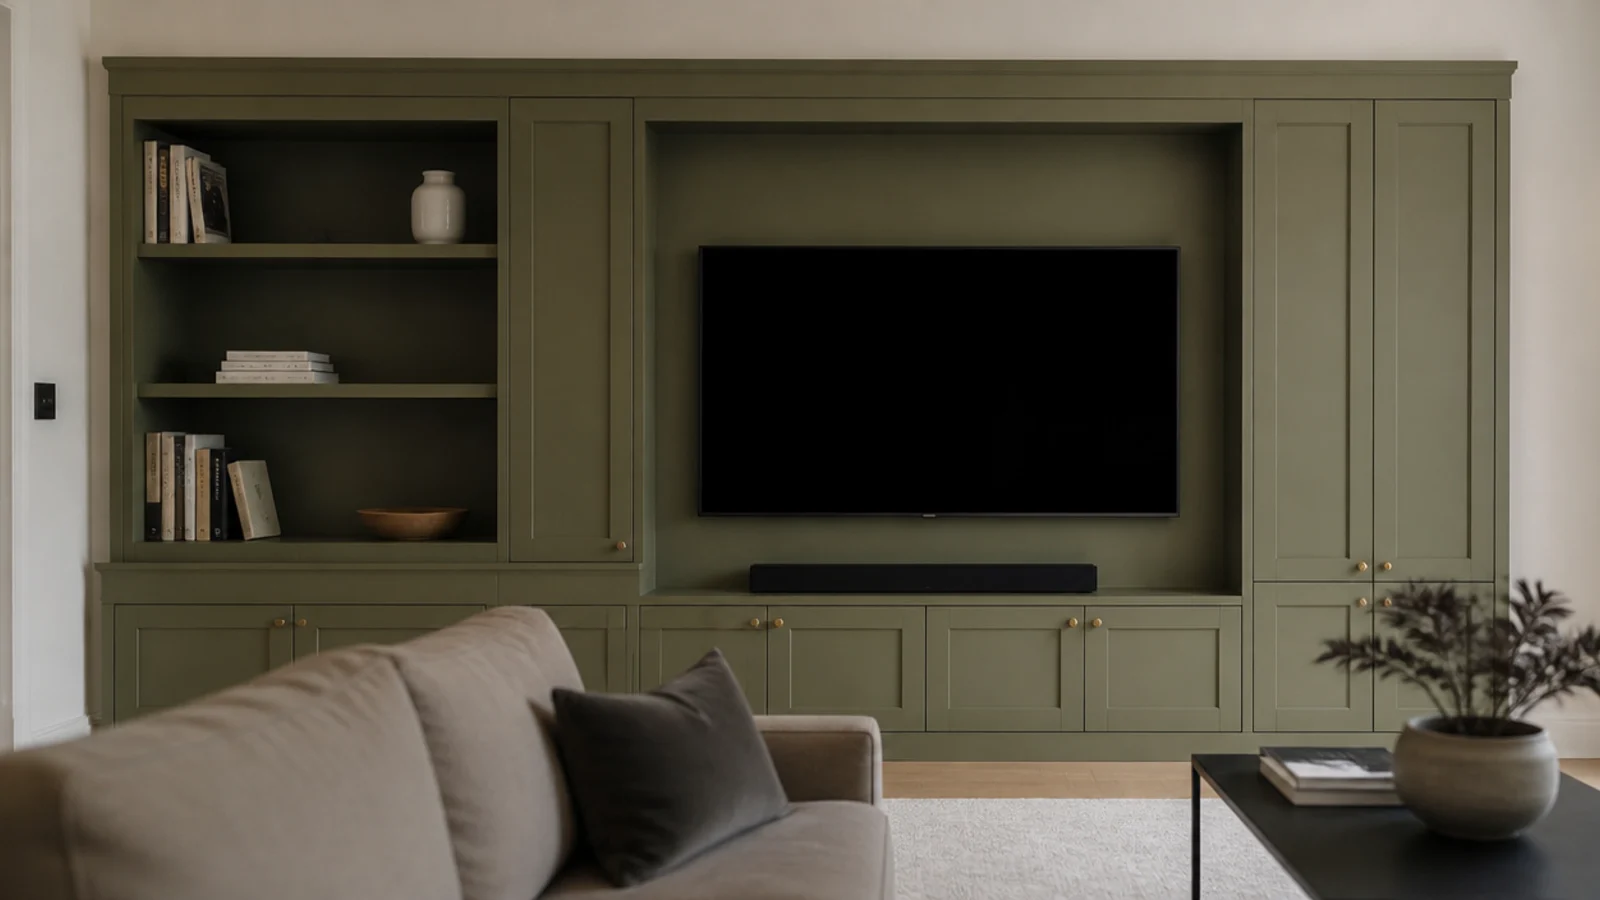
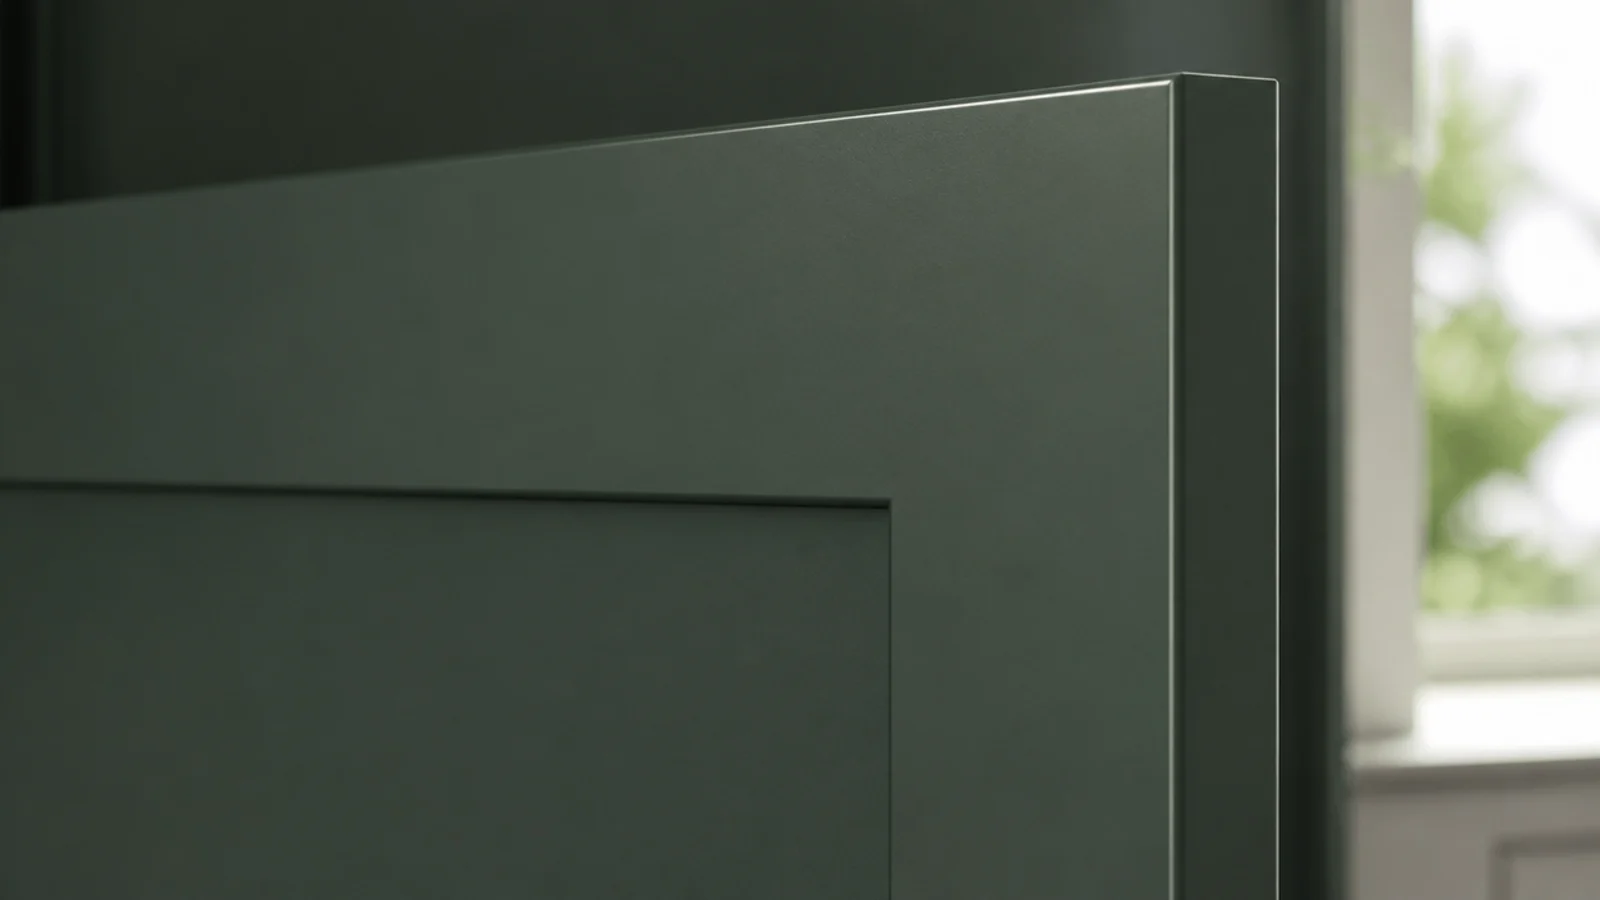
Roller texture is the single most reliable tell of a home-built unit. A spray shop will finish doors and end panels in 2K lacquer for 40 to 90 dollars a door, and the surface is both flatter and considerably harder-wearing than anything brushed. Build the carcasses yourself and pay only for this.
6. Mix one painted material with one timber
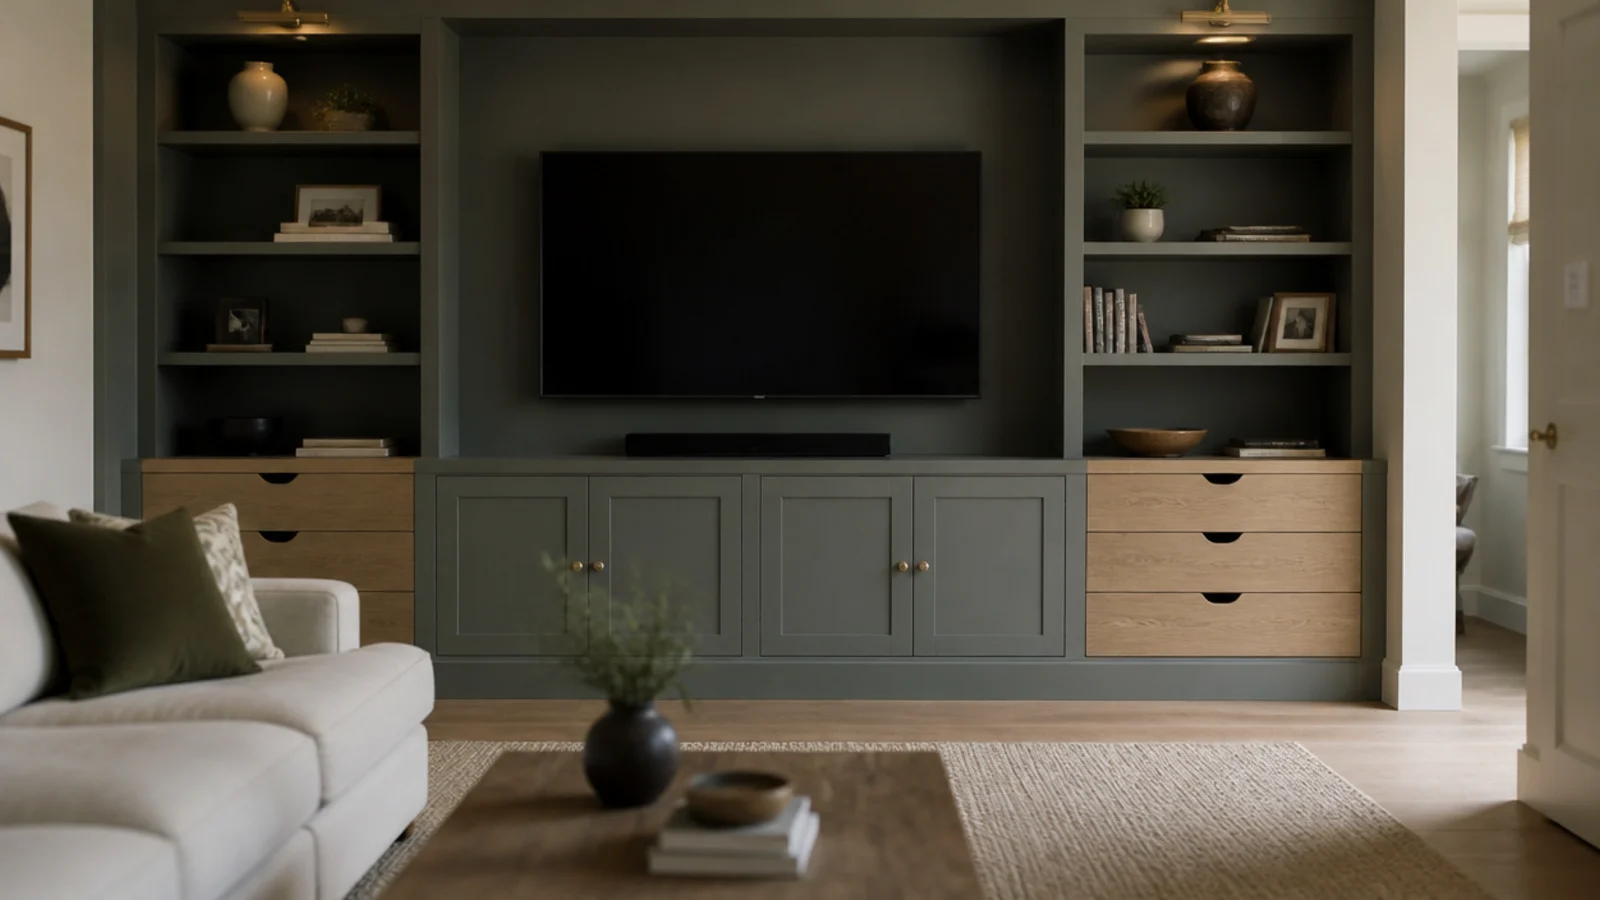
Two materials, each repeated at least twice, is the reliable formula. Painted carcasses with oak veneer drawer fronts, or timber shelves inside a painted shell. A third material almost always tips the wall from layered into busy, especially in a room under 20 square metres.
7. Recess the screen with four inches of air
A screen sitting inside a niche is the detail that makes a media wall look architectural rather than furnished. Size the opening 2 inches larger than the panel on every side and 3 to 4 inches deeper than the mount, and leave the top open. Add a removable back panel for cable access.
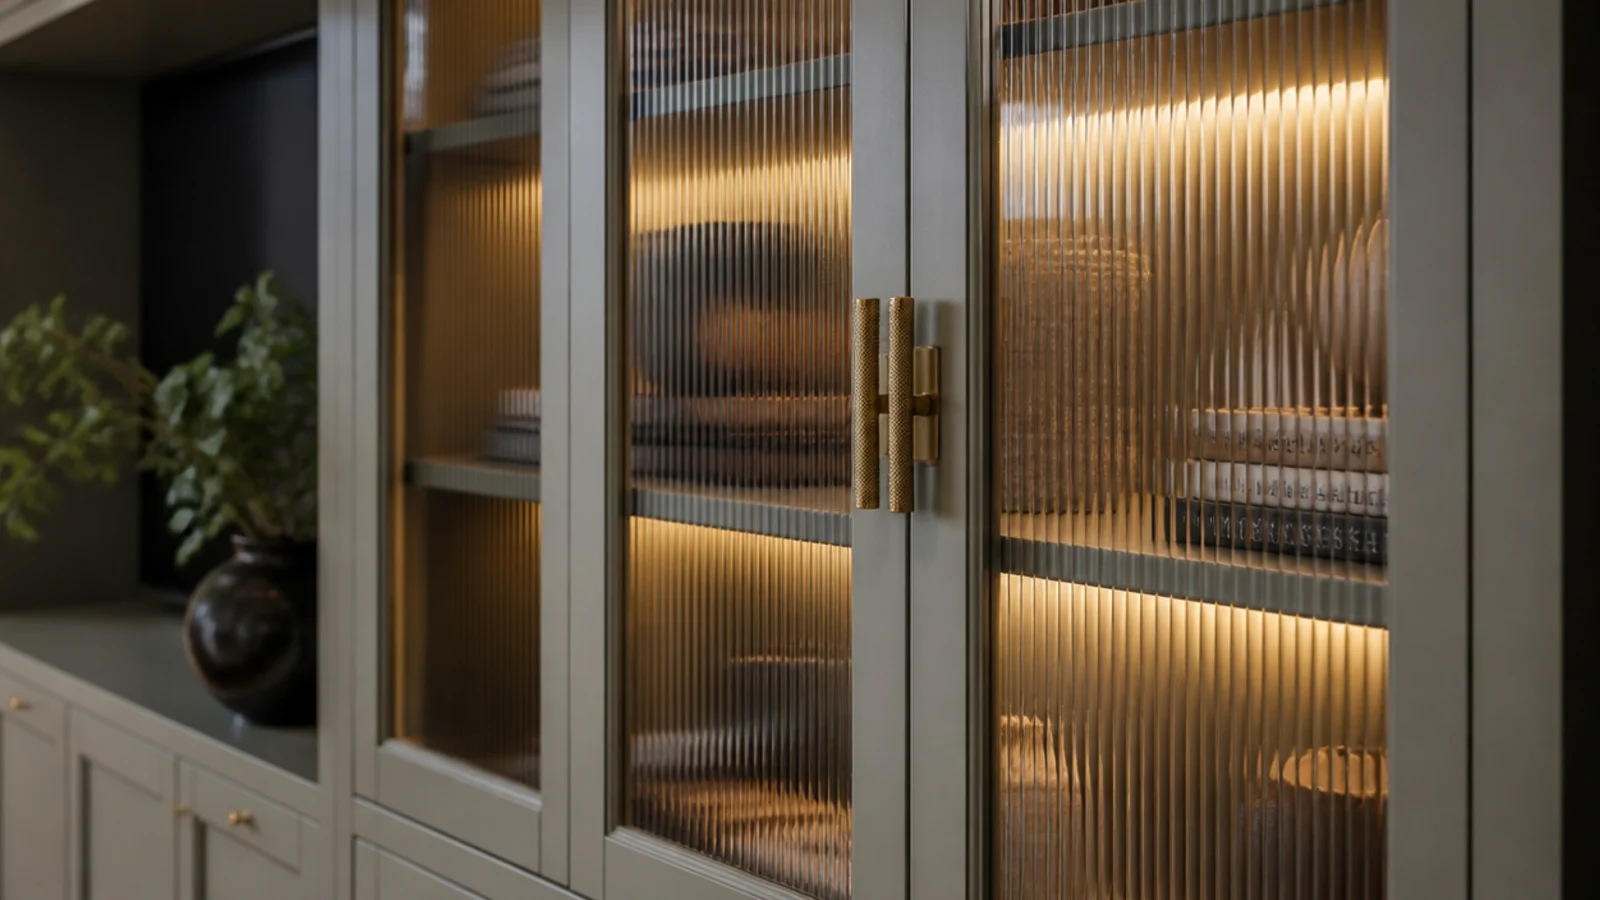
8. Use reeded glass on the flanking doors
Ribbed glass blurs shelved objects into shape and colour while still reading as open, which suits a cupboard holding a router and a games console. Toughened reeded doors run 120 to 250 dollars each. Add a warm interior strip and the bay becomes part of the composition rather than storage.
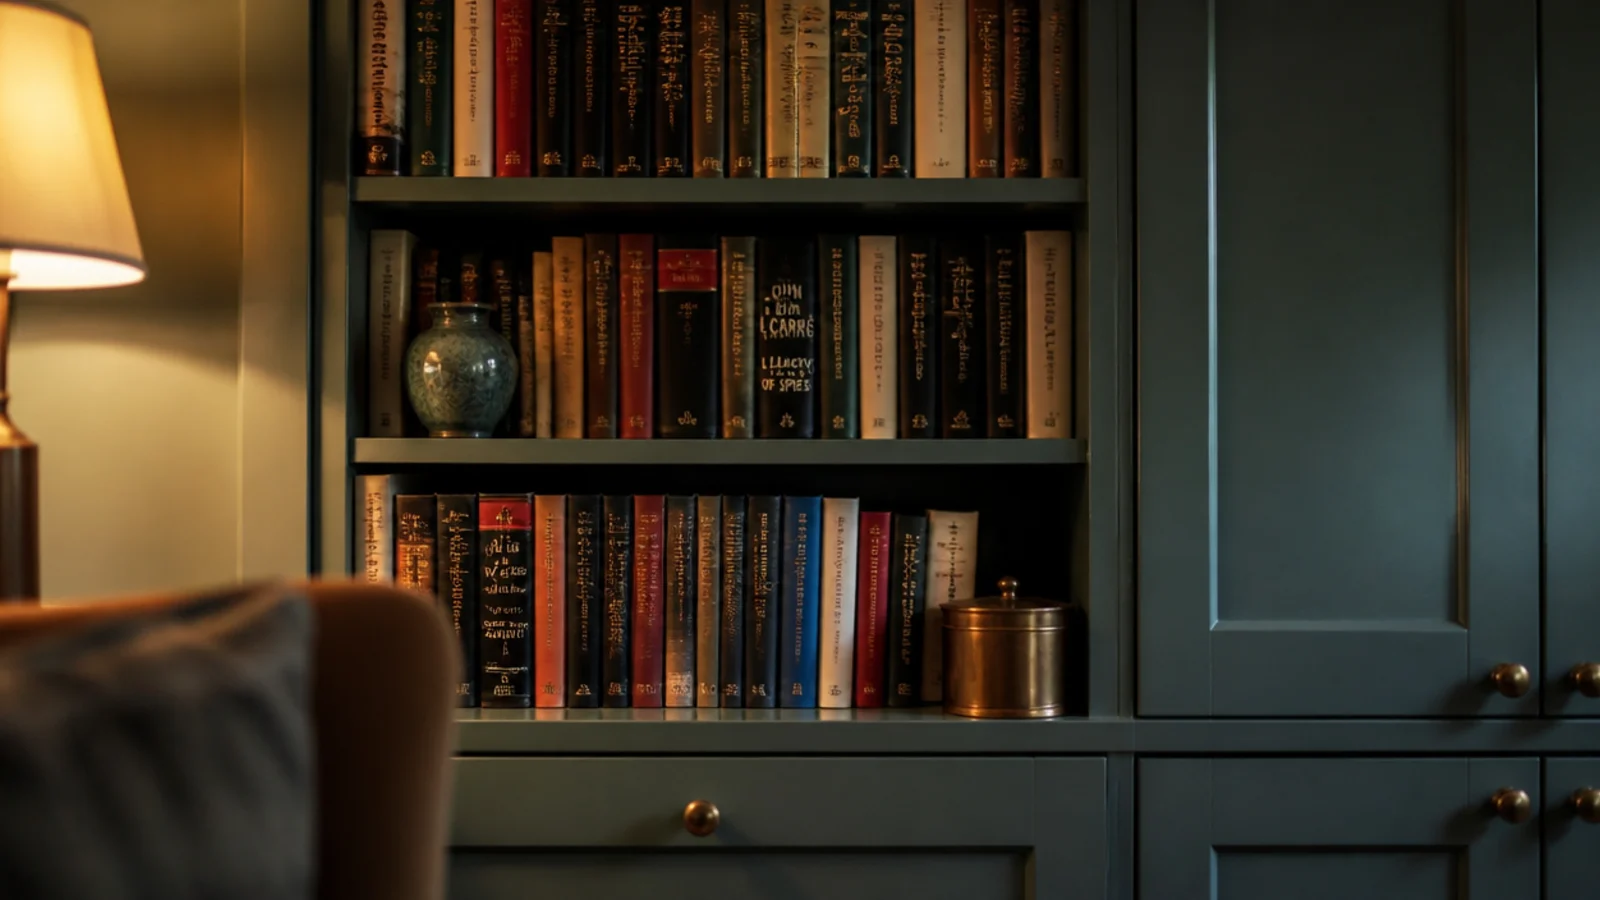
9. Give one bay over to books
An entire run of closed doors reads as a fitted wardrobe in the wrong room. One open bay of books breaks the grid, absorbs sound and adds the only genuinely personal thing on the wall. Allow 13 inches of clear height per shelf so standing hardbacks fit.
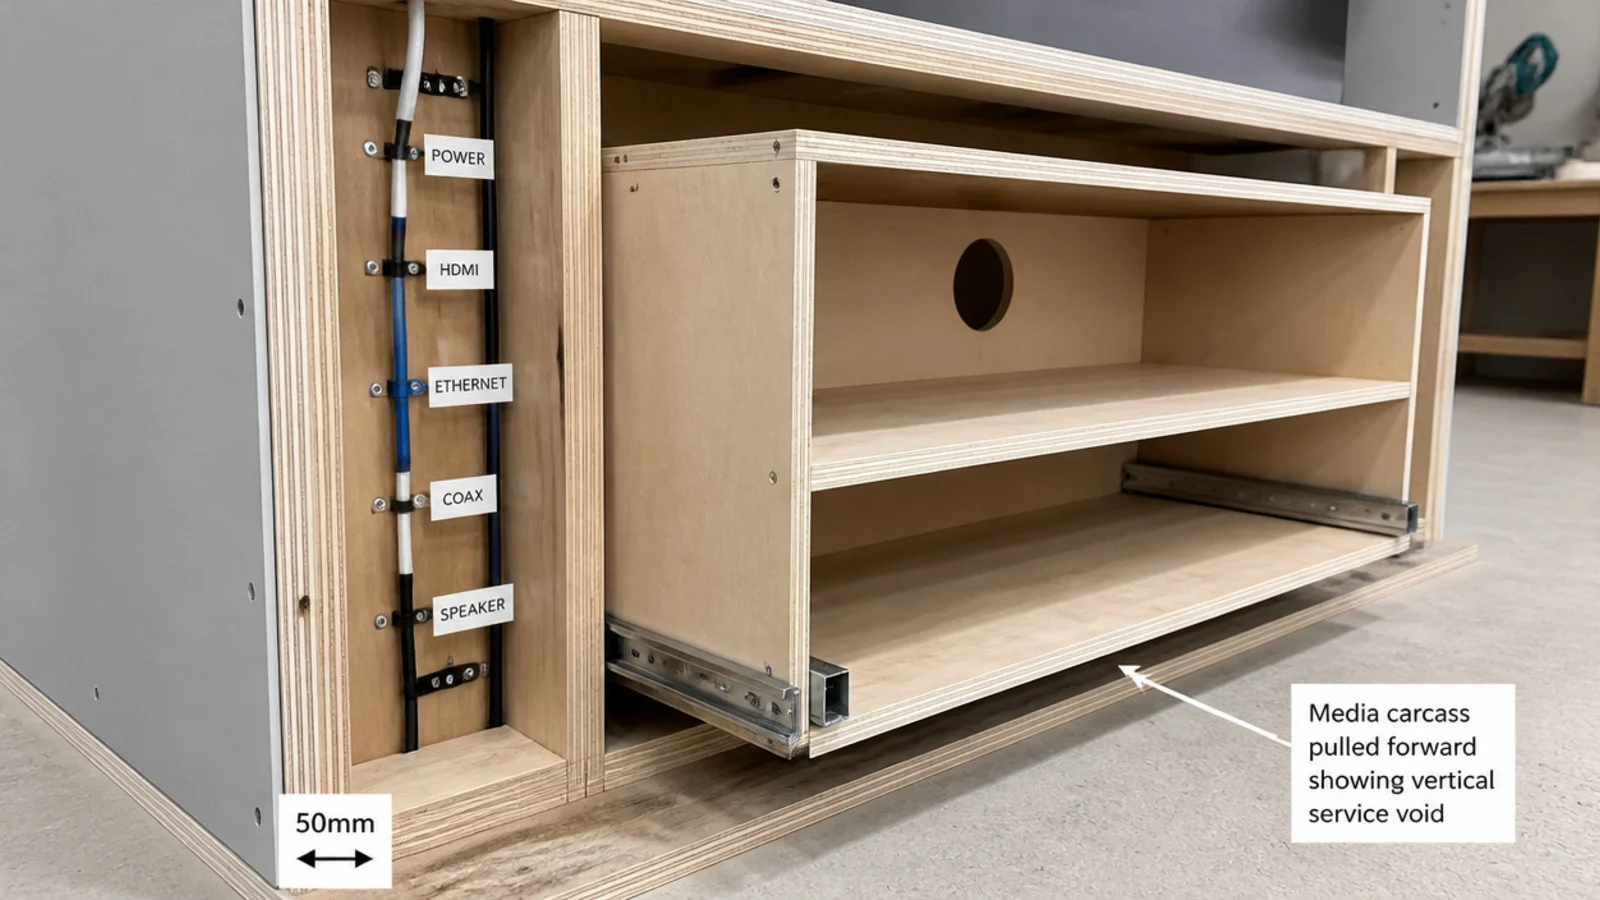
10. Run a service spine behind the carcasses
Hold the carcasses 40 to 60 millimetres off the wall on a batten frame and you have a continuous vertical void for every cable. Label both ends of each run before the backs go on. It costs almost nothing during the build and saves opening the whole wall in three years.
11. Match the grain across every door
Continuous grain running across four adjacent doors is what people are actually looking at when they say a unit looks custom. It means cutting all the fronts from one sheet in sequence and numbering them. Veneered MDF at 90 to 180 dollars a sheet makes this affordable.
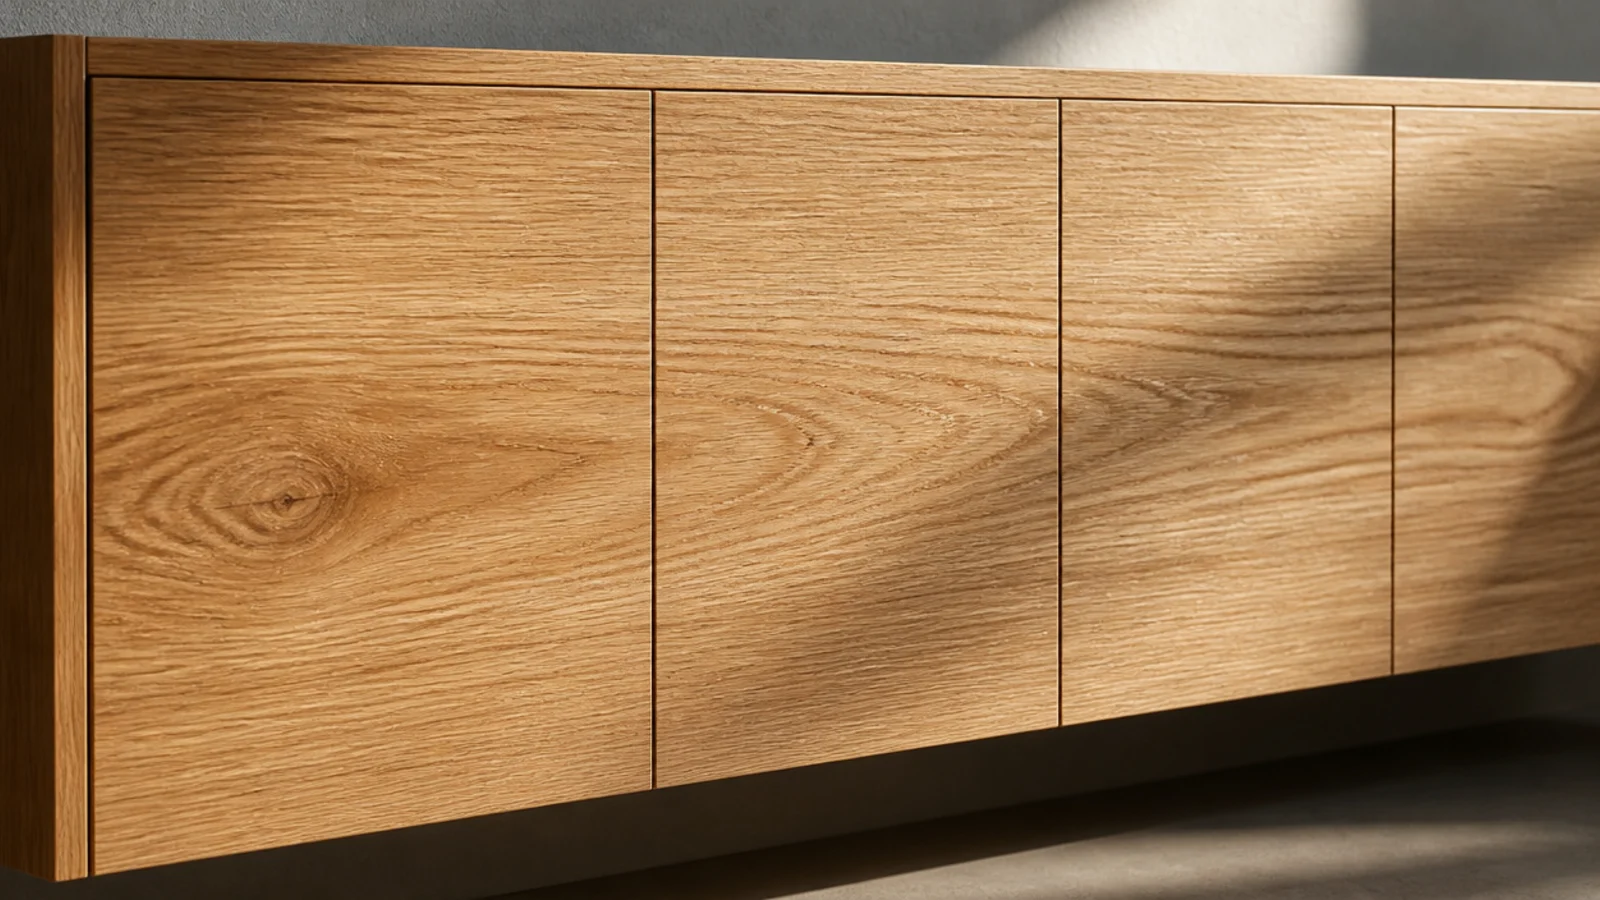
12. Flute the door fronts instead of the wall
Fluting the joinery rather than the wall behind gives you the texture without committing the whole room to it. Half-round beads at 40 to 60 millimetre repeats, sprayed after assembly. It also means the fluting stops at a proper edge instead of dying into a corner.
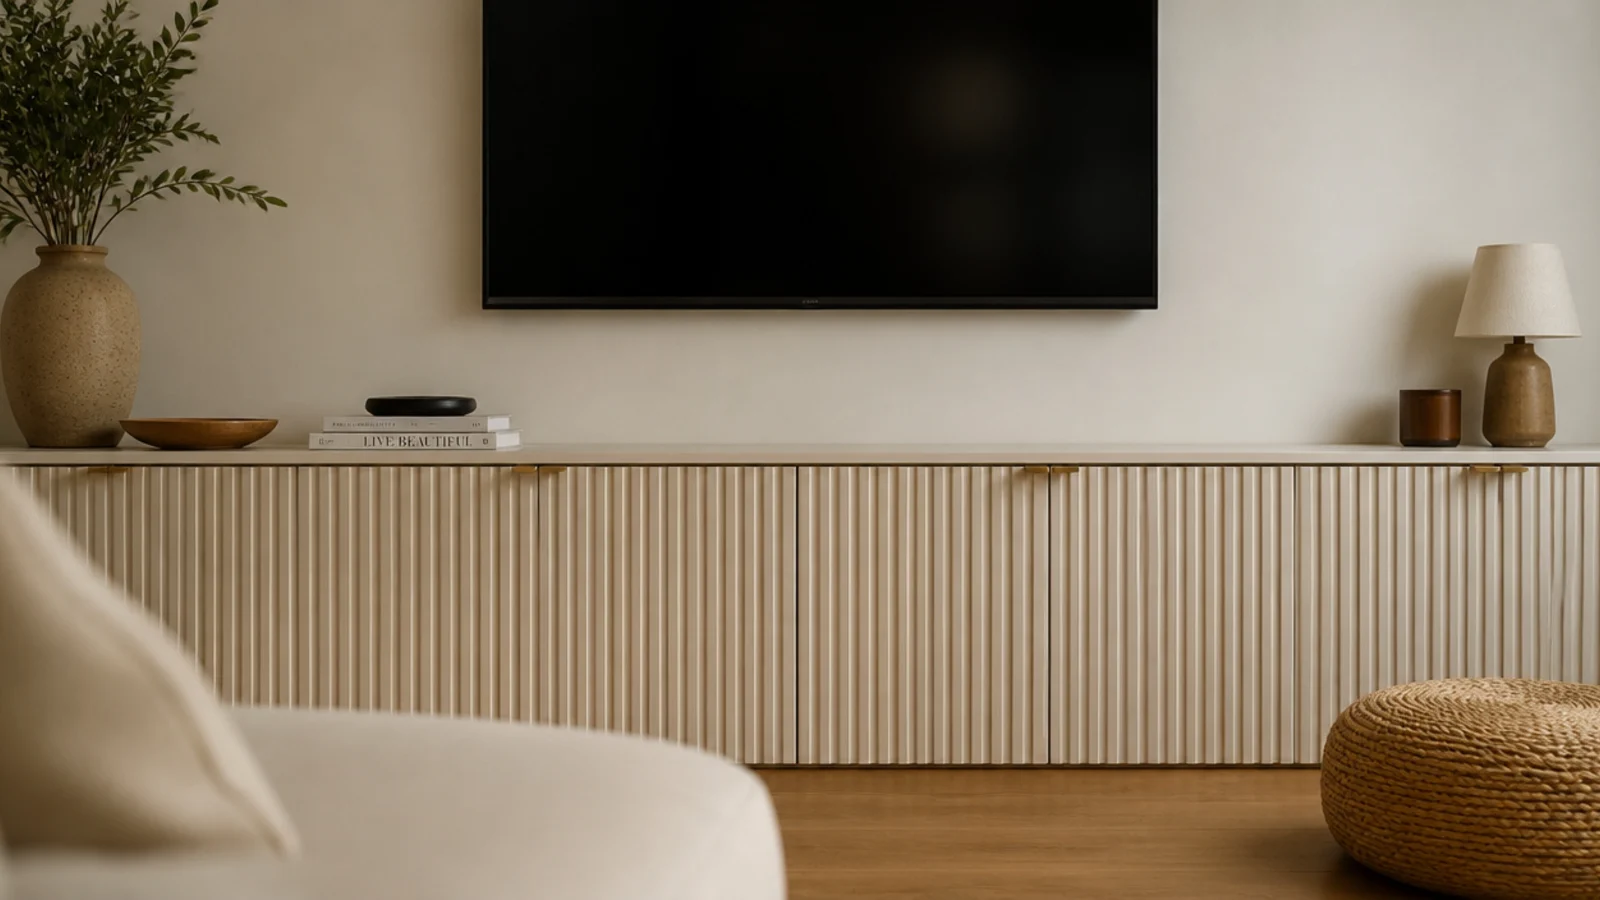
13. Leave one open cubby for the soundbar
Sound through a closed door is muffled and infrared receivers need line of sight. A single open cubby 8 to 10 inches high and the full width of the bar solves both, and it looks deliberate in a way that a whole open shelf of equipment never does.
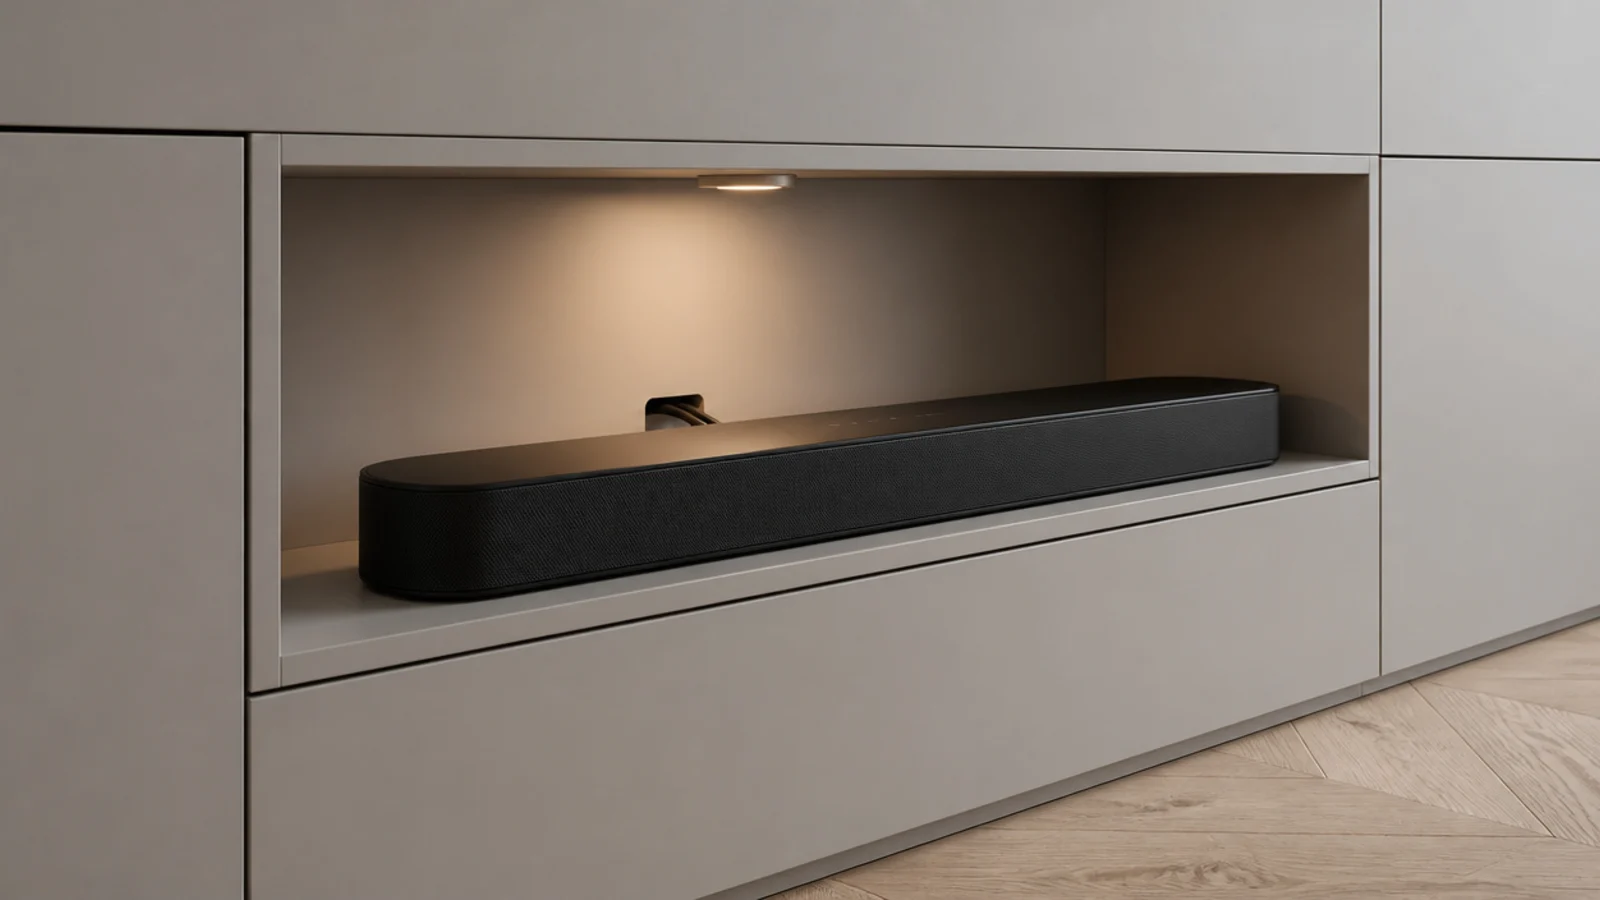
14. Scribe the end panel to the wall
Almost no plaster wall is straight. A standard carcass butted against one leaves a tapering gap that gets packed with filler and immediately reads as flat-pack. Scribing the end panel with a compass and trimming with a block plane takes twenty minutes and removes the gap entirely.
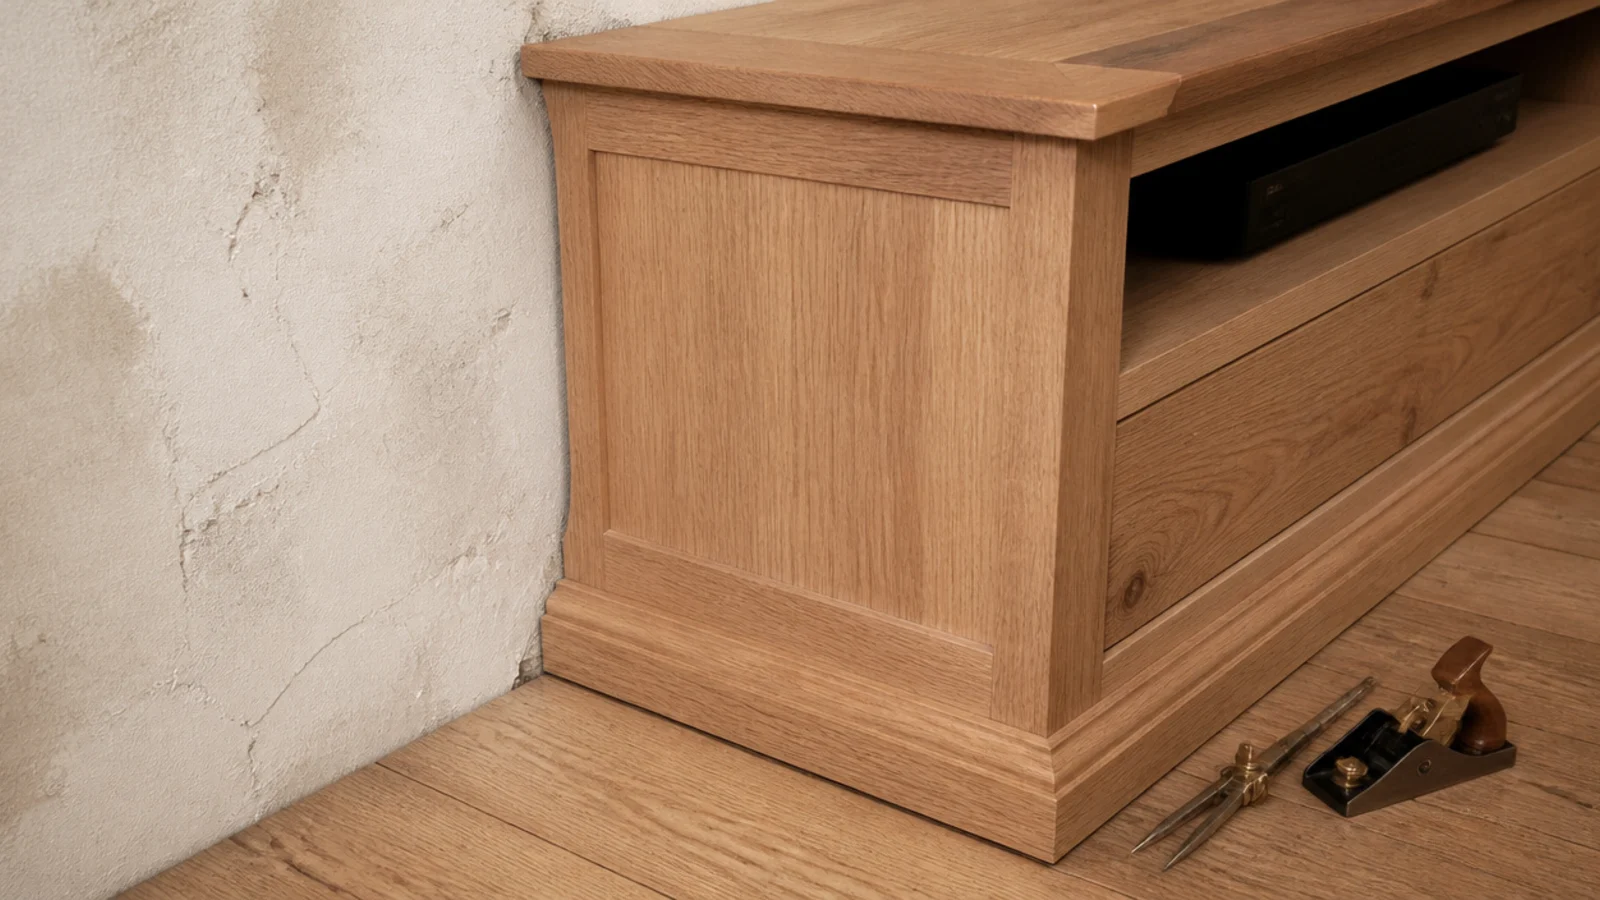
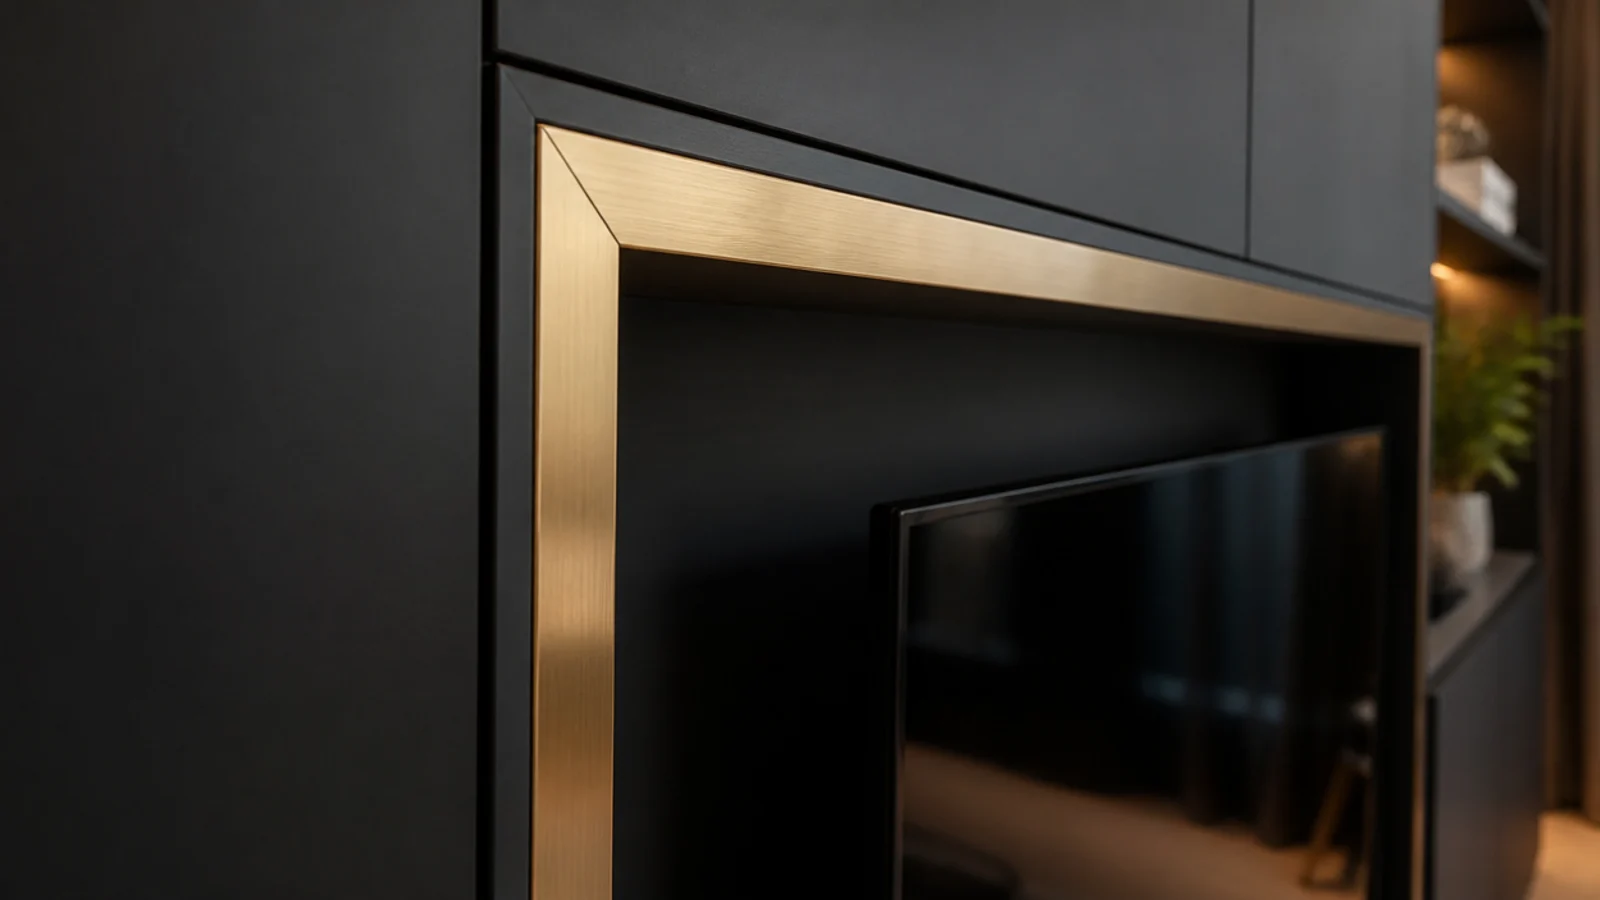
15. Trim the reveal in brass or anodised aluminium
The internal reveal of a niche takes knocks from remote controls, cables and knuckles, and painted MDF chips there within a year. A 6 to 10 millimetre metal trim at 8 to 20 dollars a metre protects the arris and gives the opening a crisp finished edge.
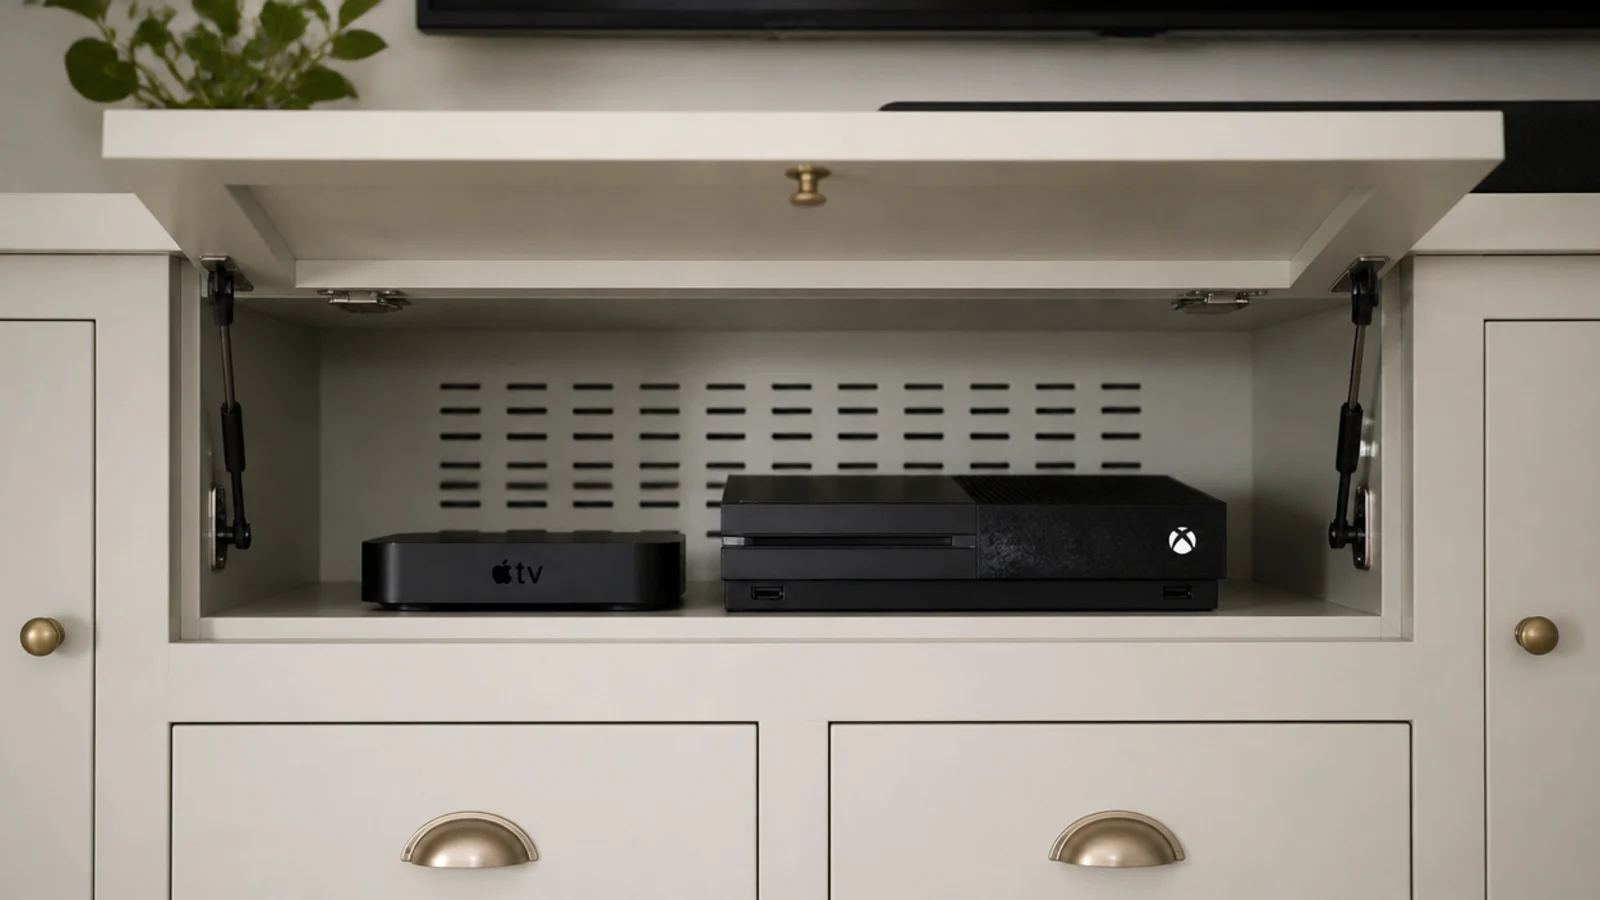
16. Fit a lift-up flap over the media gear
A flap on gas stays holds itself open while you swap a cable, which a side-hinged door in a tight bay will not do. Allow the full flap height as clear swing above the opening, and vent the shelf behind with two 50 millimetre holes.
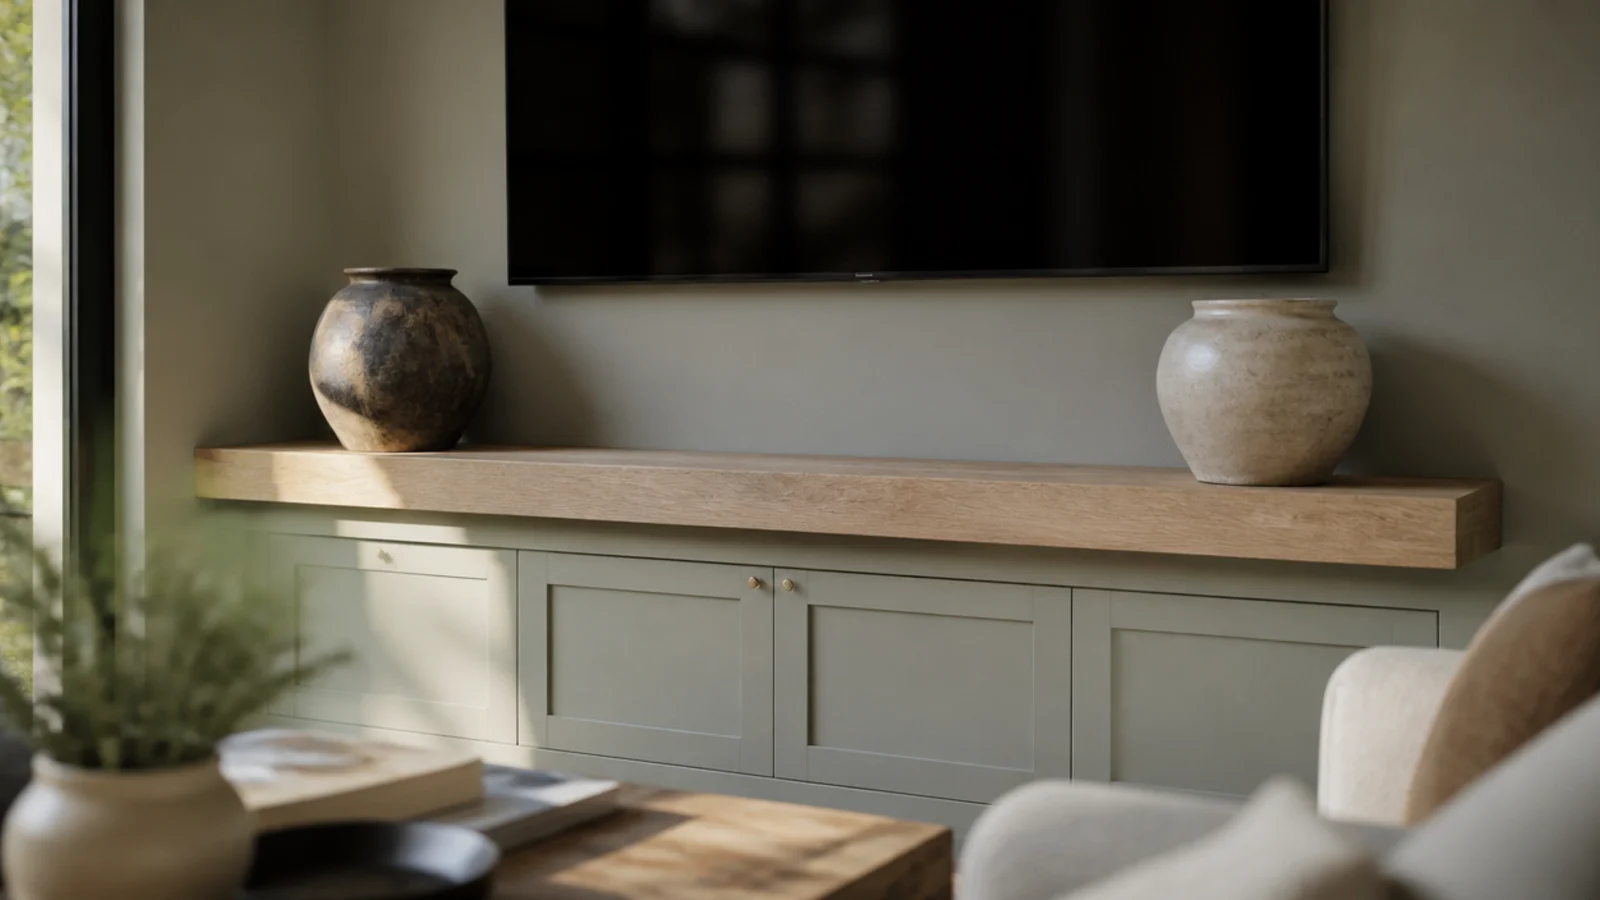
17. Thicken one shelf to forty millimetres
A single deep shelf spanning the whole run gives a tall unit a horizontal anchor and reads as a solid slab rather than a sheet. Build it hollow from 18 millimetre stock with a lipped front edge and it weighs a third of what it looks.
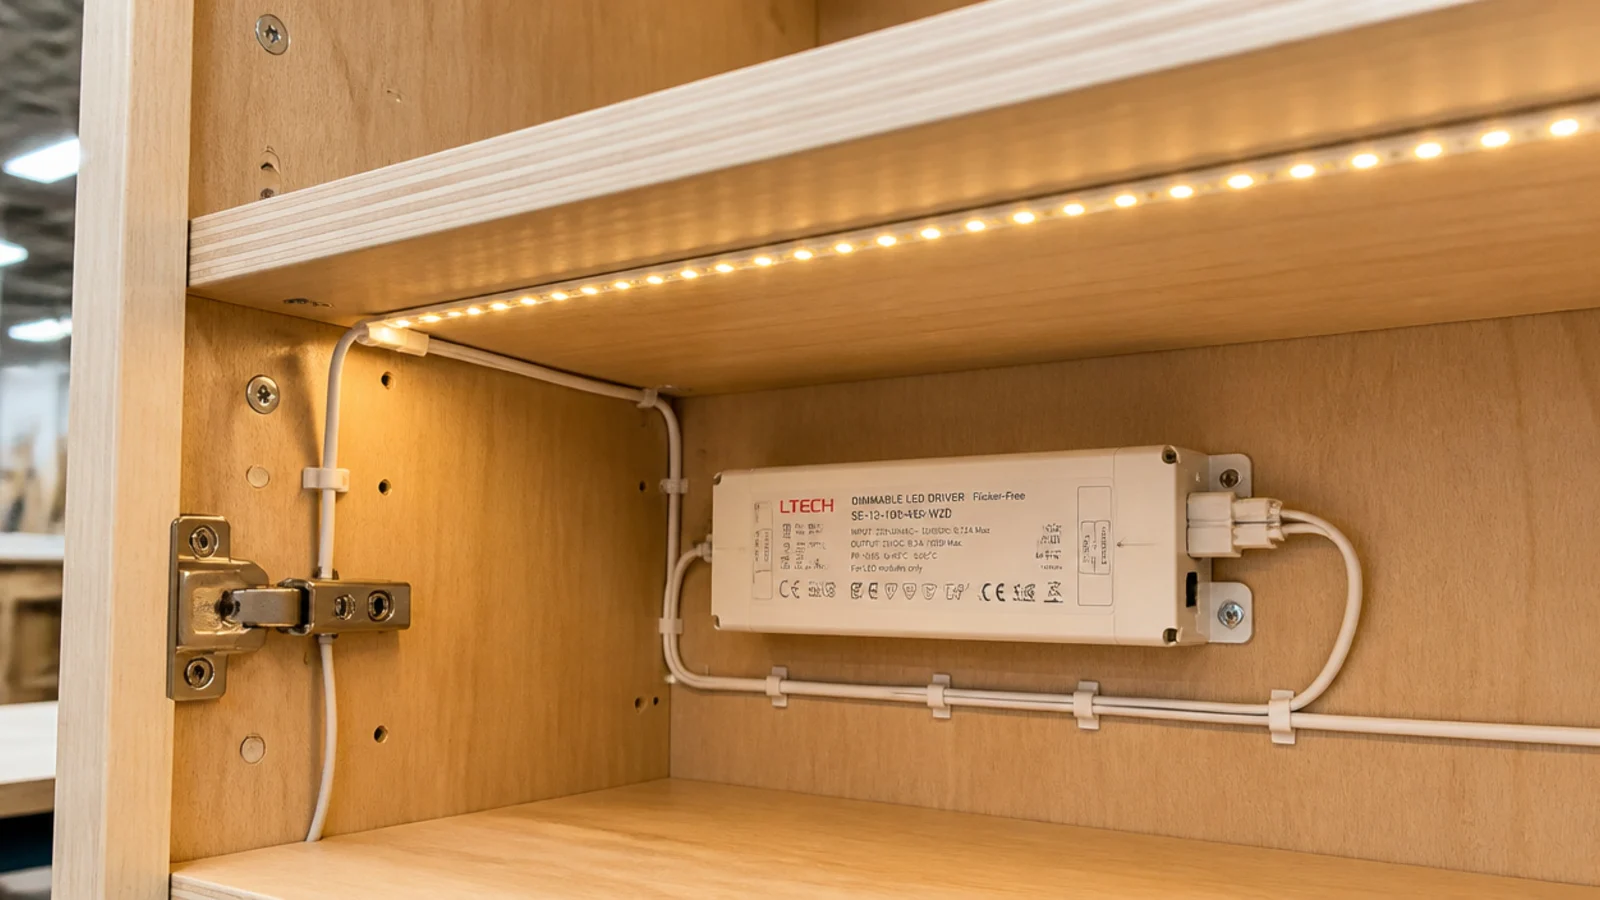
18. Wire the lighting to a dimmable driver
Cabinet lighting at full output turns joinery into a retail display. A dimmable driver is 15 to 40 dollars more than a fixed one and lets you sit the run at roughly 30 percent for evening viewing. Choose 2700K warm white throughout, never mixed colour temperatures.
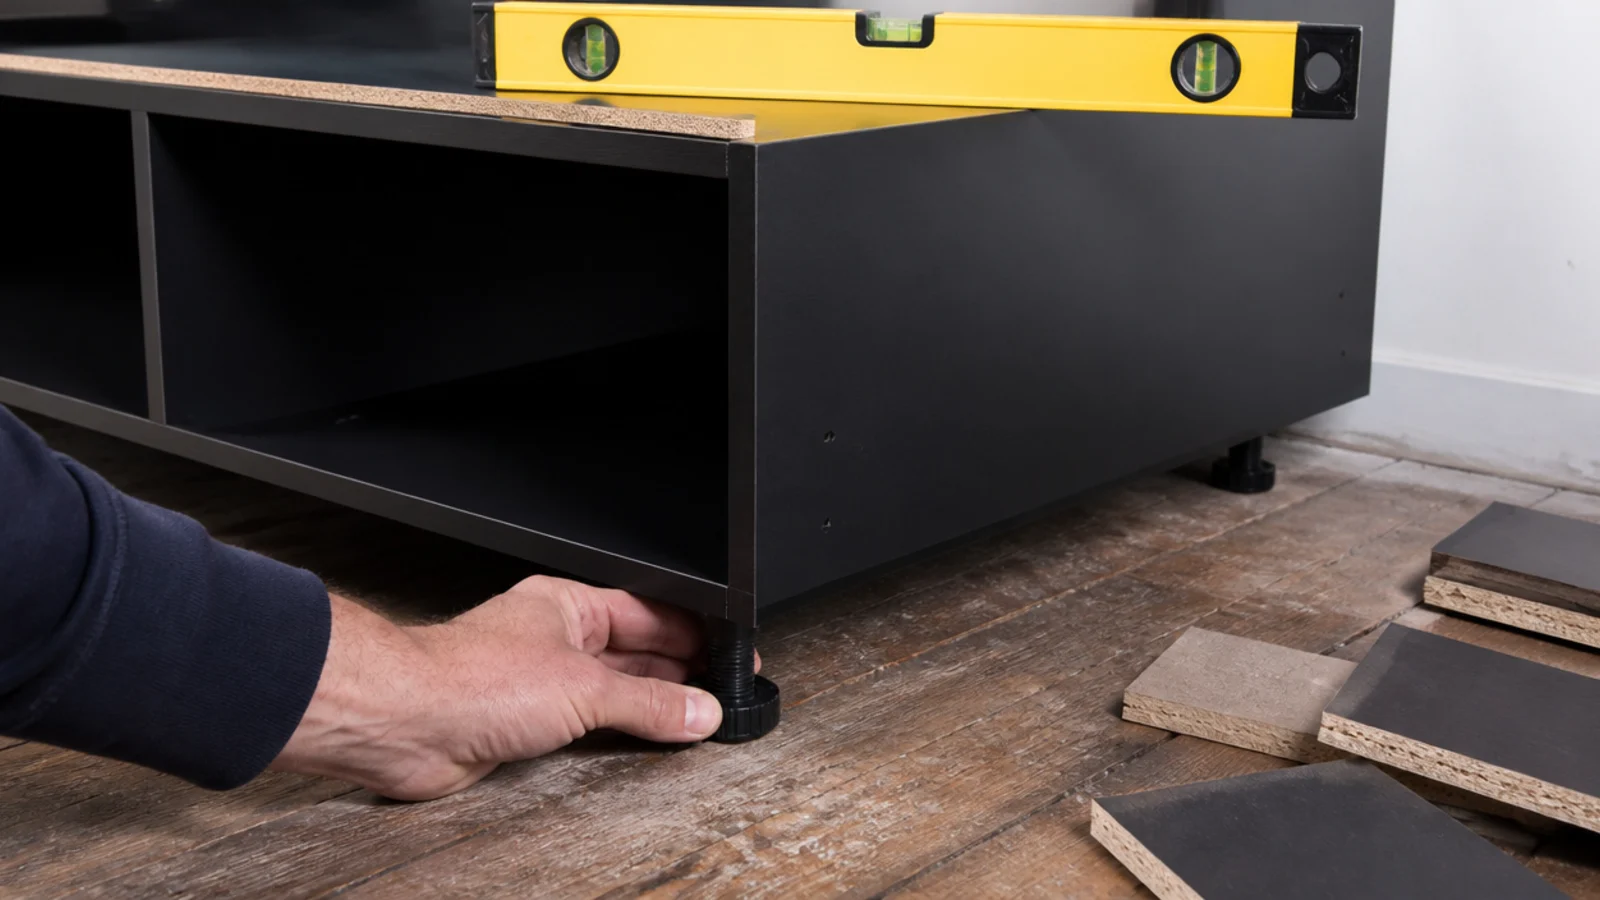
19. Level the run on adjustable feet
Older floors fall 10 to 20 millimetres across a 3 metre run, and a unit built dead square to itself will show every millimetre of that at the ceiling line. Adjustable feet at about 2 dollars each let you level the carcasses first and scribe the plinth afterwards.
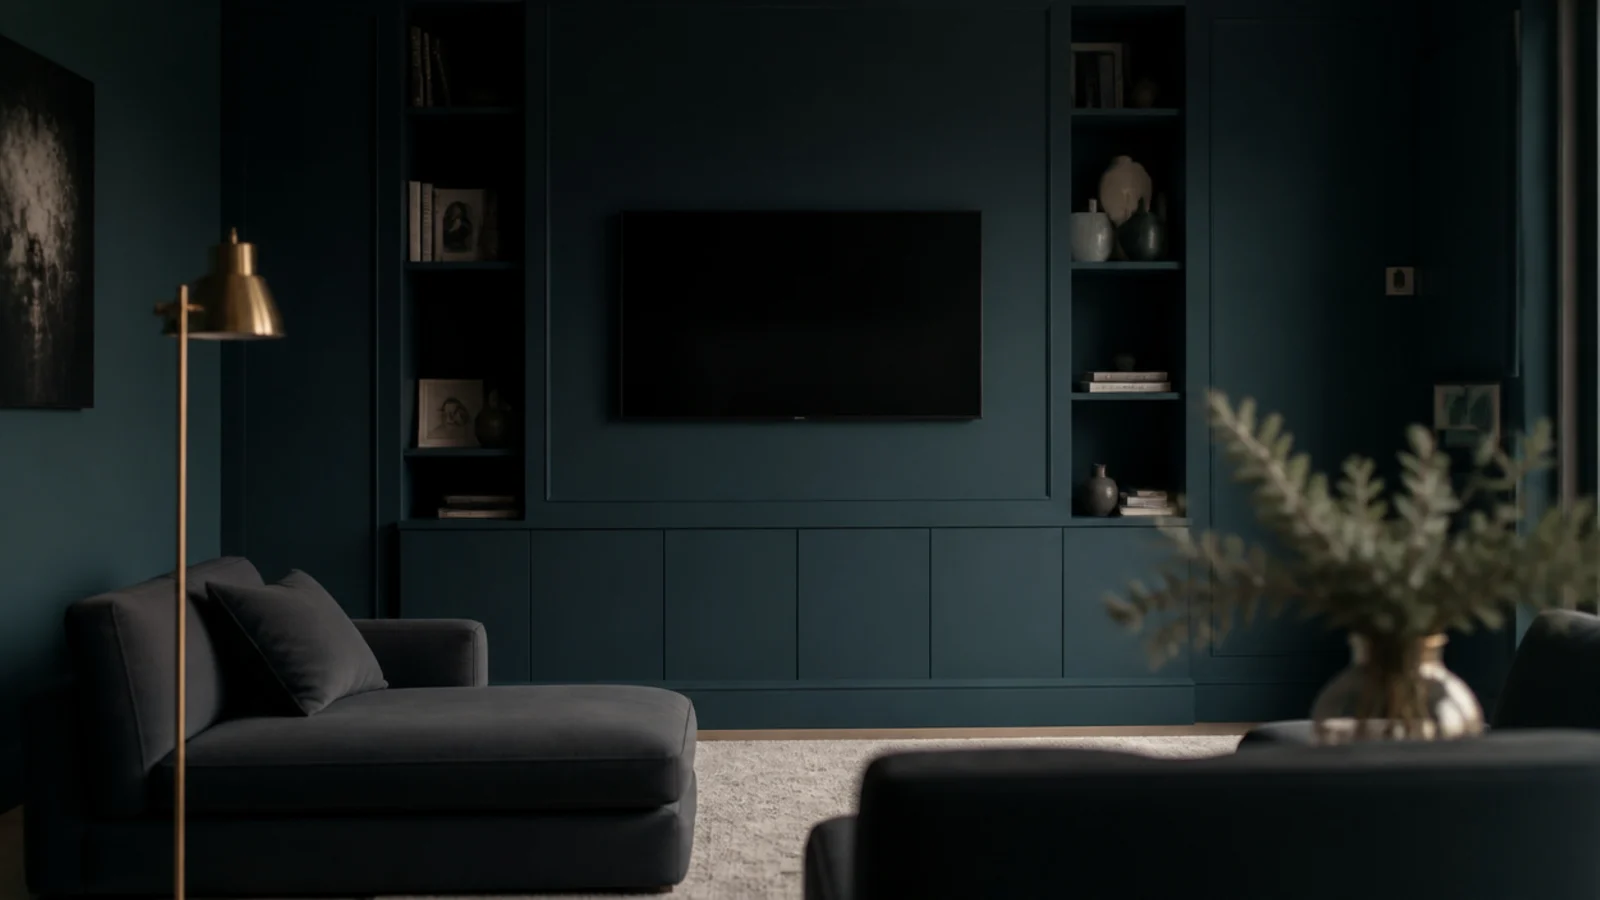
20. Drench the unit and wall in one colour
Painting the joinery, the wall around it, the skirting and the reveals in one shade removes every line the eye uses to tell furniture from architecture. Matt on the wall, eggshell on the joinery, same colour. It is the cheapest way to make a bought unit look fitted.
If you are choosing the wall treatment around the unit, 30 TV wall design looks covers materials and finishes, and luxury TV wall looks copied cheaply has the versions I built for a fraction of a joinery quote. For the cabinet detail itself, modern TV unit cabinets is the companion guide, and living room built-in shelves covers the bookcase bays in depth.
Mistakes to Skip
- Stopping the run a foot short of the ceiling. That gap collects dust, reads as unfinished, and is the single detail that makes expensive joinery look like stacked furniture.
- Sealing the screen into a tight niche. Under 2 inches of clearance traps heat against the panel, shortens backlight life and voids most manufacturer warranties.
- Butting a carcass against an uneven wall and filling the gap. Scribe it instead — filler along a tapering joint cracks within a heating season and never looks right afterwards.
- Mixing colour temperatures in the lighting. A 3000K strip next to a 2700K lamp reads as a fault rather than a scheme, and it is far more obvious on a painted surface than on timber.
Frequently asked questions
How deep should a modern TV wall unit be?
Three hundred to 450 millimetres for the closed section, and 300 is enough for a soundbar, a console and their connectors. Anything past 450 starts eating a walkway that needs 24 inches to pass comfortably. Deep units also throw a heavier shadow, which makes a media wall look bulkier than it measures.
What makes a media unit look built in rather than bought?
Three things: it touches the ceiling or stops at a deliberate shadow gap, it is scribed tight to the wall with no visible packing, and it shares a colour or sheen with the wall behind. Standard carcasses set two inches off a wavy wall are what reads as flat-pack from across the room.
How much does fitted media joinery cost?
A three metre run built and sprayed by a joiner starts near 2,000 dollars and rises quickly with doors, lighting and stone. Building the carcasses from 18 millimetre birch ply yourself and paying only for spraying cuts that by roughly half, usually landing between 900 and 1,400 dollars.
Can a TV sit inside a recessed niche safely?
Yes if the niche is at least 2 inches wider and taller than the panel on every side and 3 to 4 inches deeper than the mount stack, with the top left open or vented. Screens exhaust heat upward, and a sealed alcove runs the backlight hotter than its rated operating range.
Should a media wall unit go all the way to the ceiling?
Either to the ceiling with a scribed fillet, or stopped at a clean 20 to 40 millimetre shadow gap. What looks unresolved is a unit finishing 6 to 10 inches short, because that gap collects dust and reads as an accident rather than a decision.
Want more like this? Browse all 15 tv wall decor guides — they all use the same measurements and budget tiers.
Pin it for later
Save this to your TV Wall Decor board
Pin it now so it is waiting for you when the tape measure comes out — and so the next person hunting for this idea can find it too.
Save this pinKeep going
More ideas worth saving while you have the tape measure out.