TV Wall Decor · UGC
25 TV Wall Design Luxury Looks I Copied Cheap

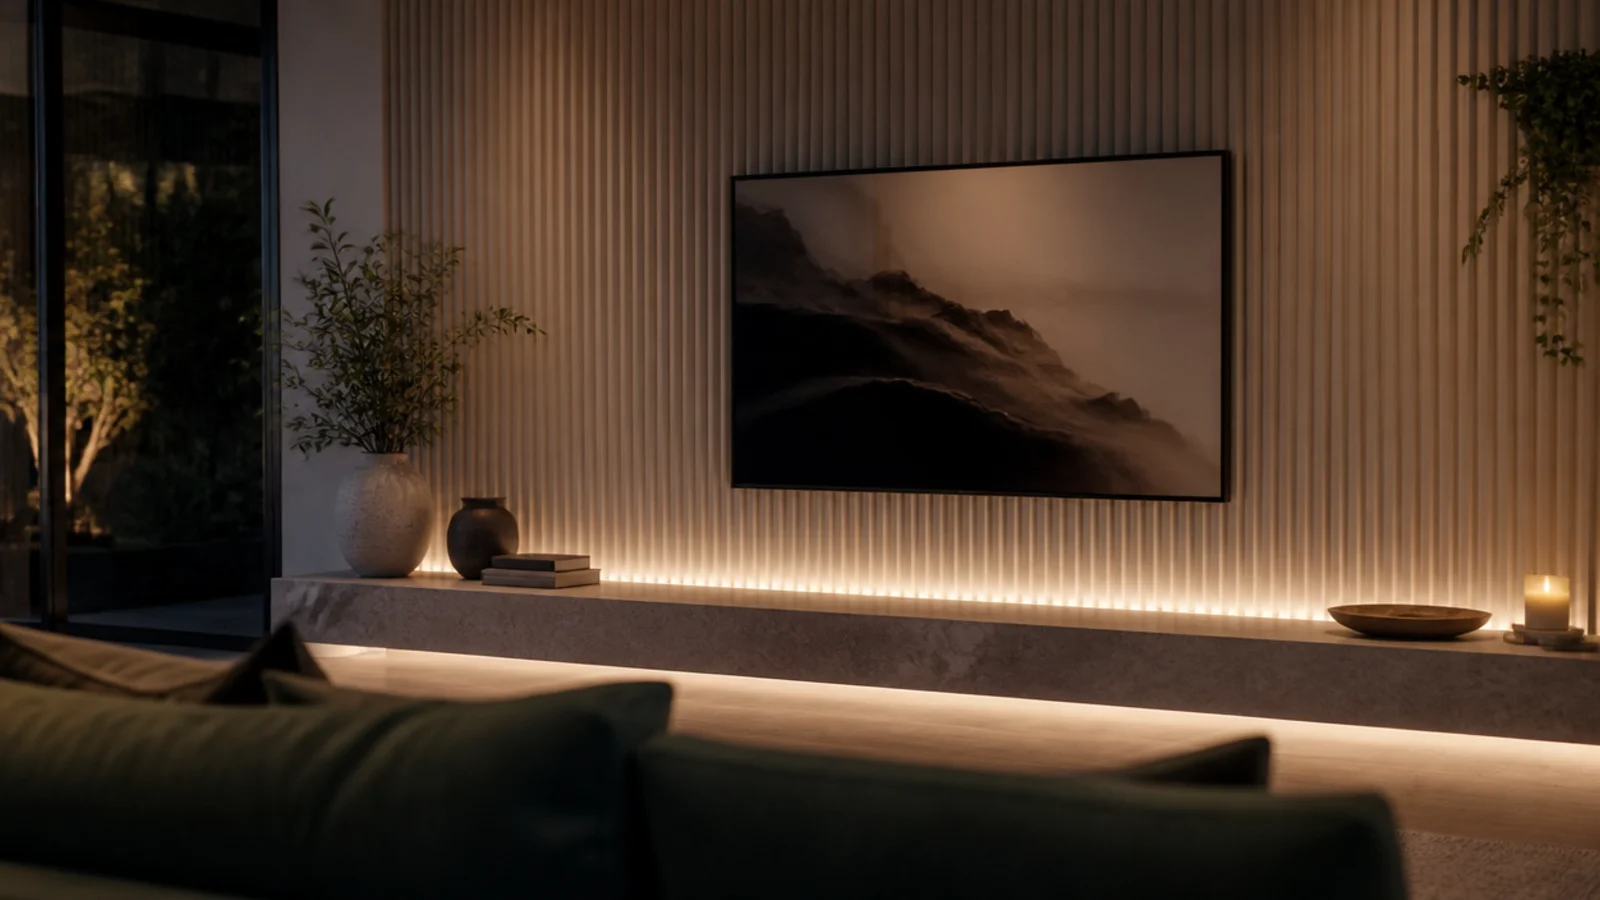
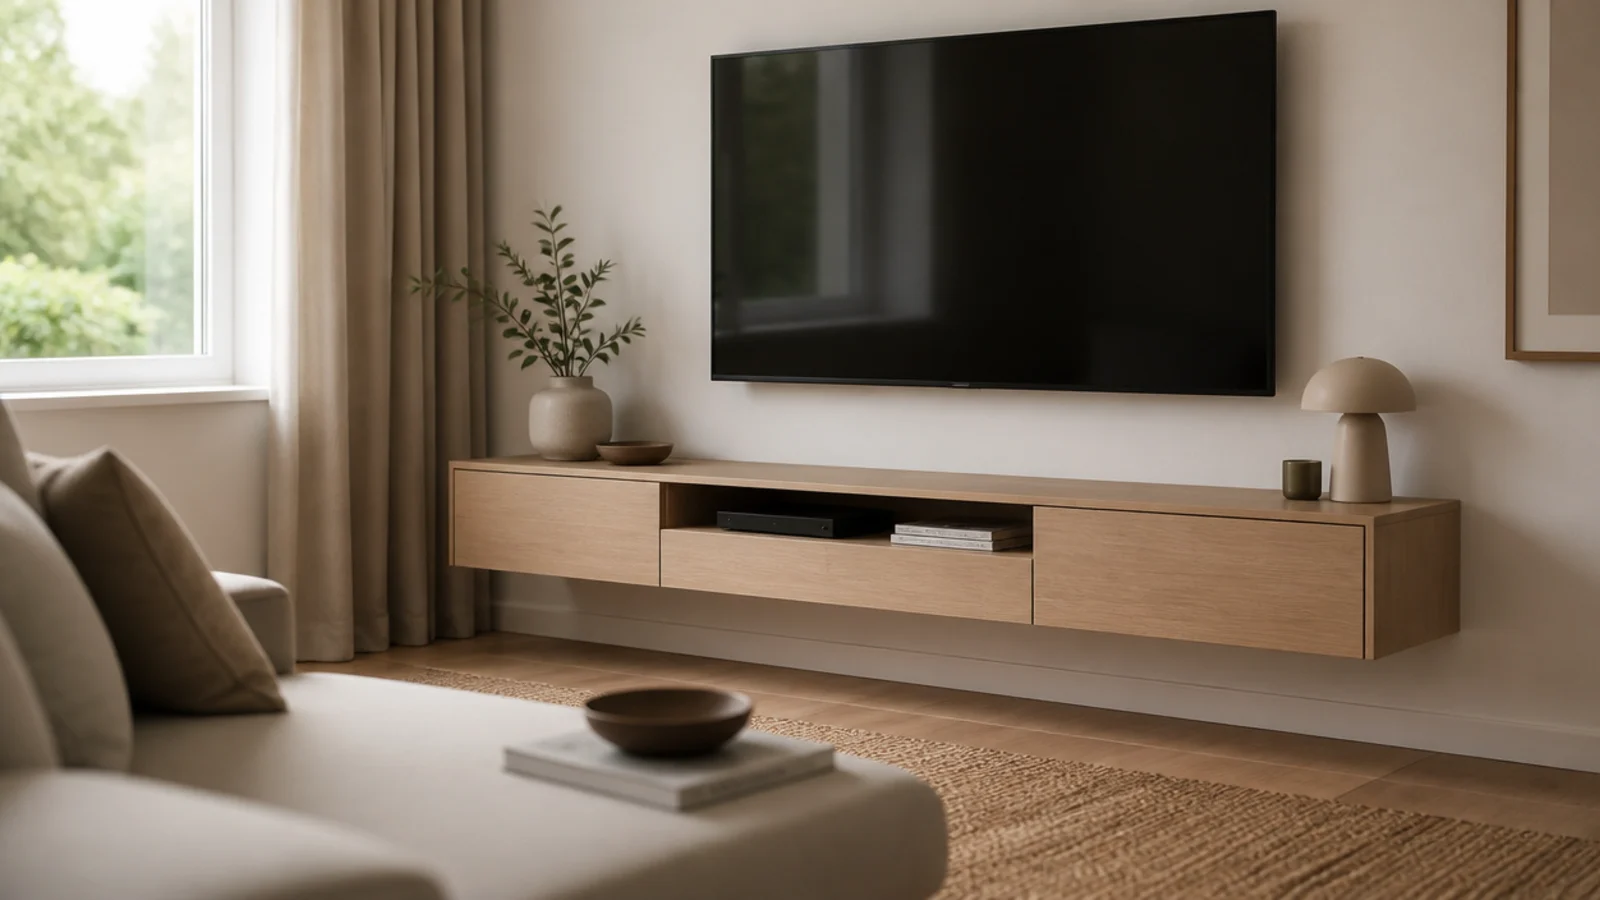
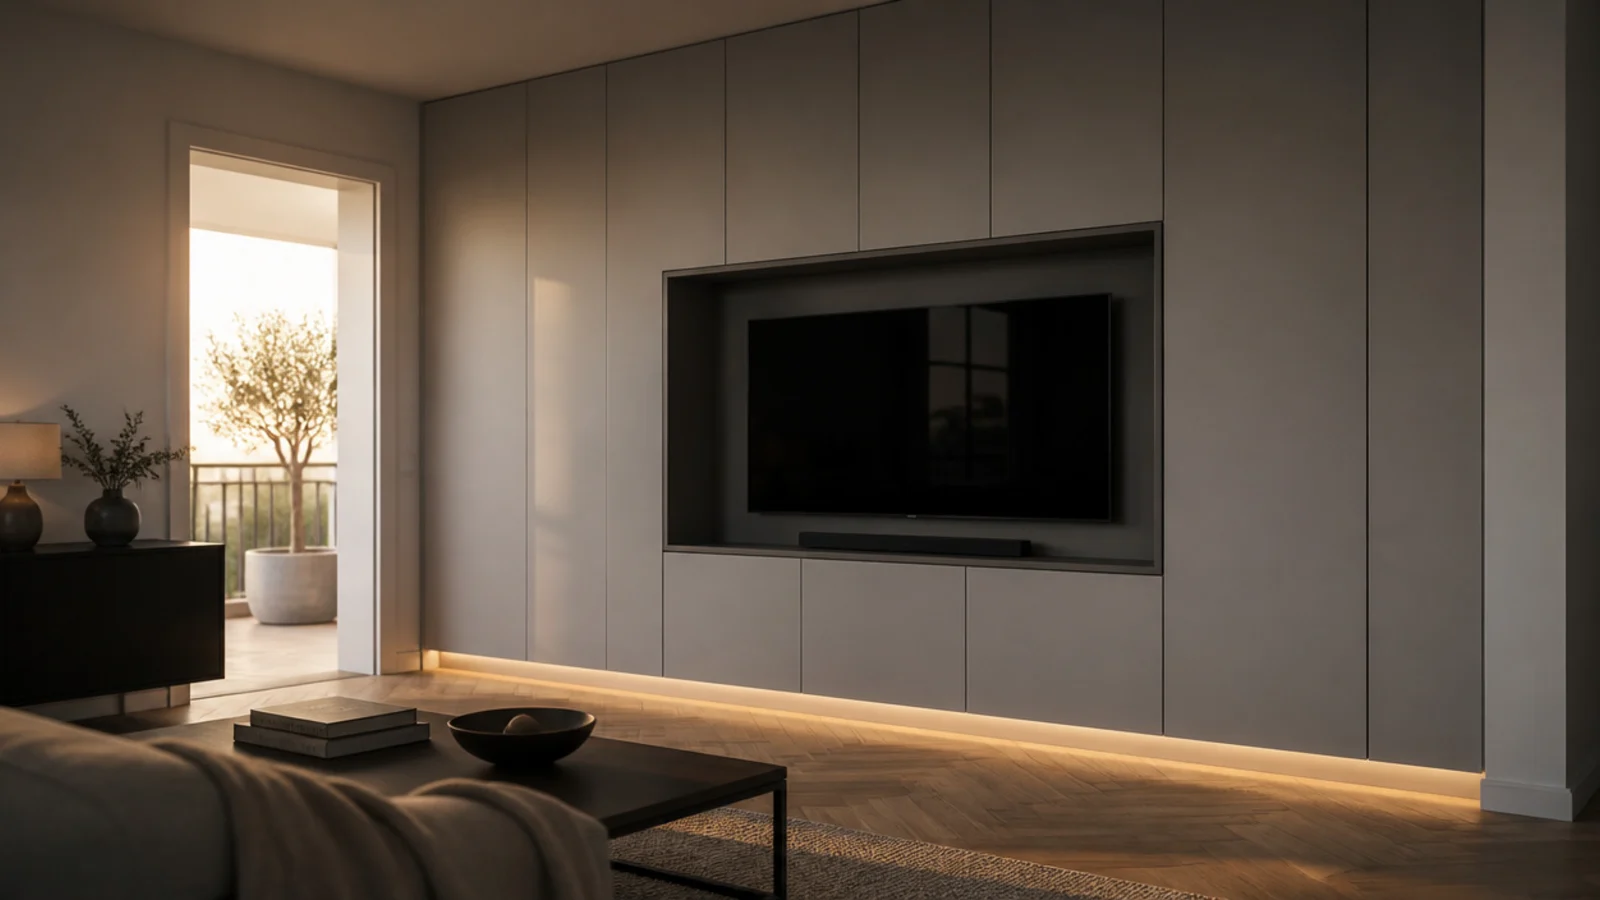
Luxury TV wall design is mostly three things: a flat sprayed surface, one colour carried everywhere, and warm light on a dimmer. I found that out after being quoted 4,200 dollars for a fitted media wall in a room I had already spent too much on. I said no, took photographs of everything I liked about the drawing, and worked out which details were carrying the look. Then I built as many of them as I could for under 700. Twenty-five of those substitutions are below, with what each one cost me and where the copy genuinely falls short of the original.
In this guide27 sections — tap to openHide
- 1.What tv wall design luxury actually costs
- 2.Fluted MDF instead of fluted plaster
- 3.A quartz remnant instead of a stone slab
- 4.Anodised aluminium instead of solid brass
- 5.Backlit acrylic instead of backlit onyx
- 6.Veneered MDF instead of solid oak boards
- 7.Limewash instead of polished Venetian plaster
- 8.Textured masonry paint instead of micro-cement
- 9.Press catches instead of integrated handle rails
- 10.A lit toe recess under a standard carcass
- 11.A ceiling shadow gap instead of a cornice
- 12.Scribed end panels instead of packed gaps
- 13.Sprayed doors instead of rollered fronts
- 14.A glazier offcut of reeded glass
- 15.A picture light instead of recessed downlights
- 16.A shadow gap where the skirting used to be
- 17.Ceiling-track curtains instead of a stone return
- 18.Concealed hinges on secondhand carcasses
- 19.Grain-matched fronts cut from one sheet
- 20.Colour drenching, radiator included
- 21.Aged brass plates instead of new switches
- 22.Solid lipping on every exposed ply edge
- 23.A dimmer on every circuit in the room
- 24.A wool rug instead of a synthetic one
- 25.Two objects on the ledge, not nine
- 26.Caulking every internal joint before painting
- 27.What I'd Do Differently Now
What tv wall design luxury actually costs
The quote broke down roughly like this: 1,600 for carcasses and fronts, 900 for spraying, 700 for the stone ledge, 450 for lighting and wiring, and the rest in fitting. Looking at it that way made the decision obvious. The two lines worth paying for were the spraying and the lighting, because those are the ones I could not fake with a roller and a plug socket.
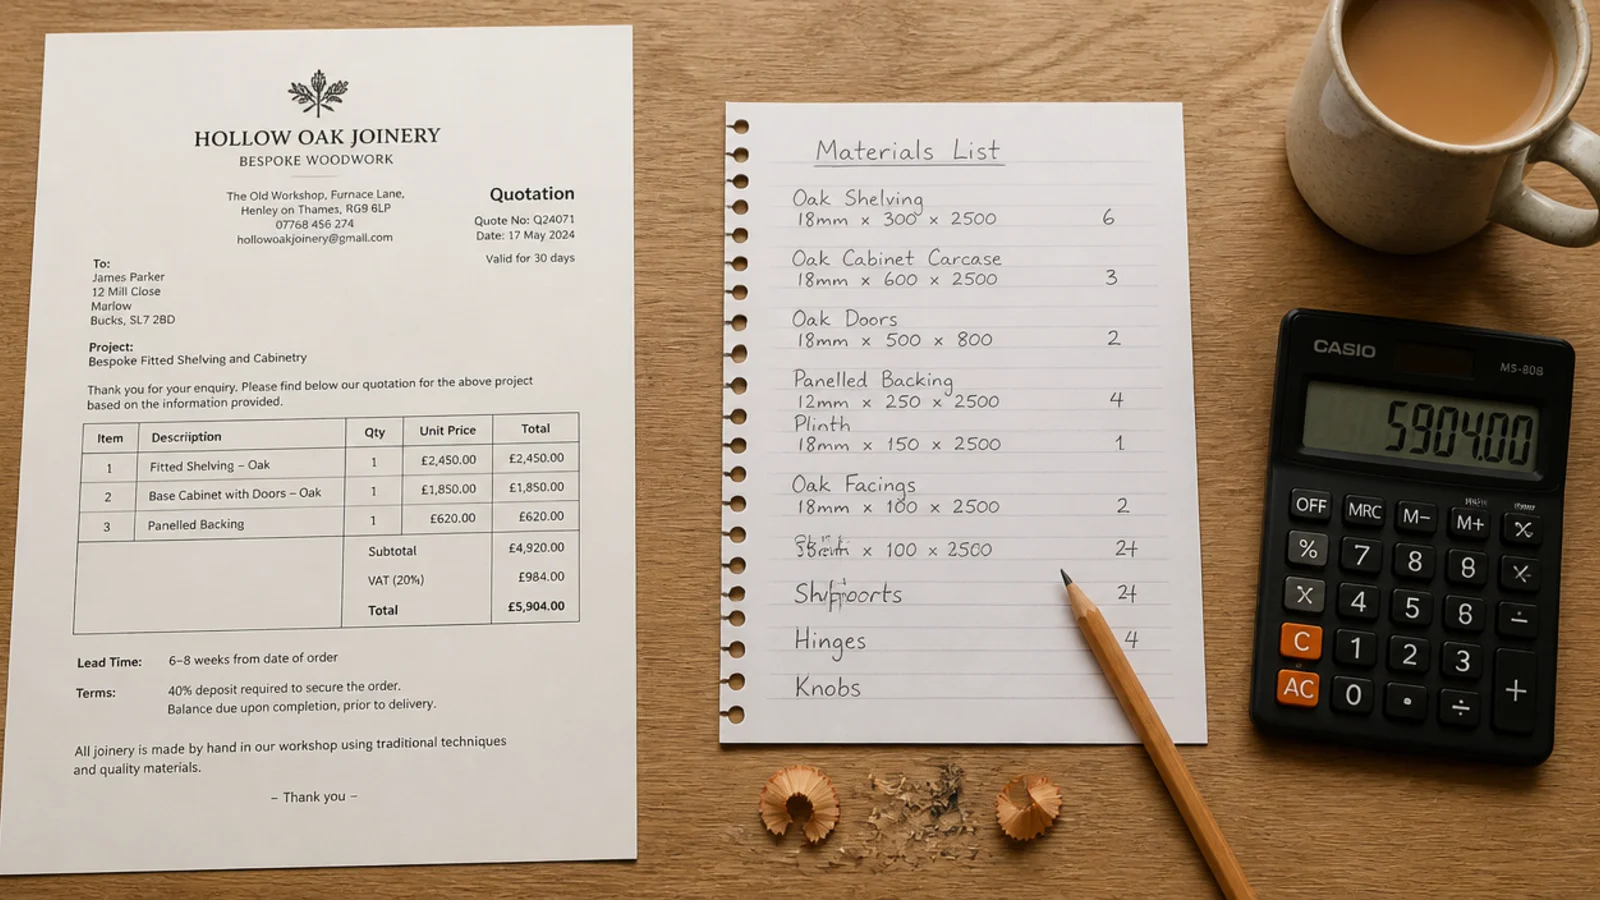
My version came to 680 dollars. Two secondhand carcasses at 60 the pair, one sheet of MDF at 52, half-round beading at 38, a quartz remnant at 95, anodised trim at 44, press catches and hinges at 51, a dimmable warm strip and driver at 62, paint and primer at 118, and 160 to have four door fronts sprayed properly by a local shop.
Two weekends and three evenings, spread over a fortnight because filler and paint need drying time. The panelling itself went up in one Saturday. Everything afterwards was priming, caulking, sanding and painting, which is where the finish is actually won. If you want the material comparison across every timber option, wood wall design finishes compared has the costs side by side.
1. Fluted MDF instead of fluted plaster
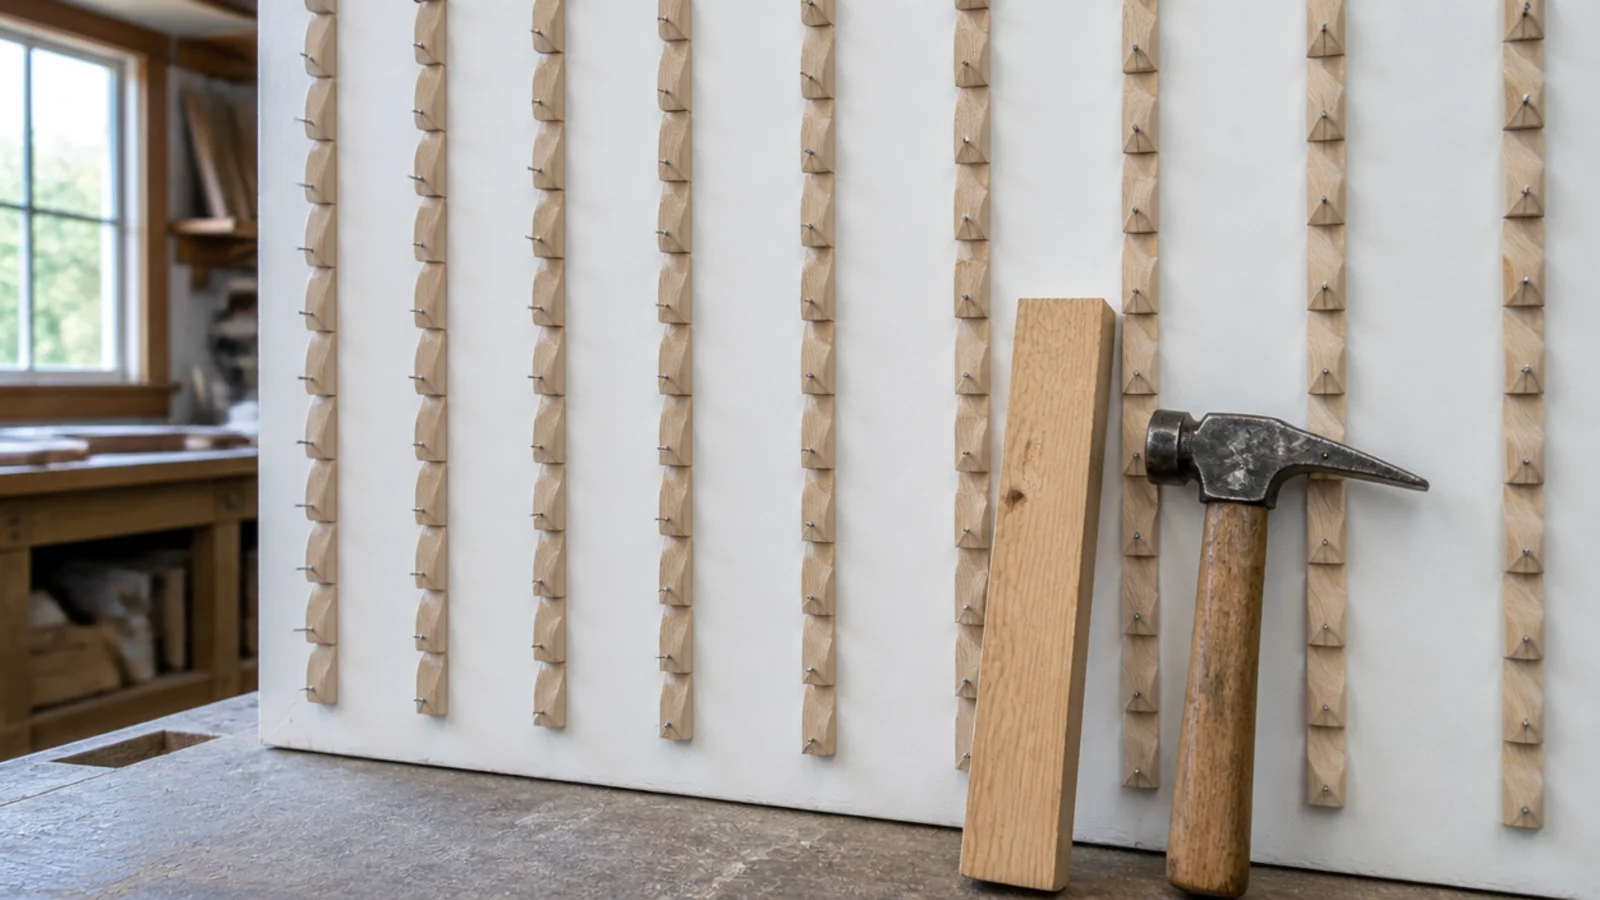
Half-round beads at 50 millimetre repeats, pinned and glued to a primed backing board, then filled at the pin holes. Painted, it reads as fluted plaster from anywhere in the room. About 30 to 60 dollars a square metre against roughly 200 for the plaster version. Return it into a corner so no end grain shows.
2. A quartz remnant instead of a stone slab
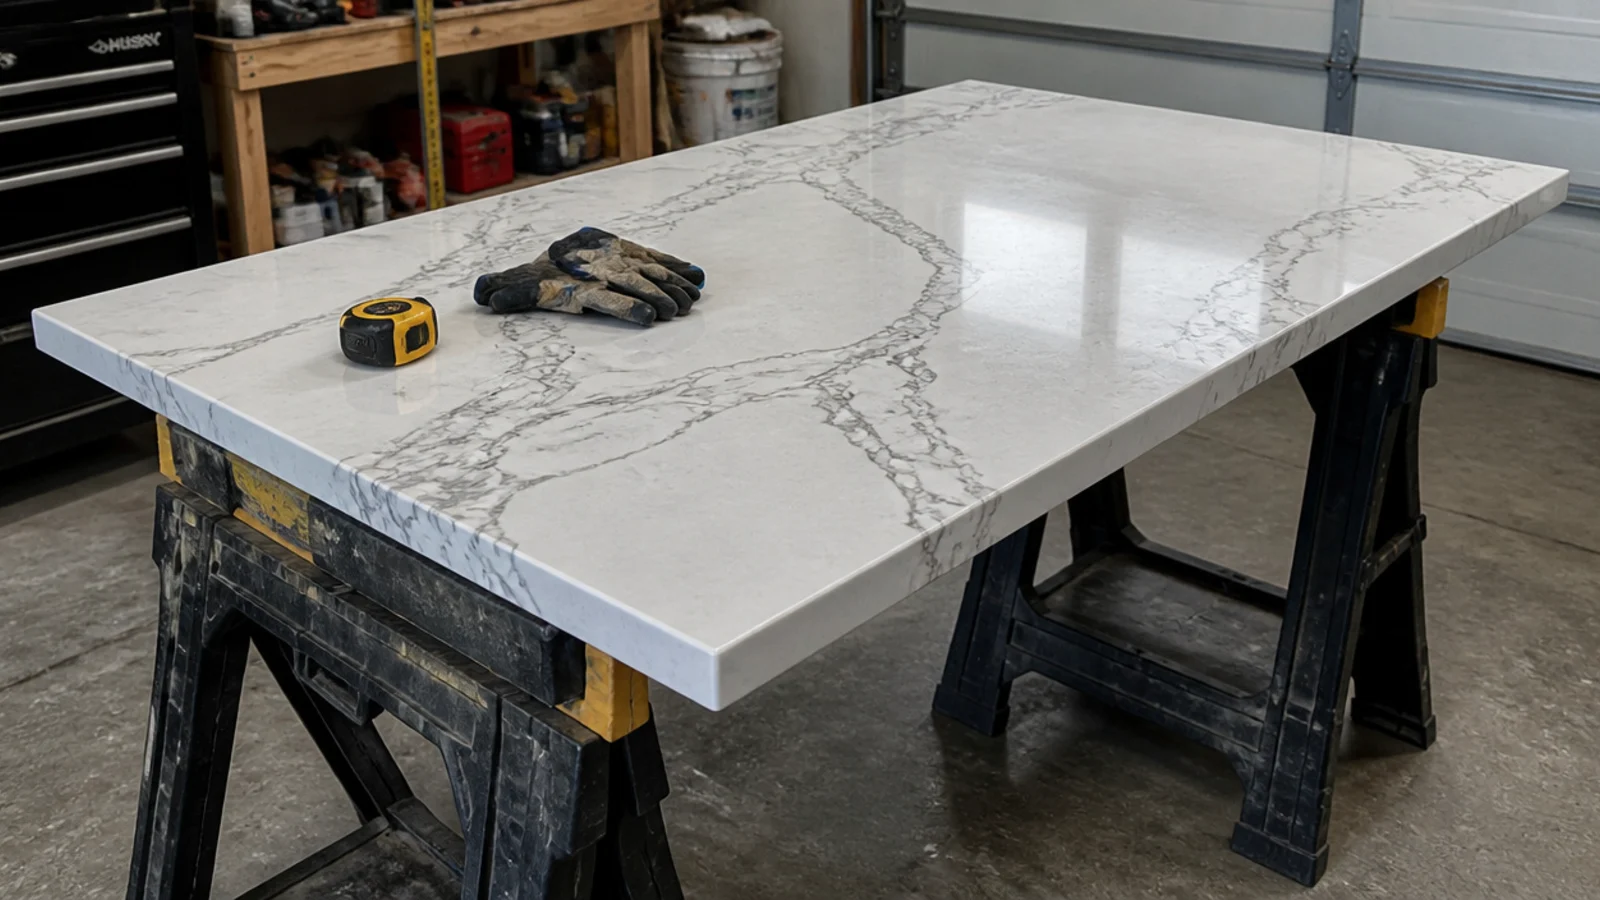
I rang three fabricators and the second had a pale veined quartz offcut, 900 by 250 millimetres, polished along the long edge, for 95 dollars. A full slab was quoted at 700. Ask specifically for remnants with a finished front edge, and take your own measurements because they will not cut for that price.
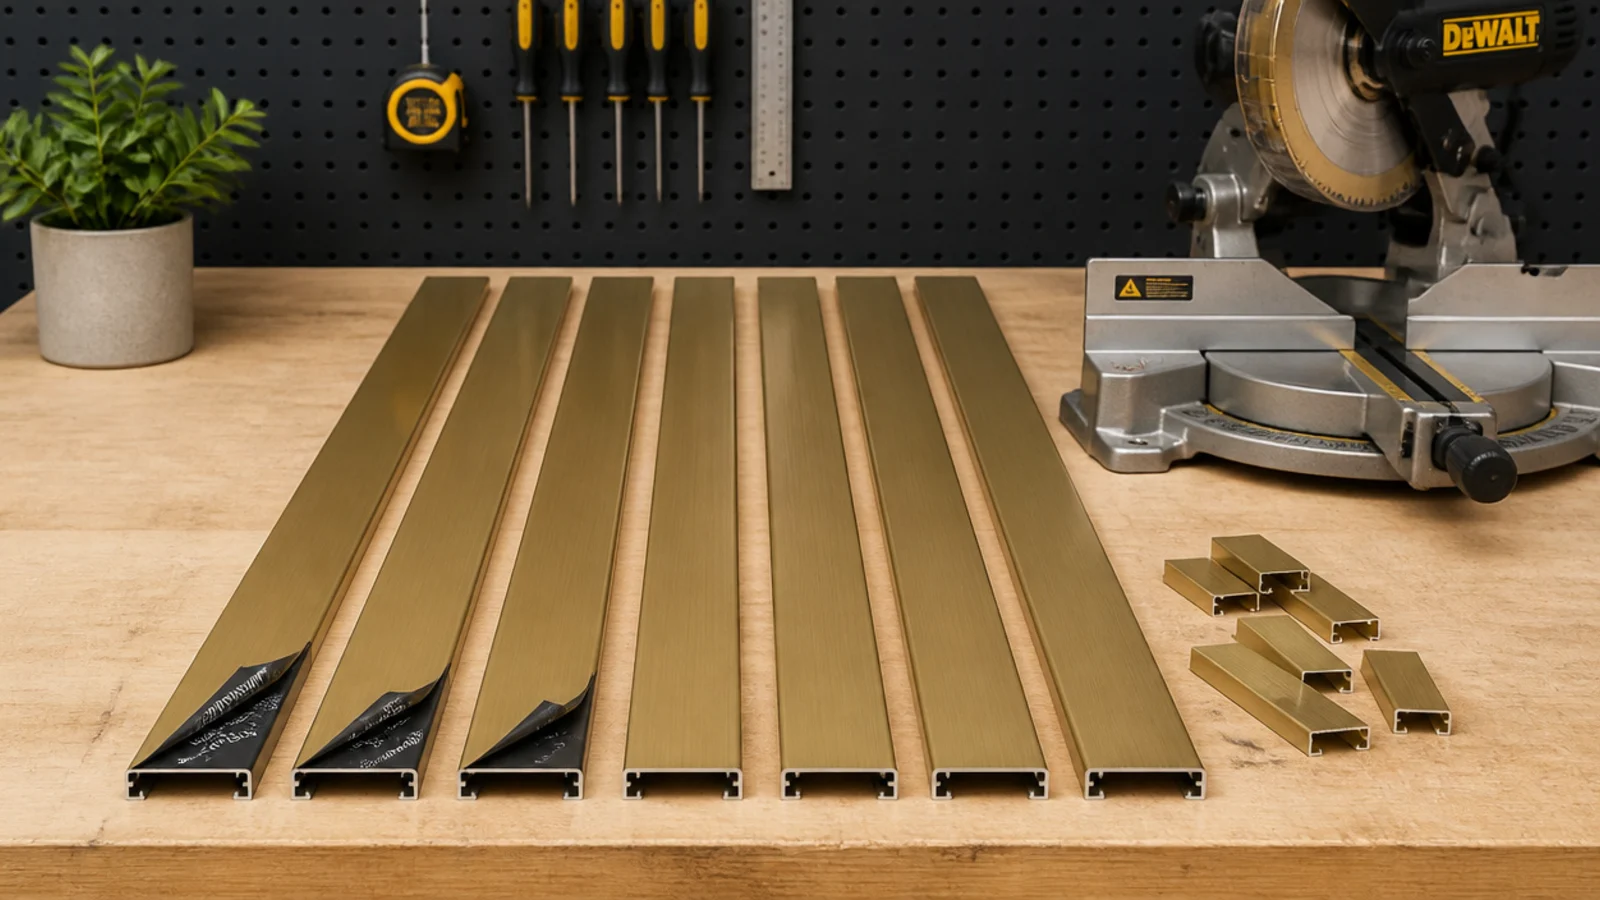
3. Anodised aluminium instead of solid brass
Solid brass trim runs 30 to 60 dollars a metre. Brass-toned anodised aluminium is 6 to 12, cuts on a mitre saw with a fine blade, and looks identical at anything past arm's length. It will not develop a patina, which is the honest limitation, so I used it only on the reveal edges.
4. Backlit acrylic instead of backlit onyx
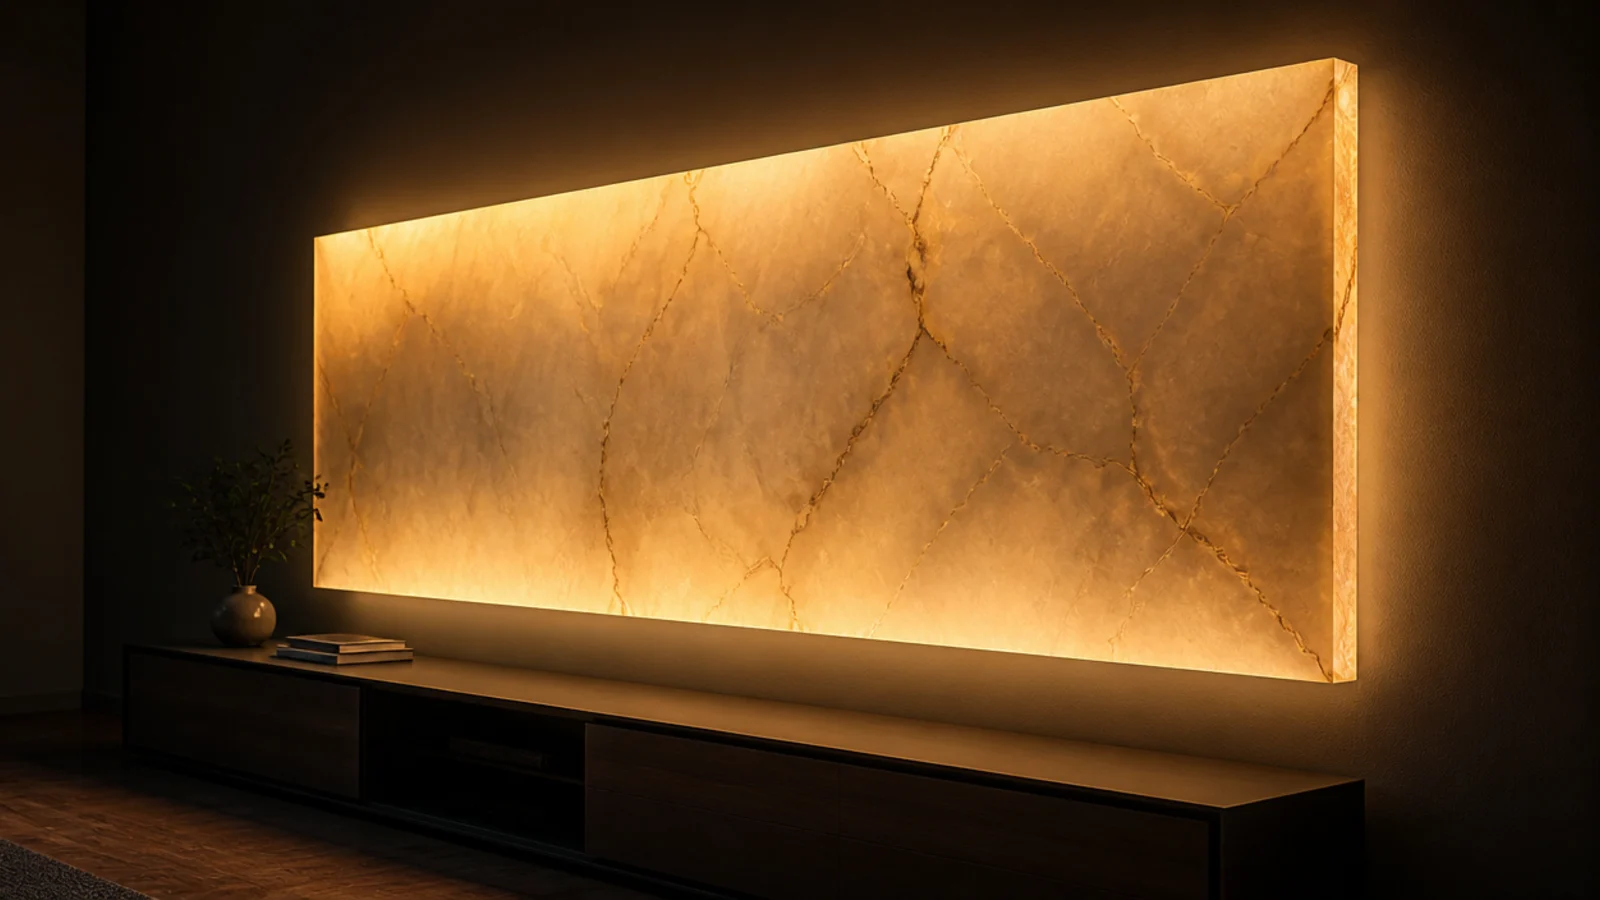
A 5 millimetre veined translucent acrylic sheet at 45 dollars with a warm strip 40 millimetres behind it gives the glow that backlit stone gives. Up close it is plainly plastic. From the sofa, in a dark room, at 30 percent brightness, it is convincing and it weighs almost nothing.
5. Veneered MDF instead of solid oak boards
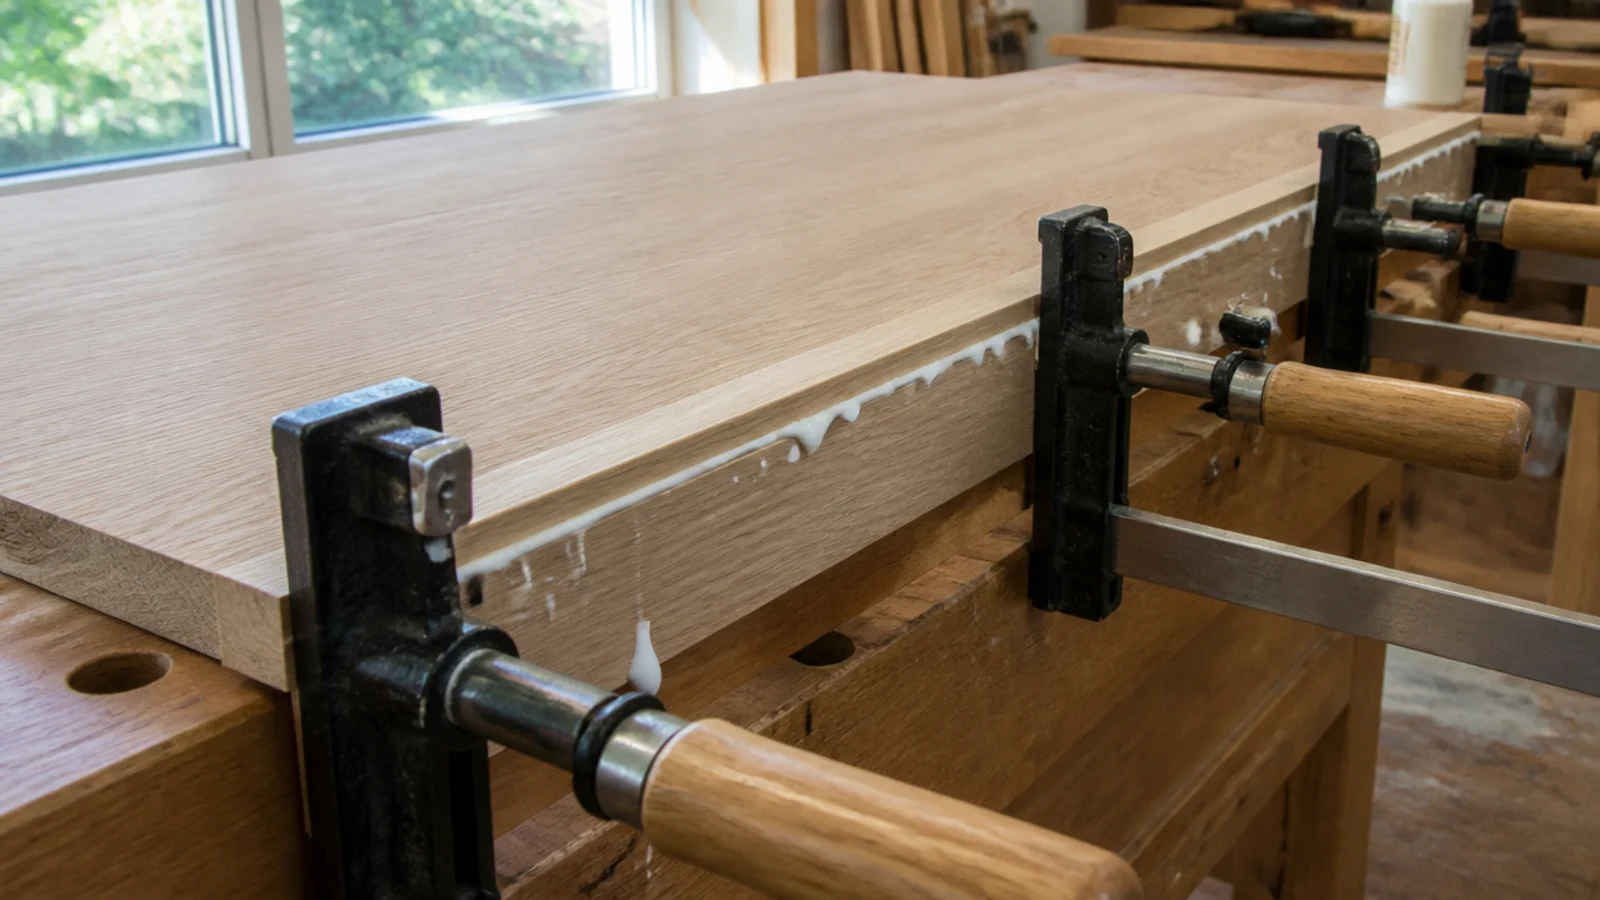
Oak veneered MDF at 90 to 180 dollars a sheet, with a 6 millimetre solid oak lipping glued along every exposed edge, is indistinguishable from solid once finished. It is also flatter and far more stable than solid boards, which cup in a room with a radiator under the window.
6. Limewash instead of polished Venetian plaster
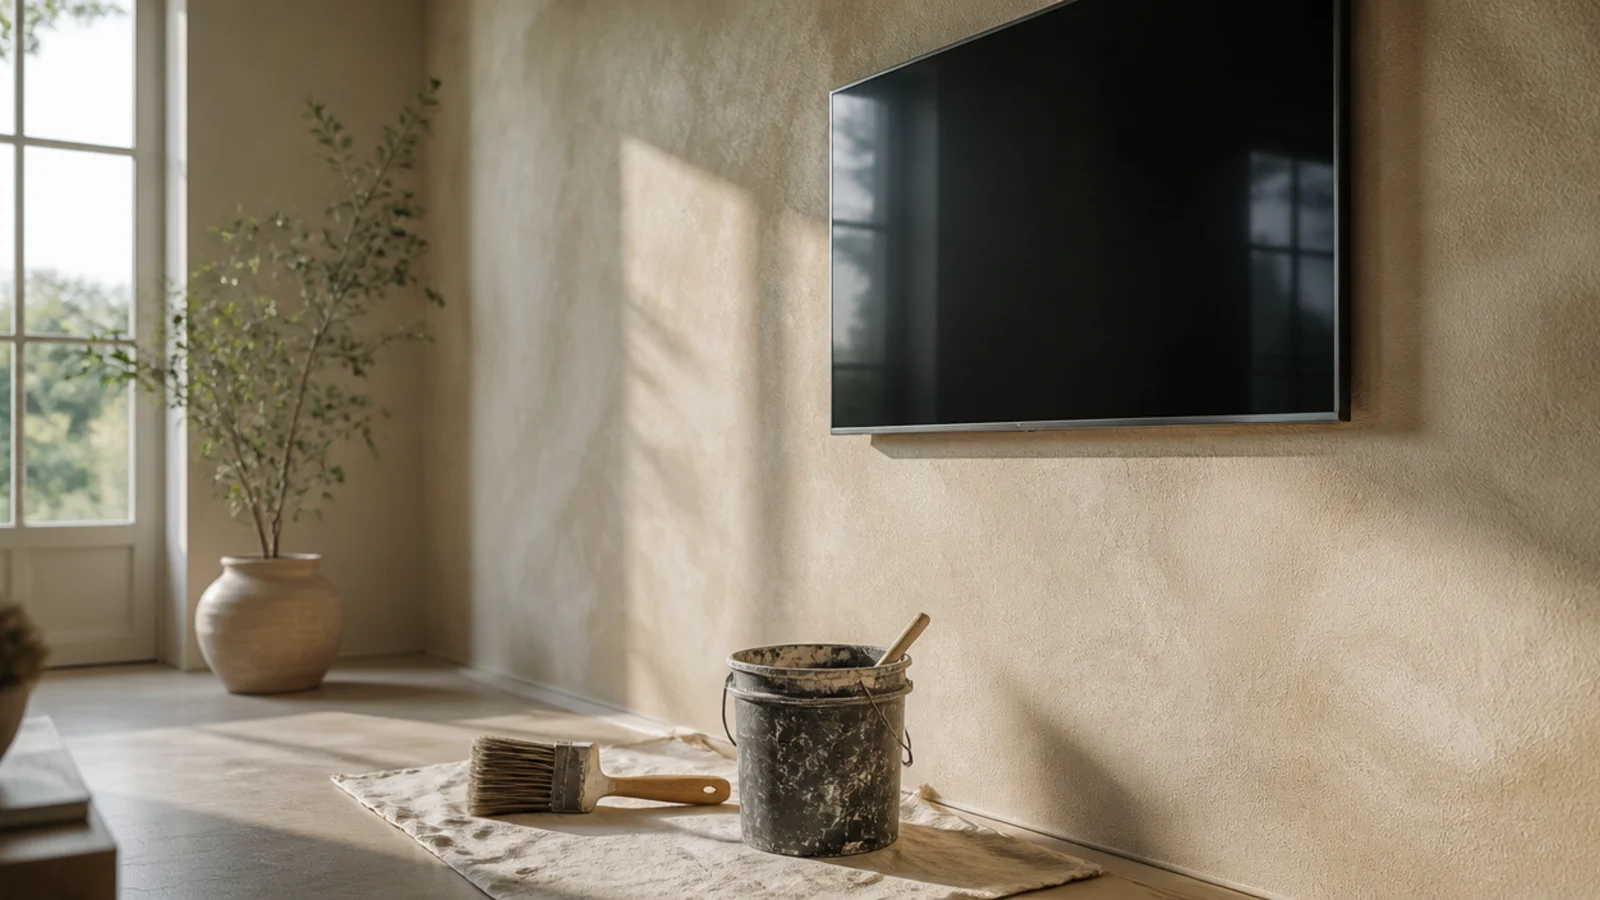
Venetian plaster was quoted at 180 dollars a square metre applied. Limewash is 60 to 110 for a 5 litre tub covering roughly 10 square metres per litre per coat, and two coats over a mineral primer gives real cloudy movement. It is chalky, so I kept it above the ledge height.
7. Textured masonry paint instead of micro-cement
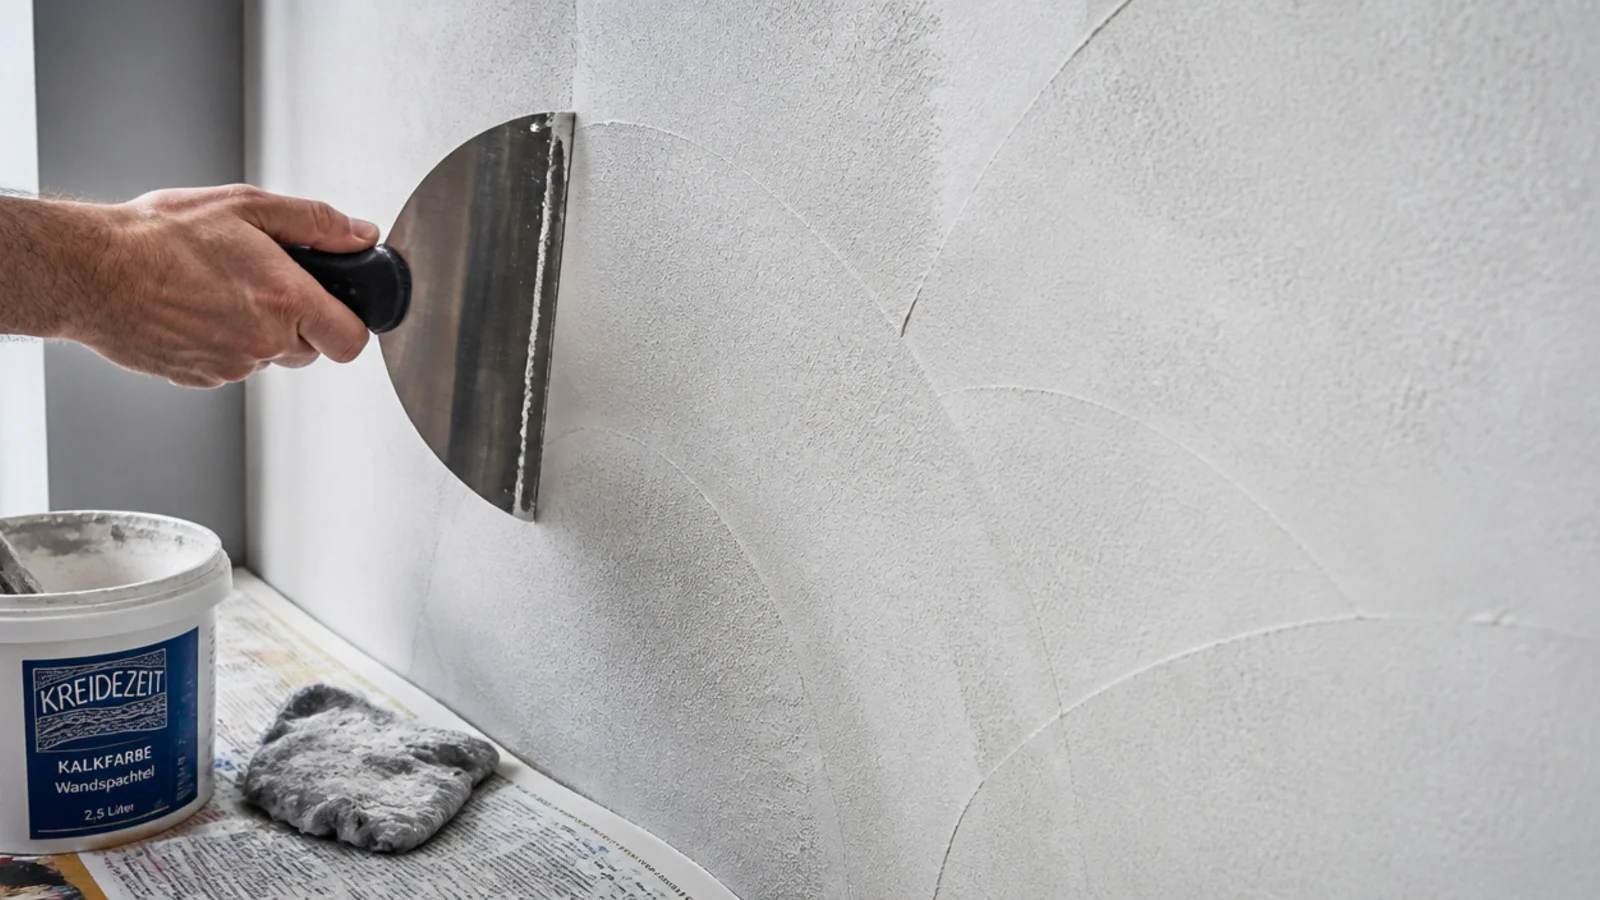
For the return wall I used a thick textured paint worked with a wide flexible blade in overlapping arcs. It is not micro-cement and it will not take a wet cloth the same way, but it cost 40 dollars against 90 to 200 a square metre and it catches light in the same mineral way.
8. Press catches instead of integrated handle rails
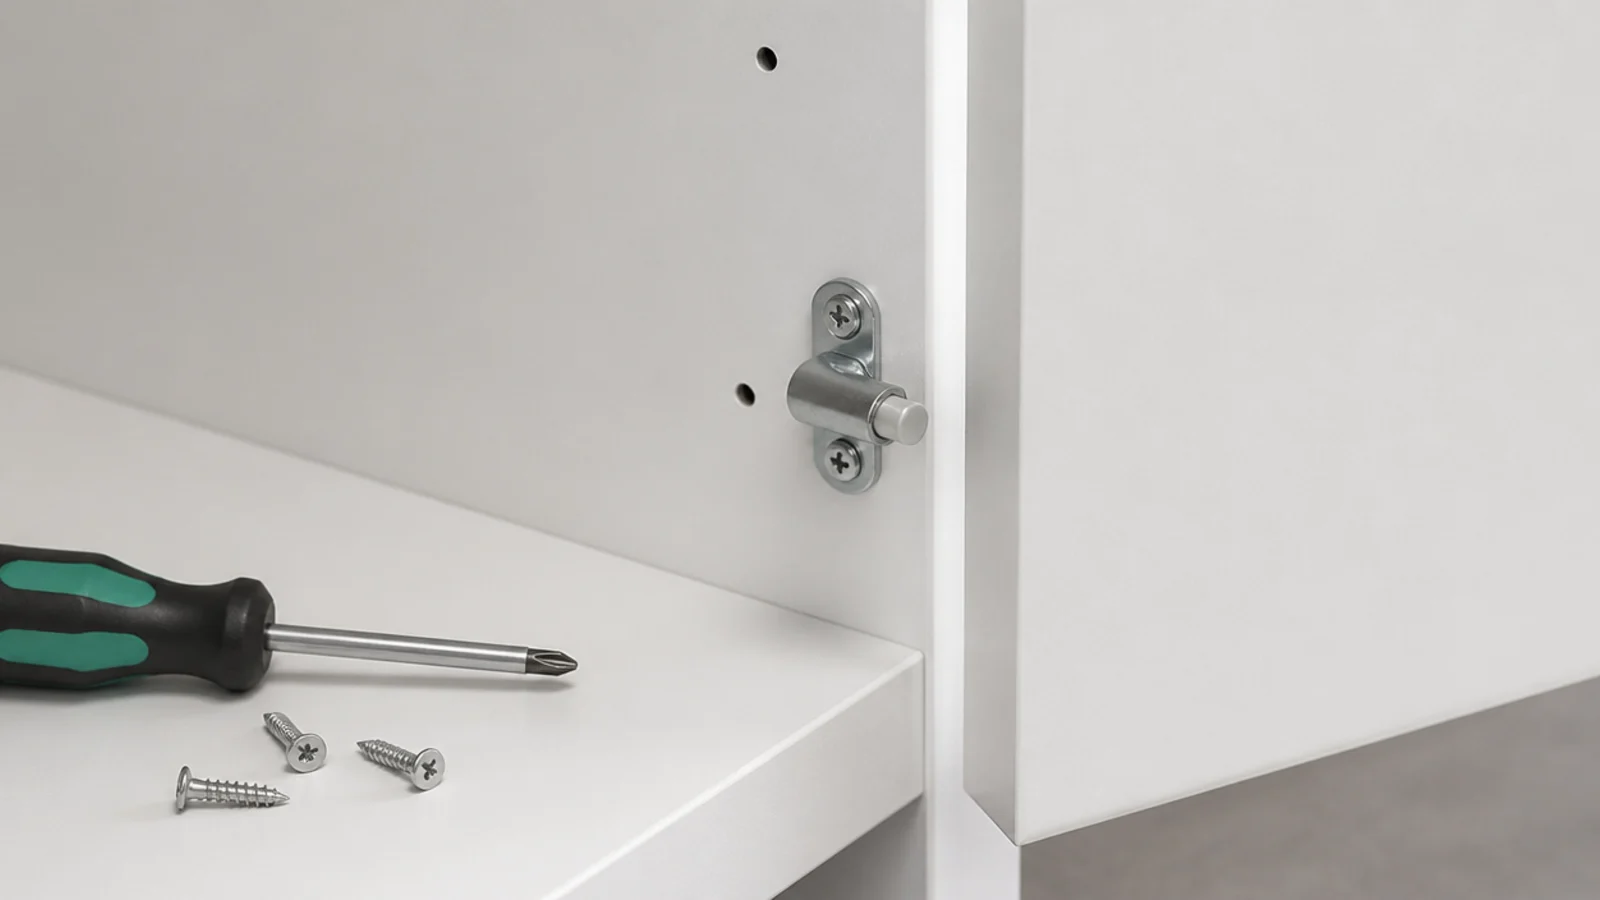
An aluminium handle rail system was 180 dollars for the run. Press catches at 4 dollars a door removed the handles completely, which was the actual goal. The reveal between doors ends up about 3 millimetres wider, and matt fronts show fingerprints unless you specify a soft-touch lacquer.
9. A lit toe recess under a standard carcass
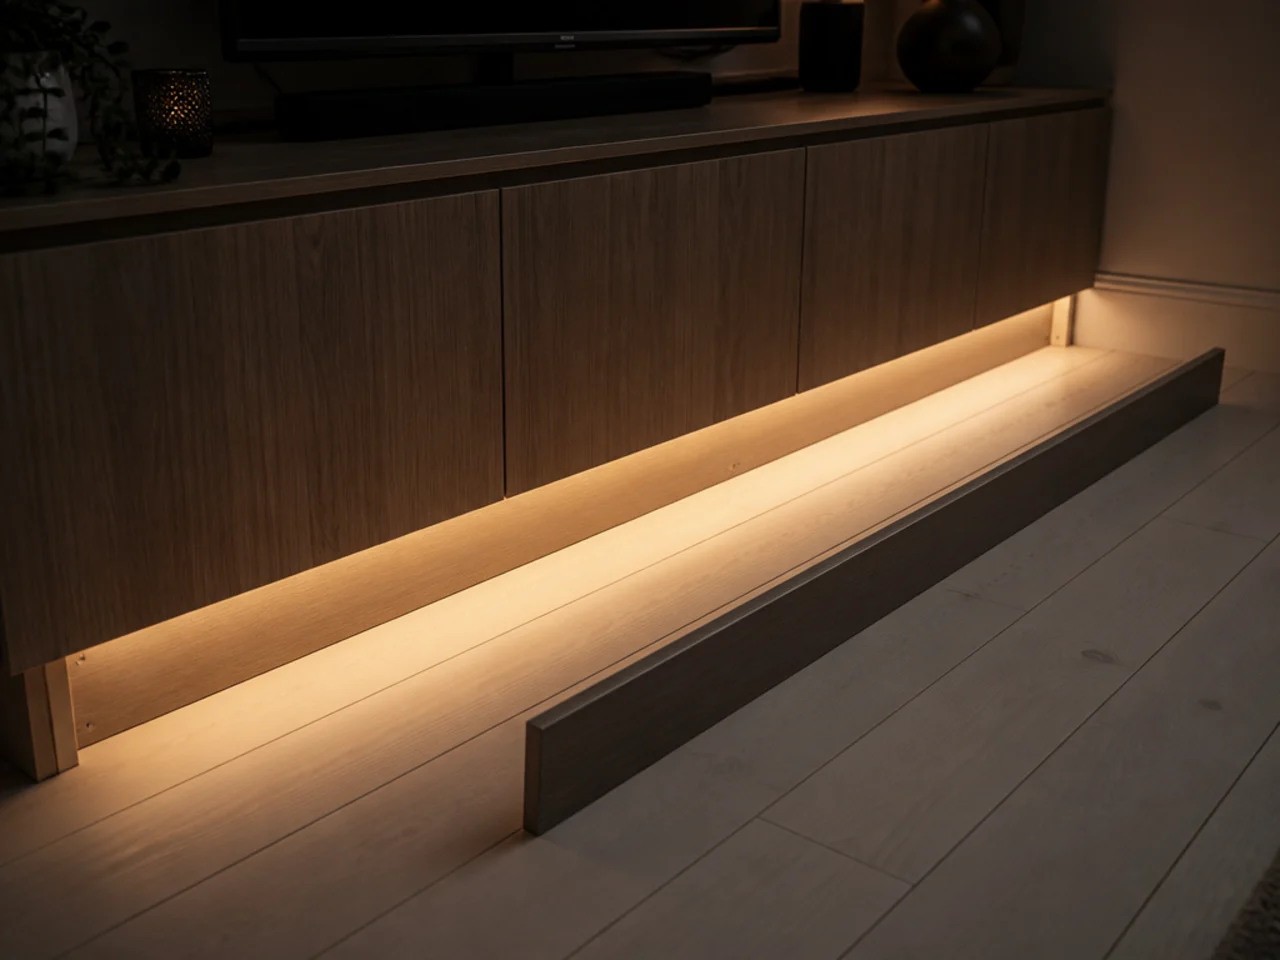
I set the carcasses on 120 millimetre feet, recessed a plinth board 50 millimetres behind the door line, and ran a warm strip inside it. Two secondhand units immediately stopped looking like two secondhand units. Total cost was one plinth offcut and about 20 dollars of tape light.
10. A ceiling shadow gap instead of a cornice
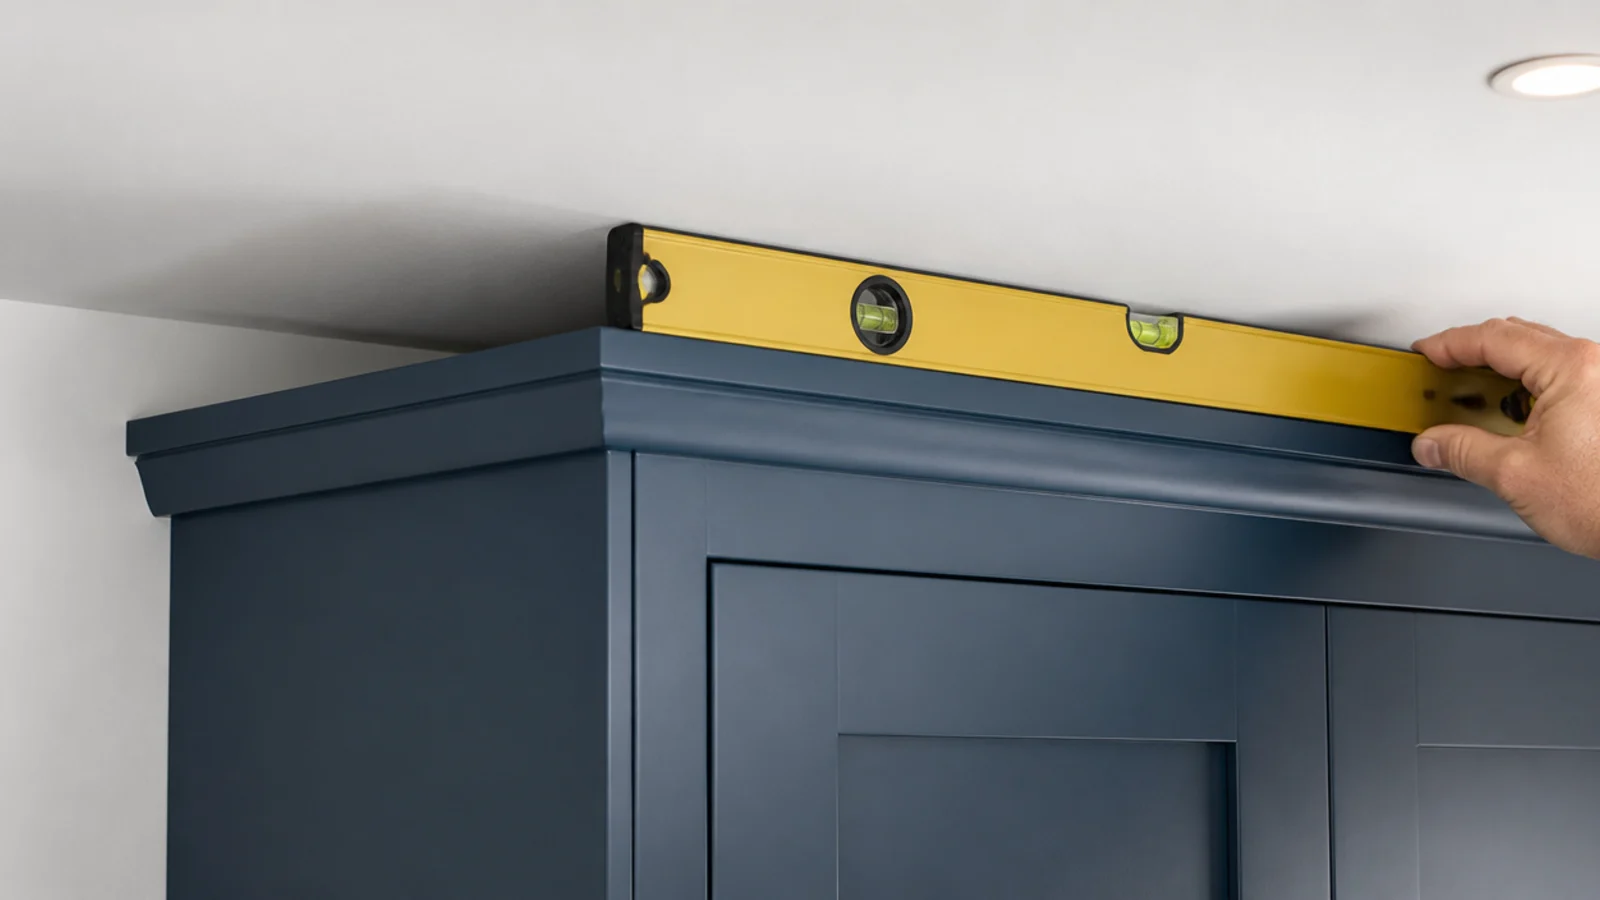
Scribing joinery tight to a wavy ceiling is skilled work. Stopping 25 millimetres short and calling it a shadow gap is not, and it reads as more considered anyway. The gap also hides a ceiling that drops 12 millimetres across the room, which mine does.
11. Scribed end panels instead of packed gaps
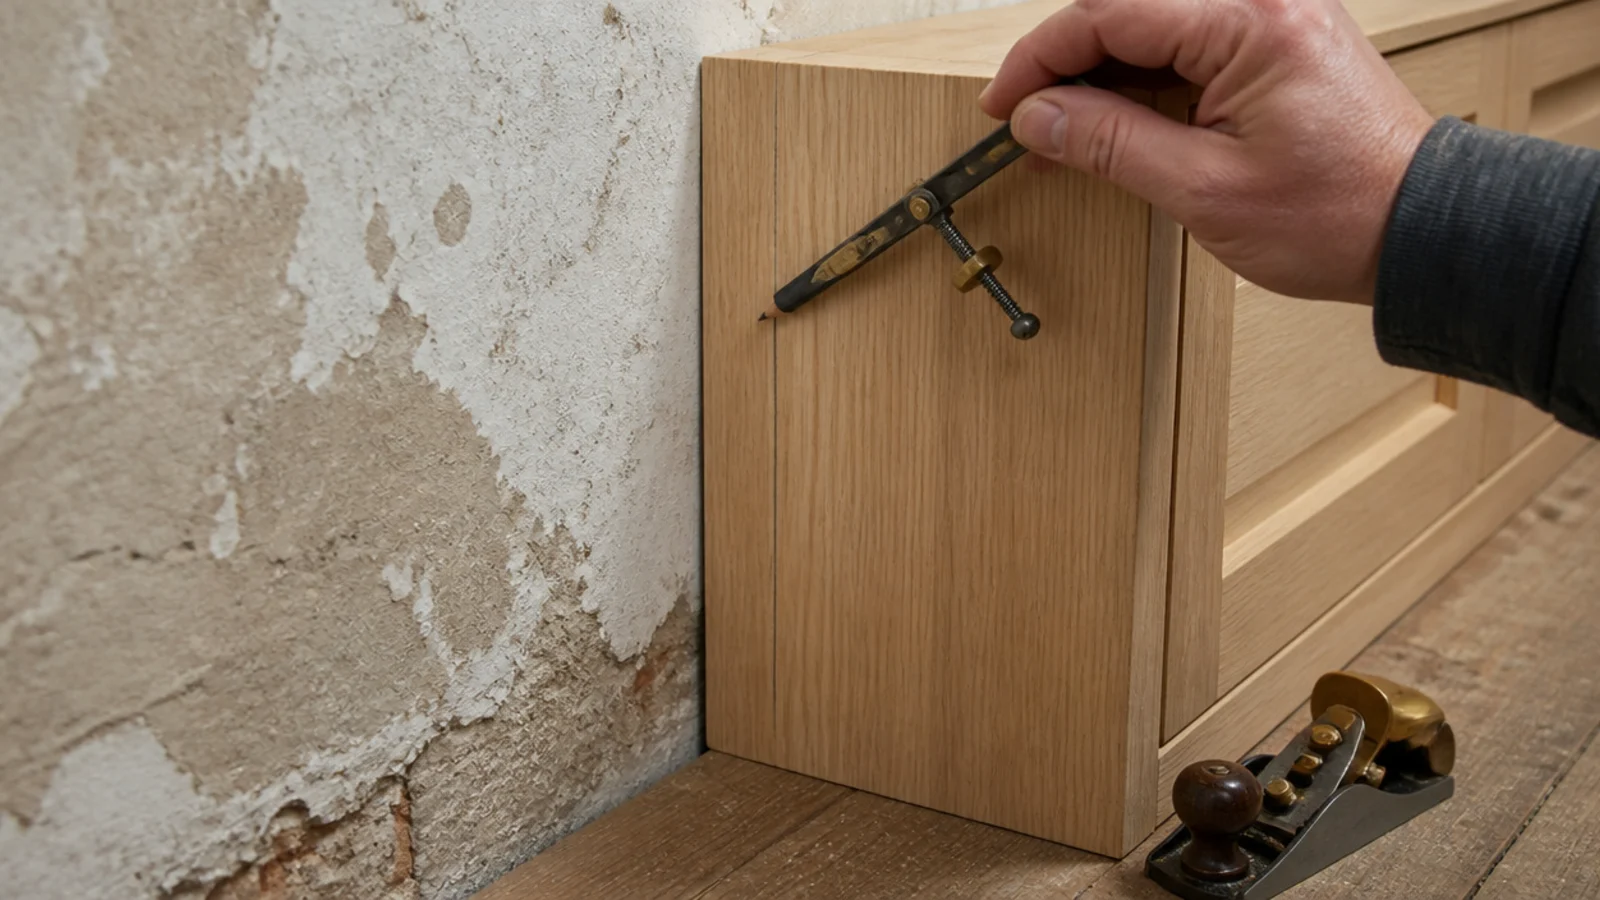
My wall bows 9 millimetres over 2 metres. Butting a carcass to it left a tapering wedge of daylight. Twenty minutes with a compass scribe and a block plane closed it completely. This is the detail that most obviously separates fitted from freestanding, and it costs nothing but patience.
12. Sprayed doors instead of rollered fronts
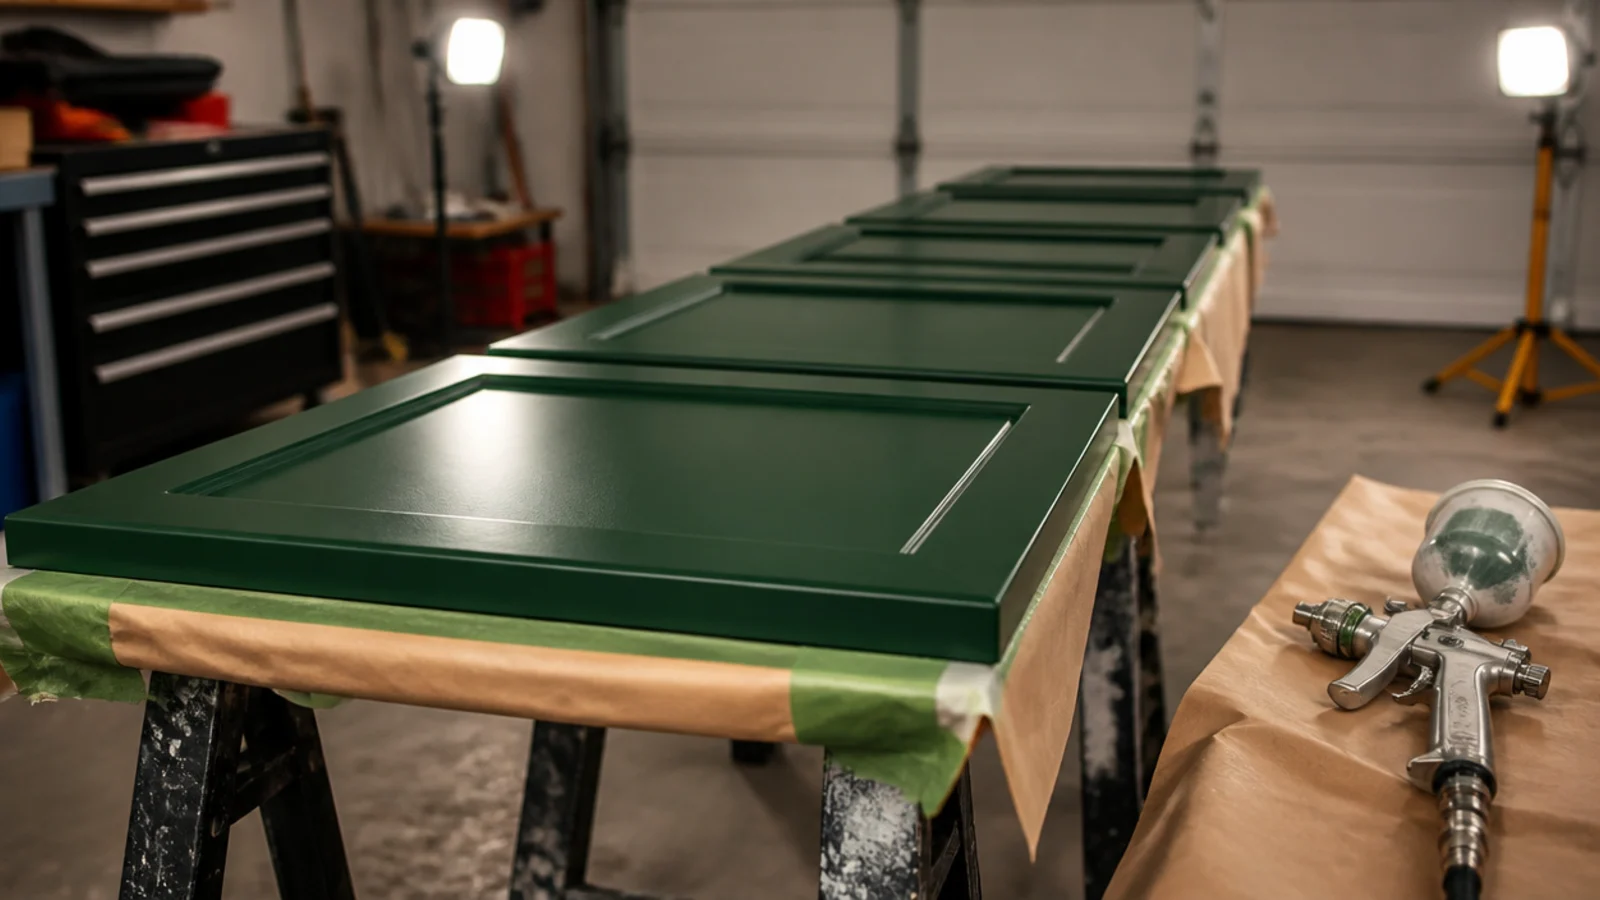
The one thing I paid someone else to do. Four fronts sprayed in 2K lacquer for 160 dollars. I had rollered the first attempt and the texture caught every bit of side light. Spraying removed it entirely, and the finish is far harder than anything I could brush.
13. A glazier offcut of reeded glass
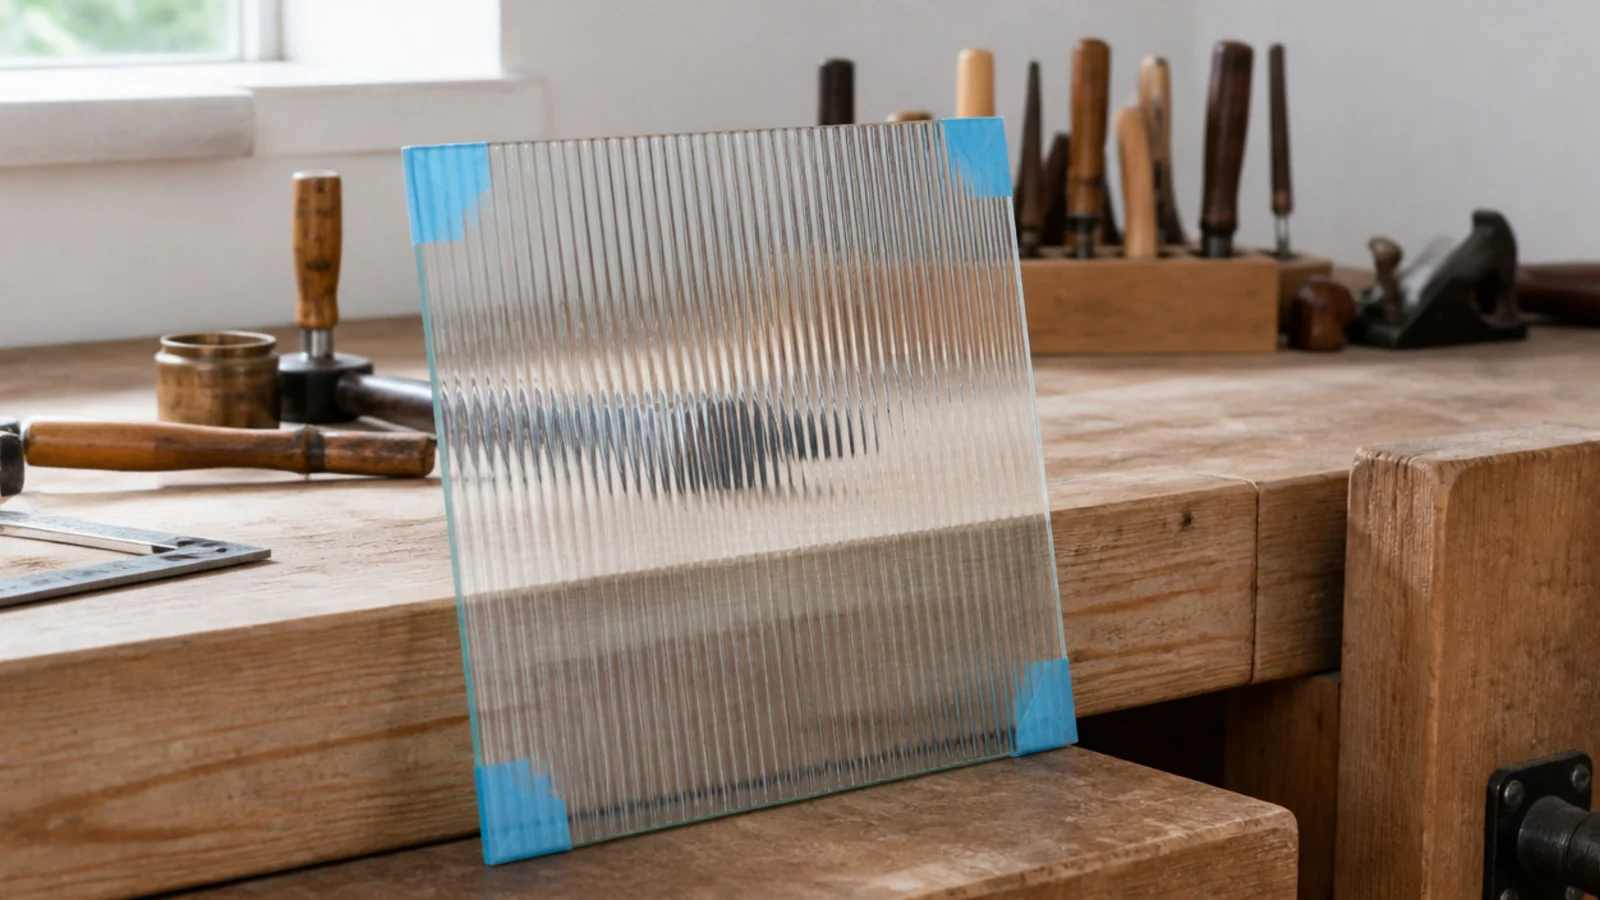
A local glazier sold me two reeded offcuts at 34 dollars for the pair against about 200 for cut-to-size panes. They were 40 millimetres narrower than I wanted, so I adjusted the door frames rather than the glass. Ask what is already in the rack before giving them a dimension.
14. A picture light instead of recessed downlights
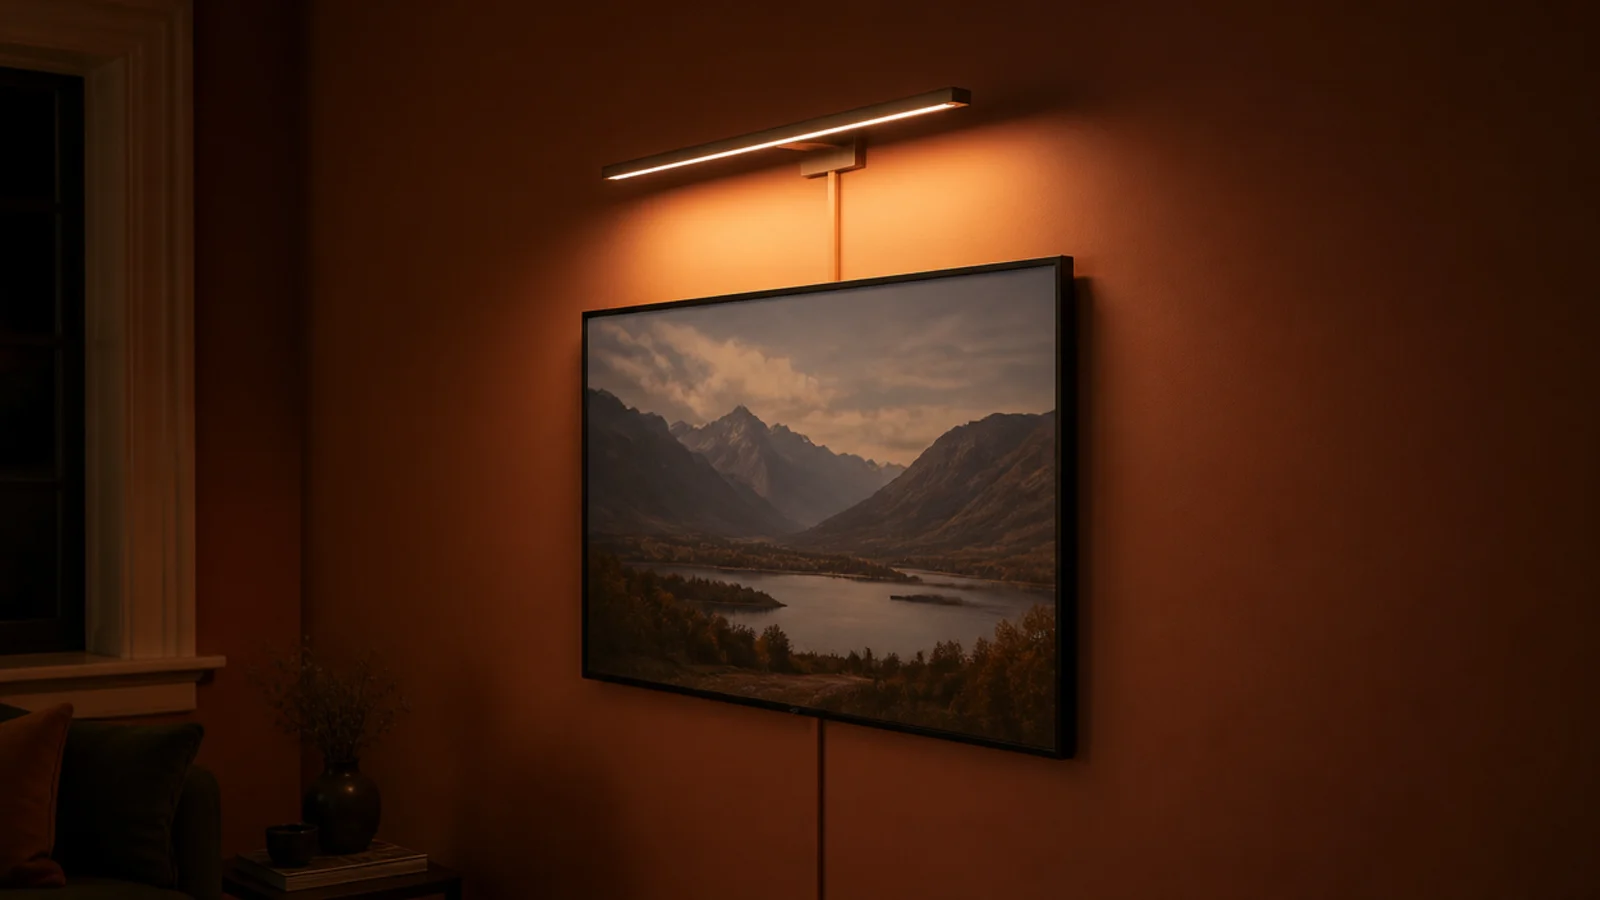
Downlights over a media wall meant an electrician, a ceiling repair and about 400 dollars. A plug-in picture light at 55 dollars, with its cable dropped into painted trunking, does the same job of lifting the wall behind the screen. It also dims, which recessed spots in that flat did not.
15. A shadow gap where the skirting used to be
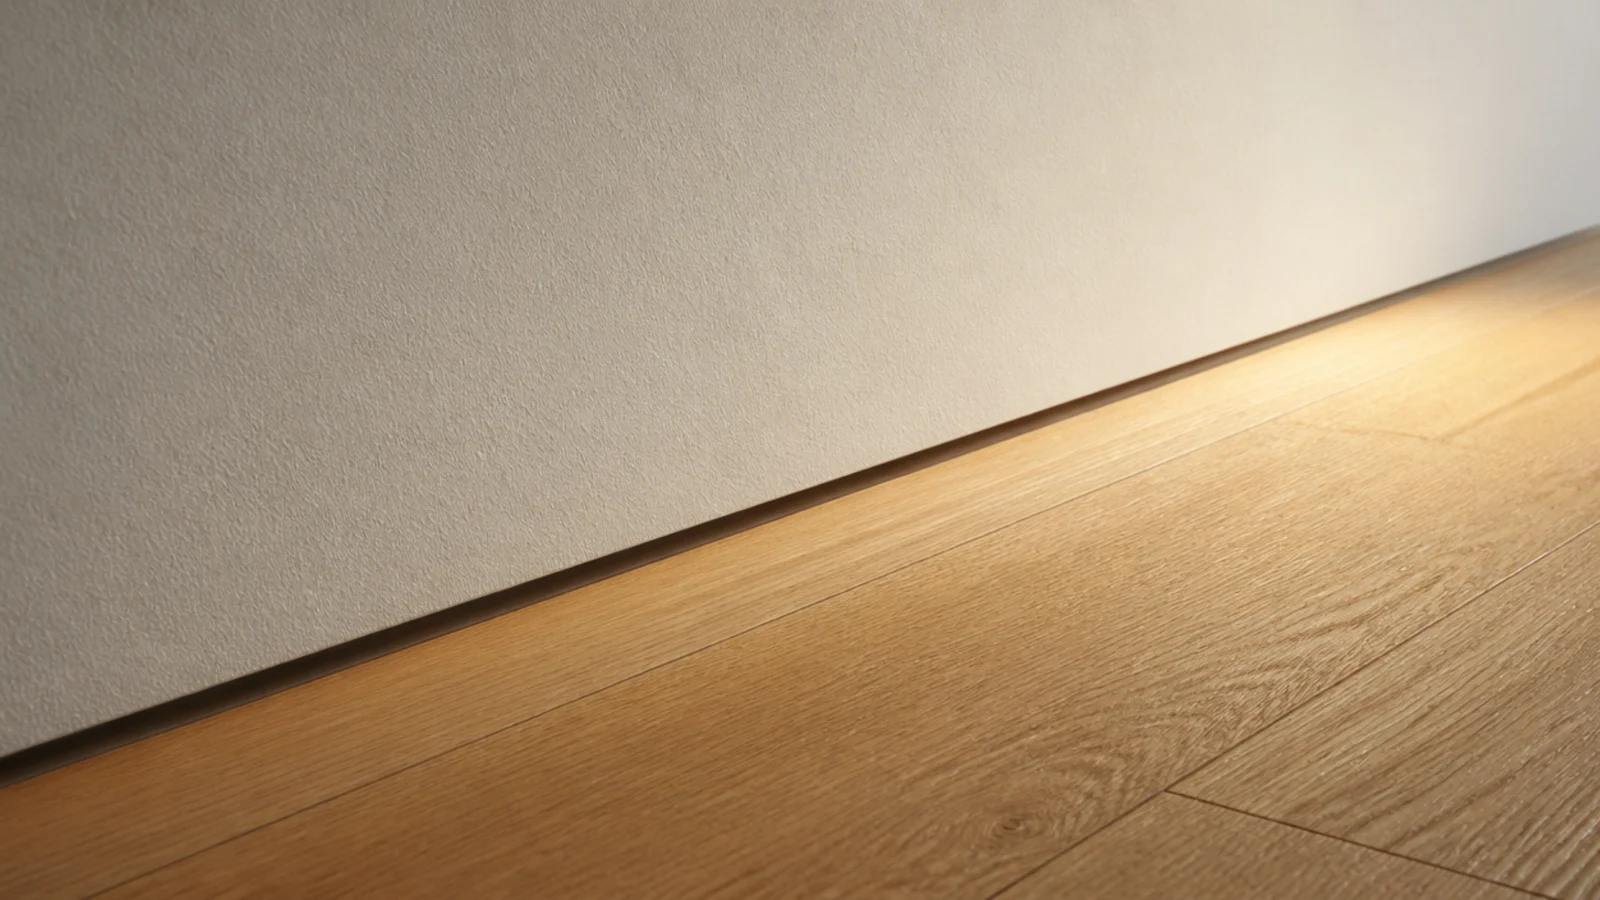
I took the skirting off behind the unit and left a 10 millimetre recess, closed with a slim aluminium bead. The wall reads taller and the joinery meets the floor cleanly. This one is genuinely fiddly on an uneven floor and I would not attempt it around a whole room.
16. Ceiling-track curtains instead of a stone return
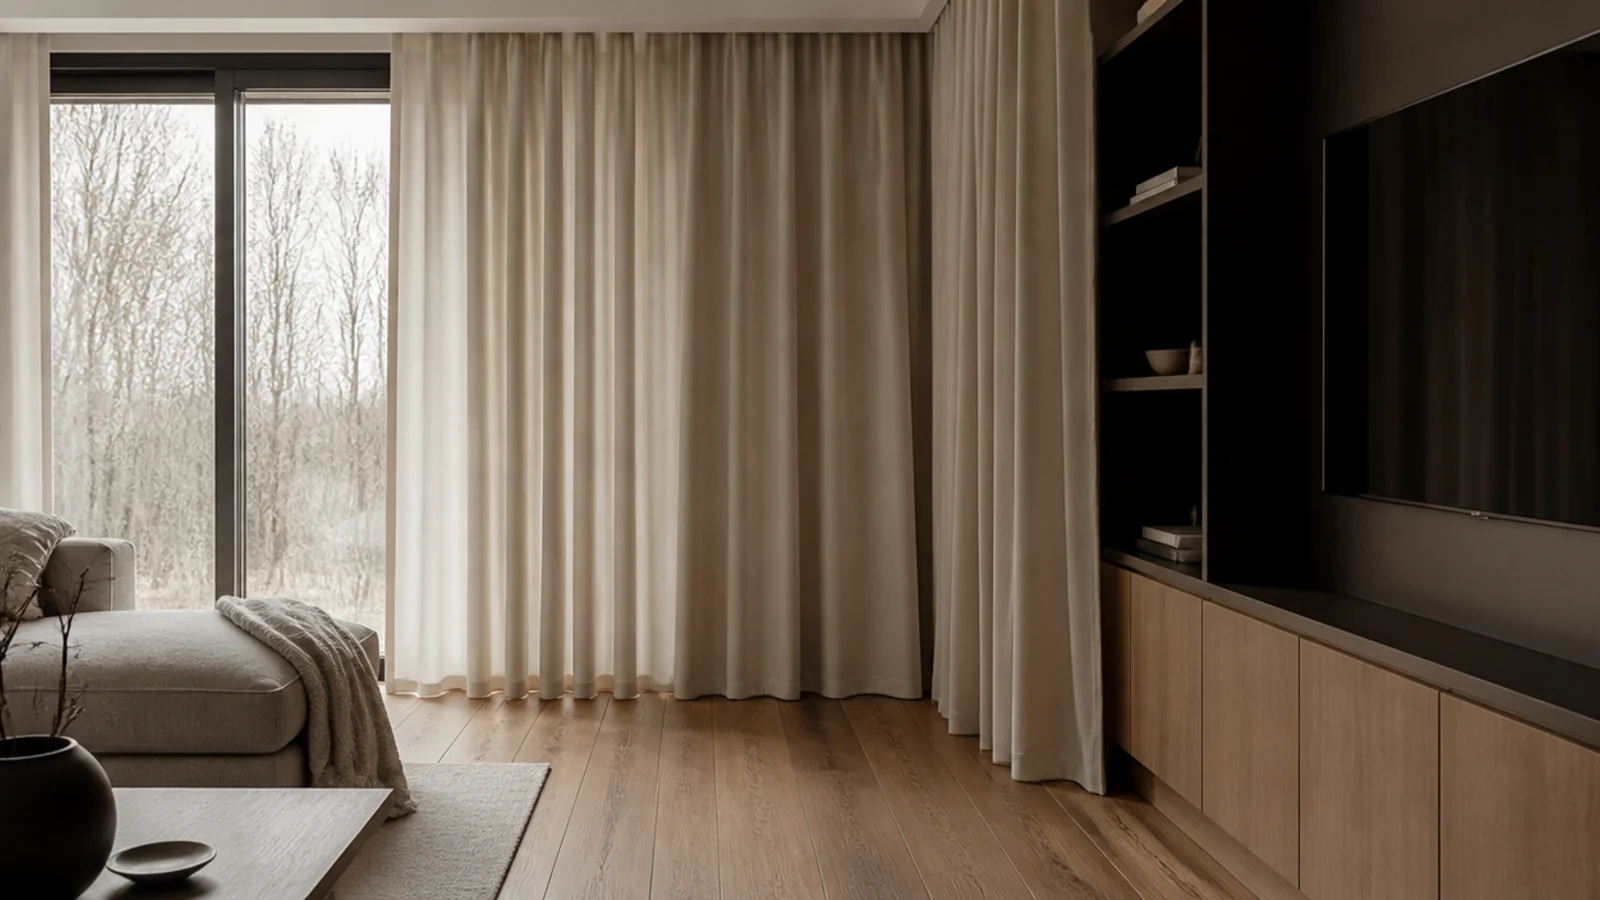
The drawing wrapped stone around the return wall. I hung floor-length linen from a recessed ceiling track instead, hem 5 millimetres clear of the boards, at 2.2 times the wall width. It softened the acoustics noticeably and cost 190 dollars against a four-figure stone return.
17. Concealed hinges on secondhand carcasses
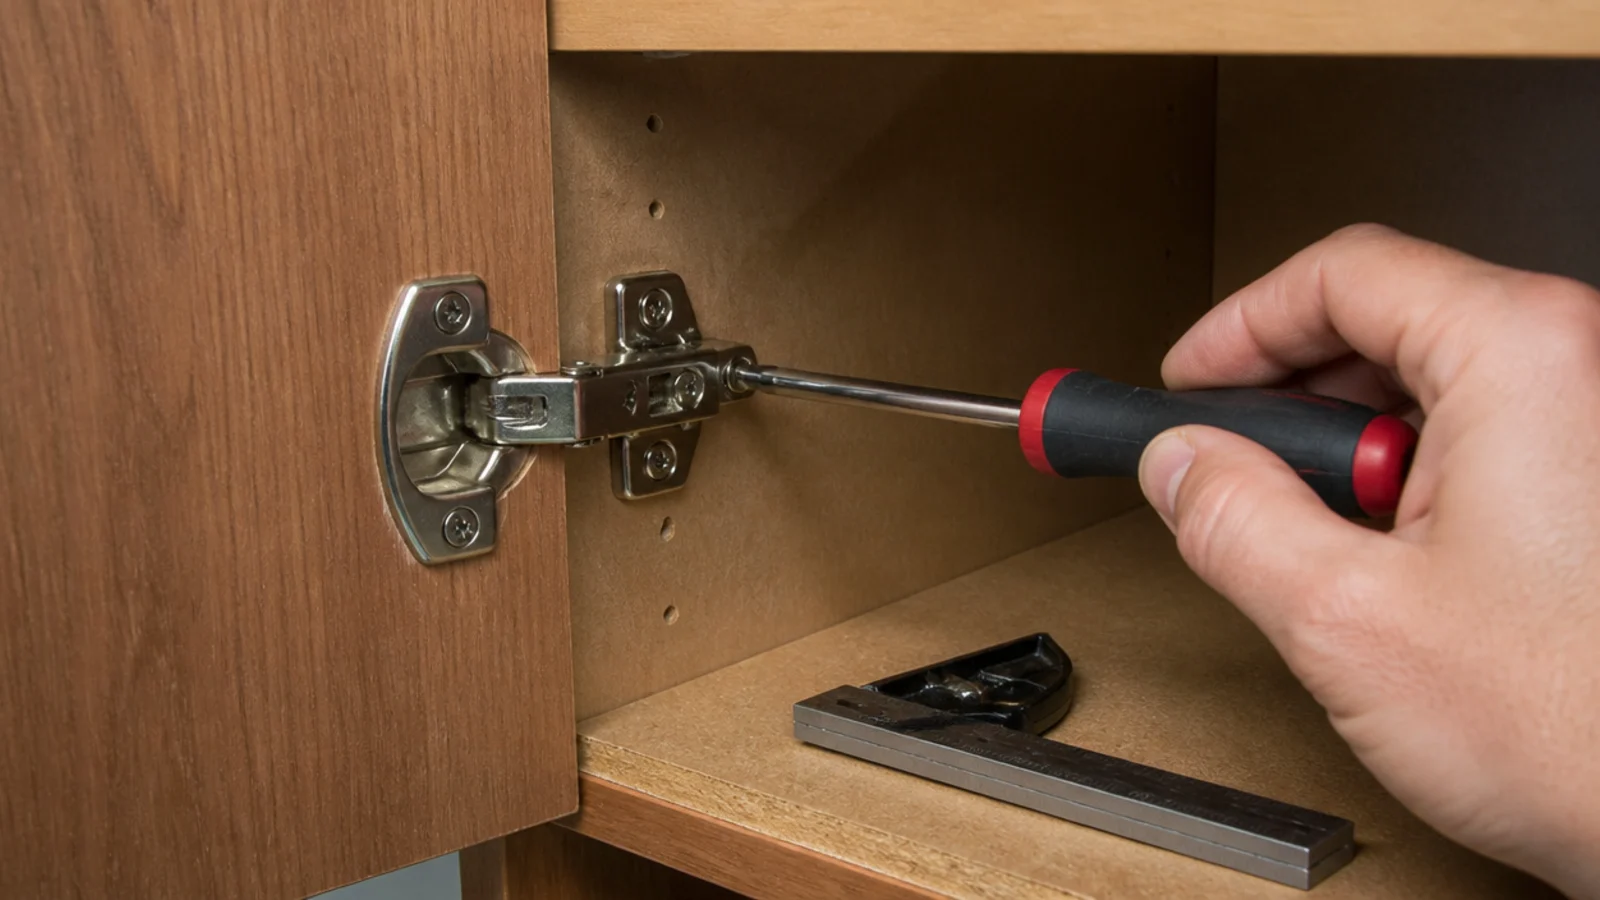
The 60 dollar carcasses came with tired hinges that let the doors sag. Sixteen new concealed hinges at about 3 dollars each, bored with a 35 millimetre forstner bit, made the doors line up and stay lined up. New hardware rescues old boxes far more reliably than new paint does.
18. Grain-matched fronts cut from one sheet
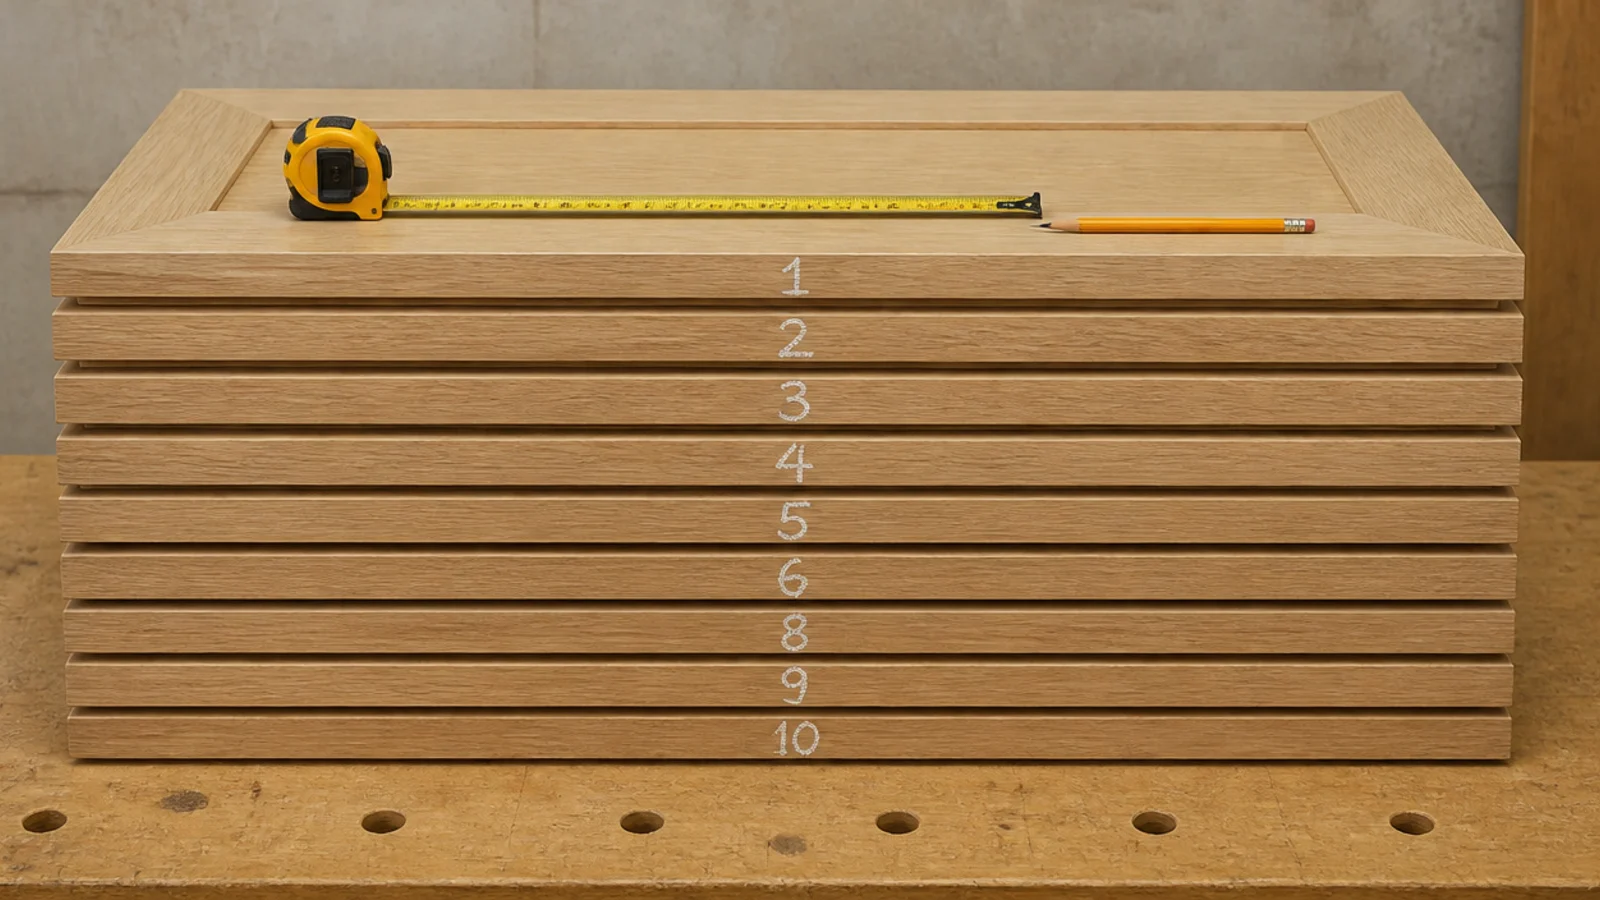
Cutting all four fronts from one veneer sheet in sequence, chalking numbers on the back as they came off, gives grain that runs continuously across the run. It is free. It is also the detail people comment on without being able to say why. Reject any sheet with a splice through the middle.
19. Colour drenching, radiator included
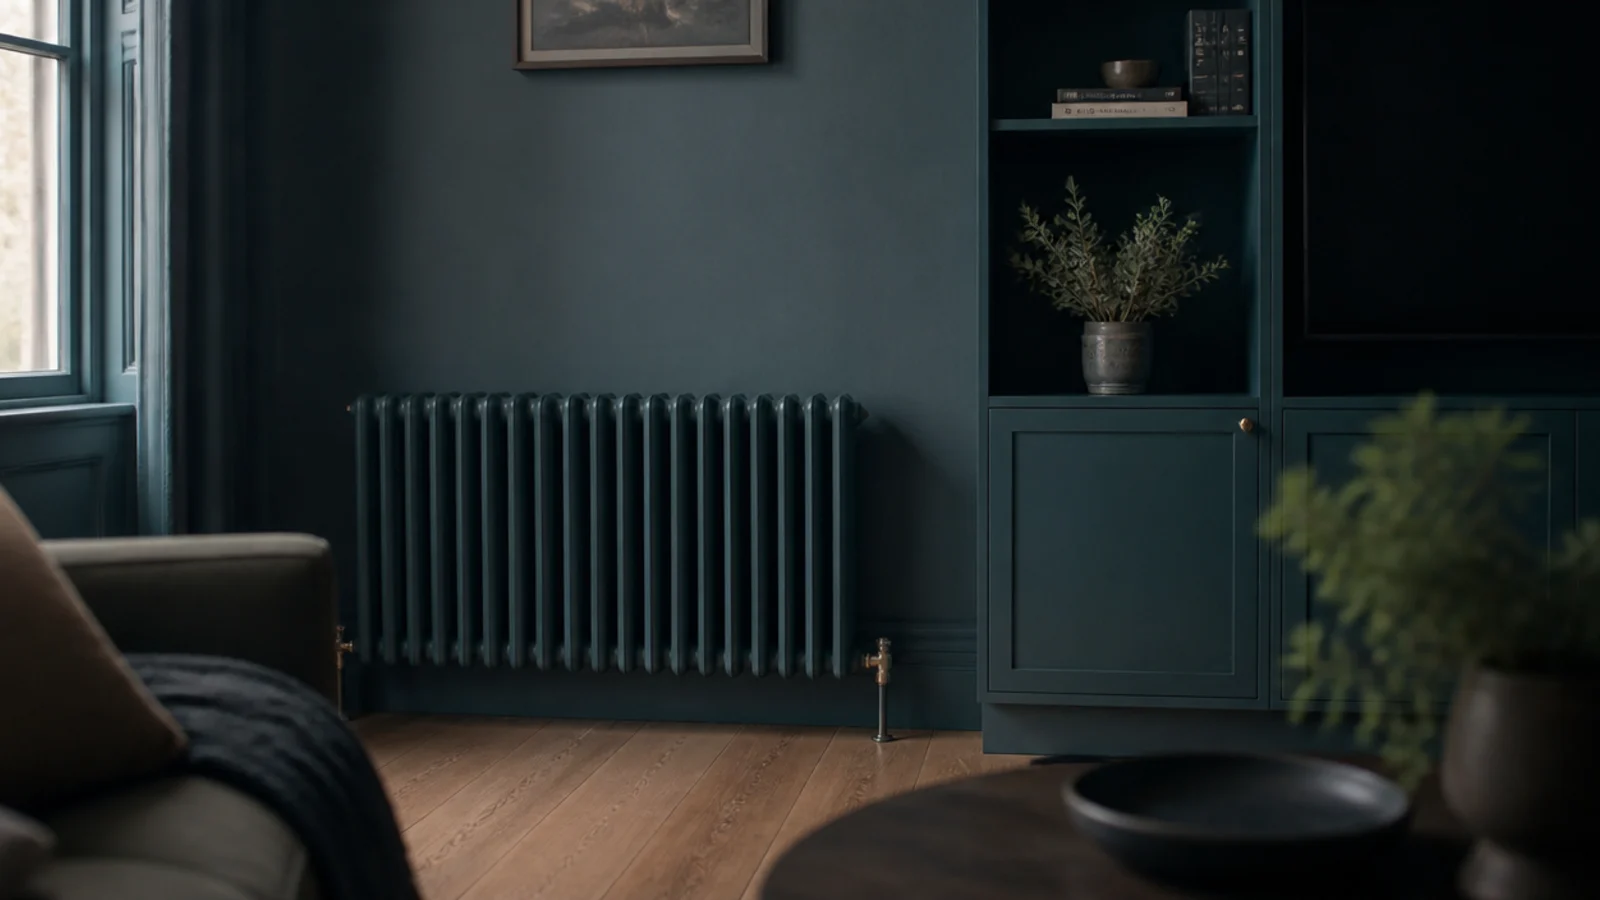
I painted the wall, the joinery, the skirting, the reveals and the column radiator in one muted teal. Radiator paint in a colour match was 28 dollars. The radiator stopped being an object in the room, which did more for the wall than the ledge did.
20. Aged brass plates instead of new switches
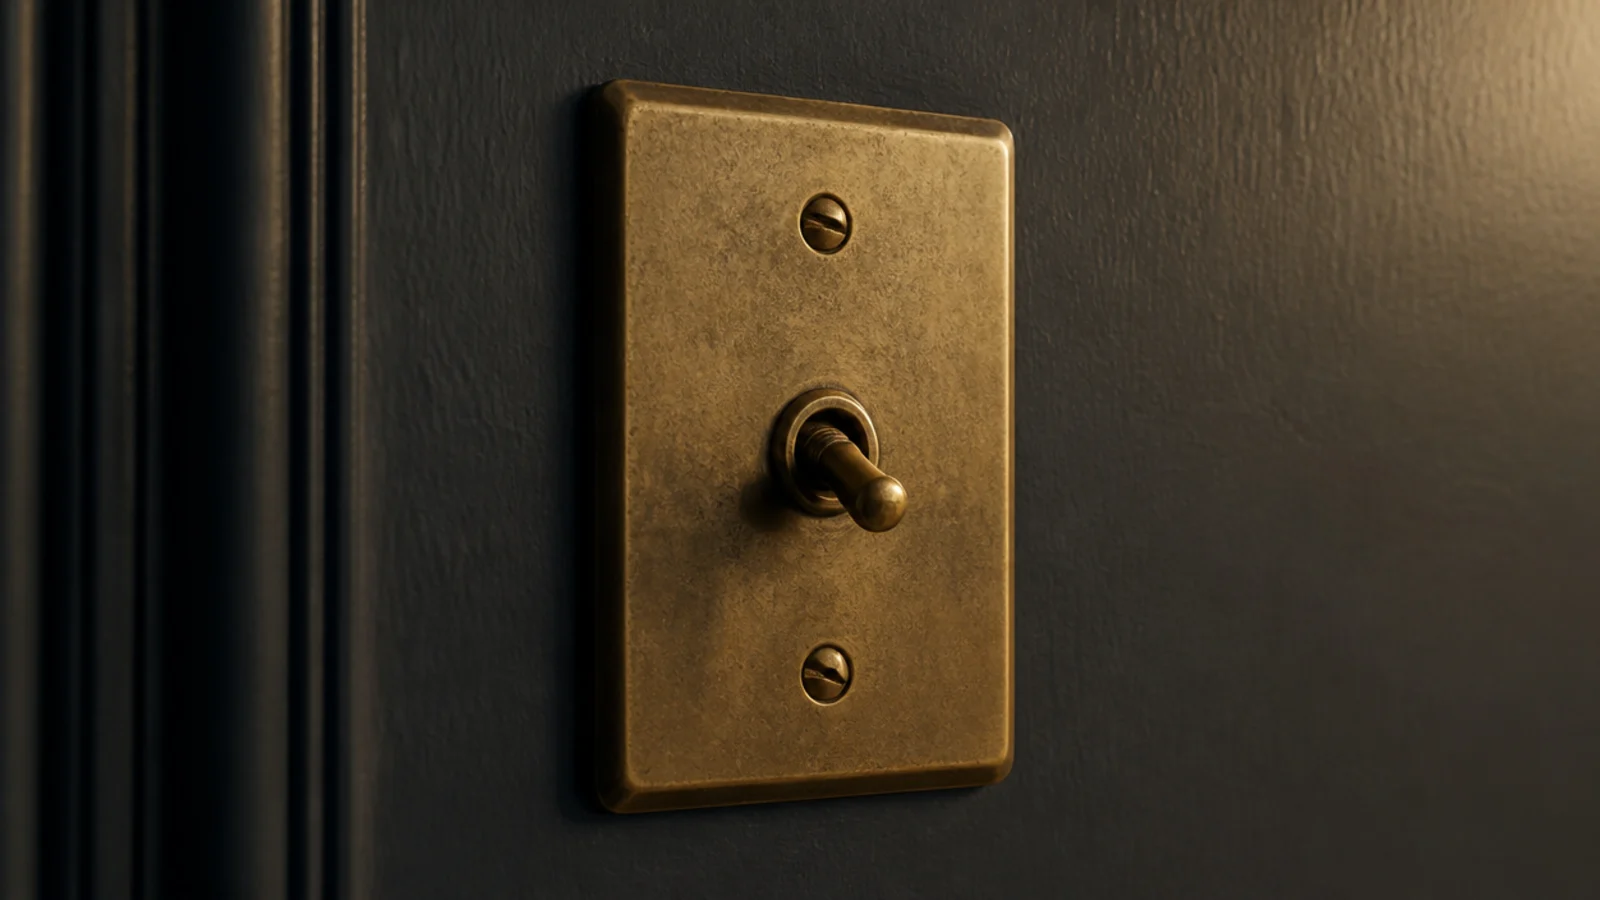
Two unlacquered brass plates at 22 dollars each replaced white plastic. Align the screw slots vertically — it sounds absurd, and it is the difference between a detail that looks chosen and one that looks fitted in a hurry. They darken over a year, which is the point of unlacquered.
21. Solid lipping on every exposed ply edge
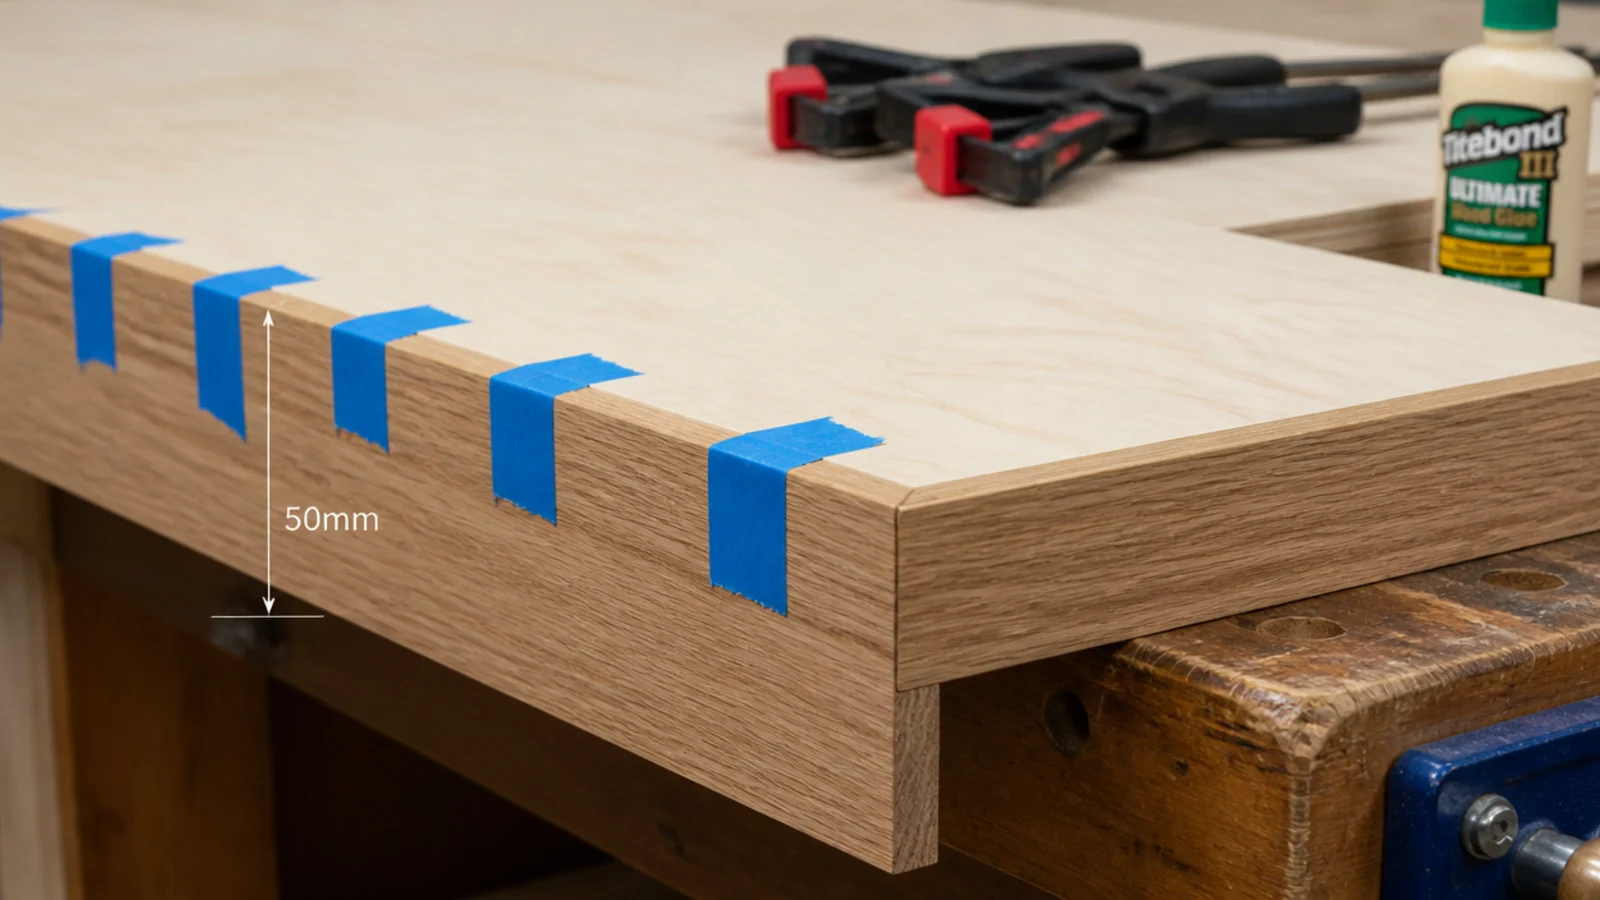
Birch ply laminations are lovely on a workshop shelf and wrong on a media wall meant to read as painted joinery. A 6 millimetre solid lipping, glued and taped, then filled and sprayed, hides them for about 4 dollars a metre.
22. A dimmer on every circuit in the room
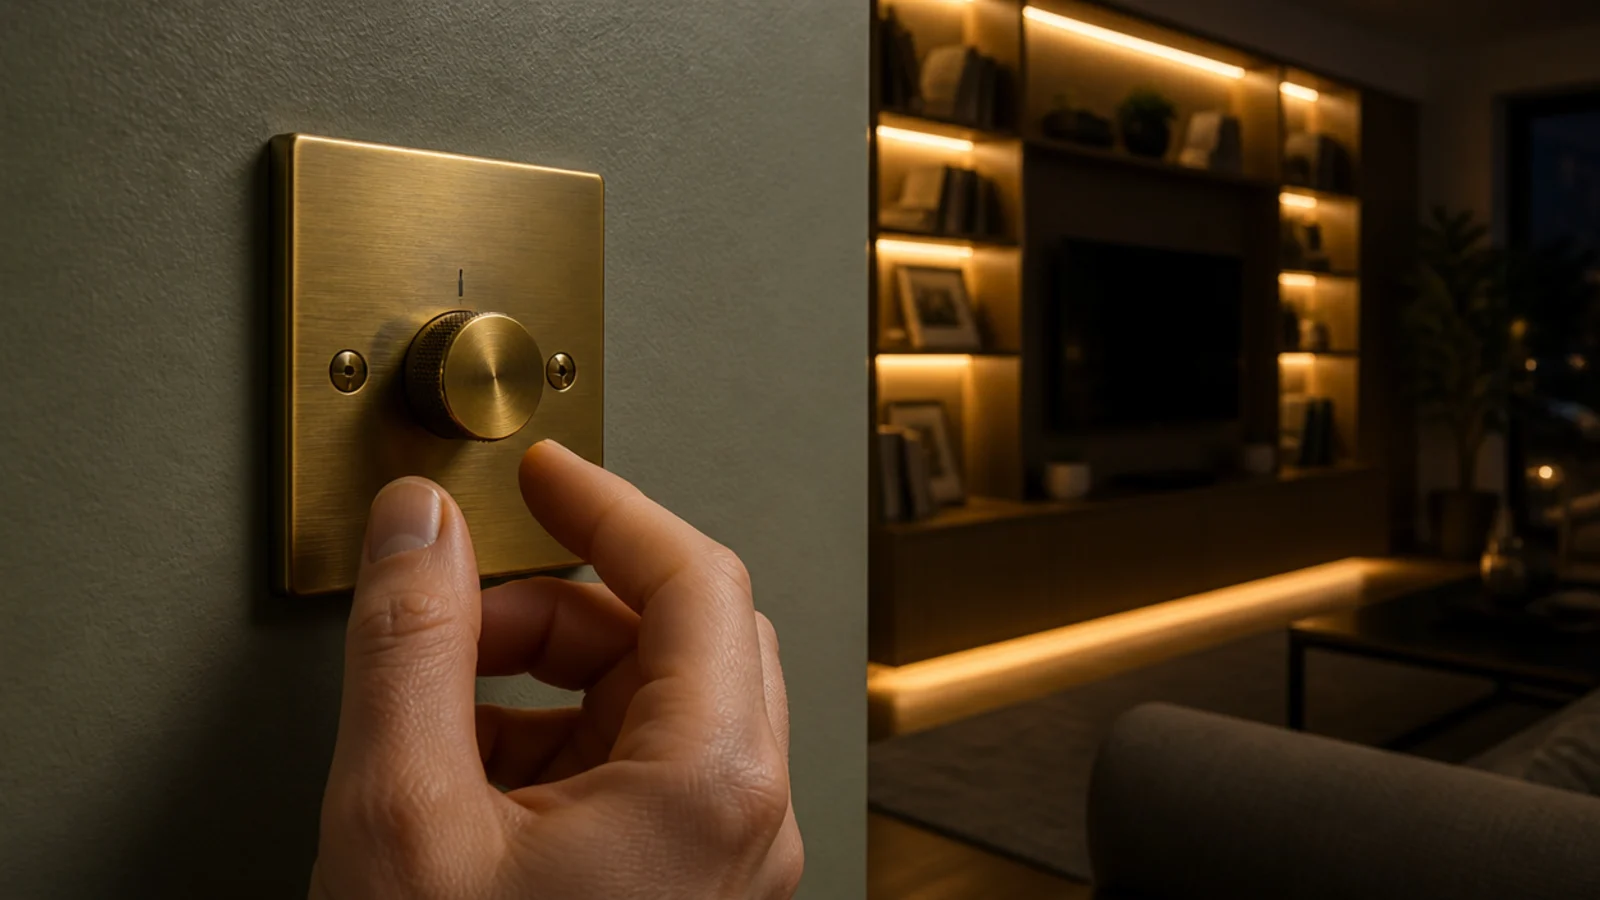
Three rotary dimmers at 24 dollars each. Everything on this wall looks best at roughly 30 percent output, and nothing looks worse than warm cabinet lighting at full brightness next to a bright ceiling fitting. TV wall decor that hides cables covers the bias lighting side of this properly.
23. A wool rug instead of a synthetic one
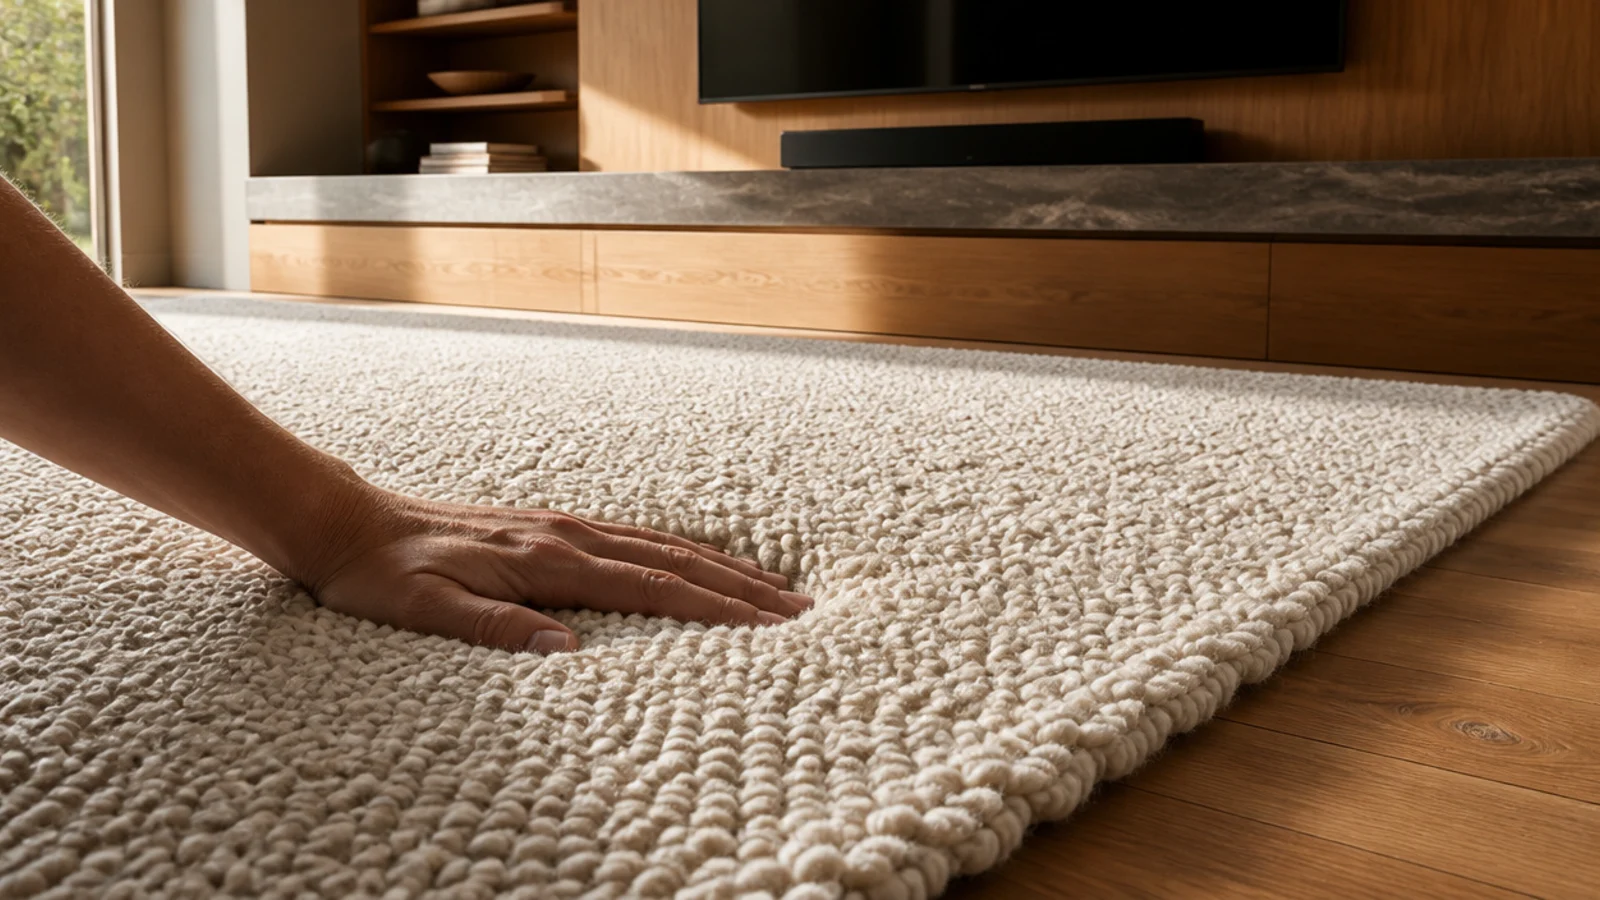
The one place I refused to substitute. A synthetic pile flattens into a permanent traffic path within a year, and a flattened rug in front of a careful wall undoes the whole thing. Undyed wool at 12 to 18 millimetres pile cost 340 dollars and will outlast the joinery.
24. Two objects on the ledge, not nine
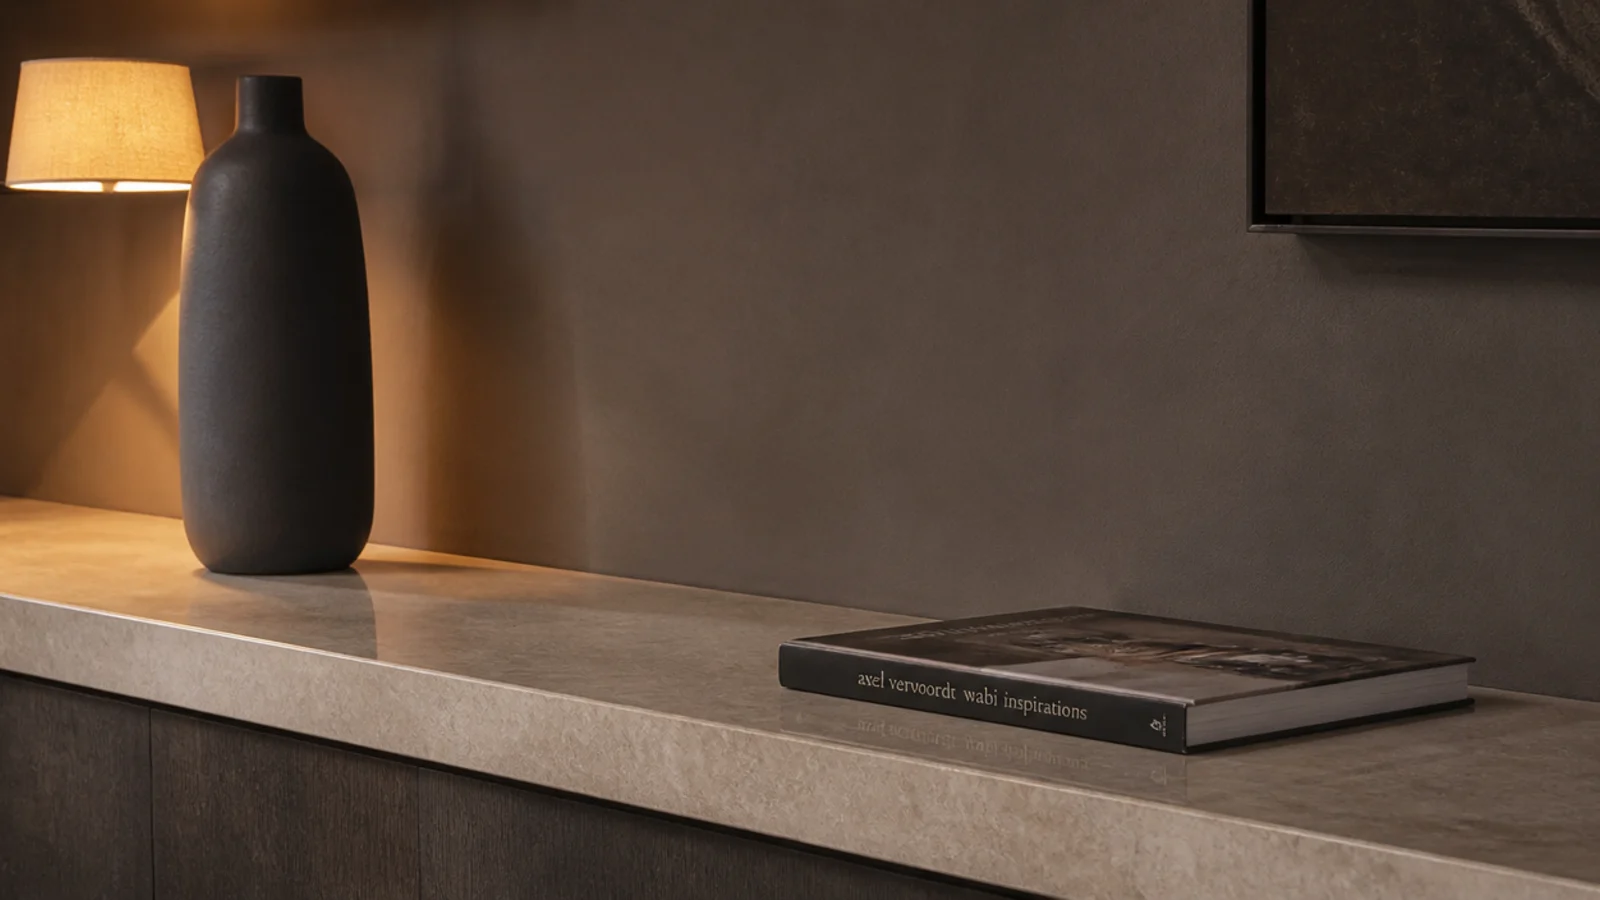
I styled the ledge with nine things on the first evening and it looked like a shop window. A tall matt vessel and one flat book is where it settled. Restraint is genuinely the cheapest luxury available, and it is the hardest to hold onto.
25. Caulking every internal joint before painting
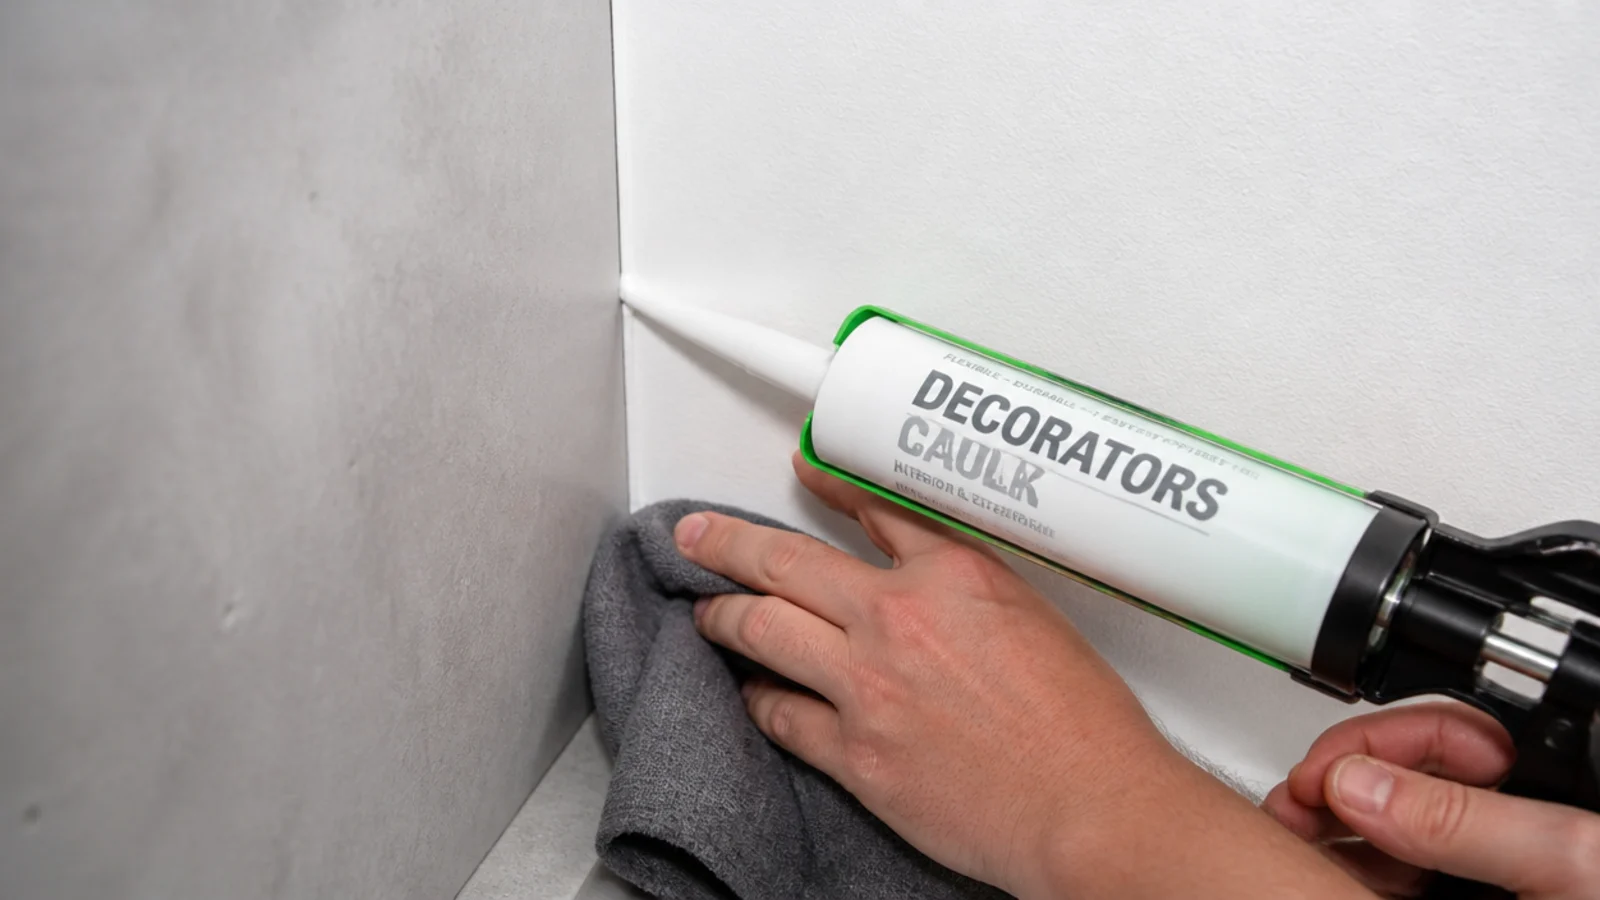
Every internal corner where panel meets plaster got a thin bead of decorators caulk, smoothed with a wet finger and wiped. Two cartridges, 14 dollars. Skip it and every joint shows as a dark line the first time the evening sun crosses the wall.
What I'd Do Differently Now
I would spend the spraying money earlier. I rollered the fronts first, lived with the texture for three weeks, then sanded them back and paid the shop. That detour cost me two evenings and a litre of paint, and I knew at the time it was the wrong call.
I would also plan the cable route before the panelling rather than after. I ended up cutting an access hatch into a finished panel because the console position moved 400 millimetres late in the build. A service void behind the carcasses would have made that a five minute job instead of a repair.
And I would buy the stone remnant first. The ledge dictated the ledge height, which dictated the screen height, which dictated the panel setting-out. I did all of that in the wrong order and rebuilt one section because of it.
The thing I would not change is the restraint. Two objects, one colour, one dimmer. The expensive-looking part of an expensive-looking wall is almost never the material. For the panelling techniques underneath all of this, renter-friendly wall panel designs covers the adhesive-only builds, and aesthetic candle decor is where I got the lighting-at-thirty-percent habit in the first place.
Frequently asked questions
What makes a TV wall look expensive?
Flatness, continuity and light. A sprayed surface with no roller texture, one colour carried across wall and joinery, and a warm dimmed glow rather than a bright downlight. None of those three costs much on its own, and together they do more than any single material upgrade.
Is fluted MDF a convincing substitute for fluted plaster?
Once painted and caulked, yes, at normal viewing distance. Half-round beads at 40 to 60 millimetre repeats give the same rhythm of light and shadow for roughly 30 to 60 dollars a square metre. The tell is the end grain, so return the fluting into a corner or stop it behind a trim.
Where should I spend the money on a media wall?
On the spraying and the lighting. A spray shop finishing doors in 2K lacquer at 40 to 90 dollars a door removes the one detail that reads as homemade. A dimmable warm driver at 30 to 60 dollars changes the wall every evening. Both beat spending more on the panel material.
Can a kitchen worktop offcut work as a media ledge?
Yes, and it is the best value stone-look surface available. Fabricators sell 20 to 30 millimetre quartz and porcelain remnants at 60 to 150 dollars a piece, already polished on the long edge. Ask for one with a finished front edge and a depth of 200 to 300 millimetres.
How long did the whole media wall take to build?
Two weekends and three weeknight evenings, spread over a fortnight because the filler and the paint needed drying time between coats. The panelling itself went up in a single Saturday. Everything after that was priming, caulking, sanding and painting, which is where the finish is actually won.
Want more like this? Browse all 15 tv wall decor guides — they all use the same measurements and budget tiers.
Pin it for later
Save this to your TV Wall Decor board
Pin it now so it is waiting for you when the tape measure comes out — and so the next person hunting for this idea can find it too.
Save this pinKeep going
More ideas worth saving while you have the tape measure out.