Center Table Living Room · How-To
15 Steps To Build A Wooden Center Table Living Room

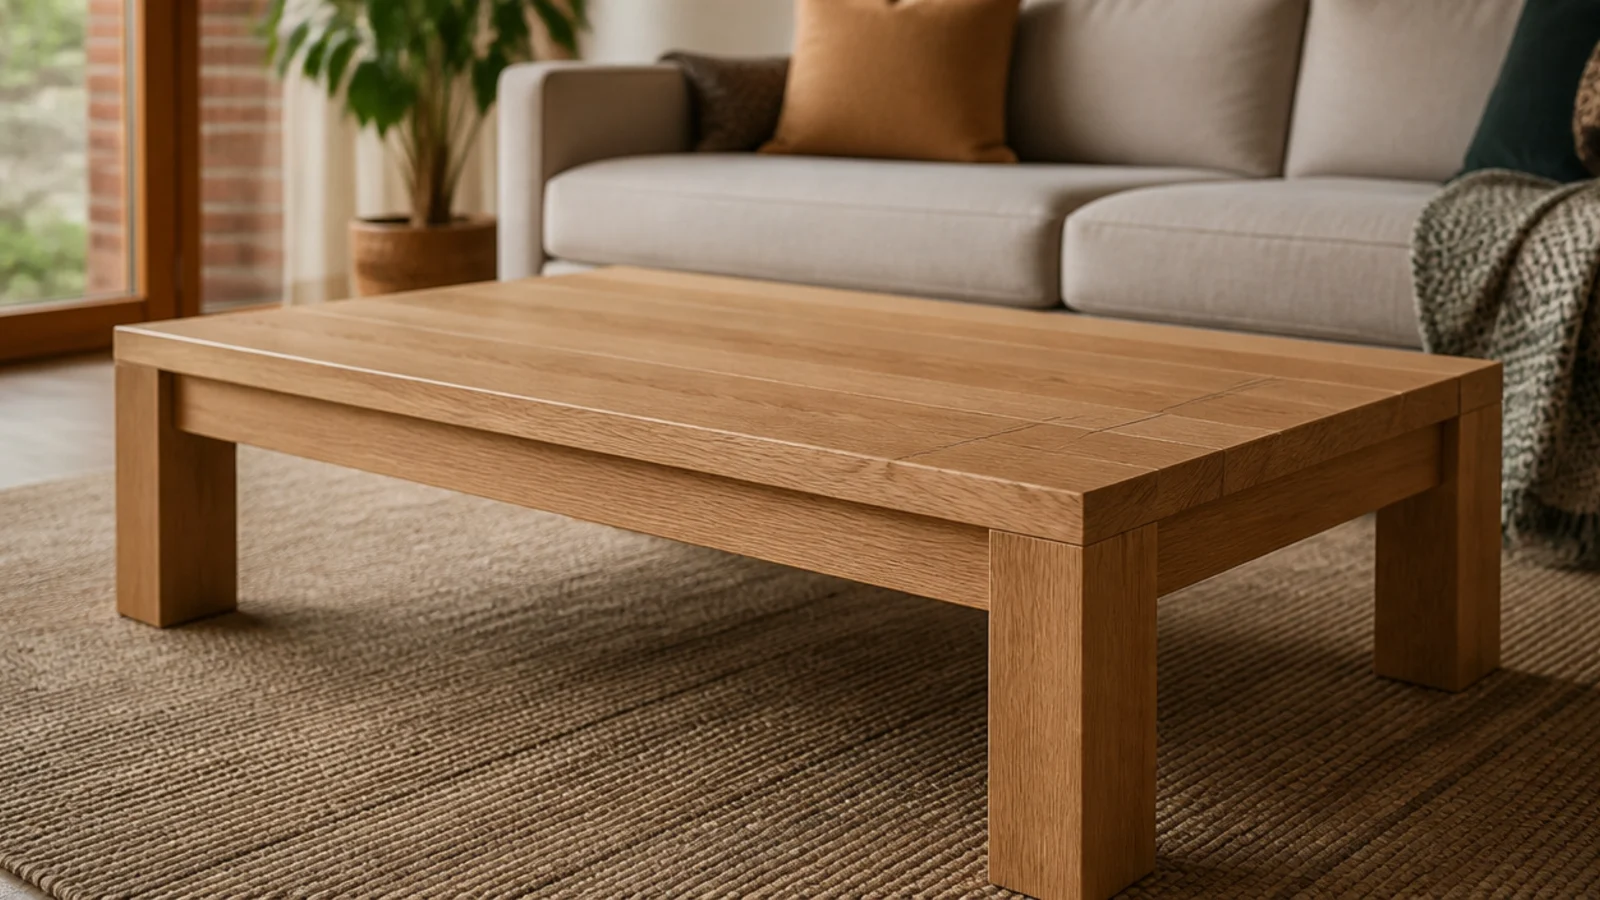
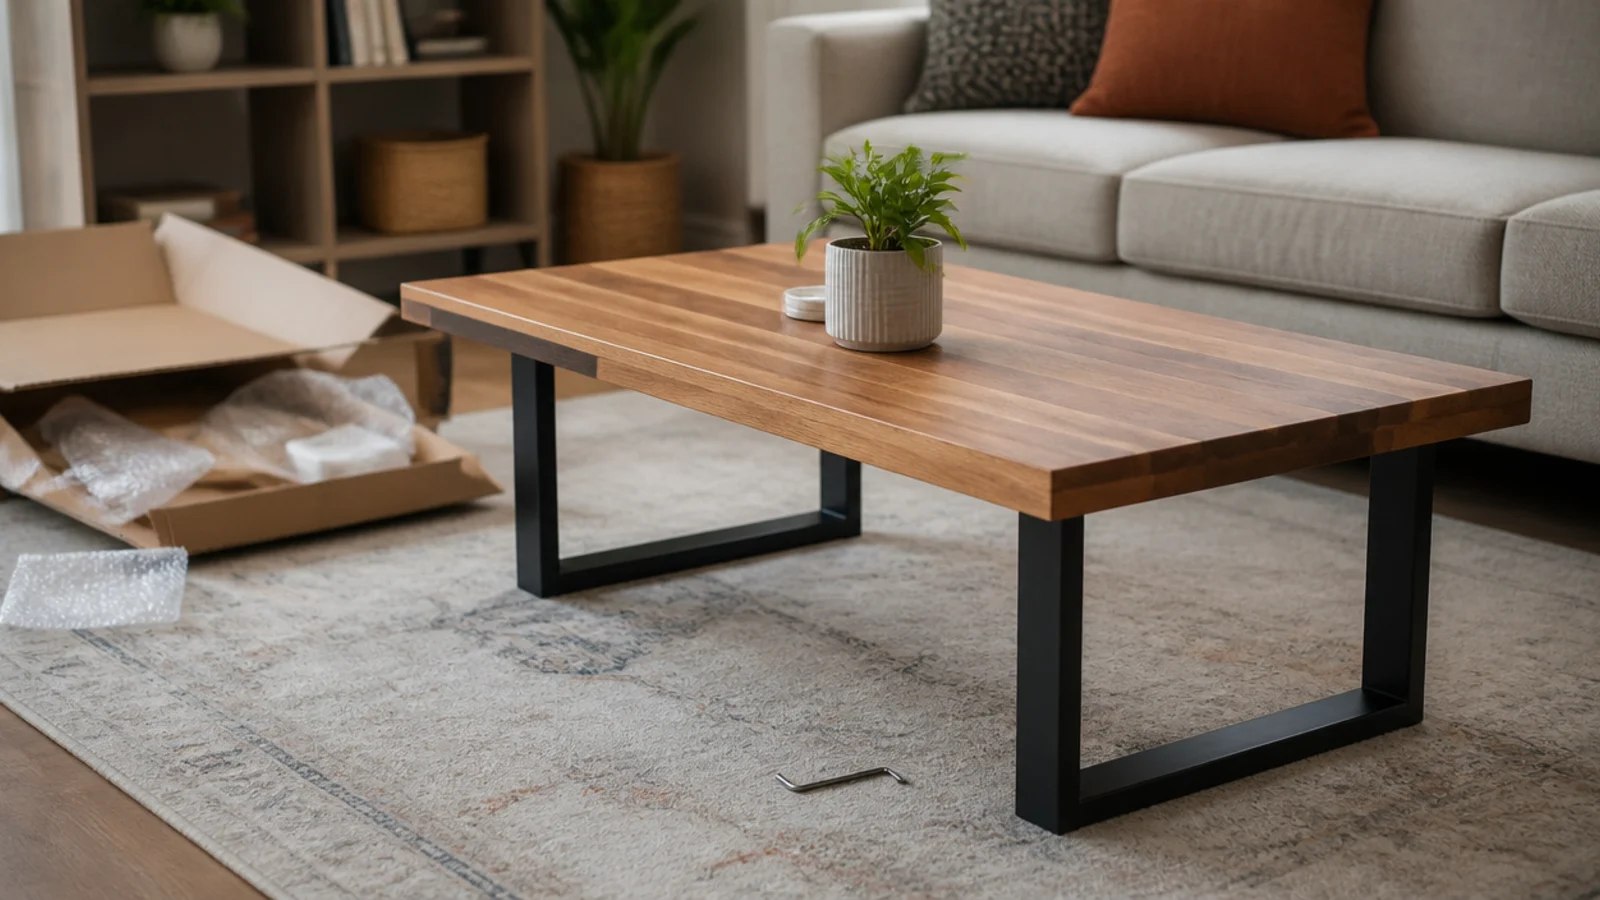
A solid timber coffee table is the best first furniture project there is. The joints are simple, nothing has to carry a person, and the piece is small enough to clamp on a kitchen table. It is also where most people meet the one rule that matters in solid wood: the top moves with the seasons, and it has to be allowed to. This wooden center table living room build takes a weekend of work plus drying time, and costs $180 to $350 in hardwood.
In this guide18 sections — tap to openHide
- 1.What You'll Need To Build A Wooden Center Table For The Living Room
- 2.Step 1: Measure the sofa seat and set the finished height
- 3.Step 2: Set the length at two-thirds of the sofa
- 4.Step 3: Draw a cutting list and buy the timber
- 5.Step 4: Let the boards acclimatise indoors for a week
- 6.Step 5: Cut the top boards and joint the edges
- 7.Step 6: Glue up the top and clamp it
- 8.Step 7: Flatten the panel and sand it level
- 9.Step 8: Cut the legs and rails to length
- 10.Step 9: Drill pocket holes and dry fit the base
- 11.Step 10: Glue and screw the base square
- 12.Step 11: Fix the top with slotted fasteners
- 13.Step 12: Round the corners and ease the edges
- 14.Step 13: Sand through the grits to 220
- 15.Step 14: Apply hardwax oil in thin coats
- 16.Step 15: Fit pads, level it and put it in the room
- 17.Pro Styling Rules
- 18.Mistakes to Skip
What You'll Need To Build A Wooden Center Table For The Living Room
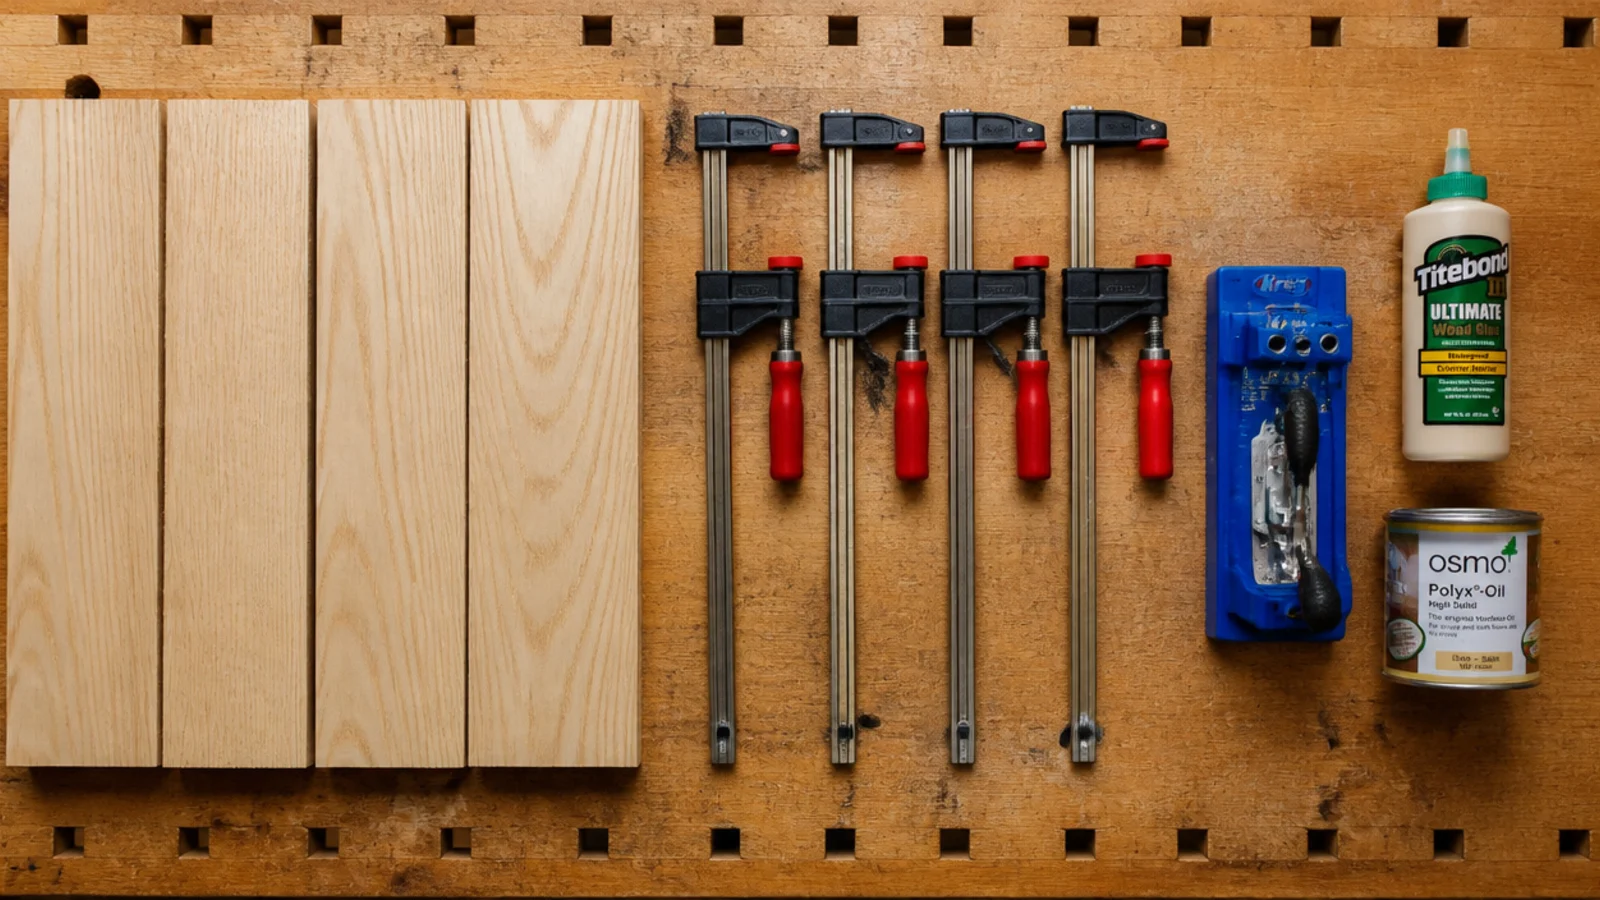
Sizes below assume a 44 by 24 inch top at 17 inches finished height, which suits a standard three-seater. Adjust from your own sofa measurement rather than from the plan.
| Item | Spec that matters | Rough cost |
|---|---|---|
| Hardwood boards | 4/4 ash or white oak, about 20 board feet | $140–$280 |
| Leg stock | 8/4 in the same species, 2 inches square finished | $30–$60 |
| Wood glue | Standard PVA, water resistant type | $8 |
| Bar clamps | Four at 36 inches minimum, borrowed is fine | borrowed |
| Pocket hole jig | With 1-1/4 inch coarse screws for the rails | $30–$50 |
| Figure-eight fasteners | Eight, so the top can move across the grain | $8 |
| Random orbit sander | Plus 80, 120, 180 and 220 grit discs | $12 discs |
| Router and bit | 3/8 inch round-over for edges and corners | $20 bit |
| Hardwax oil | Clear satin, penetrating | $22–$35 |
| Felt pads and glides | One inch pads, threaded glides for old floors | $12 |
Step 1: Measure the sofa seat and set the finished height
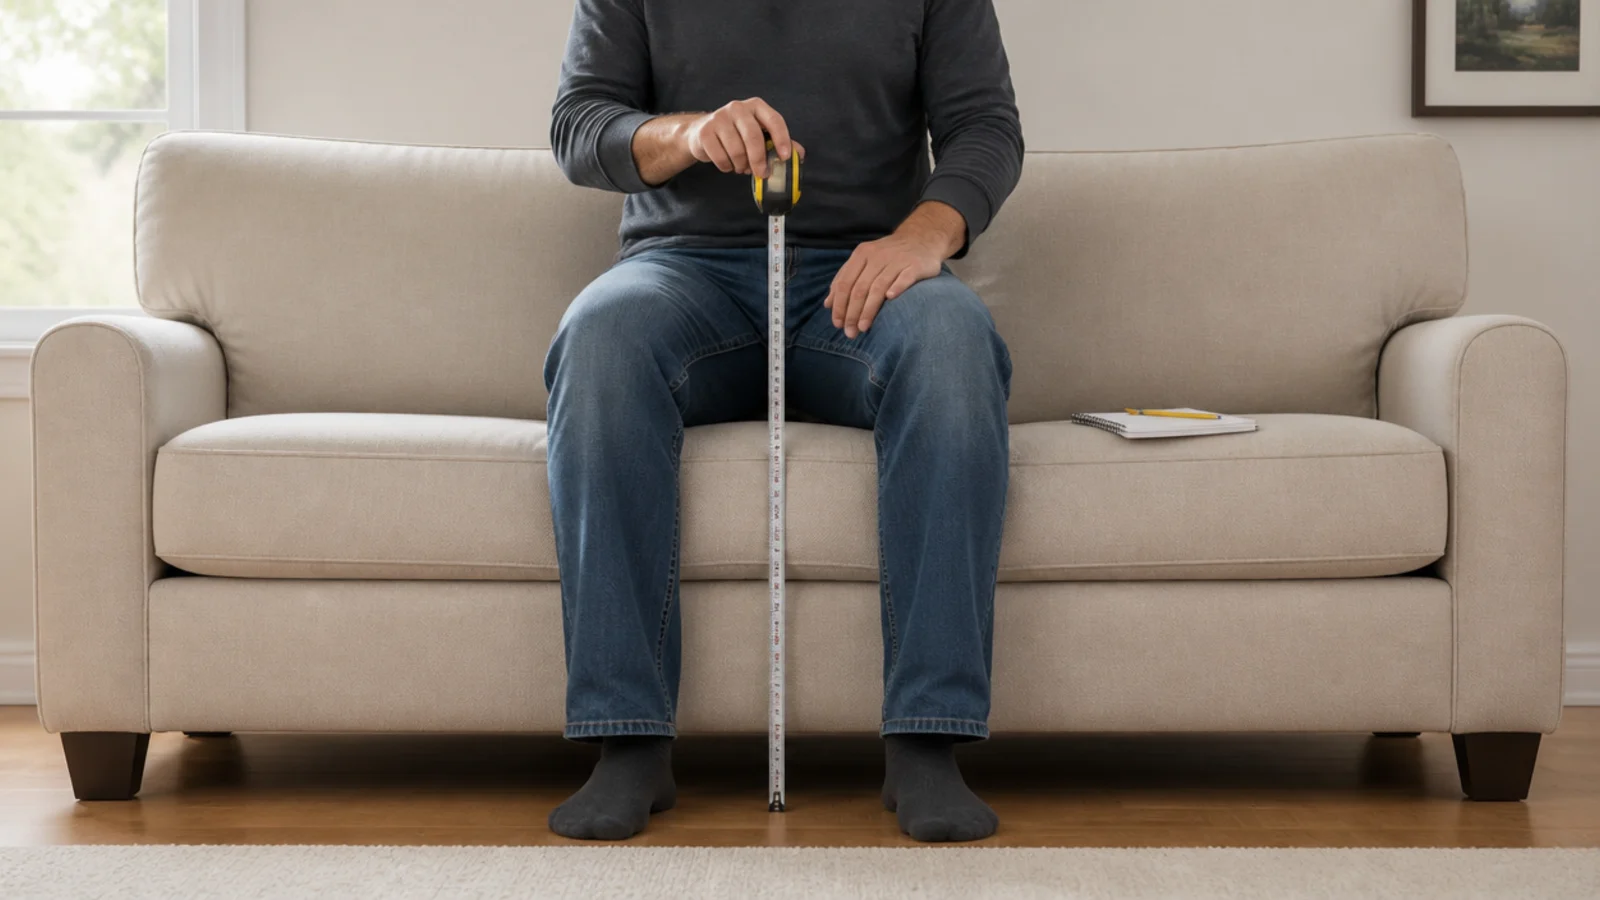
Have someone sit on the sofa and measure floor to compressed cushion. Most land at 17 to 19 inches. Your finished top should be one to two inches below that. Work backwards for the leg length: finished height minus top thickness minus any glide. On a 17-inch table with a 7/8 inch top and a 3mm glide, the legs come out at about 15 3/4 inches.
Step 2: Set the length at two-thirds of the sofa
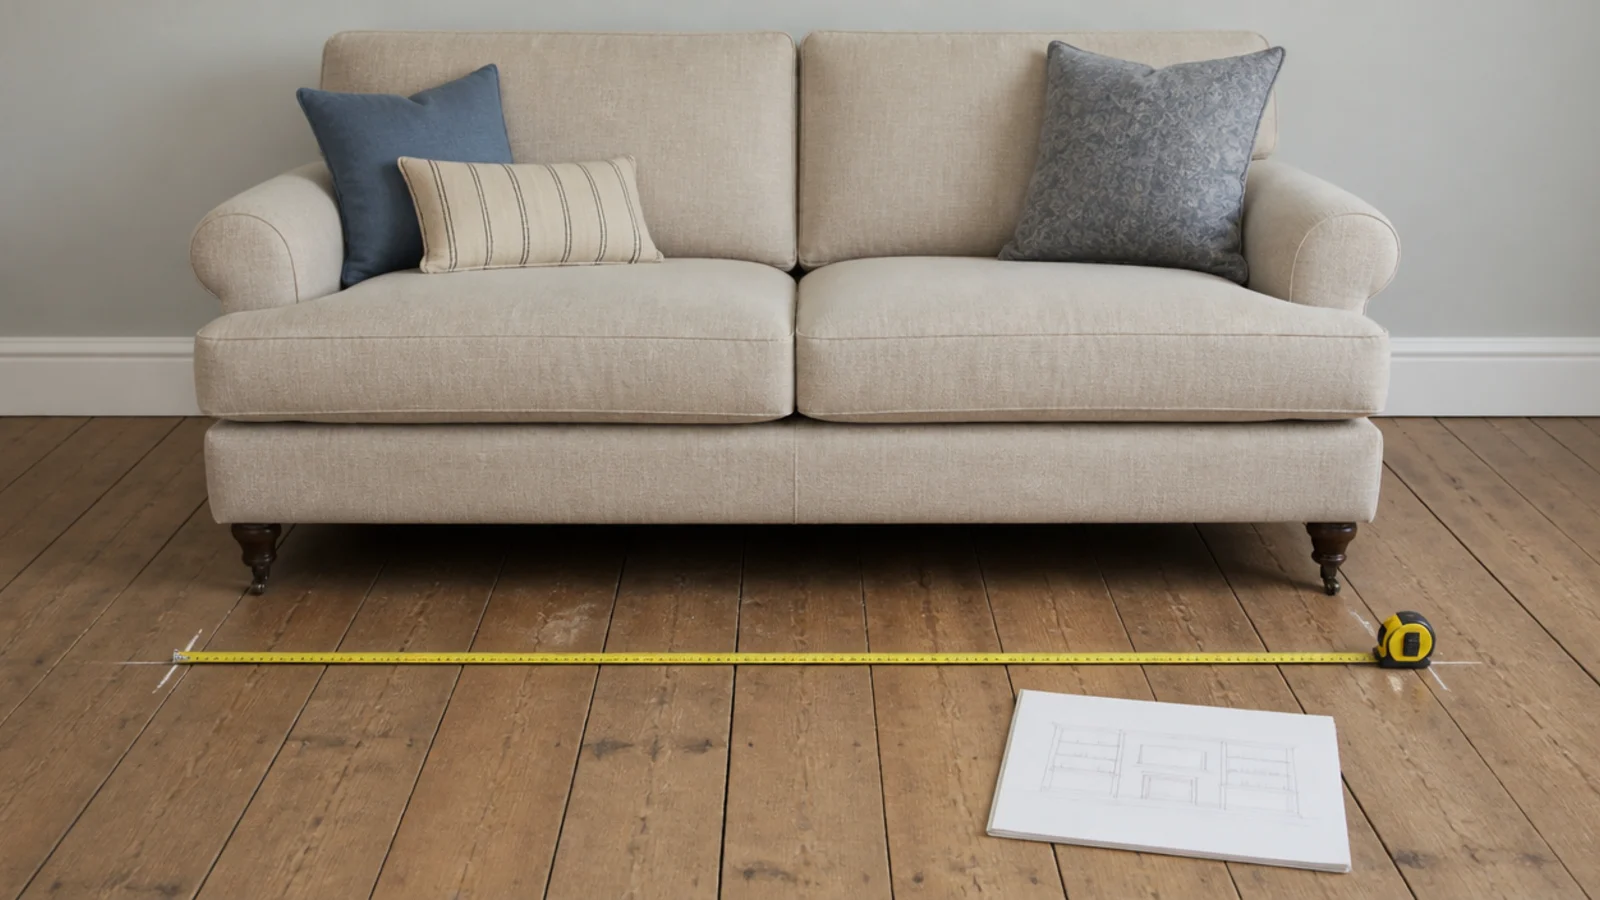
Measure the sofa arm to arm and take two-thirds. An 84-inch three-seater gives you 56 inches, and anywhere from 48 to 56 works. Chalk the outline on the floor and check you still have 16 to 18 inches of gap at the front and 30 to 36 inches on the route past.
Step 3: Draw a cutting list and buy the timber
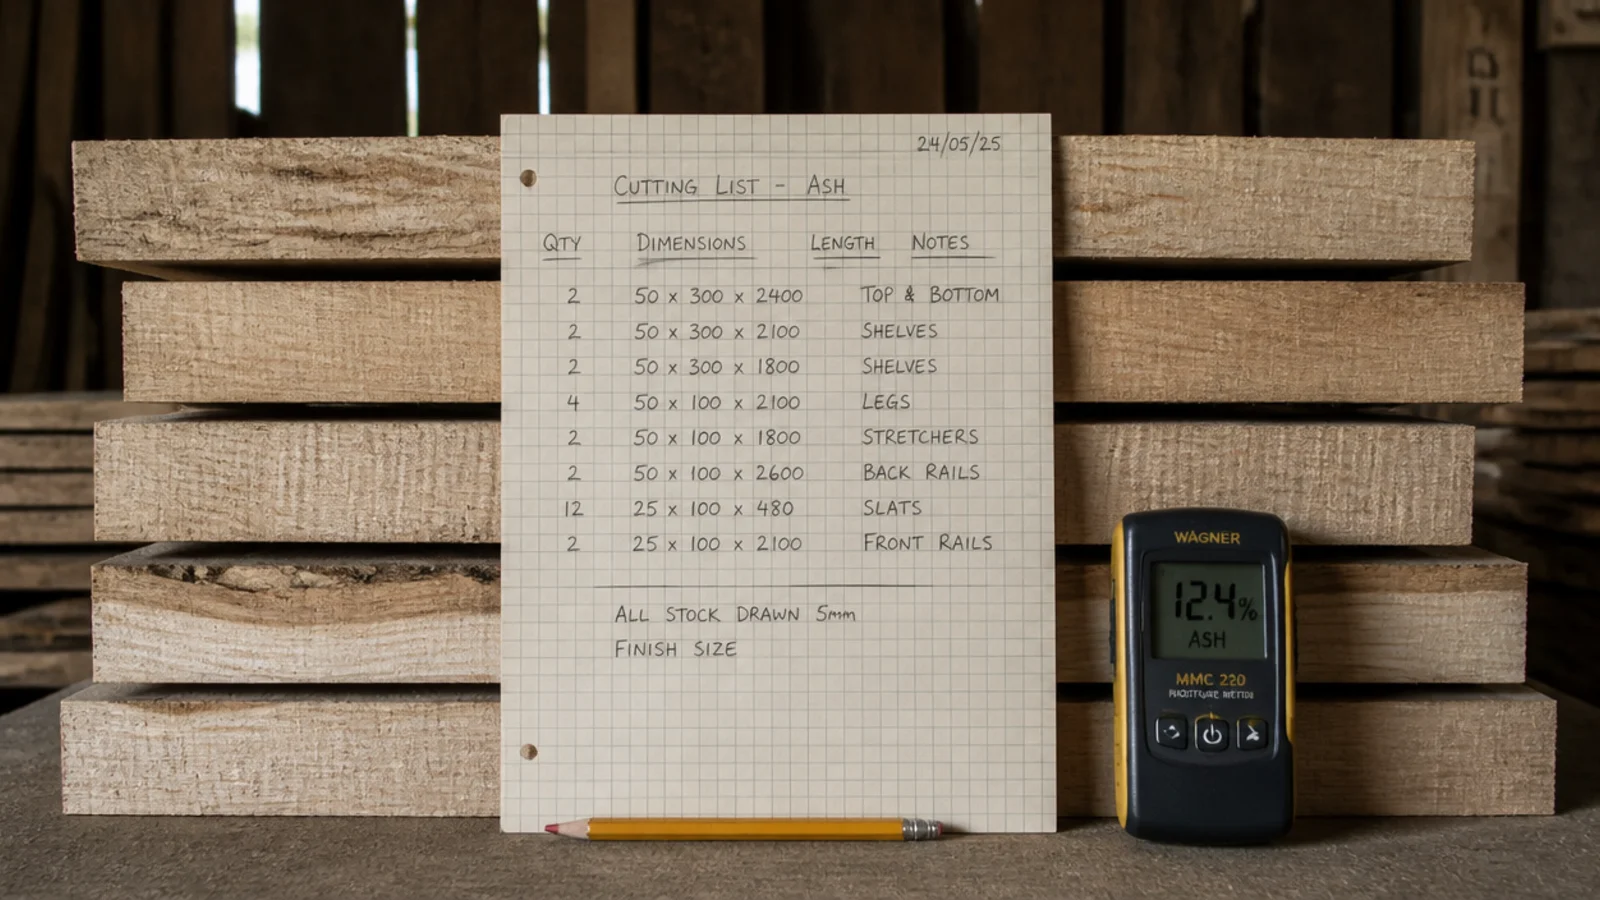
Write every part with its finished dimension, then add an inch to every length and a quarter inch to every width for machining. Buy about 10 percent more board feet than the list total to allow for defects. Ash costs $8 to $12 a board foot and works more easily than oak.
Step 4: Let the boards acclimatise indoors for a week
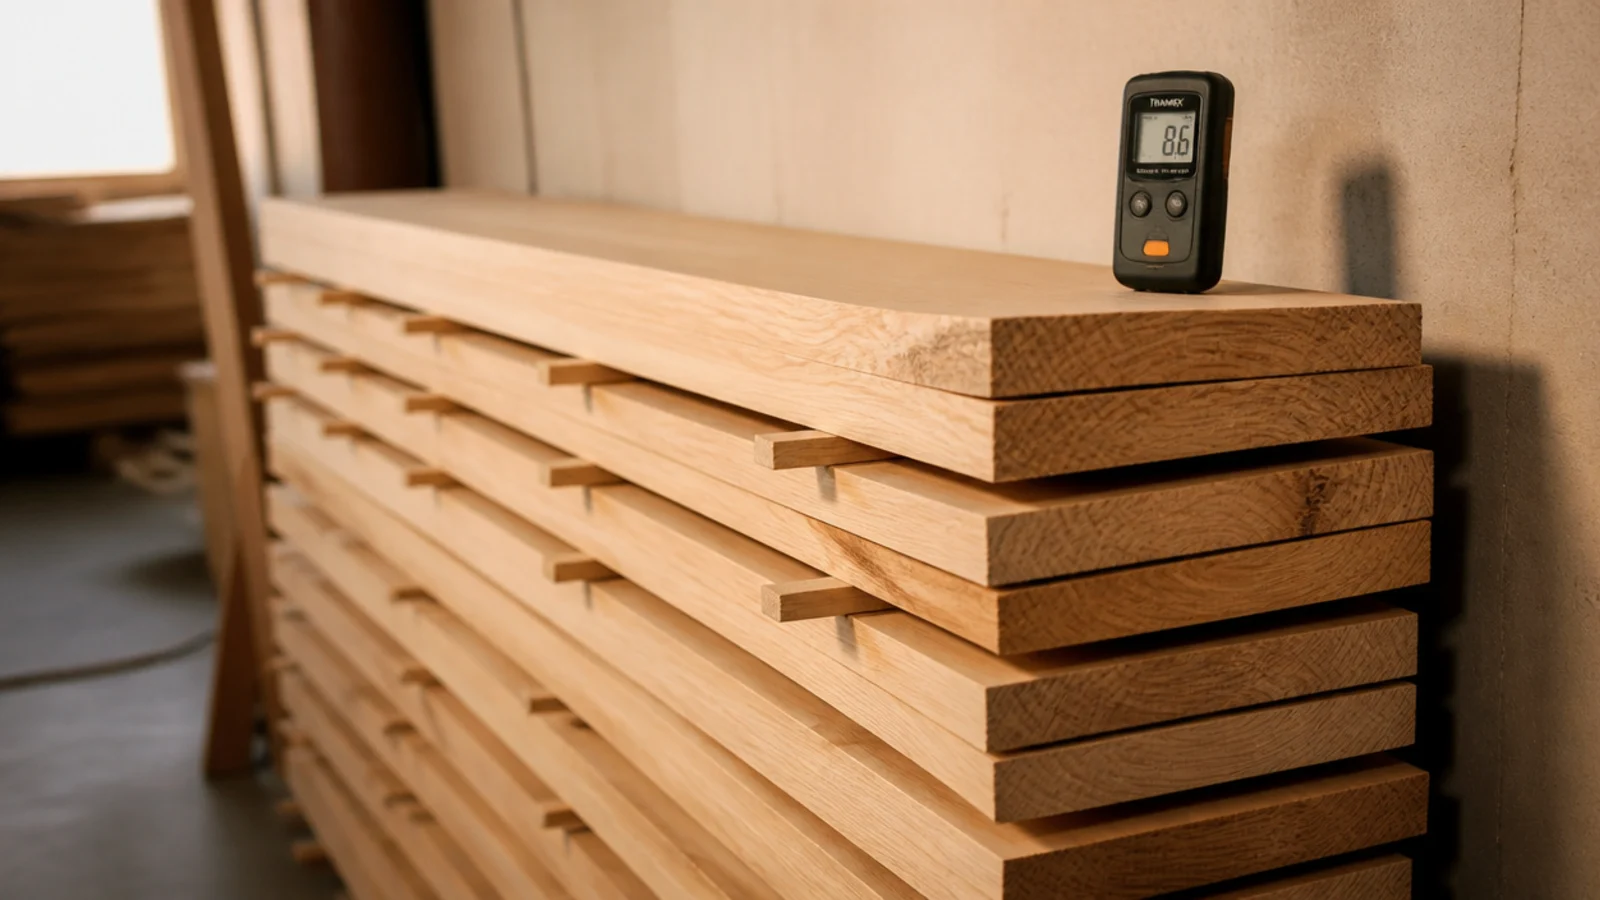
Stack the timber in the room it will live in, with thin stickers between each board so air circulates, for seven to ten days. Kiln-dried stock leaves the yard at 6 to 8 percent moisture and needs to settle to your house. Skipping this is why home-built tops cup a month after they are finished.
Step 5: Cut the top boards and joint the edges
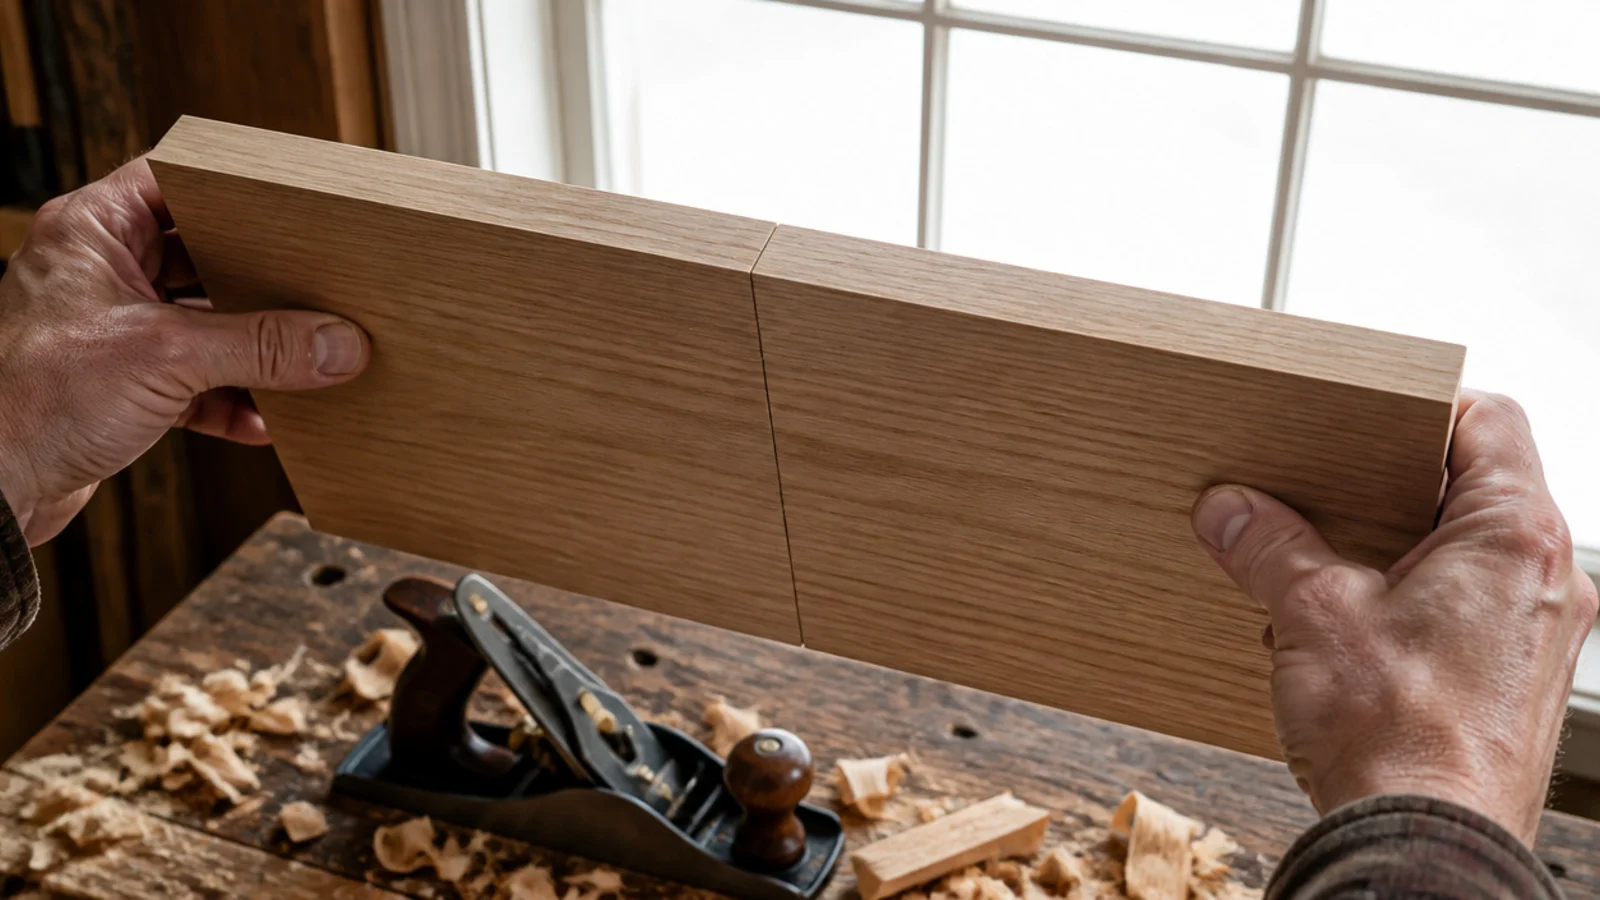
Rip the boards to width and joint the mating edges until two held together show no light between them. Alternate the growth rings across the panel, which balances any cupping. Mark the layout with a pencil triangle across the boards so nothing gets rotated during the glue-up.
Step 6: Glue up the top and clamp it
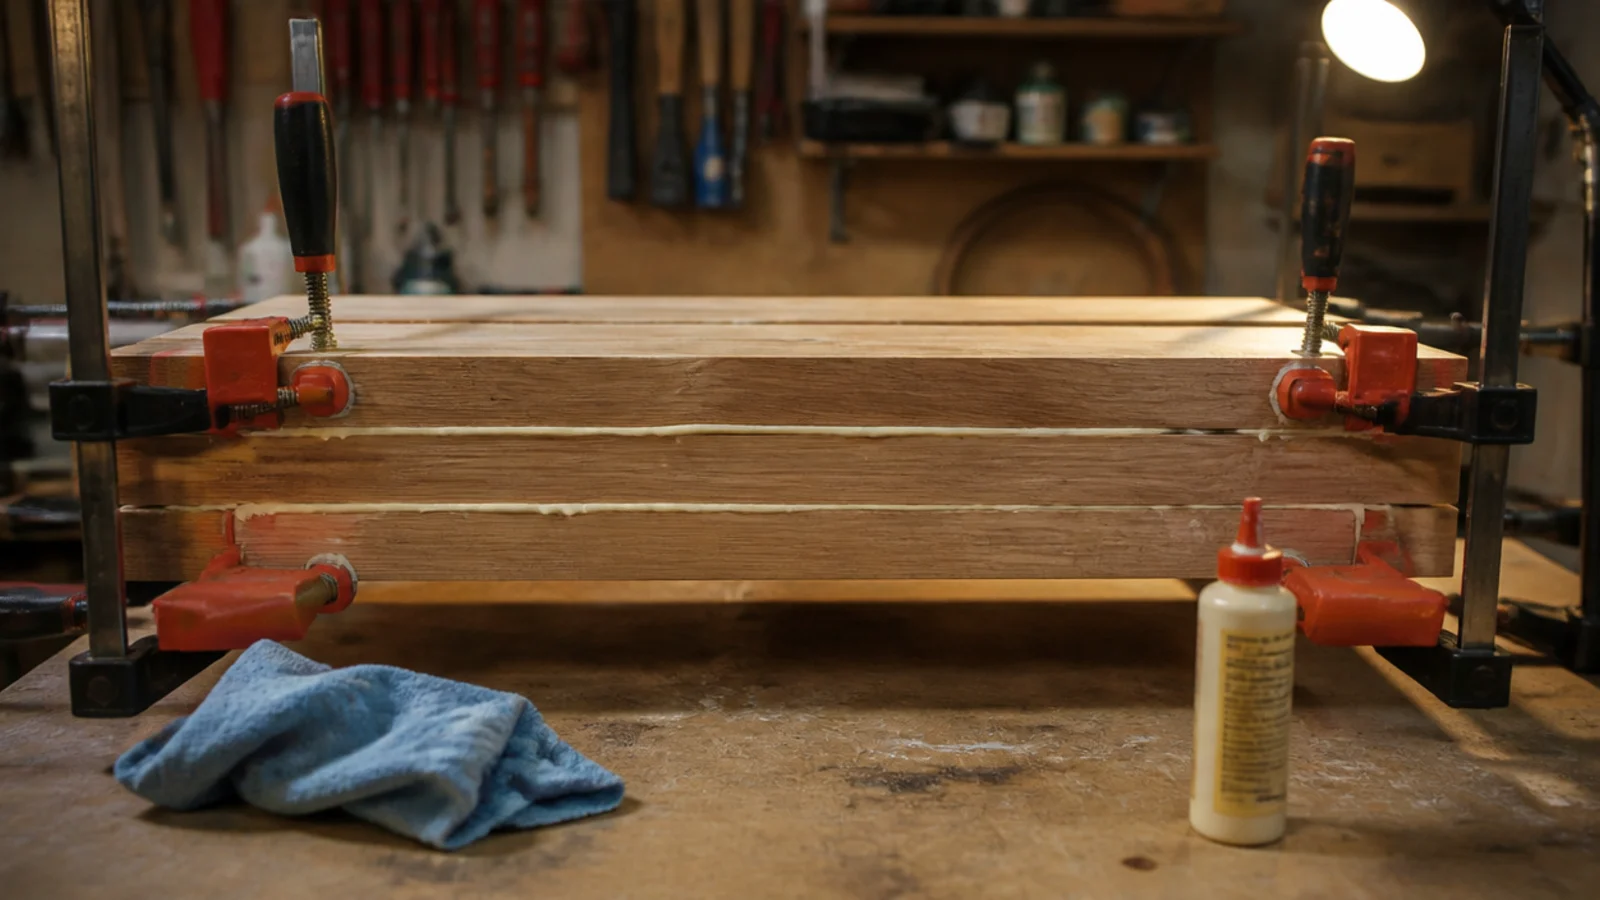
PVA gives you about five minutes of open time, so lay everything out and have all four clamps set before you open the bottle. Spread glue on both faces of every joint, clamp with alternating clamps above and below to keep the panel flat, and aim for even squeeze-out along the whole length. Leave it clamped 30 to 45 minutes and untouched for 24 hours.
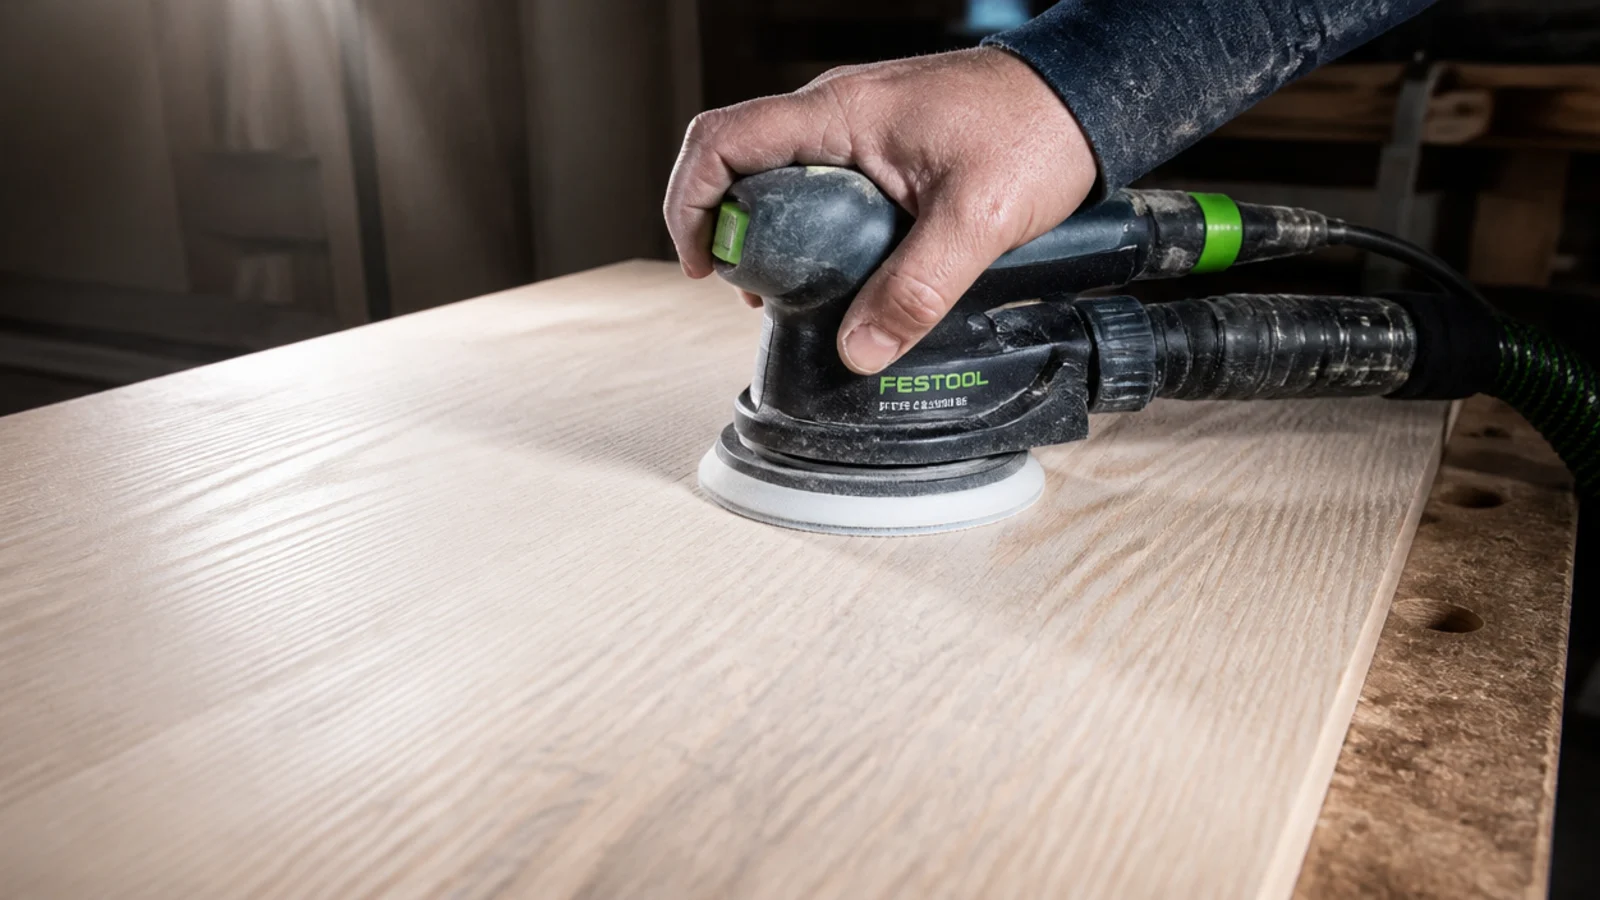
Step 7: Flatten the panel and sand it level
Scrape the hardened squeeze-out with a chisel rather than sanding it, because dried glue clogs abrasive instantly. Then work the panel flat with 80 grit, checking with a straightedge across the joints. Wear a dust mask — fine hardwood dust is an irritant and ash is one of the worse ones.
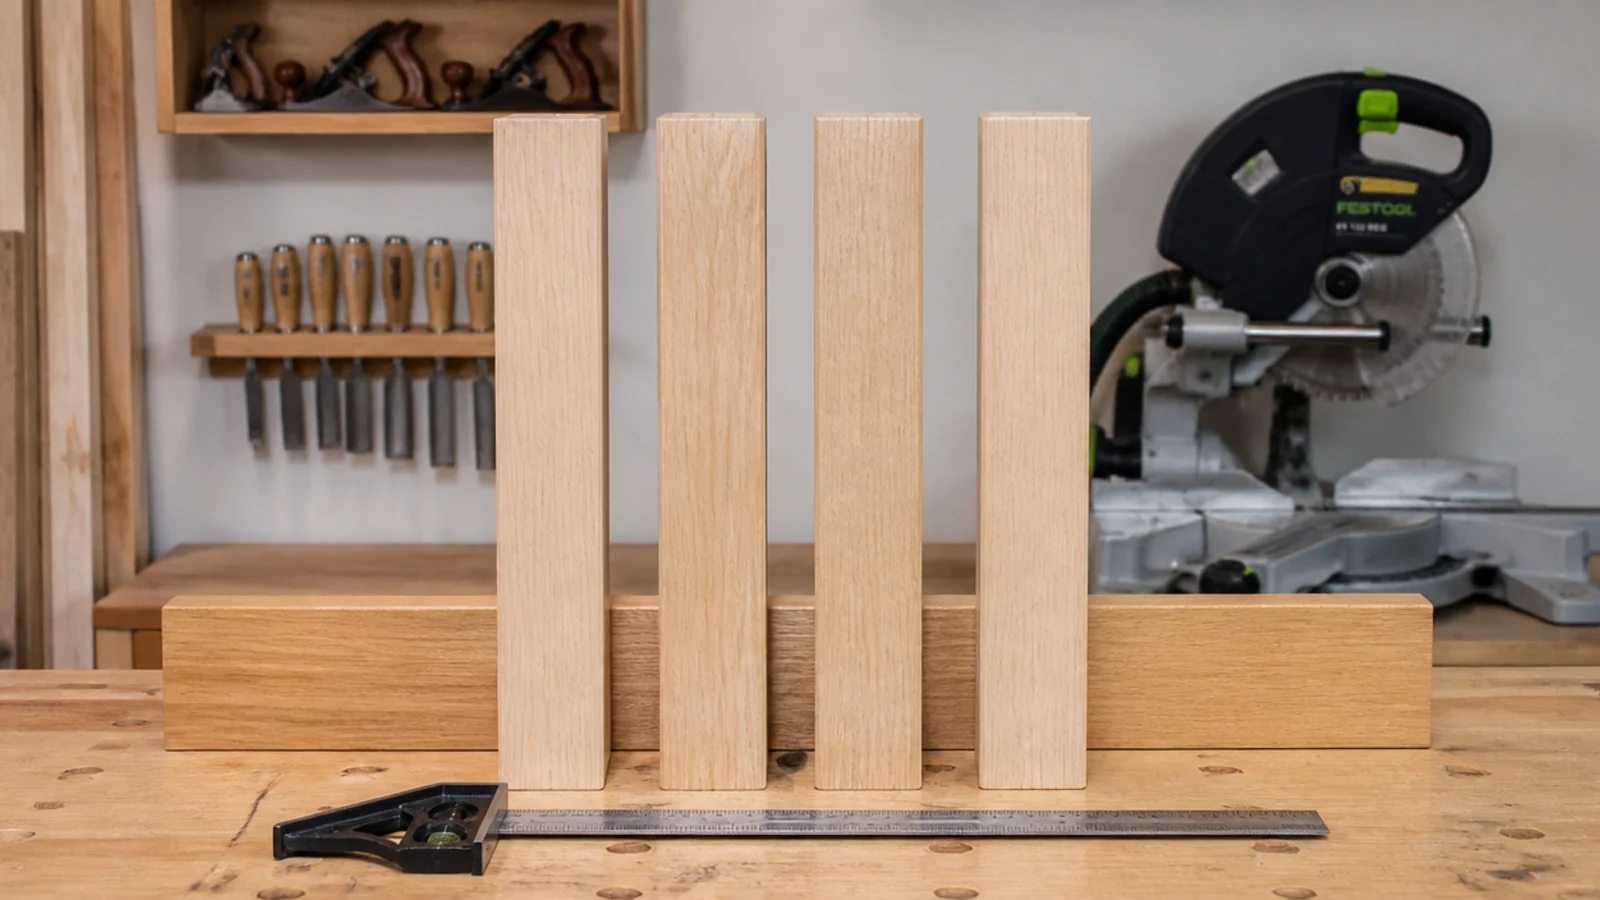
Step 8: Cut the legs and rails to length
Cut all four legs in a single saw setup with a stop block so they are identical to the tenth of a millimetre. Legs that differ by even a millimetre give you a rock that no amount of levelling fully hides. Cut the rails to length in the same session.
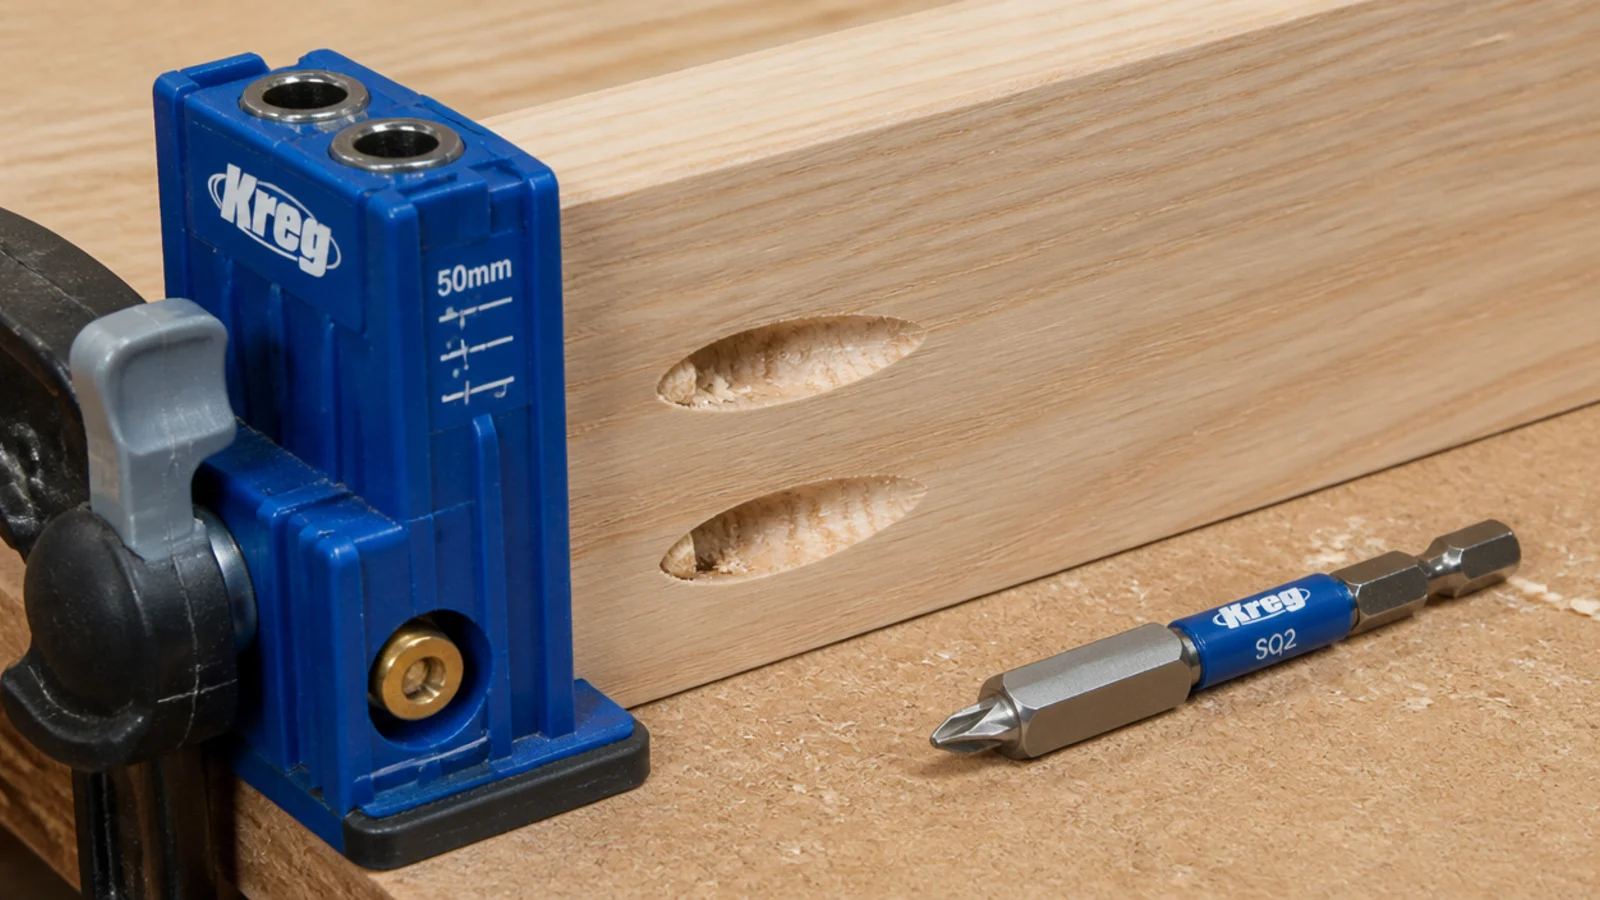
Step 9: Drill pocket holes and dry fit the base
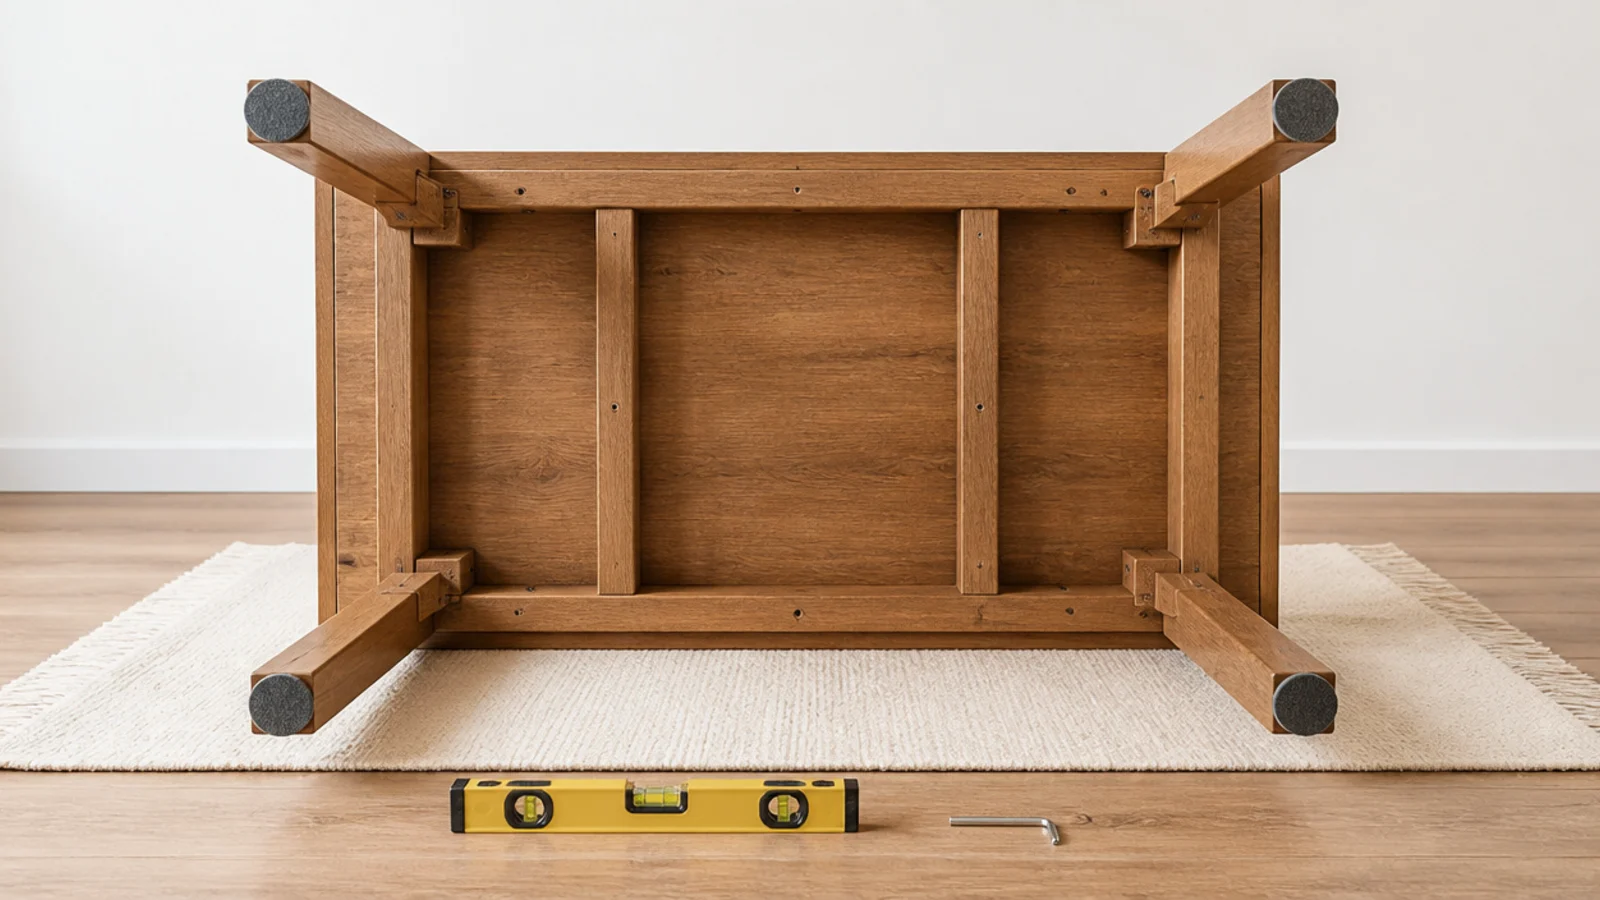
Two pocket holes per rail end, always drilled into the hidden inside face so nothing is visible from outside. Use 1-1/4 inch coarse screws for hardwood. Dry fit the whole base first and check every joint closes tight before any glue comes out.
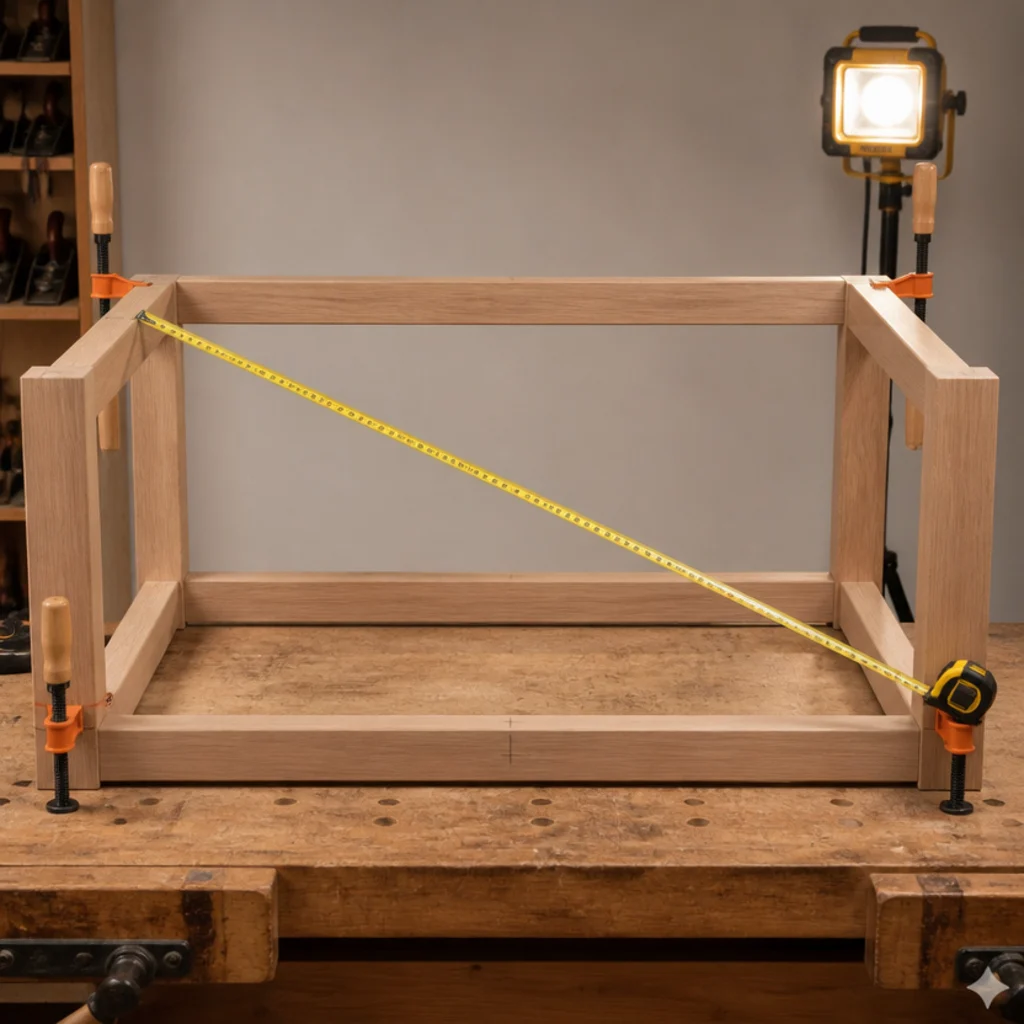
Step 10: Glue and screw the base square
Glue and drive the screws with the base flat on the bench, then measure both diagonals. Equal diagonals means square; a difference of more than a millimetre or two needs a gentle clamp across the long diagonal until it pulls in. Leave it 24 hours before handling.
Step 11: Fix the top with slotted fasteners
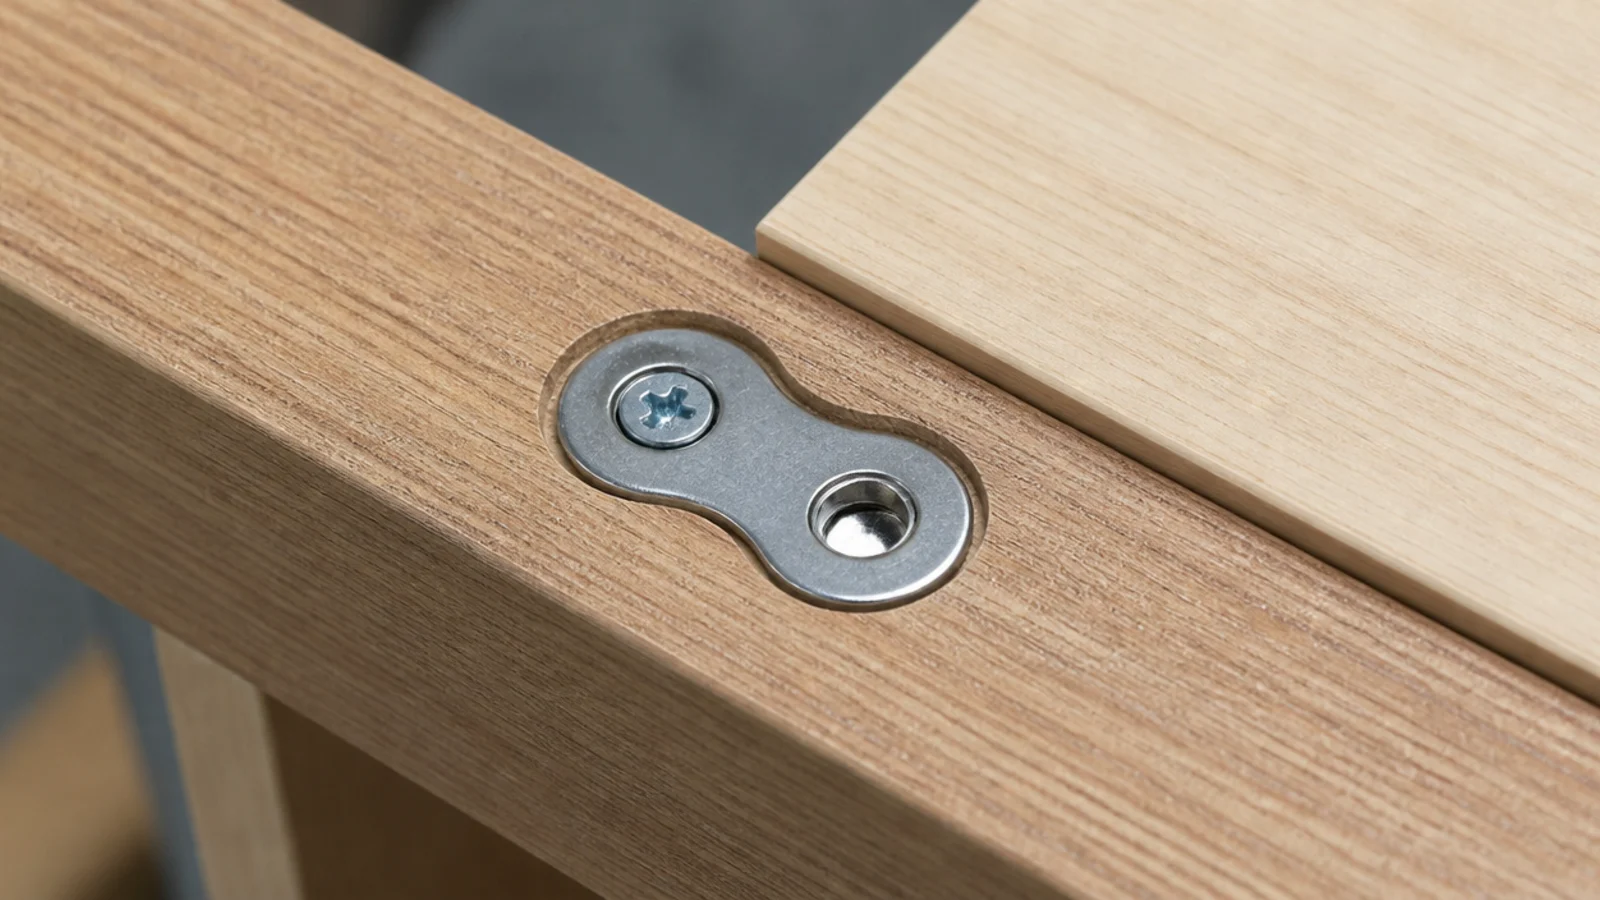
This is the step that decides whether the table survives. A 24-inch wide solid top moves roughly a quarter of an inch across the grain between a damp summer and a dry heated winter. Figure-eight fasteners in shallow recesses, or slotted brackets, let it slide. Screwing the top down rigidly at eight points will split it inside two years.
Step 12: Round the corners and ease the edges
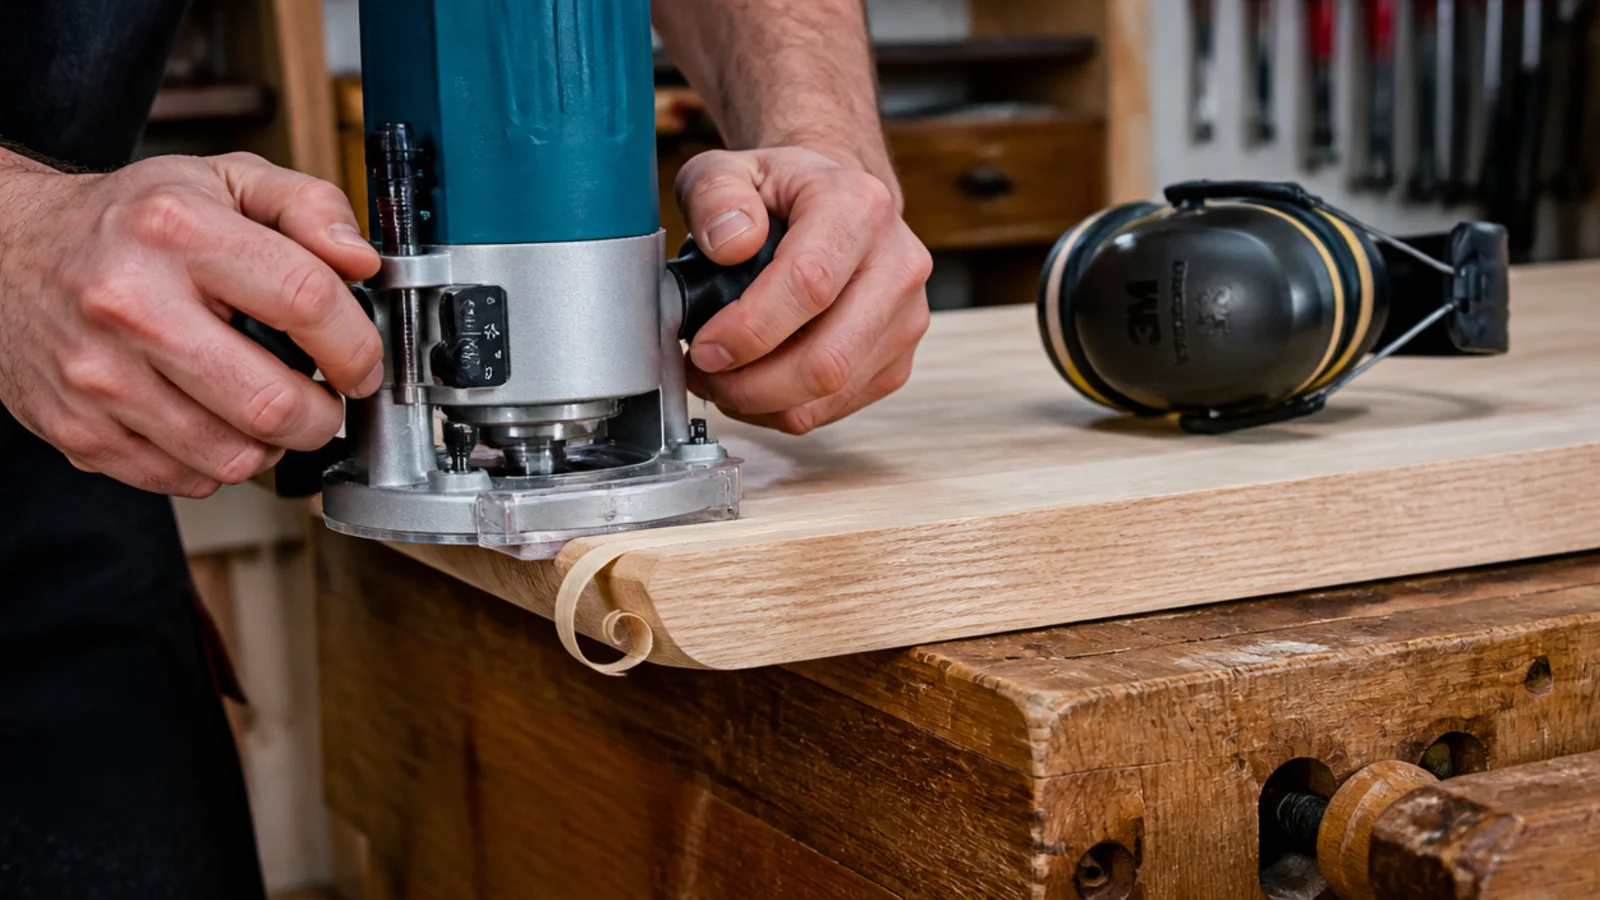
A 3/8 inch round-over on the top edges and a generous radius on the corners makes the table safer, stops the edges chipping and makes it feel finished under the hand. Wear eye and ear protection at the router, and take two shallow passes rather than one deep one.
Step 13: Sand through the grits to 220
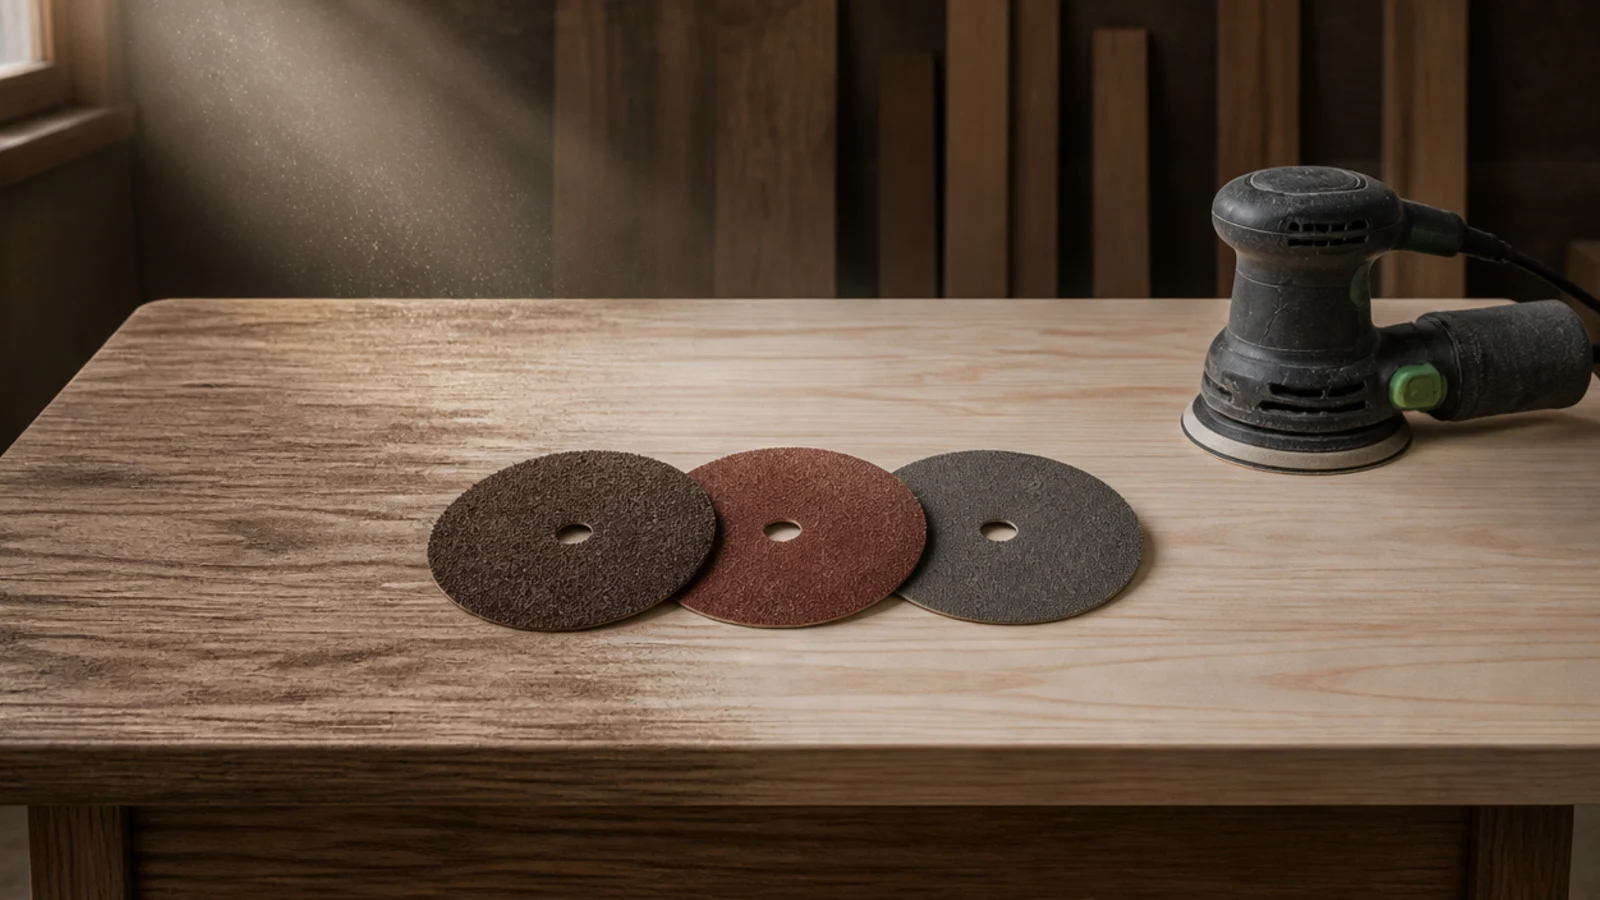
Eighty, 120, 180, then 220 for an oil finish. Do not skip a grade — each grit removes the scratches of the one before, and a jump from 80 to 180 leaves marks that only appear once the oil goes on, when it is too late. Vacuum between grits and wipe with a damp cloth before the last pass to raise the grain.
Step 14: Apply hardwax oil in thin coats
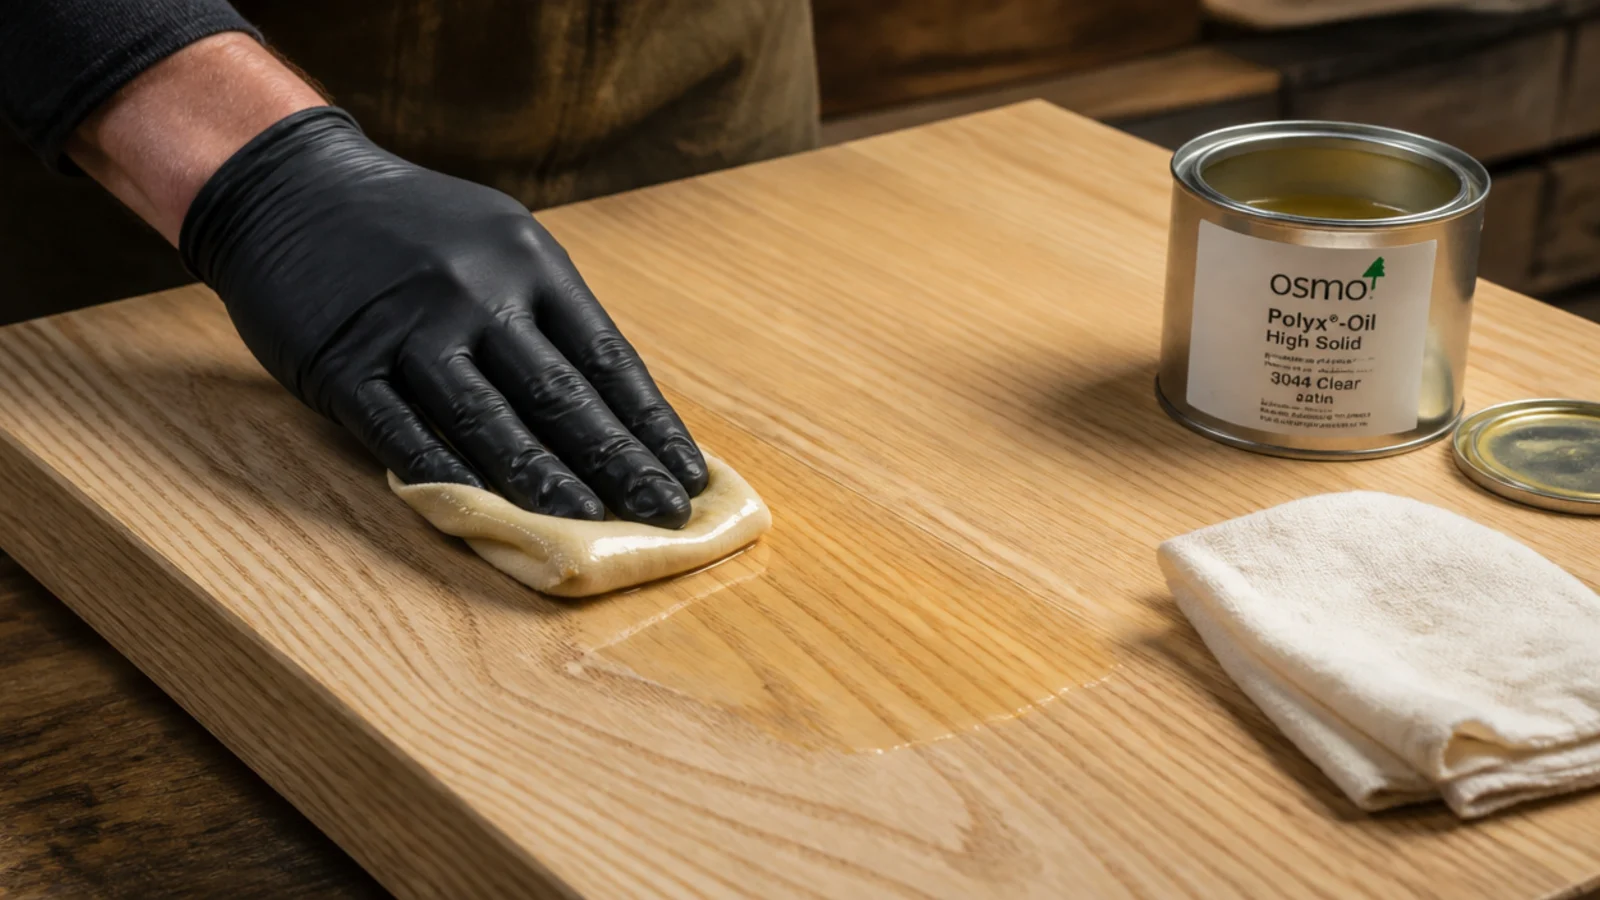
Wipe on a thin coat with a lint-free cloth, leave it 15 minutes, then buff off everything that has not soaked in. Eight hours between coats, two coats minimum and three for daily use, and about seven days to full hardness. Lay used oily cloths flat outdoors to dry before disposal, because bunched oil rags can generate enough heat to ignite.
Step 15: Fit pads, level it and put it in the room
Felt pads on every foot before it is ever slid, threaded glides if the floor slopes, and a spirit level across both diagonals. Then set it against your chalk line and check the gap to the sofa is still 16 to 18 inches. Give the finish a week before anything heavy goes on it. The styling guide picks up from here.
Pro Styling Rules
For a comparison of kit-built options if a full build is more than you want to take on, the DIY table kit review covers what comes in a box, and the main center table guide has the sizing rules in full. DIY headboard ideas uses the same timber and finishing techniques on a larger panel, and area rugs in living room covers what the finished table should stand on.
Mistakes to Skip
- Screwing a solid top rigidly to the base. Wide timber moves about an eighth of an inch per twelve inches of width through the year, and a top that cannot move will split rather than bend.
- Gluing up before the timber has acclimatised. Boards brought straight from a cold yard into a heated room will shrink after assembly, opening joints that were tight on the day.
- Sanding dried glue squeeze-out instead of scraping it. Glue clogs abrasive instantly and any residue left in the grain shows as a pale patch the moment oil is applied.
- Bunching oily rags in a bin. Hardwax and linseed oils cure exothermically, and a crumpled rag can generate enough heat to catch fire — lay them flat outdoors until stiff.
Frequently asked questions
What timber should a beginner use for a coffee table?
Ash or white oak if you want hardwood, or knotty pine if the budget is tight. Ash machines cleanly, takes oil beautifully and costs less than oak. Avoid anything green or reclaimed from outdoors for a first build, because moving timber will pull a flat top out of shape.
How long does wood glue need to be clamped?
Thirty to forty-five minutes under clamps for a standard PVA at room temperature, and twenty-four hours before the joint takes any real load. Open time is only about five minutes, so lay out the boards, have every clamp ready, and spread glue on all faces before you start.
Why does a solid timber top need slotted fixings?
Because a wide solid top expands and contracts across the grain by roughly an eighth of an inch for every twelve inches of width through the year. Screwing it rigidly to a base stops that movement and the top splits. Figure-eight fasteners or slotted brackets let it slide.
How many coats of hardwax oil does a table top need?
Two thin coats for most rooms and three for a table that takes daily use. Wipe each one on, leave it fifteen minutes, then buff off everything that has not soaked in. Allow eight hours between coats and about seven days before the finish is properly hard.
What does a DIY wooden coffee table cost to build?
Roughly one hundred and eighty to three hundred and fifty dollars in hardwood, or sixty to a hundred in pine, plus about forty for oil and hardware. That compares with three hundred to six hundred for a comparable solid timber table bought finished.
Want more like this? Browse all 15 center table living room guides — they all use the same measurements and budget tiers.
Pin it for later
Save this to your Center Table Living Room board
Pin it now so it is waiting for you when the tape measure comes out — and so the next person hunting for this idea can find it too.
Save this pinKeep going
More ideas worth saving while you have the tape measure out.