Center Table Living Room · Review
15 DIY Center Table For Living Room Kits Compared

Some links on this page may become affiliate links in future. I only recommend pieces I would put in my own home — see the affiliate disclosure.
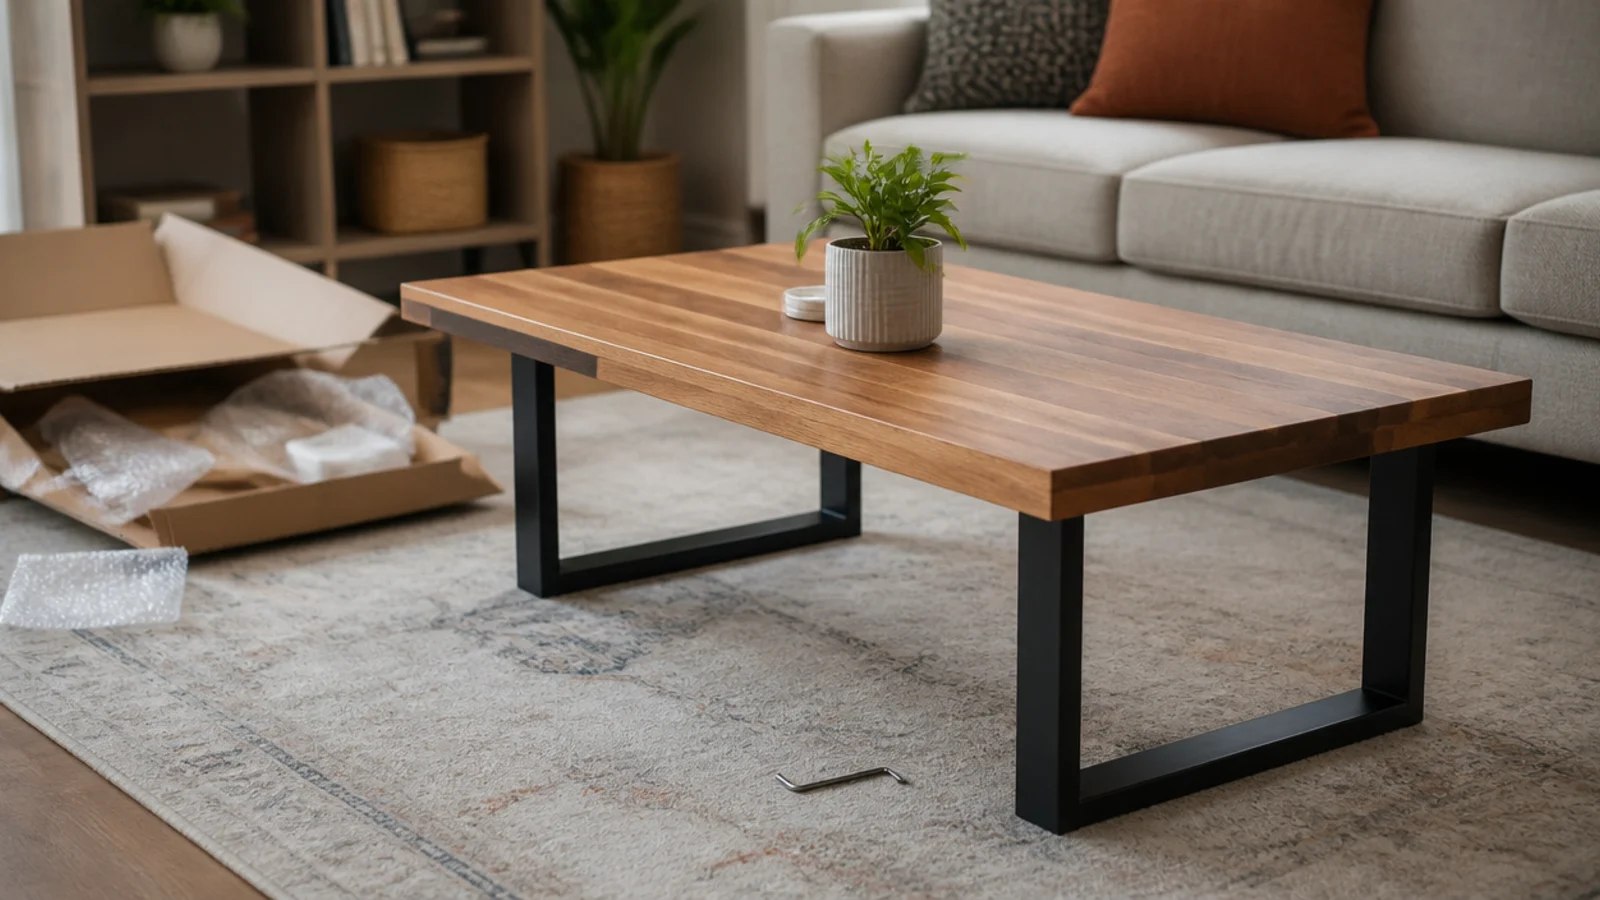
Building a coffee table from scratch needs a saw, a jointer and four long clamps. Building one from a kit needs a screwdriver and an afternoon, which is why almost every first table starts here. A DIY center table for living room use is mostly a question of what you bolt to what: a leg set under a ready-made top, a flat-pack box, or a frame waiting for a slab. Below is every route worth considering, compared on the numbers, plus the seven I would build again.
In this guide9 sections — tap to openHide
- 1.How I Chose Each DIY Center Table For Living Room Kit
- 2.The sixteen-inch steel hairpin leg set
- 3.The welded square tube frame kit
- 4.The birch plywood plinth box kit
- 5.The butcher block top with a base kit
- 6.The live-edge slab and flat bar leg pair
- 7.The concrete casting mould kit
- 8.The nesting frame pair kit
- 9.What to Check Before You Buy
How I Chose Each DIY Center Table For Living Room Kit
I judged everything on four things, in this order.
- What the fixing actually goes into. This is the whole review. Four hairpin legs put the entire load through four small mounting plates and sixteen screws, which is fine in three-quarter inch solid timber or plywood and hopeless in particleboard. Closed frames spread that load through every rail and will carry a stone top; leg sets will not.
- Whether the finished height lands right. Kits are sold at nominal heights and then you add a top. A 16-inch leg plus a 1.5-inch butcher block puts you at 17.5 inches before glides, which is right beside a standard sofa and two inches too tall beside a low modern one. Measure the compressed cushion first and work backwards.
- Real build time including drying. Assembly time is what gets advertised. The honest number includes filling, sanding and two or three coats of oil at eight hours apart, which turns a two-hour build into a two-day project. Concrete pushes that to four weeks before full strength.
- What it costs against buying finished. A kit only makes sense if it beats a bought table on price, quality or size. Leg sets win on price and on being able to choose your own top; flat-pack plinths win on getting a shape you cannot buy; concrete and slab builds win on nothing except being exactly what you wanted.
I did not weight brand or packaging. Everything below is described by type and construction, because the same parts appear under a dozen different labels and the construction is what you are buying.
Price bands: $ under $80 · $$ $80–$200 · $$$ $200+. Build time excludes finish drying.
| Kit type | Best for | Build time | Price |
|---|---|---|---|
| Steel hairpin leg set, 16 inch | A first table on a solid top | 45 min | $ |
| Tapered timber leg set with plates | A warmer mid-century look | 1 hr | $ |
| Welded square tube frame | Heavy stone or thick timber tops | 30 min | $$ |
| Flat bar U-shaped leg pair | Live-edge and slab tops | 30 min | $$ |
| Trestle style A-frame legs | Long narrow tops over 54 inches | 1 hr | $$ |
| Threaded pipe leg kit | An industrial look on a budget | 1.5 hr | $ |
| Hardwood plinth flat-pack | A solid block with no visible legs | 2 hr | $$$ |
| Birch plywood mitred box kit | A quiet modern plinth form | 2–3 hr | $$ |
| Waterfall veneer flat-pack | Continuous grain over the corner | 2 hr | $$ |
| Live-edge slab plus leg set | One-off tops with natural edges | 1 hr | $$$ |
| Butcher block top plus base | Skipping the whole panel glue-up | 1 hr | $$ |
| Concrete casting mould kit | A cast top you cannot buy | 4 weeks | $$ |
| Terrazzo resin pour kit | Colour and aggregate in a small top | 1 week | $$ |
| Crate conversion with casters | The cheapest usable table there is | 1 hr | $ |
| Nesting frame pair kit | Two tables from one flat box | 1.5 hr | $$ |
Seven of those are the ones I keep coming back to.
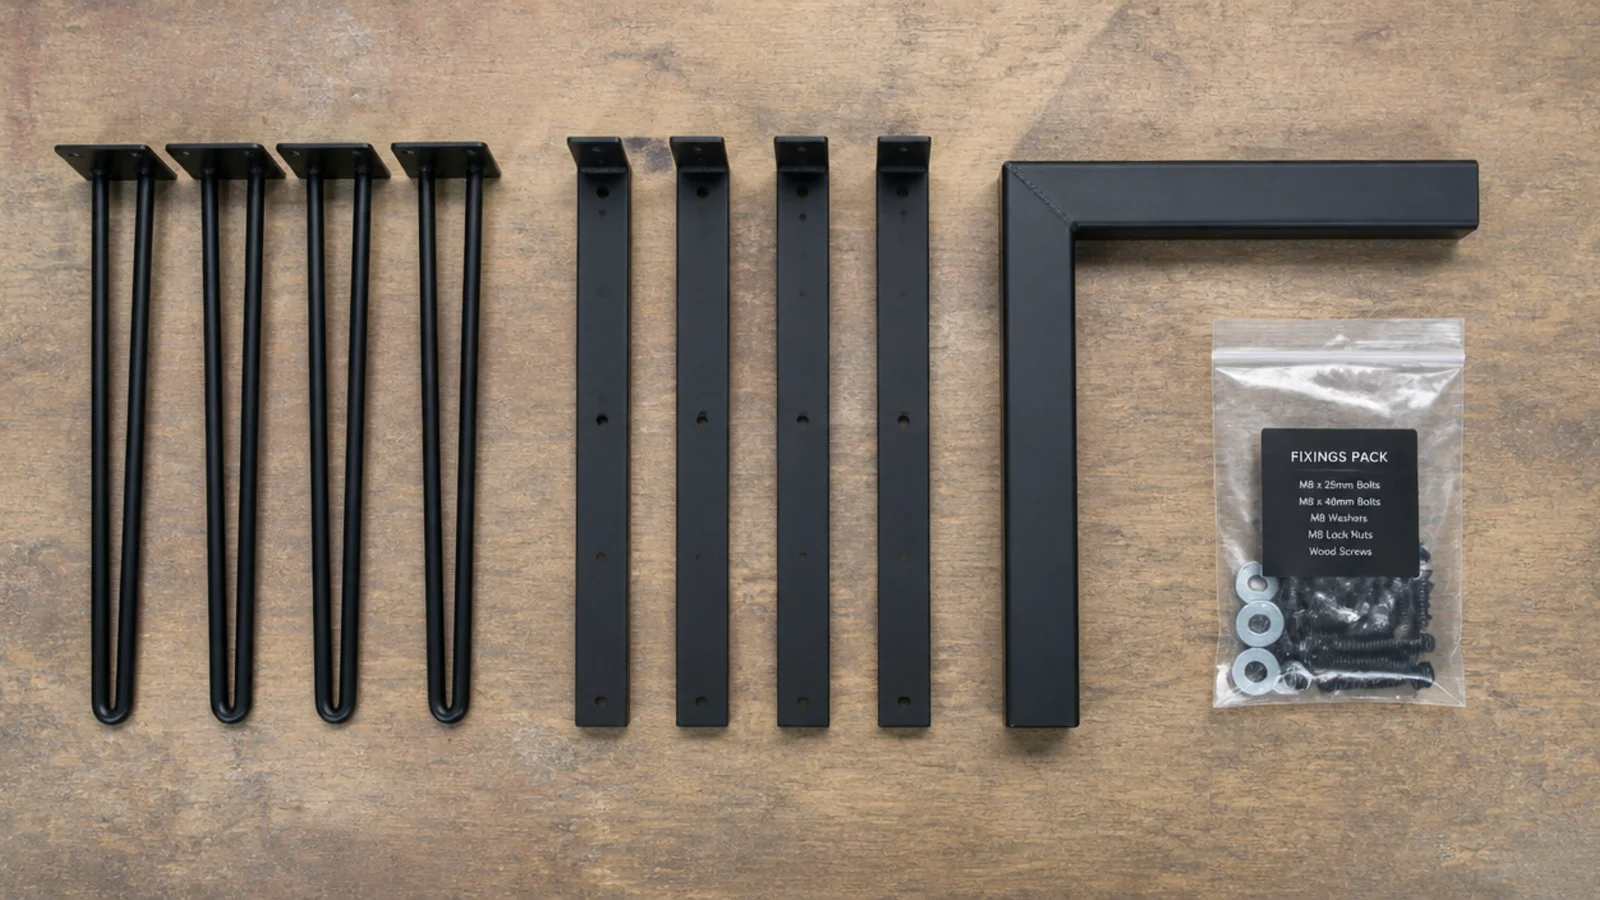
1. The sixteen-inch steel hairpin leg set
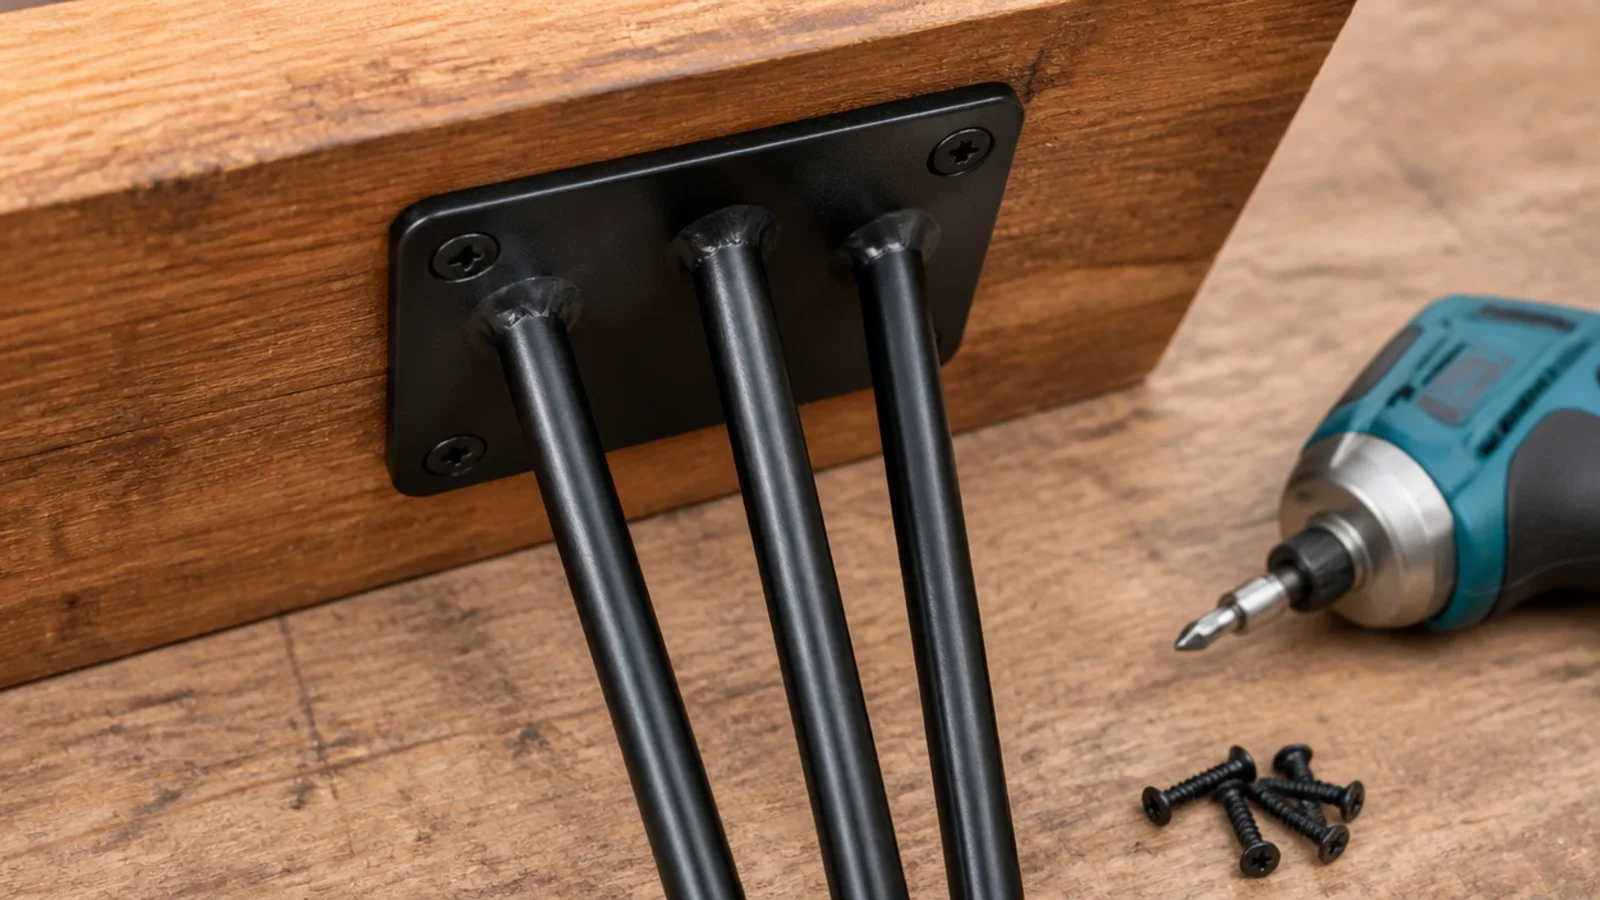
The default entry point, and it deserves to be. Three or four rods bent from steel, welded to a 4-inch mounting plate, powder coated, and fitted with four screws each.
Rod diameter is the specification that matters. Three-eighths of an inch is fine under a top up to about 36 inches; go to half an inch for anything longer or heavier than a butcher block. Thin rods splay under load and never spring back. The plates need three-quarter inch solid timber or plywood to bite into — in particleboard the screws strip the first time somebody drags the table. Expect $40 to $90 for a set of four.
2. The welded square tube frame kit
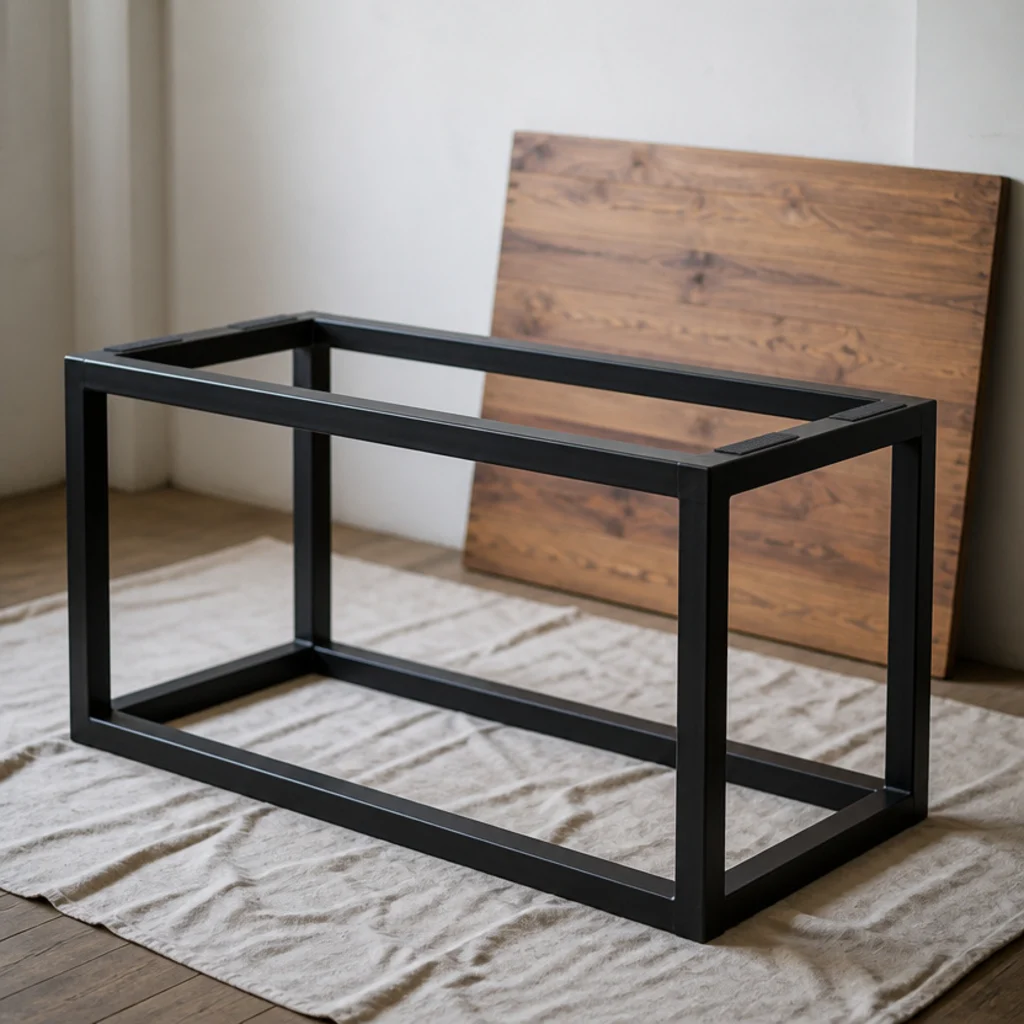
If the top is stone, thick timber or anything over 50 pounds, this is the only kit on the list I would trust. A closed frame in 25mm powder-coated box section spreads the load through every rail instead of through four corner plates.
Look for fully welded and ground corners rather than bolted ones, and for felt or rubber pads on the top rails so the slab is never resting on bare steel. Most accept a top from 36 to 54 inches. Assembly is genuinely half an hour because the frame arrives in one piece. Around $90 to $180.
3. The birch plywood plinth box kit
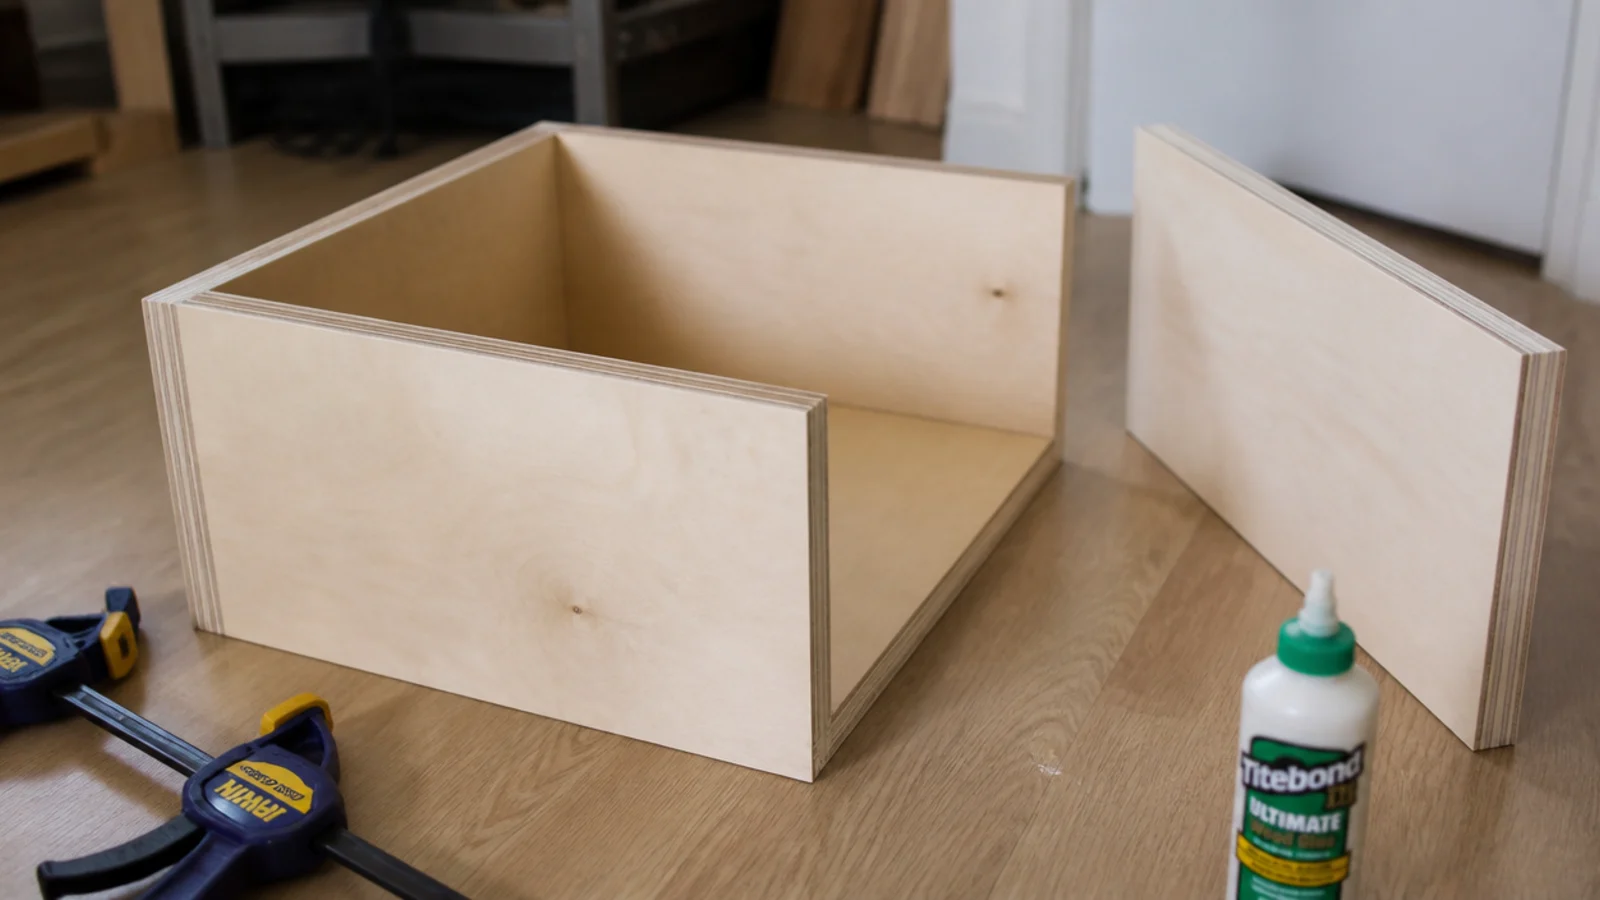
A CNC-cut flat pack in 18mm birch ply that assembles into a mitred box with no visible legs. It gives you a form that is expensive to buy and simple to build, and the layered ply edge is a detail in itself if you leave it exposed.
The glue-up is the whole job: dry fit everything, check both diagonals for square, then glue and clamp in one go. Fill any small gaps, sand to 180, and finish with hardwax oil or a tinted lacquer. Budget two to three hours plus finishing across a couple of days, and $120 to $220 for the kit.
4. The butcher block top with a base kit
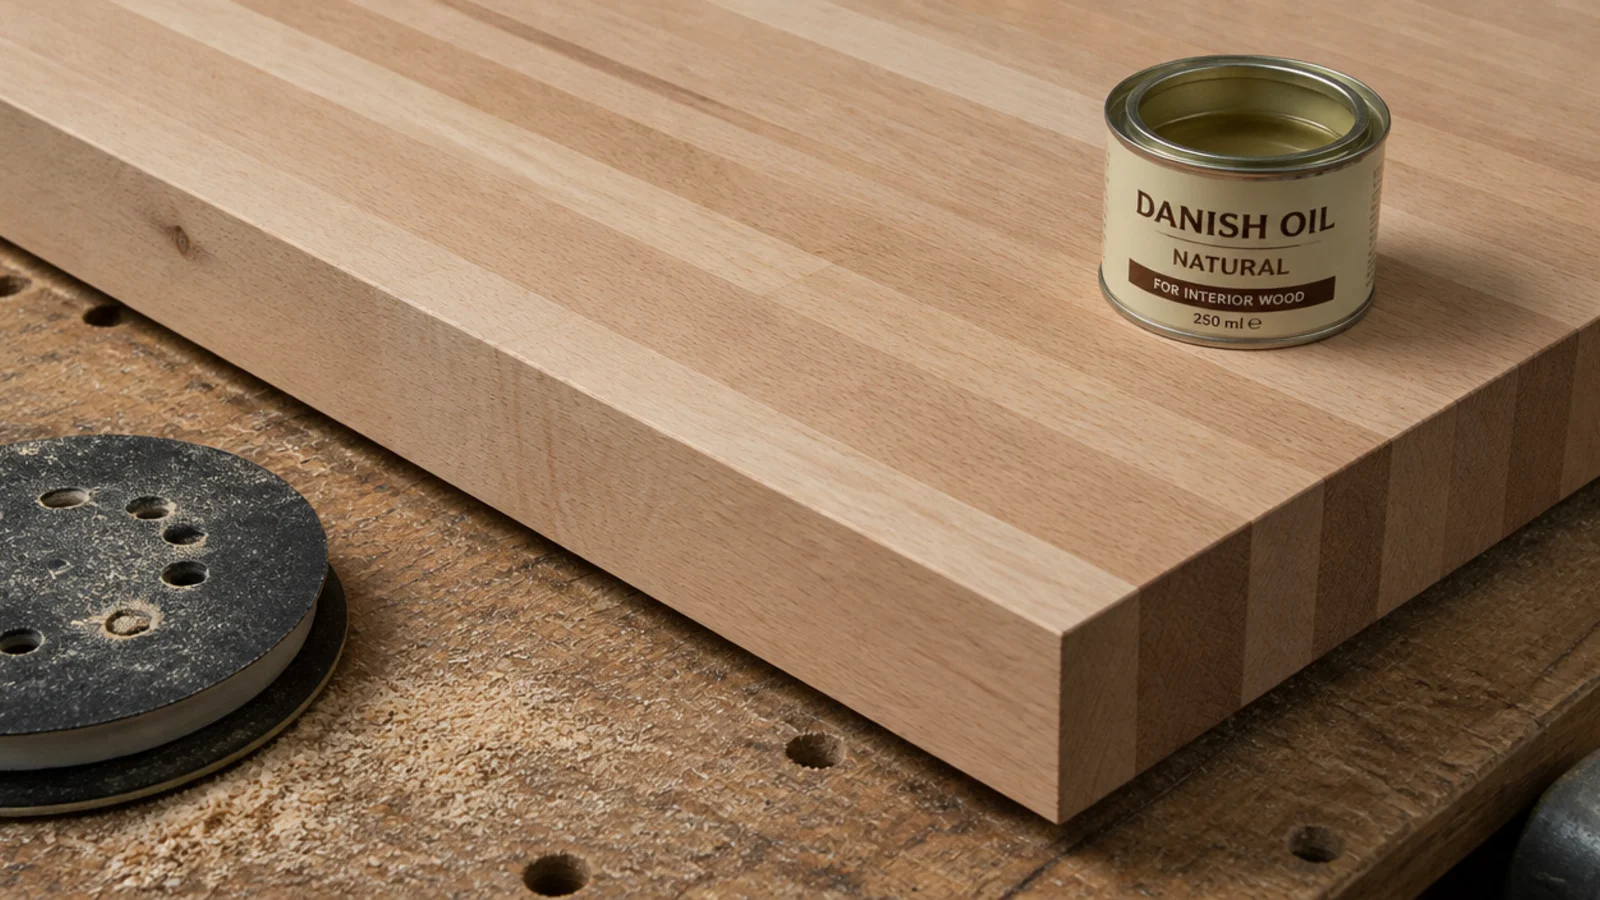
The shortcut that removes the hardest part of a timber table, which is flattening a glued panel. A ready-made beech, oak or acacia block at 25 to 38mm thick, paired with any leg set or frame.
Blocks arrive sanded but unfinished, so plan on two or three thin coats of hardwax oil, buffed off after 15 minutes each and left eight hours between. Check the underside is flat with a straightedge before you fix anything to it. A 48 by 25 inch blank runs $80 to $200 depending on species.
5. The live-edge slab and flat bar leg pair
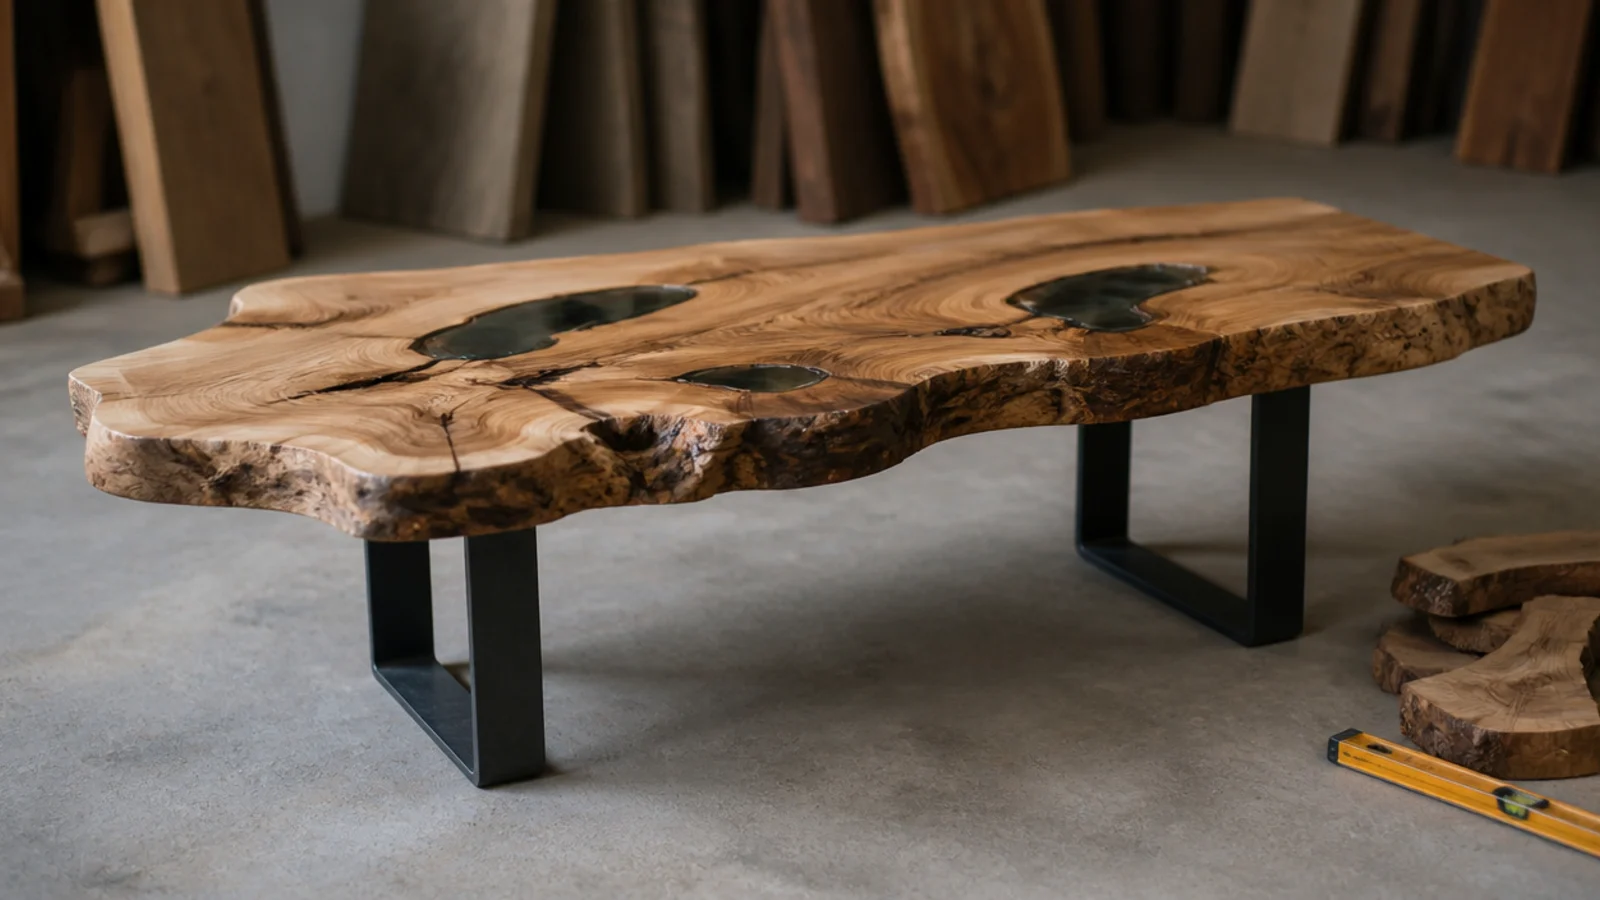
Two U-shaped legs in 40 by 10mm flat bar, bolted to a single slab. It is the fastest route to a table nobody else has, and the leg pair costs $70 to $140.
The slab is where the risk sits. Insist on kiln dried to 6 to 8 percent moisture content and check that any voids have been filled with resin or bridged with butterfly keys. Green or air-dried timber will cup and split within a year in a heated room. Fix through slotted holes so the slab can move across the grain — the full build sequence in the wooden table guide explains why that matters.
6. The concrete casting mould kit
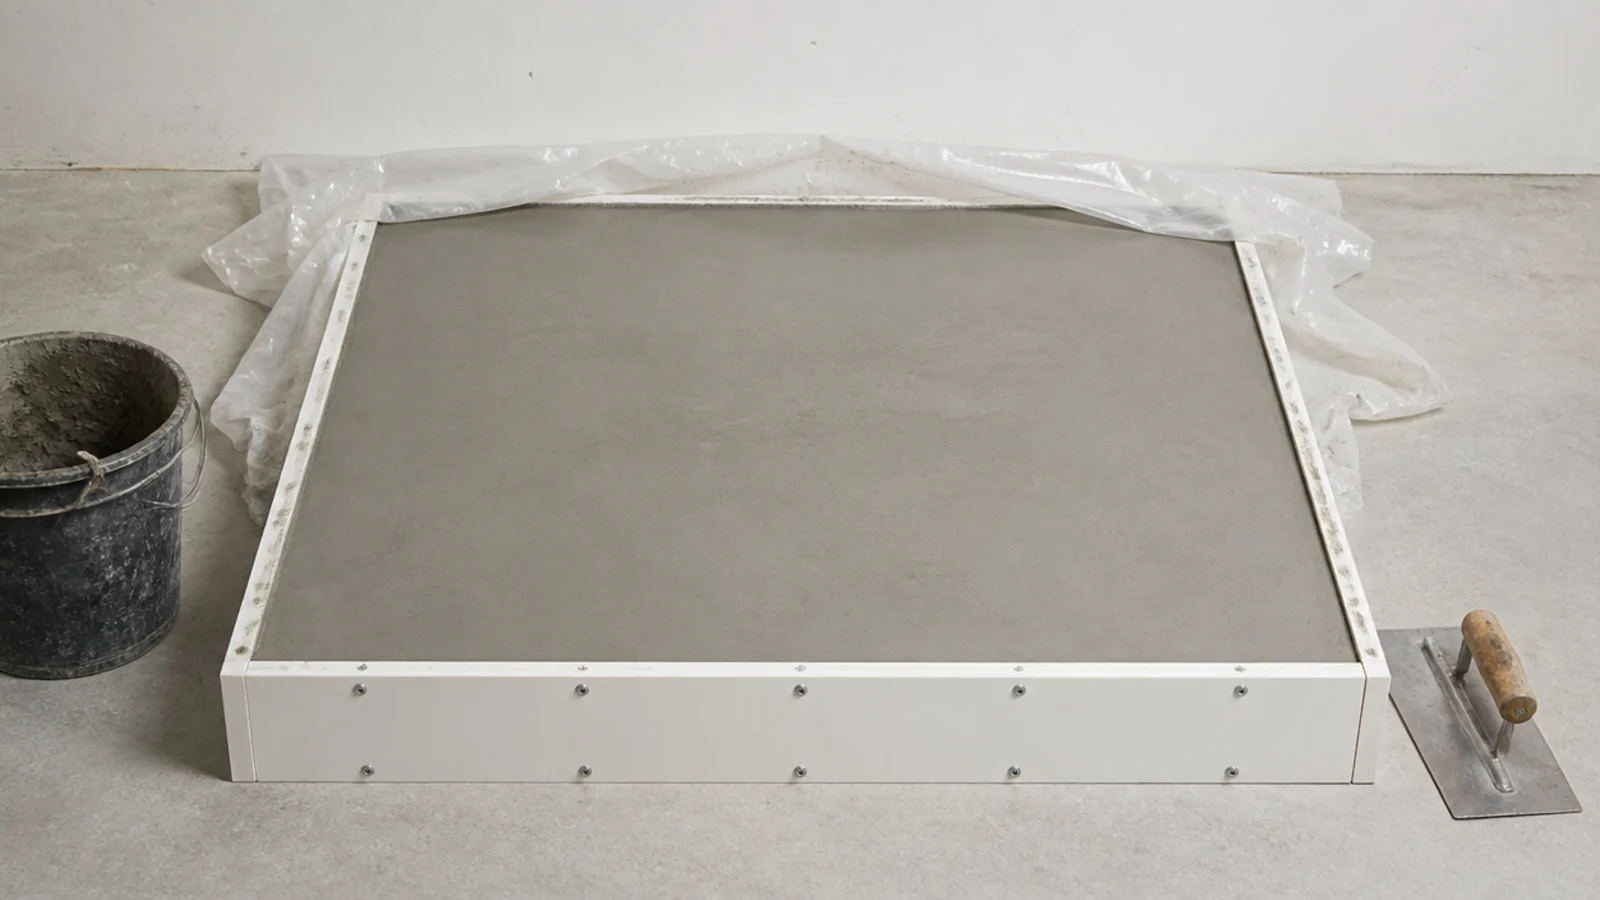
A melamine mould, a bag of glass-fibre reinforced mix and a release agent. You get a cast top with a slightly imperfect surface that no shop sells, in exactly the dimensions you want.
Plan around the cure rather than the pour. Strip the mould at about seven days and expect full strength at twenty-eight. Cast at 1.5 inches and reckon on roughly 18 pounds per square foot, so even a 30-inch square top passes 100 pounds and needs the tube frame rather than a leg set. Seal it with a penetrating sealer, never a film. Around $90 to $160 for mould and mix.
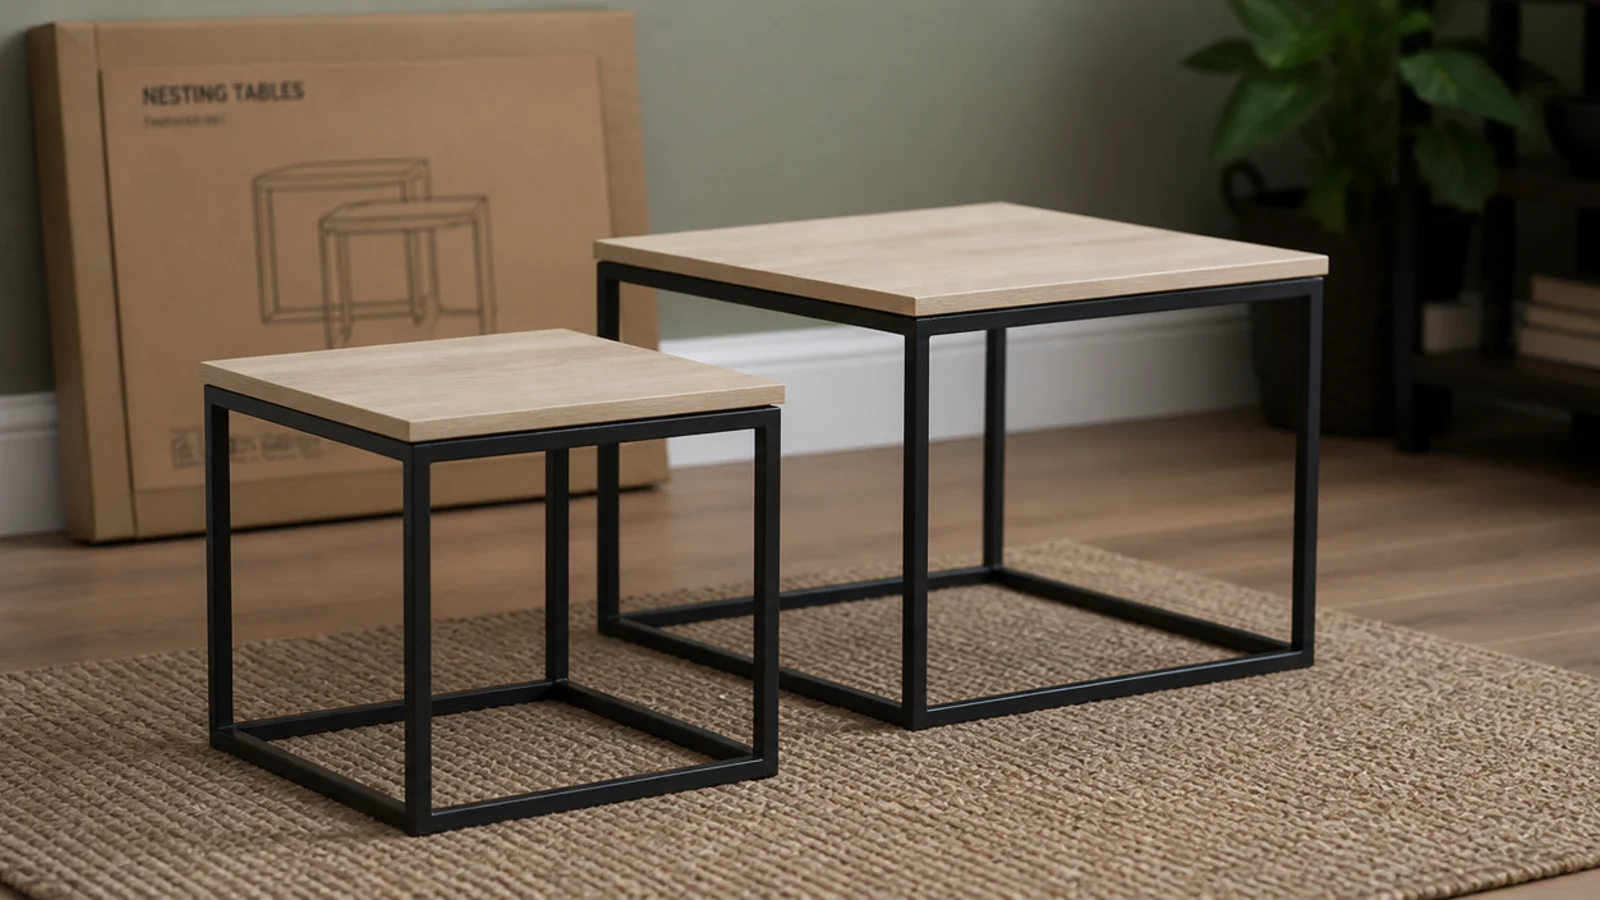
7. The nesting frame pair kit
Two powder-coated frames in graduated sizes, arriving flat, taking two tops. It is the most useful kit on this list for a small flat, because the pair stores as one footprint and separates when the room fills up.
Check the height difference between the two frames before ordering — three inches or less keeps both usable beside seating, while a six-inch step leaves the smaller one stranded below every sofa arm. Also check the frames actually clear one another when nested, allowing for the thickness of your chosen tops. Around $110 to $190 for the pair, which is less than most single tables of comparable build and gives you two surfaces rather than one.
What to Check Before You Buy
Measure the sofa seat, then work backwards. Add the leg height, the top thickness and any glide, and compare the total with your compressed cushion measurement. You want to land within one to two inches, ideally just below. This is the single most common reason a kit-built table looks wrong, and it cannot be corrected afterwards without cutting steel.
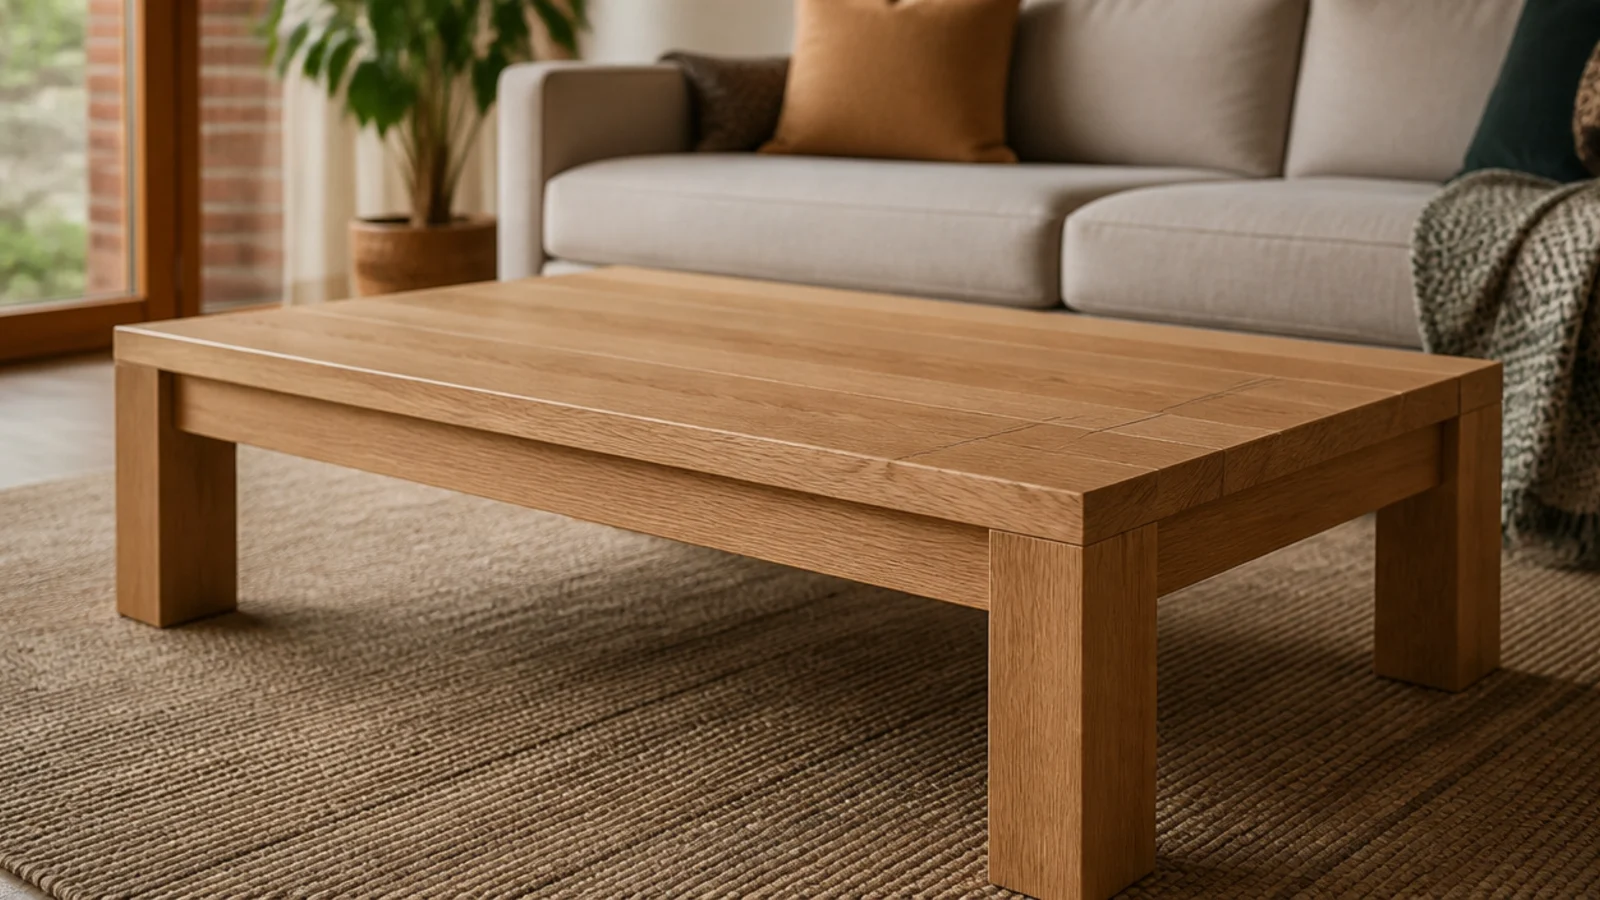
Check what the fixings go into. Leg sets need three-quarter inch solid timber or plywood. If your intended top is particleboard, laminate or a hollow-core door blank, the mounting screws will strip. Either change the top or change to a frame that carries the load through rails.
Weigh the top before choosing the base. Butcher block at 1.5 inches runs about 4 pounds per square foot, stone at three-quarter inch about 10.5, and cast concrete at 1.5 inches around 18. Anything over about 50 pounds wants a welded frame rather than four bolted legs.
Add the finishing time to the build time. Two hours of assembly plus three coats of oil at eight hours apart is a two-day project, not an afternoon. Concrete is a month. Knowing that in advance is the difference between a finished table and a half-built one behind the sofa. Book the drying time into the weekend the way you would book the assembly.
Confirm the length against the room, not the sofa alone. Two-thirds of the sofa width is the target, with 16 to 18 inches of gap at the front and 30 to 36 inches on any walking route. The main sizing guide has the full measuring sequence, and the modern picks guide covers the construction details worth matching if you later buy rather than build. For bracket and fixing load ratings in the same room, floating shelf ideas is the closest comparison, and modern TV cabinets covers the flat-pack joinery questions on a larger carcass.
Frequently asked questions
What rod diameter should hairpin legs be?
Three-eighths of an inch for a top up to about thirty-six inches, and half an inch for anything longer or heavier. Thin rods splay under a stone or thick timber top, and once a hairpin has bent outward it never comes back to its original angle.
What can you screw hairpin legs into?
Solid timber or plywood at least three-quarters of an inch thick. Particleboard and hollow-core panels strip out the moment somebody drags the table, because all the load goes into four small mounting plates rather than being spread through a frame.
How long does a plywood plinth kit take to build?
Two to three hours for the assembly and another two across a couple of days for filling, sanding and finishing. The cutting is already done, so the time goes into glue-up, squaring the box and waiting for coats rather than into machining anything.
Is casting a concrete table top realistic at home?
It is, but plan for time rather than difficulty. A cast top can be stripped from the mould after about seven days and reaches full strength at twenty-eight. Reckon on eighteen pounds per square foot, so a small top still needs two people and a base rated for it.
Is a kit cheaper than building from scratch?
Usually about the same in materials but far cheaper in tools. A leg set and a ready-made top removes the need for a saw, a jointer and clamps, which is what makes kits sensible for a first table rather than any saving on the parts themselves.
Want more like this? Browse all 15 center table living room guides — they all use the same measurements and budget tiers.
Pin it for later
Save this to your Center Table Living Room board
Pin it now so it is waiting for you when the tape measure comes out — and so the next person hunting for this idea can find it too.
Save this pinKeep going
More ideas worth saving while you have the tape measure out.