Utility Room Ideas · Listicle
25 Simple Utility Room Shelving Ideas For Renters

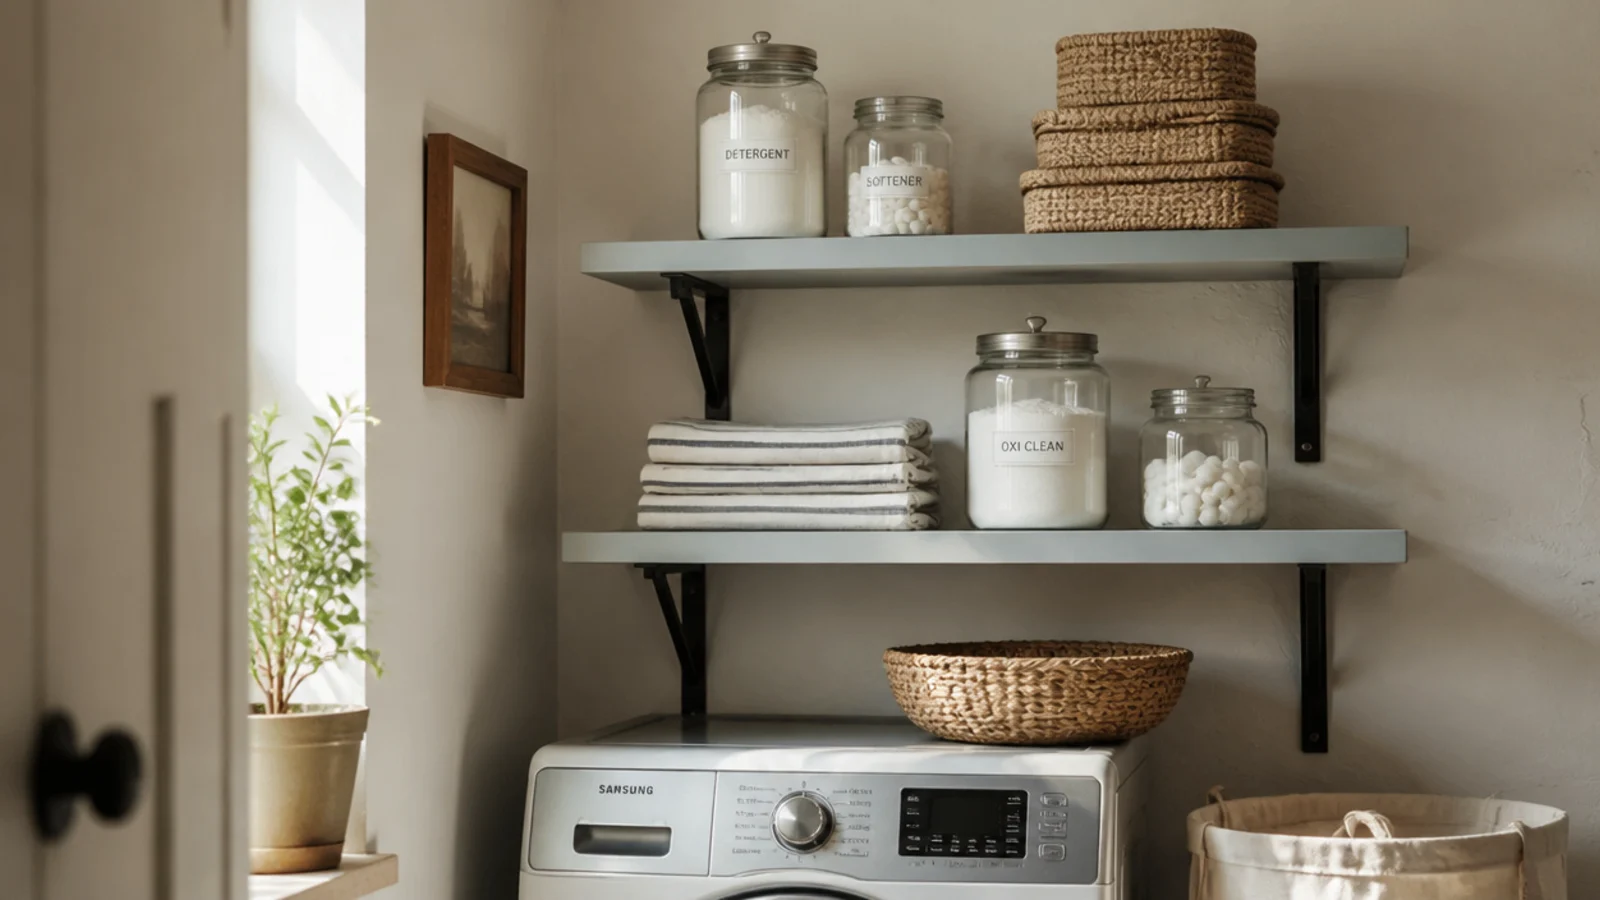
Renting changes the question. It stops being what looks best on the wall and becomes what holds 30 pounds of detergent for two years and then leaves four holes you can fill with a knife and a dab of paint. The utility room shelving ideas below are all reversible in that sense — some need no holes at all, some need four small ones — and every single one has an honest weight figure attached, because the fixing is the part that fails and the part nobody checks. Almost all of it comes in under $120.
In this guide27 sections — tap to openHide
- 1.What utility room shelving ideas have to survive
- 2.Twelve inches deep is the whole answer
- 3.Leave sixteen inches between shelves
- 4.Find the studs before you buy brackets
- 5.Use toggle bolts where there is no stud
- 6.Hang the heavy load on a French cleat
- 7.Put up tension poles and drill nothing
- 8.Cap adhesive strips honestly at fifteen pounds
- 9.Hook a rack over the door
- 10.Buy a freestanding unit you can take
- 11.Choose wire shelving where things stay damp
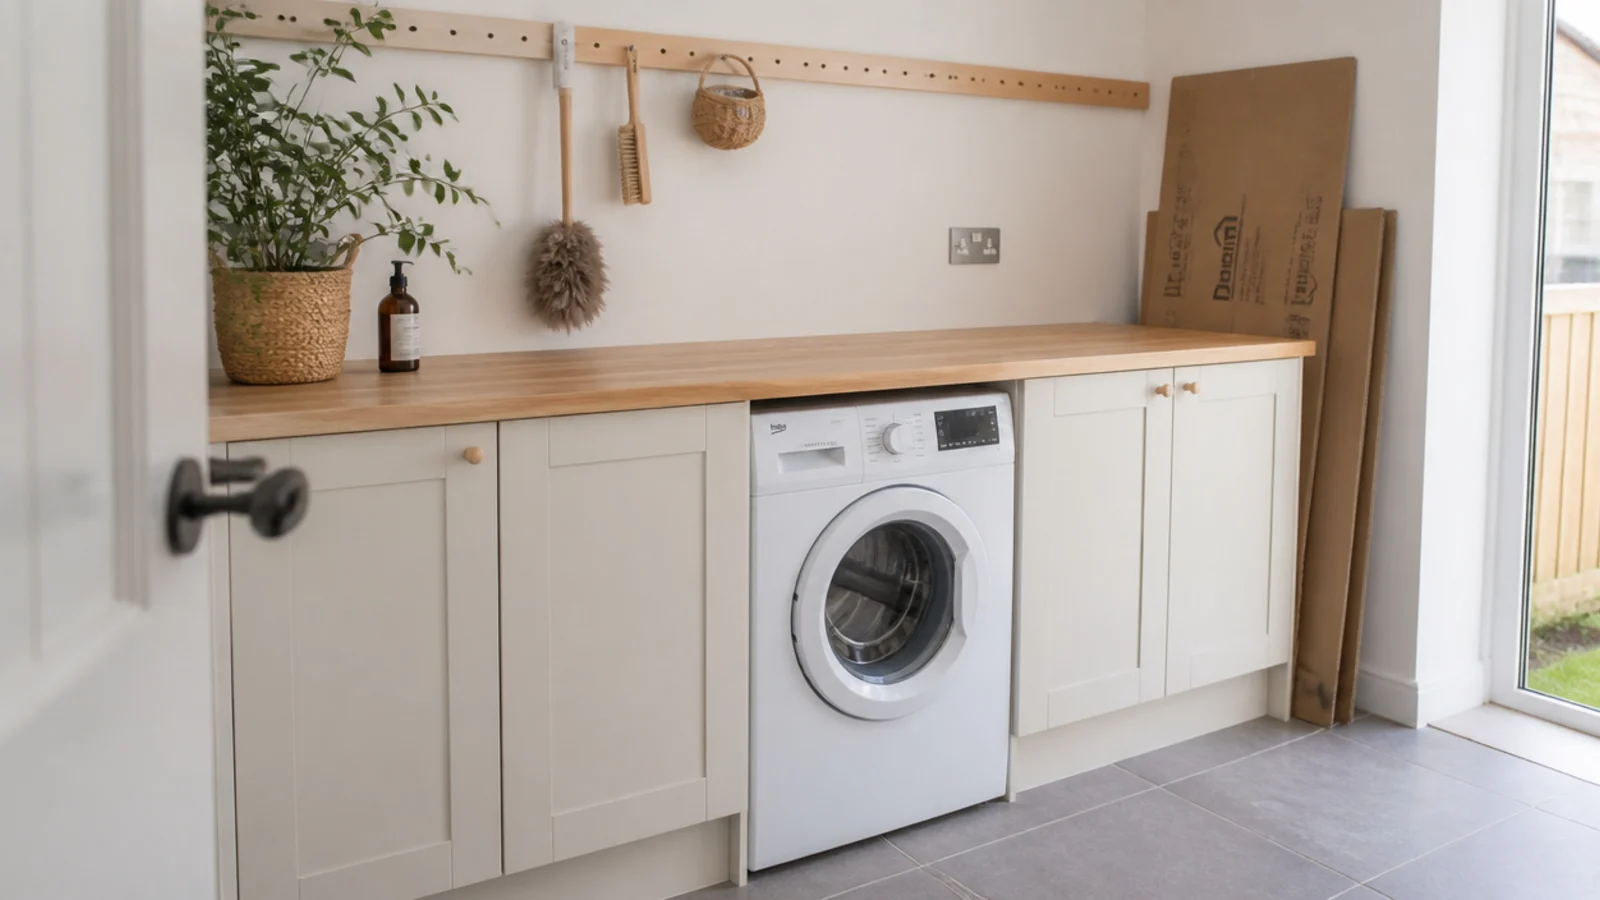
- 12.Run one long shelf above the worktop
- 13.Take a shelf over the doorway
- 14.Fill the dead corner with corner shelves
- 15.Rest the shelf on a plain timber batten
- 16.Pick the board for the room, not the look
- 17.Add a front lip so nothing walks off
- 18.Hang a rail under the lowest shelf
- 19.Put bins on the shelf, not bottles
- 20.Label the bins or you will not use them
- 21.Keep the lowest shelf clear of the basket
- 22.Fold a shelf down only when you fold
- 23.Know what each fixing really carries
- 24.Photograph the wall before you drill
- 25.Patch and repaint on the way out
- 26.Never shelve across the boiler or the meter
- 27.Mistakes to Skip
What utility room shelving ideas have to survive
Three numbers govern everything on this page.
Depth. Twelve inches takes a detergent bottle, a spray cleaner, a folded cloth and a jar of pegs, and nothing hides at the back. Sixteen is only worth it for baskets or bulk packs. Anything deeper starts eating a 36-inch walkway, and in a small utility that is the measurement you cannot afford to lose.
Spacing. Sixteen inches of clear height between shelves lets a tall bottle lift straight out rather than tilt out. Drop to 12 inches for folded cloths and small tins. Above a worktop, keep the lowest shelf 18 inches up so a bottle still stands underneath it.
Load. This is where rented walls bite. The plastic plug in the box carries roughly 10 pounds and crushes the plasterboard around itself over weeks — the shelf looks fine right up until it does not. A toggle bolt carries 25 to 35 pounds each in half-inch drywall for about a dollar. A screw into a stud at 16-inch centres carries more than the shelf ever will.
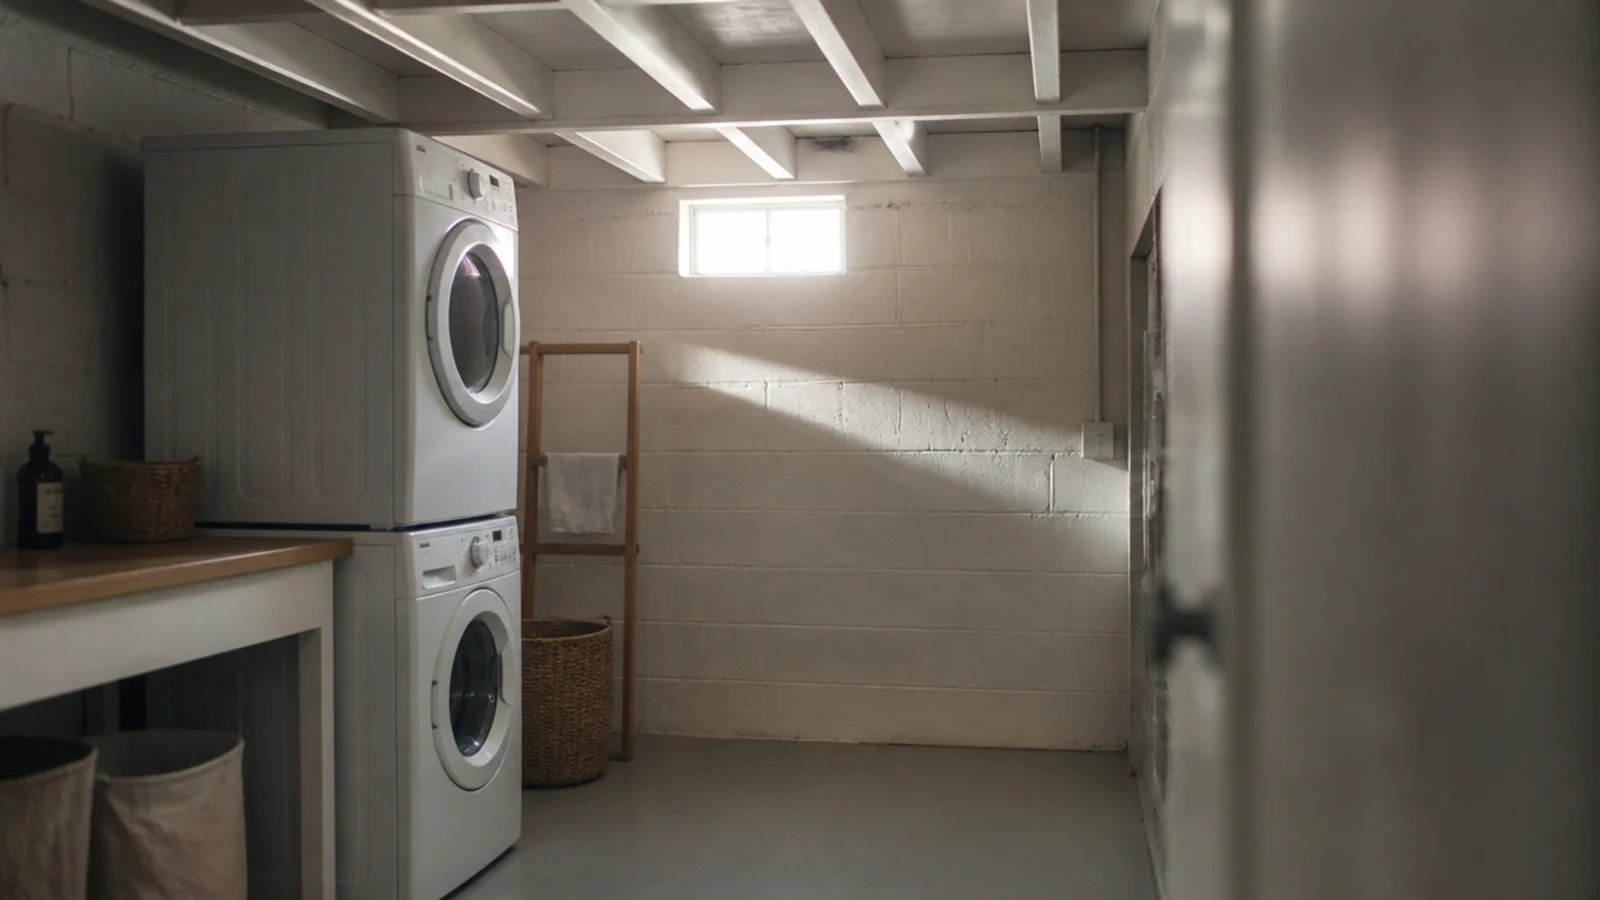
Add the vibration factor. A 1,400 rpm spin runs 72 to 76 decibels and works fixings loose over months, so anything above a machine gets a proper anchor and no glass on it. For the wider storage picture, the utility room storage guide covers rails, bins and cabinet runs alongside shelving.
1. Twelve inches deep is the whole answer
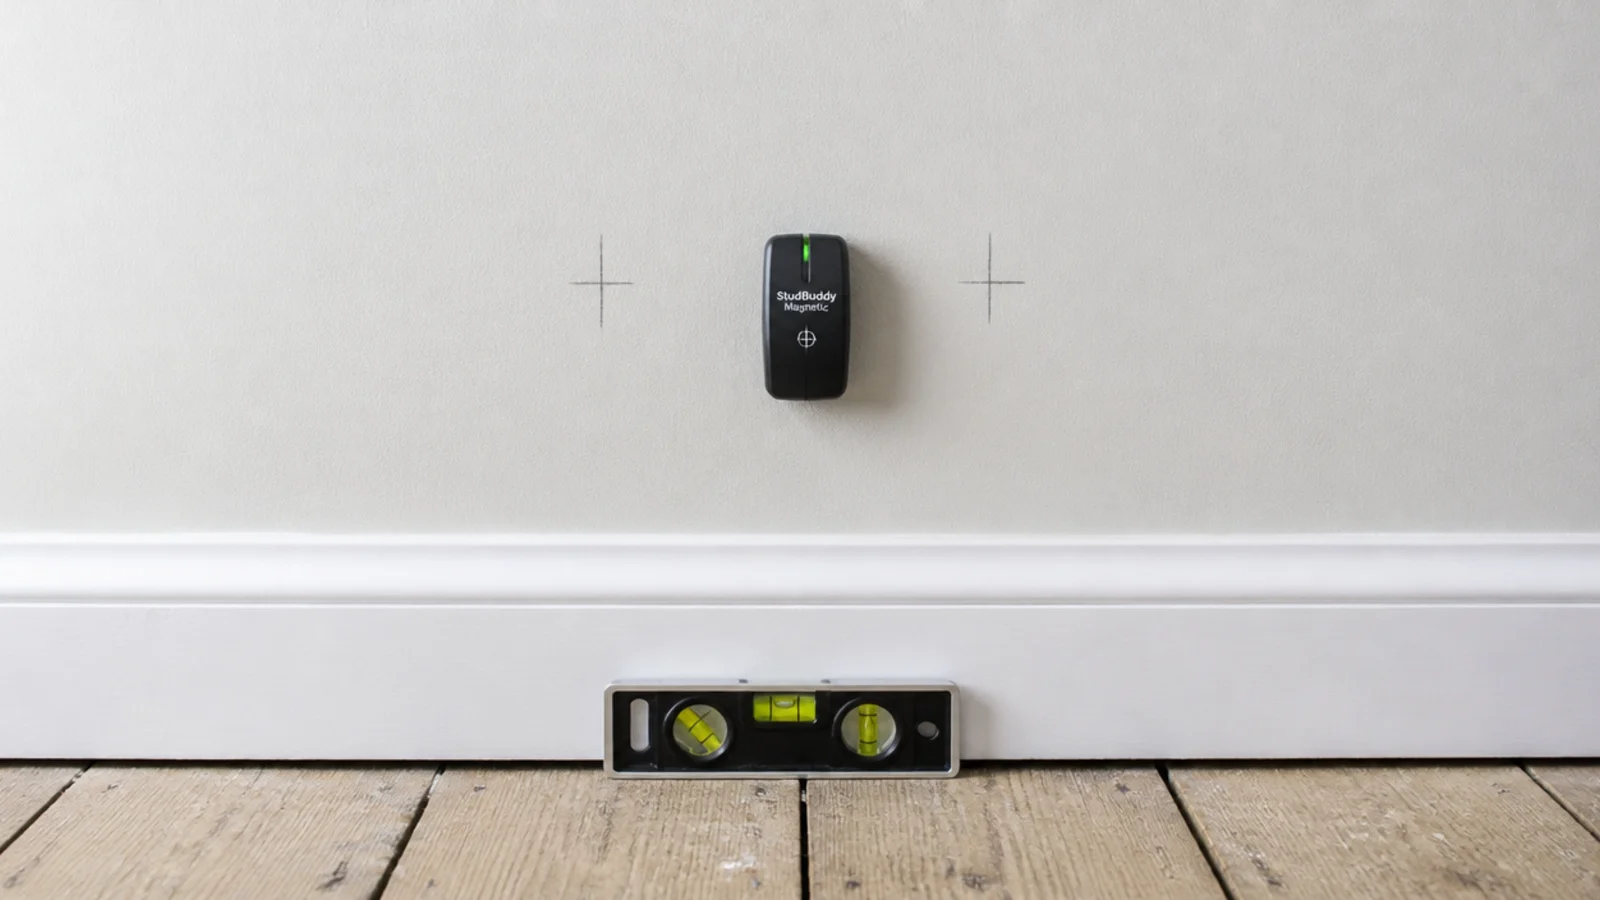
Almost every mistake in laundry shelving is a depth mistake. At 12 inches everything stands in one row and you can see all of it from the door. At 16 the back row becomes archaeology — half-used bottles from two years ago, standing behind the ones you actually reach for. Shallow shelving is also cheaper to fix, because the leverage on the bracket is lower.
2. Leave sixteen inches between shelves
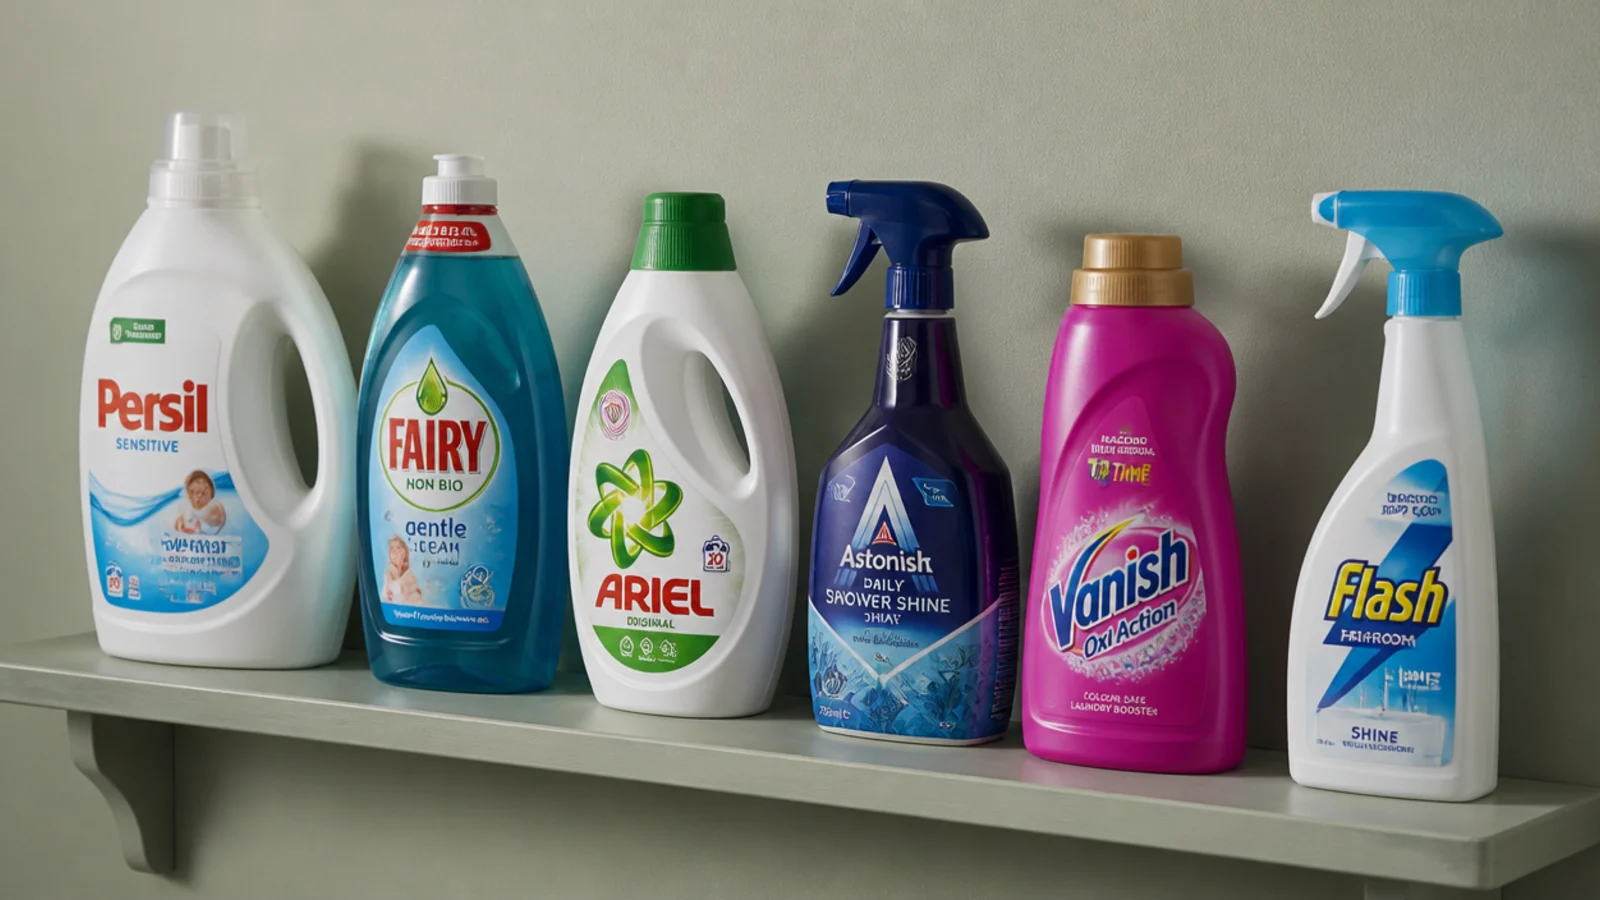
Measure your tallest detergent bottle and add three inches. That is almost always 16. It is the difference between lifting a bottle out cleanly and tilting it under the shelf above, which is how caps come loose and shelves get sticky. Two shelves at 16 inches beat three at 11 every time.
3. Find the studs before you buy brackets
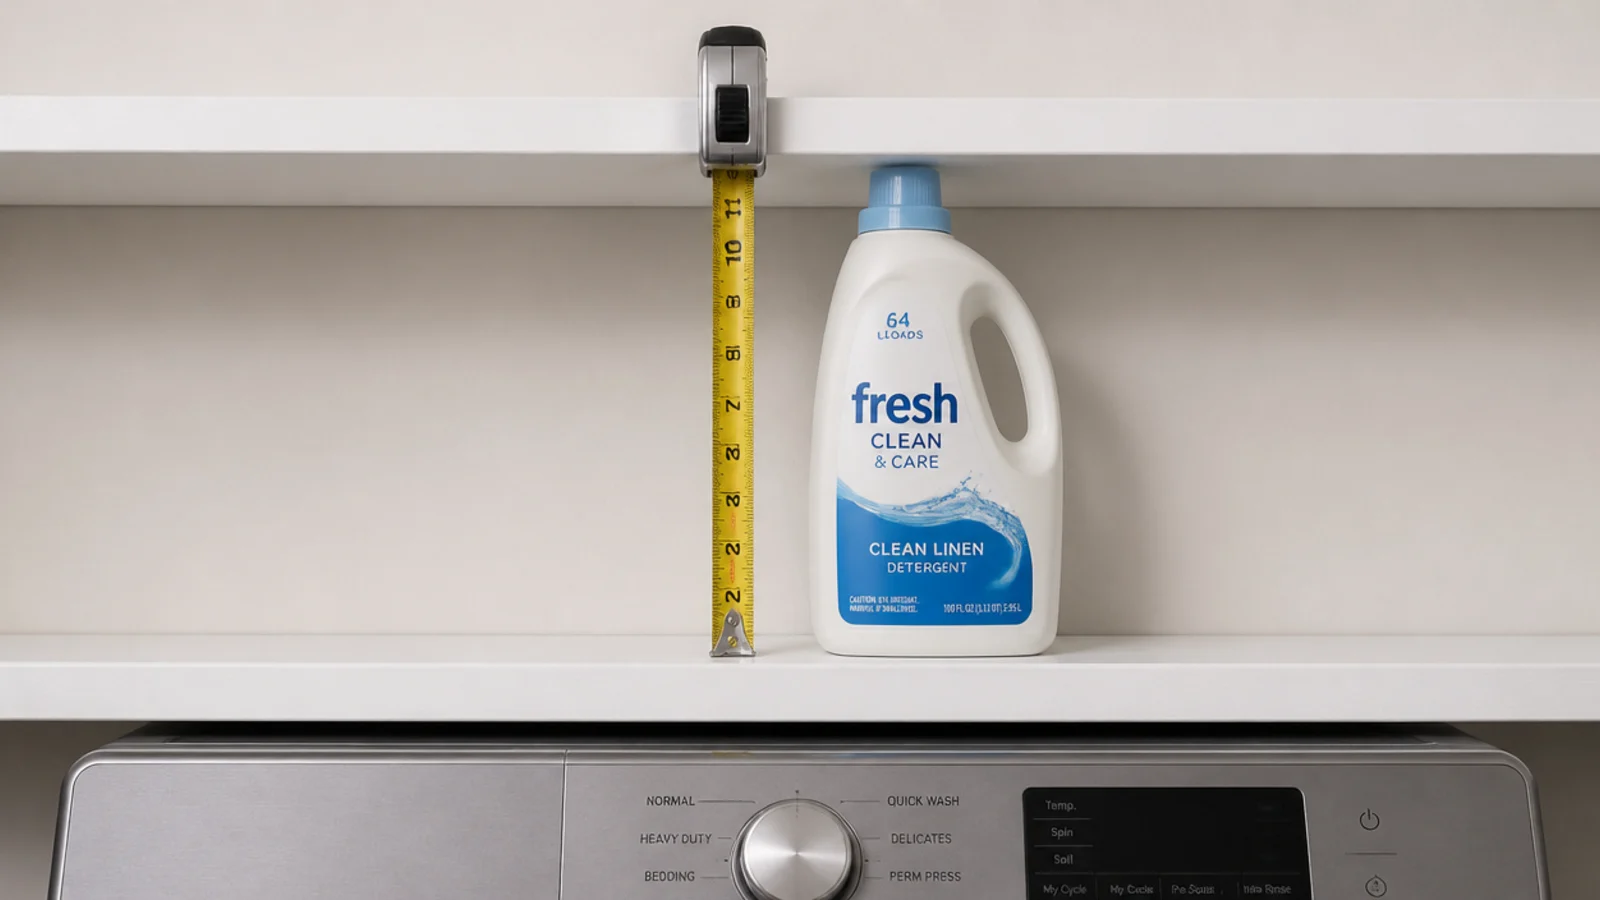
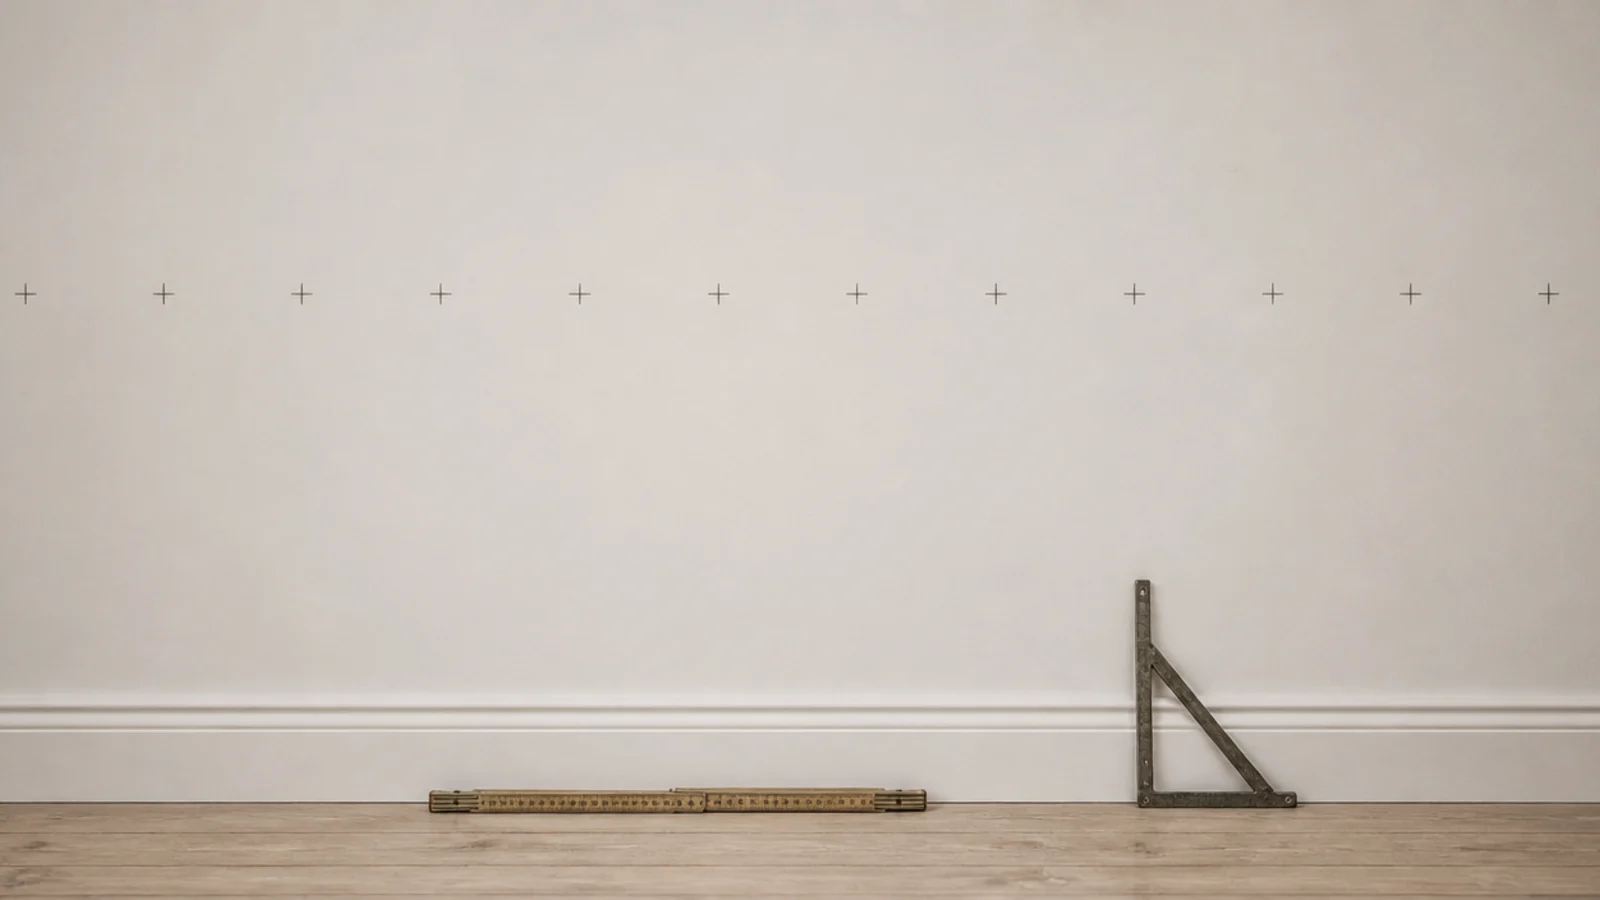
Studs sit at 16-inch centres in most walls, which is convenient because it is also a sensible bracket spacing. A $15 stud finder pays for itself the first time it saves you a toggle bolt. Mark the centres in pencil at the height you want, then choose a shelf length that lands two brackets on framing.
4. Use toggle bolts where there is no stud
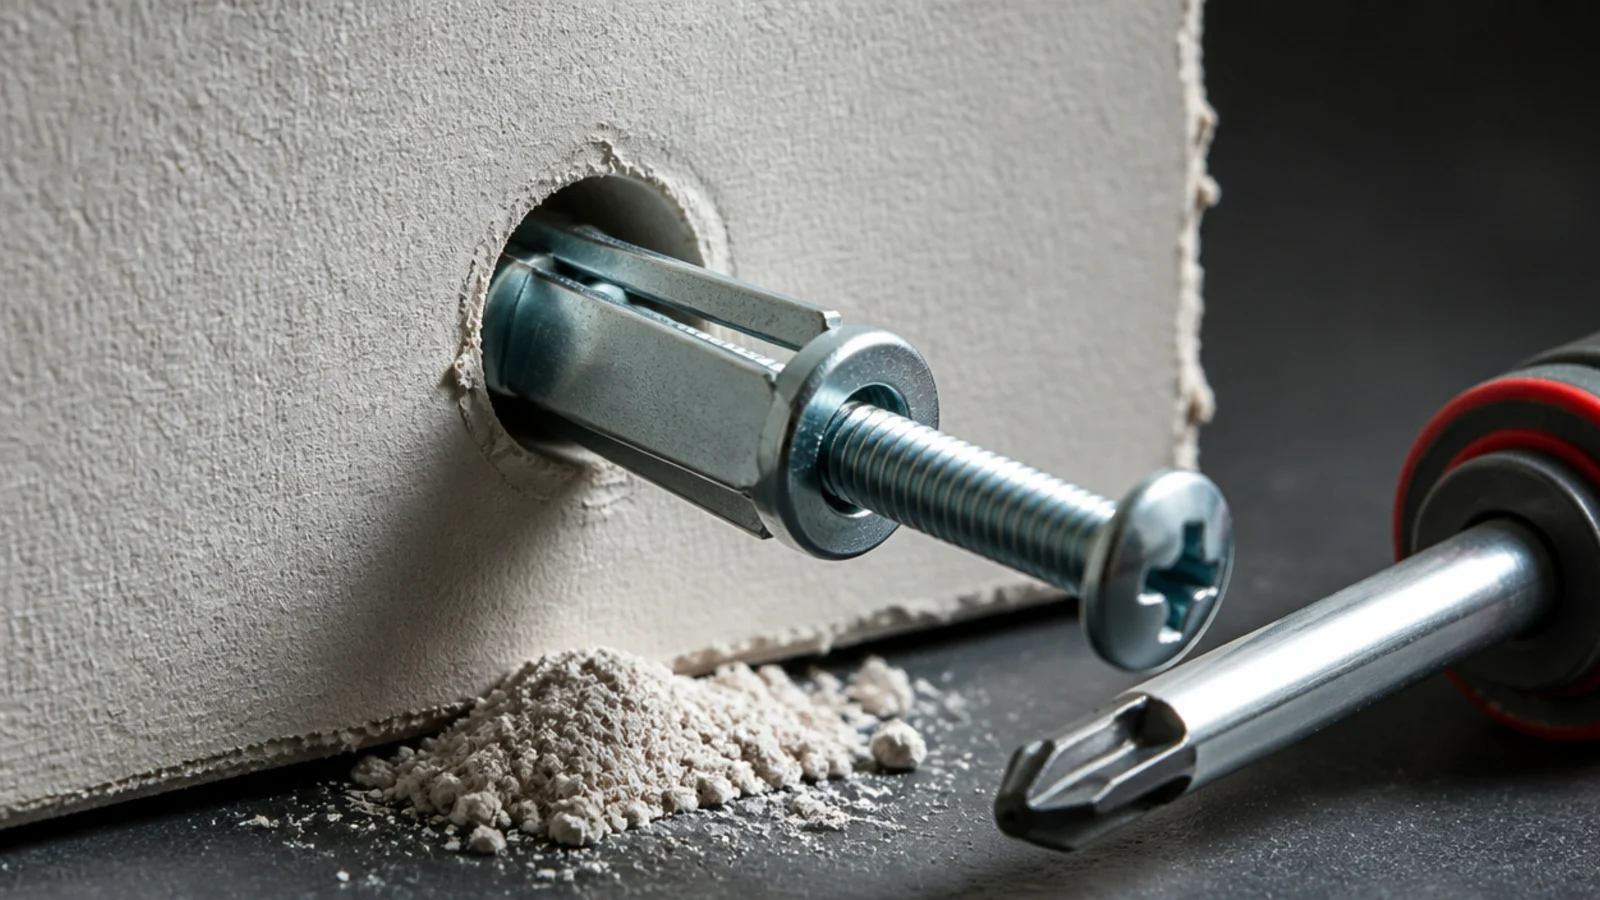
Where framing does not fall conveniently, a spring toggle in half-inch drywall carries 25 to 35 pounds apiece and costs about a dollar. Two per bracket is the working figure for a loaded laundry shelf. Throw away the plastic plugs that came in the box — they are rated at roughly 10 pounds and they creep.
5. Hang the heavy load on a French cleat
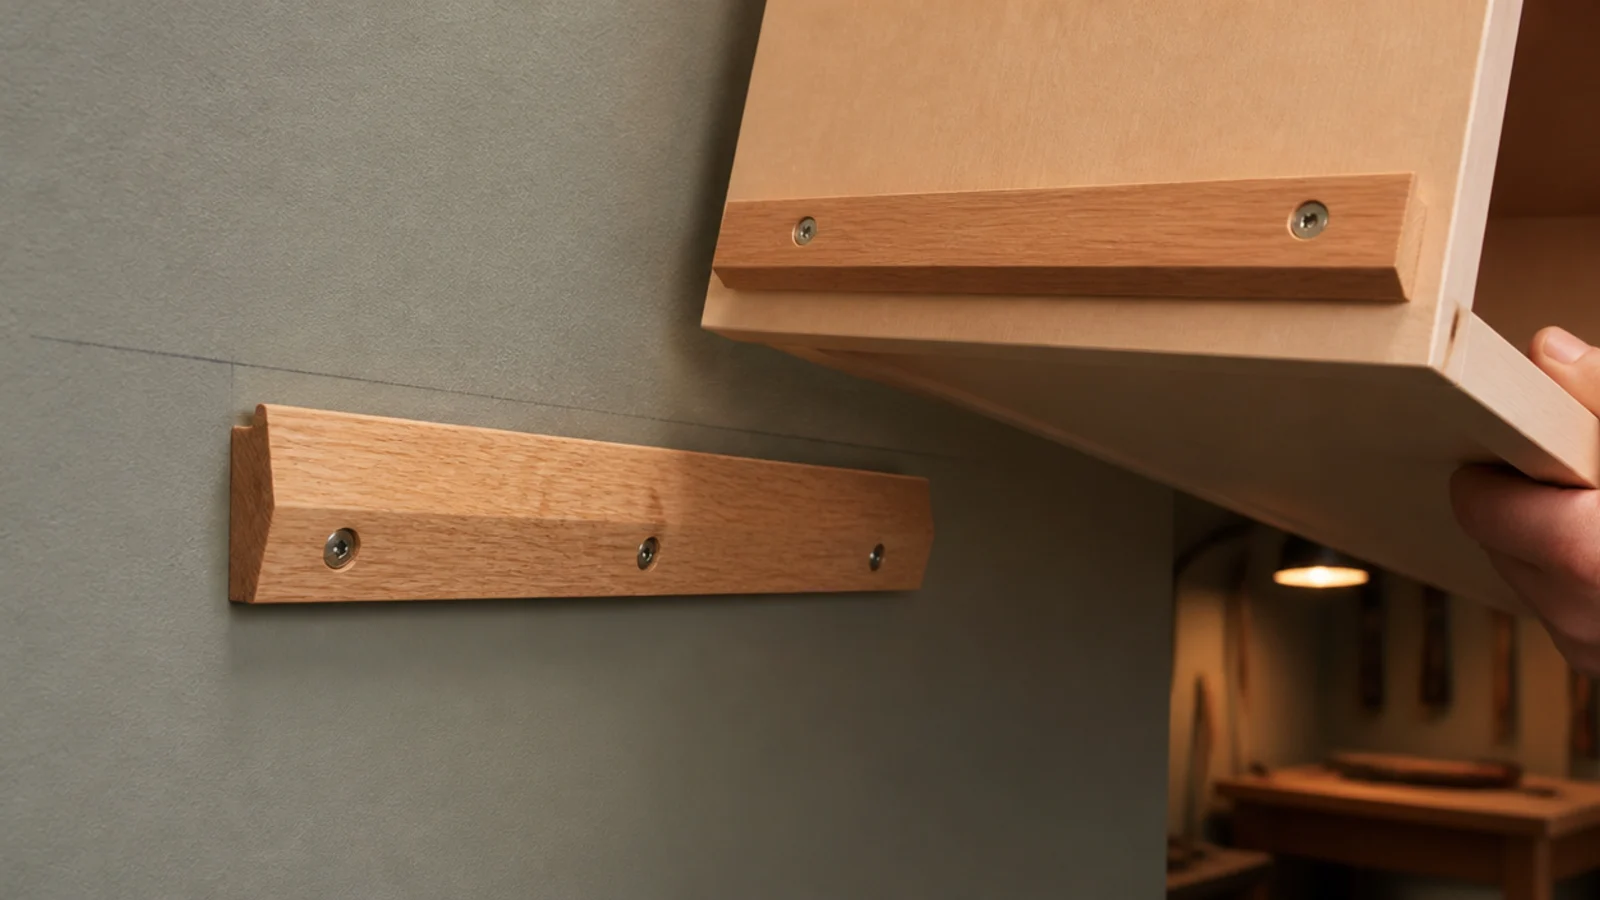
Two mating bevelled battens, one on the wall and one on the shelf unit, spread the load across every fixing at once and let you lift the whole thing off in a second. A cleat into two studs carries 50 pounds comfortably. It is the strongest renter-friendly fixing there is, for around $10 of timber.
6. Put up tension poles and drill nothing
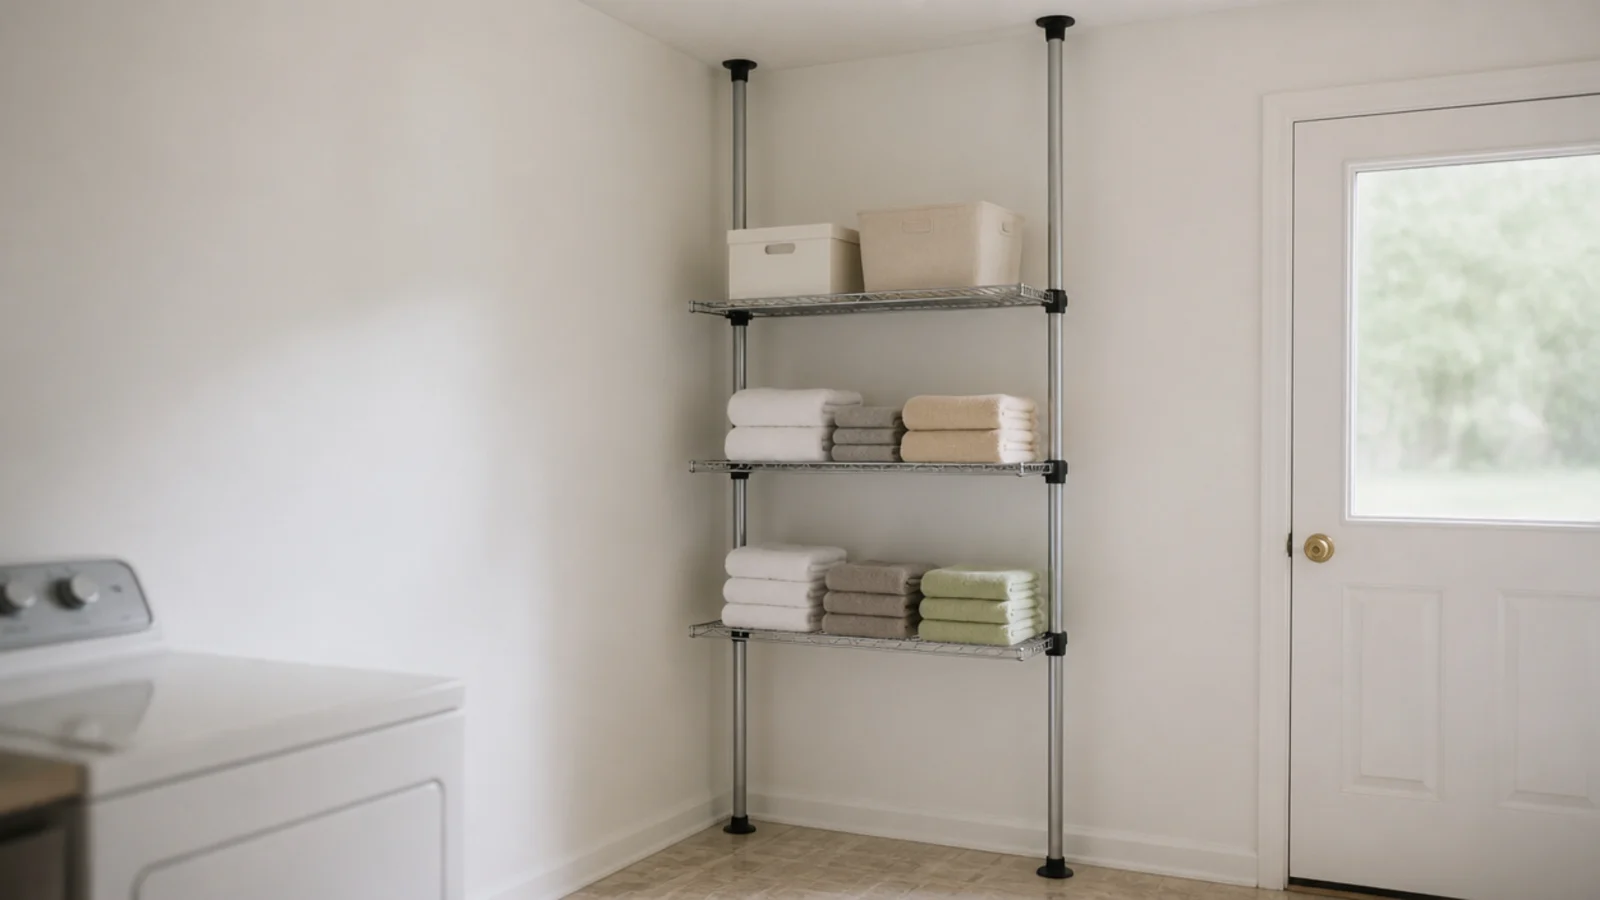
Floor-to-ceiling tension poles carrying wire shelves use pressure rather than fixings, which means zero holes and a genuinely portable system. Expect $60 to $140 for a two-pole set with three shelves. Check the ceiling is solid rather than a suspended tile, and re-tension them every few months.
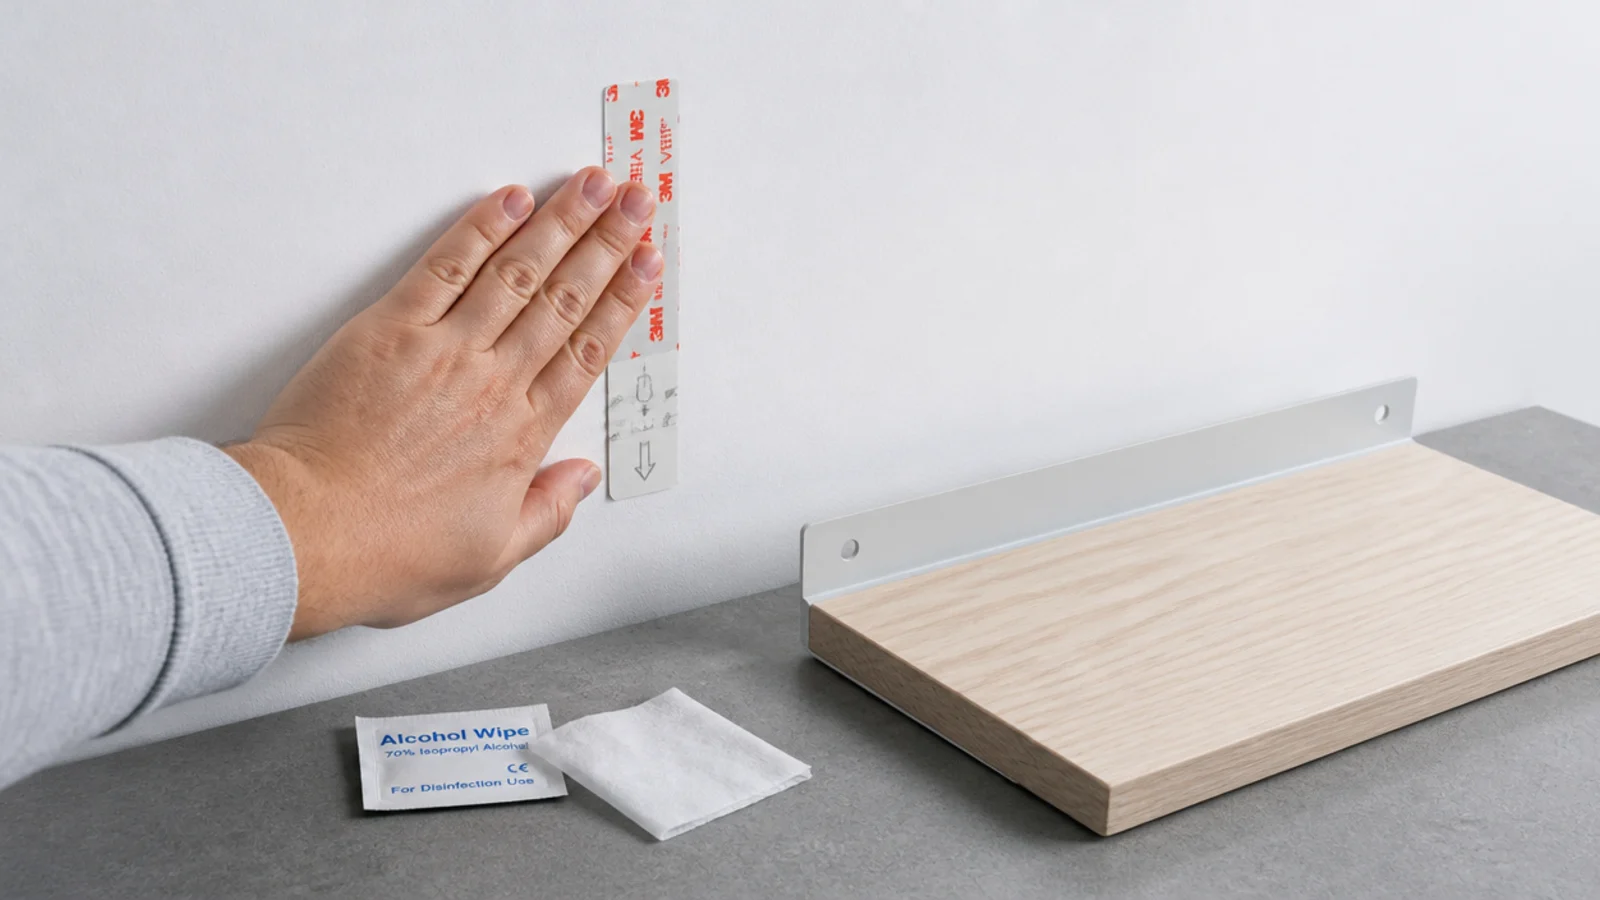
7. Cap adhesive strips honestly at fifteen pounds
Heavy-duty strips do work, and 15 pounds per pair is the honest ceiling — a few cloths, a small caddy, not bottles. Clean the wall with rubbing alcohol, press for 30 seconds, wait an hour before loading. Test on hidden paint first, because flat builder-grade emulsion comes away with the strip.
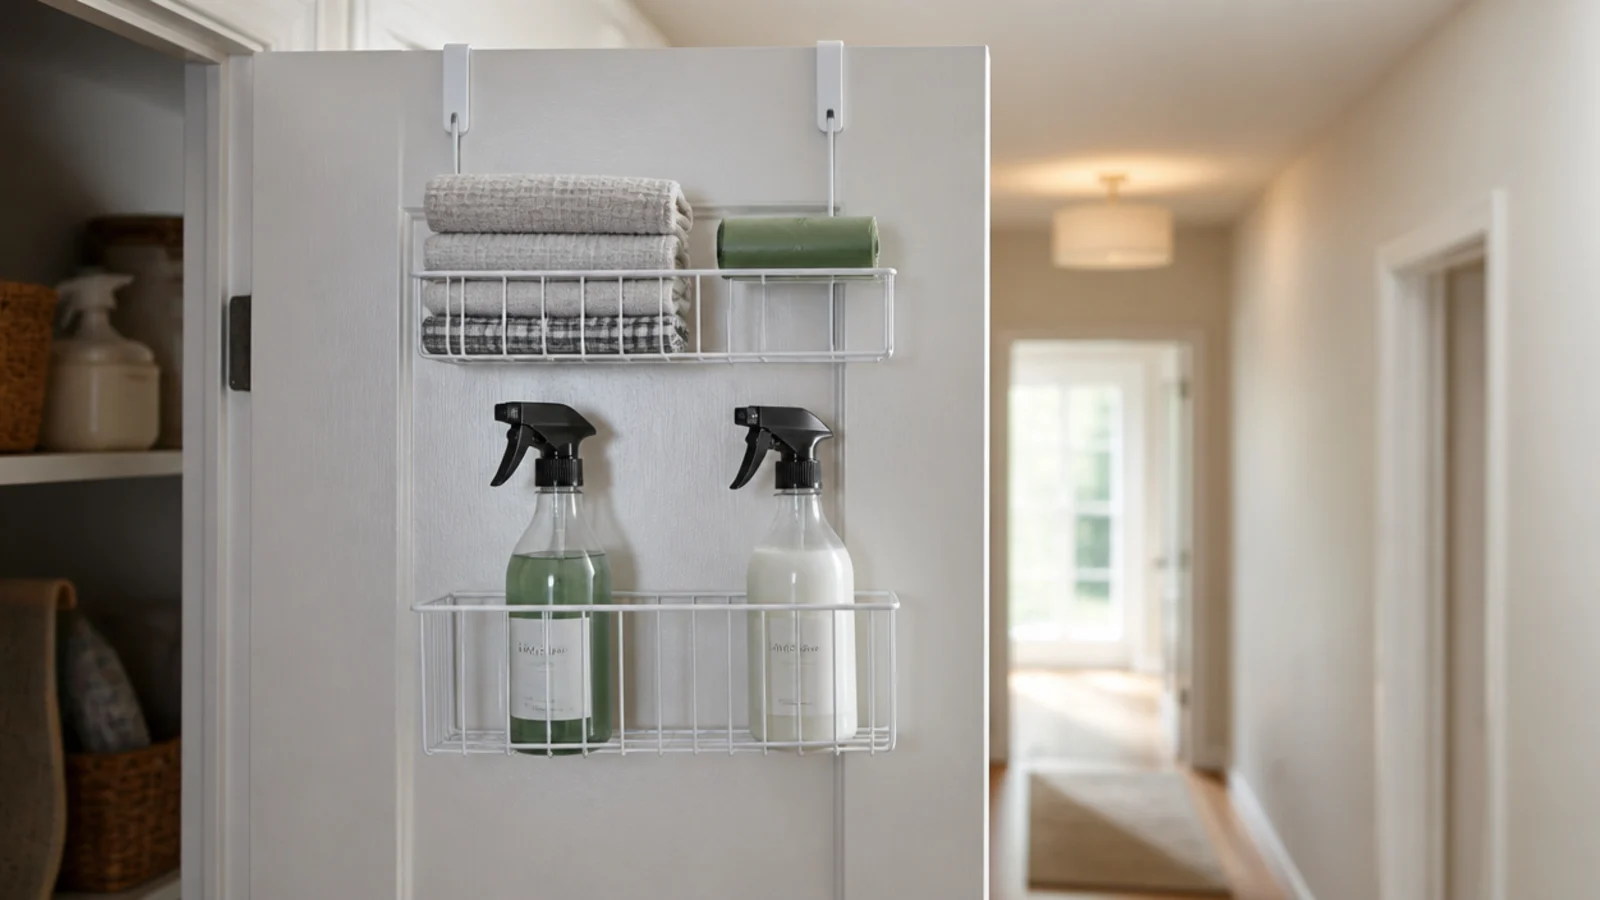
8. Hook a rack over the door
A slim wire rack hooked over the door adds two or three inches of usable depth on a surface that was doing nothing. Cloths, sprays, bags and gloves. Keep the total under about 10 pounds so the hinges do not drop, and check it clears the machine fronts when the door swings shut.
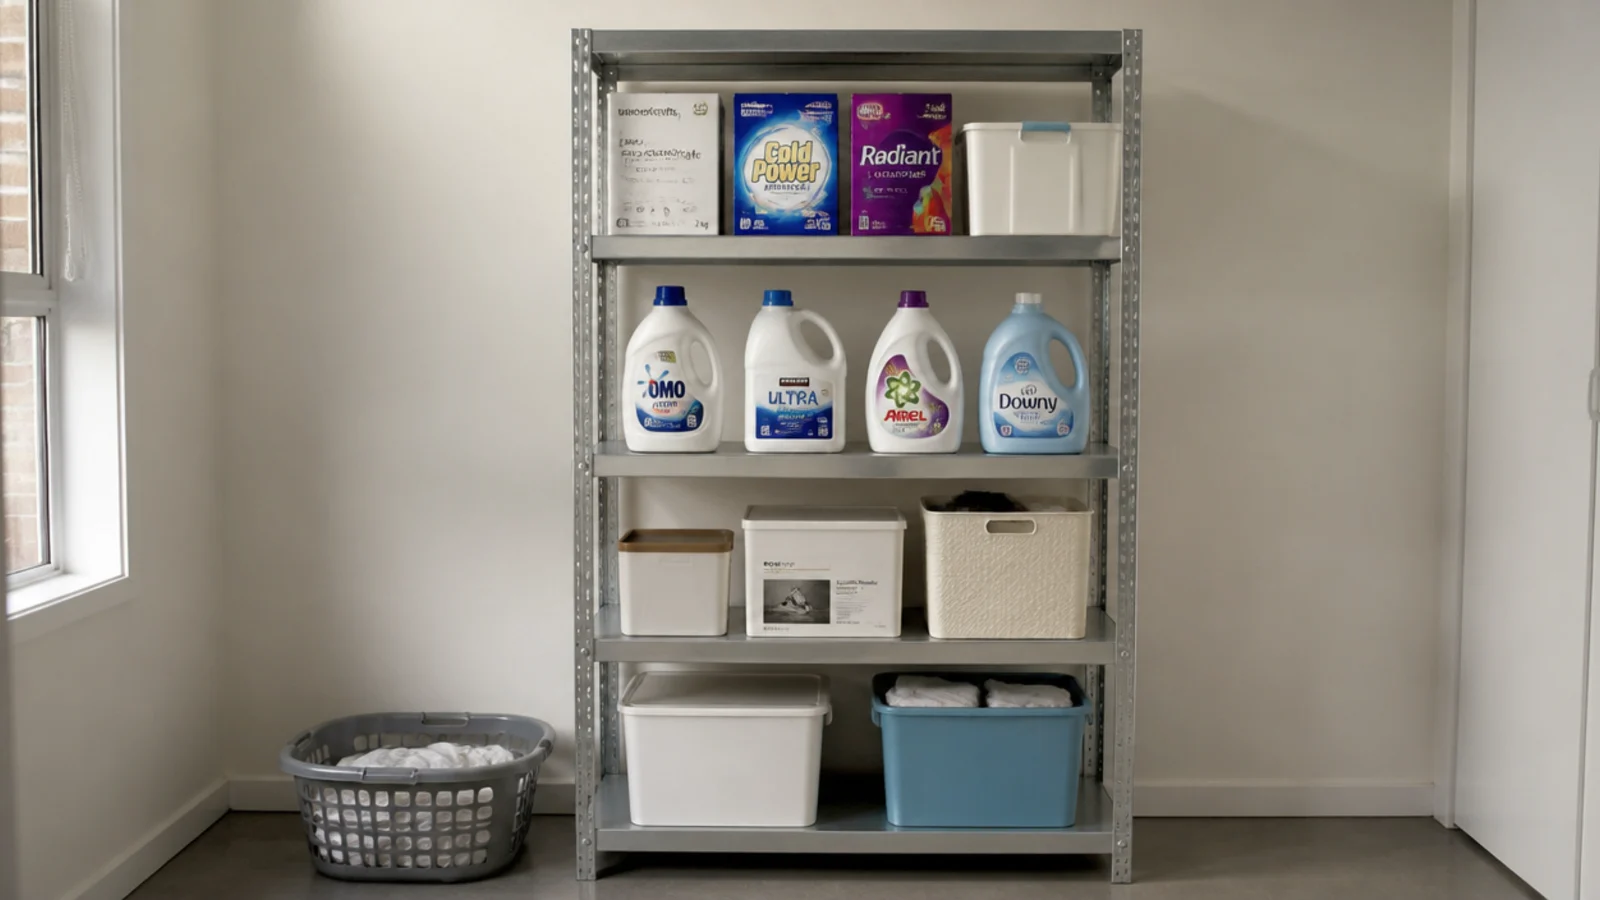
9. Buy a freestanding unit you can take
A four-tier metal or ply unit at $50 to $120 needs no wall at all and moves house with you. Load the bottom two tiers heaviest to keep the centre of gravity low, and run one anti-tip strap into the wall if there are children or pets — a single small hole is a very different commitment to a whole fixed system.
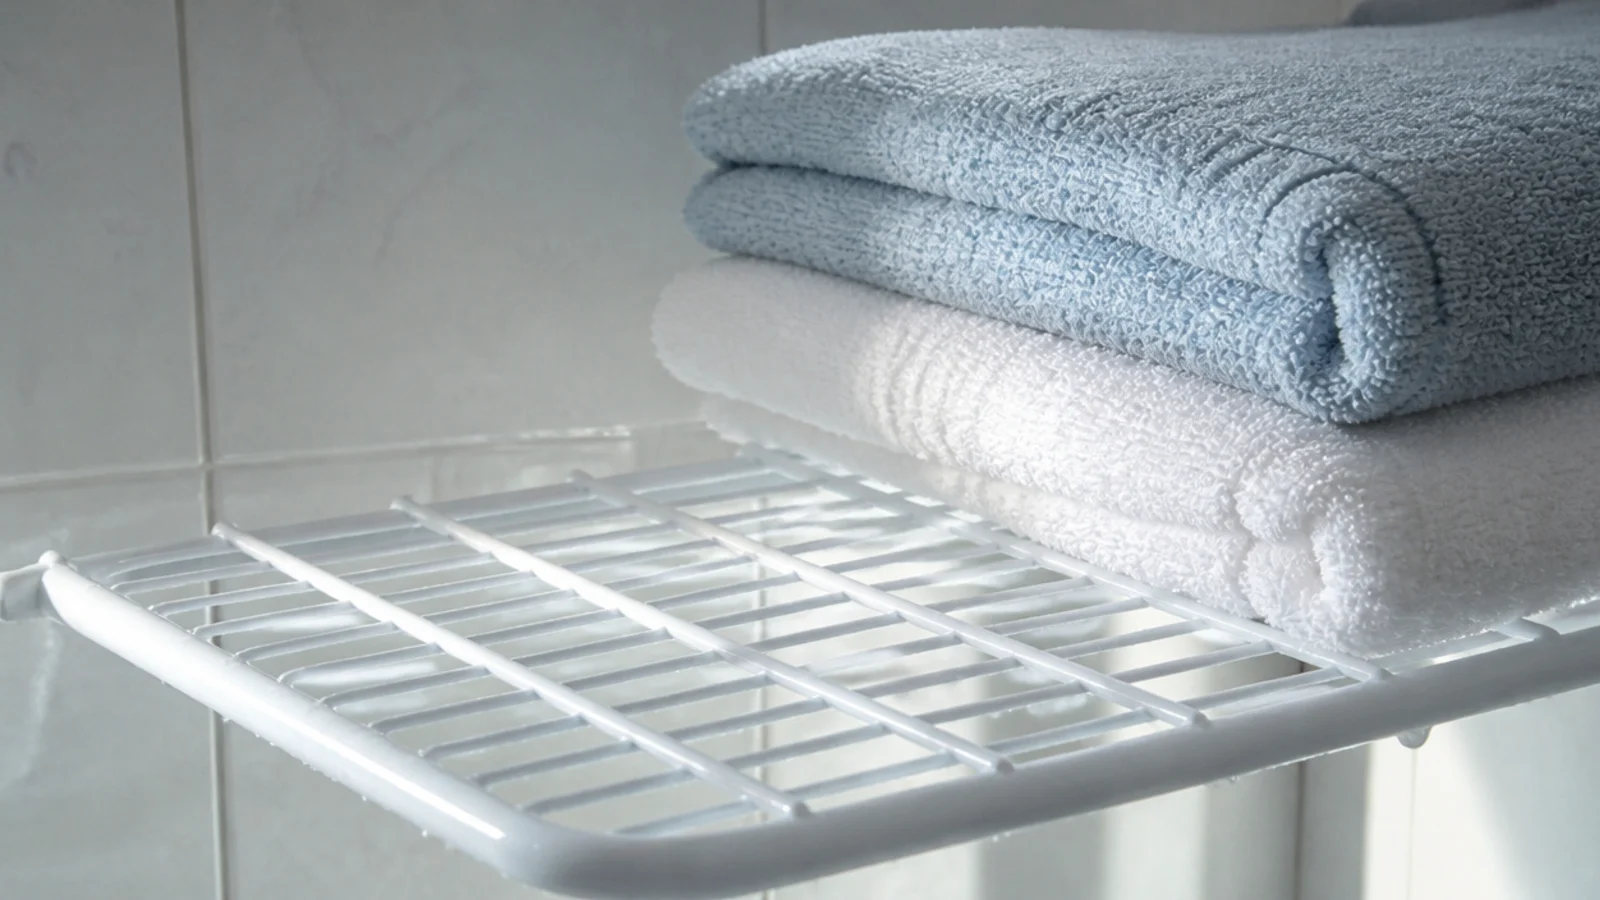
10. Choose wire shelving where things stay damp
Solid boards trap moisture under folded towels and anything slightly damp sours. Coated wire lets air move through the shelf, which matters in a room that already carries about two litres of water per wash load. It is also the cheapest shelving per foot at $8 to $18.
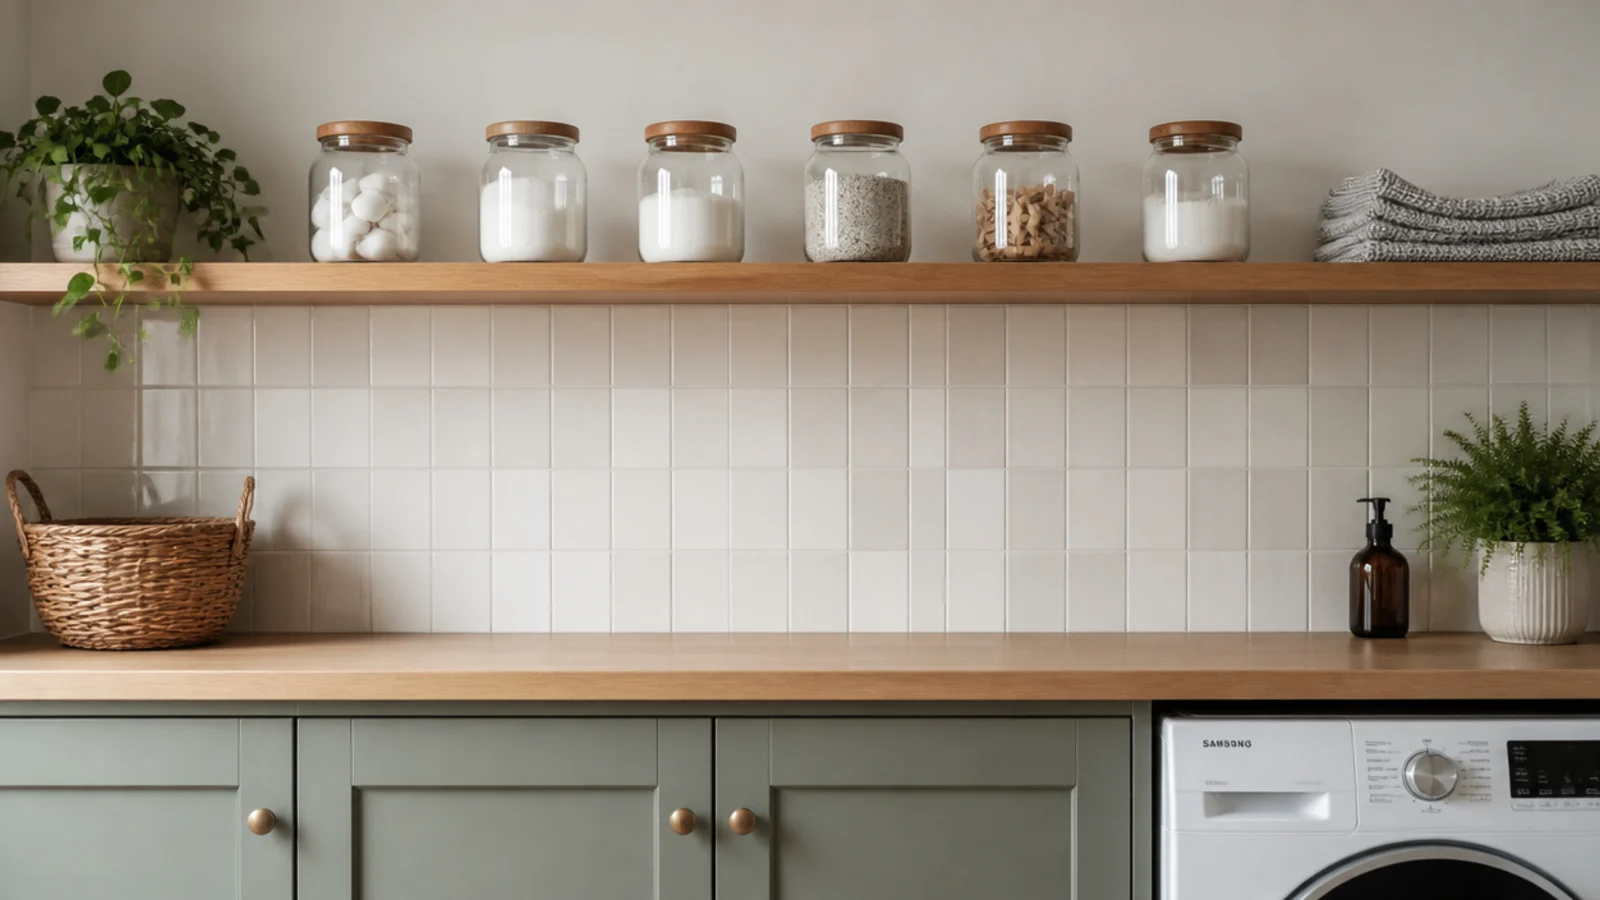
11. Run one long shelf above the worktop
One continuous shelf at 18 inches above the counter reads far calmer than three short ones at different heights, and it takes the same number of brackets. Keep it 12 inches deep so a bottle still stands beneath it, and let the line run the full wall rather than stopping short.
12. Take a shelf over the doorway
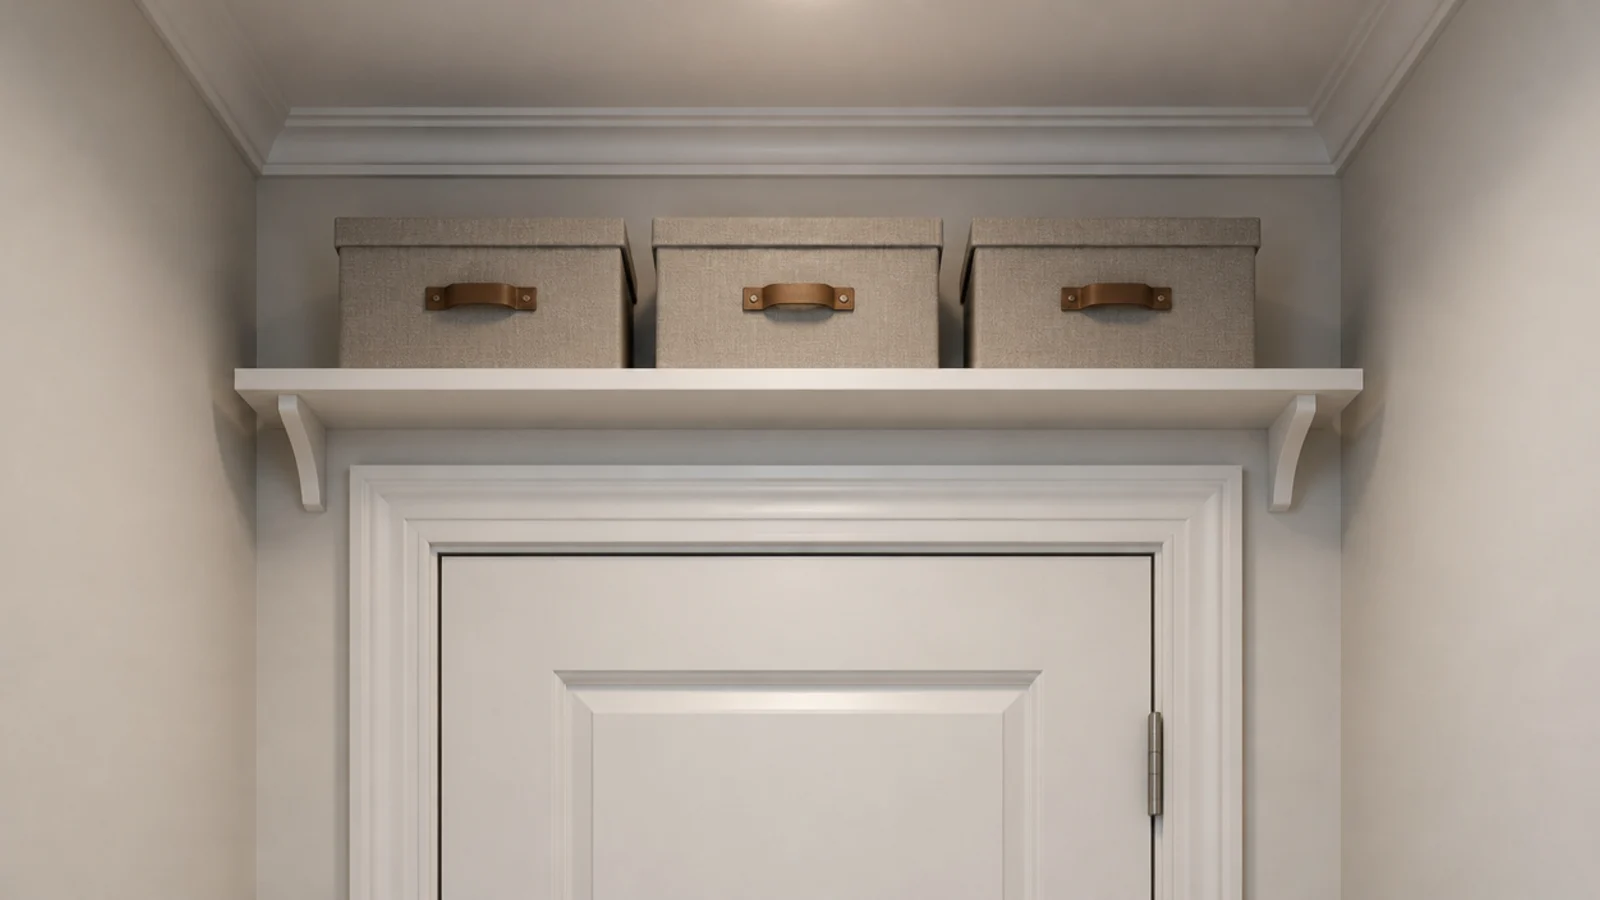
There is usually 10 to 14 inches of wall above a door frame doing absolutely nothing. A narrow shelf there holds lidded boxes of things you touch twice a year — spare hoses, seasonal kit, the iron you barely use. Fix into the header above the frame, which is solid timber in almost every wall.
13. Fill the dead corner with corner shelves
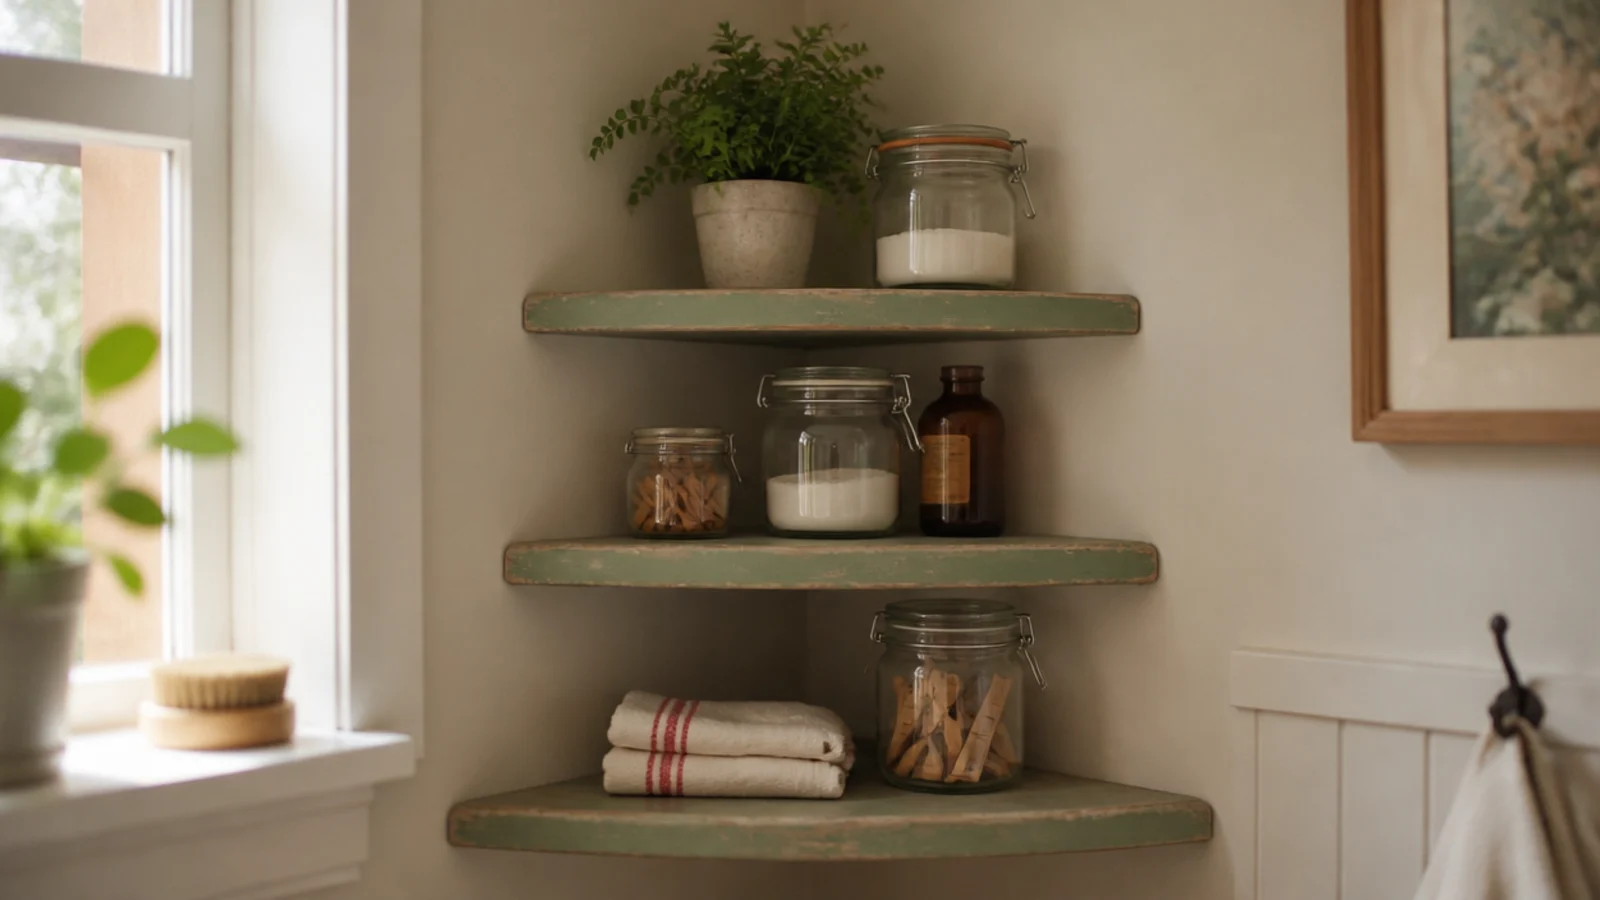
The internal corner of a small utility is floor you walk past and never use. Three stacked triangular shelves turn it into storage without projecting into the room. The corner shelf ideas guide has the bracket and depth figures, and they translate straight across to a laundry wall.
14. Rest the shelf on a plain timber batten
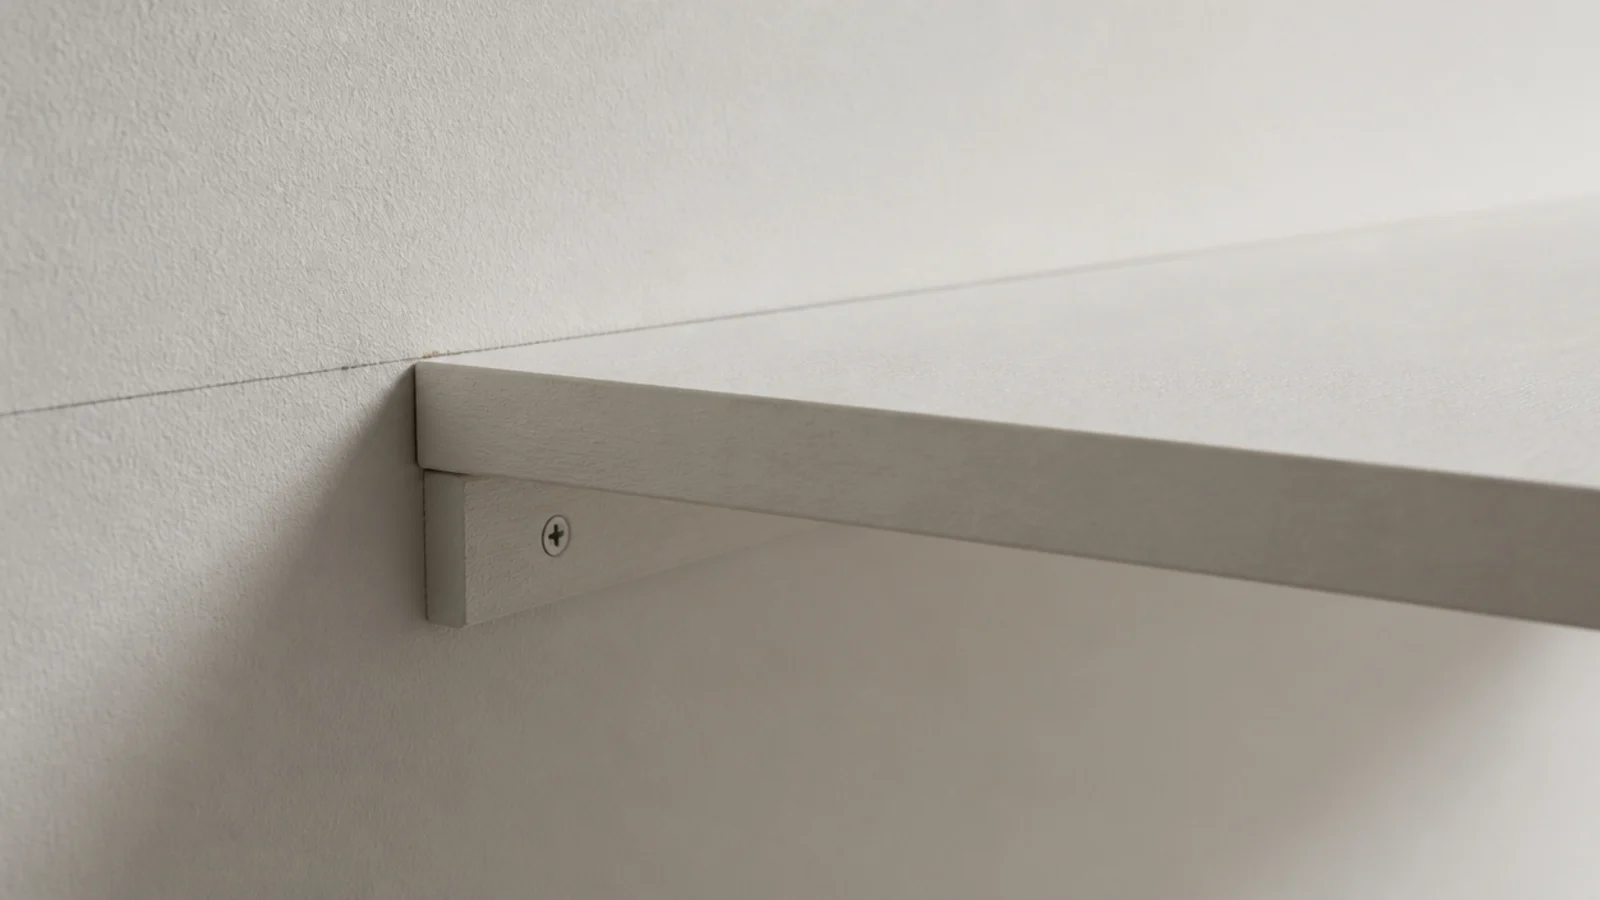
Screw a slim batten level along the wall, paint it the wall colour, and rest the board on top. There is nothing visible underneath, it costs under $10, and it spreads the load along its whole length instead of two points. Add a small screw down through the board at each end so it cannot lift.
15. Pick the board for the room, not the look
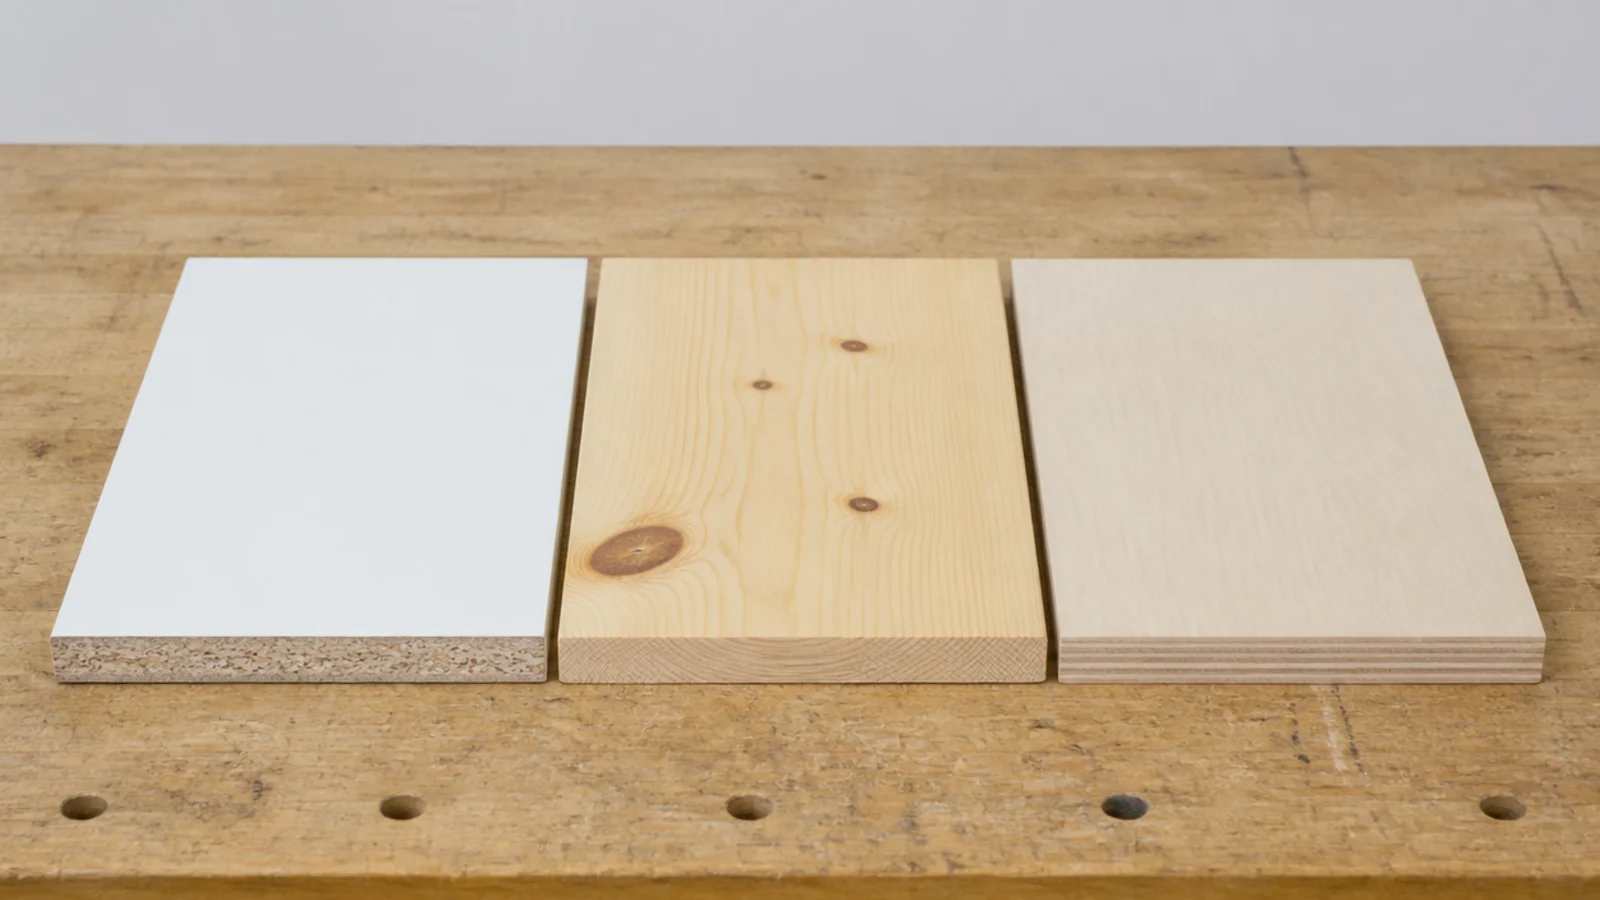
Melamine-faced board wipes clean and shrugs off a detergent spill for $12 to $25 a shelf. Solid pine looks better and cups in a humid room within a year unless it is sealed on all six faces. Birch ply at three-quarters of an inch stays flat, takes paint well and spans 32 inches without sagging.
16. Add a front lip so nothing walks off
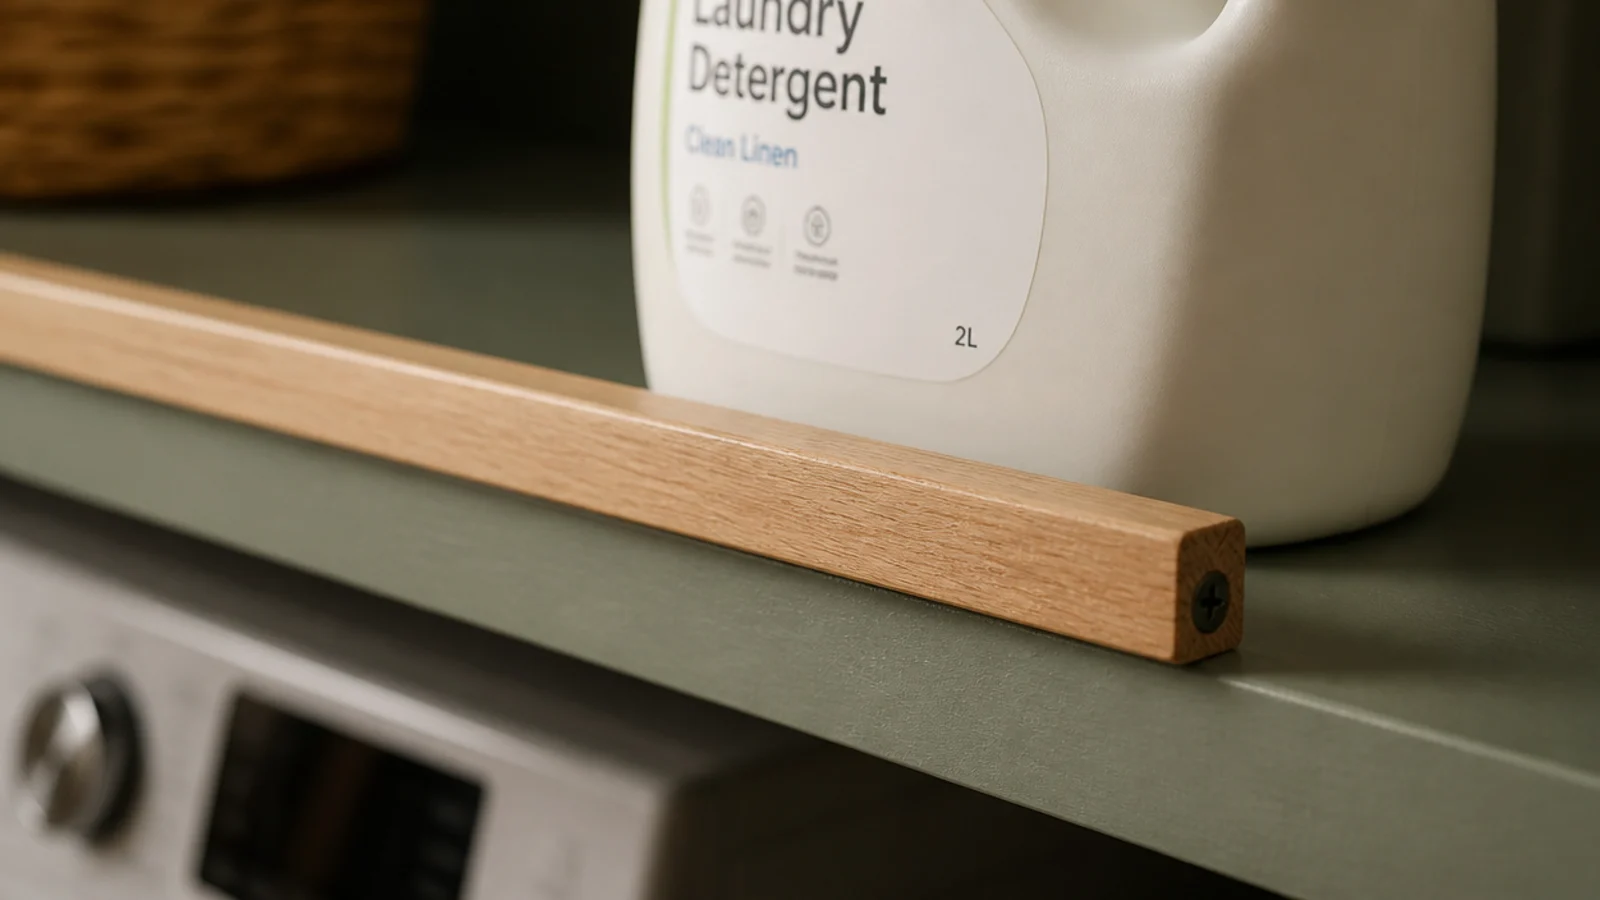
A half-inch timber lip along the front edge costs a few dollars and stops the slow migration that vibration causes above a machine. It also lets you load a shelf slightly proud of the bracket line without anything tipping. Glue and pin it, then paint the shelf and lip as one piece.
17. Hang a rail under the lowest shelf
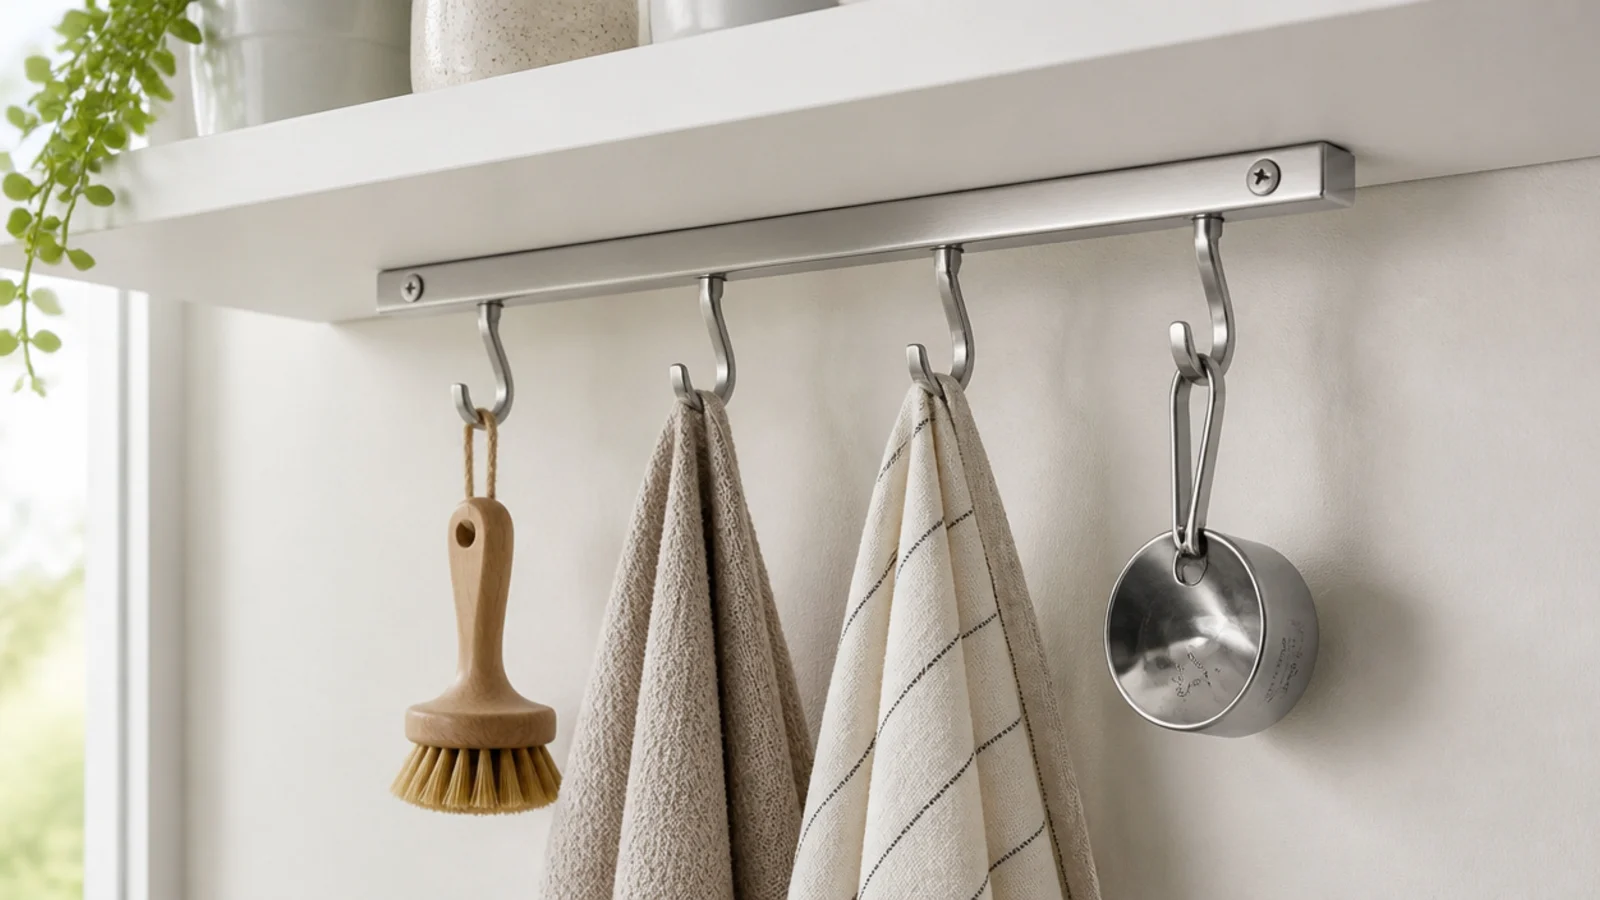
The underside of a shelf is a free surface. A slim rail with S-hooks takes the scrubbing brush, the measuring cup, the cloths and the dog lead — all the things that will not stack. Expect $15 to $35 for a rail and six hooks, and fix it into the shelf itself rather than the wall.
18. Put bins on the shelf, not bottles
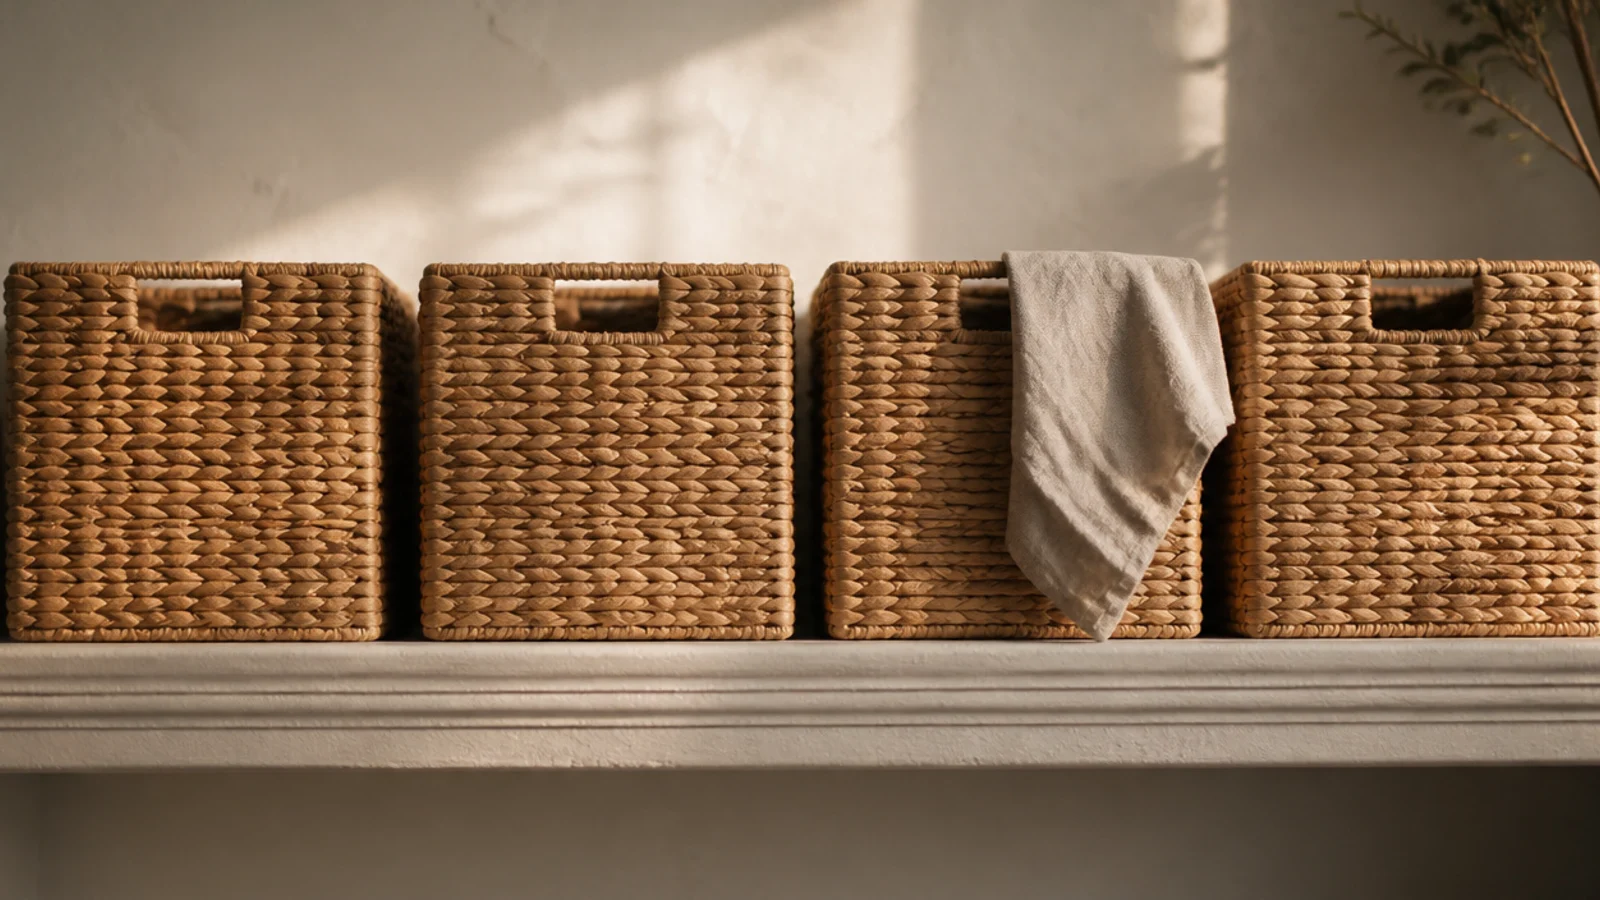
A row of four matching bins reads as one object; thirty loose bottles read as thirty. Bins also stop small things migrating and let you pull the whole category down at once. Seagrass, canvas or plain painted ply all work, at $10 to $30 each depending on size.
19. Label the bins or you will not use them
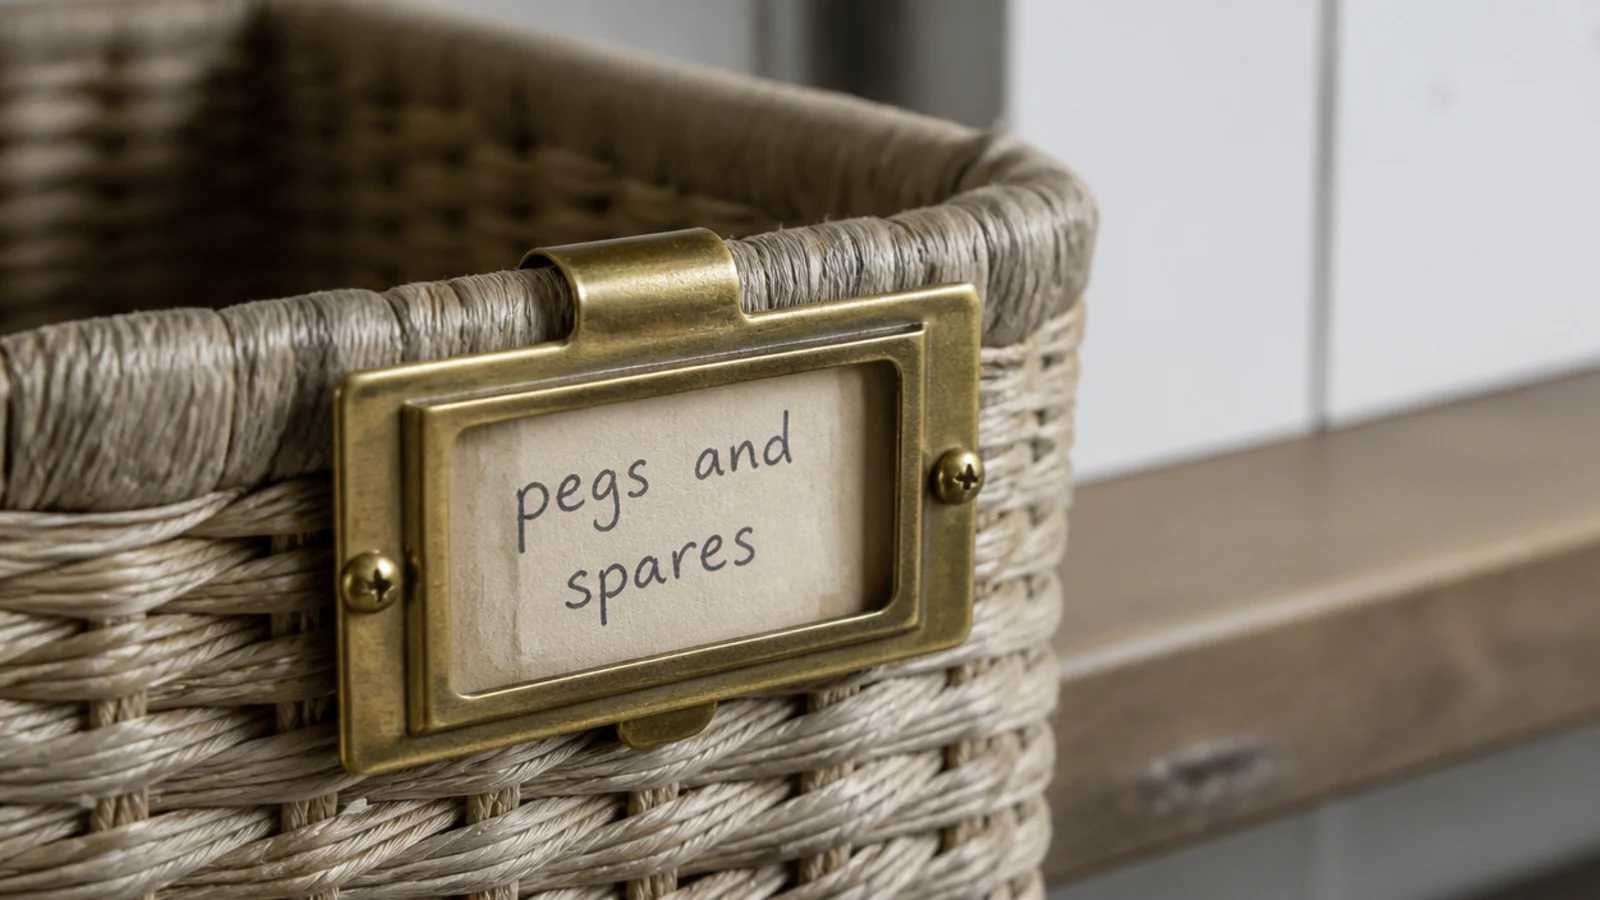
An unlabelled bin becomes the place things go to be forgotten within a month. Small brass or leather label frames cost $2 to $5 each and turn a bin from a container into a category. Handwrite them in pencil so they can change as the contents do.
20. Keep the lowest shelf clear of the basket
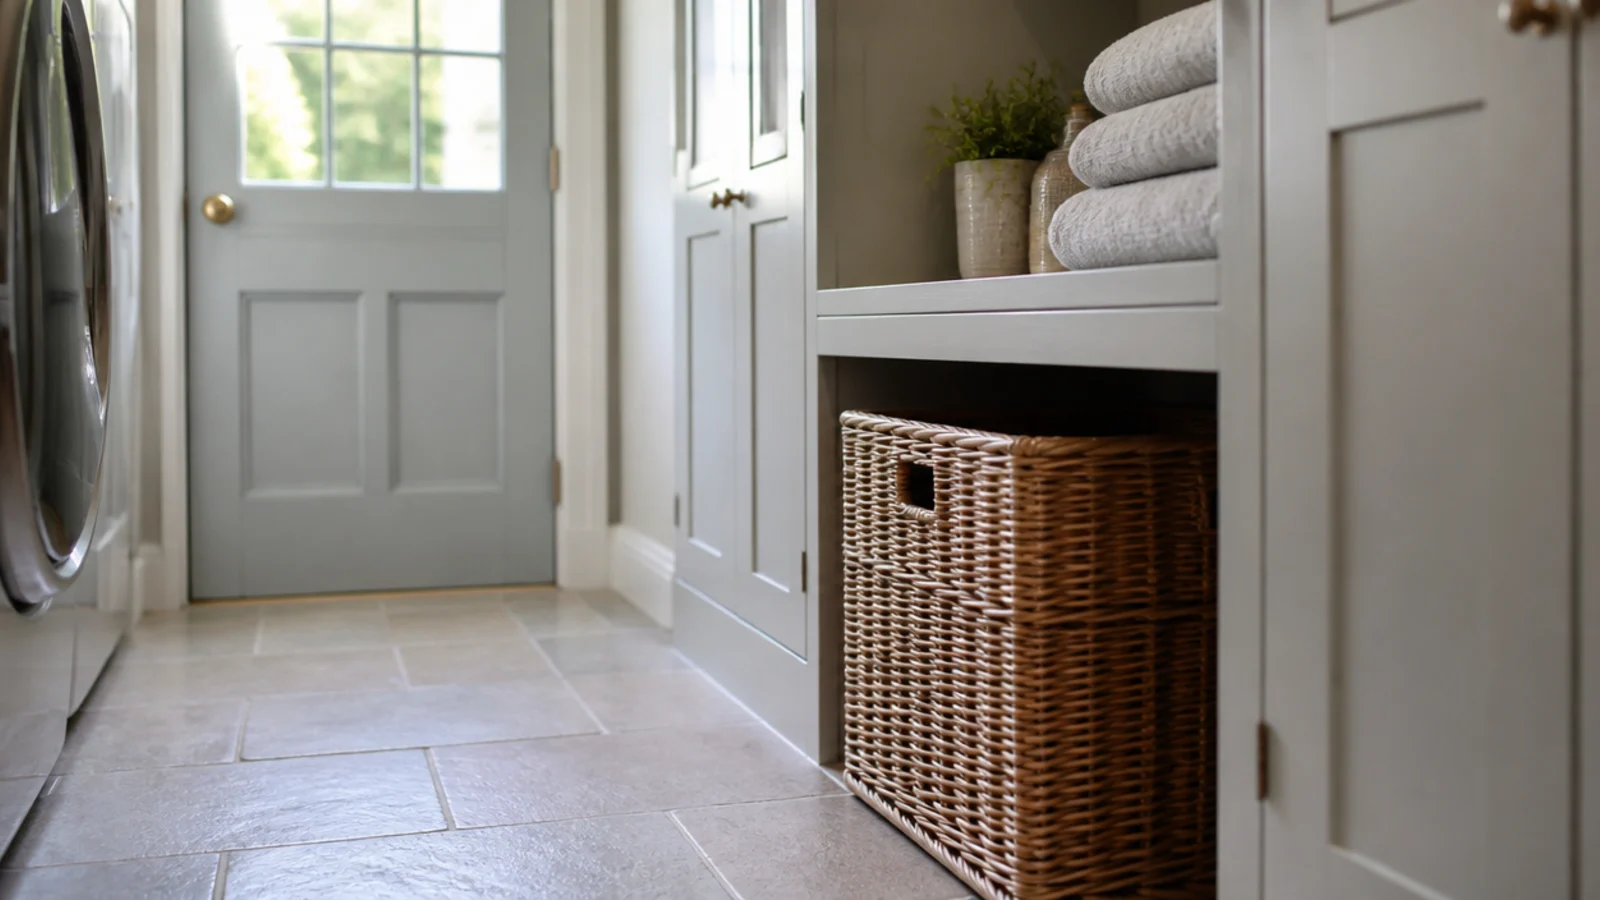
Measure your laundry basket, add two inches, and set the lowest shelf above that. It sounds obvious and it is the most common shelving miss in a utility, because the basket is the one item people plan around last. Get it right and the floor stays clear permanently.
21. Fold a shelf down only when you fold
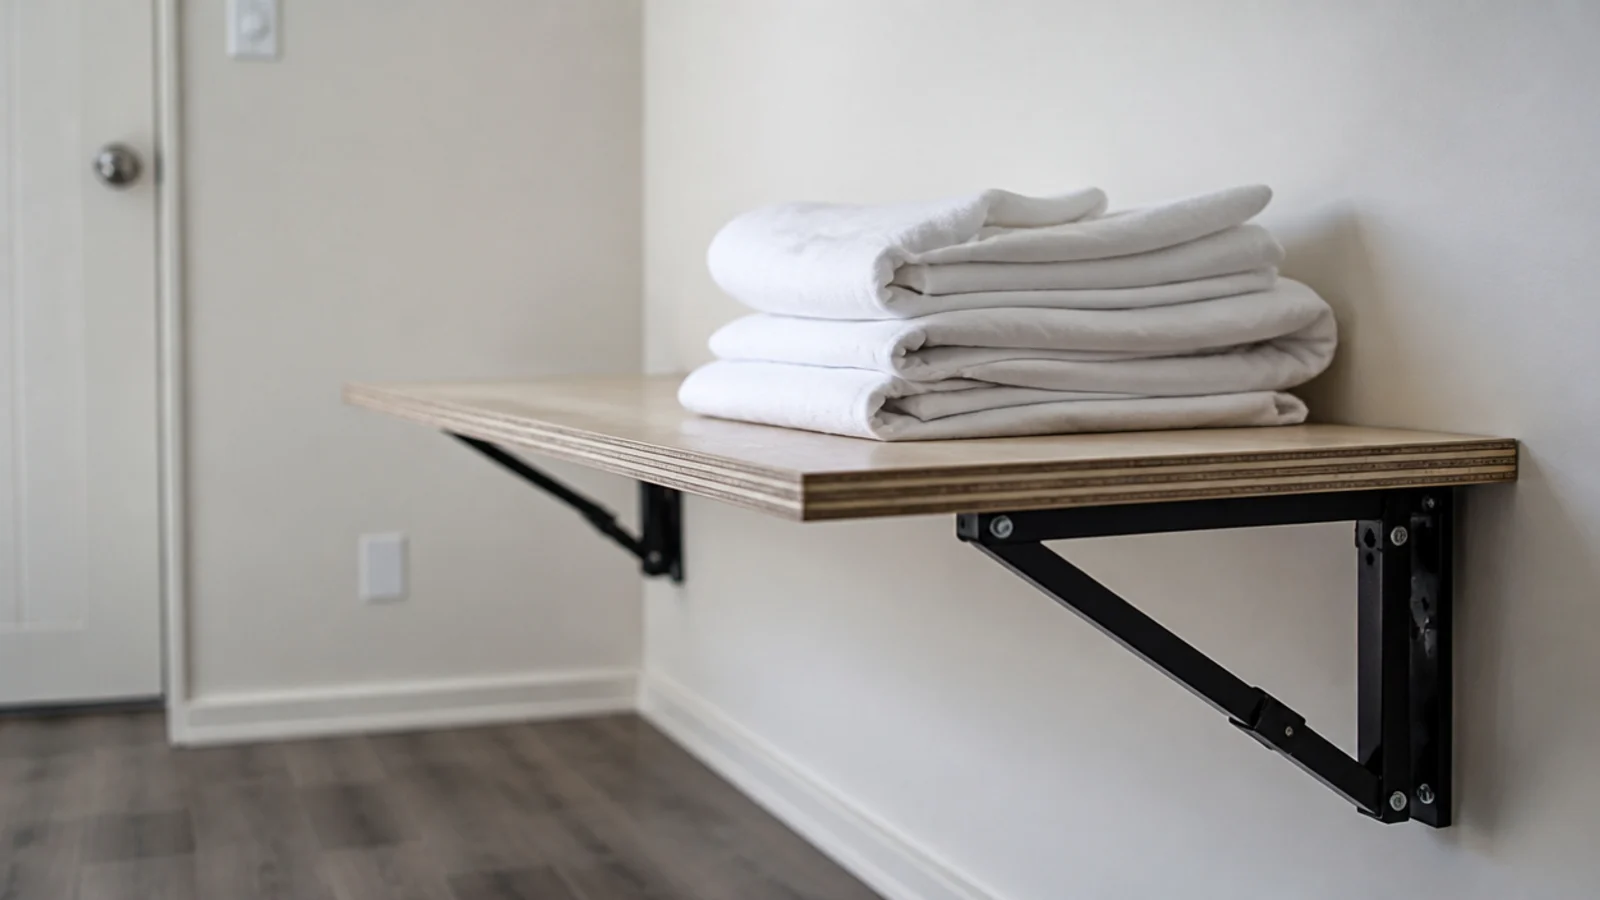
Where a fixed shelf would block a walkway, a hinged drop-down board on folding brackets gives you a 36-inch surface for ten minutes and two inches of projection the rest of the time. Sixteen inches deep, $60 to $130, brackets into studs. It doubles as the folding station a small utility never has.
22. Know what each fixing really carries
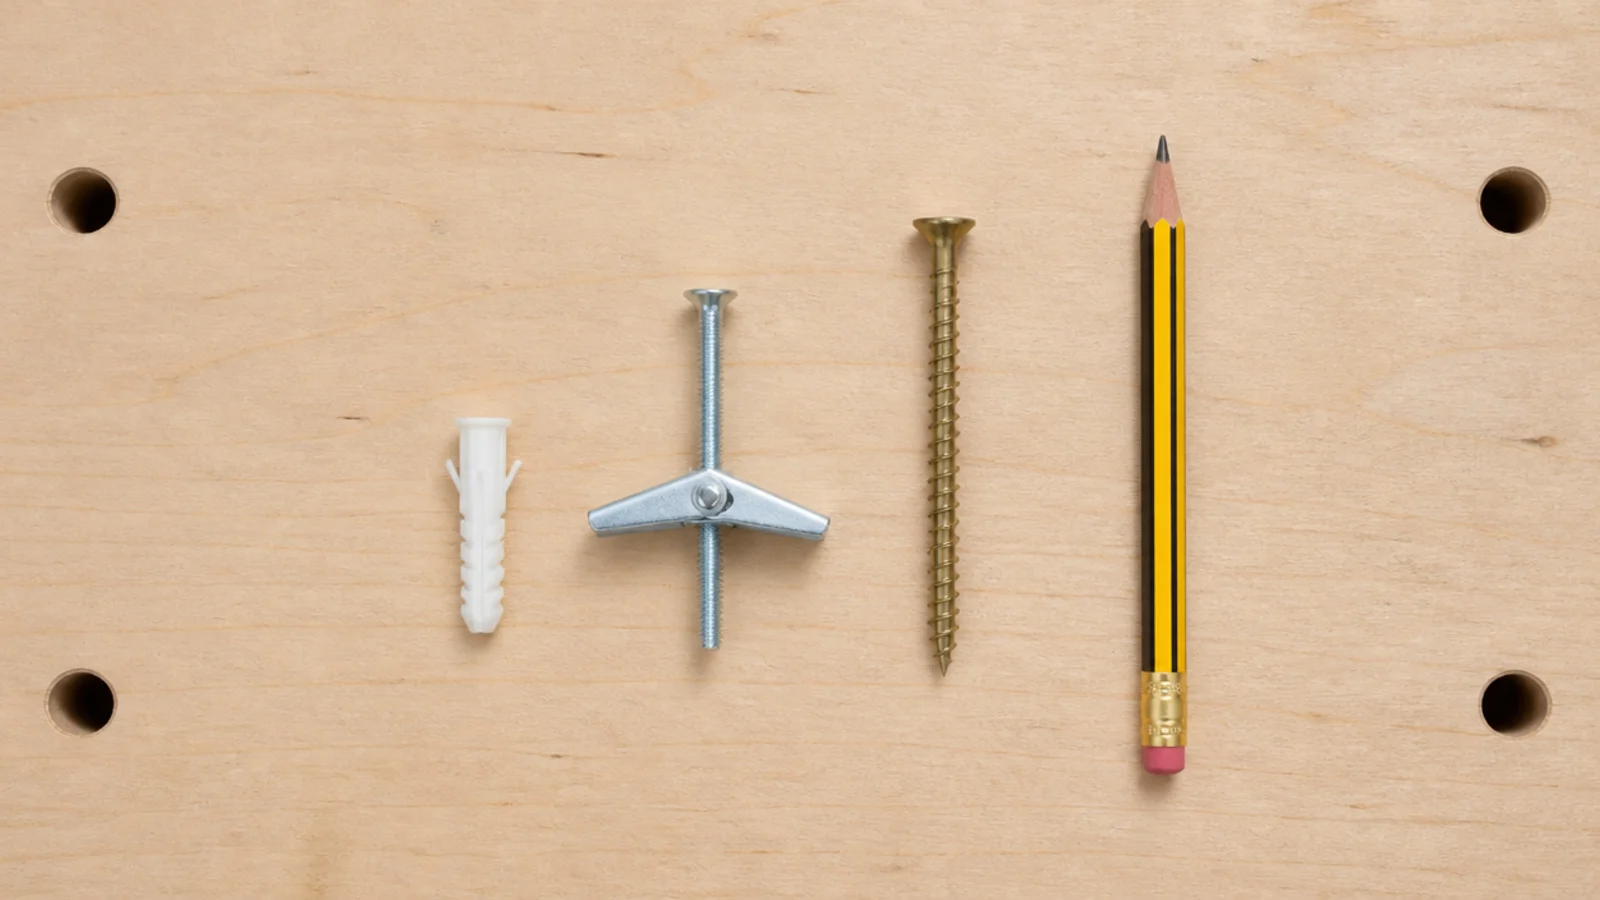
Commit three numbers to memory: plastic plug 10 pounds, toggle bolt 25 to 35 pounds each, screw into a stud effectively unlimited for this use. Every shelving decision in a rented room comes back to those. Buy a box of toggles on the same trip as the shelf rather than on the emergency second trip.
23. Photograph the wall before you drill
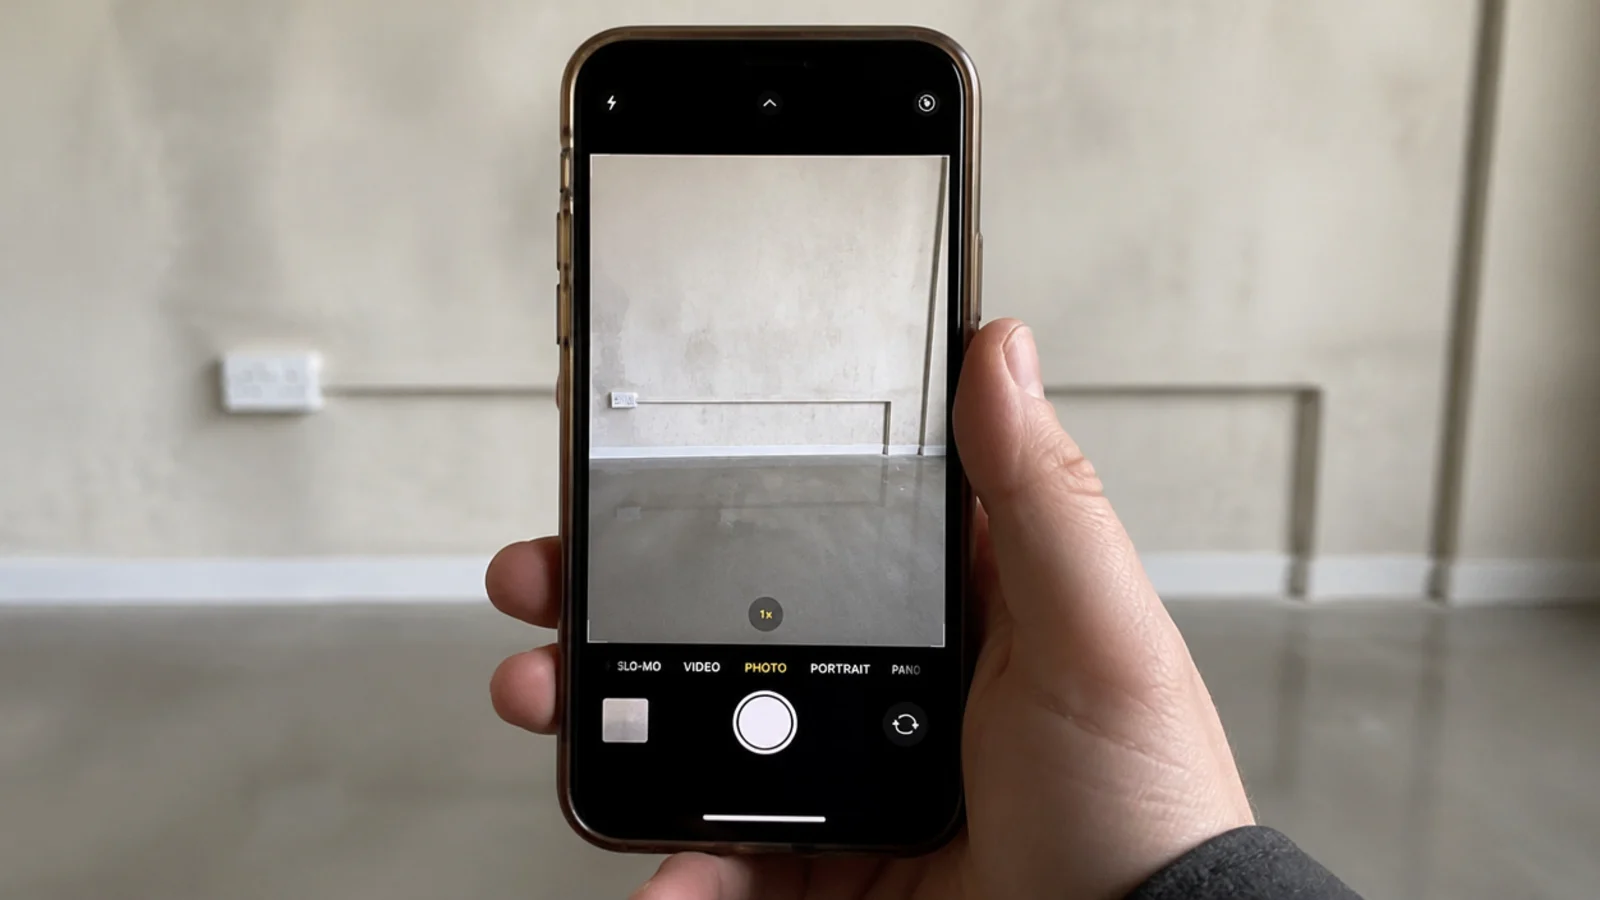
One photo of the bare wall, with the socket and any pipe boxing in it, is your reference for both drilling safely and patching accurately on move-out day. It takes five seconds and it has saved me a drilled pipe once and an argument about pre-existing marks twice.
24. Patch and repaint on the way out
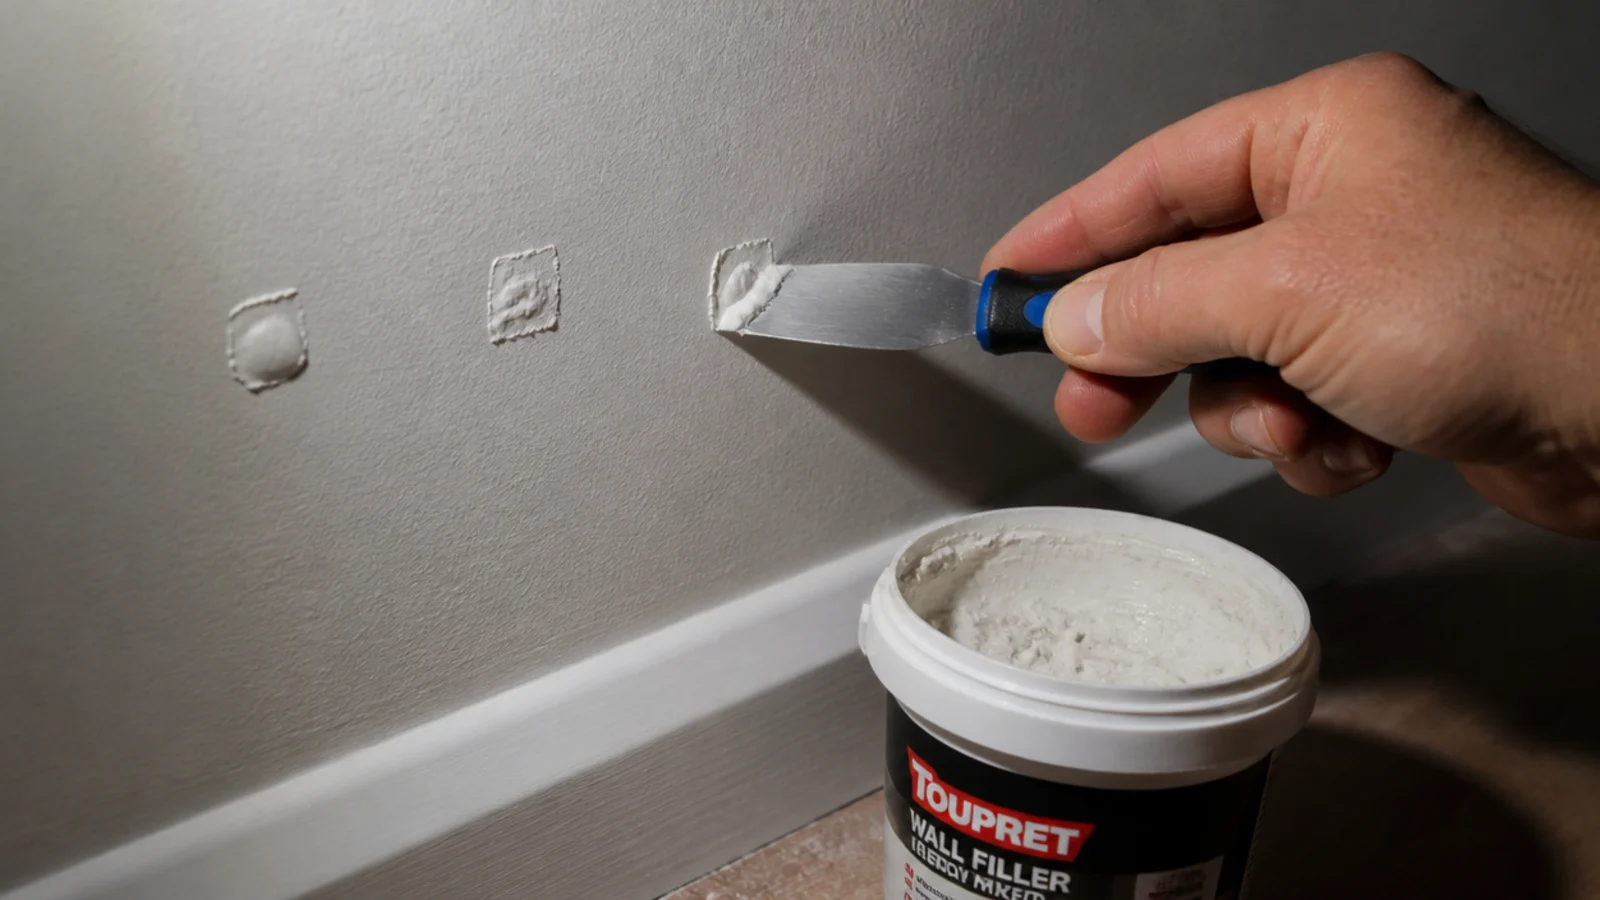
Four toggle holes fill with lightweight filler in ten minutes, sand flat with 120 grit and take a dab of matched paint. A tester pot is $6 to $10. Keeping a note of the paint code when you move in is the single cheapest deposit insurance available. The under-stairs storage closet guide covers the same reversibility question in a cupboard.
25. Never shelve across the boiler or the meter
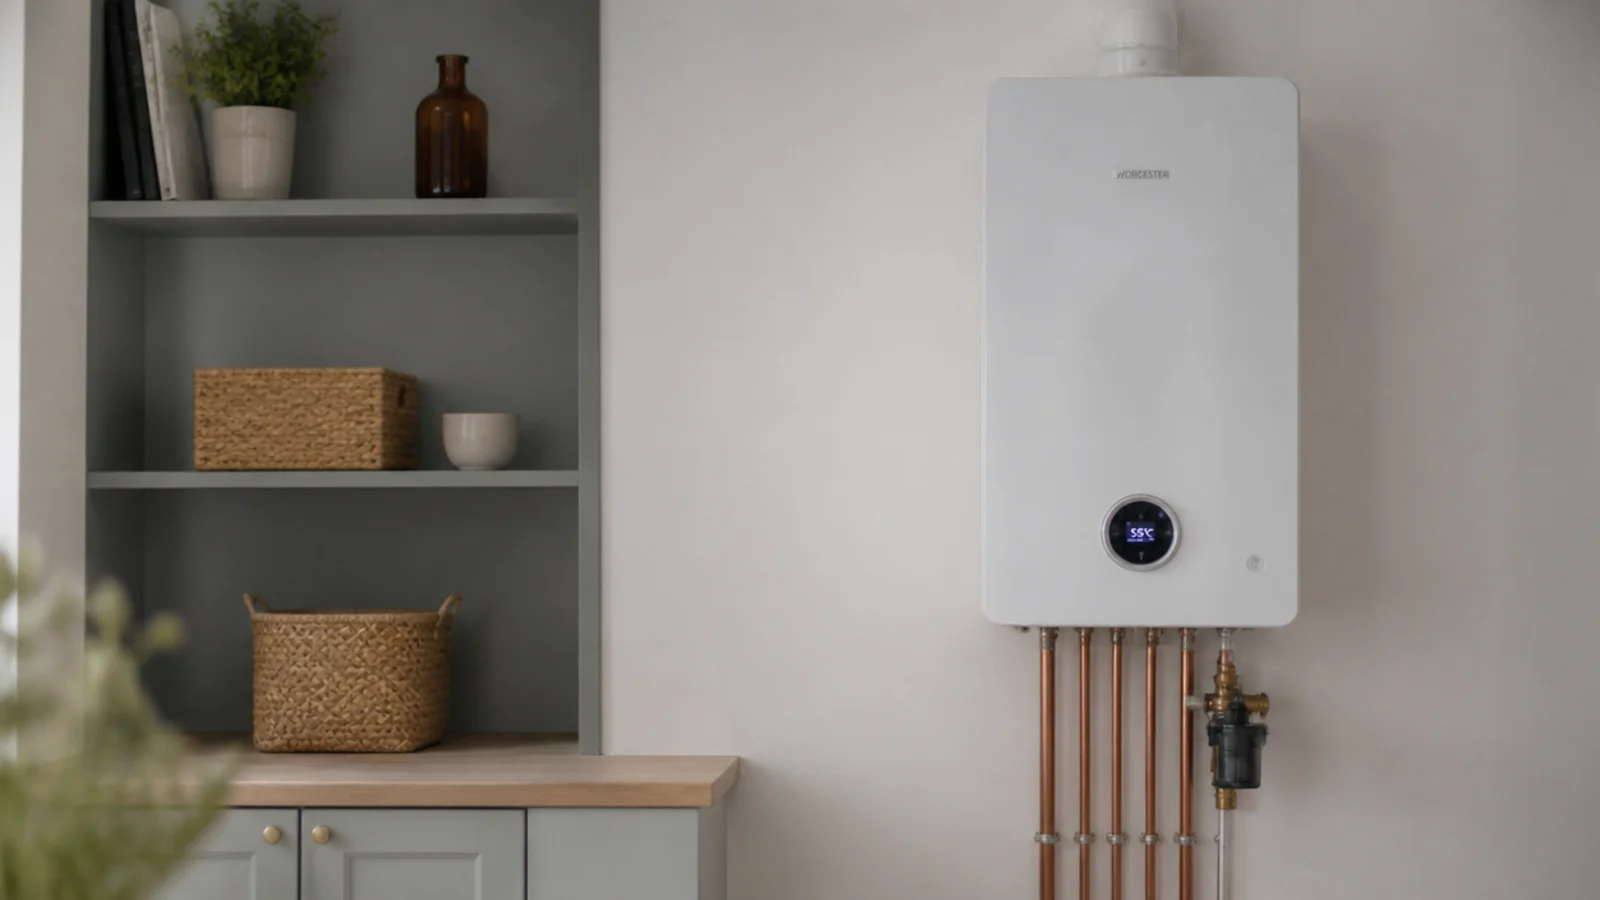
Stop the run short of the services. A boiler keeps its manufacturer clearances — commonly two inches at the sides, eight to twelve below for pipework and twelve inches of clear working space at the front — and a gas meter is never boxed in or shelved over, because it needs ventilation and its emergency control valve has to stay reachable without tools.
If the room itself is the constraint rather than the wall, the small utility room guide works from a 6 by 7 foot footprint upwards. For bracket types, span limits and the anchor maths in more detail, the floating shelf guide goes further than any laundry-specific page needs to.
Mistakes to Skip
- Using the plastic plugs that came in the box. They are rated around 10 pounds, they crush the plasterboard around themselves over weeks, and above a machine the vibration accelerates all of it.
- Going 16 inches deep because deeper sounds better. The back row becomes invisible, the walkway shrinks, and the bracket carries more leverage for no extra usable storage.
- Spacing shelves at 11 or 12 inches to fit an extra one in. Nothing tall stands up, and a shelf you have to tilt bottles out of gets used once and then abandoned.
- Putting glass jars on the shelf directly above the washing machine. A 1,400 rpm spin moves things slowly towards the front edge, and a lip does not save a heavy jar.
- Leaving the patching until moving day. Filler needs an hour to dry and a coat of matched paint, and a rushed patch is more visible than the hole was.
Frequently asked questions
How deep should utility room shelves be?
Twelve inches suits almost everything a laundry room holds — detergent bottles, spray cleaners, folded cloths and a jar of pegs. Anything deeper hides things at the back and starts eating the walkway. Reserve 16 inches only for a shelf holding baskets or bulk packs.
How much weight can drywall shelves hold?
A plastic plug carries around 10 pounds and creeps out over weeks. A toggle bolt carries 25 to 35 pounds each in half-inch drywall, and a screw into a stud carries far more than the shelf itself ever will. Two toggles per bracket is the honest working figure for a loaded utility shelf.
Can renters put up shelving without damaging walls?
Yes, in three ways. Tension-pole and freestanding units need no holes at all. Adhesive strips genuinely hold up to about 15 pounds per pair on sound paint. And a French cleat or a pair of brackets leaves four small holes that fill with filler and a dab of matched paint in ten minutes.
How far apart should utility shelves be spaced?
Sixteen inches of clear height between shelves takes a tall detergent bottle standing upright with room to lift it out. Drop to 12 inches only for a shelf of folded cloths or small tins, and allow 18 inches above a worktop so a bottle still stands under the lowest shelf.
Is it safe to put shelves above a washing machine?
Yes, with two conditions. Fix into studs or use toggle bolts rather than plastic plugs, because a 1,400 rpm spin runs 72 to 76 decibels and the vibration works fixings loose. And keep glass and heavy tins off that particular shelf — bins and bottles are the right load above a machine.
Want more like this? Browse all 15 utility room ideas guides — they all use the same measurements and budget tiers.
Pin it for later
Save this to your Utility Room Ideas board
Pin it now so it is waiting for you when the tape measure comes out — and so the next person hunting for this idea can find it too.
Save this pinKeep going
More ideas worth saving while you have the tape measure out.