Utility Room Ideas · How-To
15 Steps To Build IKEA Utility Room Ideas Cheaply

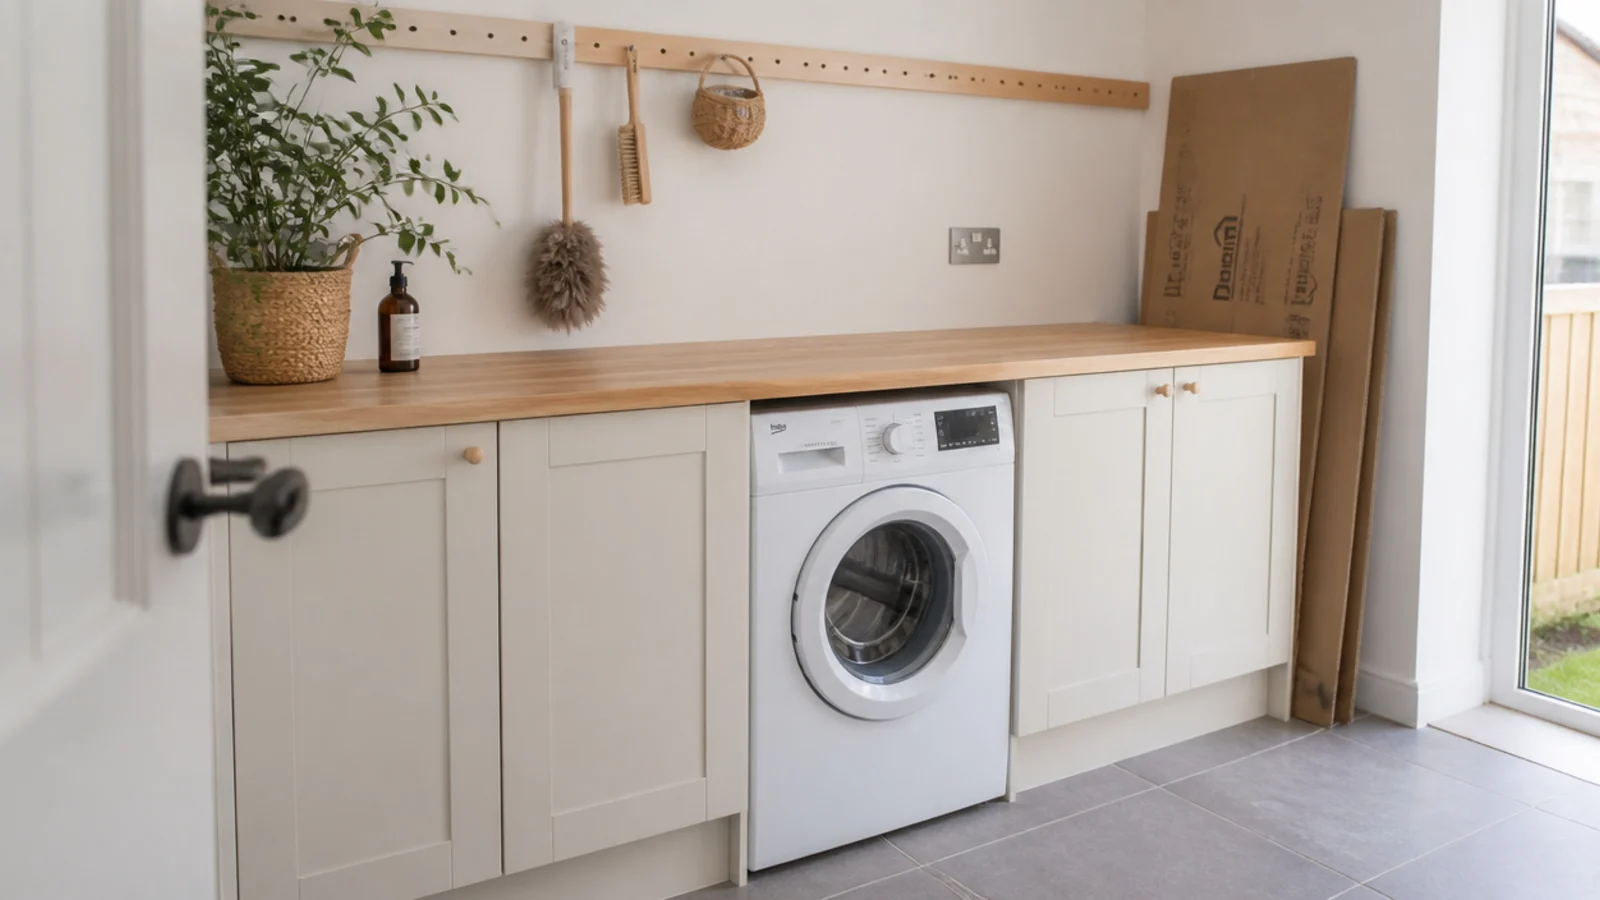
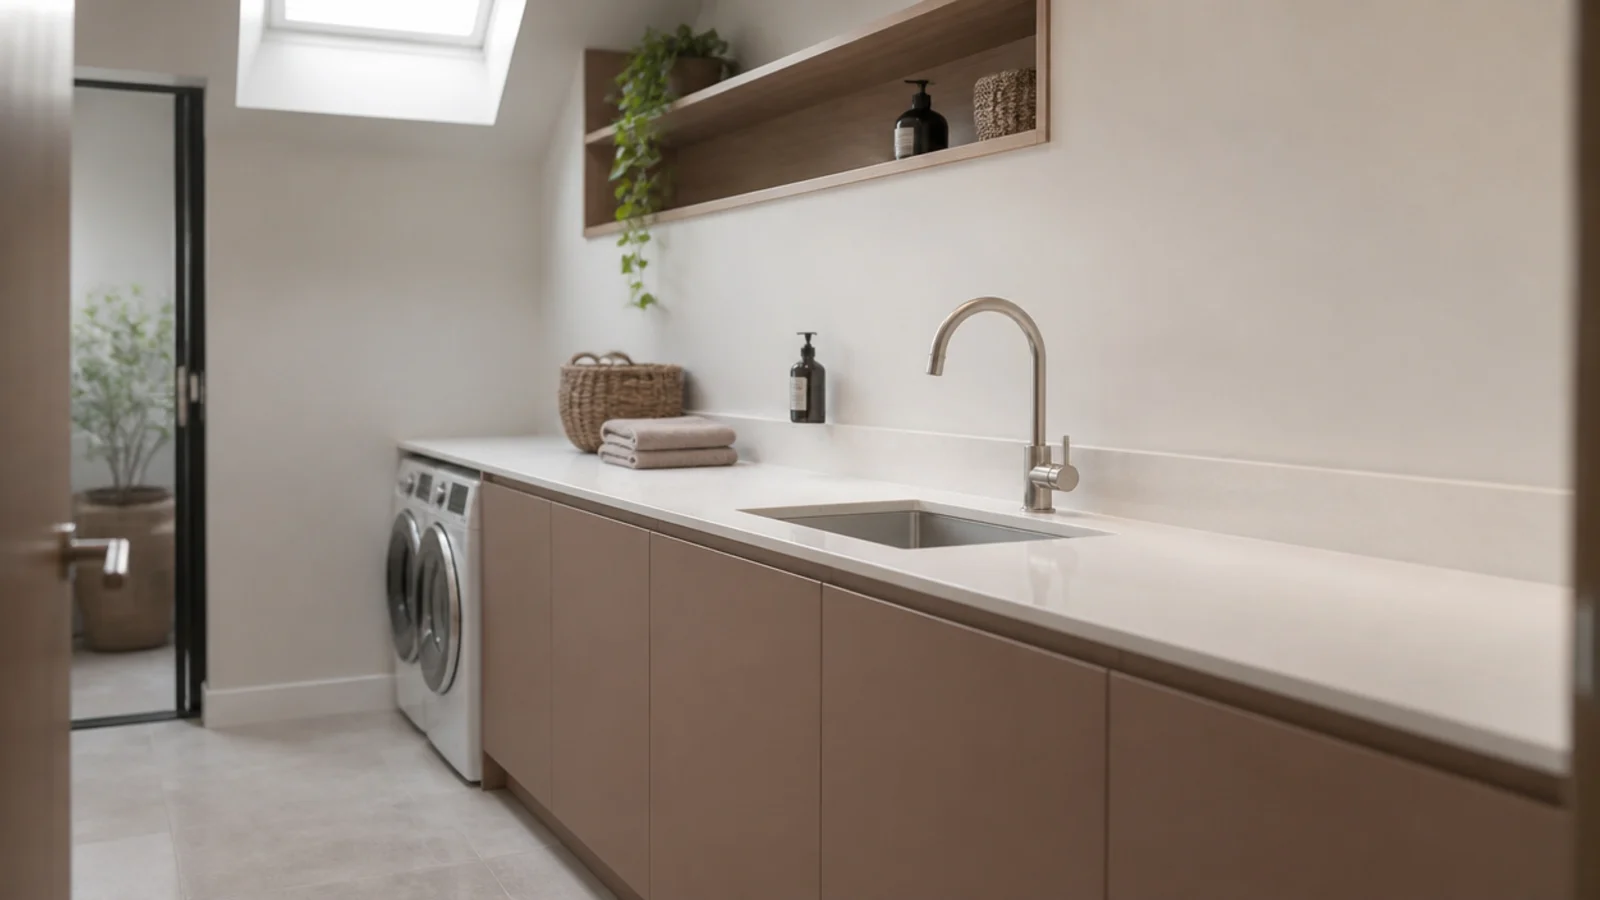
A fitted utility quote and a flat-pack one are separated by about two thousand dollars and one weekend, and almost none of that gap is quality. The carcasses are the same melamine-faced board a joiner would use; what you are paying for otherwise is somebody else measuring, levelling and scribing. These IKEA utility room ideas take you through that work in order, from the first pencil mark to the hinge adjustment at the end, with the numbers that decide whether it looks built-in or looks assembled. Reckon on $600 to $1,200 for a three-cabinet run with a laminate worktop.
In this guide18 sections — tap to openHide
- 1.What You'll Need For These IKEA Utility Room Ideas
- 2.Step 1: Measure the run and mark the appliance bay
- 3.Step 2: Confirm the machine clears thirty-four inches
- 4.Step 3: Draw the run and price it before you buy
- 5.Step 4: Choose carcass depth and height for the room
- 6.Step 5: Check the floor before anything is fixed
- 7.Step 6: Fix the suspension rail dead level
- 8.Step 7: Hang the base cabinets and link them
- 9.Step 8: Level the legs and set the plinth back
- 10.Step 9: Leave the appliance bay at twenty-nine inches
- 11.Step 10: Cut the worktop and seal every edge
- 12.Step 11: Silicone the back joint and splashback
- 13.Step 12: Plumb the standpipe and connect the machine
- 14.Step 13: Vent the dryer and fit the extractor
- 15.Step 14: Add the rail, the pegboard and the shelves
- 16.Step 15: Fit the doors last, then style the run
- 17.Pro Styling Rules
- 18.Mistakes to Skip
What You'll Need For These IKEA Utility Room Ideas
Nothing here is specialist. If you own a drill and can borrow a level and a jigsaw, the build runs one long day for the carcasses and a second morning for the worktop and doors.
| Item | Spec that matters | Rough cost |
|---|---|---|
| Base cabinets | SEKTION or METOD carcasses, 24 in deep | $180–$450 |
| Suspension rail | Full length of the run, one piece if possible | $12–$25 |
| Worktop | Laminate 25 in deep, or solid timber | $90–$400 |
| Filler panels | Two, to scribe against both end walls | $25–$60 |
| Plinth | Cut to set back 3 in from the door fronts | $20–$45 |
| Open storage | BOAXEL or IVAR uprights, SKADIS pegboard | $60–$180 |
| Bins | TROFAST, SAMLA or KUGGIS, three matching | $20–$50 |
| Sealant | Edge sealer plus one tube of sanitary silicone | $14–$22 |
| Tools | Drill, jigsaw, spirit level, clamps, stud finder | borrowed |
Two rules before you start. Plan the appliance bay before any cabinet width, because the machine is the only item with no flexibility. And treat the boiler wall as fixed: a boiler keeps its service clearances behind a removable panel, and a gas meter is never enclosed by cabinetry.
Step 1: Measure the run and mark the appliance bay
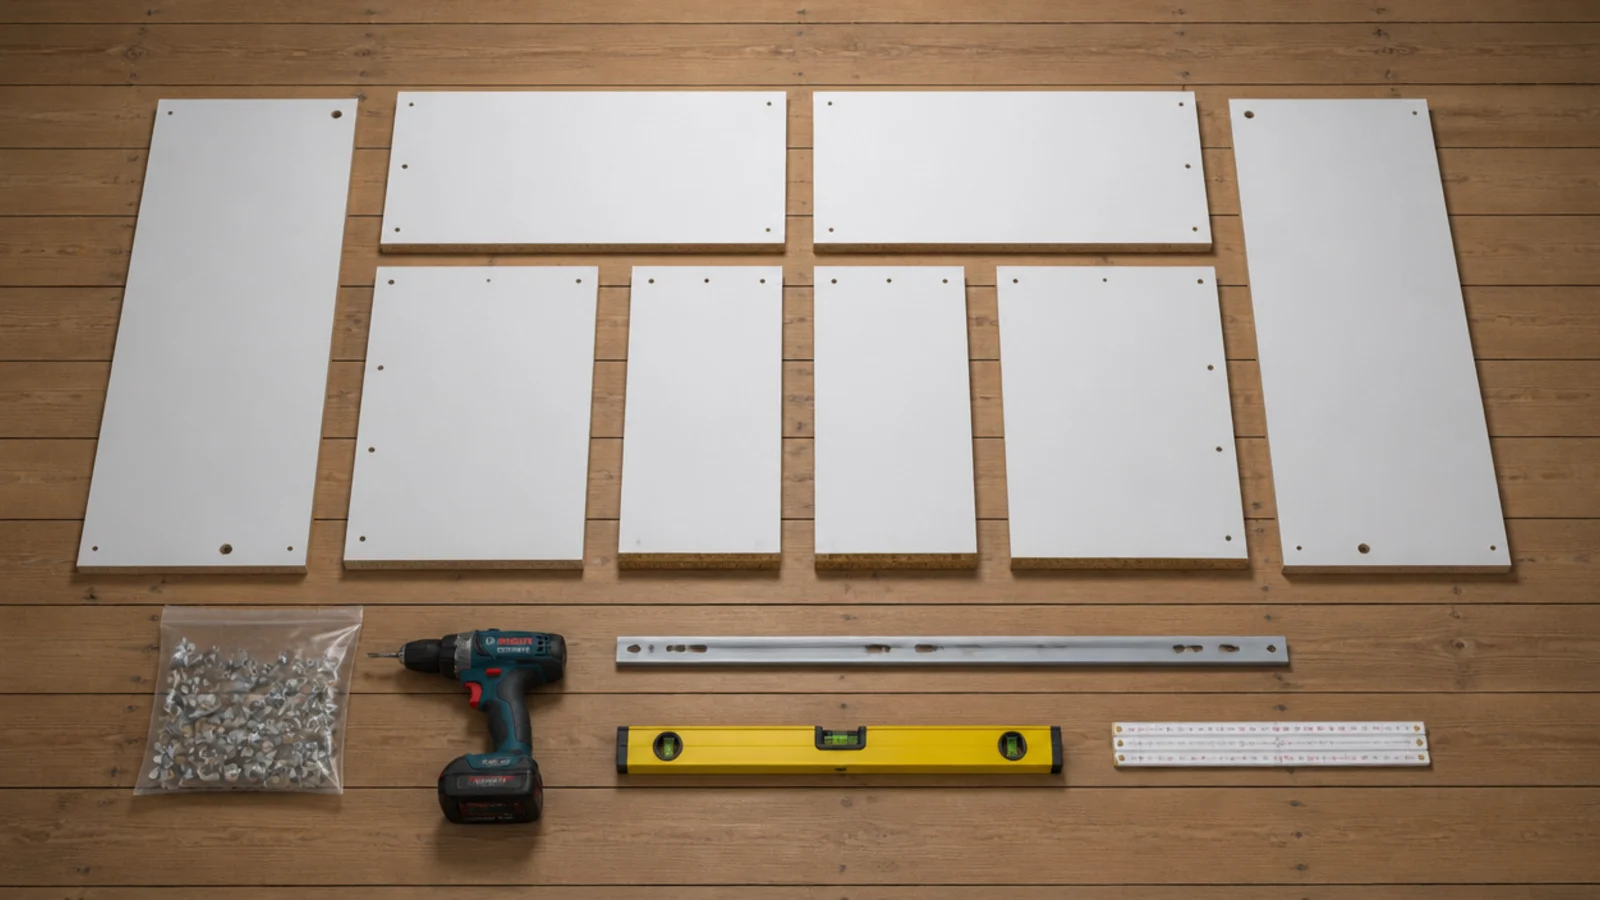
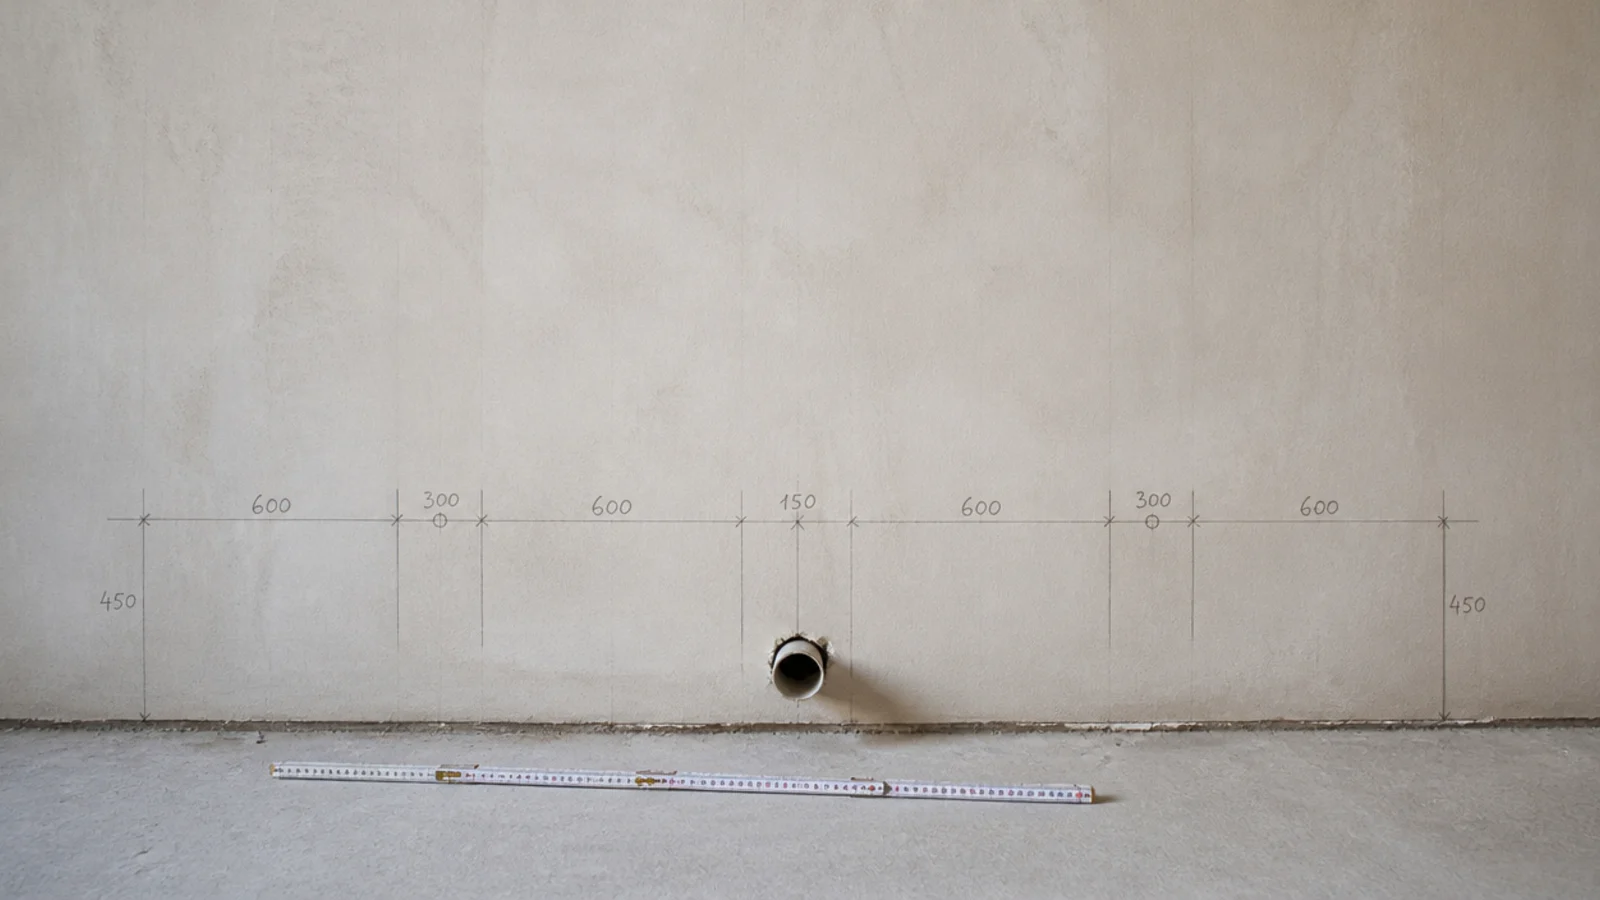
Take three numbers and write them on the bare wall in pencil: the total wall length, the ceiling height, and the clear depth from the finished wall. Then mark the appliance bay first, at 29 inches for a full-size 27-inch machine. Cabinet widths get chosen around that gap, not the other way round, and doing it in this order is what stops you discovering at assembly that the run is two inches short.
Step 2: Confirm the machine clears thirty-four inches
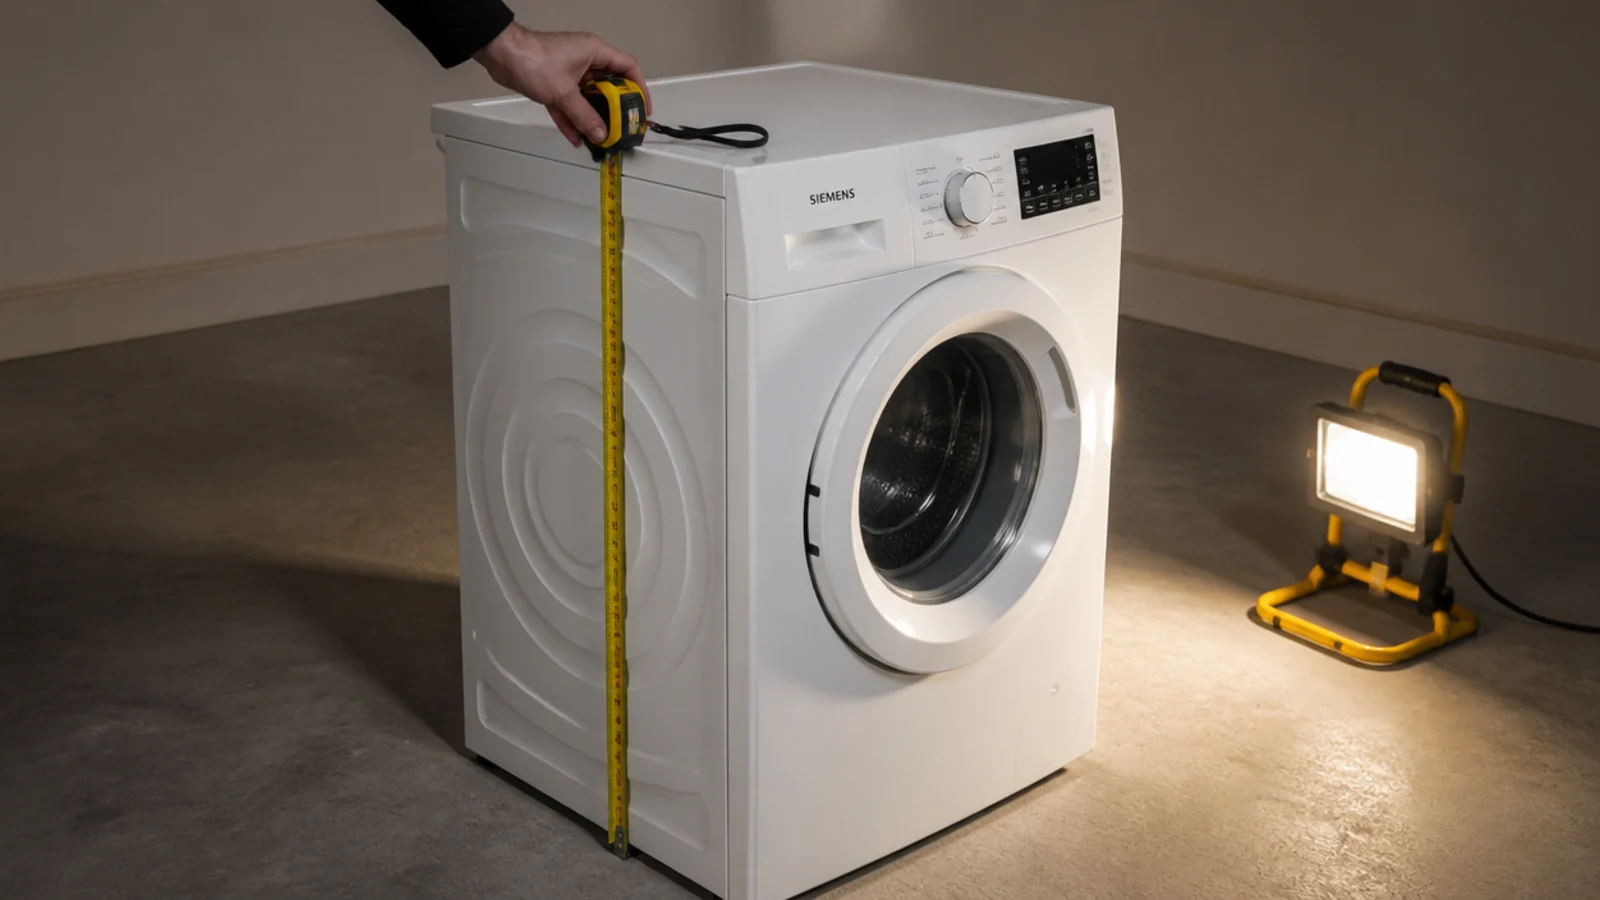
Measure the appliance you actually own, standing, with its feet wound down. A worktop finishes at 36 inches and the surface itself takes about an inch and a half, so anything at 34.5 inches will not go under. This is the single most expensive mistake available on this build, because the worktop is the half you cannot return once it has been cut.
Step 3: Draw the run and price it before you buy
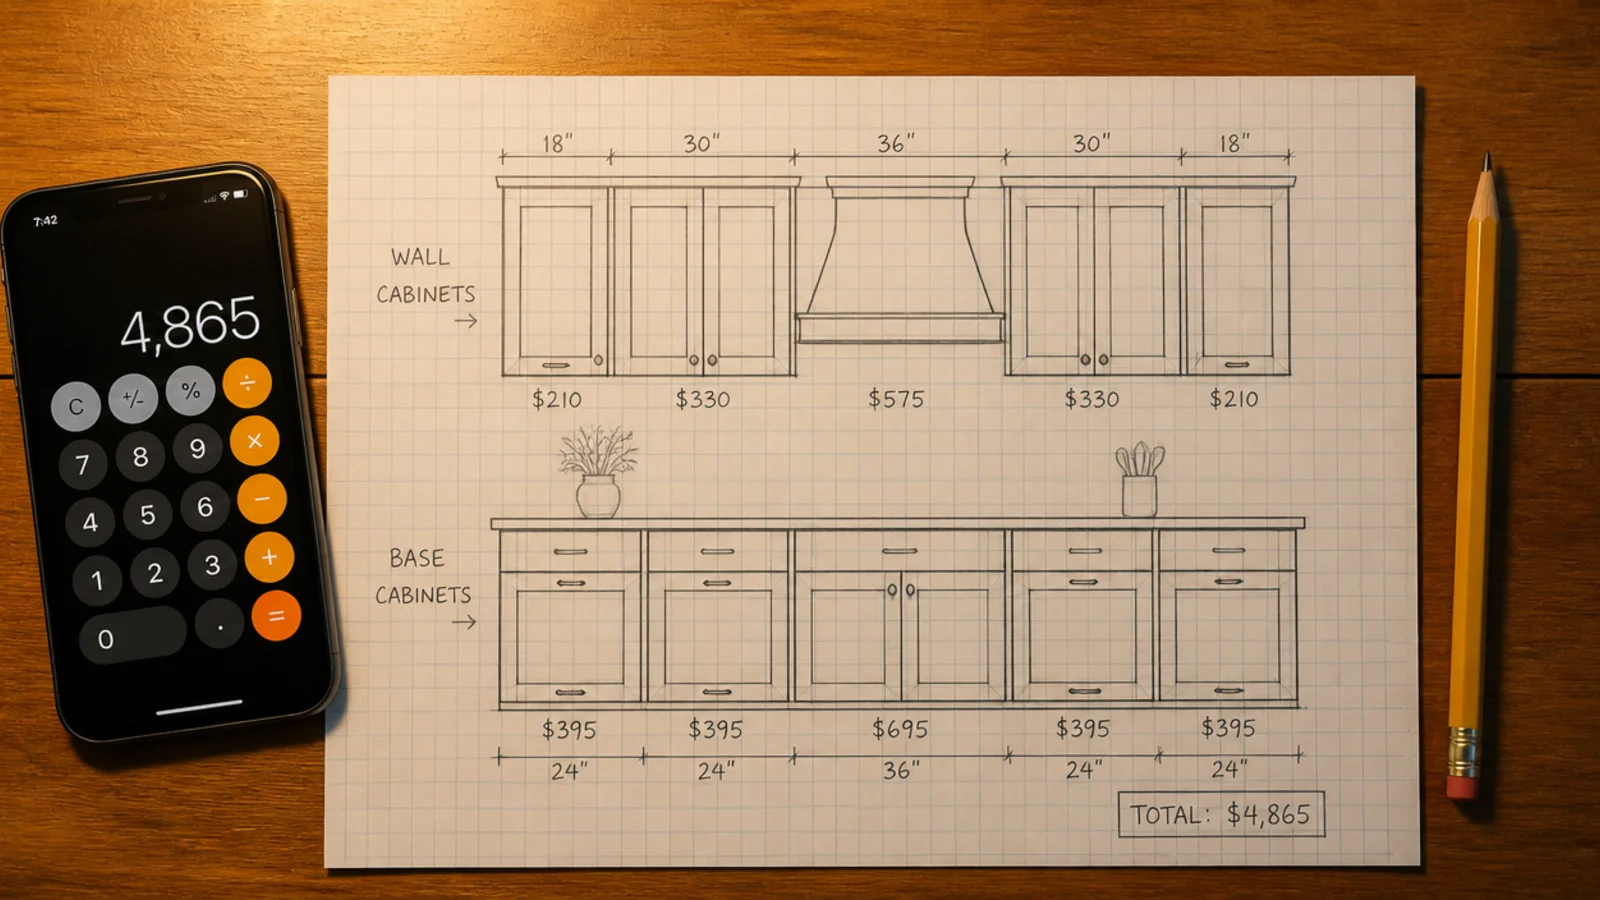
Sketch the elevation on graph paper at quarter-inch scale with every unit width and price written beside it. Total it before you go anywhere near a trolley. Include the filler panels, the plinth and the sealant, because those are the items that turn a $700 plan into a $950 one at the till. Mark the boiler, the meter and the consumer unit on the drawing as no-go zones.
Step 4: Choose carcass depth and height for the room
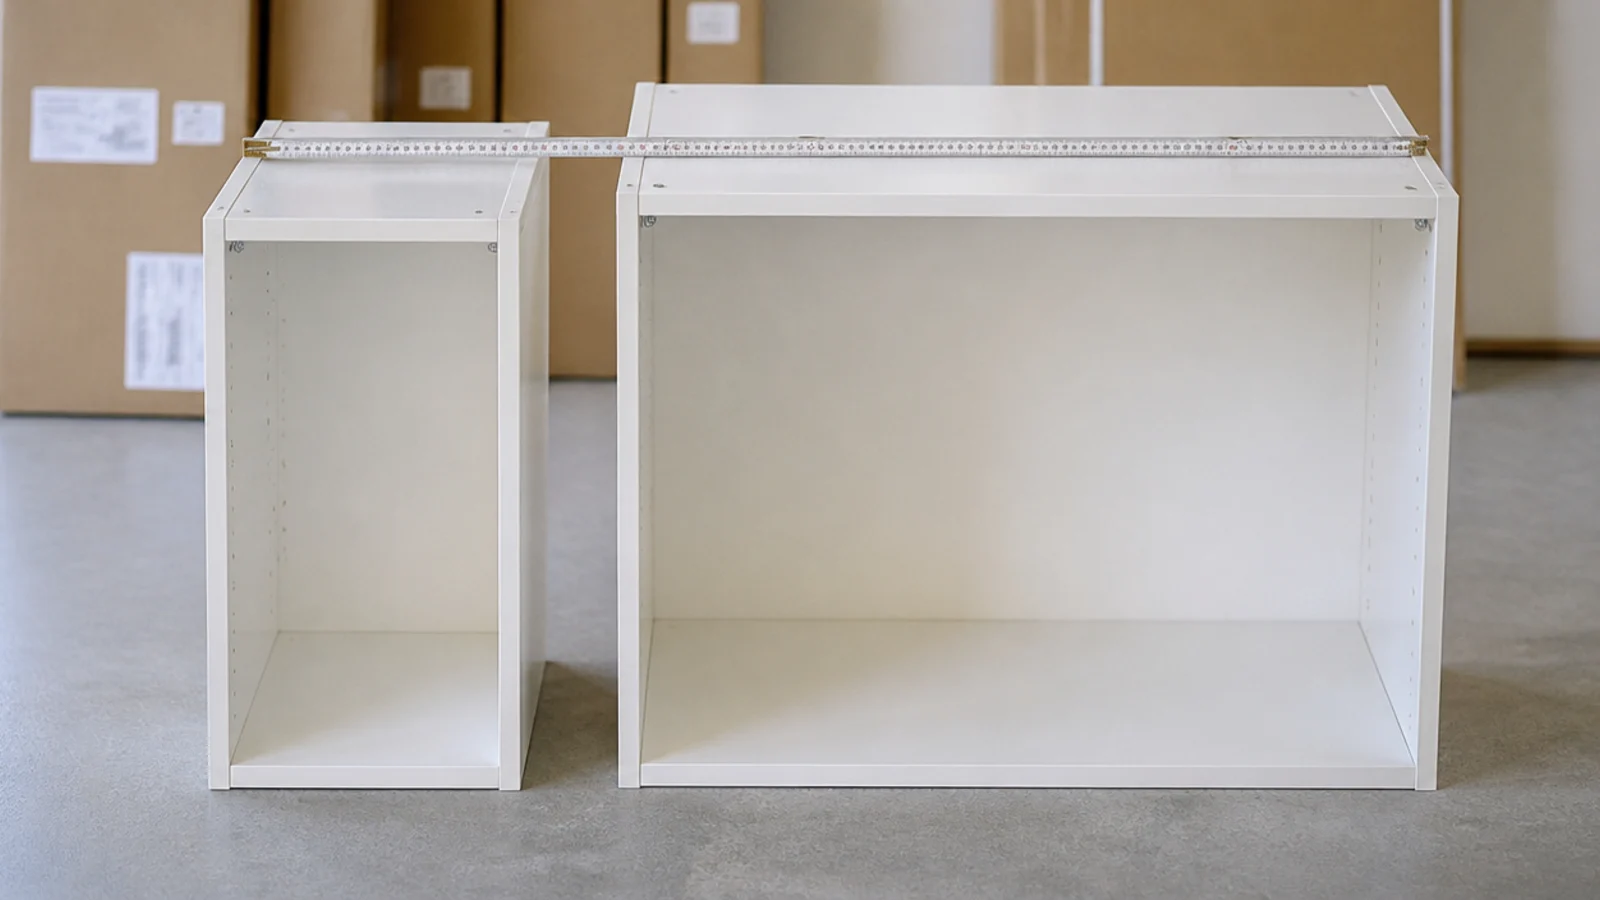
Standard base carcasses are 24 inches deep, which with a 25-inch worktop projects about 25 inches into the room. Check what that leaves you for a walkway — 36 inches is the working minimum, 42 if two people use the room. In a narrow utility, a shallower carcass or a single run is worth more than the extra storage.
Step 5: Check the floor before anything is fixed
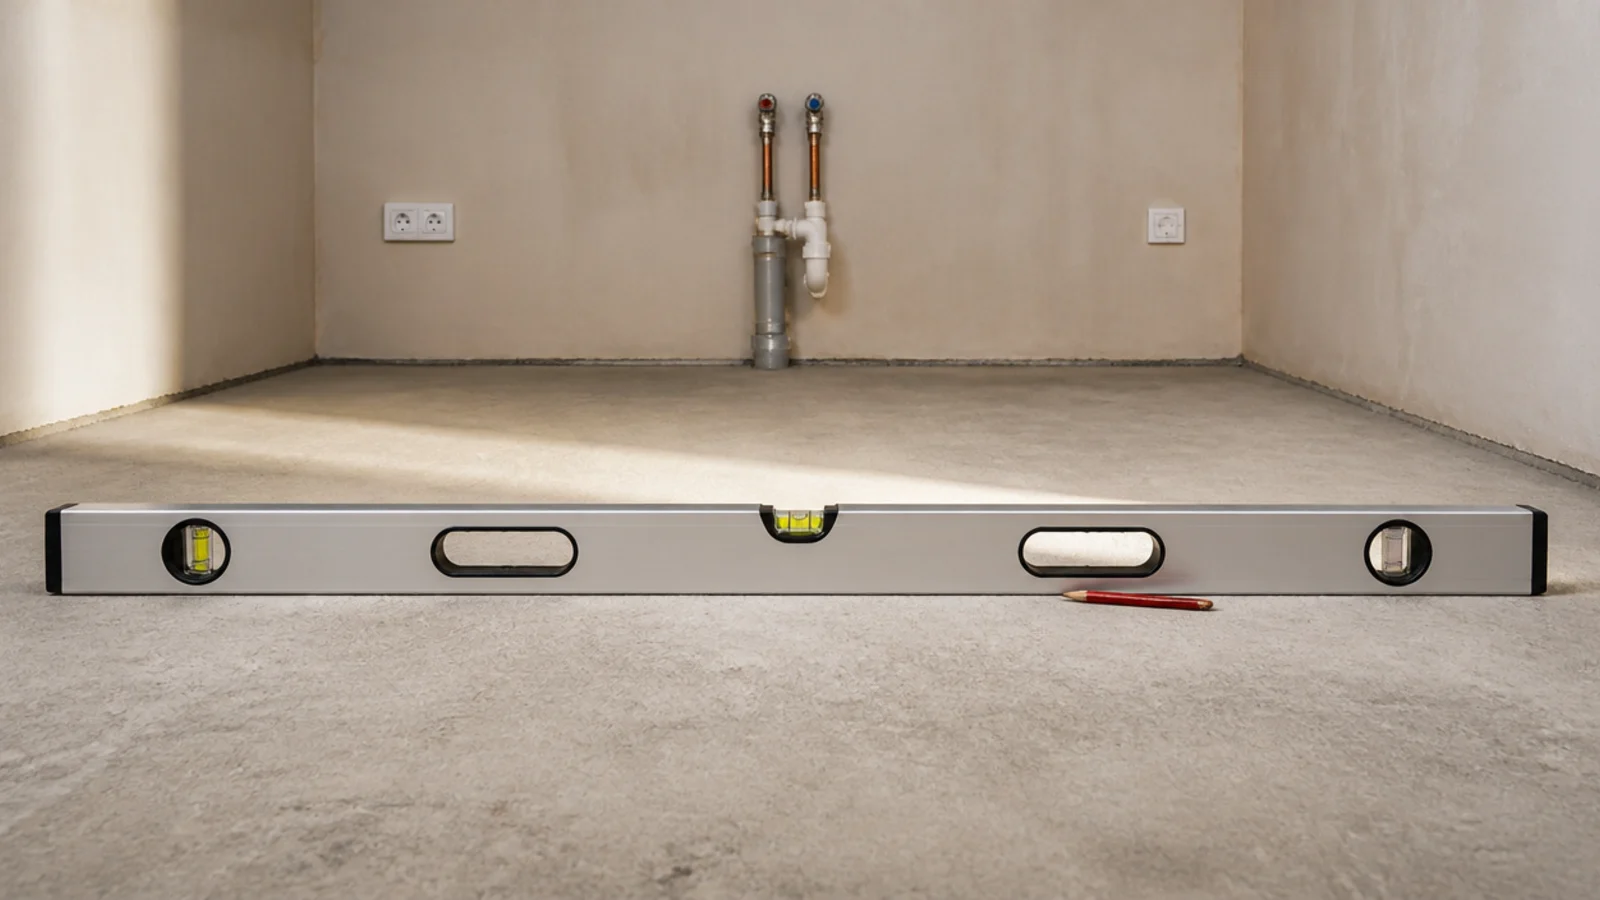
Lay a long level across the floor where the run will go and look for the fall. Most floors have one, and older houses can have half an inch across six feet. Note which end is low, because that decides how far the legs need to wind out and whether the plinth needs scribing. Finding this now costs five minutes; finding it later costs the worktop line.
Step 6: Fix the suspension rail dead level
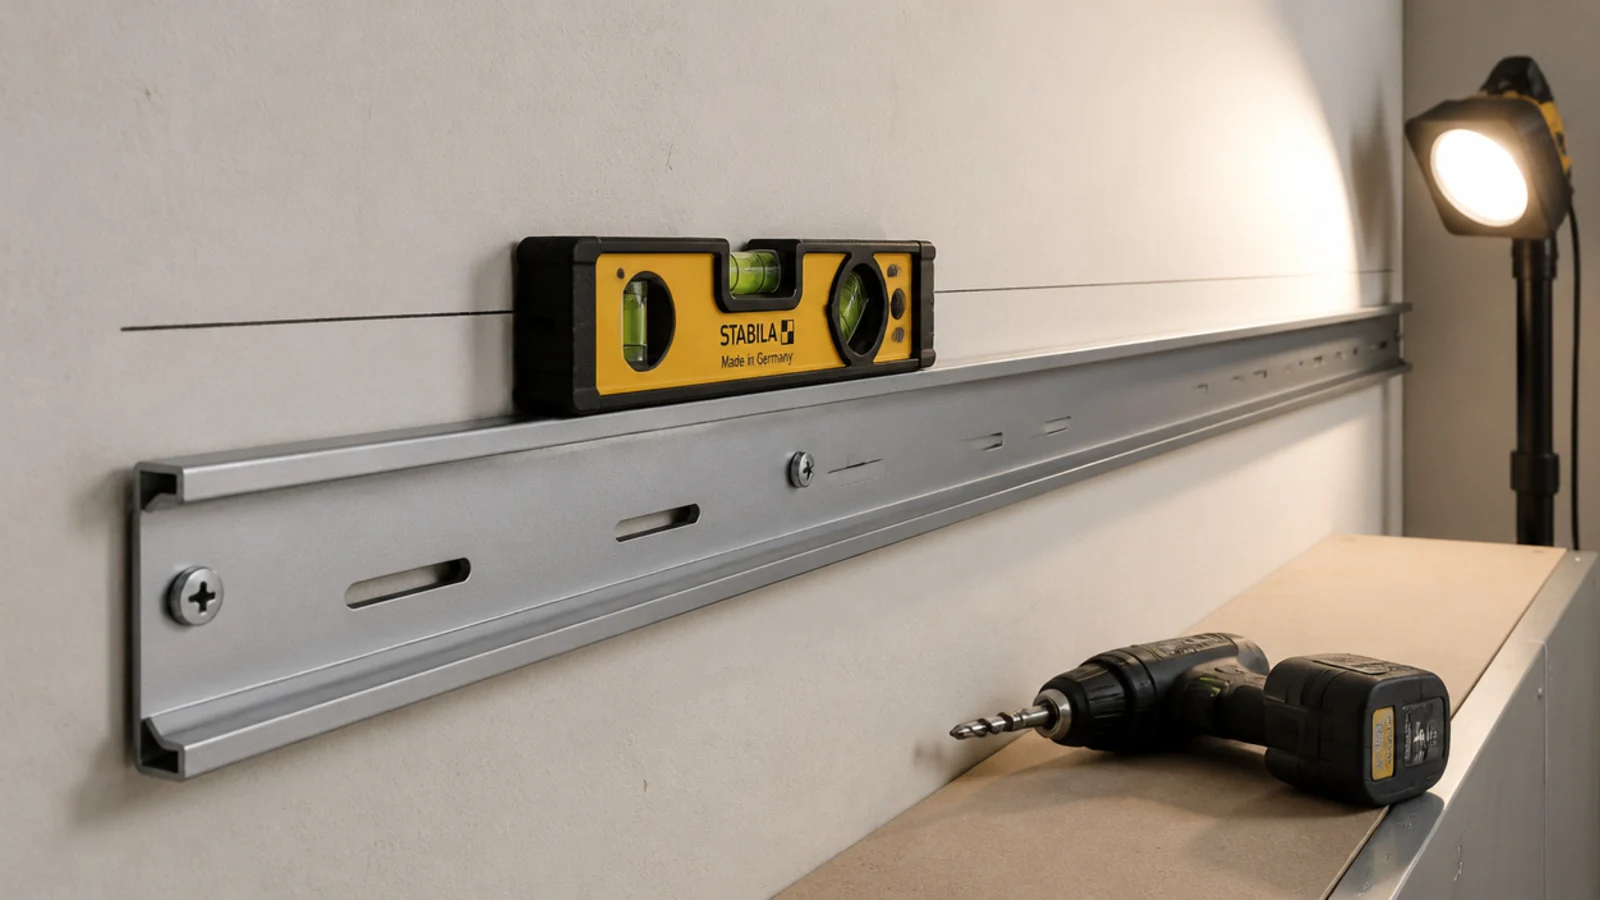
The rail is the only line in the whole build that has to be perfect, because every cabinet hangs off it and every door reads against it. Mark it with a level, drill into studs where you can and use appropriate anchors where you cannot, and check it again after fixing. A rail out by a quarter inch shows up as a visible taper in the shadow gaps between doors.
Step 7: Hang the base cabinets and link them
Hook each carcass onto the rail, then clamp neighbouring cabinets together at the front edge before screwing them. Clamping first is what keeps the fronts flush; screwing first pulls them out of line and you will see it in the door gaps forever. Work from the appliance bay outwards so any accumulated error lands at the wall, where a filler panel hides it.
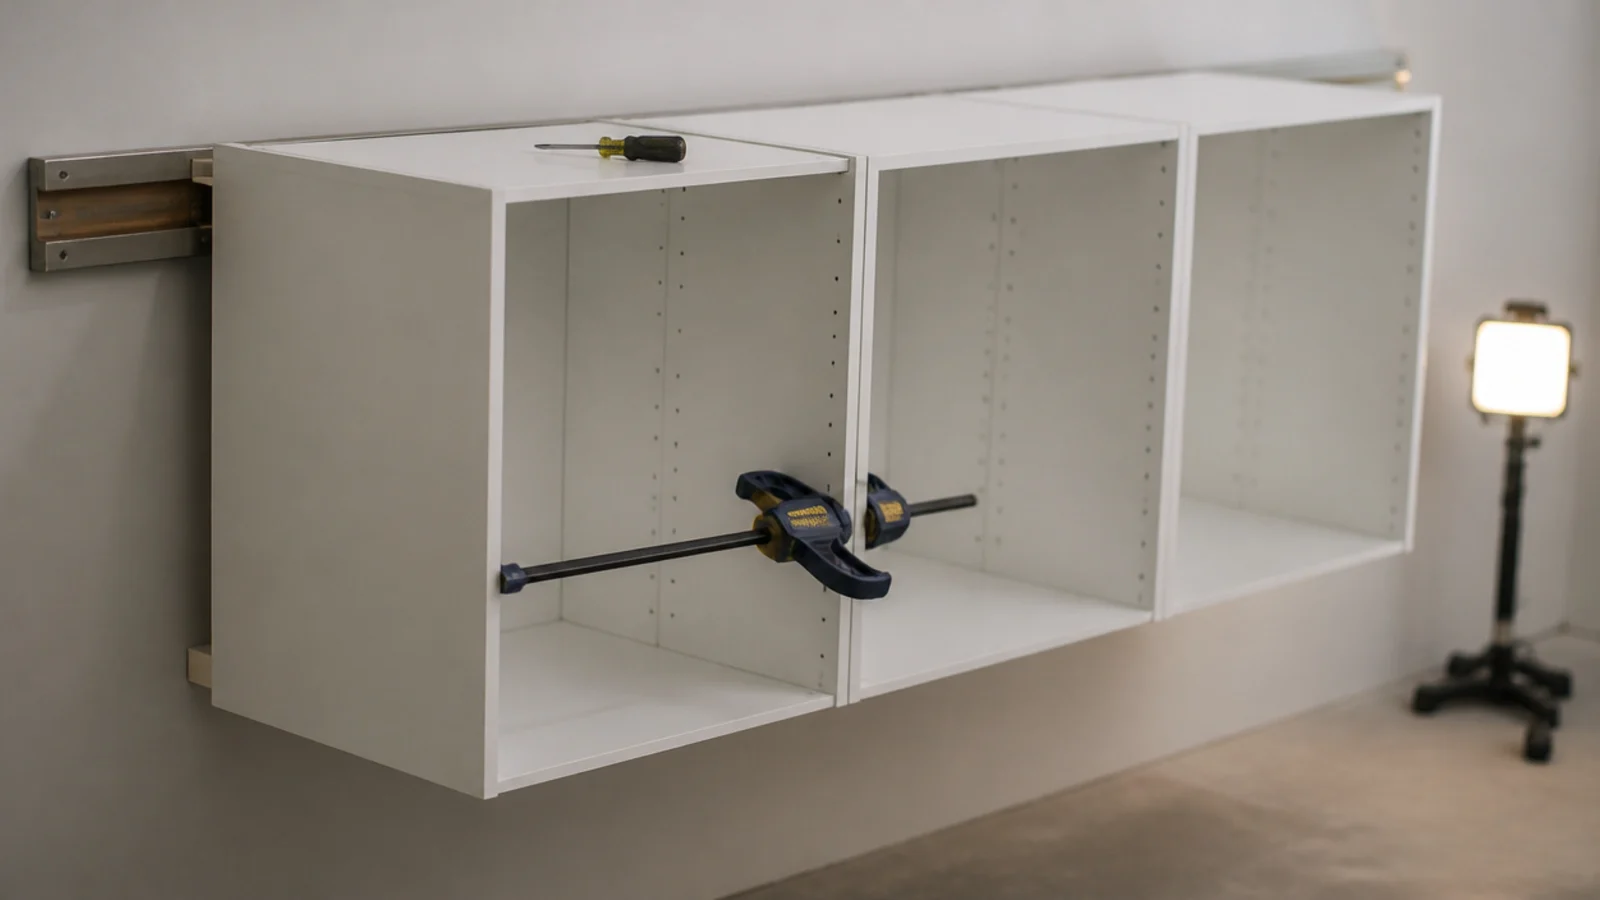
Step 8: Level the legs and set the plinth back
Wind the adjustable legs until the tops of every carcass read level across the whole run, checking against the rail rather than the floor. Then cut the plinth to sit back three inches from the door fronts instead of flush. That recess throws a shadow line, hides the scuffs a plinth always collects, and does more for the finished look than any door upgrade.
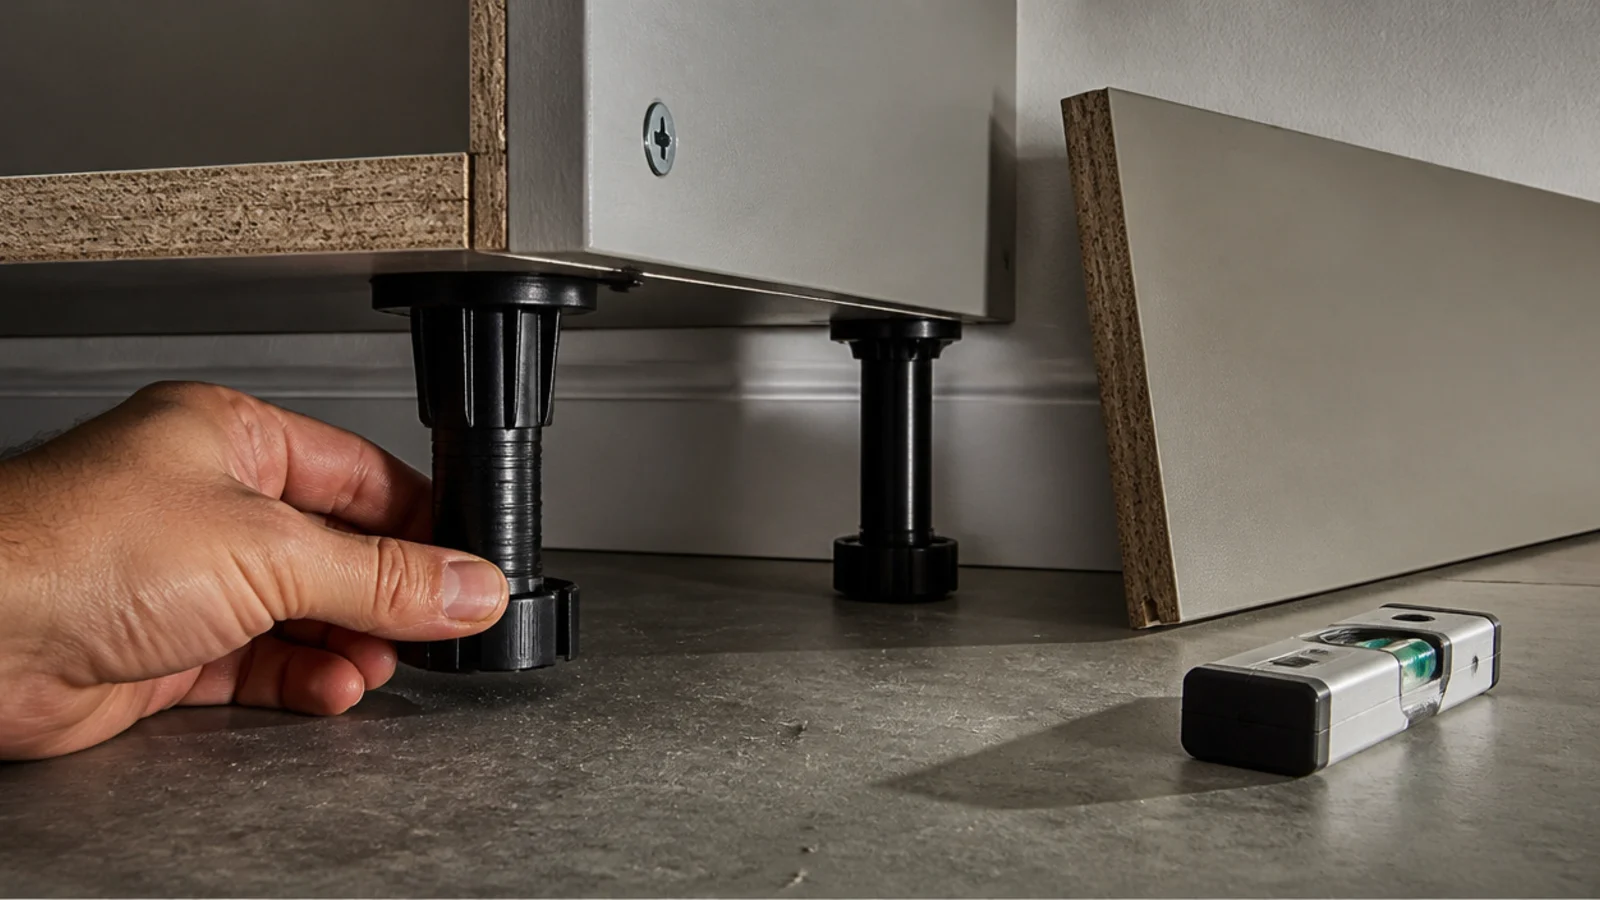
Step 9: Leave the appliance bay at twenty-nine inches
Hold the bay at 29 inches wide with four to six inches of clear depth behind for hoses, valves and the vent. That inch of air each side stops the casing drumming against the carcass during a 1,400 rpm spin, and it means you can slide the machine straight out to clear a blocked filter without dismantling cabinetry.
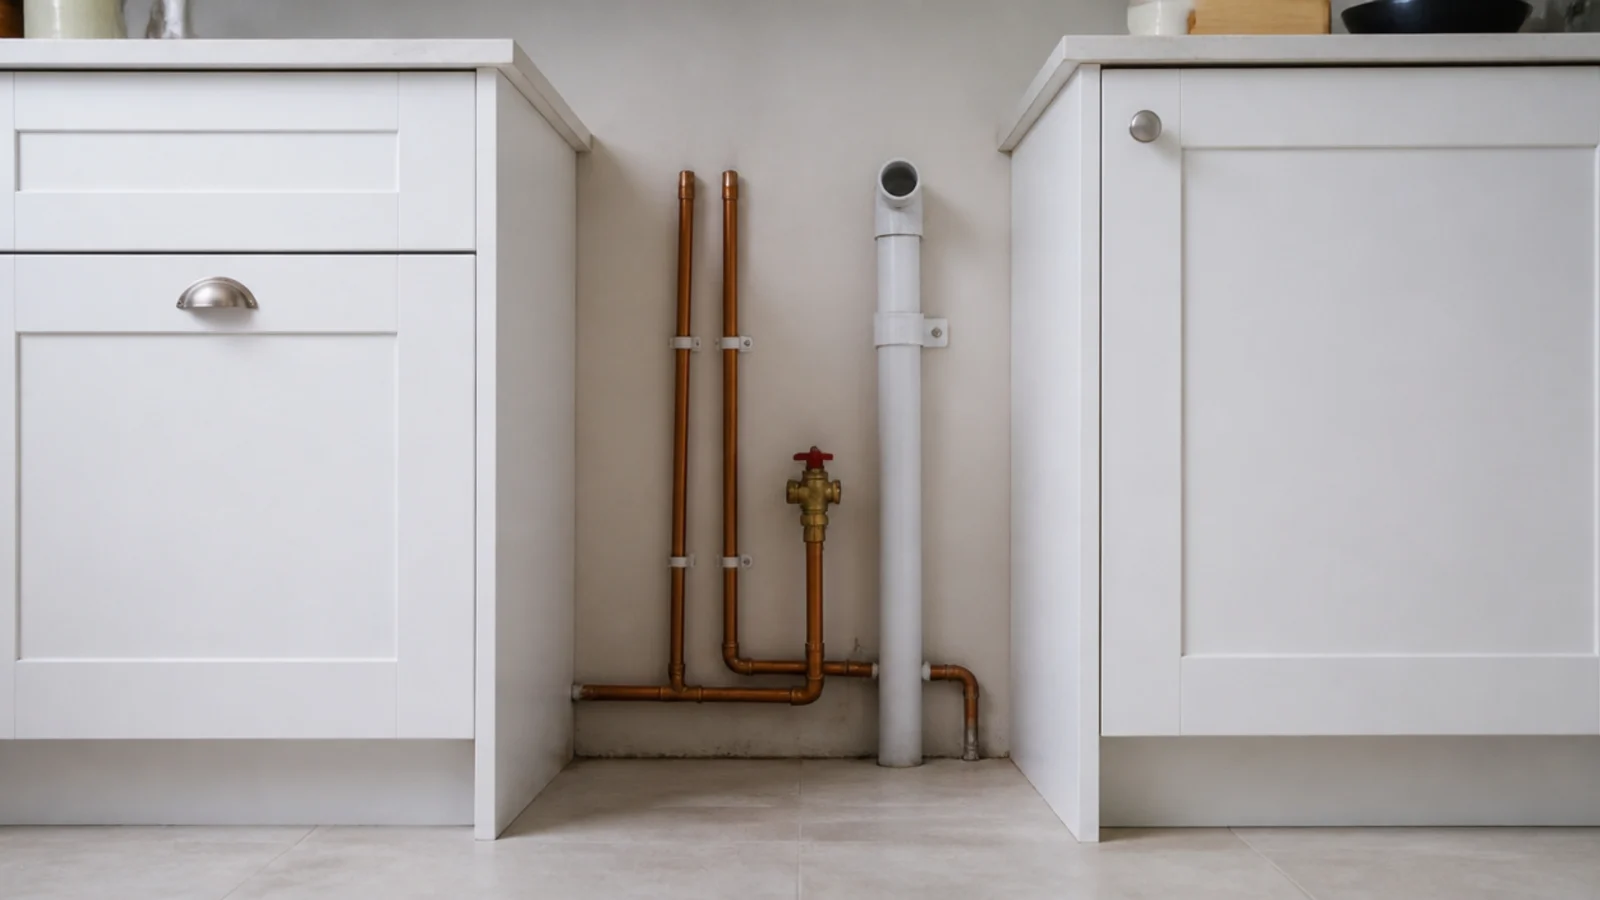
Step 10: Cut the worktop and seal every edge
Cut with the good face down if you are using a jigsaw, or face up with a fine downcut blade, and support both sides of the cut. Then seal every raw edge with two coats of edge sealer or PVA before it goes anywhere near the cabinets. Chipboard core swells permanently the first time it takes water, and a laundry room is the wettest room you will ever fit one in.
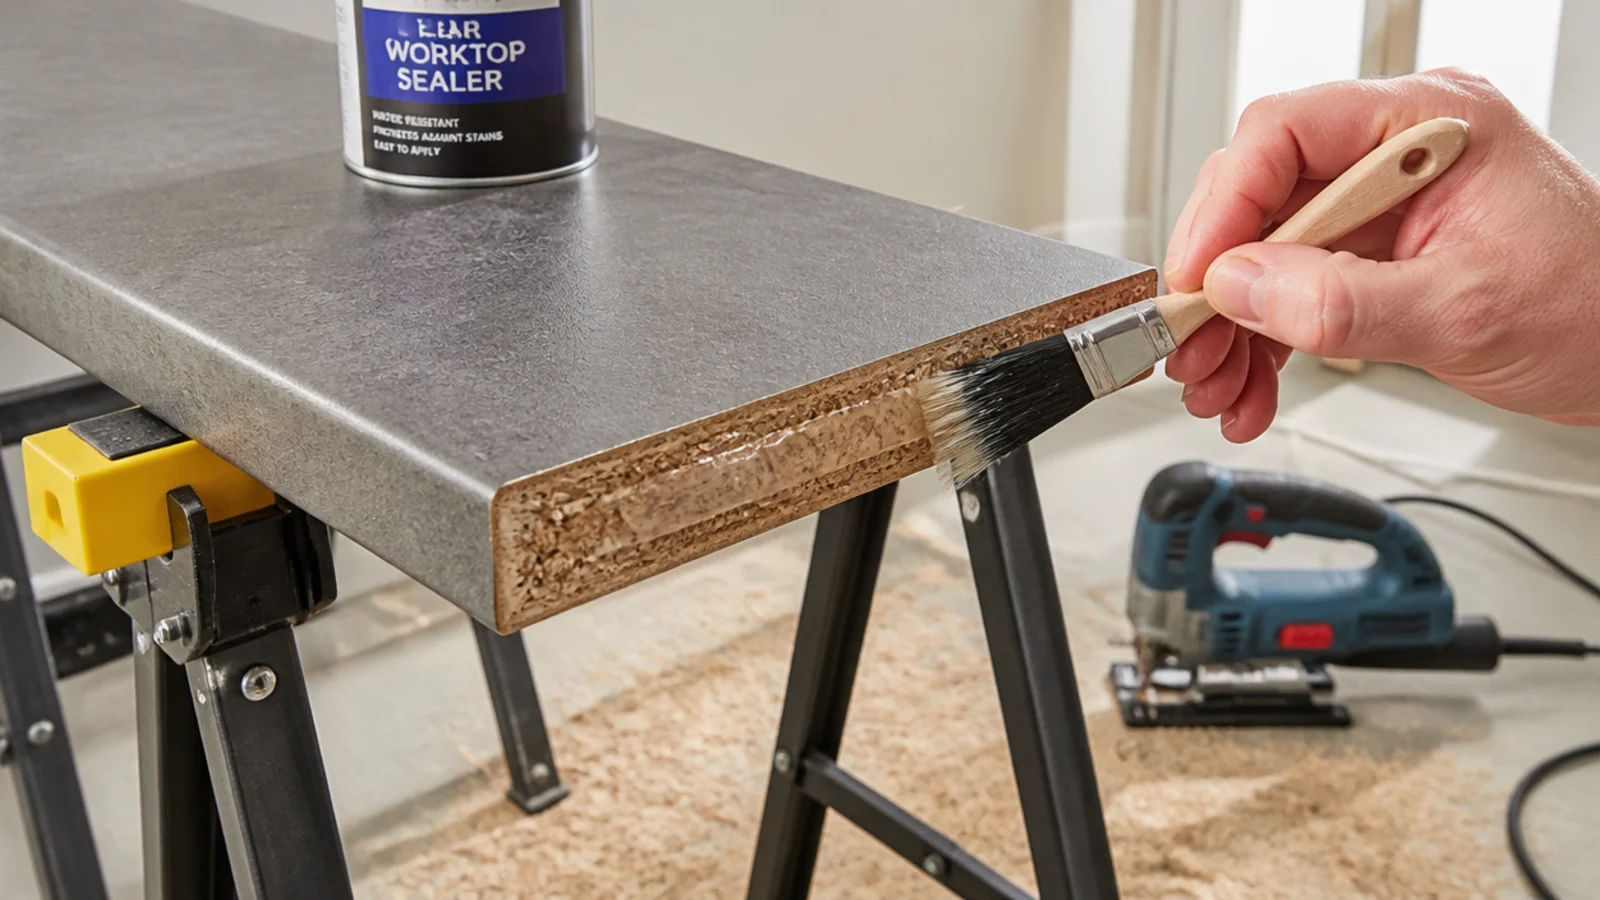
Step 11: Silicone the back joint and splashback
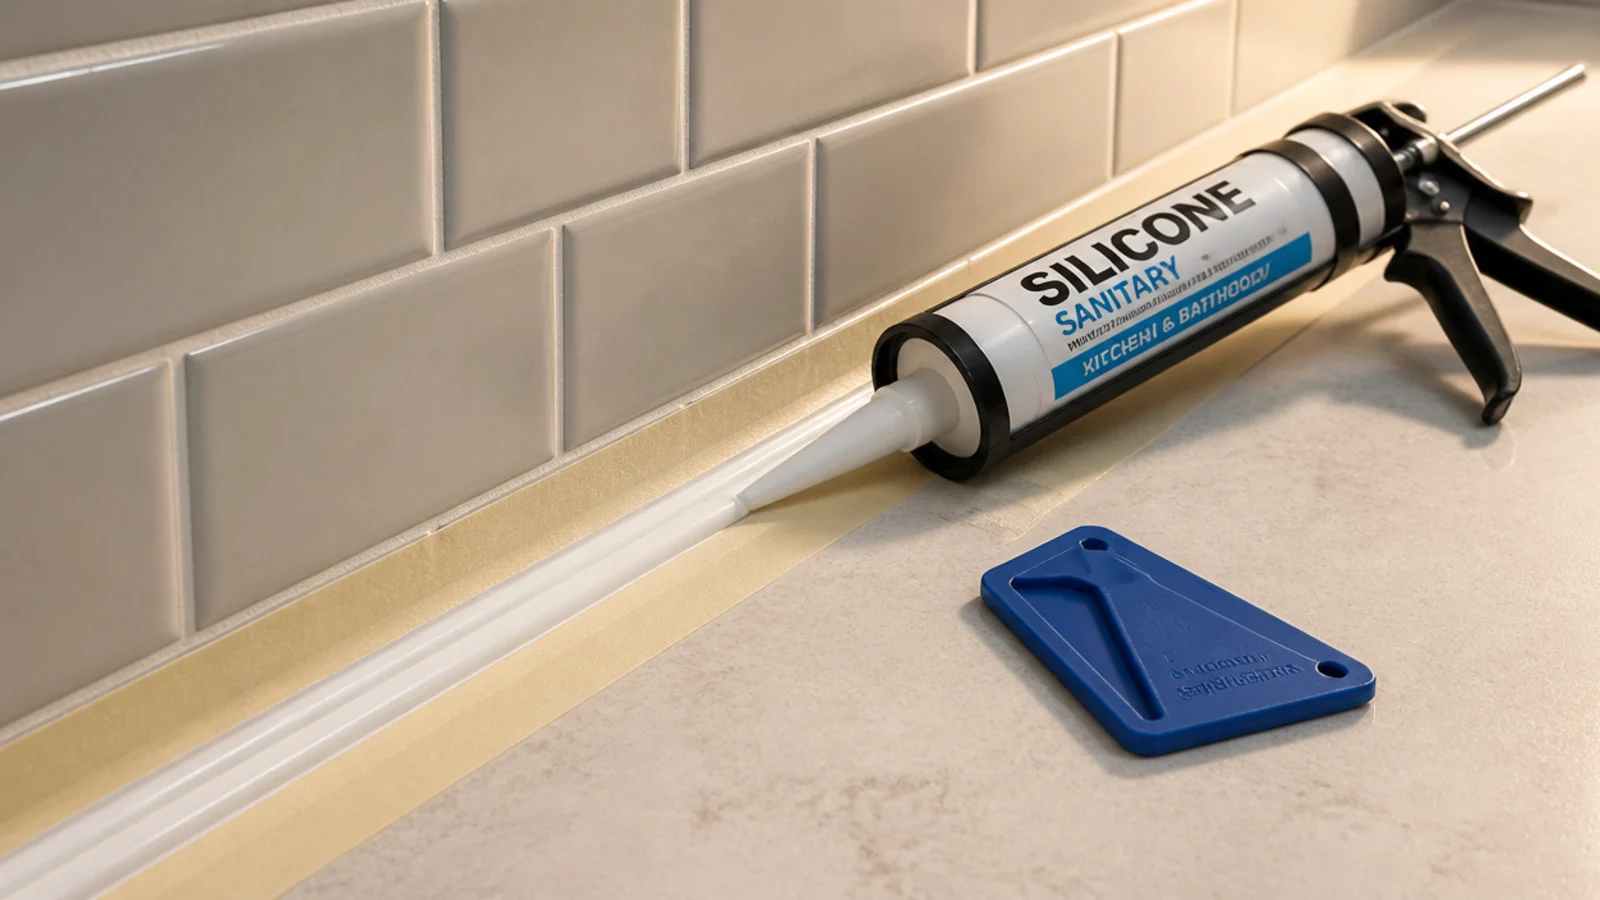
Mask both sides, run one continuous bead of sanitary silicone along the back joint and any splashback junction, tool it in a single pass with a wet finger or a smoothing tool, then pull the tape while it is still wet. A joint done in three goes always shows. This bead is what stops water tracking behind the worktop and into the carcass tops.
Step 12: Plumb the standpipe and connect the machine
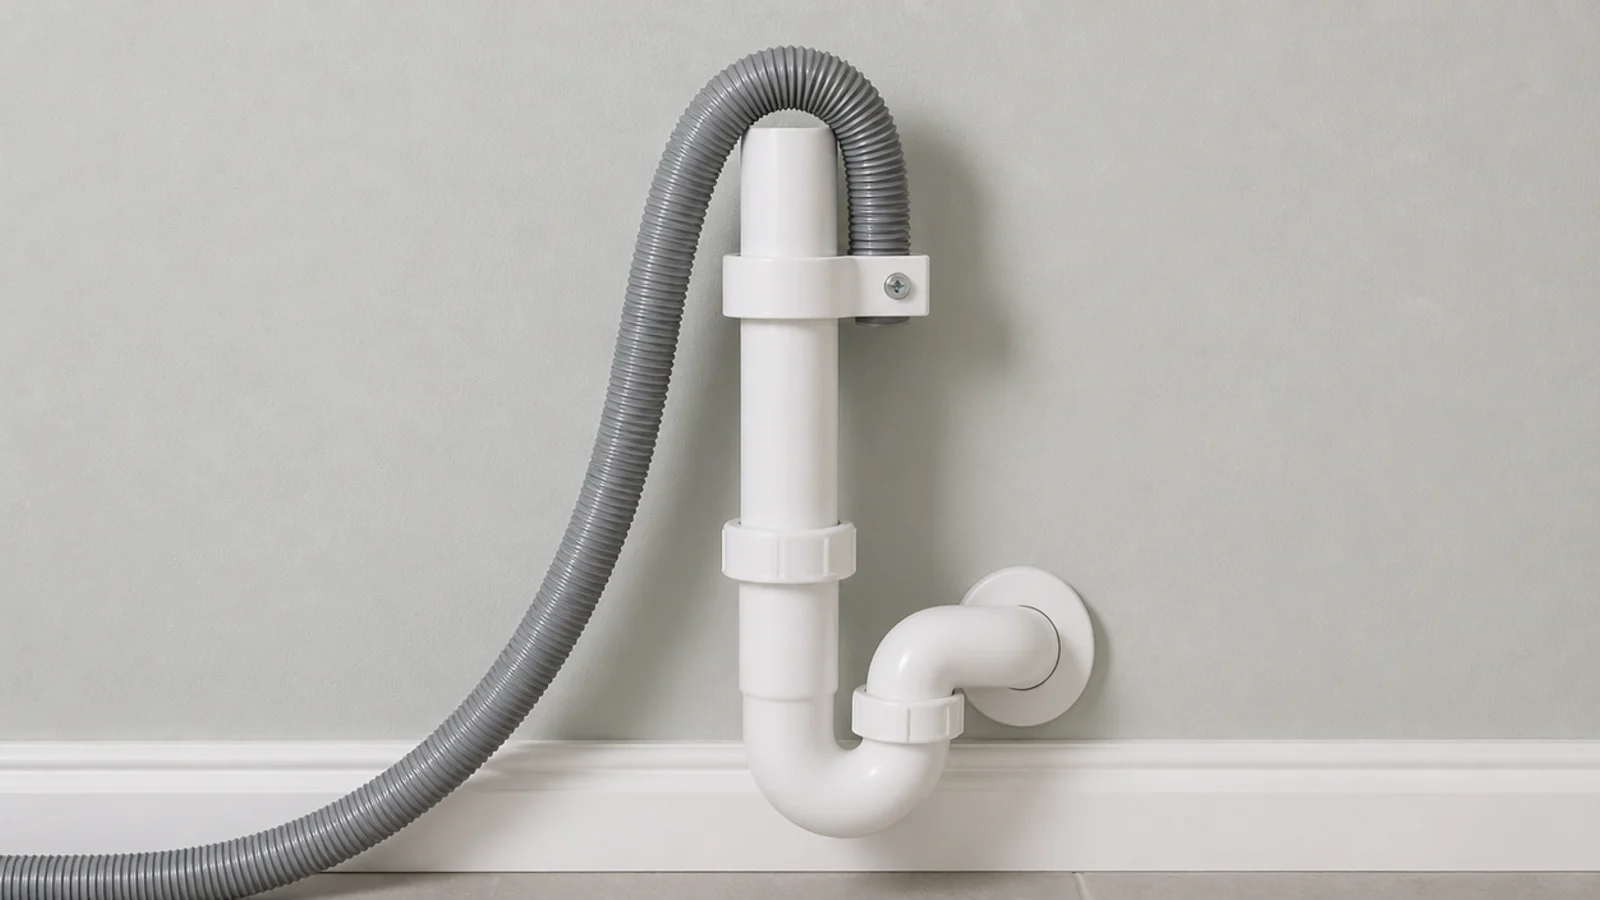
The waste hose hooks into a standpipe whose top sits 18 to 42 inches above the trap weir, with the P-trap 6 to 18 inches off the floor. Fit the screwed retainer so the hose cannot jump out under pressure. Check both isolating valves turn freely before you push the machine back, because you will not reach them afterwards.
Step 13: Vent the dryer and fit the extractor
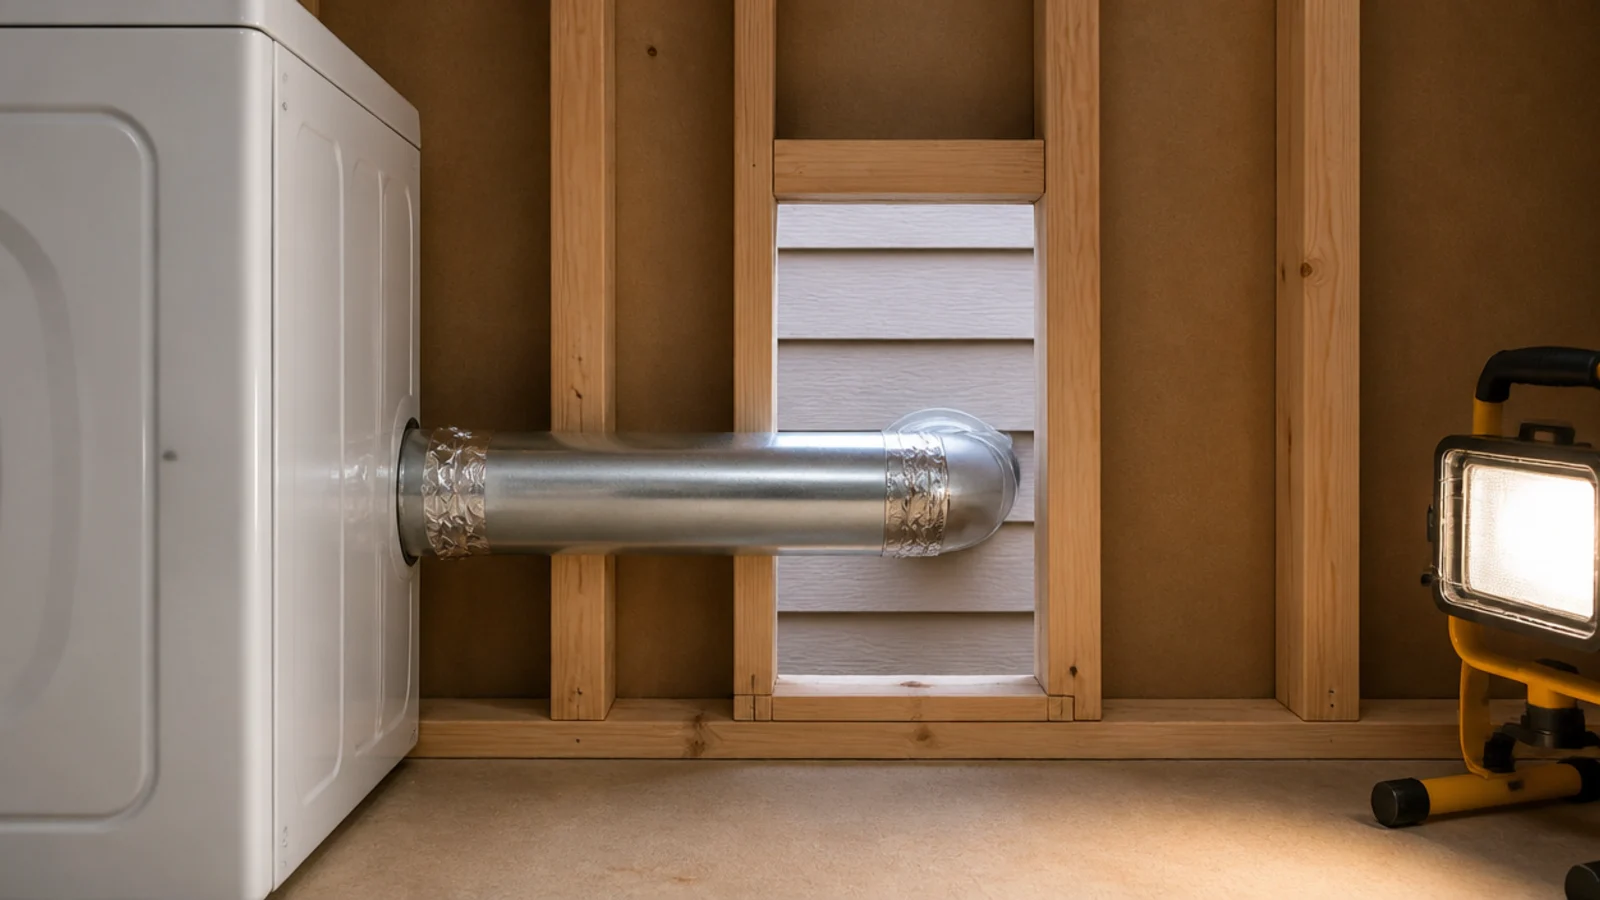
A vented dryer wants rigid or semi-rigid four-inch duct, 35 feet maximum equivalent length, minus five feet for every 90-degree elbow — so three bends leave you 20 feet of straight run. It terminates outside, never into the room or a loft. Add an extractor at 30 cubic feet a minute, or 50 to 80 if the room dries laundry, on a 15-minute run-on timer.
Step 14: Add the rail, the pegboard and the shelves
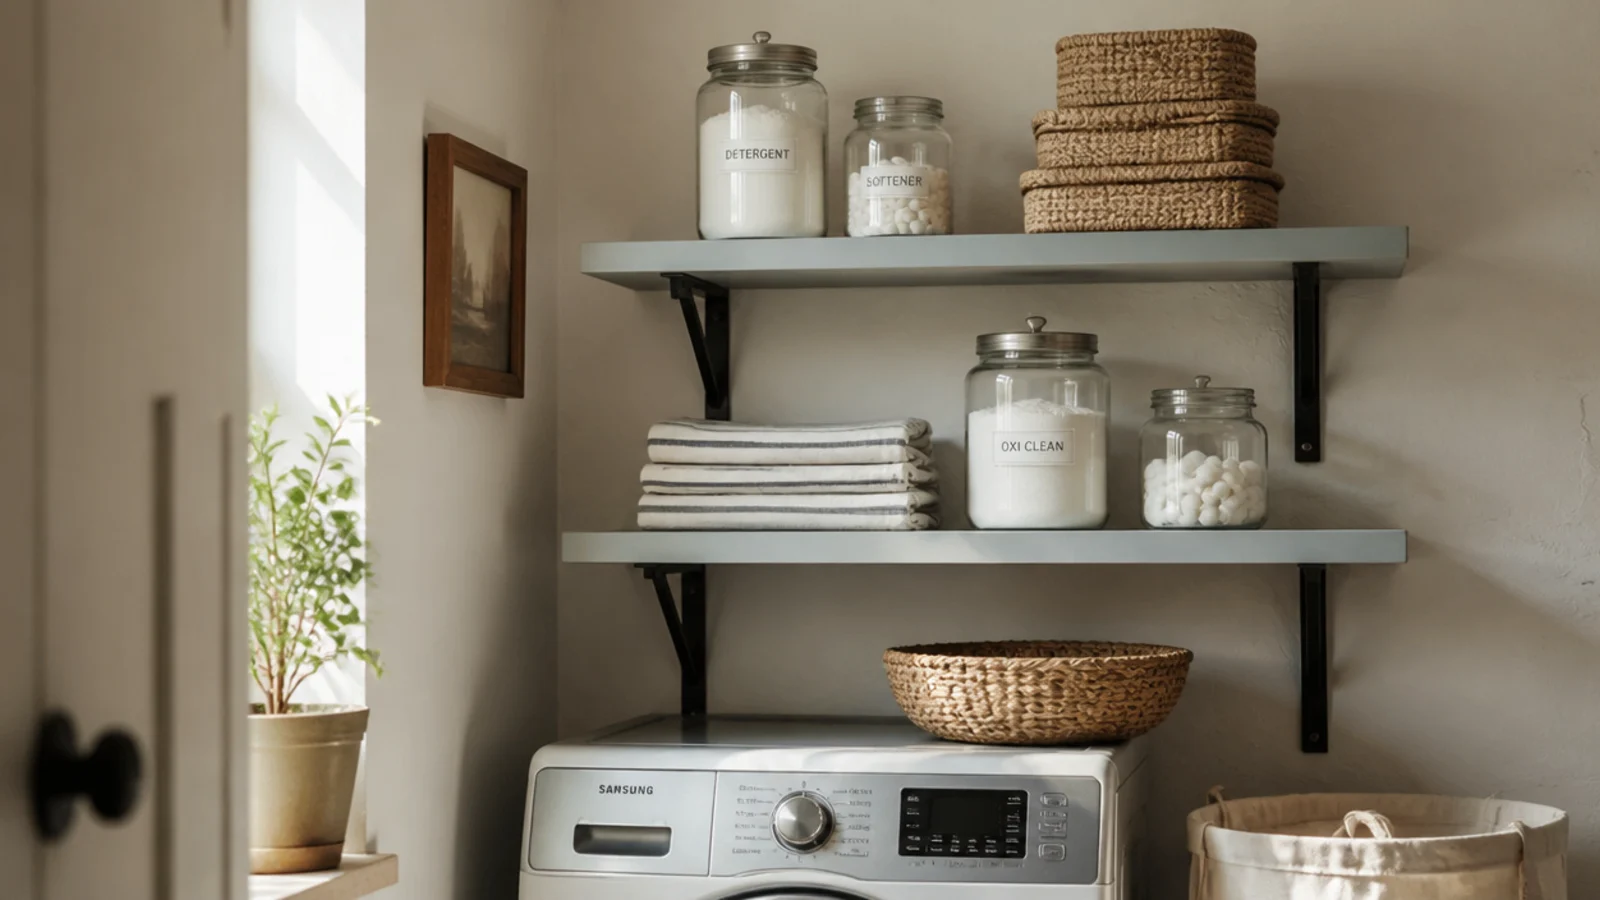
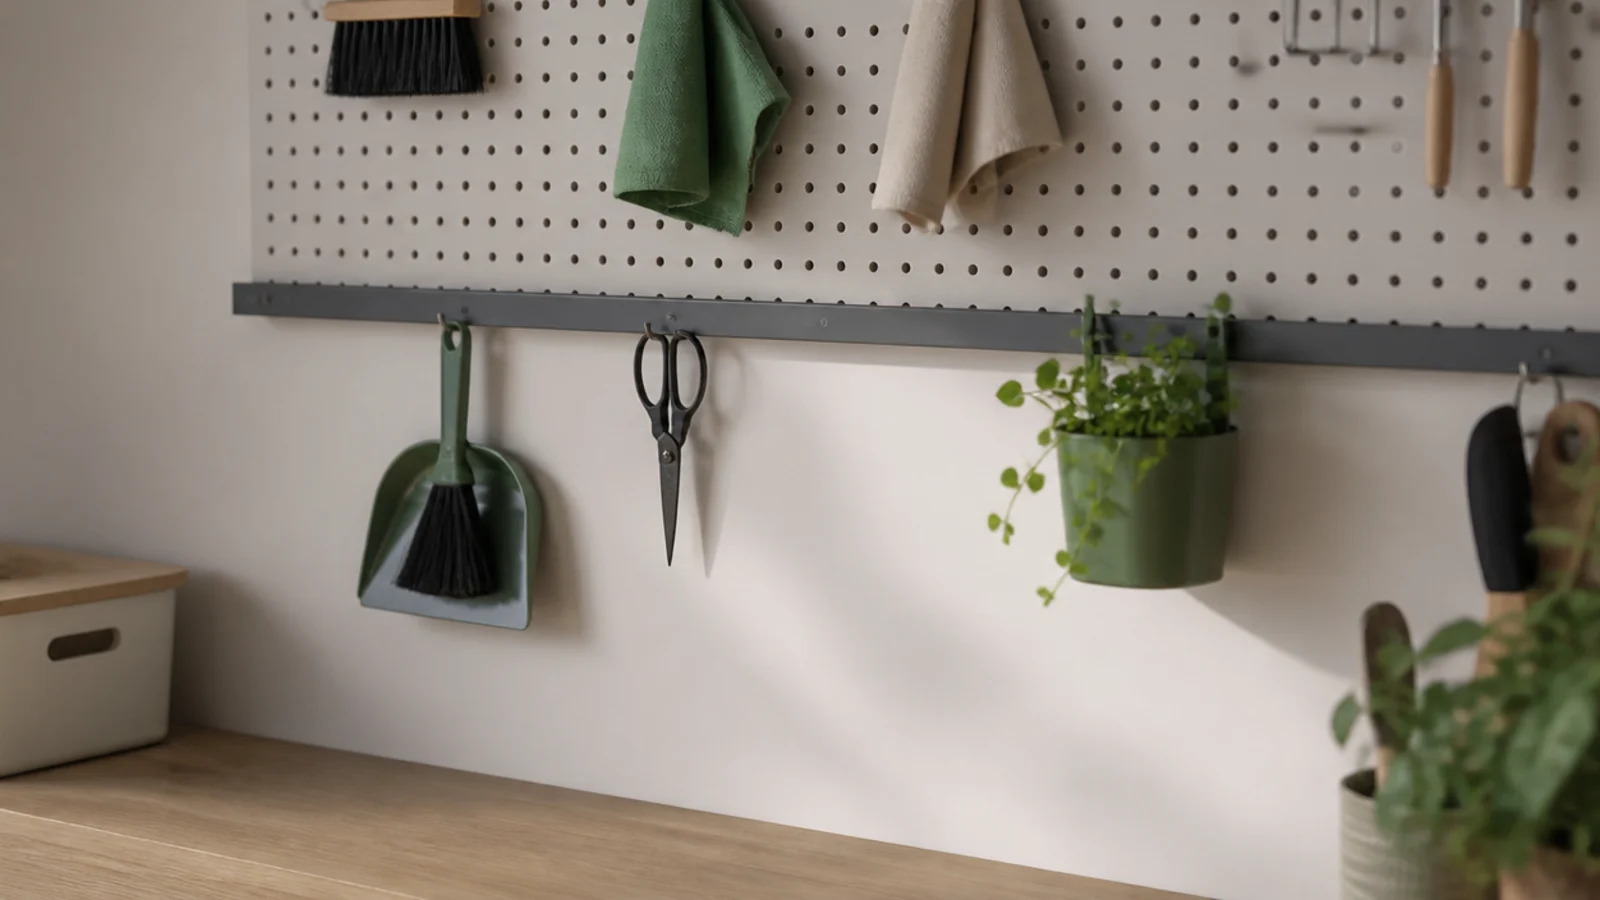
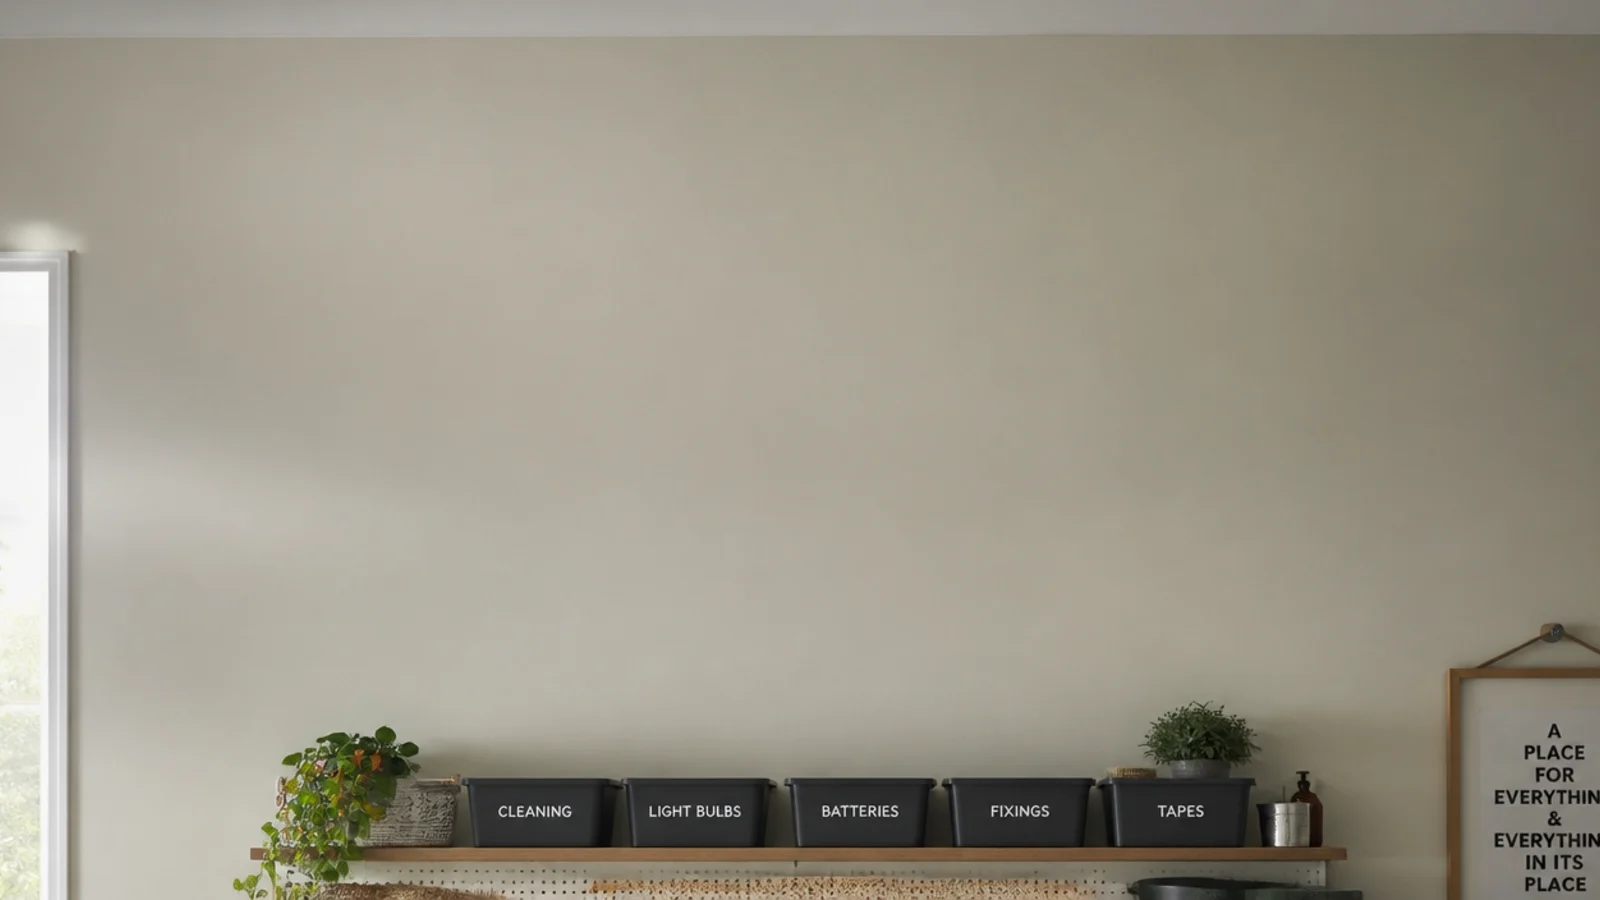
This is where flat-pack beats fitted joinery. A pegboard panel takes the dustpan, the scissors and the measuring cups; an adjustable upright system carries 12-inch shelves at 16-inch spacing for detergent; three matching bins handle the sorting. Budget $60 to $180 for the lot, and fix everything into studs or toggle bolts rated 25 to 35 pounds each. The kitchen shelf guide covers rail and bracket options that work identically here.
Step 15: Fit the doors last, then style the run
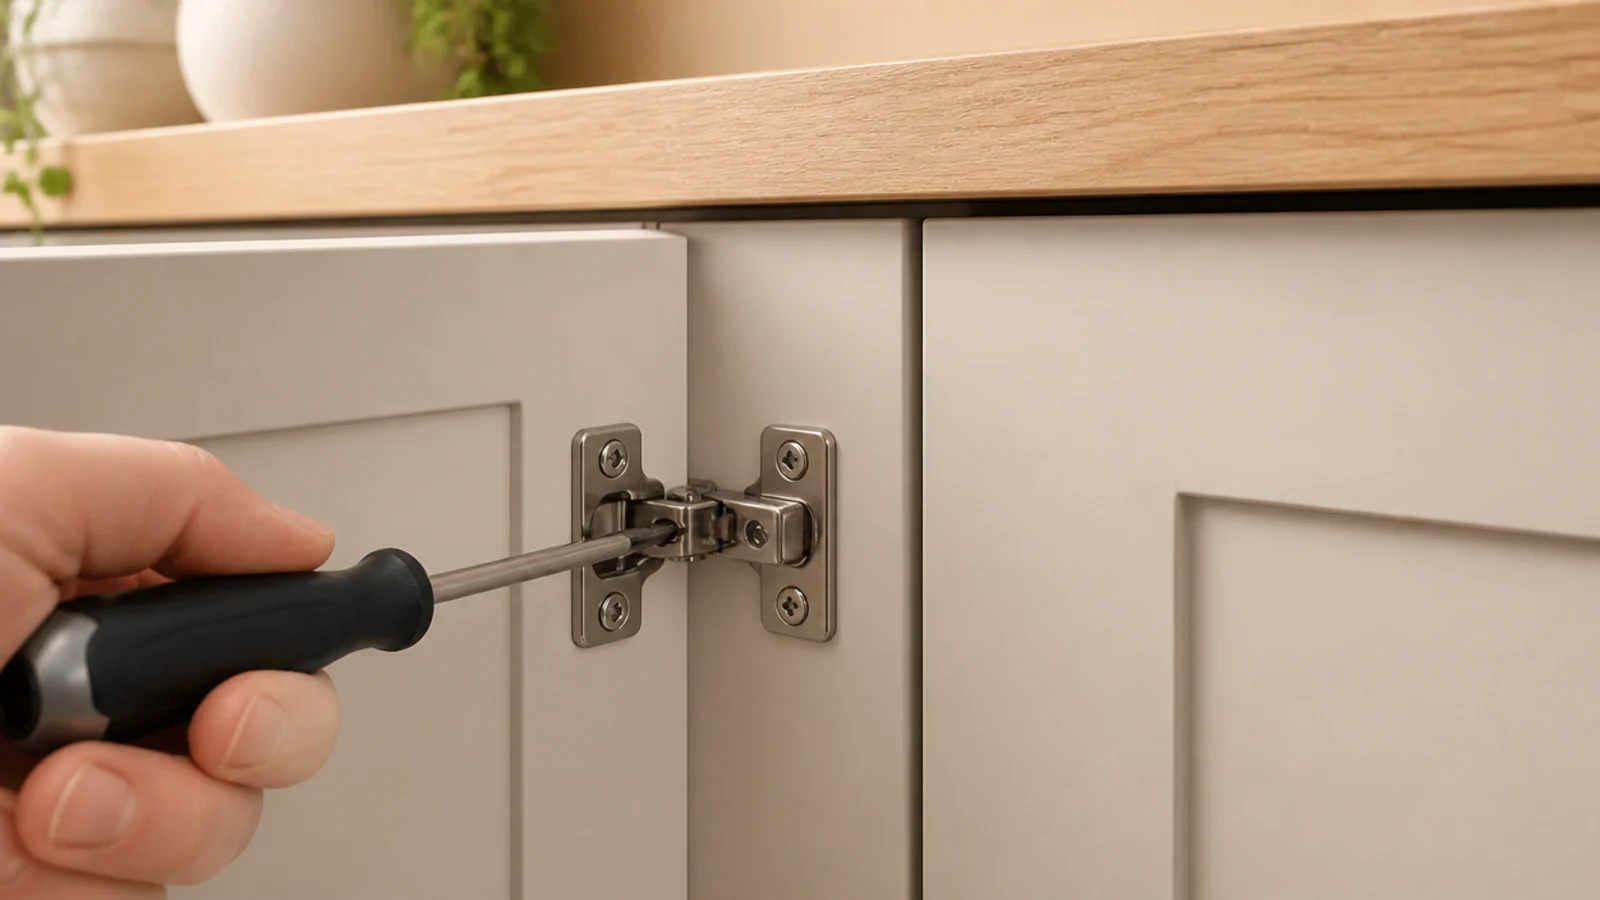
Hang the doors and spend a proper twenty minutes on the hinge adjustment — height, depth and lateral, in that order — until every shadow gap between fronts is identical. That even gap is the single thing that separates a fitted-looking run from an obviously flat-pack one, and it costs nothing but patience. Then load the cabinets and leave the worktop almost clear.
Pro Styling Rules
For the finish decisions that make a flat-pack run look current rather than budget, the modern utility room guide covers fronts, worktops and lighting in detail. The main utility room guide has the full clearance set in one place, and the wood-look tile guide is the right place to start on a floor that has to survive wet boots.
Mistakes to Skip
- Buying the cabinets before measuring the machine. A 34.5-inch appliance and a 36-inch worktop is a build you cannot finish, and the worktop is the half that has already been cut.
- Setting the suspension rail by eye or off the floor. Every door gap in the finished run reads against that one line, and a quarter inch of error is visible from the doorway.
- Skipping the edge sealer on the worktop cuts. Raw chipboard core swells the first time water reaches it, and the swelling is permanent and exactly where you stand.
- Screwing cabinets together before clamping them. The fronts pull out of alignment and no amount of hinge adjustment afterwards brings them back.
- Running the cabinetry across a boiler or a gas meter to complete the line. Service access is a requirement, not a preference, and a gas meter must never be enclosed at all.
Frequently asked questions
Can you build a utility room from IKEA kitchen cabinets?
Yes, and it is what most fitted-looking utilities actually are underneath. Base cabinets from the SEKTION or METOD systems take a standard worktop at 36 inches and an appliance bay built to 29 inches. Expect $600 to $1,200 for a three-cabinet run with laminate, against $2,500 upwards for bespoke joinery.
What IKEA storage works best in a utility room?
BOAXEL and IVAR both suit a laundry wall because they adjust as your needs change and cost a fraction of closed cabinetry. SKADIS pegboard takes the awkward hanging items, TROFAST and SAMLA bins handle sorting, and a RASKOG trolley slots into the gap beside a machine.
How do you make flat-pack cabinets look fitted?
Three things do most of the work: a suspension rail set dead level, filler panels scribed to the wall at both ends, and a continuous worktop with no joint over the appliance bay. Add a recessed plinth set back three inches and the run reads as joinery rather than boxes.
Do IKEA cabinets cope with a damp laundry room?
The melamine-faced carcasses handle humidity well, but the cut edges do not. Seal every worktop cut with two coats of PVA or a matched edge sealer, silicone the back joint and the sink cutout, and fit extraction at 30 cubic feet a minute so the room is not sitting wet.
Can a flat-pack run be built around a boiler?
It can sit alongside one, never over it. Keep the manufacturer service clearances — commonly two inches at the sides, eight to twelve below for pipework and twelve inches of clear working space at the front — behind a removable panel. A gas meter is never enclosed by cabinetry at all.
Want more like this? Browse all 15 utility room ideas guides — they all use the same measurements and budget tiers.
Pin it for later
Save this to your Utility Room Ideas board
Pin it now so it is waiting for you when the tape measure comes out — and so the next person hunting for this idea can find it too.
Save this pinKeep going
More ideas worth saving while you have the tape measure out.