Wooden Flooring · How-To
15 Steps To Protect Wooden Flooring Kitchen Areas

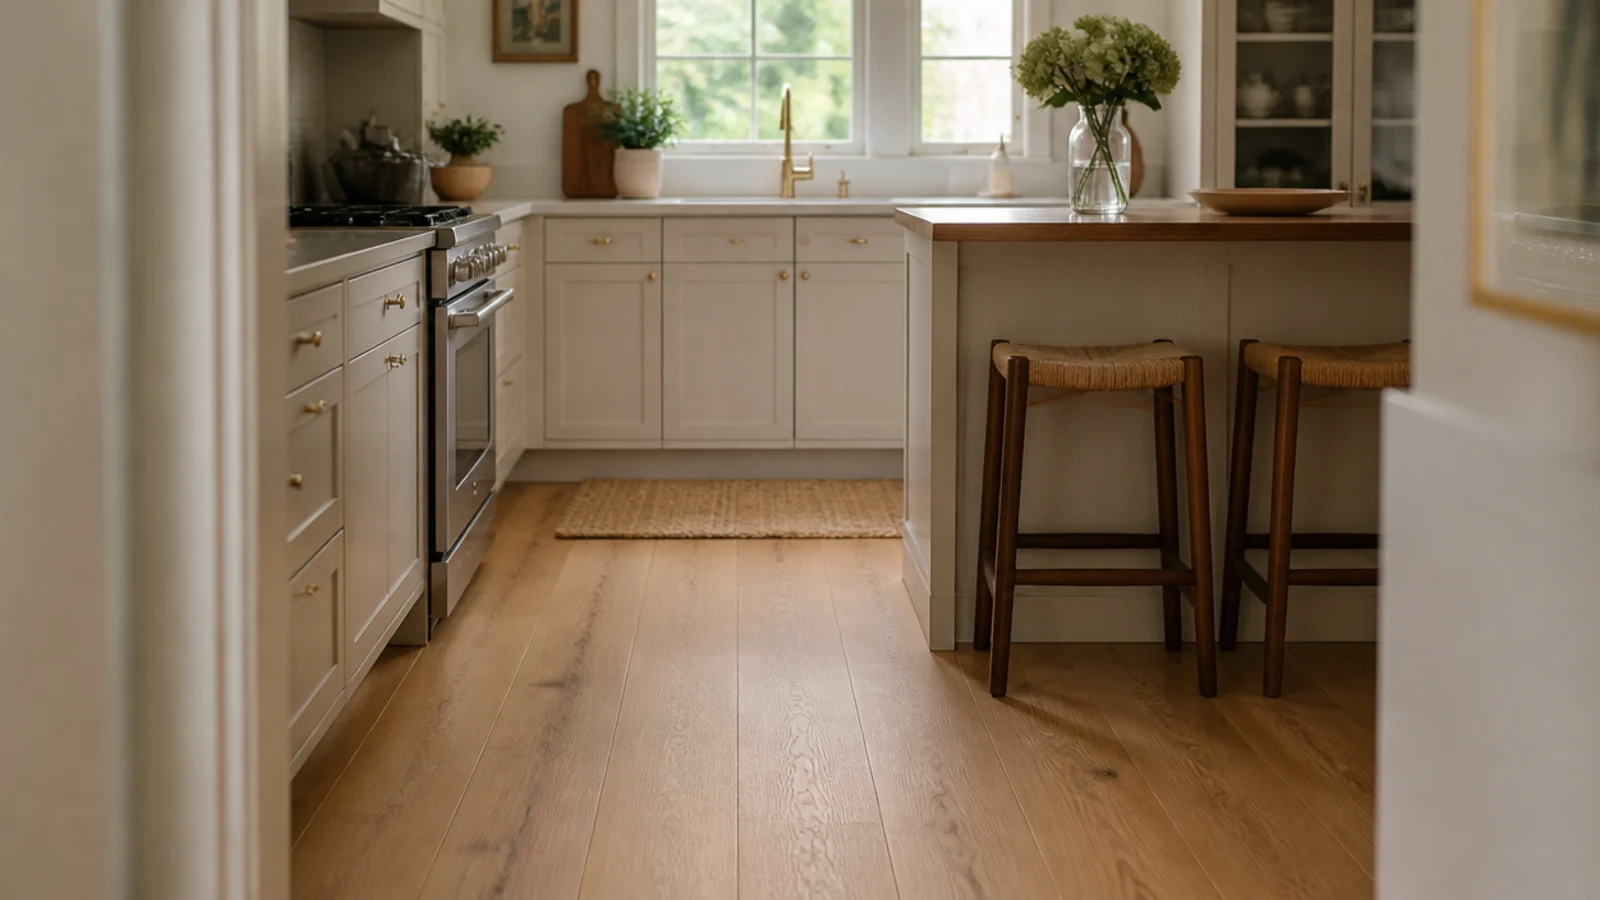
Timber in a kitchen is not a mistake, but it is a different specification. The room produces standing water, steam, dropped pans and a dishwasher that will eventually leak from a connection nobody can see. A wooden flooring kitchen that survives fifteen years is not luckier than one that fails in three — it has a thicker wear layer, a sealed perimeter, a tray under the appliances and an owner who wipes things up quickly. These fifteen steps are what I do in every kitchen with a timber floor, in the order they matter.
In this guide18 sections — tap to openHide
- 1.What You'll Need To Protect A Wooden Flooring Kitchen
- 2.Step 1: Check the floor is right for a kitchen at all
- 3.Step 2: Seal the perimeter behind the plinth
- 4.Step 3: Tray and alarm the dishwasher
- 5.Step 4: Seal every pipe and waste penetration
- 6.Step 5: Put a breathable mat at the sink
- 7.Step 6: Add a second mat at the outside door
- 8.Step 7: Deal with spills in minutes, not hours
- 9.Step 8: Run the extractor and watch the humidity
- 10.Step 9: Pad the stools and chairs, then check them yearly
- 11.Step 10: Add the fourth coat of finish
- 12.Step 11: Lay a plywood runway before moving appliances
- 13.Step 12: Check the fridge and ice line twice a year
- 14.Step 13: Clean with a barely damp mop, never a wet one
- 15.Step 14: Refresh the finish on a schedule
- 16.Step 15: Know where timber should stop and tile start
- 17.Pro Styling Rules
- 18.Mistakes to Skip
What You'll Need To Protect A Wooden Flooring Kitchen
Most of this costs less than one square metre of oak.
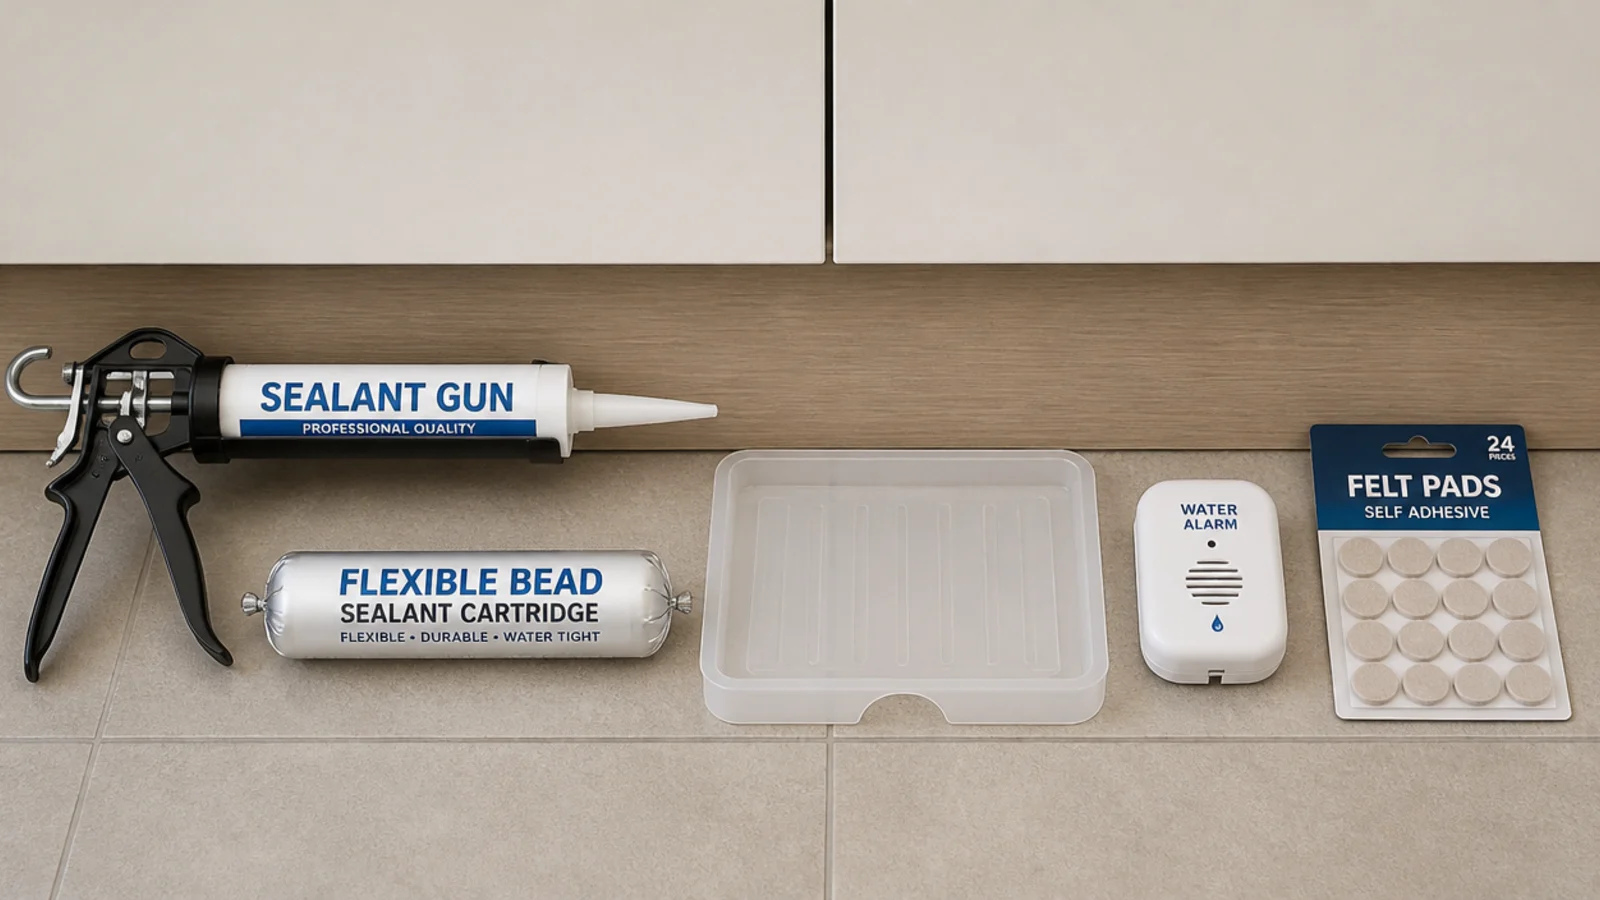
Materials. A cartridge of flexible clear sealant, a shallow appliance leak tray, two water alarms, two-part pipe collars, a pack of thick felt pads, a breathable mat for the sink and a coir mat for the outside door.
Tools. Sealant gun, sharp knife, a hygrometer, a microfibre mop that wrings genuinely dry, and two sheets of 6mm plywood kept flat for appliance moves.
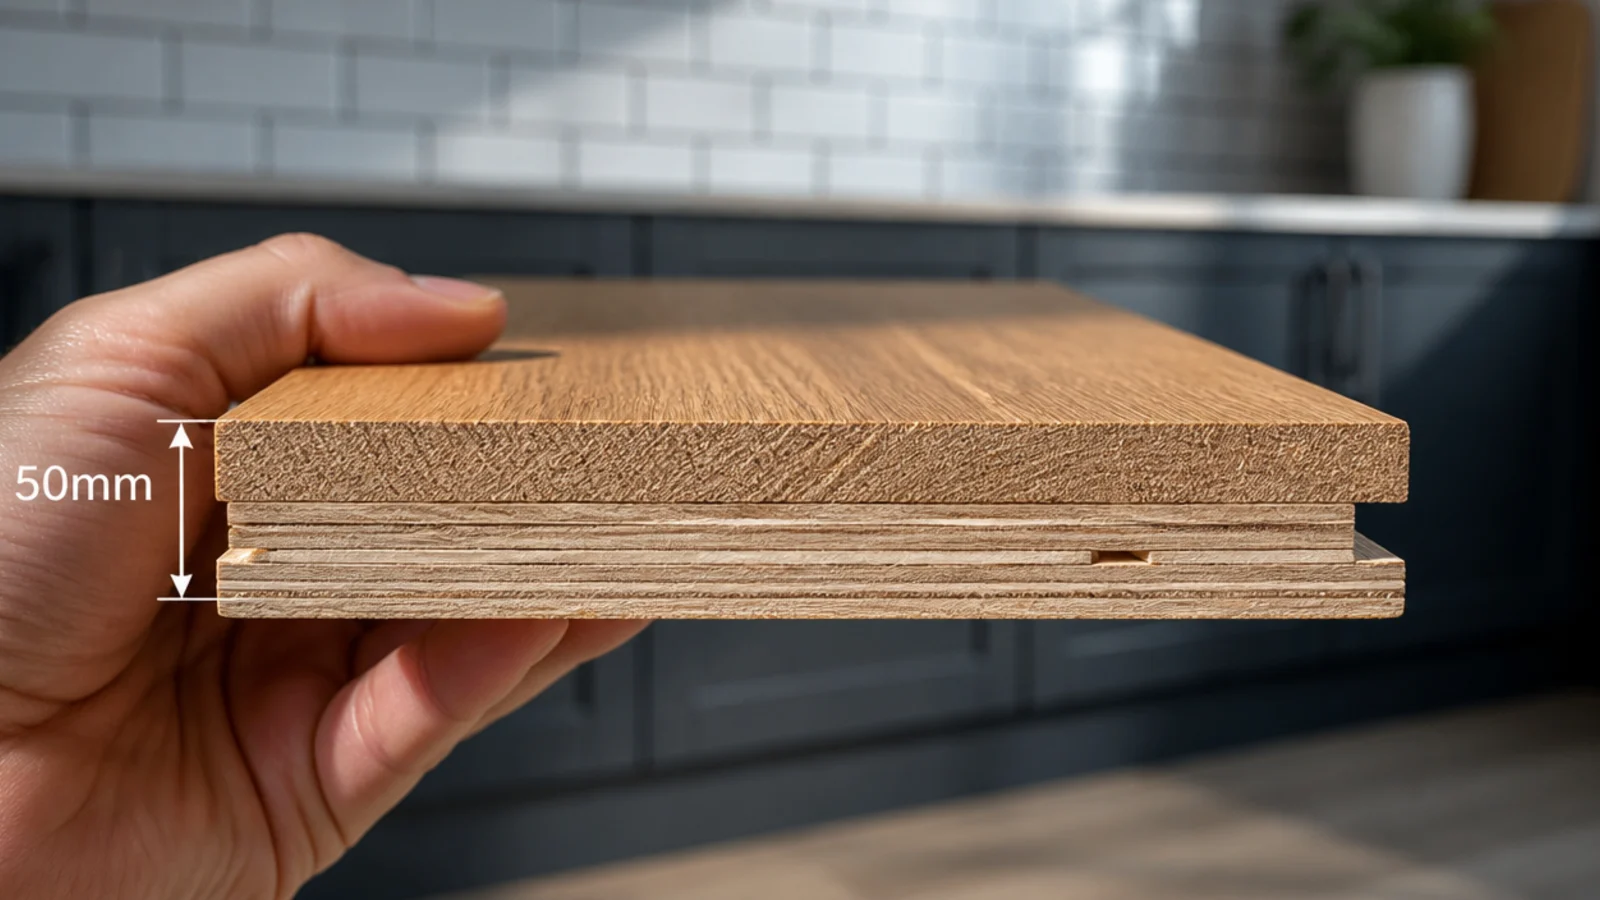
Specification numbers. Engineered board with a 4mm or thicker wear layer, four coats of site-applied finish rather than three, or a hardwax oil with a maintenance coat every twelve months. Hold the room at 35 to 55 percent relative humidity, and keep the 10 to 12mm expansion gap at every wall, plinth and island base — a kitchen floor still has to move.
Budget. Around £20 for the tray and alarms, £8 for sealant, £15 for pads, £40 to £70 for the two mats. Engineered oak runs £35 to £80 per square metre fitted. If any part of the room sees standing water daily, the wooden tiles flooring options belong there instead.
Step 1: Check the floor is right for a kitchen at all
Before protecting anything, confirm the board can take it. Engineered construction with a cross-plied core handles the humidity swings a kitchen produces far better than solid timber, and a 4mm or thicker wear layer leaves room for a future sand. Laminate with a fibreboard core has no business in a kitchen: one leak swells the core permanently and no drying brings the edges back down.
Step 2: Seal the perimeter behind the plinth
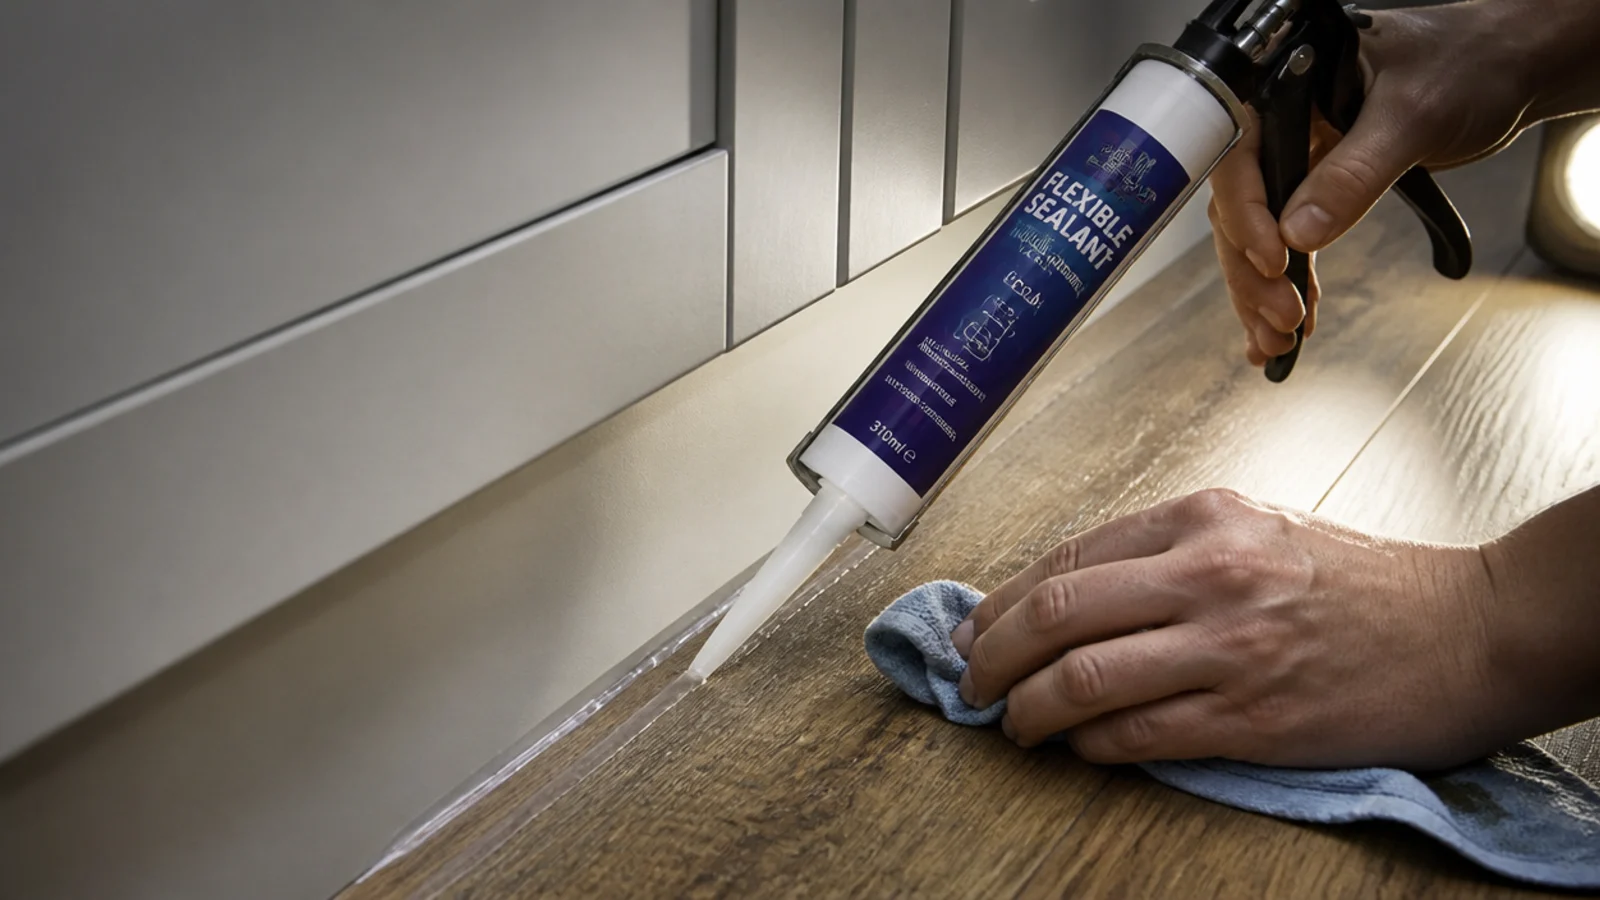
The join between cabinet plinth and floor is where mop water, dropped drinks and appliance leaks all disappear. Run a bead of flexible clear sealant along that line — flexible, so the floor can still move — and repeat it at the island base and any full-height unit. Tool the bead with a wet finger so water runs off rather than sitting on a ledge.
Step 3: Tray and alarm the dishwasher
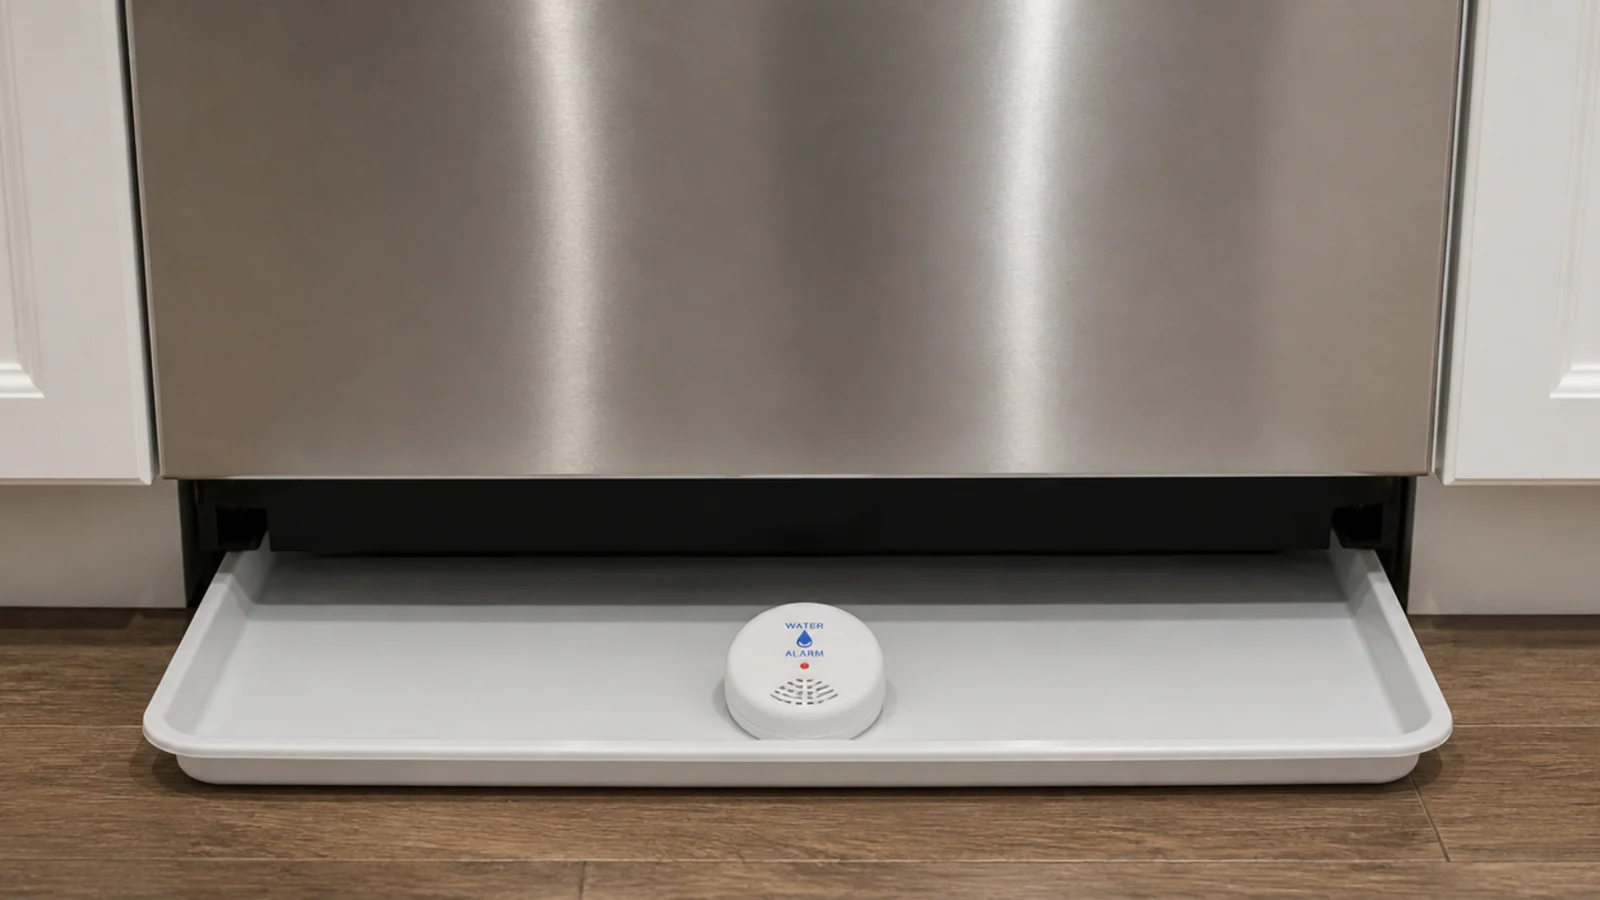
A dishwasher supply hose or waste connection is the single most common cause of kitchen floor damage, and it always leaks where nobody looks. Slide a shallow plastic leak tray beneath the appliance and put a battery water alarm in the tray. Add a second alarm inside the sink cabinet. Together they cost about twenty pounds and they convert a floor replacement into a plumbing call.
Step 4: Seal every pipe and waste penetration
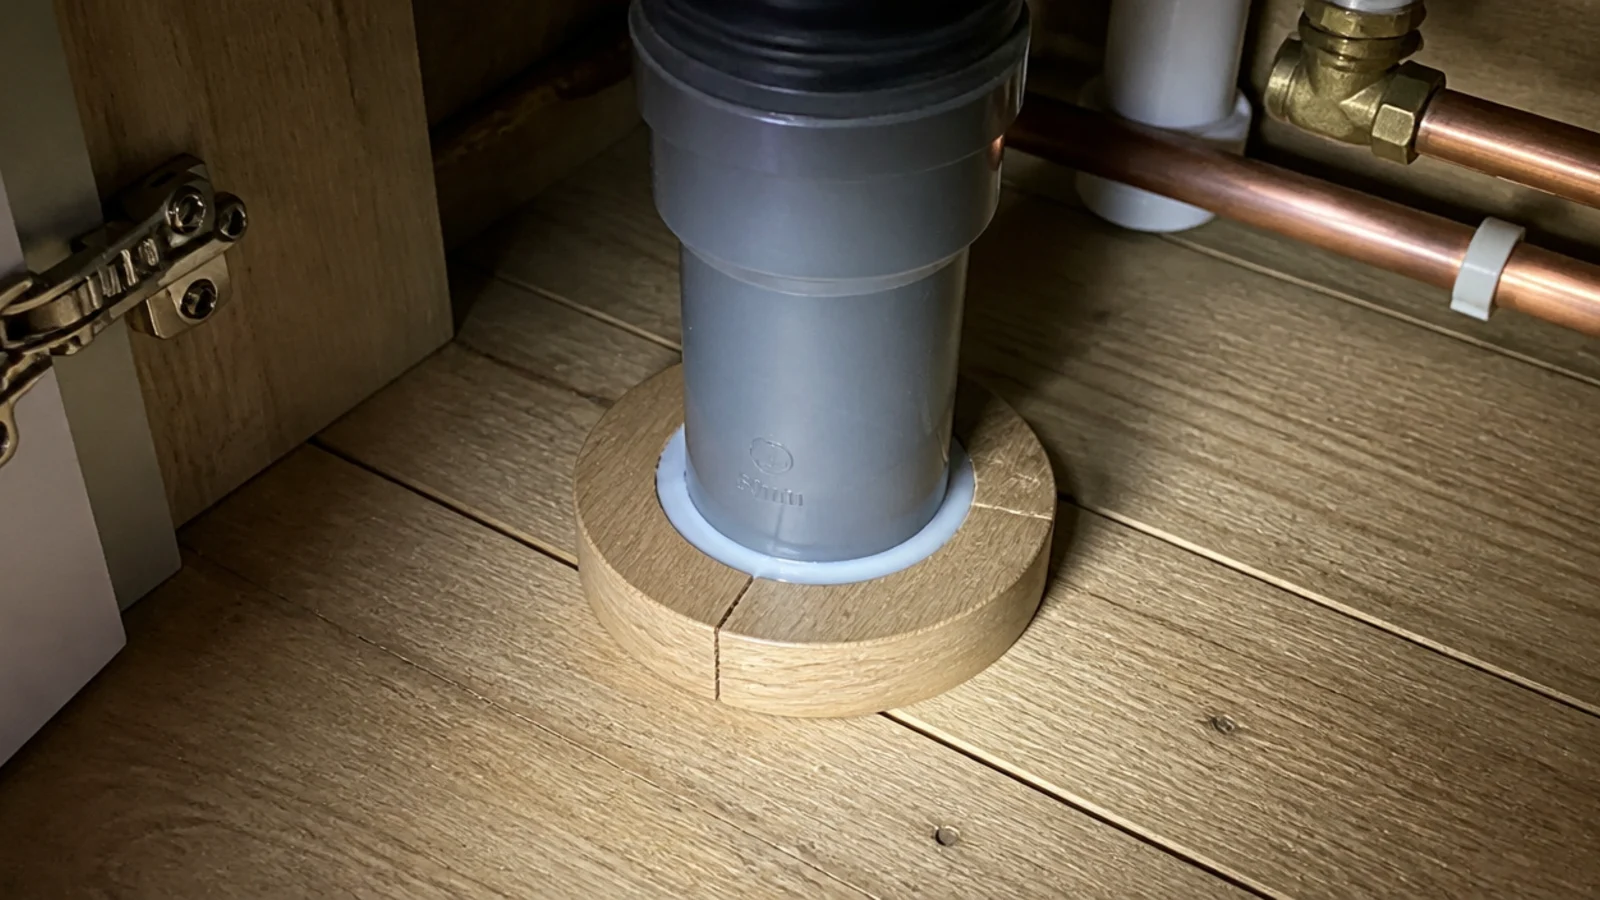
Every hole in the floor is a route for water to reach the underside of the boards, where it does the most damage and shows the latest. Fit two-part collars around heating pipes, and seal waste and supply penetrations inside the sink cabinet with a flexible sealant. The floor still needs its oversized hole to move — the collar covers it, the sealant sheds water.
Step 5: Put a breathable mat at the sink
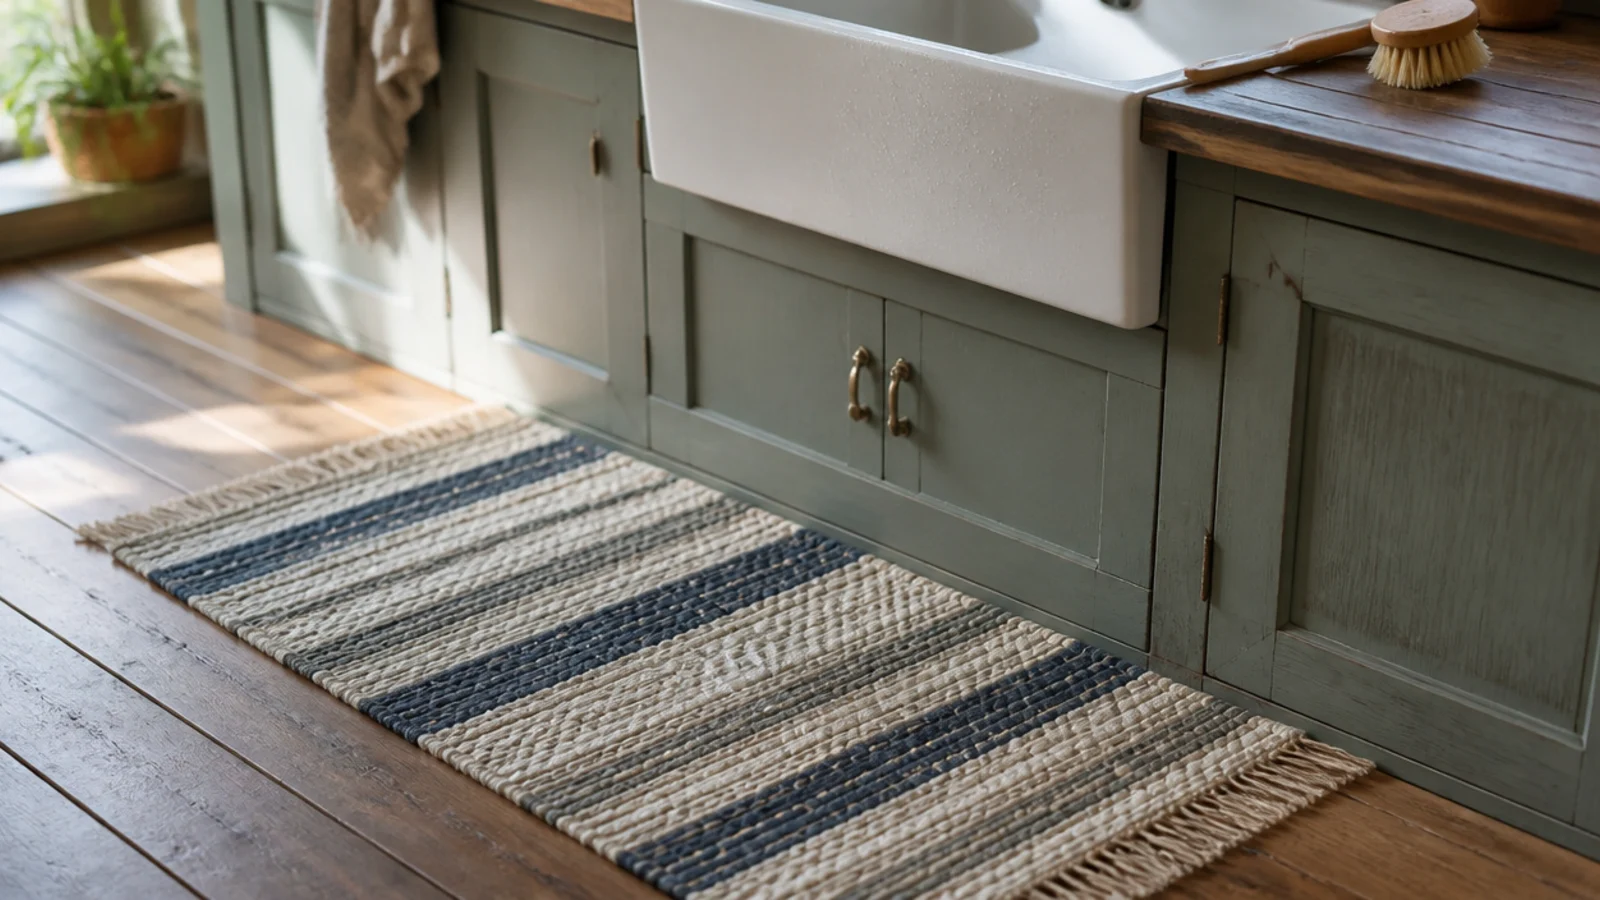
The metre in front of a sink takes more water than the rest of the room combined. Use a woven cotton or felt-backed runner roughly 60 by 150cm, never a solid rubber or PVC backing — those trap moisture against the finish and leave a permanent dark outline. Lift the mat after any real spill and let both it and the boards dry.
Step 6: Add a second mat at the outside door
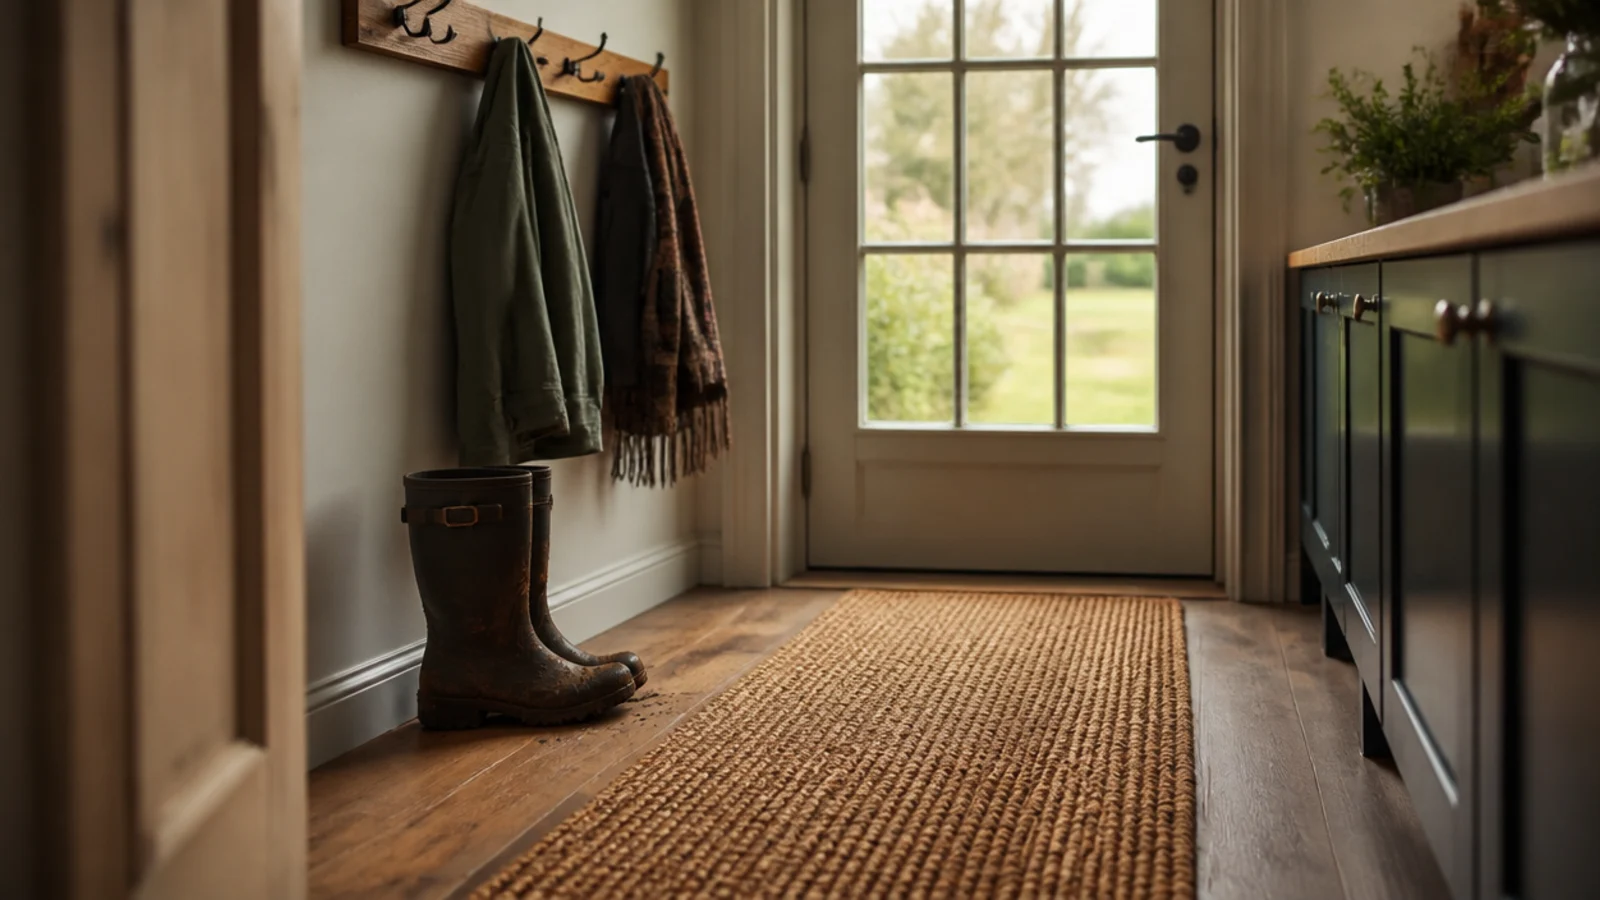
Grit, not water, is what dulls a kitchen floor. Most of it arrives on shoes and lands in the first three steps. A coir or rubber-topped mat at least 1,200mm long inside a back or garden door catches the majority of it. Shake it weekly, because a loaded mat simply redistributes grit under everyone's feet.
Step 7: Deal with spills in minutes, not hours
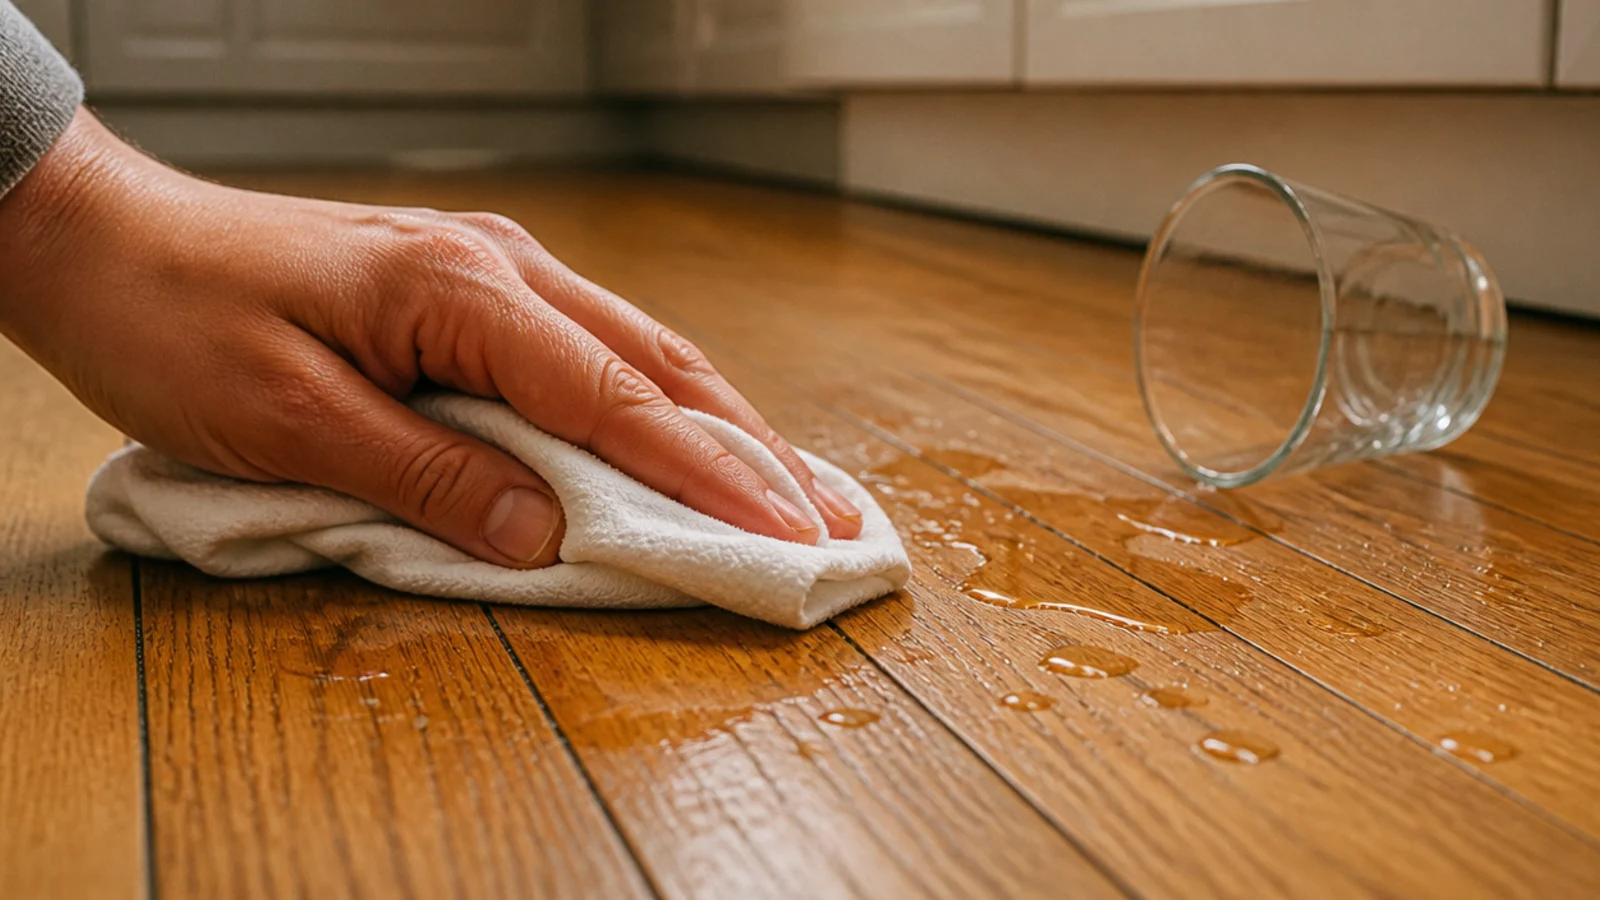
No finish is waterproof; every finish is water resistant for a while. A spill blotted within a few minutes does nothing at all, while the same spill left for an hour reaches the board edges and starts lifting the finish. Keep a cloth within reach of the sink and treat this as the actual protection, because it is.
Step 8: Run the extractor and watch the humidity
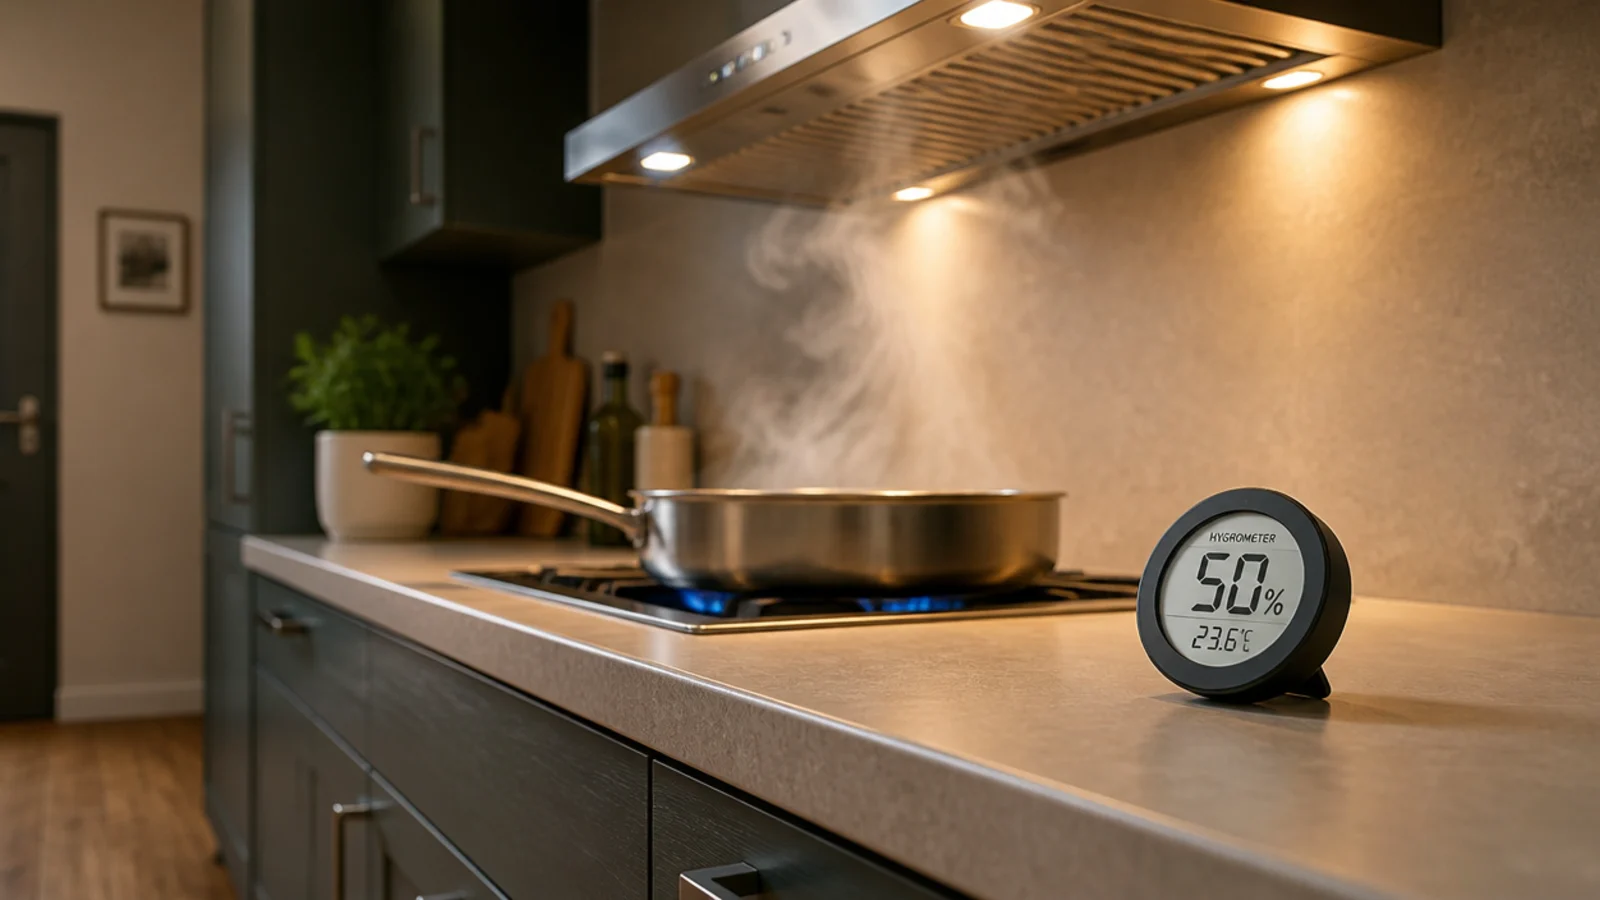
Boiling pans and a dishwasher door opened mid-cycle push a kitchen well past 70 percent humidity, and timber responds by swelling. Run the extractor whenever anything is cooking, open a window after a wash cycle, and keep a hygrometer on the worktop. Holding 35 to 55 percent year-round is what prevents both winter gaps and summer cupping.
Step 9: Pad the stools and chairs, then check them yearly
Bar stools are the worst furniture in the house for a timber floor: they get dragged sideways several times a day on small feet. Fit thick felt pads, then replace them annually. Old felt fills with grit and turns into sandpaper, which does more damage than no pad at all. The kitchen shelf guide is worth reading if the goal is fewer floor-standing pieces overall.

Step 10: Add the fourth coat of finish
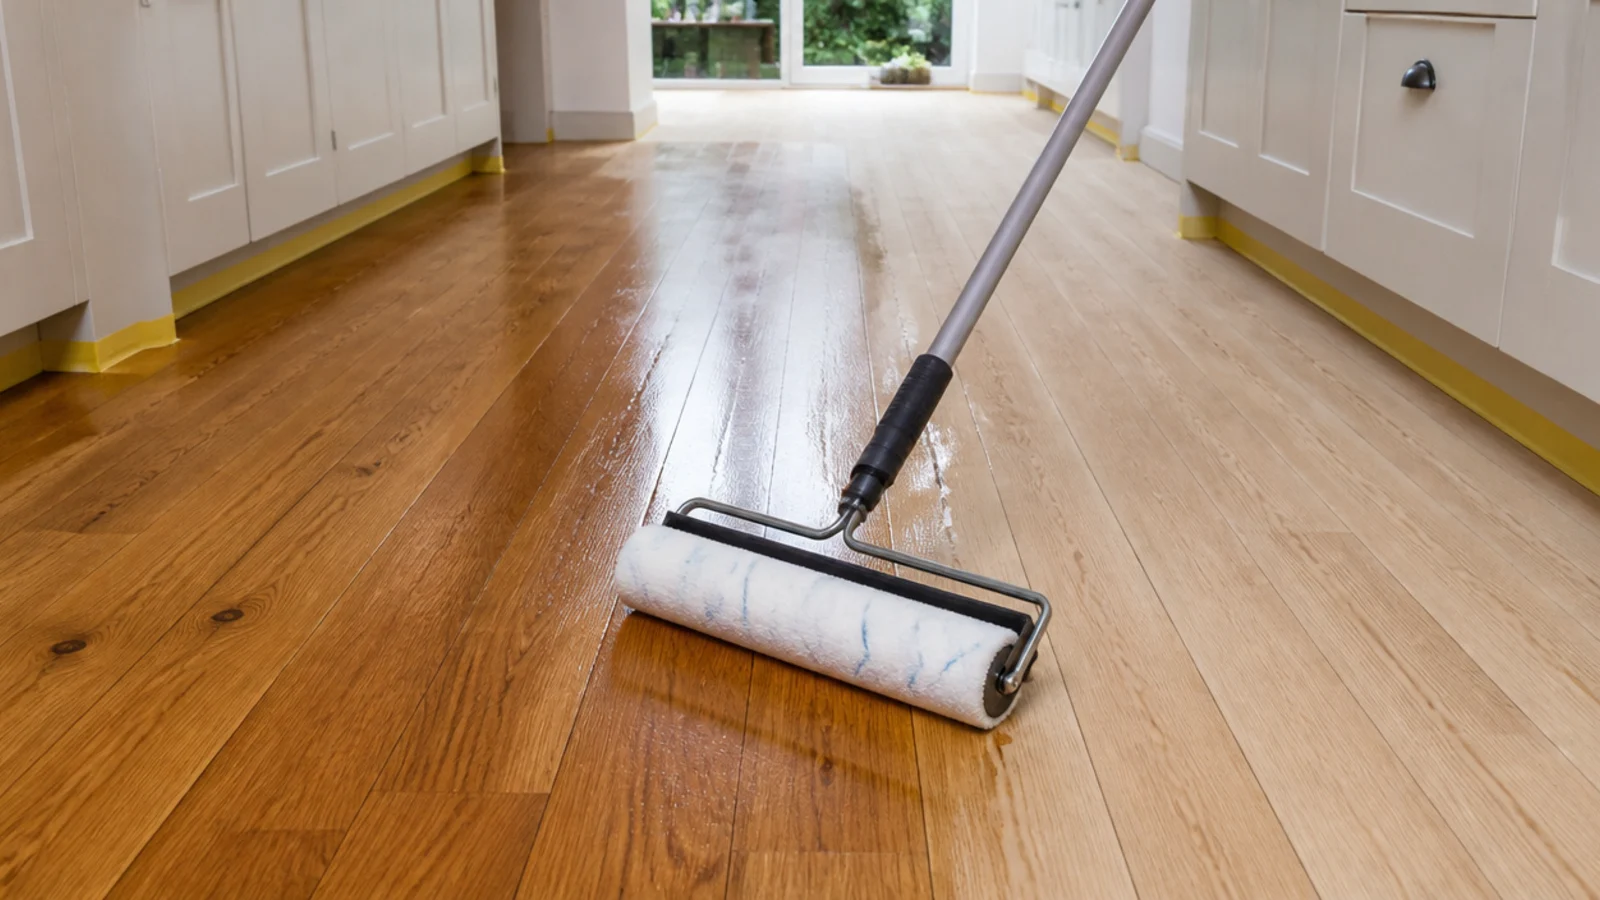
The standard three coats of site-applied polyurethane is a living-room specification. In a kitchen, add a fourth: it roughly doubles the time before traffic lanes appear in front of the sink and the oven. If the floor is oiled instead, shorten the maintenance interval to twelve months rather than the two to five years a bedroom would need.
Step 11: Lay a plywood runway before moving appliances
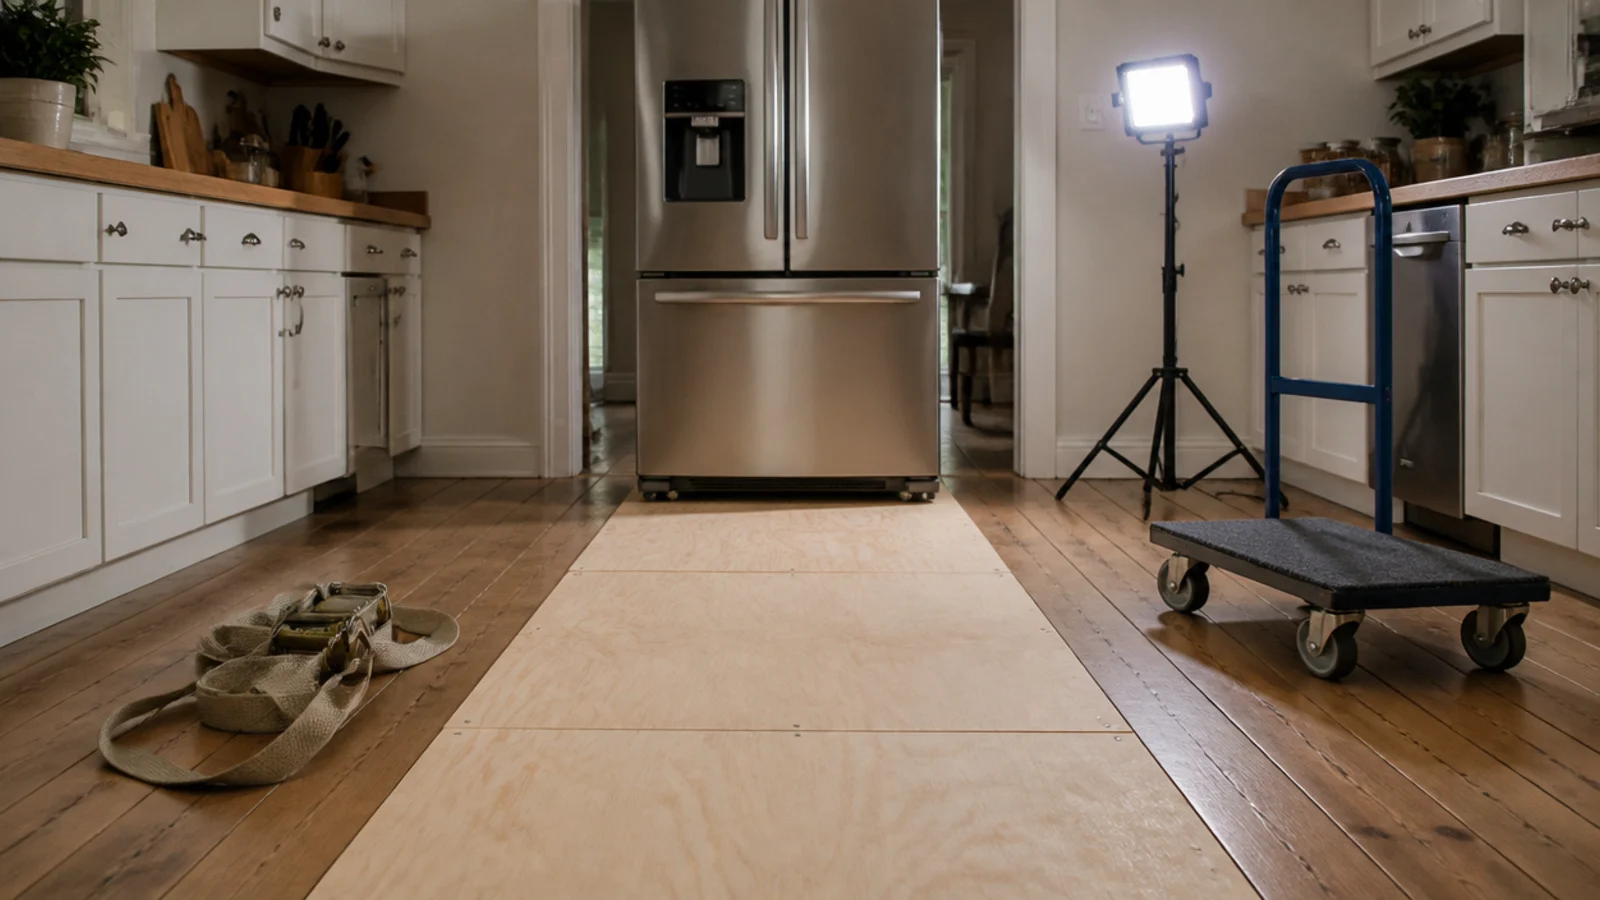
A fridge can weigh 80kg and a range cooker considerably more, and both have hard feet or small castors. Lay two sheets of 6mm plywood end to end and roll the appliance along them rather than across bare boards. Ten minutes of preparation prevents a gouge that only a full sand will remove.
Step 12: Check the fridge and ice line twice a year
Fridges with plumbed ice makers and water dispensers leak slowly at the connection, and the drip tray at the back can overflow when it blocks. Pull the appliance out every six months, run a torch along the boards behind it and feel for damp. Under-appliance leaks are the ones that reach the subfloor before anyone notices.

Step 13: Clean with a barely damp mop, never a wet one
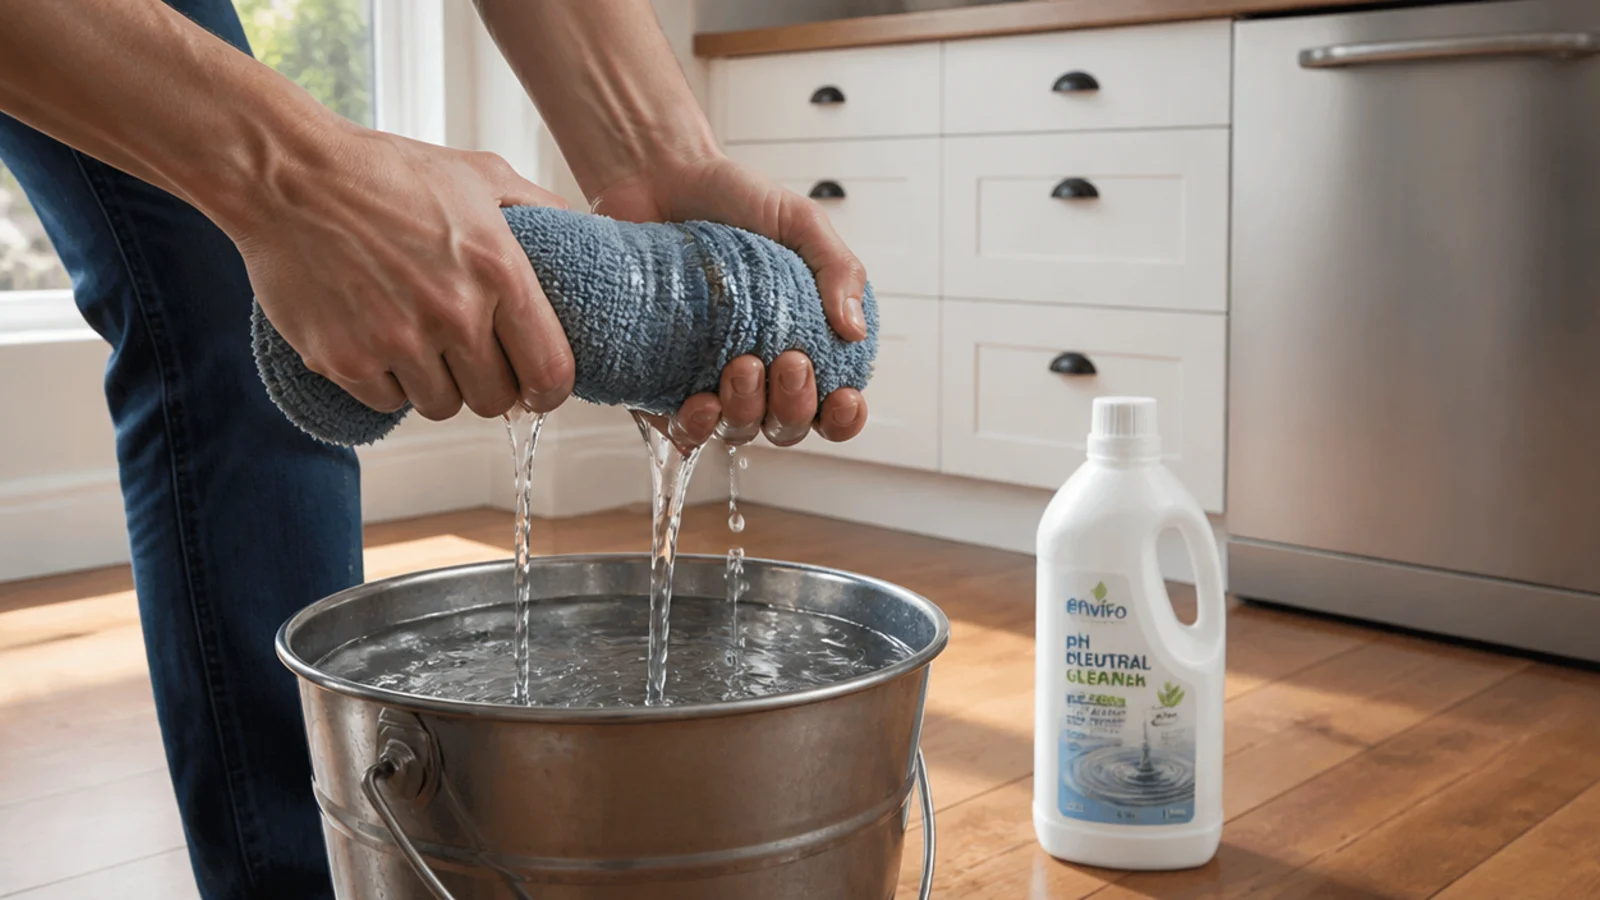
Wring a microfibre mop until it barely darkens the boards, and use a pH-neutral cleaner made for the finish you have. No steam mops — they force moisture into board joints and lift the edges of engineered planks. No vinegar, which etches lacquer, and no soap that leaves a film for grit to sit in.
Step 14: Refresh the finish on a schedule
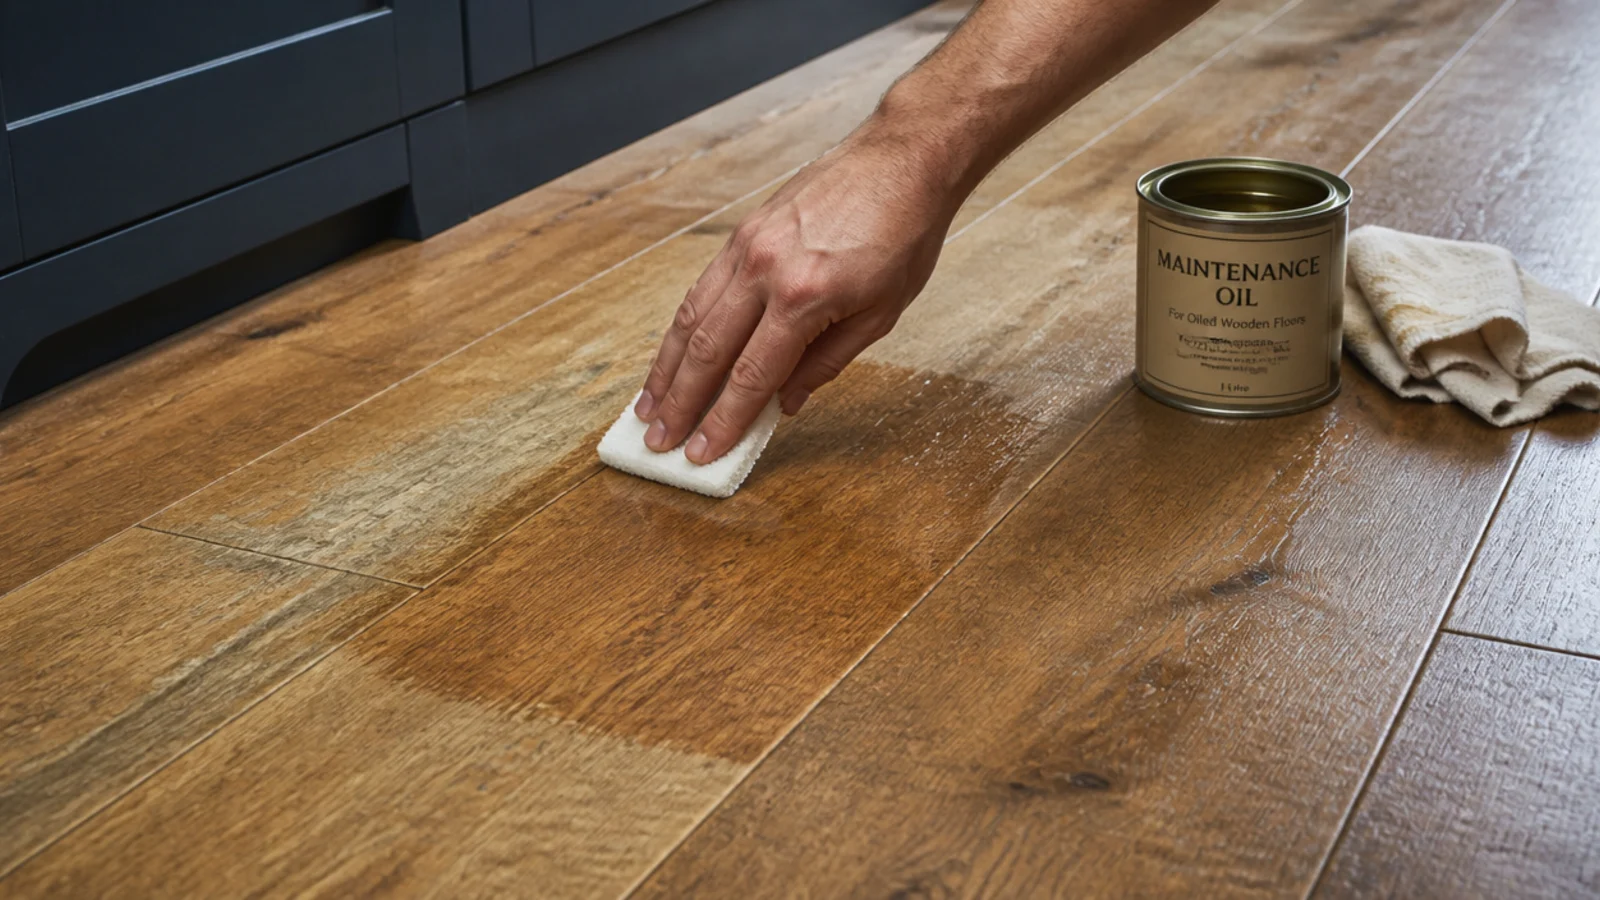
Wear shows in front of the sink, the oven and the fridge long before anywhere else. On an oiled floor, clean and re-oil those zones annually — a morning's work and one tin. On a lacquered floor, plan a screen-and-recoat at around year six to eight rather than waiting for bare timber, which forces a full sand instead.
Step 15: Know where timber should stop and tile start
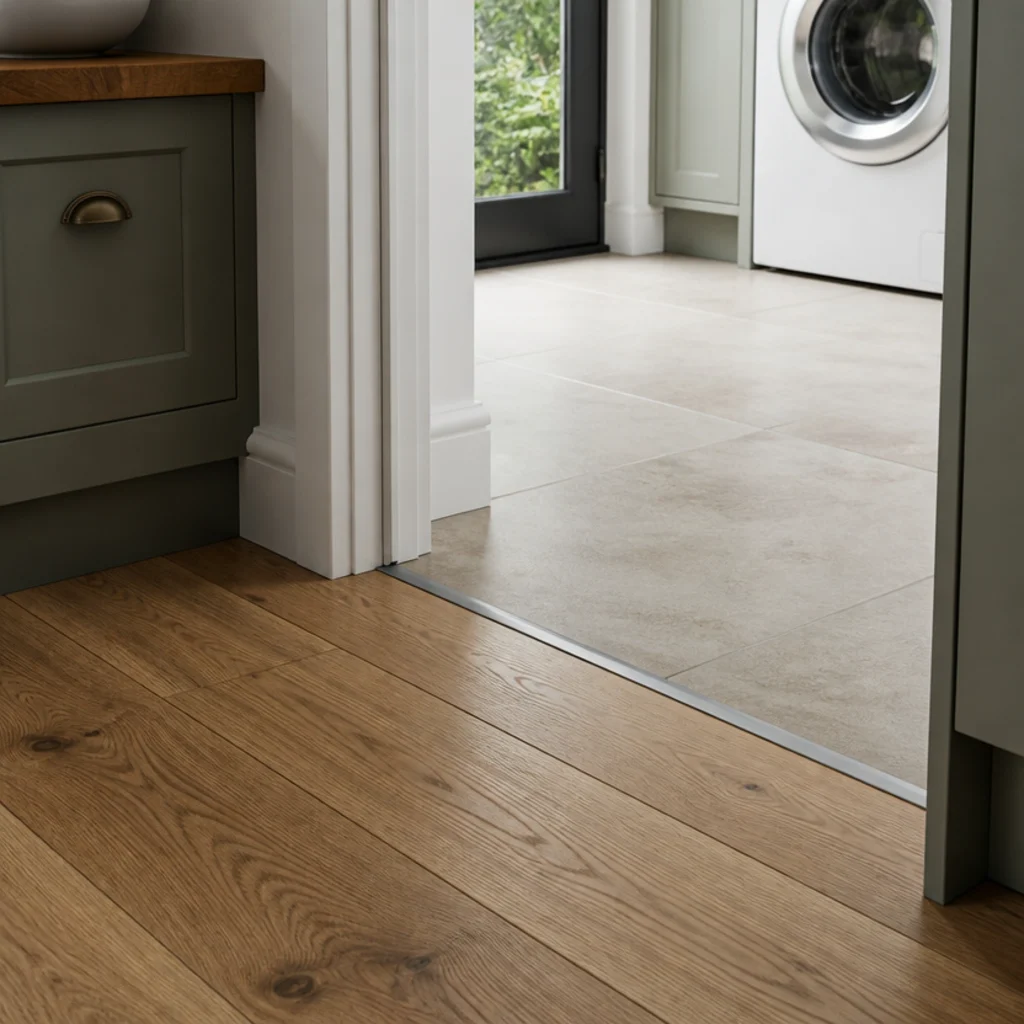
Some parts of a kitchen should not be timber at all. A utility area with a washing machine, a boot door, or a wet zone around a large butler sink all see standing water as routine rather than accidental. Change material on a doorway or an island line, detail it with a flush metal strip, and match the tones so the change reads as a decision.
Pro Styling Rules
Kitchens with timber floors work best when less is standing on them, which is an argument for wall storage and a tighter working triangle. If a coffee station is part of the plan, coffee corner layouts keep the spill zone in one place, and the wooden flooring ideas guide covers species and grade if you are still choosing the board itself.
Mistakes to Skip
- Skipping the leak tray because the dishwasher is new. Hoses fail at connections regardless of age, and the damage happens under a unit where nobody looks for weeks.
- Using a rubber-backed mat in front of the sink. It traps moisture against the finish and leaves a permanent dark rectangle that only a full sand will remove.
- Steam mopping a timber kitchen floor. Steam drives moisture into the joints, lifts engineered plank edges, and voids most manufacturer warranties outright.
- Finishing a kitchen floor to the same schedule as a bedroom. The kitchen is the hardest-worked timber in the house and needs the extra coat and the shorter refresh interval.
Frequently asked questions
Can you put real wood flooring in a kitchen?
Yes, with the right specification and habits. Use engineered board with a four millimetre or thicker wear layer, seal every perimeter and penetration, tray the dishwasher, and wipe spills within minutes. Solid boards over a kitchen floor are far less forgiving of the humidity swings a kitchen produces.
What is the most common cause of kitchen floor water damage?
A slow leak behind or beneath an appliance, usually the dishwasher supply hose or waste connection. It runs unseen under the unit for weeks and reaches the boards from below, which is why a leak tray and a cheap water alarm are worth more than any surface sealer.
How many coats of finish does a kitchen floor need?
Four coats of site-applied polyurethane rather than the usual three, or a hardwax oil with a maintenance coat every twelve months instead of every two to five years. The kitchen is the hardest-worked timber in the house and its finish schedule should reflect that.
Should a kitchen mat have a rubber backing?
No. A solid rubber or PVC backing traps moisture against the finish and leaves a permanent dark outline. Choose a breathable woven or felt-backed mat, lift it after any spill, and let both the mat and the boards underneath dry properly before it goes back down.
Where should wood stop and tile start in a kitchen?
Wherever standing water is routine rather than accidental, which usually means a utility area, a boot door or a wet zone around a large sink. Change material on an architectural line such as a doorway or an island edge, and detail the join with a flush metal strip.
Want more like this? Browse all 15 wooden flooring guides — they all use the same measurements and budget tiers.
Pin it for later
Save this to your Wooden Flooring board
Pin it now so it is waiting for you when the tape measure comes out — and so the next person hunting for this idea can find it too.
Save this pinKeep going
More ideas worth saving while you have the tape measure out.