Utility Room Ideas · Listicle
25 Easy Utility Room Ideas That Hide The Chaos

A utility room fails on the same three numbers every time: the opening the machine needs, the gap you left behind it, and the walkway you did not leave at all. I have planned four of these, two of them in houses where the room doubled as the back door and the dog's towel store. The utility room ideas that held up were never the prettiest — they were the ones measured before anything was ordered. Everything below carries the number that makes it work, because a laundry room is the one space in a house where looking good and working properly are decided by the same tape measure.
In this guide27 sections — tap to openHide
- 1.What utility room ideas get wrong before you start
- 2.Set the appliance opening at twenty-nine inches
- 3.Keep four to six inches behind for hoses
- 4.Bridge the pair with a worktop at thirty-six inches
- 5.Stack front loaders with the maker kit only
- 6.Draw the door swing before you fix anything
- 7.Hold thirty-six inches of walkway, forty-two for two
- 8.Hide the machines behind matching integrated doors
- 9.Put the sink where a drainer actually fits
- 10.Give the dryer a short straight vent route
- 11.Extract at thirty cfm on a run-on timer
- 12.Vent a drying cupboard low in and high out
- 13.Run a dehumidifier instead of heating the room
- 14.Hang a ceiling airer where the warm air collects
- 15.Put twelve inch shelves above the machines
- 16.Run a peg rail for the awkward things
- 17.Give the ironing board a vertical home
- 18.Build one tall broom cupboard twelve inches wide
- 19.Sort laundry into three labelled bins
- 20.Sit the washer on a leak tray
- 21.Choose a floor rated for a wet slip
- 22.Take ten decibels off the spin cycle
- 23.Never box in the boiler or the gas meter
- 24.Light the worktop and not the ceiling
- 25.Add a fold down surface for folding
- 26.Leave one shelf completely empty
- 27.Mistakes to Skip
What utility room ideas get wrong before you start
Take three numbers before you look at a single photograph. First, the appliance opening. A full-size 27-inch washer or dryer needs a 29-inch opening — an inch of air each side so the casing does not drum against the carcass — and 36 to 40 inches of depth off the finished wall once you allow four to six inches behind for hoses, valves and the vent. Slim European machines run 23.5 inches wide and 33.5 inches tall, which changes the maths entirely.
Second, the walkway. Thirty-six inches between two opposite runs is the minimum that works, 42 if two people use the room or if an appliance door opens across it. A front-loader door swings 20 to 24 inches on its own, and a standard 30 to 32 inch door needs a 30 to 34 inch clear arc.
Third, the height. A worktop finishes at 36 inches and the counter itself takes an inch and a half, so any machine going underneath has to be under 34 inches tall. That single check is the difference between a fitted run and a very expensive shelf.
Costs sit in three bands. A peg rail and two open shelves comes in under $120, a three-cabinet run with a laminate worktop lands between $600 and $1,200, and a full fitted utility with a sink and integrated appliances runs $2,500 to $6,000. If the room you are working with is genuinely tight, the small utility room guide starts from a 6 by 7 foot footprint.

1. Set the appliance opening at twenty-nine inches
Build the recess to 29 inches for a 27-inch machine and the extra inch of air on each side does two jobs. It stops the casing drumming against the cabinet on a 1,400 rpm spin, and it gives you the wiggle room to slide the machine straight out when a filter blocks. A recess cut tight to the appliance is a recess you dismantle to service.

2. Keep four to six inches behind for hoses
The depth nobody plans for is the depth behind. Braided fill hoses need a bend radius, the waste hose hooks up into a standpipe, and the isolating valves have to be reachable with a hand. Four inches is the working minimum, six is comfortable, and a machine shoved back to the plaster will kink a hose within a year.

3. Bridge the pair with a worktop at thirty-six inches
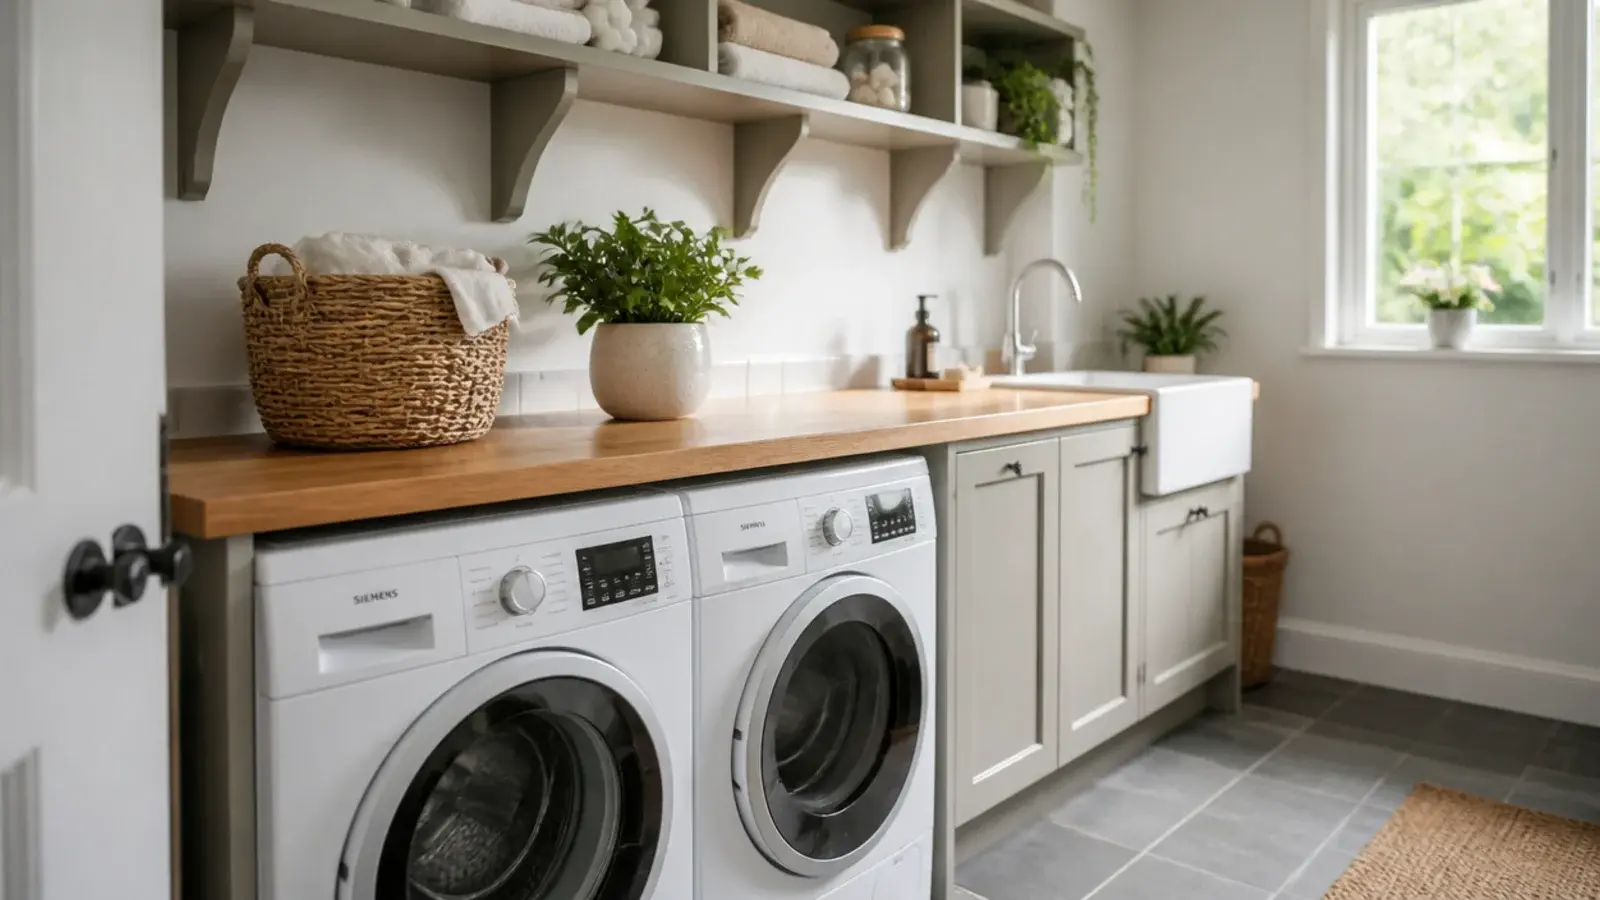
One continuous surface across a side-by-side pair is the cheapest thing that makes a utility look designed. Set it at 36 inches, run it 24 to 25 inches deep, and confirm both machines measure under 34 inches tall first. Laminate runs $30 to $60 a linear foot, solid timber $80 to $150, and both need the cut edges sealed.

4. Stack front loaders with the maker kit only
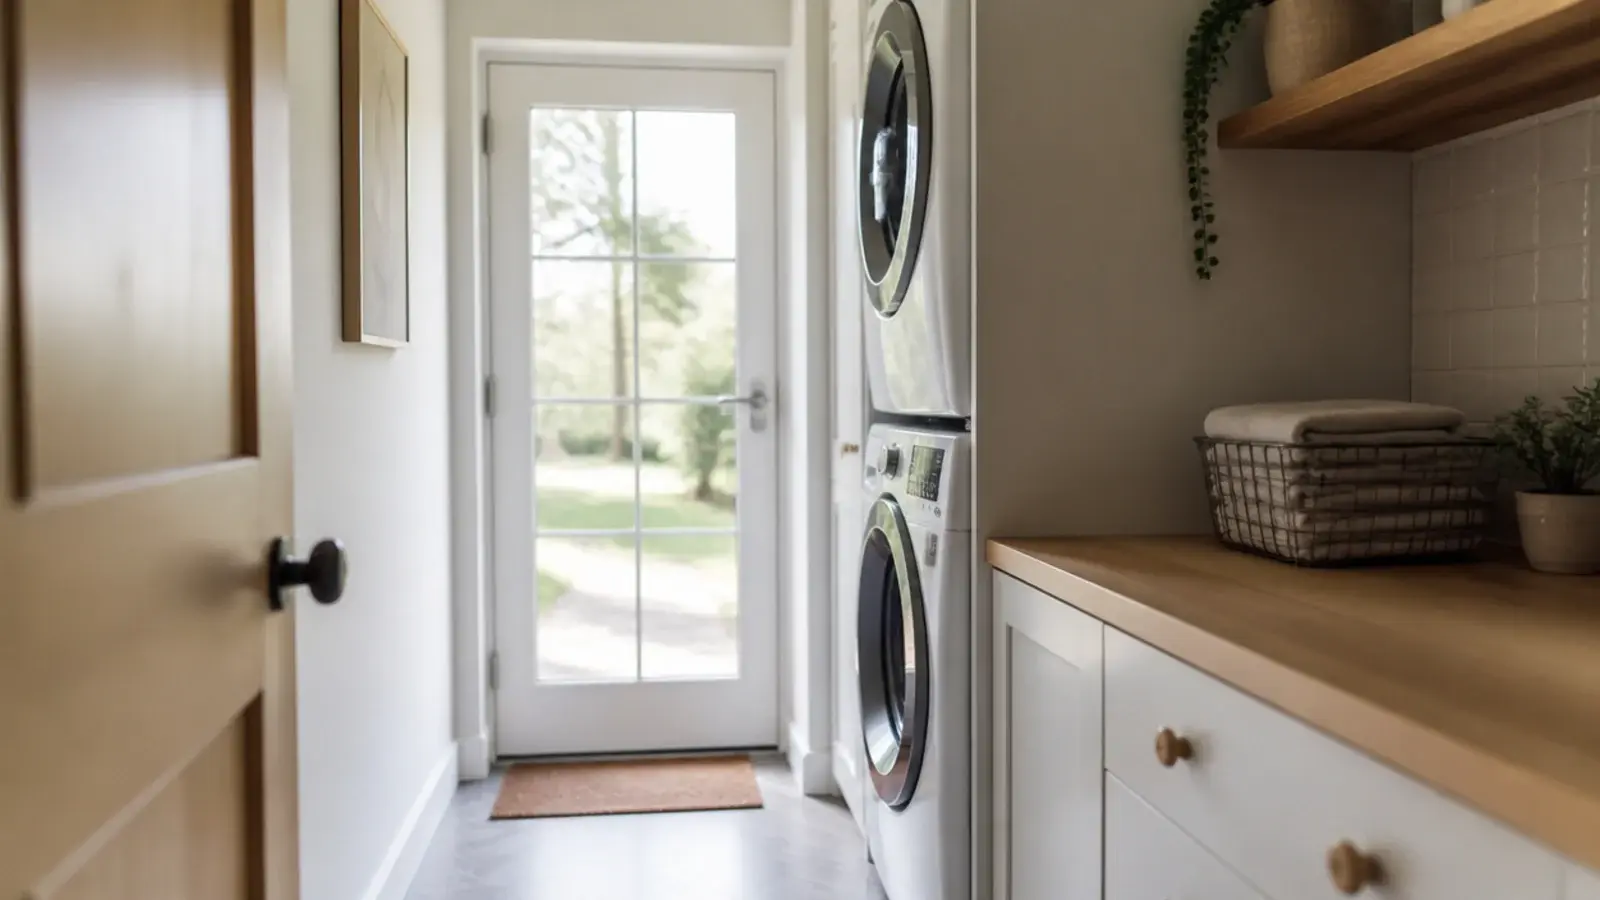
Stacking buys back 27 inches of floor and it is entirely safe when done properly, which means front-loaders only and the manufacturer's own bracket kit at $30 to $60 — never a strap, never nothing. Top-loaders do not stack at all. Allow 74 to 80 inches for the pair and 79 to 84 inches of ceiling so the upper door clears.

5. Draw the door swing before you fix anything
Chalk the arc of the door on the floor before a single cabinet is fitted. A 30 to 32 inch door needs 30 to 34 inches of clear sweep, and in a small utility that arc almost always lands exactly where you wanted the bin or the basket. A pocket or sliding door hands the whole arc back for around $200 to $400.

6. Hold thirty-six inches of walkway, forty-two for two
Thirty-six inches between opposite runs lets one person work and pass. Forty-two is what you need if two people share the room, or if the washer door opens into the aisle and you still want to walk behind it with a basket. Measure this before you choose cabinet depth, because depth is the only variable you can still trade.

7. Hide the machines behind matching integrated doors
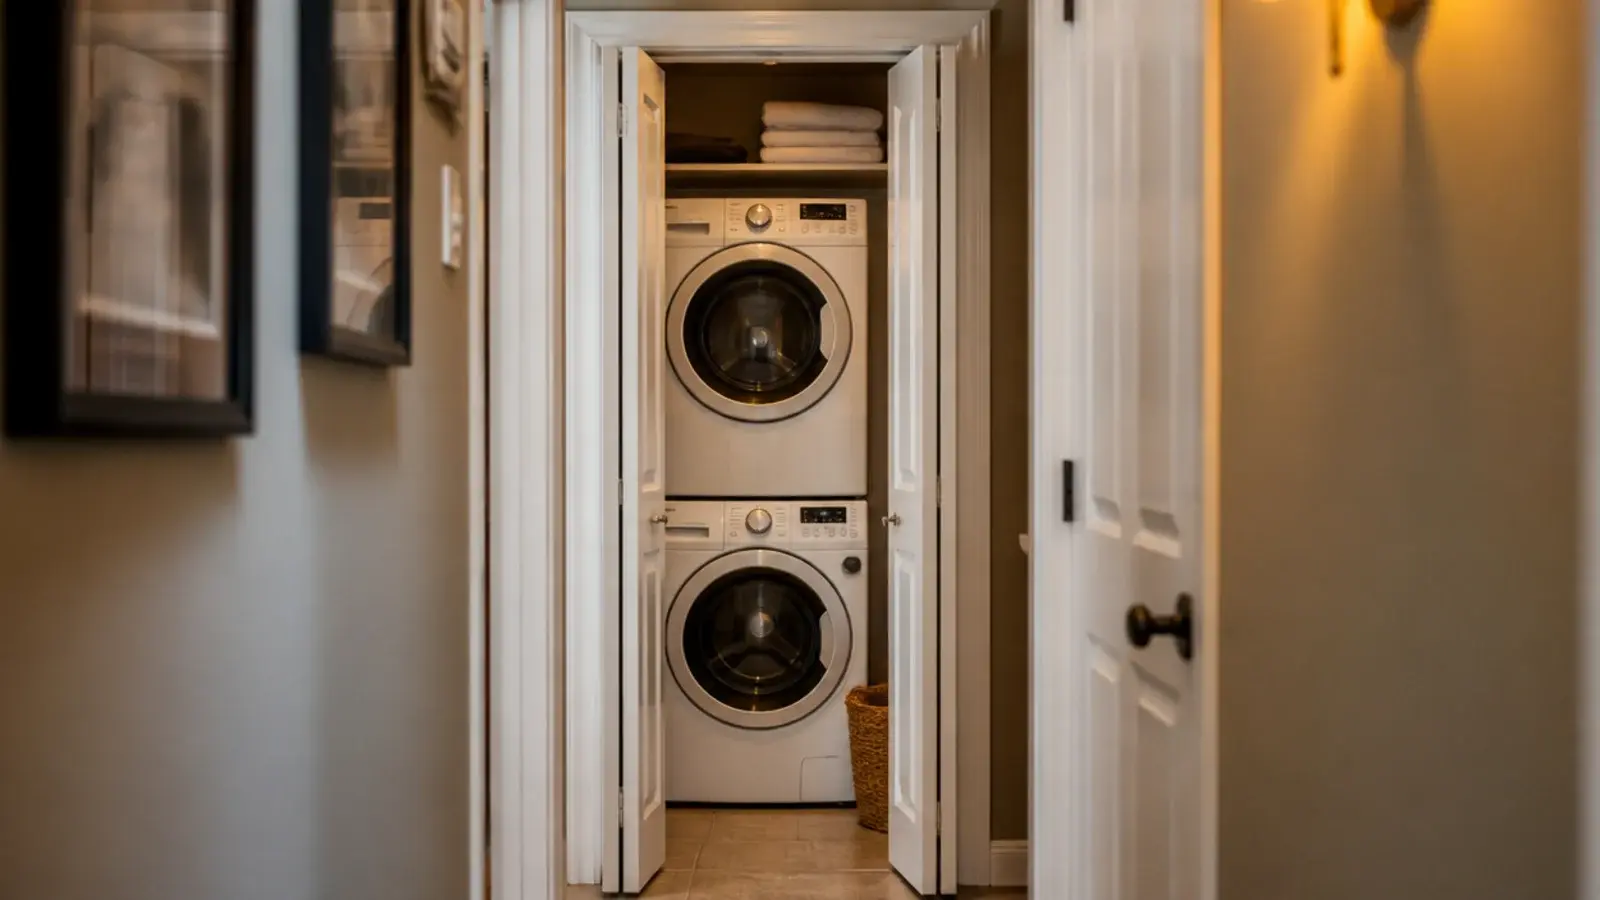
Integrated fronts turn a laundry wall into cabinetry, and they are the single biggest visual change available. The clearances do not soften though — the carcass still needs a 29-inch internal opening and four to six inches behind. Budget $150 to $400 for the door, hinge and fixing kit per machine, and check the appliance is rated for integration.

8. Put the sink where a drainer actually fits
A utility sink is 22 to 25 inches wide with a 10 to 12 inch bowl, and it needs 24 inches of clear worktop beside it or it becomes a shelf for wet things. Site it at the end of the run rather than the middle, keep GFCI protection within six feet of it, and pick a bowl deep enough to take a bucket under the tap.

9. Give the dryer a short straight vent route
A vented dryer wants rigid or semi-rigid four-inch duct, 35 feet maximum equivalent length, minus five feet for every 90-degree elbow — so three elbows leave you 20 feet of straight run. It terminates outside, never into the room and never into a loft, because the alternative is two litres of water a load soaking into your structure.

10. Extract at thirty cfm on a run-on timer
Thirty cubic feet a minute, about 15 litres a second, is the working minimum for a utility, rising to 50 or 80 cfm if it is also the drying room. Site the fan high and opposite the door so air crosses the room, and wire it with a 15-minute run-on so it keeps pulling after you have shut the door.

11. Vent a drying cupboard low in and high out
This is the rule that stops a closed drying space smelling: air in low, air out high. A three-quarter inch door undercut or a low grille of at least 40 square inches of free area, plus a high outlet the same size. One grille on its own just recirculates the same damp air, and the cupboard sours within a week.

12. Run a dehumidifier instead of heating the room
A wash load puts roughly two litres — four pints — of water into the air as it dries. A 10 to 20 litre a day dehumidifier draws 150 to 300 watts and pulls that water out faster and cheaper than a radiator warming the whole room. Aim for four to six air changes an hour and the laundry dries overnight.

13. Hang a ceiling airer where the warm air collects
A traditional four-lath pulley airer gives about 24 feet of line — near enough one full load — in the warmest, most useless air in the room. Fix the end brackets into joists, not plasterboard, and site it away from the door swing. Expect $70 to $160 for a cast-iron-ended set in six-foot laths.

14. Put twelve inch shelves above the machines
Twelve inches deep is exactly right for detergent, softener and a jar of pegs, and shallow enough that nothing hides at the back. Space them 16 inches apart vertically, fix brackets into studs at 16-inch centres, and keep the lowest shelf 18 inches above the worktop so a bottle stands up under it.

15. Run a peg rail for the awkward things
Everything that will not stack — the dustpan, the tote bags, the spare washing line, the dog lead — hangs happily on a peg rail. It is the cheapest single item in a utility at $25 to $60 for a painted hardwood run, and it clears more worktop than any drawer of the same cost.

16. Give the ironing board a vertical home
An ironing board is the worst-shaped object in the house. Leave a four-inch upright gap at the end of a cabinet run, or between the tall cupboard and the wall, and slot it in on edge. A wall clip costs under $15. Every utility that skips this ends up with the board leaning behind the door.

17. Build one tall broom cupboard twelve inches wide
Twelve inches of width and full height takes an upright vacuum, a flat mop and a broom, with clips inside the door for the handles. It is the least glamorous cabinet in the run and the one that decides whether the floor stays clear. Add it before you add a second bank of drawers.

18. Sort laundry into three labelled bins
Three bins — darks, lights, towels — under the worktop means sorting happens once, at the drop, rather than in a heap on the floor at wash time. Canvas bins on a low frame cost $20 to $45 each. Two bins is not enough and four is more than any household honestly maintains.

19. Sit the washer on a leak tray
A 30 by 30 inch tray with a two-inch lip sits under the machine and catches the slow drip you will not notice for weeks. It costs $30 to $70 and it is the only thing standing between a perished hose and a ruined floor. Fit one even on tile, because water travels under tile happily.

20. Choose a floor rated for a wet slip
Sealed porcelain, luxury vinyl tile or safety vinyl with an R10 to R11 slip rating handles the reality of wet boots and a spilled basket. If you want wood, leave a three-eighths inch expansion gap at every edge and never run solid boards directly under a machine — the wooden flooring guide covers where timber is and is not sensible.

21. Take ten decibels off the spin cycle
A 1,400 rpm spin runs 72 to 76 decibels, which carries through a hollow door and down a hallway. A solid-core door plus four inches of mineral wool in the stud wall takes eight to ten decibels off it, and $15 to $30 of anti-vibration mats under the feet kills the resonance that travels through the floor.

22. Never box in the boiler or the gas meter
A boiler can live in a utility cupboard, but it keeps its service clearances — typically two inches at the sides, eight to twelve below for pipework and twelve inches of clear working space at the front — behind a genuinely removable door. A gas meter is never sealed in at all: it needs ventilation and its emergency control valve has to stay reachable without tools.

23. Light the worktop and not the ceiling
One ceiling pendant puts your own shadow on the folding surface. A slim LED strip under the wall cabinets at 4,000 K gives even, cool-neutral light exactly where your hands are, costs $25 to $60 a run, and makes a stain visible before it goes through the dryer and sets.

24. Add a fold down surface for folding
A hinged shelf on drop-down brackets gives you a 36-inch-high folding surface when the machine finishes and disappears flat against the wall by supper. Sixteen inches deep is plenty, brackets go into studs, and the whole thing costs $60 to $130 in timber and hardware.

25. Leave one shelf completely empty
Every utility that stays tidy has slack in it. One empty shelf absorbs the week where the laundry got away from you, the parcel that arrived, the coat that came off wet. Fill every inch on day one and the overflow lands on the worktop instead, which is the surface you actually need.

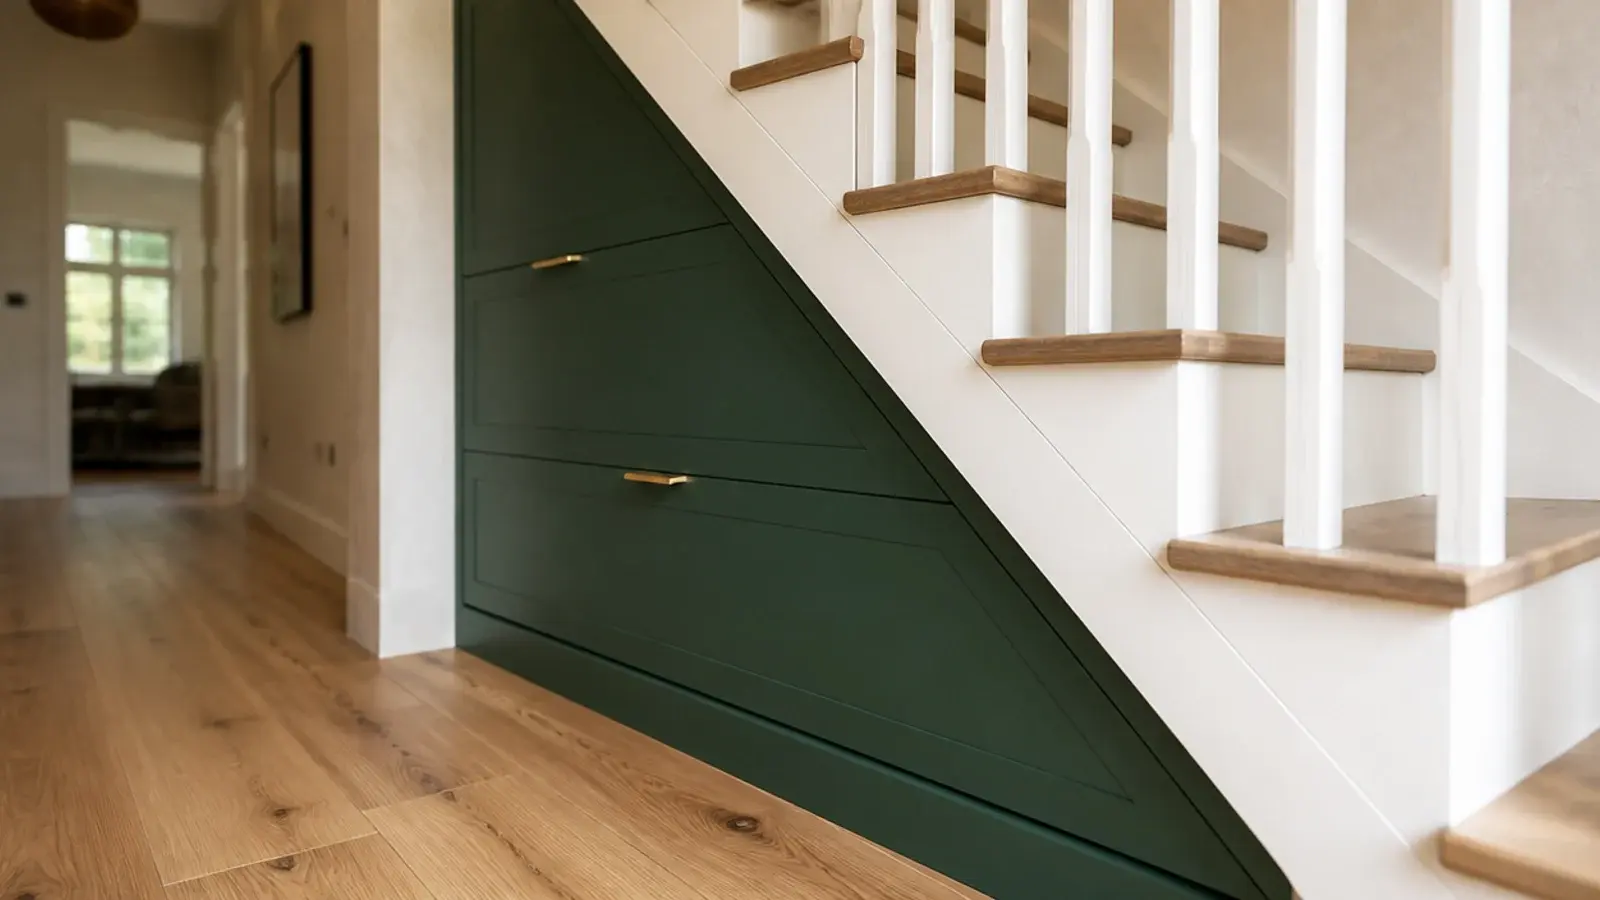
If your room is long and thin rather than square, the utility room layout guide works through the plan shapes and the mistakes that come with each. For the storage side of things, the entryway storage guide covers the drop-zone problem that most utilities inherit from the back door, and under-stairs storage is worth reading if your machines are heading into a cupboard rather than a room.
Mistakes to Skip
- Ordering the worktop before measuring the machine. A 34.5-inch appliance will not go under a 36-inch counter, and the counter is the half of that pair you cannot return once it has been cut.
- Building the recess tight to the appliance. An inch of air each side and four to six inches behind is the difference between a machine you can service and one you have to dismantle cabinetry to reach.
- Skipping extraction because there is a window. Nobody opens a window in February, which is exactly when two litres a load goes into the air and the paint starts blooming in the corners.
- Boarding over the boiler, the flue or the gas meter to get a flush run of doors. Service access is a requirement rather than a preference, and a sealed gas meter cupboard is genuinely dangerous.
- Putting the sink in the middle of the run. Without 24 inches of clear worktop beside it, a utility sink turns into a permanent parking space for wet, dripping objects.
Frequently asked questions
How much space does a washing machine need in a utility room?
A full-size 27-inch machine wants a 29-inch opening, so an inch of air each side, plus four to six inches behind it for hoses, valves and the vent. Allow 36 to 40 inches of depth from the finished wall, and 36 to 42 inches of clear floor in front so a laundry basket fits beside an open door.
Can you put a worktop over a washing machine?
Only if the machine is under 34 inches tall. A standard worktop finishes at 36 inches and the surface itself eats an inch and a half, so a 34.5-inch machine will not slide under. Measure the appliance height before you order the counter, because the counter is the expensive half of that mistake.
Do you need an extractor fan in a utility room?
Yes if the room holds a washer, a dryer or wet laundry. Thirty cubic feet per minute is the working minimum, rising to 50 or 80 if the room doubles as the drying space. Fit it high on the wall opposite the door with a 15-minute run-on timer so it keeps working after you leave.
Can a boiler go inside a utility room cupboard?
It can be housed but never sealed in. Keep the manufacturer service clearances — usually two inches at the sides, eight to twelve below for pipework and twelve inches of clear working space at the front — and make the door or panel removable. A gas meter must never be boxed into an airtight cupboard at all.
How do you stop a utility room smelling damp?
Move air rather than heat it. One wash load releases roughly two litres of water as it dries, so a closed drying space needs a low inlet and a high outlet, not a single grille. Aim for four to six air changes an hour and run a dehumidifier instead of a radiator.
Want more like this? Browse all 15 utility room ideas guides — they all use the same measurements and budget tiers.

Pin it for later
Save this to your Utility Room Ideas board
Pin it now so it is waiting for you when the tape measure comes out — and so the next person hunting for this idea can find it too.
Save this pinKeep going
More ideas worth saving while you have the tape measure out.