Utility Room Ideas · Listicle
20 Bright Basement Utility Room Ideas That Work

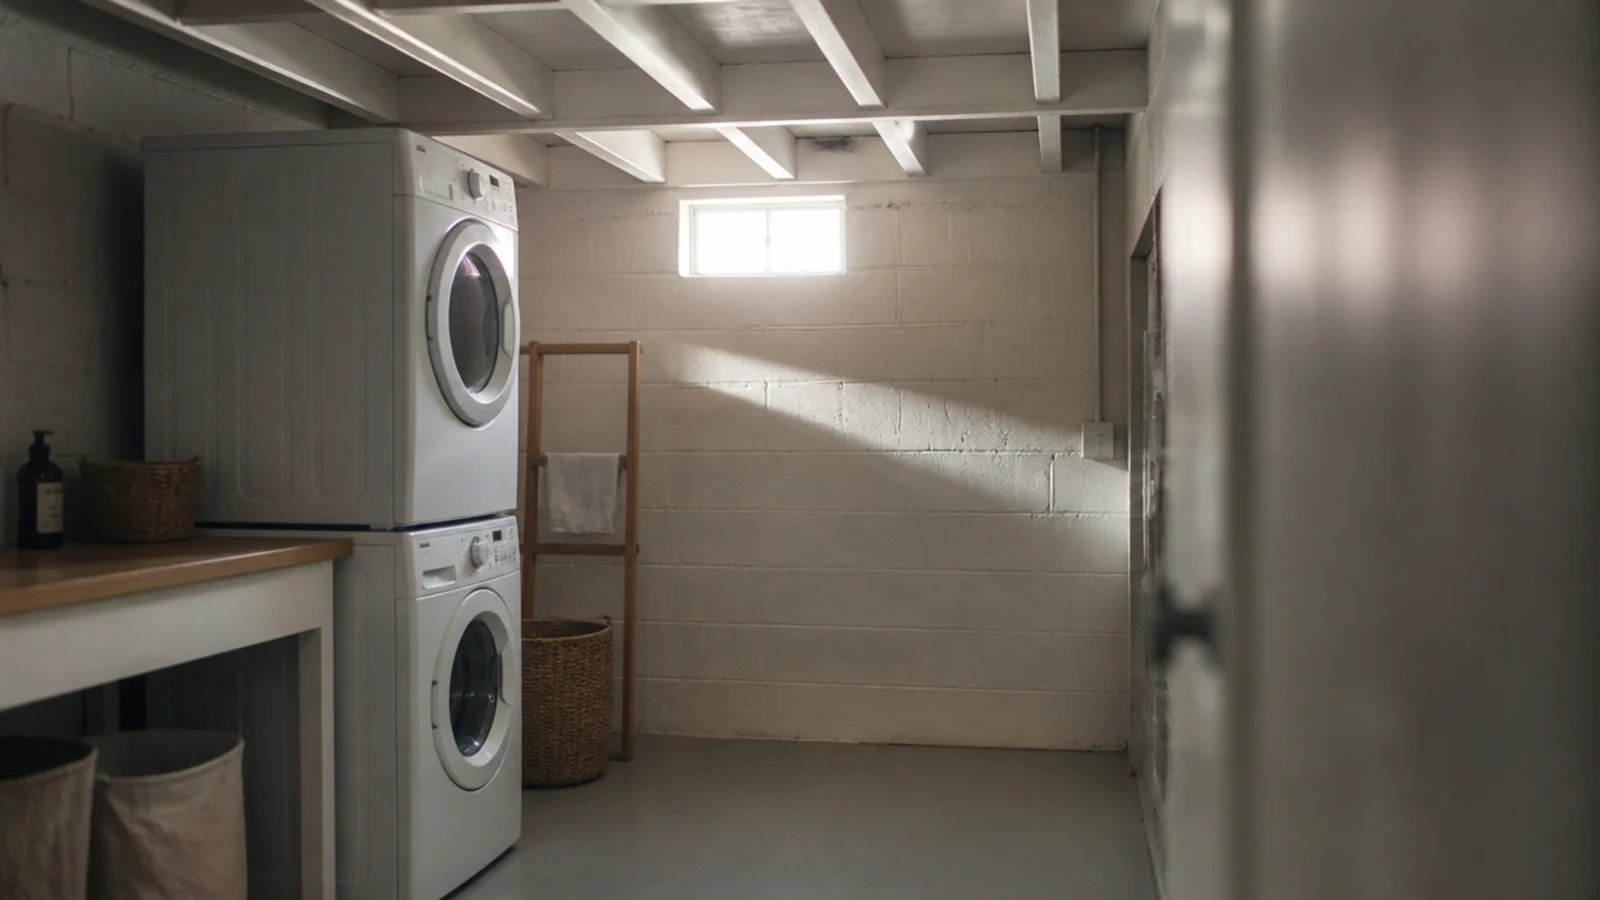
A cellar is the cheapest square footage in most houses and the least willing to behave. Mine ran 82 inches to the underside of the joists, held a boiler on the party wall, and sat four inches below where the drain wanted to be. Basement utility room ideas start from those constraints, not a paint chart — headroom, damp, light and drainage all push against you at once. Here are the twenty decisions that turned a cold under-house room into somewhere I willingly do laundry in February, each with the number that makes it work.
In this guide22 sections — tap to openHide
- 1.What basement utility room ideas have to solve first
- 2.Measure to the joists before you promise a stack
- 3.Follow the drain, not the prettiest wall
- 4.Add a condensate pump where gravity will not reach
- 5.Seal the slab and rate the surface R10 to R11
- 6.Insulate the cold walls before the cabinets go on
- 7.Run a 10 to 20 litre dehumidifier, not a heater
- 8.Extract at 30 cfm, and 50 to 80 if you dry down here
- 9.Vent a closed drying space low in and high out
- 10.Light to 40 to 50 lumens per square foot
- 11.Choose 4,000 to 5,000 K, never warm white
- 12.Put task light under the cabinets, not only overhead
- 13.Paint the joists, block and pipework one pale colour
- 14.Make the small high window earn its keep
- 15.Never board in the boiler, the flue or the gas meter
- 16.Give the dryer rigid duct and count the elbows
- 17.Sit the washer on a leak tray with a water alarm
- 18.Put a deep sink where the waste can be pumped
- 19.Keep shelves 12 inches deep and hang them off the joists
- 20.Damp the spin before the slab carries it upstairs
- 21.Hang a drop-down wall airer, not a ceiling one
- 22.Mistakes to Skip
What basement utility room ideas have to solve first
Four numbers decide whether a cellar works as a laundry, and you can take all four in an afternoon.
Headroom first. Measure to the underside of the joists, not the plasterboard you hope to fit, and measure at the machine position rather than mid-floor. A stacked front-loading pair stands 74 to 80 inches and needs 79 to 84 inches clear for the upper door. Under a soil pipe you may have 76 inches and no stack at all, which forces a side-by-side run needing 54 to 60 inches of wall.
Drainage second. Basement waste rarely falls to the stack on its own. If the standpipe cannot reach the soil connection with a fall, you need a condensate pump or a small sump with a float switch, and that decision moves the machines further than any cabinet choice.
Moisture third. One wash load puts roughly two litres of water into the air as it dries, and a cellar has no easy way to lose it. Extraction at 30 cfm is the working minimum, rising to 50 to 80 cfm if this is also where the washing dries.
Light fourth. Aim for 40 to 50 lumens per square foot at 4,000 to 5,000 K. A garage conversion meets the same problems above ground, and the garage utility plan runs the slab and damp tests in order. Whatever goes underfoot has to survive standing water, so read the wooden flooring guide first.
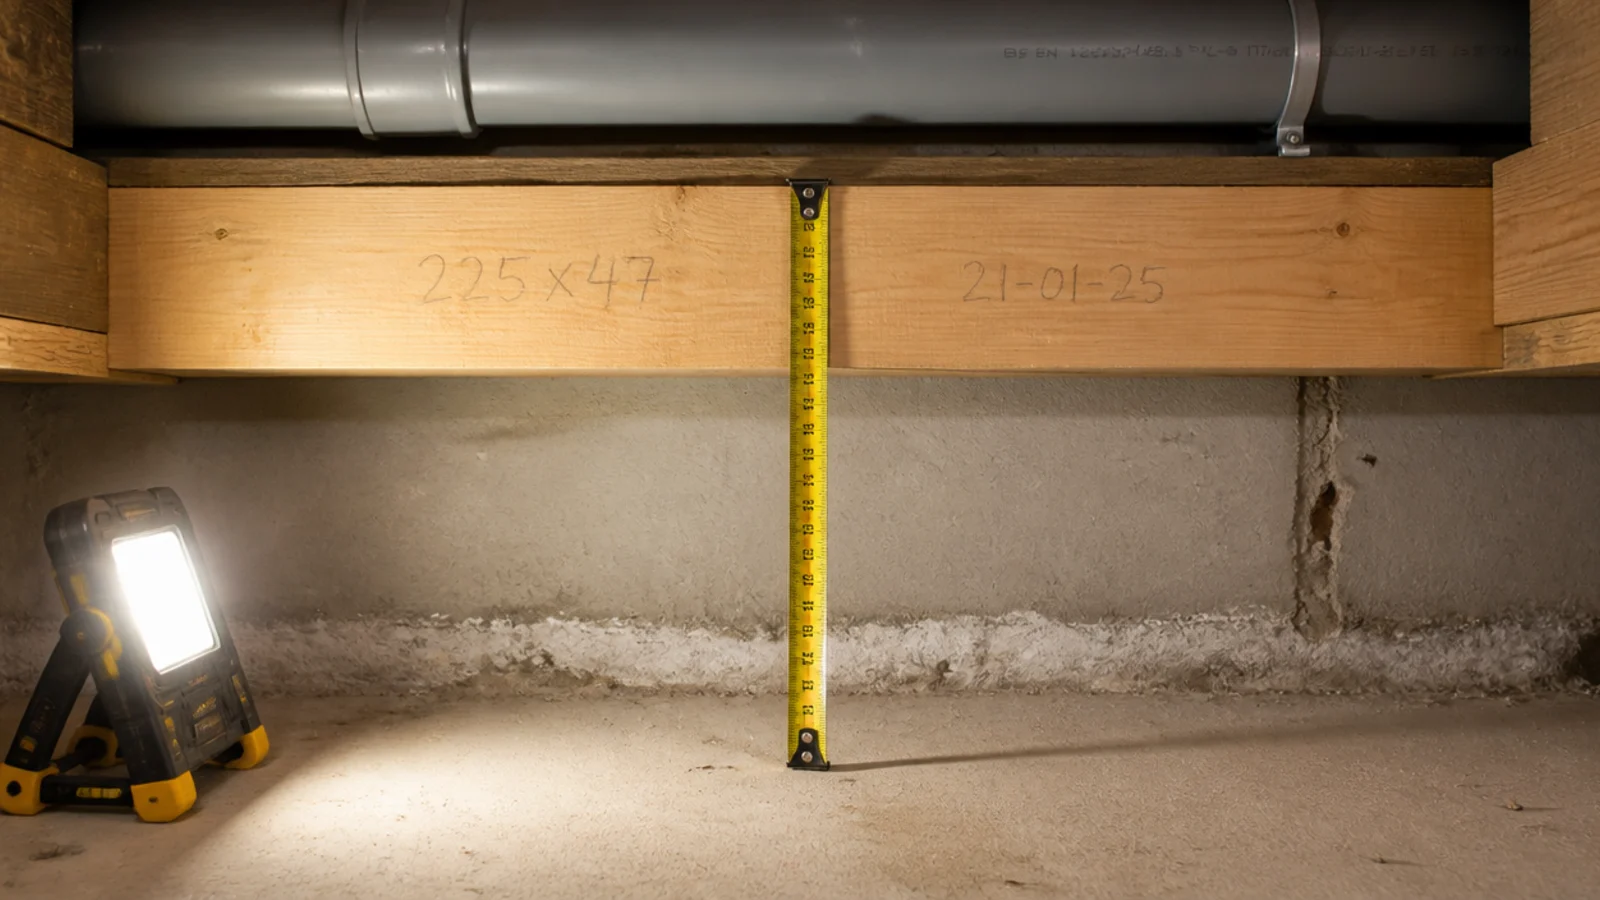
1. Measure to the joists before you promise a stack
I read 84 inches at the stairs and 79 at the machine wall, where a boxed soil pipe dropped the ceiling. A stacked pair stands 74 to 80 inches tall and needs 79 to 84 inches of clear height for the upper door to open. Take that reading where the machines will stand, tape against the joist rather than the plaster. Five inches decides between a stack and a side-by-side run.
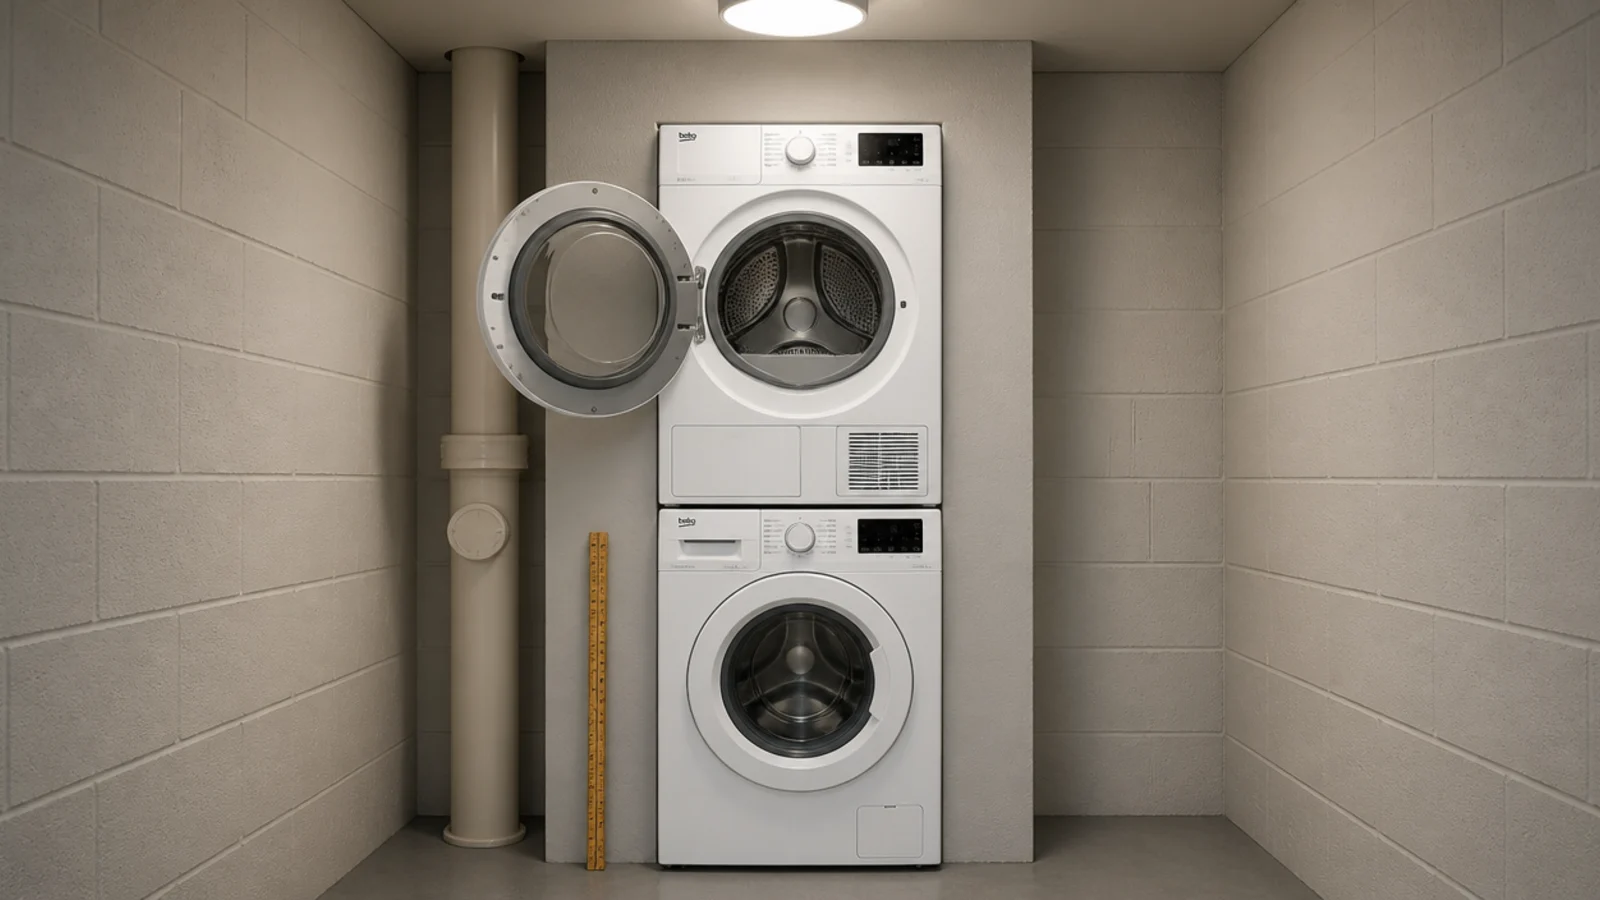
2. Follow the drain, not the prettiest wall
The wall I wanted the machines on sat 14 feet from the soil stack. Waste has to fall, and a run that long needs a quarter inch of drop per foot a cellar rarely has to give. Site the washer within a few feet of the existing connection and you keep gravity drainage, a 2 inch standpipe and a P-trap 6 to 18 inches off the floor. Any further and you have quietly bought a pump.
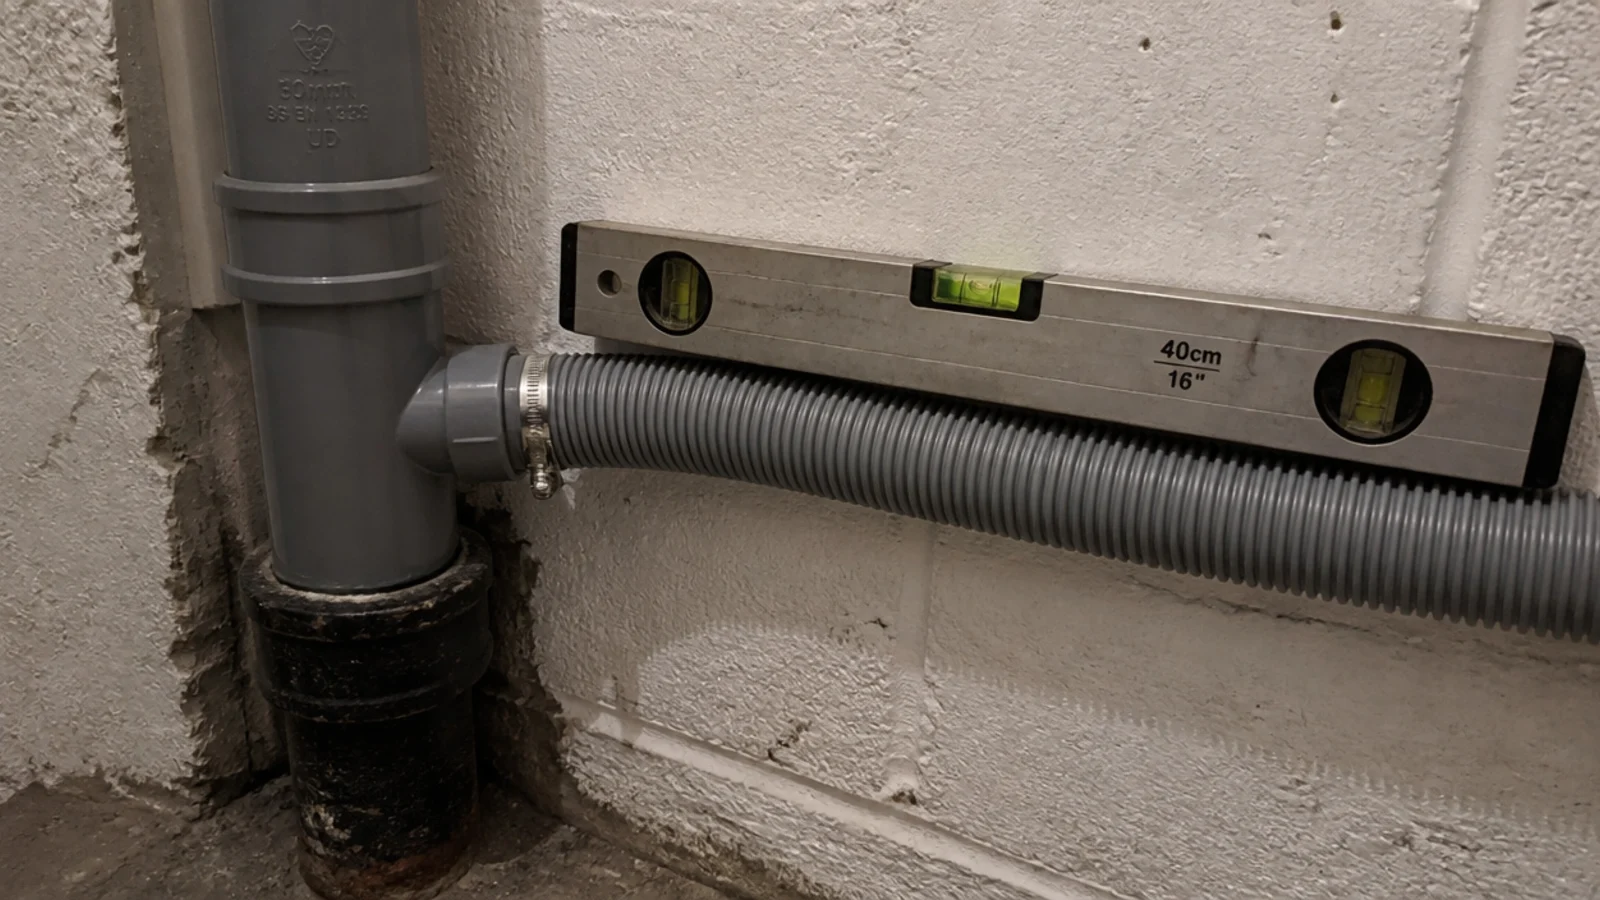
3. Add a condensate pump where gravity will not reach
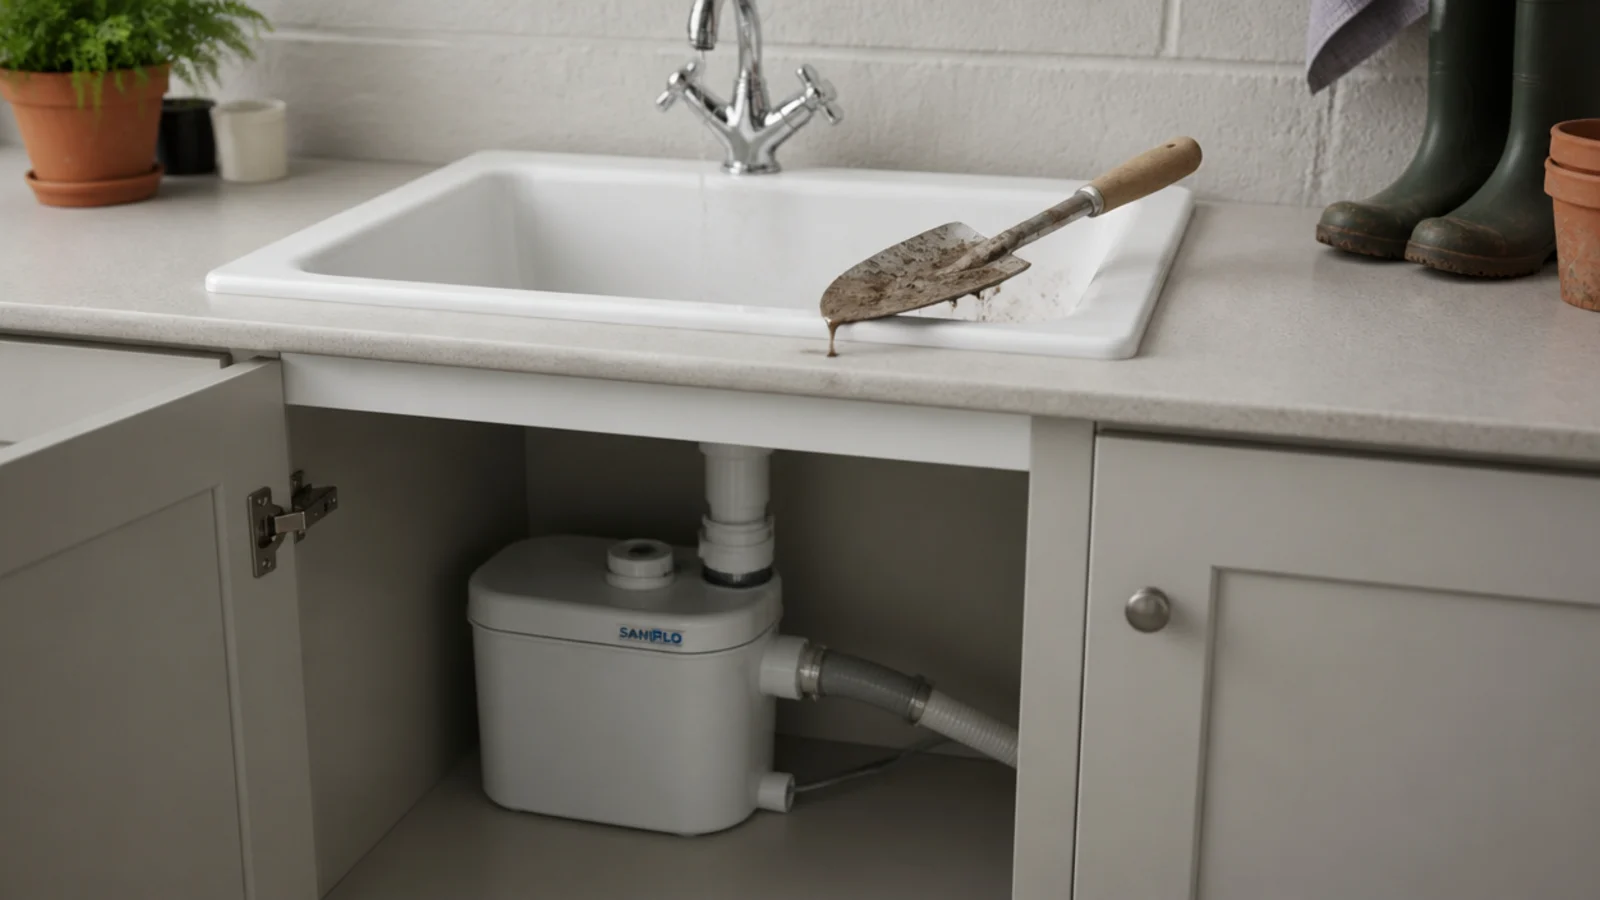
Where the waste sits above the machine outlet, gravity is finished. A small laundry waste pump takes a washer discharge and lifts it several feet to the stack; a sump pit with a float switch answers the case where a floor drain and groundwater are also in play. Both want a socket on their own protected circuit and a lid you can lift.
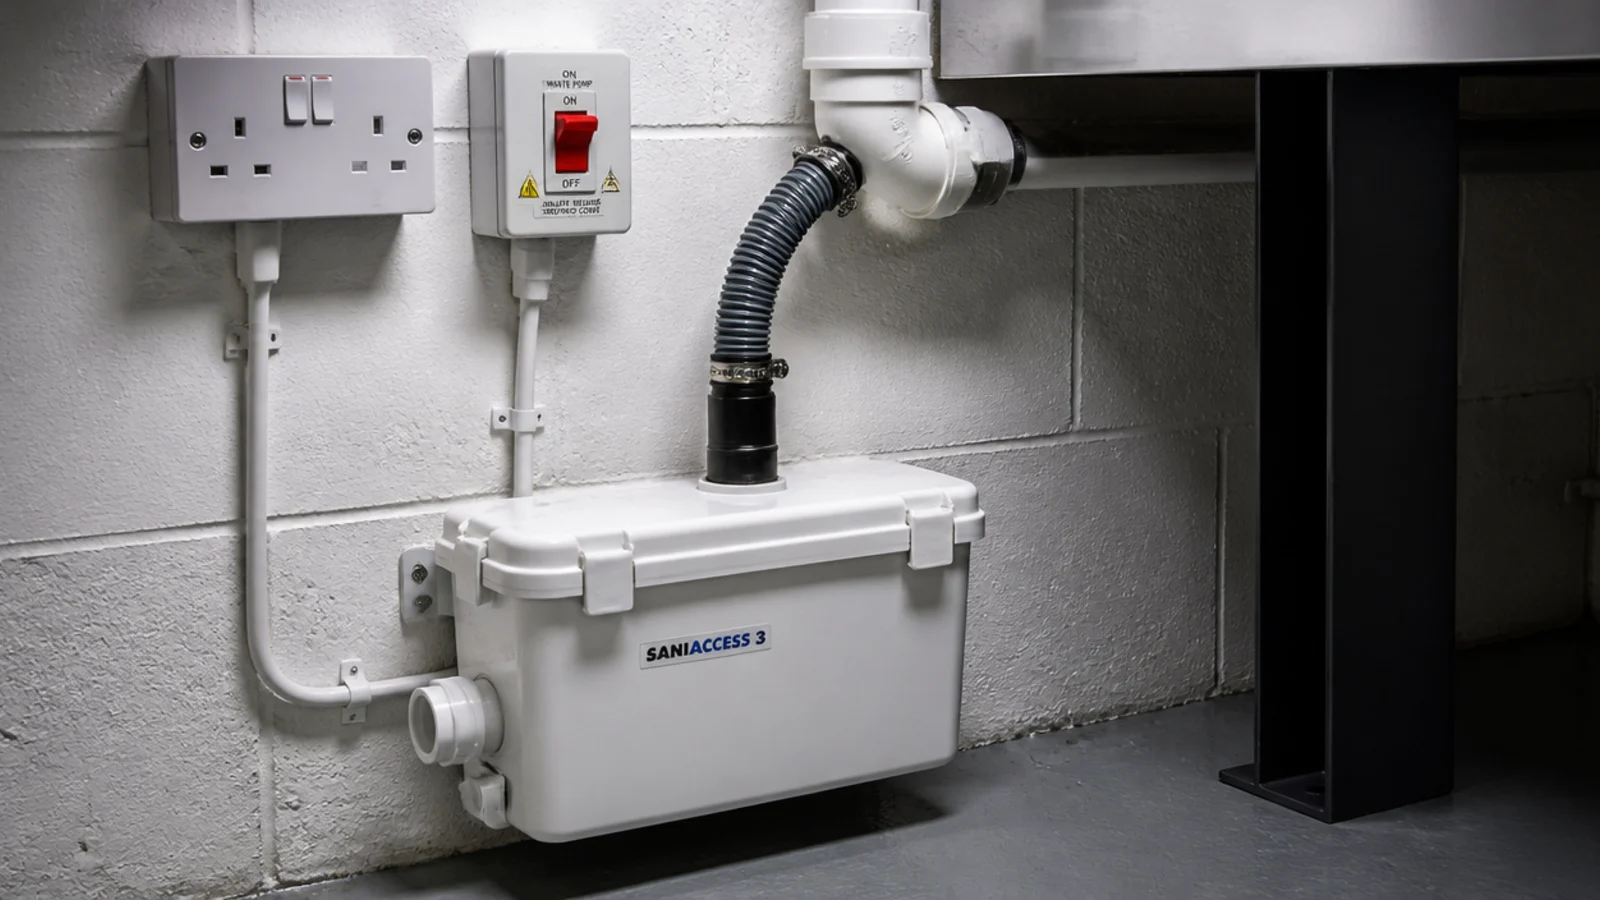
4. Seal the slab and rate the surface R10 to R11
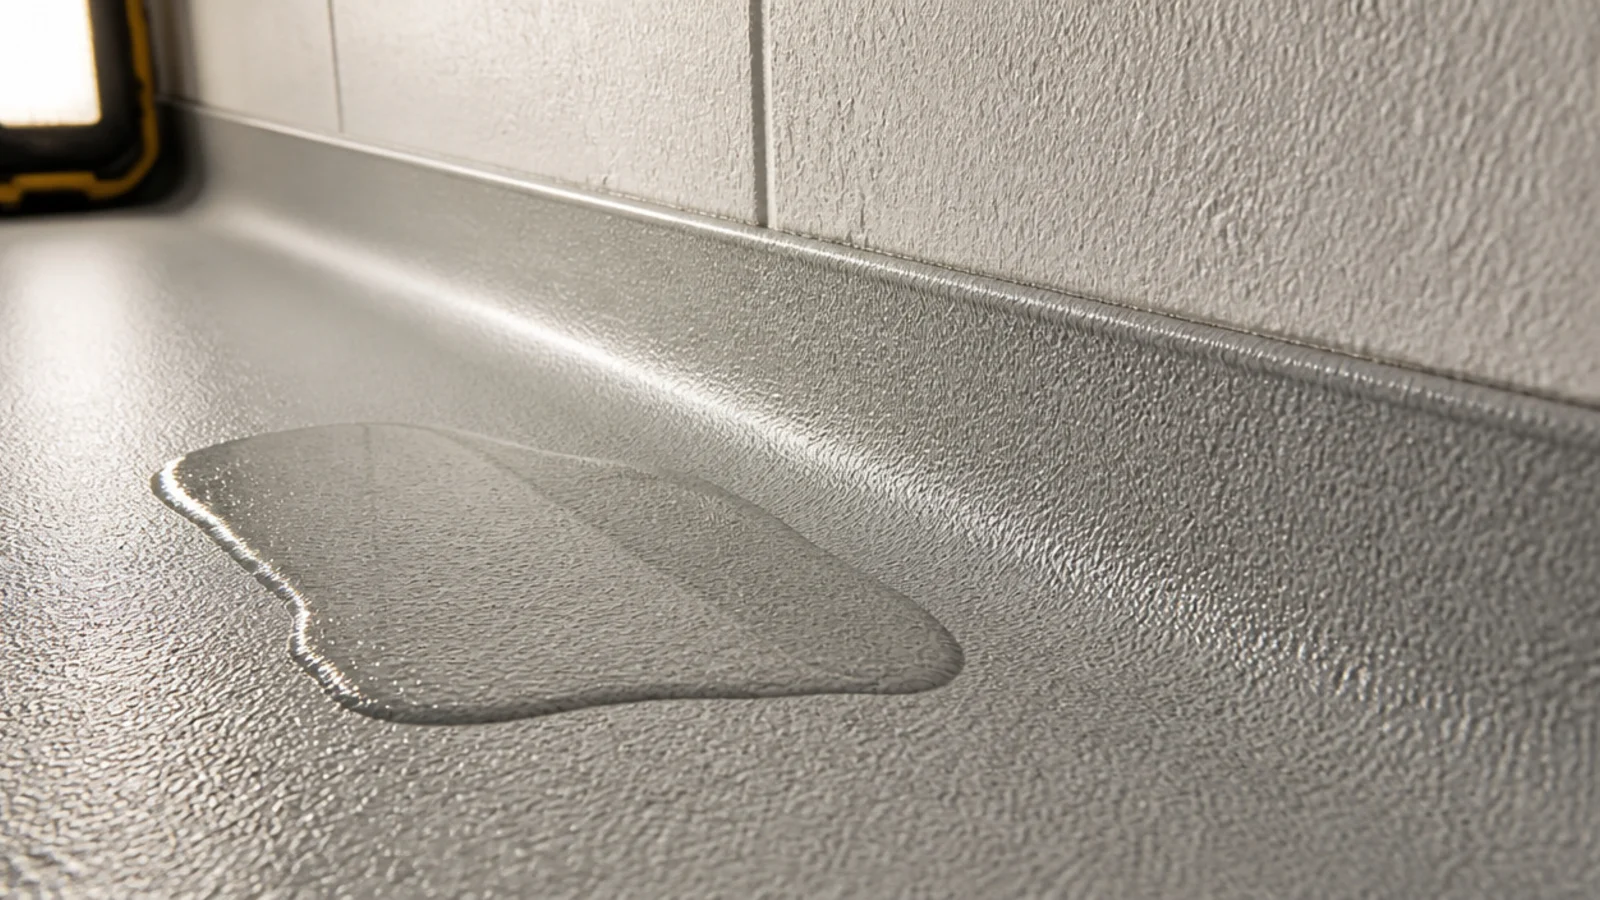
Bare concrete wicks moisture and dusts forever. I sealed the slab, then laid safety vinyl with an R10 to R11 slip rating over it — the rating I would specify in any laundry, and more relevant here because a basement floor is the low point every leak eventually finds. Sealed porcelain or LVT does the same job at $4 to $9 a square foot. Take it up the wall as a coved skirting.
5. Insulate the cold walls before the cabinets go on
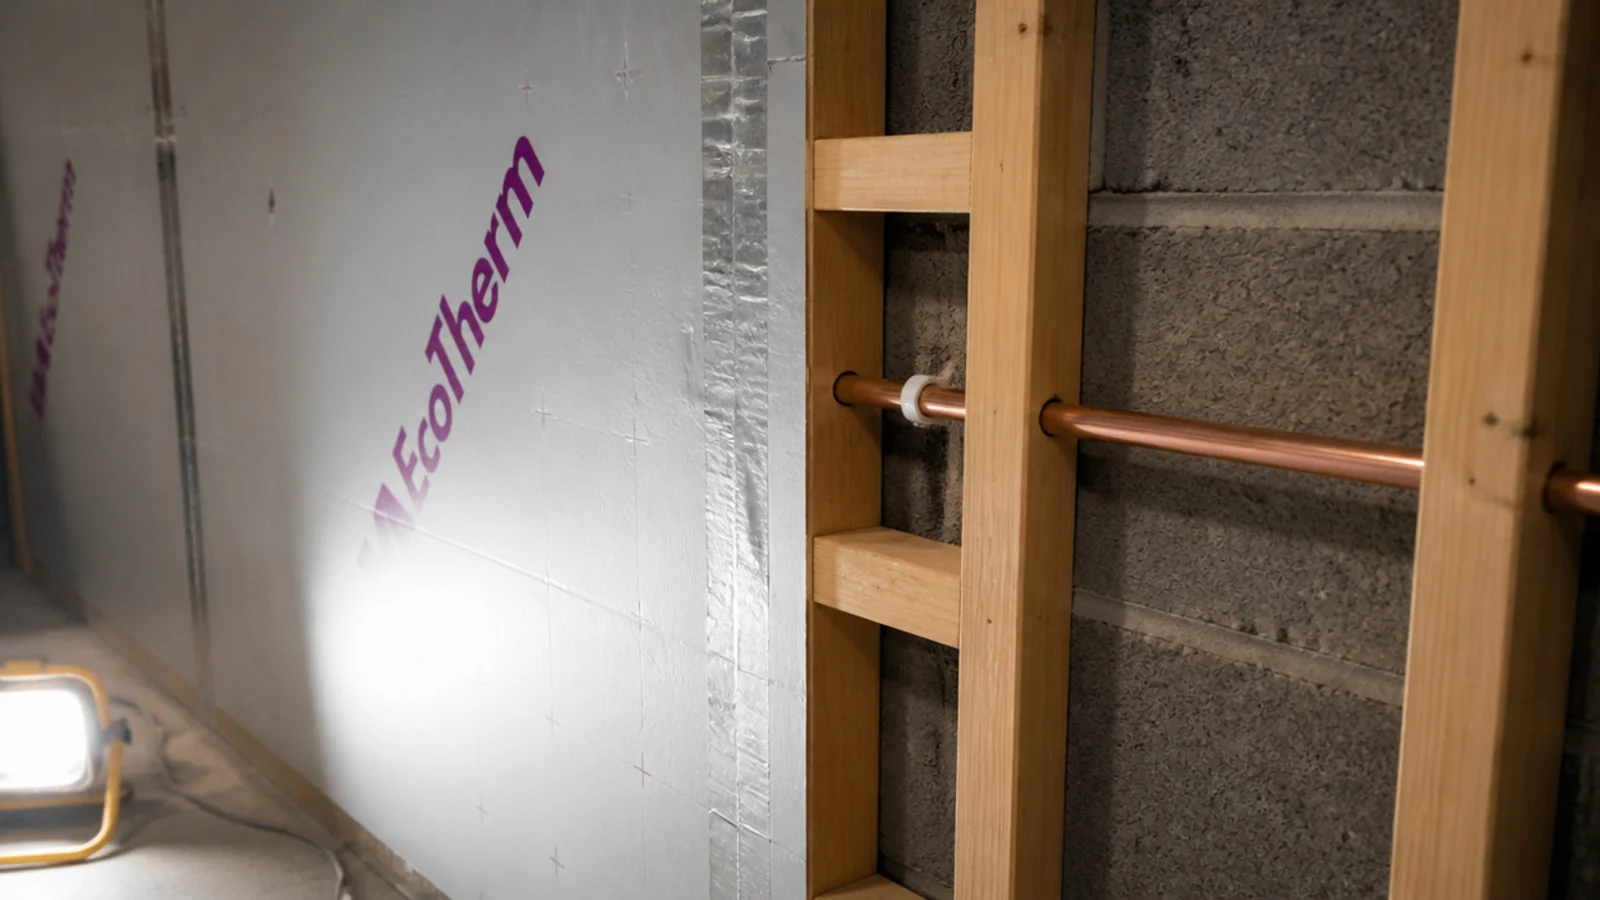
Warm damp air meeting cold block is where basement mould starts, and cabinetry fixed against that wall hides it until it is a real problem. Insulating and drylining the external walls lifts the surface temperature enough to stop condensation forming behind anything you screw to them. Leave a service void for the plumbing while the wall is open. It is the least visible money in the room and the reason the paint stays sound.
6. Run a 10 to 20 litre dehumidifier, not a heater
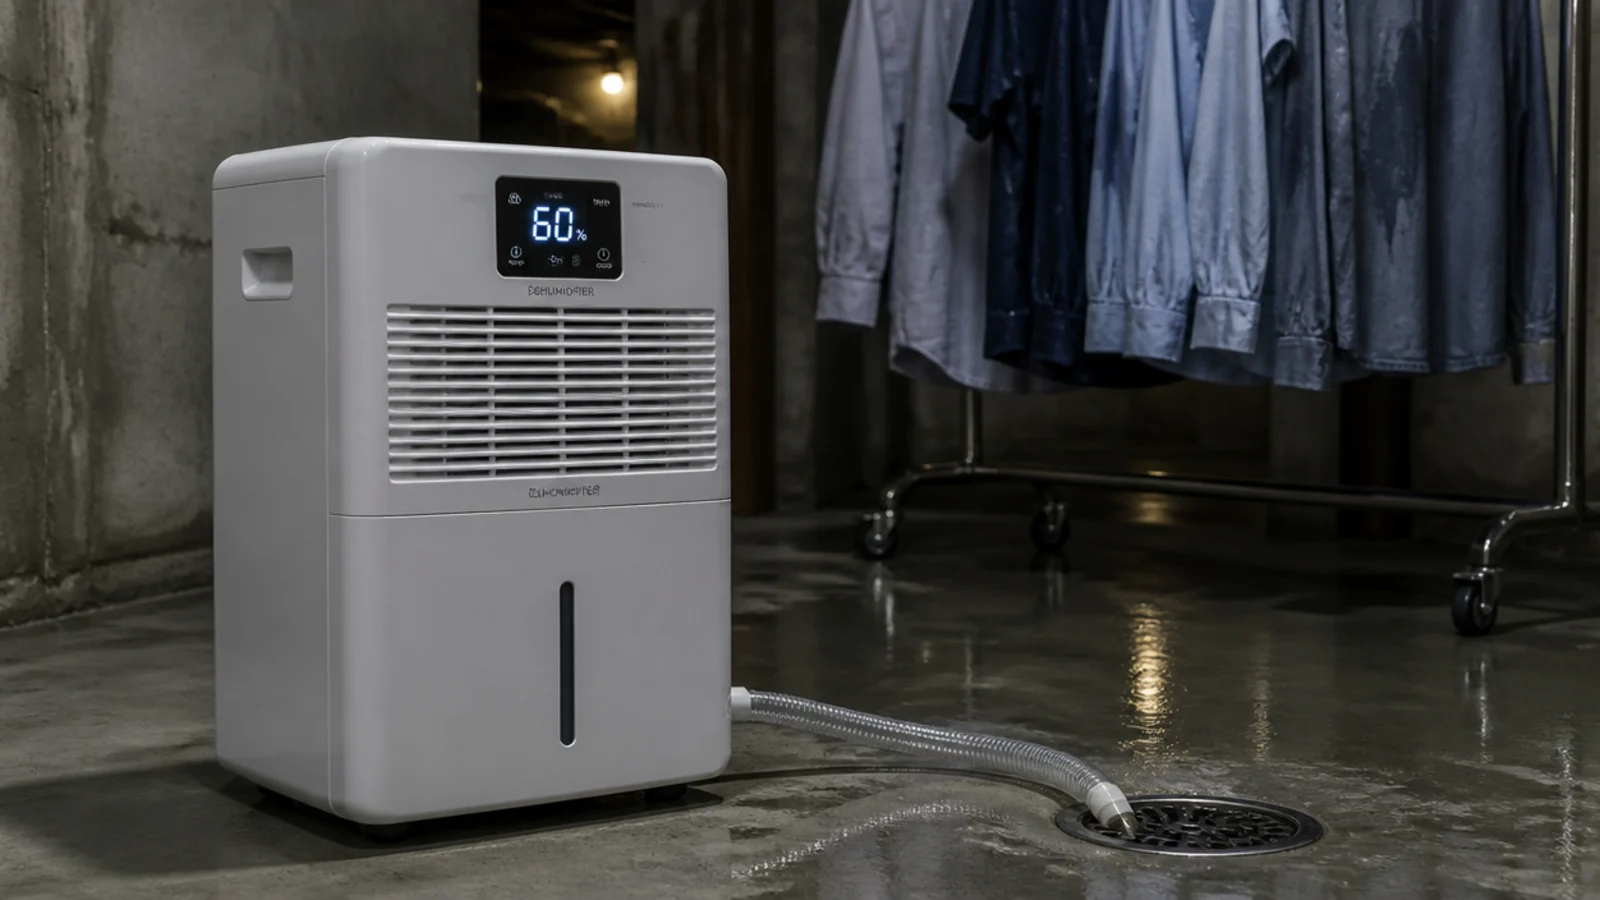
Heating a cellar to dry clothes is slow and expensive. A 10 to 20 litre per day dehumidifier draws 150 to 300 watts, pulls the water out rather than warming the air around it, and finishes a load faster than a radiator manages. Mine runs on a humidistat set to 55 percent. Plumb the drain hose into the sump and it never stops overnight on a full tank.
7. Extract at 30 cfm, and 50 to 80 if you dry down here
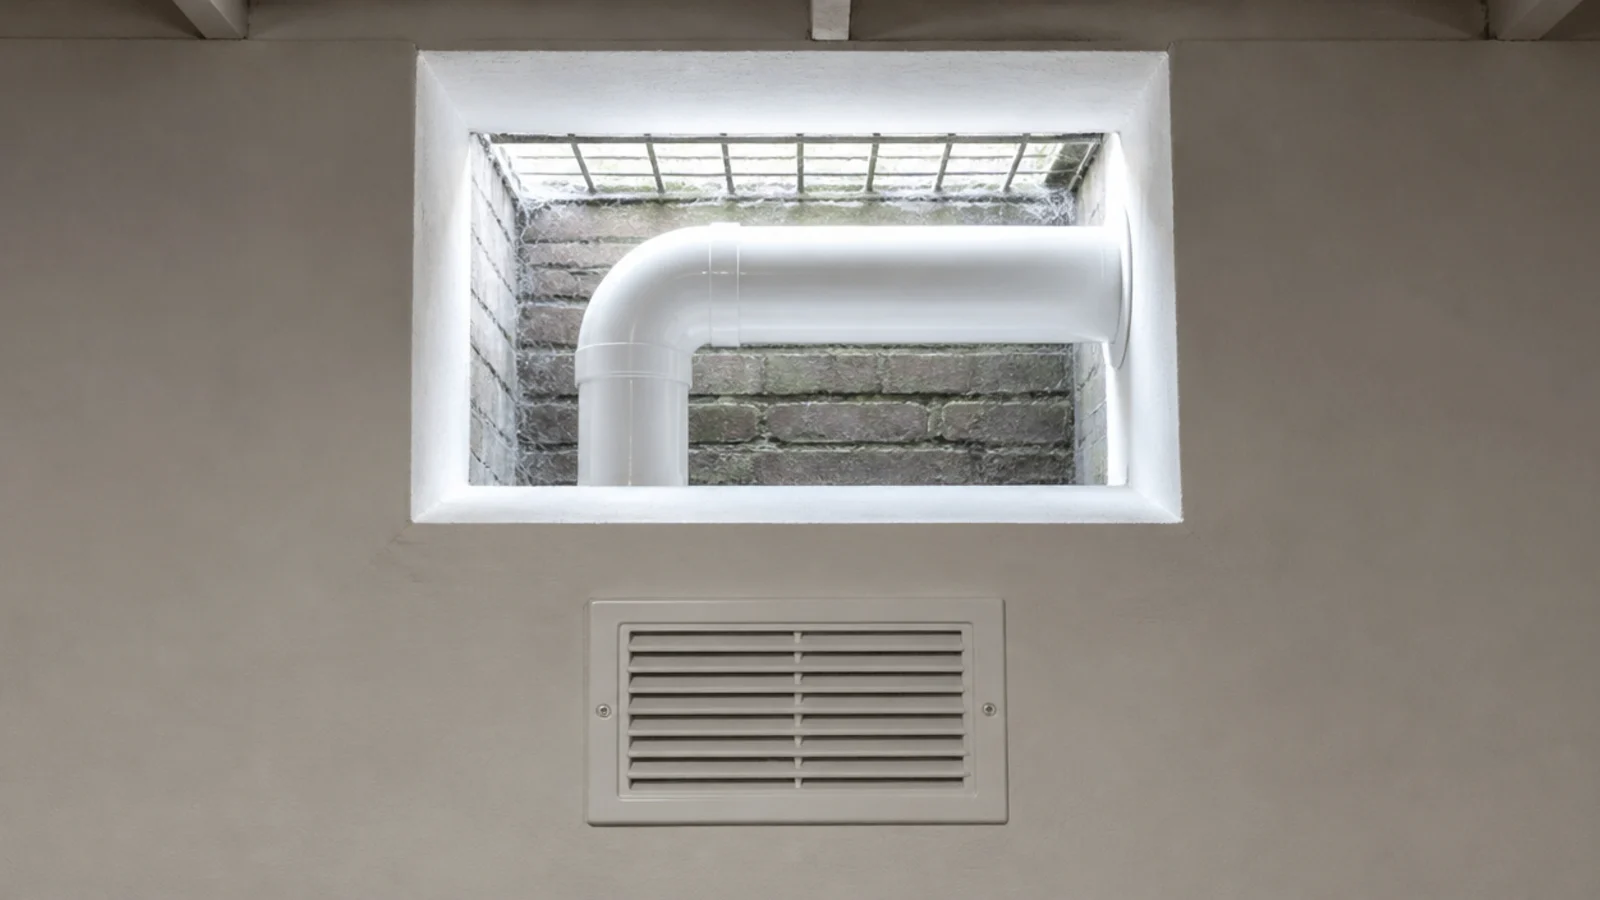
A window you cannot open is not ventilation. Fifteen litres a second, roughly 30 cfm, is the working minimum for a utility room, rising to 50 to 80 cfm if the basement is also where washing dries. Site the fan high on the wall opposite the door so replacement air crosses the room, duct it out through the wall or a light well rather than into a void, and wire a 15 minute run-on timer.
8. Vent a closed drying space low in and high out
The rule that keeps a drying cupboard sweet is air in low, air out high. That means a low inlet — a three-quarter inch door undercut, or a grille with at least 40 square inches of free area — and a high outlet the same size. A single grille only recirculates, and in a basement with no natural draught the space sours within a week. Aim for four to six air changes an hour.
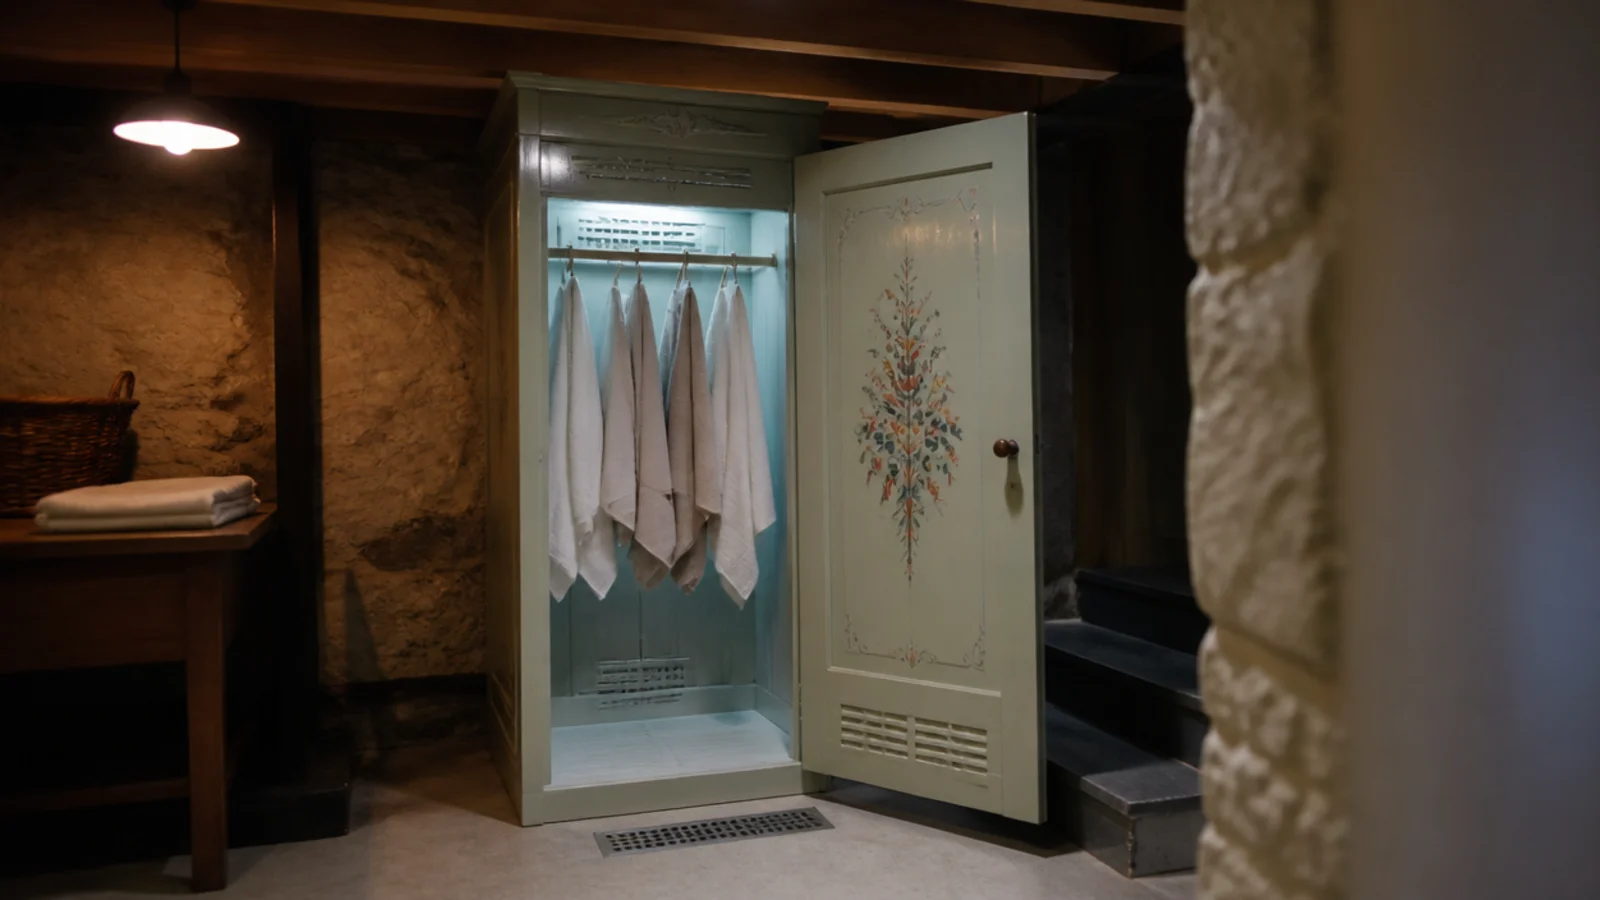
9. Light to 40 to 50 lumens per square foot
A cellar has no daylight topping it up, so the fittings carry the whole load. Forty to 50 lumens per square foot is the target, which in a 10 by 8 foot room means 3,500 to 4,000 lumens rather than the single 800 lumen bulb most basements inherit. Spread that across three or four fittings so nothing throws a hard shadow, and put the switch at the top of the stairs.
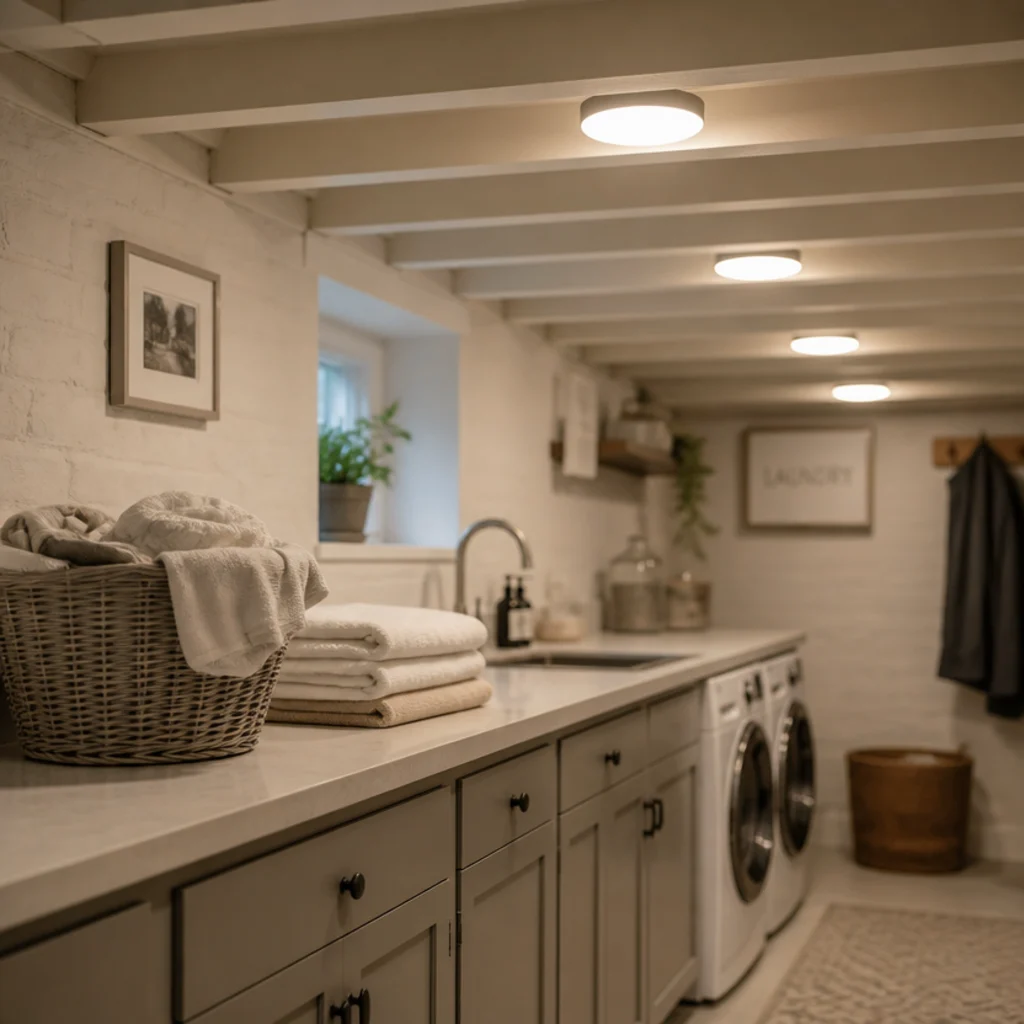
10. Choose 4,000 to 5,000 K, never warm white
Colour temperature does more for a cellar than raw lumens. Warm white at 2,700 K turns yellow and muddy against block and concrete, while 4,000 to 5,000 K reads as daylight, keeps whites looking white and shows a stain before the dryer sets it. Buy every lamp in the room at the same temperature: one warm fitting in a cool scheme is more noticeable than the whole room being slightly wrong.

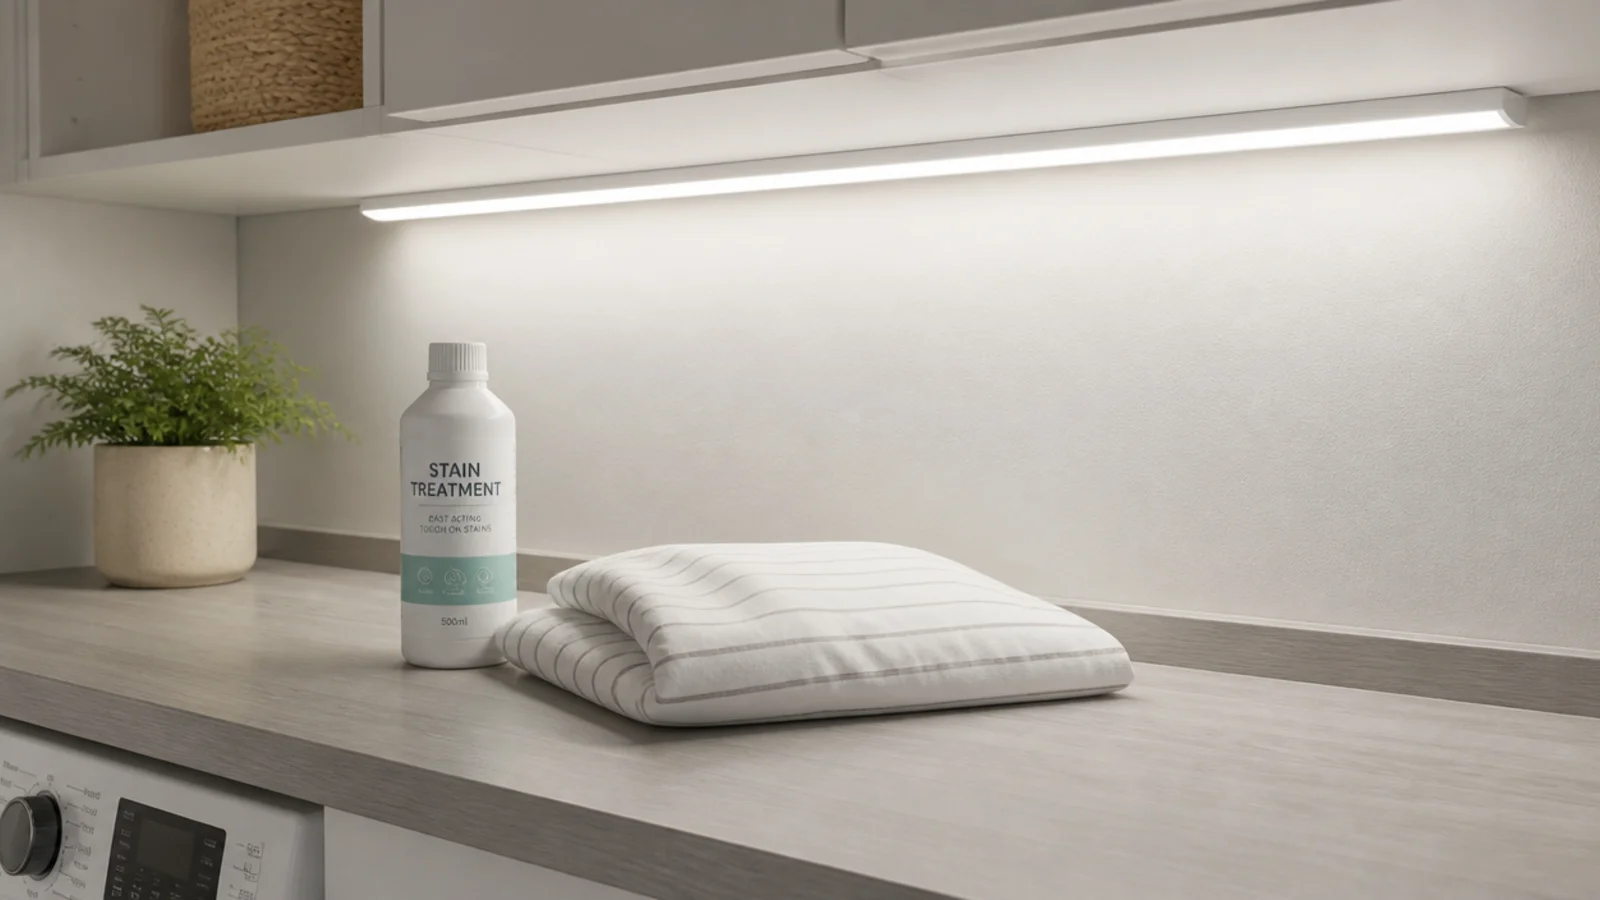
11. Put task light under the cabinets, not only overhead
Anything mounted at ceiling height in a low room puts your own shadow onto the worktop. A slim LED strip under the wall units throws light where your hands actually are, costs $25 to $60 a run, and matters more down here because no window fills in from the side. Keep it the same 4,000 K as the ceiling fittings and tuck it behind a shadow gap.
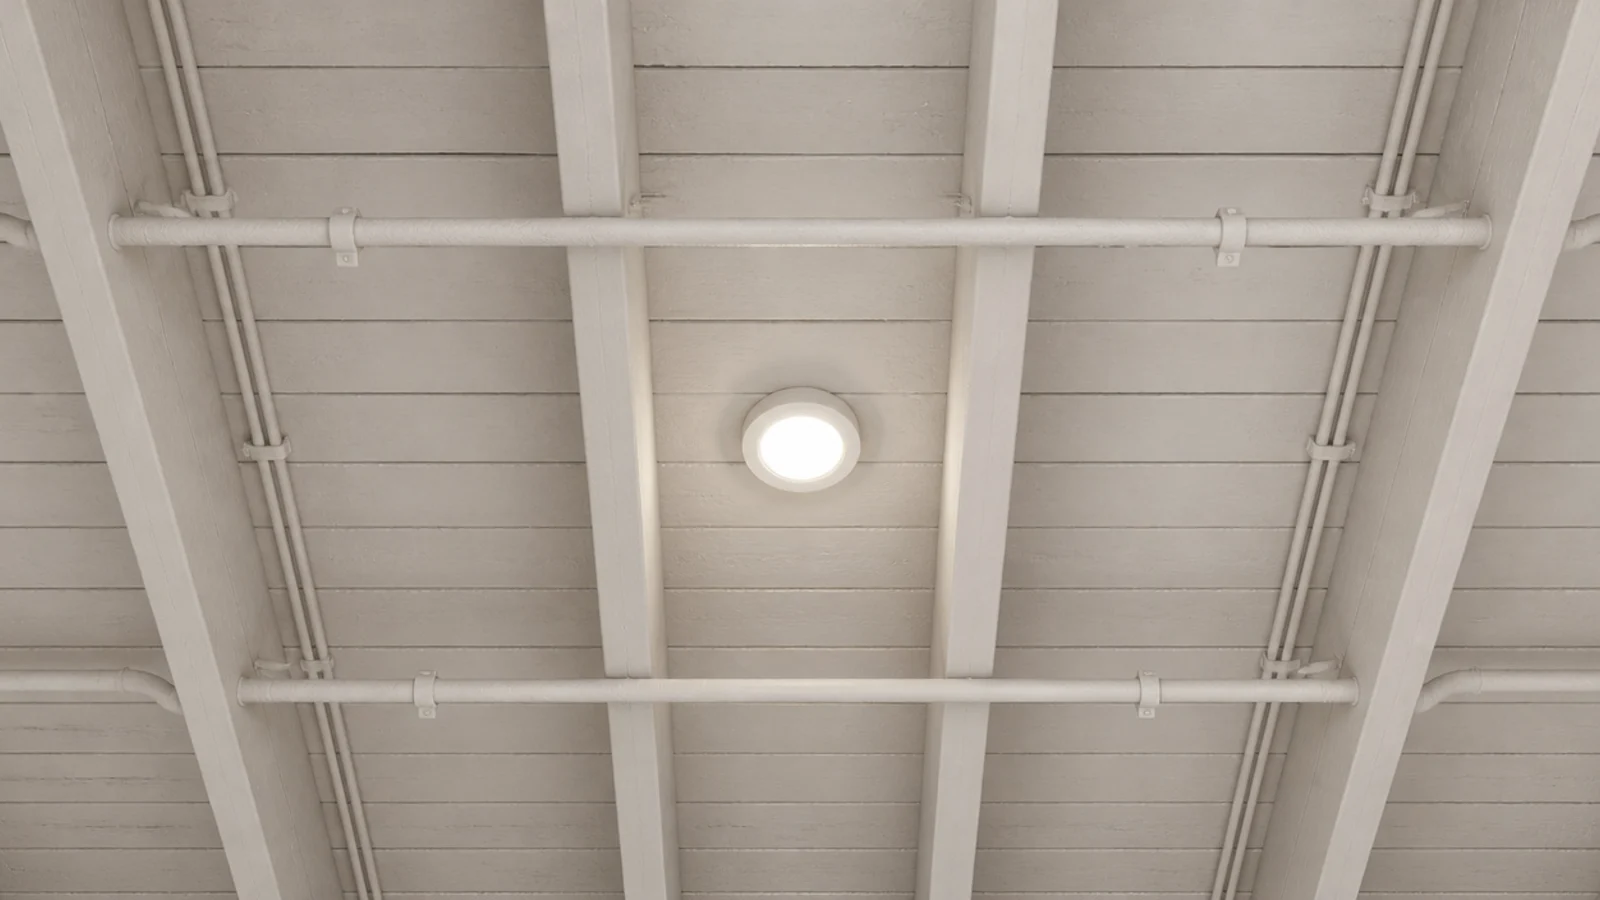
12. Paint the joists, block and pipework one pale colour
An exposed ceiling of joists, pipes and cable is visually noisy and eats light. Spraying the whole thing — joists, undersides, pipe runs, cable clips — in one pale matt colour makes it read as a single surface and bounces light back onto the worktop. It costs a fraction of boarding out, and unlike plasterboard it keeps every valve and junction box reachable, which in a cellar is worth more than a flat ceiling.
13. Make the small high window earn its keep
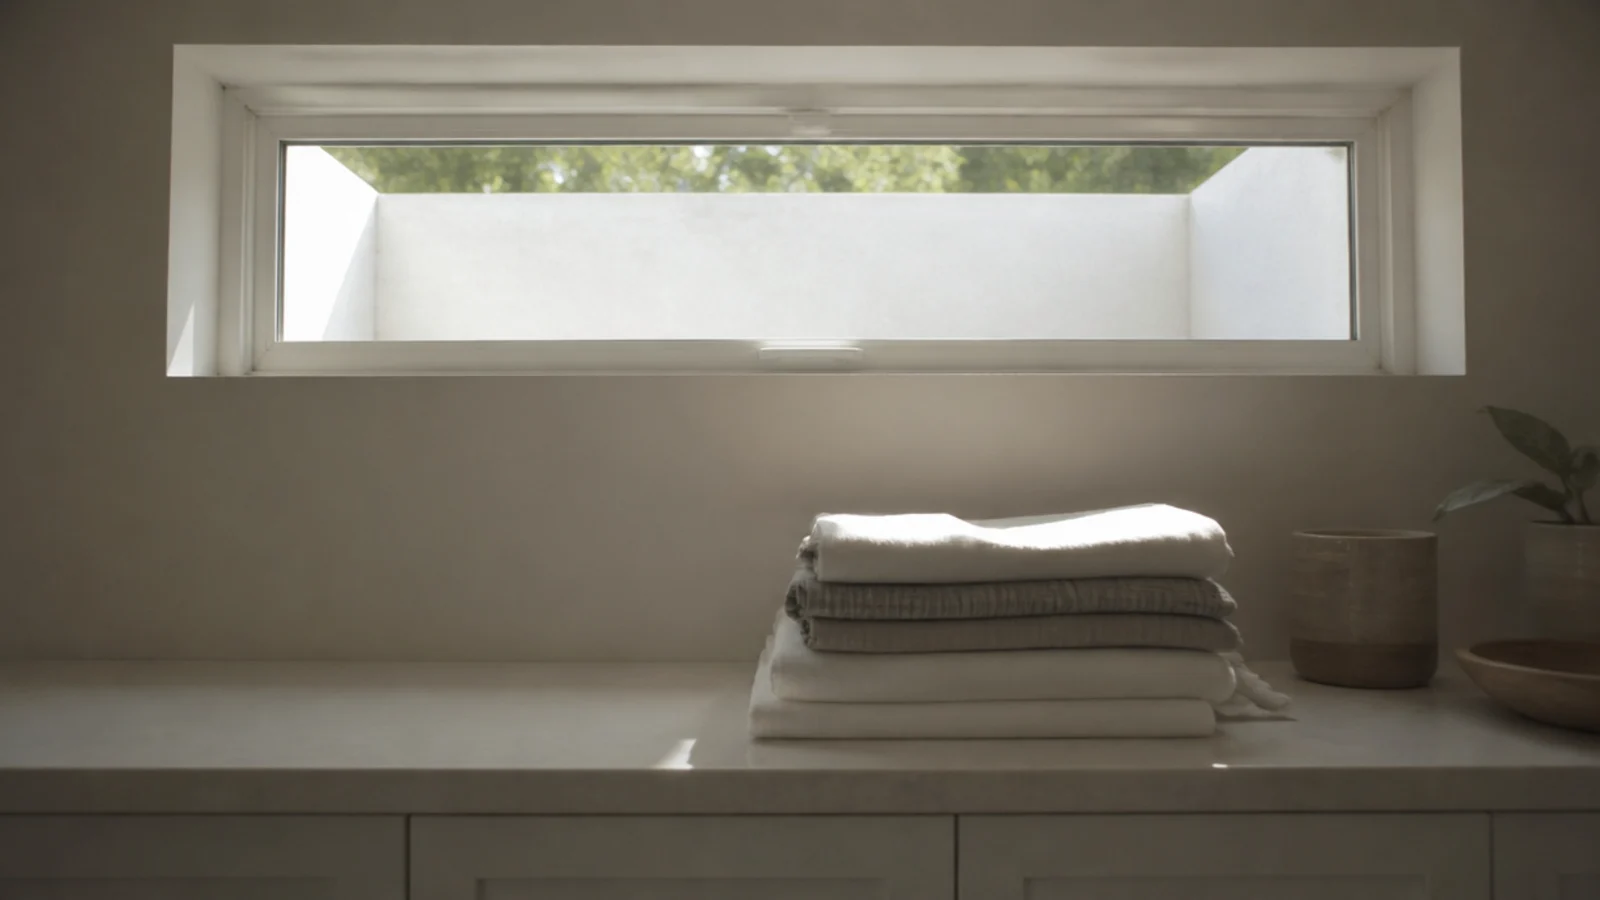
The one window down there is usually 12 to 18 inches deep and half buried in a light well. Clear the well out, render or paint its walls white, and leave the glass uncurtained: pale sides can roughly double what reaches the room. Site the worktop under it if the plan allows, so the daylight you do get lands where you fold. Check the well drains, because a blocked one fills.
14. Never board in the boiler, the flue or the gas meter
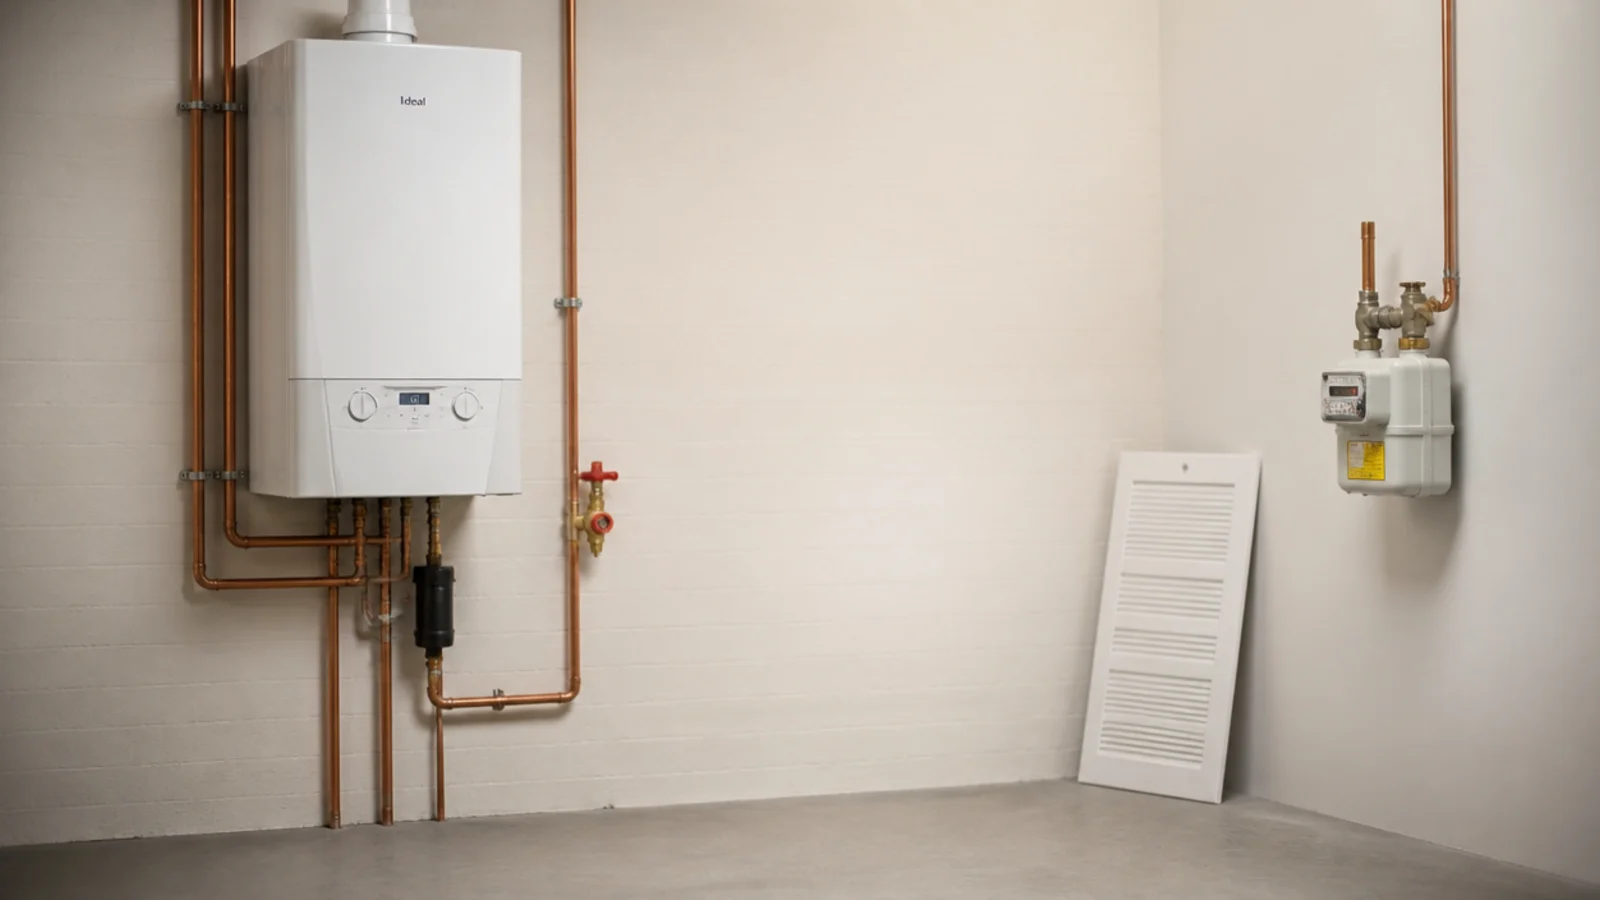
Basements collect services, and the urge to hide them behind a flush run of doors is strong. A boiler keeps its manufacturer clearances — typically 2 inches at the sides, 8 to 12 inches below for pipework and 12 inches of clear working space at the front — behind a genuinely removable panel. A gas meter is never sealed in at all: it needs ventilation and its emergency control valve has to stay reachable without tools.
15. Give the dryer rigid duct and count the elbows
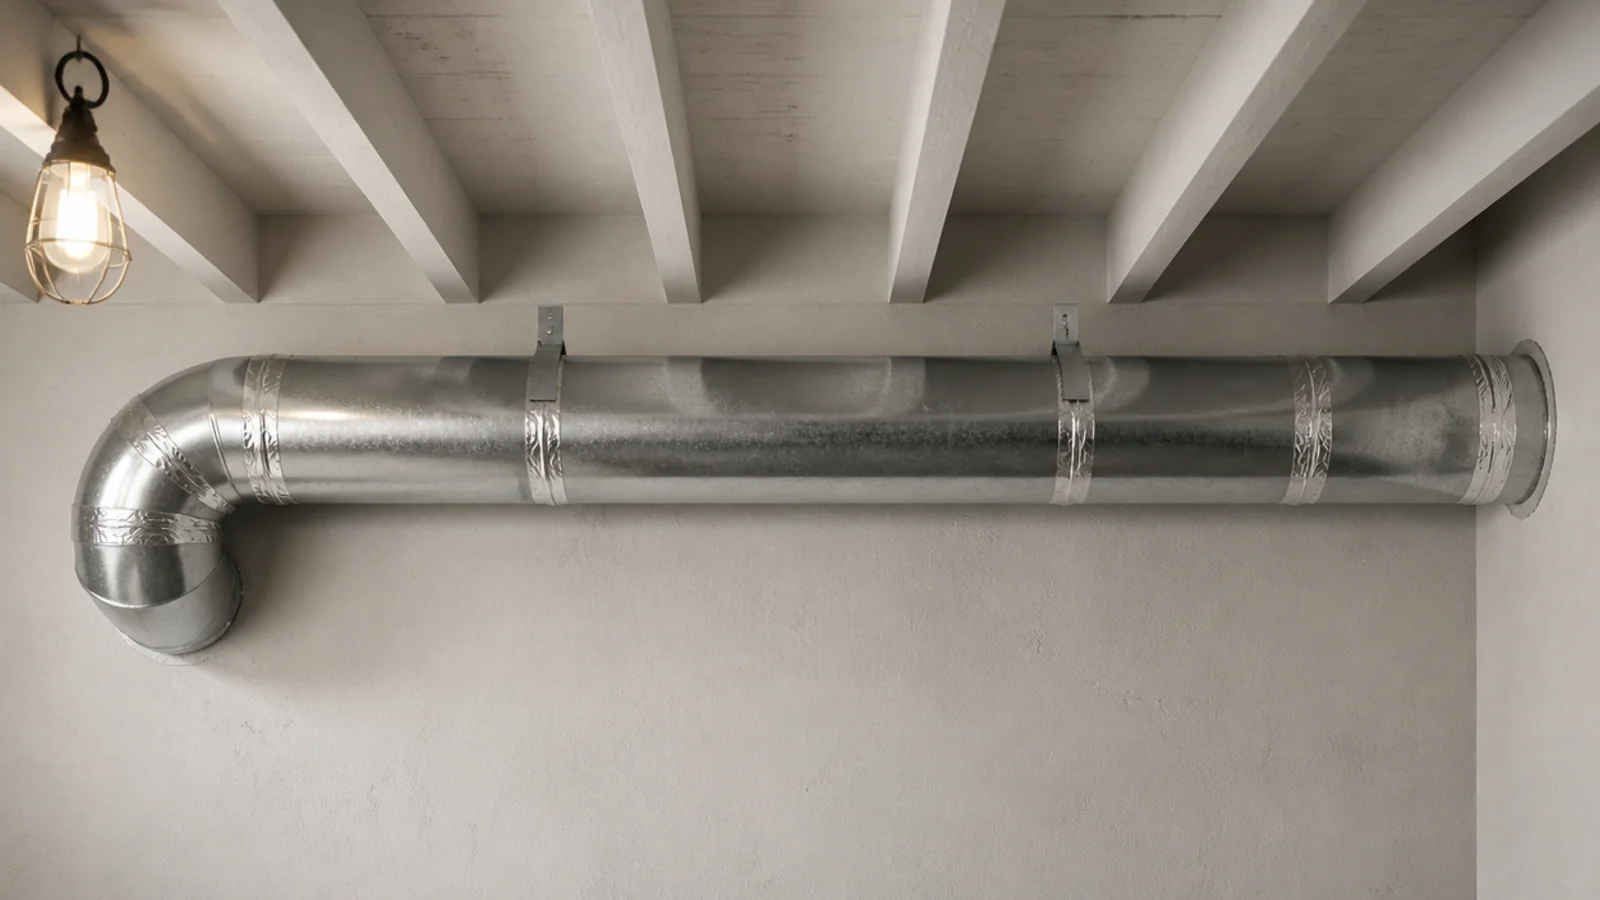
A basement dryer usually has the longest duct route in the house. Use rigid or semi-rigid 4 inch duct, 35 feet maximum equivalent length, minus 5 feet for every 90 degree elbow — so four elbows leave 15 feet of genuine straight run. It terminates outside through the wall or a light well, never into the cellar and never into a void. Where that is impossible, a heat-pump machine removes the problem.
16. Sit the washer on a leak tray with a water alarm
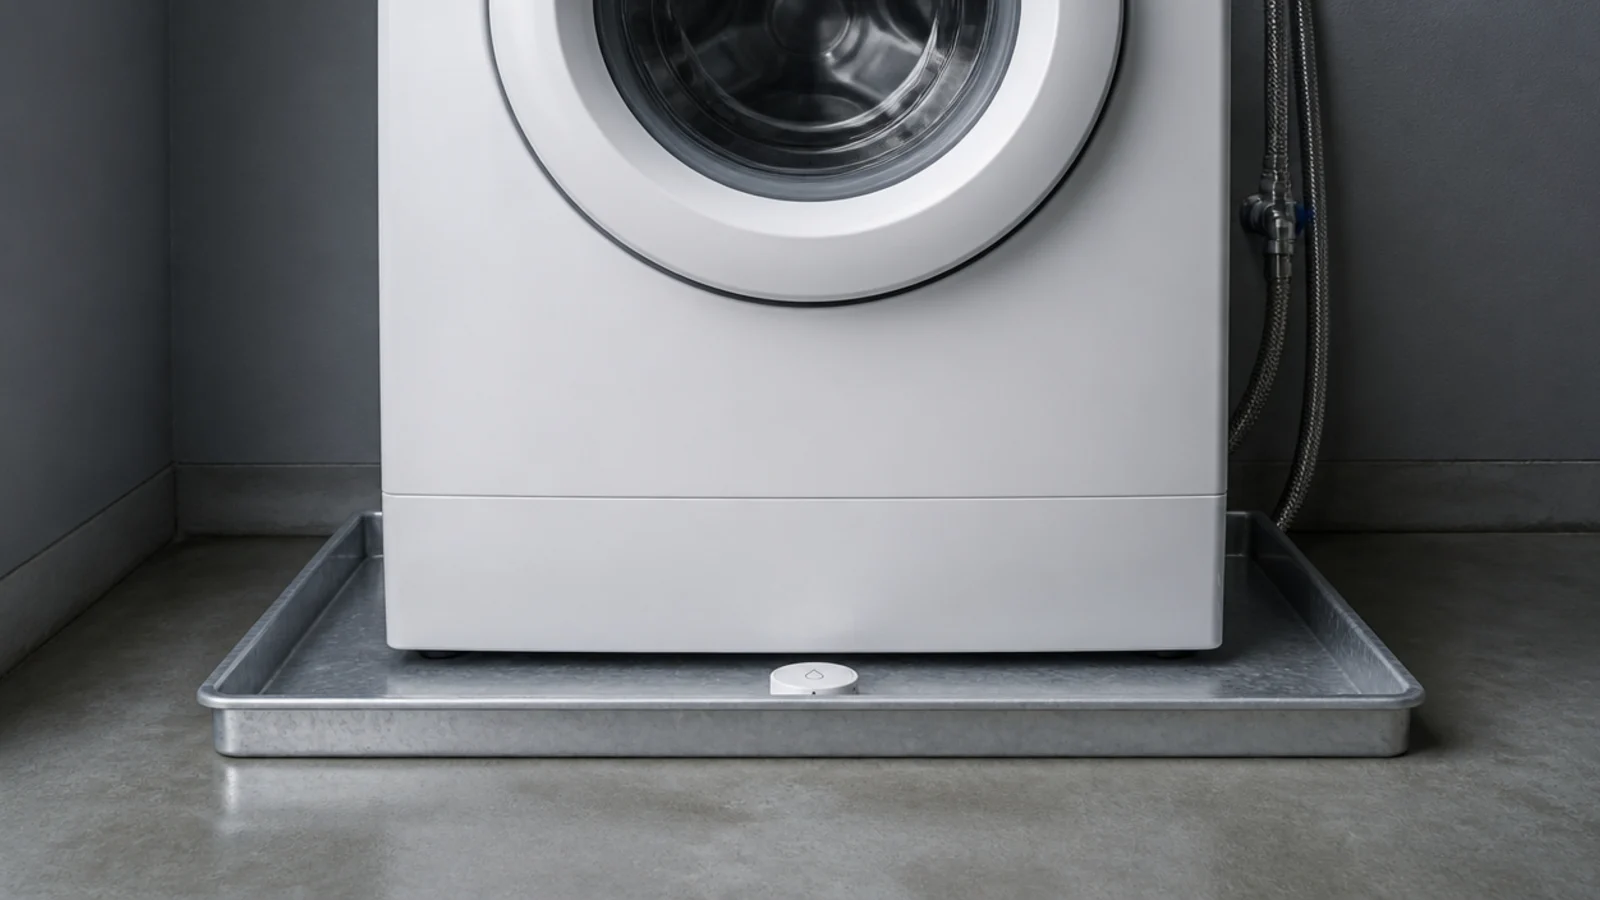
A leak upstairs announces itself through a ceiling. A leak in a cellar soaks quietly into cardboard for a month. A 30 by 30 inch tray under the machine catches a split hose, and a $15 battery water alarm sitting in that tray tells you the same day rather than the same season. Put a second sensor at the lowest point of the floor, which is rarely where you assume it is.
17. Put a deep sink where the waste can be pumped
A utility sink is 22 to 25 inches wide with a 10 to 12 inch bowl, and it wants 24 inches of drainer beside it or it becomes a shelf for wet things. Down here the constraint is never the bowl, it is the waste: below the drain line the sink needs the same pump the machine uses, sized for both. Any socket within 6 feet of it takes GFCI protection.
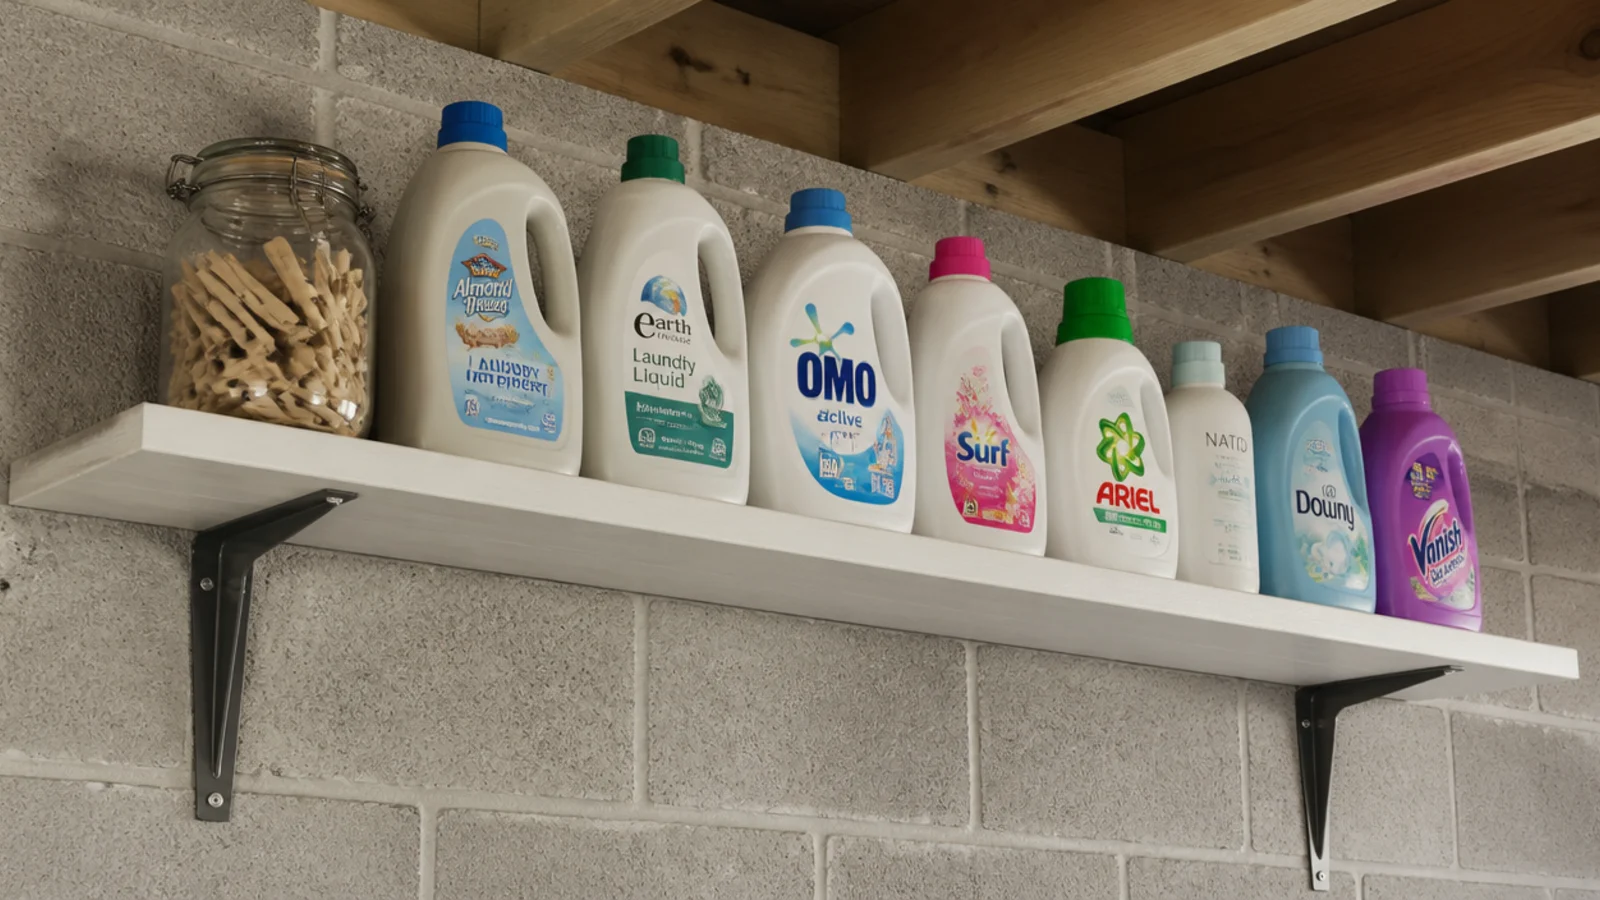
18. Keep shelves 12 inches deep and hang them off the joists
Twelve inches holds a detergent bottle with nothing hidden behind it, and in a low room shallow shelving is the difference between walking upright and ducking. Fix into the joists overhead or into studs at 16 inch centres; against blockwork a masonry anchor beats any plastic plug, and a French cleat carries more than either. Space the boards 16 inches apart and keep the run clear of pipework.
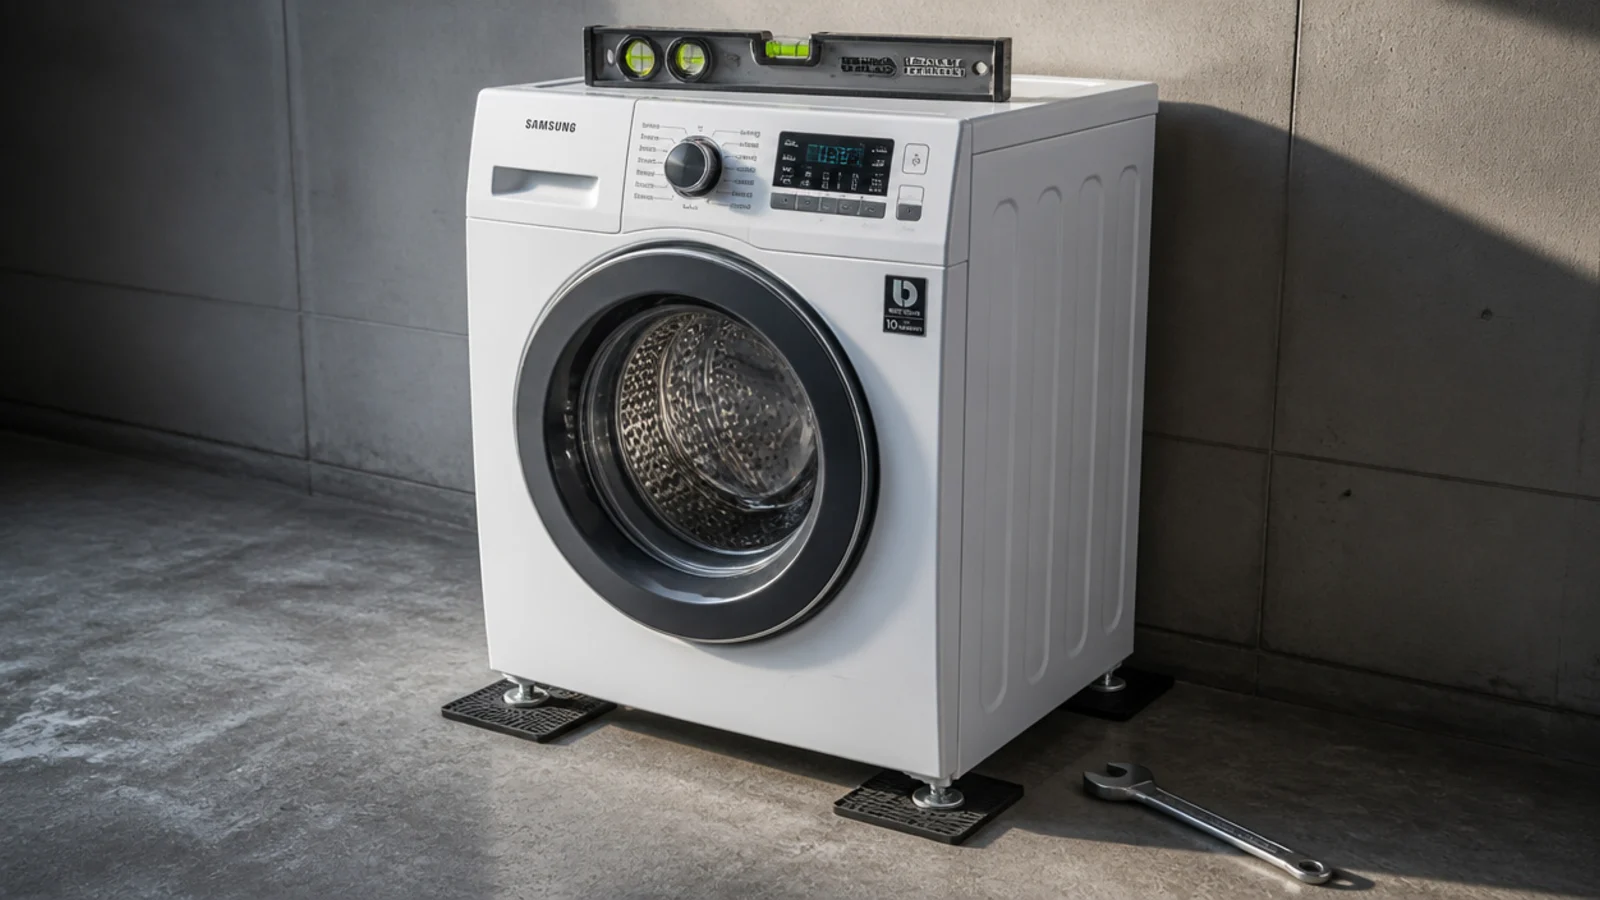
19. Damp the spin before the slab carries it upstairs
A 1,400 rpm spin runs 72 to 76 dB, and a concrete slab delivers all of it to the room above. Anti-vibration mats at $15 to $30 under the feet take the resonance out, and levelling the machine with a spirit level does most of the rest. If the noise still travels up the stairwell, a solid-core door at the top is worth another 8 to 10 dB.
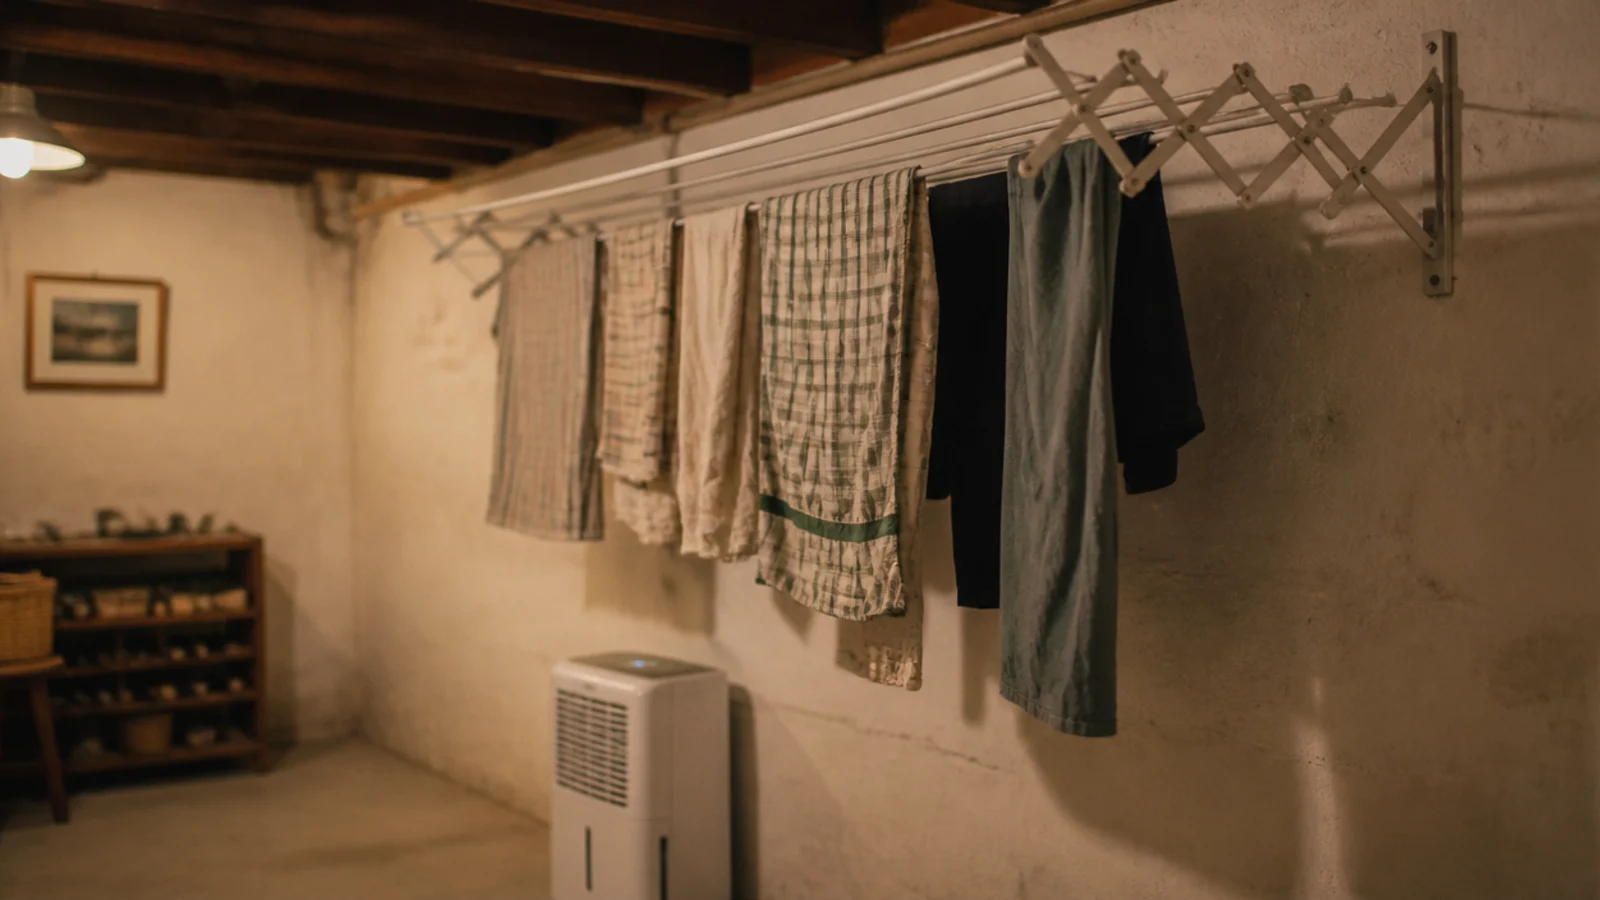
20. Hang a drop-down wall airer, not a ceiling one
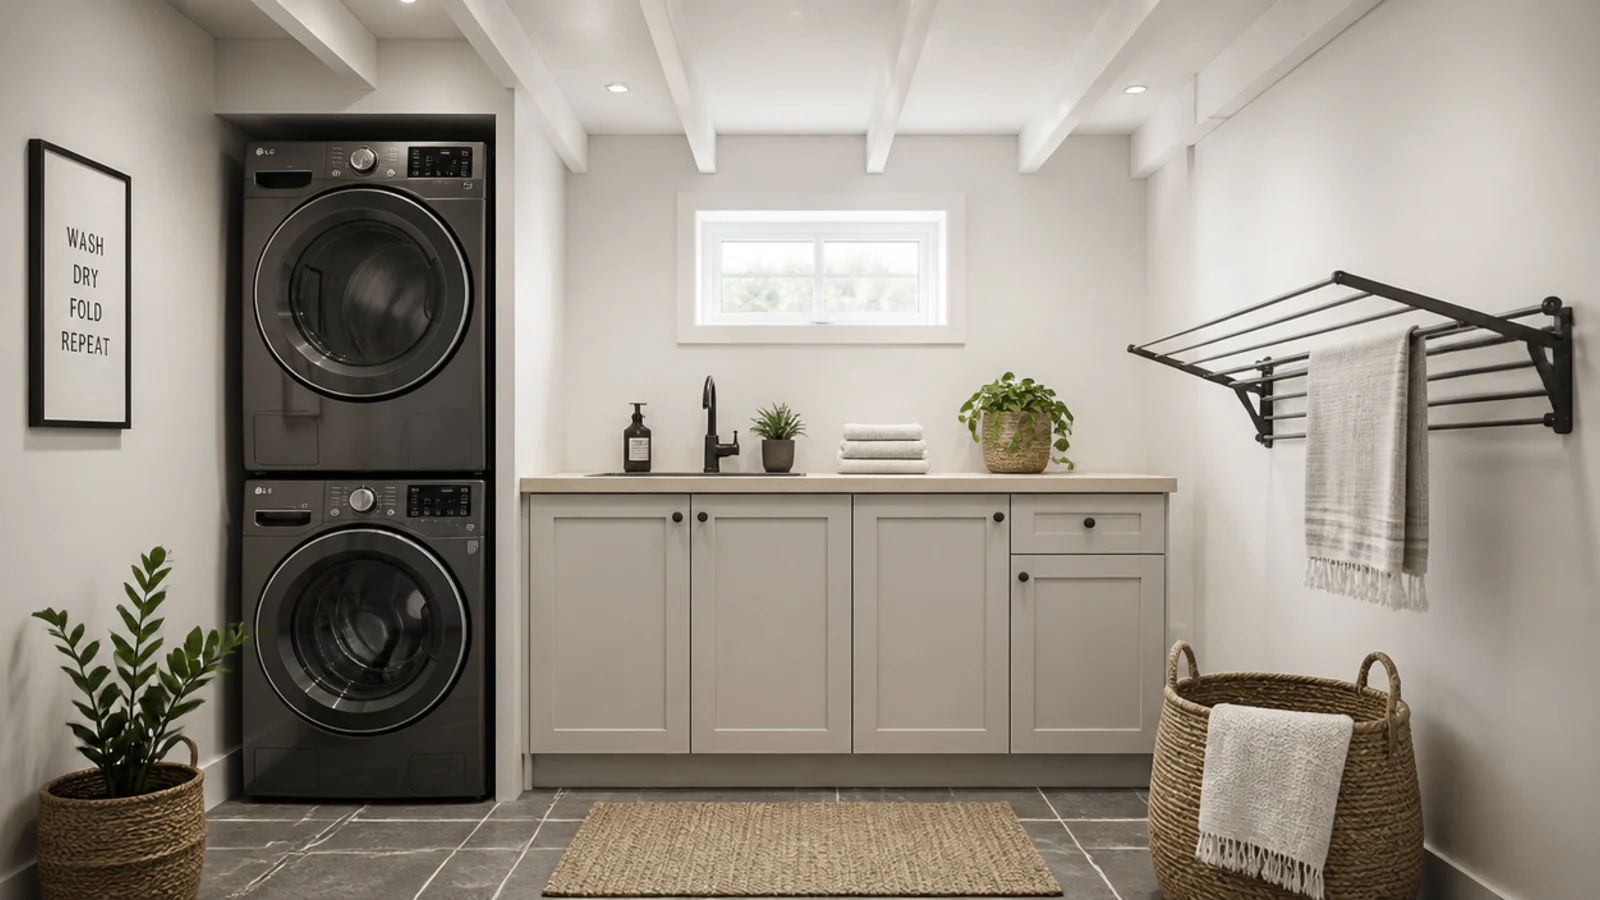
A pulley ceiling airer needs headroom this room does not have. A wall-mounted concertina rack gives 20 to 25 feet of line, enough for one full load, folds back to about 2 inches when empty and keeps the drying out of the walkway. Hang it on an insulated wall near the extract path rather than against cold block, and stand the dehumidifier underneath: together they finish a load overnight.
If the cellar carries the whole laundry, the utility laundry comparison sets the budget bands against what each one buys. For the storage half, bookshelf styling is worth borrowing from, because open shelves in a low room live or die on how they are arranged.
Mistakes to Skip
- Measuring headroom at the stairs. A cellar ceiling is never one height, and 79 inches at the machine face is the number that decides whether a stack fits.
- Assuming the waste will fall. Below the drain line gravity does nothing, and finding that out after the cabinets are in means squeezing a pump into what is left.
- Heating the room to dry washing. Two litres a load goes into the air either way, and a dehumidifier removes it for 150 to 300 watts.
- Fitting one grille in a drying cupboard. Without a low inlet and a high outlet the same air circles and the space smells within a week.
- Boarding over the boiler, flue or gas meter for a flush run of doors. Service clearances are a requirement, and a sealed gas meter cupboard is dangerous.
Frequently asked questions
How much ceiling height does a basement laundry need?
Enough for the machines and the door above them. A stacked front-loading pair stands 74 to 80 inches tall and wants 79 to 84 inches of clear height so the upper door opens fully. Measure at the machine position under any soil pipe or duct, not in the middle of the floor.
Can you put a washing machine in a basement without a floor drain?
Yes, but only if the waste can reach the soil stack with a fall. Where the drain sits above the machine outlet you need a small laundry waste pump or a sump with a float switch, plus an accessible lid and its own protected socket.
How do you stop a basement laundry smelling damp?
Move the moisture rather than heating it. One wash load releases about two litres of water as it dries, so extract at 30 cfm minimum and 50 to 80 cfm if clothes dry down there, and run a 10 to 20 litre dehumidifier drawing 150 to 300 watts.
What lighting works best in a cellar laundry?
Aim for 40 to 50 lumens per square foot at 4,000 to 5,000 K, spread across three or four fittings rather than one central bulb, and add an under-cabinet strip over the worktop so you are not folding laundry inside your own shadow.
Can a boiler or gas meter stay in a basement utility room?
It can, but nothing gets boarded in. Keep the manufacturer service clearances around a boiler, usually two inches at the sides, eight to twelve below for pipework and twelve inches of clear working space at the front, and never seal a gas meter into an airtight cupboard.
Want more like this? Browse all 15 utility room ideas guides — they all use the same measurements and budget tiers.
Pin it for later
Save this to your Utility Room Ideas board
Pin it now so it is waiting for you when the tape measure comes out — and so the next person hunting for this idea can find it too.
Save this pinKeep going
More ideas worth saving while you have the tape measure out.