Utility Room Ideas · Review
15 Utility Laundry Room Ideas Compared By Budget

Some links on this page may become affiliate links in future. I only recommend pieces I would put in my own home — see the affiliate disclosure.
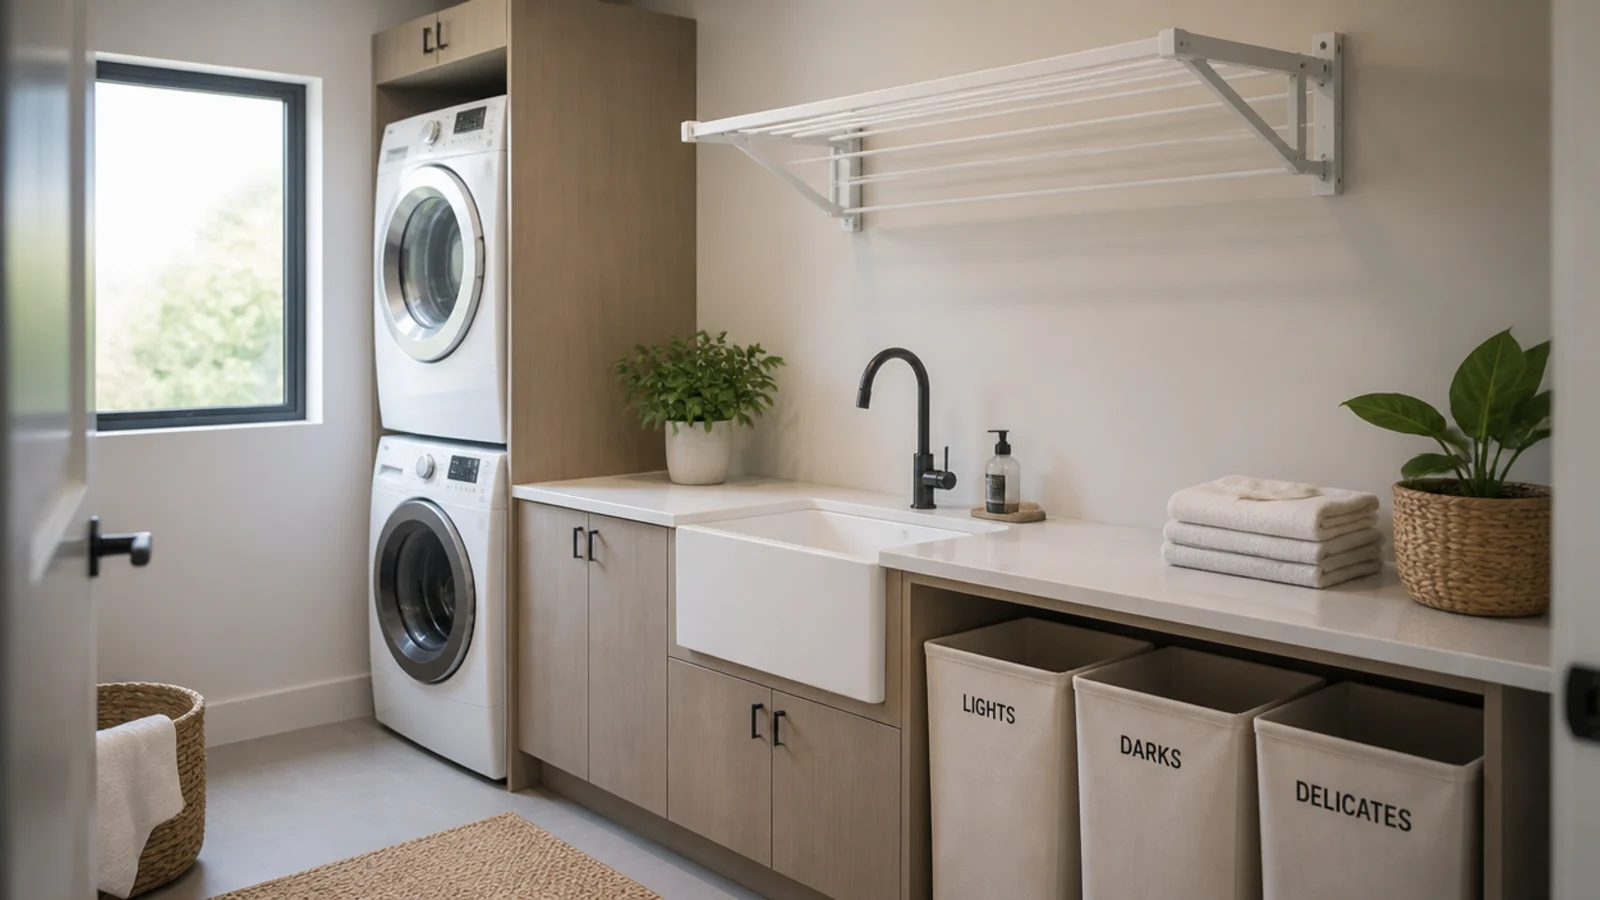
Almost every laundry setup is solving the same four problems — where the machines sit, where the water goes, where wet clothes dry, and where the damp air ends up. What changes between a $400 closet and a $6,000 fitted room is how many of those it solves properly. The utility laundry room ideas below are compared across three budget tiers on the numbers that decide them rather than on how they photograph, and seven of the fifteen get a full write-up because they are the ones I would spend money on first.
In this guide10 sections — tap to openHide
- 1.How I Chose These Utility Laundry Room Ideas
- 2.The Full Comparison Across Fifteen Setups
- 3.The stacked pair in a hallway closet
- 4.The side-by-side under a worktop
- 5.The heat pump dryer with nowhere to vent
- 6.The drying cupboard done properly
- 7.The dehumidifier over the heated airer
- 8.The utility sink run with a real drainer
- 9.The full fitted room at the top of the range
- 10.What to Check Before You Buy
How I Chose These Utility Laundry Room Ideas
I judged every setup on five things, in this order.
- Clearance honesty. Does it work with the real numbers? A full-size 27-inch machine needs a 29-inch opening and four to six inches behind for hoses, and a stacked pair needs 79 to 84 inches of ceiling for the top door to open. Anything that only works if you ignore those is not a solution.
- Drying capacity per load. One wash load needs 20 to 25 feet of hanging line, or a dryer cycle. Setups that wash beautifully and then leave laundry on radiators for two days are half a system.
- Where the moisture goes. A load puts roughly two litres of water into the air as it dries. Extraction at 30 cubic feet a minute is the working minimum, 50 to 80 if the room is also the drying space, and a closed cupboard needs air in low and out high.
- Running cost, not just purchase cost. A heated airer at 200 to 300 watts and a dehumidifier at 150 to 300 watts look similar on a label and behave very differently over a winter.
- Reversibility. How much of it leaves with you, and how much is drilled, plumbed and permanent. This weighted heavily for anything under $500.
I did not weight brand, finish trends or whether a room photographs well empty. Everything below is described by type and construction, because the same setup appears under a dozen labels and the construction is what you are buying.
The Full Comparison Across Fifteen Setups
Price tiers: $ under $500 · $$ $500 to $2,000 · $$$ $2,000 and up. Figures assume an existing water supply and waste within the room.
| Setup | Best for | Budget | What it actually buys |
|---|---|---|---|
| Stacked pair in a hallway closet | Flats and tight houses | $ | A full laundry in 30 inches of width |
| Side-by-side under a worktop | Rooms with 60 inches of wall | $$ | A folding surface that hides two machines |
| Integrated pair behind matching doors | Utilities open to a kitchen | $$$ | Appliances that disappear entirely |
| Washer dryer combo in one bay | Single-slot closets | $ | Two functions in one 29-inch opening |
| Heat pump dryer, no vent needed | Internal rooms and basements | $$ | Drying without cutting an external wall |
| Vented dryer on a short duct run | Rooms on an outside wall | $ | Fastest cycle and lowest purchase price |
| Drying cupboard, low in and high out | Households drying indoors daily | $$ | A load dried overnight without smell |
| Ceiling pulley airer | High ceilings and warm rooms | $ | Twenty-four feet of line in dead air |
| Concertina wall rack | Narrow rooms and galleys | $ | One load of line, two inches when folded |
| Heated airer with a cover | Flats with no external wall | $ | Faster drying at 200 to 300 watts |
| Dehumidifier at 10 to 20 litres | Any room that dries laundry | $ | Two litres a load pulled out of the air |
| Utility sink run with a drainer | Muddy kit, soaking, dog washing | $$ | A bowl plus 24 inches of draining space |
| Boot and laundry hybrid zone | Back doors and family houses | $$ | Mud stopped three feet inside the door |
| Full fitted room with an island | Large rooms above 80 square feet | $$$ | Every function with nothing on display |
| Laundry chute from an upper floor | Two and three storey houses | $$ | Washing arrives without being carried |
Seven of those are the ones I would spend on first.
1. The stacked pair in a hallway closet
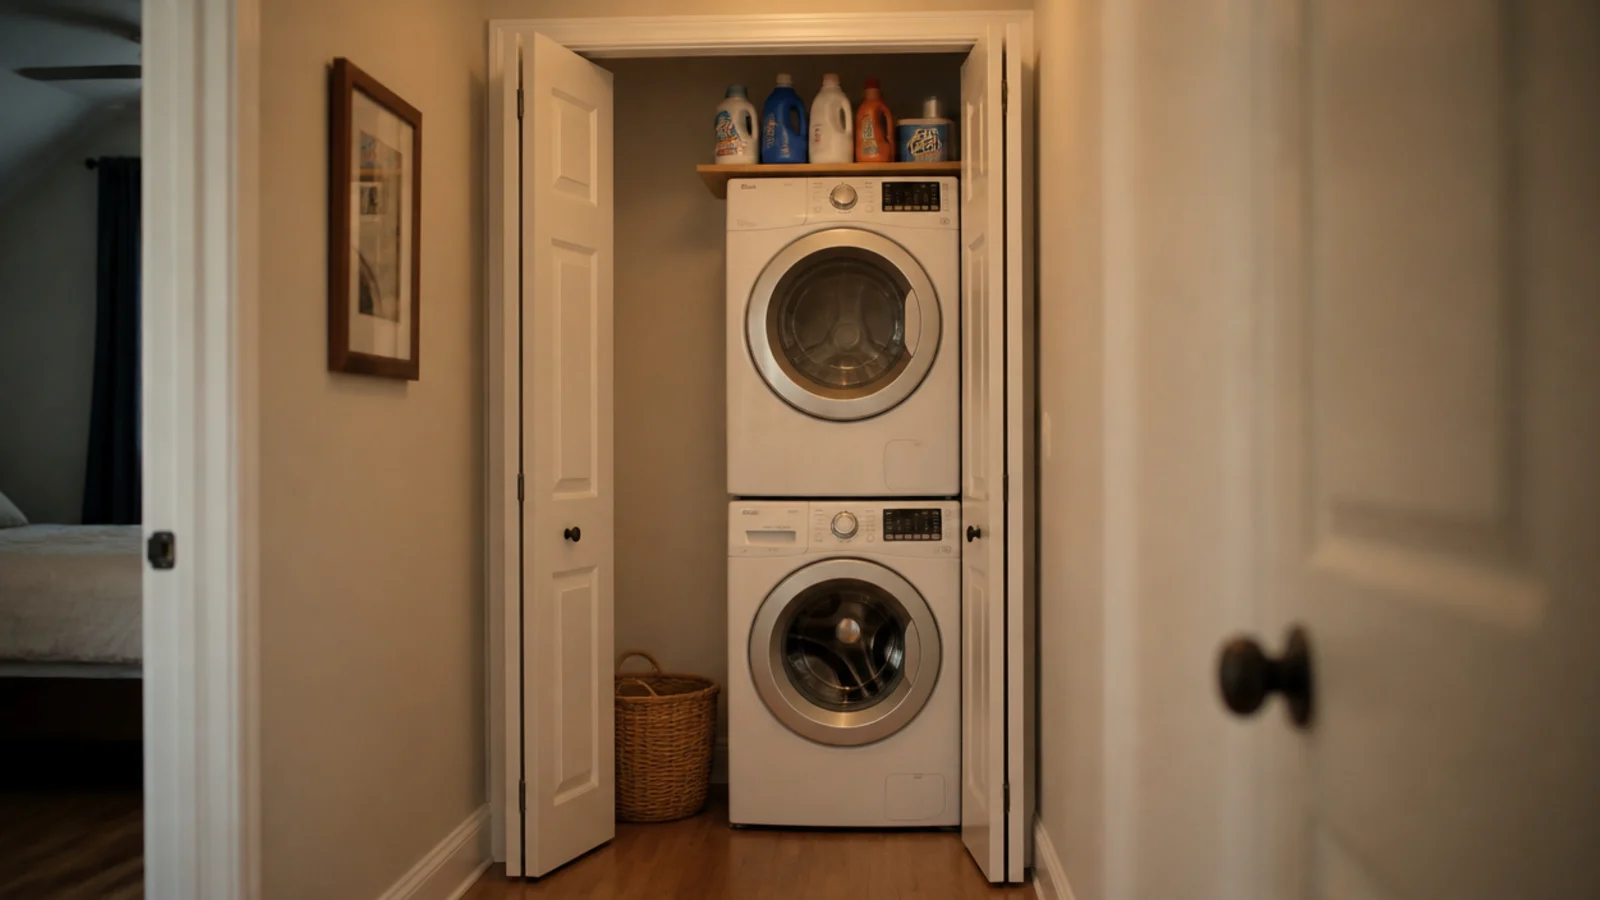
The cheapest genuine laundry room there is, and in a flat it is often the only one available. A stacked front-loading pair fits a closet roughly 30 inches wide by 34 inches deep, allowing an inch of air each side and four to six inches behind for hoses.
The two numbers that decide it are vertical. The pair is 74 to 80 inches tall, and you need 79 to 84 inches of ceiling for the upper door to swing clear. Stack front-loaders only, always with the manufacturer's own bracket kit at $30 to $60 — never a strap and never a top-loader. Add a shelf, a folding rack on the door and it is done for under $500 if the machines already exist.
2. The side-by-side under a worktop
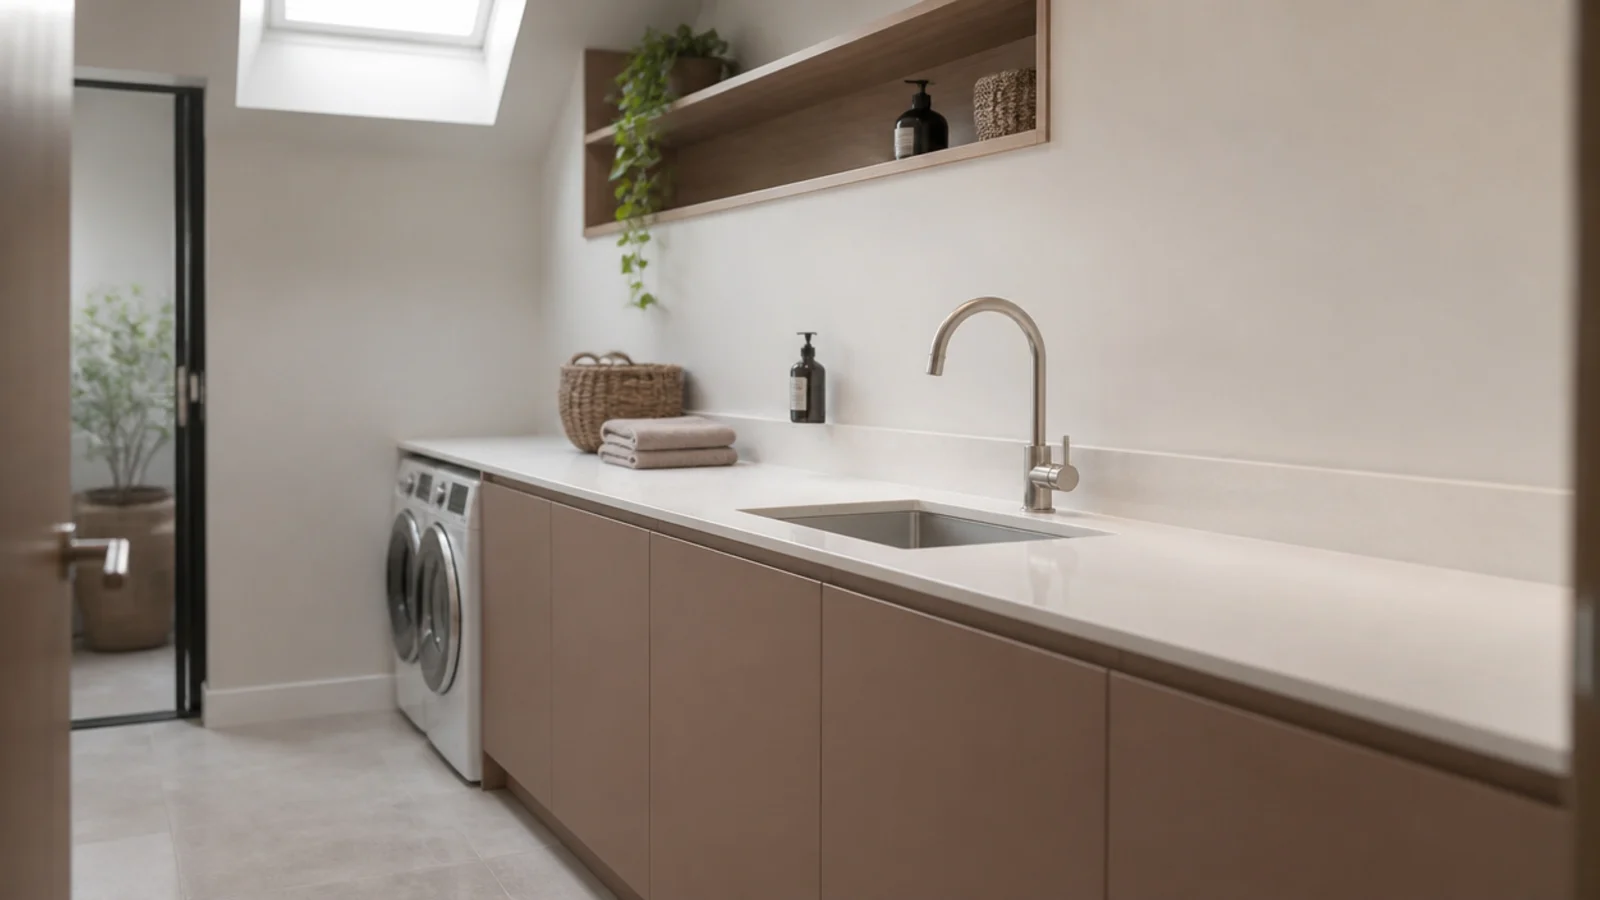
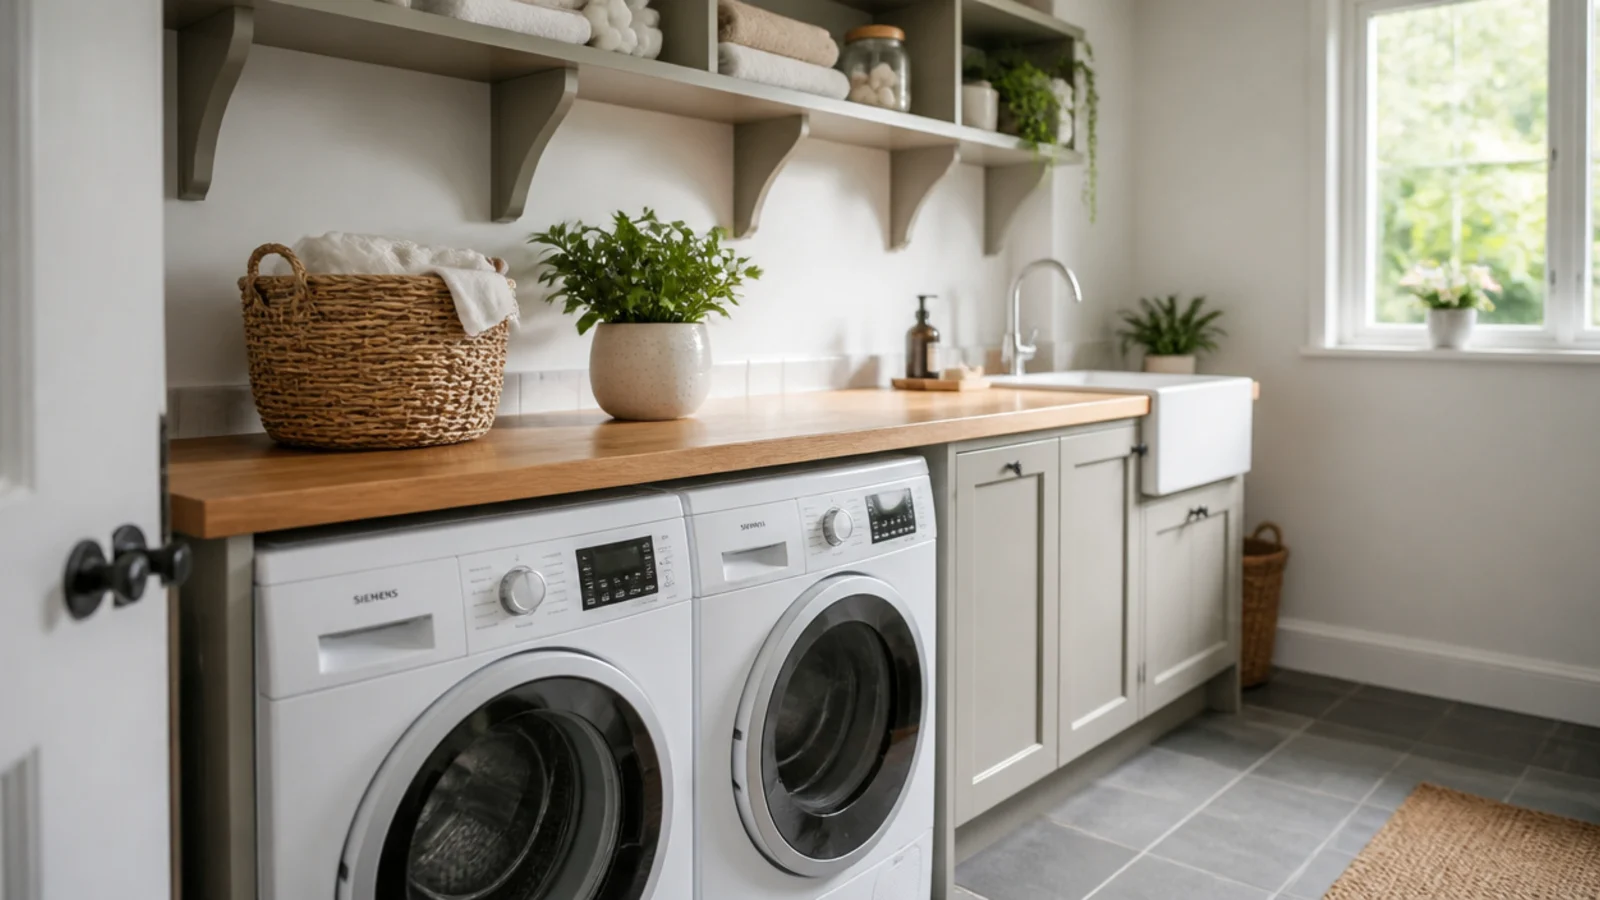
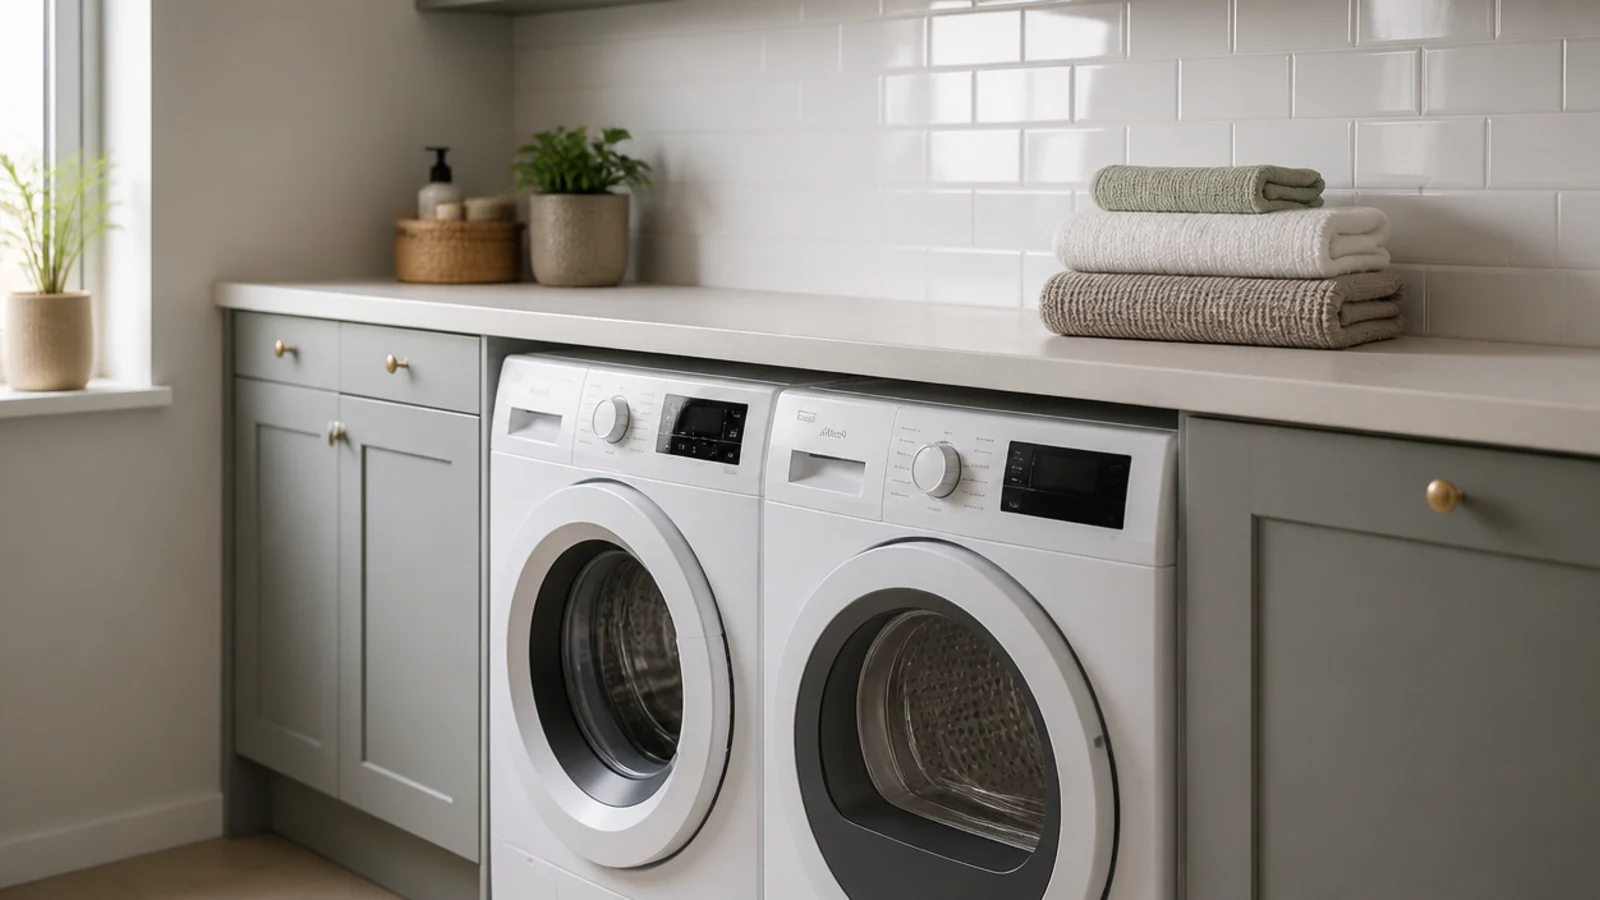
The best value upgrade in this whole comparison, and the one that changes how a room reads rather than how it works. Two machines under one continuous surface at 36 inches turns a laundry wall into cabinetry.
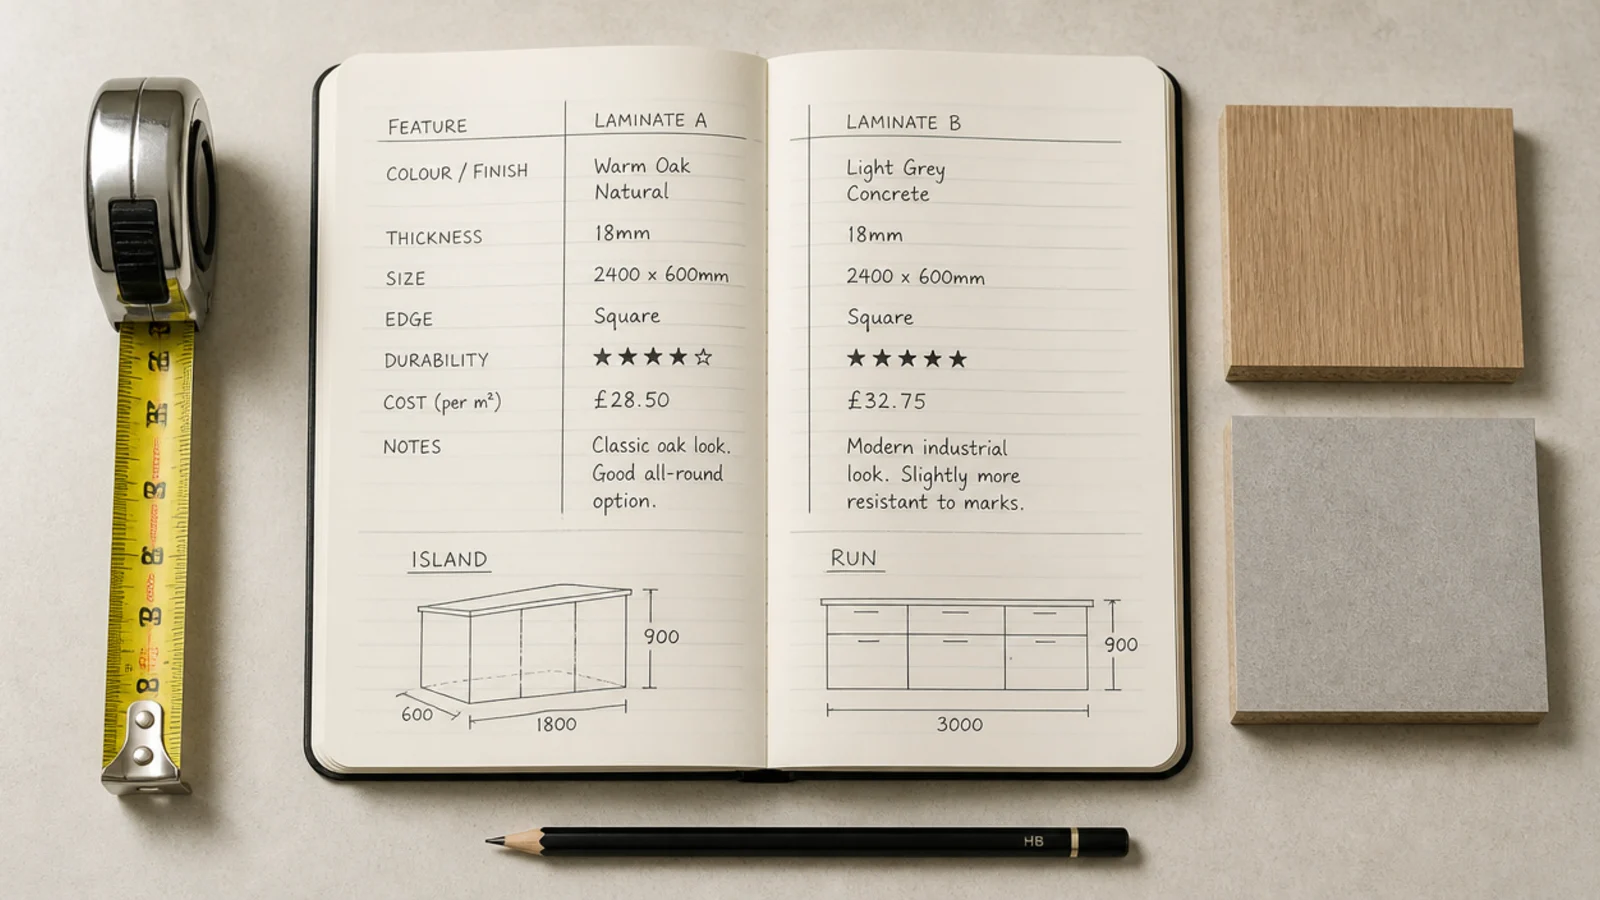
The catch is a single measurement: both machines have to be under 34 inches tall, because a 36-inch worktop takes an inch and a half itself. Check before ordering, because the counter is the half you cannot return once it has been cut. Allow 54 to 60 inches of wall, seal every cut edge, and reckon on $600 to $1,200 including two base cabinets and laminate.
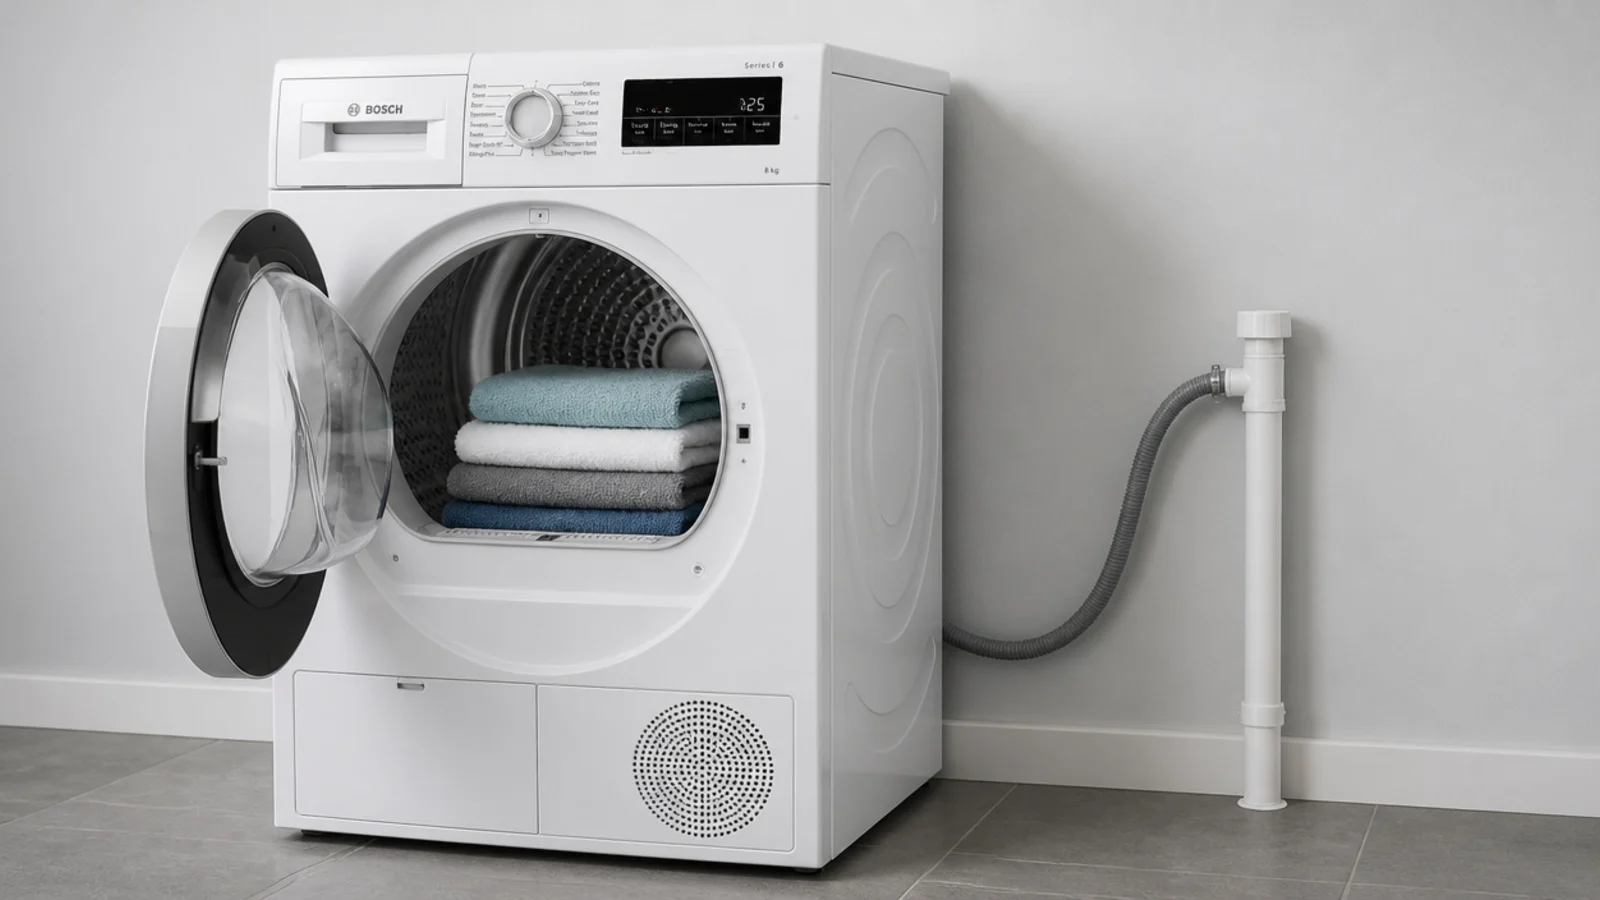
3. The heat pump dryer with nowhere to vent
For an internal room, a basement or a flat with no external wall, this is usually the only honest answer. It condenses moisture out of the air rather than pushing it outside, so there is no duct, no core drill and no hole to weatherproof.
It costs $200 to $500 more than a vented machine and runs at roughly half the energy per load, which pays back over a few years of regular use. The trade is time: cycles run 30 to 60 minutes longer. Plumb the condensate to a standpipe rather than emptying a tank by hand, or you will stop using it by February.
4. The drying cupboard done properly
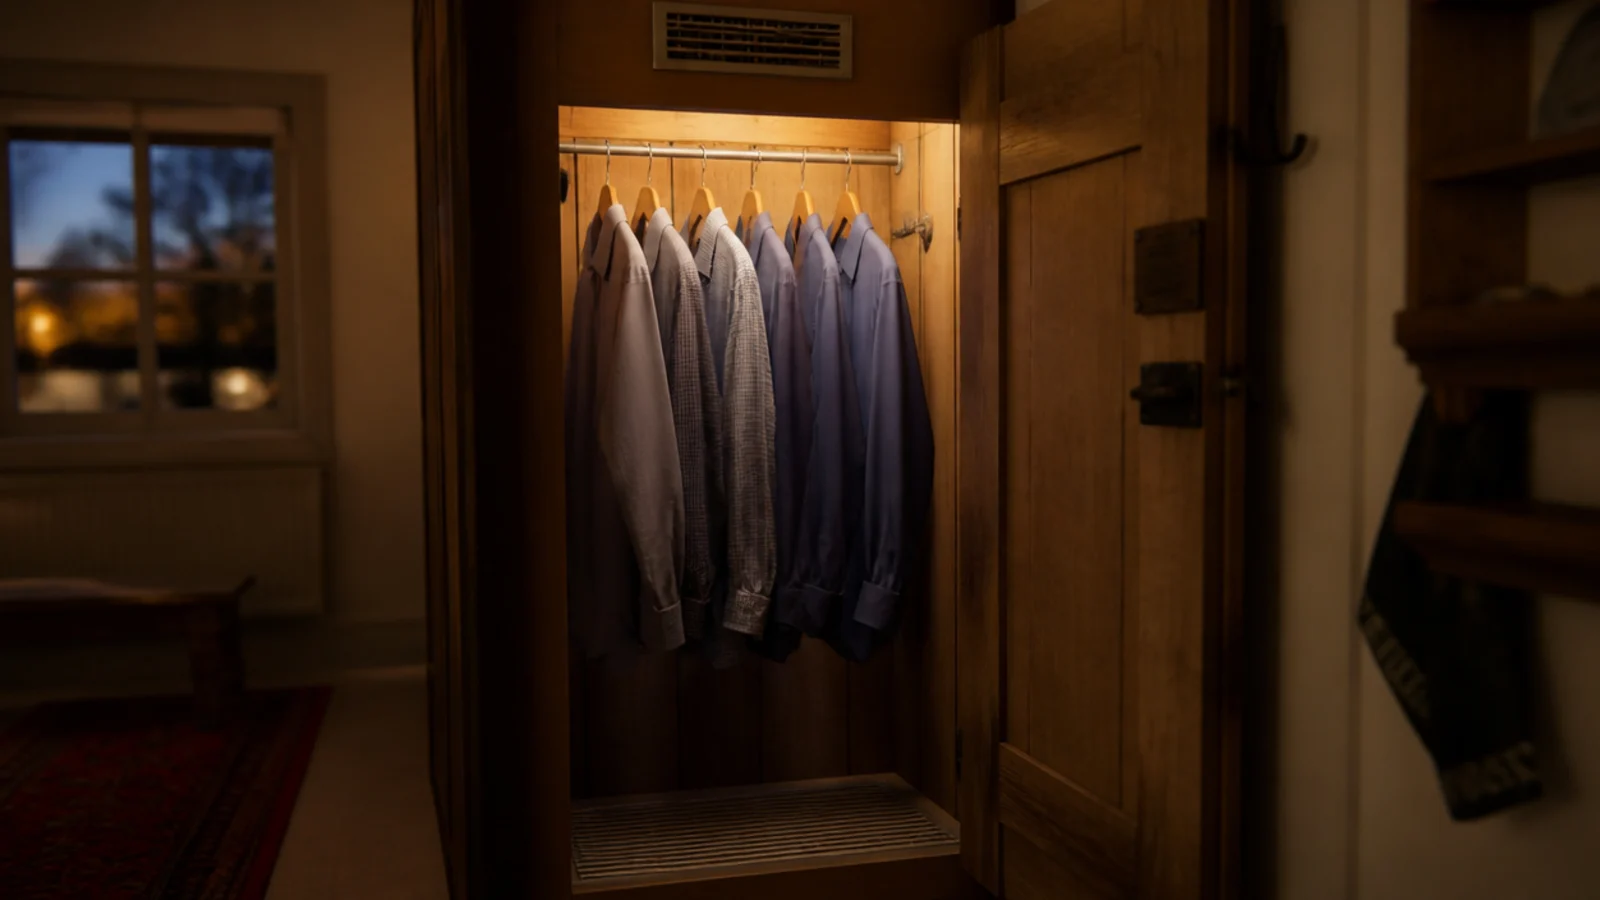
Done right this is the best indoor drying there is, and done wrong it is the fastest way to make a house smell. The difference is one rule: air in low, air out high.
Give it a low inlet — a three-quarter inch door undercut, or a grille of at least 40 square inches free area — and a high outlet the same size, ideally an extract. A single grille recirculates the same damp air and the cupboard sours within a week. Aim for four to six air changes an hour. Built into an existing cupboard with a rail, grilles and a small inline fan, expect $500 to $1,500.
5. The dehumidifier over the heated airer
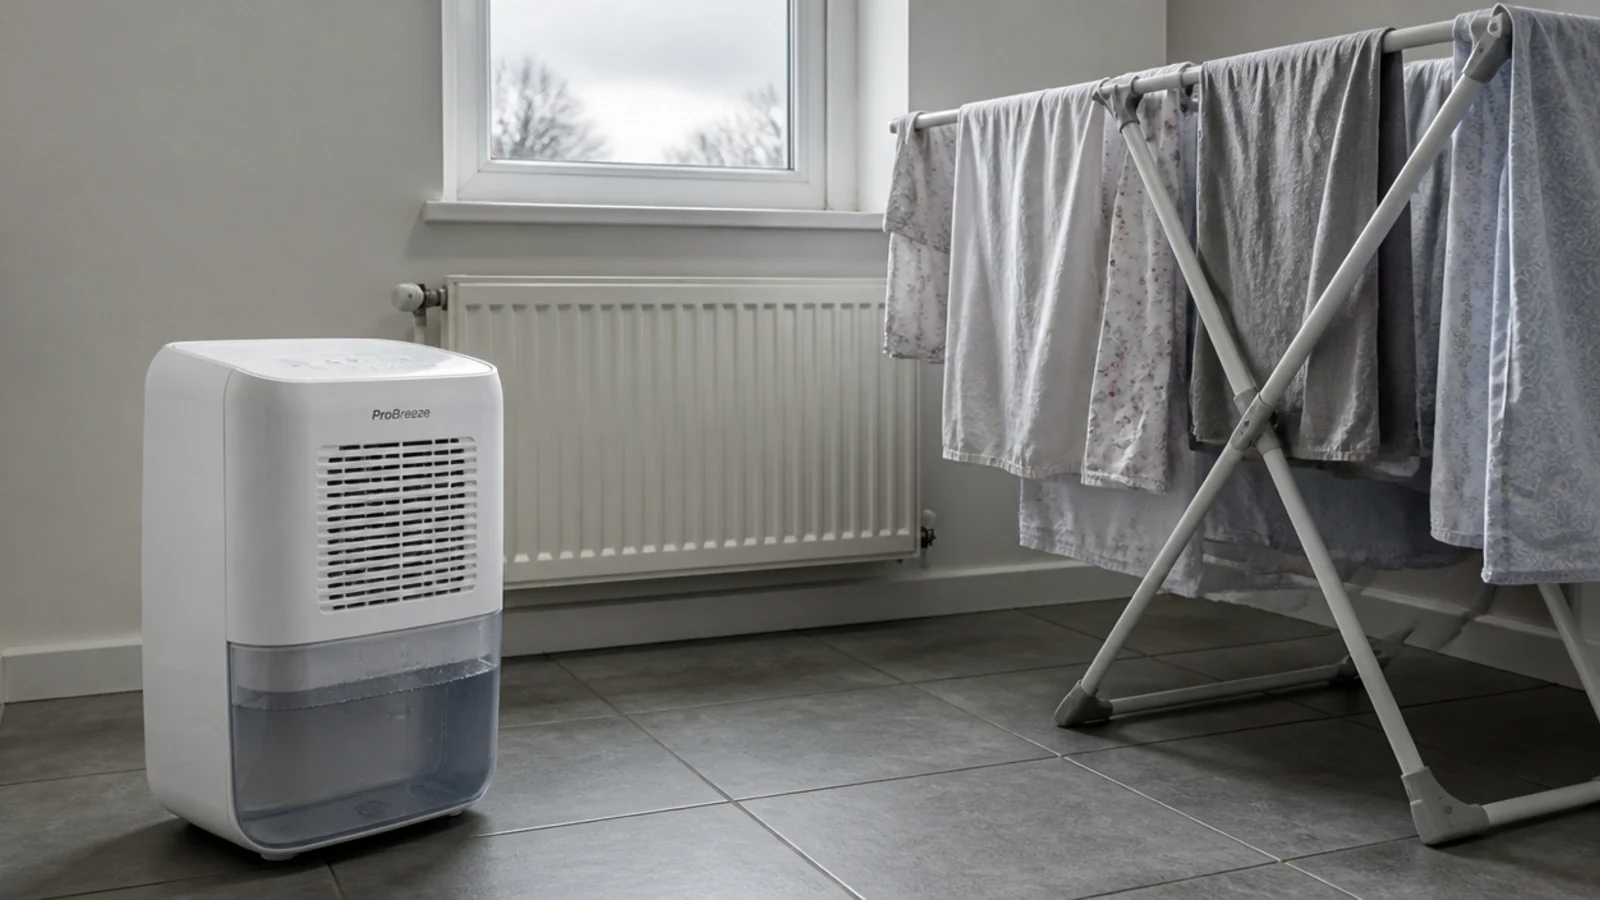
These two look interchangeable and are not. A heated airer at 200 to 300 watts warms the clothes; a 10 to 20 litre a day dehumidifier at 150 to 300 watts removes the two litres of water a load releases, which is the thing that actually ends the cycle.
In a closed room the dehumidifier wins on time and on damp. Put the airer and the machine in the same small space, shut the door, and a load that took two days on radiators is dry by morning. At $150 to $300 it is the highest-value single purchase on this page for anyone drying indoors through winter.
6. The utility sink run with a real drainer
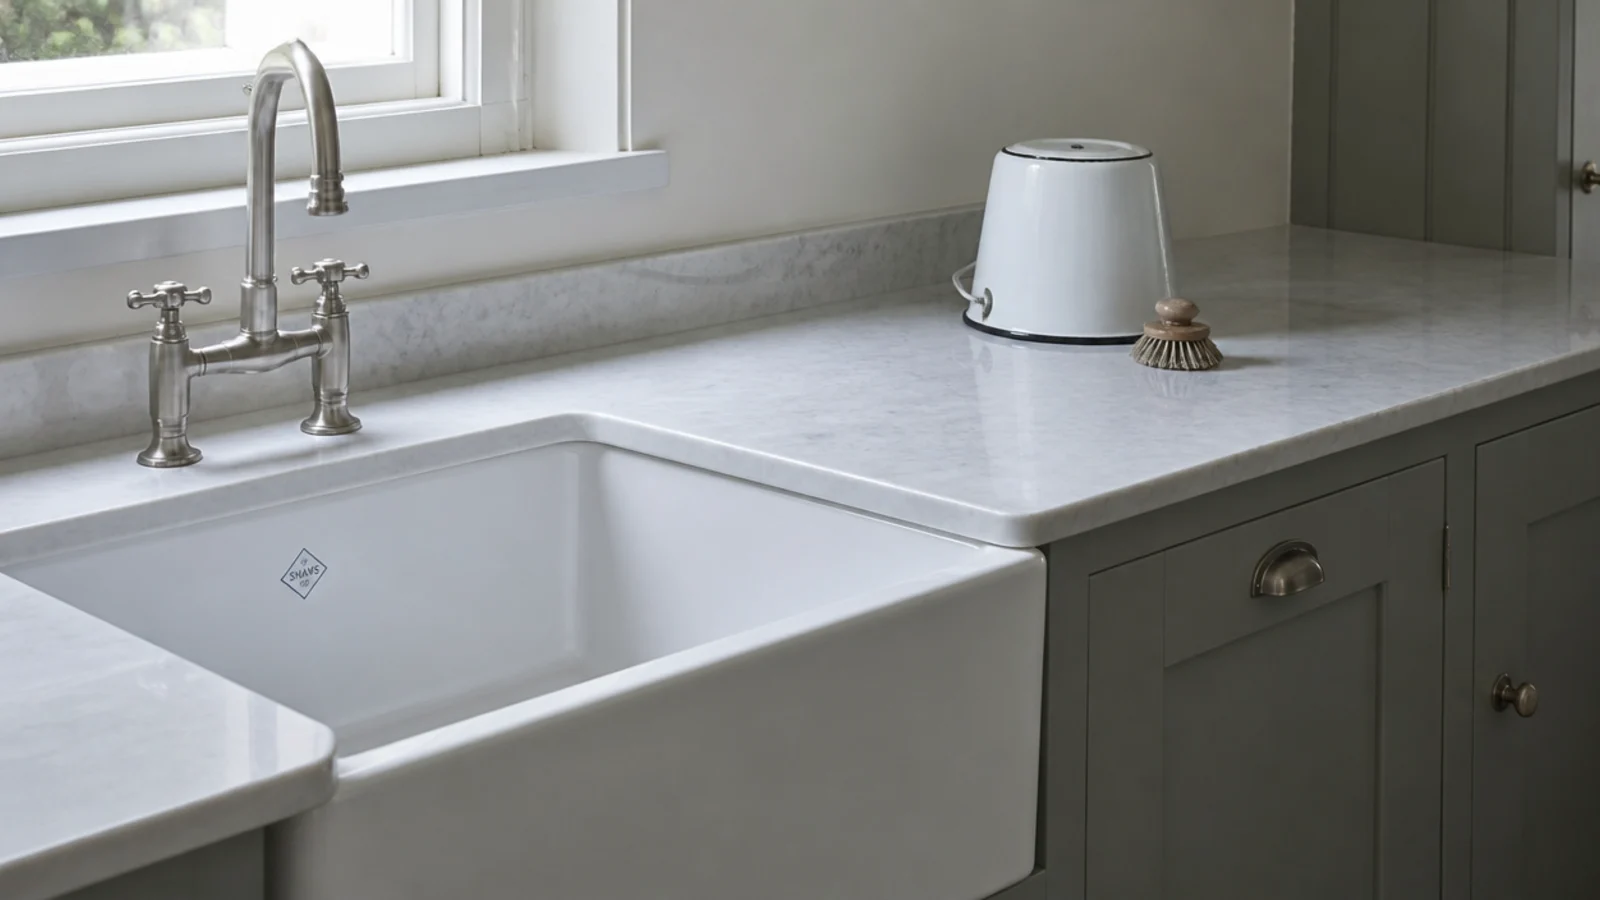
A sink is not needed for laundry and is transformative for everything else — soaking, hand washing, filling buckets, rinsing boots and washing a dog. Specify a 22 to 25 inch bowl, 10 to 12 inches deep.
The part people skip is the 24 inches of clear worktop beside it. Without somewhere to drain onto, a utility sink becomes a permanent parking space for wet objects. Site it at the end of a run rather than the middle so the counter stays in one usable piece, and keep GFCI protection within six feet. Around $500 to $1,200 fitted with the cabinet and tap.
7. The full fitted room at the top of the range
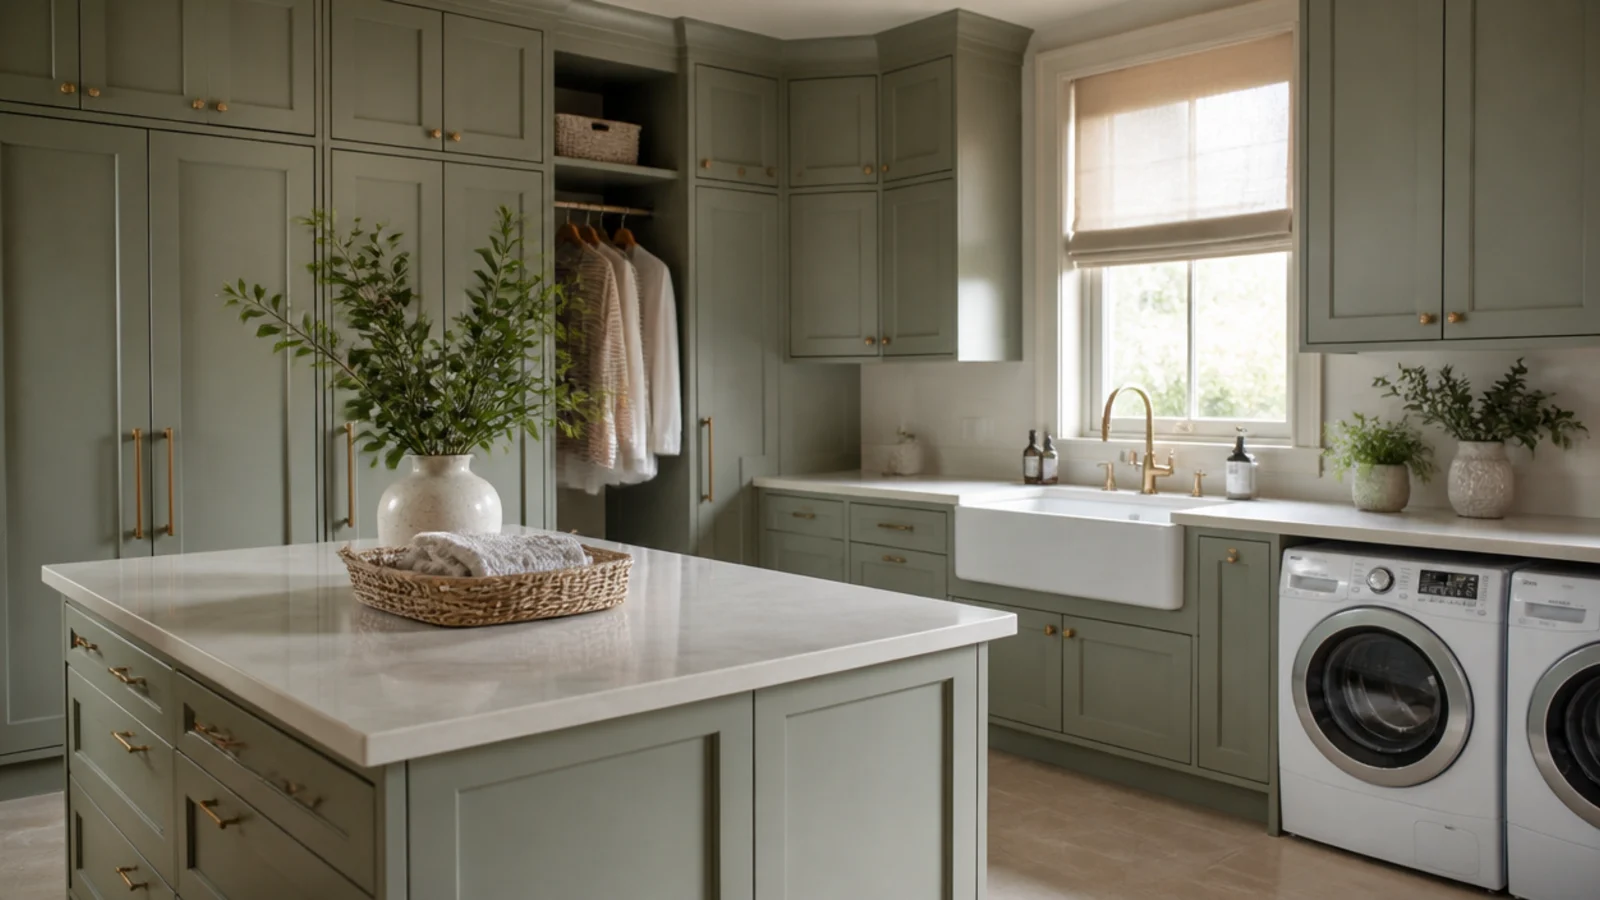
Above $2,500 you are buying concealment and capacity rather than function. Integrated machines behind matching doors, full-height cabinetry, a sink, a drying cupboard and often an island at 36 inches with 42-inch aisles around it.
It is worth it in a room over 80 square feet that genuinely carries the back door, the boots, the dog and the laundry for a family. Below that footprint the money buys less than the same spend on a good dryer and a proper drying cupboard. Whatever tier you land in, cabinetry stops short of the boiler's service clearances and never encloses a gas meter.
What to Check Before You Buy
Measure the ceiling, not just the floor. A stacked pair needs 79 to 84 inches of clear height for the upper door to open, and bulkheads, pipe boxing and light fittings all live inside that zone. This is the check that turns up on delivery day rather than on the plan.
Measure the machine you own, standing. Under 34 inches for anything going beneath a 36-inch worktop. Every other decision on this page is reversible; a cut worktop is not.
Count the depth twice. Thirty to 34 inches of machine plus four to six inches behind for hoses, valves and vent means 36 to 40 inches from the finished wall. Base cabinets are 24 inches deep, so an appliance run always projects further than a cabinet run.
Decide where the moisture goes before you buy a dryer. Vented needs an external wall and a duct inside 35 feet of equivalent length, minus five feet per 90-degree elbow. Heat pump needs no wall but needs a condensate route. Neither ever vents into the room.
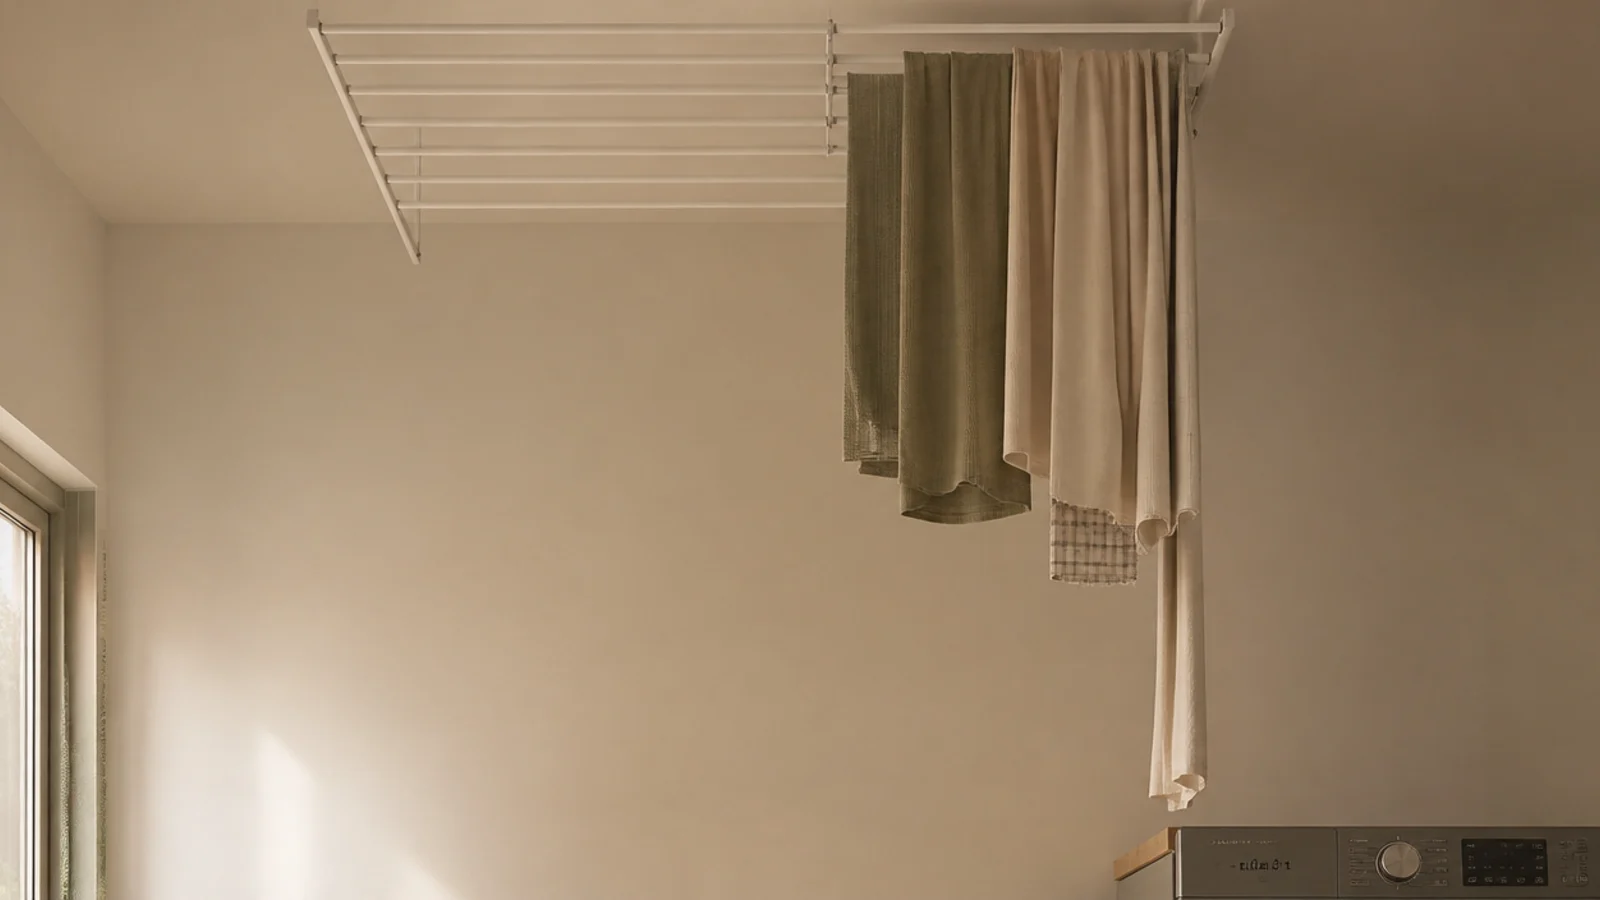
Add up the line, not just the rack. One load wants 20 to 25 feet of hanging space. A four-lath ceiling airer gives about 24 feet; a small concertina rack gives 20. Two loads a day means two racks or a dryer, and no amount of styling fixes the shortfall.
Check the room before the products. Extraction at 30 cubic feet a minute minimum on a 15-minute run-on timer, a floor rated R10 to R11, and a 30 by 30 inch leak tray under the washer. Those three cost under $300 together and protect everything else you spend.
Leave the services alone. A boiler keeps its manufacturer clearances behind a removable panel and a gas meter is never enclosed, whichever tier you are building at.
Frequently asked questions
How much does a utility laundry room cost to fit out?
Three bands cover almost everything. Under $500 buys a stacked pair in an existing closet with shelving and a drying rack. Five hundred to $2,000 buys a short cabinet run with a worktop and a sink. Above $2,000 you are into integrated appliances, a full fitted room or a drying cupboard built from scratch.
Is a heat pump dryer worth the extra cost?
Where there is no external wall to vent through, it is usually the only sensible option. It costs $200 to $500 more than a vented machine and runs at roughly half the energy per load, but cycles take 30 to 60 minutes longer and the condensate still has to drain or be emptied.
Do you need a sink in a laundry room?
Not for laundry itself, but a 22 to 25 inch bowl earns its place if you soak, hand-wash, fill buckets or wash a dog. Allow 24 inches of clear worktop beside it to drain onto, and keep GFCI protection within six feet, because it is the wettest point in the room.
What is the cheapest way to dry clothes indoors?
A ceiling airer plus a dehumidifier. The airer costs $70 to $160 and gives about 24 feet of line, roughly one load. A 10 to 20 litre a day dehumidifier draws 150 to 300 watts and pulls the two litres of water out of a load faster and more cheaply than heating the whole room.
Can a laundry room share a cupboard with a boiler?
It can share the room, not the enclosure. A boiler keeps its manufacturer service clearances, typically two inches at the sides, eight to twelve below for pipework and twelve inches of clear working space at the front, behind a removable panel. A gas meter is never boxed in at all.
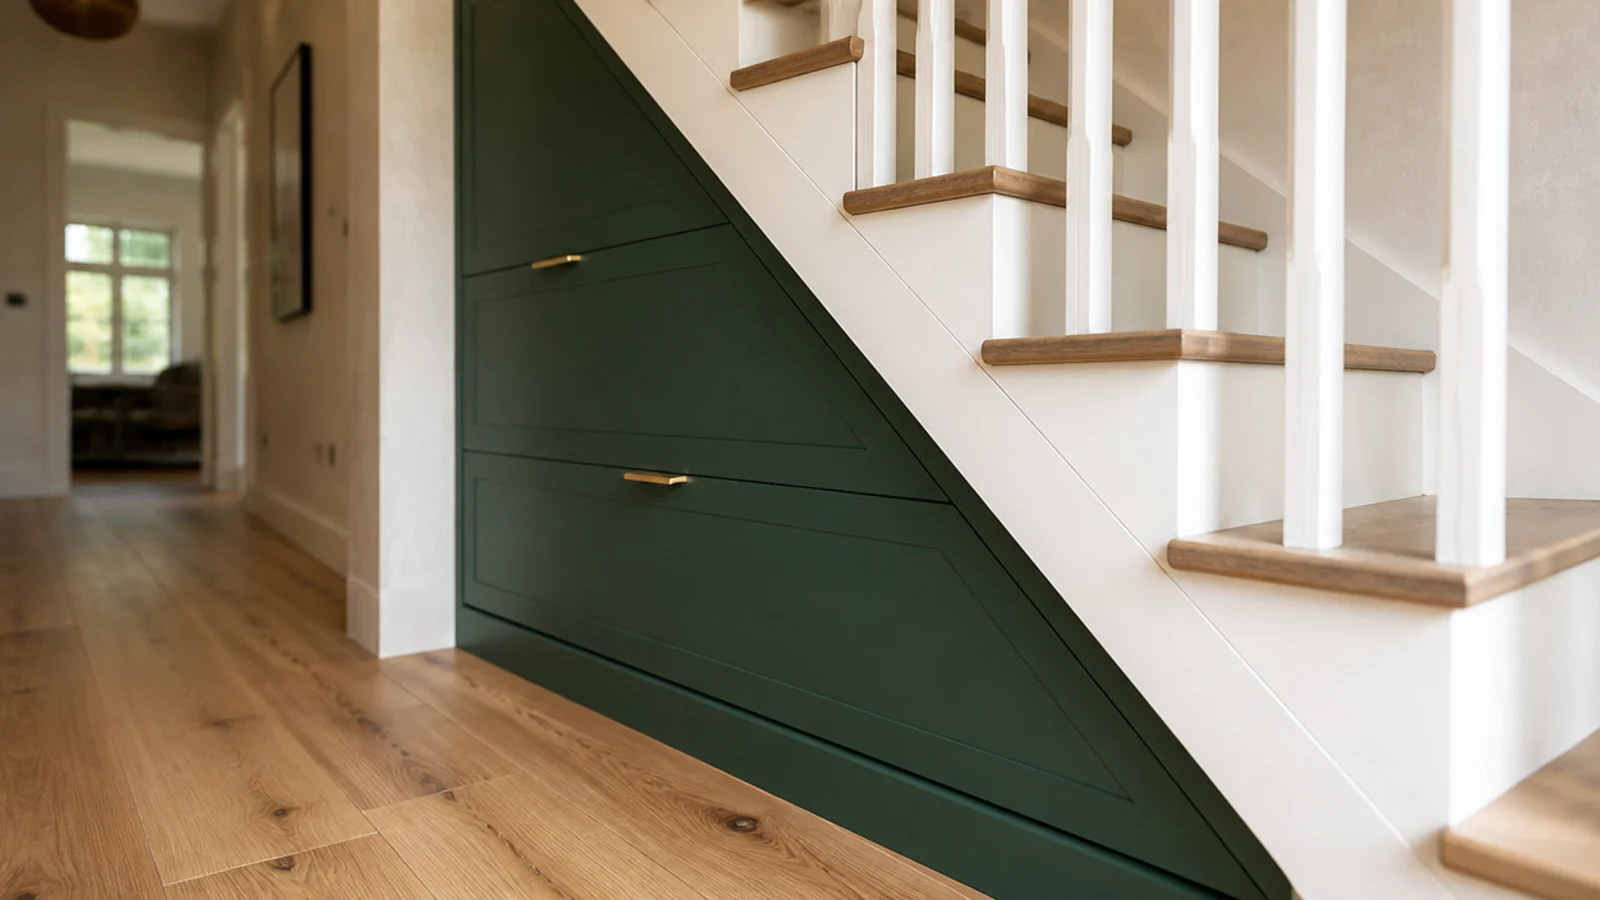
Start from the tier your room can actually support rather than the one you want, because the clearances decide more than the budget does. The main utility room guide has the full clearance set in one place, the small utility room guide covers the sub-40-square-foot version, and the basement guide deals with low ceilings and drainage that will not run downhill. If your machines are heading into a cupboard rather than a room, storage under the stairs is the right place to start, and the kitchen shelf guide covers the wall above a worktop. Save the pin for the next time you are measuring.
Want more like this? Browse all 15 utility room ideas guides — they all use the same measurements and budget tiers.
Pin it for later
Save this to your Utility Room Ideas board
Pin it now so it is waiting for you when the tape measure comes out — and so the next person hunting for this idea can find it too.
Save this pinKeep going
More ideas worth saving while you have the tape measure out.