Utility Room Ideas · How-To
15 Steps To Plan Garage Utility Room Ideas Properly

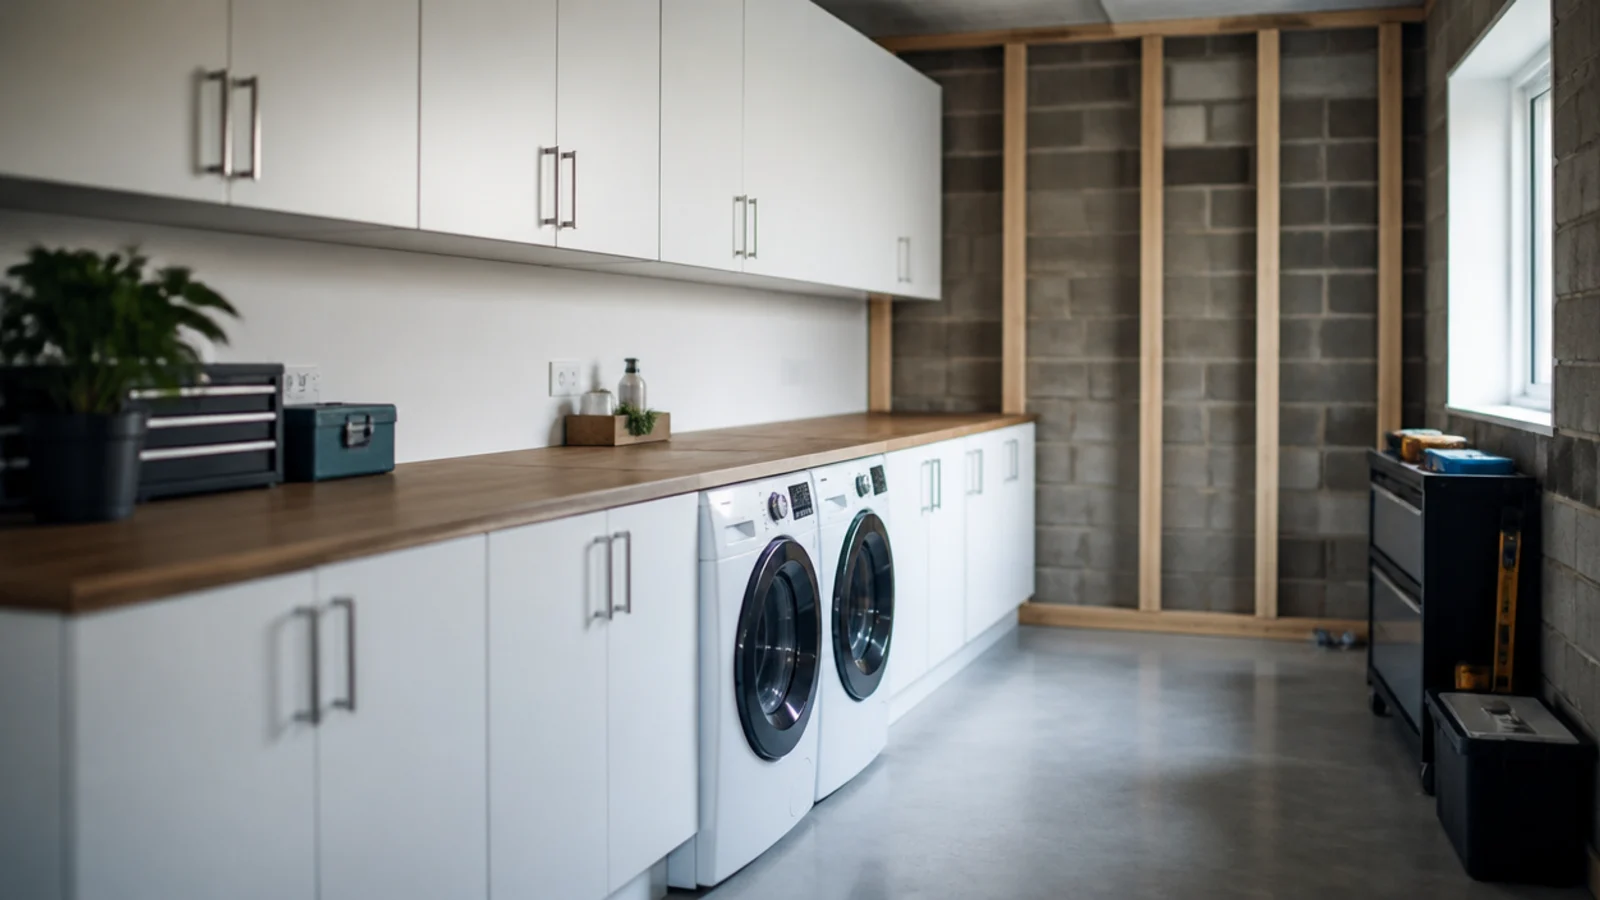
A garage bay is the cheapest floor area most houses own, and also the coldest, dampest and worst served by pipes and cable. I have converted two of them, one full bay behind a rolling door and one corner beside an existing boiler, and the order of work mattered far more than the budget did. Good garage utility room ideas are really a sequence: what you test before you insulate, what you run before you frame, what you measure before you buy a single appliance. Follow that sequence and the room lands between $2,500 and $6,000 and lasts. Work backwards and you open a finished wall twice.
In this guide18 sections — tap to openHide
- 1.What You'll Need To Plan Garage Utility Room Ideas
- 2.Step 1: Measure the bay and the walkway you have to keep
- 3.Step 2: Check the slab for damp, fall and cracks
- 4.Step 3: Map the boiler, gas meter and consumer unit first
- 5.Step 4: Insulate the walls, roof and door opening
- 6.Step 5: Run a dedicated circuit for every machine
- 7.Step 6: Plumb the supply and set the standpipe height
- 8.Step 7: Plan the dryer vent route in rigid duct
- 9.Step 8: Size the extraction and fit a run-on timer
- 10.Step 9: Frame the run at sixteen-inch centres
- 11.Step 10: Set the worktop at thirty-six inches
- 12.Step 11: Leave twenty-nine-inch appliance openings
- 13.Step 12: Lay a floor with an R10 to R11 slip rating
- 14.Step 13: Heat the room, or dry it instead
- 15.Step 14: Build the storage above and around
- 16.Step 15: Finish, light it, then live with it
- 17.Pro Styling Rules
- 18.Mistakes to Skip
What You'll Need To Plan Garage Utility Room Ideas
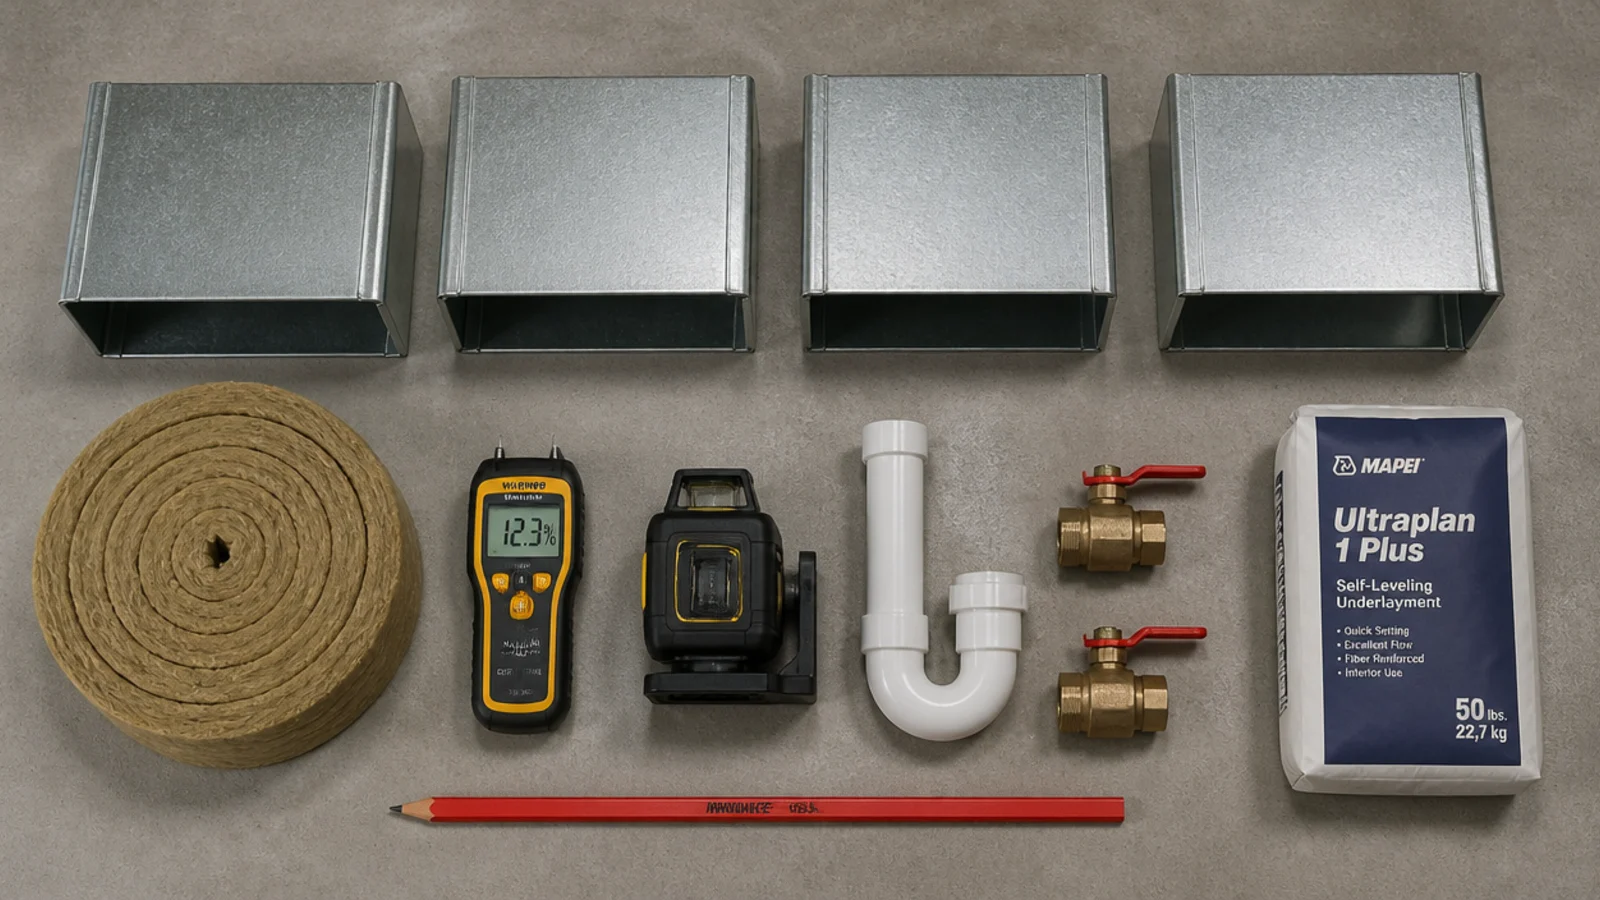
Most of this list is hire or borrow. The spend that actually matters sits in the services, not the cabinets, and the services all happen before anything looks like a room.
| Item | Spec that matters | Rough cost |
|---|---|---|
| Moisture meter or polythene | Any pin meter, or a 12 in square of clear sheet | $0–$25 |
| Mineral wool | 4 in batts for 16 in stud centres | $80–$220 |
| Rigid duct kit | 4 in rigid or semi-rigid, plus a wall cap | $30–$60 |
| Extractor fan | 15 l/s minimum, 50–80 cfm if you dry in here | $45–$110 |
| Standpipe and trap | 2 in pipe, P-trap, screw-on hose retainer | $20–$40 |
| Self-levelling compound | Enough for 1/4 in over the slab fall | $40–$90 |
| Floor finish | Sealed porcelain, LVT or safety vinyl, R10–R11 | $3–$8 per sq ft |
| Cabinets and worktop | Three carcasses plus a laminate top | $600–$1,200 |
Two things are not on the list because you do not buy them: a competent electrician for the circuits, and the manufacturer's installation sheet for whatever boiler is already on that wall. Both are free and both decide the layout.
If the bay is genuinely small, the layouts in the main utility room ideas guide scale down cleanly. For the floor itself, wooden tiles flooring covers what survives over a concrete slab and what does not.
Step 1: Measure the bay and the walkway you have to keep
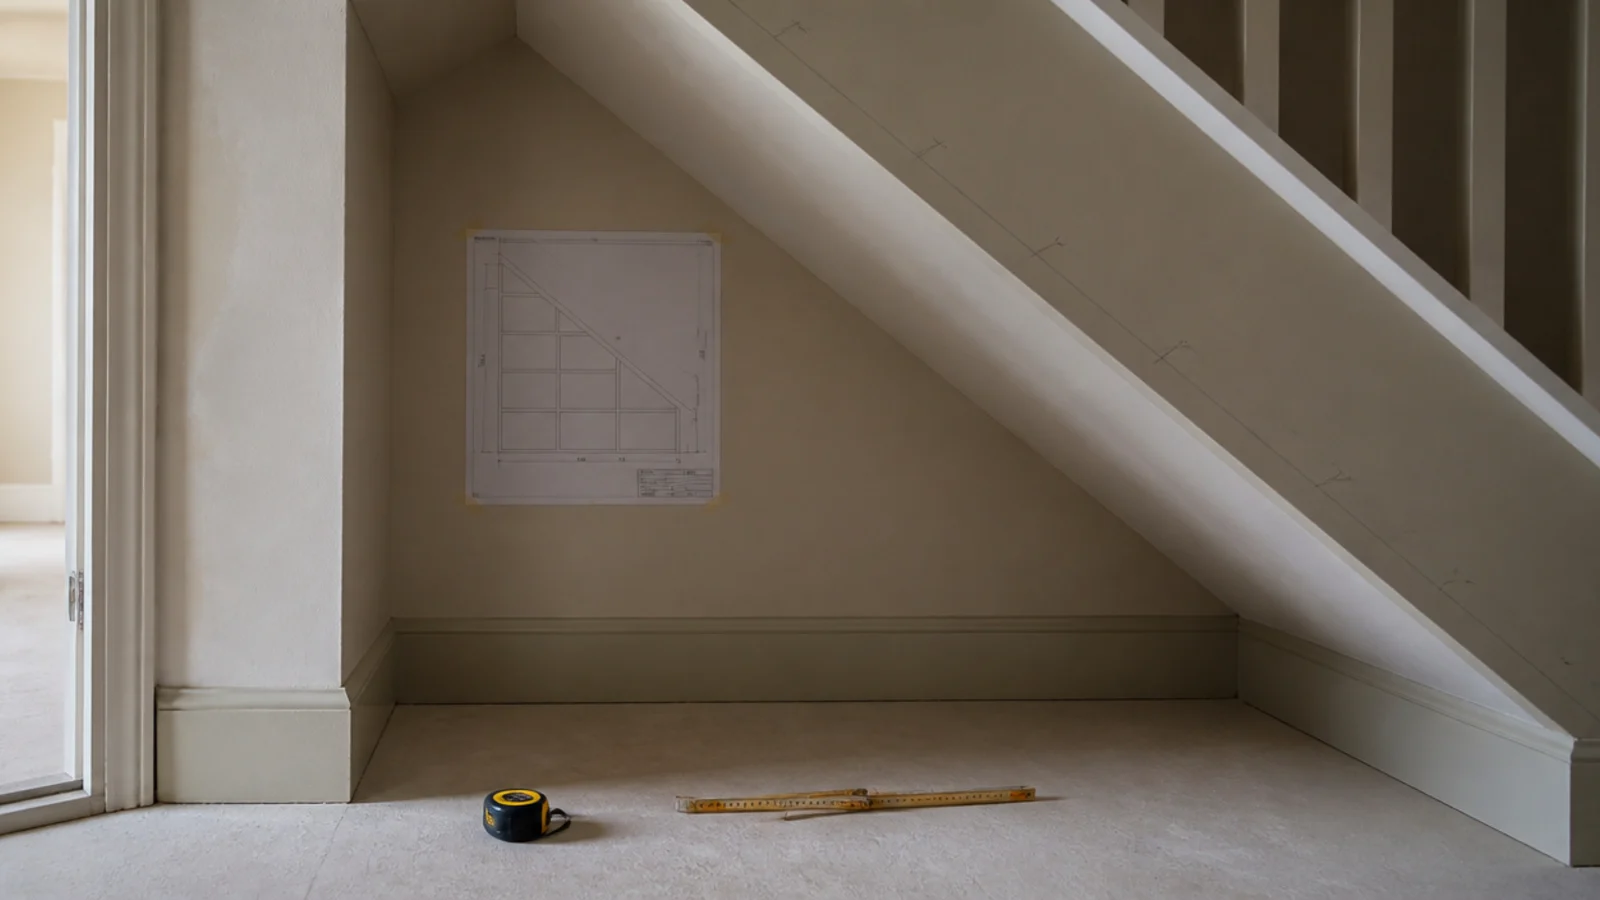
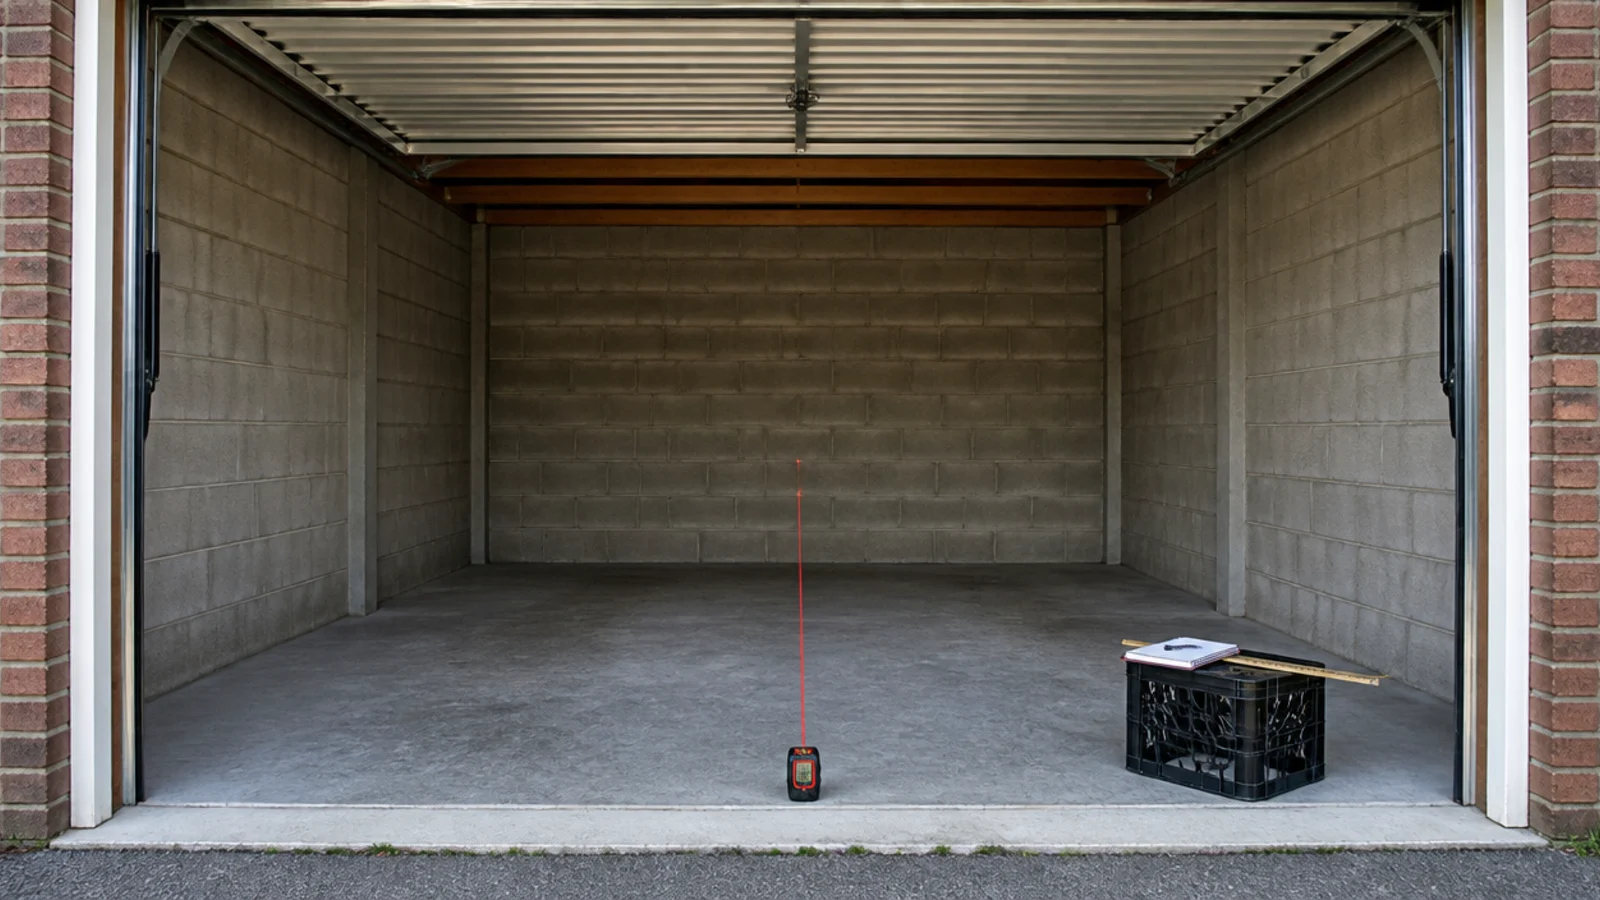
Take four numbers before anything else. Bay width at its narrowest point, ceiling height under the door track, the depth you are willing to surrender, and the walkway you must keep if a car still parks there.
A single run of machines and worktop eats 30 to 34 inches of depth off the finished wall. Leave 36 inches of clear floor to walk past it, or 42 inches if two people use the room or an appliance door swings into the route. Write all four straight onto the block wall in pencil.
Step 2: Check the slab for damp, fall and cracks
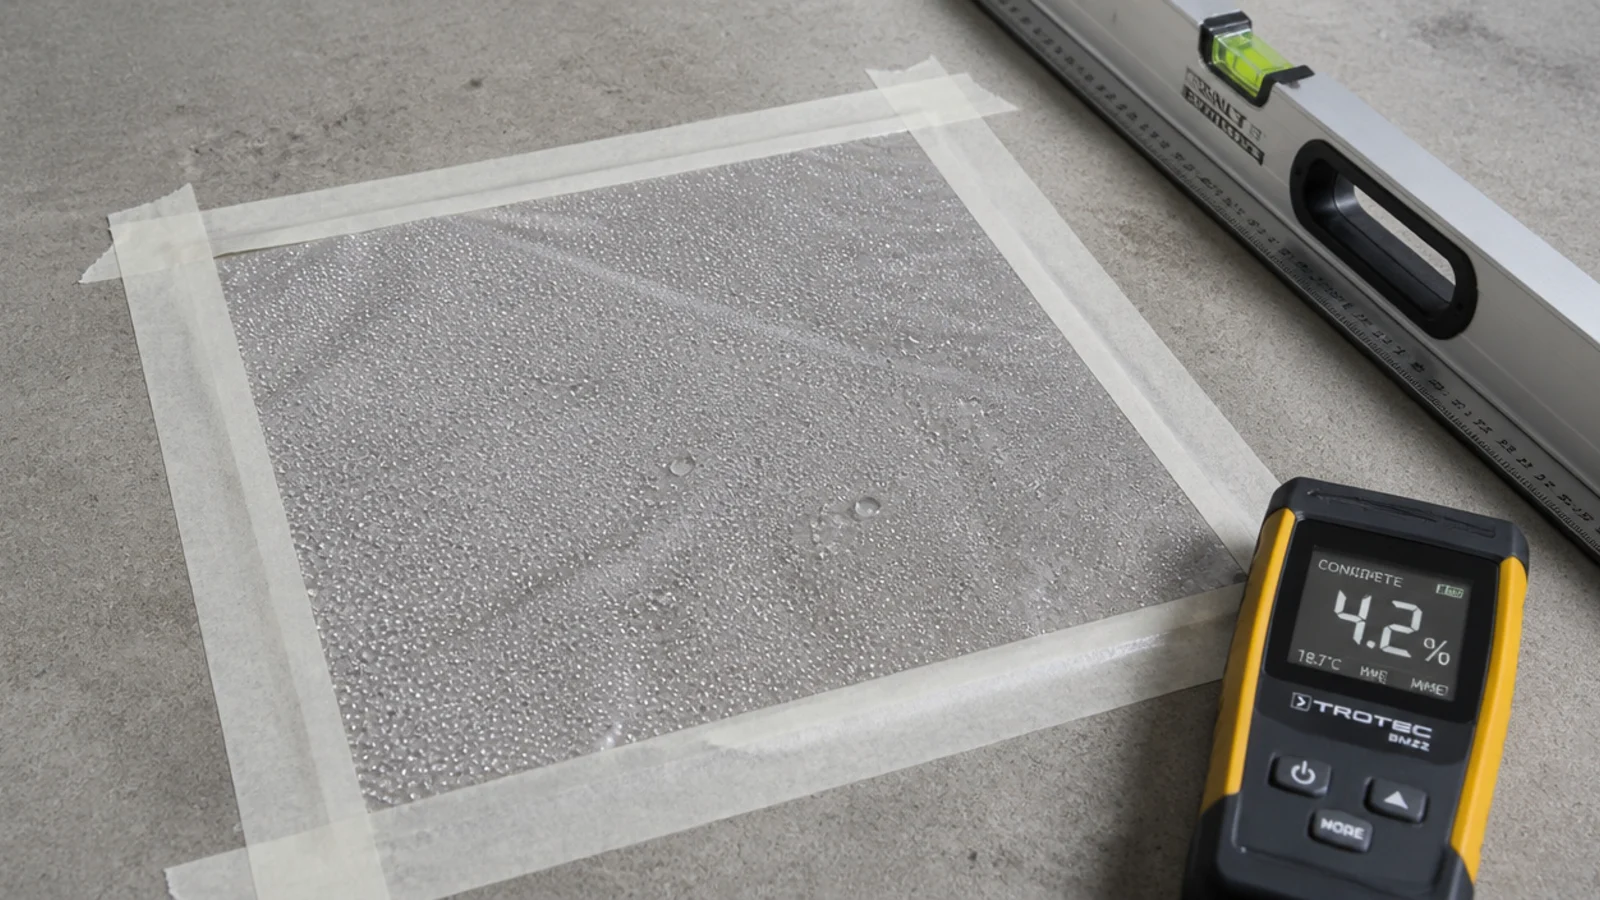
Tape a 12-inch square of clear polythene to the bare slab, seal all four edges, and leave it three days. Condensation underneath means there is no damp-proof membrane under that concrete and you need a liquid DPM before any floor finish goes near it.
Run a long level across the slab too. Garage floors are usually laid with a fall of about a quarter inch per foot towards the door, and a washing machine on a sloping slab walks sideways on every spin.
Step 3: Map the boiler, gas meter and consumer unit first
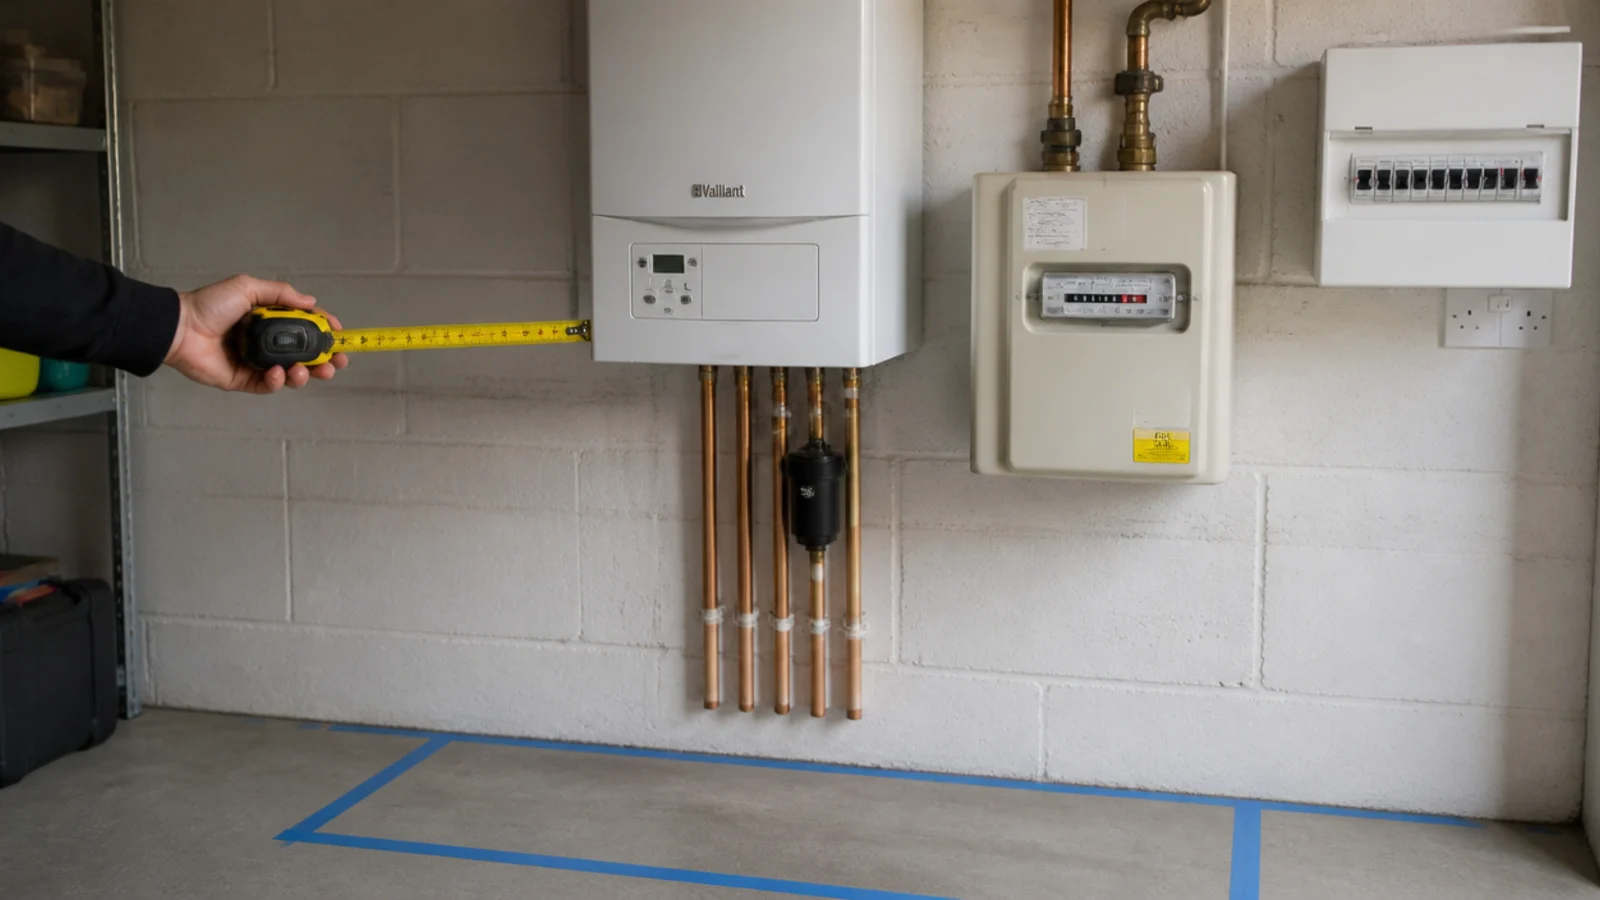
Photograph every service on the wall and measure the clear space around each one before you draw a line. A boiler already sitting in the garage keeps the manufacturer's service clearances, typically 2 inches at the sides, 8 to 12 inches below for pipework and 12 inches of clear working space at the front, and it never gets sealed into a stud wall.
If you enclose it at all, it needs a removable panel. A gas meter must stay ventilated with its emergency control valve reachable without tools, and nothing runs across a flue or the consumer unit.
Step 4: Insulate the walls, roof and door opening
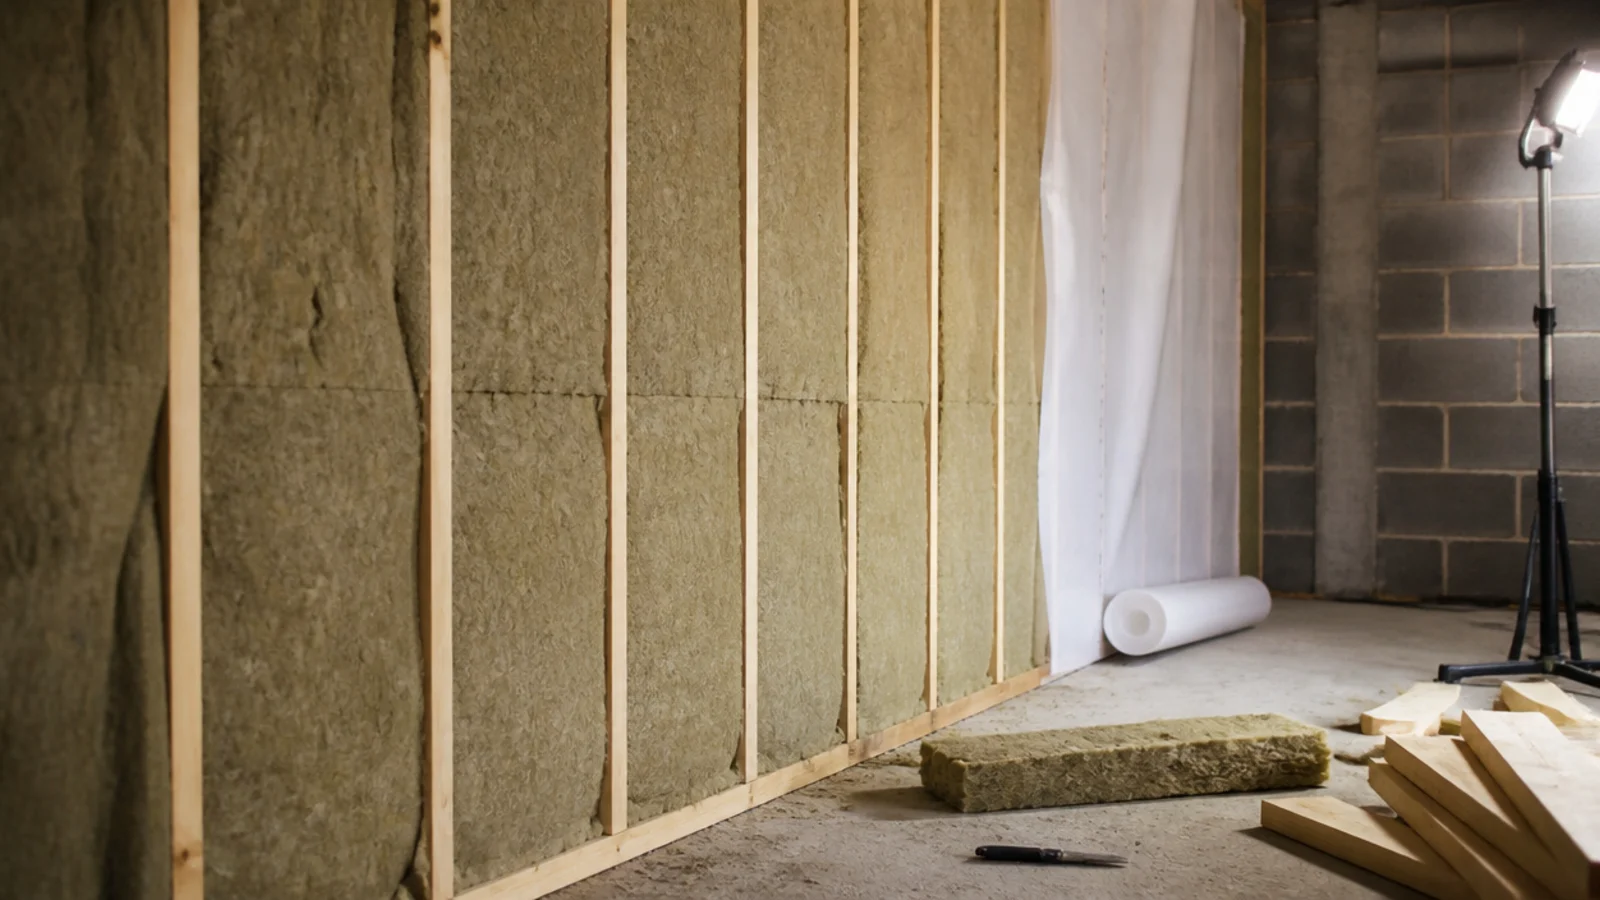
An uninsulated garage sits within a couple of degrees of the weather outside, and laundry in a cold room stays damp for days rather than hours. Batten the block walls at 16-inch centres, fill with mineral wool, and put a vapour control layer on the warm side.
If the up-and-over door stays, insulate behind it and accept some loss; if it goes, block the opening properly and add a window. Four inches of mineral wool also strips 8 to 10 dB off a 1,400 rpm spin, which reads as 72 to 76 dB untreated.
Step 5: Run a dedicated circuit for every machine
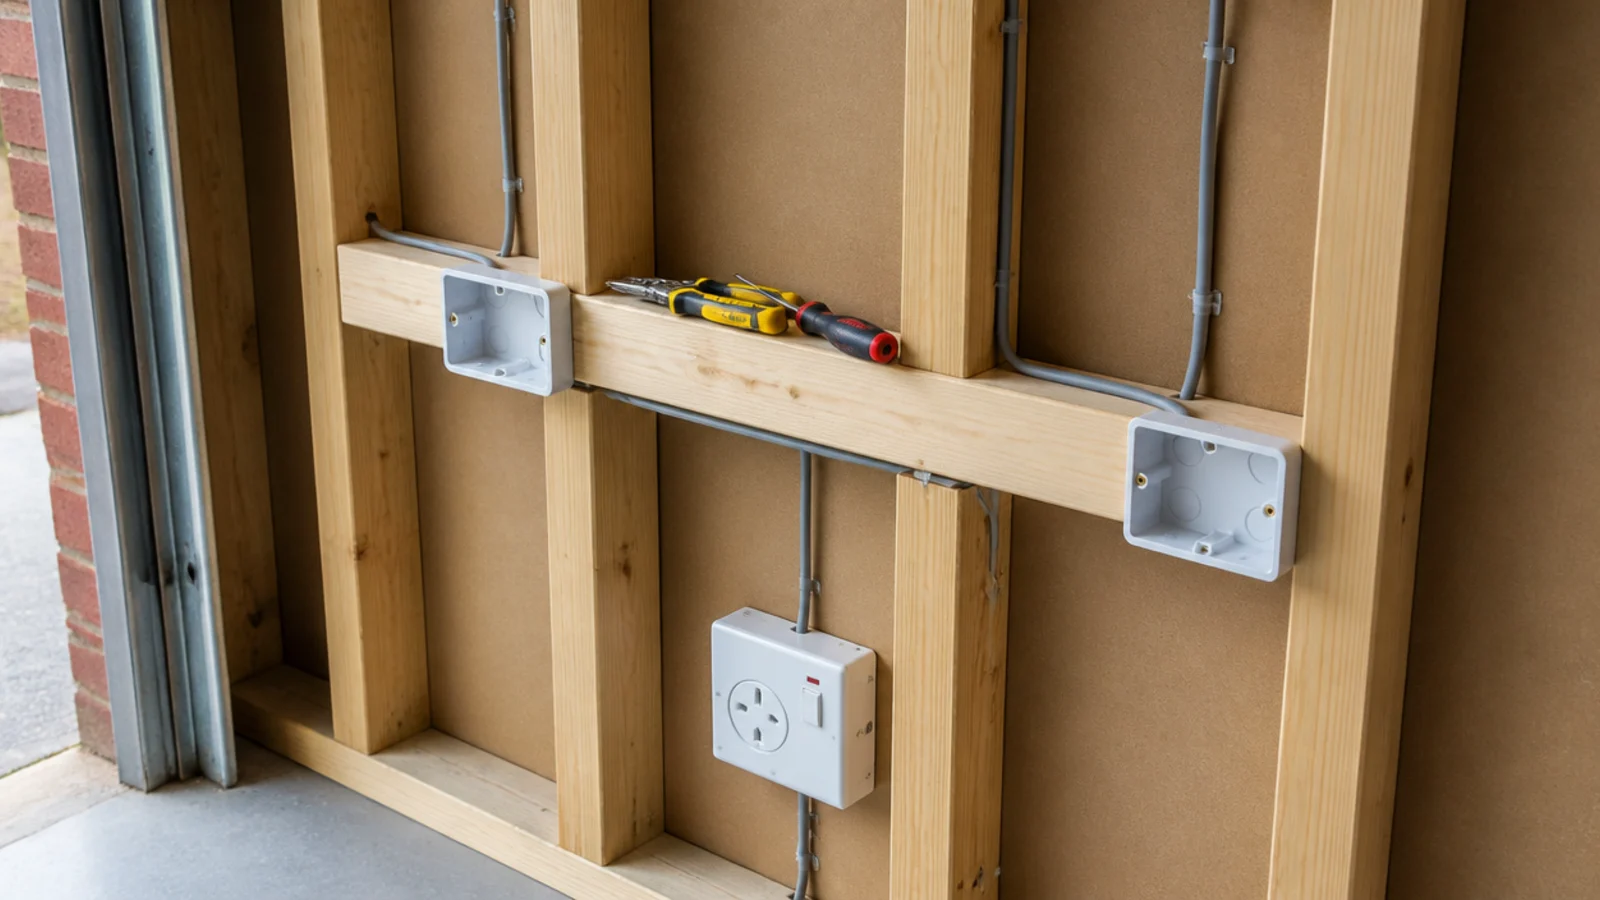
Garages usually run off one lightly loaded circuit never meant for appliances. A washer and a dryer each want their own 15 to 20 amp circuit, and an electric dryer is 240 volts on 30 amps with its own run and its own receptacle.
Anything within 6 feet of the sink needs GFCI protection, and no part of this ever lives on an extension lead, temporarily or otherwise. While the walls are open, add sockets for an iron, a dehumidifier and proper lighting.
Step 6: Plumb the supply and set the standpipe height
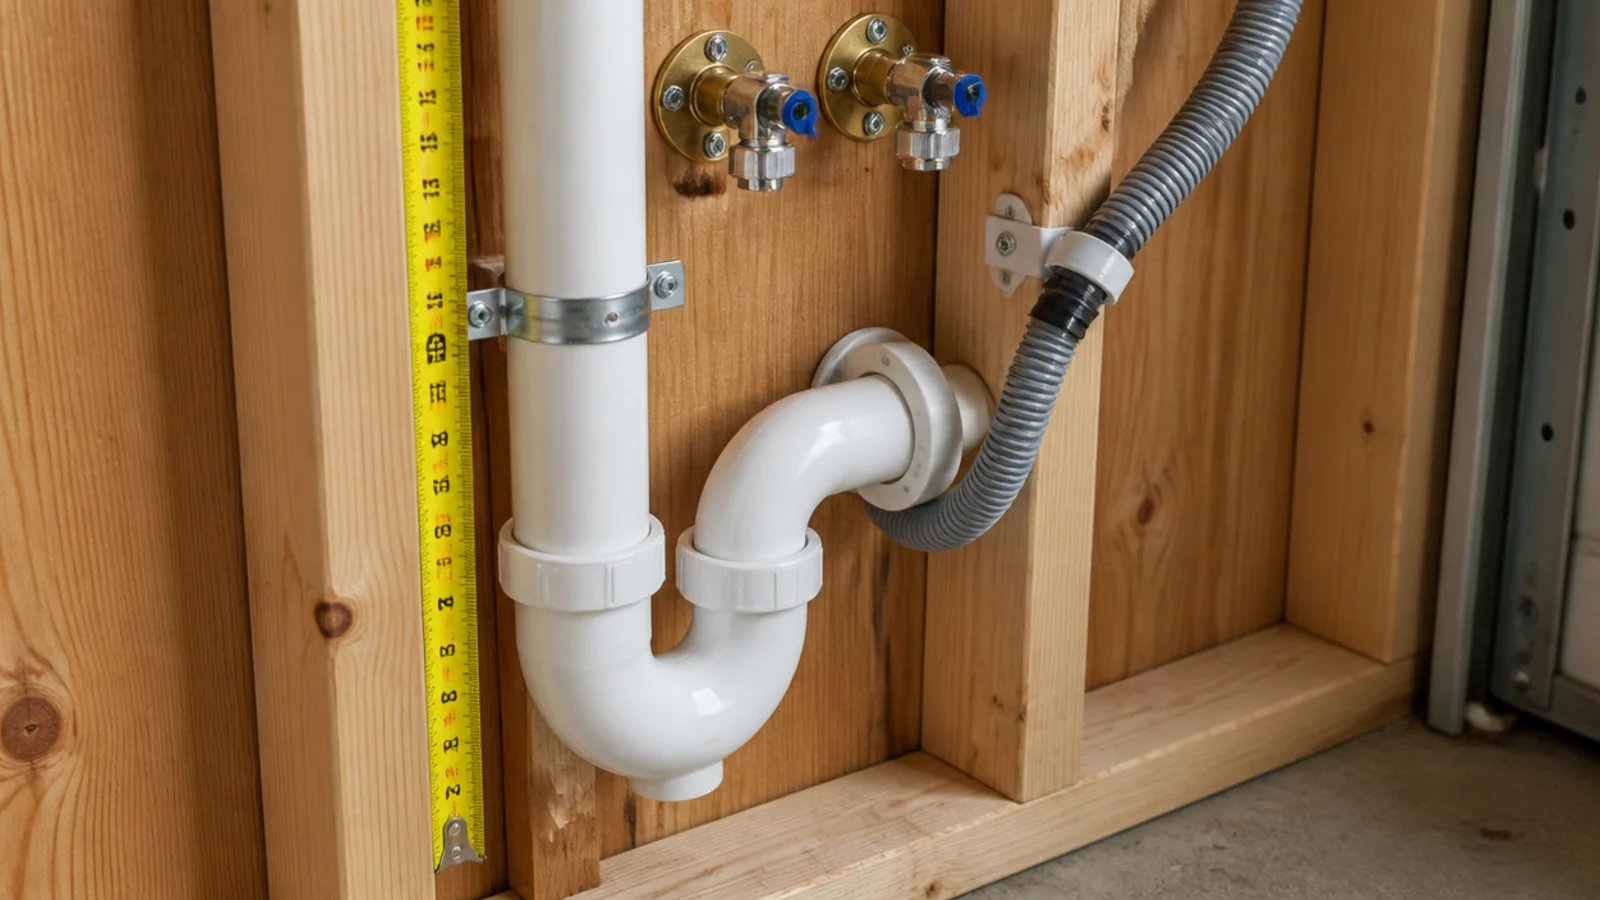
Bring hot and cold to a pair of isolating valves at roughly 30 to 36 inches, behind the machine but still reachable once it is in. The waste is where garage conversions go wrong.
Use a 2-inch standpipe with its top between 18 and 42 inches above the trap weir, a P-trap 6 to 18 inches off the floor, and a hose retainer screwed on so the hose cannot jump out mid-spin. In an unheated bay, lag every run and add a drain-down point.
Step 7: Plan the dryer vent route in rigid duct
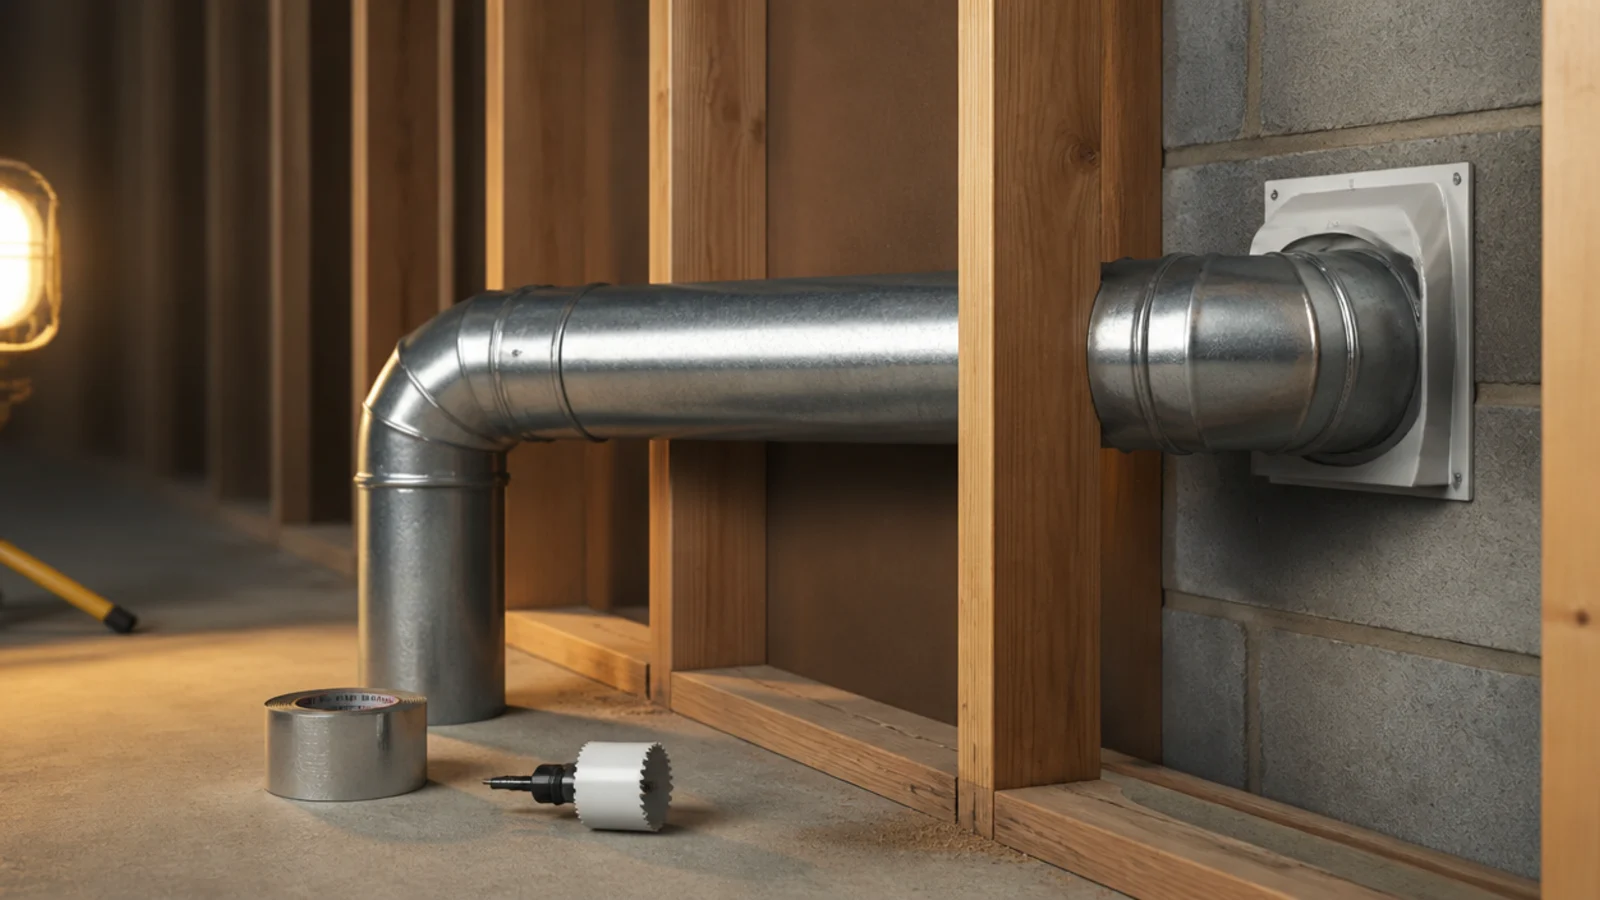
A condenser or heat-pump dryer skips this step completely, often the right answer in a block-walled bay. If you do vent, use rigid or semi-rigid 4-inch duct, never flexible foil.
The maximum equivalent length is 35 feet, and you subtract 5 feet for every 90-degree elbow, so two elbows and a wall cap can quietly eat half the allowance. Never vent a dryer into the garage itself or up into a loft, because one load releases about 2 litres of water.
Step 8: Size the extraction and fit a run-on timer
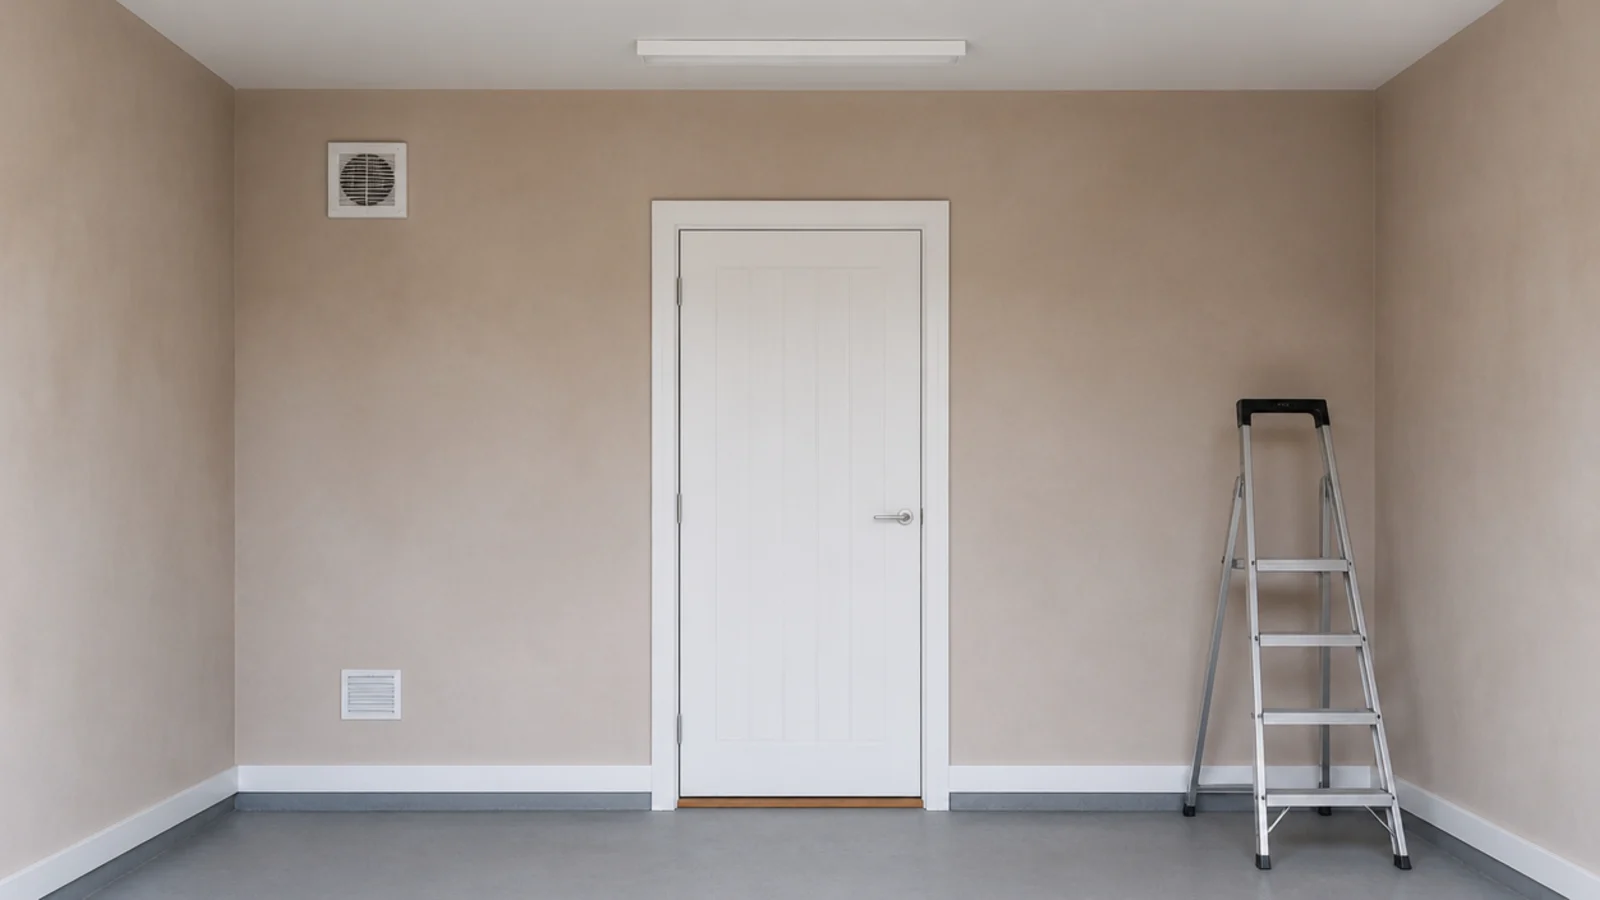
Even behind a condenser dryer, wet laundry pushes about 2 litres, 4 pints, of water into the air per load. The working minimum for a utility room is 15 l/s, near enough 30 cfm, rising to 50 to 80 cfm if the bay doubles as the drying room.
Site the fan high and opposite the door, wire it to a 15-minute run-on timer, and aim for 4 to 6 air changes an hour. Air in low, air out high: one vent on its own simply recirculates.
Step 9: Frame the run at sixteen-inch centres
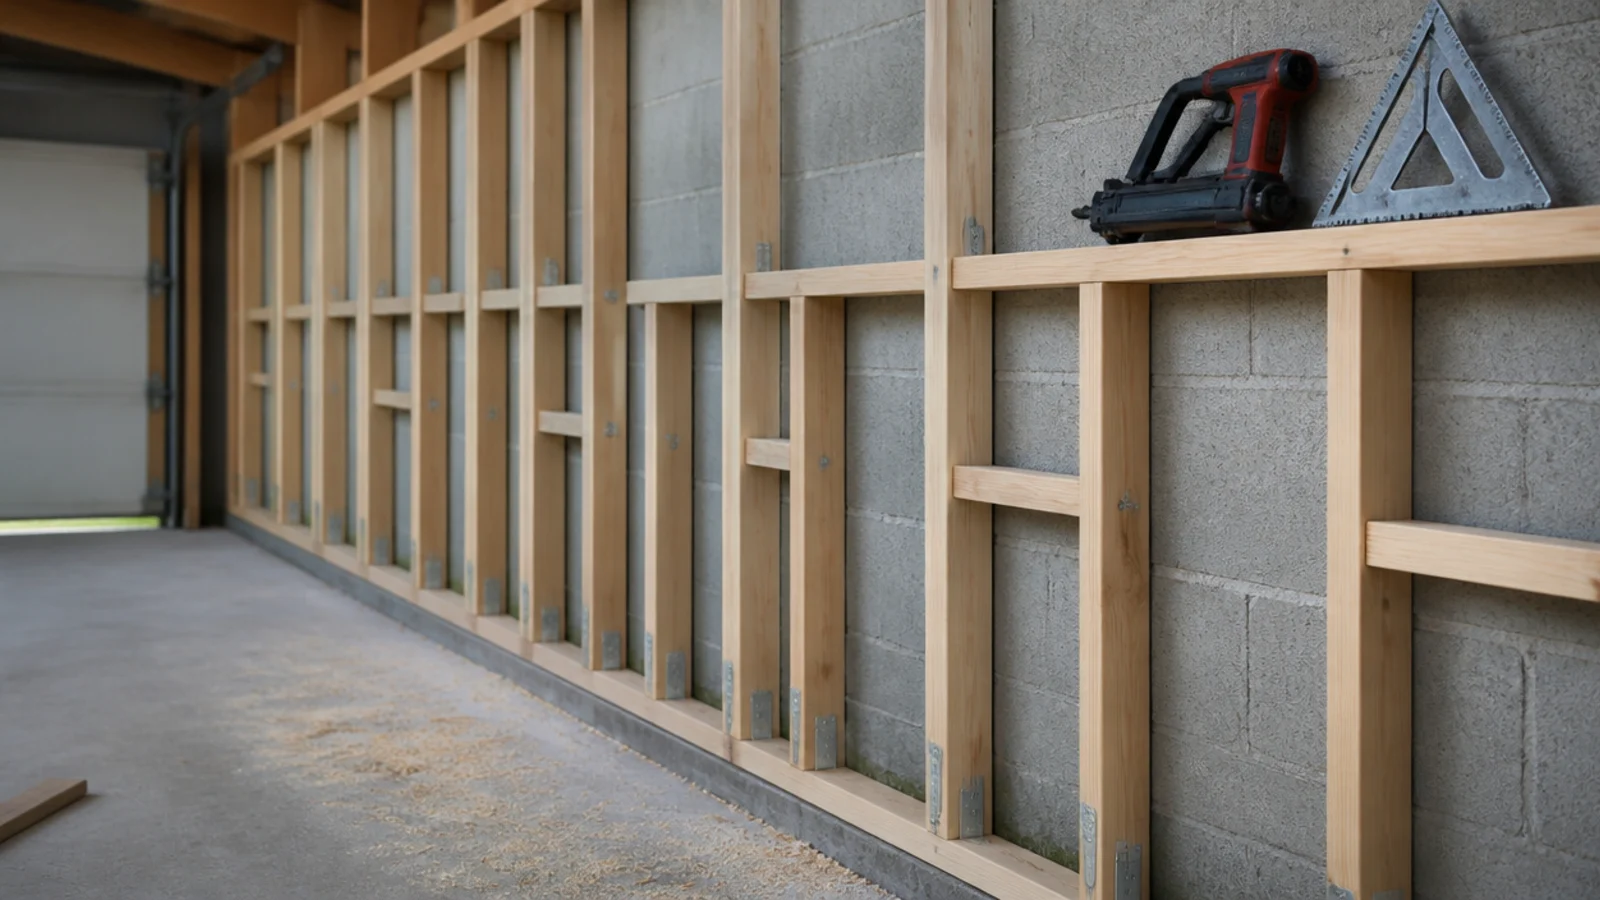
Now the wall goes up. Studs at 16-inch centres put fixings exactly where shelf brackets want them, and a French cleat screwed across three studs carries more weight than any plug ever will.
Hold the frame an inch clear of the block so nothing wicks damp across, and make the service void deep enough that the standpipe, the isolating valves and the vent all sit inside it. Leave a removable panel wherever a valve, a trap or a boiler control ends up behind the plasterboard.
Step 10: Set the worktop at thirty-six inches
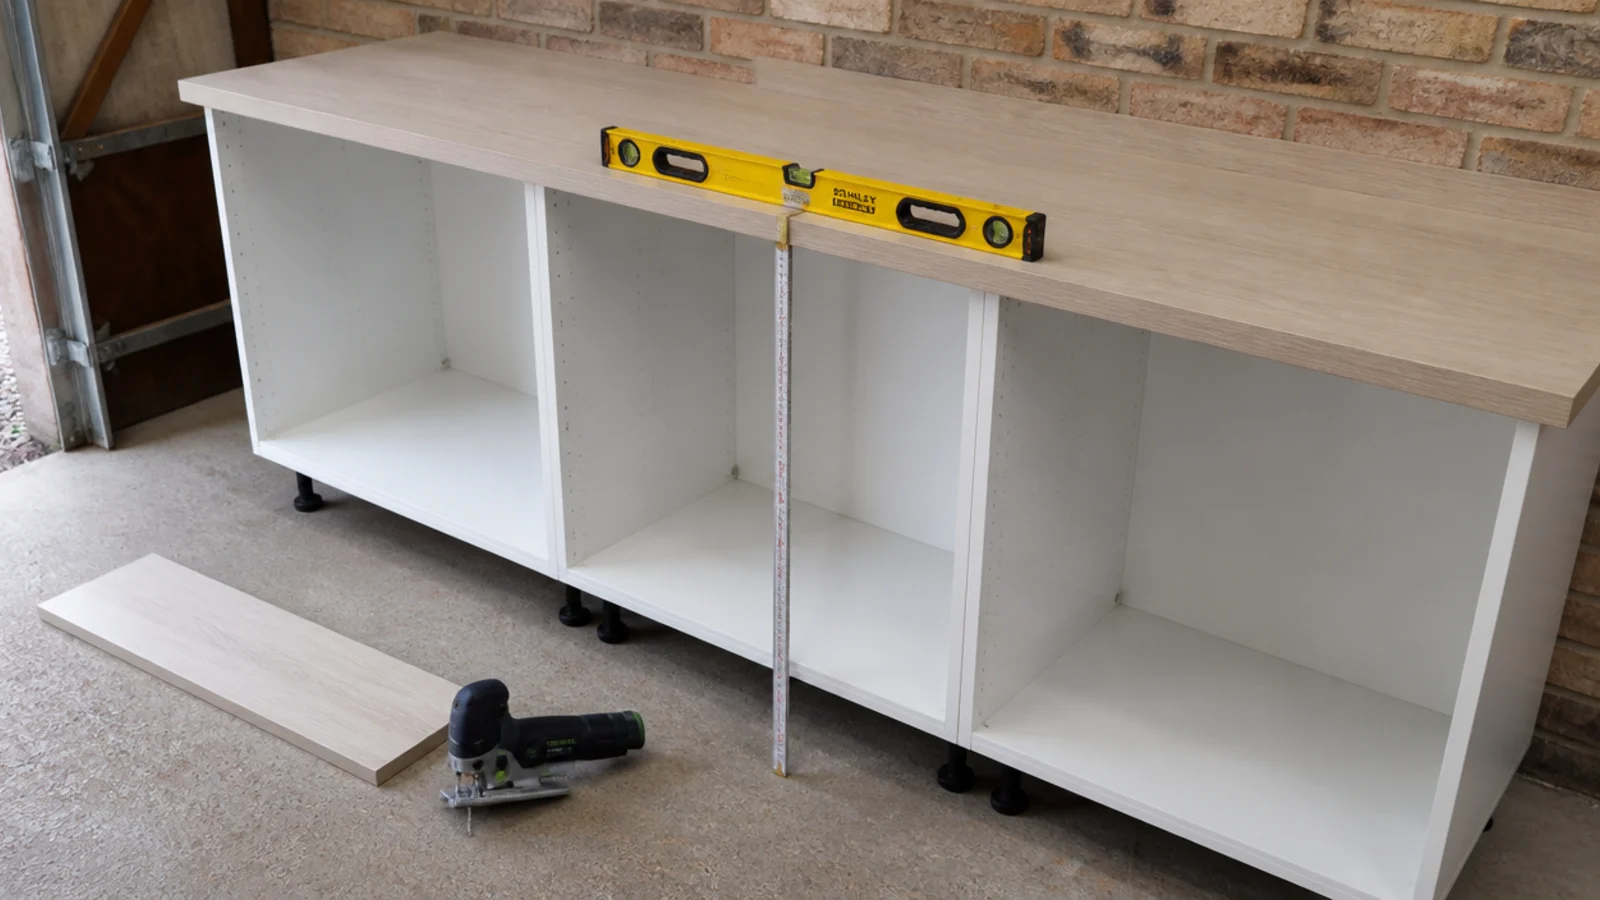
Worktop at 36 inches finished and 24 to 25 inches deep. That is counter height, and the height you can fold at without your shoulders complaining.
Laminate is fine here and costs a fraction of stone. Solid surface or a sealed hardwood both work provided you seal the cut edges around the sink. Wall cabinets go 18 inches above the worktop with their bottom edge at 54 inches, and a three-cabinet run with a laminate top lands at $600 to $1,200.
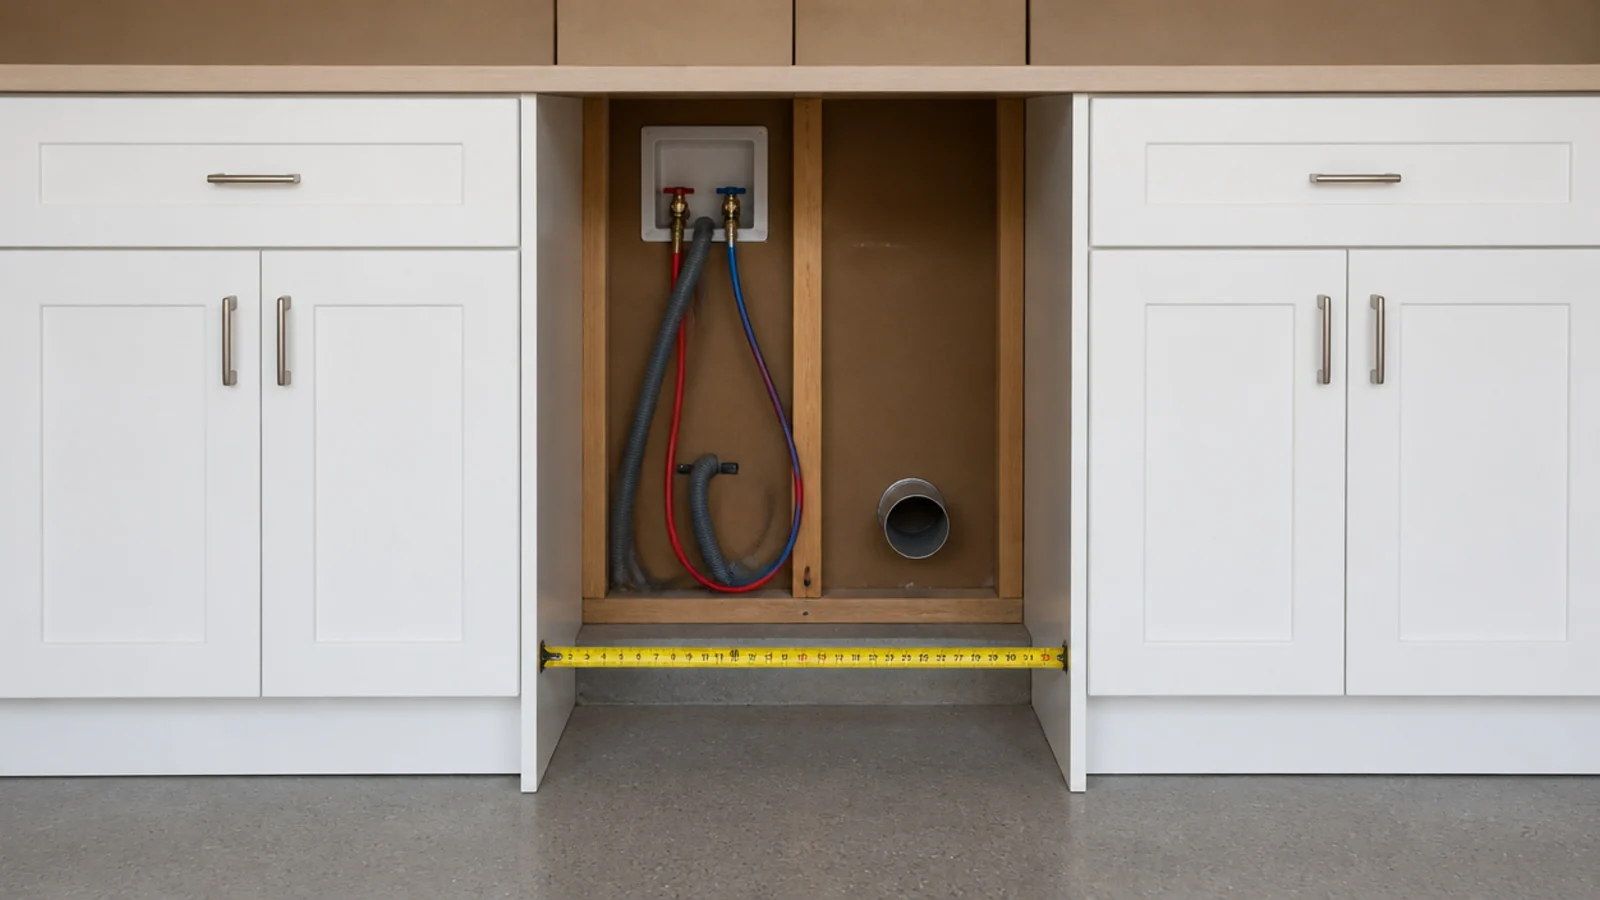
Step 11: Leave twenty-nine-inch appliance openings
A full-size washer or dryer is 27 inches wide, 30 to 34 inches deep with the door on, and 36 to 39 inches high. That means a 29-inch opening and 36 to 40 inches of depth off the finished wall: an inch each side, 4 to 6 inches behind for hoses and vent, an inch above.
Under-counter machines must be under 34 inches tall. A 34.5-inch machine will not slide under a 36-inch worktop once you allow for the counter, and that discovery arrives on delivery day.
Step 12: Lay a floor with an R10 to R11 slip rating
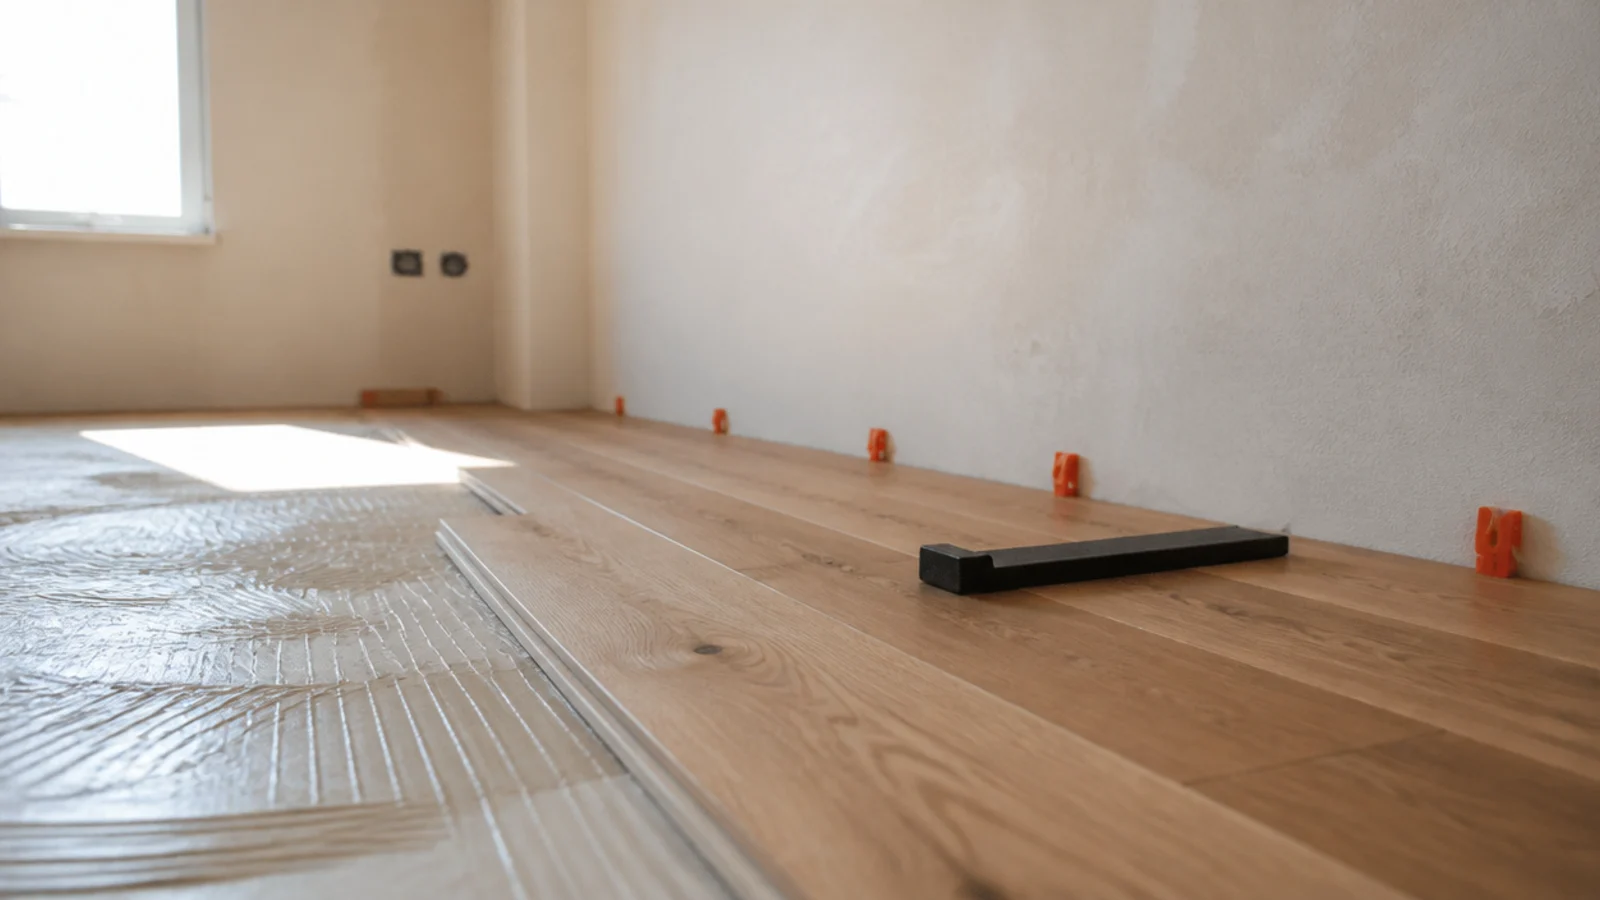
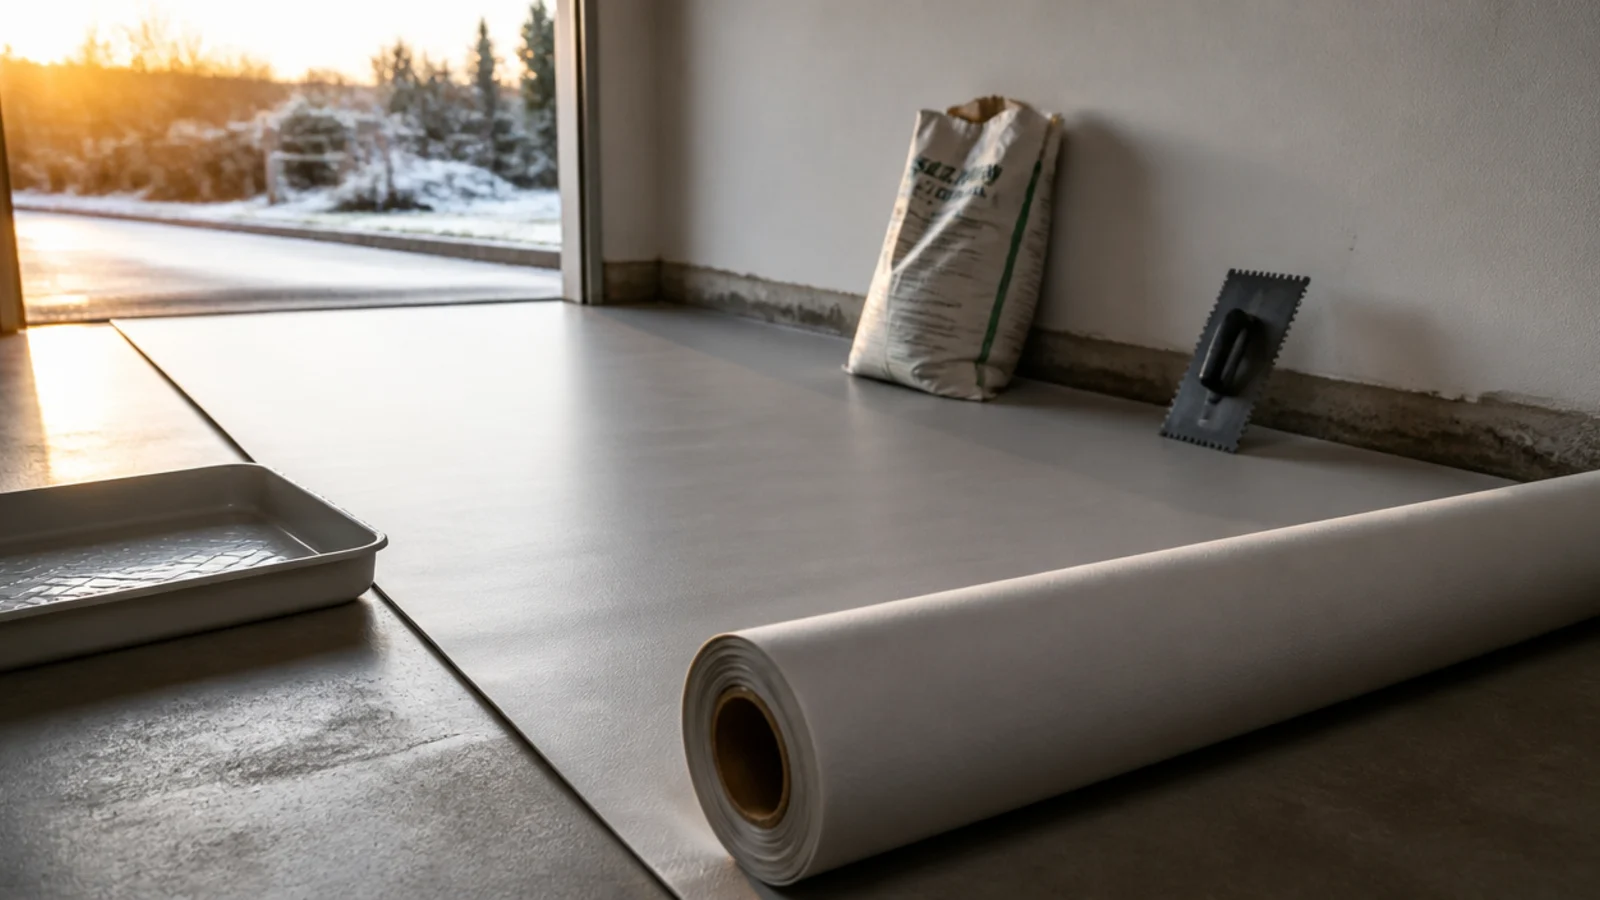
Sealed porcelain, LVT or safety vinyl at R10 to R11 handles the wet feet and spilled detergent a garage utility collects. Level the slab first, because self-levelling compound over the existing fall usually costs less than packing out a floating floor.
Put a 30 by 30 inch leak tray under the washer while the floor is still bare. If you want real wood, leave a 3/8-inch expansion gap and never run solid boards underneath a machine.
Step 13: Heat the room, or dry it instead
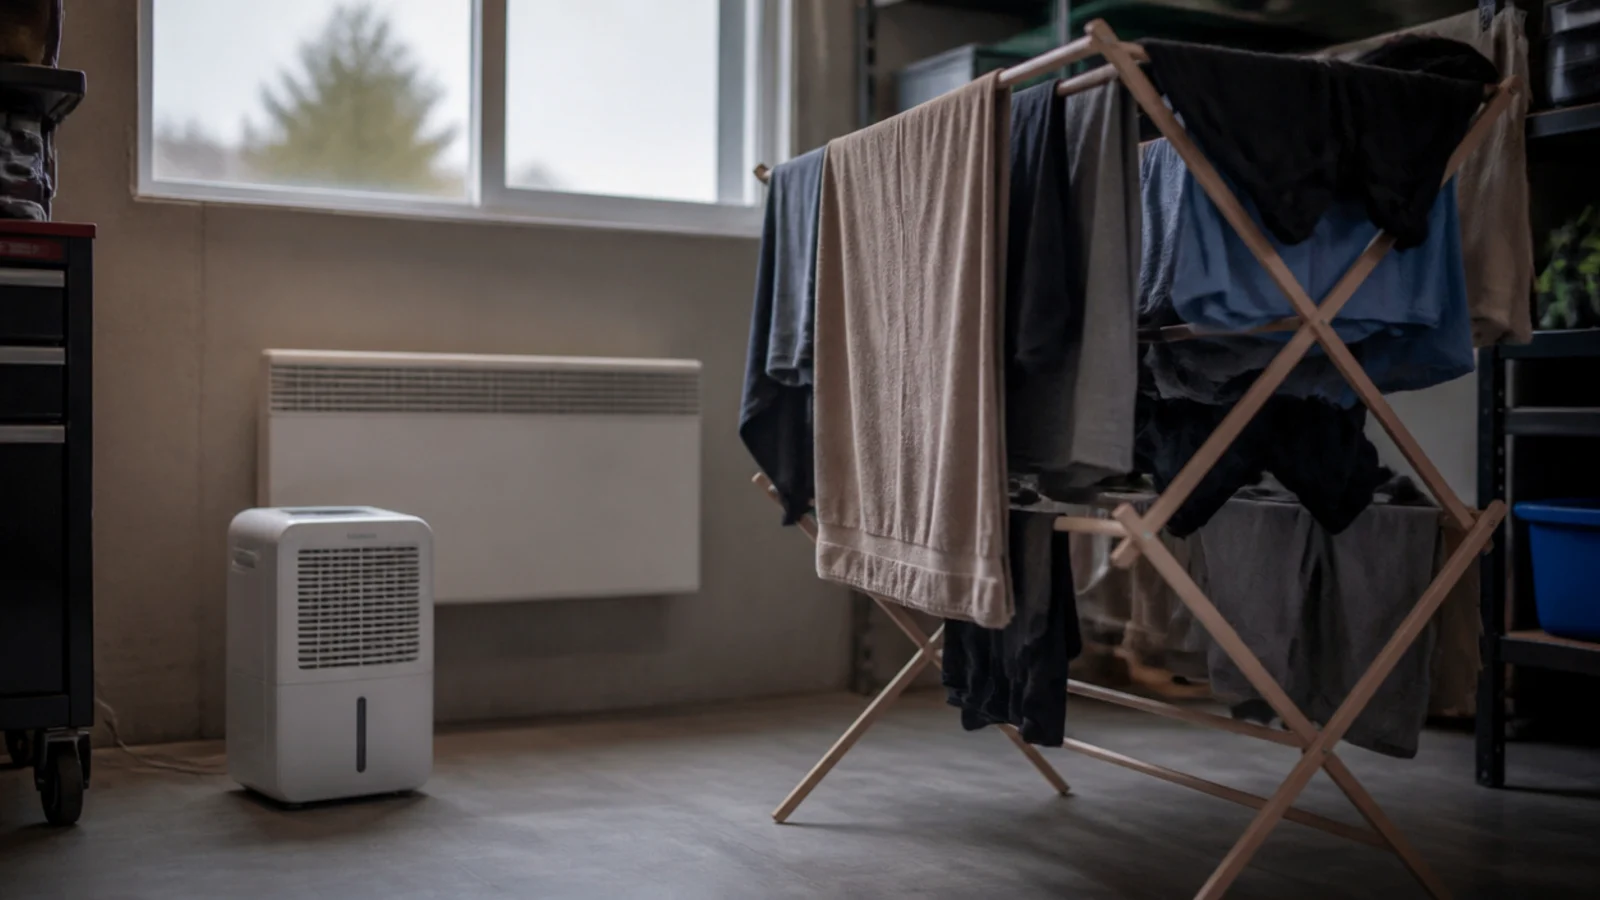
A cold room does not dry laundry, it just holds it damp until it smells. An electric panel heater or a plinth heater on a thermostat is usually enough once the bay is insulated.
Before you heat the whole volume, run the numbers. A 10 to 20 litre-per-day dehumidifier draws 150 to 300 watts and dries a load faster and more cheaply than warming 400 cubic feet of garage. A heated airer at 200 to 300 watts sits between the two, and one load needs 20 to 25 feet of line.
Step 14: Build the storage above and around
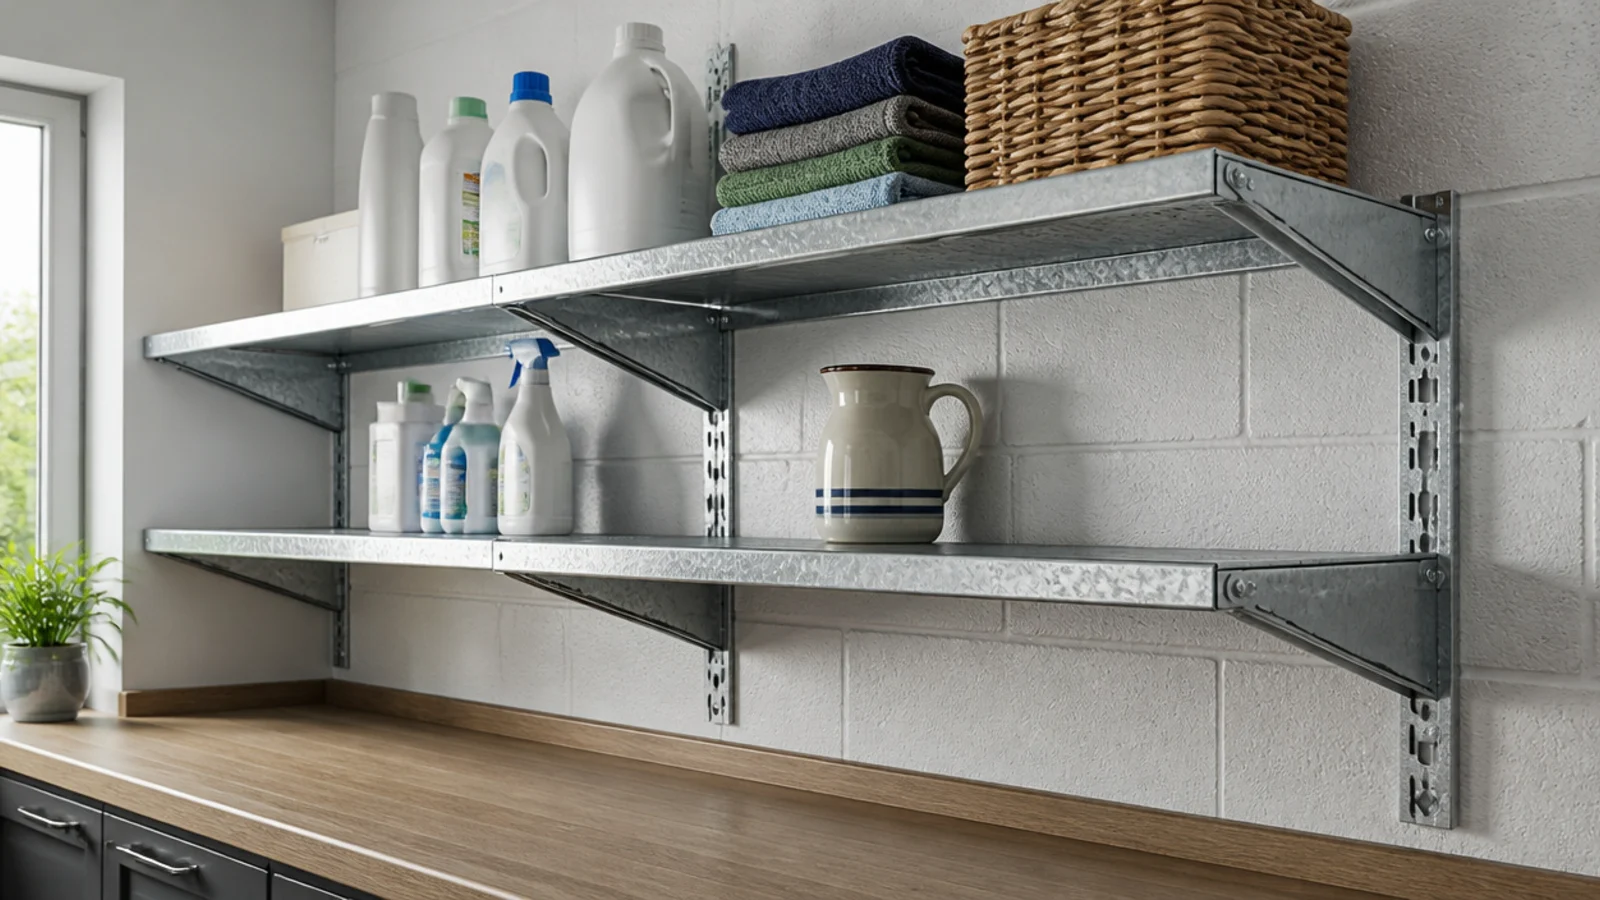
Twelve inches deep is the number for detergent, cleaning bottles and the iron; anything deeper hides things behind other things. Allow 16 inches of vertical clearance per shelf and drive the brackets into those 16-inch studs you framed.
Over a slab, freestanding steel shelving or IKEA's IVAR and BOAXEL systems avoid drilling the block wall at all. Keep the last 12 inches of wall beside the door clear for a broom, a mop and the vacuum.
Step 15: Finish, light it, then live with it
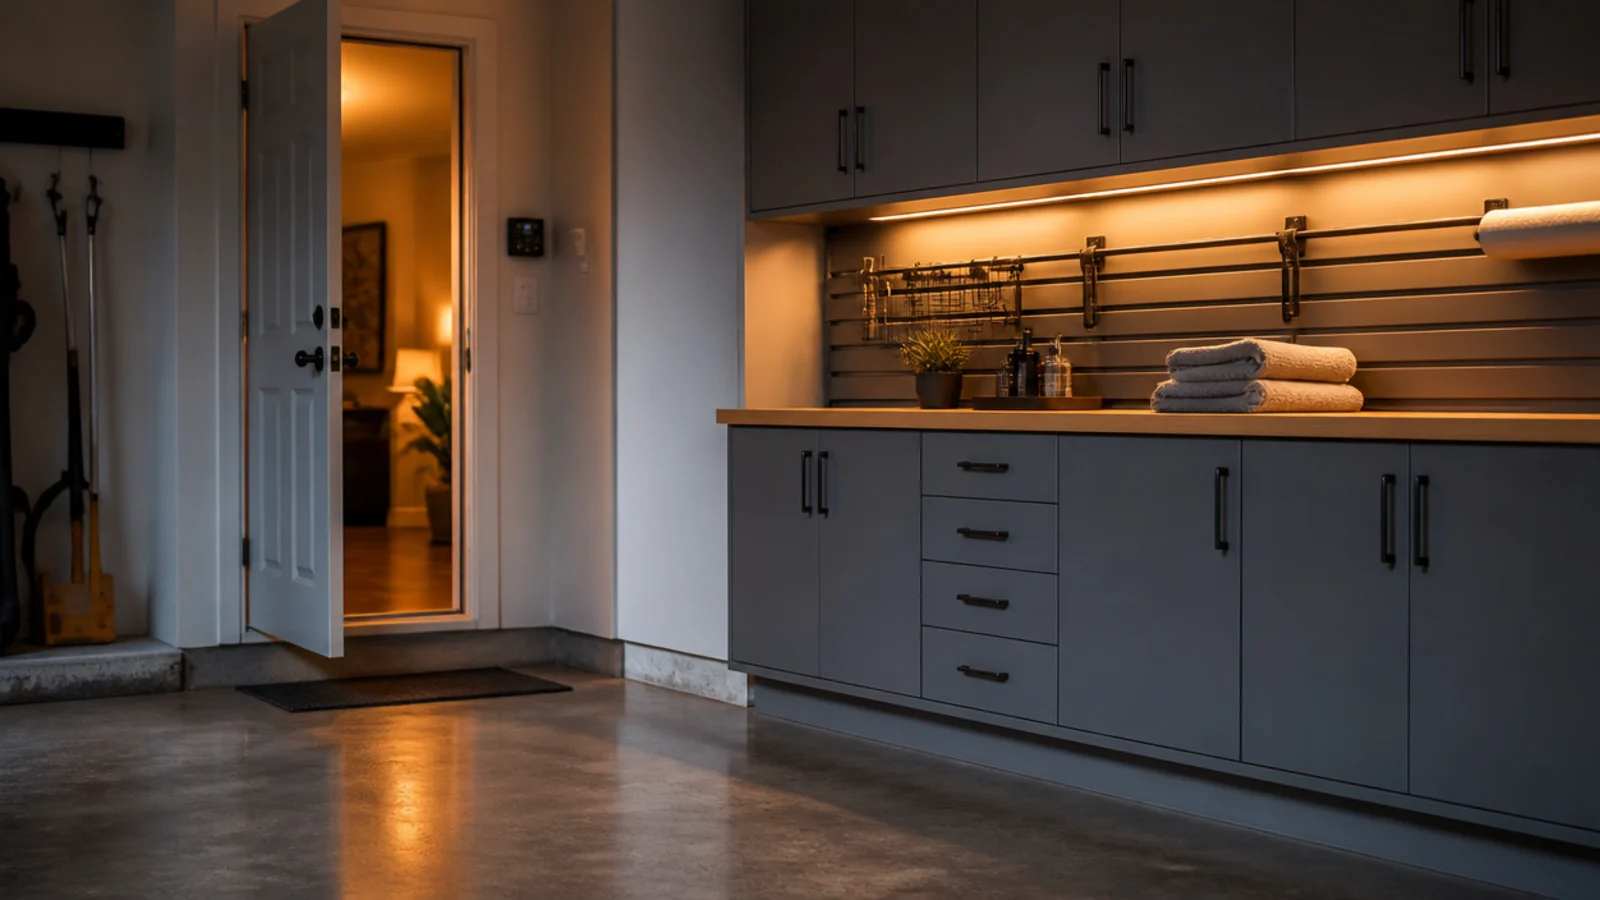
Paint in a washable eggshell, run LED task strips under the wall cabinets so you are not working in your own shadow, and hang a solid-core door, which with the mineral wool behind it takes another few decibels off the spin.
Then use the room for a fortnight before you fix anything else to a wall. Both conversions I have done moved one hook and one shelf after the first fortnight, and neither moved again.
Pro Styling Rules
A cellar throws up the same problems in a different order, so basement utility room ideas is worth reading alongside this one. And since a garage utility is where outdoor shoes usually land, the shoe cabinet ideas guide covers shallow units that fit a 12-inch return without stealing walkway.
Mistakes to Skip
- Insulating before testing the slab. A liquid damp-proof membrane goes on bare concrete, and finding out afterwards means lifting a finished floor you have already paid for.
- Boxing the boiler or the gas meter into a sealed stud wall. Clearances and a removable panel are not optional, and a meter needs ventilation plus a valve reachable without tools.
- Running the dryer duct in flexible foil around three elbows. Each 90-degree bend costs 5 feet of your 35-foot allowance, and crushed foil collects lint.
- Buying appliances before the worktop height is set. Under-counter machines have to be under 34 inches tall, and a 36-inch worktop cannot be adjusted later.
Frequently asked questions
Can you put a washing machine in an unheated garage?
Yes, but protect it first. Lag every pipe run, fit a drain down point, and keep the room above freezing through winter, because water left standing in the pump and hoses can freeze and split them. An insulated bay with a small panel heater or a dehumidifier costs far less than the repair.
Do I need approval to convert a garage into a utility room?
Usually yes for a full conversion, because you are changing how the space is used and adding insulation, drainage, ventilation and new circuits. Expect to show the floor build up, the wall insulation and the extraction, with the electrical work signed off by a competent person. Check before you order materials.
How much does a garage utility room cost?
A three cabinet run with a laminate worktop, a sink and basic decoration lands around six hundred to twelve hundred dollars if the slab and walls are sound. A full conversion with insulation, a dedicated circuit, plumbing, extraction and flooring runs twenty five hundred to six thousand, and the services move that number far more than the cabinets do.
Can I board over the boiler in my garage?
Only with the manufacturer service clearances kept and a removable panel or door, which is typically two inches at the sides, eight to twelve inches below for pipework and twelve inches of clear working space at the front. A gas meter cannot be sealed in at all, since it needs ventilation and a reachable control valve.
Is a condenser dryer better than a vented one in a garage?
In most garage bays, yes. A vented dryer needs rigid four inch duct within thirty five feet of equivalent length, and every ninety degree elbow costs another five feet, which is hard to achieve through block walls. A heat pump condenser skips the duct entirely and runs cooler, though it dries more slowly.
Want more like this? Browse all 15 utility room ideas guides — they all use the same measurements and budget tiers.
Pin it for later
Save this to your Utility Room Ideas board
Pin it now so it is waiting for you when the tape measure comes out — and so the next person hunting for this idea can find it too.
Save this pinKeep going
More ideas worth saving while you have the tape measure out.